



You do not need a gym to stay strong, steady, and loose enough to handle stairs, groceries, and a stubborn couch cushion. Senior workouts at home can be plain, quiet, and cheap, and still do real work for your legs, back, heart, and balance.
A sturdy chair, a wall, and a little floor space are enough for a solid routine. The CDC recommends older adults get about 150 minutes of moderate aerobic activity each week, plus muscle-strengthening work on two days, and balance training has a place too because that is the piece that often protects day-to-day movement. The National Institute on Aging says much the same thing in simpler terms: move often, keep it safe, and work on strength, balance, endurance, and flexibility.
The best part is that home workouts do not need to feel punishing. They need to feel repeatable. A move that looks mild but you can do three times a week is far more useful than a flashy routine that leaves your knees grumbling for two days.
Start with the chair, the wall, and the moves that teach your body to stand, step, reach, and recover. Then build toward the ones that make walking feel smoother and getting up off low seats feel less like a negotiation.
1. Seated Marching to Wake Up the Legs
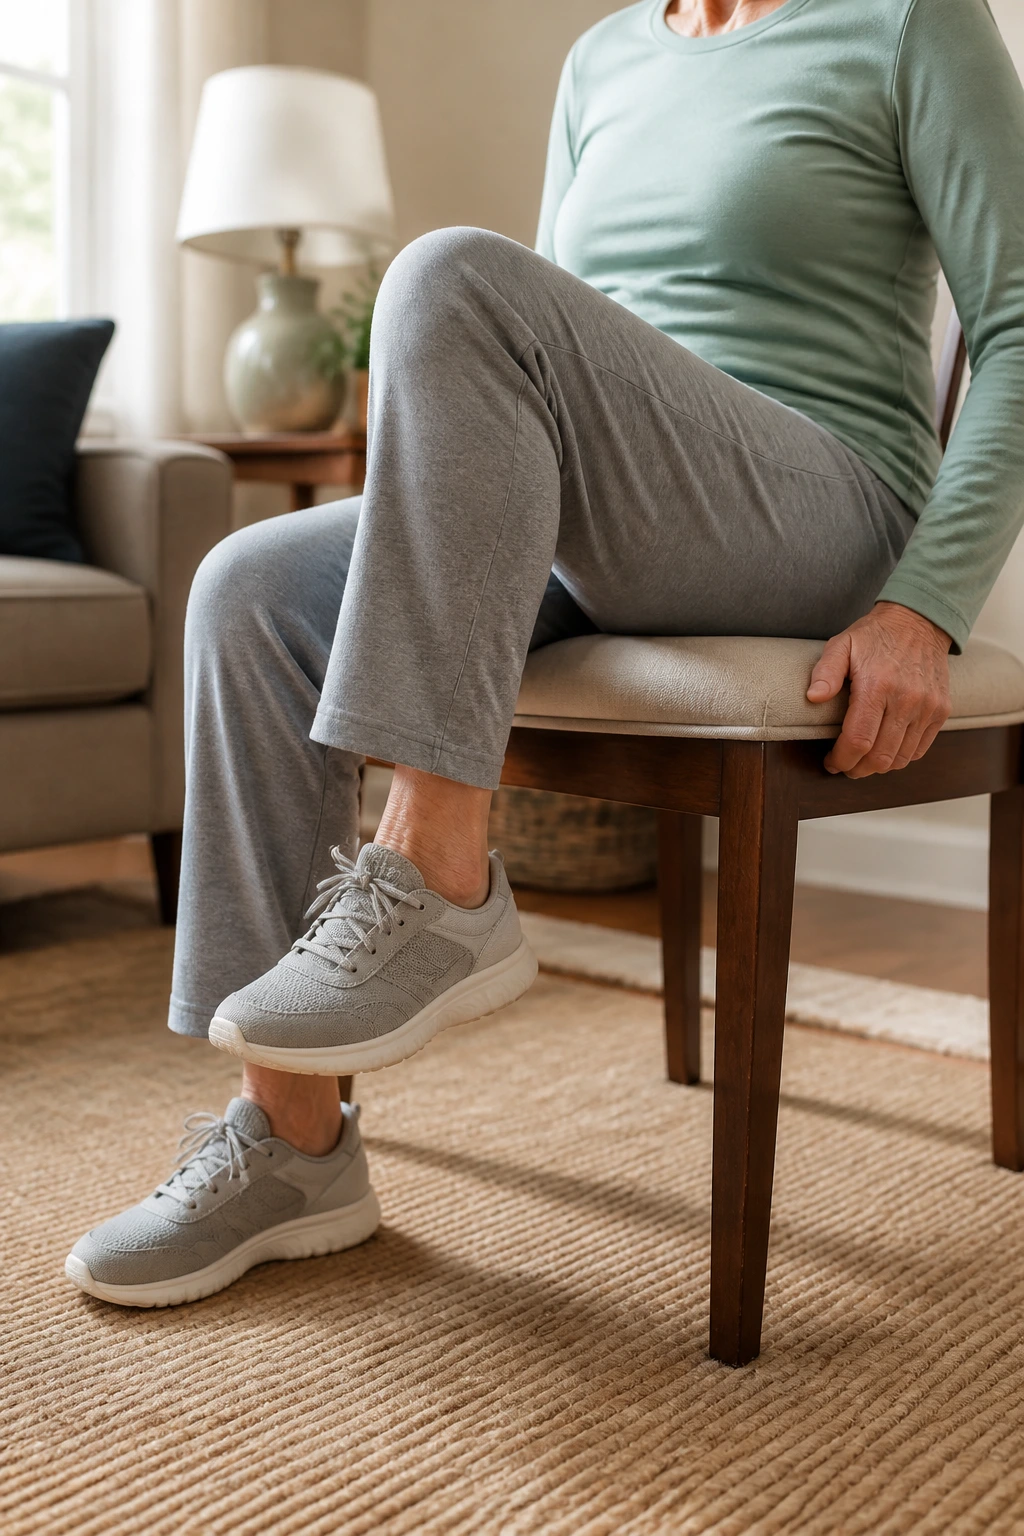
Seated marching is one of those exercises that looks almost too easy until you actually do it for 90 seconds. Your hip flexors wake up, your breathing shifts, and your legs stop feeling like they belong to someone else.
Why It Works
Sit tall near the front of a sturdy chair, feet flat. Lift one knee, then the other, and keep the motion smooth instead of jerky. Thirty to 60 seconds is enough for a warm-up, and you can repeat it 2 or 3 times if your body likes the rhythm.
- Keep your chest lifted.
- Move your arms if shoulder comfort allows.
- Pick up the pace only if you can still breathe evenly.
- Stop if your lower back starts to arch or pinch.
Best cue: the movement should feel springy, not frantic.
2. Chair Sit-to-Stand Reps
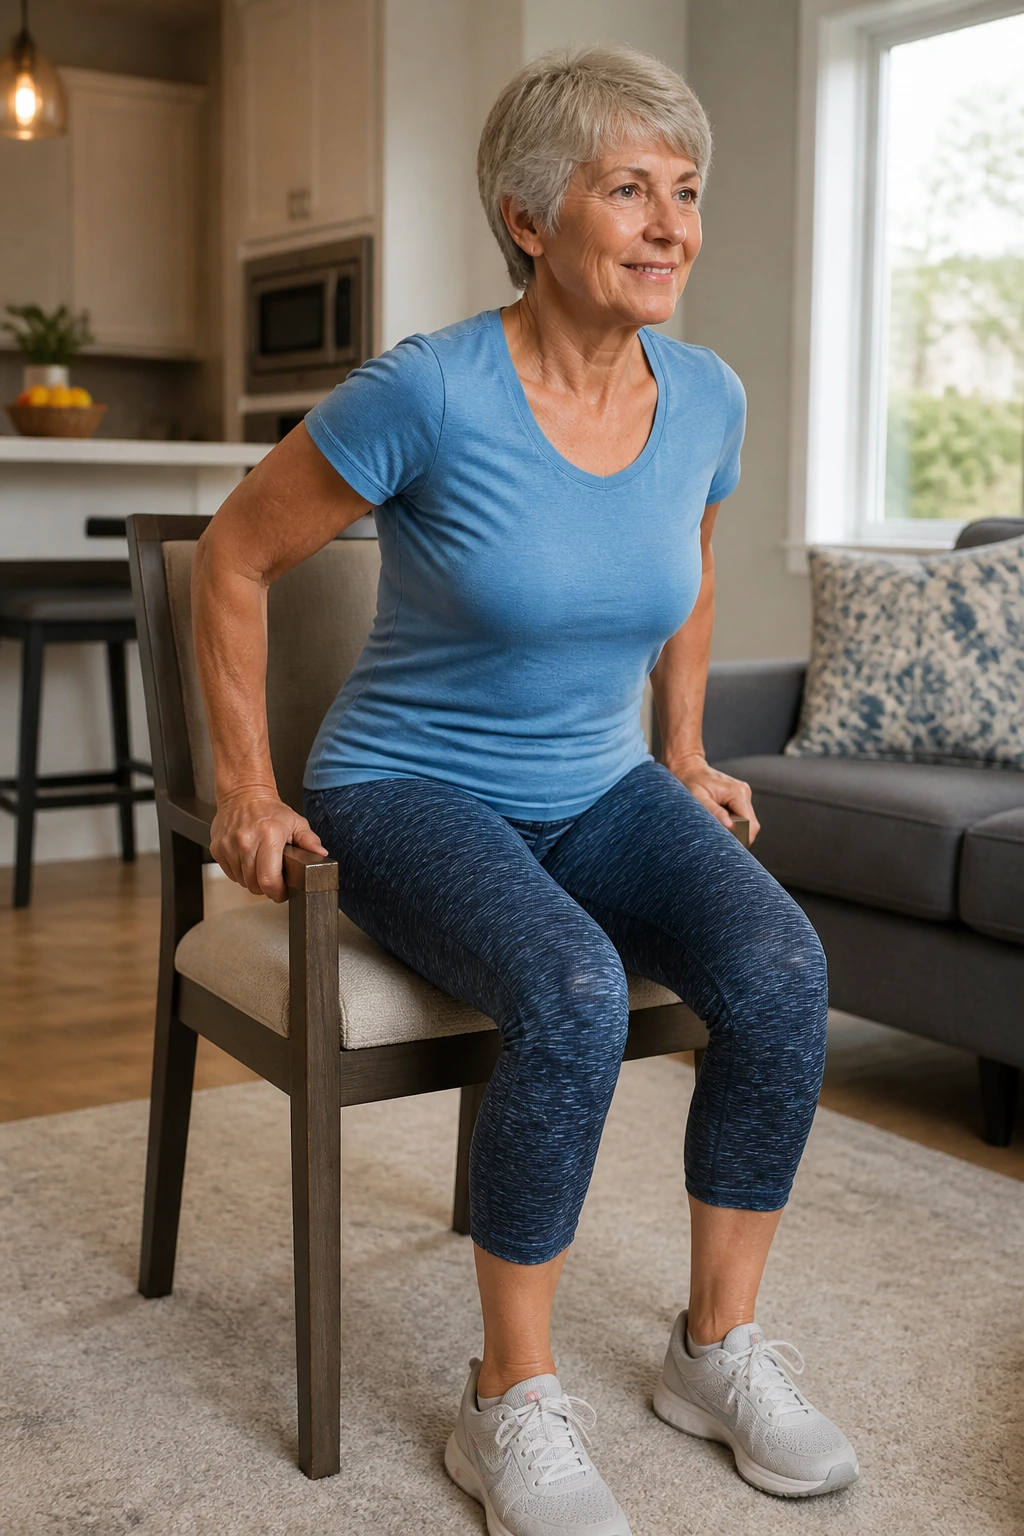
This is the leg exercise I’d keep if I had to choose only one. Sit-to-stands train the exact motion you use all day: getting up from a chair, the bed, a car seat, or the edge of the sofa.
Scoot forward, plant your feet hip-width apart, lean your nose slightly over your toes, and stand without throwing your weight forward. Then lower yourself back down with control. Five to 10 reps is a fine start. If you need your hands on the chair arms at first, use them. No drama.
What matters most is the lowering phase. That slow descent teaches your thighs, hips, and glutes to work instead of just dropping you into the seat.
3. Wall Push-Ups for Upper-Body Strength
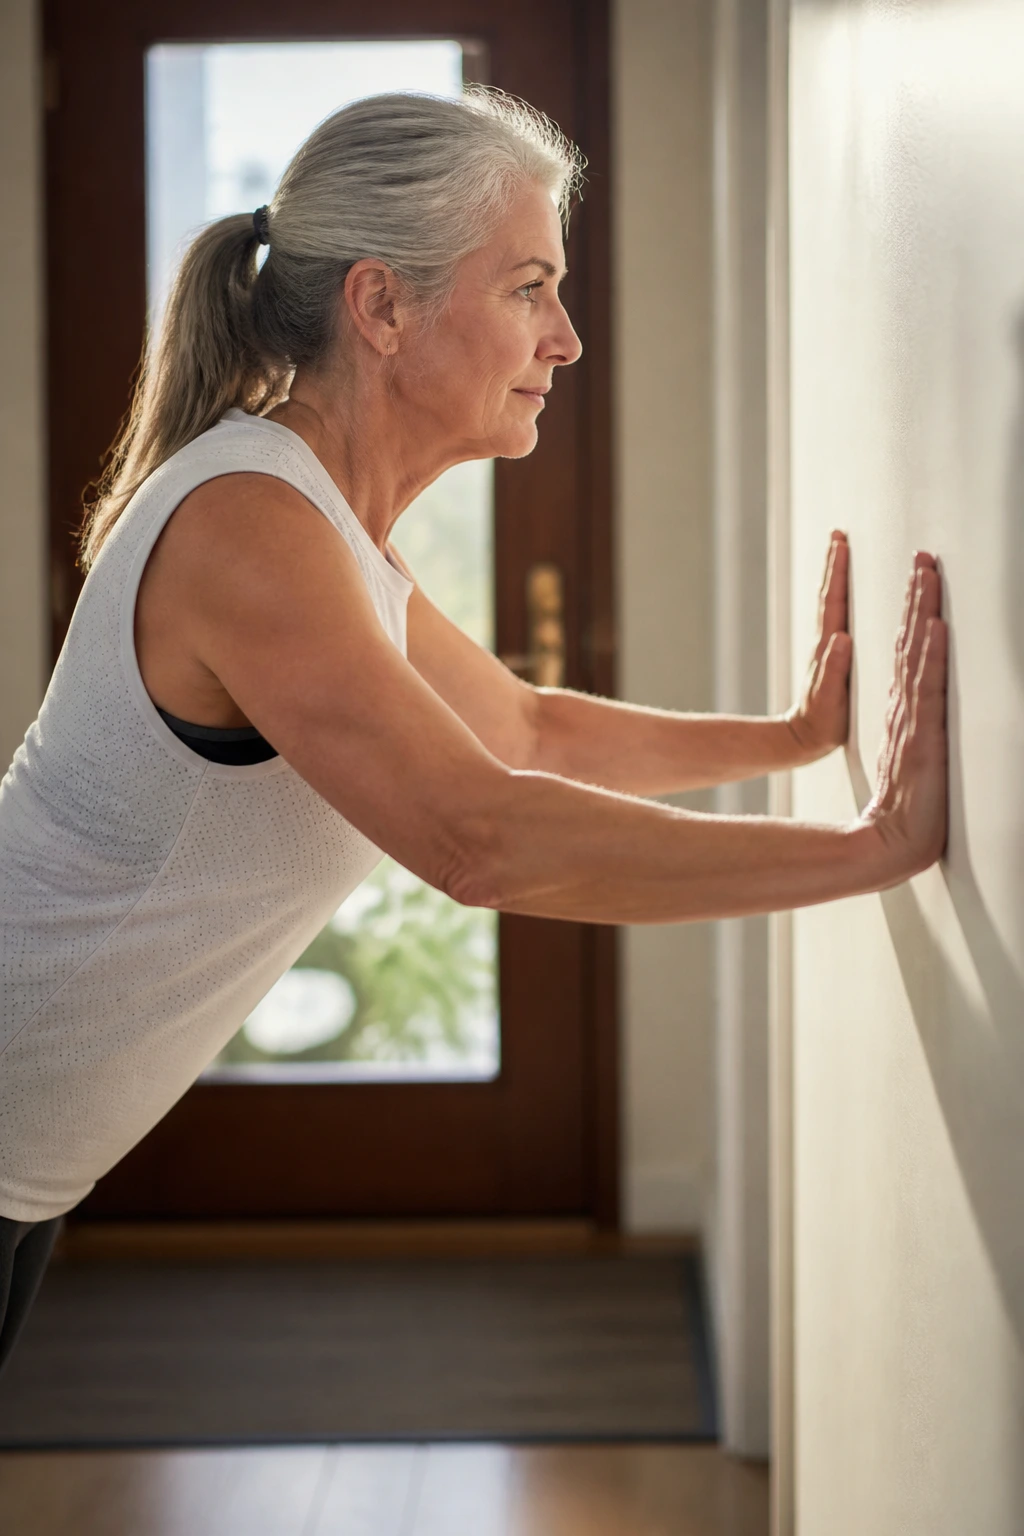
Wall push-ups are a nice middle ground between doing nothing and trying to crank out floor push-ups on a bad shoulder day. They build chest, triceps, and shoulder strength without asking your wrists to bend much.
Stand an arm’s length from the wall, place your hands flat at chest height, and bend your elbows to bring your body toward the wall. Push back until your arms are straight but not locked. Eight to 15 reps is plenty for one round.
How to Make Them Easier or Harder
Step your feet closer to the wall for an easier version. Move them farther back for more challenge. Keep your body in one line and do not let your hips sag.
If you hear yourself grunting on rep three, the wall is already doing its job.
4. Countertop Heel Raises
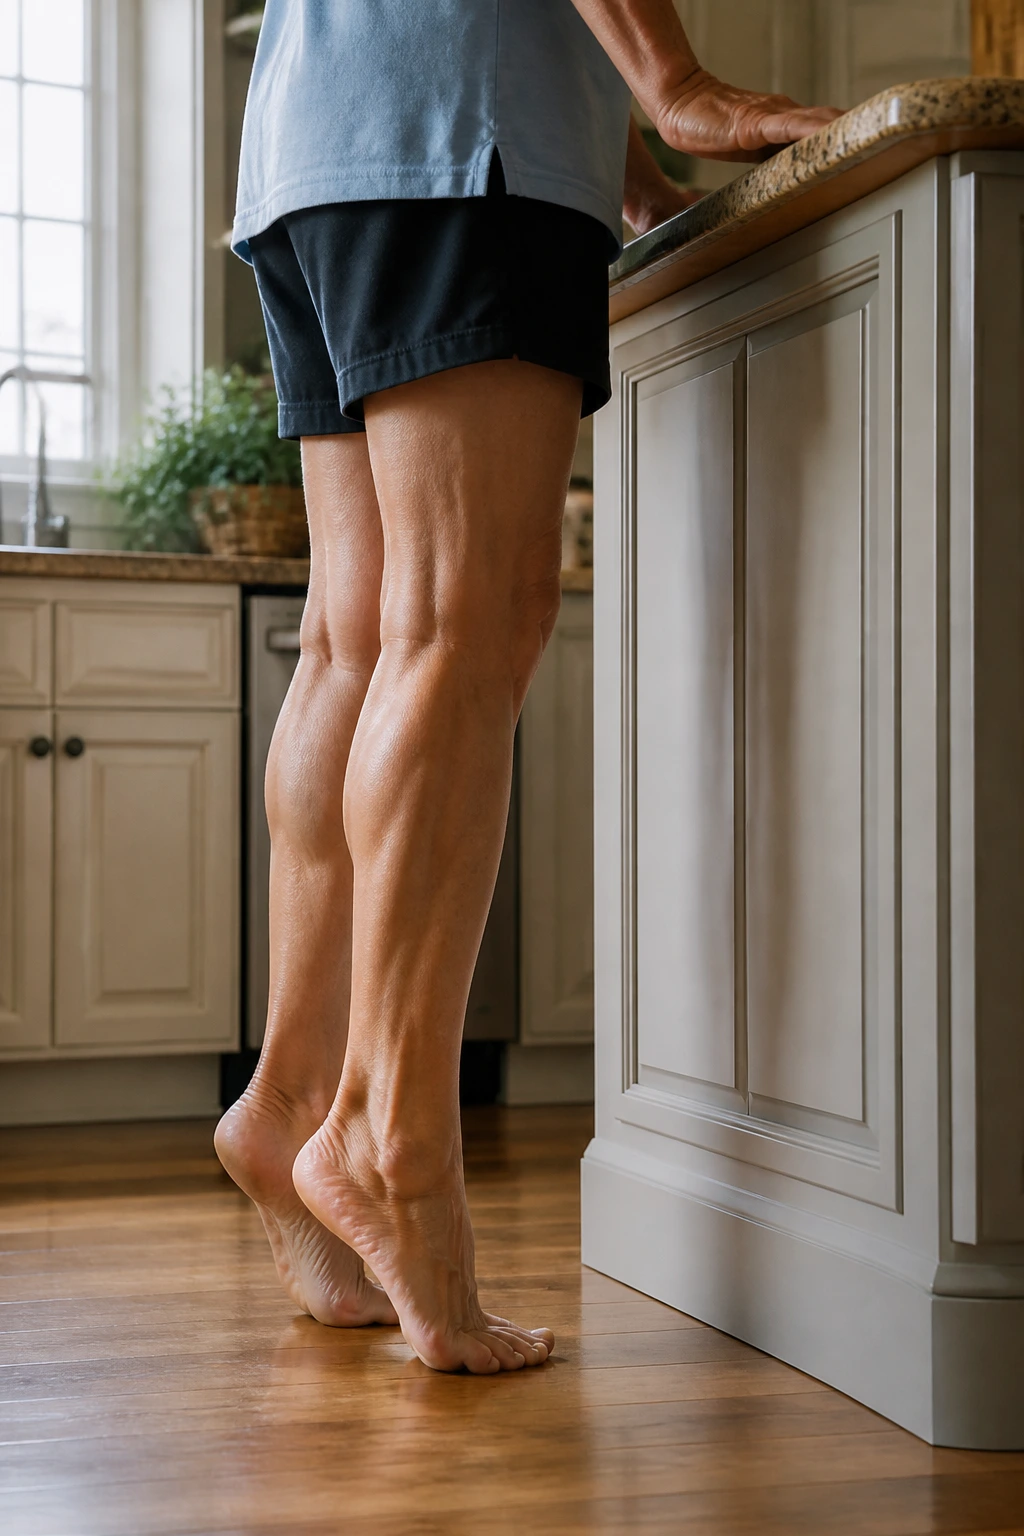
Heel raises are simple, and that is exactly why they matter. Calves help with walking, climbing stairs, and staying steady when you shift your weight. They also get lazy fast if you sit a lot.
Hold the kitchen counter lightly, rise onto the balls of your feet, pause for a beat at the top, then lower slowly until your heels settle down. Ten to 20 reps works well. If your balance is shaky, keep one hand on the counter and the other near a chair back.
- Rise straight up, not forward.
- Lower with control.
- Keep your ankles from rolling outward.
- Use shoes if your feet prefer a little cushion.
A slow lowering phase makes this move much better than bouncing through it.
5. Side Steps Along the Hallway
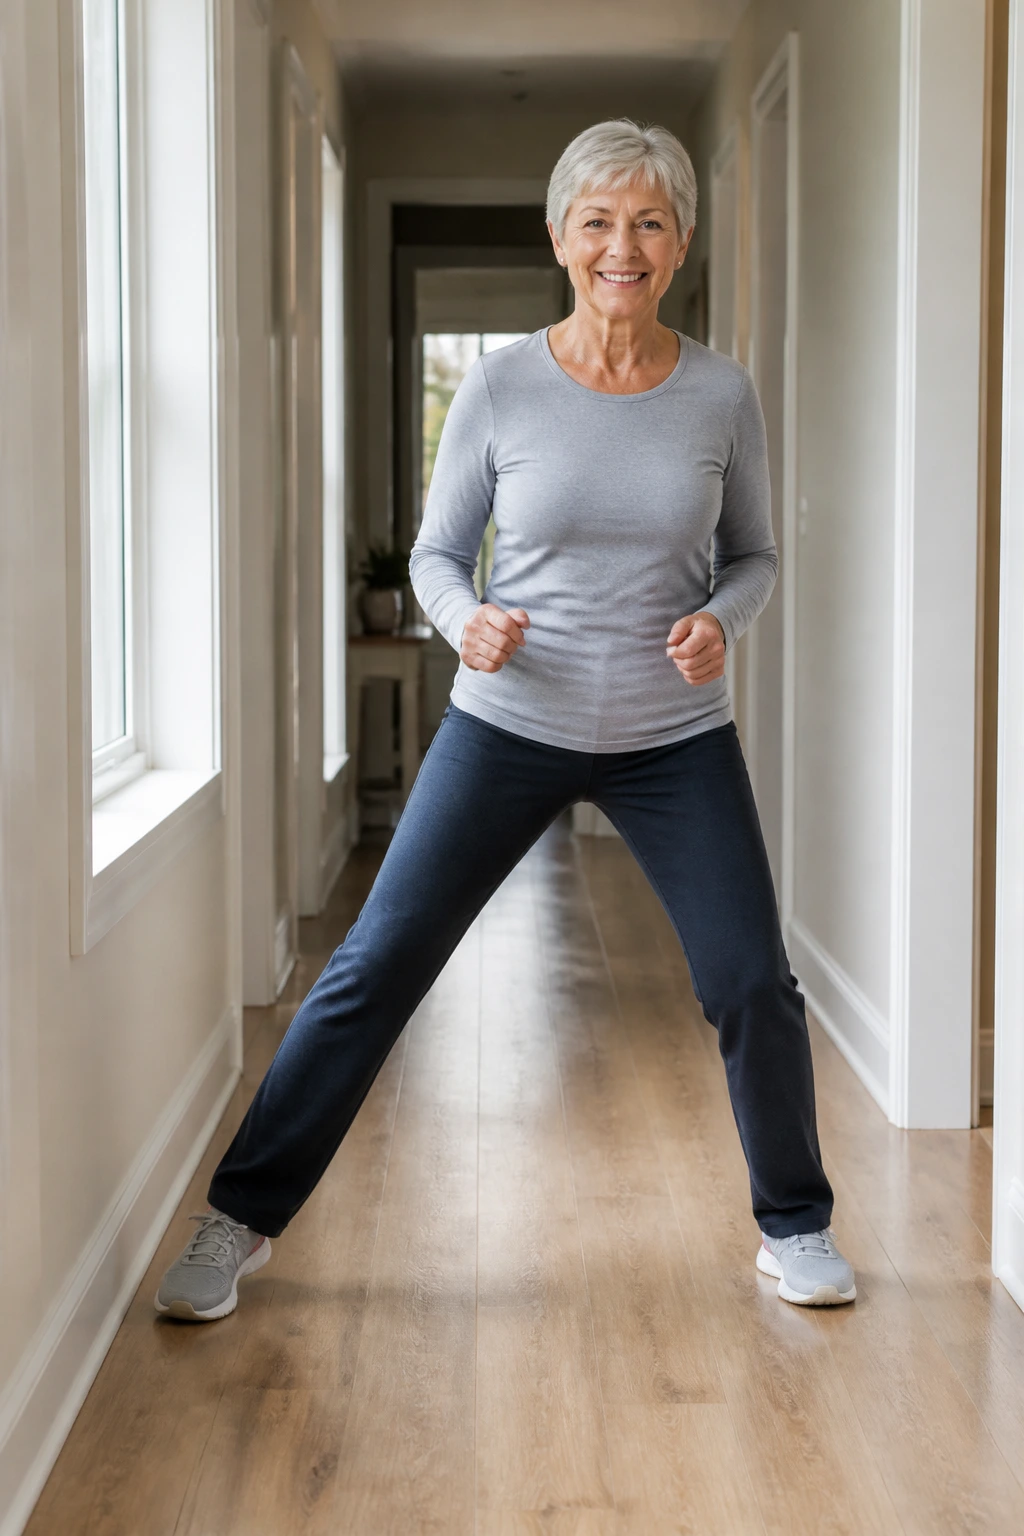
Side steps train the hips in a way straight walking does not. That side-to-side strength matters more than people think, especially for getting around furniture, turning in tight spaces, and staying upright when you trip slightly.
Take small steps to the right, then the left, keeping your knees soft and your toes facing forward. A hallway is perfect because it gives you a clear lane and a wall to touch if needed. Two trips down and back can be enough for a warm-up.
This one also wakes up the glute muscles on the sides of your hips, which are often underused. That is a fancy way of saying they like to loaf around unless you make them work.
6. Seated Leg Extensions
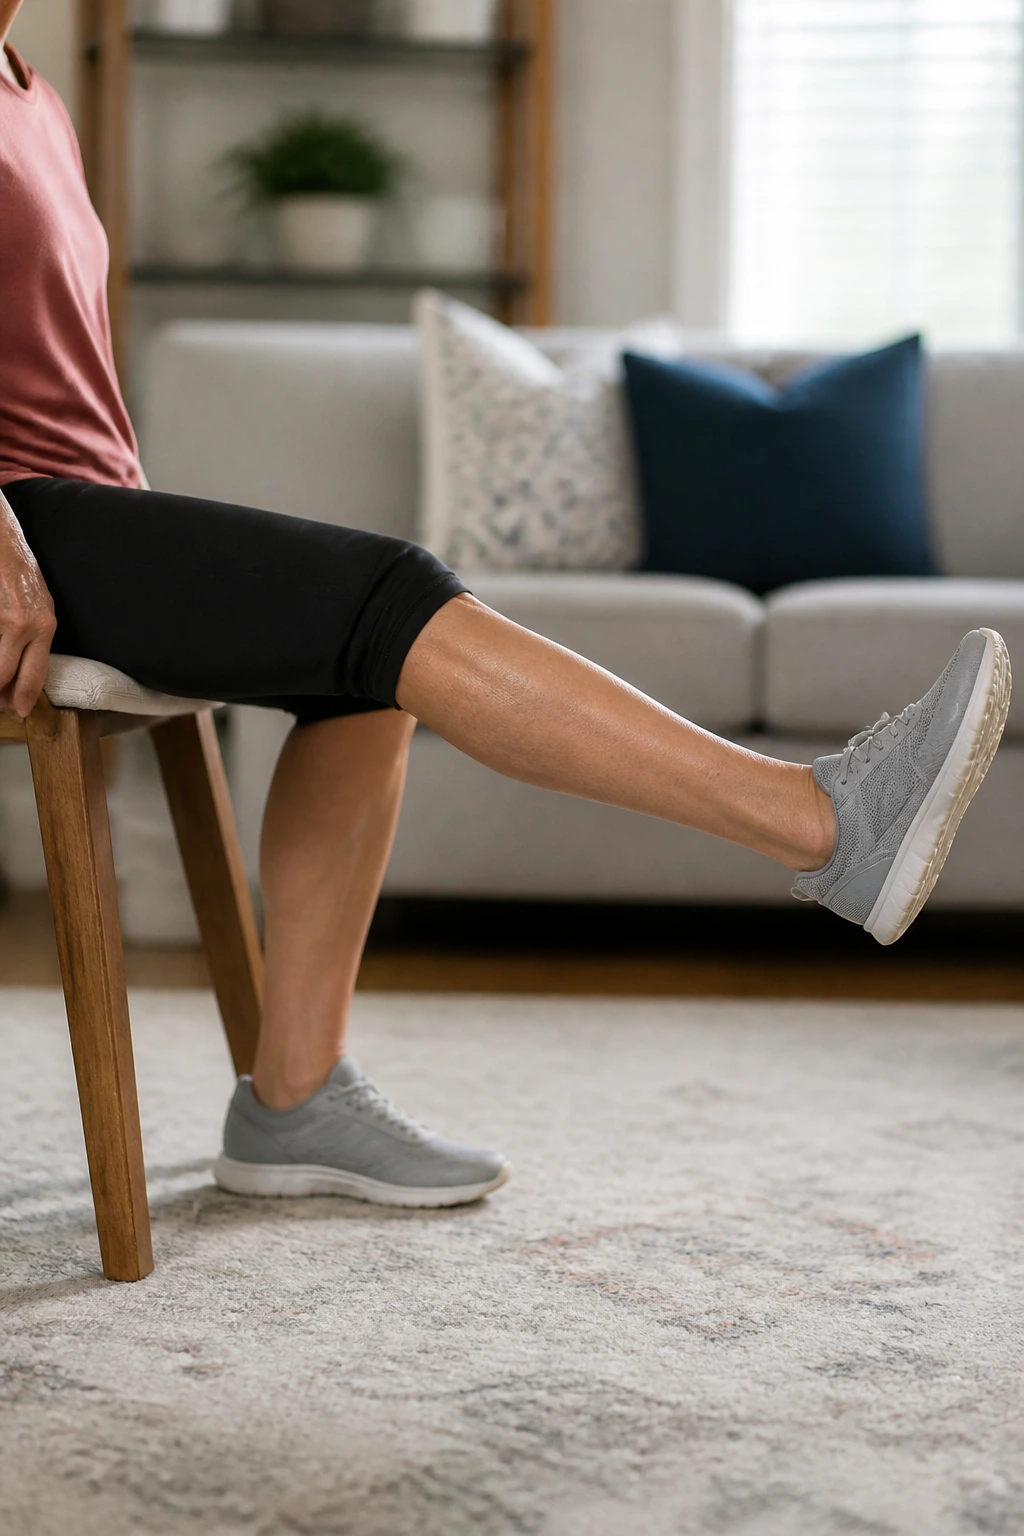
If your knees dislike deep bending, seated leg extensions are a friendly place to start. They strengthen the front of the thigh, which helps with standing, stair climbing, and supporting the knee joint through everyday movement.
Sit tall, straighten one leg until it is nearly parallel to the floor, hold for a second, then lower it slowly. Switch sides. Eight to 12 reps per leg is enough for a clean set. If your ankles feel weak, point your toes up toward you while the leg is lifted.
Unlike a gym machine, this version lets you control the range. That matters. Tiny, pain-free movement done well beats forcing a big range that makes your knee complain.
7. Shoulder Circles and Arm Swings
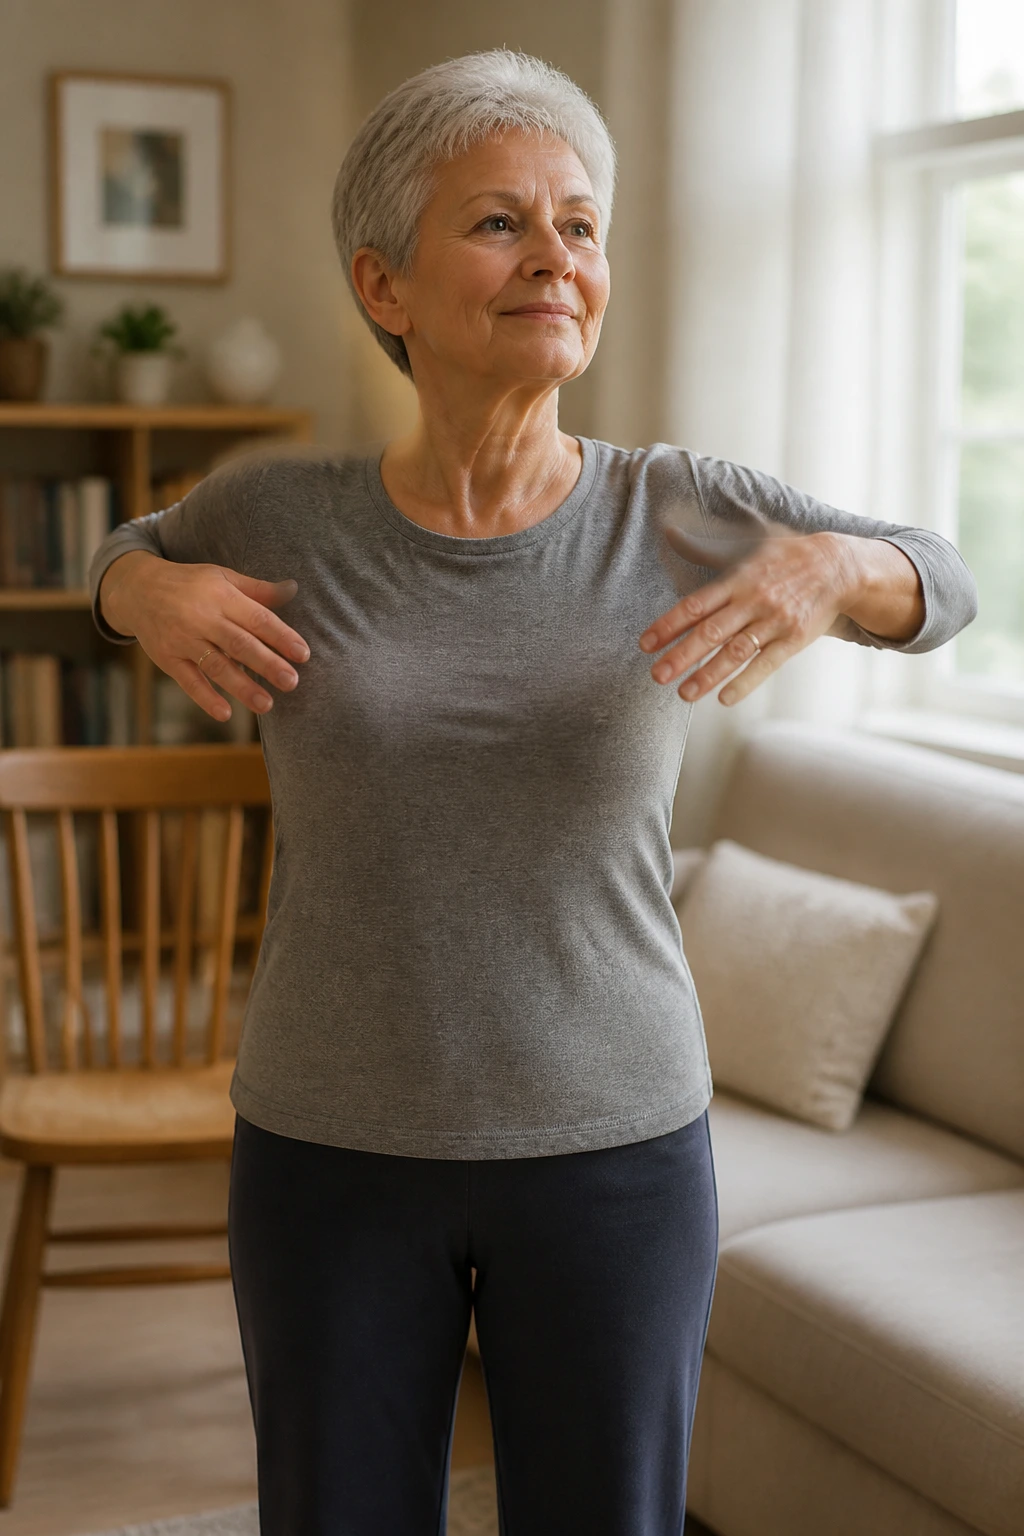
A stiff upper body makes everything feel harder, from reaching a shelf to washing your hair. Shoulder circles and arm swings loosen the joints, warm the muscles, and set up the rest of your routine.
What to Watch For
Roll your shoulders forward 5 to 10 times, then backward 5 to 10 times. After that, swing your arms gently in front of your body and then open them wide. Keep the motion loose. No pinching, no shrugging, no racing.
If one shoulder feels cranky, make the circles smaller. Big circles are not better if they feel ugly in your joints.
A quick upper-body warm-up like this is one of the easiest ways to make the rest of your workout feel smoother.
8. Standing Hip Abductions with a Chair
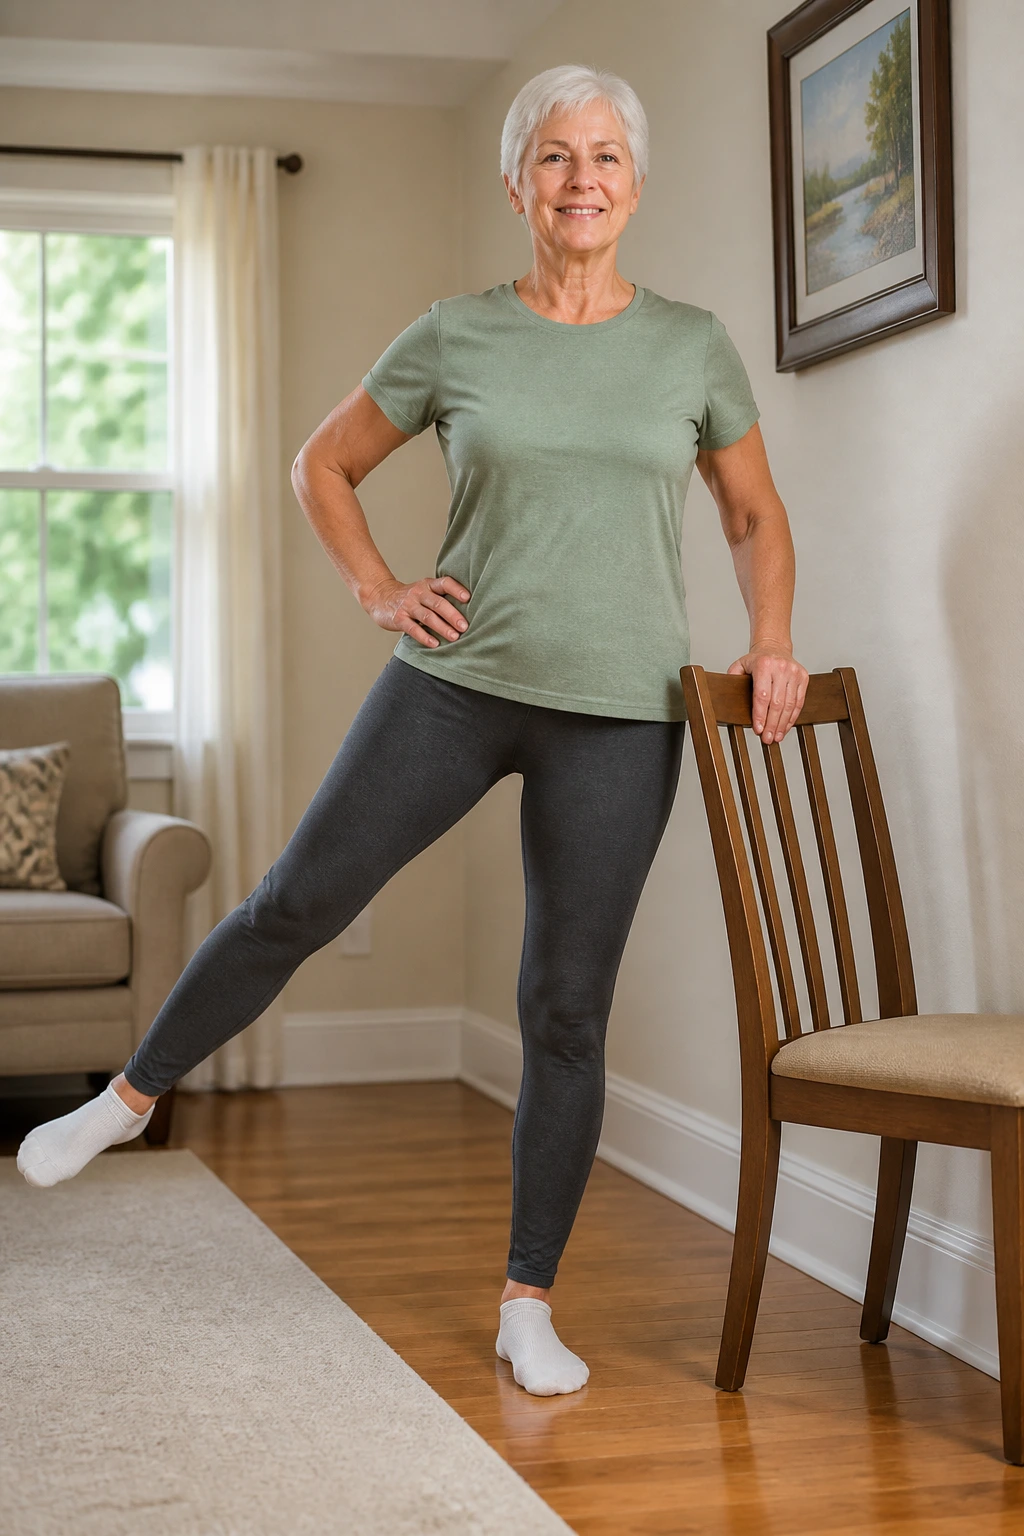
Standing hip abductions look small, but they do a lot. The outer hip muscles are key for balance, and they often weaken before you notice anything obvious.
Hold the back of a chair, shift your weight onto one leg, and lift the other leg out to the side without leaning your torso. Lower it slowly. Eight to 10 reps per side is a good start. Keep the toes facing forward instead of turning them up and out.
The body should stay tall. If you lean to fake the lift, the side hip does less work and your lower back starts stealing the job. That is not the point here.
9. Toe Taps on a Low Step
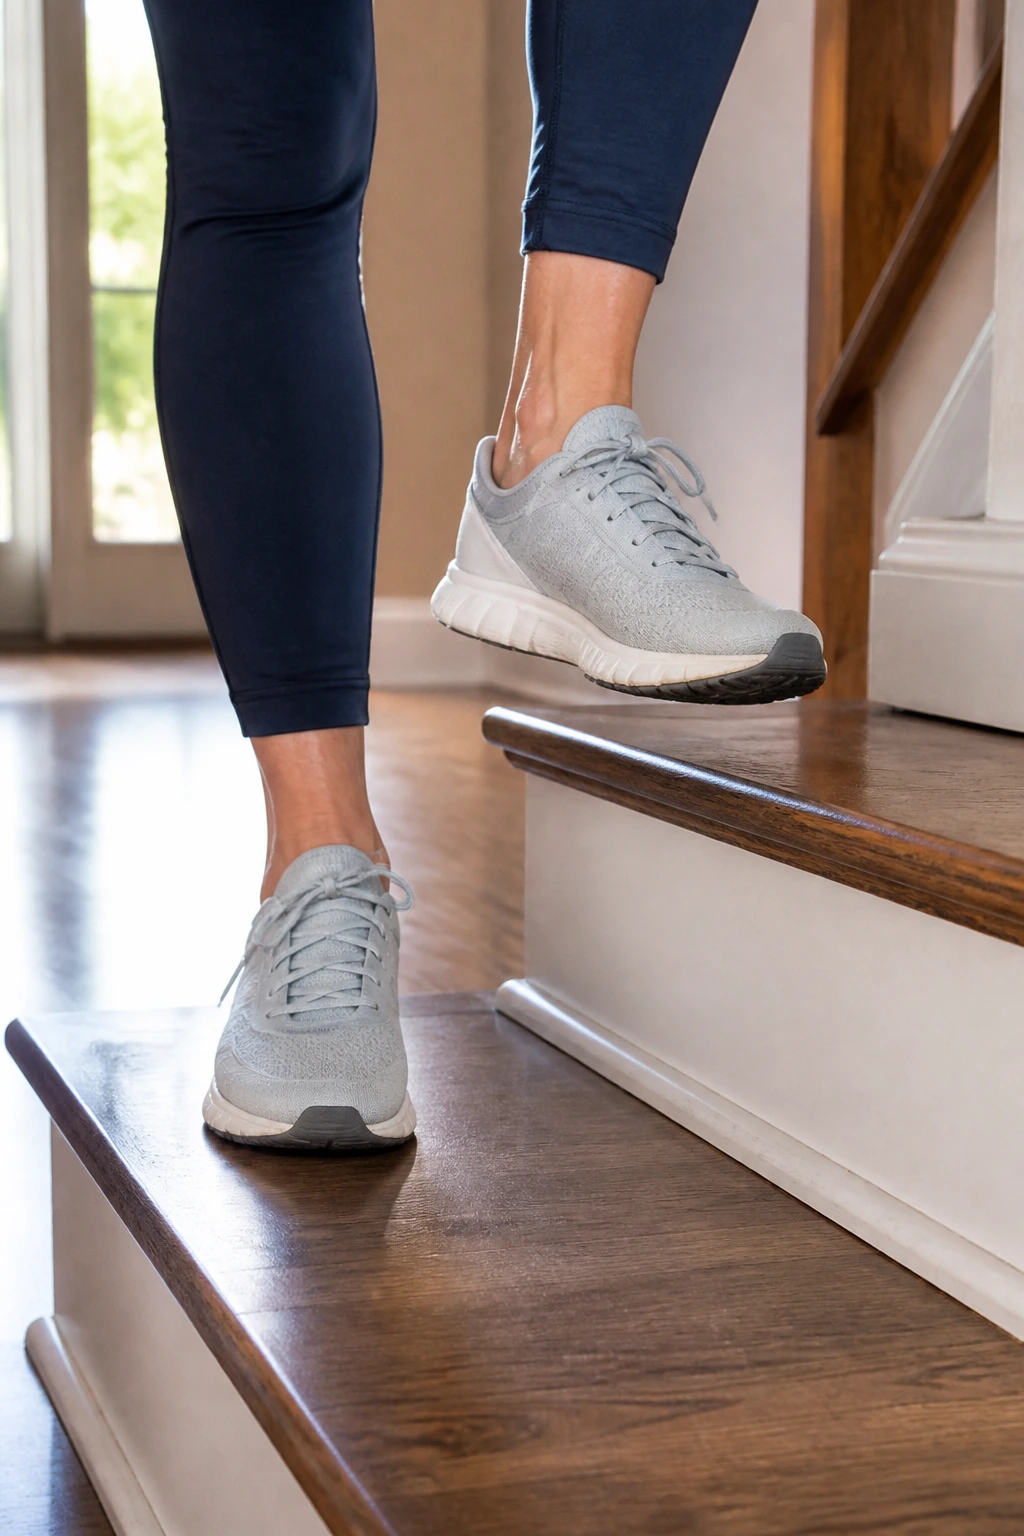
Toe taps are a simple cardio drill that also sharpens coordination. If you have a single step, the bottom stair, or even a thick book on a stable floor, you can use it.
Tap one foot up, set it down, then tap the other. Keep the pace brisk but controlled. Thirty seconds on, 30 seconds off, repeated 4 to 6 times, is enough to make your breathing change a little.
Why does this one feel useful so fast? Because it asks your brain and legs to work together. That coordination piece gets rusty if you never ask for it. The low step keeps the move friendly while still giving you a real rhythm to follow.
10. March-and-Reach Cardio Drill
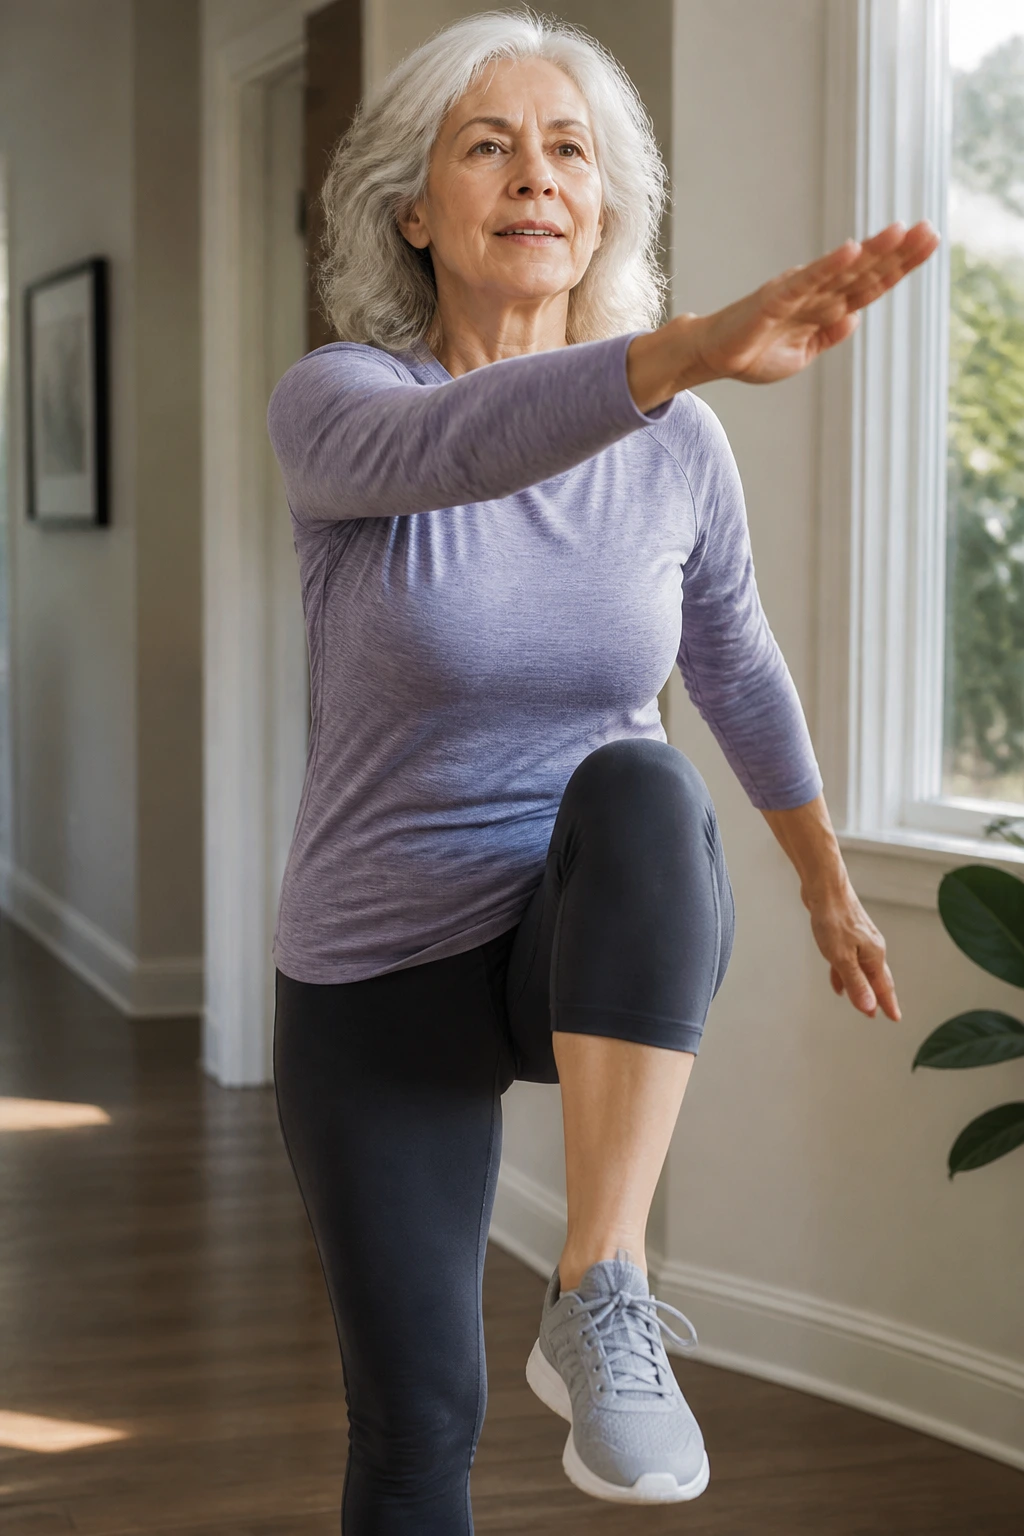
Marching gets better when you add a reach. Your heart rate climbs a little more, your torso starts to organize itself, and your shoulders stop hiding from work.
Lift one knee, reach the opposite arm up, then switch sides. You can keep the reach shoulder-height if overhead motion bothers you. Do this for 30 to 60 seconds, rest, then repeat. A couple of rounds is enough to call it a workout.
A nice thing about this drill is that it feels almost dance-like. Not fancy. Just enough pattern to keep your mind from wandering off while your legs do the job.
11. Bird Dog with Counter Support
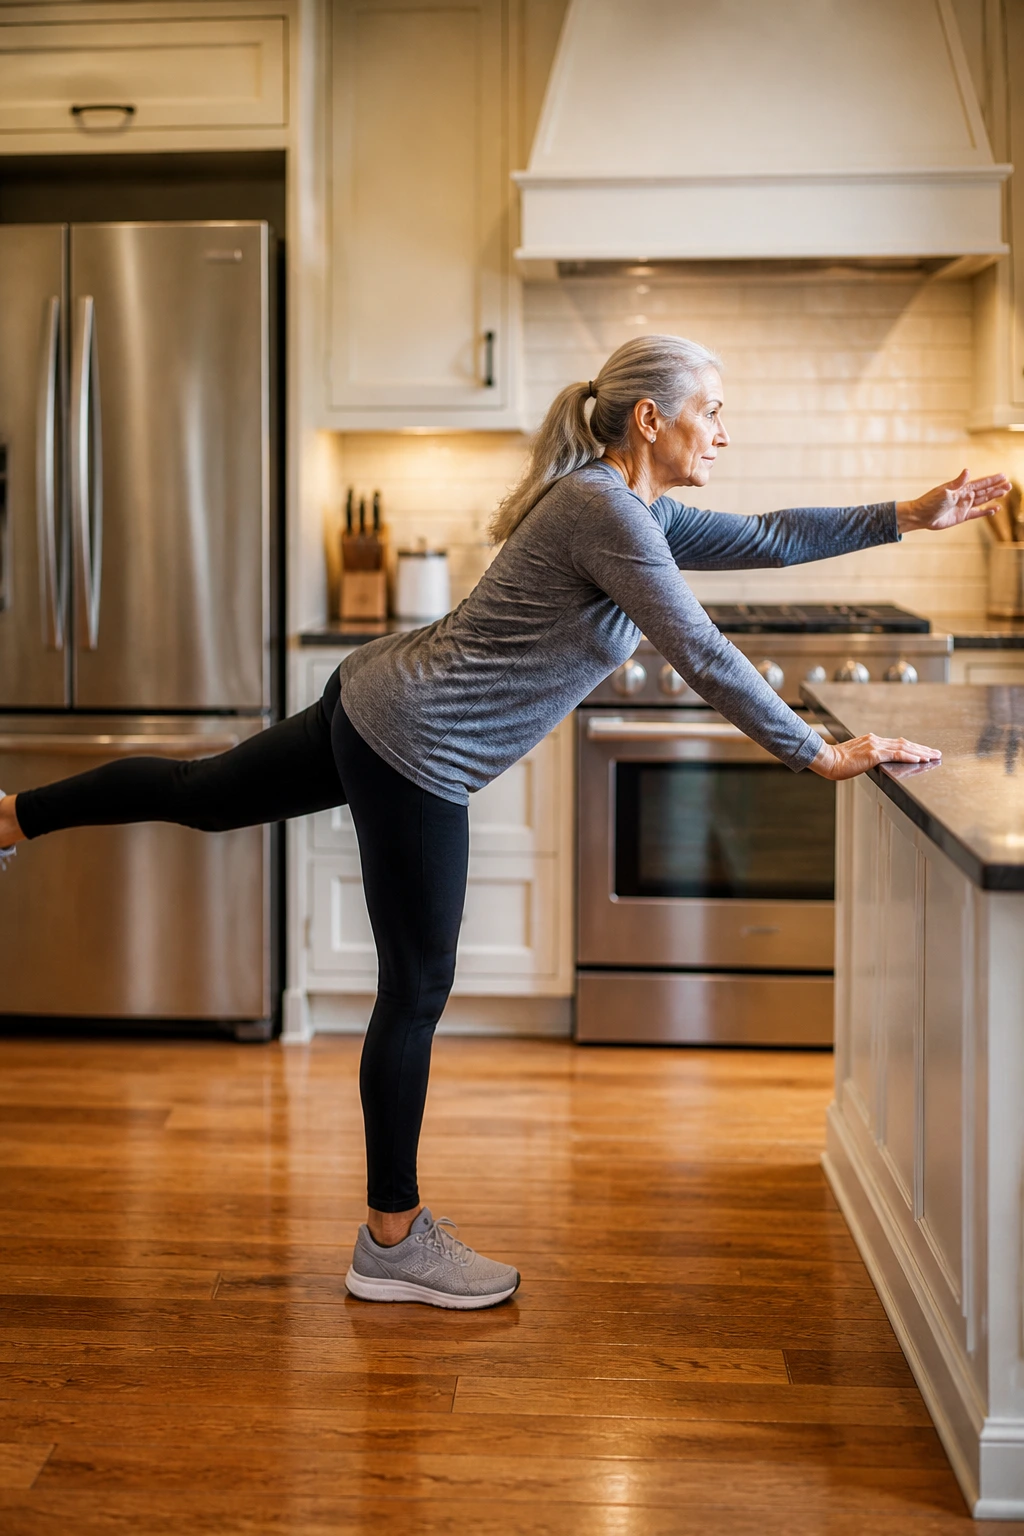
This is the safer cousin of the floor bird dog. You stay standing, lean your hands on a counter, and extend one leg back while the opposite arm reaches forward.
Keep your hips square and your lower back long. Hold for 2 to 3 seconds, then switch sides. Six to 8 reps per side is a useful dose. The aim is not height. The aim is steadiness.
How to Get It Right
Reach long through the heel and fingertips instead of lifting wildly. If you feel your ribs flare or your torso twist, shorten the move. Small and controlled wins here. A clean line beats a bigger range every time.
12. Incline Plank on a Wall or Counter
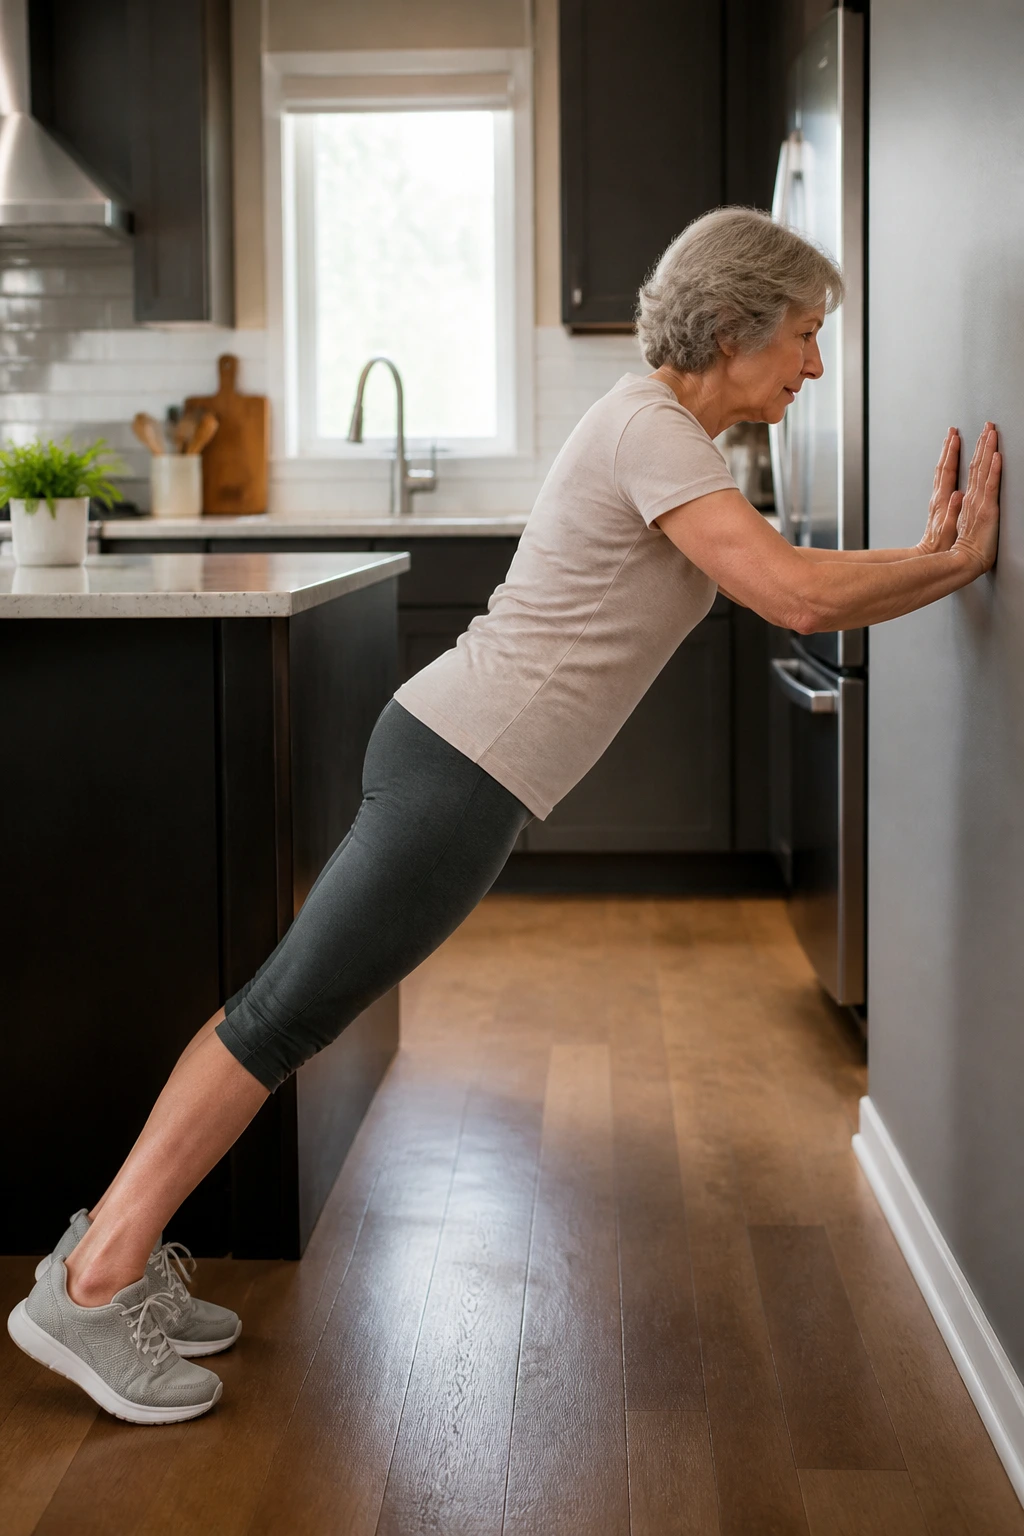
A plank does not have to mean getting on the floor and wrestling your way back up. An incline plank on a wall or counter works the core, shoulders, and deep stabilizers without the same strain.
Place your hands on the wall or counter, walk your feet back, and hold your body in a straight line. Breathe. Do not hold your breath like you’re lifting a car. Start with 15 to 20 seconds, rest, and repeat 2 or 3 times.
If your lower back sags, step a little closer. If your shoulders feel bored, step a little farther away. That tiny adjustment changes the load more than people expect.
13. Water-Bottle Bicep Curls

You do not need a fancy set of dumbbells to work your arms. Two water bottles, soup cans, or small hand weights will do the job.
Stand or sit tall, tuck your elbows near your sides, and curl the weights toward your shoulders. Lower them slowly. Eight to 12 reps is enough for a set, and the slow lower is where the muscle learns to control the weight.
What Makes This Better Than Random Lifting
The curls should feel smooth, not swingy. If your shoulders roll forward or your back arches, the weight is too heavy. Keep the movement honest. That is the whole trick.
A pair of water bottles may look humble, but humble works.
14. Overhead Press with Light Weights
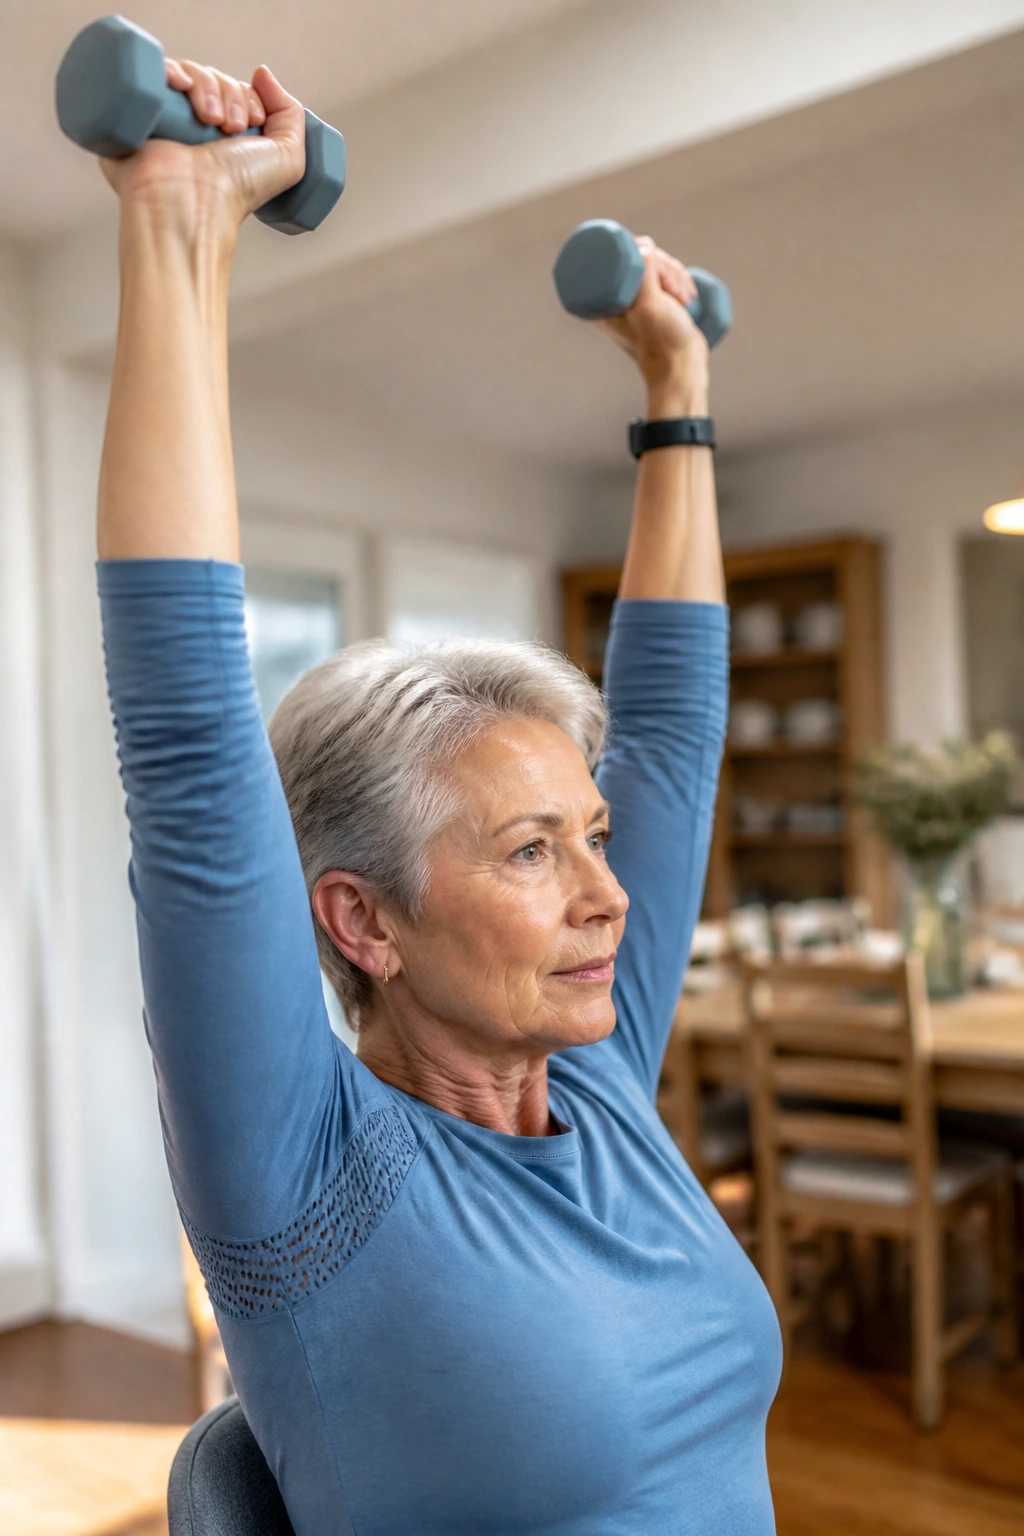
Shoulders like to stay useful. Pressing light weights overhead keeps them involved in everyday things like placing dishes away or reaching into a cabinet.
Hold light dumbbells or bottles at shoulder height, then press up until your arms are near straight. Lower with control. Six to 10 reps is a solid range. If one shoulder pinches, keep the motion lower or skip it for the day.
This is not a move to force. Smooth range matters more than load. A clean press with 3-pound weights beats a sloppy one with 8-pound weights, and your joints will thank you later.
15. Ankle Pumps and Foot Rolls
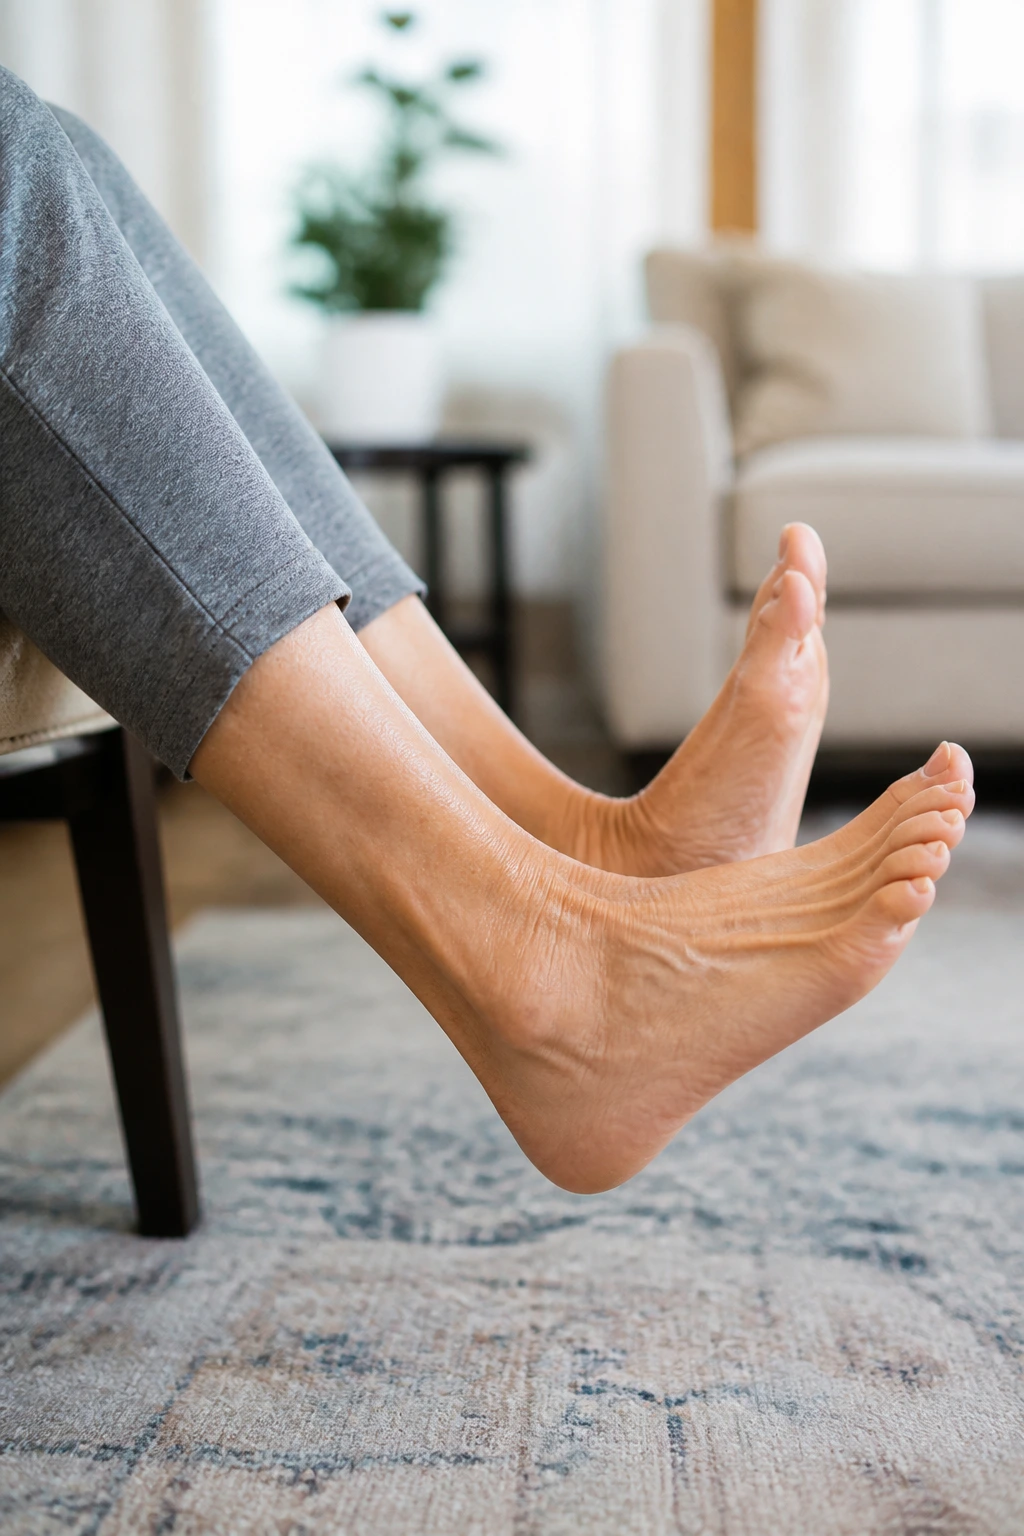
If your ankles feel stiff, start here. If your feet get puffy after sitting, start here. If you just want a warm-up that costs almost nothing, start here.
Sit in a chair, point your toes away, then pull them back toward your shins. Add circles in both directions. Ten to 20 pumps and 5 to 10 circles each way is enough. You can do this before standing, after walking, or even while waiting for the kettle.
It looks small. It is small. But small joint work can make standing feel less clunky when you’ve been still for a while.
16. Glute Squeeze Holds
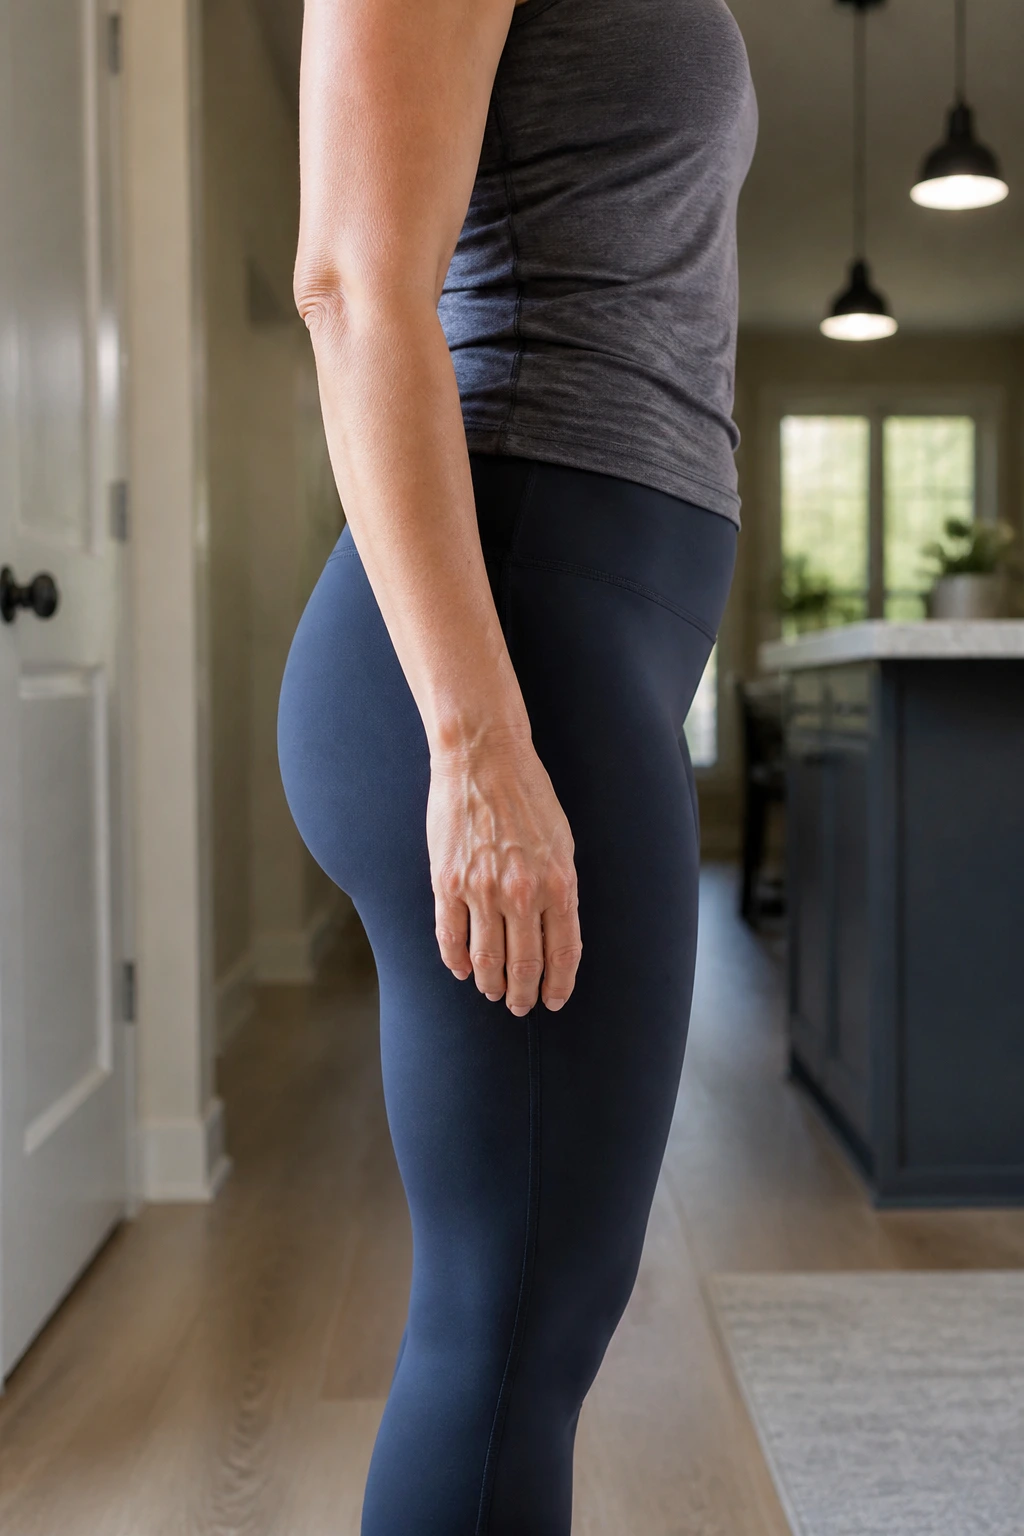
Glute squeezes are almost comically simple, which is why people skip them. They shouldn’t. Strong glutes support standing, walking, climbing, and even just keeping your pelvis from slumping all day.
Stand or sit tall and squeeze your butt muscles for 3 to 5 seconds, then release. Ten reps is a useful start. You should feel the muscles contract without clenching your lower back or holding your breath.
The best part is that you can do these anywhere. In the kitchen. In the shower queue. At a red light if you are a passenger. Quiet work counts.
17. Bottom-Step Step-Ups
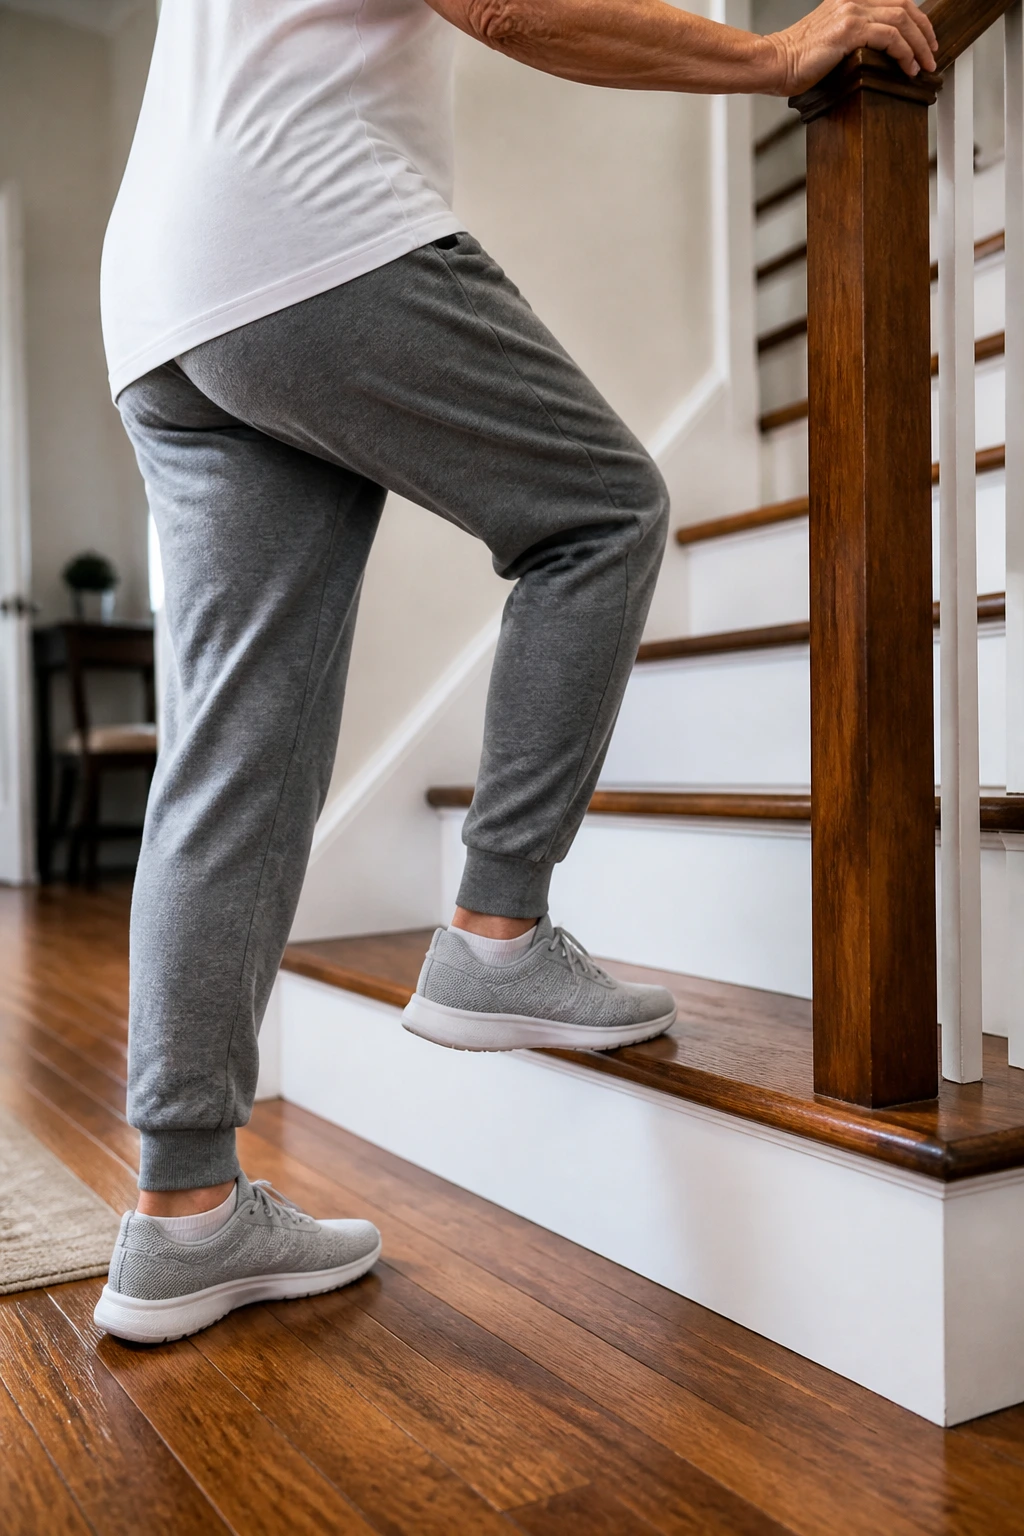
A bottom-step step-up is one of the most practical strength drills around. It teaches your body how to lift, balance, and lower weight on one leg, which is basically stair climbing in miniature.
Use the lowest step first. Step up with one foot, bring the other foot up, then step down one foot at a time. Hold the rail if you need to. Six to 10 reps per side is enough to start. Keep the tempo steady and the landing quiet.
- Pick a dry, non-slip step.
- Keep your whole foot on the step.
- Push through the heel on the working leg.
- Stop if the knee caves inward.
That last point matters more than speed. Control first, height second.
18. Seated Boxing Intervals
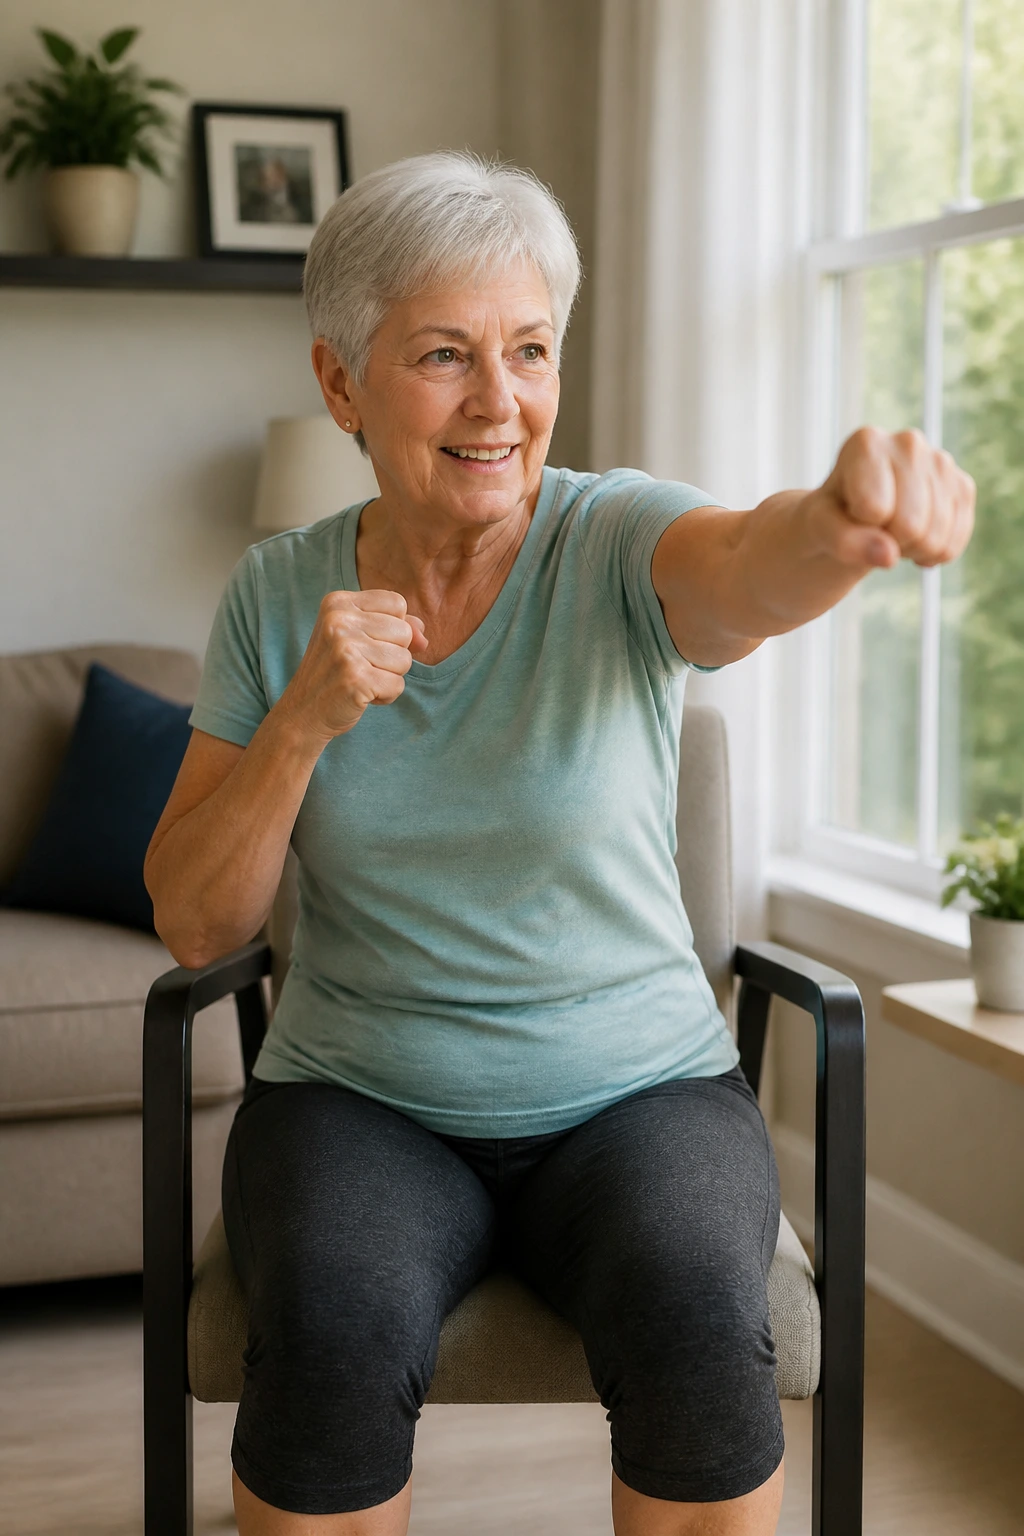
Boxing intervals are a sneaky good cardio option because they wake up your arms, core, and breathing all at once. Sitting makes them approachable, and the pace keeps them from feeling dull.
Throw a light jab-cross pattern in the air, then add small hooks or uppercuts if your shoulders are happy. Work for 20 to 30 seconds, rest for 20 seconds, and repeat for 4 to 6 rounds. Keep your fists loose enough that your forearms do not tighten like rocks.
There is a little joy in this one. It feels playful, which means you are more likely to stick with it on days when motivation is hiding under the couch.
19. Tandem Stand Balance Hold
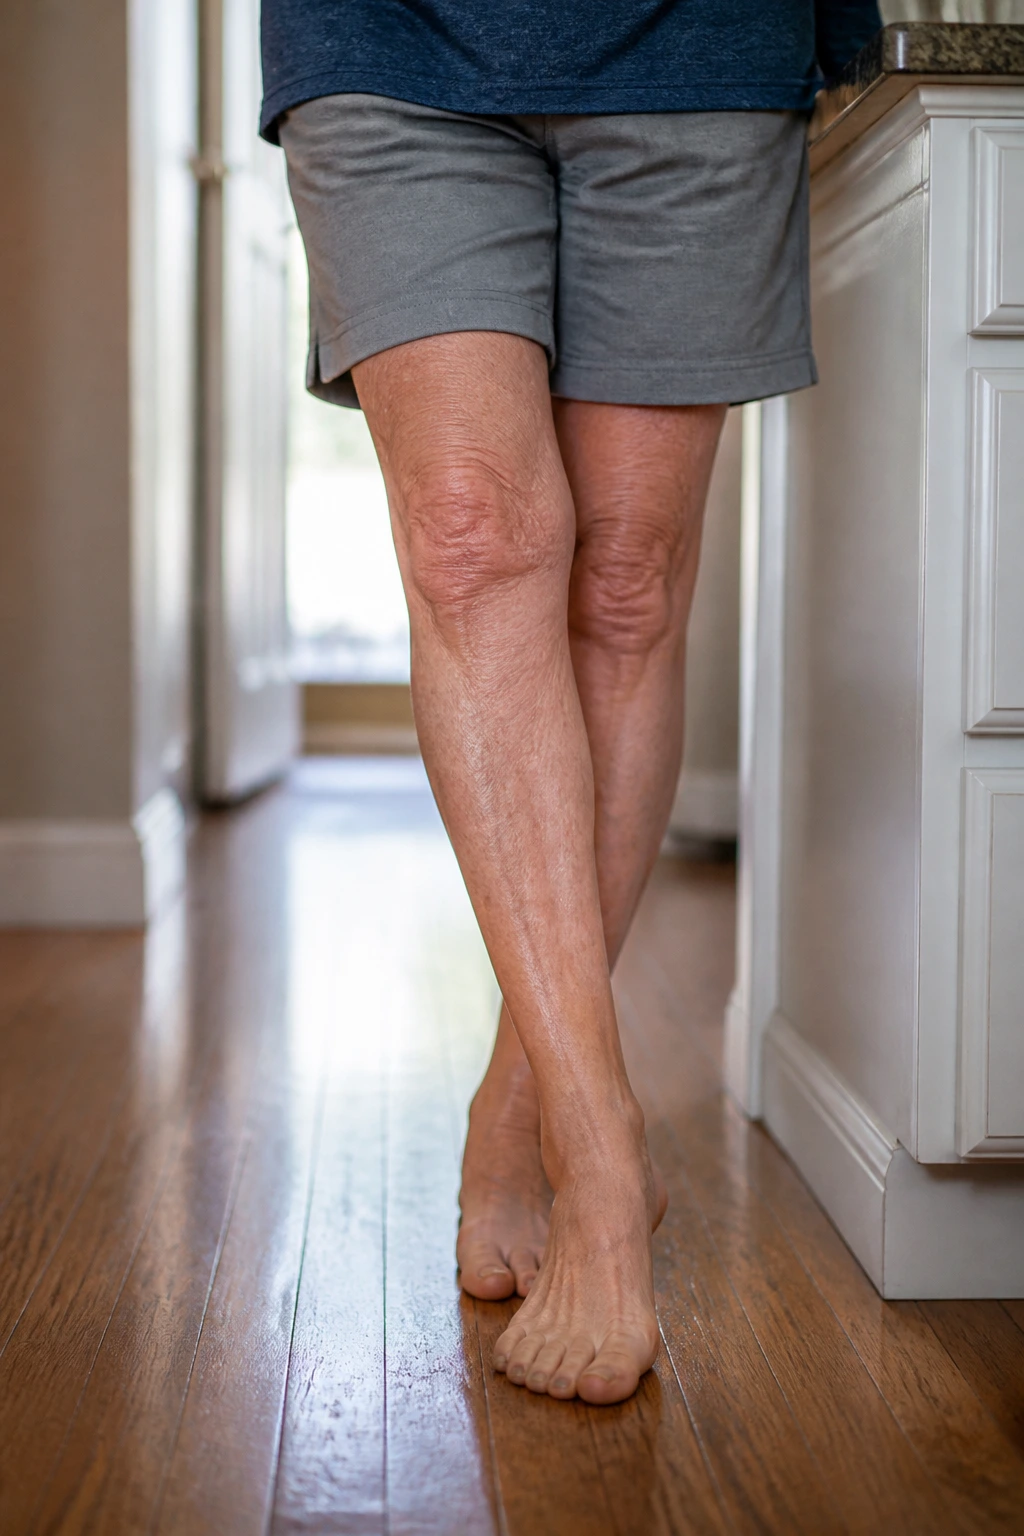
Balance work deserves more attention than it gets. Tandem standing — one foot placed directly in front of the other — is a simple way to challenge your stability without turning the room into a circus.
Stand near a counter or wall, place one foot in front of the other so the heel nearly touches the toes, and hold the position for 20 to 30 seconds. Switch sides. If that feels too wobbly, widen the stance a little.
Your eyes may want to stare at the floor. Fine. Just keep the shoulders relaxed and the knees soft. The goal is calm control, not a hero pose.
20. Supported Single-Leg Stance
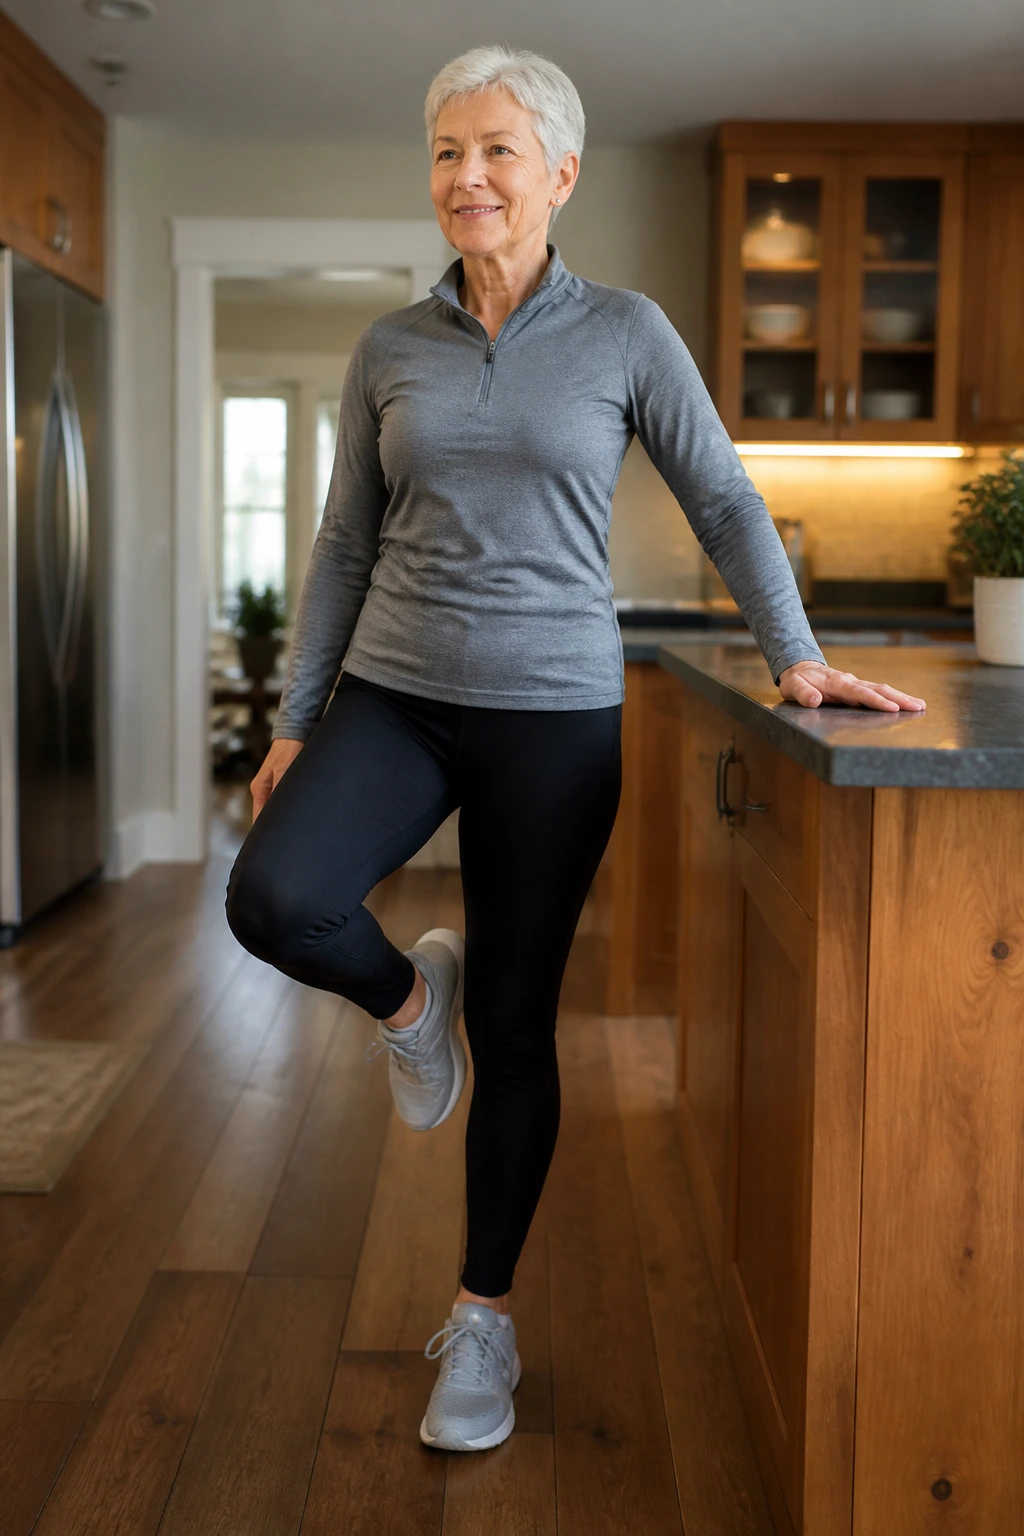
Standing on one foot gets the ankle, hip, and core talking to each other. That matters for stairs, curbs, and the tiny corrections you make all day without noticing.
Hold the counter lightly and lift one foot an inch or two off the floor. Stay there for 10 to 20 seconds, then switch. Do 2 or 3 rounds. If that feels easy, close one hand, then both, or turn your head slightly side to side.
When to Stop
If you start gripping the counter hard or leaning your body sideways, the hold is too long. Tiny shakes are normal. Big sways mean you should shorten the time and try again later.
21. Seated Torso Twists
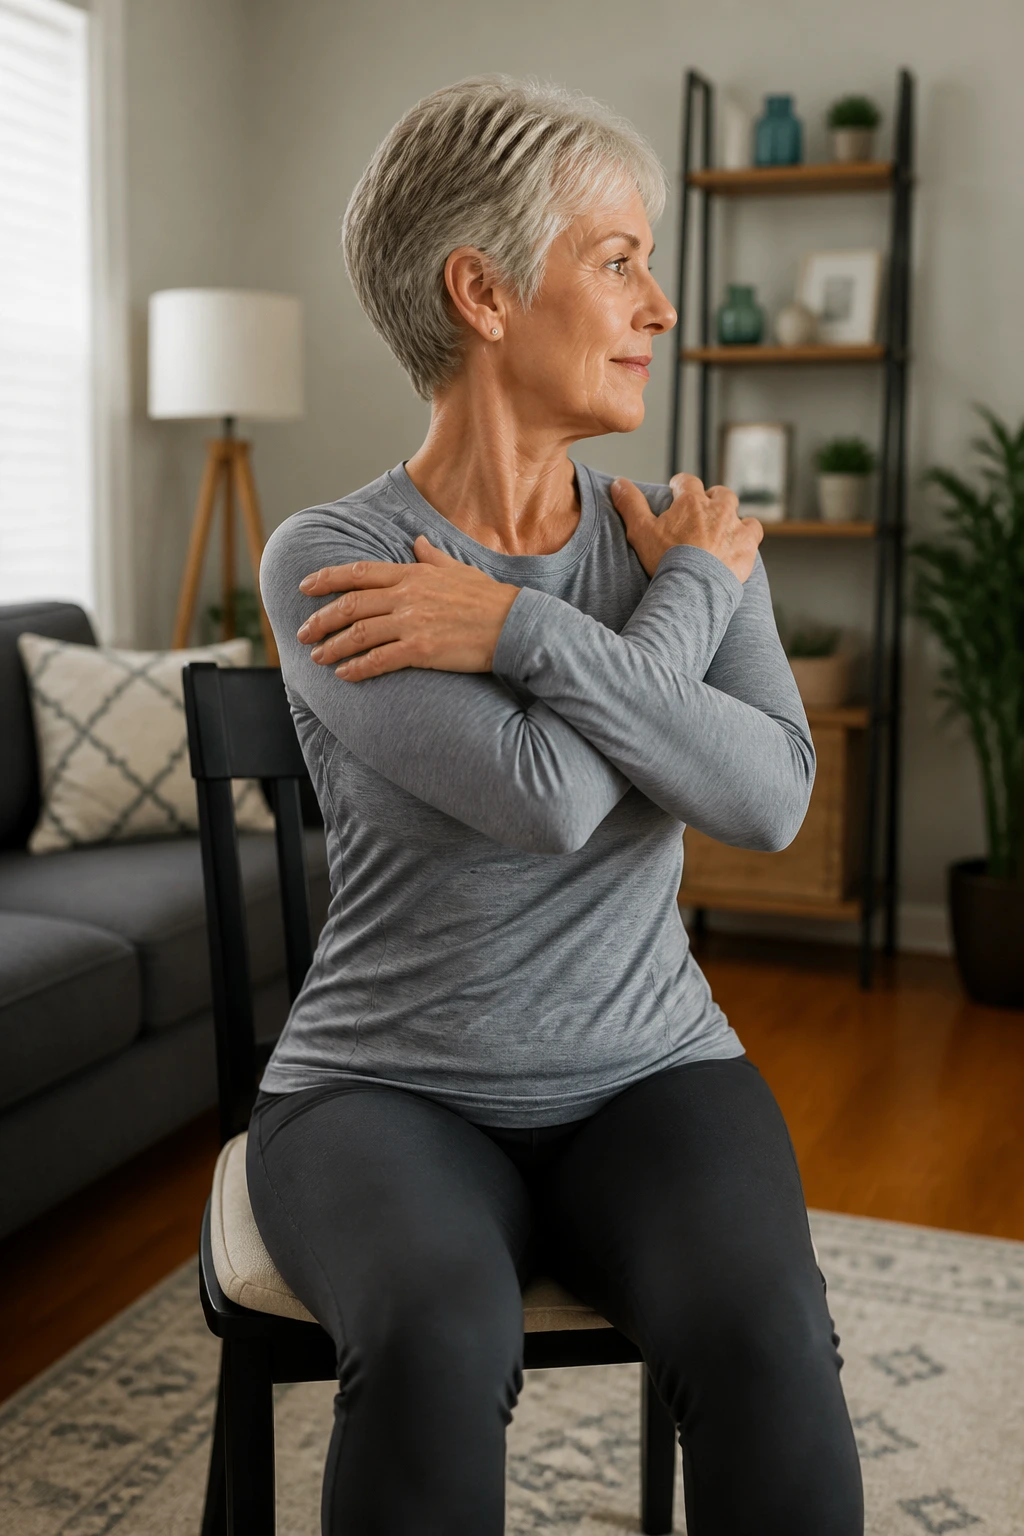
Your spine likes to move in rotation, but a lot of people stop twisting once they get stiff. Seated torso twists keep that motion alive without forcing it.
Sit tall, cross your arms over your chest or place your hands on your shoulders, then turn gently to one side and then the other. Move from the rib cage, not from a yanked lower back. Five to 8 twists per side is enough.
The twist should feel like a gentle wring-out, not a wrench. If your neck gets involved too much, keep your gaze forward and let the upper body do the work.
22. Chair Cat-Cow Mobility
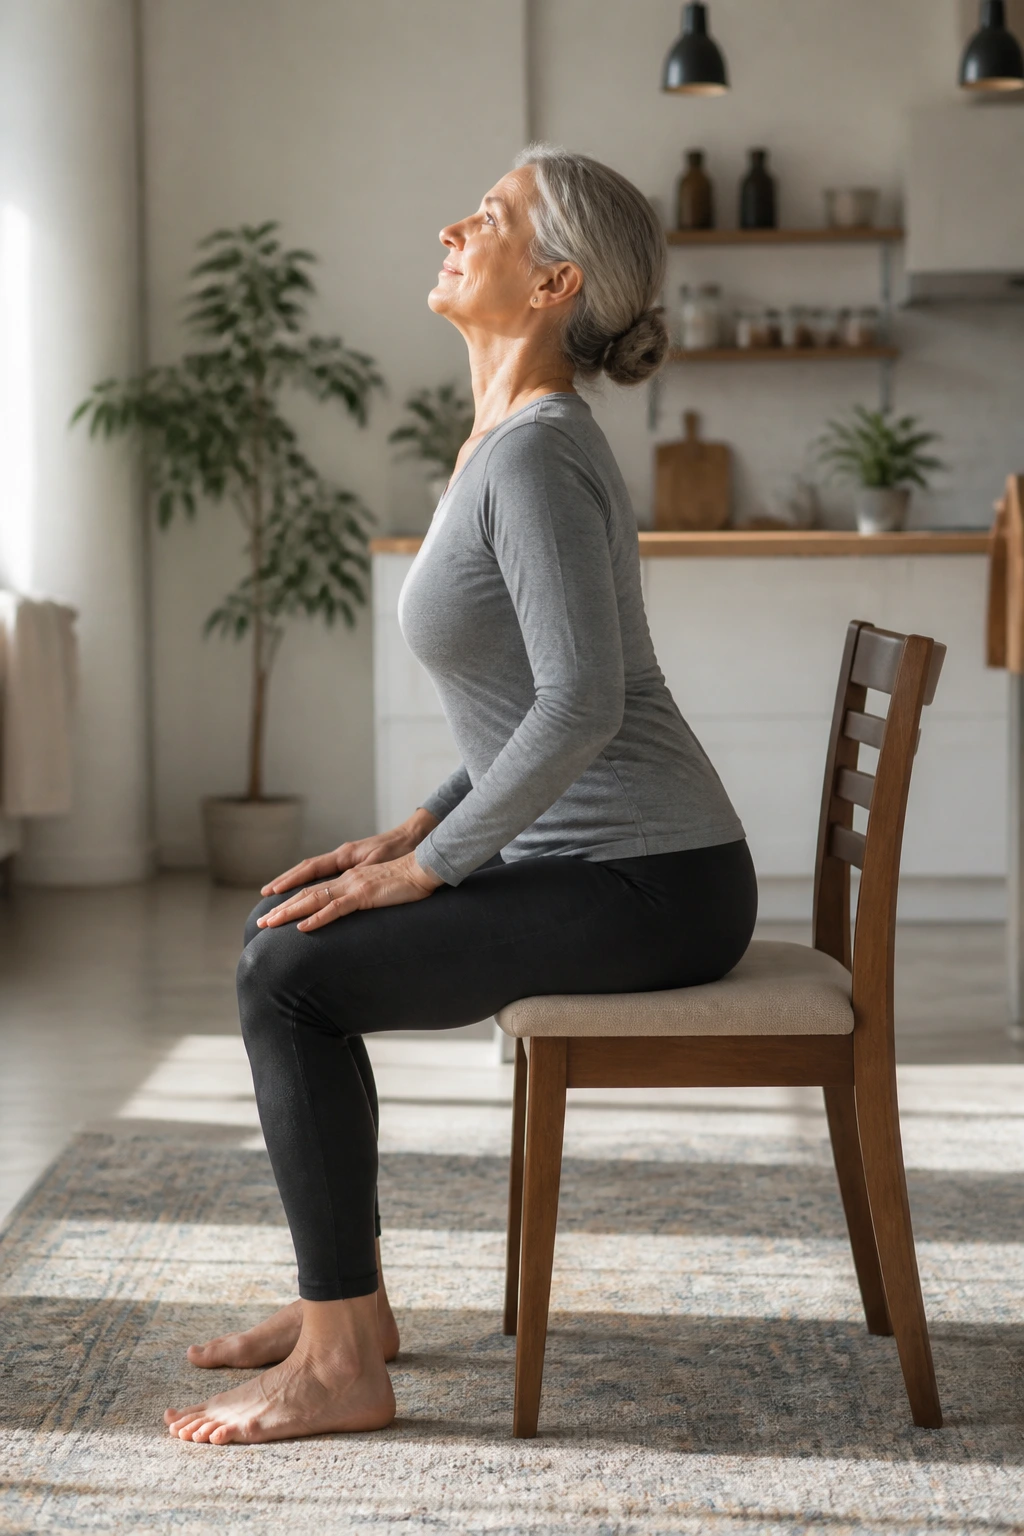
This seated cat-cow is one of the nicest ways to wake up a stiff back. No mat. No floor. No awkward crawl to get down and up.
Sit near the front of a chair, place your hands on your thighs, arch your spine slightly while lifting your chest, then round your back as you tuck your chin a little. Keep the motion smooth and small. Six to 10 cycles can change how your back feels for the next hour.
What It Should Feel Like
The movement should create space, not pain. If one part of your back complains, shorten the range and move slower. Breath helps here. Exhale as you round, inhale as you open.
23. Hip Hinge with Chair Touch
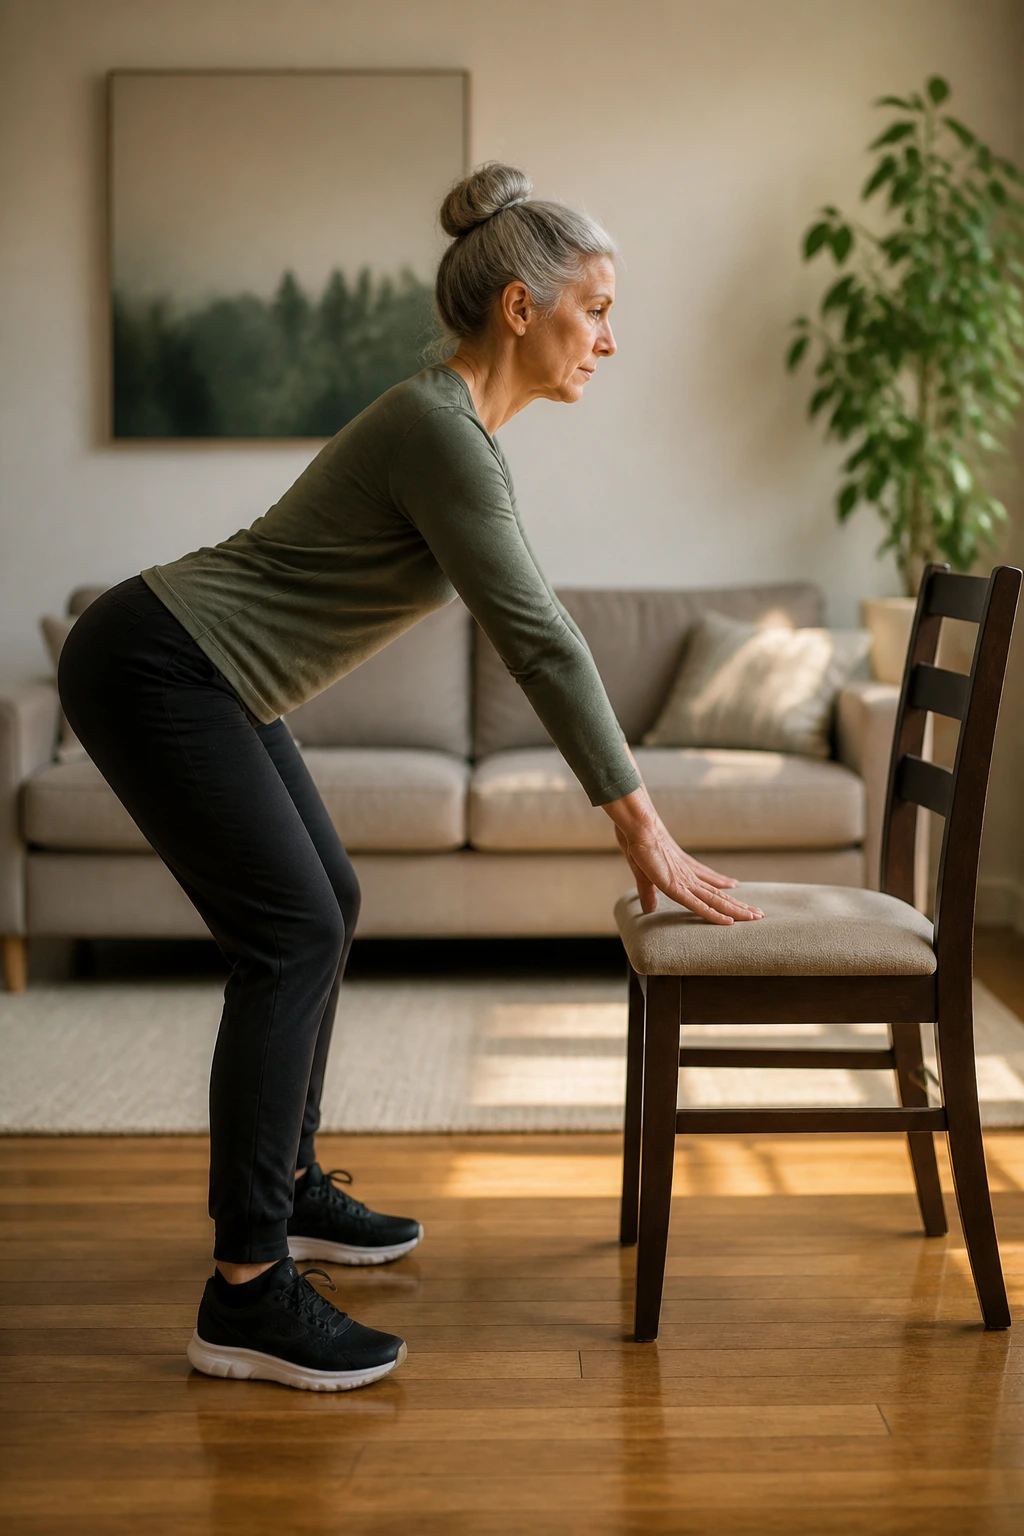
The hip hinge is a quiet skill that pays off everywhere. It teaches you how to bend at the hips instead of folding your spine like a lawn chair.
Stand a few inches in front of a chair, soften your knees, send your hips back, and touch the chair with your backside before standing tall again. Keep your chest proud and your back long. Eight to 10 reps is a good dose.
This move matters because it shows up in real life: picking up a dropped sock, setting a pan down, reaching into a low drawer. Strong hips make those moments feel less sketchy.
24. Mini Squats to a Chair
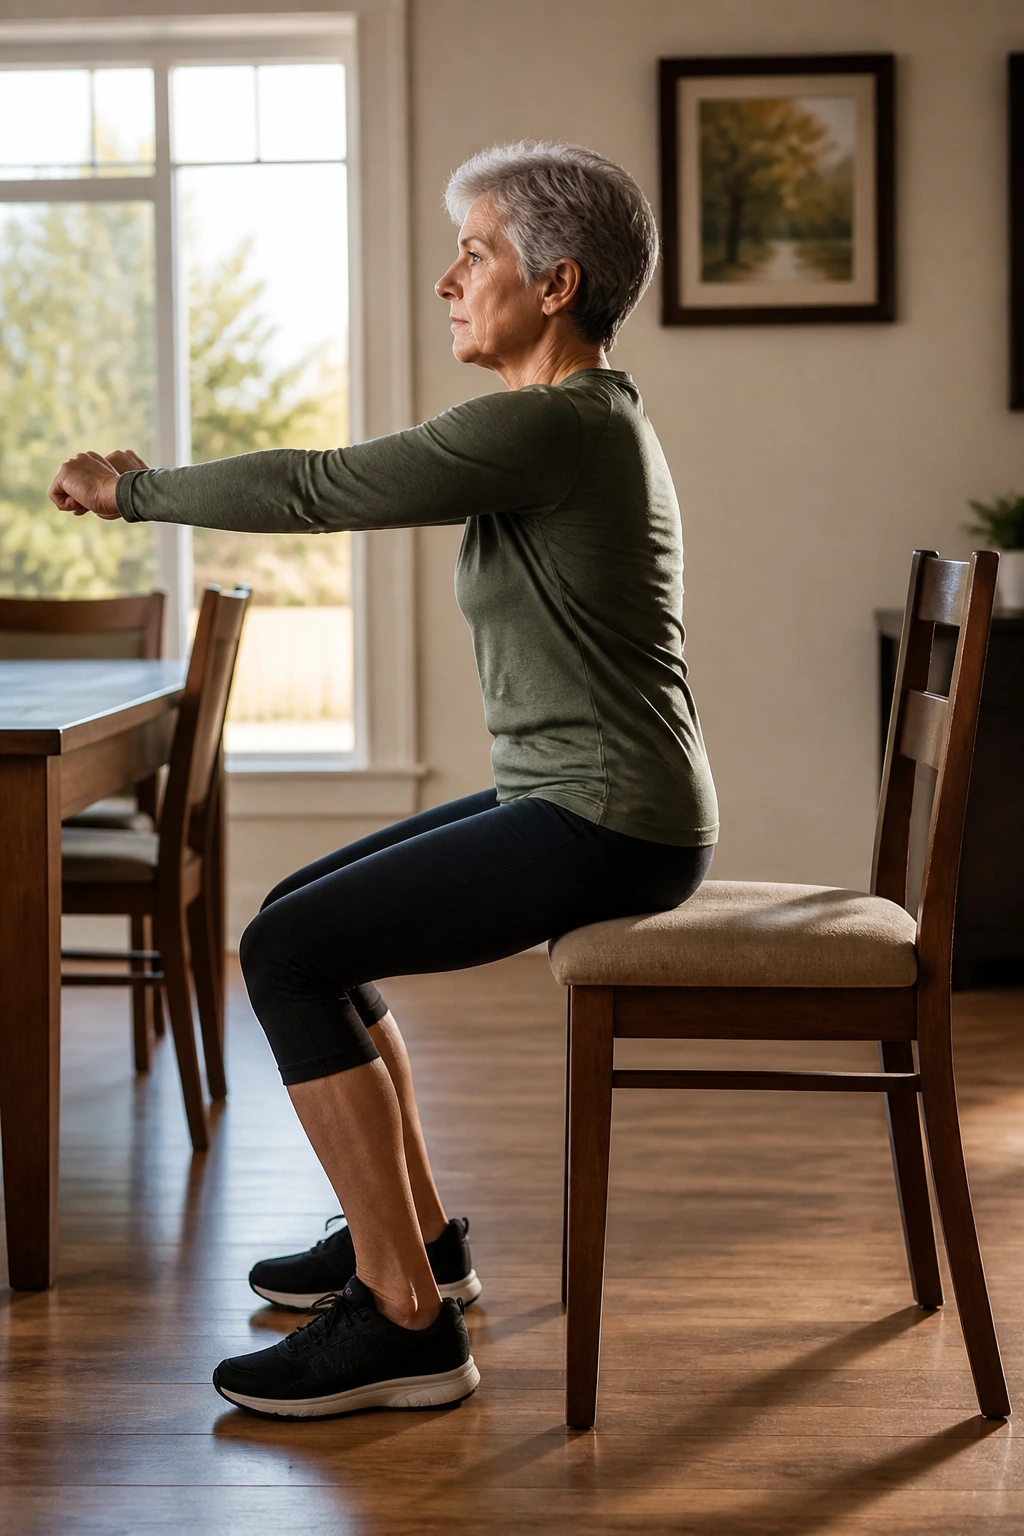
Mini squats are kinder than full squats and often more useful for beginners. You get the leg work without dropping too deep.
Stand in front of a chair, feet about hip-width apart, and bend your knees until your backside just grazes the seat. Stand back up. Eight to 12 reps is a smart start. Keep your knees tracking over your toes, not collapsing inward.
Your weight should stay balanced across the whole foot. If your heels pop up, you’ve gone too far. If your knees hurt, cut the depth and slow down. Range can grow later.
25. Resistance Band Rows
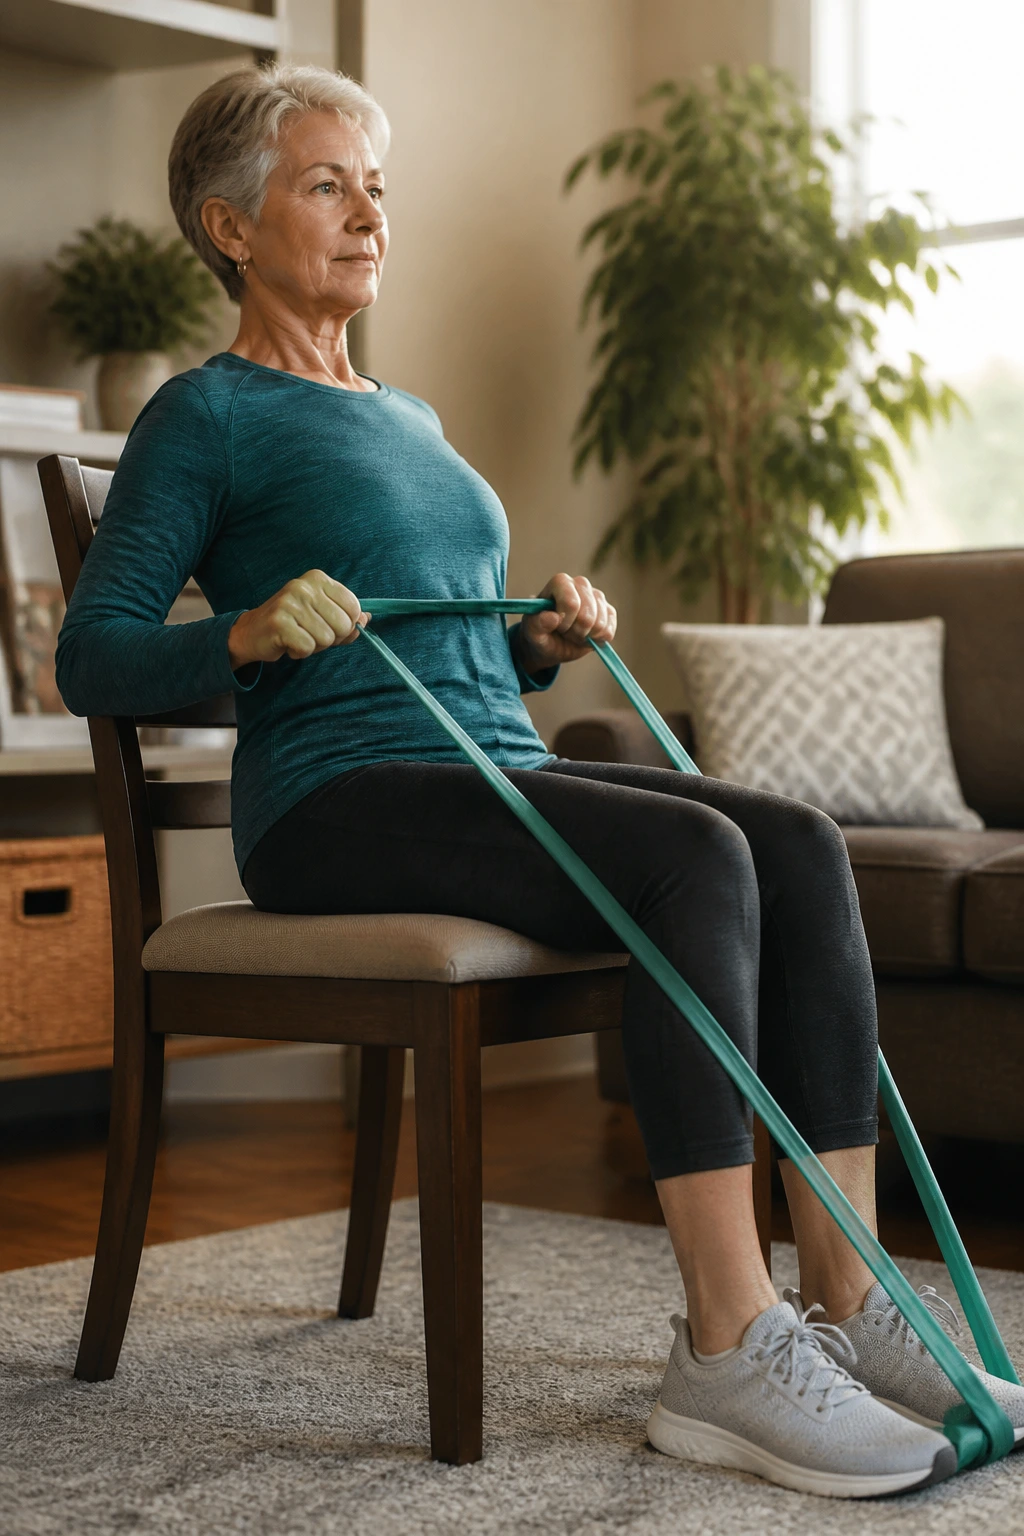
Rows are one of the best posture drills around because they train the muscles that pull your shoulders back instead of letting them slump forward. A light resistance band makes it easy to do them at home.
Sit or stand with the band around your feet or anchored safely in front of you, then pull your elbows back and squeeze your shoulder blades together. Return slowly. Eight to 12 reps is enough for a set.
Unlike curls, rows ask the upper back to do the work. That difference matters if your shoulders live near your ears by the end of the day. Rows bring them down where they belong.
26. Doorway Chest Opener Stretch
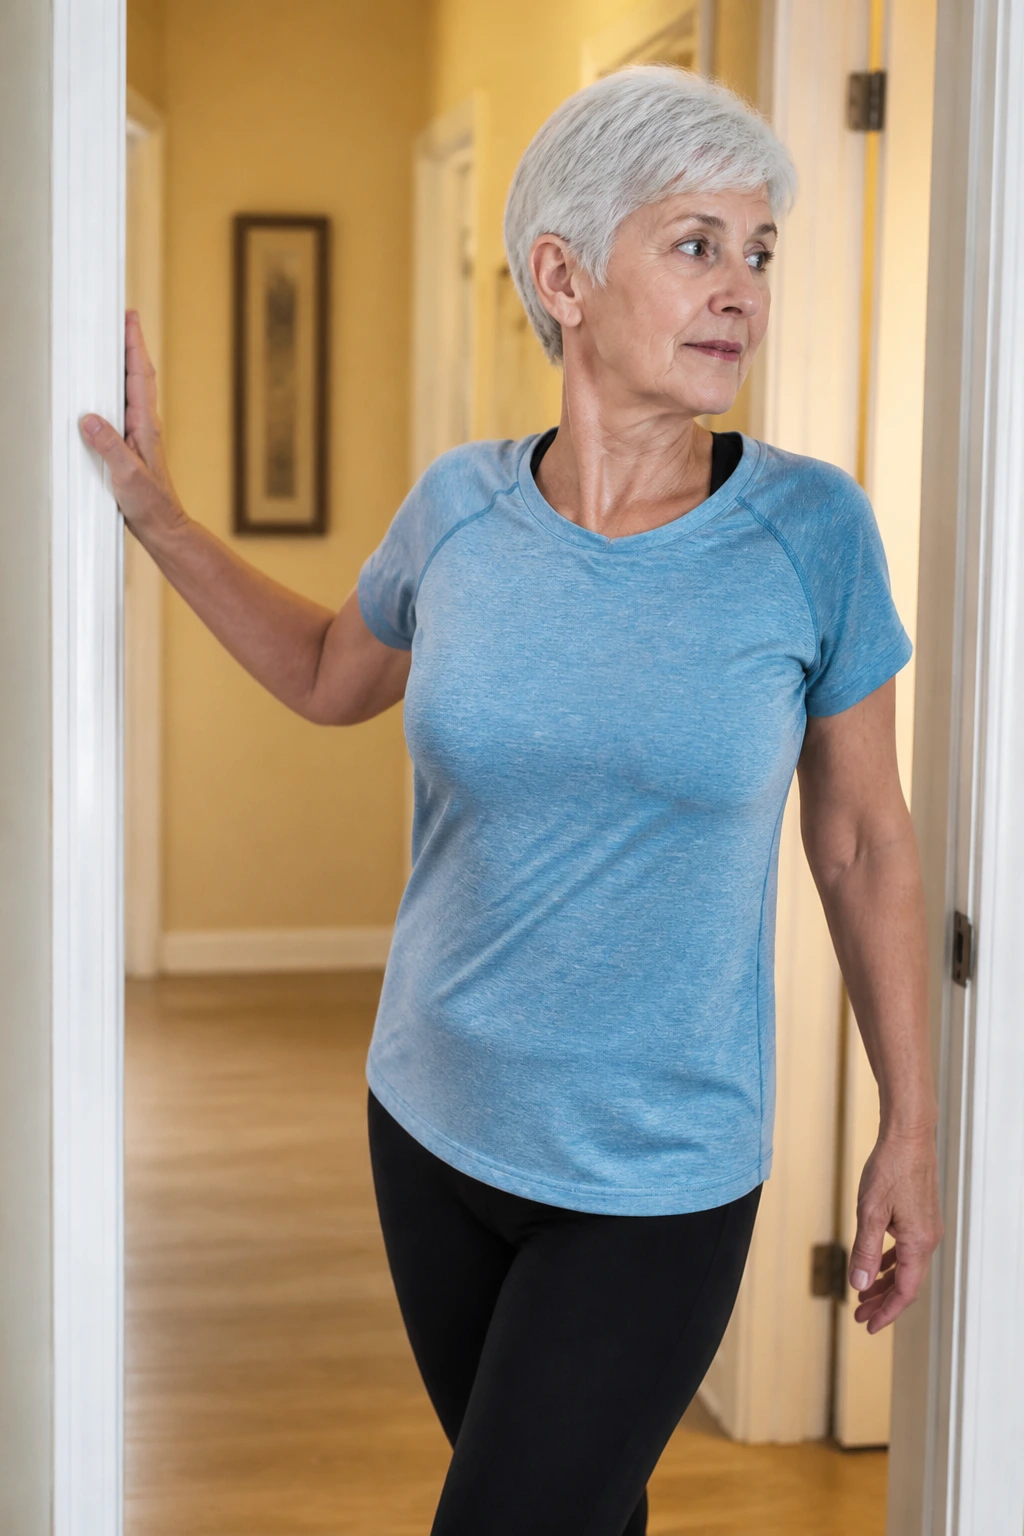
A chest stretch sounds simple, and it is, but the effect can be surprisingly noticeable if you spend a lot of time rounded over a book, phone, or kitchen counter.
Stand in a doorway, place one forearm on the frame with the elbow near shoulder height, and turn your body gently away until you feel a stretch across the front of the chest. Hold for 20 to 30 seconds, then switch sides. Keep the stretch mild.
No forcing. No bouncing. If the shoulder joint feels pinchy, lower the arm a bit. You want a stretch across the chest, not a jab in the shoulder.
27. Figure-Four Hip Stretch
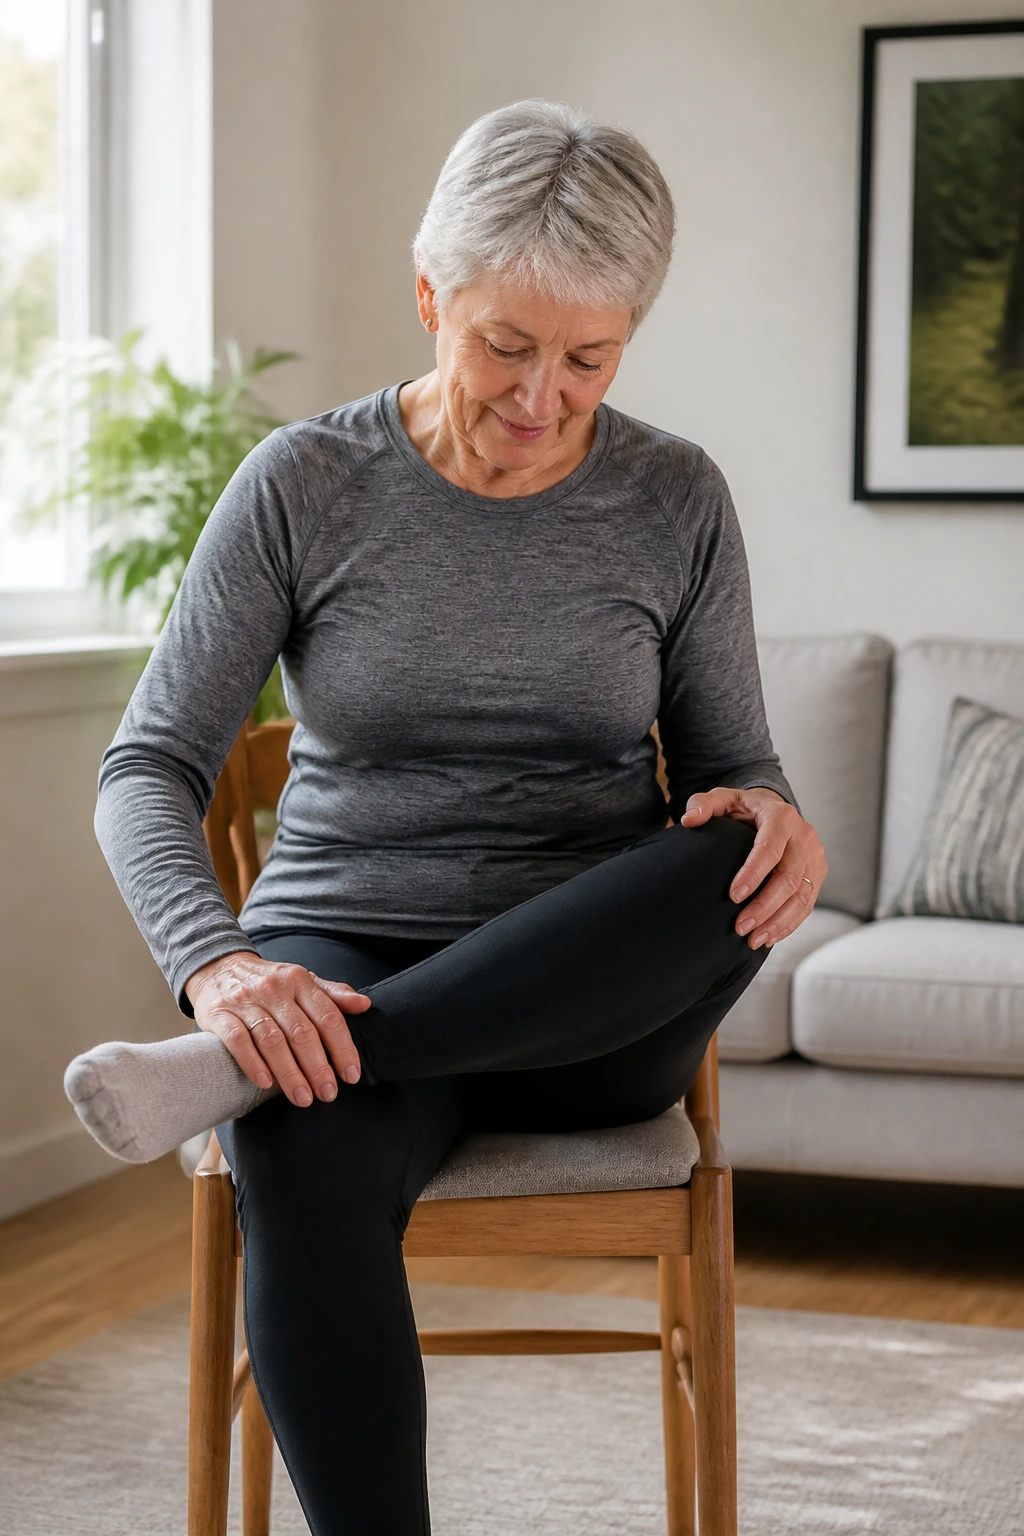
The hips get tight fast, and tight hips can make walking and standing up feel clumsy. The figure-four stretch opens the outer hip and glute area without much fuss.
Sit in a chair, cross one ankle over the opposite knee, and lean forward slightly with a long back. Hold for 20 to 30 seconds. If you prefer the floor and can get down and up safely, you can do it there too, but the chair version is easier for many people.
If your knee does not like the crossed position, back off immediately. The stretch should live in the hip, not the knee.
28. Farmer Carry Around the House
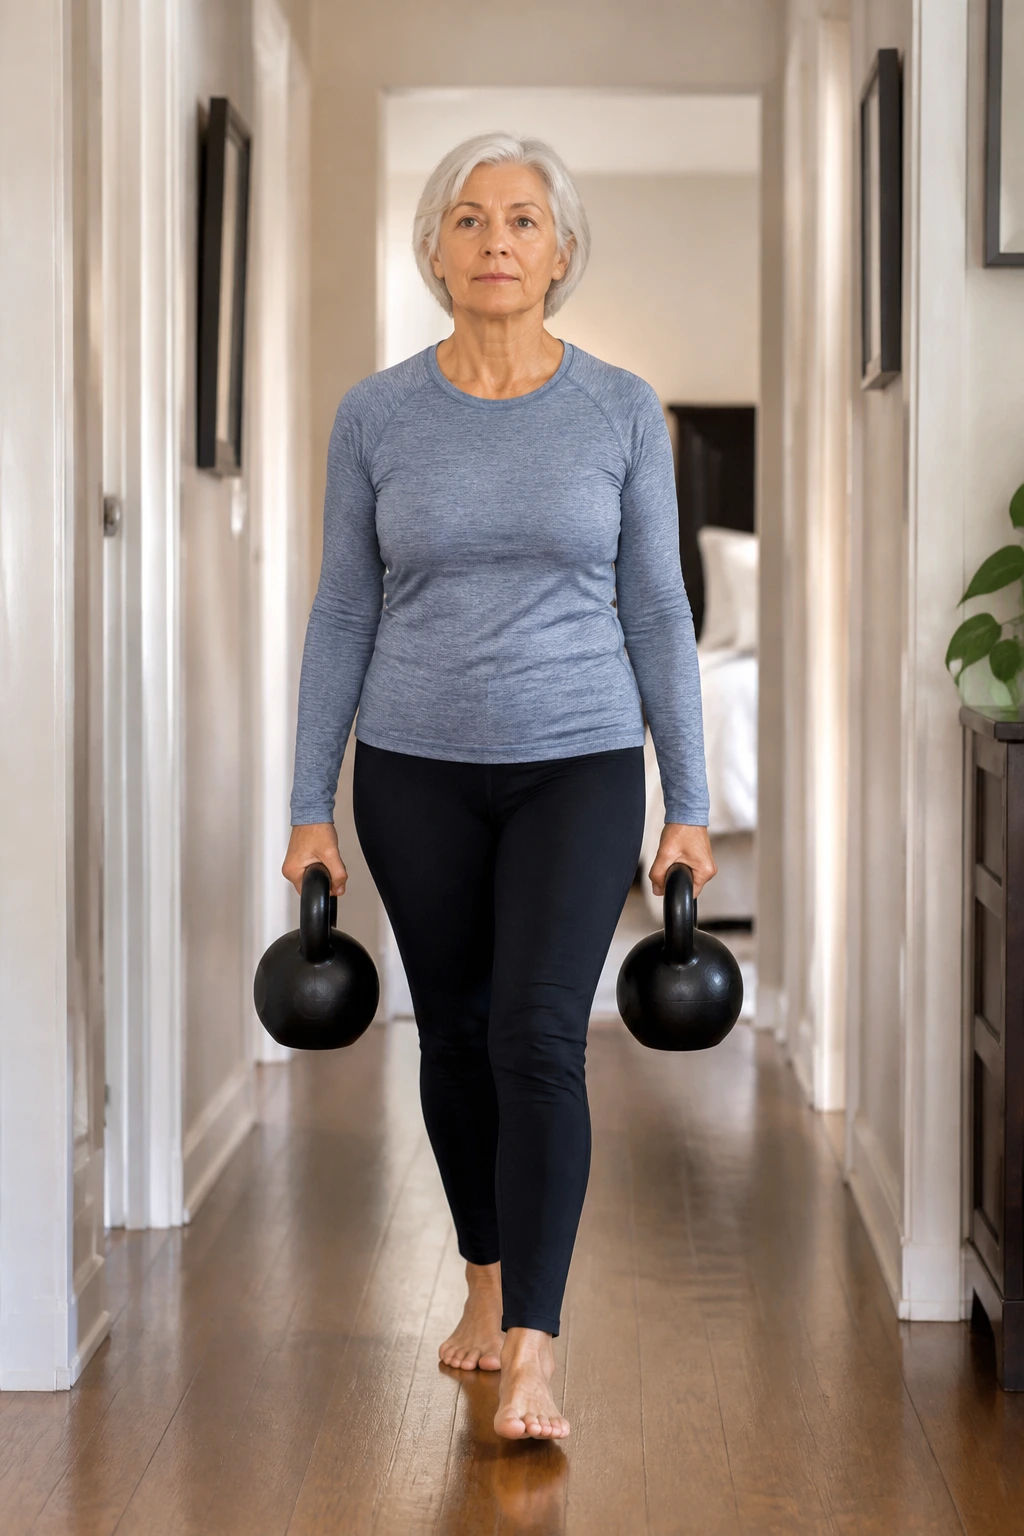
Carrying weight while walking is a hidden gem. It builds grip, posture, core stability, and walking confidence all at once.
Pick up two equal weights — dumbbells, grocery bags, or water jugs — stand tall, and walk slowly around your home for 30 to 60 seconds. Keep your shoulders level and your steps steady. Set the weights down, rest, and repeat 2 or 3 times.
This one feels practical because it is practical. Life is full of carrying tasks. Groceries. Laundry. A heavy pot of soup. Training the carry makes those jobs feel less awkward.
29. Low-Impact Dance Intervals
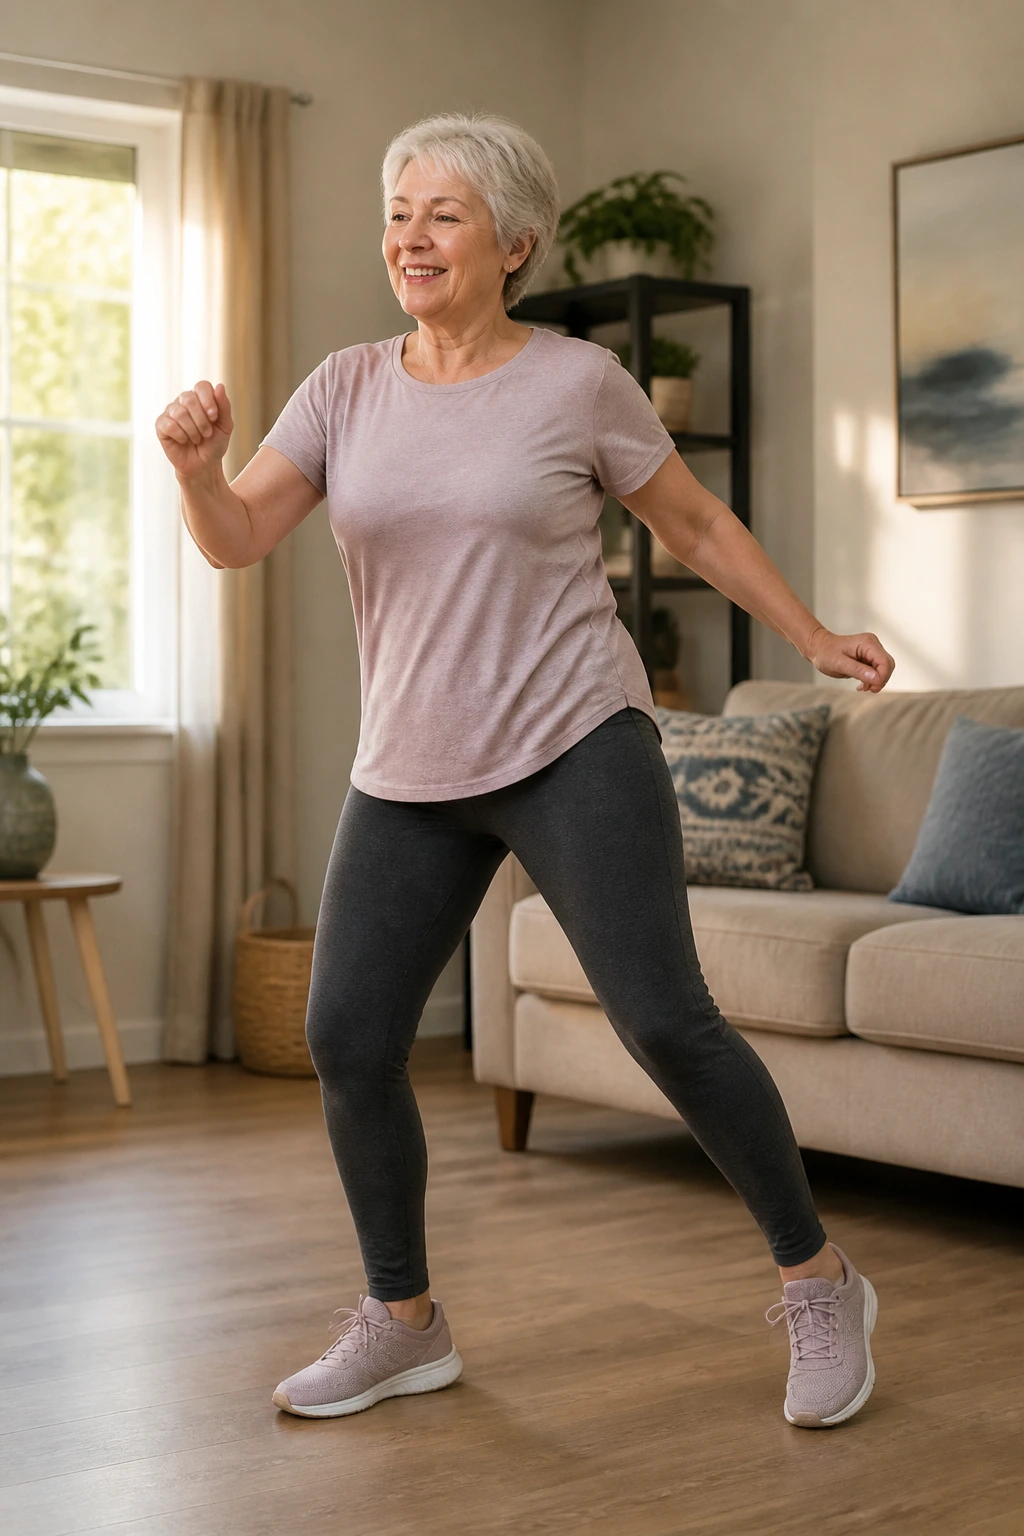
If you hate the idea of exercise, put on music and call it movement instead. Low-impact dance intervals can be as simple as step-touch, heel digs, gentle side steps, and arm swings.
Easy Dance Pattern
Try 30 seconds of step-touch, 30 seconds of marching, then 30 seconds of side steps. Repeat for 5 to 10 minutes. Keep one hand near a counter if balance is a concern. The goal is not choreography. The goal is steady rhythm and a little bit of sweat.
A move like this works because it lowers the mental barrier. You are more likely to do ten minutes of music than a perfect workout you keep postponing.
30. Five-Move Full-Body Mini Circuit
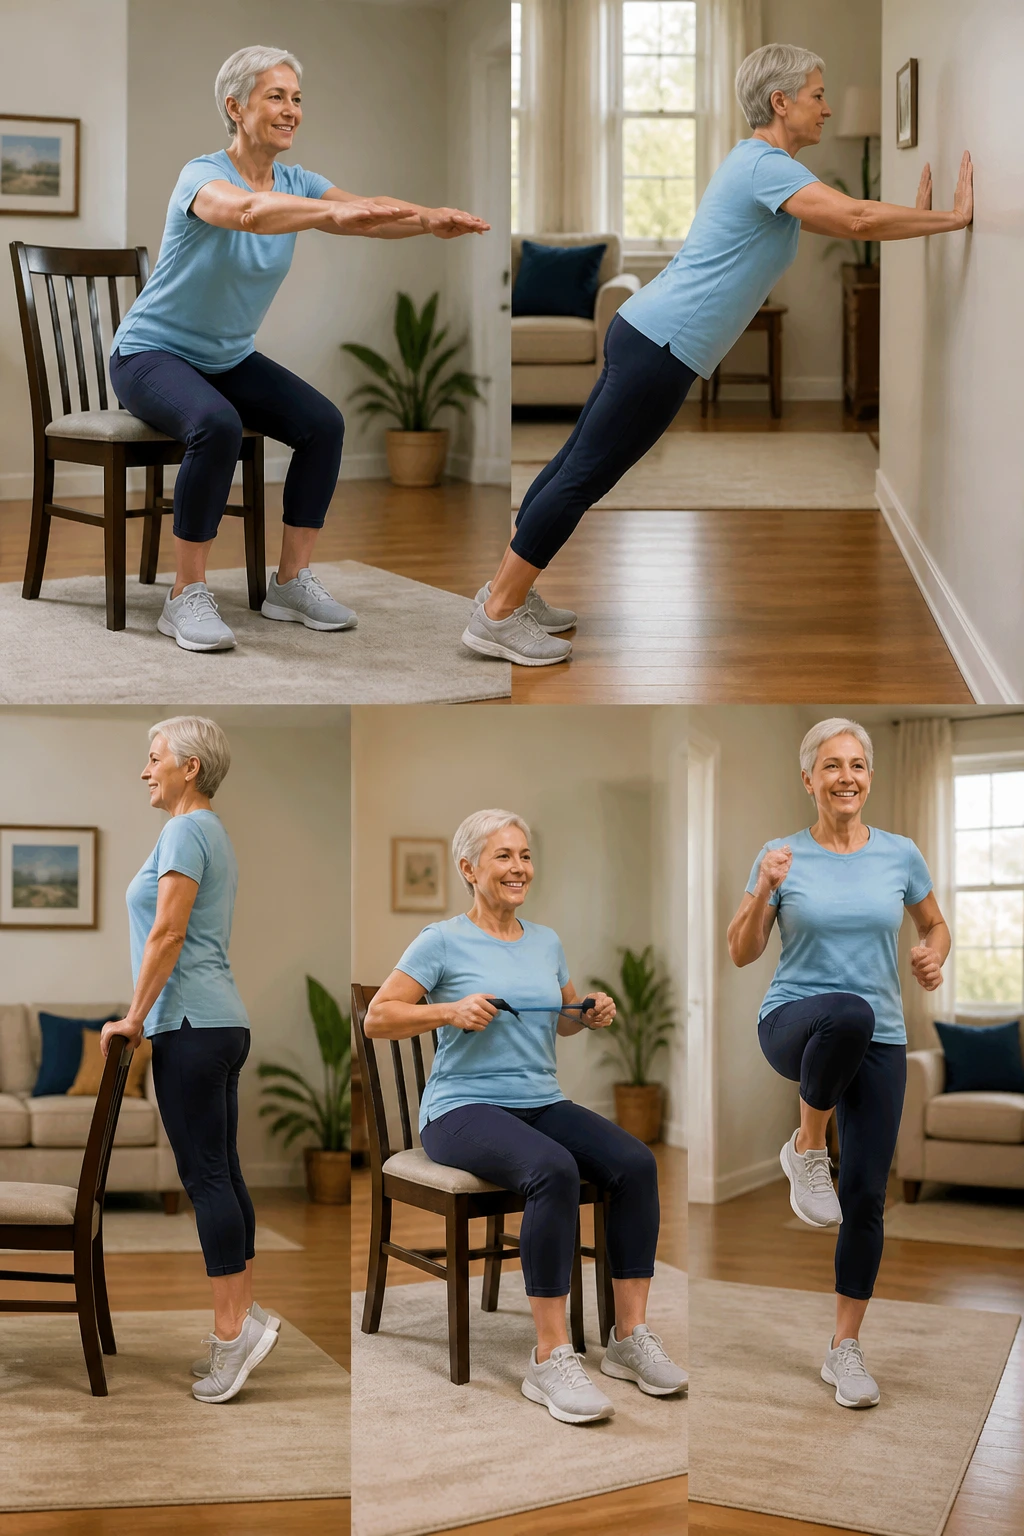
On busy days, a short circuit beats skipping movement altogether. Pick five moves you already know — sit-to-stands, wall push-ups, heel raises, seated rows, and marching — and run through them with little rest.
Do 8 reps of each strength move and 30 seconds of marching. Rest for a minute. Then do another round. If you only have time for one round, that still counts. A small circuit done often is worth more than a long routine you never start.
This is the piece I’d keep in my back pocket for days when energy is low but the body still wants a bit of structure. It covers the basics, it stays indoors, and it leaves you feeling more capable than you did ten minutes earlier.
