



Bicycle crunch variations are one of the easiest ways to stop core work from turning stale. The standard version gets the spotlight, but the real value shows up when you start changing one variable at a time — tempo, range, support, load, body position, even where you start the rep. That is where the abs have to do honest work.
The usual problem is not the exercise itself. It’s the way people rush it. Hips fire like a metronome, elbows chase knees, and the neck starts helping way too much. Ugly reps still make you tired, sure, but tired and effective are not the same thing.
Done right, bicycle crunches train the rectus abdominis, the obliques, and the deep bracing you need to keep your torso steady while your arms and legs move. That combination is useful. Real-life useful. And if one version irritates your neck or lower back, another version usually fixes the problem without throwing the exercise out entirely.
Some of these variations are slow and almost annoyingly controlled. Good. Some are harder than they look. Also good. Pick the ones that match your current form, not your ego, and the movement starts paying rent.
1. Slow Bicycle Crunch with a Three-Second Reach
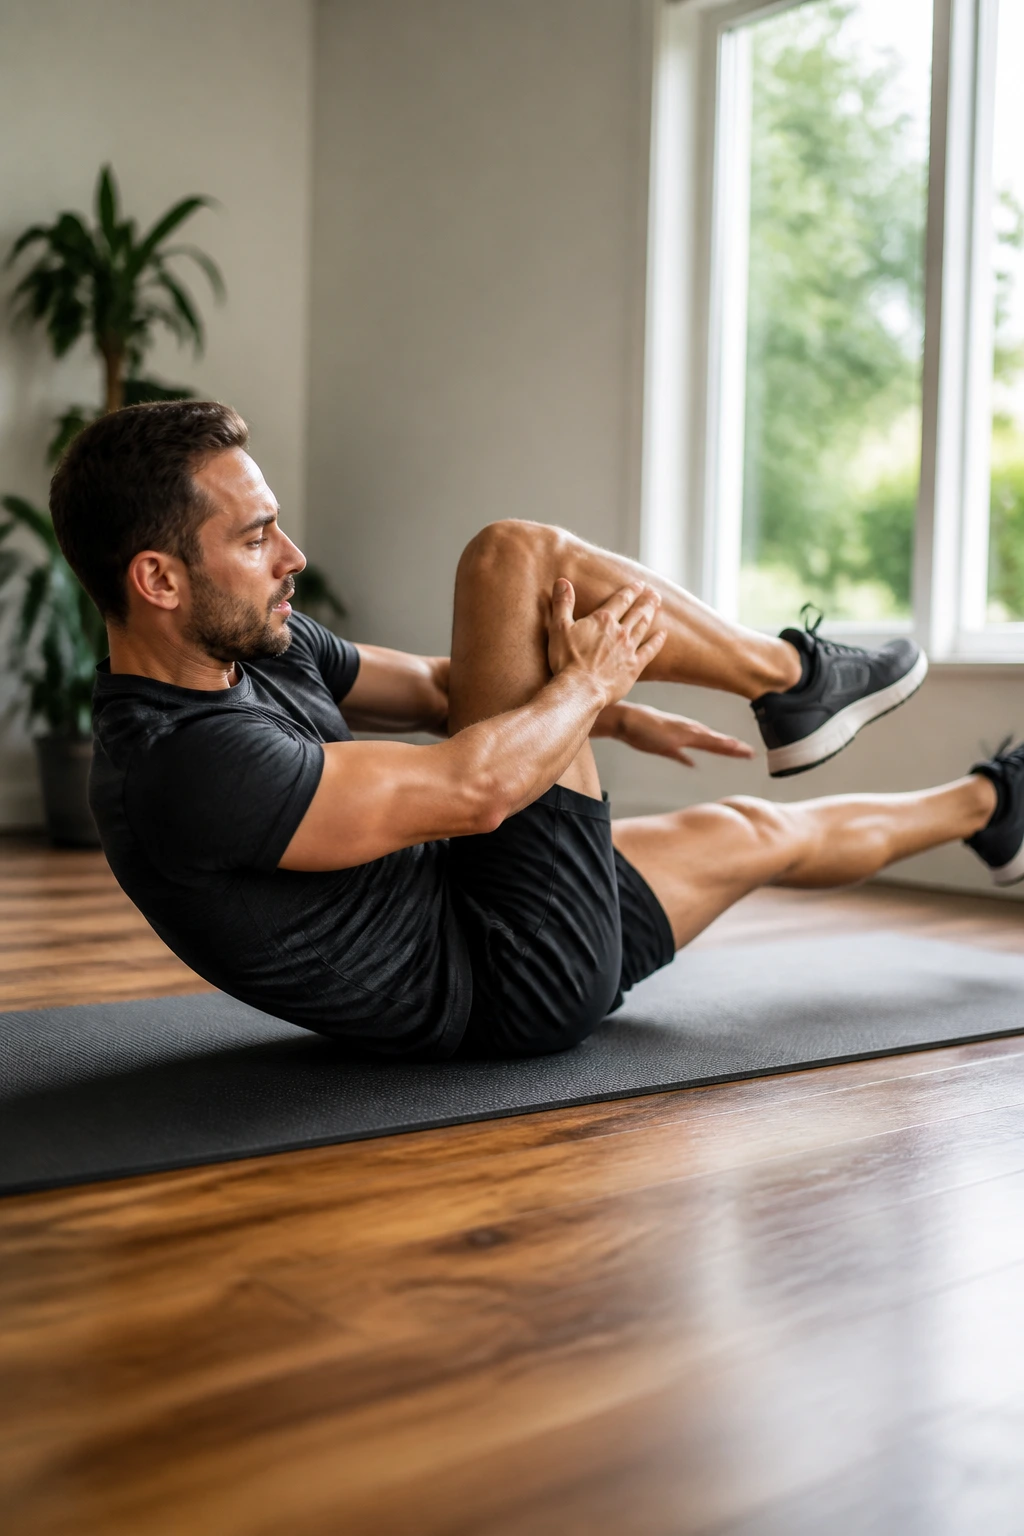
Slow bicycle crunches usually beat fast ones.
A three-second reach forces you to feel the twist instead of flinging yourself through it. That tiny delay gives your abs time to tighten, your ribs time to stay tucked, and your hips time to stop stealing the show. If you’ve ever felt a bicycle crunch mostly in your hip flexors, this is the version that tells the truth.
Why the Slowdown Matters
The goal here is not to move less. It’s to move better. Start with one shoulder blade lifted, keep the opposite leg long, and reach the elbow across in a smooth, deliberate path. Count it out in your head: one… two… three. The slower return matters too, because that return phase is where people usually dump tension.
- Do 6 to 8 reps per side for strength-focused sets.
- Keep your low back heavy on the floor the whole time.
- Exhale as the elbow moves across, not after.
- Stop short of neck strain; the hands only guide the head lightly.
Best cue: if the motion looks pretty but feels easy, slow it down again. That usually fixes it.
2. Pause-and-Squeeze Bicycle Crunch at the Peak
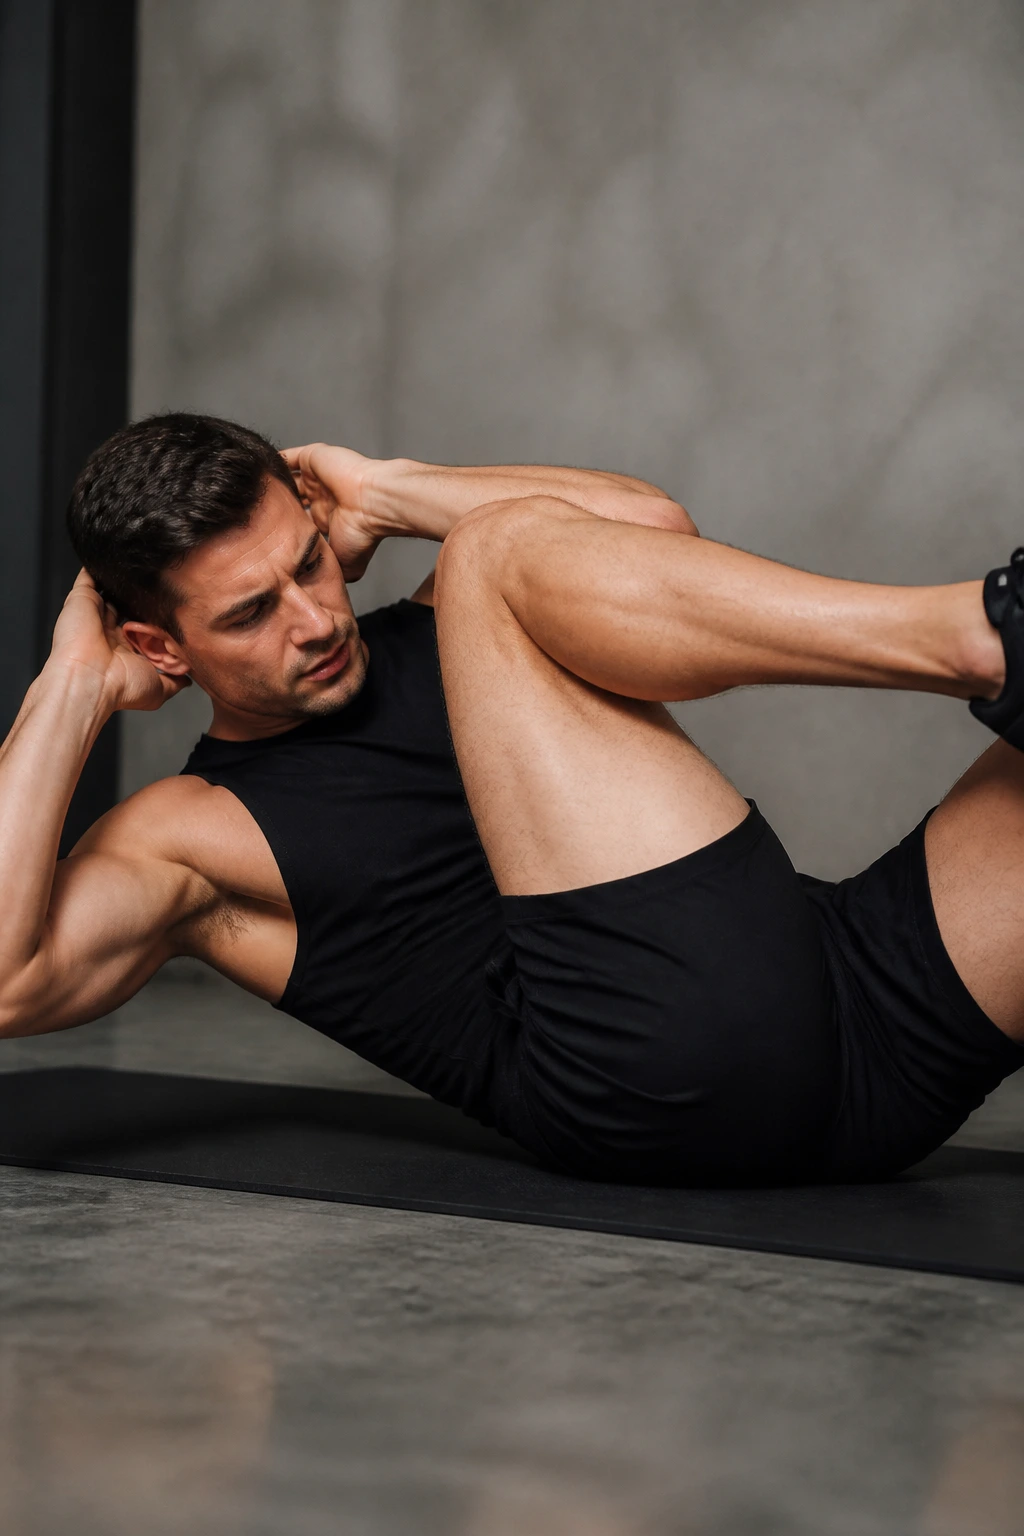
A one-count squeeze changes the whole exercise.
This version is simple: reach the elbow toward the opposite knee, then hold the twisted position for a beat before you switch sides. That pause turns the top of the rep into the work instead of a blur. You feel the obliques clamp down, and the front of the core has to stay tight enough to keep the pelvis from tipping.
The pause does not need to be dramatic. One solid count is enough. Two counts can be useful if you tend to cheat with momentum, but don’t turn it into a long isometric hold unless you want the set to get ugly fast. The trick is to freeze at the exact moment you usually rush past.
Do 8 to 10 reps per side and keep the range clean. If the pause makes your hip flexors take over, bend the moving knee a little more and shorten the reach. That’s not failure. That’s smart scaling.
One small thing: the squeeze should feel like your rib cage is trying to stay zipped. If you lose that feeling, the set is drifting.
3. Reverse Bicycle Crunch with Elbows Wide
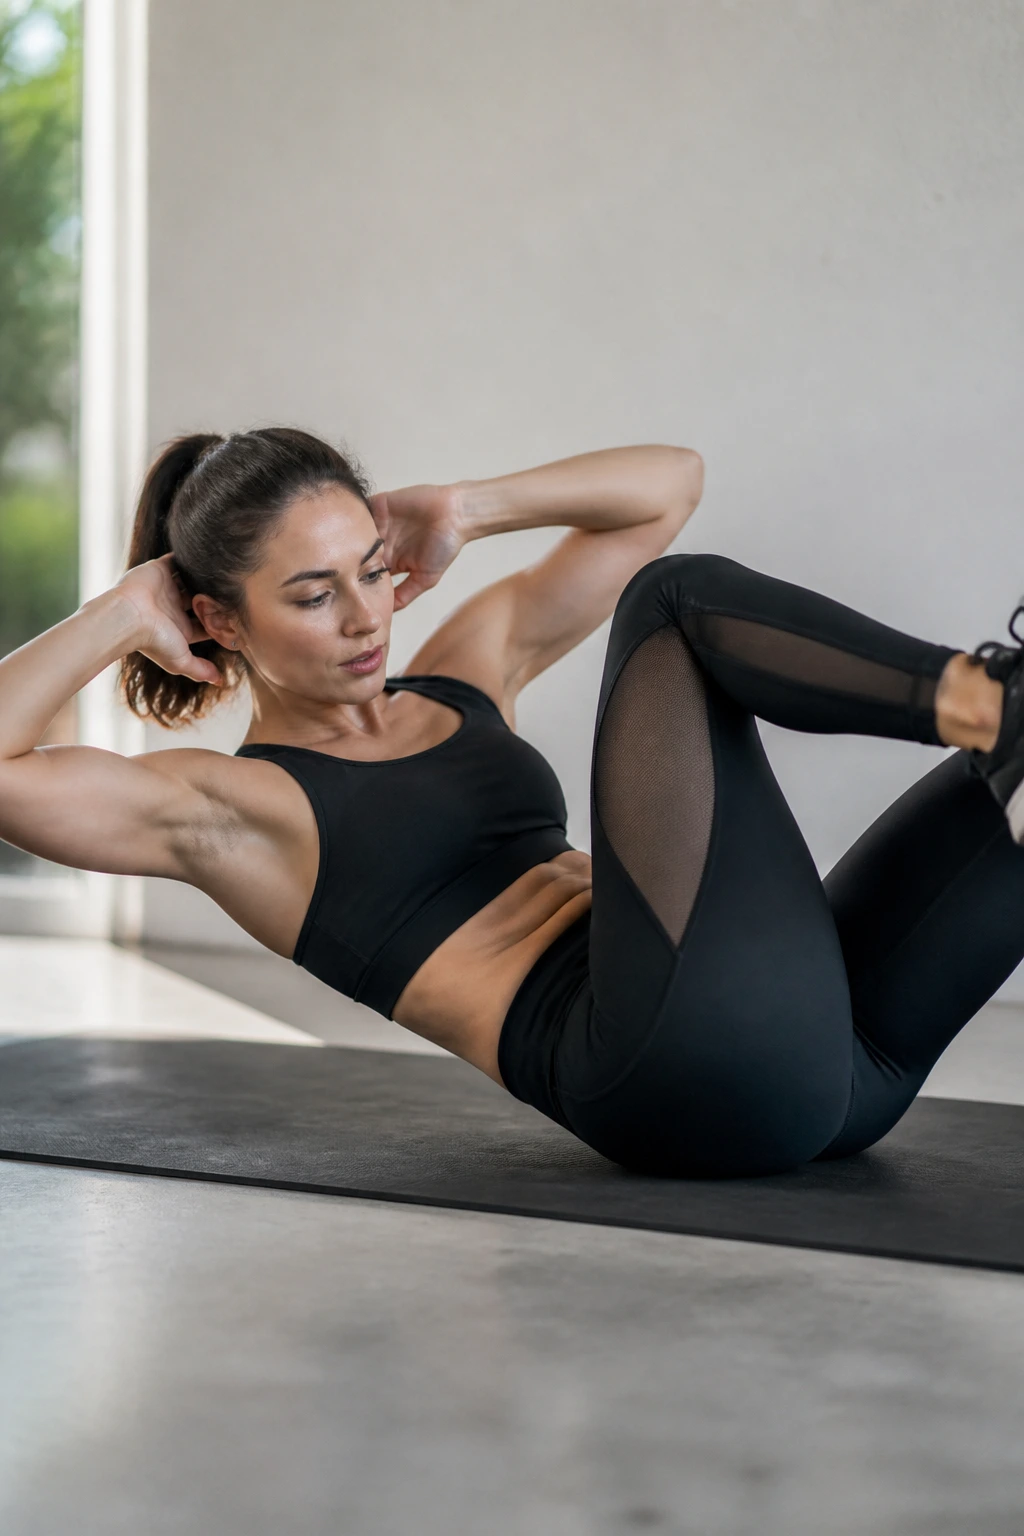
What happens if you lead with the knee instead of the elbow?
You get a version that feels a little less like a classic crunch and a little more like a controlled cross-body drive. Keep your elbows open, not yanked in. Bring the knee toward the opposite elbow, then let the torso rotate just enough to meet it. The chest stays proud; the abs still do the steering.
How to Use It
This one helps people who collapse forward too much on regular bicycle crunches. The wider elbows give your neck a break, and the more upright chest keeps the movement from turning into a sloppy curl. It also works well when you want to keep the rotation cleaner and a little less frantic.
- 6 to 8 reps per side is plenty when the form is strict.
- Think “knee reaches across” instead of “elbow smashes down.”
- Keep the non-working leg long, but don’t lock it hard.
- Do not pull on your head to fake the twist.
The reverse feel is subtle, and that’s the point. Clean reps. Quiet neck. Honest abs.
4. Cross-Body Bicycle Crunch from a Dead Stop
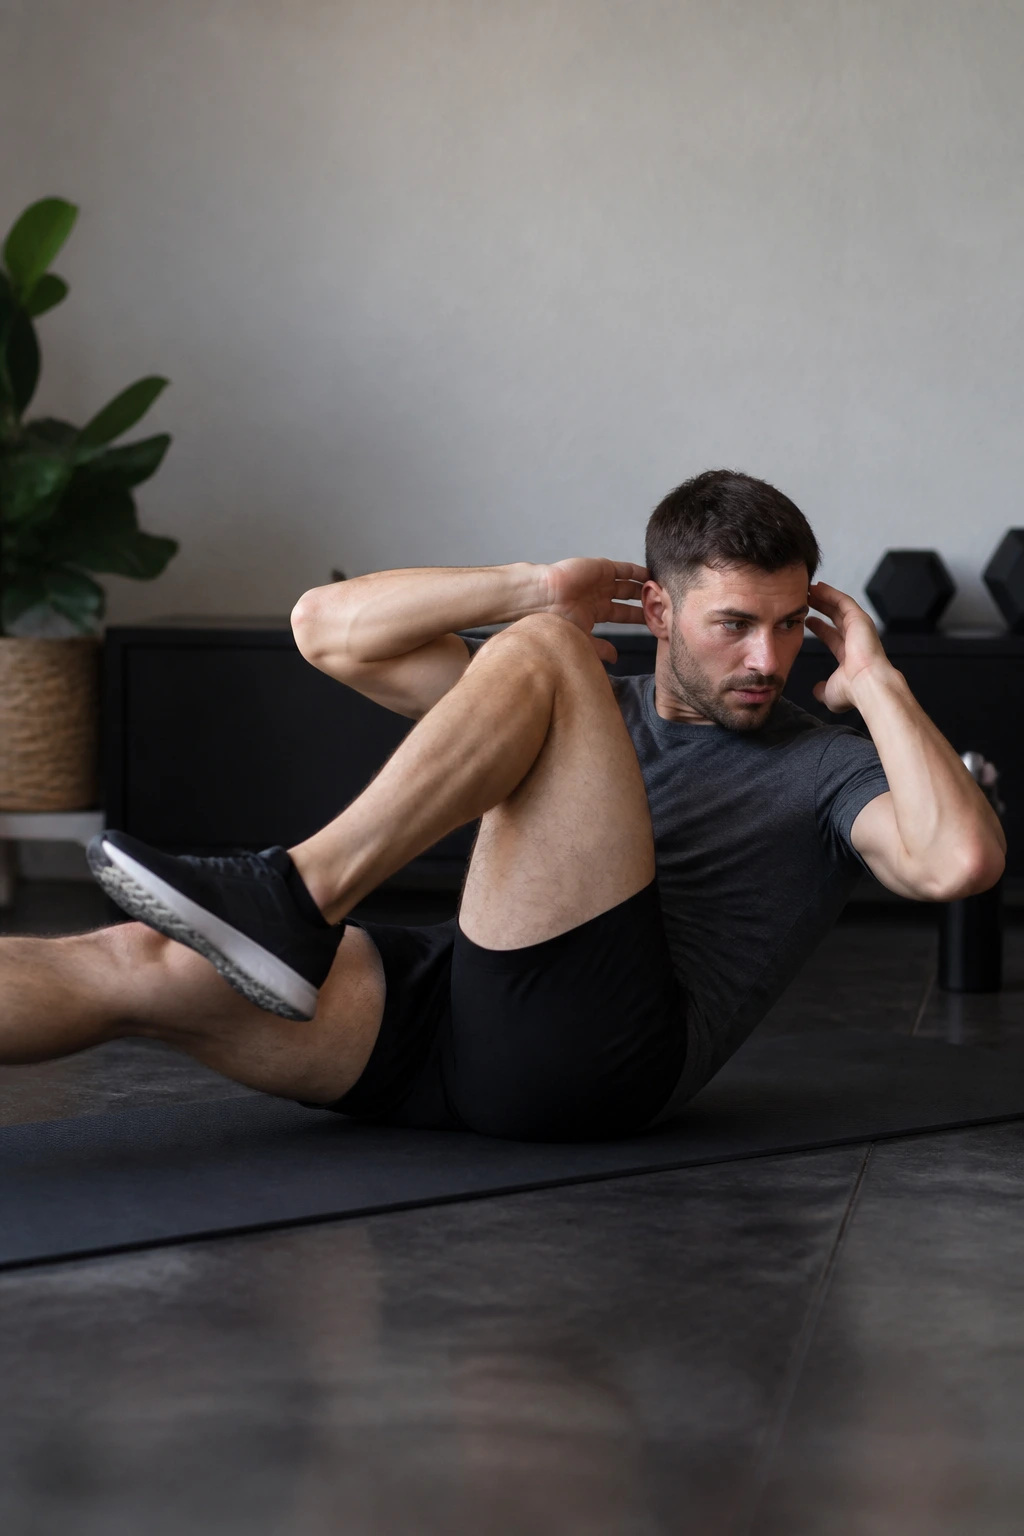
If your reps start looking like frantic pedaling, this version fixes that.
Each rep begins from stillness. No bouncing, no carrying momentum from one side to the other, no cheating on the way through the middle. You set one side, hold for a brief beat, then switch. That dead stop makes every rep feel like a small decision, which is exactly why it works.
The dead stop also helps you notice where the form breaks. If your hips rock, you’ll feel it. If your lower back arches, you’ll feel that too. The move becomes a little less forgiving and a lot more useful.
- Start from the floor with your ribs pulled down.
- Reach across, pause for half a second, then return to center.
- Do 2 sets of 8 reps per side.
- Keep the movement smooth, not snappy.
A lot of people hate this variation the first time they try it. I get that. It kills momentum. But momentum is often the problem in the first place.
5. Standing Bicycle Crunch for a Fast Warm-Up
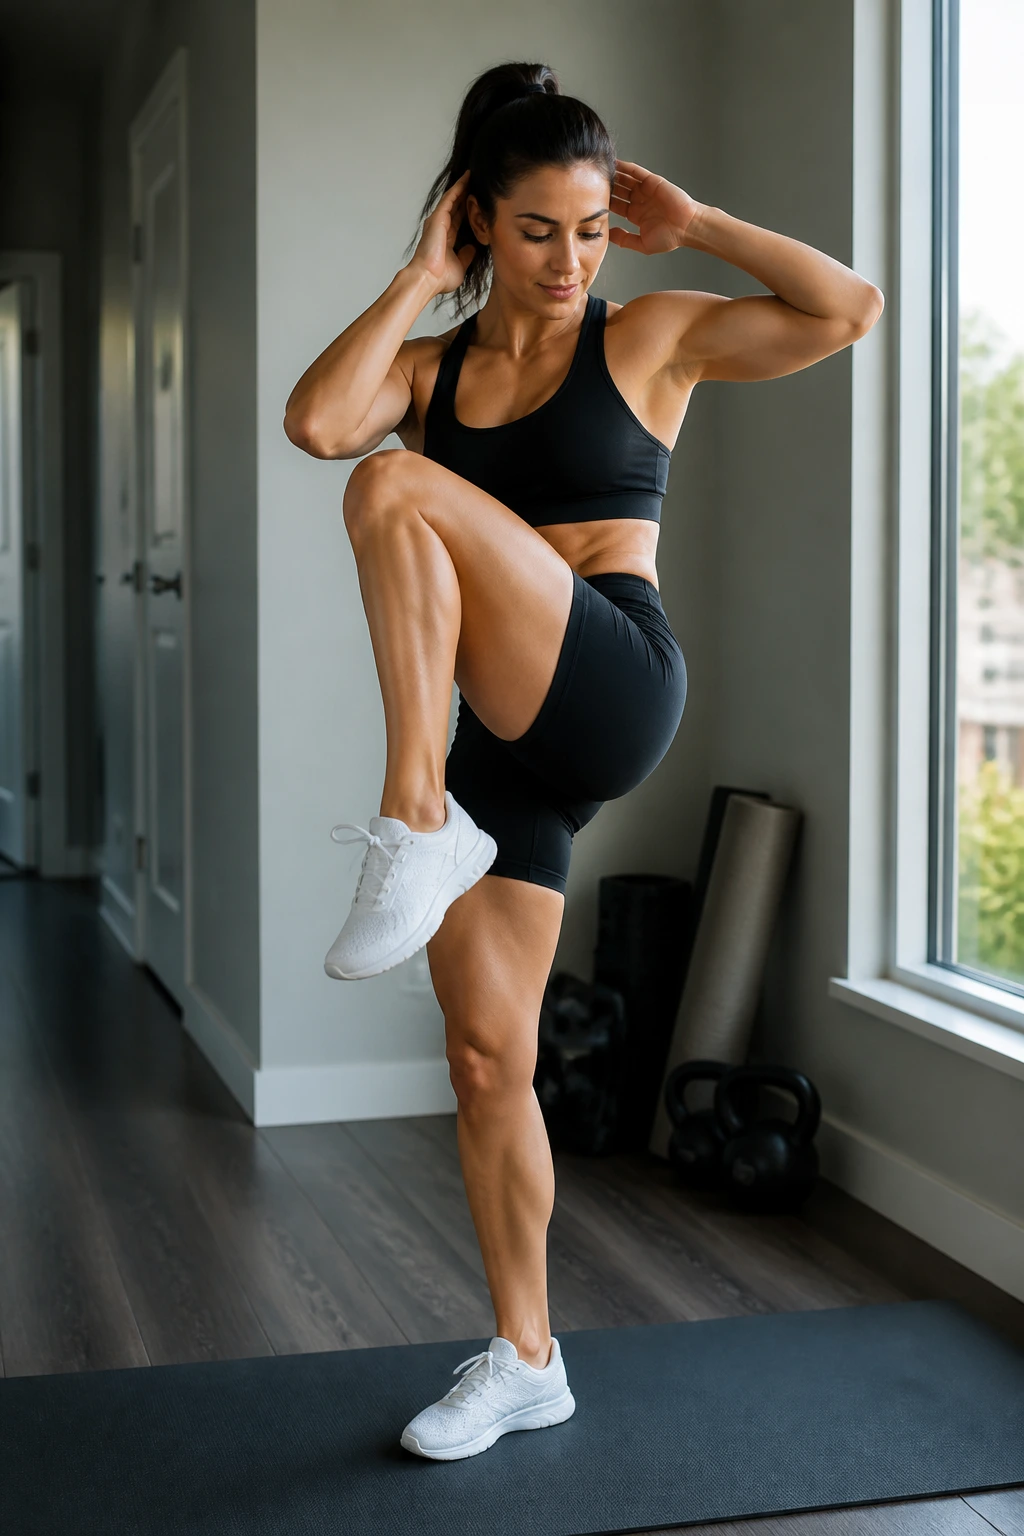
In a small room, this is the version that feels awake without sounding like a workout.
Stand tall, bring one knee up, and rotate the opposite elbow across. Then switch sides in a steady rhythm. You still get the cross-body pattern, but now your balance, coordination, and trunk control have to show up too. It’s a good choice before a run, before a lift, or before any session where your torso needs to know what time it is.
This is not the one I’d use for max ab fatigue. It’s a warm-up version. Think 30 to 45 seconds per round, or 10 to 12 controlled switches per side. Keep the step light. If you stomp, you’re doing too much.
A little bend in the standing knee helps. So does keeping the twist small enough that your shoulders stay stacked over your hips. If you want to turn up the challenge, slow the switch rather than kicking higher.
Oddly enough, the standing version also tells you a lot about side-to-side stiffness. One side almost always feels clunkier first. That’s useful information.
6. Stability Ball Bicycle Crunch with a Deeper Stretch
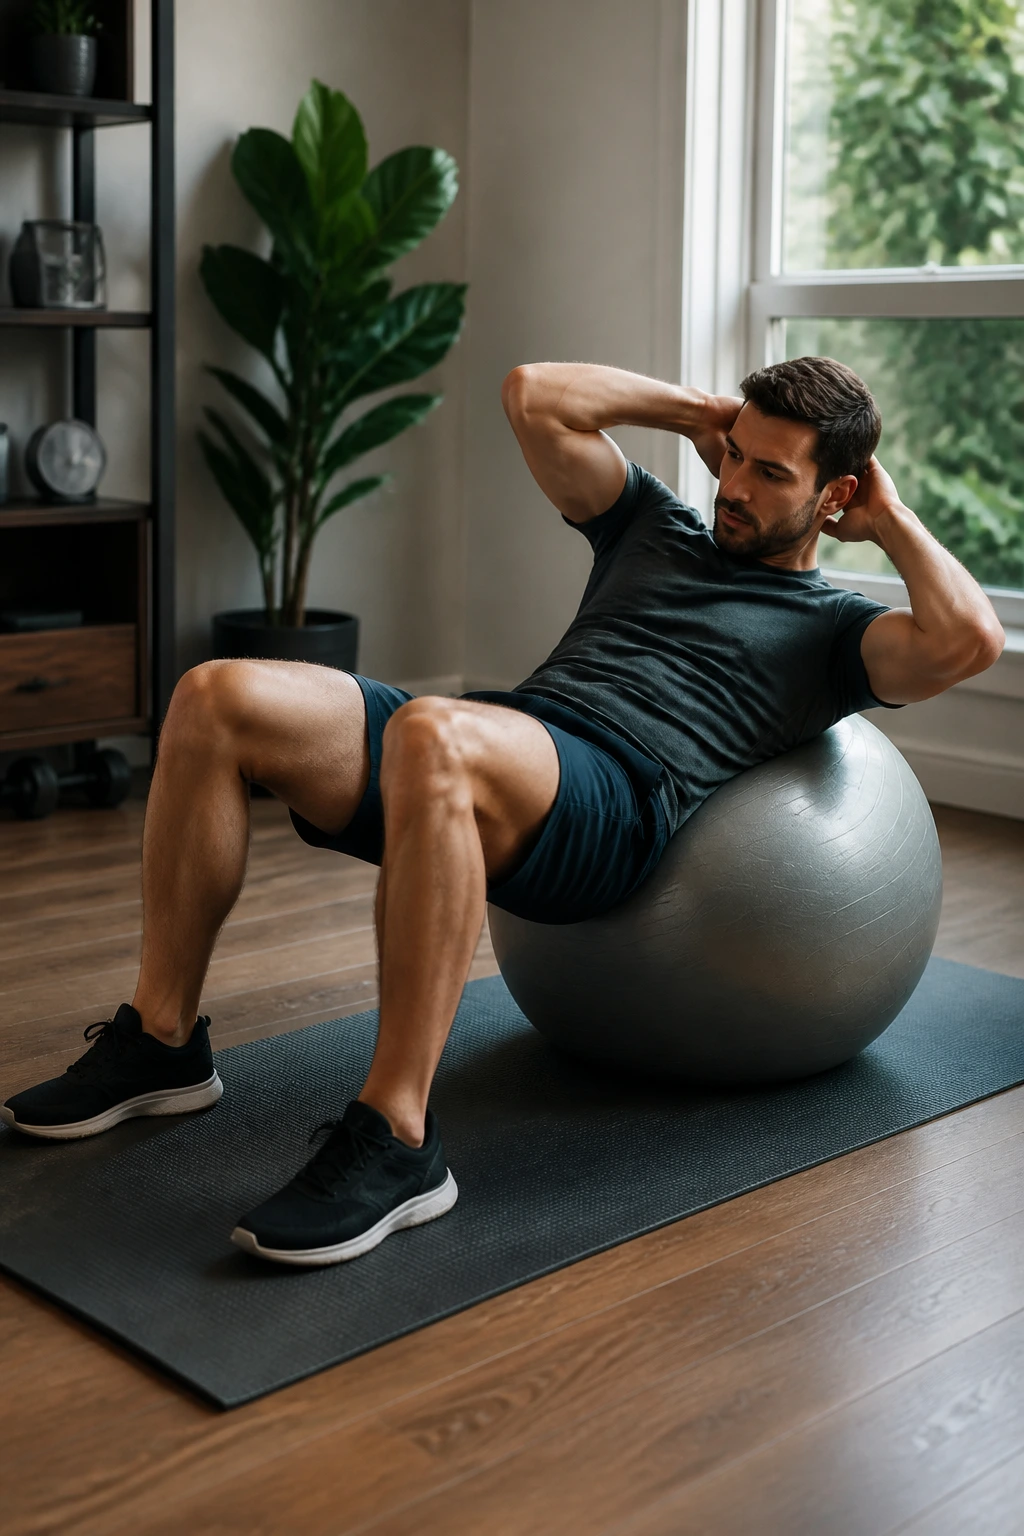
The stability ball makes this harder in a way most people underestimate.
When your upper back rests on a ball, the torso can open a little more on the way back, which gives the abs a deeper stretch before each twist. That extra range is nice, but only if you keep the pelvis from dropping like a tired suitcase. If the hips sag, the move stops being a core exercise and turns into a low-back gamble.
What Makes It Different
Compared with the floor version, the ball version gives you a bigger arc and a less stable base. That means the core has to control both movement and balance at the same time. It feels smooth when you do it right. It feels wobbly when you don’t.
Use a ball that lets your mid-back rest on it with your feet planted wider than hip width. Do 8 to 12 reps per side and keep the chin slightly tucked. If the neck cranes back, the ball is probably too high under your shoulders or you’re reaching too far.
Best fit? Someone who already knows how to brace. If you’re still learning to keep the ribs quiet, start on the floor first. The ball is a useful tool, not a shortcut.
7. Dead Bug Bicycle Crunch for a Low-Back-Friendly Version
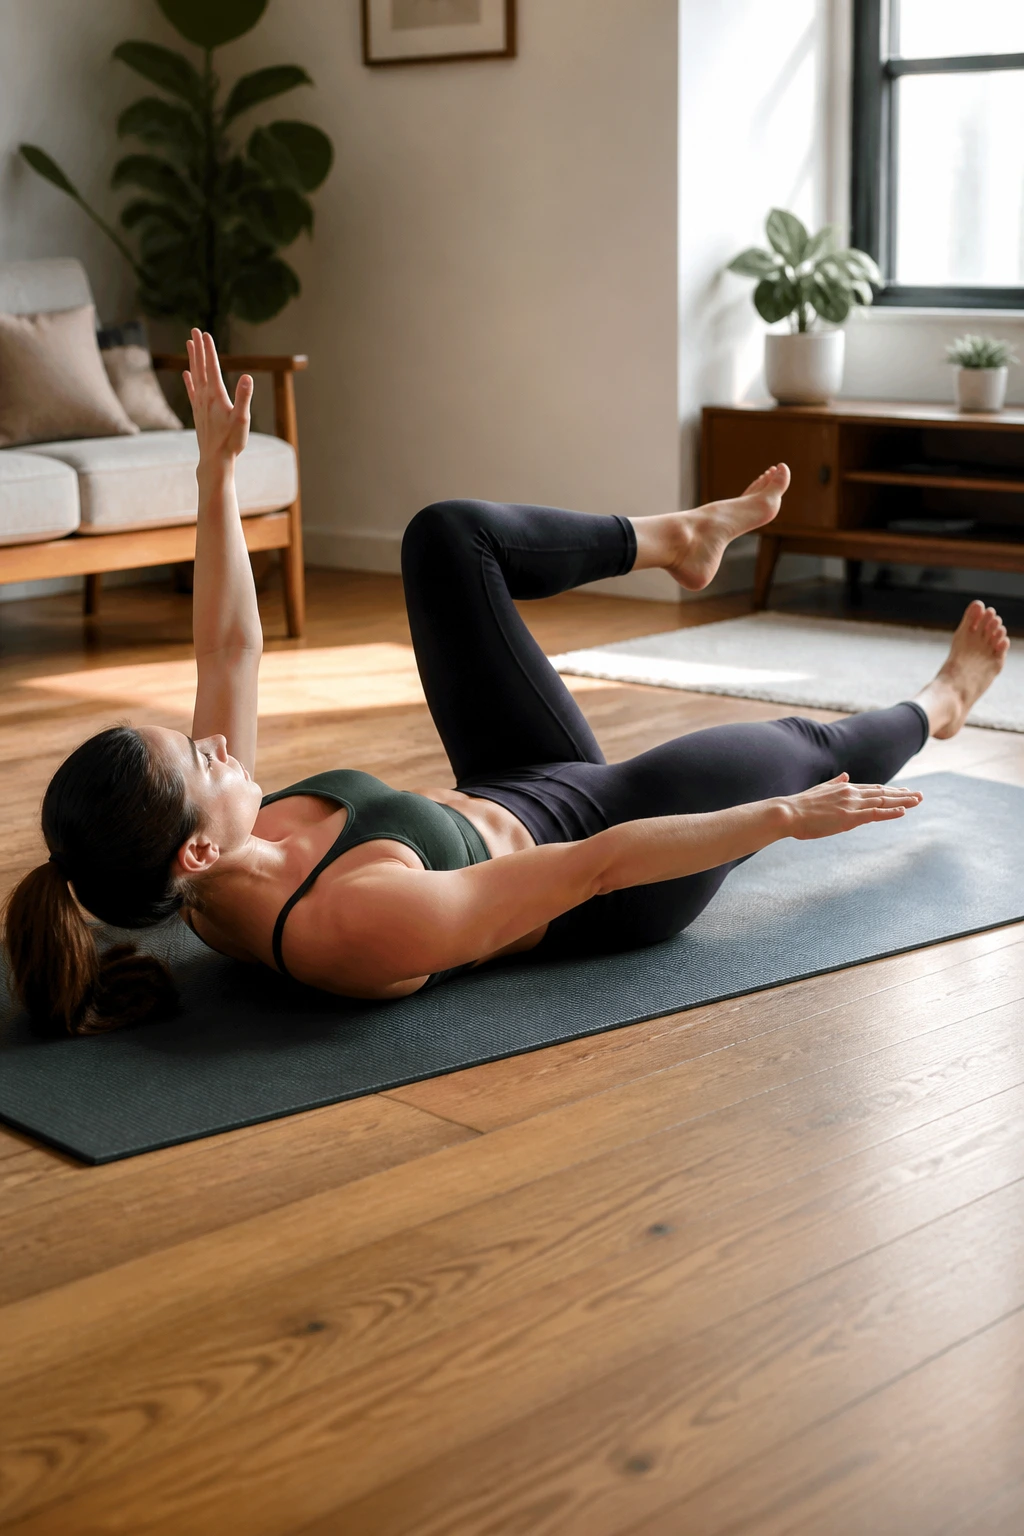
Does the floor version leave your lower back grumpy?
Then this is the one to try. The dead bug bicycle crunch keeps the same opposite-arm-opposite-leg pattern, but the torso stays quieter and the movement gets more controlled. You are still training coordination, but with less spinal motion and less chance of arching through the middle.
How to Keep the Ribs Quiet
Lie on your back, knees up, and arms in the air. Press your low back toward the floor before anything moves. Then extend one leg and the opposite arm away from center while you keep the other side tucked. Bring them back, switch, and keep breathing.
- 6 to 8 slow reps per side works well.
- Exhale before the moving limbs fully extend.
- Keep the lower ribs from popping up.
- Shorten the range if the back lifts.
This version is not flashy. Good. Flashy is usually where people start cheating. The dead bug pattern teaches the brace first, then adds the cross-body work. That’s a solid trade.
8. Weighted Medicine Ball Bicycle Crunch
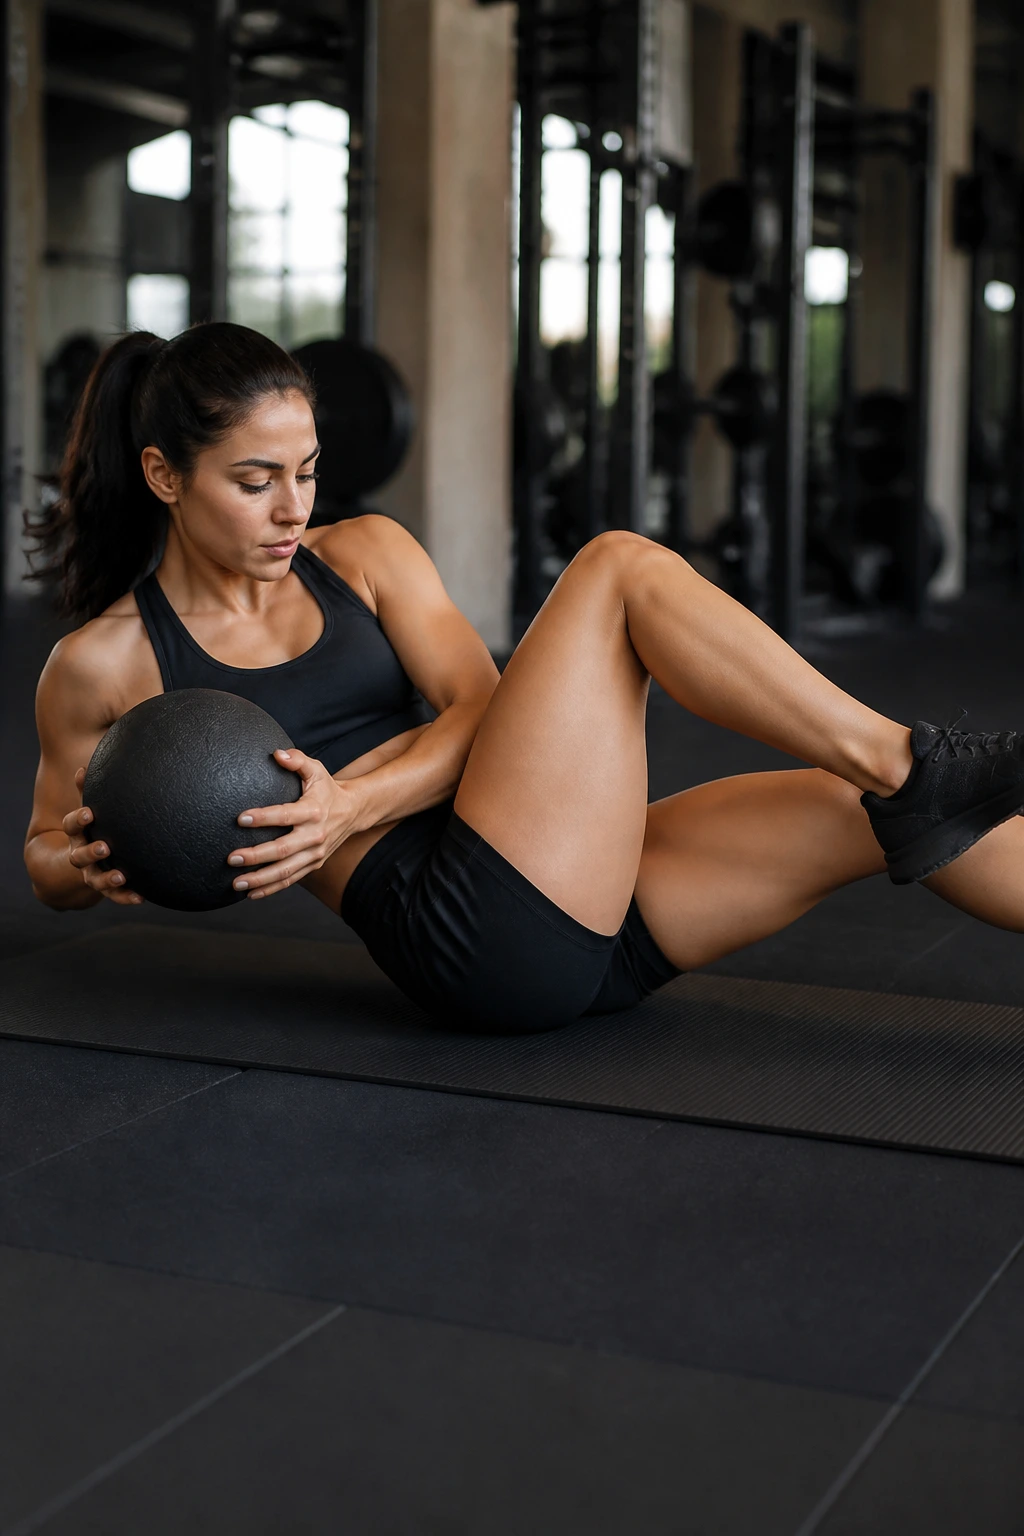
A light medicine ball makes the twist feel heavier in your midline, not your shoulders.
Hold a 2- to 6-pound medicine ball lightly against the chest or a few inches away from the torso, then move through the bicycle pattern with the same controlled rotation. The added load makes the front of the core work harder to stop the torso from over-rotating. Keep the ball close enough that your shoulders do not creep up toward your ears.
This version works best when the weight is small. People love to grab too much load and then wonder why the neck and hip flexors take over. That’s not a mystery. It’s just too heavy. If your ribs flare or your head starts leading the movement, drop the ball immediately.
A clean set is usually 6 to 10 reps per side. Slow the lowering phase more than the twist up. That way the abs stay on duty the whole time instead of getting a free ride.
I like this variation for lifters who need a little more resistance without jumping straight to cable work or hanging drills. It’s simple. Heavy enough to matter. Not so heavy that form falls apart.
9. Elbow-to-Knee Pulse Bicycle Crunch
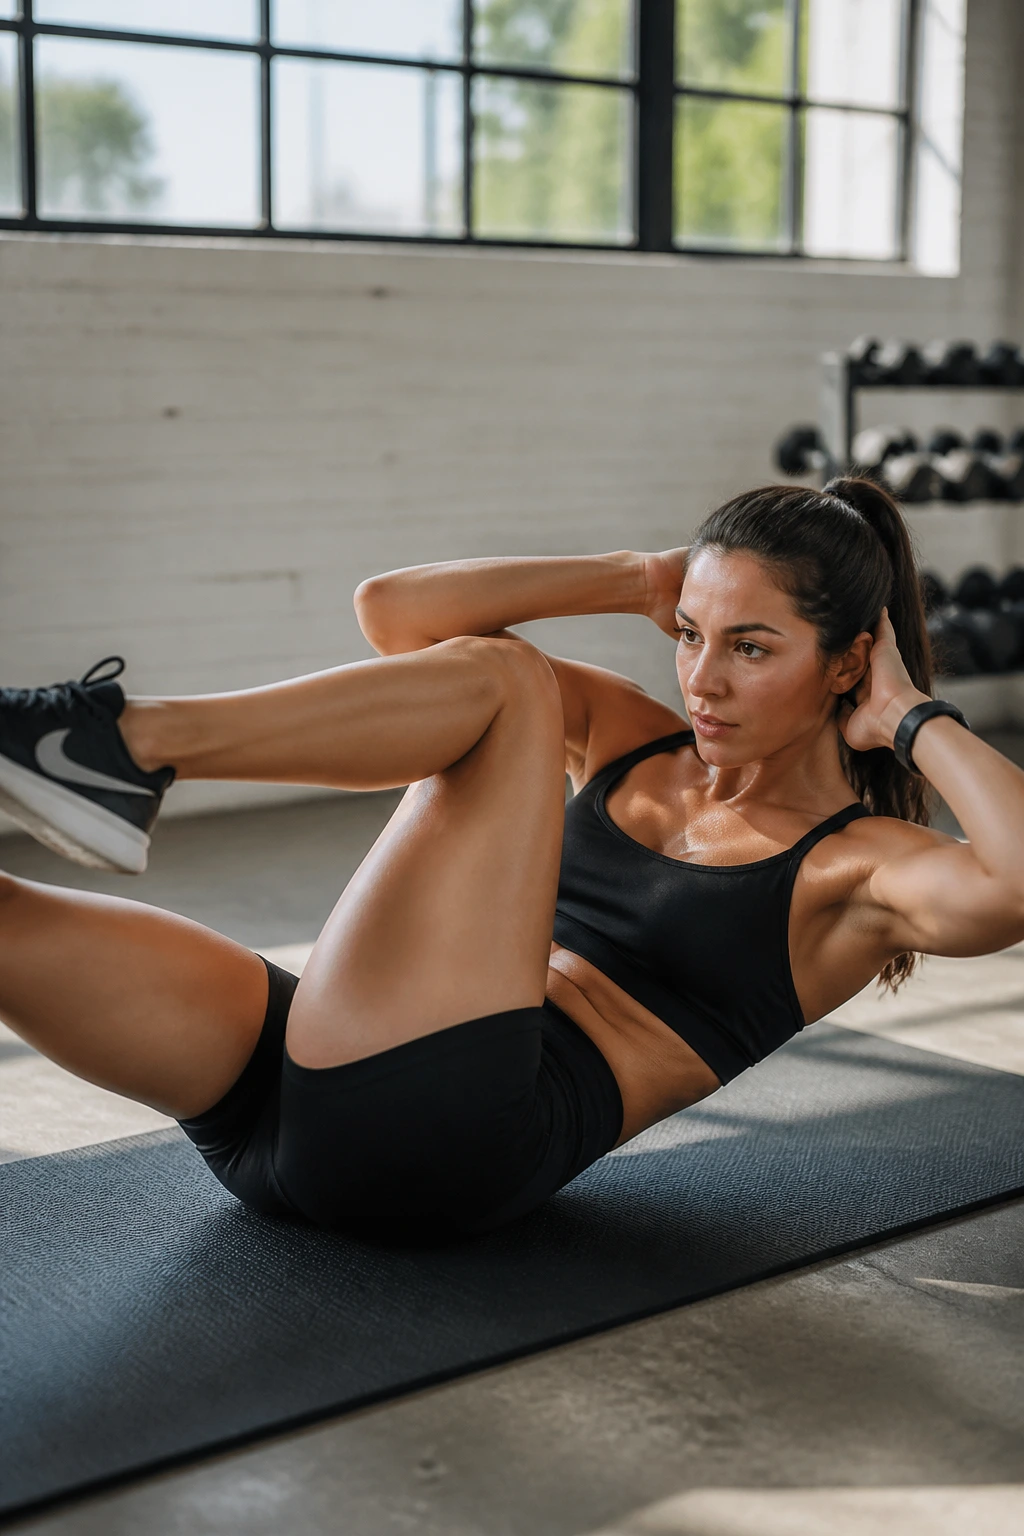
Tiny pulses sound harmless until the last five reps.
That’s the appeal here. Instead of one big reach, you hold the crunch position and pulse the elbow and knee toward each other in a short range — maybe two inches, not eight. The core stays under tension the whole time, which makes this a sneaky hard finisher even though the movement looks small.
The pulse should feel crisp, not sloppy. If your shoulders start rolling around or your hips start bouncing, the range is too big. Keep the movement tight and breathe out on each pulse. The exhale matters here. It keeps the torso from puffing up and stealing tension from the abs.
A clean way to use it is 10 to 15 pulses per side or 20 to 30 seconds total. You can pair it with another variation, but it also stands on its own when you want a short, mean set at the end of a session.
What to Watch For
- Keep the pulse small.
- Do not let the neck lead.
- Hold the non-working leg long and still.
- Stop when the lower back starts arching.
Tiny range. Big burn.
10. Long-Lever Bicycle Crunch with Straight Legs
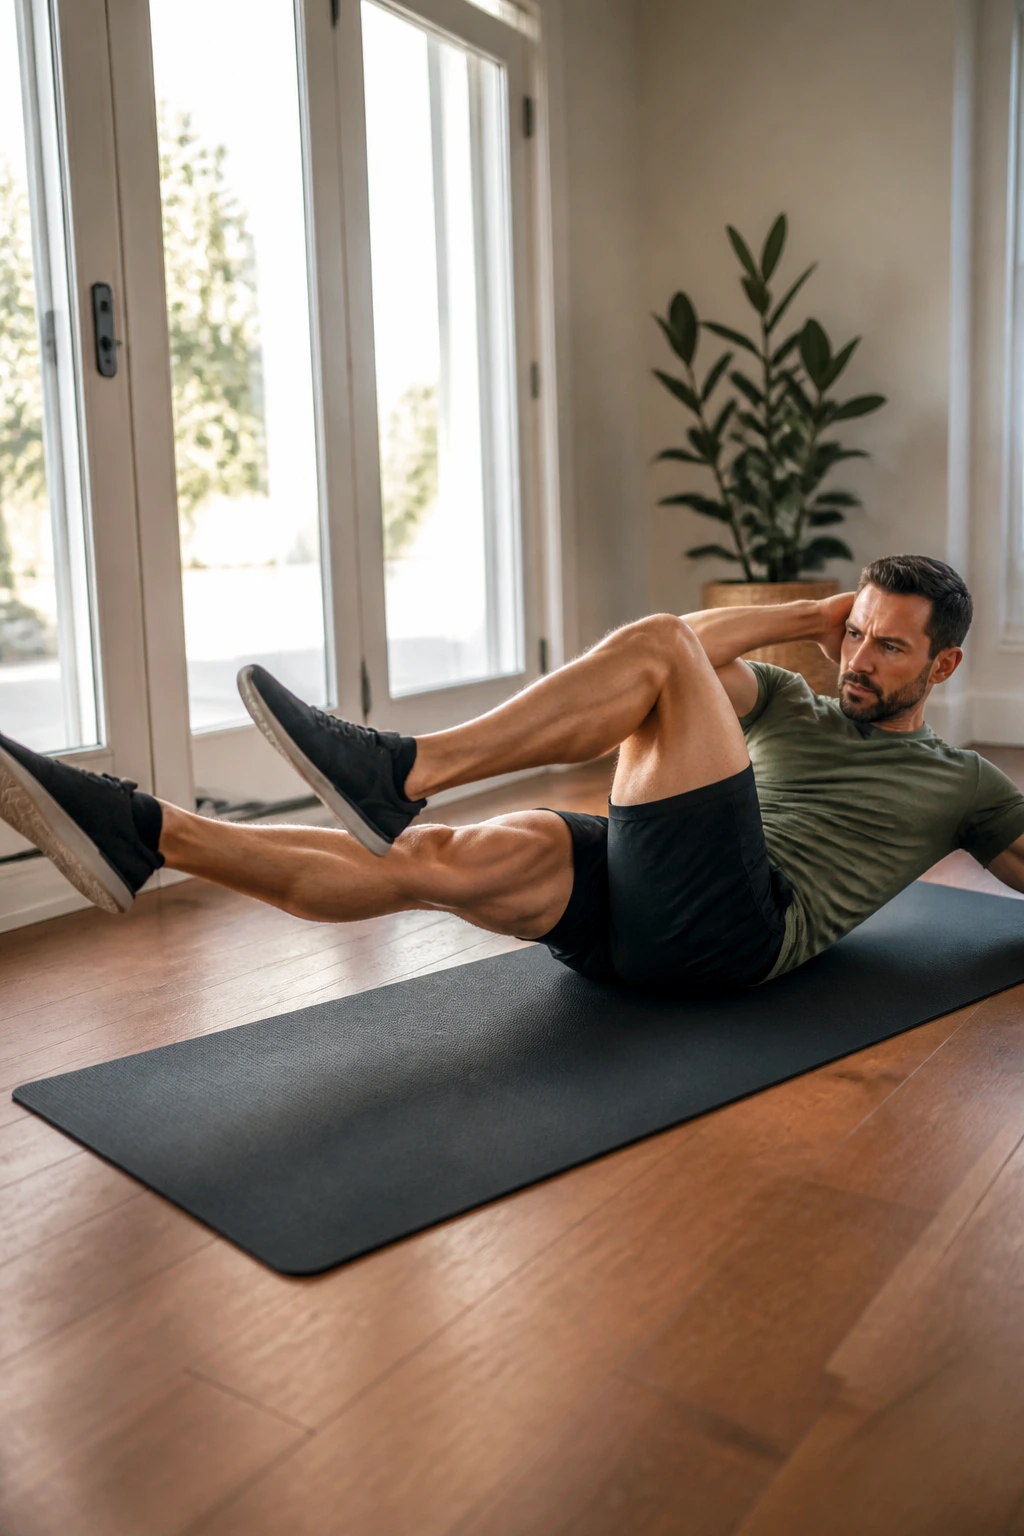
Straightening the legs changes the whole leverage game.
A longer lever makes the abs work harder because the limbs have more weight farther from the center of the body. That means the trunk has to brace harder just to keep the movement clean. It also means you can’t fake the rep with a quick hip snap the way you might in the standard version.
This variation looks simple from across the room. Up close, it is not. One leg stays long while the other crosses, and the switch happens only after you’ve controlled the extension. The farther the legs reach, the more the lower abs and obliques have to keep the pelvis from tipping.
Harder, yes. Better if the form holds.
Start with 6 to 8 reps per side and shorten the extension if your low back lifts. That back contact is the line you do not want to cross. If the floor starts feeling like a gap under your spine, bend the moving knee a little more and slow down.
This is a good progression for people who have outgrown the basic bicycle crunch but are not ready for weighted work yet.
11. Toe-Tap Bicycle Crunch for Beginners
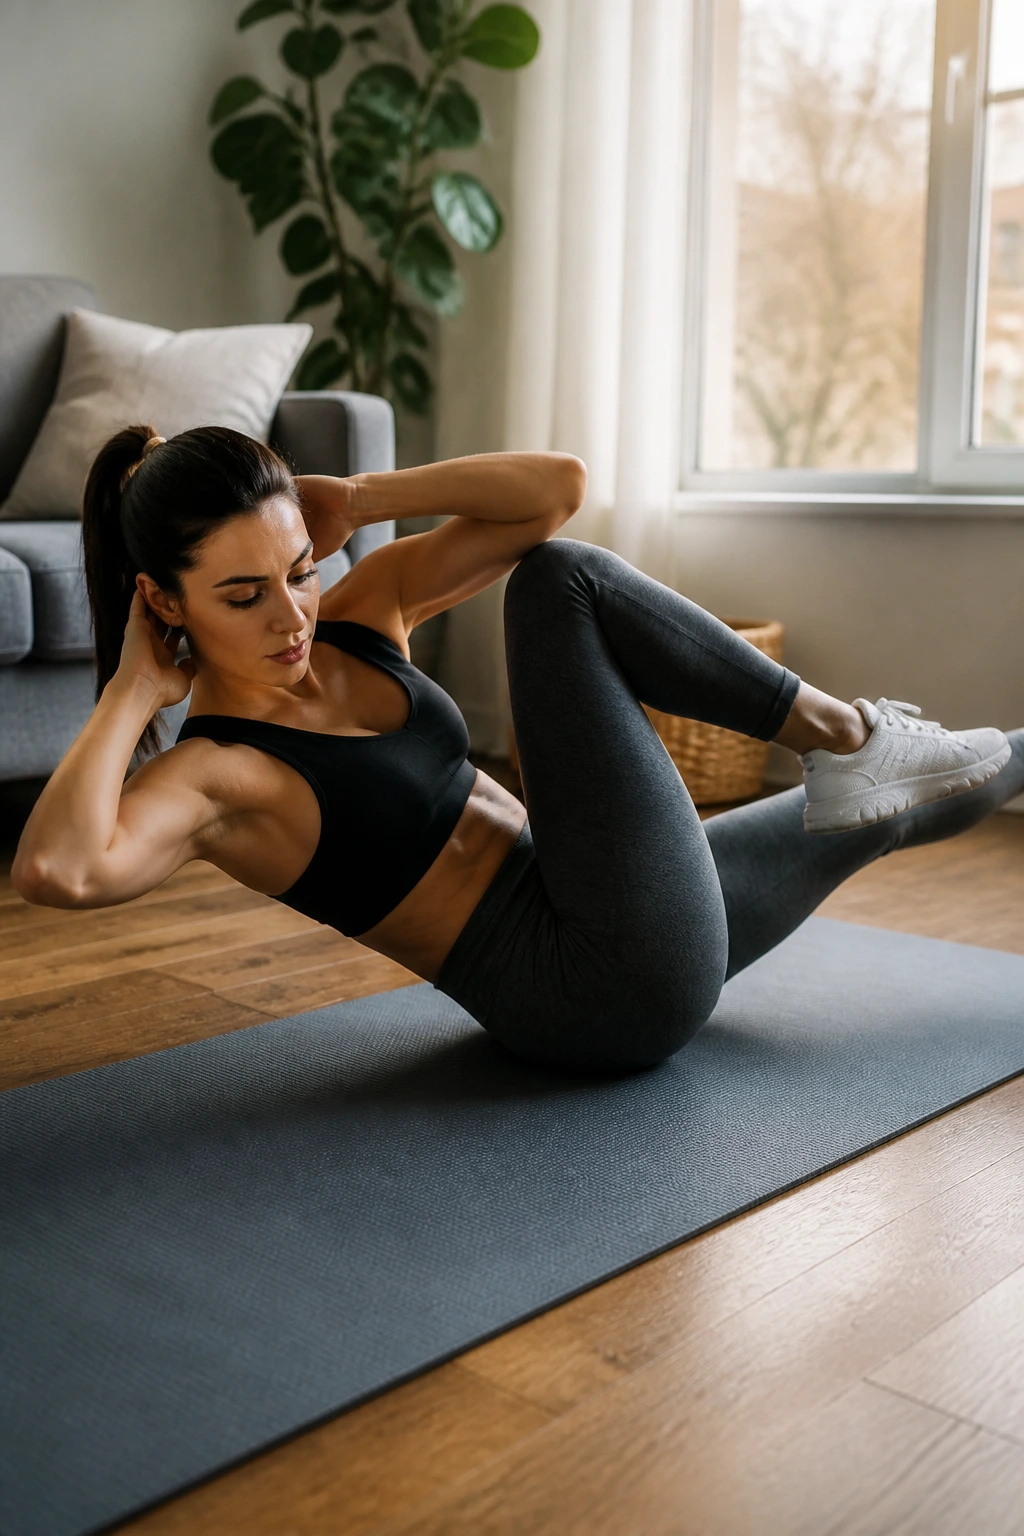
Toe taps look easier than full crunches, and they are — until the reps pile up.
This version keeps the cross-body idea but strips out some of the strain. Instead of extending one leg way out and chasing a big twist, you lightly tap the toe down while the opposite elbow reaches across. That smaller pattern helps beginners learn how to brace without getting buried by fatigue on rep eight.
It also works well for people coming back after a break. The motion is familiar, but the load is lower, and that matters when your body is still figuring out the rhythm again. I’d rather see a clean toe-tap set than ten messy full bicycle crunches with the neck doing half the job.
Use 2 to 3 sets of 10 per side, or run it for 30 to 40 seconds if you prefer timed work. Keep the taps quiet. If your foot slaps the floor, you’re probably moving too fast.
Toe taps are a good place to learn patience. Not exciting. Very useful.
12. Hanging Bicycle Knee-to-Elbow Crunch
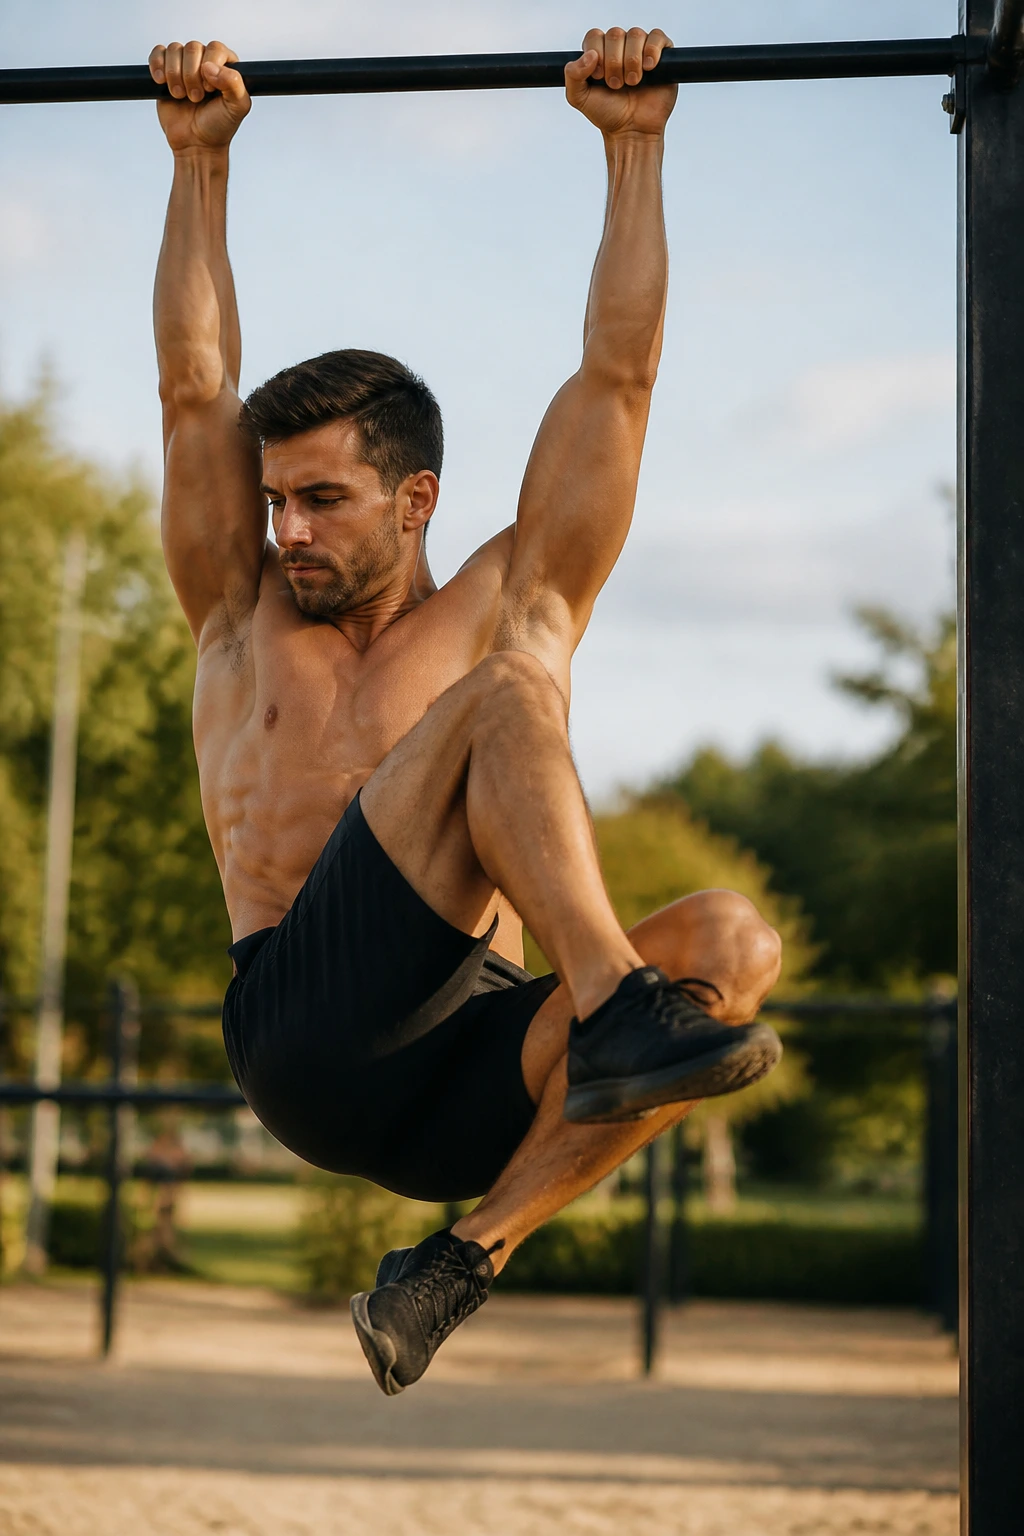
Can you do a bicycle crunch while hanging from a bar without turning it into a swing?
Yes, but only if your grip and control are decent. This is an advanced version, and it asks for more than the floor work does. You hang from a pull-up bar, lift the knees, and bring one knee toward the opposite elbow in a controlled cross-body path. No kicking. No kipping. No wild body sway.
What to Watch For
The bar changes everything. Your lats help stabilize the torso, your grip starts to matter, and the abs have to keep the whole thing from becoming a sloppy leg raise. If your body swings, pause and reset. If your shoulders shrug up around your ears, take a break.
- Aim for 5 to 8 clean reps per side.
- Keep the pelvis from rocking.
- Lift the knees with control, not speed.
- Stop if grip fatigue ruins the torso position.
This version is great for advanced exercisers who want a harder anti-swing challenge. It’s also a strong reminder that abs work is not only about bending the spine. Sometimes the job is to keep the spine from moving when the limbs want to.
13. Side-Lying Bicycle Crunch for Oblique Focus
I like this one for people who are bored with the same floor pattern.
Lie on one side, stack the hips, and set the top hand lightly behind the head. Then crunch the top elbow toward the top knee while the bottom side stays long and quiet. That side-lying position changes the feel completely. The obliques on the top side have to work against gravity, and the torso can’t hide as easily behind momentum.
A side-lying setup also makes cheating a little harder. If the shoulder rolls backward or the top hip opens too far, you feel it immediately. That’s useful. You get a cleaner read on whether the movement is coming from the trunk or from some lazy fling of the leg.
Quick Position Check
- Keep the bottom waist lifted slightly.
- Don’t collapse into the floor.
- Move the elbow and knee toward each other, not straight down.
- Use 8 to 10 reps per side before switching sides.
The first few reps can feel awkward. Fine. Awkward is often where the good work starts.
14. Tempo Pyramid Bicycle Crunch
A pyramid set keeps your attention because the pace keeps changing.
Here’s the idea: start with a short set at a slow tempo, climb into a longer set at a steady tempo, then finish with a shorter, sharper set before dropping back down. A simple pattern might be 5 slow reps, 10 controlled reps, 15 crisp reps, then back down to 10 and 5. The changing tempo forces you to keep adjusting without losing form.
What I like about this approach is that it keeps one exercise from feeling flat. The slow sets build control. The middle set builds endurance. The faster reps, if they stay clean, bring the fatigue. That combination is useful when you want a short core block that feels like a real session instead of a token add-on.
You can also flip the emphasis. Some people like to start moderate and finish with a slow burn. If your form tends to fall apart under fatigue, that version may suit you better. The only bad pyramid is the one where the speed rises and the ribs pop up with it.
How to Build It
- Keep every rep honest.
- Rest 20 to 40 seconds between rungs.
- Stop the set when the neck starts helping.
- Use the pyramid once or twice, not endlessly.
15. Single-Leg Bicycle Crunch for Extra Stability Work
Single-leg work exposes side-to-side differences fast.
In this version, one leg stays parked while the other crosses the body, so the pelvis has to stay steadier and the trunk has to resist more twisting. That fixed leg changes the whole feel of the exercise. You notice one side of your core working harder, and you notice whether your hips want to drift. Both are useful signs.
This is a smart variation for people who want more control without adding weight. The still leg gives you a clearer base, but the moving side still has to coordinate the twist. It feels a little less chaotic than the full bicycle crunch, and that can be a good thing when you want quality over speed.
Do 6 to 8 reps per side before switching the parked leg. Keep the moving leg long enough to challenge you, but not so long that your lower back arches. If one side feels much shakier than the other, slow the return and shorten the reach. Do not try to power through a bad side with speed. That almost never helps.
This version is plain, direct, and useful. I’d take that over fancy.
Final Thoughts
The best bicycle crunch variation is the one that lets you feel your abs without your neck running the set.
If you’re newer to core training, start with the toe-tap, dead bug, or slow floor version. If you already handle those well, the stability ball, weighted, hanging, or long-lever versions give you more challenge without changing the basic pattern too much. That progression matters more than most people think.
A small tip that saves a lot of guesswork: film one set from the side. If your ribs pop up, your lower back arches, or your head is yanking forward, the clip will show it in five seconds. Clean reps are not glamorous. They do, however, build stronger abs.
