



Some days, your body doesn’t want punishment; it wants a floor, a mat, and 12 honest minutes. That’s where Pilates workouts earn their keep. They do not need a fancy studio or heavy weights. A rolled towel, a wall, and a little patience go a long way.
Pilates works because it trains control before speed. The breath settles the ribs, the pelvis learns where neutral lives, and the deep abdominal wall wakes up without the sloppy momentum that takes over in rushed crunches. If you’ve ever finished a fast ab circuit with a tight neck and a cranky lower back, you already know the difference.
A free workout plan only works if the sessions are flexible enough to fit real life. Some days call for glute work. Some days call for spinal mobility, shoulder stability, or a gentler reset after too much sitting. These 30 Pilates workouts can be mixed and matched, repeated, or stacked into a month of mat time without any equipment beyond what’s already in most homes.
Start with the session that matches how your body feels today. Then keep going.
1. Ten-Minute Mat Reset
This is the one I reach for when the day feels stiff before it has even started. Ten minutes is enough to wake up the core, open the hips, and remind your shoulders they are not supposed to live near your ears.
How to run it
- 6 cat-cows on hands and knees
- 8 pelvic tilts lying on your back
- 10 glute bridges with a two-second squeeze at the top
- 6 dead bugs on each side
- 4 slow standing roll-downs
Keep the pace calm. The work shows up in the details — how your ribs settle on the exhale, how your low back meets the mat, how you resist flinging a leg away just to call it a rep.
Best cue: move like you’re trying not to wake someone in the next room. That tiny bit of restraint changes the whole workout.
2. Breath and Rib Cage Control
Can a Pilates workout begin with breathing? Absolutely. In fact, it should.
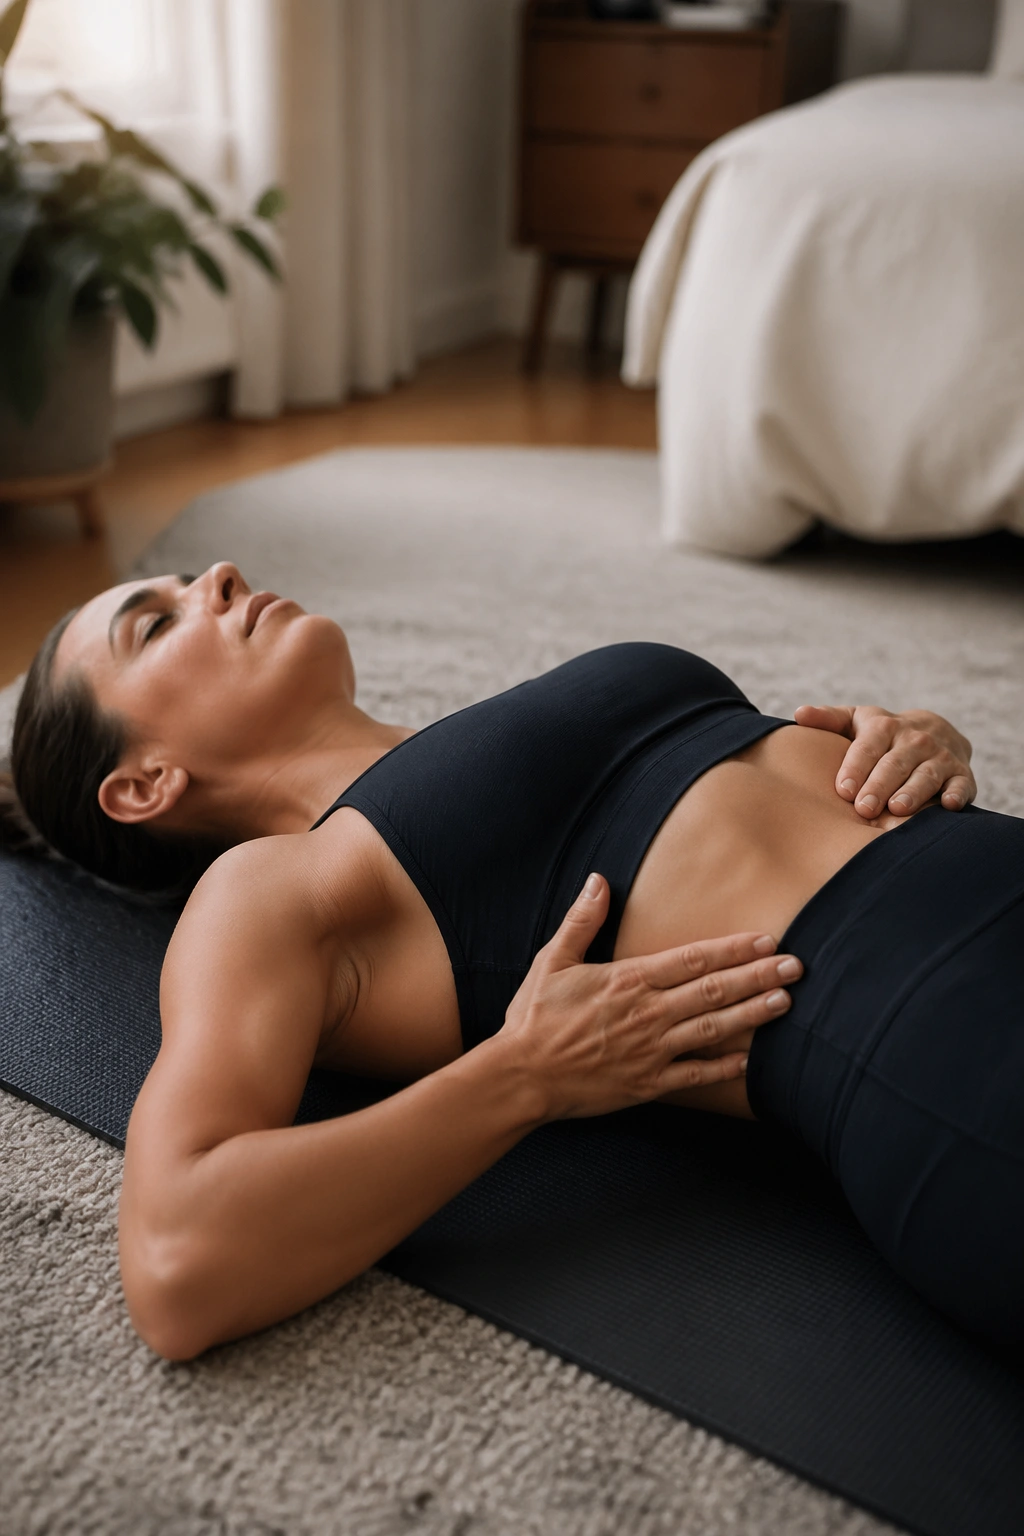
Lie on your back with your knees bent and your feet flat. Put one hand on your lower ribs and one hand on your belly. Inhale through your nose and feel the sides of the rib cage widen. Exhale through the mouth and let the ribs soften down without forcing the belly to clamp. That small change is the difference between core work that feels organized and core work that turns into neck tension.
What to feel
Your shoulders should stay heavy. Your neck should feel long. The ribs move first, then the core responds. If your chest is rising high on every inhale, shorten the breath and make it quieter.
A good breath practice takes 2 to 4 minutes, but I like to pair it with dead-bug arms, heel slides, or a gentle chest lift. That keeps the brain from treating it like a meditation break and forgetting the purpose. Breath is not a warm-up garnish. It’s the engine.
3. Pelvic Tilt Wake-Up
If your lower back feels stuck, start here.
A pelvic tilt is simple, but simple does not mean easy. Lying on your back with knees bent, gently tip the pelvis so the low back presses into the mat, then release to neutral. No yanking. No big arching. Just a small rocking motion that teaches the spine where it is in space.
A clean way to practice it
- 8 slow pelvic tilts
- 8 pelvic clocks, tracing tiny circles with the pelvis
- 6 marches, lifting one foot at a time without letting the ribs flare
- 6 toe taps on each side, only as low as you can keep control
The trick is not range. The trick is honesty. If the movement gets bigger and sloppier, the abs stop helping and the hip flexors take over. Keep it tiny. That tiny version is the one that actually matters.
4. Glute Bridge Ladder
A bridge series looks innocent right up until your hamstrings start speaking up. That is normal.
Start with both feet flat and your heels about a hand’s length from your seat. Press through the heels, lift the hips, and keep the ribs from popping up. Hold for two breaths, lower with control, then repeat. Once the basic shape feels clean, make it a ladder: 8 full bridges, 8 pulses at the top, 8-second hold, then 6 single-leg reaches if your pelvis stays level.
What makes it work
The glutes should do the lifting, not the lower back. If your hamstrings cramp, bring the feet a little closer. If your neck tightens, stop pushing the chin forward and soften the gaze upward.
One sentence here is enough: If you can feel the work in your seat, you’re doing it right.
5. Dead Bug and Toe Tap Flow
Dead bug work is one of those Pilates workouts that looks almost boring from the outside and feels sharp from the inside.
Lie on your back with your knees over your hips and your arms reaching up. Exhale, lower one heel to the floor or tap one toe down, then return to start. Alternate sides for 8 to 10 reps. If you want more challenge, extend the opposite arm and leg together. Keep the lower back quiet. That part matters more than the speed of the rep.
A lot of people rush this one and end up flaring the ribs like they are trying to win a strange contest. Don’t. Move slowly enough that you can feel the moment before the low back wants to arch.
The best version leaves you steady, not wrecked. Steady is the point.
6. Side-Lying Leg Burn
A side-lying series is where the small muscles in the hips stop hiding.
Lie on one side with your head supported, legs long, and your body stacked like a clean line. Lift the top leg 12 times, then circle it forward 8 times and back 8 times. Add clamshells if you want the glute medius to light up a little more. Keep the waist lifted away from the mat and the pelvis from rolling backward.
What to watch for
The movement should stay small. Big kicks are flashy, but they usually steal from the wrong places. A controlled 6-inch lift beats a sloppy 12-inch swing every time.
If your hip flexor starts grabbing, bend the bottom knee for support and make the top-leg circle even smaller. That adjustment is not a downgrade. It’s smarter work. Tiny reps, clean reps.
7. Bird Dog and Plank Stability
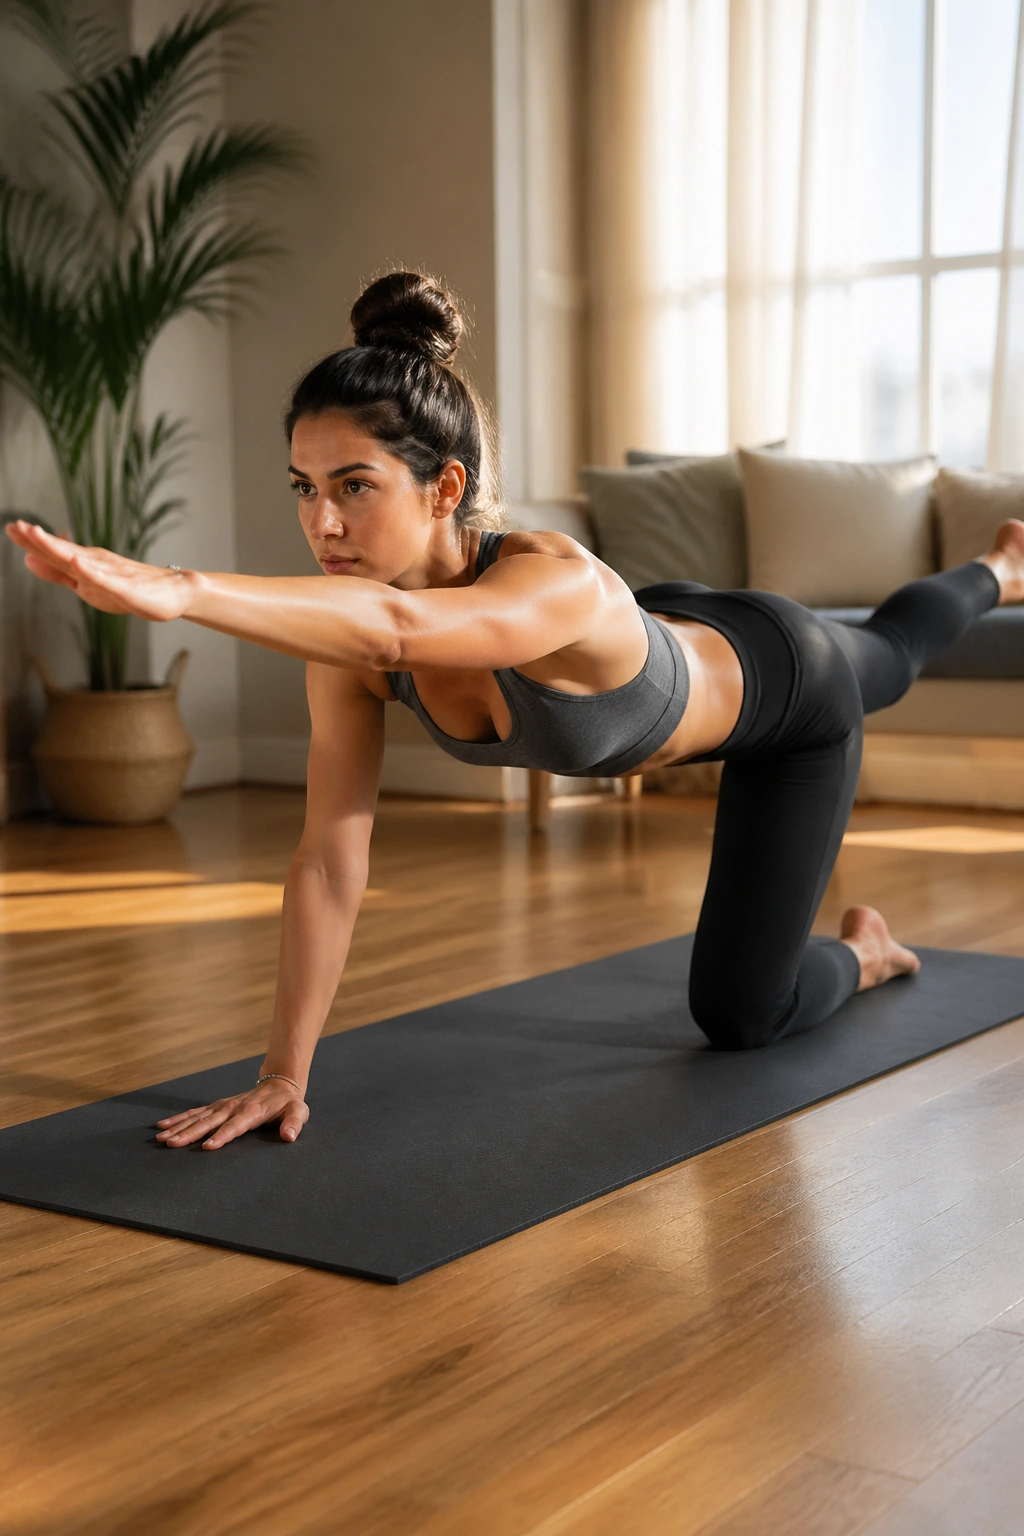
Why does this matter so much? Because Pilates is full of cross-body control, and bird dog drills teach that better than almost anything else.
Start on hands and knees, then reach one arm forward and the opposite leg back without shifting your hips. Hold for 2 breaths, lower, and switch sides. If wrists complain, come down to forearms for a kneeling version. If the lower back starts sagging, shorten the reach and slow the exhale.
How to keep hips square
- Press the floor away with the supporting hand
- Keep the ribs from twisting open
- Reach through the heel instead of lifting the leg high
- Pause before every change of side
Add a plank hold on knees if you want more shoulder work. Twenty seconds is enough to make the point. Longer is fine if the form stays clean. When the line breaks, the exercise changes.
8. Roll-Up and Spine Articulation
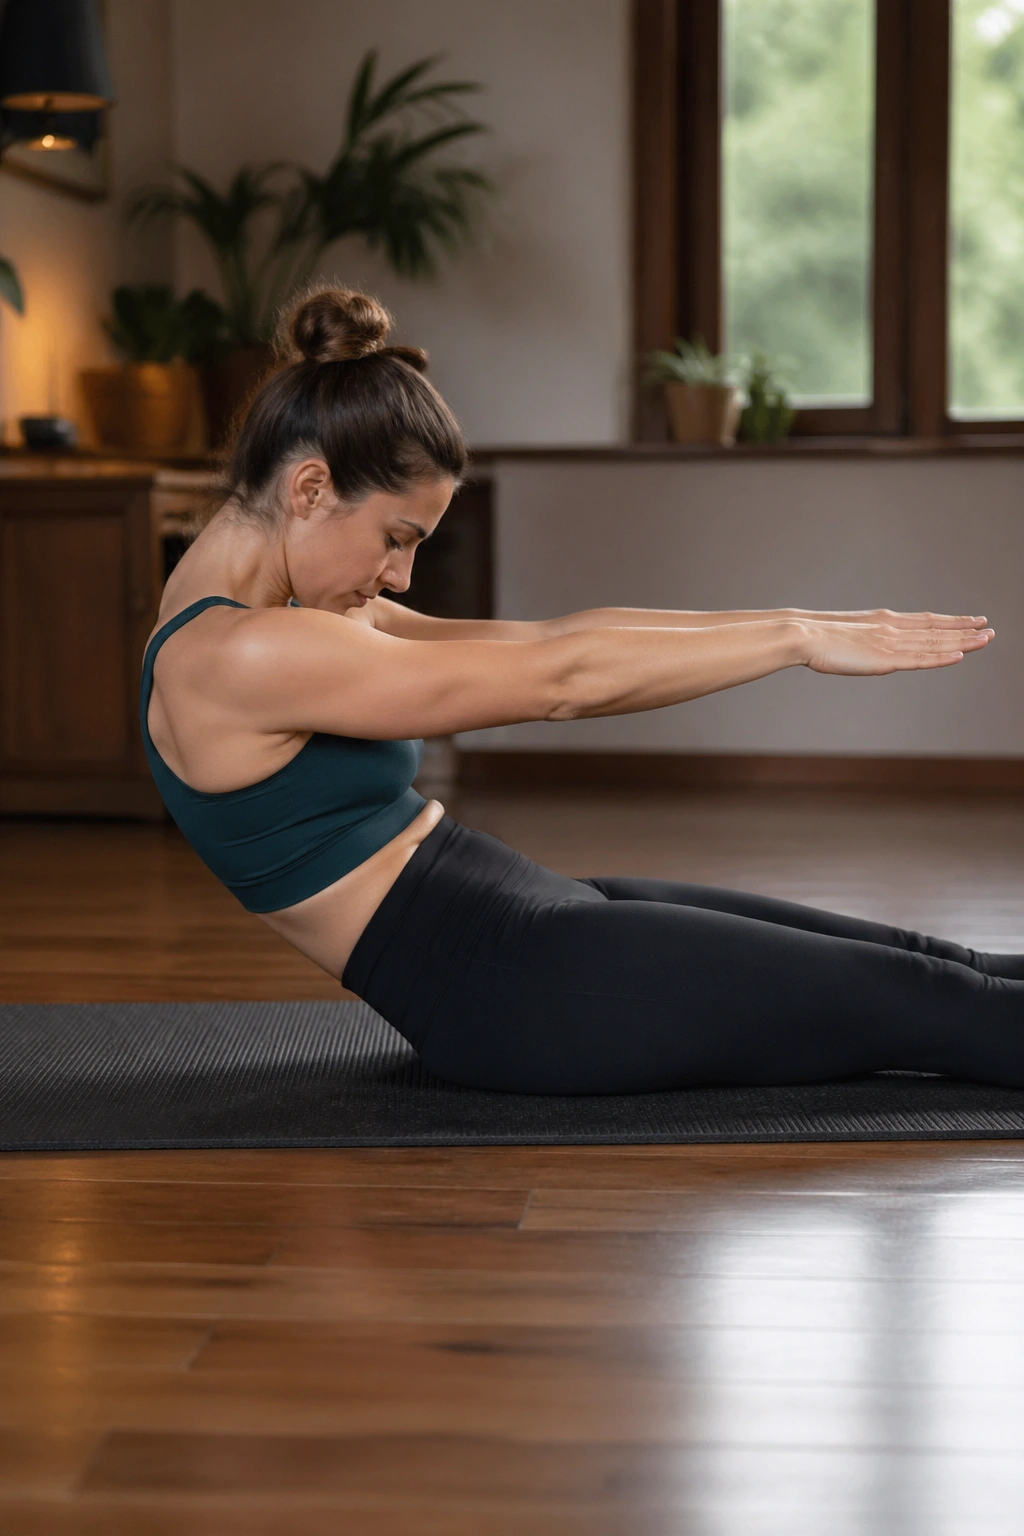
Crunches are loud. Roll-ups are quieter, and they teach a lot more.
Lie on your back with arms reaching overhead. On the exhale, nod the chin, peel the ribs up, and roll through the spine one segment at a time until you sit tall. Then reverse it slowly back down. If a full roll-up feels impossible, bend the knees or hook the feet under a sofa edge for light support. Five controlled reps can do more than 20 sloppy ones.
The spine should feel like it’s moving in pieces, not as one stiff plank. That segmented motion is the whole point. It trains the abdominals to support flexion without brute force.
Do not throw the arms. Do not yank from the neck. The slower the descent, the better the lesson.
9. The Hundred Prep Circuit
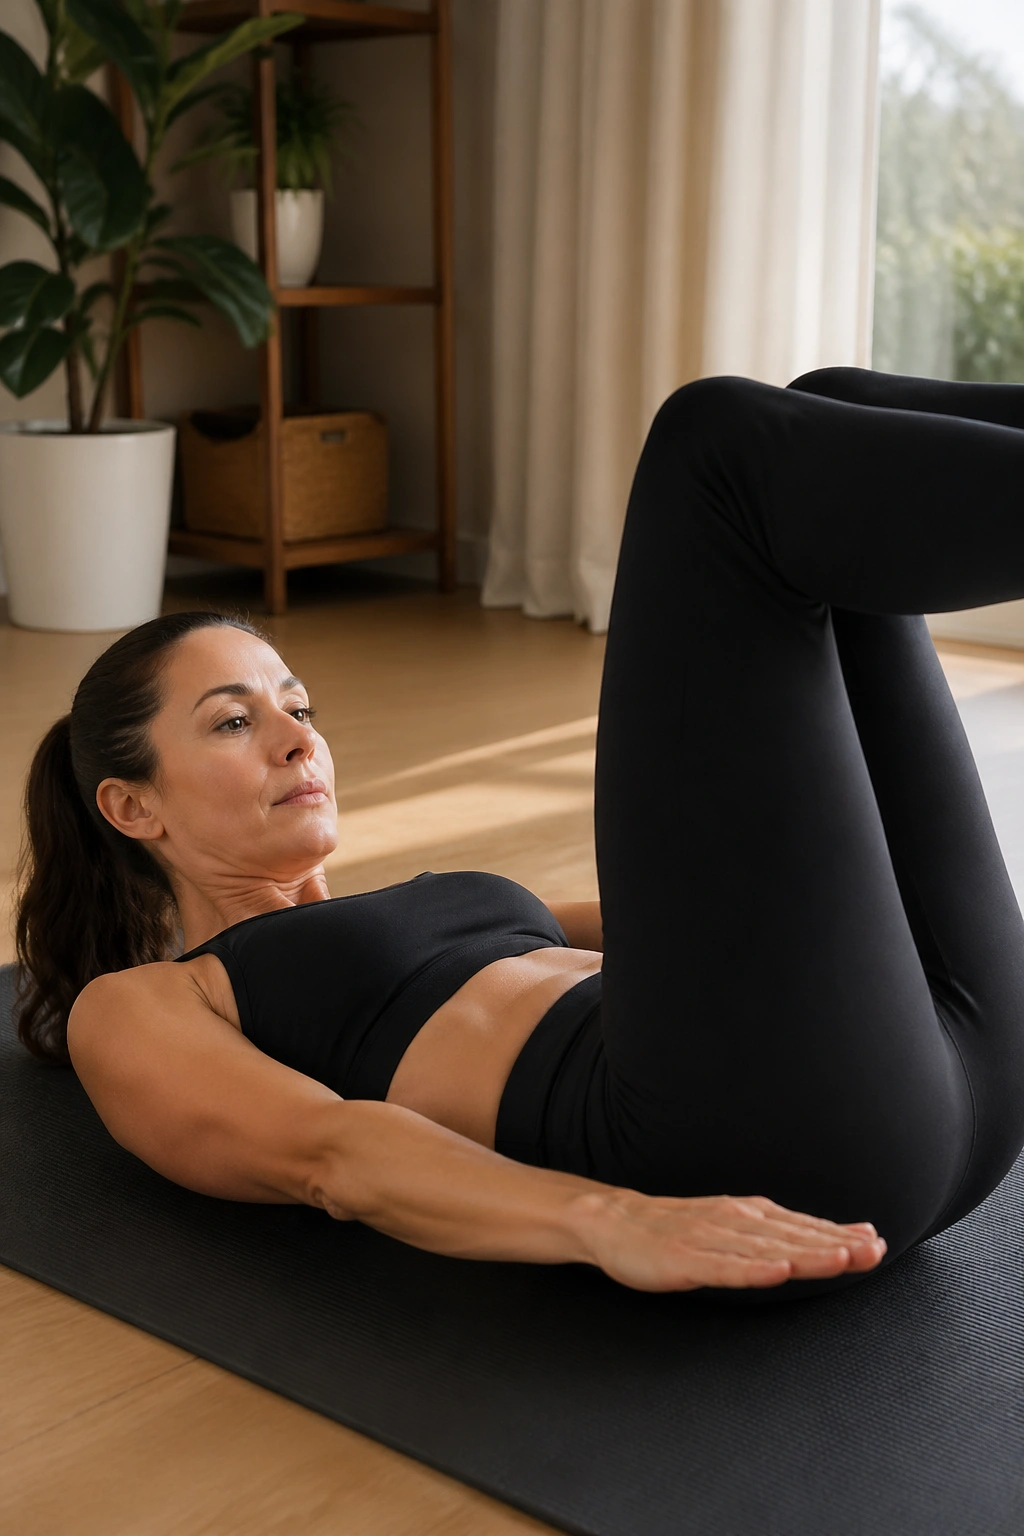
The Hundred gets all the attention, but the prep work is where the real usefulness hides.
Lie down, lift the legs to tabletop, and curl the head and shoulders only if your neck is happy. Pump the arms briskly beside the body for 5 counts in, 5 counts out. If the full version feels too intense, keep the head down and keep the legs bent. The breath rhythm matters more than the look of the shape.
A smart circuit might be: 30 seconds of arm pumps, 30 seconds of toe taps, 30 seconds of bridge holds, then 30 seconds of rest. Repeat twice. That keeps the body awake without making the exercise a neck strain festival.
The cue I use most is simple: ribs stay heavy, belly stays honest, shoulders stay away from the ears.
10. Inner Thigh Squeeze Series
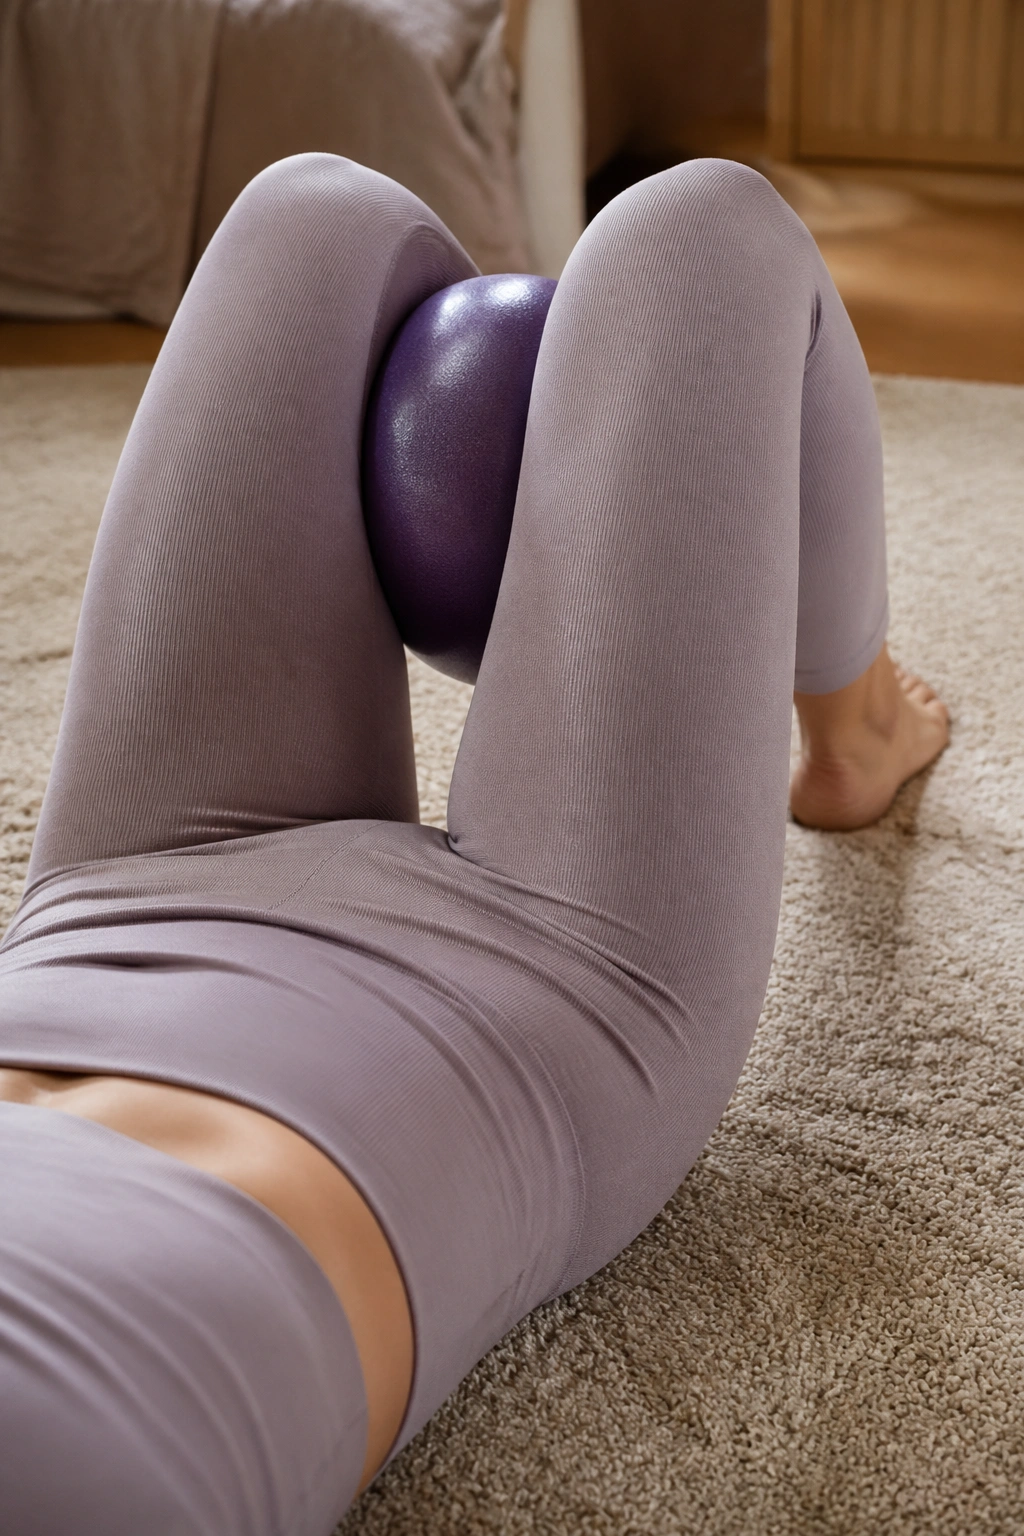
Grab a pillow, a yoga block, or a soft ball. Anything that gives light resistance works.
Lie on your back with knees bent and place the prop between your thighs or knees. Squeeze for 5 seconds, then release. Do 10 rounds. From there, move into a bridge and keep the squeeze gentle while the hips rise. Finish with tabletop holds and light pulses if your lower back stays calm.
The inner thighs do more than people think. They help with pelvic stability, and they show up fast when the movement is clean. You will feel this series inside the legs, yes, but also deep through the center line of the body.
Too much squeeze turns the exercise into a cramp. Too little and nothing happens. Aim for the middle, where the effort feels alive but not white-knuckled. Soft resistance beats a death grip.
11. Standing Balance and Footwork
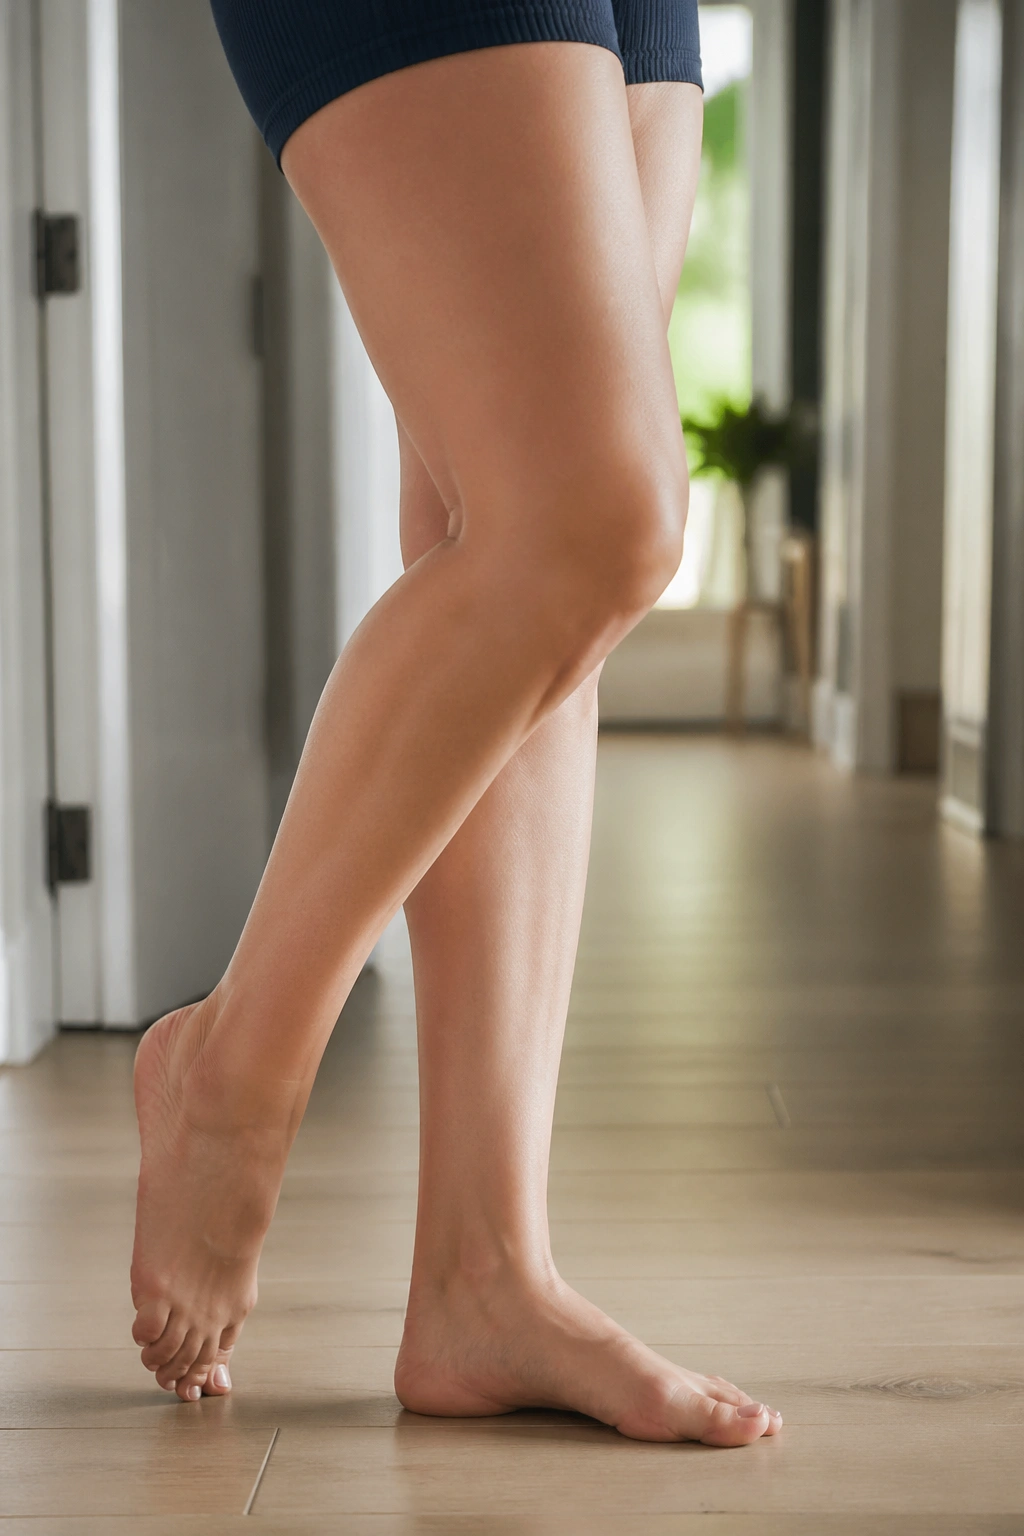
Not every Pilates workout needs to stay on the mat.
Standing work changes the game because the ankles, feet, and deep hip stabilizers have to collaborate without the comfort of the floor. Start with slow heel raises, then shift to single-leg balance with the opposite knee lifted. Add a tiny plié and a reach overhead if your shoulders are relaxed. A wall is fair game. So is a chair back.
What I like about this section is how honest it feels. If your arch collapses or your knee wobbles inward, you can see it right away. No guessing. No hiding.
- 10 heel raises
- 6 single-leg holds on each side
- 8 small pliés
- 6 standing knee lifts with a long exhale
That’s enough. Keep the toes grounded and the standing leg active.
12. Wall Pilates Posture Set
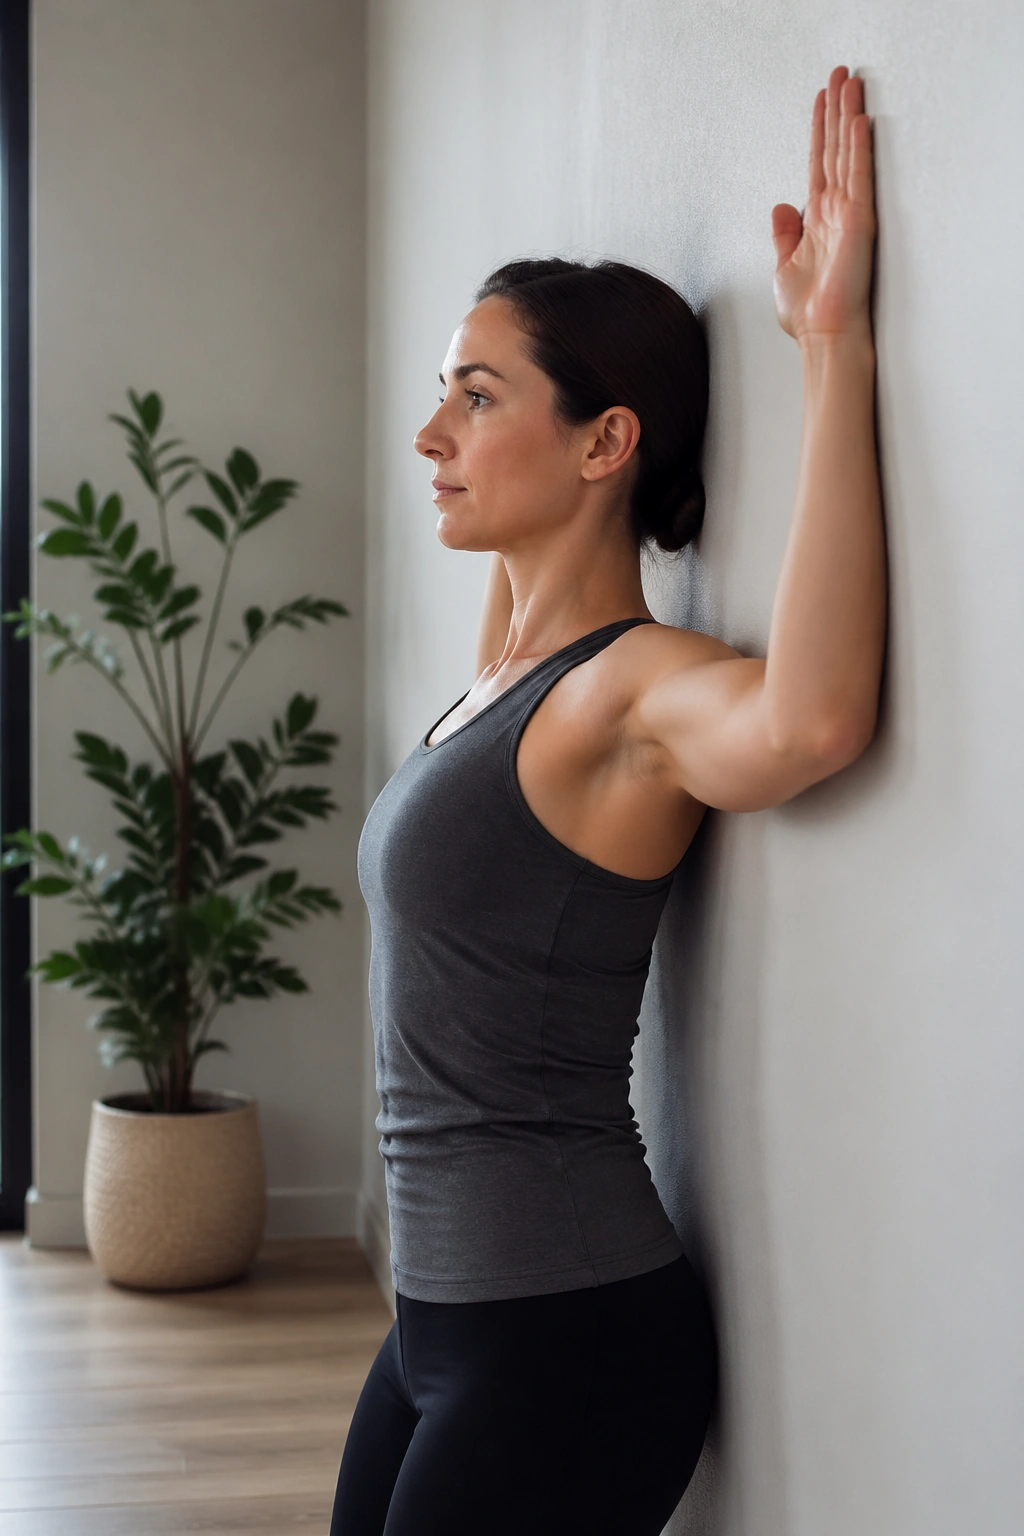
Why use a wall for Pilates? Because the wall gives instant feedback, and feedback makes posture work less vague.
Stand with your head, upper back, and pelvis lightly touching the wall if that’s possible without forcing it. Slide the arms up and down like wall angels, then do a slow wall roll-down, peeling the spine away from the wall one section at a time. After that, hold a gentle wall sit and march the feet one at a time.
Wall setup
- Feet 6 to 10 inches from the wall
- Knees soft, not locked
- Chin level, not lifted
- Ribs stacked over the pelvis
This one is sneaky. It looks mild. Then your quads start shaking and your upper back realizes it has been slouching for months. The wall keeps you honest.
13. Lower Back Relief Sequence
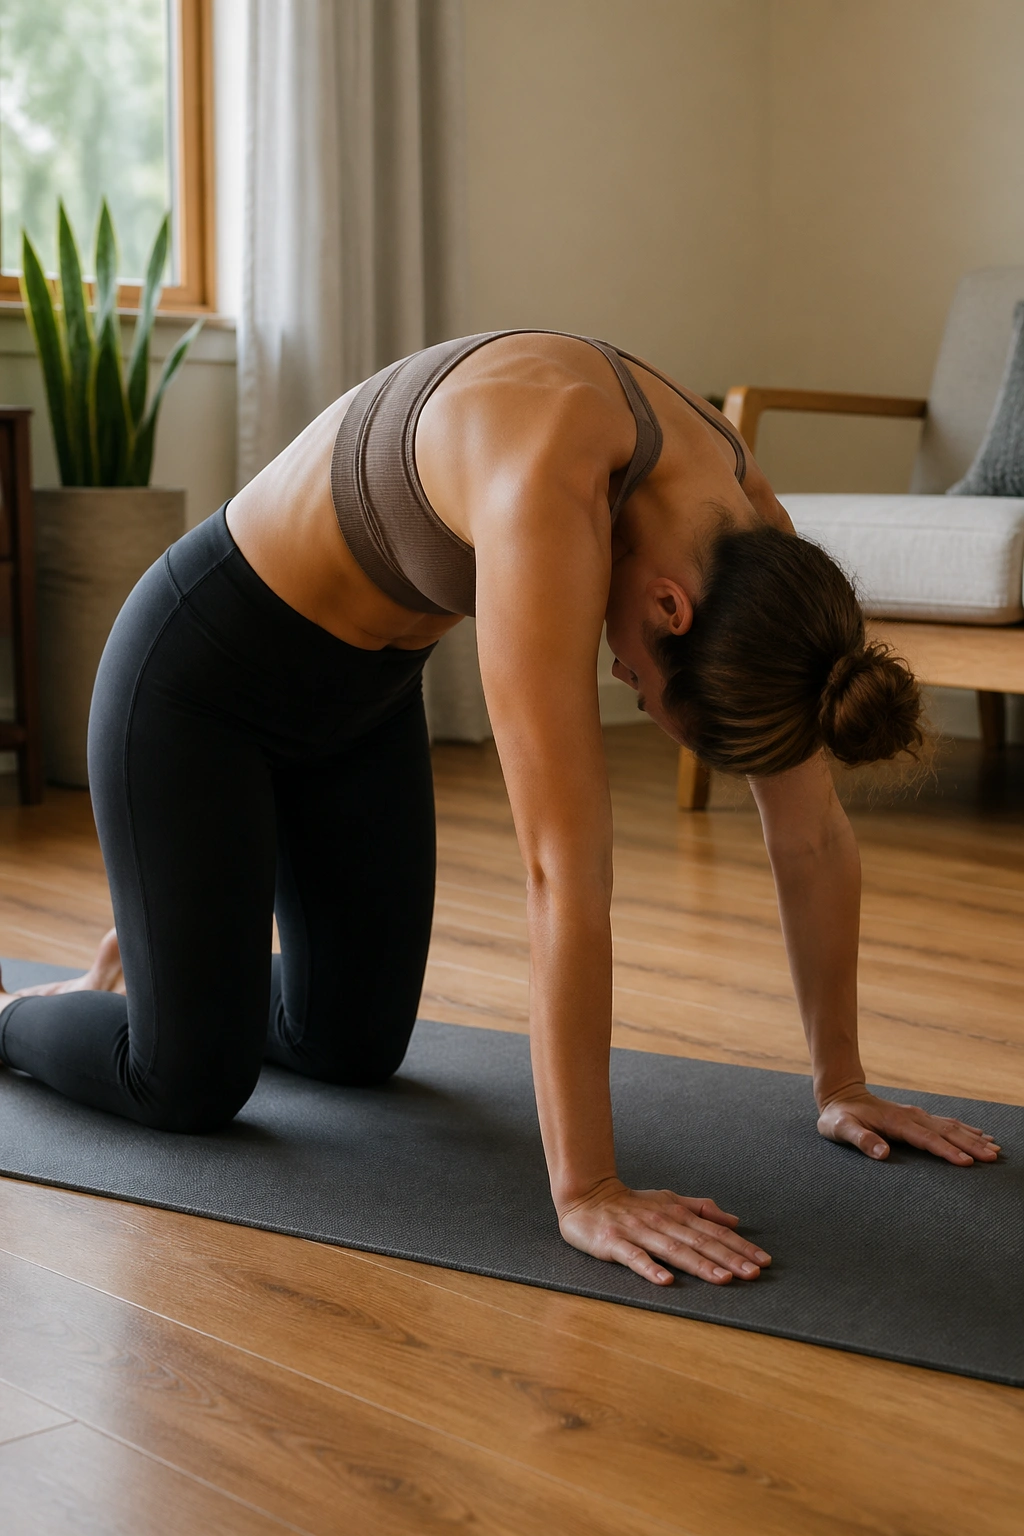
A tight lower back often wants less drama, not more.
Start with cat-cow for 6 slow rounds, then thread one arm under the other for a gentle twist. Lie down and let both knees sway side to side like windshield wipers. Finish with knees-to-chest breathing for 4 long exhalations. If any position pinches, skip it. Pain is a stop sign, not a cue to push harder.
I like this sequence on days when the spine feels grumpy from sitting, driving, or lifting awkward bags. Nothing here is flashy. That’s the appeal. The body usually settles when it’s given room to lengthen and rotate without pressure.
A one-line reminder: Back relief is usually about easing tension, not forcing stretch.
14. Oblique Twist Burner
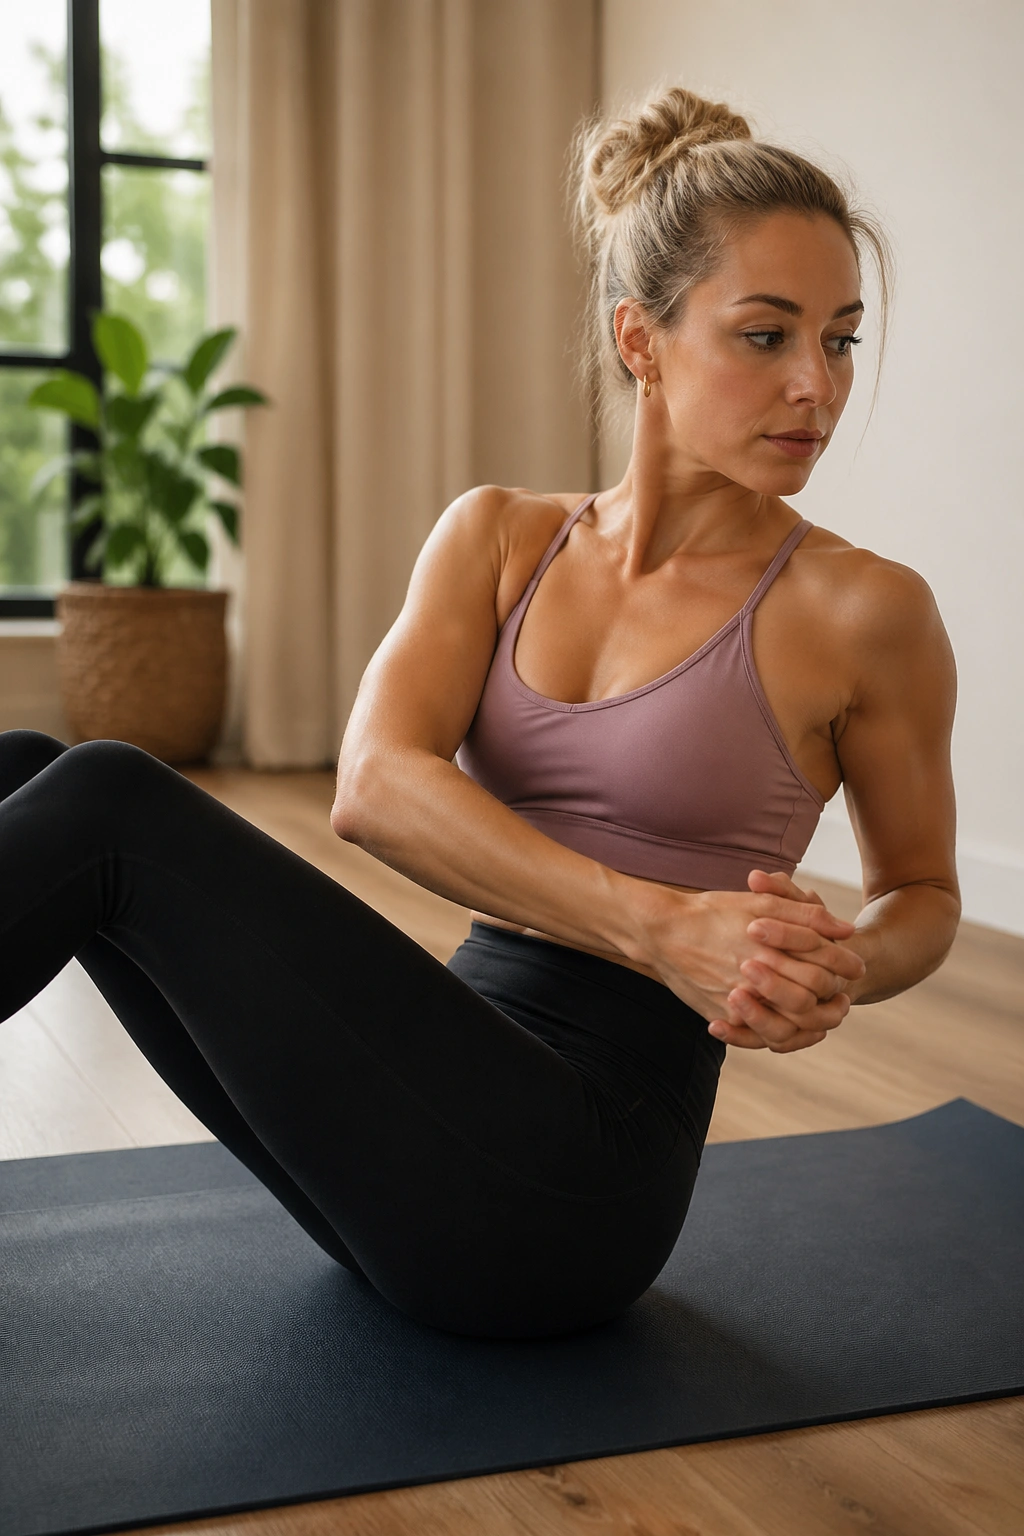
Endless bicycle crunches are overrated. Controlled twisting work is not.
Sit in a tall V-sit or keep one foot down if balance is shaky. Rotate the ribs toward one side, return to center, and switch. Add a mermaid stretch on the side to open the ribs between sets. If your hips want to drift, anchor them harder. If your shoulders start doing all the work, slow down and reduce the range.
What makes it different
The best oblique work feels like rib cage control, not a full-body flop. That is why mermaid, saw, and seated rotation drills often land better than frantic twisting. They give the torso a job without throwing the whole spine around.
Try 8 twists per side, then 20 seconds of side bend breathing. You should finish feeling more organized through the waist, not wrung out.
15. Hamstring Slide-Back Flow
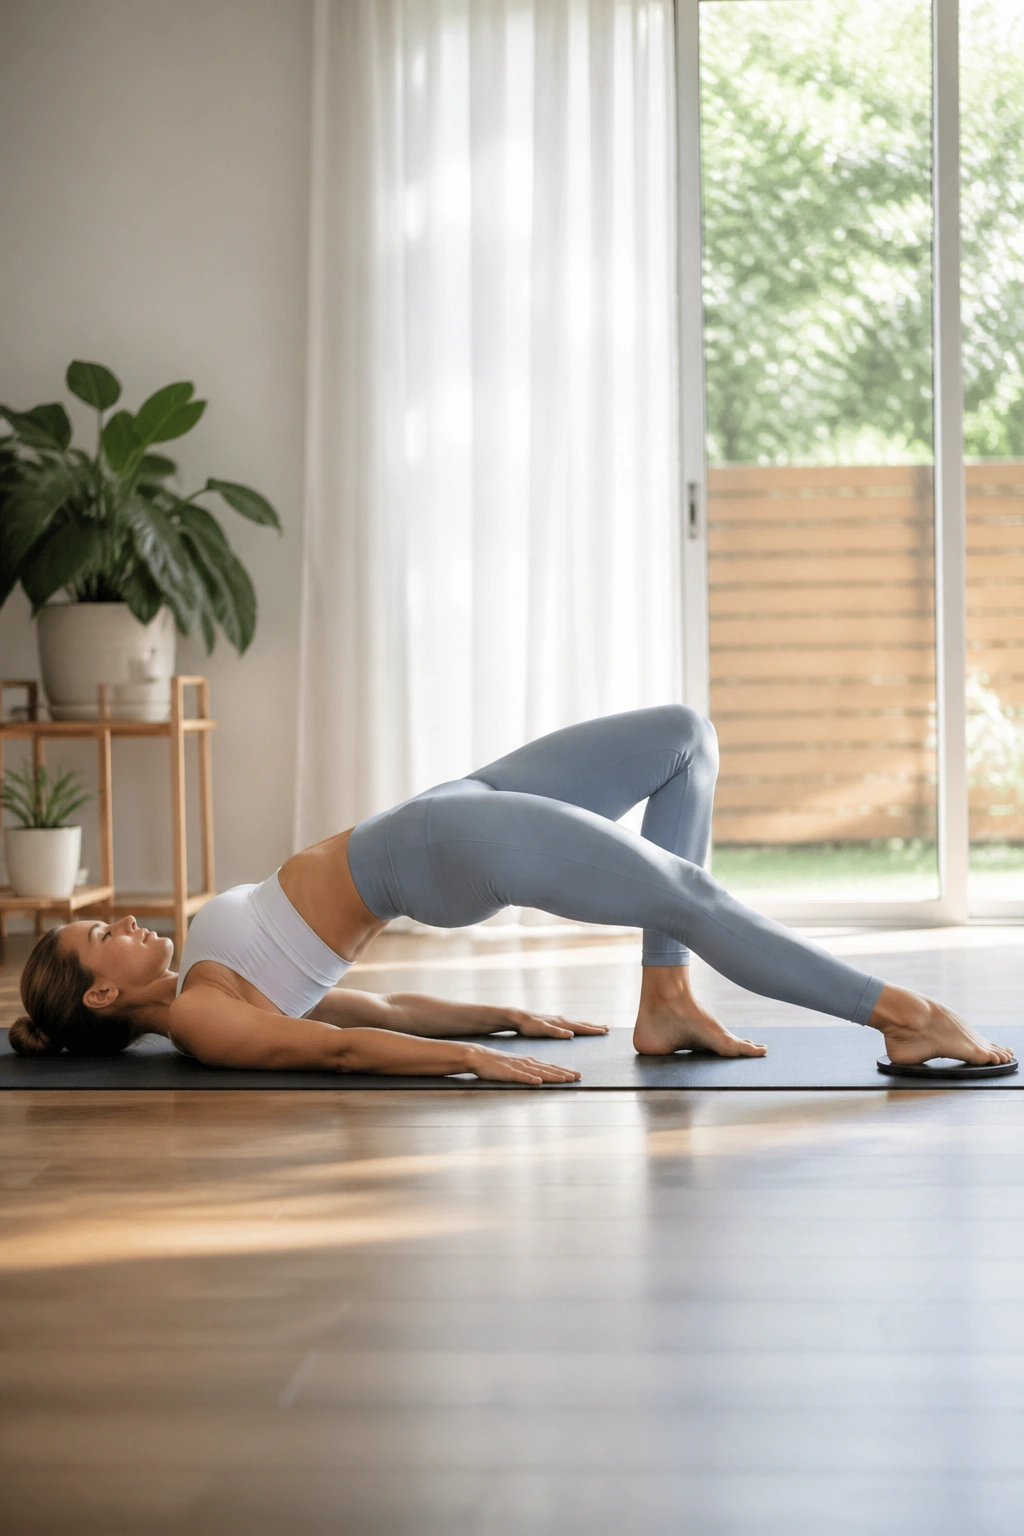
If you have socks on a smooth floor or a pair of sliders, this one is worth doing.
From a bridge position, slide one heel away from the body until the leg almost straightens, then pull it back in using the hamstring. Keep the hips as level as possible. If sliders are not available, put towels under the heels and use those. Two sets of 6 to 8 reps each side is plenty.
The hamstring slide is hard in a clean way. There’s no momentum to hide behind. The supporting glute has to work, the core has to stay awake, and the moving leg has to stay controlled all the way through.
Breathe out as the heel slides away. Breathe in as it returns. That rhythm helps keep the trunk from bracing into a mess.
16. Mini Band Pilates Glute Burner
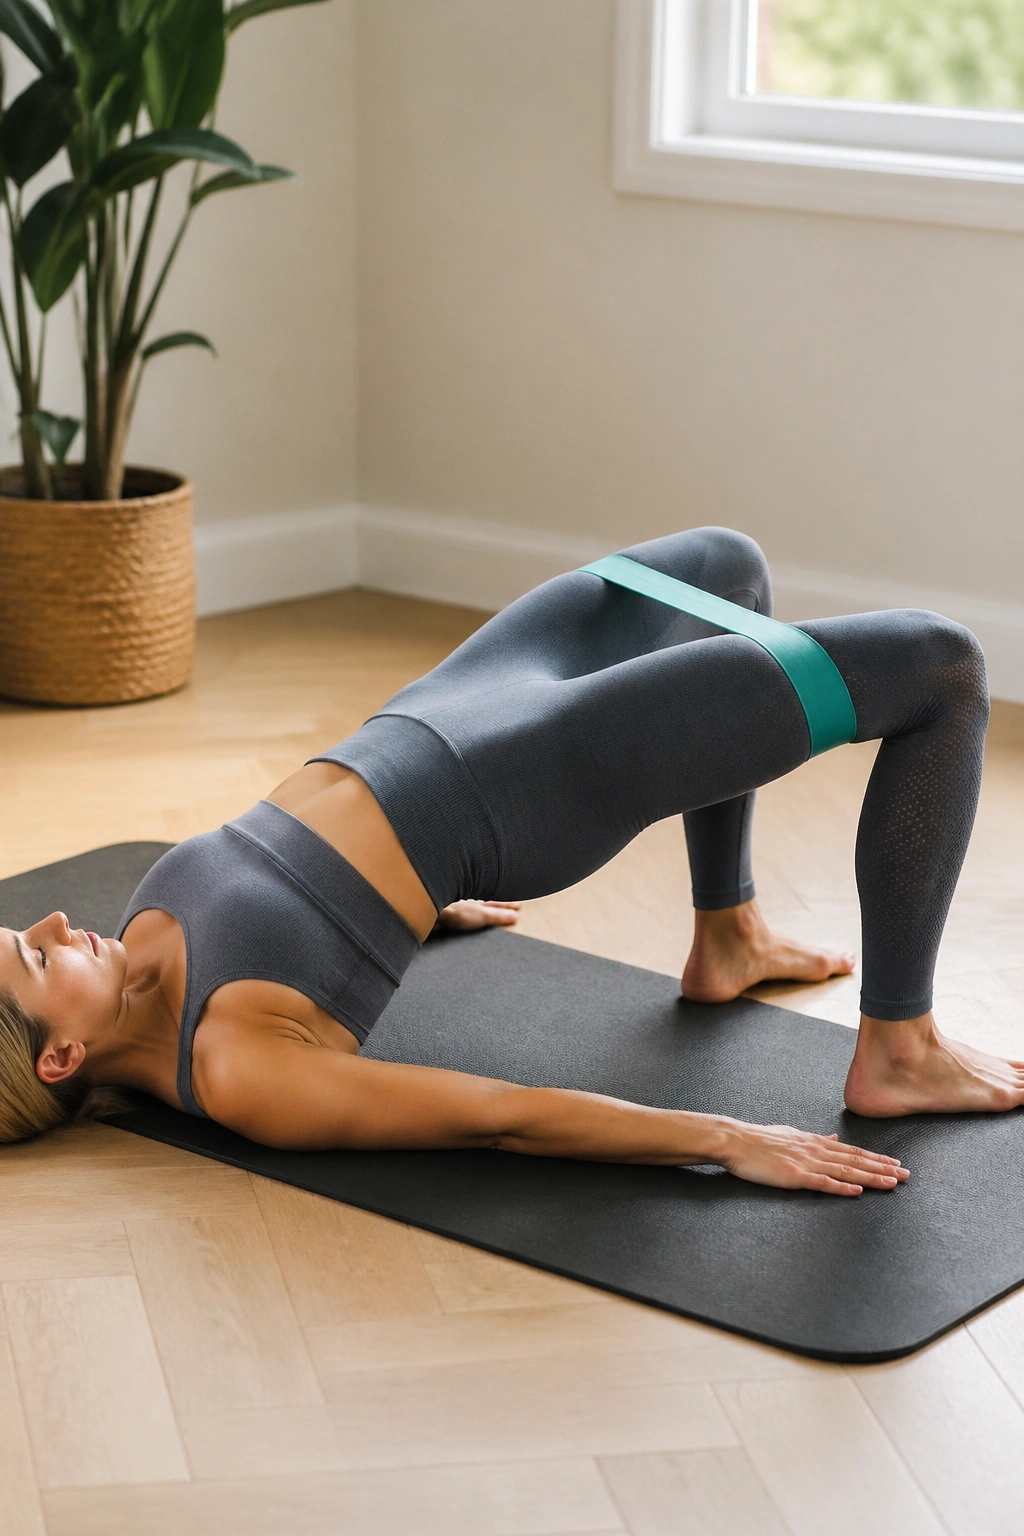
A light band can turn a friendly bridge into a serious glute test.
Place the band just above the knees or around the ankles, then do bridges, lateral steps, and standing abductions. The key is not to let the knees cave inward when the band pulls back. Keep the feet rooted and the pelvis steady. If the band is so tight that form falls apart, it’s too much.
What to do
- 10 bridge lifts with a band
- 8 bridge pulses at the top
- 8 side steps each direction
- 10 standing leg lifts on each side
The burn should live in the hips, not in the lower back. That line matters. Too many people chase the band tension and lose the shape of the exercise. Resist that urge. Clean form is the whole sale.
17. Shoulder Stability and Arm Work
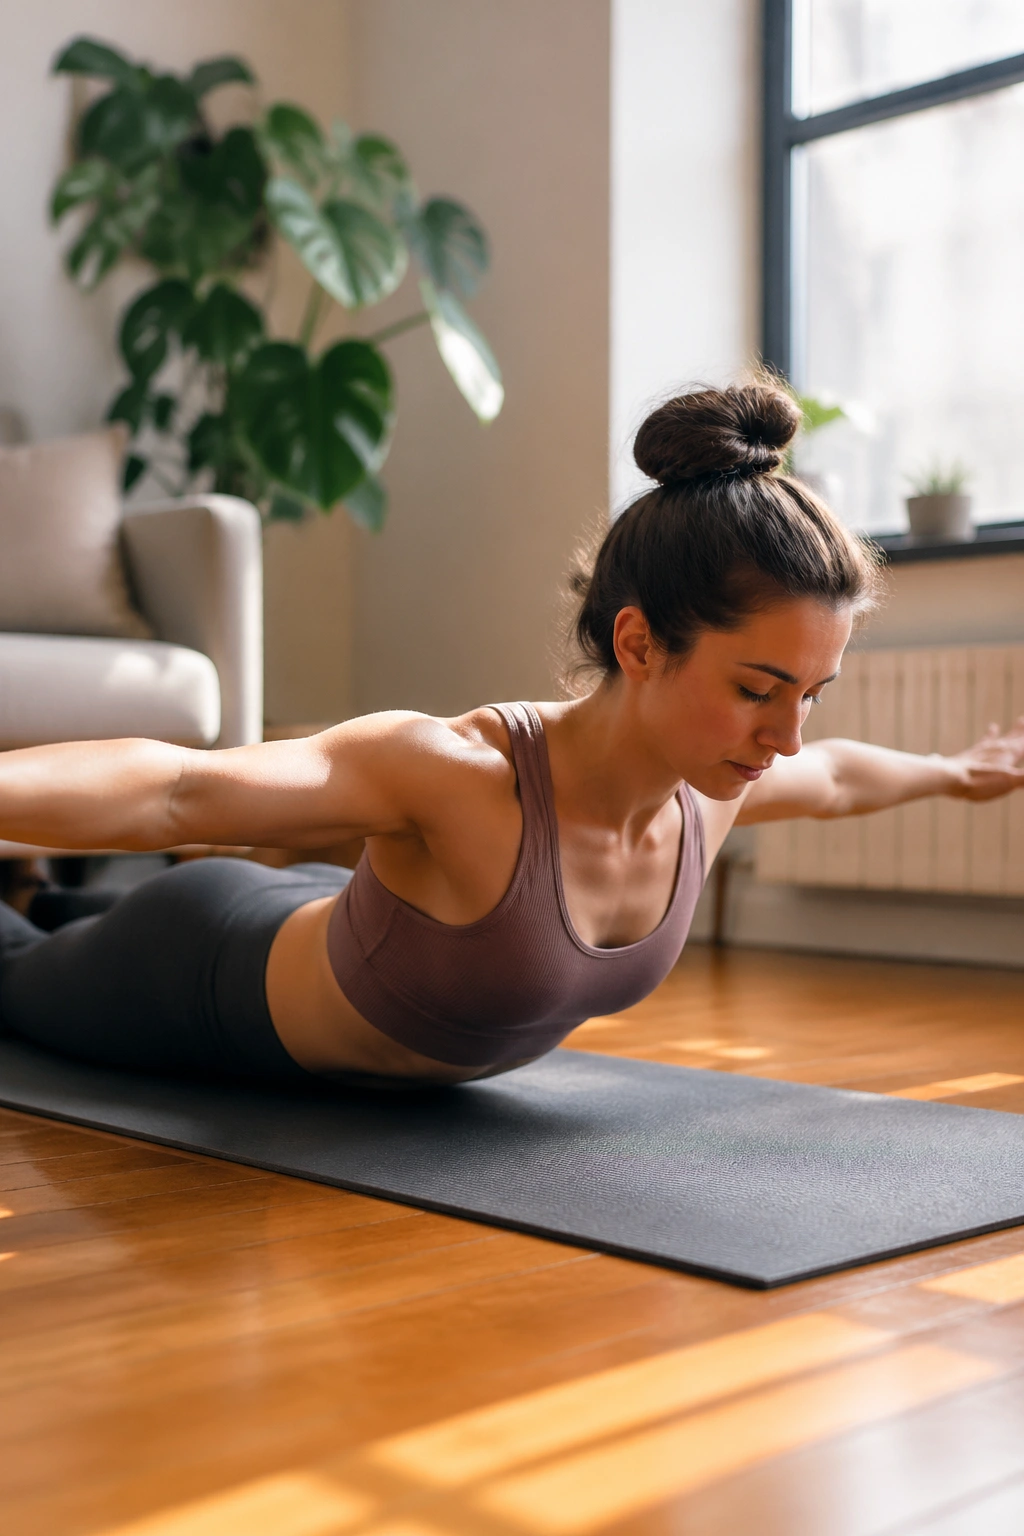
Pilates arm work looks tiny until your shoulders start quivering.
Lie face down for prone T, Y, and W shapes, lifting the arms a few inches off the mat with the neck long. Then come to a kneeling plank and tap one shoulder at a time if your wrists tolerate it. Press the floor away, keep the shoulder blades sliding down the back, and stop the range before the low back starts to help.
A lot of upper-body Pilates is about coordination, not load. That is why a light set of movements can feel strangely demanding after a few rounds. The goal is clean scapular control, steady breath, and no shrugging.
One quick cue: long neck, wide collarbones.
18. Neck-Friendly Core Workout
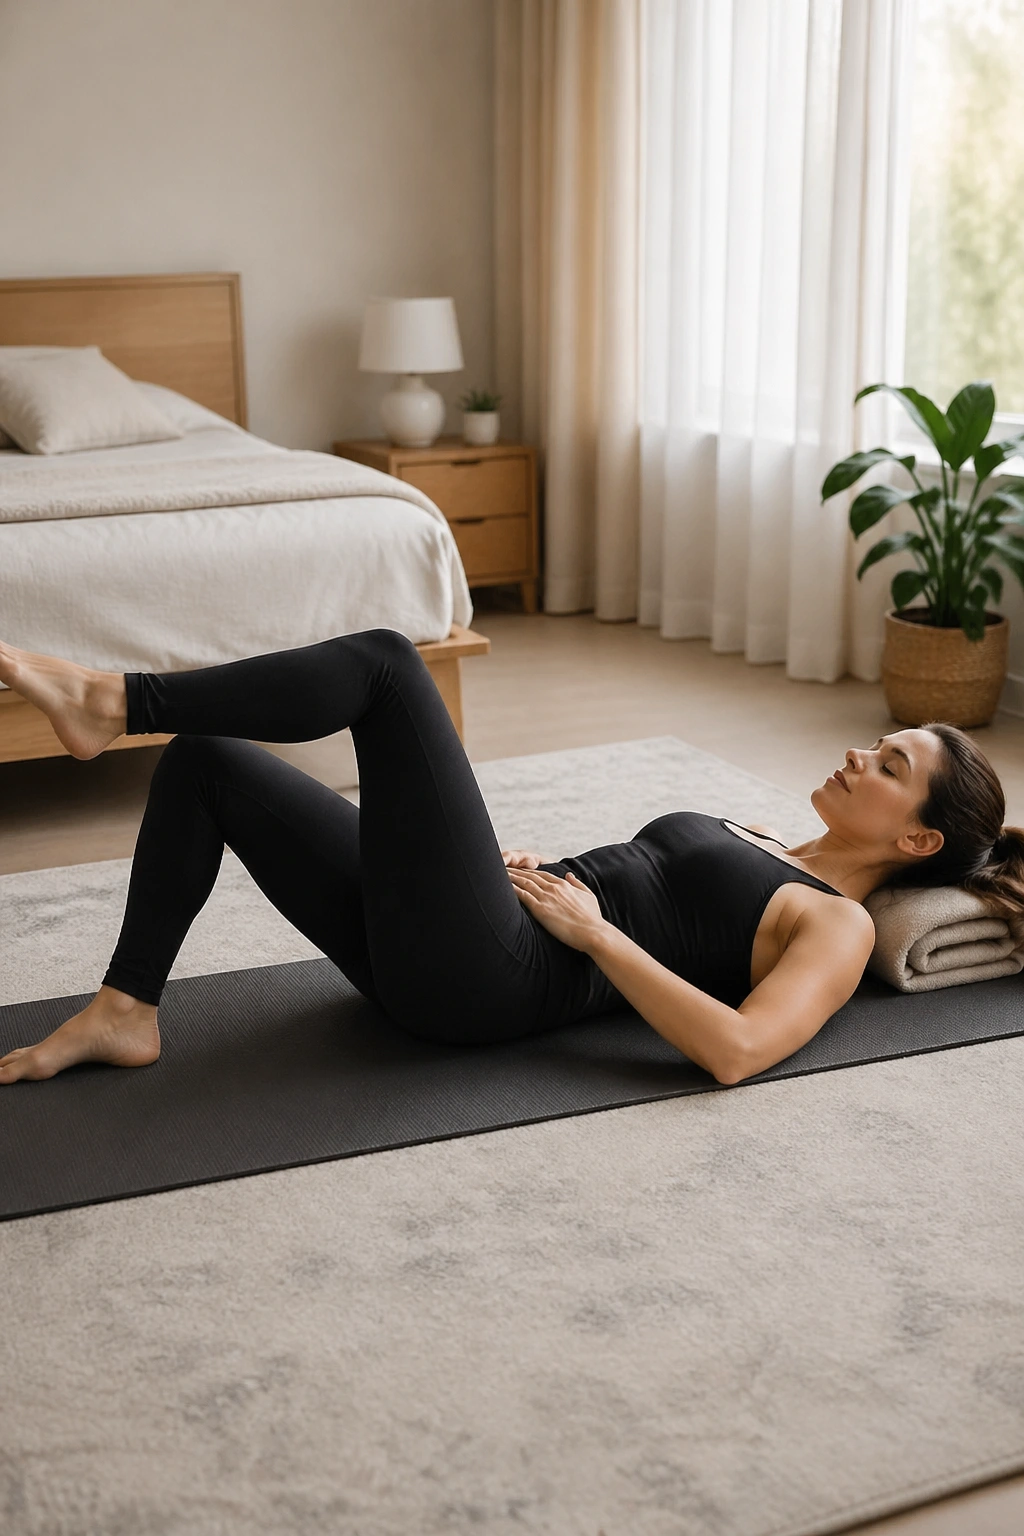
Can you train your abs without pulling on your neck? Yes, and it should feel like a relief.
Use moves that keep the head down or supported: heel slides, toe taps, bent-knee folds, and low bridges. If you want a chest lift, place one hand behind the head and keep the elbows wide so the neck doesn’t do the pulling. A folded towel under the head can help, too. The point is to keep the work in the center, not in the throat.
Best moves for this style
- Heel slides
- Marches in tabletop
- Bent-knee dead bugs
- Mini bridges
- Side-lying oblique lifts
People often think core work has to feel harsh to count. Not true. The honest version is quieter. You feel the deep abs organize the pelvis while the head and shoulders stay calm.
19. Desk Reset for Tight Hips
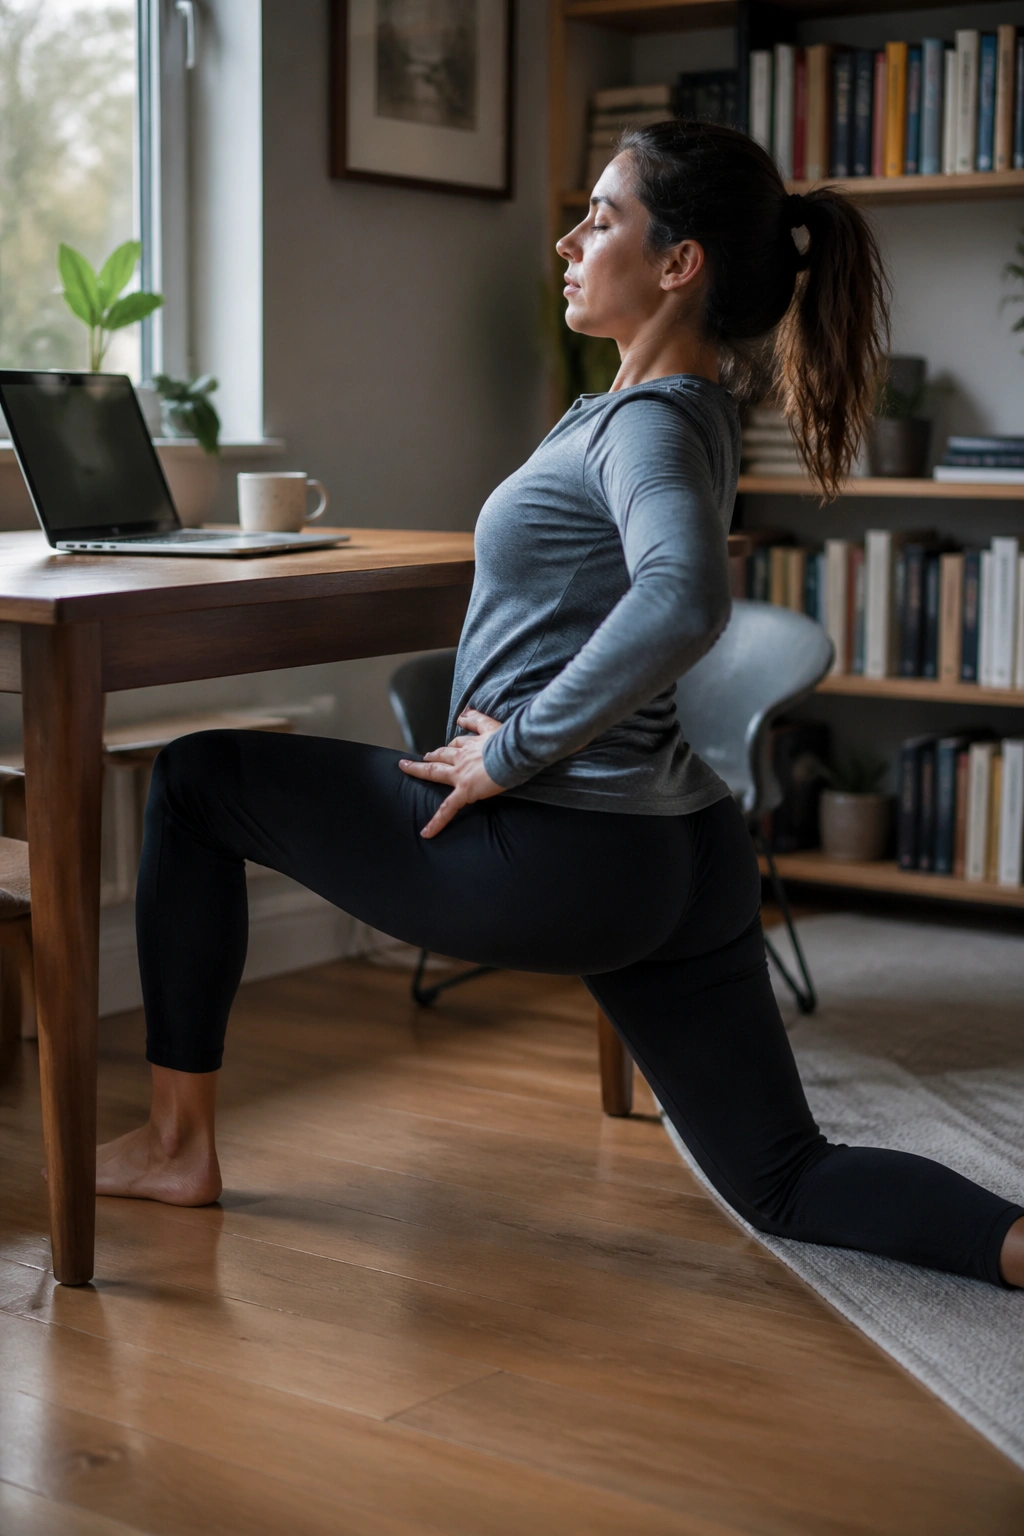
You know the feeling: hips sticky, hamstrings dull, upper back rounded like it forgot its job.
This is the answer after too much sitting. Start in a half-kneeling hip flexor stretch, tuck the pelvis slightly, and breathe into the front of the hip for 4 slow breaths. Then move into a side-lying leg lift set, a figure-four stretch, and a kneeling side reach. If floor work is impossible, do the standing version with one foot on a chair and a small bend in the supporting knee.
The best part is how quickly the body responds when the front of the hip gets some attention. The stride opens. The back stops compensating so hard. The whole lower body feels less jammed.
You do not need a full hour. Eight or nine minutes can change the tone of the rest of the day.
20. Teaser Prep Without the Drama
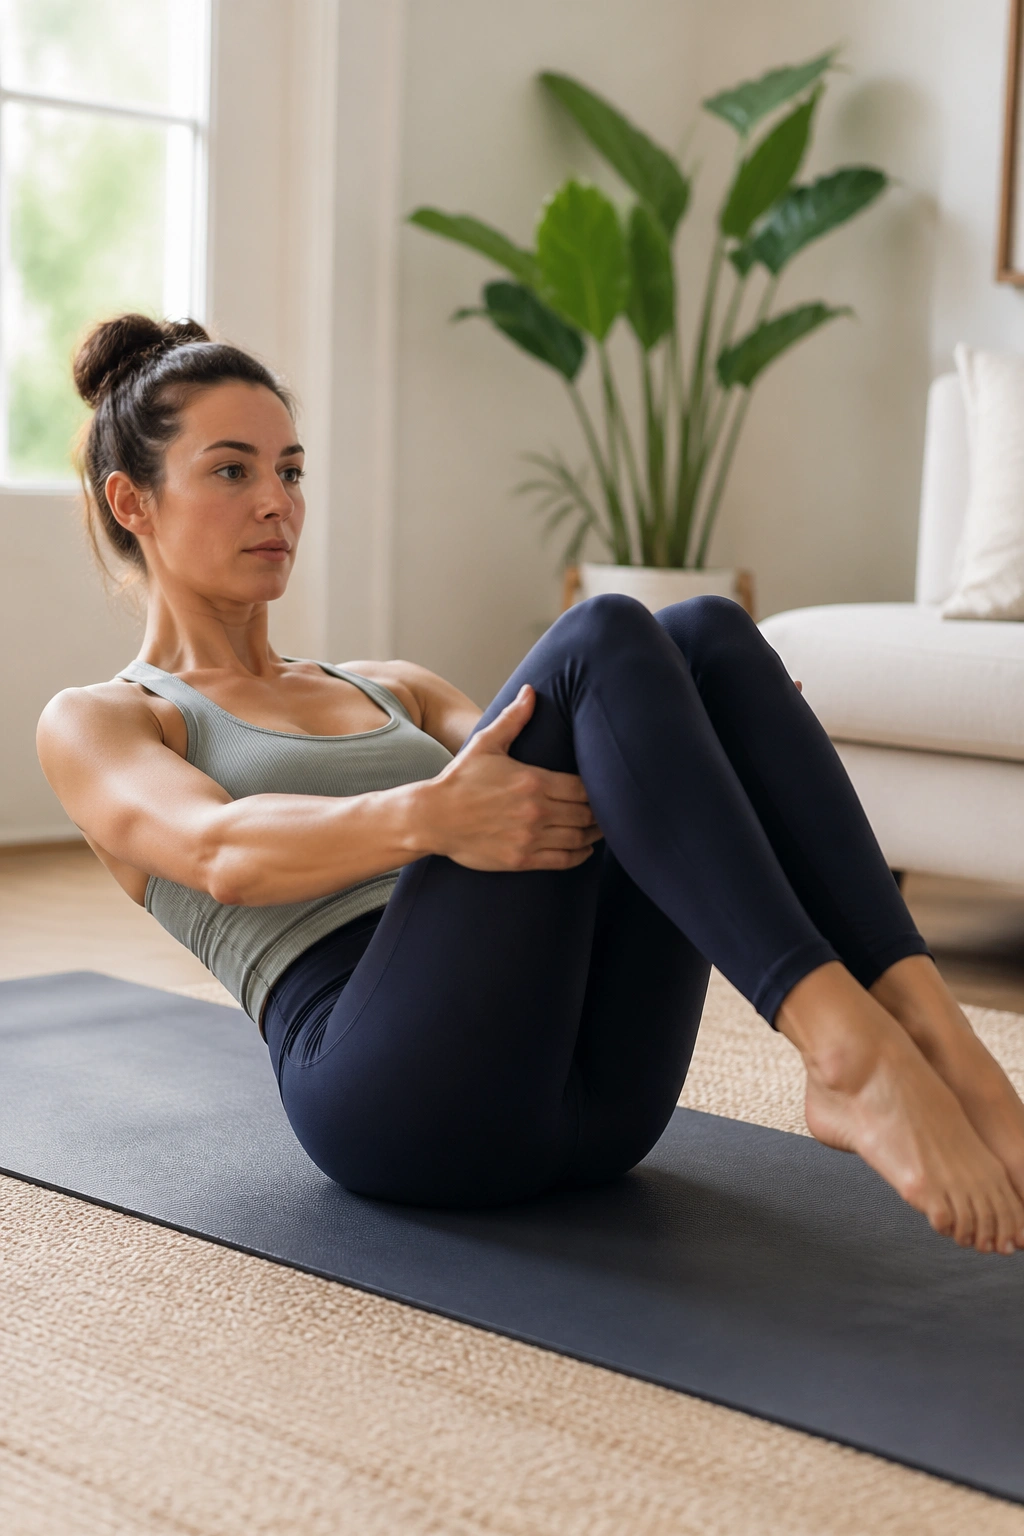
A full teaser is elegant, yes, but the setup deserves respect.
Begin with bent knees and hands behind the thighs. Roll halfway down, then come back up without losing the chest position. If that feels steady, extend one leg at a time. Only then try both legs straighter. The movement should stay smooth, not jerky. If the hip flexors dominate or the neck tenses, reduce the lever and try again.
What to build first
- Balance at the sit bones
- Control through the lower abs
- A steady chest lift
- Smooth breath under pressure
This is not a move to rush. A messy teaser teaches the wrong thing. A patient one teaches the torso how to hold shape while the limbs move away from center. That skill carries into almost every other Pilates exercise.
21. Slow Leg Lowering Challenge
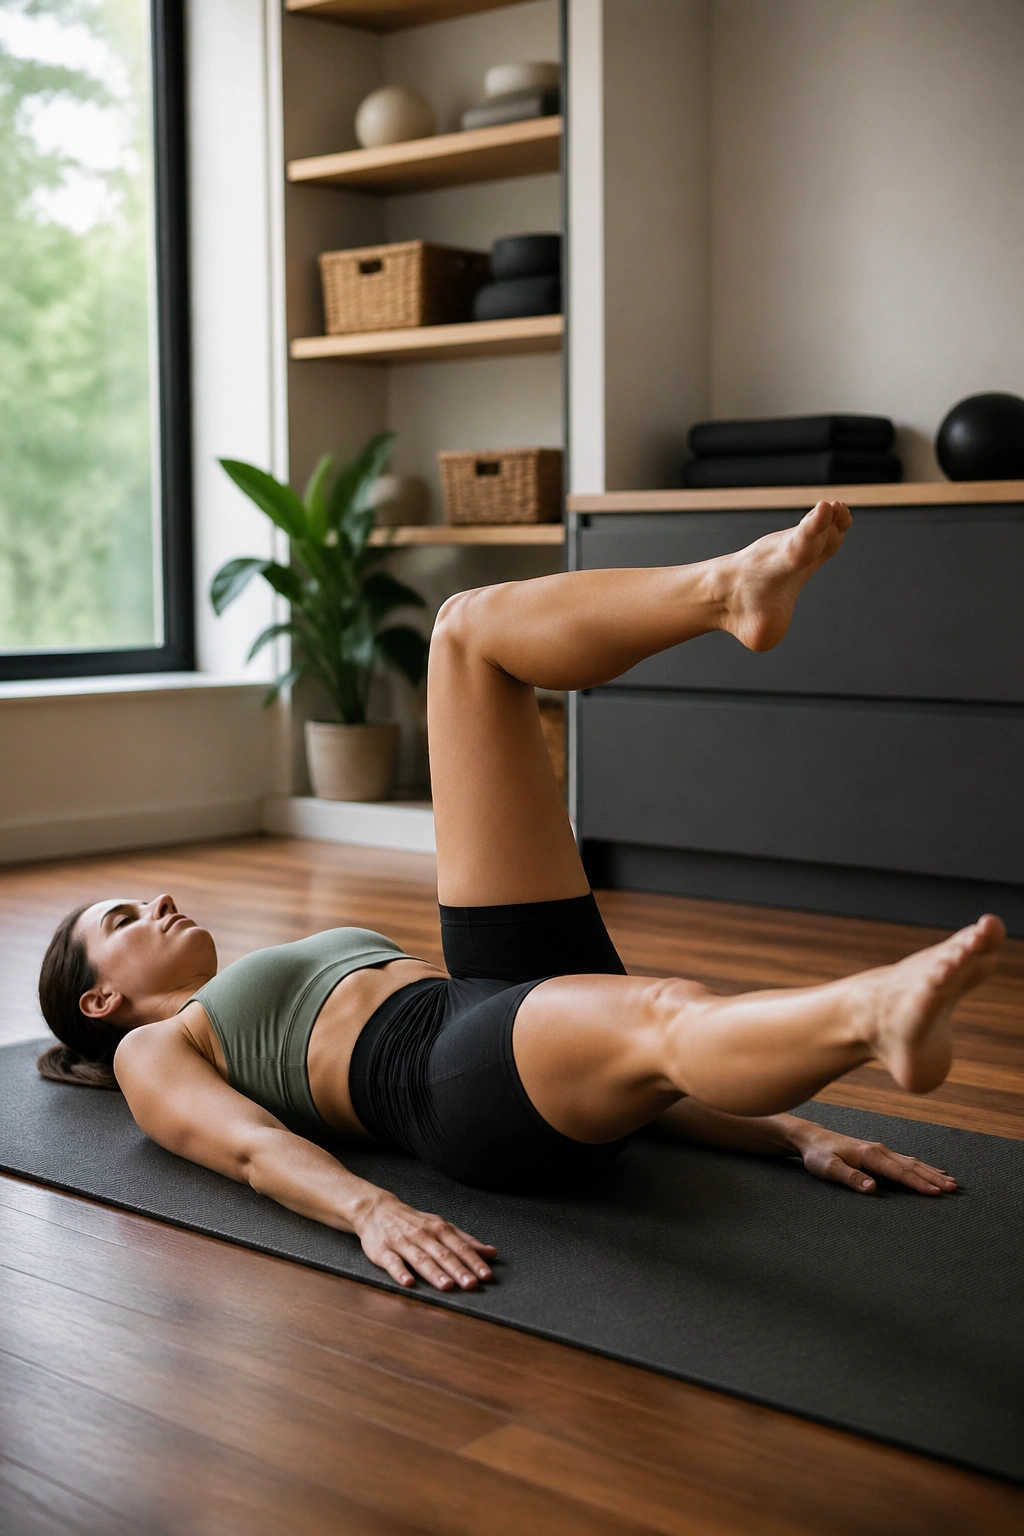
Lower-leg work is one of the simplest ways to find out whether the core is actually doing anything.
Lie on your back, bring both legs to tabletop, and lower one leg a few inches at a time. Stop the moment the low back tries to arch. Return and switch. If full straight legs are too much, keep the knees bent. There is no prize for making it harder than it needs to be.
The challenge comes from control, not depth. A 4-inch range done slowly is more useful than a 12-inch drop done with a backbend. Exhale on the lowering phase and keep the ribs weighted into the mat.
One strong rep beats a sloppy cluster. Every time.
22. Mobility-First Recovery Session
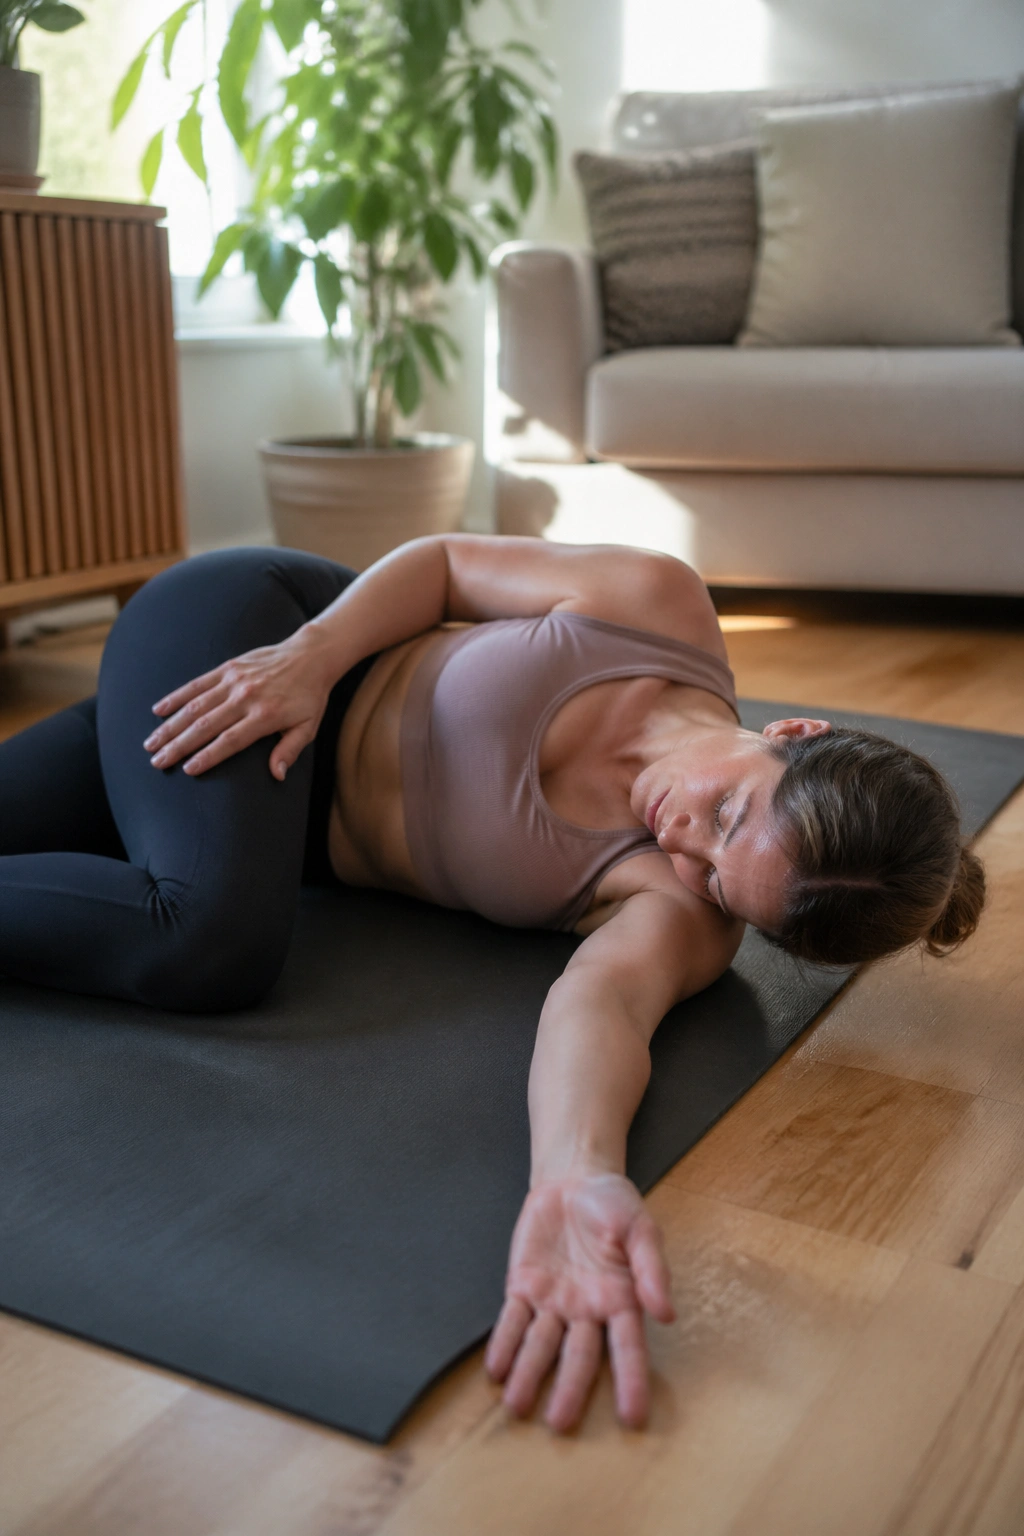
Some workouts should leave you more open, not more tired.
This one is for the day after a harder mat session or whenever your body feels glued together. Start with cat-cow, move into open-book rotations on your side, add hip circles, then finish with a gentle spinal twist and a hamstring reach. Stay in each shape long enough to actually breathe, but not so long that you cool off and stiffen up again.
How slow is slow?
Slow enough that you can notice where the tension lives. Faster mobility often turns into random movement. Slower movement teaches you where the sticky spots are and gives them a chance to settle.
I like this kind of session because it puts the body back in working order without pretending recovery is lazy. It isn’t lazy. It’s smart.
23. Low-Impact Cardio Pilates
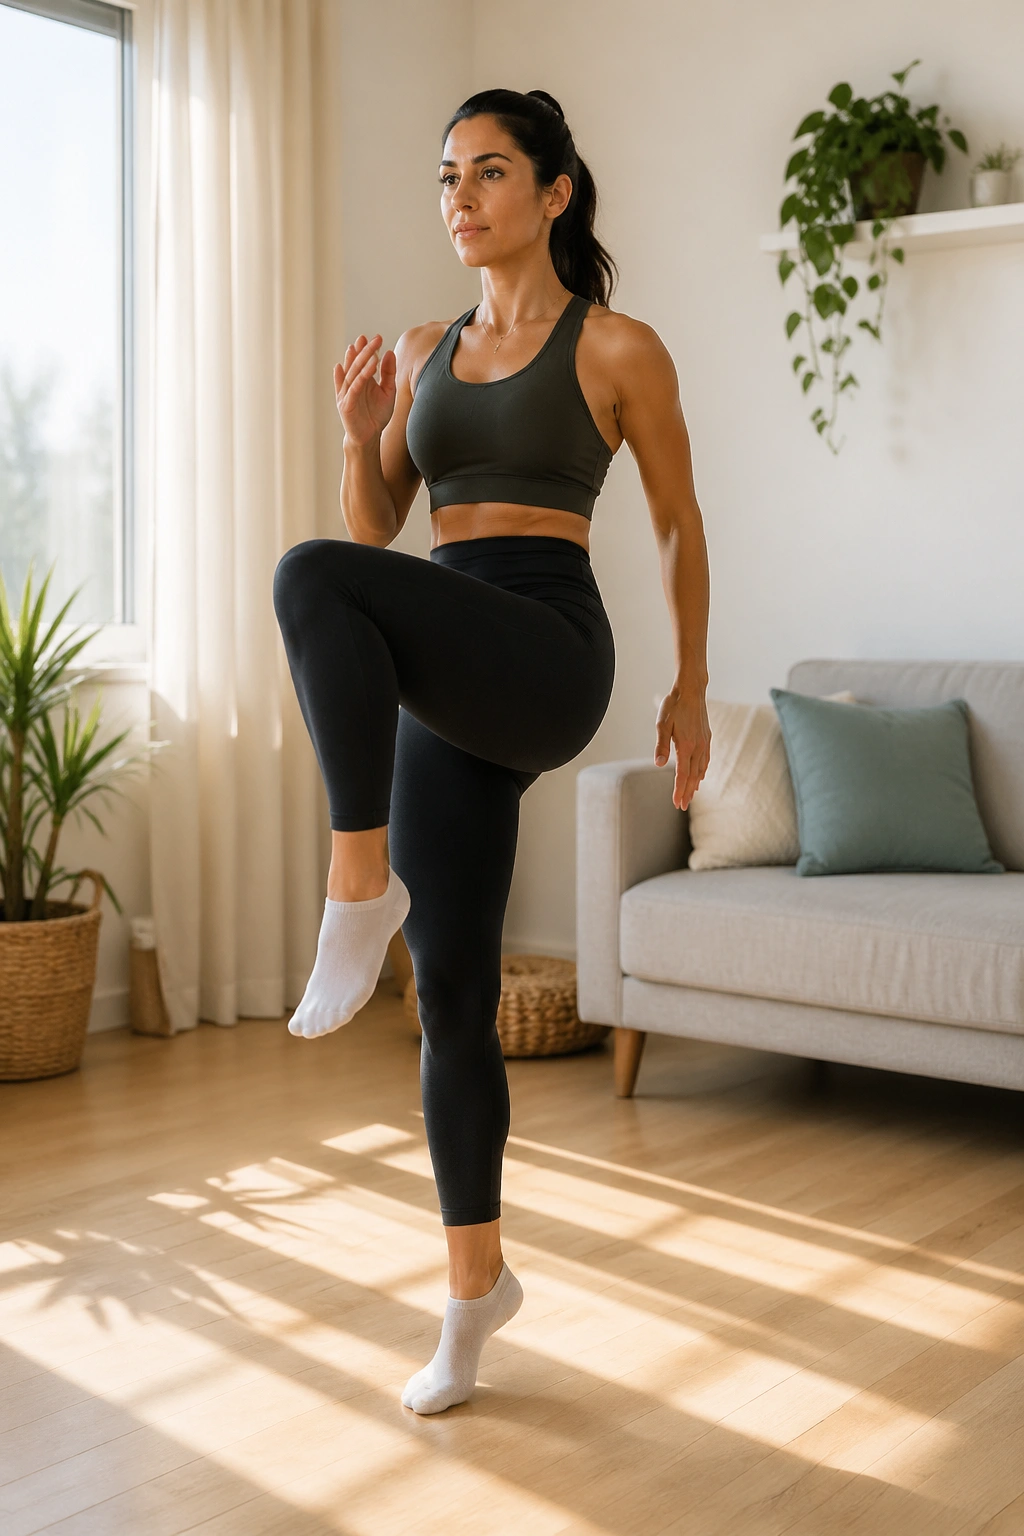
If you want your heart rate up without jumping, this is the one.
Use standing knee drives, fast-but-controlled marches, squat-to-reach patterns, and plank knee tucks on the mat. Keep the moves short and the transitions tidy. Thirty seconds on, 15 seconds off is enough to feel it. The pace is brisk, but the form stays Pilates-clean: ribs controlled, shoulders quiet, breath steady.
A session like this can be a nice bridge between strength work and plain conditioning. You get the heat without the pounding. You also get a better sense of how your body holds shape when it’s a little tired, which is useful information.
Do not turn it into a sprint. Fast is fine. Sloppy is not.
24. Pilates for Runners
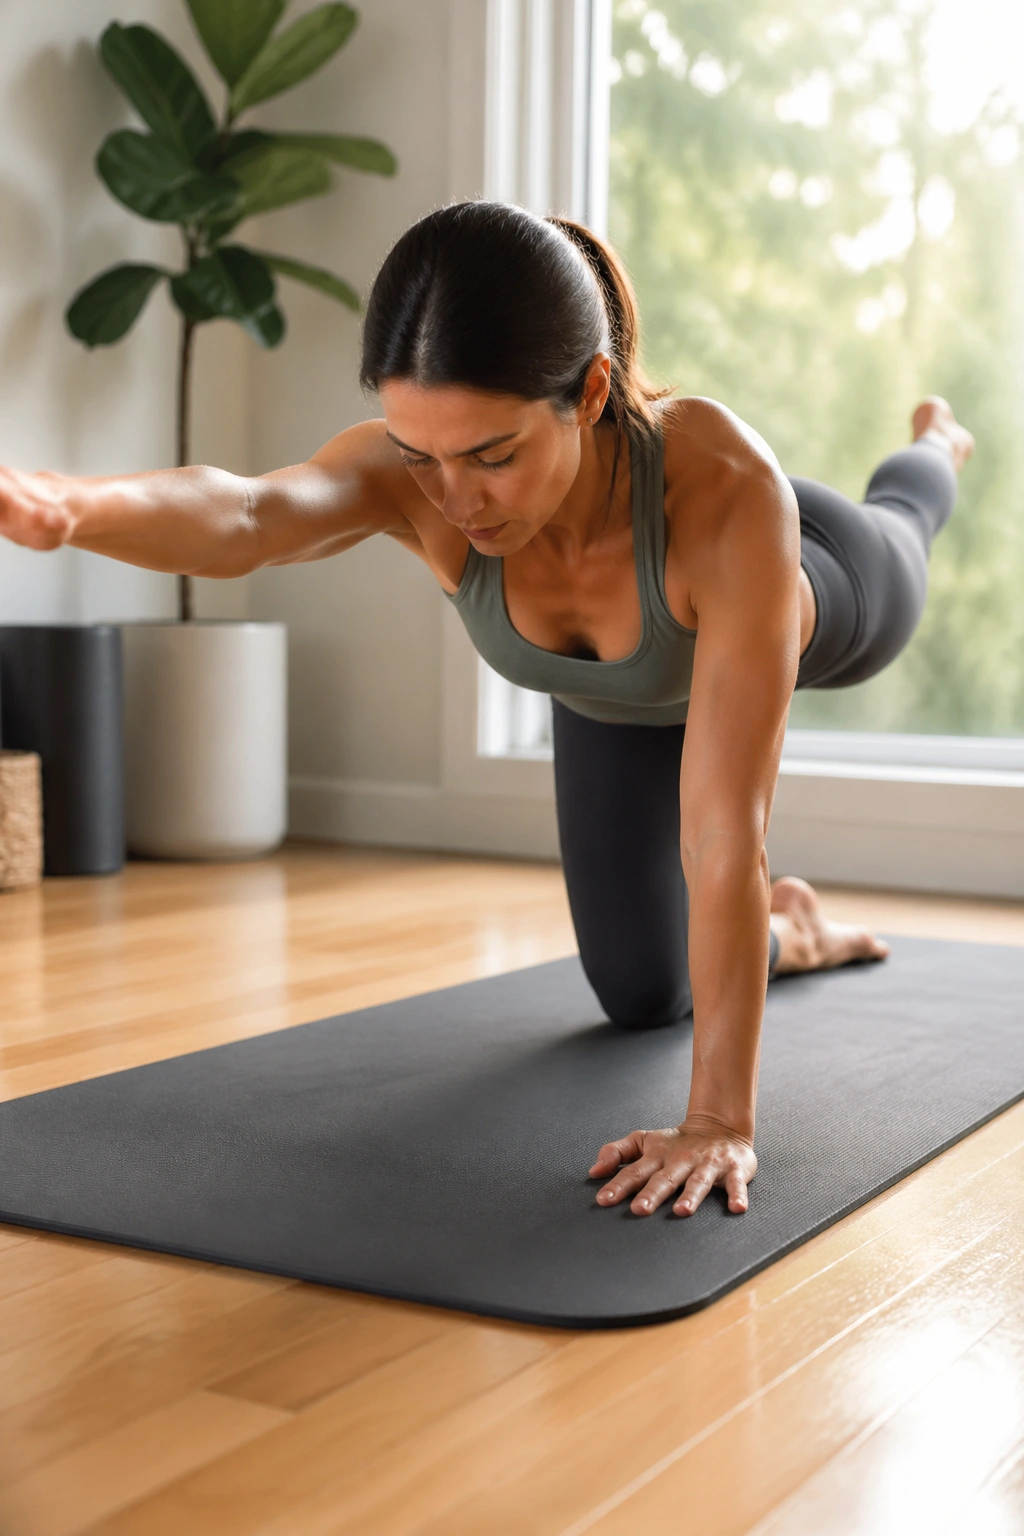
Runners do not usually need more miles. They need hips that behave.
Focus on single-leg balance, glute med work, calf raises, and spinal rotation. A runner’s Pilates workout should make the pelvis steadier and the upper body less locked. Try side-lying leg lifts, standing knee drives, bridge holds with marching, and a short thoracic rotation series on the mat.
The payoff is practical. Better hip stability often means less side-to-side wobble. Better trunk control can make your stride feel less wasteful. You are not trying to turn running into ballet. You are trying to make the body hold up better under repetitive load.
A clean mini-set might be 8 bridges, 8 single-leg balance holds, 10 calf raises, and 6 rotations per side. Small, repeatable, useful.
25. Deep Core and Pelvic Floor Work
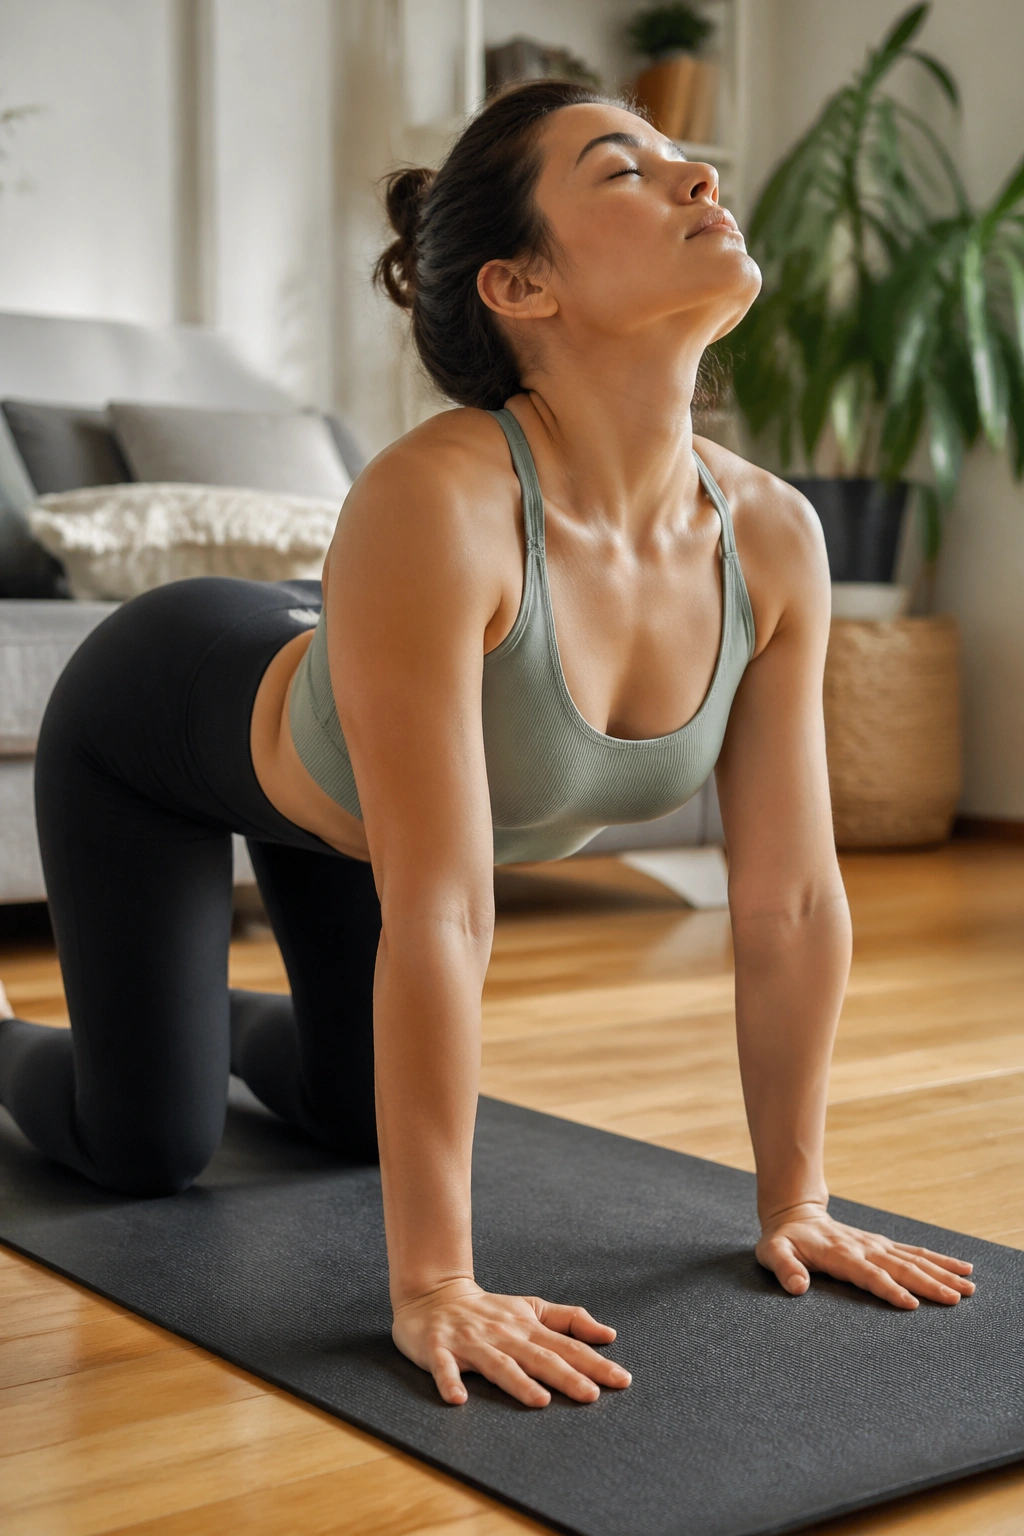
What people call the “deep core” is not one magic muscle. It’s a group that works together — the deep abdominals, the diaphragm, the pelvic floor, and the muscles around the spine.
Start on your back and practice a long exhale while gently narrowing the waist. That soft wrap is what you’re after. Add heel slides, marching, and small arm reaches while keeping the breathing smooth. The biggest mistake here is clenching everything like you’re bracing for a punch. That usually shuts the system down instead of helping it.
A cleaner way to think about it
- Exhale to organize
- Inhale to keep space
- Move without losing the breath rhythm
- Stop before tension turns into gripping
This work should feel subtle, not dramatic. If you finish and can breathe more freely than when you started, you got it right.
26. Small Ball Stability Workout
A small Pilates ball is one of those props that earns its place fast.
Place it between the knees for bridge work, between the ankles for adductor control, or under the upper back for a supported chest lift. Each position changes the challenge a little. The knees-to-ball version helps keep the legs aligned. The ankles-to-ball version asks more from the inner thighs. The upper-back version adds a stretch-and-support feel through the spine.
You don’t need a hard squeeze. You need a steady one. Press for 3 seconds, release, and repeat. That keeps the muscles awake without cramping them.
If the ball is sliding around, the setup is off. Fix the placement before you chase reps. That little adjustment saves a lot of frustration.
27. Travel-Friendly Floor Session
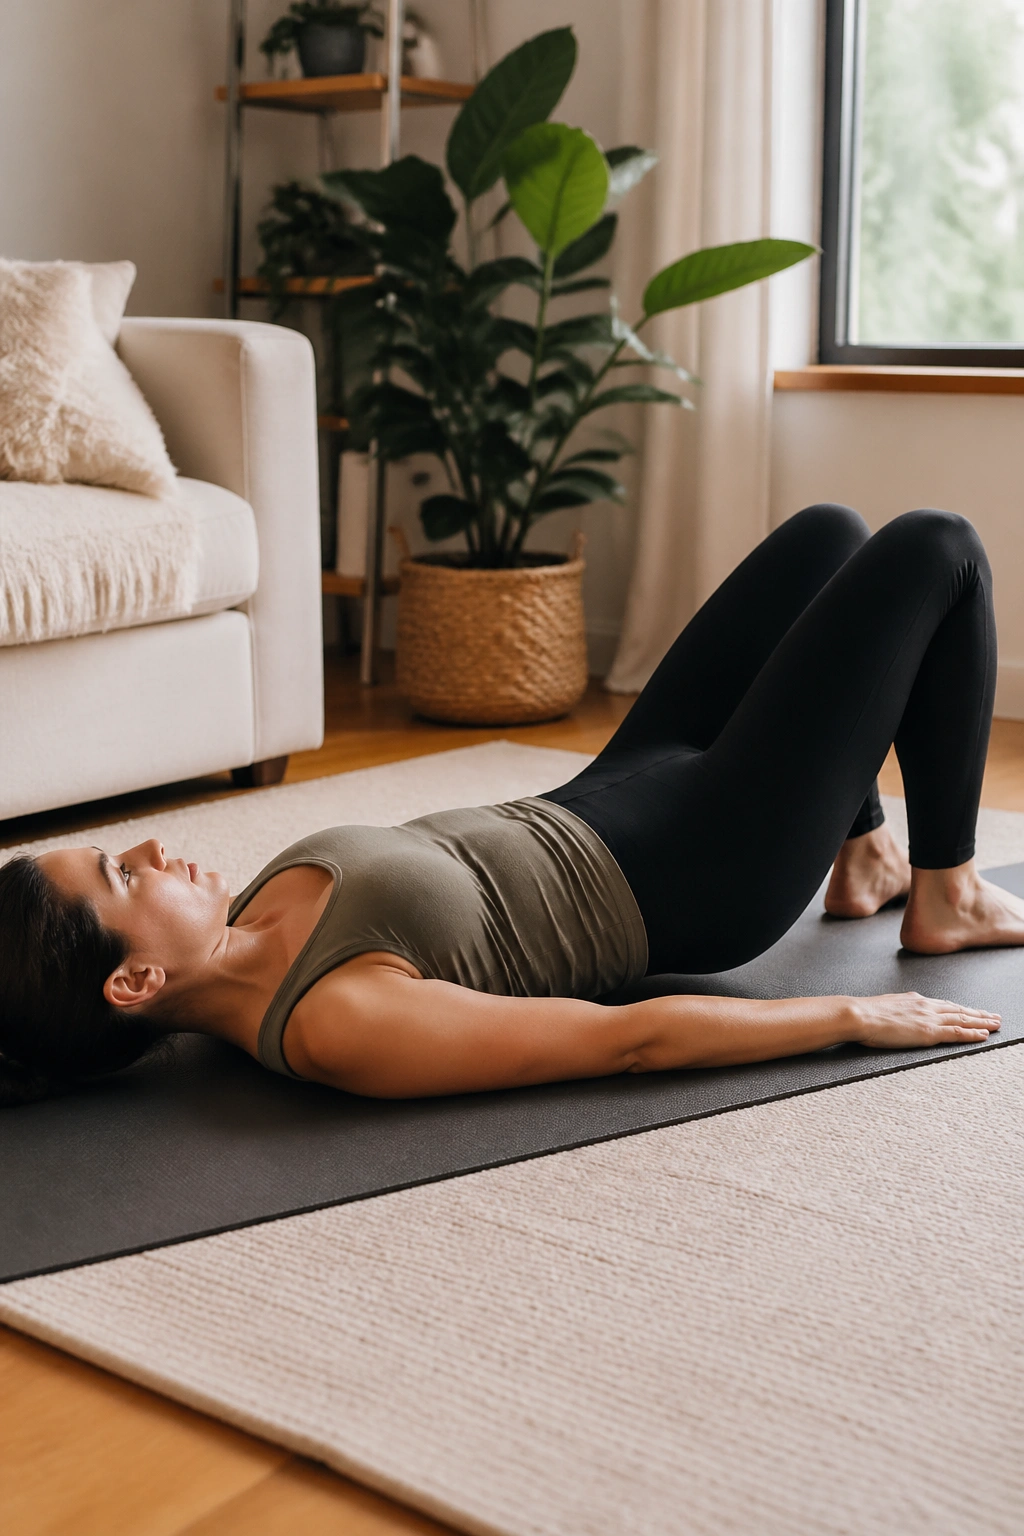
A hotel room, a small corner of a bedroom, a thin rug — that’s enough.
This workout is built for tiny spaces. Start with standing roll-downs, then go to kneeling side reaches, supine marches, and side planks on the knees. No big setup. No props required. If the floor is hard, place a folded towel under the spine and knees. That keeps the pressure down and the focus on the movement.
A tight-space sequence
- 4 roll-downs
- 8 marches
- 6 side reaches per side
- 20-second side plank on each side
- 6 slow bridges
I like this session because it strips the workout down to the part that matters most: can you still move well when the room is plain and the equipment is missing? Usually, yes. That’s the fun of it.
28. Full-Body Sculpt Set
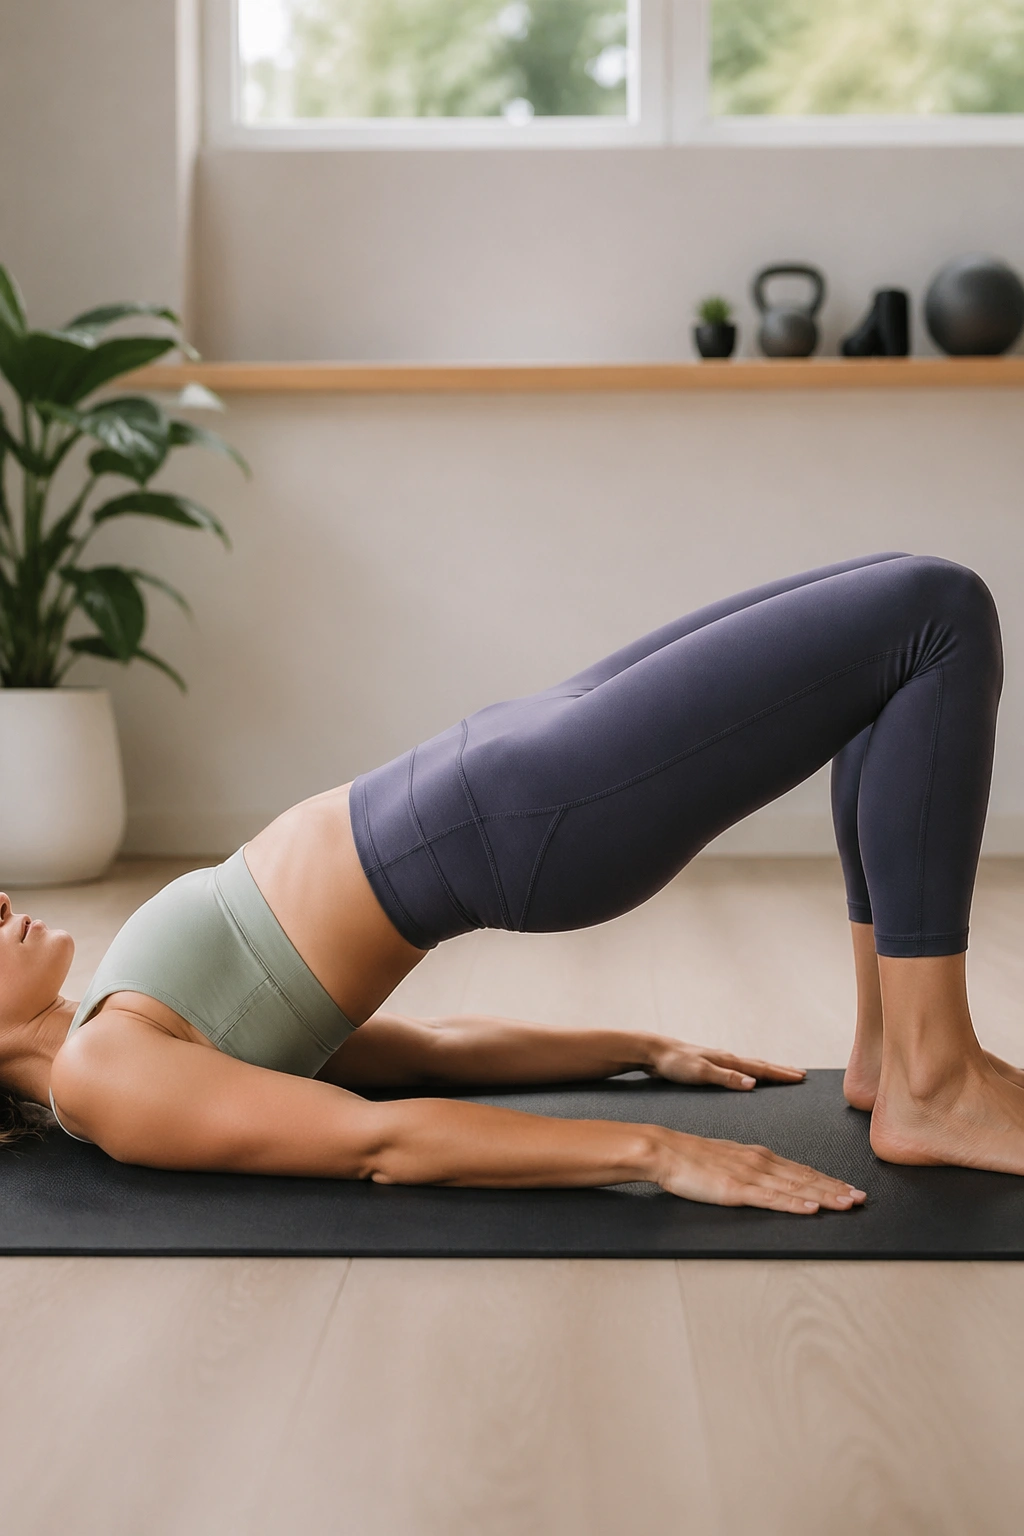
This one ties the whole body together without turning into a random mash-up.
Start with bridges for the lower body, move into plank shoulder taps for the upper body, then finish with roll-ups or toe taps for the core. Keep the transitions short and the rest periods honest. Three rounds is enough for most people. Four if you already know the exercises and your form stays tidy.
Lower body
Bridge lifts, side-lying leg work, squat pulses.
Upper body
Plank taps, prone arm lifts, wall angels.
Core
Toe taps, dead bugs, slow leg lowers.
The appeal here is balance. You hit the hips, the shoulders, and the center without overfeeding any one area. It feels complete, which is rare enough to be worth chasing.
29. Advanced Mat Flow
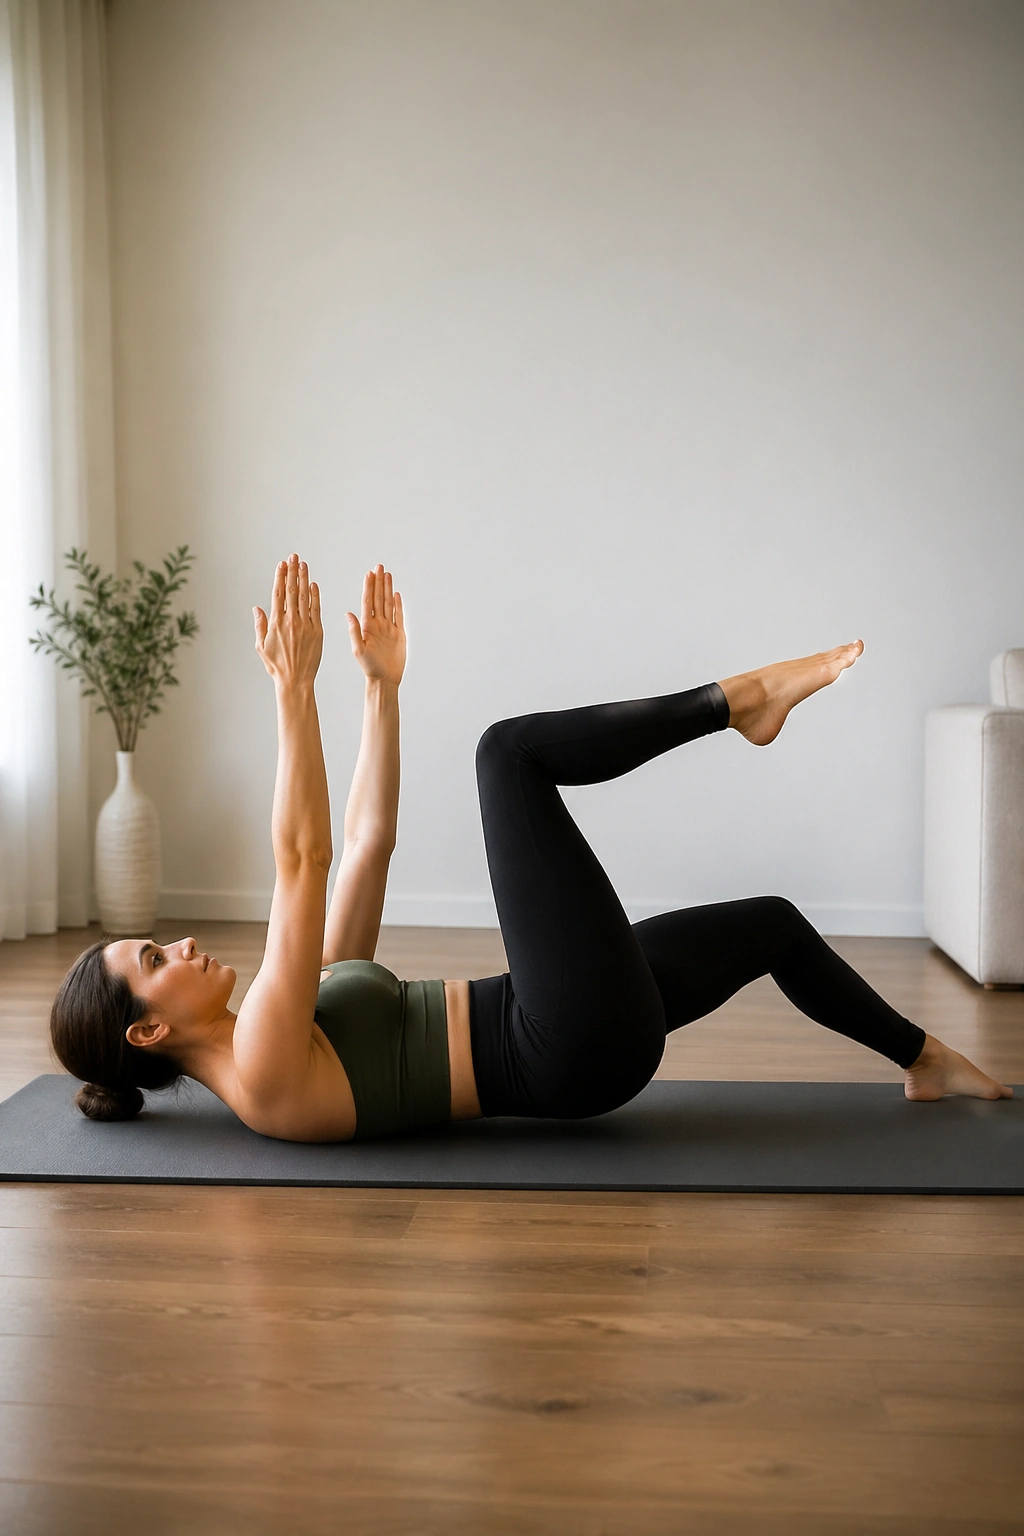
Only use this one if the basics are already clean. A hard workout is not impressive if the shape falls apart.
Blend teaser prep, side plank lifts, swimming, double-leg stretch, and a controlled rollout or roll-down pattern. Keep the breath smooth and the transitions sharp. If your lower back arches during any of it, step back to the simpler version. Advanced Pilates is not about speed. It’s about holding form when the challenge rises.
A smart flow might look like this:
- 6 double-leg stretches
- 6 swimming kicks on each side
- 20-second side plank
- 5 teaser prep reps
- 4 slow roll-downs
The work should feel precise. If it starts feeling noisy, shorten the range and reset. That’s the better move every time.
30. The 20-Minute Full-Body Finisher
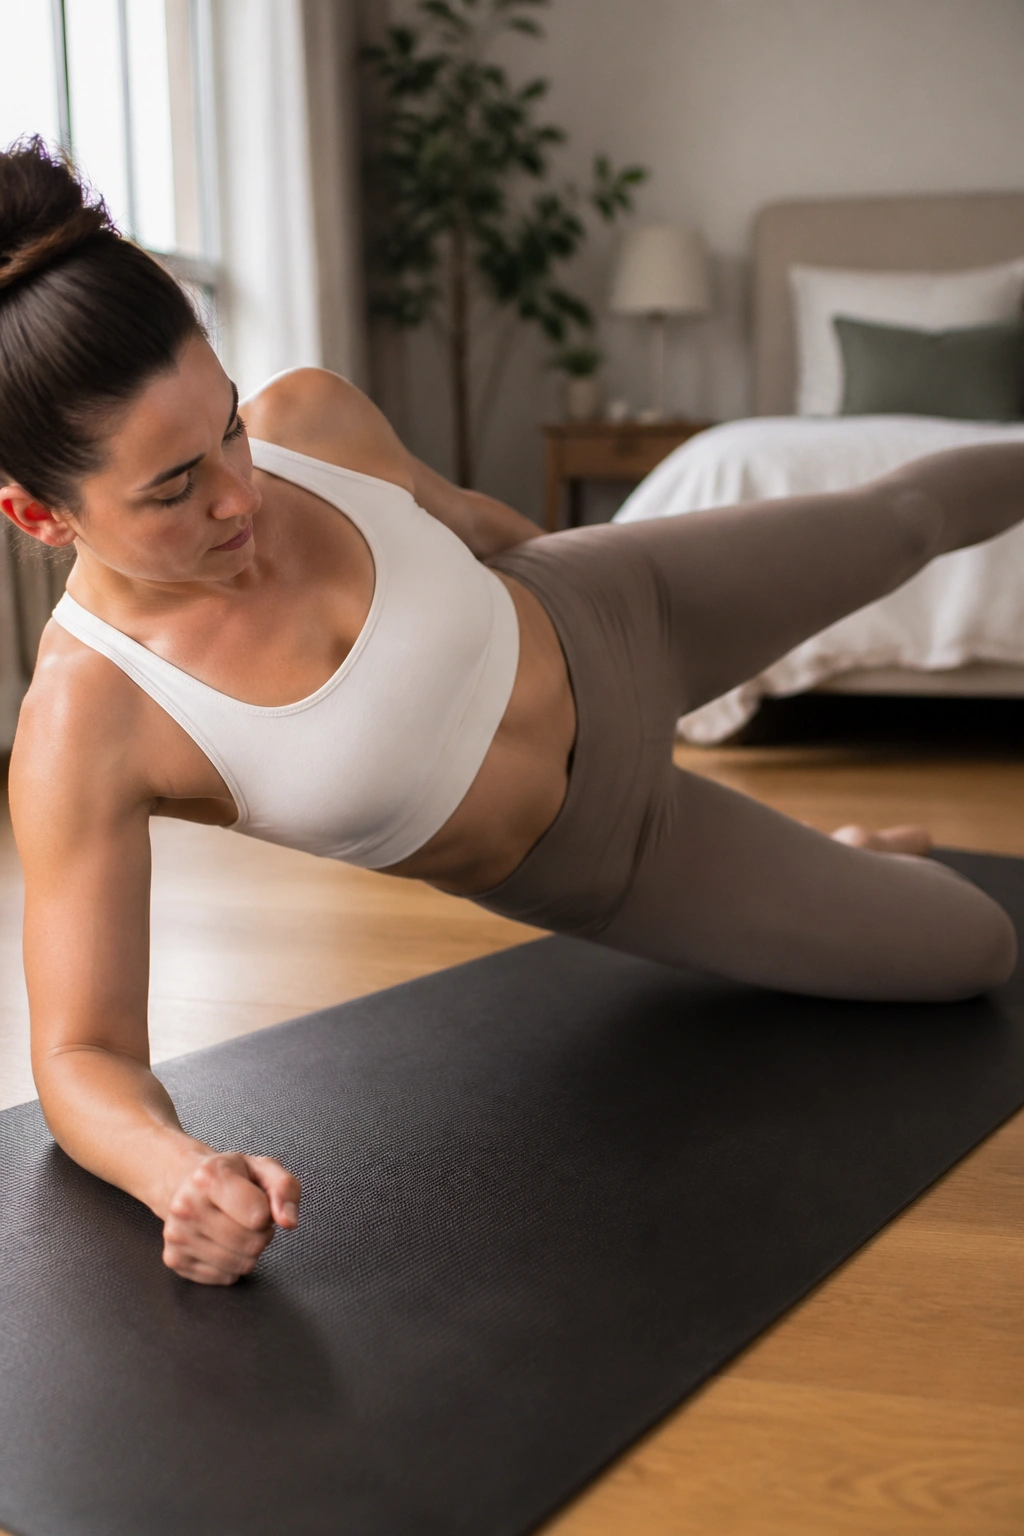
This is the workout I’d keep at the end of a free plan because it leaves the body feeling organized from top to bottom.
Start with 2 minutes of breath and rib control, move into 3 minutes of bridges, then 3 minutes of dead bugs or toe taps. After that, do 3 minutes of side-lying legs, 3 minutes of standing balance, and finish with 4 minutes of spinal mobility. Keep the effort moderate, not punishing. The point is to leave with cleaner movement, not a hollowed-out feeling.
If you want a simple rhythm for the whole plan, alternate harder days with lighter ones. Put bridge ladders, advanced mat flows, and low-impact cardio on one side of the week, then use mobility, breath, and neck-friendly core work on the other. That keeps the body from getting stuck in one note.
A free workout plan works when it’s easy to repeat. These Pilates workouts do that well because they ask for attention more than equipment, and they meet you whether you have 8 minutes or 25. Start with the session your body is asking for today, and the rest gets easier to organize from there.
