



There is a distinct sensation that defines the true barre experience. It’s not the grace of the studio or the mirrors reflecting perfect posture; it’s the shake. That moment when your quads are screaming, your glutes are firing in a way they haven’t all day, and your core feels like a corset tightening from within. You don’t need a professional ballet studio or thousands of dollars in equipment to find that fatigue. You just need a sturdy chair, a flat piece of floor, and the willingness to move until you feel that internal tremble.
Many people think barre requires a high-level fitness base, but the reality is much more accessible. It’s about small, controlled movements—what we often call “micro-movements”—that isolate specific muscle fibers. When you work at home, you have the advantage of time and lack of distraction. You can focus entirely on your alignment, shifting your weight by a fraction of an inch to turn a standard squat into a thigh-toning powerhouse. The following moves are designed to be performed in any living room or kitchen, using nothing more than a chair and a bit of floor space.
1. First Position Plié
This is your foundational move, the bread and butter of every barre session. Stand with your heels together and toes turned out, creating a “V” shape with your feet. The goal isn’t a wide straddle; keep your heels glued together throughout the entire movement. As you bend your knees, focus on keeping your spine perfectly vertical—imagine your back sliding down an invisible wall behind you.
Finding the Depth
The depth of your plié matters less than the alignment of your knees. They should track directly over your toes, never rolling inward. If you feel your ankles wobbling, bring your toes in slightly. It’s better to have a smaller range of motion with perfect form than a deep squat that sacrifices your alignment.
- The Feeling: You should feel your inner thighs—the adductors—engaging immediately.
- The Key Detail: Tuck your pelvis slightly. This isn’t a crunch, but a subtle scooping of the lower abdominals that protects your lumbar spine.
2. First Position Relevé
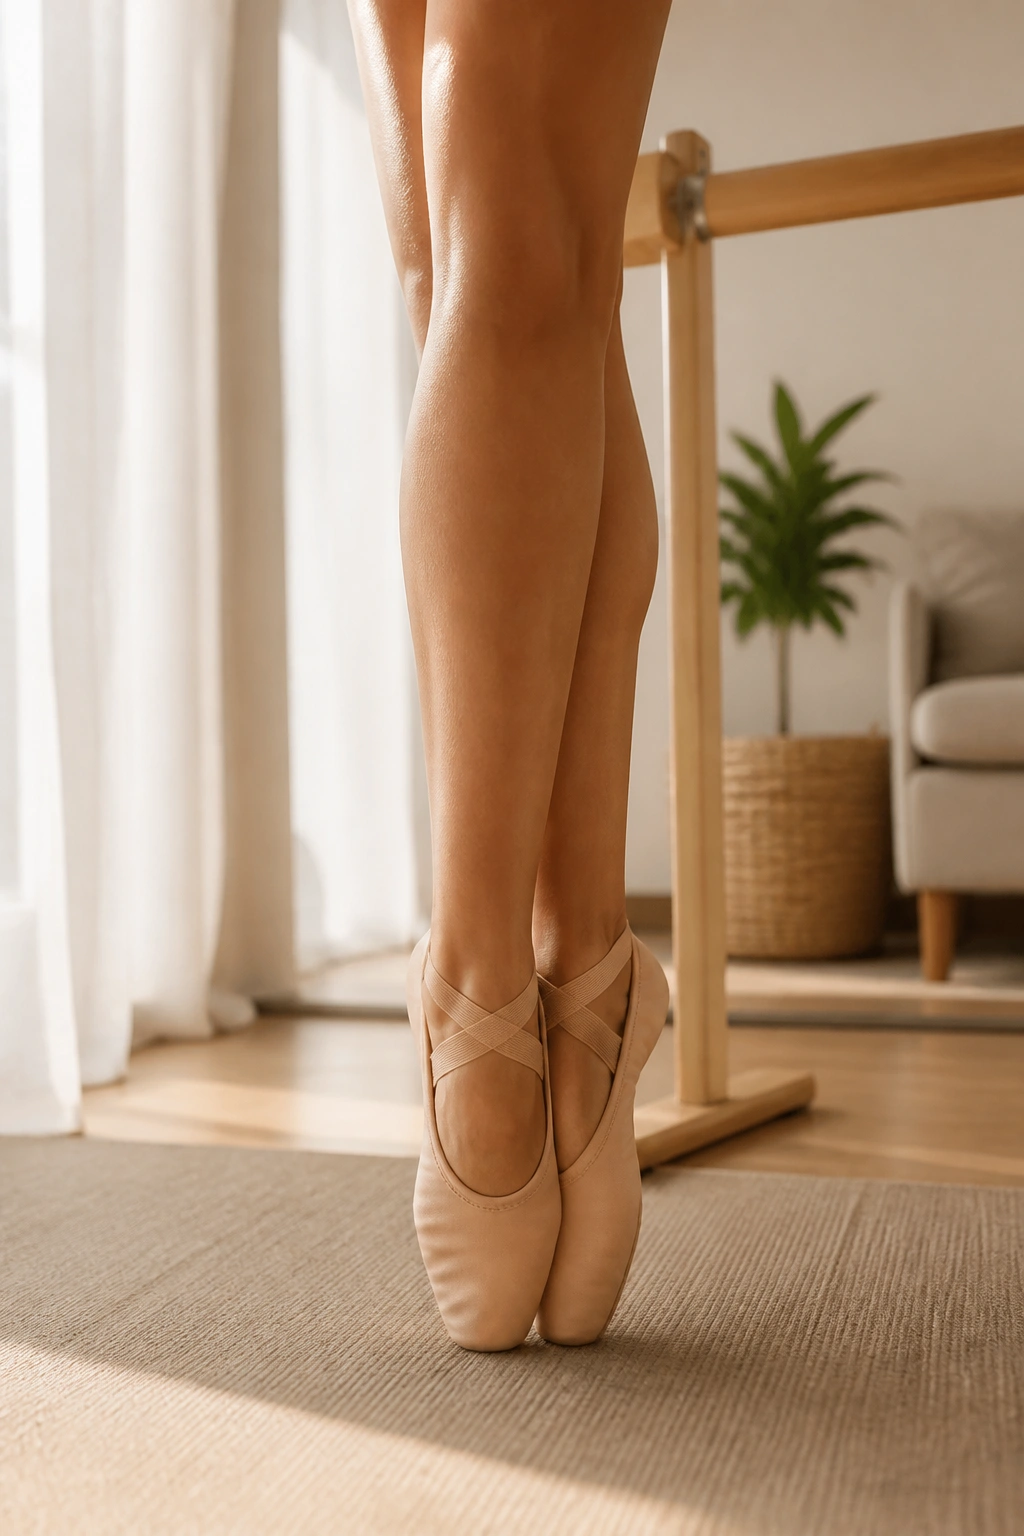
Once you have the hang of the plié, it’s time to add elevation. Keep your heels glued together and your legs straight. Rise up onto the balls of your feet, lifting your heels as high as possible without rolling onto your pinky toes. Balance is the primary challenge here, not just strength.
Mastering the Balance
Do not grip the back of your chair with a “death grip.” Your hands are there for light guidance, not as a crutch. If you feel confident, try hovering your fingertips just an inch above the chair. This forces your core to work double-time to stabilize your torso. If you drop your heels, don’t worry—just lift them right back up.
Pro tip: Think about lifting from the crown of your head, not just your ankles. This lengthening sensation will help you find center and stop the wobbling.
3. Second Position Pulse
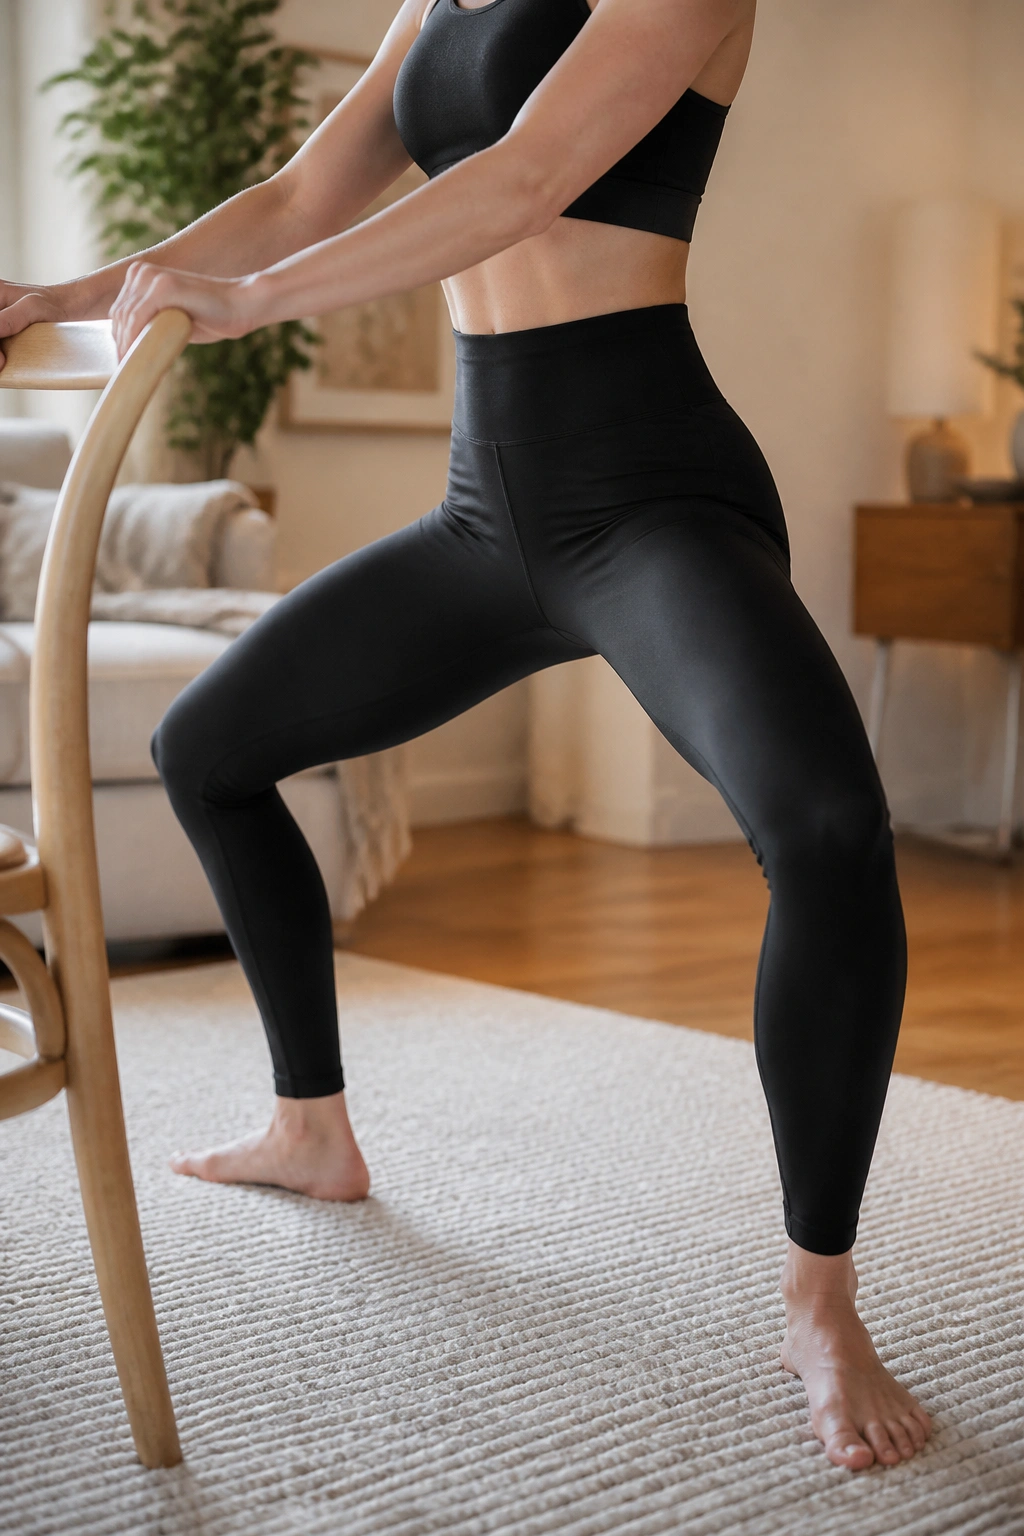
Step your feet wider than your shoulders, toes turned out. This is your second position. Drop down into a squat, ensuring your knees are wide, pressing toward the outer edges of the room. Once you reach your lowest point, don’t stand up. Stay down there.
The Micro-Pulse Technique
Now, move your hips up and down by only one or two inches. This is the pulse. It’s small, rhythmic, and designed to keep your muscles under constant tension. Do not lock your knees at the top of the pulse. Stay in the “danger zone,” the space where the burn is most intense.
- Muscle Focus: This targets the outer glutes and the entire upper thigh.
- Common Mistake: Leaning the torso forward. Keep your chest proud and your shoulders stacked directly over your hips.
4. Parallel Plié to Relevé
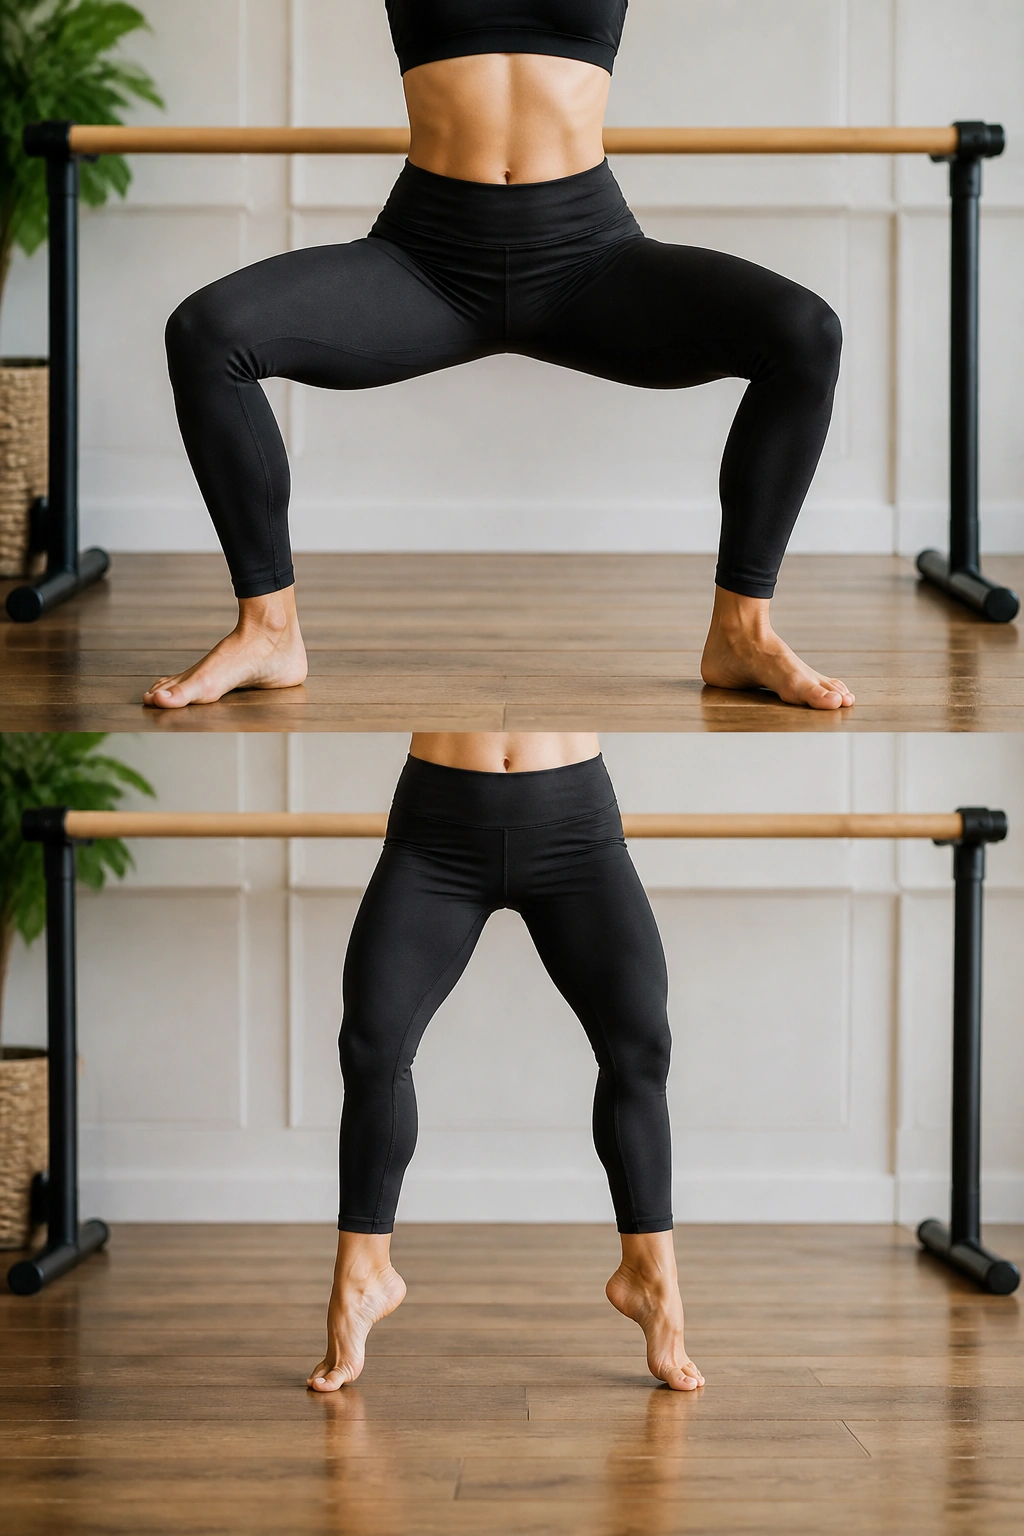
Turn your toes forward so your feet are parallel, hip-width apart. This version of the plié engages the quadriceps differently than the turnout positions. Lower into a squat, then press through your heels to return to standing, immediately lifting onto your toes in a relevé. It’s a fluid, two-part motion.
Why This Works
The transition between the squat and the rise onto your toes challenges your stability through different planes of motion. It forces your stabilizer muscles to fire rapidly as you shift your center of gravity.
- The Tempo: Keep it slow. Count to three on the way down, two on the lift. Speed is the enemy of form in home barre practice.
5. Tabletop Leg Lift
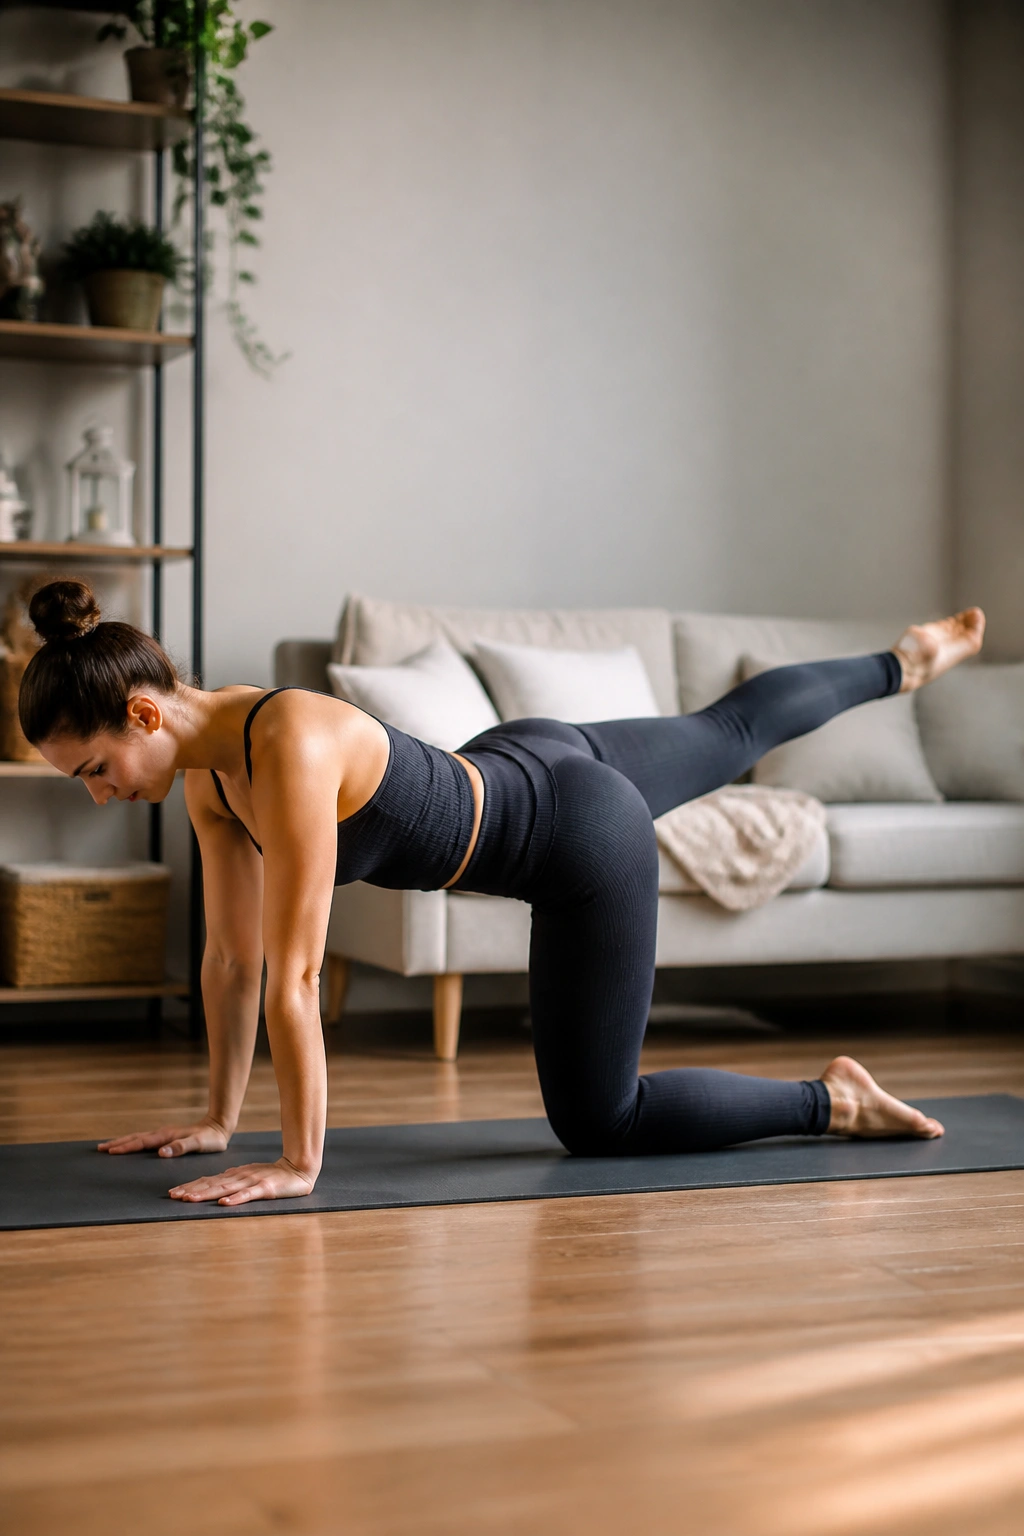
Move to the floor, coming onto your hands and knees. Keep your back flat—a literal tabletop—so if you set a glass of water on your spine, it wouldn’t spill. Extend one leg straight behind you, toe pointed, hip square to the floor. Lift the leg until it’s in line with your hip, then lower it until your toe taps the ground.
The Glute Connection
This isn’t about how high you can kick your leg. In fact, if you lift your leg too high, you’ll inevitably arch your back, which defeats the purpose. Keep your lower abs pulled toward your spine to keep the back stable. Your glutes should be doing 100% of the lifting work.
- The Cue: Imagine pulling your leg out of the hip socket, lengthening it as you lift. This creates space and engages the hamstring-glute tie-in.
6. Standing Side Leg Lift
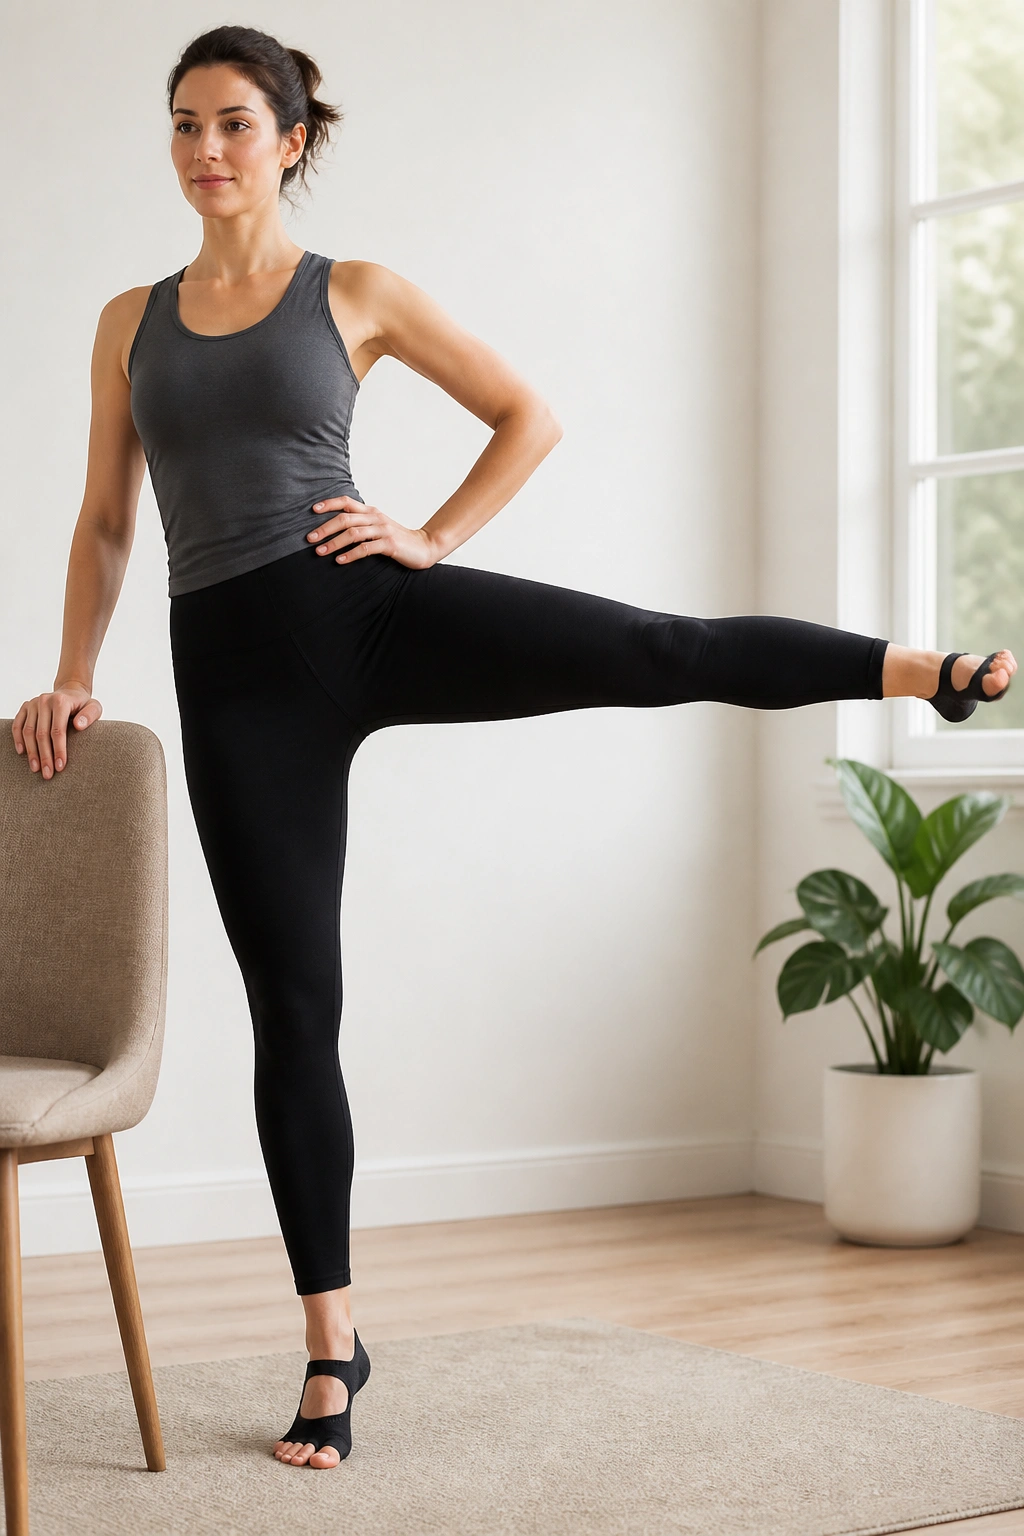
Stand sideways to your chair, holding on with the hand closest to it. Keep your standing leg slightly bent to protect the knee. Extend your outside leg out to the side, toe pointed. Lift the leg up to the side, then slowly lower it.
Targeting the Outer Hip
This move is the secret to hip stability. You are targeting the glute medius, the muscle responsible for keeping your pelvis level when you walk or run. Don’t let your torso tip to the side to compensate for the leg lift. Keep your body perfectly upright; if you feel yourself leaning, decrease the height of the lift.
- Pro Tip: If the standing leg starts to burn, that’s great. It’s stabilizing the entire structure.
7. Arabesque Pulse
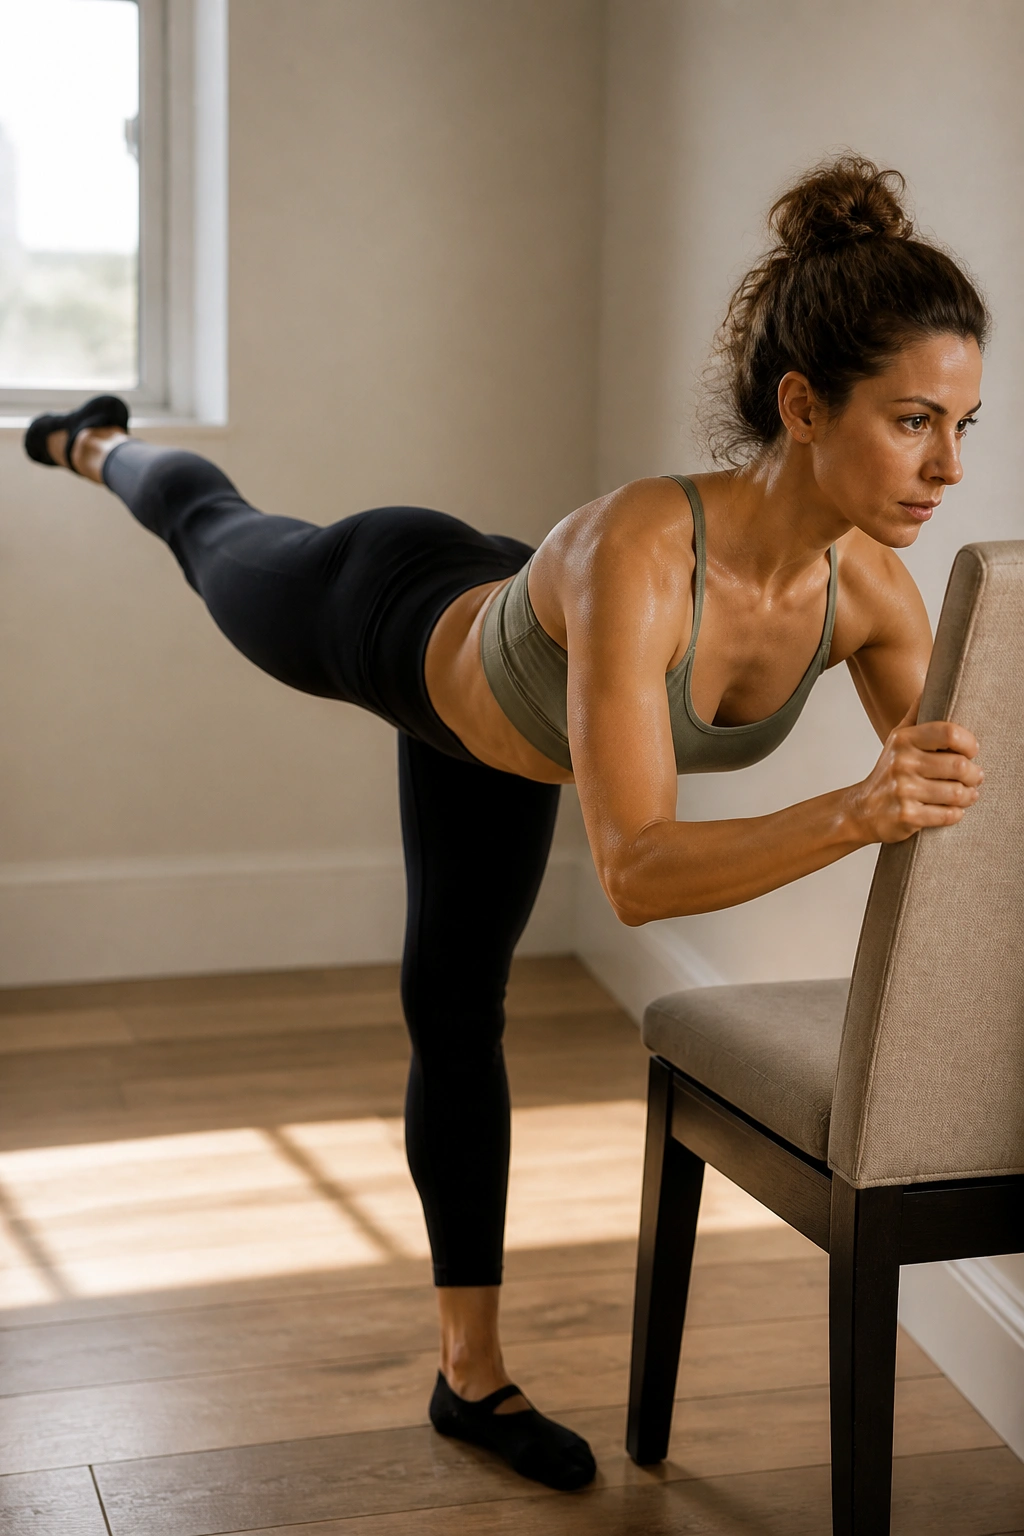
Face your chair, leaning your torso forward slightly, hinging at the hips. Extend one leg straight back behind you, lifting it until it’s roughly hip height. Now, pulse that leg upward. It’s a very small, controlled movement, working the very top of your glute where it meets the hamstring.
Avoiding the Arch
It is incredibly common to want to arch the lower back to get the leg higher. Fight this urge. Keep your chest reaching forward, extending your spine, and keep your core braced. If you can only lift the leg three inches, that is perfect. The isolation is what matters.
- Sensory Check: You should feel this deeply in the glute of the working leg. If you feel it in your lower back, lower the leg and reset your core engagement.
8. Chair Push-ups
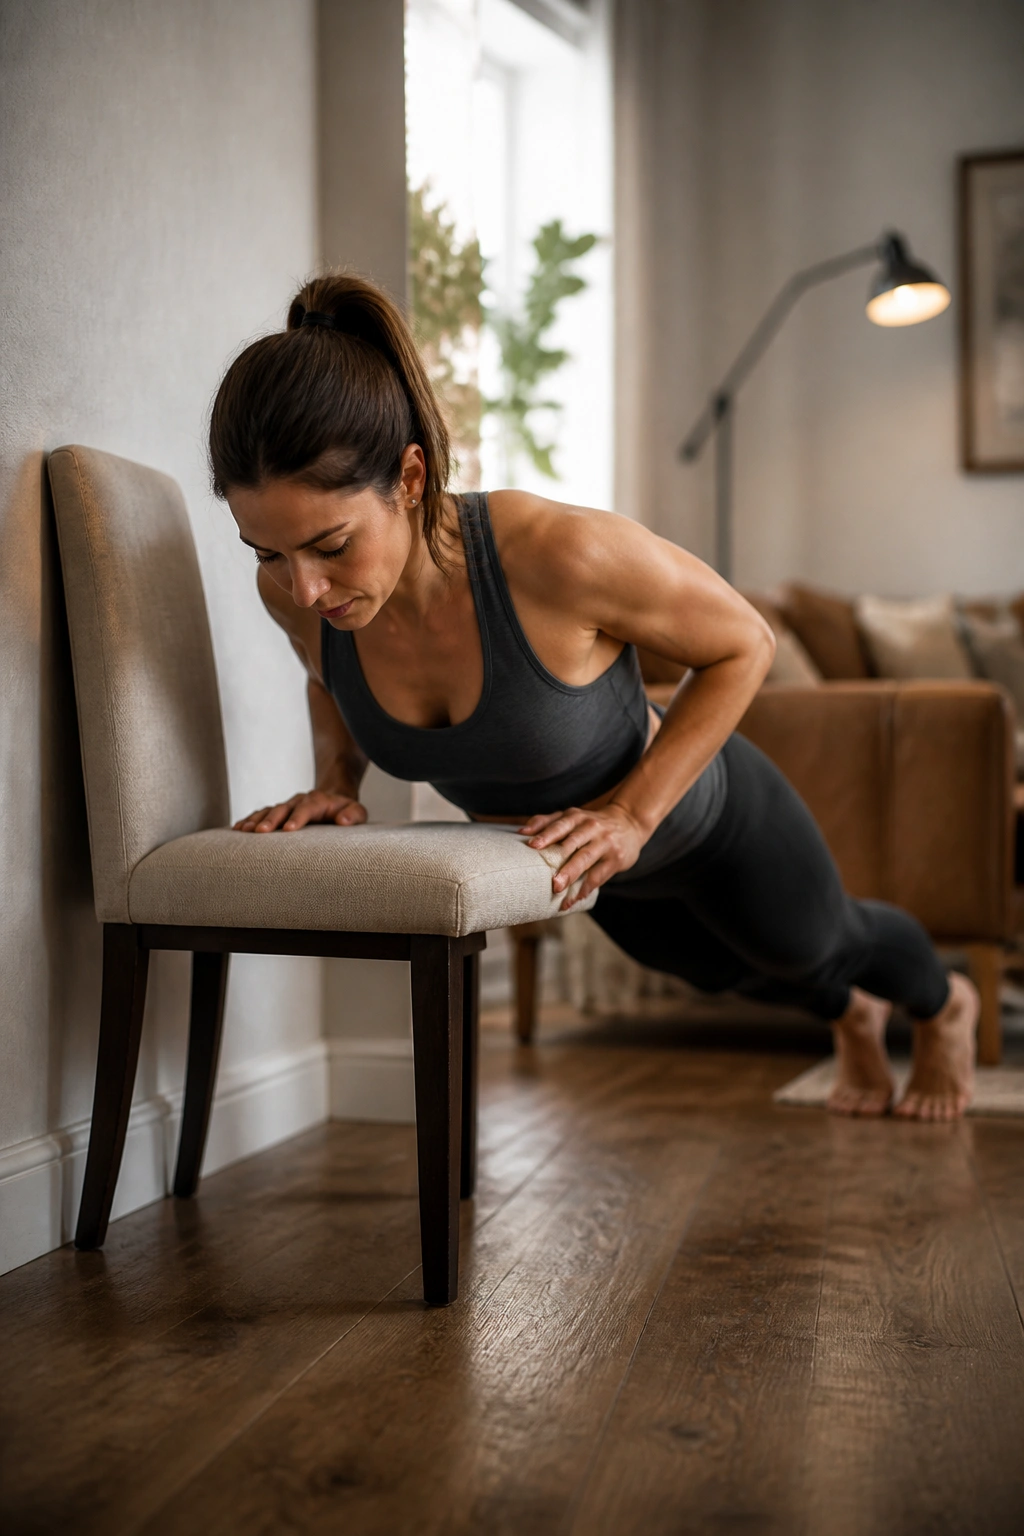
Yes, barre uses push-ups. Use the seat of the chair (ensure it’s against a wall so it won’t slide). Place your hands on the edge, feet back in a plank position. Lower your chest toward the chair seat, keeping your elbows tucked in close to your ribs, not flared out to the sides.
Why Barre Push-ups Differ
Traditional push-ups often recruit the shoulders and traps. By keeping the elbows tight, we shift the load to the triceps and the deep muscles of the chest. It’s a more refined, controlled push-up. If you can’t get your chest to the seat, just go halfway. The range of motion will improve over time.
9. Tricep Dips
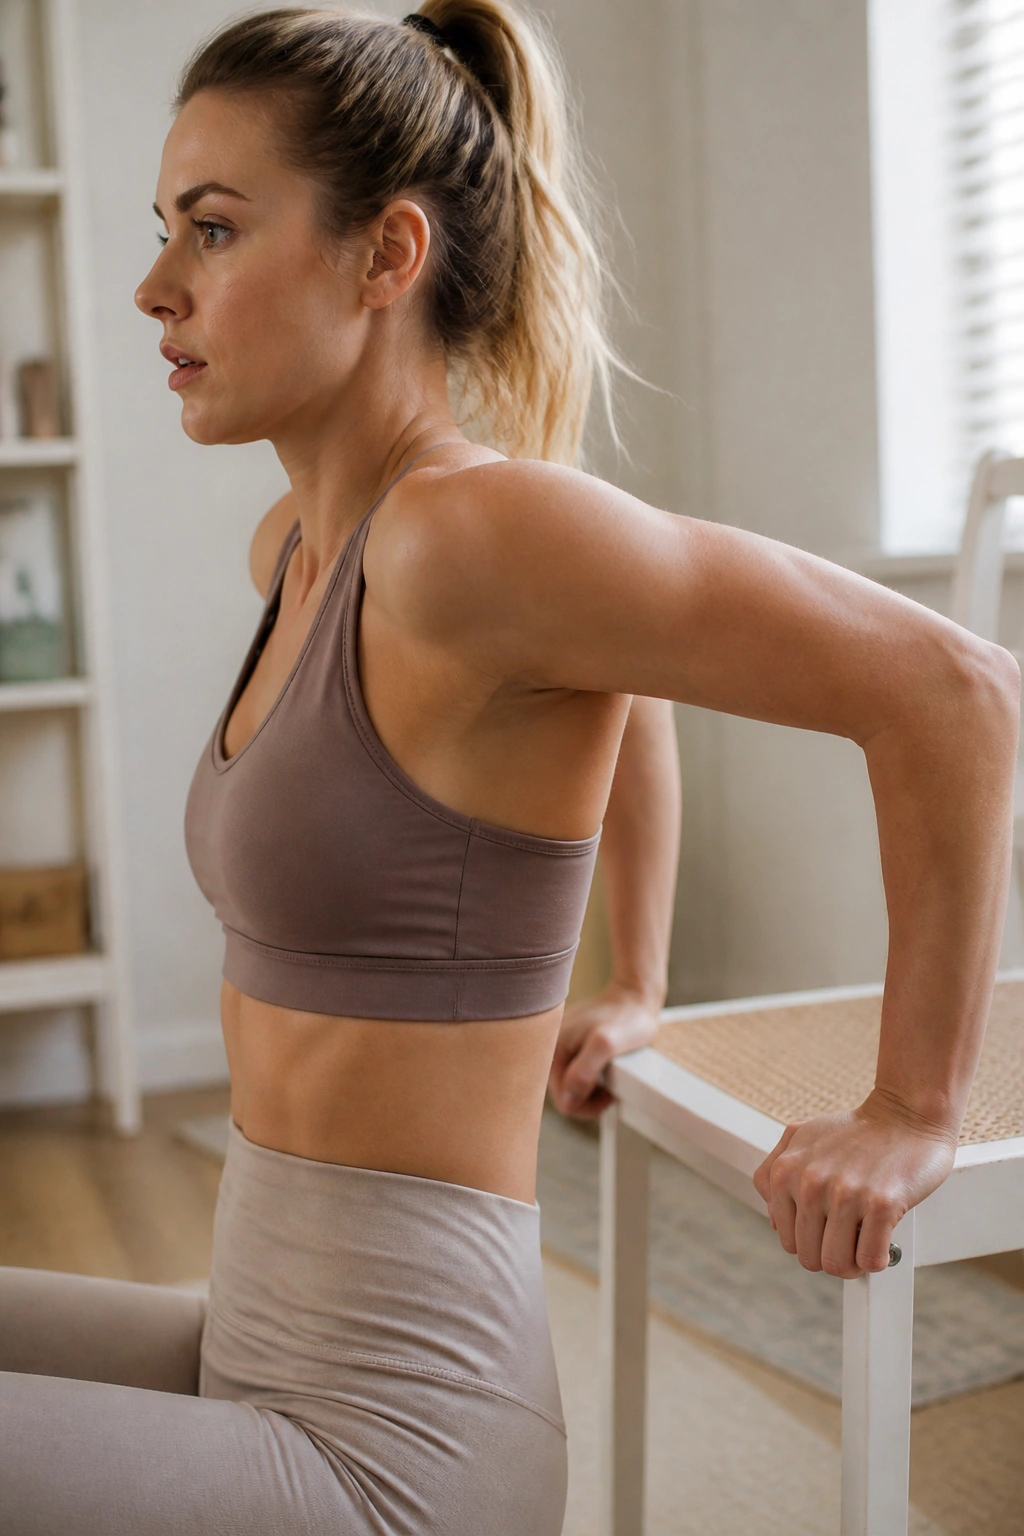
Sit on the edge of the chair, hands gripping the edge, fingers pointing toward your heels. Slide your hips off the seat, supporting your weight with your arms. Bend your elbows to lower your hips, then press back up.
The Secret to Tricep Depth
Keep your hips as close to the chair as possible. The further away they drift, the more strain you put on your shoulder joints. Think of your arms as pistons—straight up, straight down. If you want to increase the intensity, extend your legs further out, but maintain that close proximity to the chair edge.
- Note: If you have sensitive shoulders, skip this move or use a very shallow range of motion.
10. Classic Plank
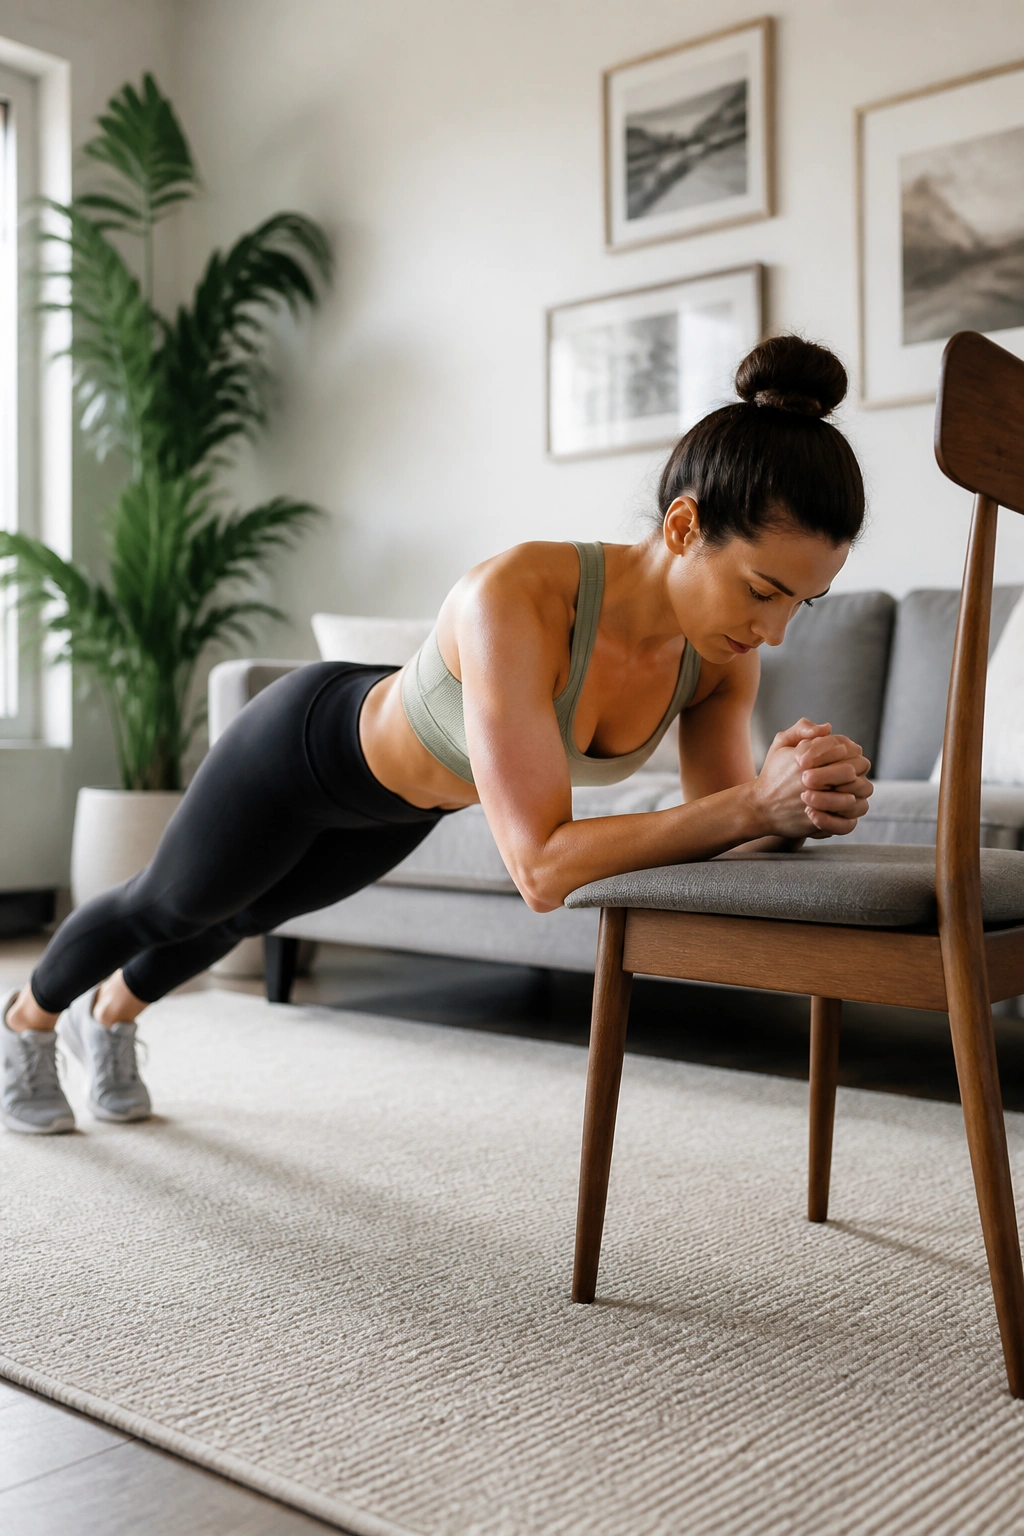
Come back to the chair, but this time hold a forearm plank with your forearms resting on the seat. Your body should be a straight line from heels to head. No sagging hips, no piked-up tailbone. Just a solid, unbreakable line.
The Core Hold
Hold this for 30 to 60 seconds. While holding, visualize your belly button pulling toward your spine. Squeeze your glutes—this helps stabilize the pelvis and prevents the lower back from taking the load. If you feel your lower back start to hurt, drop to your knees or stop. A shaky, trembling core is what we are aiming for, but pain is not.
11. Knee Tuck
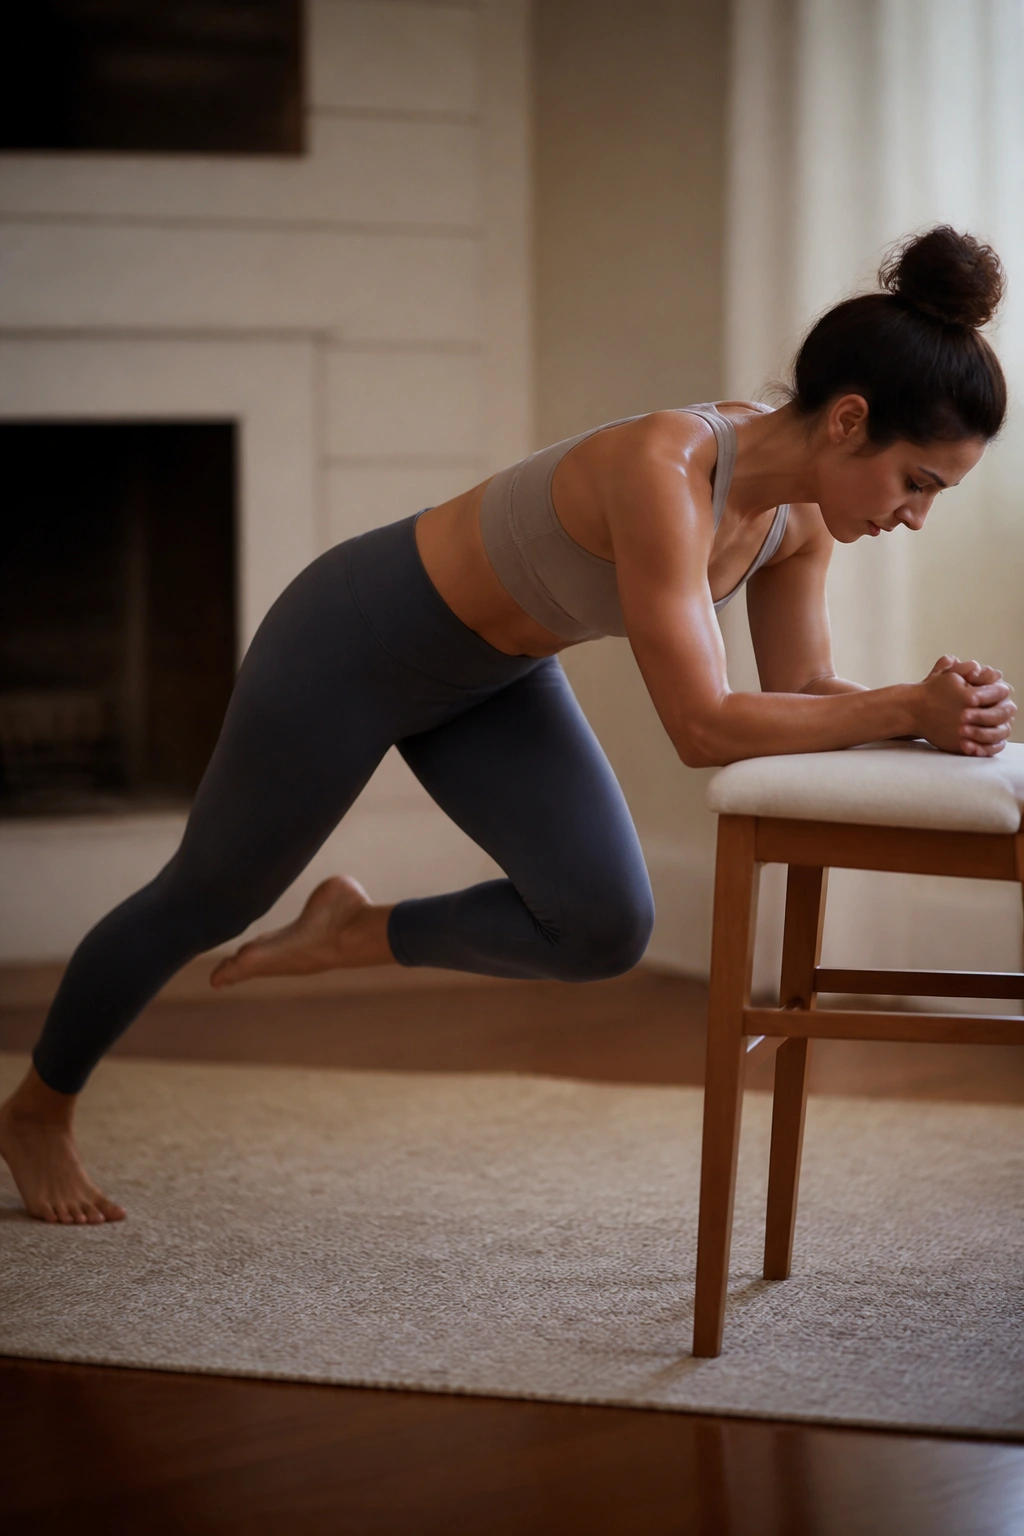
In the same forearm plank position on the chair, draw one knee toward your chest. Keep your hips steady; don’t let them bounce up or down as you move the leg. Extend the leg back, then switch to the other side.
The Slow Burn
Don’t rush these. The benefit comes from the stability required between the movements. When one leg is moving, the entire rest of your body has to work overtime to stay still. This creates a massive amount of tension in the deep abdominal wall.
- Visualization: Imagine moving your knee through thick mud. Resistance is your friend.
12. Swan Dive
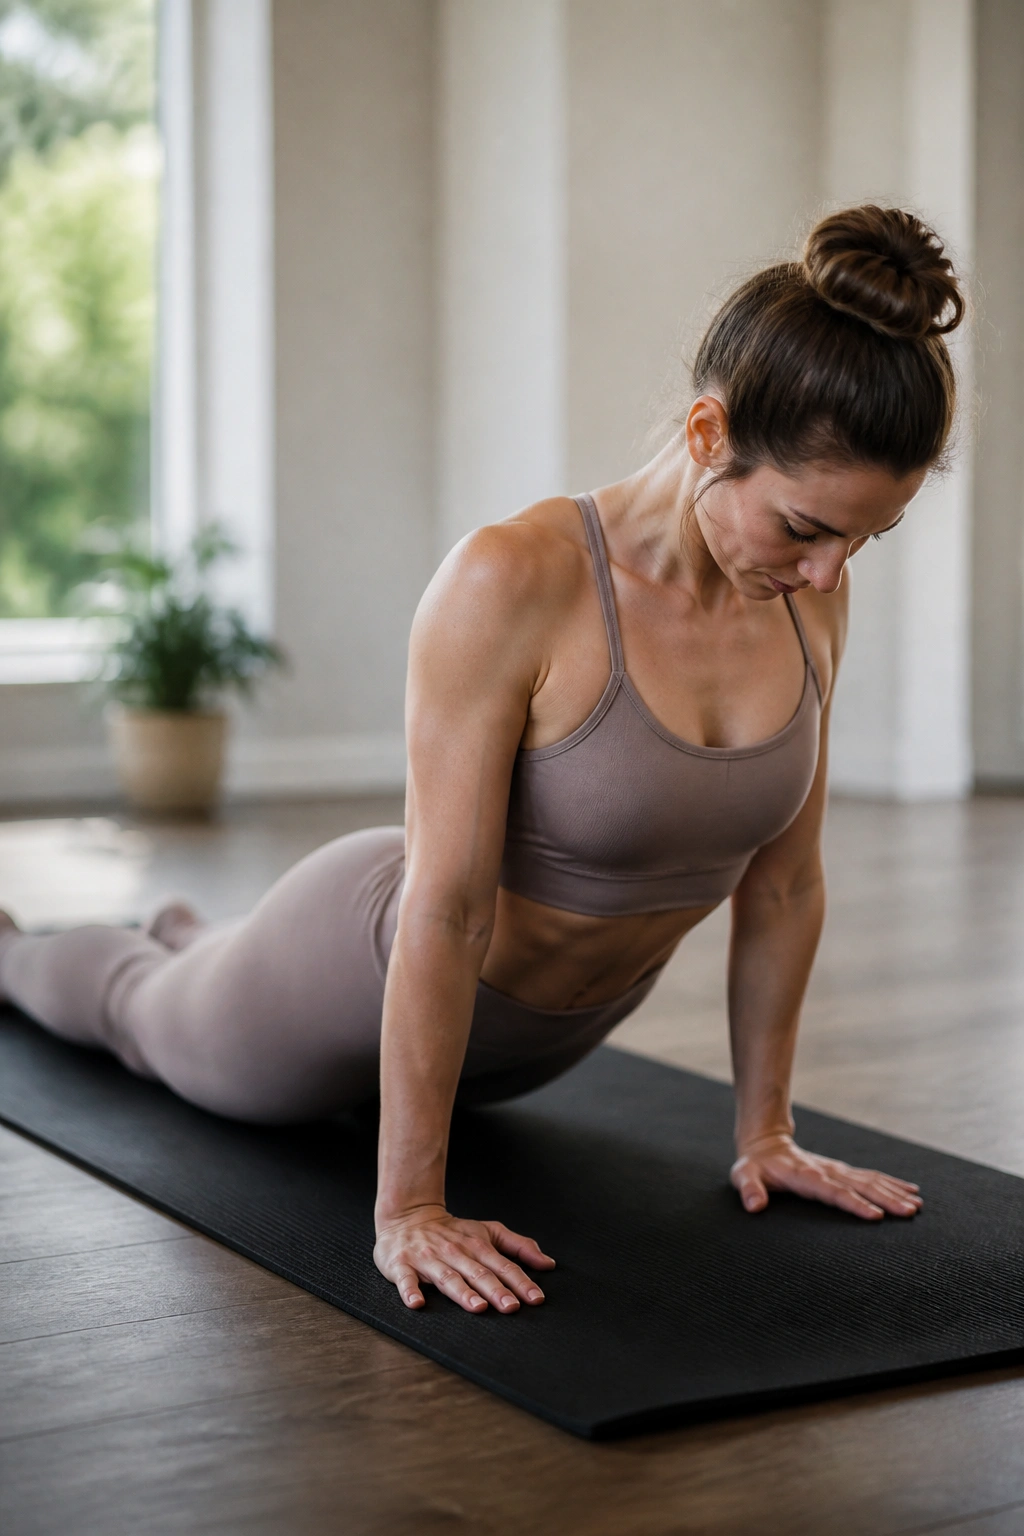
This is a classic Pilates move that translates beautifully to barre practice. Lie on your stomach, legs extended, hands placed under your shoulders. Use your back muscles—not your arms—to lift your chest off the floor. Keep your gaze toward the floor, not the ceiling, to protect your neck.
Lengthening the Spine
Lower yourself back down with control. Don’t just flop onto the floor. The lowering phase is just as important as the lift. This strengthens the erector spinae, the long muscles running up your spine. It’s the perfect antidote to hours of hunching over a laptop or phone.
13. Side Body Reach
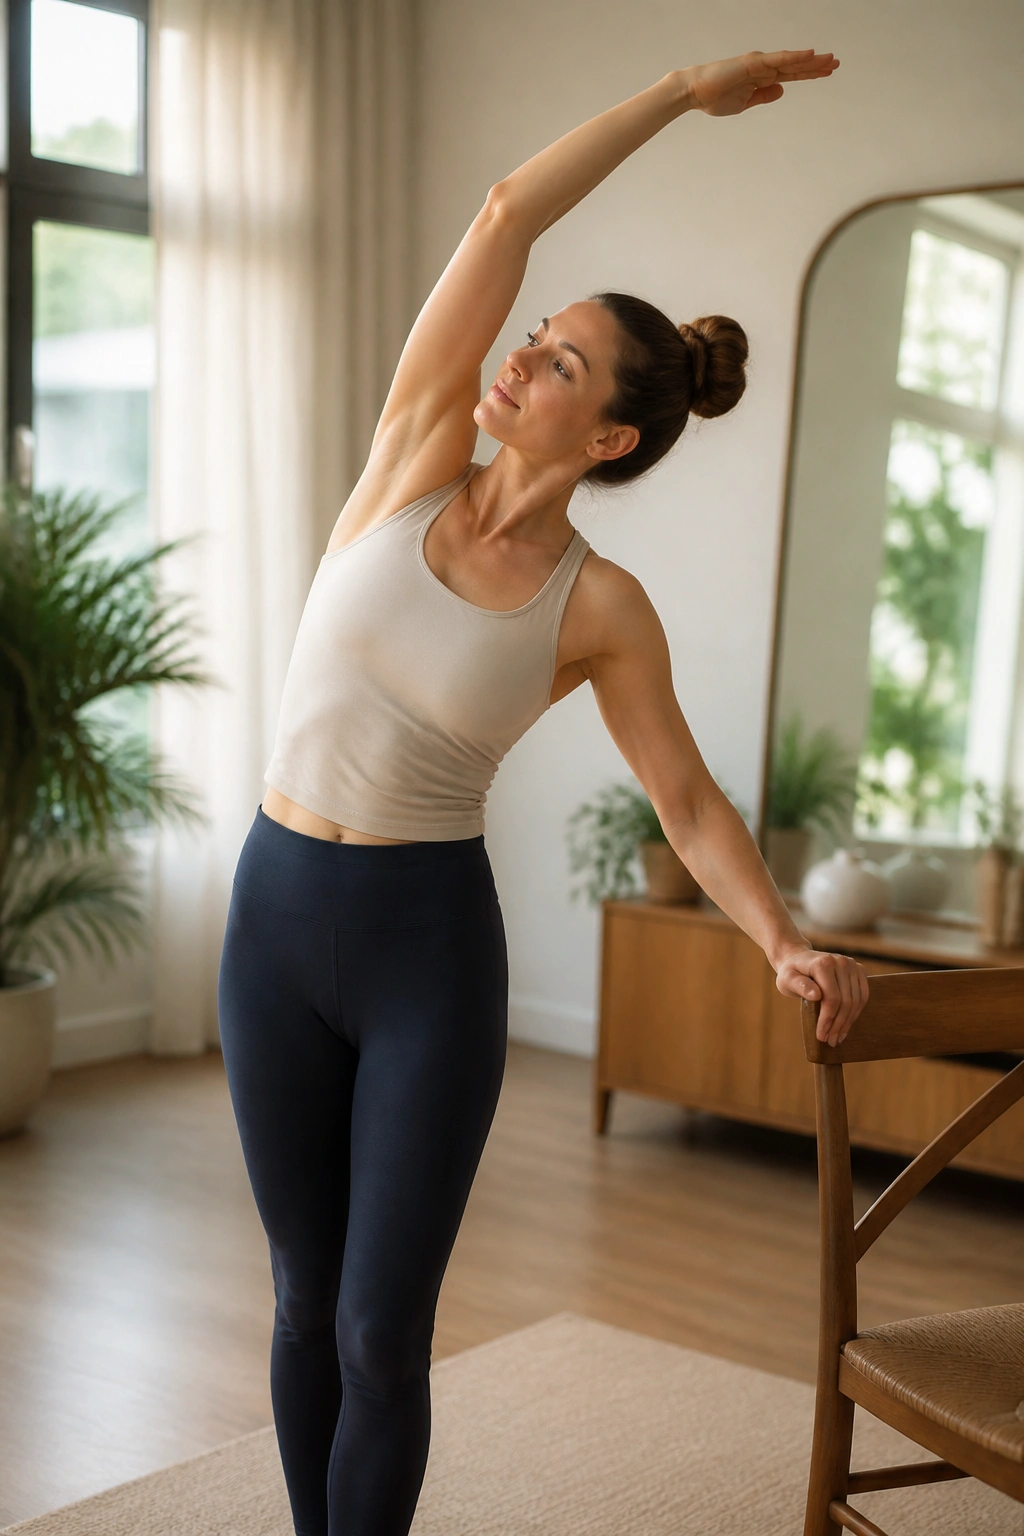
Return to a standing position near your chair. Stand with your feet together, then lift one arm overhead. Reach that arm up and over toward the chair, creating a long curve in your spine. You aren’t just bending; you are reaching to elongate the side of your torso.
The Intercostal Stretch
While stretching the side, keep your hips rooted firmly to the floor. Do not let your hip shift out to the side. This is an active stretch—meaning you are engaging the muscles of the obliques to hold the position rather than just hanging in the stretch. It’s as much about strength as it is about flexibility.
14. Attitude Pulse
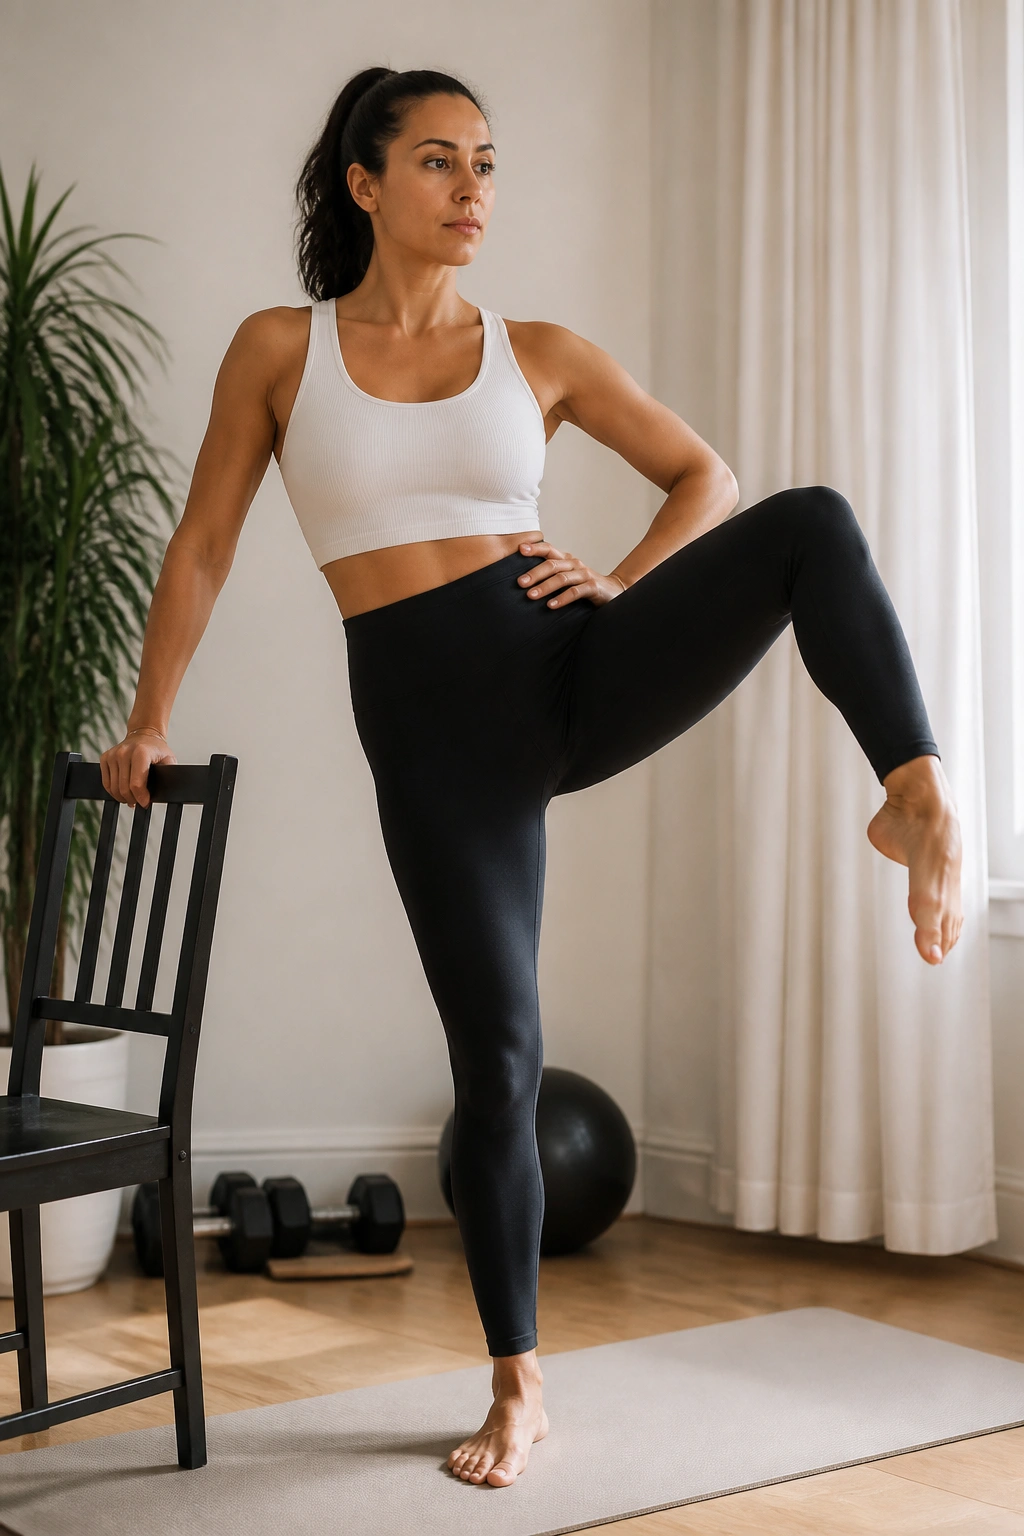
Stand facing the chair, holding it lightly. Bend one knee to 90 degrees and lift that thigh out to the side. This shape, with the rounded knee and foot, is called an “attitude.” From here, pulse the thigh upward.
The Difference from Arabesque
While the arabesque (mentioned earlier) works the glute-hamstring connection, the attitude works the deep rotators and the top of the outer glute. It’s a very targeted, localized burn. Your standing leg will be doing a huge amount of work to stabilize, so keep that knee soft—never locked.
15. Clamshell
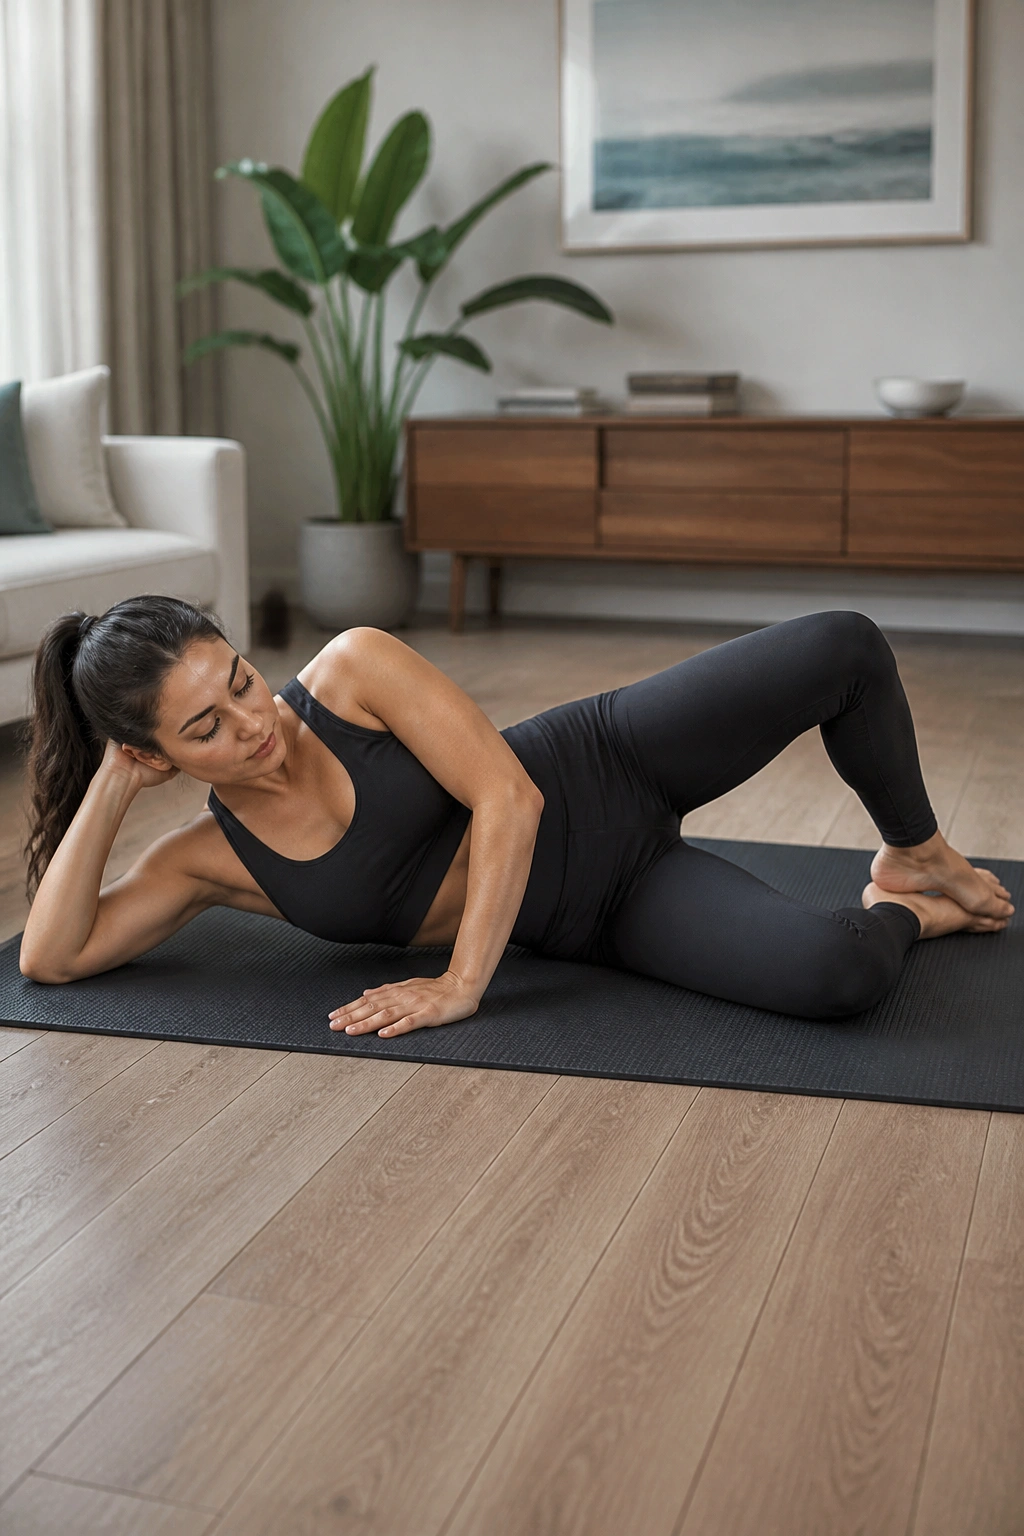
Lie on your side on the floor, knees bent at a 45-degree angle, stacked on top of each other. Keep your feet touching. Open your top knee like a clamshell, keeping your feet glued together. Close the knee.
The Pelvic Stability Factor
The magic of this move is keeping your pelvis still. If you roll your hips backward as you open your knee, you’ve neutralized the exercise. Pin your bottom hip to the floor and move only the top knee. You’ll feel a sharp, intense burn in the side of your hip—that is exactly what you want.
- Variation: If it feels too easy, wrap a light resistance band around your thighs just above the knees.
16. Single Leg Deadlift
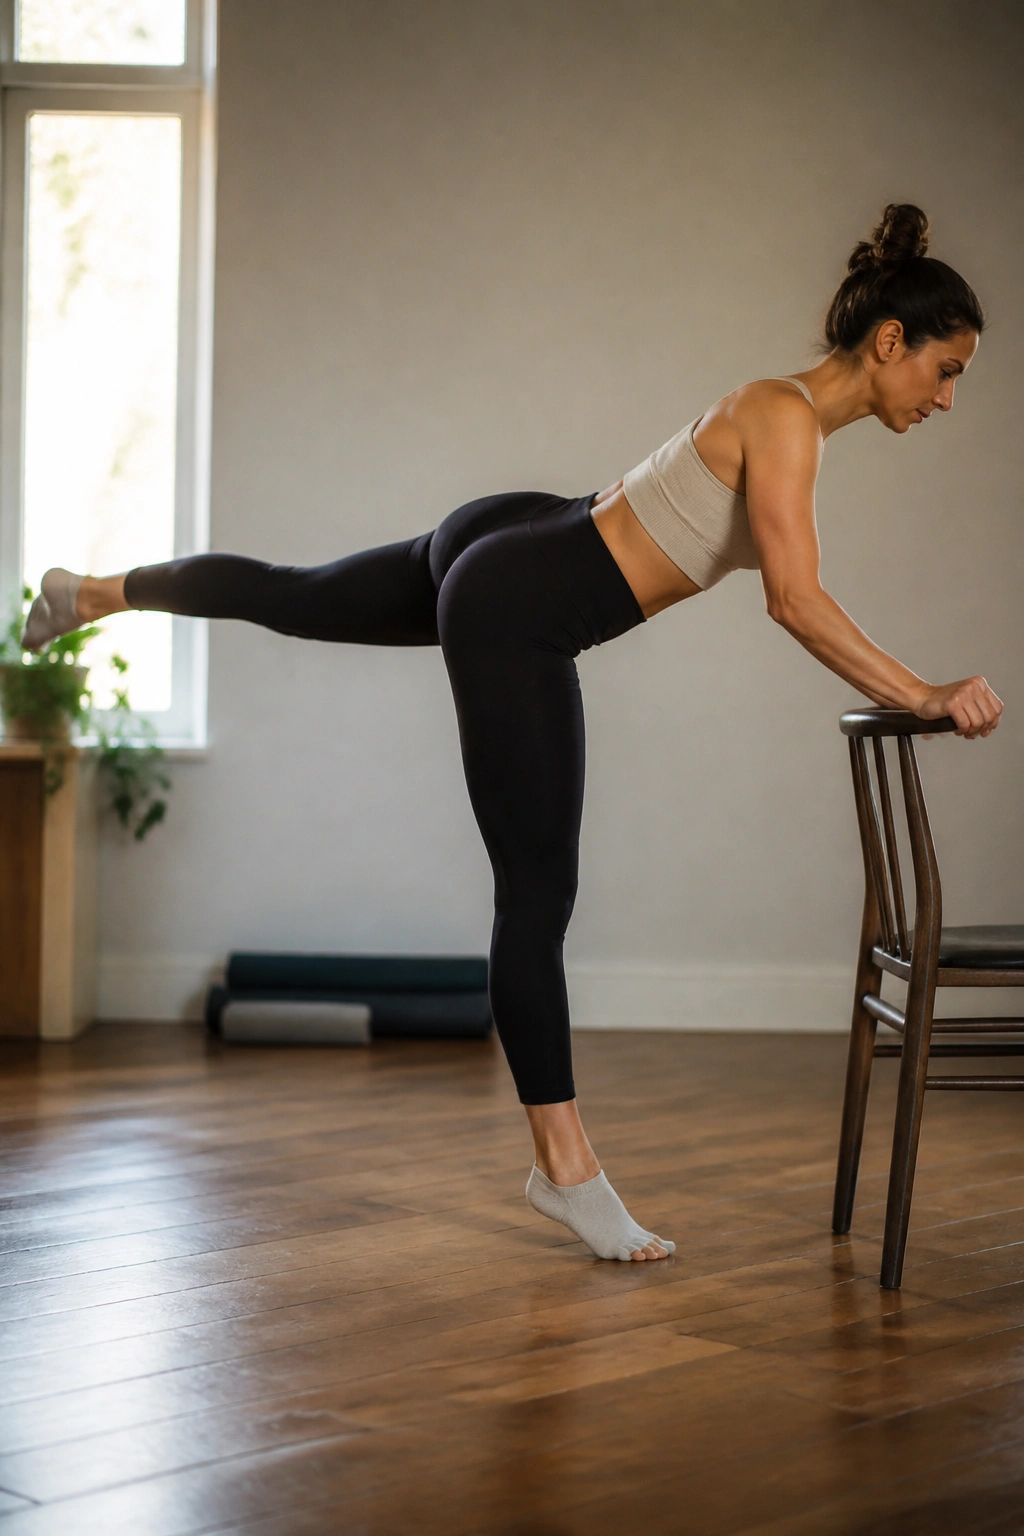
Stand near the chair, using it for balance. Shift your weight onto one leg. Hinge at the hips, sending your other leg back as you lower your torso toward the floor. Your body should move as one unit, like a seesaw. Return to standing.
The Hamstring Lengthener
This is not about speed. It’s about balance and control. Feel the stretch in the back of your standing leg as you hinge forward. As you come back up, squeeze the glute of the standing leg to power the return. It’s a hinge, not a squat—keep the knee of the standing leg only slightly bent, not deeply bent.
17. Lunge into Attitude
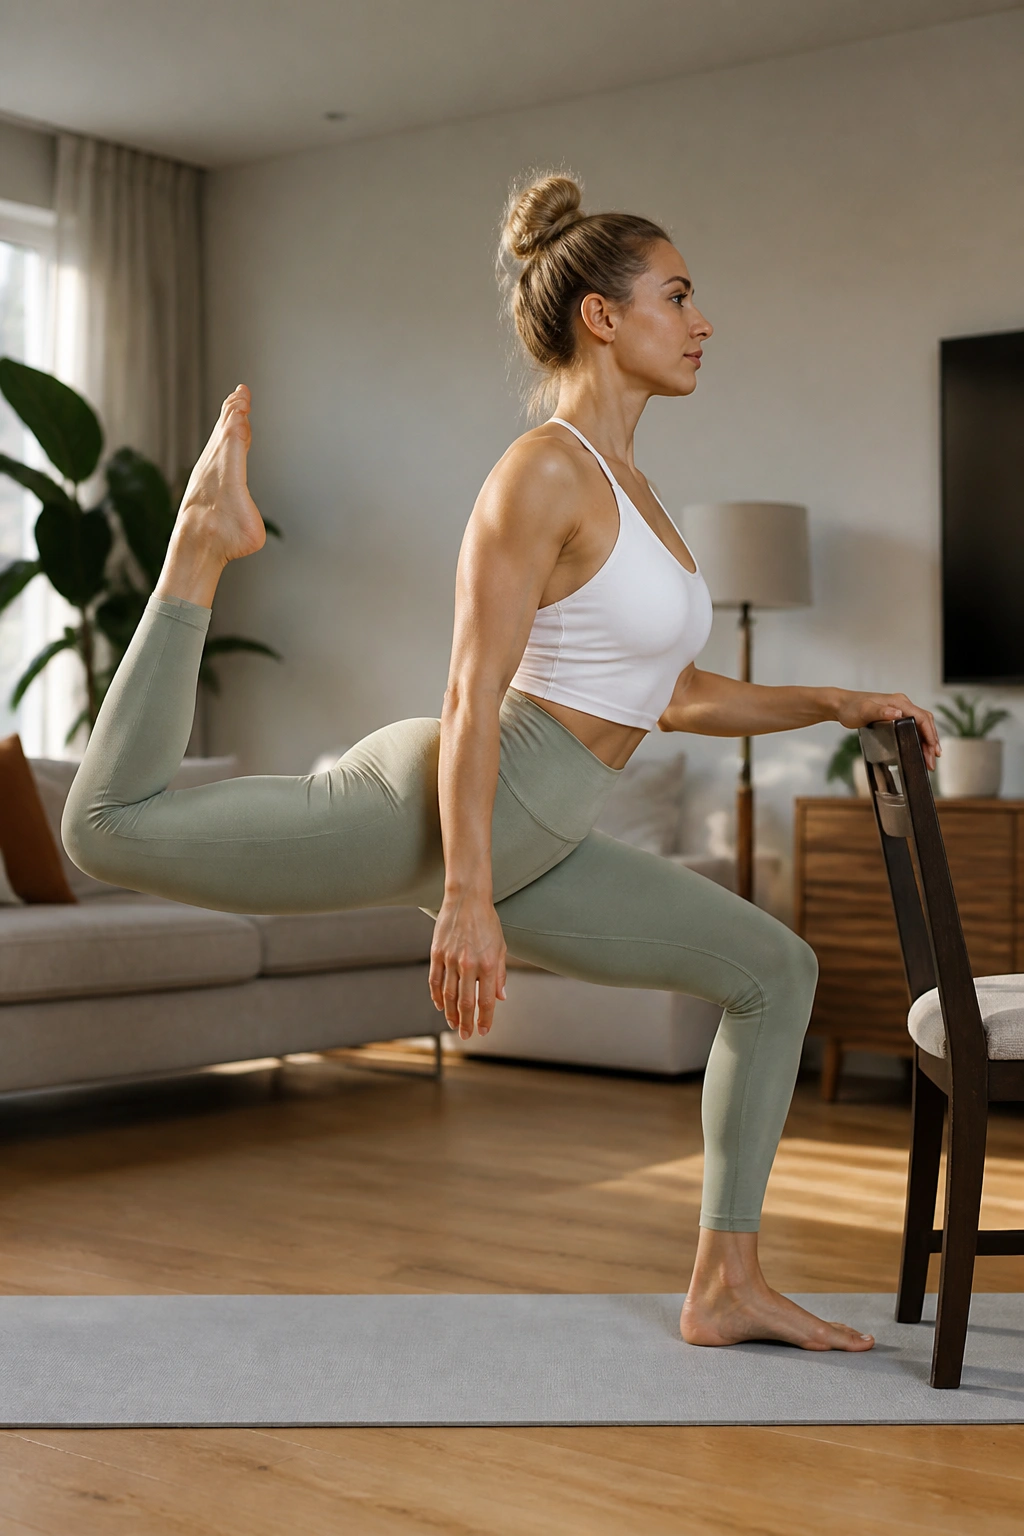
Step into a deep lunge, then push off the back leg to stand up, immediately sweeping that back leg into an “attitude” (bent knee, foot raised behind you). This is a dynamic move that combines strength, balance, and flow.
Transition Mechanics
The transition is where the work happens. You are moving from a low-lunge position—which is great for the quadriceps and glutes—directly into a balance move that requires core stability. Focus on a smooth, controlled motion rather than a jerky, fast movement.
18. Calf Raises
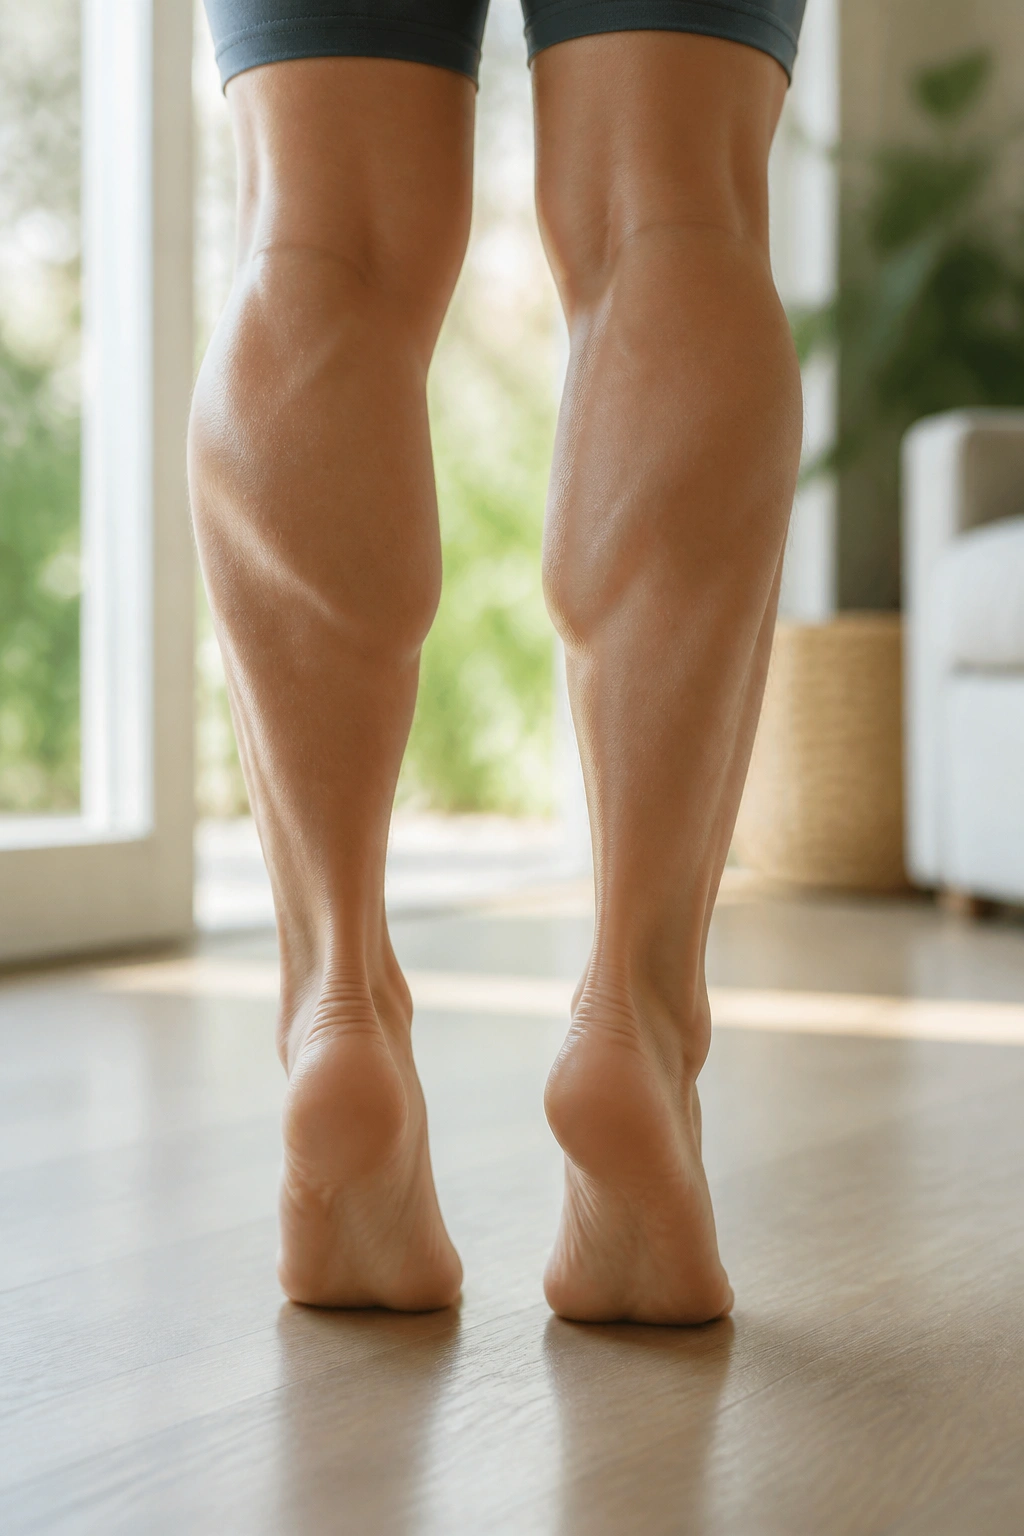
Stand with feet parallel, hip-width apart. Rise up onto your toes, holding for a second at the top, then lower with control. It sounds simple, but do 30 of these in a row and you will understand why ballerinas have such incredible lower leg definition.
The Full Range
Make sure you are rising to the absolute highest point possible. Don’t cut it short. And on the way down, resist gravity. Don’t just let your heels drop; lower them slowly, letting the muscles work through the entire descent. This builds eccentric strength, which is vital for ankle stability.
19. Standing Crunch
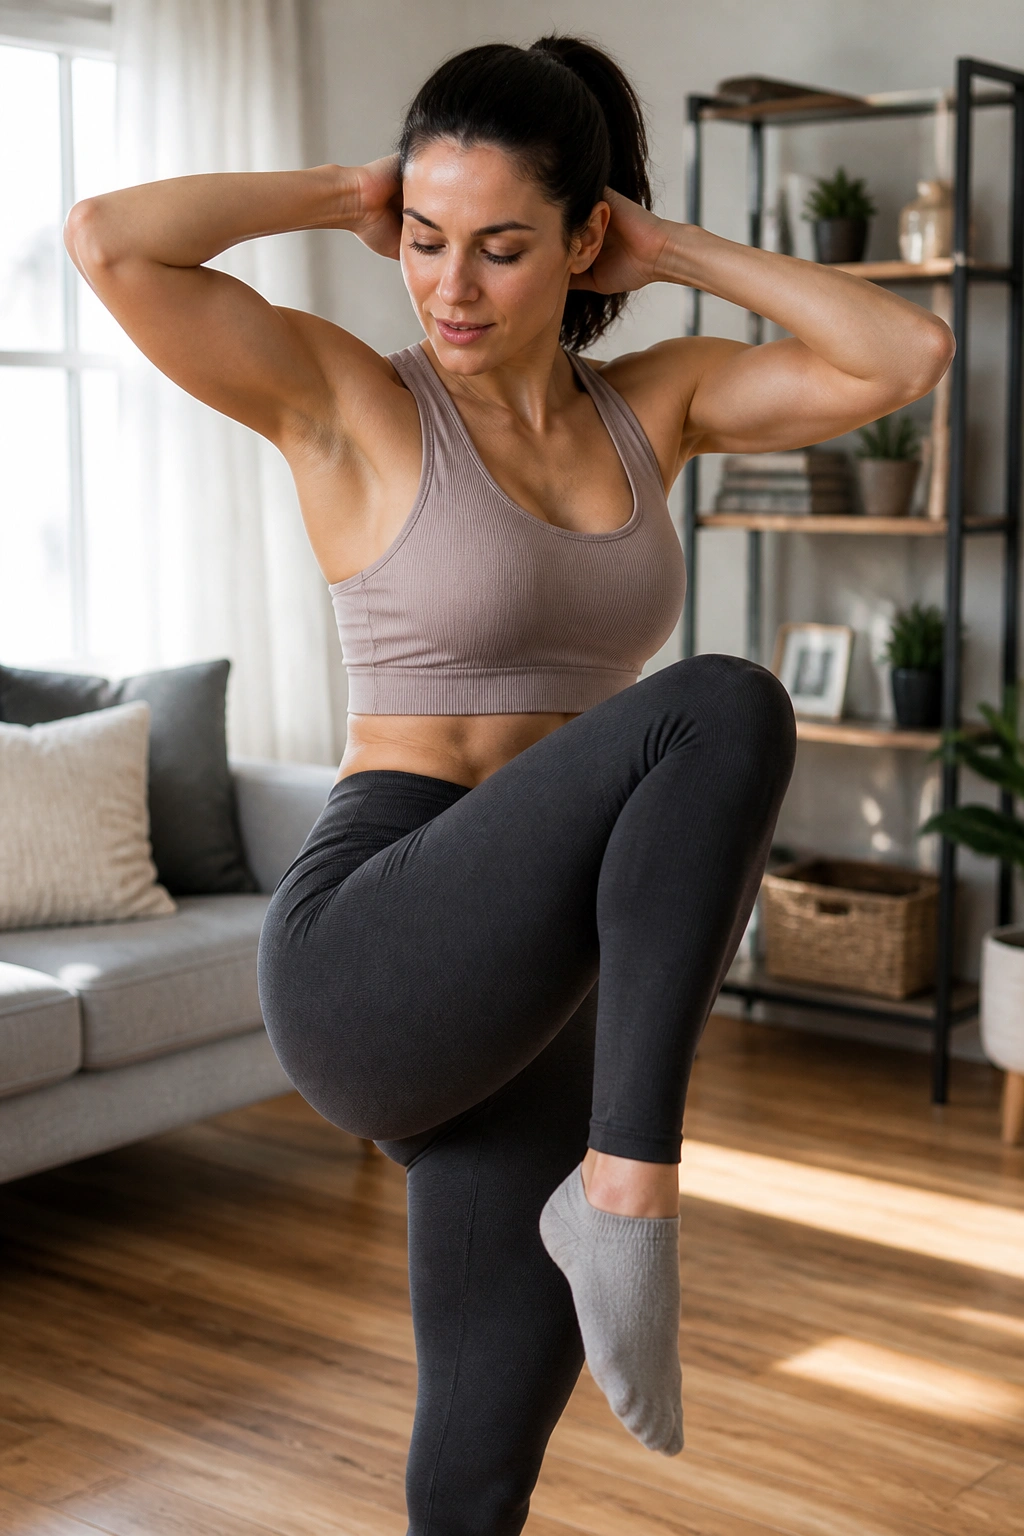
Stand with your hands behind your head, elbows wide. Lift one knee toward your chest while simultaneously bringing the opposite elbow toward that knee. Focus on twisting your torso—that’s where the oblique work happens.
The Oblique Engagement
Don’t just pull the knee up; physically contract your side muscles to twist your ribs toward your hip. This is a compression move. Think of wringing out a towel. The more you exhale during the crunch, the deeper you can contract your abs.
20. The “Shake-Out”
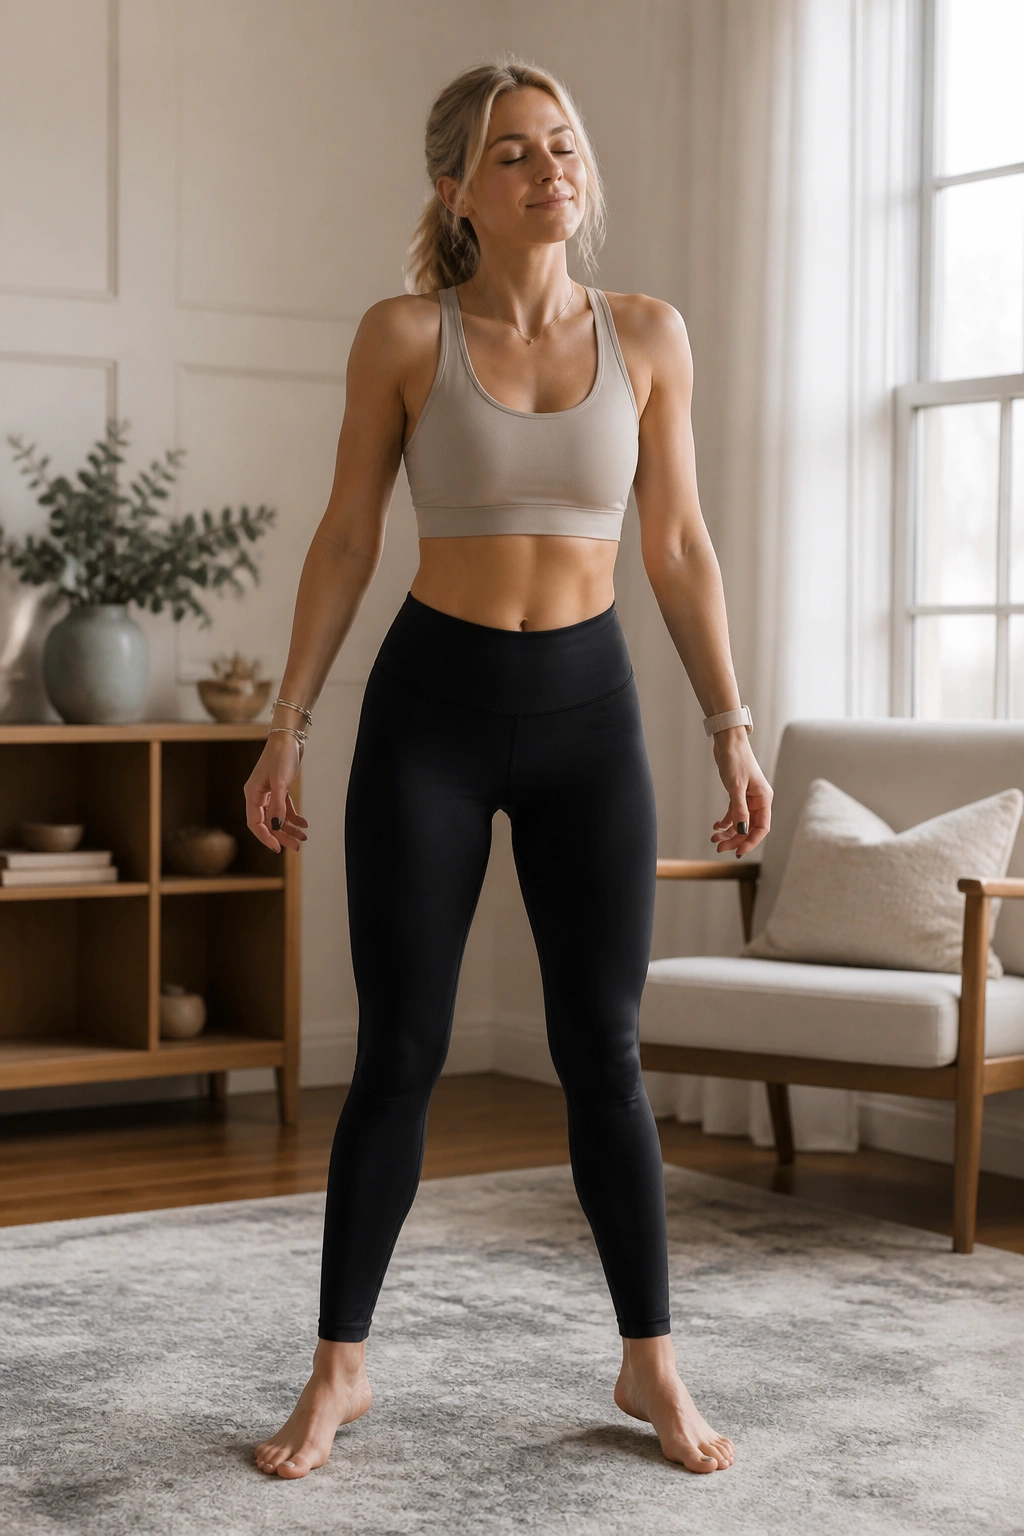
You’ve done the work, your muscles are trembling, and now it’s time to release. Stand comfortably and just let your body go loose. Shake out your arms, wiggle your legs, and roll your shoulders.
Why This Matters
Barre workouts induce a lot of tension. Releasing that tension is a vital part of the recovery process. Don’t just stop and sit down. Keep moving gently, deep breathing, allowing the lactic acid to disperse and the heart rate to come down. This is the moment you acknowledge the effort you just put in.
Final Thoughts
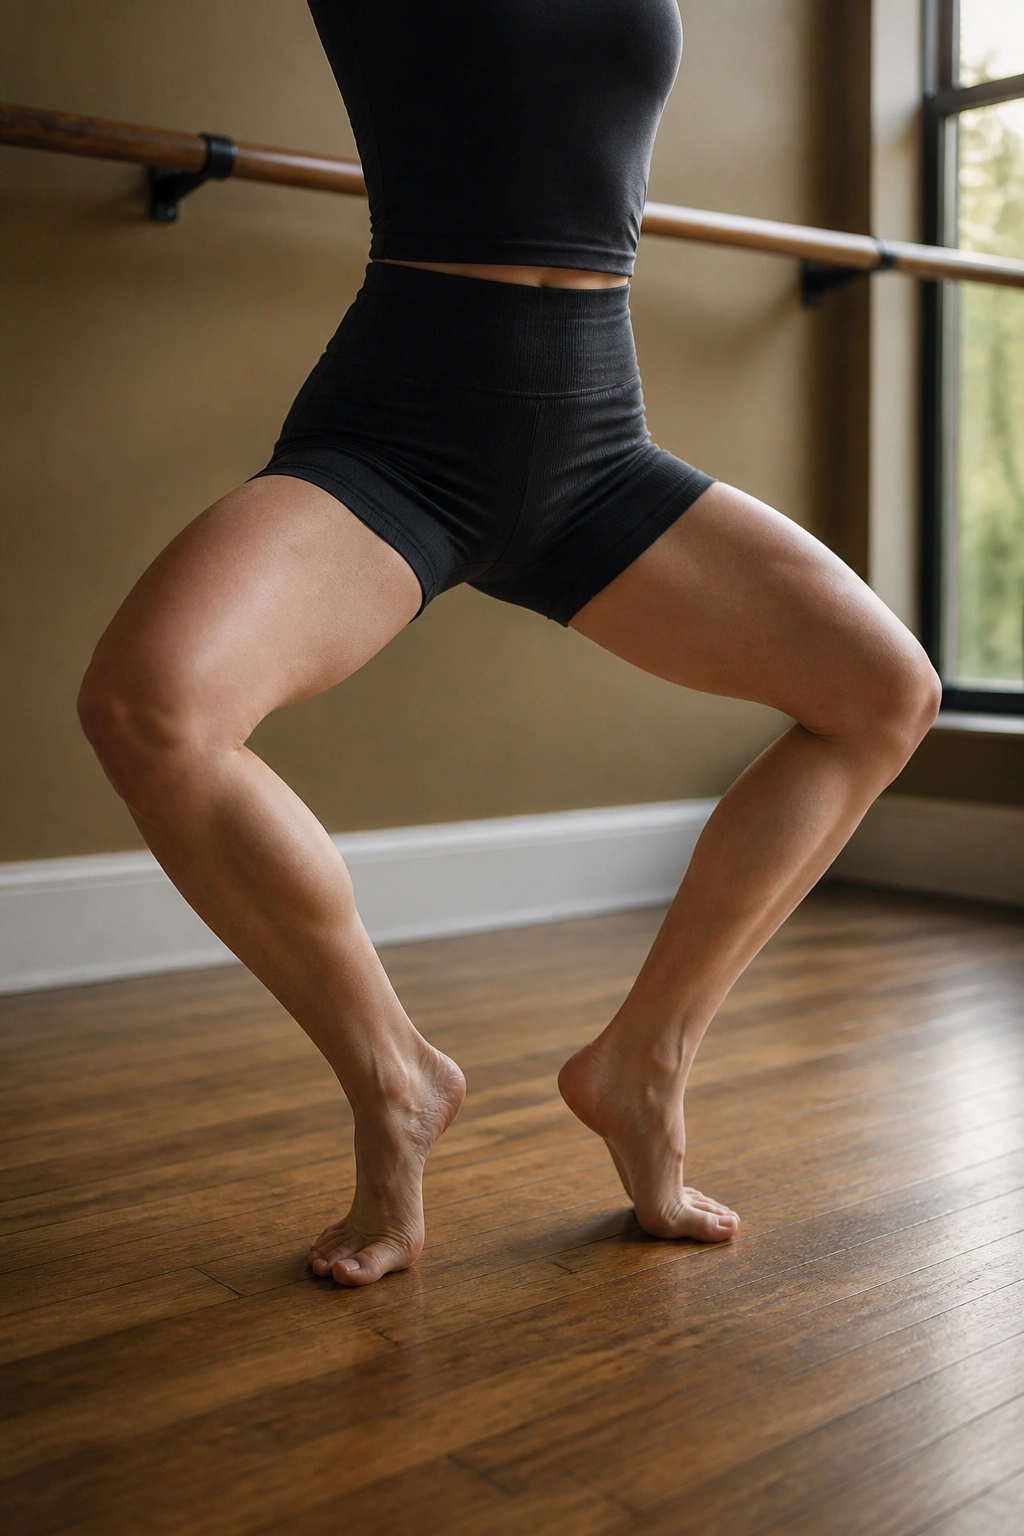
Building a home barre practice is less about perfecting the aesthetic of ballet and more about mastering the nuance of muscle engagement. You don’t need fancy equipment, high-end athletic wear, or a studio membership to see changes in your strength and posture. What you need is the consistency to show up to your kitchen chair, the focus to tune into your own muscles, and the patience to let the small, seemingly insignificant pulses add up over time.
Listen to your body. Some days you will feel strong and balanced; other days, your balance will be off and your muscles will fatigue faster. Both are normal. The goal isn’t to be perfect; the goal is to keep moving with intention. Once you find that rhythm—that specific internal shake that lets you know you’re working—you’ll realize that the most effective fitness tools are usually the simplest ones. Keep your form tight, your movements controlled, and your mind connected to the muscles you’re working, and the results will speak for themselves.
