



Pilates yoga flows for a lean body work best when they feel almost sneaky. You are not chasing a red-faced collapse on the mat; you are stacking breath, control, and posture until your frame looks longer, steadier, and less noisy in motion.
That is the part people miss. A lean look comes from the way the ribs sit over the hips, the way the shoulders stop drifting forward, and the way the deep core keeps doing its job without a lot of drama.
I like flows that do more than burn. They should wake up the back body, clean up the waistline, open tight hips, and make your standing posture feel less like work. If your wrists complain, if your lower back grumbles, if your knees need a softer landing, there is room to adjust. No flow below depends on perfection. Good form beats fancy shapes every time.
A ten-minute session done with real control can matter more than a fast, sloppy one. That is the whole point here: small shapes, clean breathing, and enough repetition to make the body pay attention.
1. Pilates Yoga Flow to Wake Up the Deep Core
This is the one I reach for when everything feels a little sluggish. Cat-cow into high plank sounds simple, and that is exactly why it works so well: the transition from spinal mobility into load tells the deep core to switch on fast.
Why It Works
Start on hands and knees for 4 slow cat-cows, then step into a 20-second high plank, lower the knees if needed, and drive one knee toward the nose 4 times on each side. The plank is the real engine here. It teaches the body to hold the rib cage in place while the hips move, which is a huge part of the lean, lifted look people want from Pilates yoga flows.
Keep the breath steady. Exhale as the knee comes in, and let the belly pull up without sucking the breath out of your chest. That small control matters more than a bigger range.
Quick cues:
- Hands under shoulders, not too far forward.
- Press the floor away so the shoulder blades do not sag.
- Keep the neck long and the gaze a few inches ahead of the hands.
- If the low back arches, shorten the plank and slow the knee drive.
Small tip: the burn should feel deep, not sloppy. If you feel it mostly in the wrists or neck, the shape needs adjusting.
2. Standing Roll-Down to Crescent Lunge
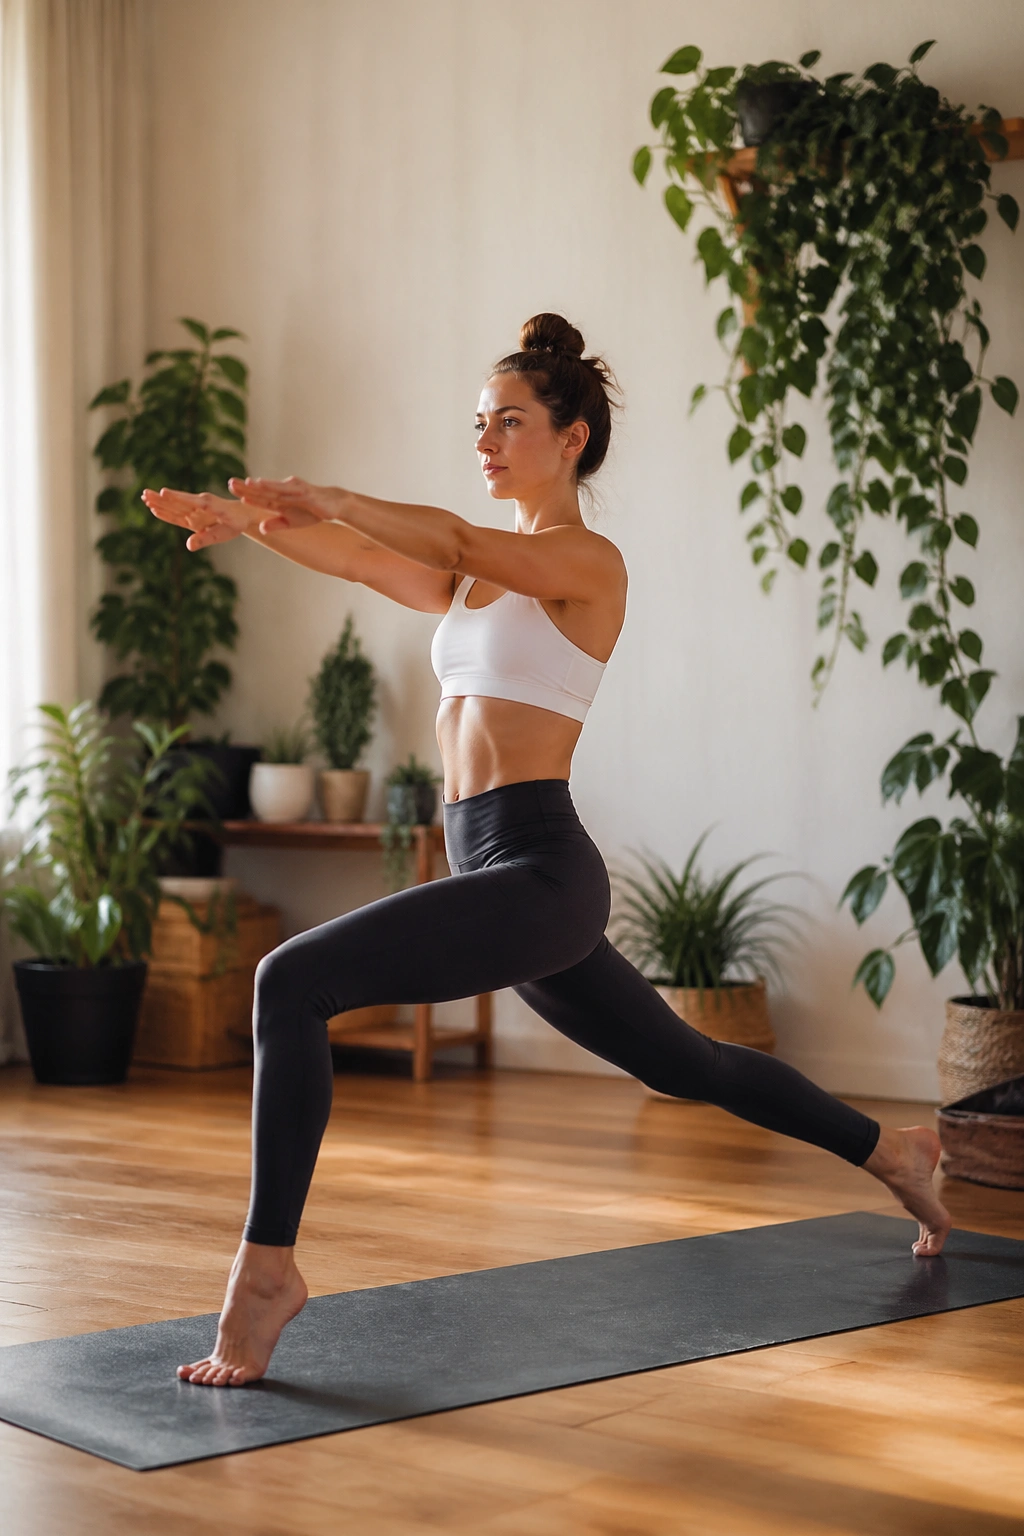
Why start standing? Because standing shows the truth fast. You see the ribs flare, the pelvis tuck, and the hamstrings complain if the body is trying to fake its way through the movement.
Roll down through the spine for 3 slow reps, walk the hands forward, and step one foot back into a crescent lunge. Hold for 3 breaths, then pulse the back knee slightly off the floor if balance allows. The return to standing is the gift here. You have to lift through the front of the body, not yank yourself up with the neck.
How to Keep the Spine Long
Think about reaching the crown of the head forward as the tailbone grows back. That cue keeps the fold from collapsing into the lower back.
Use a yoga block under the hands if the hamstrings feel tight. Use a shorter stance if the lunge turns into a wobbly mess. A clean lunge does more for your posture than a giant one that scrambles everything.
One last thing. The front heel wants to stay heavy. If it floats, the load shifts out of the glute and the whole shape gets flimsy.
3. Down Dog Knee-Drive Ladder
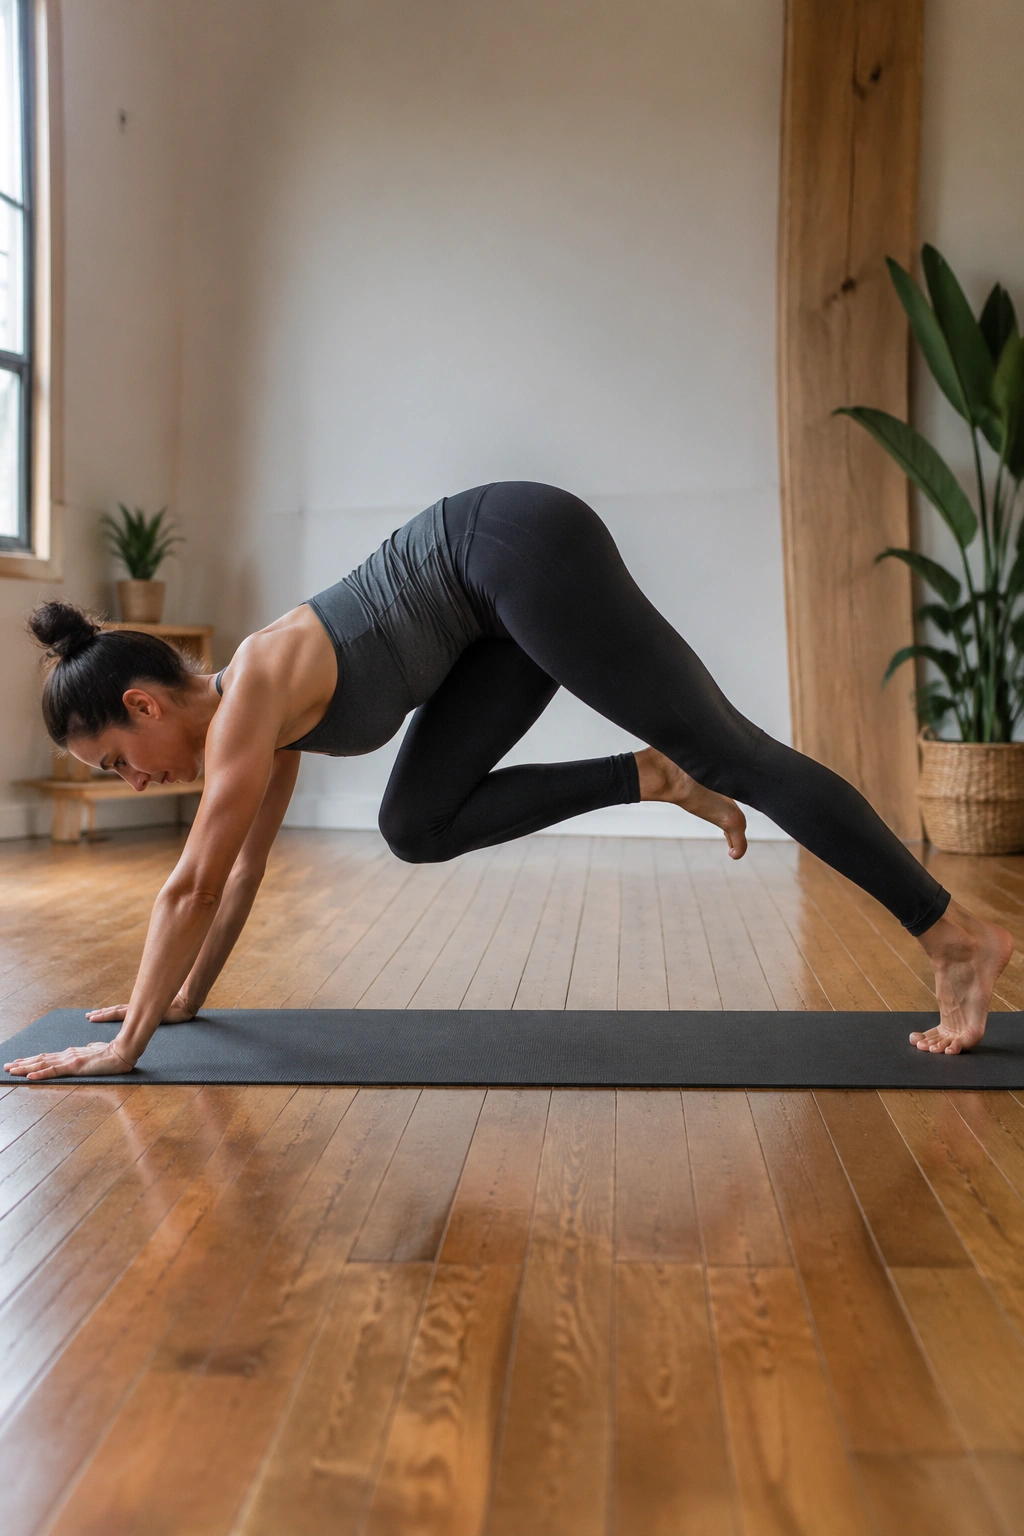
If you want your heart rate to rise without turning the mat into a sprint, this is a good place to go. Down dog to knee drive gives you the Pilates core work, the yoga stretch, and that slightly smug feeling that comes when the abs catch up late.
From downward dog, inhale to lengthen, then exhale and drive the right knee toward the chest. Step it back, then switch. Do 6 drives per side for 2 rounds, or keep going for 30 seconds each side if you want a cleaner cardio hit.
The trick is not speed. The trick is staying still everywhere else. The shoulders should not wobble. The pelvis should not swing like a gate. The standing heel can lift a little, but the torso stays composed.
A useful rhythm:
- Inhale, lift the hips high.
- Exhale, knee to chest.
- Inhale, send the leg back.
- Exhale, switch sides.
That tiny pause at the top of the knee drive is where the core has to work hardest. Skip the pause and you lose the point.
4. Side Plank Thread-Through Series
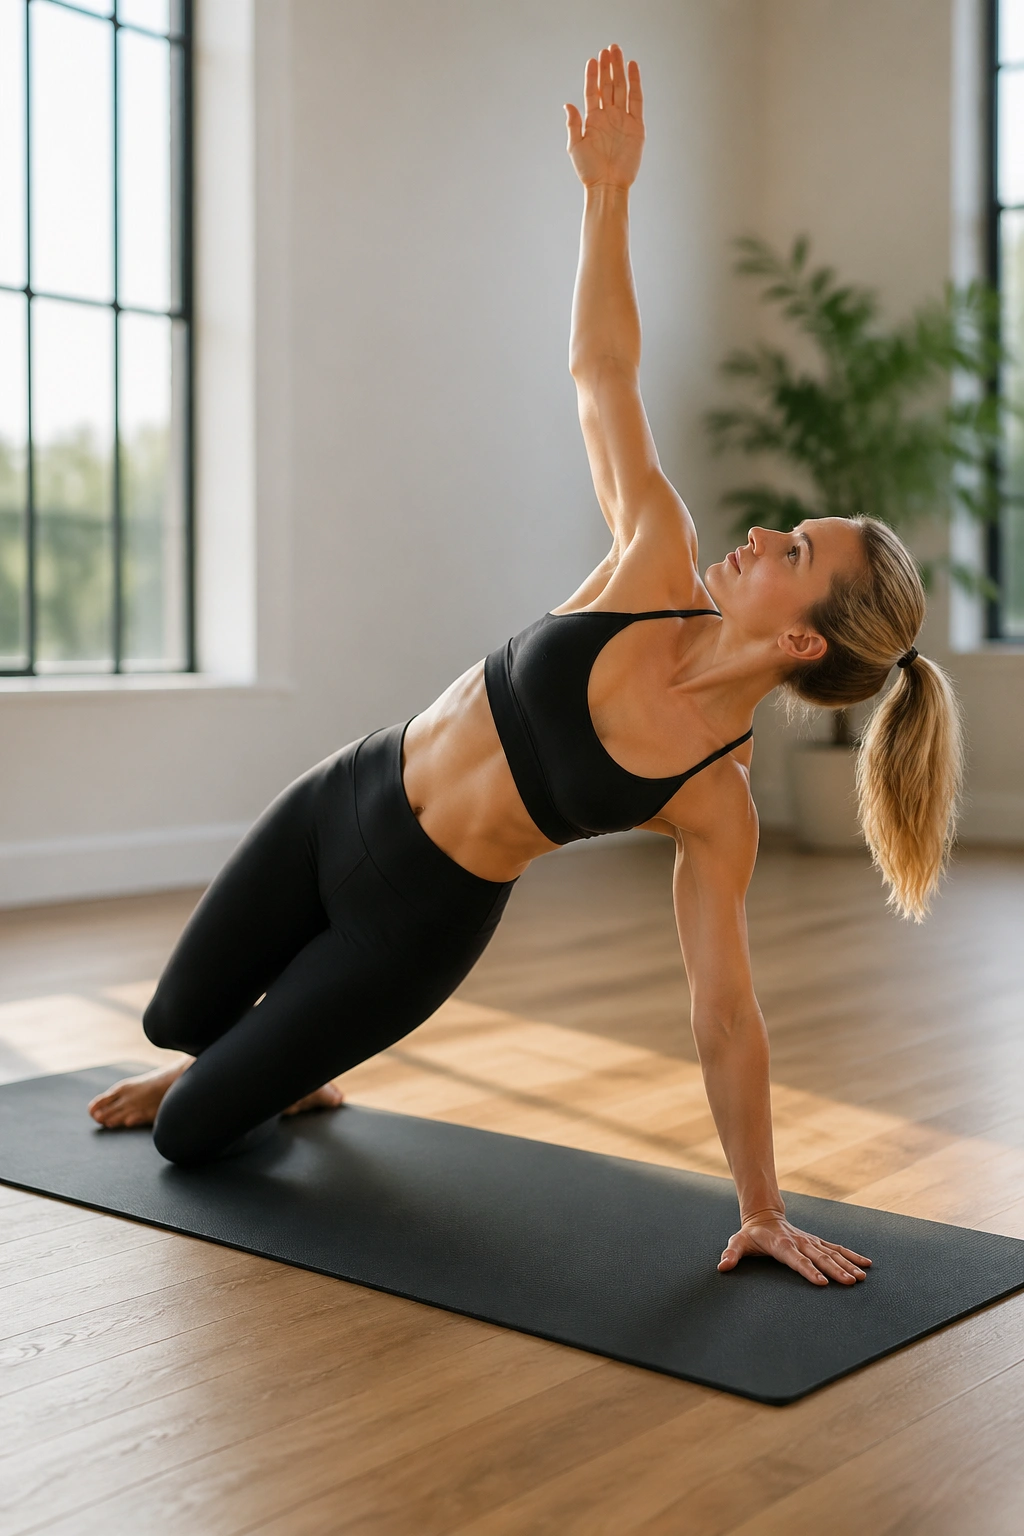
Side plank is a small cruelty in the best way. It asks the waist, shoulder, outer hip, and wrist to all show up at once, and then it gets a little better when you thread the arm under and open again.
Set up in side plank from the knee or the full foot. Reach the top arm to the ceiling, then thread it under the torso and open back up for 4 to 6 reps. Hold the top shape for 2 breaths before changing sides. You should feel the bottom waist lift, not collapse.
What to Watch For
The hips love to drift back. Keep them stacked.
A lot of people rush this flow and end up hanging on the shoulder joint. Don’t. Press the floor away with the bottom hand, spread the fingers wide, and keep the neck soft. If the wrist feels cranky, drop to the forearm version and make the movement smaller.
The thread-through is not just a stretch. It forces the obliques to keep the torso from twisting apart, which is exactly why this flow earns a place in any lean-body mat sequence.
5. Boat to Half Roll-Back Pulses
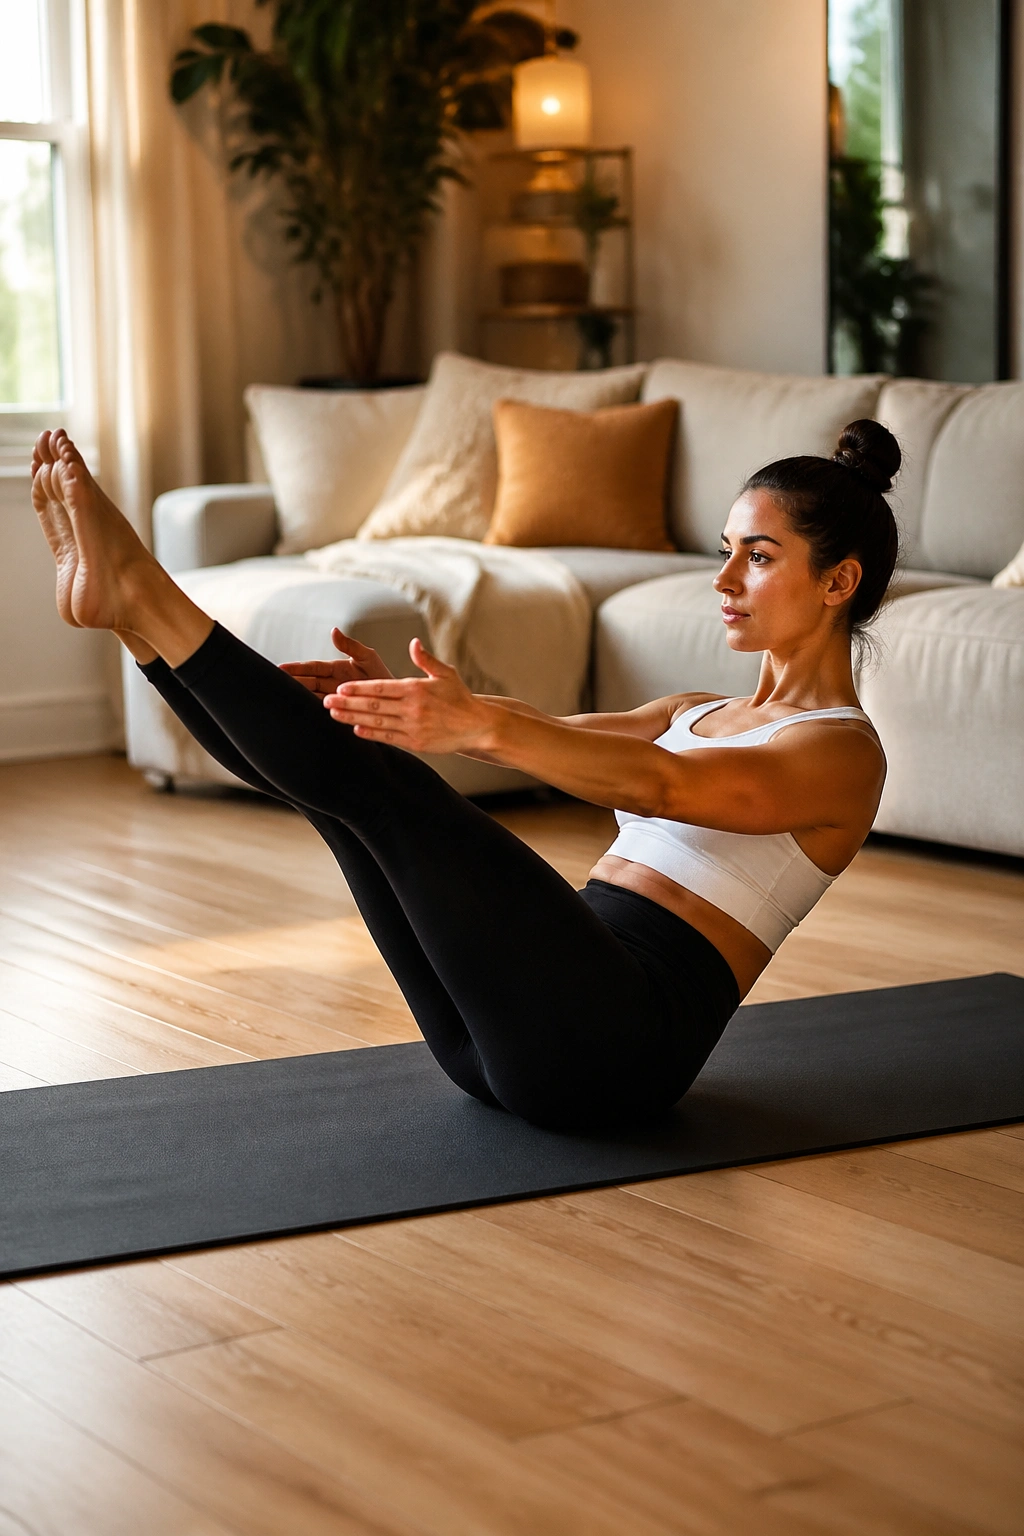
Boat pose does not need to be held forever to matter. In fact, short controlled work often lands better than a long shaky hold that turns the hip flexors into the main event.
Sit tall, lift the feet, and find a small boat. From there, roll halfway back until the low back is close to the mat, then curl up again. Do 8 roll-backs and finish with 5 tiny pulses in the hardest point of the movement. The chest stays open. The chin stays off the chest. The lower belly does the heavy lifting.
The best version feels like a brace around the waist, not a crunch through the neck.
If the full boat is too much, keep the knees bent and hold behind the thighs on the roll back. That is still real work. Honestly, a clean bent-knee version beats a sloppy straight-leg version almost every time.
One sentence is enough here: small range, high control.
6. Warrior II Side Crunch Reach
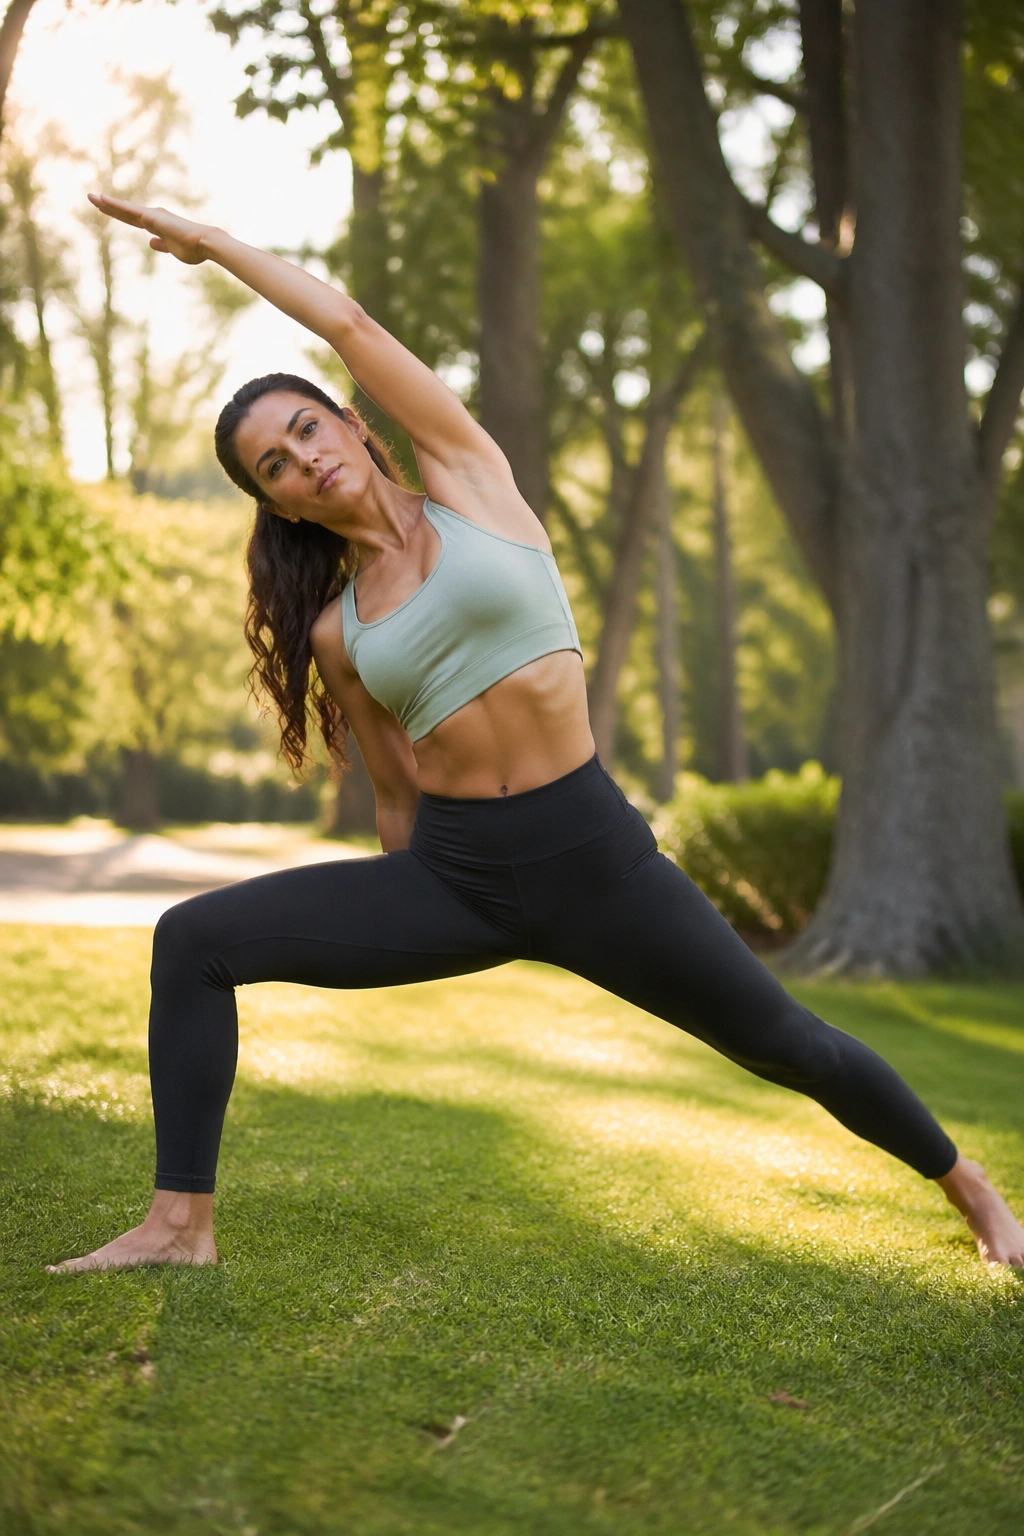
Warrior II gives you the leg burn. Add a side crunch reach and it becomes a waist-and-leg drill that lands deeper than people expect.
Set up in Warrior II with the front knee bent and the back leg long. Reach the front arm overhead, lean gently toward the back leg, then return to center and crunch the elbow toward the front knee. Do 5 slow rounds per side. The arms stay clean. The front knee tracks over the middle toes. The back foot stays rooted.
The appeal of this one is the contrast. One moment you are long through the side body, the next you are closing the space across the obliques. That opening and closing is what gives the movement its shape.
If you want a little extra work, hold the side bend for 2 breaths before the crunch. If your shoulders are tight, keep the top arm a little lower and use a block under the front hand during the lean.
Simple rule: the standing leg should feel alive. If it doesn’t, the weight has drifted into the upper body.
7. Bridge Lift and Heel-Slide Flow
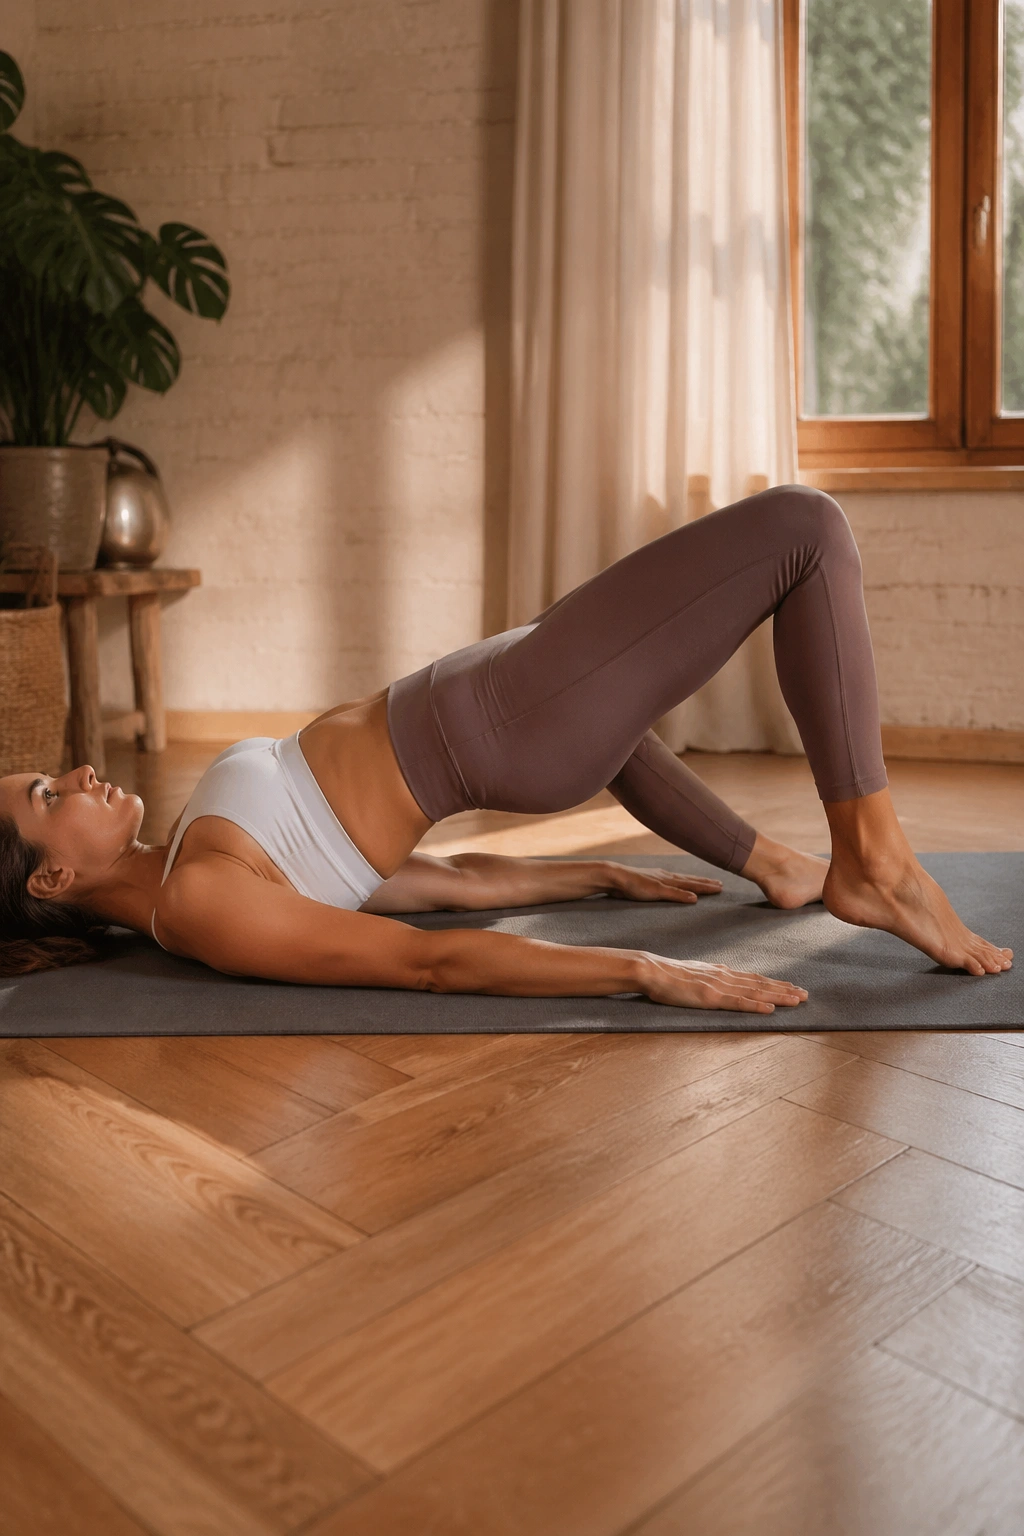
Bridge work is one of those things that looks tame until your hamstrings start negotiating with you. Add heel slides, and the glutes have to keep the pelvis steady while the legs move, which is exactly the kind of detail that changes how the lower body looks and feels.
Lie on your back with knees bent. Lift into bridge, hold for 2 breaths, then slide one heel away until the leg is nearly straight and draw it back in. Do 5 heel slides on each side, then lower and repeat for 2 sets. Keep the hips level. No rocking.
The Small Detail That Matters
The pelvis should stay like a tray carrying water. If one side drops, slow down.
This flow is excellent for people who sit a lot because it wakes up the glutes without asking the spine to do the job of the legs. It also helps the back line feel longer, which shows up later in standing posture.
If the hamstrings cramp, lift the feet a little farther from the glutes and make the bridge lower. Cramping usually means the glutes have checked out.
8. Pilates Yoga Flow for the Back Body
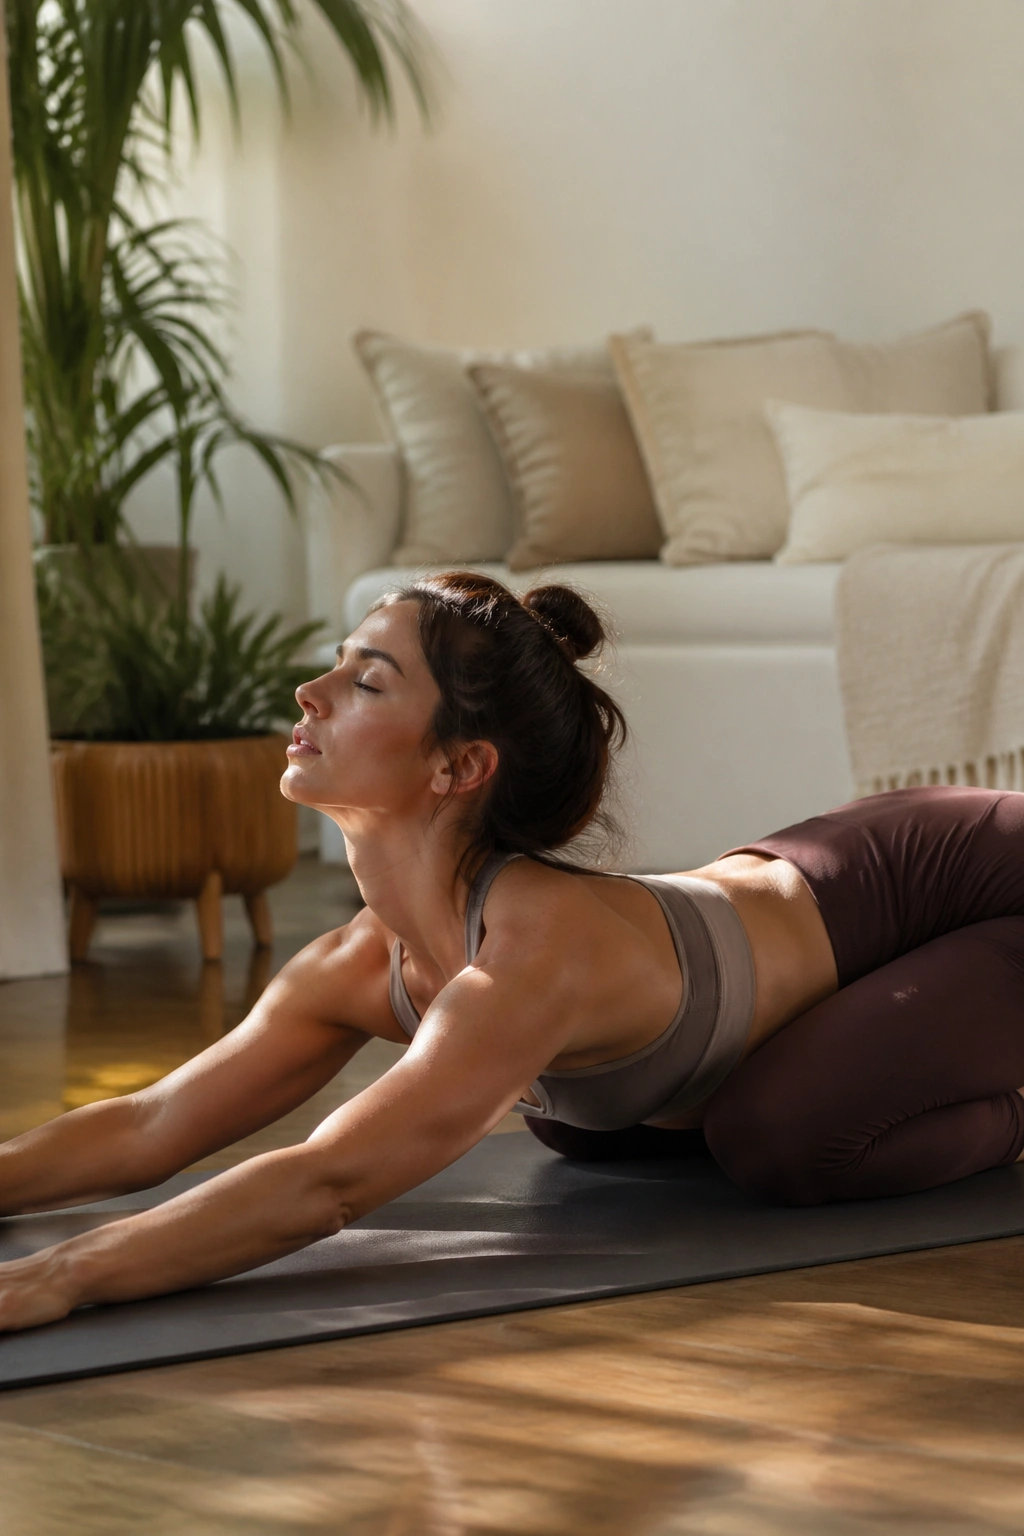
The back body gets ignored more than it should. This flow fixes that by linking a soft swan shape with the release of child’s pose, so the spine gets both lift and ease in the same sequence.
Lie face down, hands by the ribs. Press up into a low swan, pause for 2 breaths, then slide back into child’s pose and breathe into the back ribs for 3 breaths. Repeat 3 times. The chest should feel open, not jammed. The lower back should feel supported, not pinched.
The texture matters here. The swan lift should feel smooth, almost quiet. Child’s pose should feel wide across the back, not dumped into the hips. That contrast helps the back body wake up without getting cranky.
A neat variation is to sweep the arms forward as you rise, then widen them as you sink back. It makes the whole sequence feel more connected and gives the shoulders a cleaner line.
A lot of lean-body work is really posture work. This is posture work.
9. Tabletop Hover Kick-Throughs
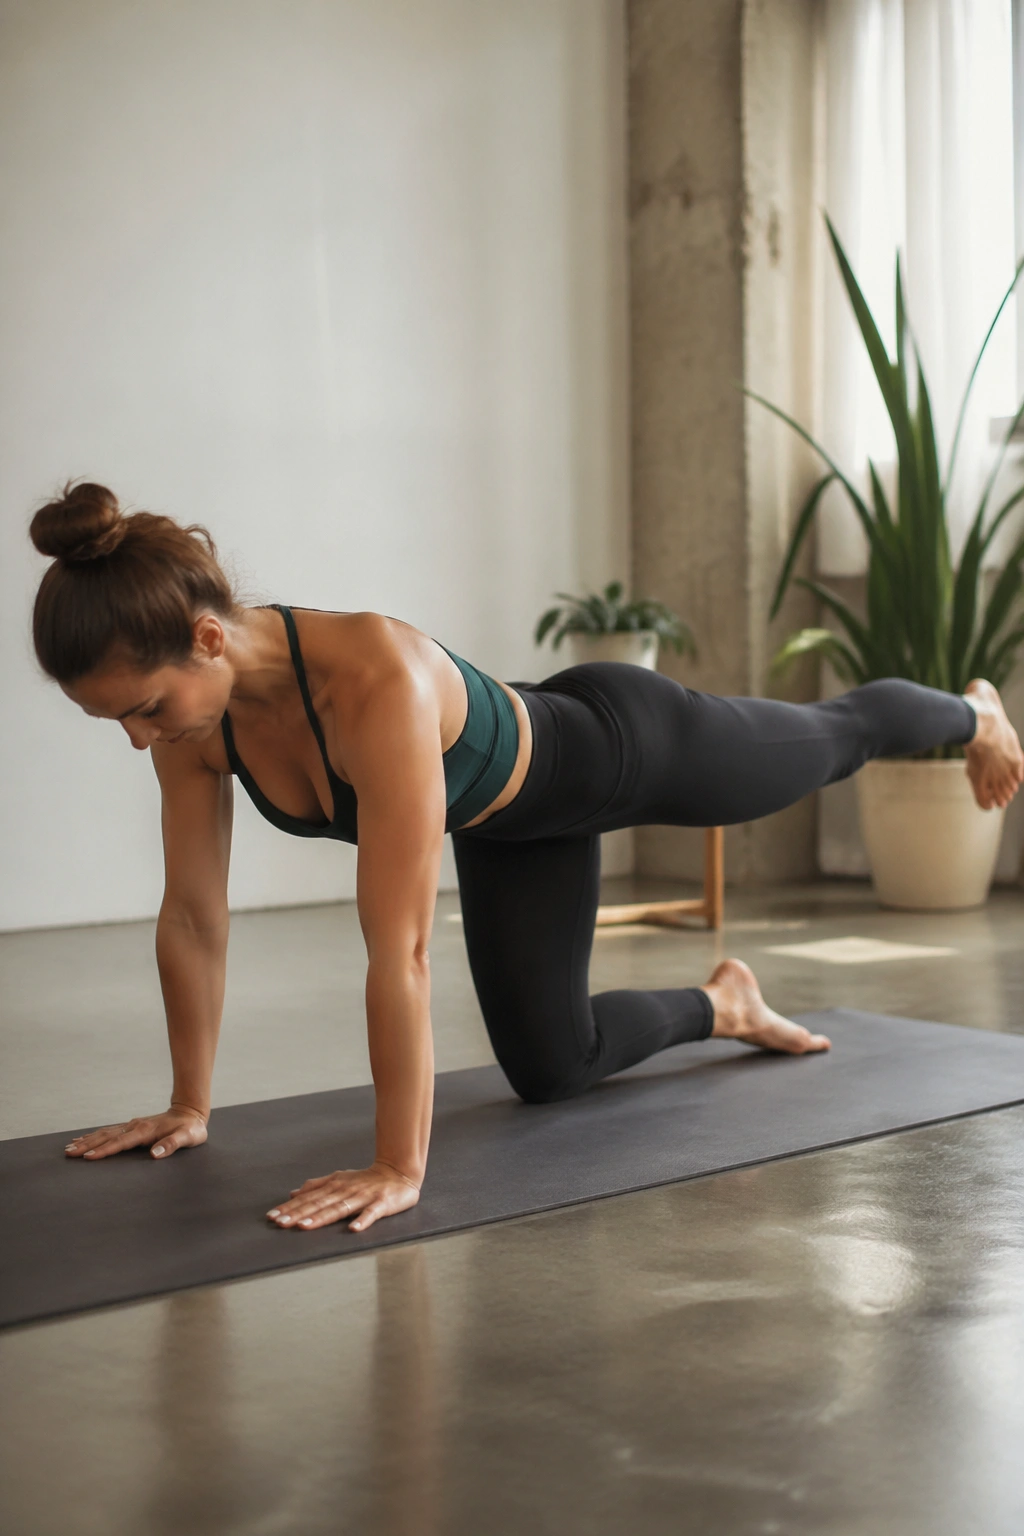
Six kick-throughs a side, two rounds, and the abs start behaving. That is the charm of this one: it looks small, but it asks for the kind of control that shows up later in standing balance and walking posture.
From all fours, tuck the toes and hover the knees about 1 inch off the floor. Extend the right leg long behind you, then draw the knee under the torso and send it back again. Switch sides and repeat. Keep the hips square and the shoulders stacked over the wrists.
How to Get the Most From It
Use a slow count of 3 on the way in and 3 on the way out. Fast reps turn this into a swing, and swinging is not the goal.
The hover is the challenge. The moment the knees lift, the core has to stabilize the whole frame. If that hover is too much, keep the knees down and practice the kick-through pattern from a stable tabletop first.
A small cue helps a lot: push the floor away. That stops the shoulder blades from sinking and gives the waist room to do its job.
10. Chair Pose Skater Steps
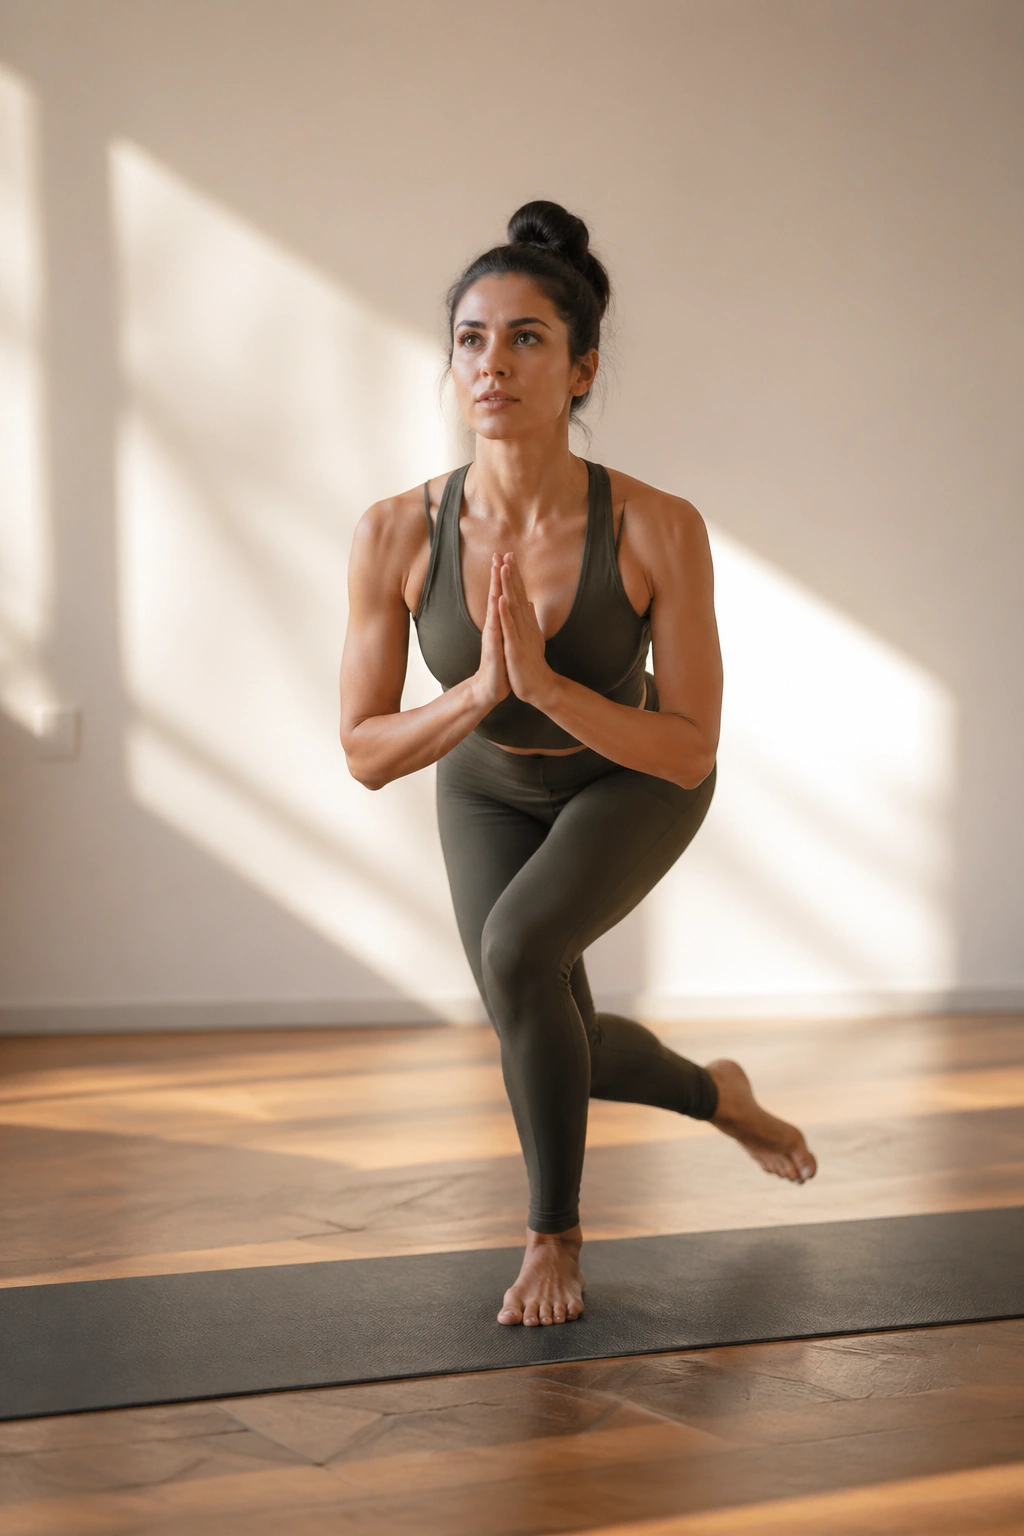
Chair pose is not a thigh punishment if you pair it with skater steps. Done slowly, the movement lights up the outer hips and teaches the legs to stay organized under load.
Drop into chair with the weight in the heels. Step the right foot a few inches behind and across, return to chair, then switch sides. Keep the chest lifted and the ribs from flaring. Do 8 skater steps and repeat for 3 rounds.
The useful part is the lateral shift. Your body has to stabilize one leg while the other moves, and that is where the hips start to work in a more honest way. This is one of those shapes that leaves the legs warm without needing a jump or a blast of speed.
If the knees cave inward, press them gently out toward the little toes. If the ankles feel shaky, narrow the step and keep the torso more upright.
Short version: stay low, stay quiet, stay controlled.
11. Crescent Twist to Side Angle
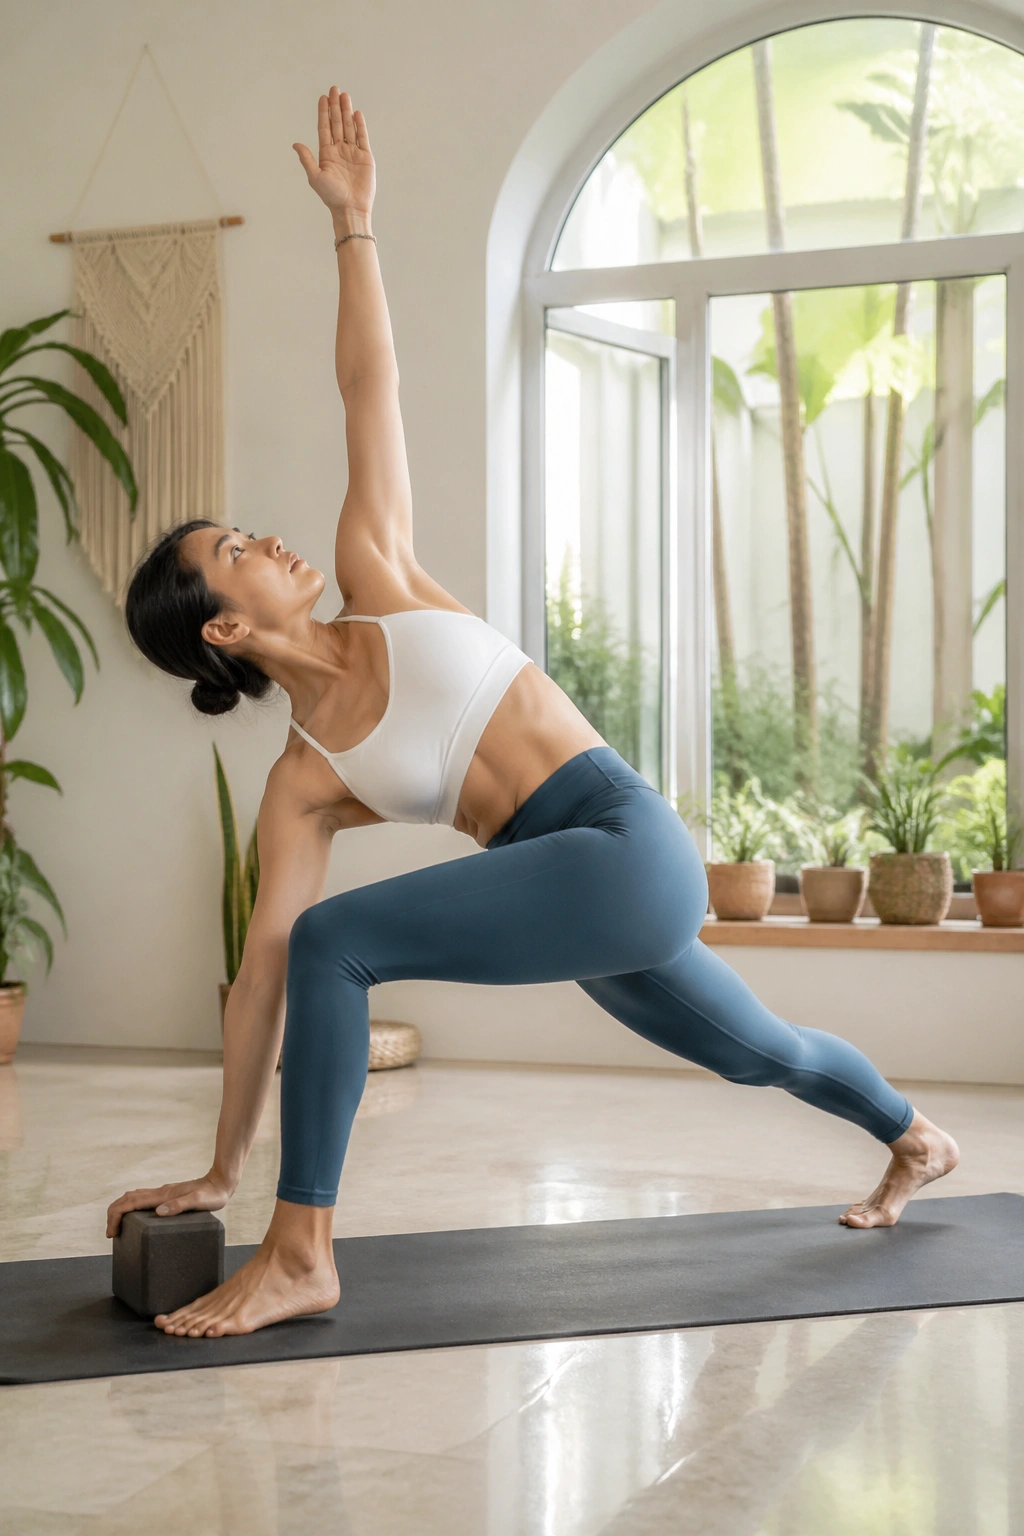
Use a block here. No prizes for collapsing into the floor.
Begin in crescent lunge with the back heel lifted. Bring the hands to prayer, twist toward the front leg, then open into side angle with the top arm reaching overhead. Hold the twist for 3 breaths and the side angle for 2 breaths before switching sides. The front thigh stays active the whole time.
What Makes It Work
The twist wakes up the waist. The side angle stretches the side body and loads the front leg at the same time. That combo gives you a long, strong shape without needing anything flashy.
A block under the lower hand is not a shortcut. It is a smart way to keep the spine long while the hips open. If the lower hand reaches the floor by force, the chest tends to collapse and the twist gets muddy.
Keep the back foot angled slightly out for balance. If the front knee feels twisty, shorten the stance a bit. Clean angles matter more than depth.
12. Roll-Up to Teaser Prep
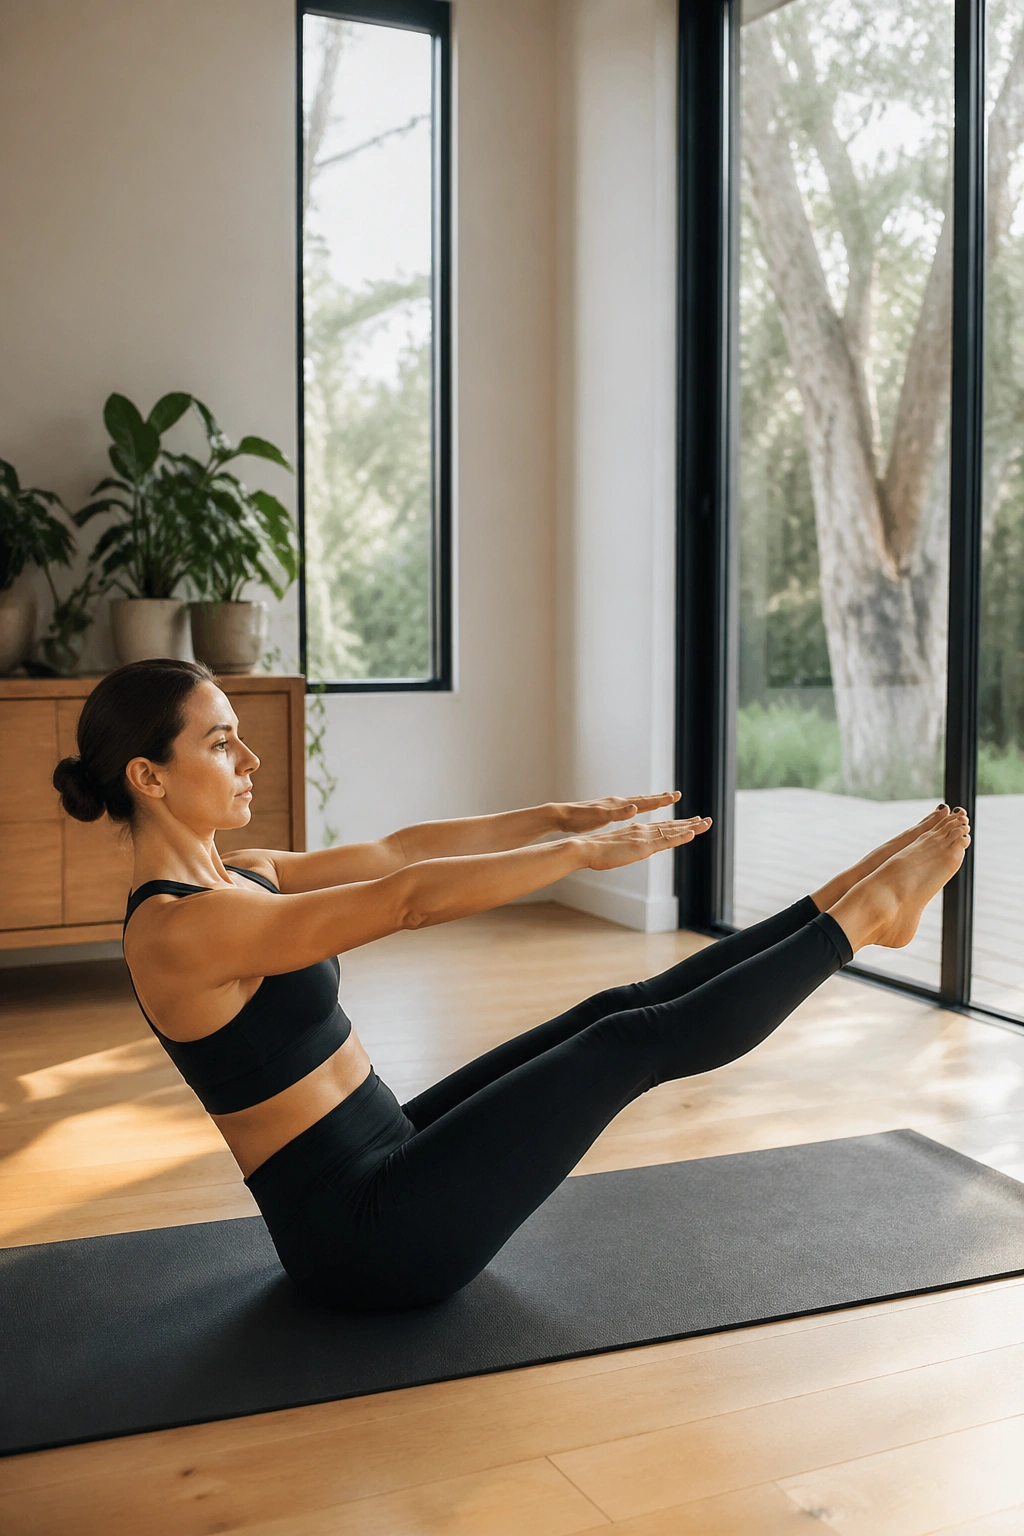
Slow is the point. If you rush this one, the whole sequence falls apart and turns into a hip-flexor tug of war.
Lie flat with the arms overhead. Roll up one vertebra at a time to a tall seated position, then tip back into a teaser prep with the shins angled up or the feet lightly lifted. Do 4 roll-ups and 6 teaser taps where the toes touch down and lift again. Keep the exhale long on the way up.
The roll-up trains spinal articulation. The teaser prep trains front-body control. Put together, they make the torso look and feel more held.
If the roll-up catches in the lower back, bend the knees and slide the heels on the mat. If the teaser makes the neck tense, keep the gaze toward the thighs and soften the shoulders.
One clean roll-up beats three half-hearted ones.
13. Bird Dog Knee Hover
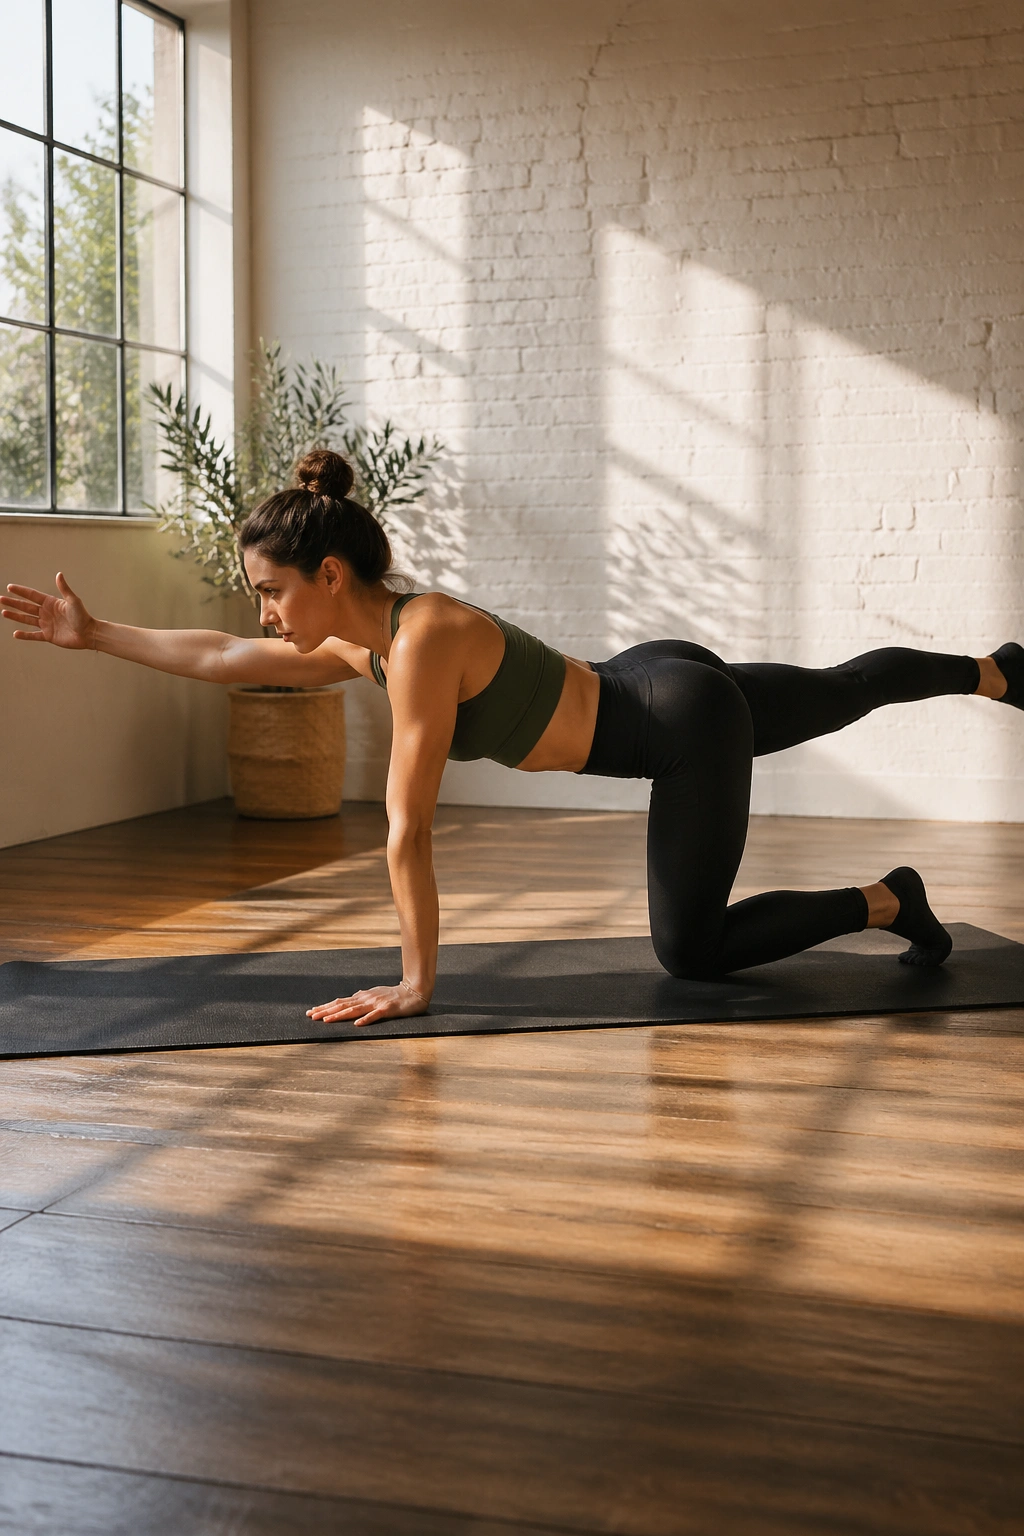
What if your back needs less bending and more bracing? Bird dog knee hover is the answer I reach for. It is quiet, yes, but the work is not small.
From hands and knees, extend the right leg back and the left arm forward. Draw them back to center, then hover the knee an inch off the floor for 2 breaths before extending again. Do 5 reps per side. Keep the pelvis square and the belly lifted away from the mat.
Common Mistake to Avoid
People love to throw the leg high. That usually turns the low back into the main mover.
Keep the lifted leg in line with the torso, not higher than the hip. The smaller shape keeps the abdominal wall honest and the glute on the working side awake. If the wrists are tired, fold a towel under the heels of the hands or come down to forearms for a simpler version.
There is nothing glamorous about this one. Good. It works anyway.
14. Pigeon Lift and Reach
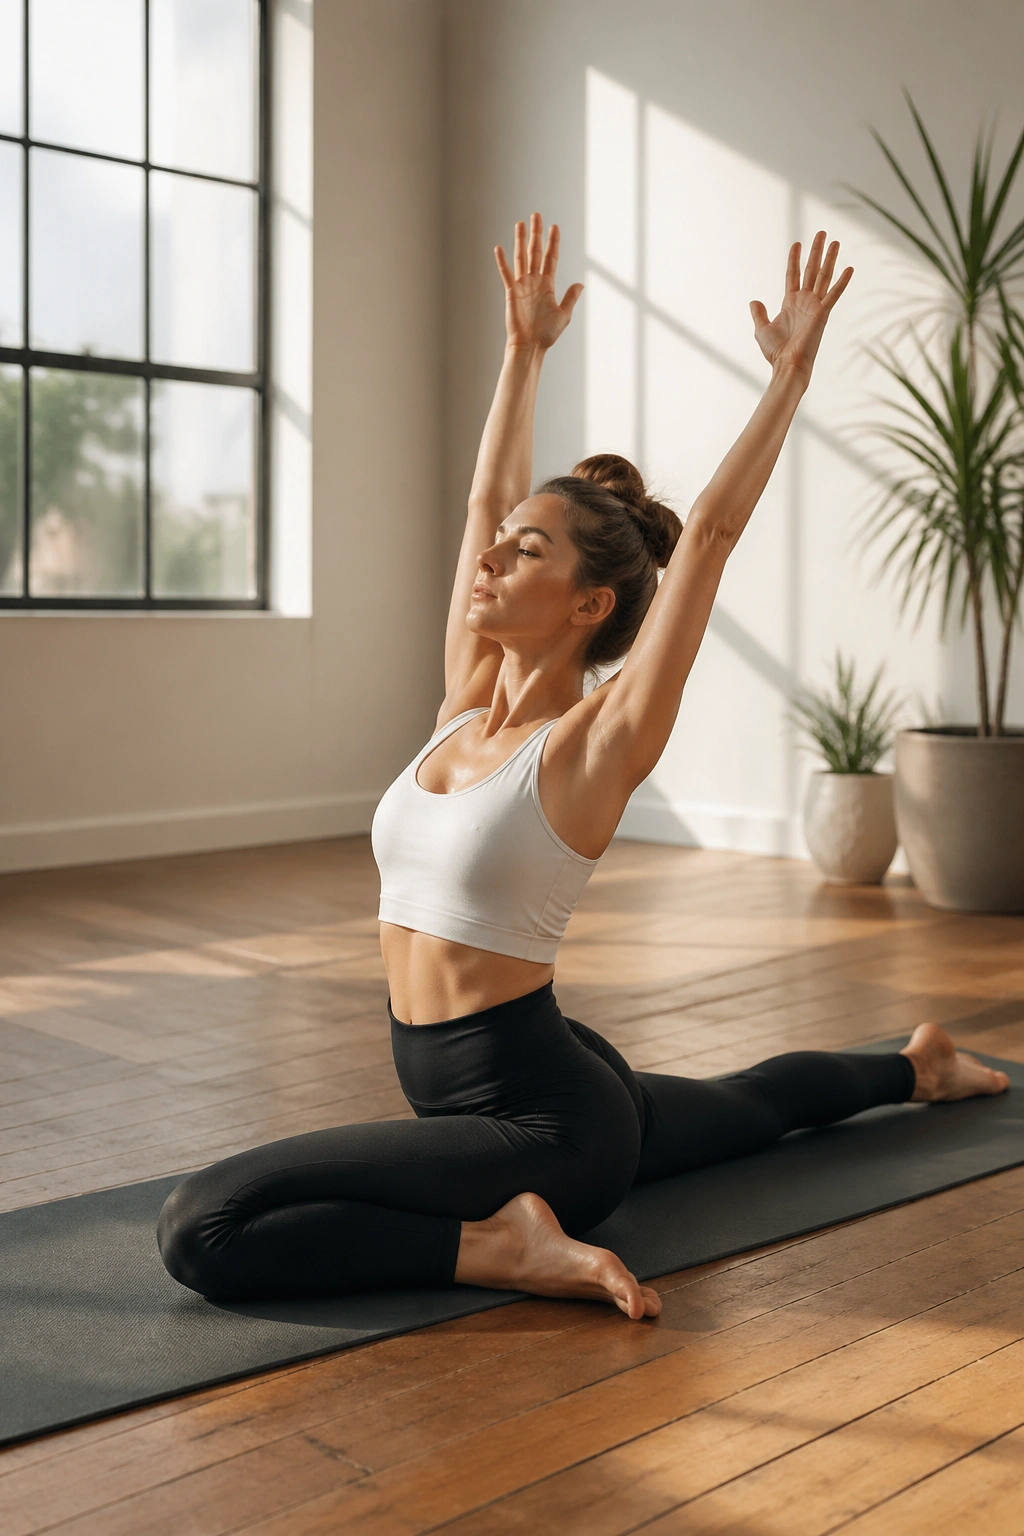
After a long stretch of sitting, pigeon pose can feel like relief and a trap in the same breath. Add a lift and reach, and you change the whole tone of the shape.
Set up in pigeon, then lift the chest slightly, reach the arms forward and overhead, and draw them back in for 3 to 4 slow lifts. Keep the front shin comfortable and the back leg long. The movement should feel like an opening through the hips with some active support, not a collapse into passive hanging.
The glute on the back leg should stay awake. That is the part most people skip. Without it, pigeon turns into a dump into the front hip, and the low back often complains later.
If the front hip feels pinchy, stay higher on the hands or slide a folded blanket under the front side of the pelvis. A deeper stretch is not the prize. A better line through the whole body is.
15. Standing Side Leg Lift with Mermaid Reach
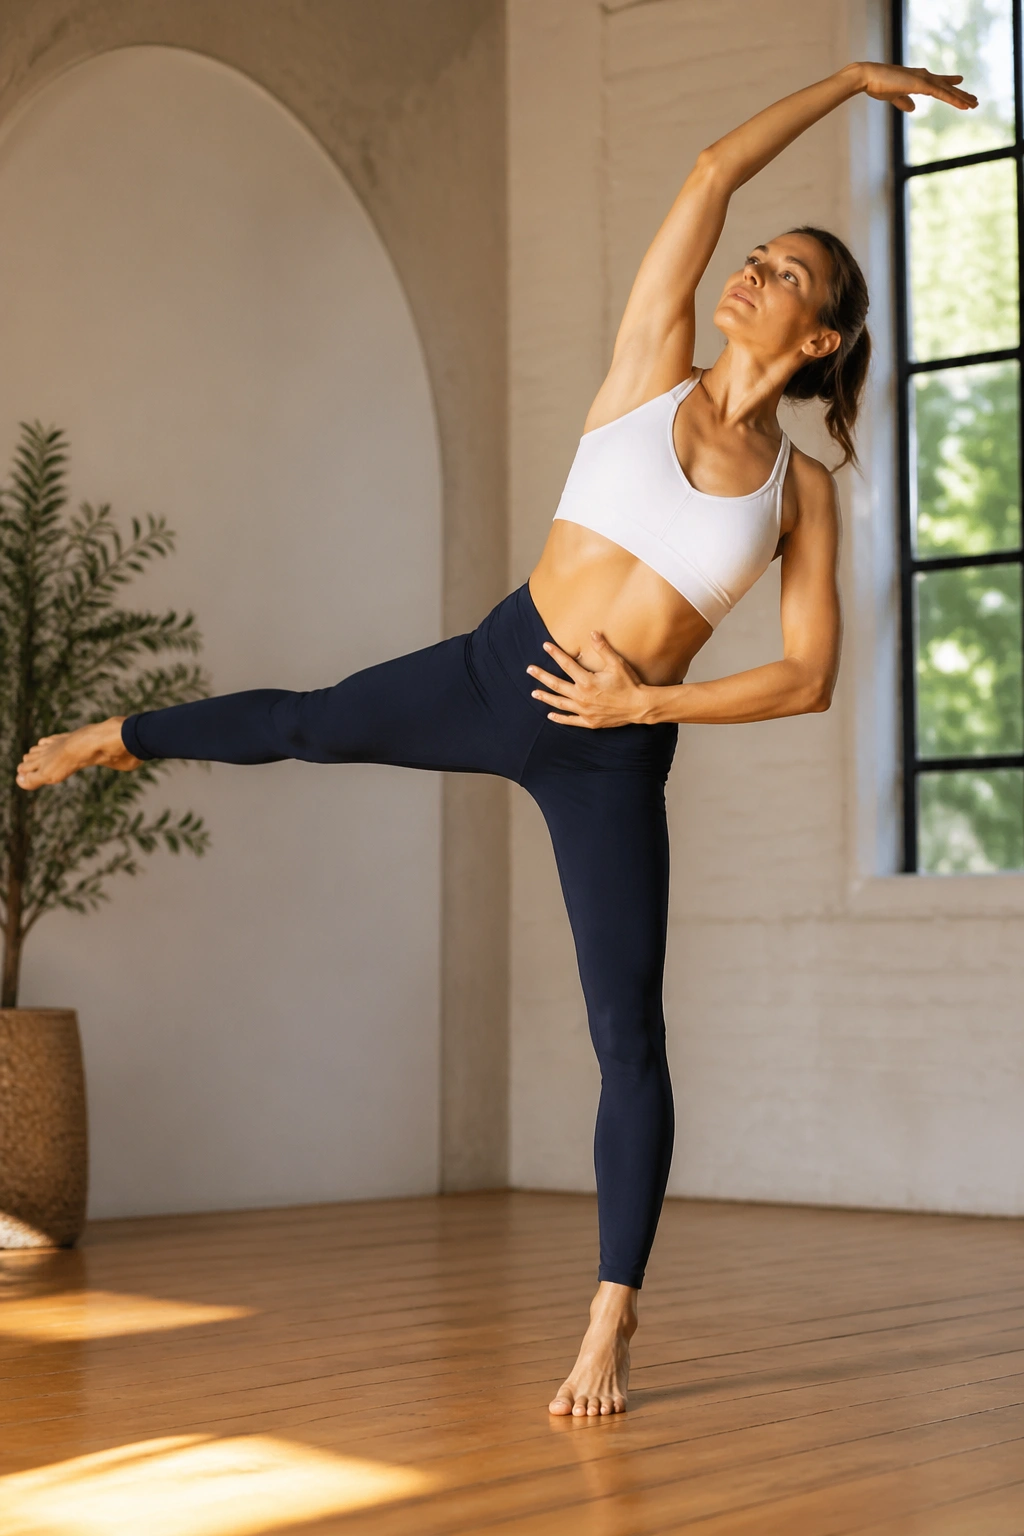
Outer hips need load, not just stretch. This flow gives them both, and the standing version keeps the body honest in a way floor work sometimes does not.
Simple Setup
Stand tall, shift weight onto one leg, and lift the other leg out to the side 10 times with a tiny pause at the top. Then bring the lifted arm overhead and fold into a mermaid-style side reach for 2 slow breaths. Repeat on the other side.
The standing leg does the real labor. Keep it soft but strong, with the arch awake and the heel grounded. If balance is shaky, take a fingertip hold on a wall. That is better than wobbling through the whole thing and missing the work in the hip.
The side reach lengthens the waist after the lift, which gives the sequence a clean finish. It is a simple contrast, but a good one.
16. Forearm Plank Pike to Dolphin
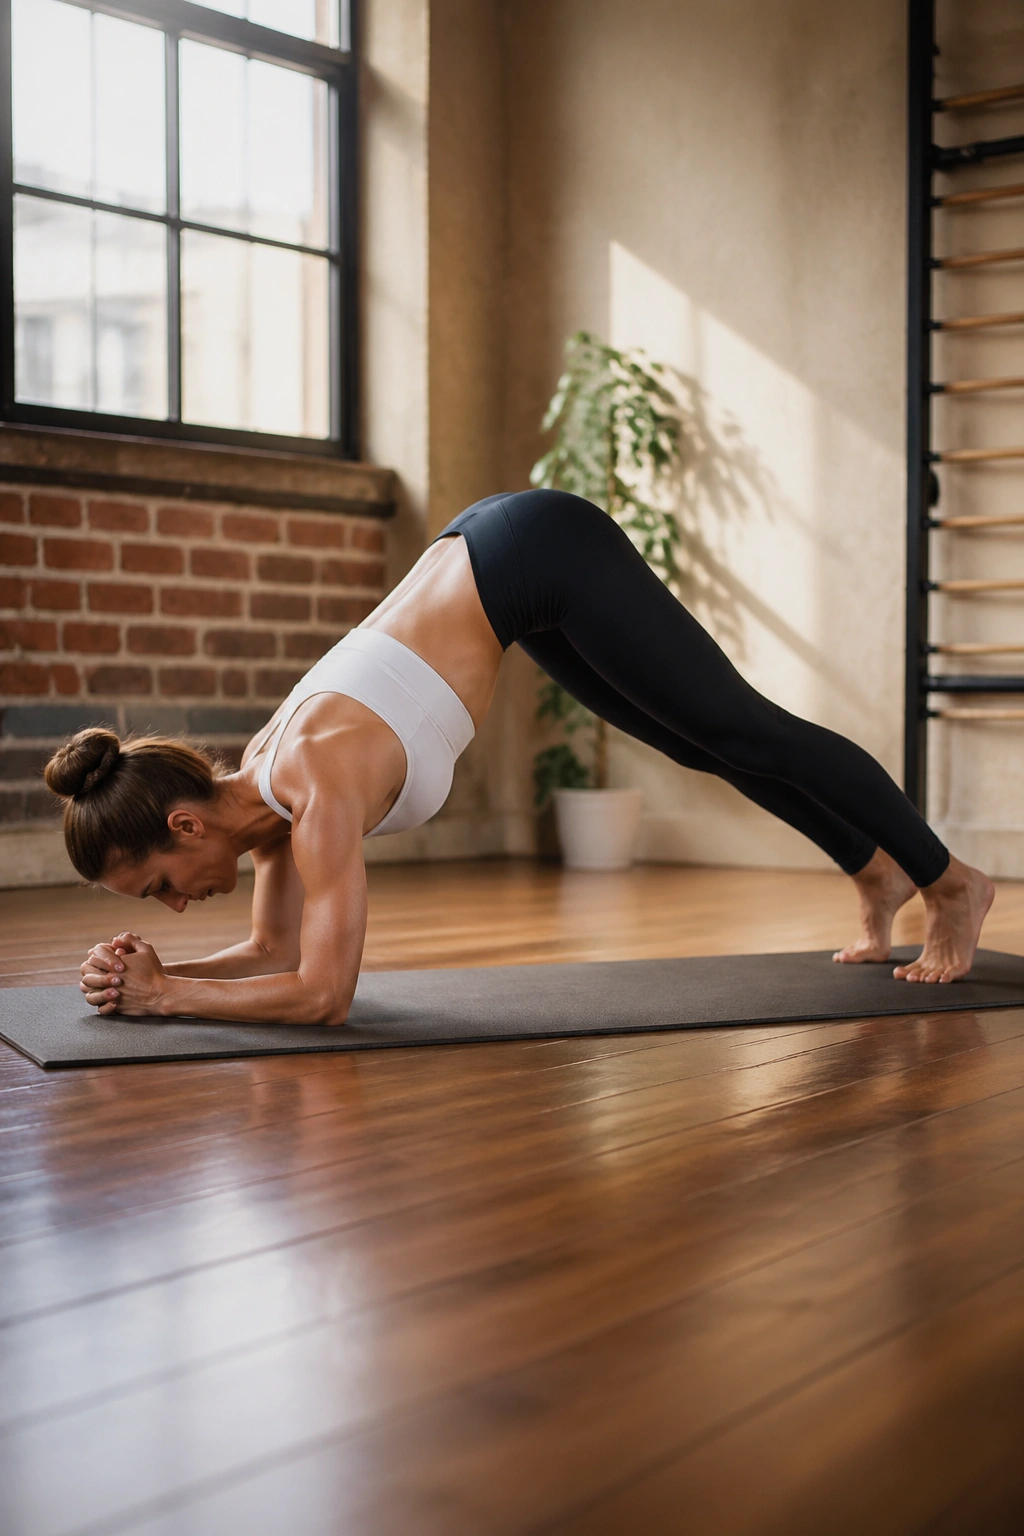
Forearm pike is not the same as a forearm plank. One asks you to hold; the other asks you to move. That difference matters, because movement reveals whether the core can keep the pelvis steady while the shoulders and hamstrings share the load.
Start in forearm plank, then lift the hips into a small pike, lower back to plank, and repeat for 5 to 8 reps. Keep the legs active and the heels reaching back as the hips rise. If you want a cleaner rhythm, think of it as a short, controlled pulse rather than a big lift.
What to Watch For
Do not dump into the shoulders. Press the forearms down and feel the upper back broaden.
The pike should come from the abs and the hip crease, not from yanking the hips sky-high. A smaller range keeps the spine long and the movement useful. If the hamstrings are tight, bend the knees a little and keep the lift modest.
This one feels honest fast. No pretending.
17. Half Moon to Knee Drive
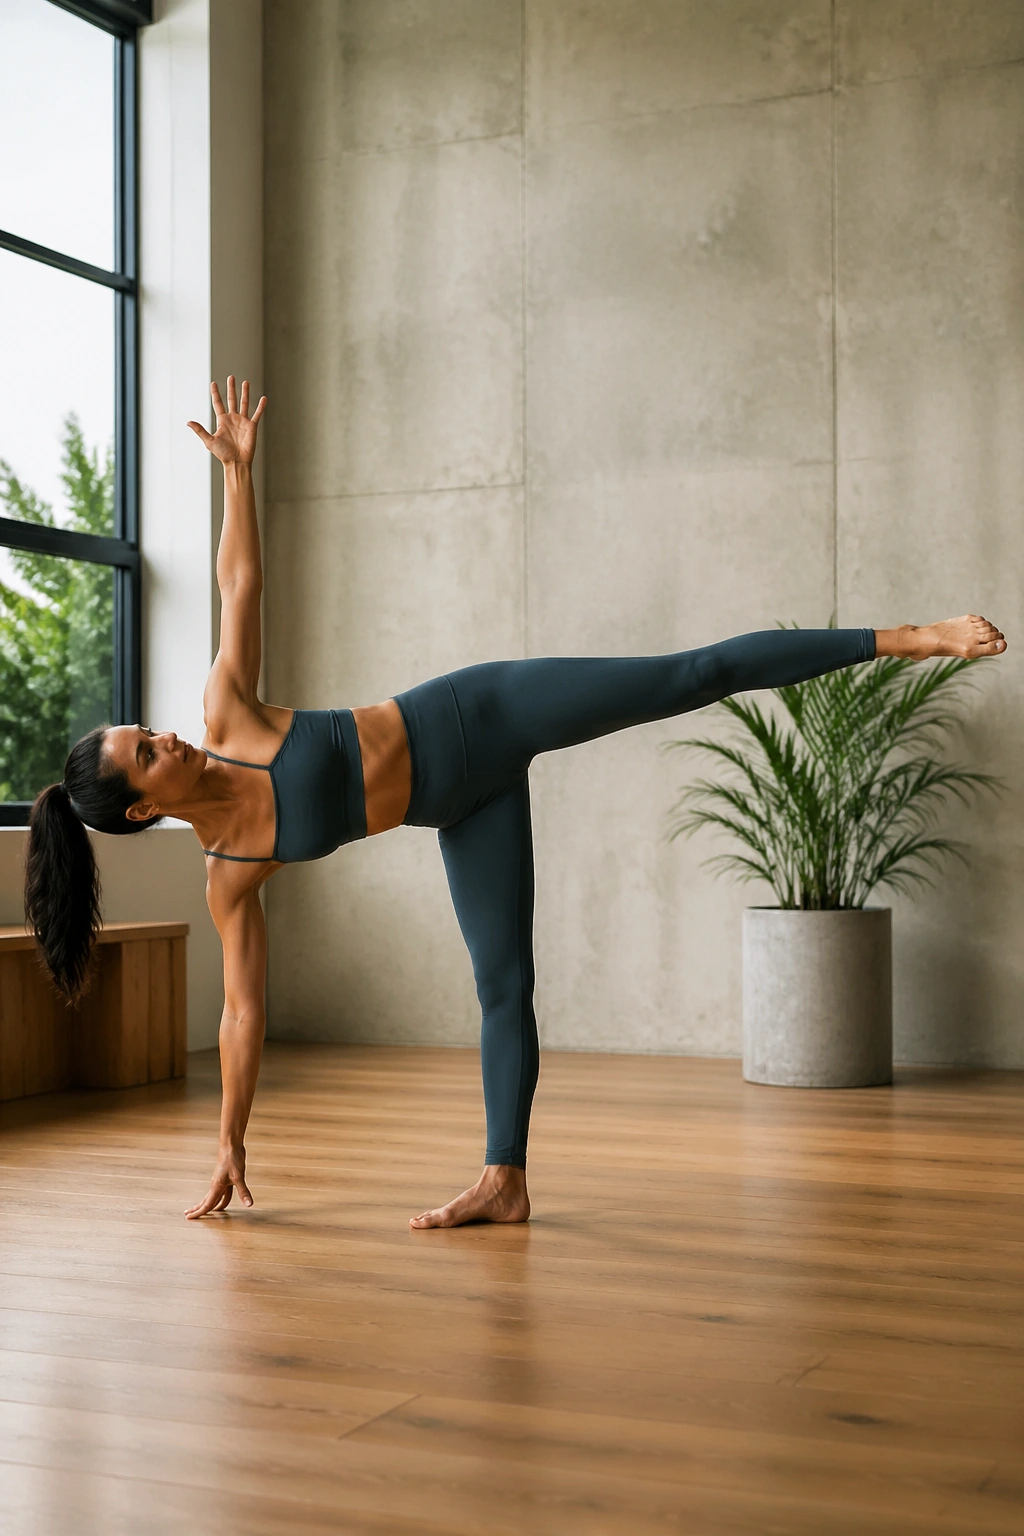
Half moon looks airy, but the best version is a strength move wearing a graceful shape.
Balance on one leg, open into half moon with the lifted leg parallel to the floor, then draw the top knee toward the chest before extending back out. Do 4 knee drives per side and keep one block under the lower hand if balance feels off. The standing hip and ankle do a lot here, so stay patient.
The knee drive adds a very Pilates kind of challenge: controlled motion while one side of the body tries to stay quiet. That is gold for midline strength.
A useful cue is to keep the lifted foot active, not floppy. Think of pressing through the heel as the leg reaches long. If the torso starts to tip, shorten the lever and bend the standing knee a bit.
Balance flows only work when the breath stays calm. If you hold your breath, the shape gets noisy fast.
18. Mermaid to Side Plank Reach
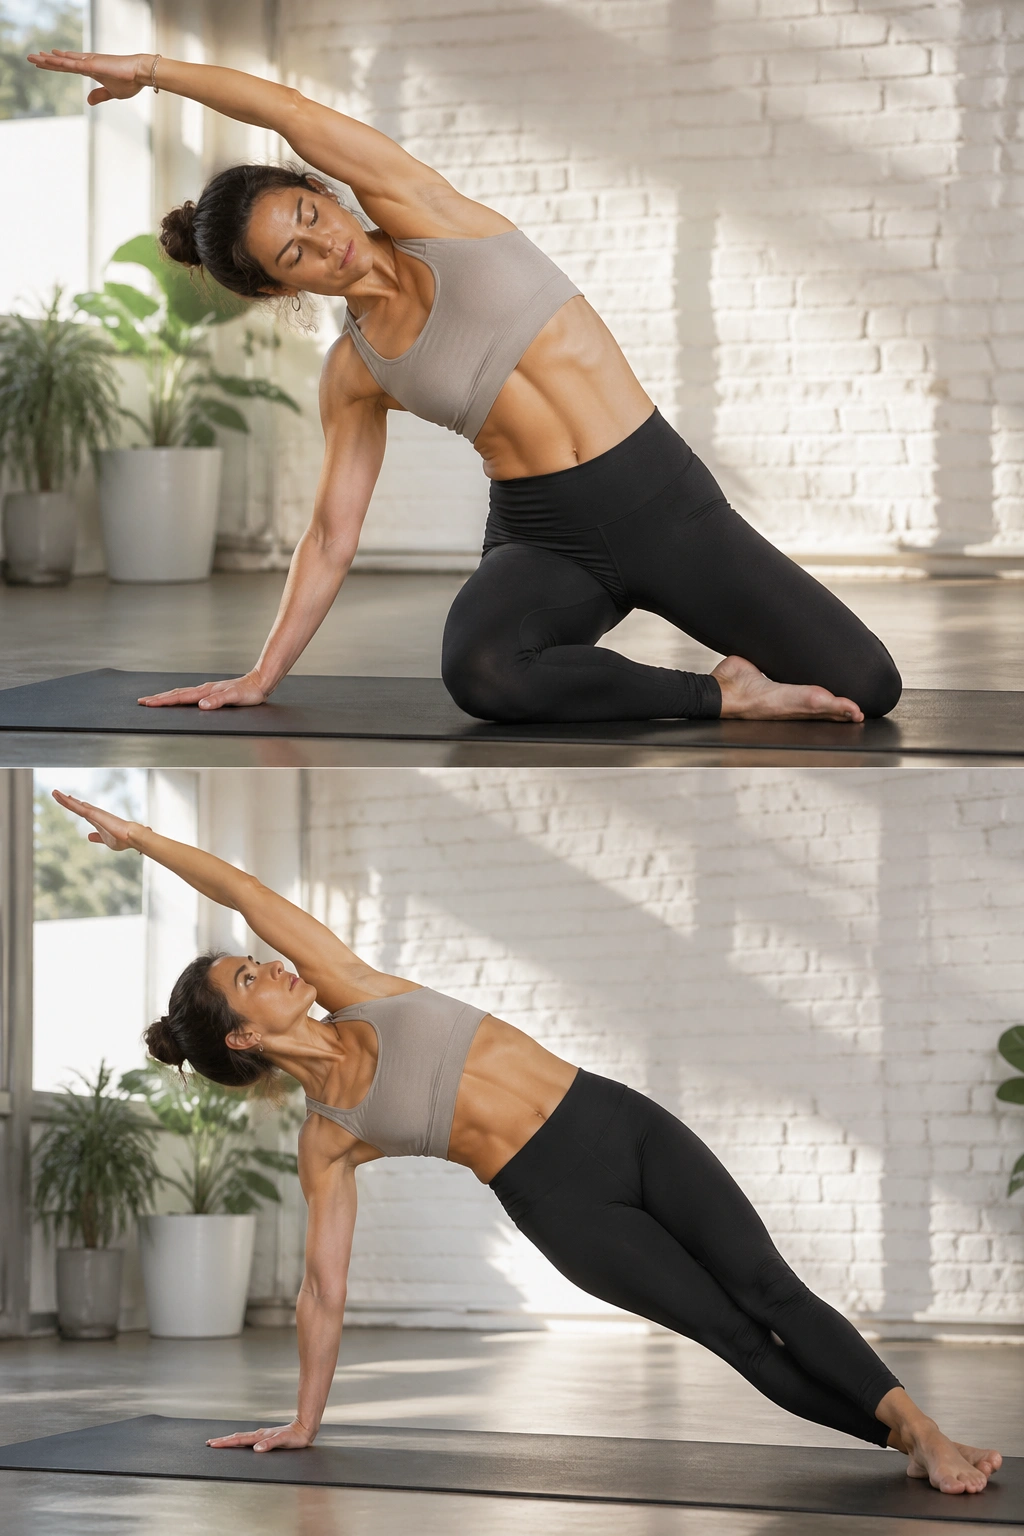
Mermaid is one of those shapes that seems soft until you connect it to side plank. Then the side body starts talking.
Sit in mermaid, stretch one arm overhead, and side bend toward the floor for 3 slow reaches. From there, shift through to a supported side plank and reach the top arm long for 2 breaths. Switch sides and repeat.
The sequence is good because it does two jobs at once. Mermaid opens the ribs and lats. Side plank asks the same area to hold its shape under load. That is a tidy way to build longer-looking lines without losing strength.
A one-sentence truth: open does not mean loose.
Keep the lower shoulder away from the ear in both shapes. If the side plank is too much, keep the bottom knee down and still do the reach. You will still get the side-body work.
19. Shoulder Bridge to Dead Bug
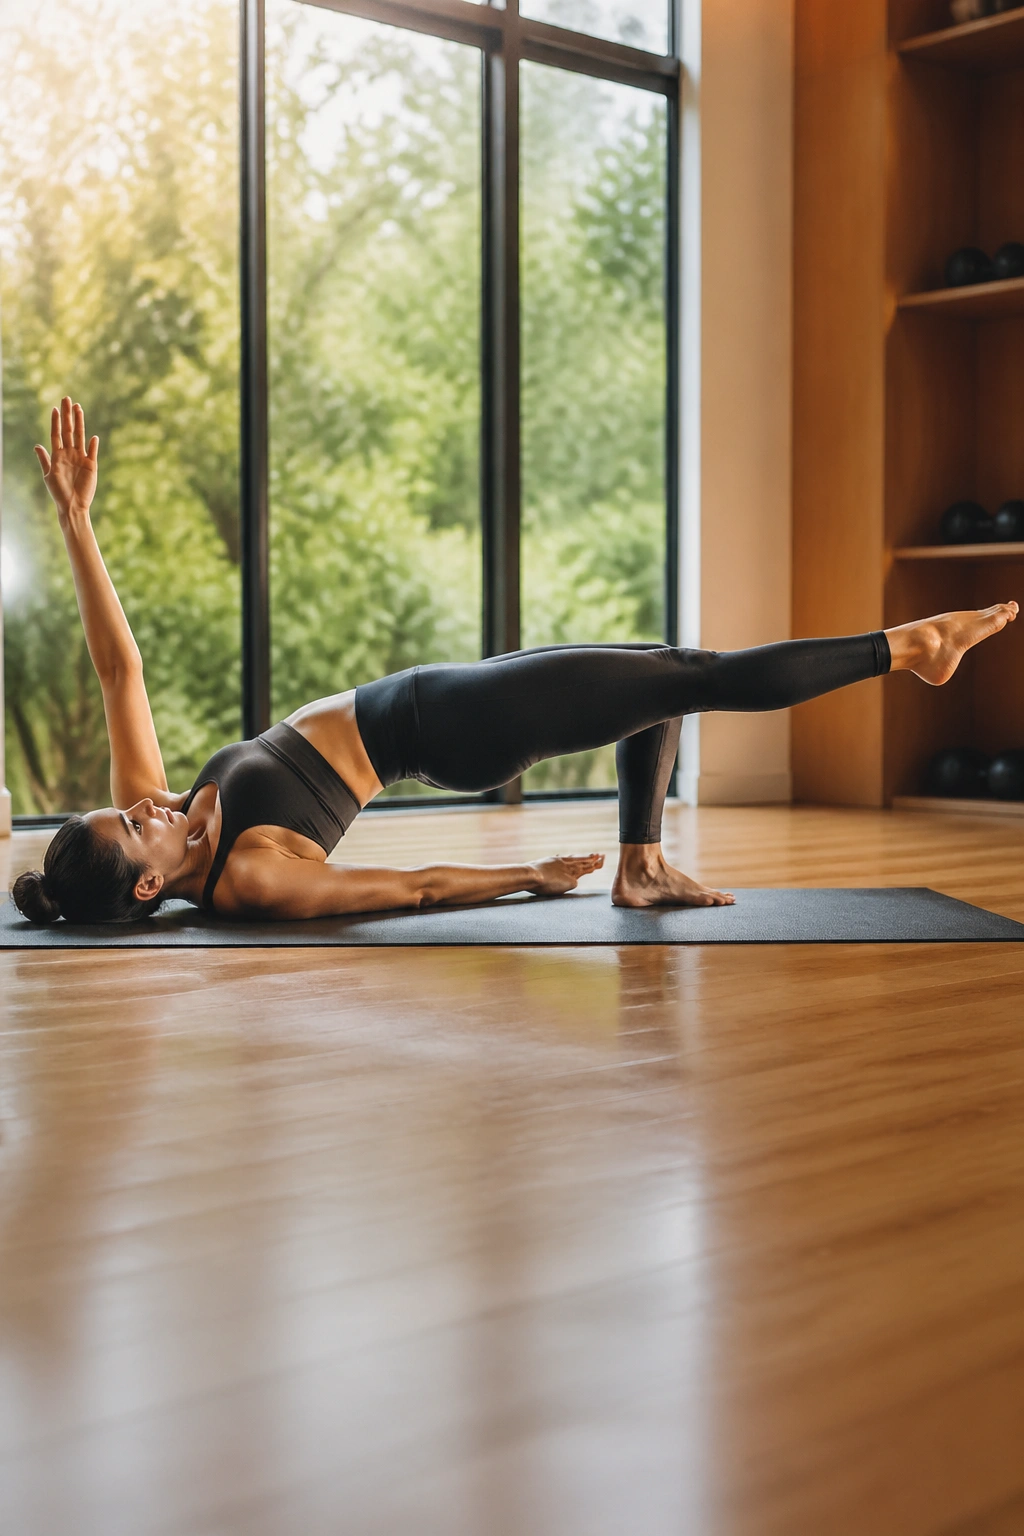
Floor work can be louder than standing work. This is one of those cases. Shoulder bridge wakes up the glutes; dead bug teaches the ribs to stay put while the arms and legs move.
Lift into shoulder bridge, hold for 2 breaths, then lower the spine and move into dead bug with slow alternating arm and leg reaches. Do 8 dead bug reps after 3 bridge lifts. Keep the lower back gently connected to the mat during dead bug, not pressed flat with force.
Why It Earns a Place
The bridge builds posterior strength. The dead bug builds front-body control. Together, they make the torso look tighter without making the movement frantic.
A small range is enough. If the legs go too low in dead bug, the back arches. If the bridge rises too high, the ribs pop. Both are fixable by shortening the motion and slowing the breath.
This is one of the cleanest ways to teach the pelvis to stay steady while the limbs work around it.
20. Pilates Yoga Flow Finish: Mountain Fold to Plank
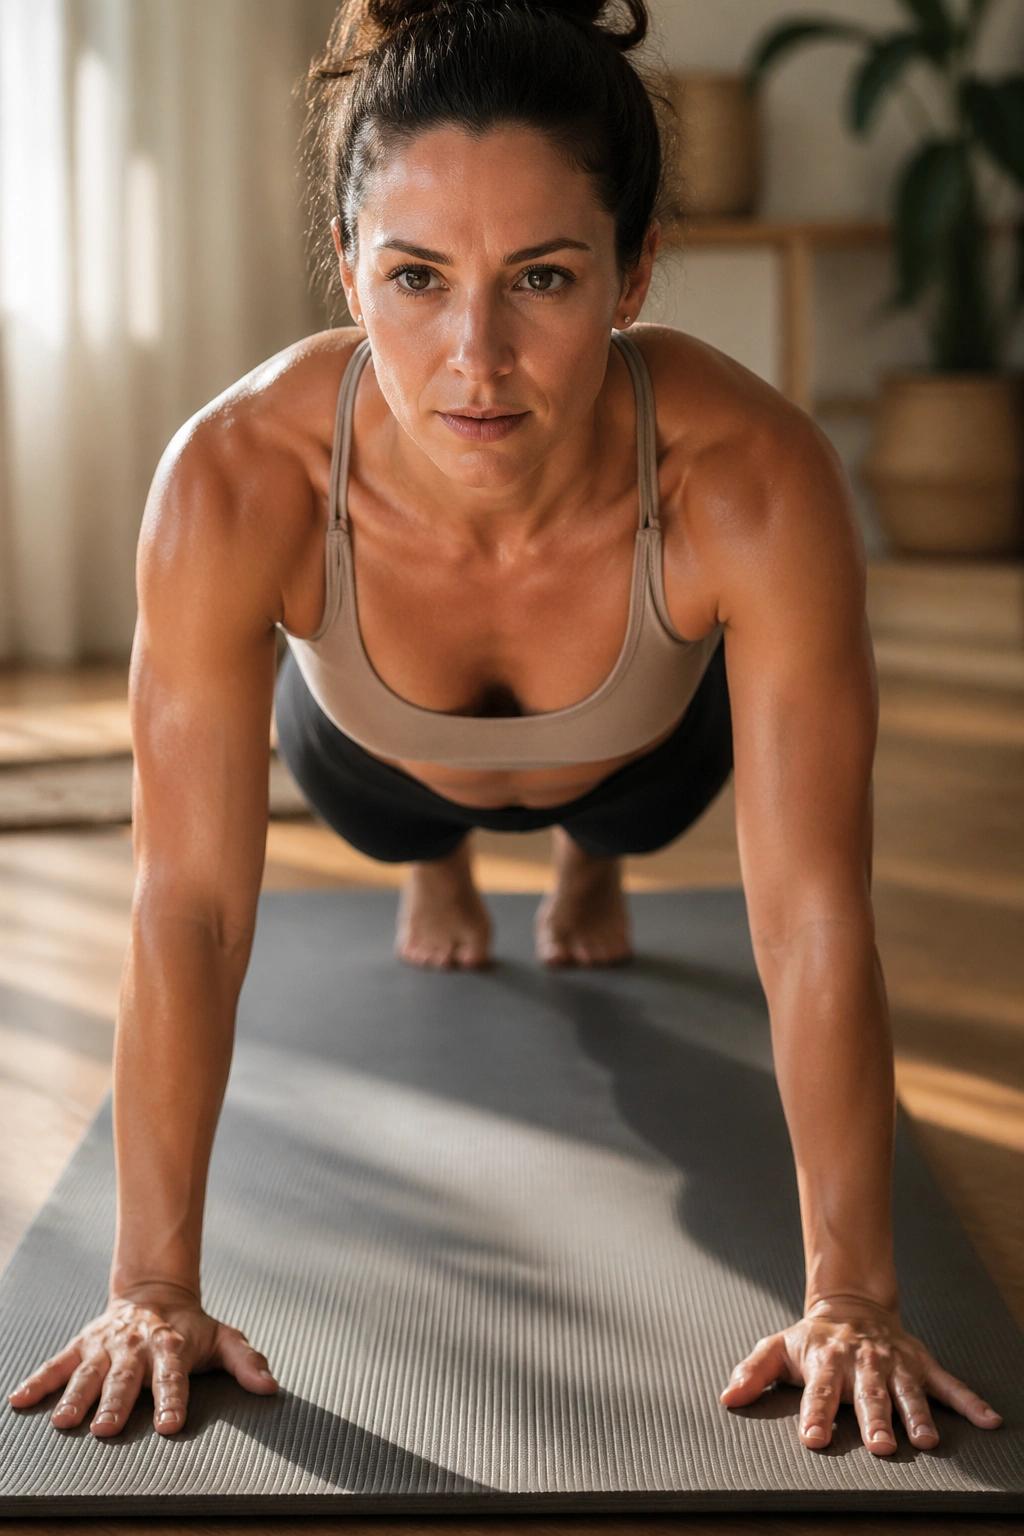
Finish with a sequence that ties the whole body together. Mountain pose to fold to plank sounds basic, and that is the point. Basics done with control are hard to beat.
Stand tall, fold forward with a slow exhale, step or walk back to plank, lower the knees if needed, press into a low cobra, then push back to child’s pose. Move through 3 rounds with almost no rush. Each part should feel connected to the next, not chopped into separate pieces.
The standing fold reminds the spine how to lengthen. The plank checks the core. Cobra opens the front body just enough to keep the chest from getting locked up. Child’s pose gives you a place to reset before the next round.
A few clean rounds of this flow leave the body feeling organized, which is a better finish than chasing exhaustion. If you want more challenge, add a slow plank shoulder tap before lowering. If you want less, keep the knees down and stay smooth.
The leaner look people talk about usually comes from this kind of work done over and over: calm breath, crisp lines, and a body that starts to carry itself a little better every time you get on the mat.
