



Yoga routines for total body strength get dismissed far too easily. People hear “yoga” and picture stretching, soft lighting, and a gentle exhale at the end. Then they hold chair pose for 40 seconds, lower from plank with control, and realize their thighs, shoulders, and core are doing real work.
That’s the part most people miss. Strength in yoga doesn’t always look loud. It shows up in slow transitions, in one-legged balances, in the way your ribs stay tucked while your arms keep pressing into the floor. A well-built yoga strength flow can load the quads, glutes, back, shoulders, and deep abdominal muscles in a single sequence, which is why the right routines can feel more demanding than a room full of machines.
The useful stuff is never mysterious. It’s the holds. The pauses. The tiny decisions not to collapse when a pose gets messy. That’s where total body strength starts to change shape.
So here’s the smart way to think about these flows: some build raw leg stamina, some teach shoulder and core control, and a few knit everything together so your body learns how to move as one unit. Start with the ones that match your wrists, hips, and patience on a given day, then work upward. The body usually tells the truth by the second round.
1. Slow Sun Salutation A for Total Body Strength
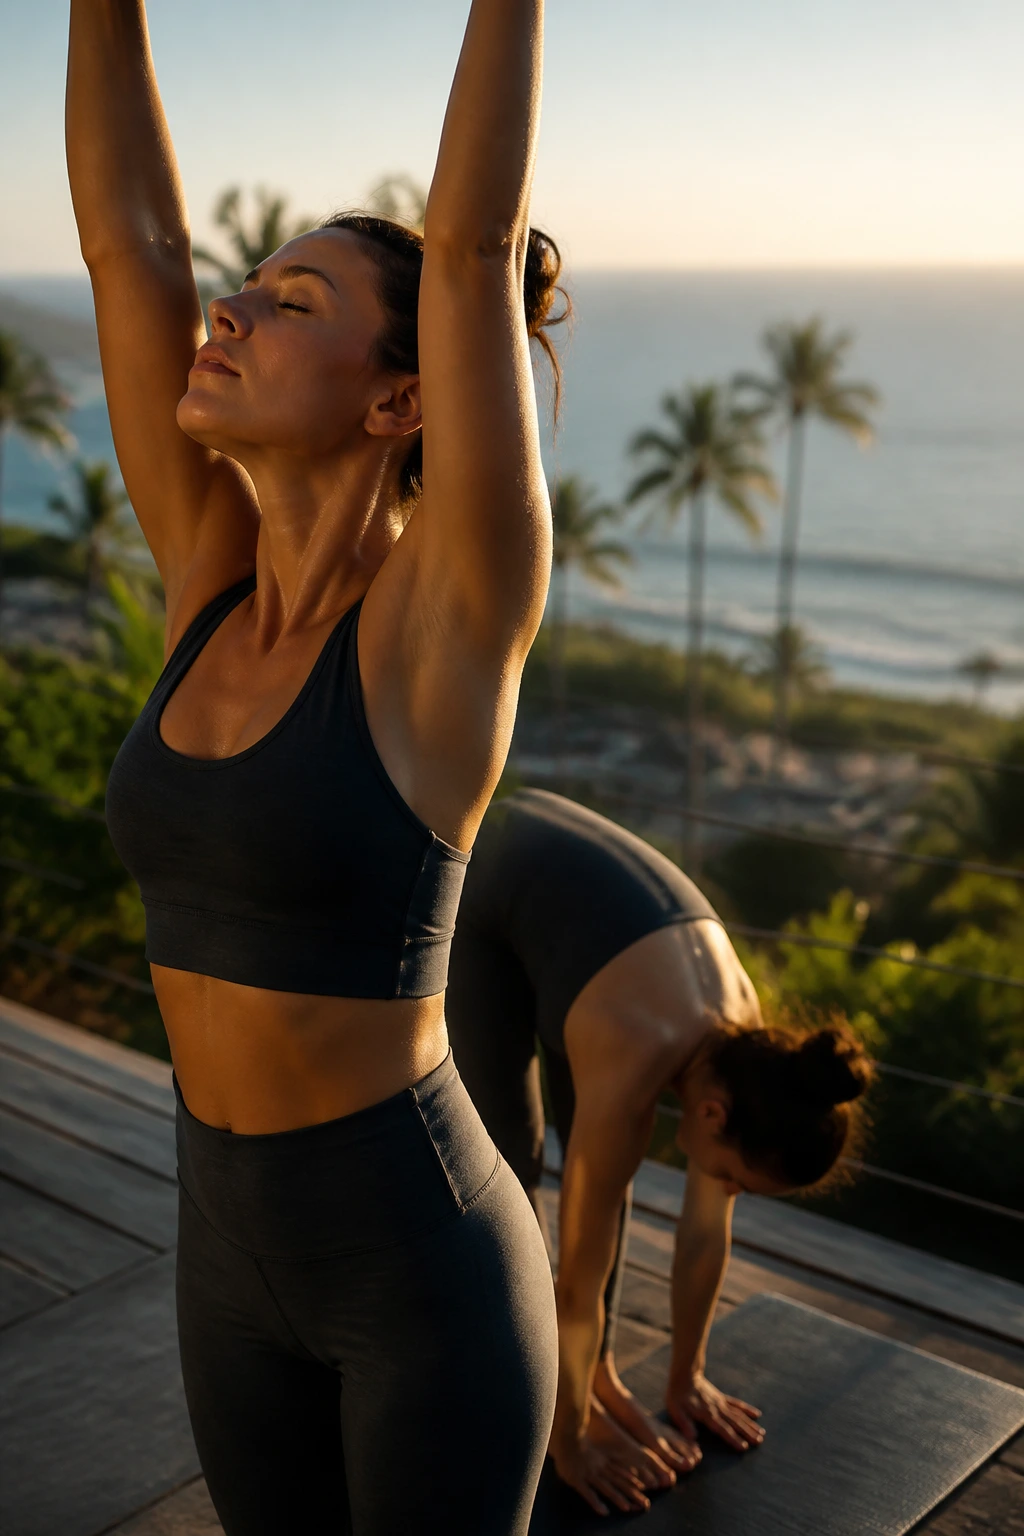
Slow Sun Salutation A is the base layer. Rush it, and it feels like a warm-up. Slow it down, and it becomes a full-body strength test with no hiding places.
The trick is simple: move through each shape with control, not momentum. Step back with a braced core, hold plank for a breath or two, and lower with the elbows brushing close to the ribs. The legs do not get to sleep here. Neither do the shoulders.
Why It Works
Every transition asks a different part of the body to stay honest. The step-back challenges balance, the plank tests anti-extension in the core, and the lower-down phase asks the chest, triceps, and front of the shoulders to work together. That’s a lot for one simple-looking flow.
- Hold high plank for 2 breaths.
- Lower halfway to chaturanga with elbows pointing back, not out.
- Press up through the palms until the shoulders feel active, not jammed.
- Step forward by lifting the hips first, not collapsing into the low back.
- Repeat for 4 to 6 rounds.
Best tip: move slower than feels necessary. The strength shows up in the pause, not the rush.
2. Chair Pose Ladder
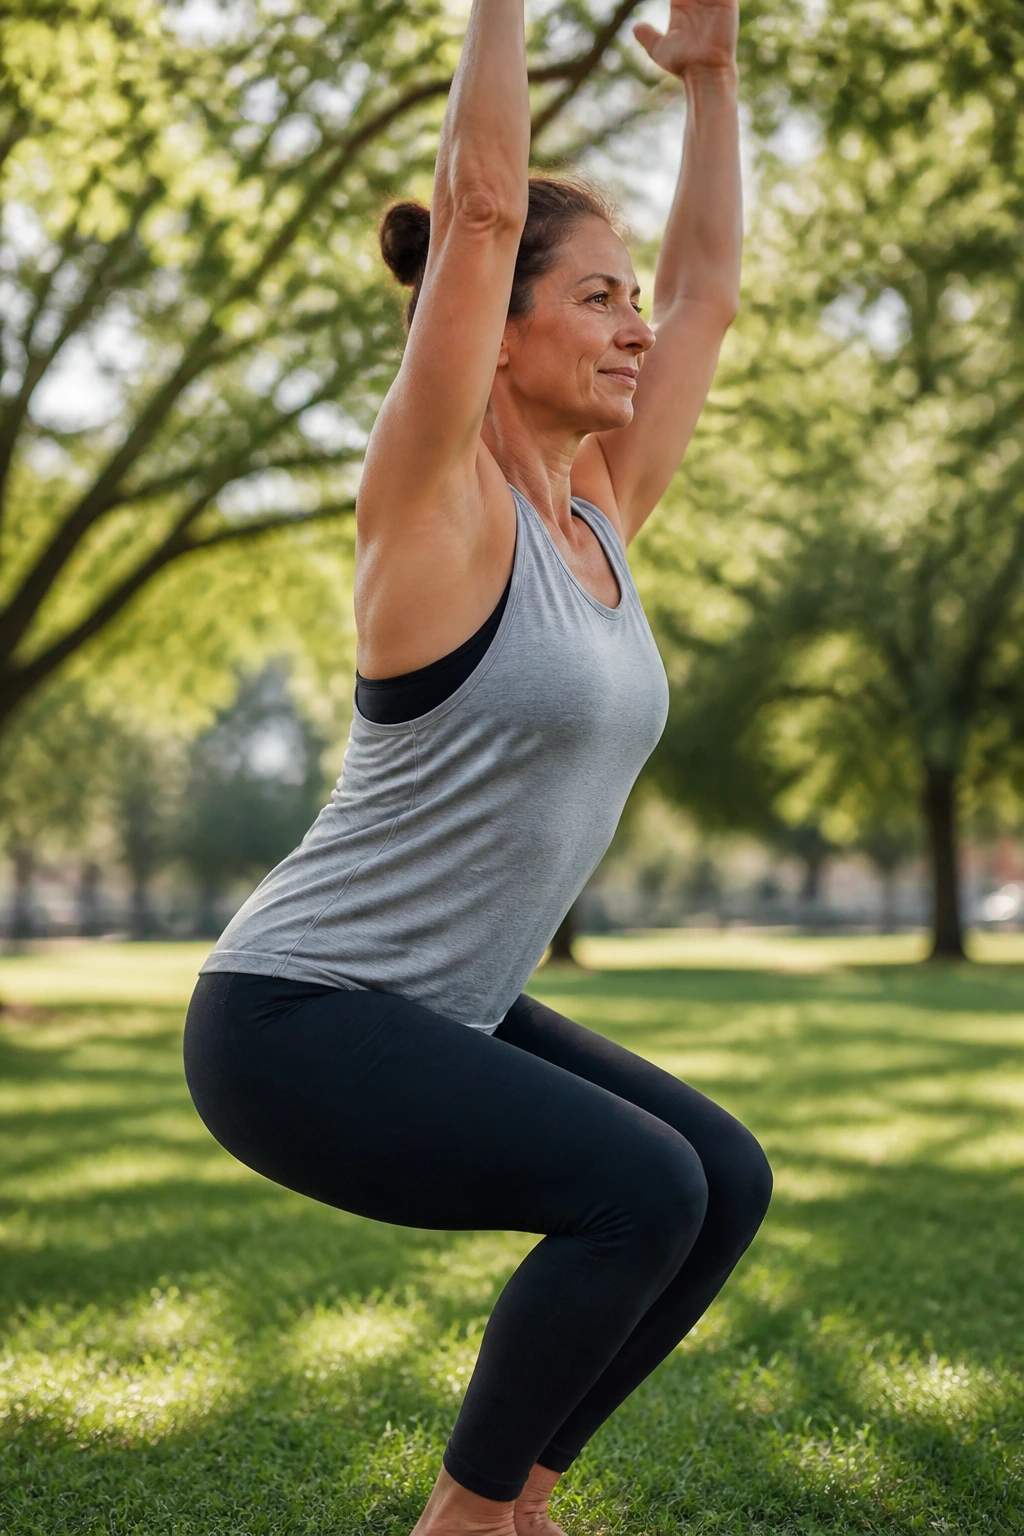
Why does chair pose make the legs shake so fast? Because your body has nowhere to hide. The quads are on, the glutes are on, and the trunk has to keep you from folding in half.
Start with a shallow sit, arms overhead if your shoulders allow it, then stay there for 20 to 30 seconds. Stand up, shake out the legs, and drop back in for another round a little lower. Add a heel lift on the second hold if you want the calves to join the argument.
One-sentence version: chair pose is a quiet little furnace.
The ladder version works because it teaches the body to keep producing force after the first burn. That matters. Strength is not only about one hard effort; it’s about staying organized when the effort drags on.
3. Plank to Chaturanga Control Flow
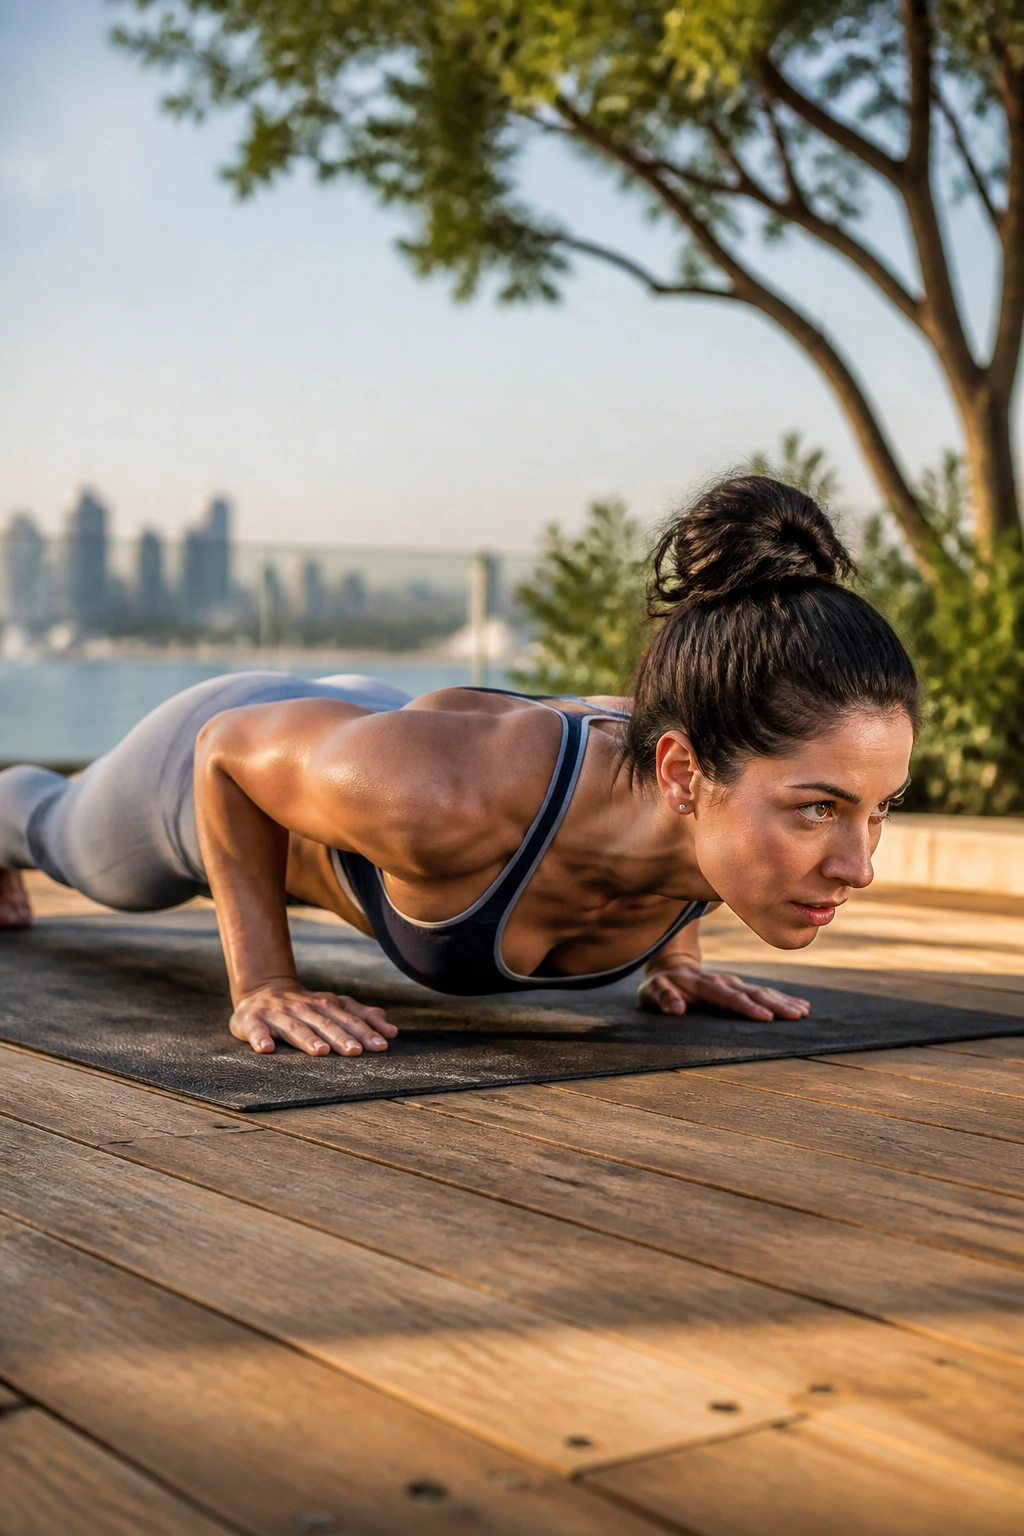
If your shoulders sag the moment you lower from plank, this flow shows you exactly where the leak is.
Plank to chaturanga is a control drill, not a race. Press the floor away through the whole plank, then lower only halfway with the elbows tucked close and the chest long. If the lower back drops first, stop a little earlier next rep. That tiny adjustment changes the whole thing.
What Your Body Is Doing
The serratus, triceps, chest, and front abs all have a job here. So do the glutes. So do the inner thighs. If those muscles switch off, the shape gets sloppy fast.
- Start in high plank for 3 breaths.
- Shift forward slightly on the toes.
- Lower halfway for 1 slow count.
- Press into up dog or cobra with control.
- Rest only long enough to keep form clean.
Do not let the elbows flare. That’s where people lose the shoulders first.
4. Warrior I Press-and-Hold
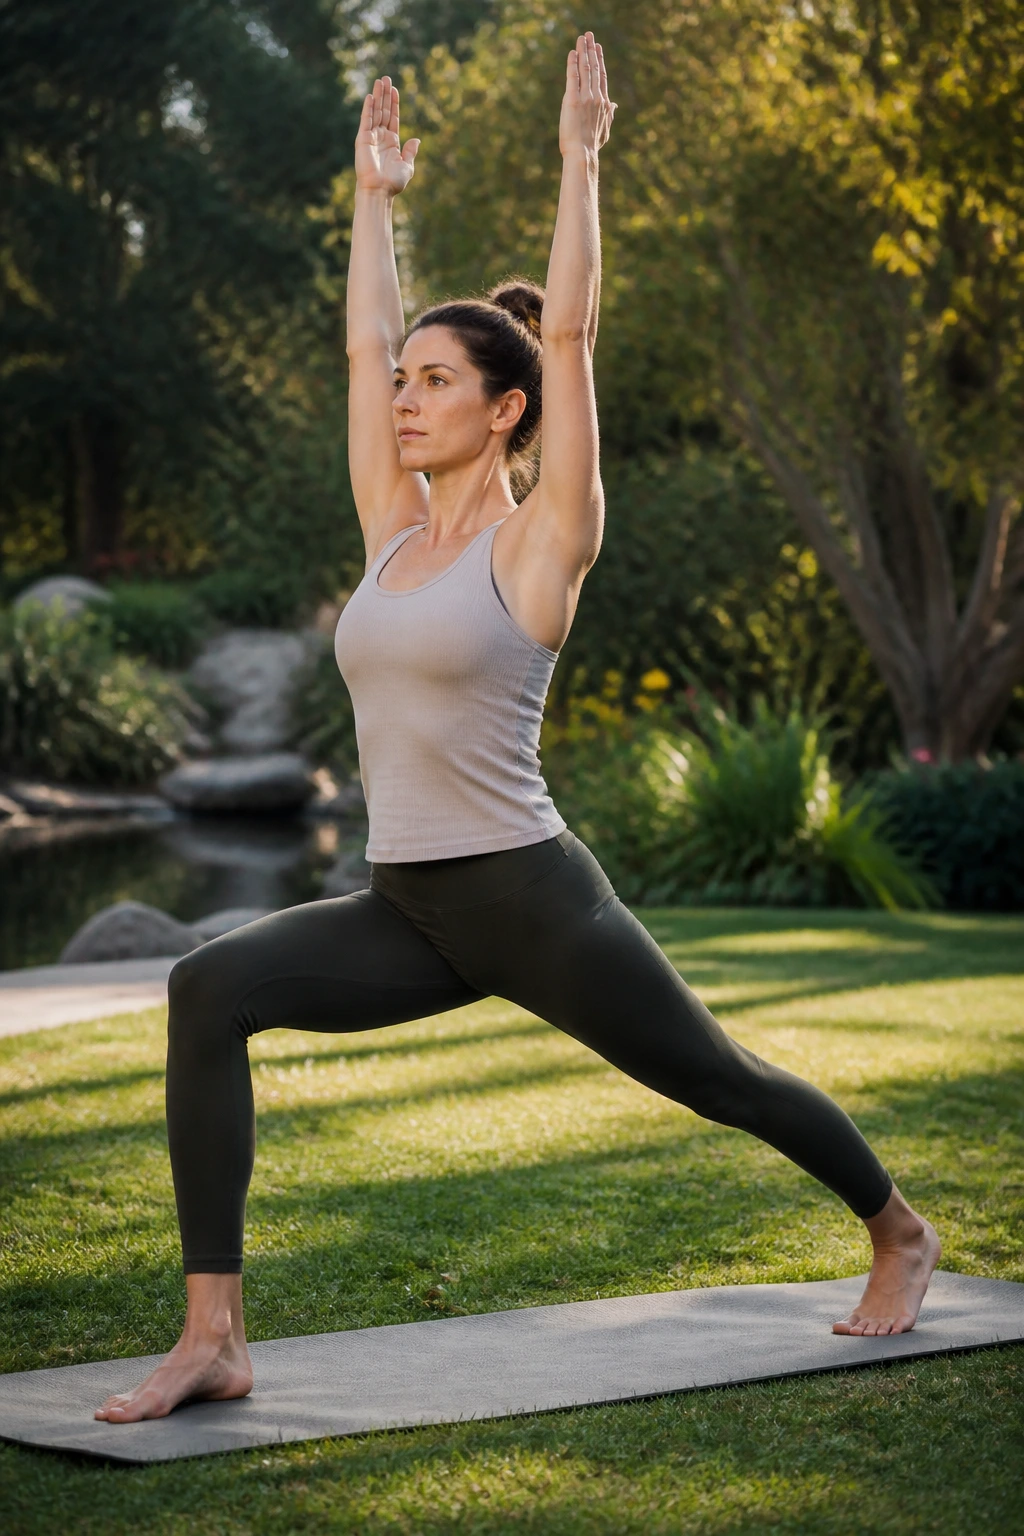
Warrior I looks calm from across the room. Hold it for 45 seconds and the truth comes out.
The front leg has to support you, the back foot has to root, and the hips need enough awareness to stay mostly square. Reach the arms up, but keep the ribs from flying open. That small restraint is what turns the shape into strength work instead of a sleepy lunge.
The back heel matters more than people think. Press it down hard. That action lights up the calf and hamstring, and it gives the pelvis something stable to organize around.
One-sentence reminder: if your low back is doing all the work, the pose is leaking.
A good Warrior I should feel like you are growing upward while staying heavy through the feet. That push-pull is the whole point.
5. Warrior II Power Circuits
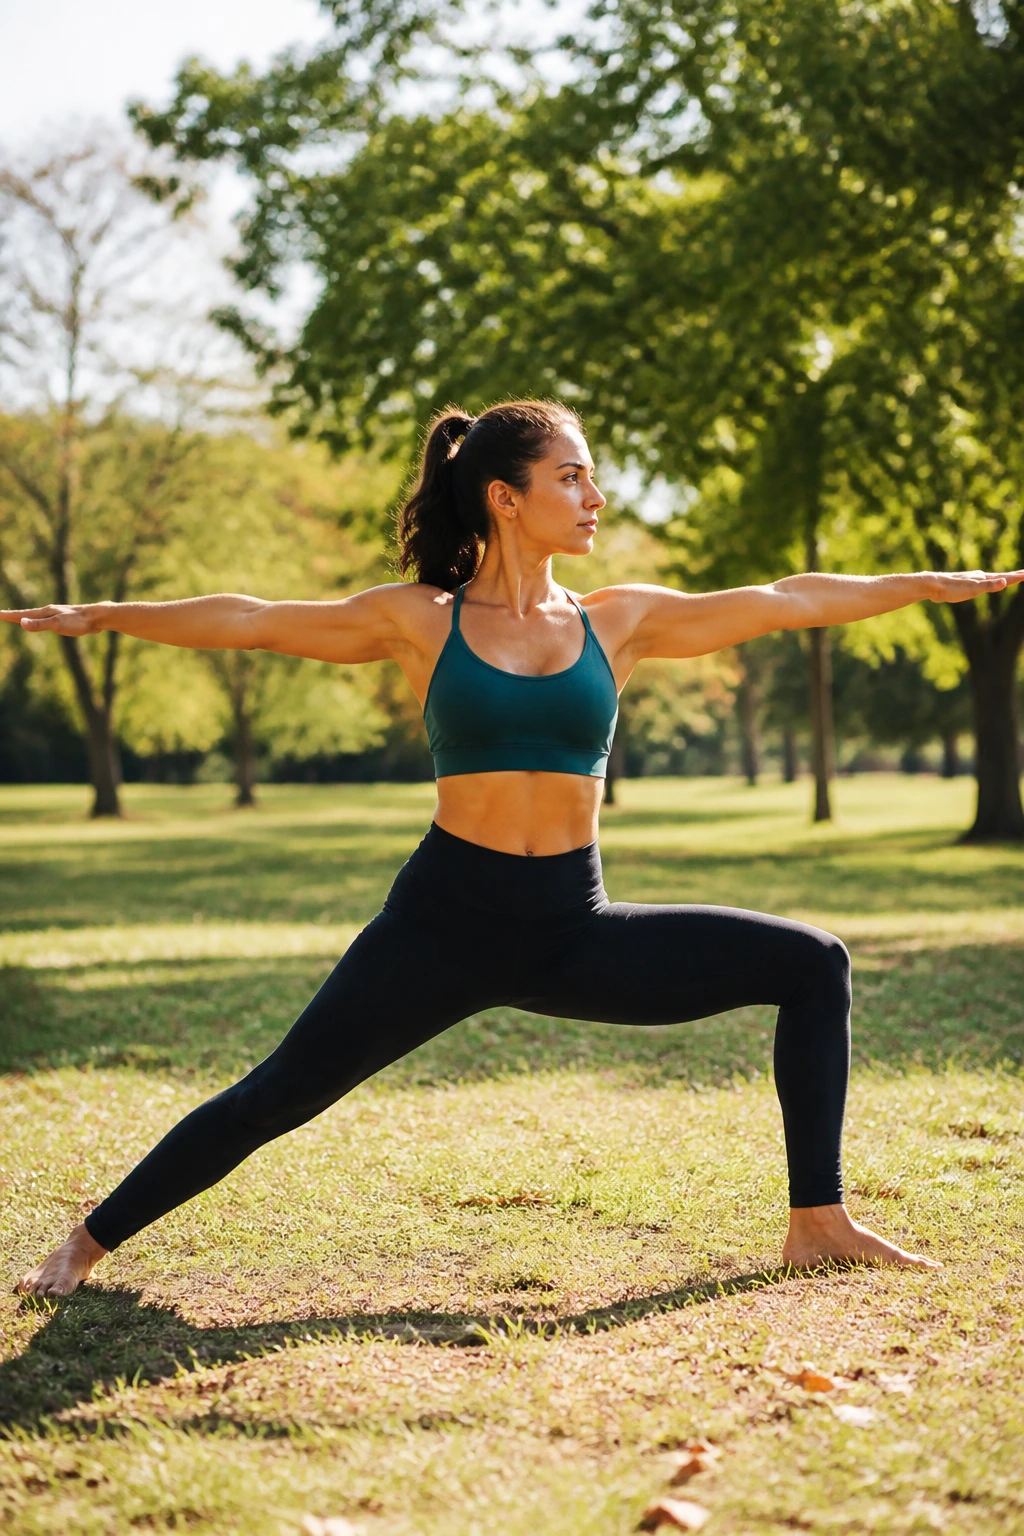
Warrior II is not just a leg pose. Done well, it teaches the feet, hips, and midsection to stay organized under load.
Set the front knee over the ankle, reach through both fingertips, and sink only as low as the body can hold without collapsing. Then move between Warrior II, reverse Warrior, and side angle on a slow loop. That little circuit keeps the outer hip, inner thigh, obliques, and shoulders all engaged.
How to Use the Flow
- Hold Warrior II for 4 breaths.
- Slide into reverse Warrior for 2 breaths.
- Shift to side angle and keep the chest open.
- Return to Warrior II without bouncing.
- Repeat on each side for 2 to 4 rounds.
The burn usually starts in the front thigh, then moves into the back leg and side waist. That’s normal. It means the body is holding shape while changing shape, which is a nice trick if you can pull it off.
6. Crescent Lunge Knee-Drive Series
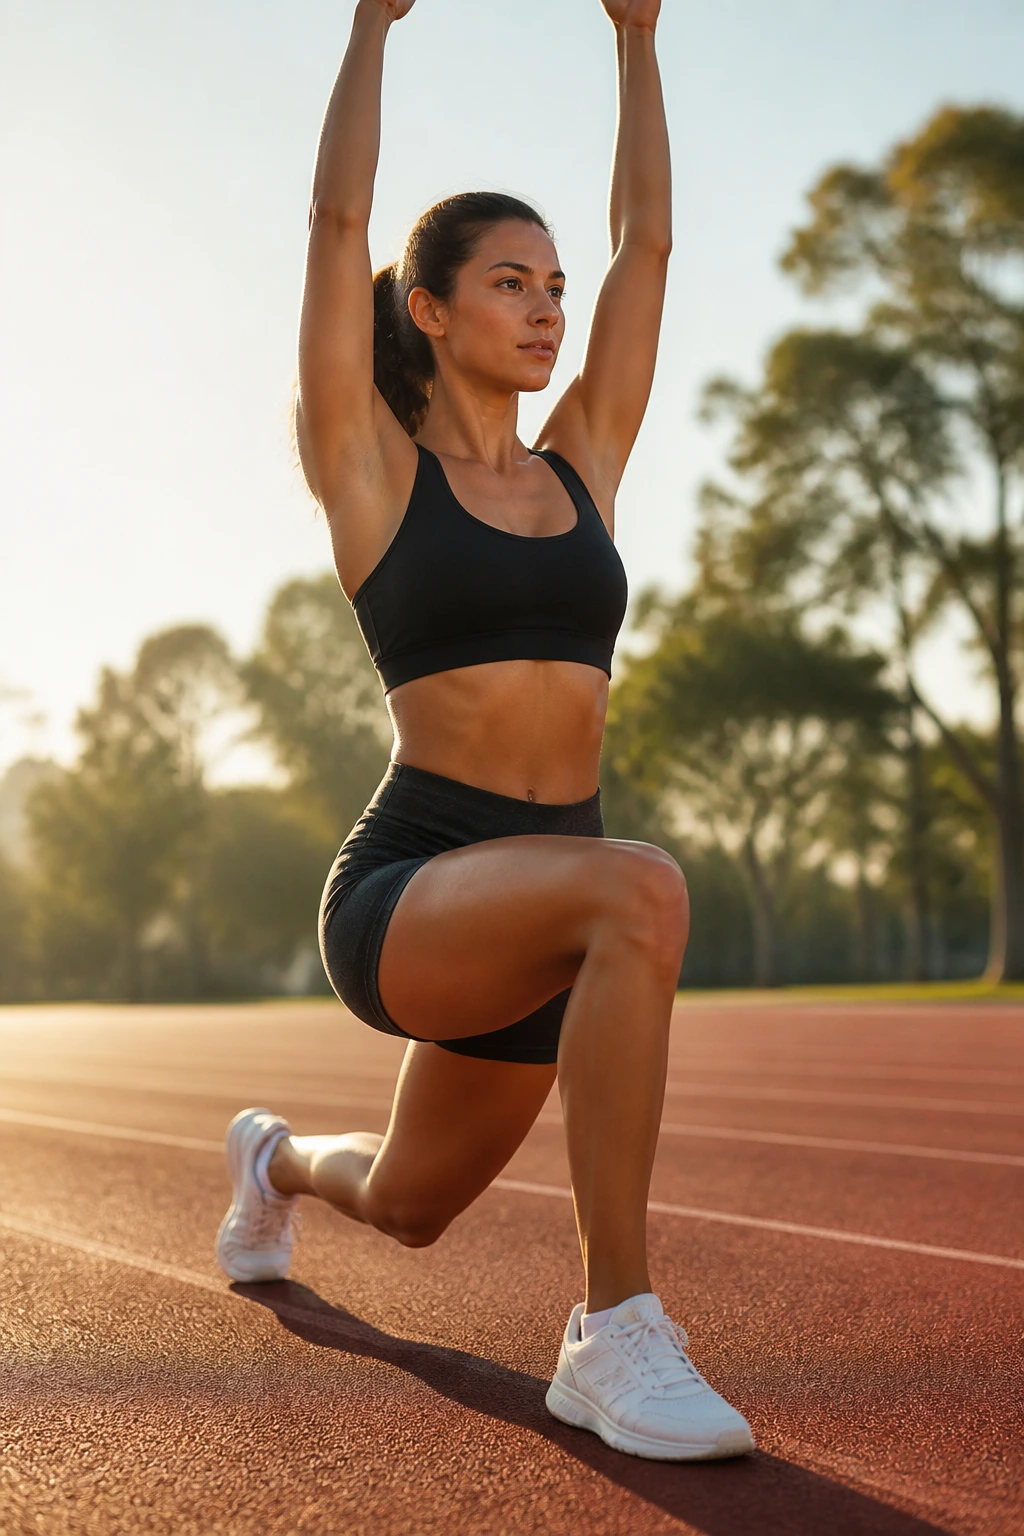
A runner or cyclist usually feels crescent lunge in the front hip before anything else. That’s the point. It asks the hip flexors to work, then asks the glutes to keep the pelvis from tipping forward.
Start in a high crescent lunge, then draw the back knee up toward the chest and step it back with control. Add a reach overhead if you want more trunk work, or keep the hands on the hips if balance is shaky that day. Either way, the standing leg earns its keep.
How to Build the Set
- Hold crescent lunge for 3 breaths.
- Drive the back knee forward 6 to 8 times.
- Keep the torso tall on each drive.
- Step the foot back softly, not with a thud.
- Switch sides and repeat.
The front leg should feel warm, not sloppy. If the knee caves inward, shorten the stance and clean it up first.
7. Side Plank Star
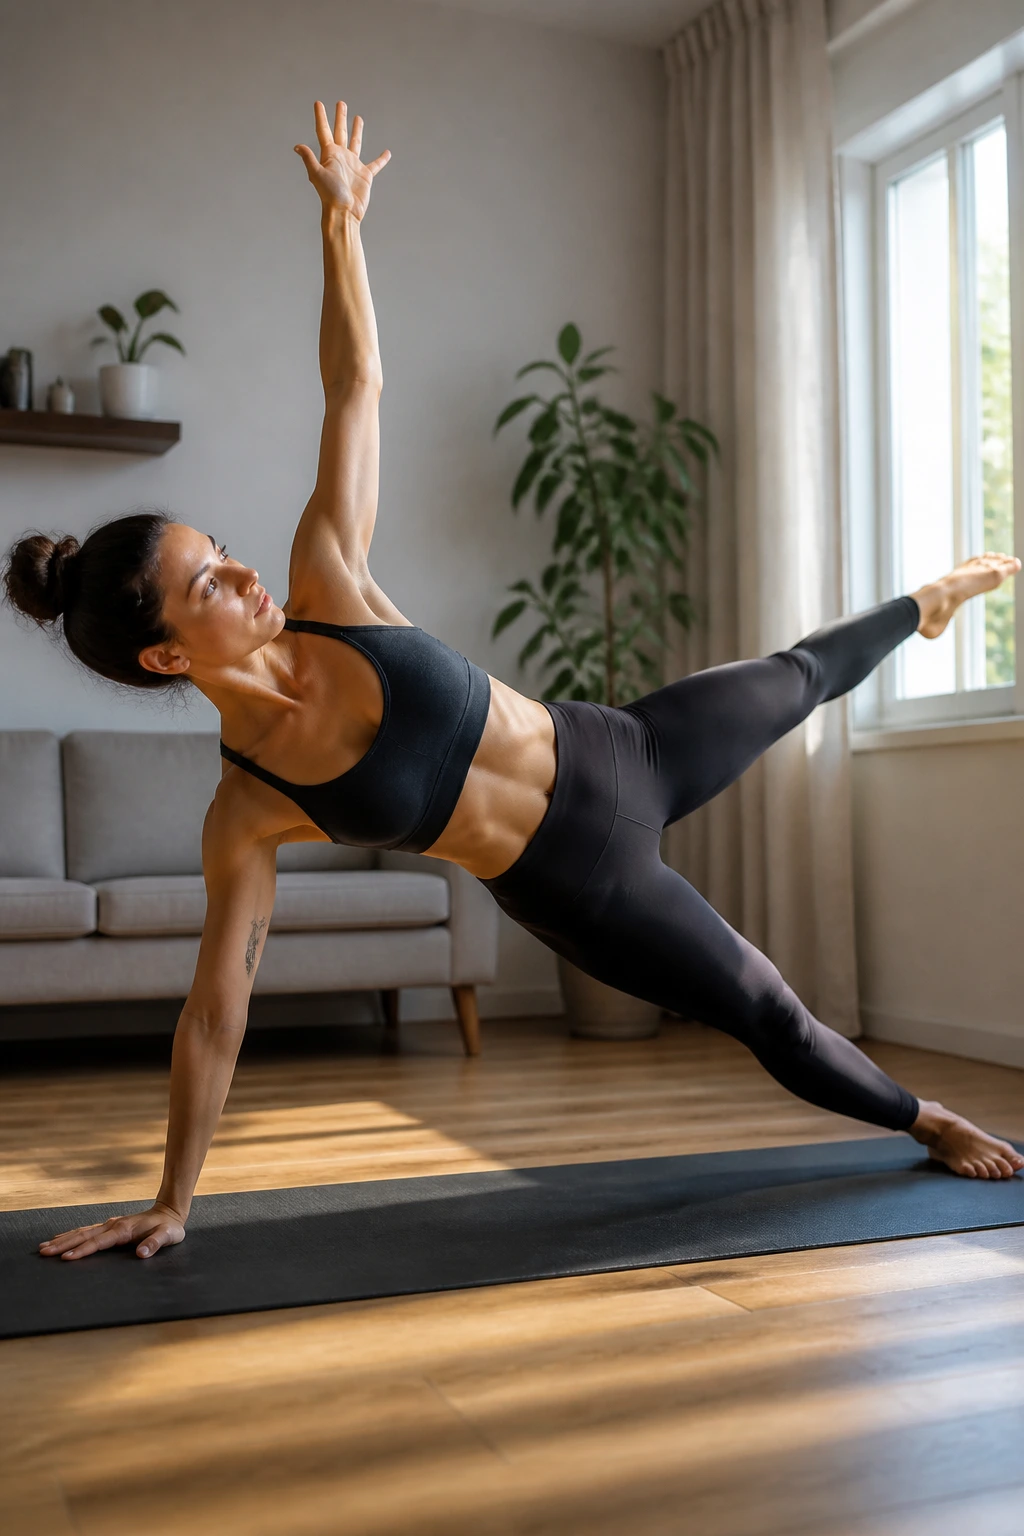
Need one move that asks the shoulder, oblique, glute, and ankle to cooperate? Side plank star does that job without much ceremony.
The basic side plank is already hard enough. Add the top leg lift and the challenge gets sharper. The support shoulder has to stay stacked and active, the side waist has to keep you lifted, and the top hip has to resist rolling backward. Nothing gets a free ride.
Keep the bottom knee down if needed. That version still builds strength. A bent-knee side plank with a long top arm can be plenty.
If the wrist complains, hold a forearm version. Don’t chase the fancy shape before the base feels solid.
8. Boat Pose Pyramid
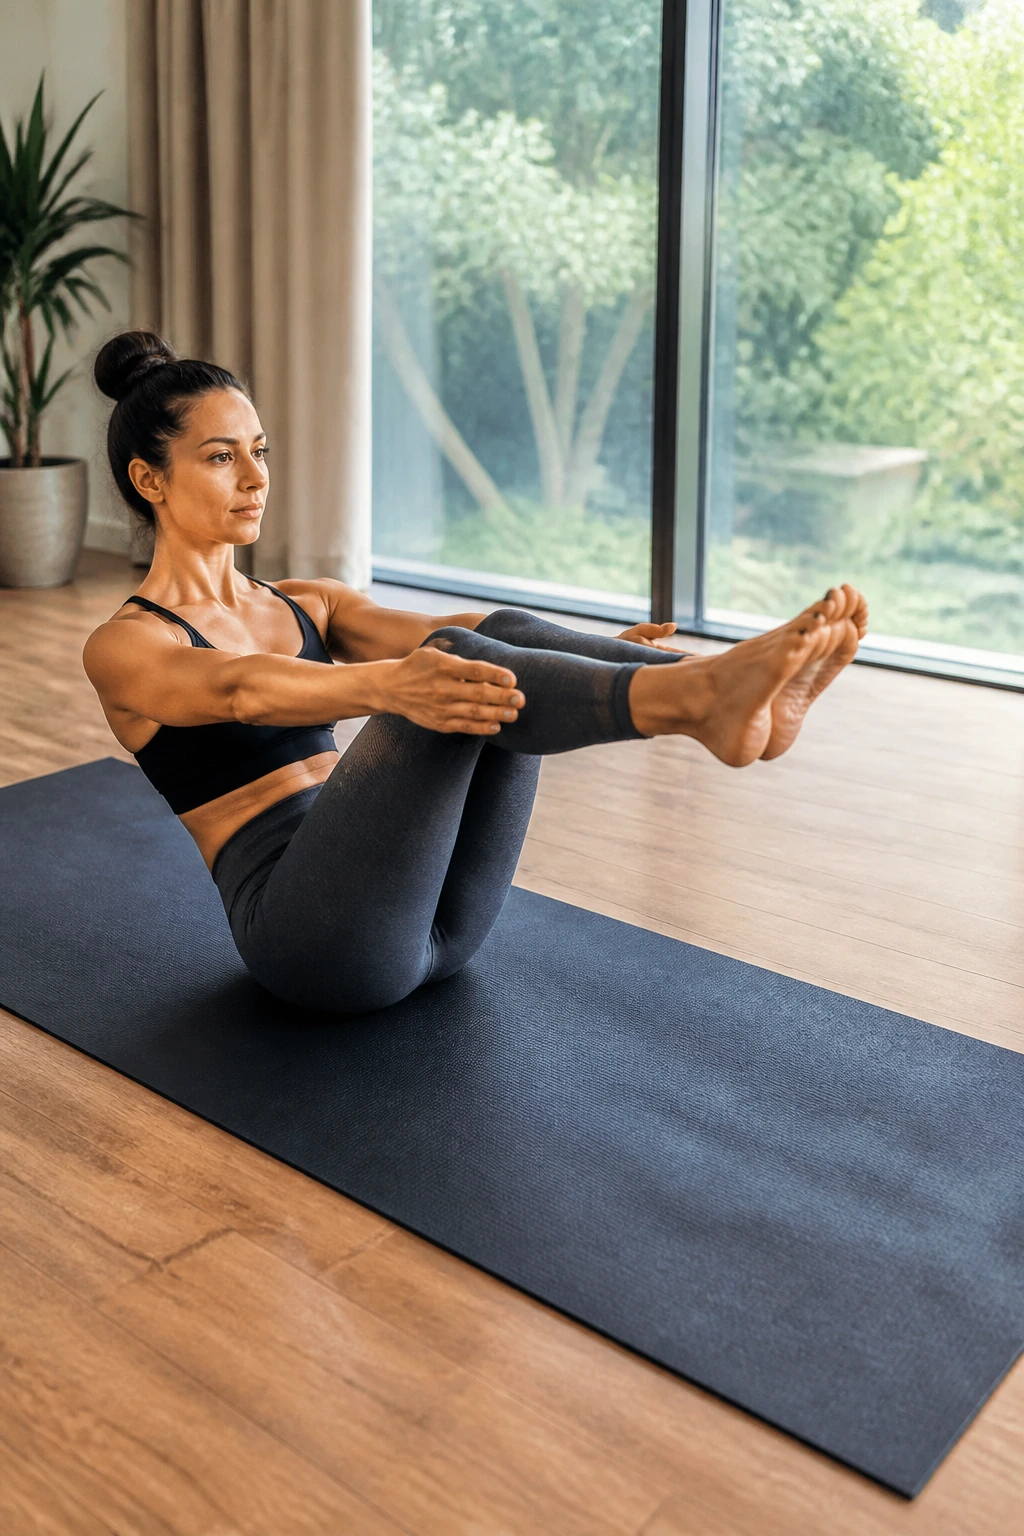
Boat pose starts with a tiny tremor in the hip flexors and ends with your core deciding it has had enough.
Begin with bent knees and shins parallel to the floor. Hold for 20 seconds. Straighten the legs a little if the back stays long. Then lower one foot, then the other, and bring them back up. That up-down pattern is a simple pyramid, and it turns a basic core hold into a full-body stability drill.
Three Rungs of the Ladder
- Rung 1: bent-knee boat for 20 to 30 seconds.
- Rung 2: one leg extended at a time for 5 to 6 reps.
- Rung 3: straight legs only if the spine stays tall.
The best cue here is boring and useful: chest lifted, low belly pulled in, shoulders relaxed. If the neck tightens, you’ve gone too far.
9. Dolphin Shoulder Builder
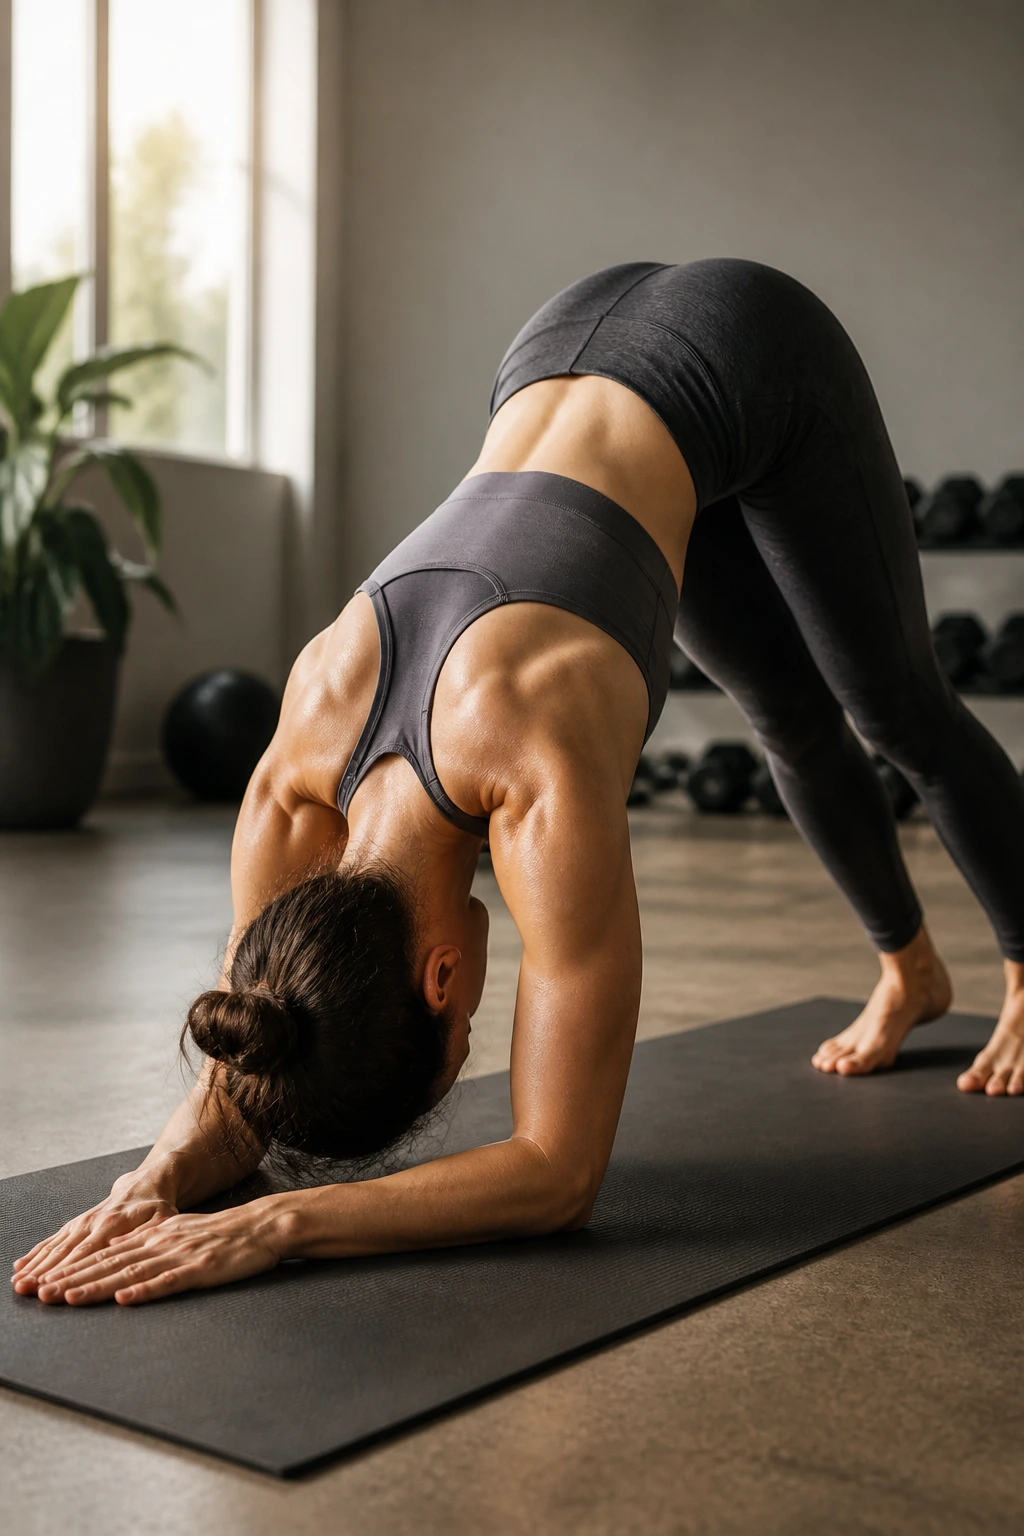
People treat dolphin as a plank alternative. It is a shoulder strength drill, and a mean one.
Forearms press down, hips lift up, and the shoulders have to keep stacking over the elbows without collapsing. The move teaches scapular stability in a way that many standing poses never touch. It also wakes up the upper back, which matters more than most people admit.
Keep the knees bent if the hamstrings pull hard. That is not cheating. It’s smart. A bent-knee dolphin still makes the shoulders and trunk work, and it lets you breathe instead of fighting your anatomy.
One sentence: if the neck is gripping, reset.
A block under the forehead can help some bodies stay calm while the shoulders do their thing.
10. Bridge Pose Marches
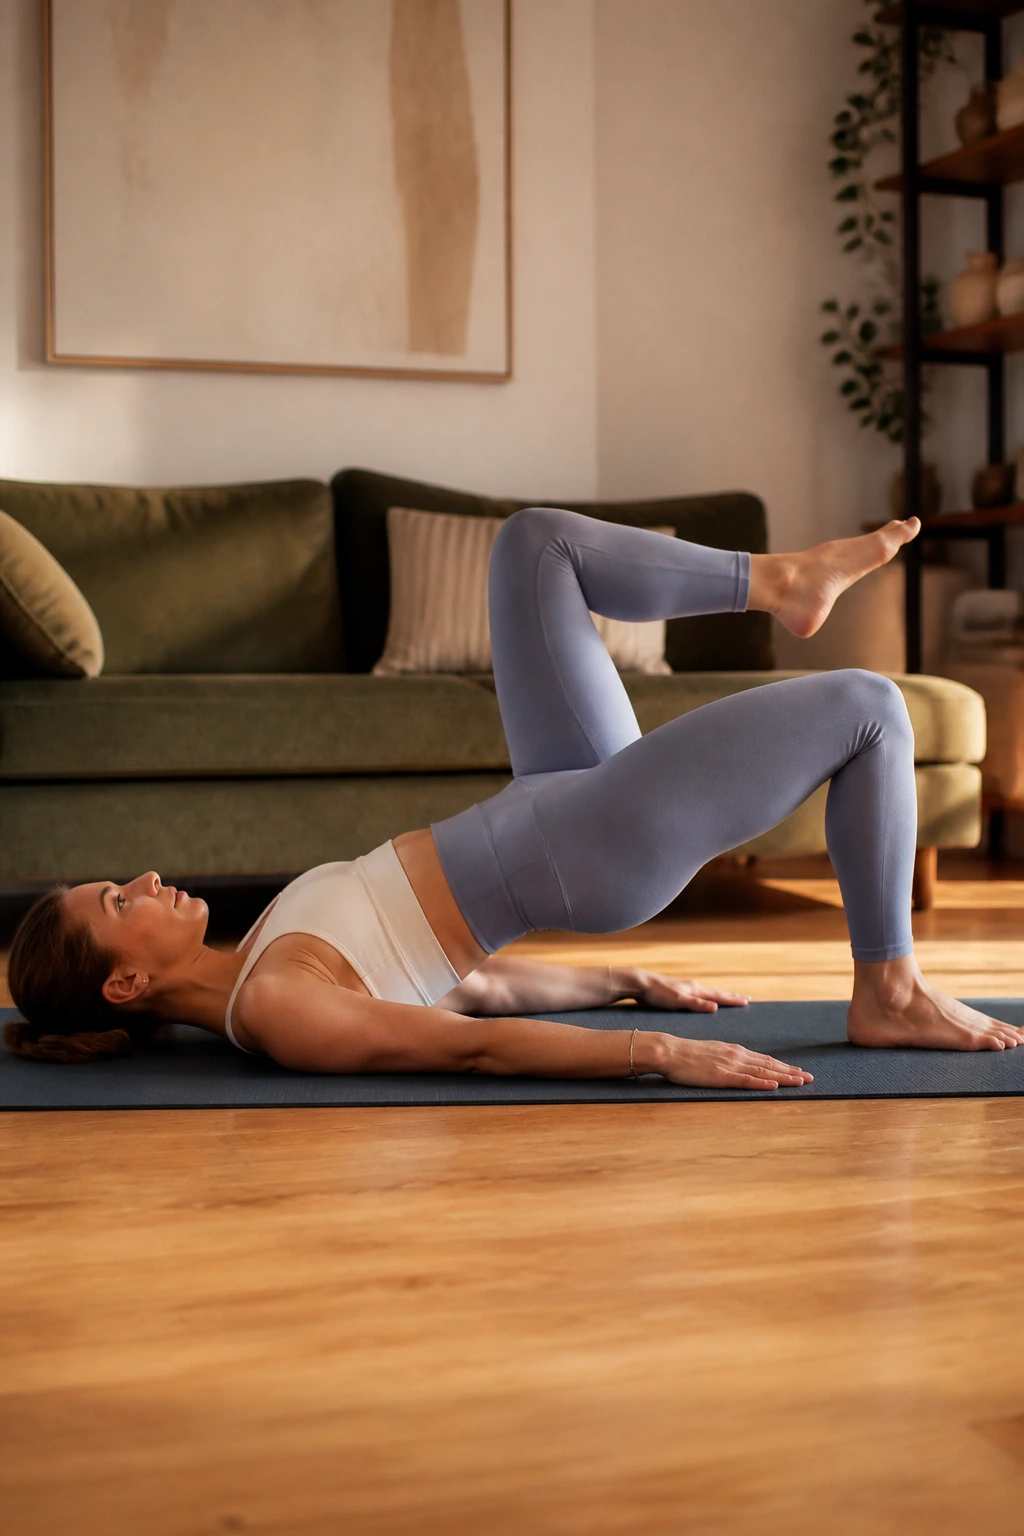
Bridge pose marches are sneaky. They look like a glute bridge with a small leg lift, then the pelvis starts asking hard questions.
Set the feet hip-width apart, press the hips up, and hold the bridge before lifting one knee a few inches. Lower it with control, switch sides, and keep the pelvis level the whole time. If the hips wobble, the march is too big. Shrink the movement and try again.
The point is not height. It’s steadiness.
- Hold bridge for 3 breaths.
- March each leg 6 times total.
- Keep the ribs from flaring.
- Press evenly through both heels.
- Rest only after the hips feel honest.
The hamstrings and glutes share the work here. When they team up well, the low back gets a break.
11. Locust Pose Back-Body Set
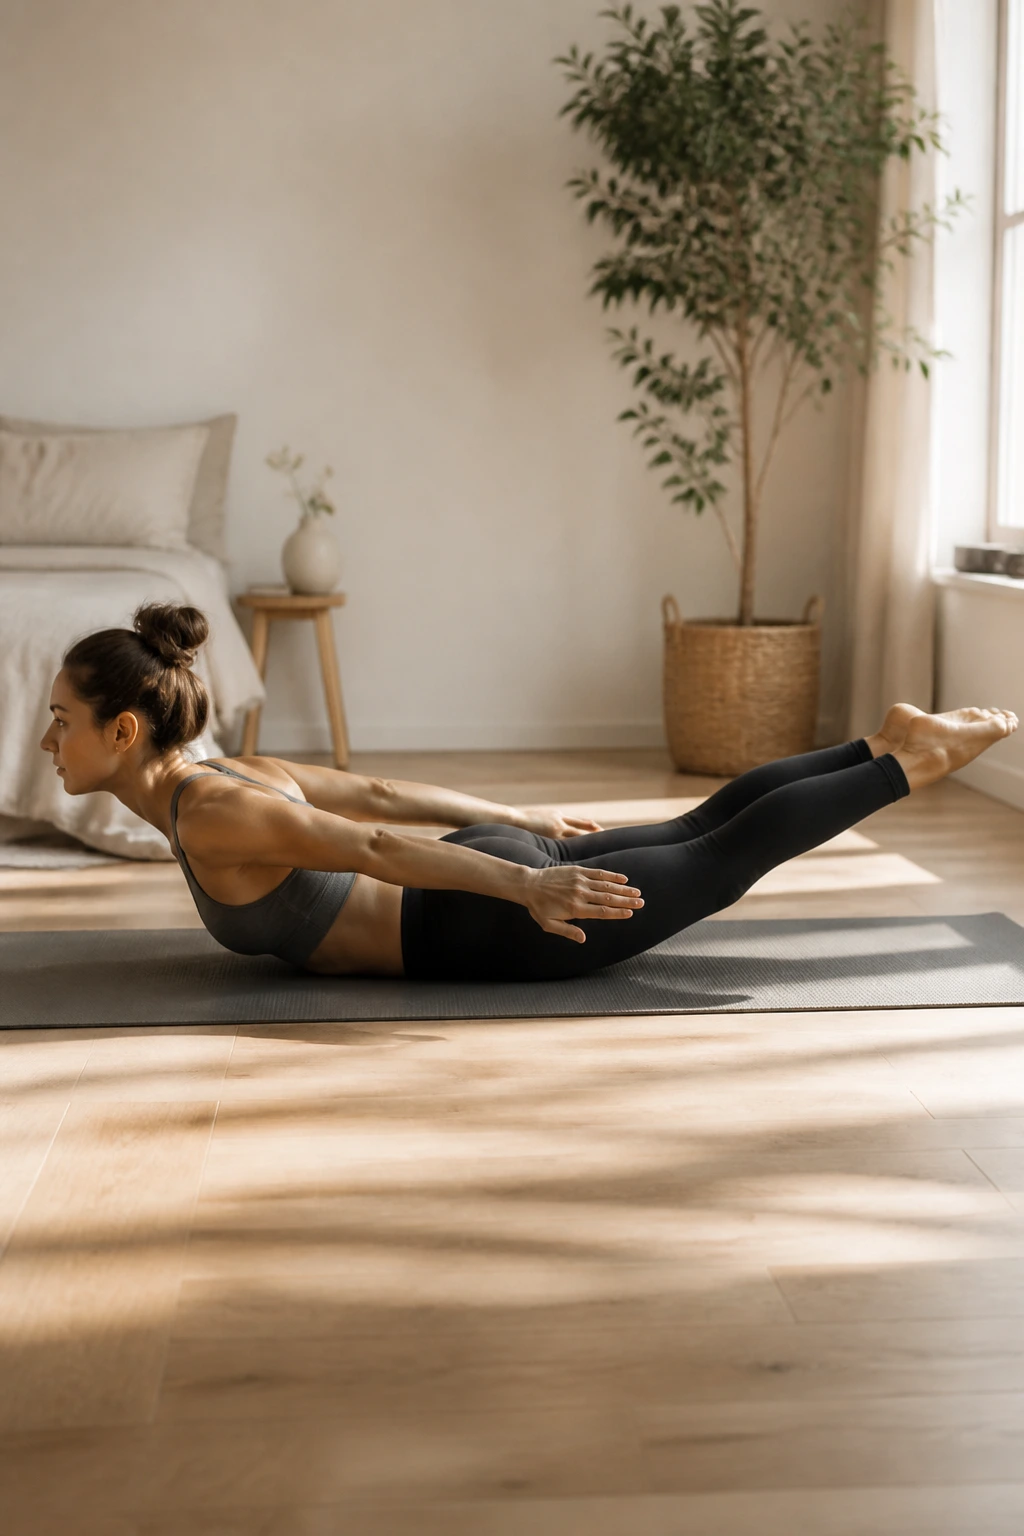
When was the last time your back body got the same attention as your abs?
Locust pose fixes that imbalance fast. Lie on your belly, reach the arms back, and lift the chest, legs, or both depending on the day. The neck stays long. The feet stay active. And the lower back should feel engaged, not pinched.
What to Look For
The lift should come from the spine and glutes, not from throwing the head back. If the shoulder blades squeeze too hard, ease up. There’s no prize for cranking the neck.
A simple set works well:
- Lift chest only for 5 breaths.
- Lift chest and legs for 3 breaths.
- Add a gentle arm reach for 3 more breaths.
The shape builds the whole posterior chain, which helps a surprising number of other poses feel more stable. It’s one of those moves people skip because it looks plain. Bad move.
12. Half Moon Stability Drill
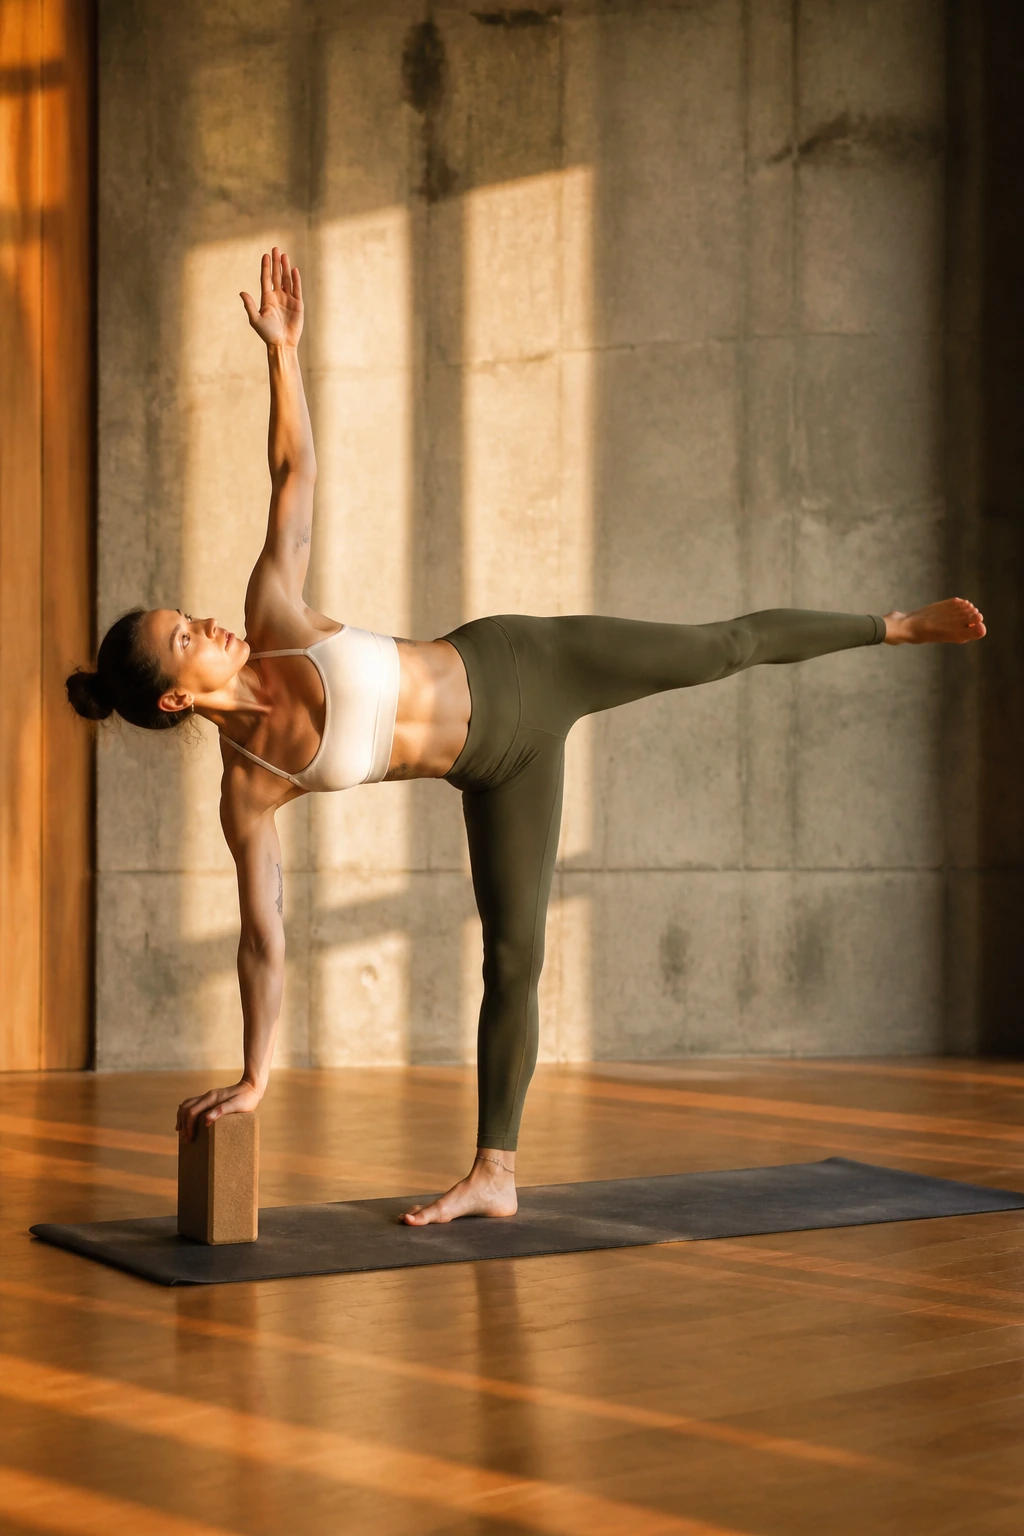
Half moon feels easy only until the standing foot starts wobbling.
Use a block under the lower hand and keep the lifted leg active from heel to hip. The standing leg should feel like it is lifting the floor, not sinking into it. That small detail changes the whole pose. It makes the hips work, the standing ankle fire, and the trunk stay awake.
A wall is fair game. Honestly, it’s smart. Put the back against the wall for the first few rounds so the pelvis can learn where level is supposed to feel like.
One-sentence truth: balance gets cleaner when the standing foot is awake.
The pose builds more than balance. It teaches the body how to hold force on one side without twisting apart.
13. Warrior III Hinge Flow for Total Body Strength
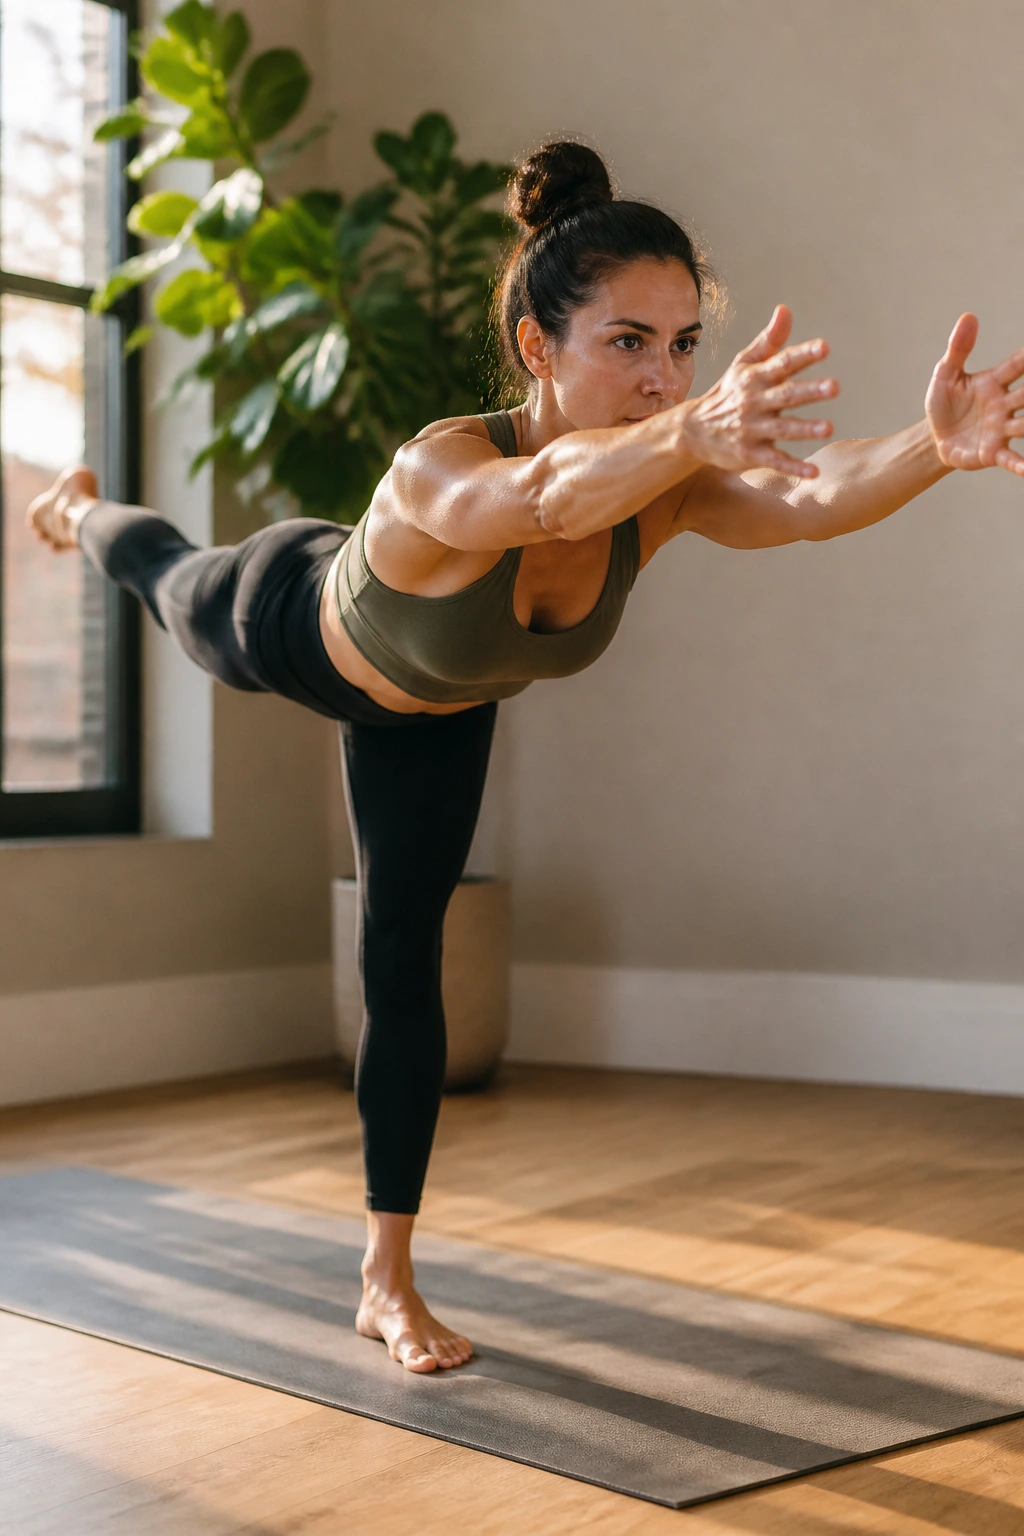
Warrior III for total body strength is where yoga stops pretending balance is gentle. The standing leg works like a pillar, the lifted leg reaches back, and the torso has to stay long without collapsing into the hip crease.
Start with a hinge from the hips, not a dive from the chest. Reach the arms forward, keep the back heel pressing away, and think about length more than height. A lot of people lift the leg too high and lose the shape. Lower is usually better.
The standing glute, hamstring, and foot arch do real work here. The core keeps the ribs from spilling open, and the shoulders help create a line from fingertips to heel. If that line gets shaky, use a wall with one hand. Good. Use it.
Warrior III gets better when the breath stays slow. Fast breathing usually means the body is compensating.
14. Crow Prep Squat
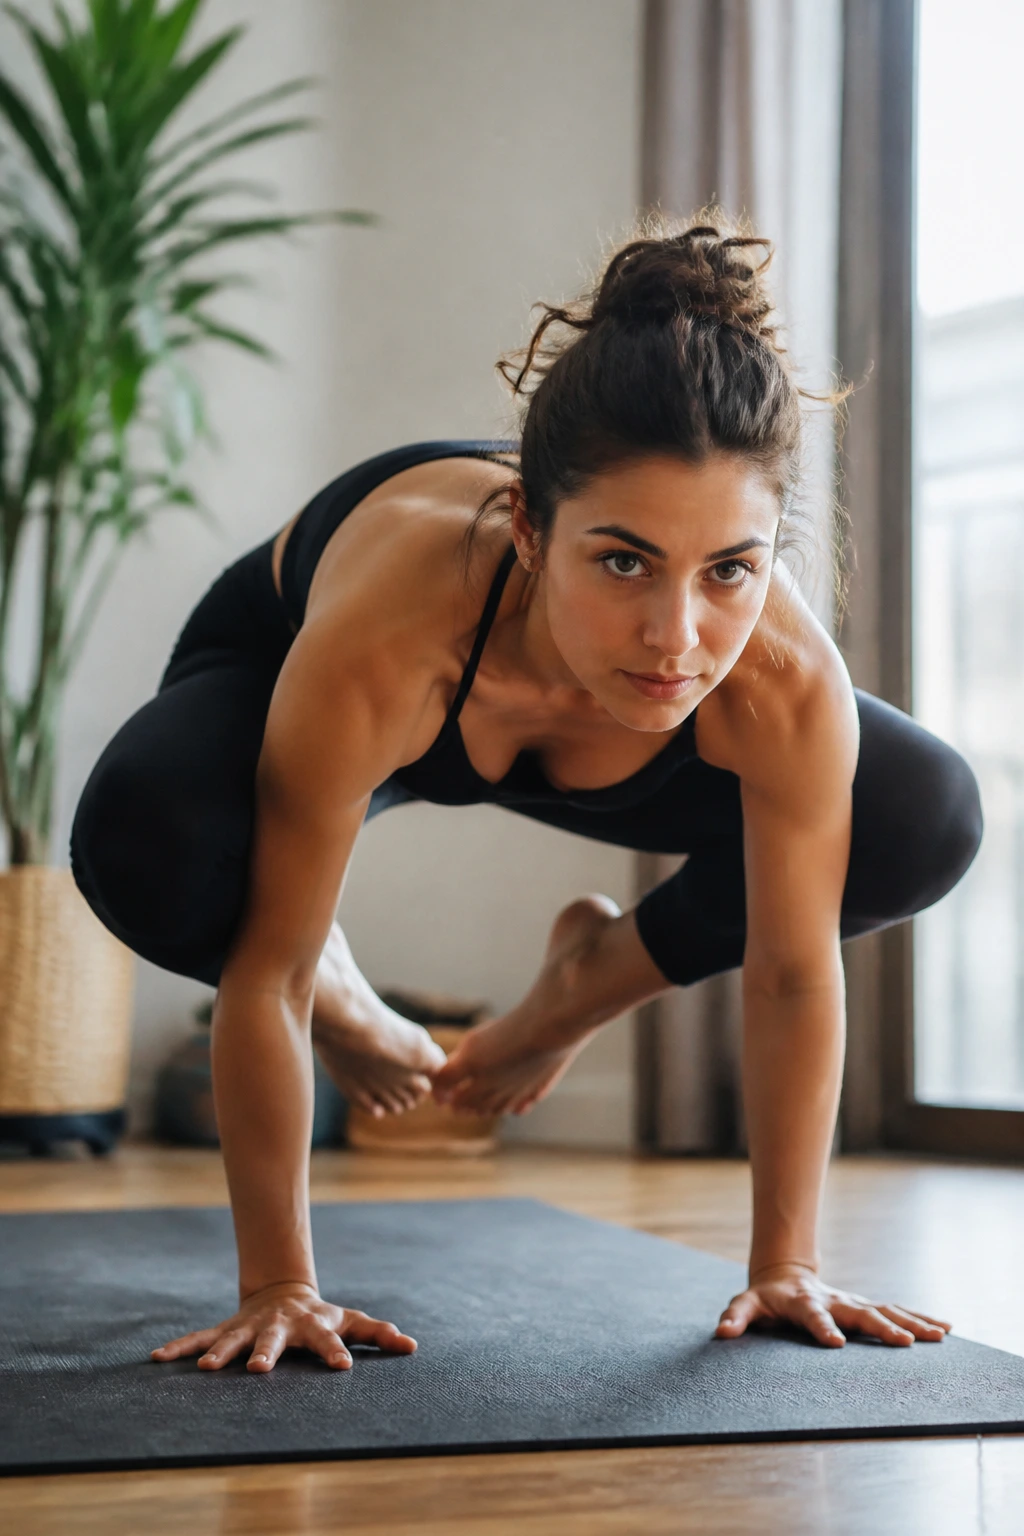
Crow prep is the move people love to hate. The setup feels awkward, the wrists complain if you rush, and the first few shifts can be ugly.
But the ugly part is useful. Squat low, plant the hands, and shift the weight forward a few centimeters at a time. One knee can rest on the triceps before the other foot even leaves the ground. That gradual loading builds shoulder confidence, wrist tolerance, and core control.
Make the Floor Feel Smaller
- Keep the gaze a little forward, not straight down.
- Bend the elbows only enough to create a shelf.
- Shift the weight, then pause.
- Lift one foot for 1 breath, then set it down.
- Repeat until the hands stop panicking.
Crow prep teaches patience more than acrobatics. That’s why it belongs in a strength list. You are earning the balance, not forcing it.
15. Revolved Crescent Twist
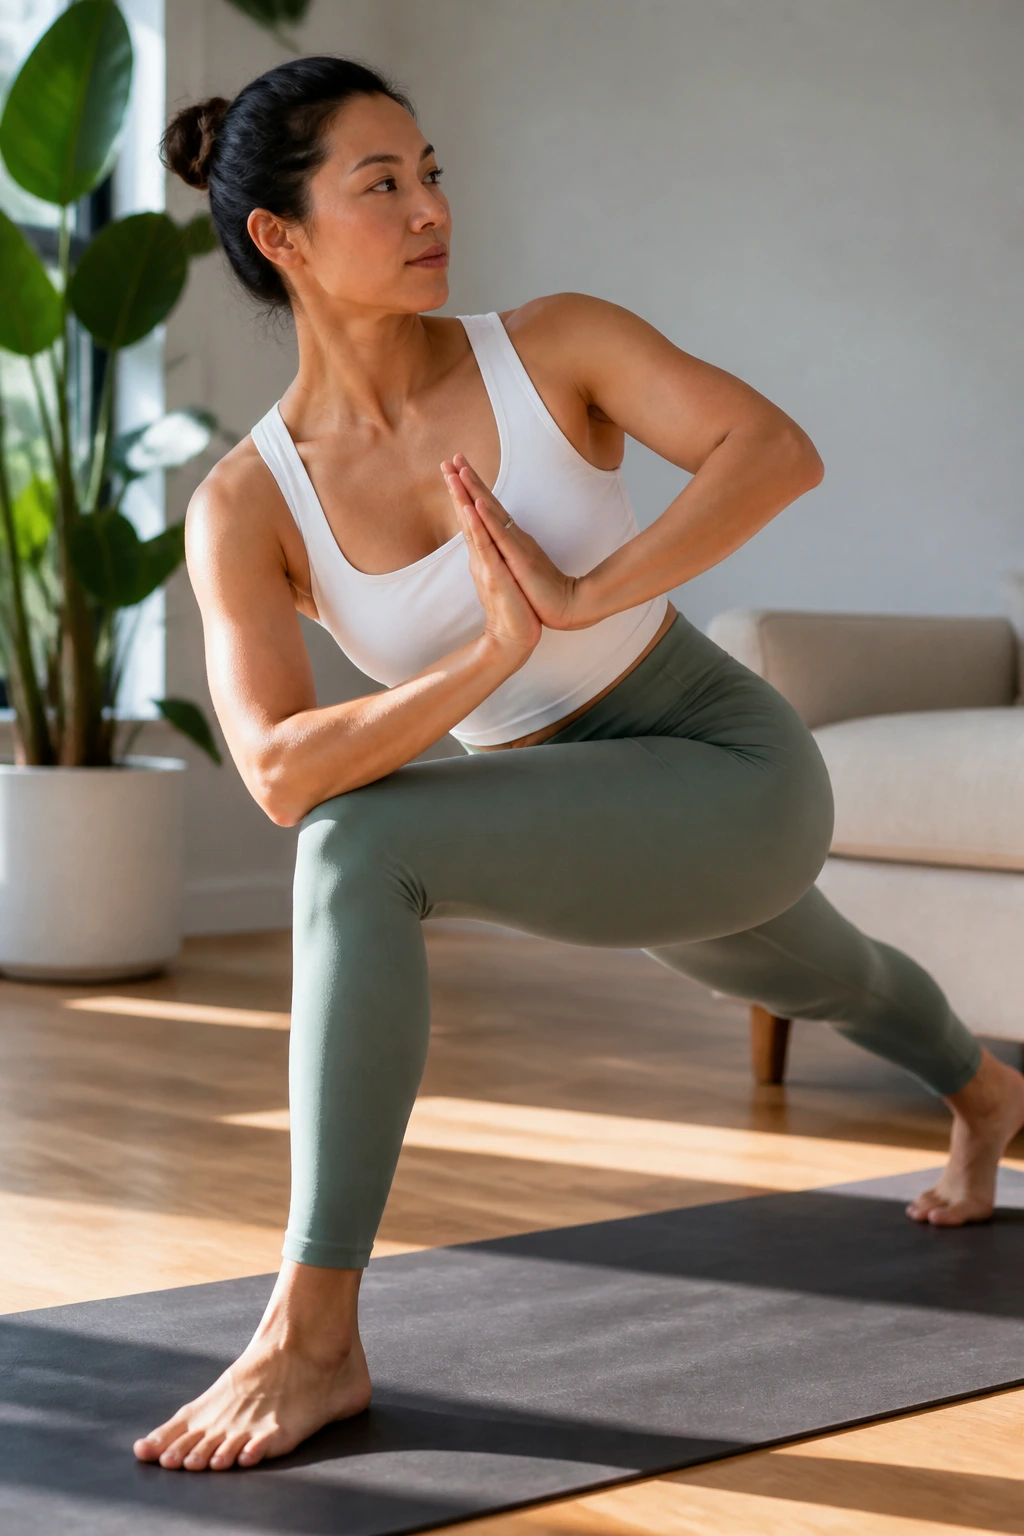
Revolved crescent looks like a twist, but the real work is anti-rotation.
The front leg has to stay stable while the torso turns. The back heel stays lifted, the pelvis stays active, and the chest rotates only as far as the body can keep its balance. If the arms yank the body around, the pose falls apart fast.
Keep the prayer hands at the sternum if the full bind feels sloppy. That version still hits the legs, hips, and trunk. If the shoulders are open and the twist stays clean, reach the arms long instead of cranking them behind you.
One short warning: do not force the twist from the lower back.
The strength here is in resisting collapse. That’s a useful skill everywhere else, too.
16. Goddess Heel-Lift Burn
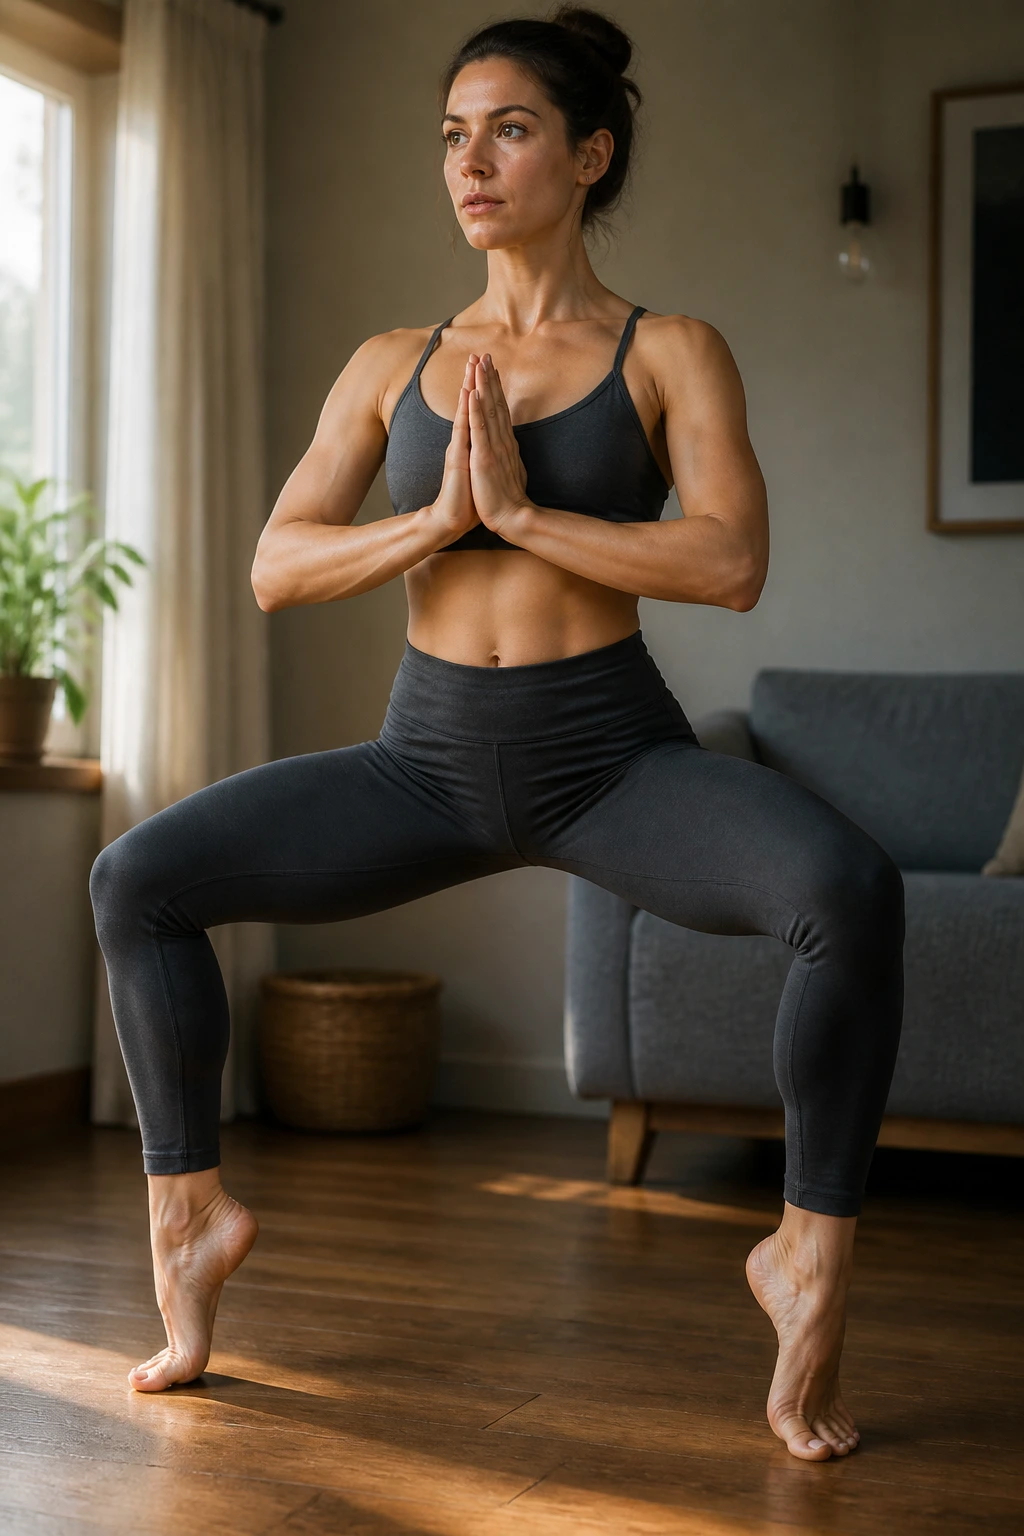
Goddess pose gets dismissed as a warm-up, which is a shame.
The wide stance loads the inner thighs and glutes right away. Add heel lifts and the calves wake up, the ankles stabilize, and the whole lower body starts working together. You can pulse here, but the better version is slower: lift the heels, lower with control, and keep the knees tracking over the toes.
Small Set, Big Burn
- Hold goddess for 3 breaths.
- Lift the heels 10 times.
- Pulse the knees outward 8 times.
- Return to stillness and breathe.
- Repeat once more if the legs still have clean form.
The torso matters here, too. Keep the ribs stacked over the pelvis, or the low back takes over. That happens fast in wide-stance work, and it ruins the point.
17. Wild Thing Side-Body Flow
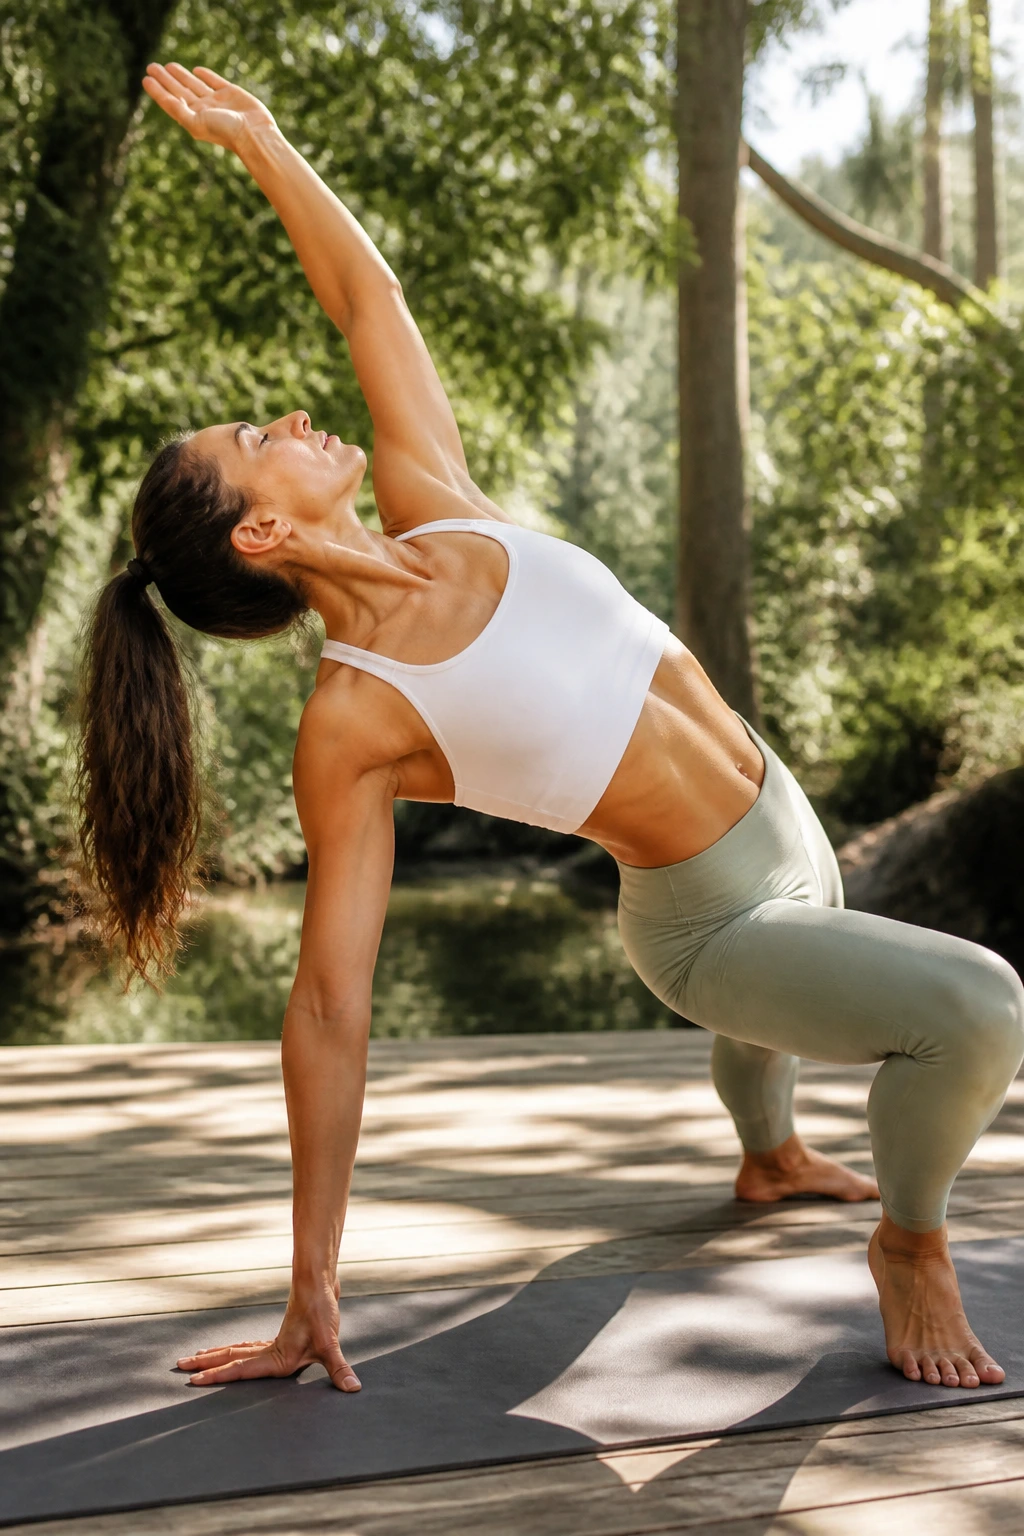
Wild thing is the move that makes people grin and then regret rushing it.
That side-body opening can be useful, but only if the shoulders and glutes stay active. Press through the support hand and foot, lift the hips, and keep the chest broad. If the low back dumps into the floor, back out. The shape should feel springy, not crushed.
What I like about wild thing is the way it wakes up the side waist and upper back at the same time. It also asks the supporting arm to bear weight in a way that’s a little less predictable than plank. That unpredictability is part of the training.
A bent-knee version is fine. A block under the support hand can make the transition cleaner. Fancy is optional. Control is not.
18. Bow Pose Rockers
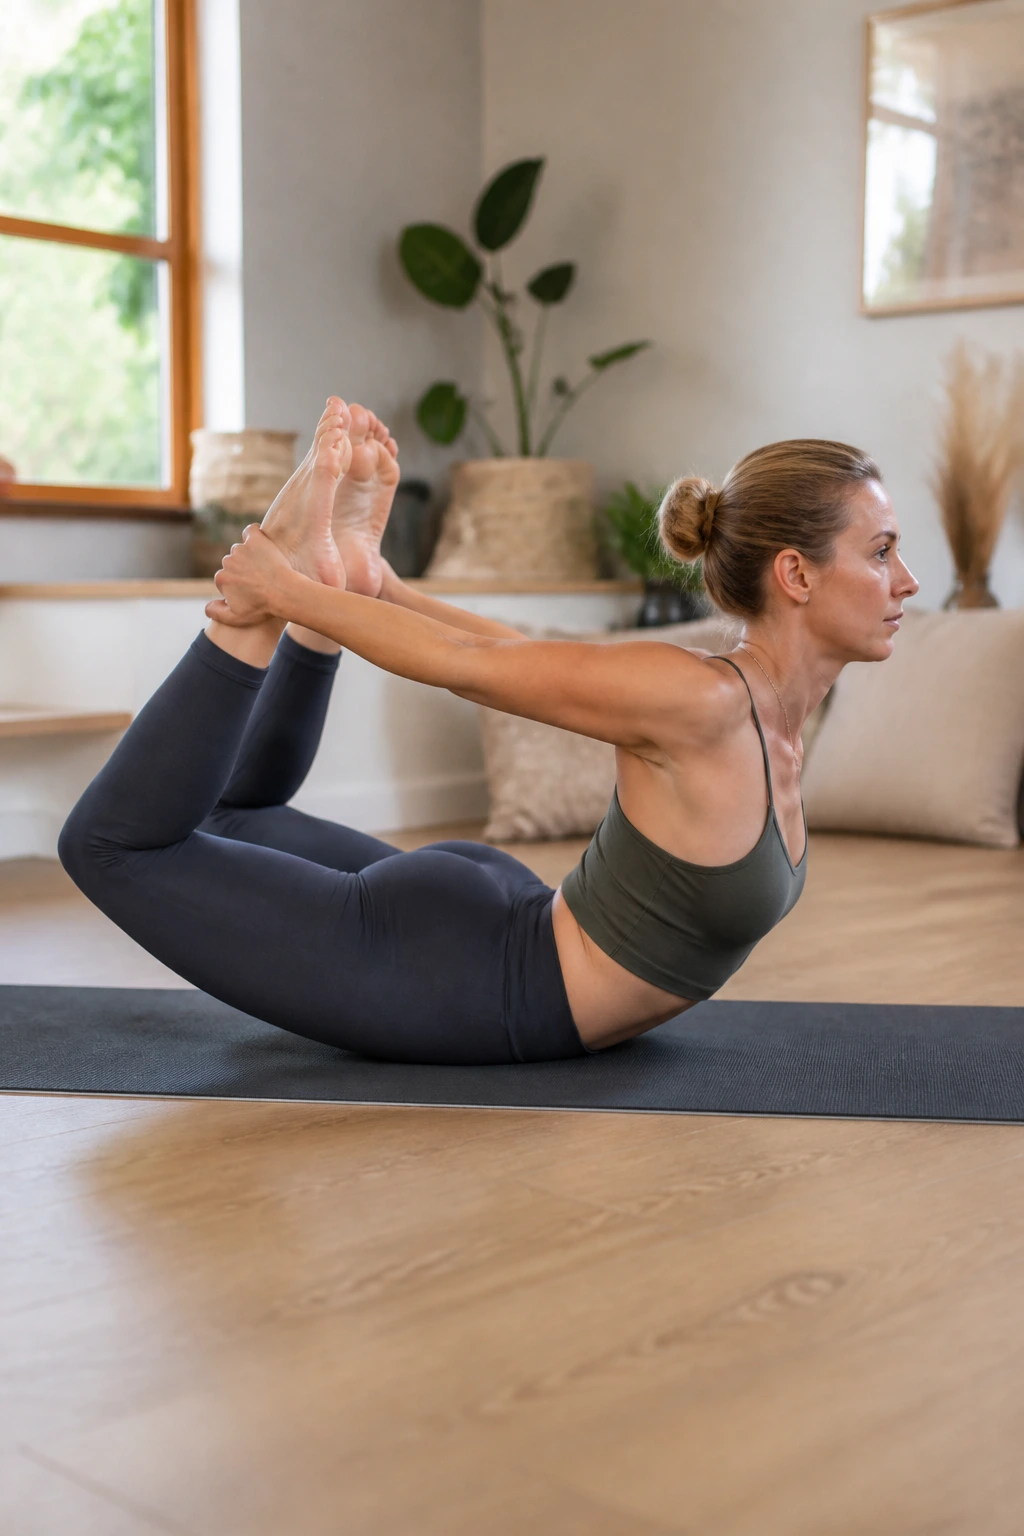
Can bow pose build strength without turning into a lower-back jam? Yes, if the rocking stays small.
Grab the ankles, lift the chest and thighs, and rock forward and back just a few inches. The quads, glutes, and upper back all join the work, while the front body opens enough to keep the shape from feeling cramped. The temptation is to yank the heels hard and fling the head back. Don’t.
Rock, Do Not Yank
Keep the knees about hip-width apart. Press the shins back into the hands. Let the chest rise first, then the legs. If breathing gets choppy, shorten the rock or hold the shape still for 2 to 3 breaths.
Bow pose is one of those moves that tells you the truth about your back body. If the glutes are asleep, you’ll know.
19. Extended Side Angle Bind
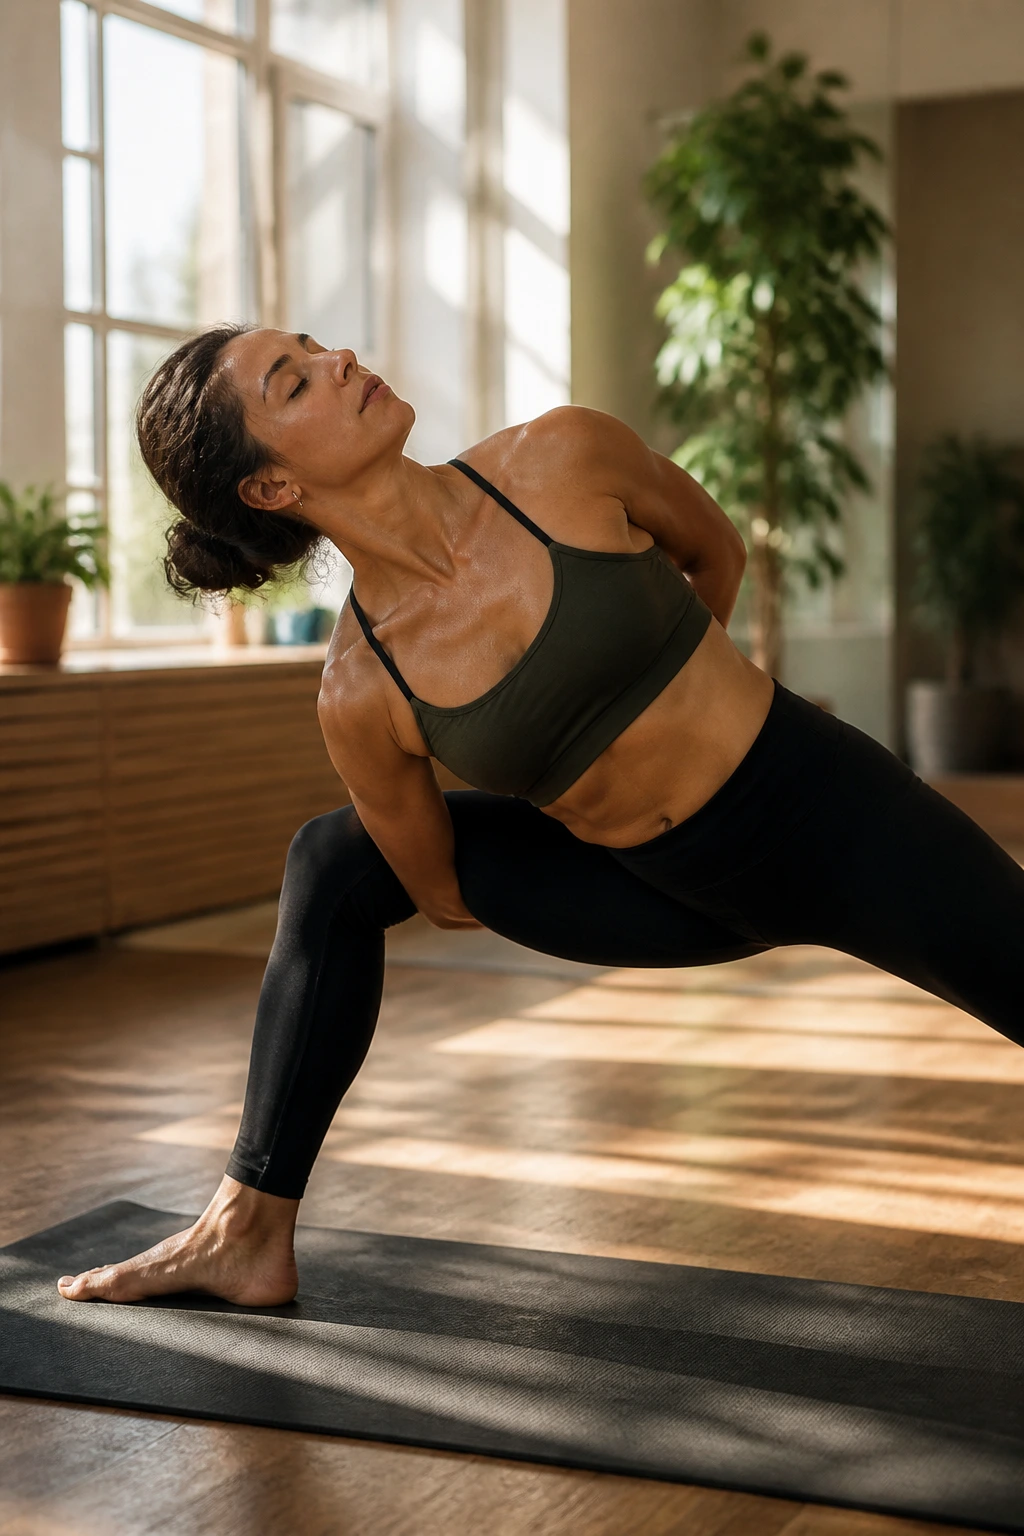
Extended side angle with a bind turns a leg burner into a torso drill.
The front thigh holds the stance, the back leg stays long and awake, and the bind asks the shoulders and upper back to organize around the chest instead of collapsing in on themselves. Use a strap if the hands do not meet. That’s not a downgrade. It’s a cleaner line.
The front knee should stay open over the toes. The back foot should root hard. If the torso tilts and the bind forces a hunch, rise a little higher and reset.
A strong bind feels broad through the collarbones, not tight through the neck. The difference matters more than people think. One feels like work. The other feels like a wrestling match.
20. Forearm Plank Knee-Tap Grid
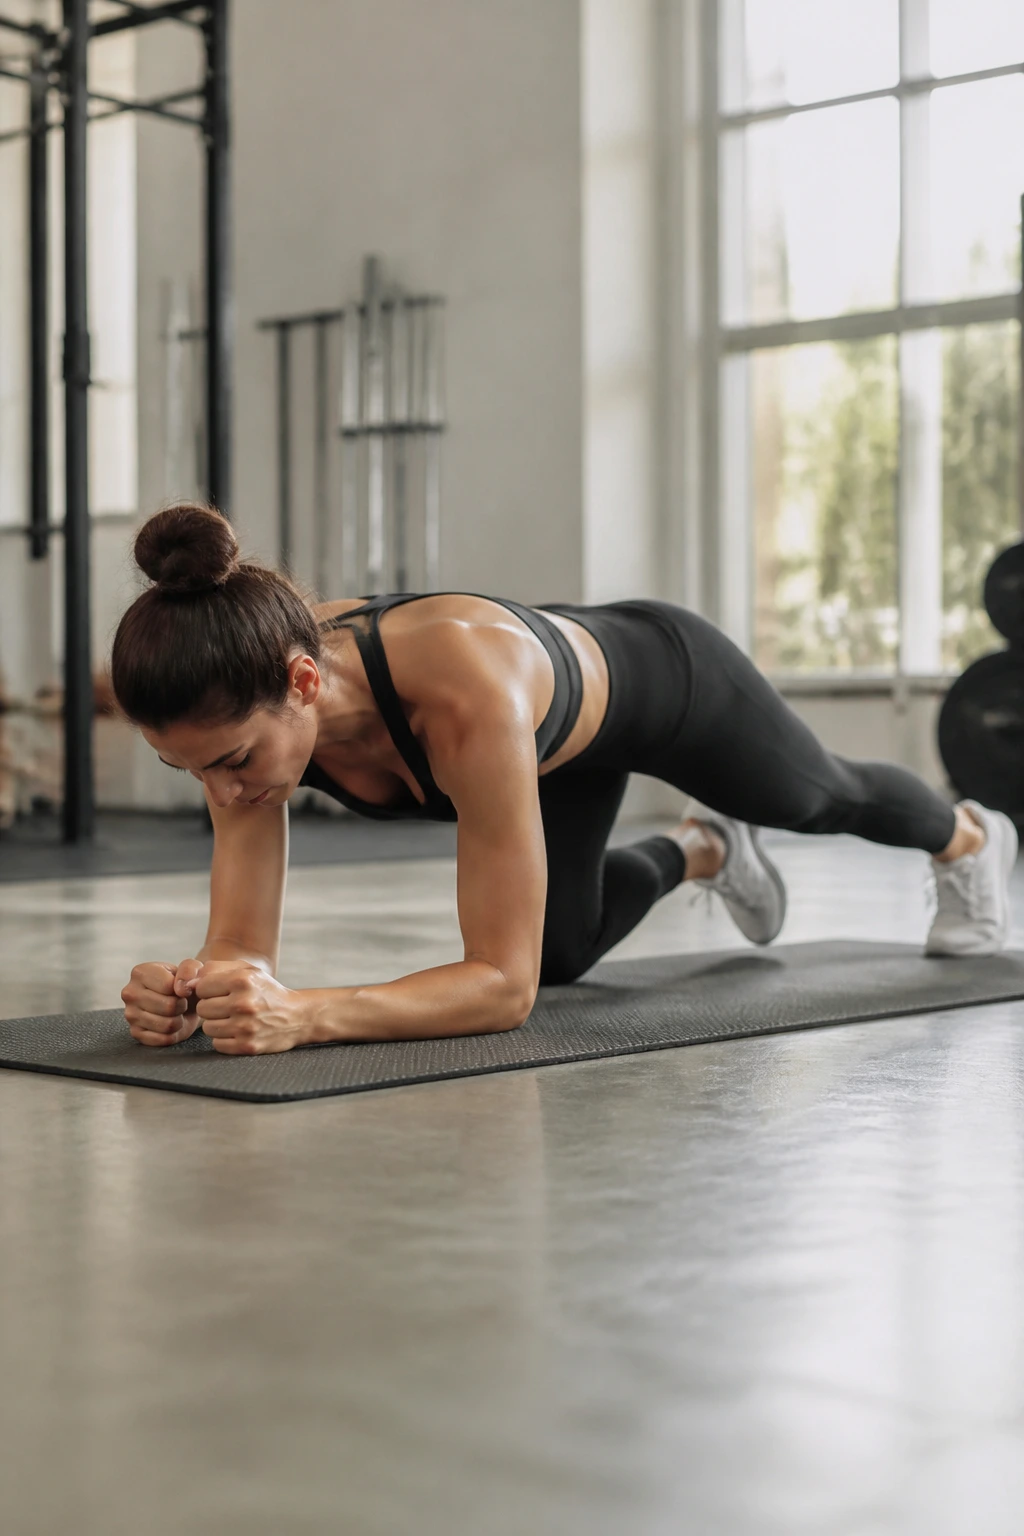
Forearm plank knee taps look tiny and feel huge.
Set up in forearm plank, keep the hips level, and tap one knee to the floor or toward the floor without swinging the pelvis around. Switch sides. That’s the whole thing. And it’s enough to make the abs, shoulders, and deep stabilizers wake up fast.
Grid the Movement
- Hold forearm plank for 3 breaths.
- Tap right knee lightly.
- Return to hover.
- Tap left knee lightly.
- Repeat for 10 to 12 total taps.
The smaller the tap, the cleaner the work. If the low back sags, lift the hips a hair and shorten the lever. That adjustment usually fixes more than brute force ever does.
21. Three-Legged Dog Knee-to-Nose
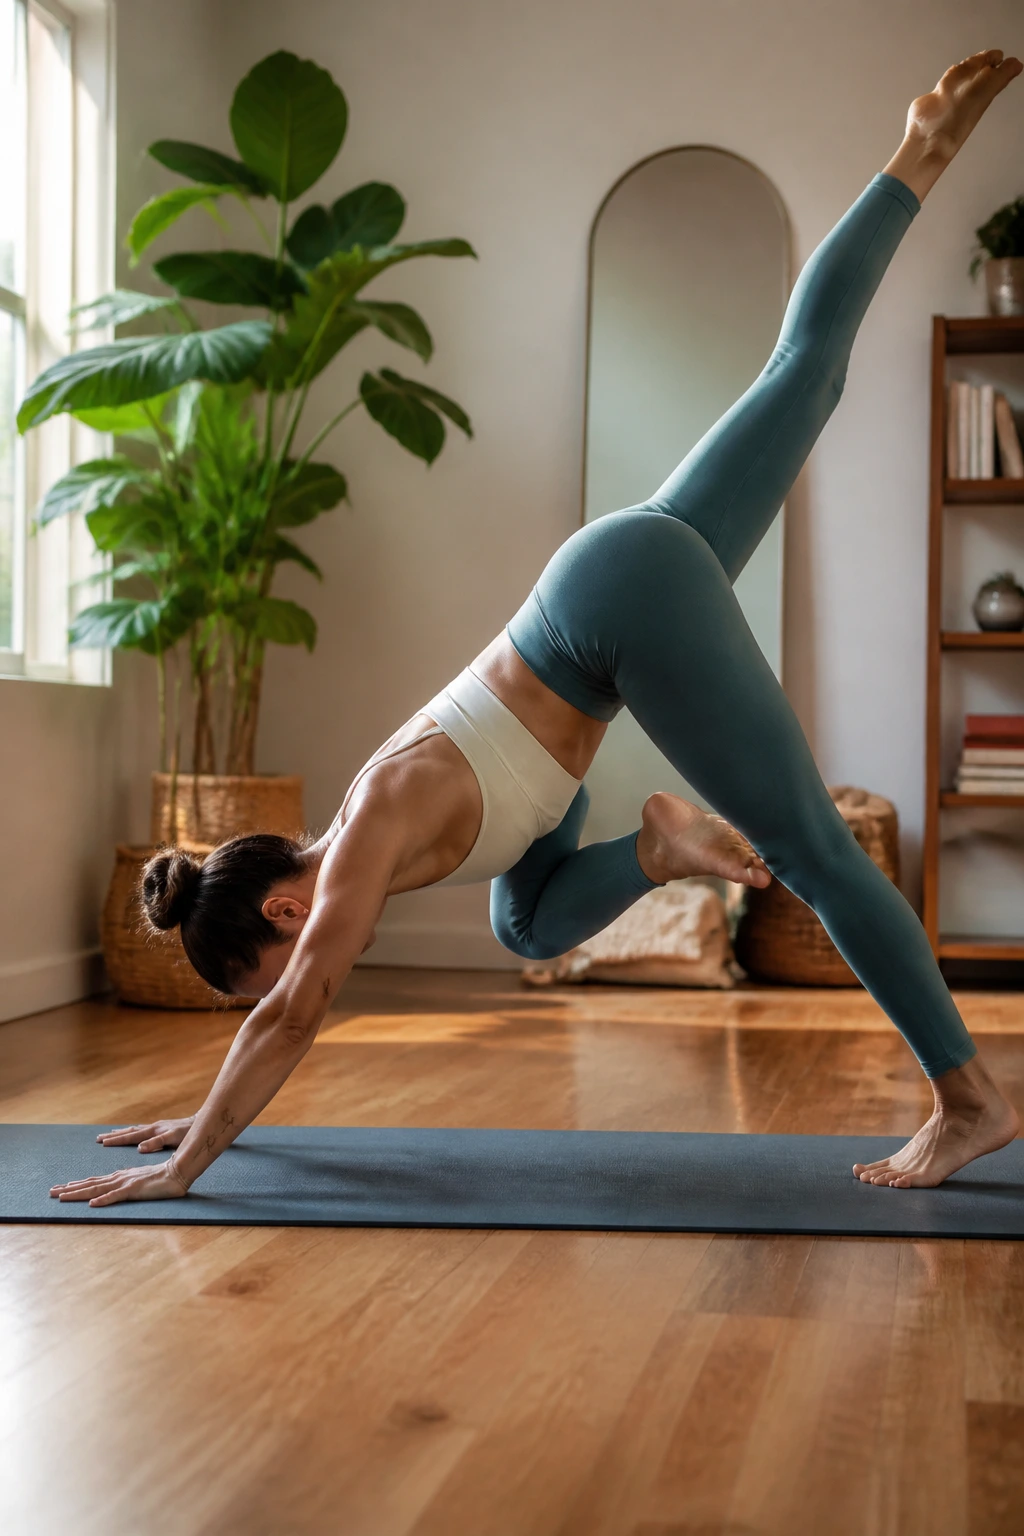
Three-legged dog is not a rest.
It looks spacious because one leg reaches high, but the second you draw the knee to the nose, the core has to brace and the standing shoulder has to stay steady. The key is moving through a crisp line, not swinging the leg like a pendulum.
Press strongly through both hands before the knee comes in. That makes a difference. The shoulder blades should feel broad, not pinched. Then round the upper back slightly as the knee draws through, and step or place the foot back again.
One-sentence reminder: the leg lift is easy; the transition is the workout.
If the wrists feel tired, take a breath in down dog between reps. No shame in that.
22. Frog-to-Malasaña Strength Set
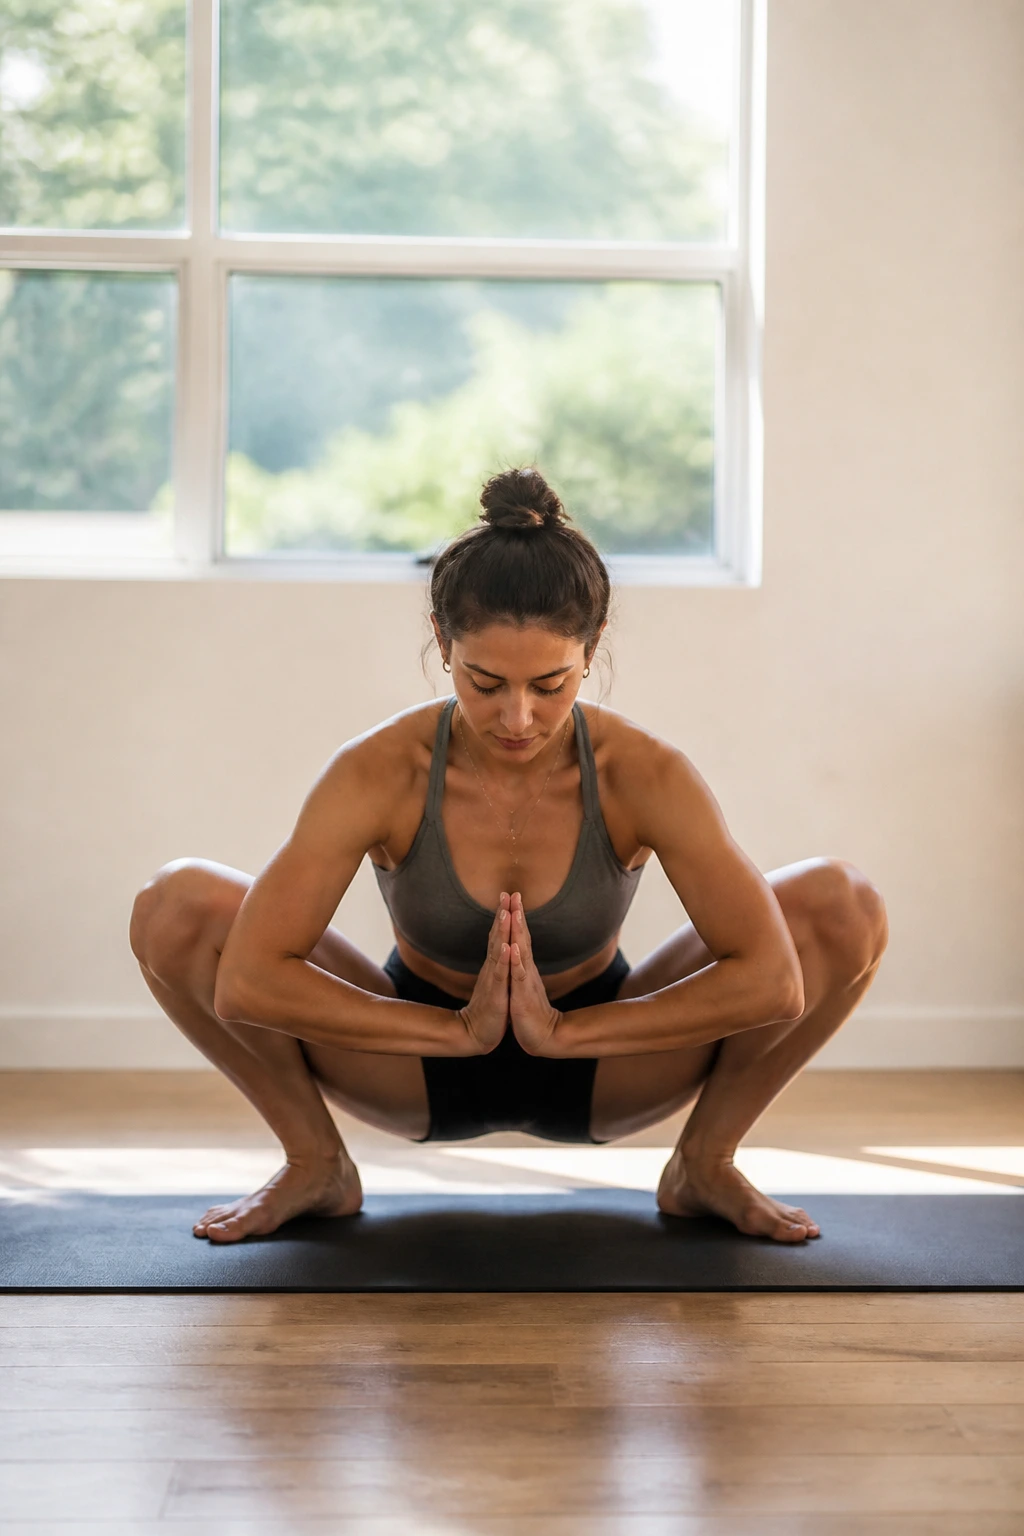
Why does frog-to-Malasaña make the hips and legs wake up so fast? Because both shapes ask the lower body to bear load in positions most people skip.
Start in a deep frog with the knees wide and the feet in line with the knees. Hold for a few breaths, then walk the hands forward and press back into Malasaña, the deep yogi squat. The inner thighs, glutes, calves, and feet all have to adjust on the fly.
A few clean cues help:
- Keep the spine long in frog.
- Let the knees track comfortably, not aggressively.
- In squat, press the elbows inside the knees.
- Keep the heels grounded if possible.
- Move slowly between shapes.
That slow shift is what builds strength. Not speed. Not bouncing.
23. Tabletop Hover Series
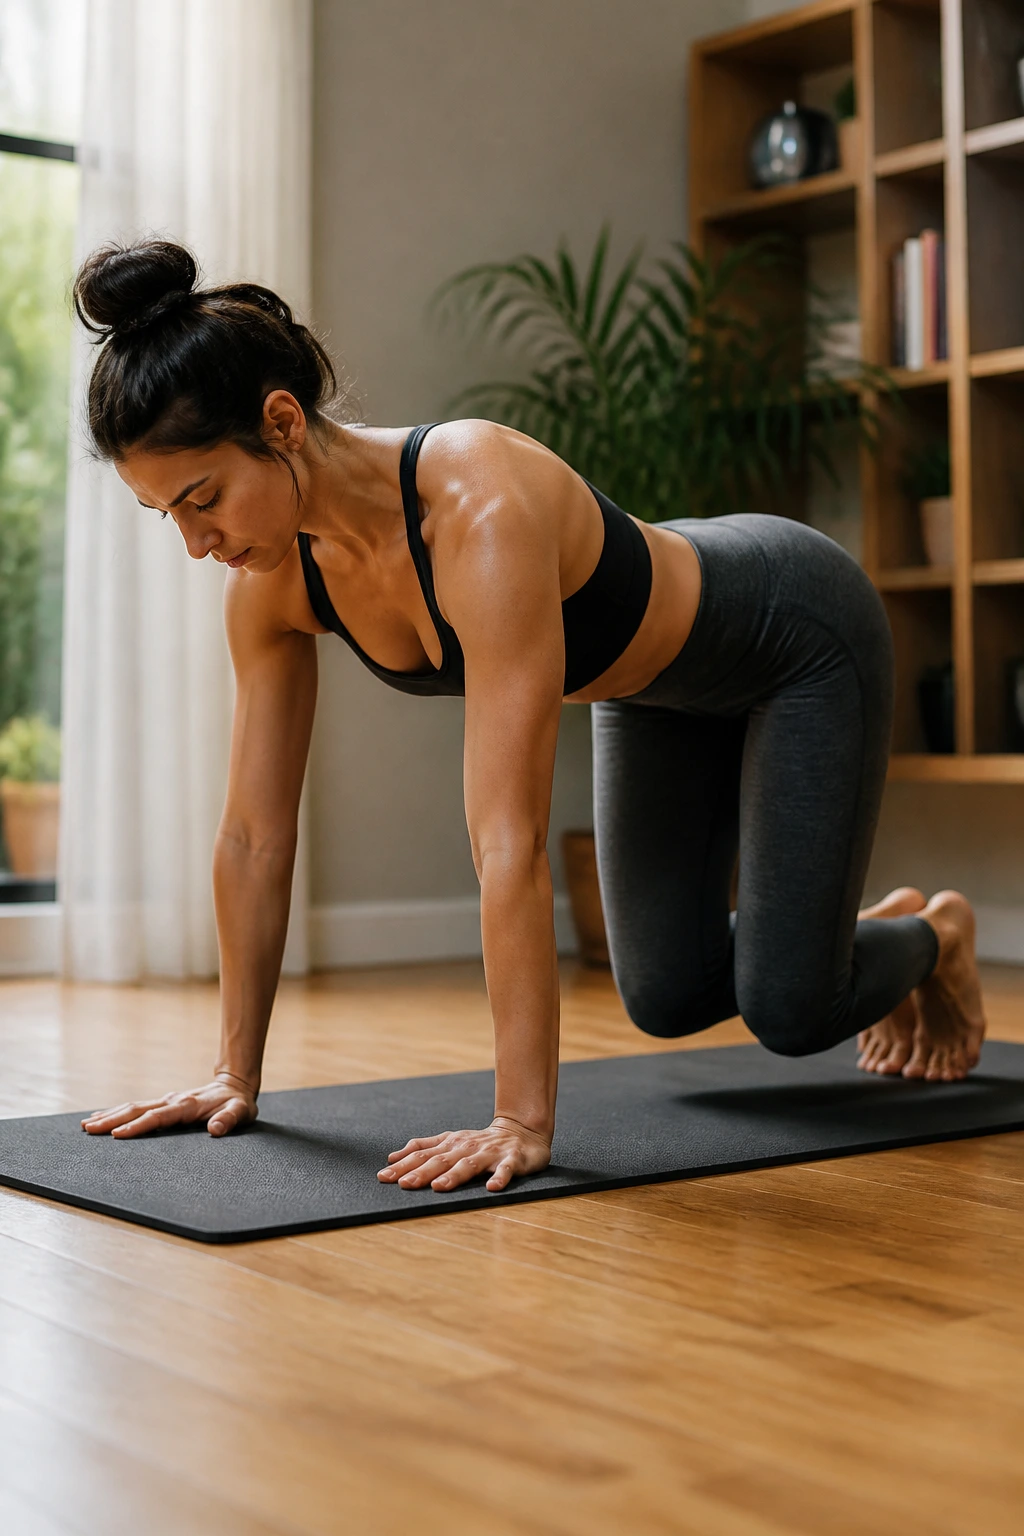
Tabletop hover is the pose that exposes shaky wrists and lazy cores in the same breath.
Start on hands and knees, then lift the knees one inch off the floor. Hold. That tiny hover forces the shoulders to stabilize, the abs to pull in, and the hips to stay level. It sounds easy because the movement is small. It is not.
You can turn it into a series by hovering for 10 seconds, lowering for 5, then lifting again. If the wrists get cranky, place the hands on blocks or make fists. If the shoulders shrug, press the floor away and widen the upper back.
This is one of the best “small but hard” drills in yoga strength work. It teaches control without the drama of a big pose.
24. Standing Hand-to-Big-Toe Balance Flow
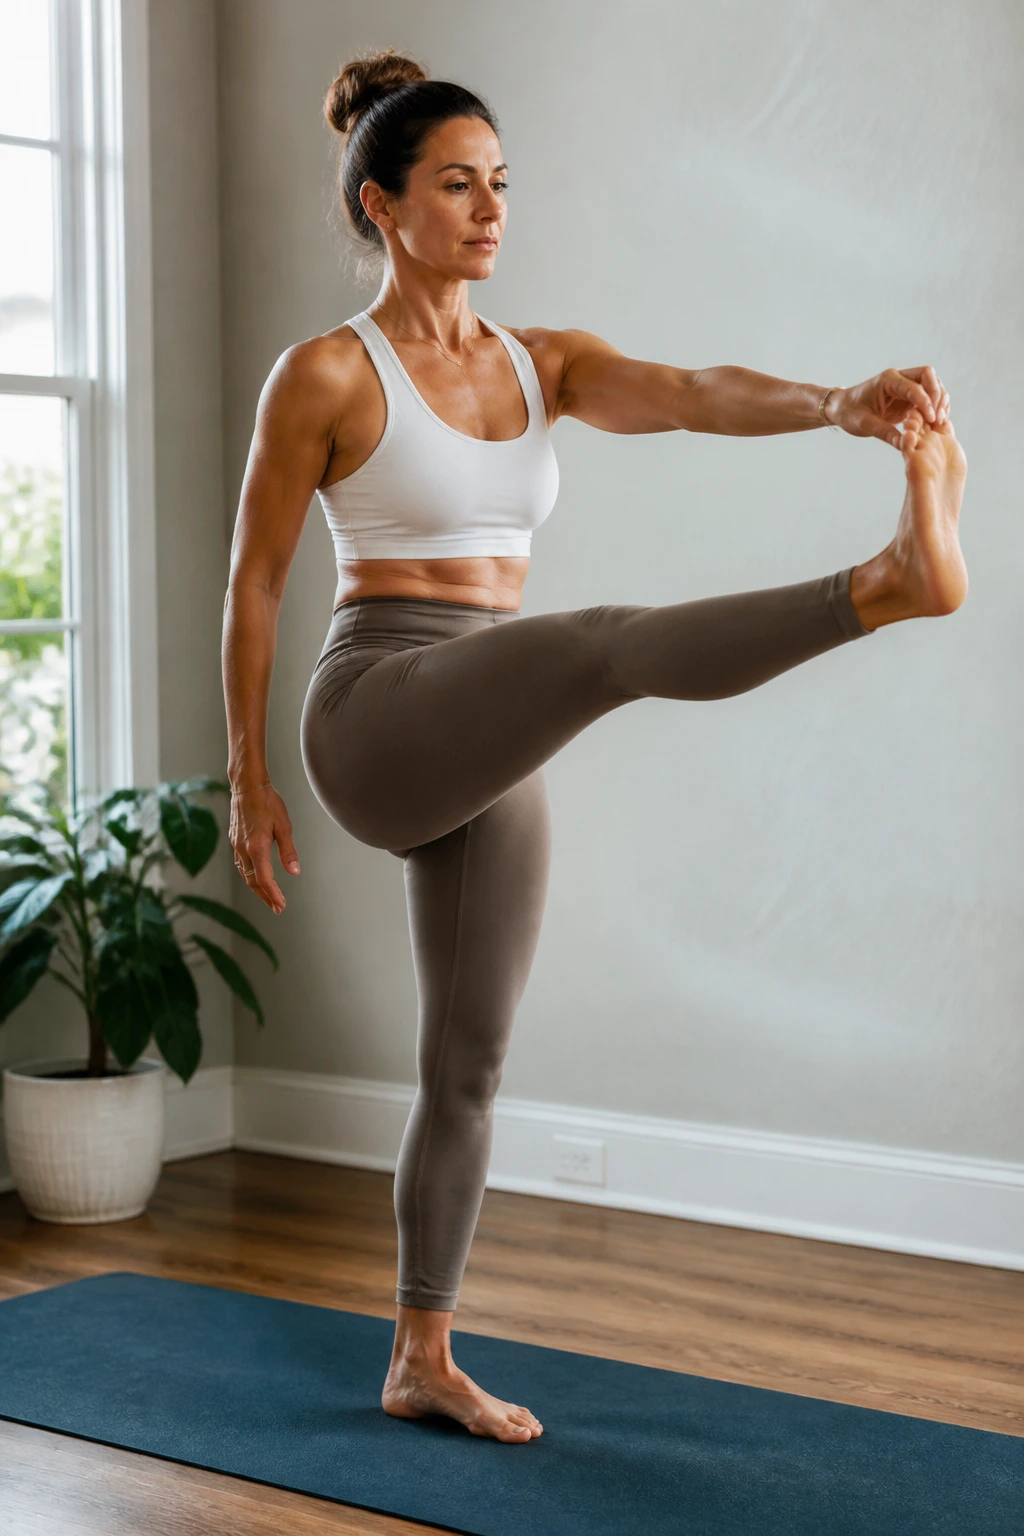
Standing hand-to-big-toe balance looks graceful only after the wobble phase.
Hold the big toe or loop a strap around the foot, then extend the leg forward while keeping the standing hip steady. If the leg cannot straighten, keep a soft bend and hold the line there. The standing foot, glute, and core are doing the real lifting; the raised leg is more about balance and control than display.
Use a Wall First
A wall under one hand makes this cleaner immediately. It lets the body learn where level feels like instead of thrashing around for it. After that, you can try the free-standing version and notice how much less drama it needs.
The pose hits the hamstrings and standing glute, but the quiet win is in the ankle and foot. That support is what keeps the whole thing from tipping over.
25. Full-Body Integration Flow for Total Body Strength
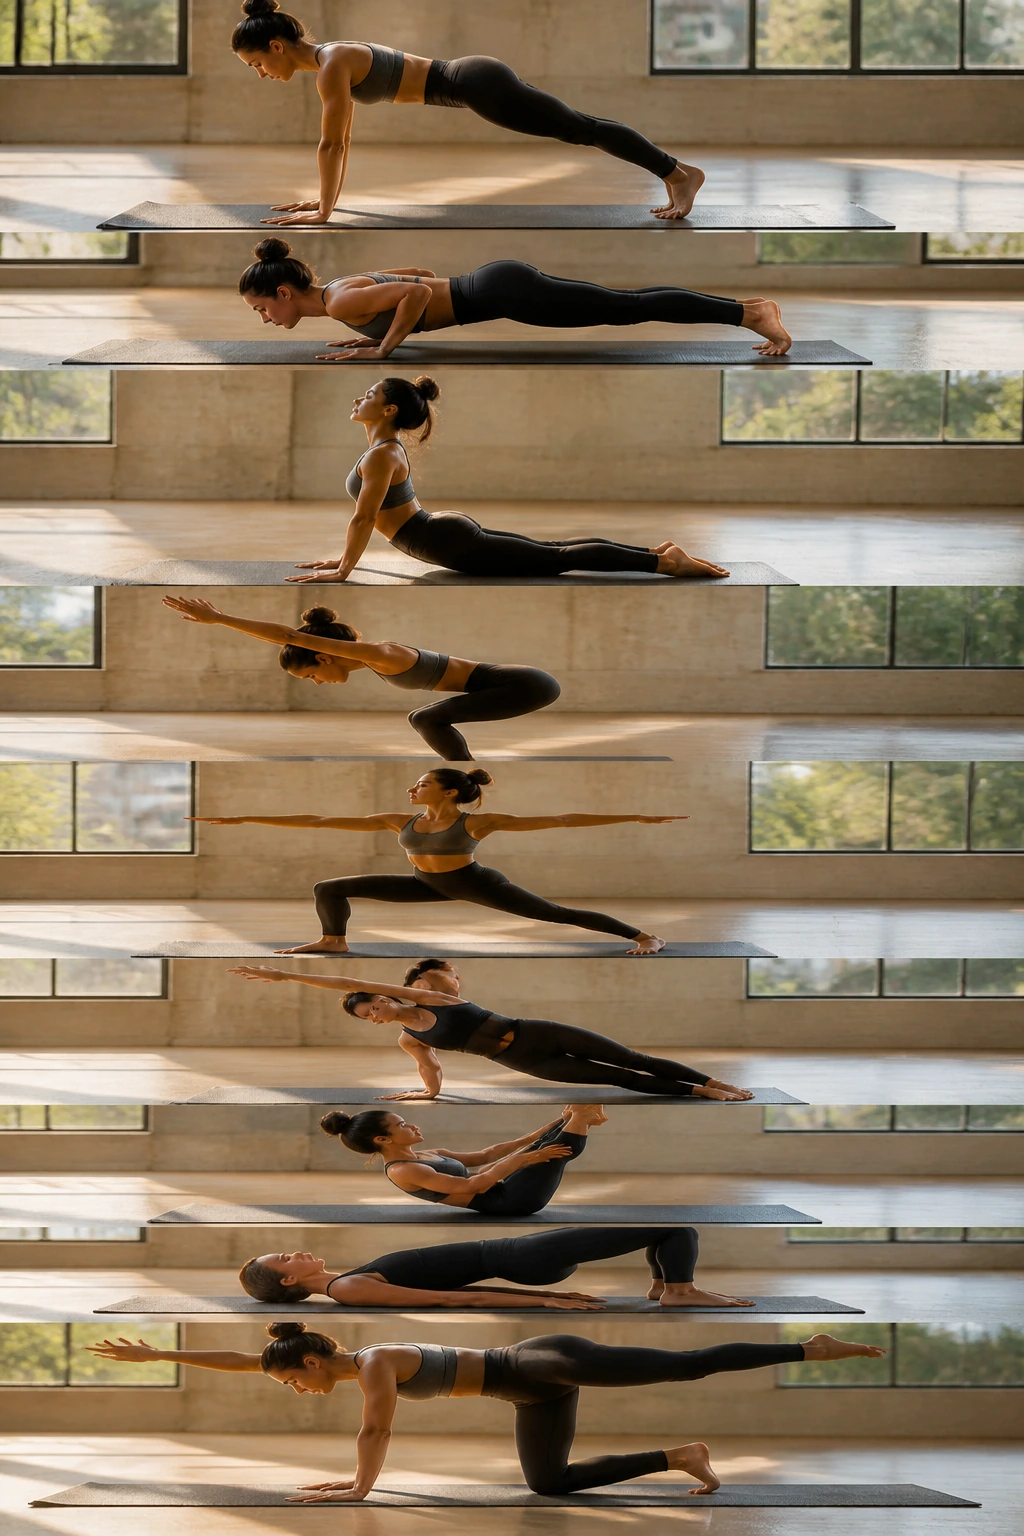
This is the routine that ties everything together. A little chair, a little plank, a little balance, a little back-body work. It is the kind of sequence that makes you feel like your body remembered how to work as one piece.
Start with slow Sun Salutation A, move into Warrior II on both sides, drop into side plank, then come to boat pose and bridge pose. Finish with Warrior III or standing hand-to-big-toe balance if you want a standing challenge. Keep each shape for 2 to 4 breaths, and keep the transitions clean. That matters more than stacking on extra poses.
If you want a quick strength session, use this order:
- Sun Salutation A
- Chair Pose
- Warrior II
- Side Plank
- Boat Pose
- Bridge Pose
- Warrior III
- Tabletop Hover
One useful habit: stop while the form still looks good. That is the part people skip. It is also the part that keeps the next session stronger.
