



Standing yoga poses for beginners are where a practice starts to feel real. No mat acrobatics. No chasing deep flexibility. Just feet on the floor, a breath that stops racing, and enough honesty to notice where your weight actually goes.
That is the useful part, and it shows up fast. A clean Mountain Pose can expose collapsed arches, locked knees, and a rib cage that likes to fling itself forward. A rushed Warrior II can do the same thing, only louder.
These poses also travel well into ordinary life. They make standing feel less sloppy, walking feel more grounded, and balance feel less like luck. Small improvements, yes. But they stack.
Start with the feet. Everything else follows from there.
1. Mountain Pose (Tadasana)
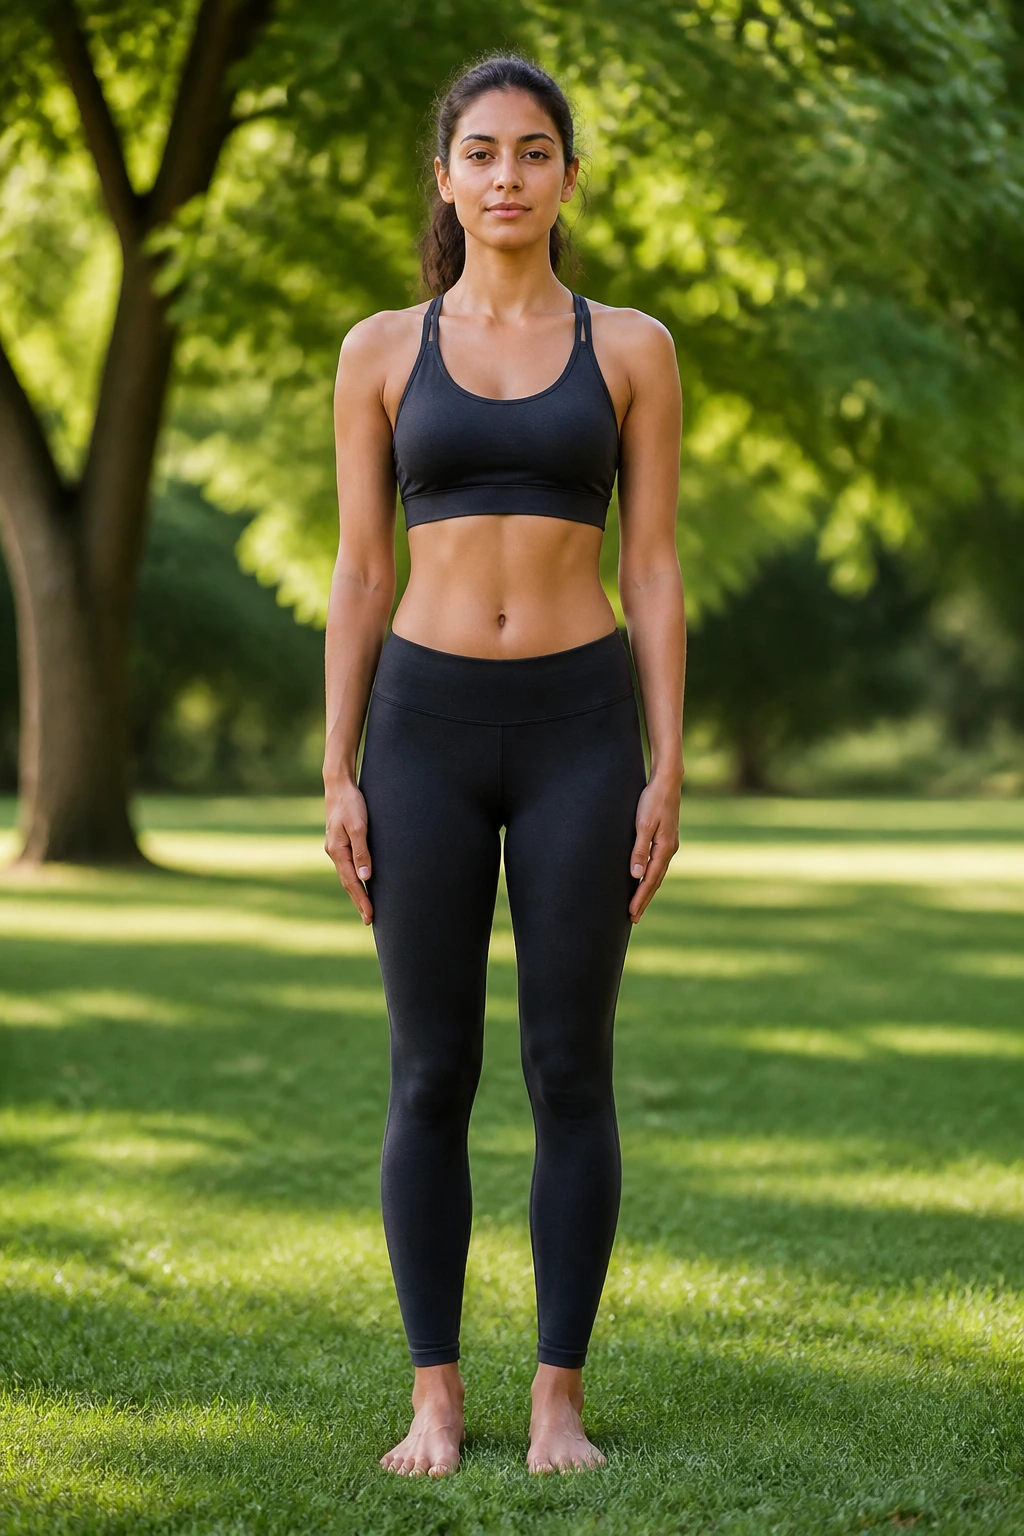
Mountain Pose looks almost too plain to matter, which is exactly why it matters. Stand with your feet hip-width apart or together if that feels steadier, spread the toes, and press down through the big toe mound, little toe mound, and heel of each foot. The legs should feel awake, not rigid.
Lift the kneecaps slightly without locking them back. Stack your ribs over your pelvis, let the shoulders drop, and keep the chin level. A lot of beginners tip forward without noticing it; a lot more arch the lower back and call it posture. It is neither.
What to feel in your feet
- Pressure spread across the whole foot, not dumped into the heels.
- The inner arches gently alive.
- Weight balanced between left and right sides.
Use Mountain Pose as your reset. Between every standing yoga pose for beginners, come back here for one or two breaths. It tells you right away whether the next pose is built on good footing or on wishful thinking.
2. Raised Arms Mountain
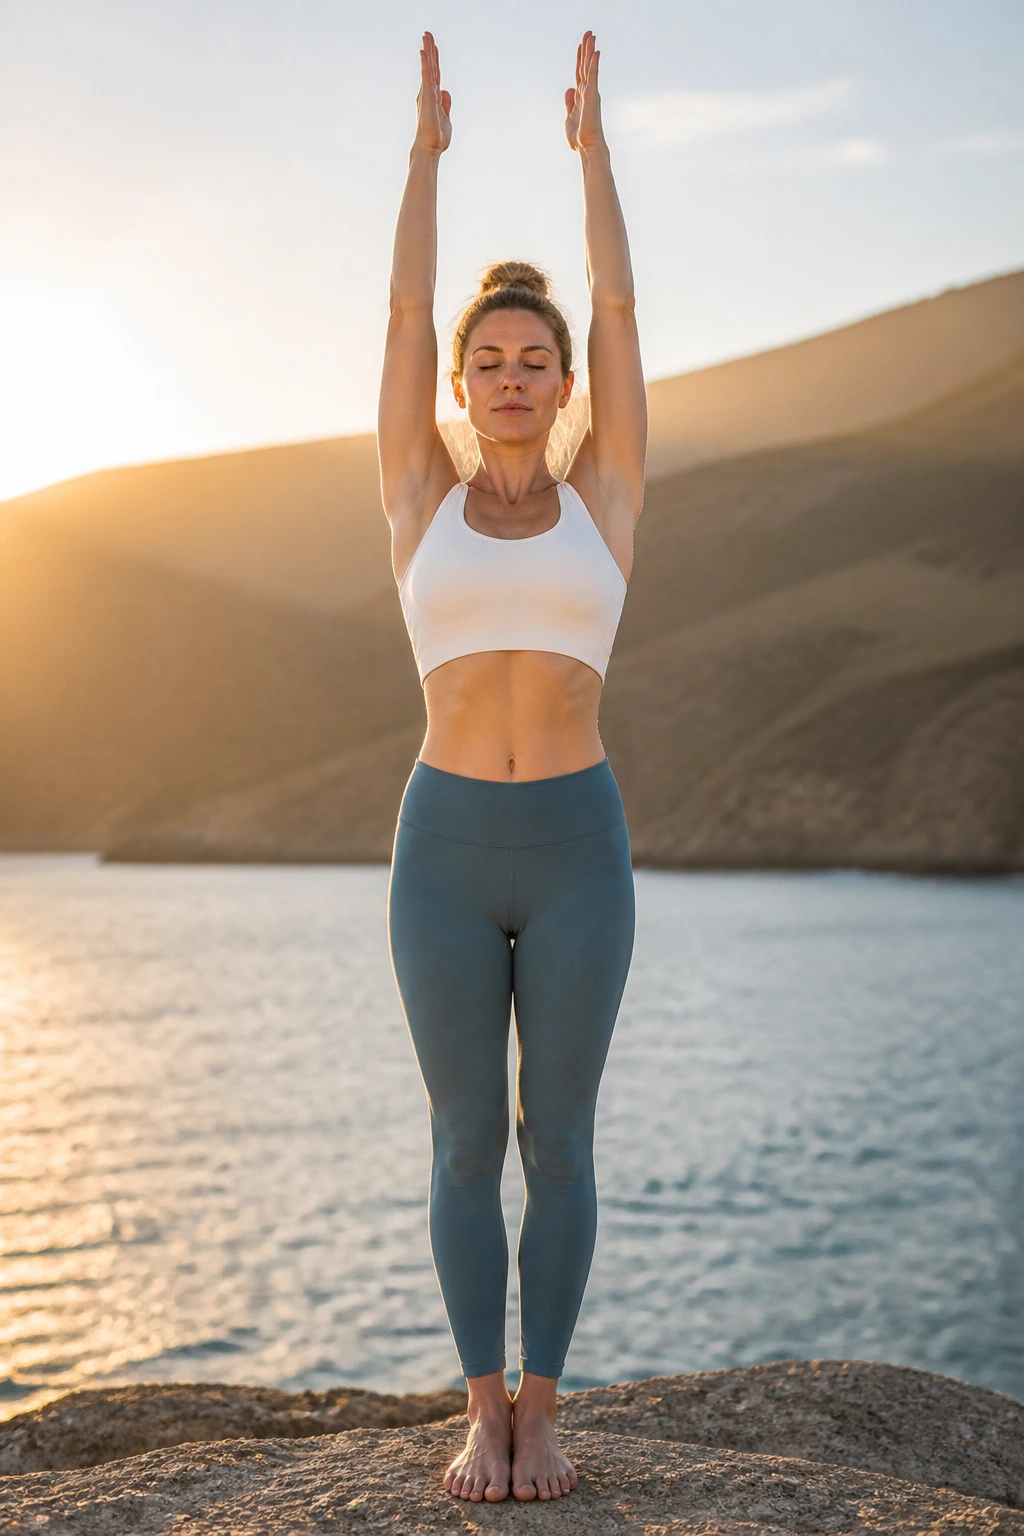
Arms overhead sound easy until the ribs start to pop and the lower back takes over. Keep the same grounded base from Mountain Pose, then lift the arms by the ears or slightly forward if the shoulders complain. Palms can face each other, touch lightly, or stay apart.
The real work is in the middle of the body. If your chest flares and your low back pinches, lower the arms a little and soften the front ribs. That is not a downgrade. It is smarter alignment.
A few things to watch
- Keep the shoulders away from the ears.
- Reach up through the fingertips without shrugging.
- Keep the weight even in both feet.
- Soften the elbows if the shoulder joints feel crowded.
A one-sentence fix usually helps here: lift the arms only as high as you can keep the ribs stacked. Simple. No drama.
3. Standing Side Bend
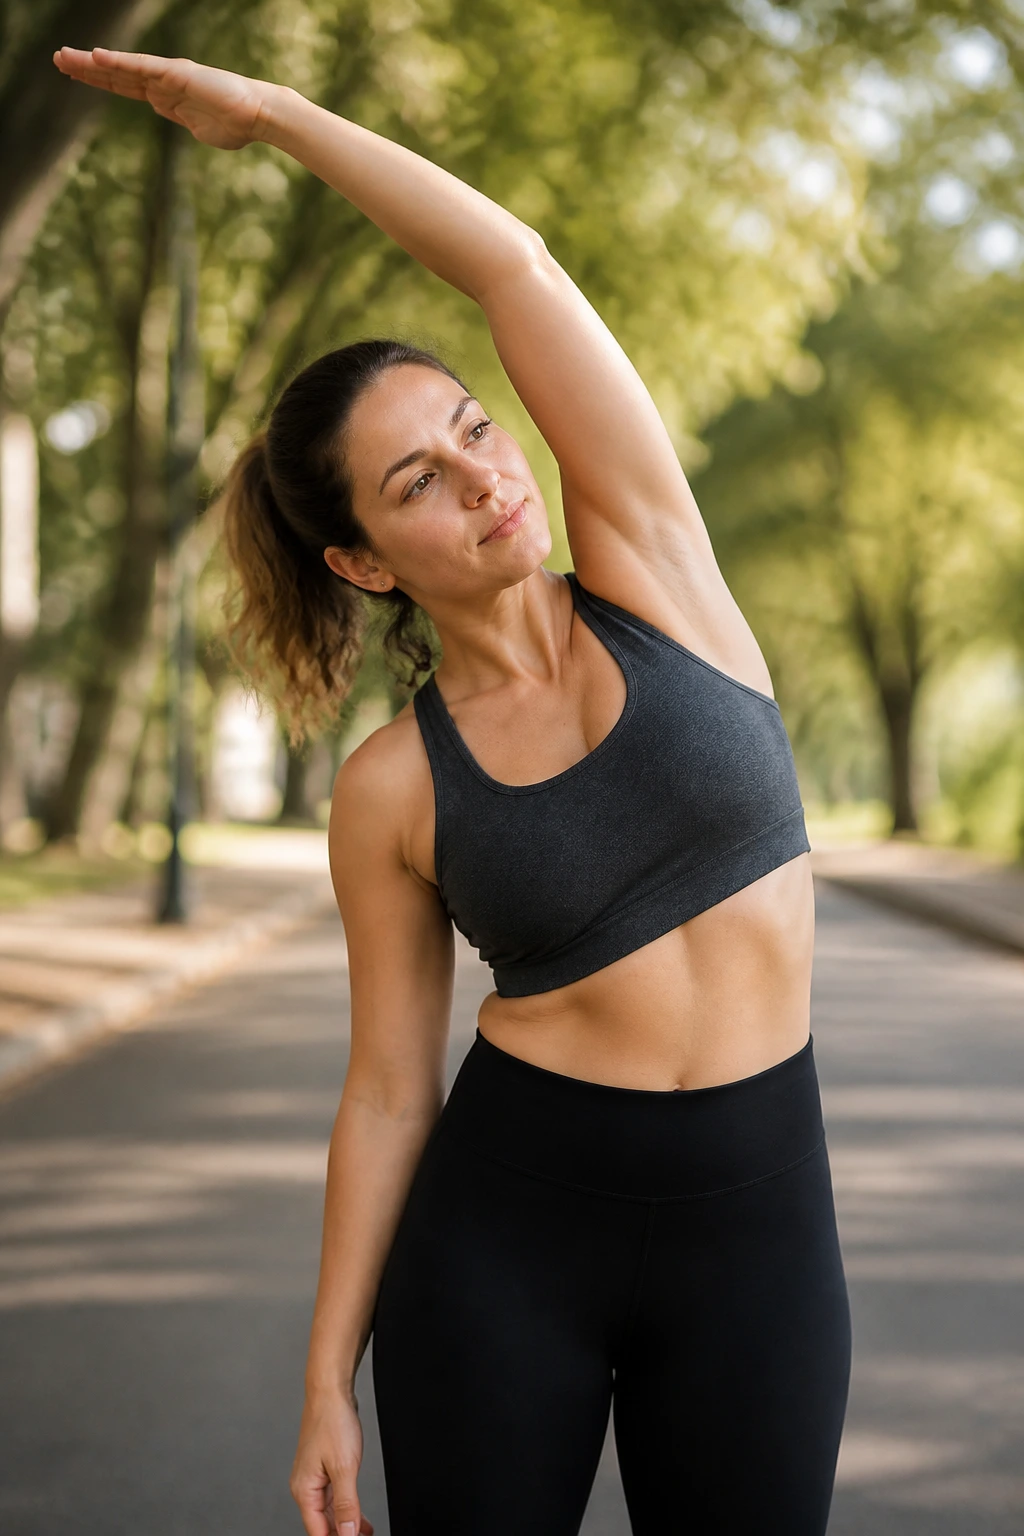
A standing side bend feels delicious after a day of hunching, but only if you keep the stretch in the side body instead of dumping into the lower back. From Mountain Pose, reach one arm overhead and lean to the opposite side, keeping both feet rooted. The hips stay almost level.
The temptation is to lean backward and make the pose look bigger. Don’t. The goal is a long arc from the outer hip to the fingertips, not a collapsed banana shape with the pelvis drifting all over the place.
Where the stretch should land
- Along the ribs.
- Down the outer waist.
- Into the side of the hip on the grounded side.
Breathe into the open side for 3 to 5 slow breaths. If the low back feels pinched, come up a little and shorten the reach. There is no reward for forcing a bigger shape than your body is ready for.
4. Standing Forward Fold
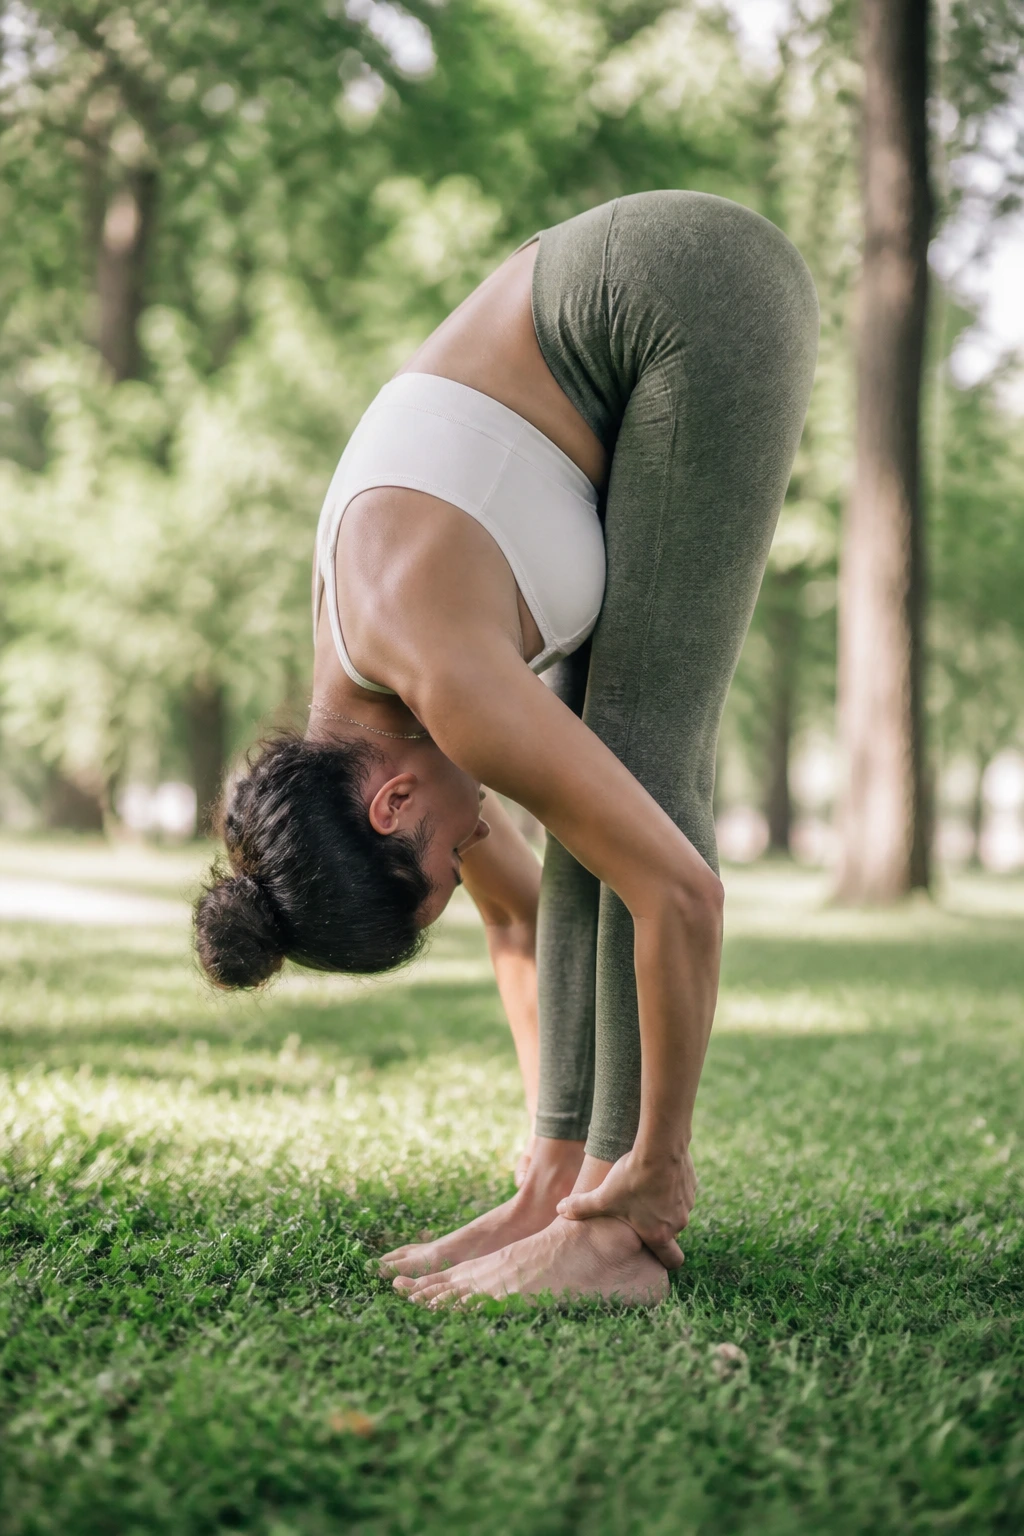
Standing Forward Fold is where a lot of beginners start arguing with their hamstrings. That argument usually ends badly. Bend the knees as much as you need, hinge from the hips, and let the torso drape over the thighs. The head can hang heavy.
A soft knee bend is not cheating. It gives the pelvis room to tip forward, which is what lets the stretch move into the back of the legs instead of into the lower back. If your hands reach the floor easily, fine. If they don’t, rest them on blocks, shins, or even the tops of the ankles.
Keep the fold honest
- Let the neck go loose.
- Avoid bouncing.
- Keep the weight slightly forward in the feet, not all the way back in the heels.
- Let the breath slow down.
One breath cue helps more than a thousand corrections: inhale halfway up, exhale and soften back down. The pose should feel quiet, not aggressive.
5. Half Lift
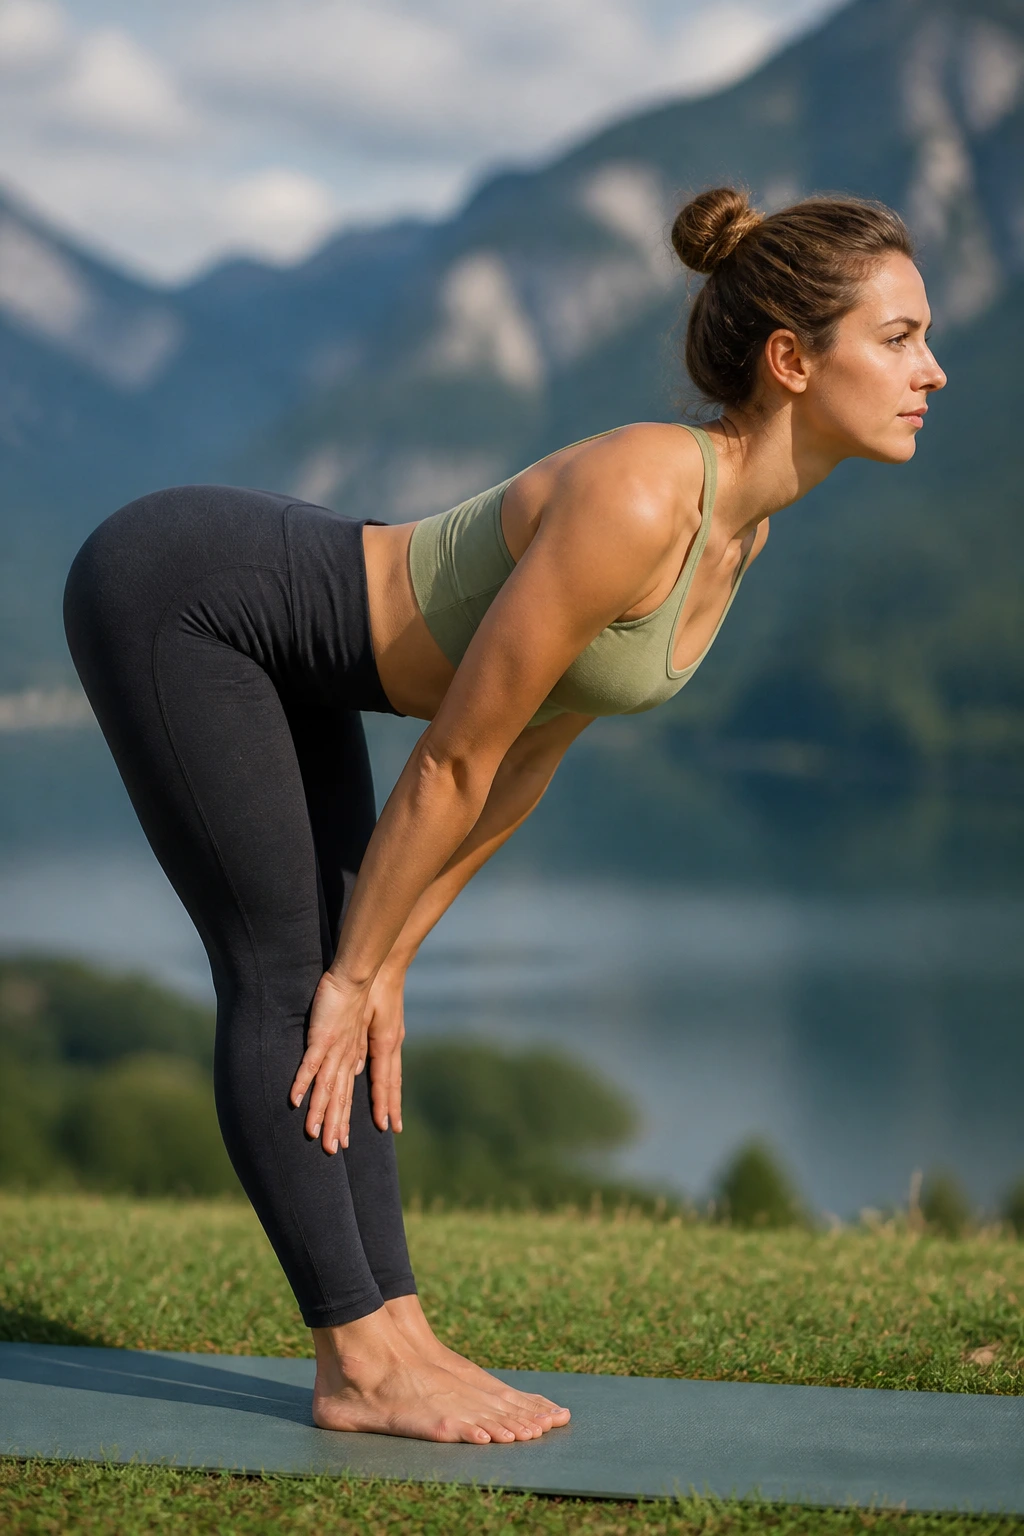
Half Lift is the unsung hero of standing yoga poses for beginners. It looks small, but it teaches the hinge you need for almost everything else. From a fold, place your fingertips on your shins, blocks, or thighs and lengthen the spine forward until the chest feels broad and the back feels long.
The back is flat-ish, not rigid like a board. The gaze comes slightly ahead of the mat, the neck stays long, and the ribs do not shoot forward. If the hamstrings grip hard, bend the knees more. That is the fix more often than not.
A clean Half Lift has these signs
- The spine lengthens more than the chest lifts.
- The shoulders stay away from the ears.
- The belly stays lightly engaged.
- The neck feels open, not cranked.
Use this pose as a breath checkpoint. If your Half Lift turns into a lower-back pinch or a neck jam, back out a little and shorten the shape.
6. Chair Pose
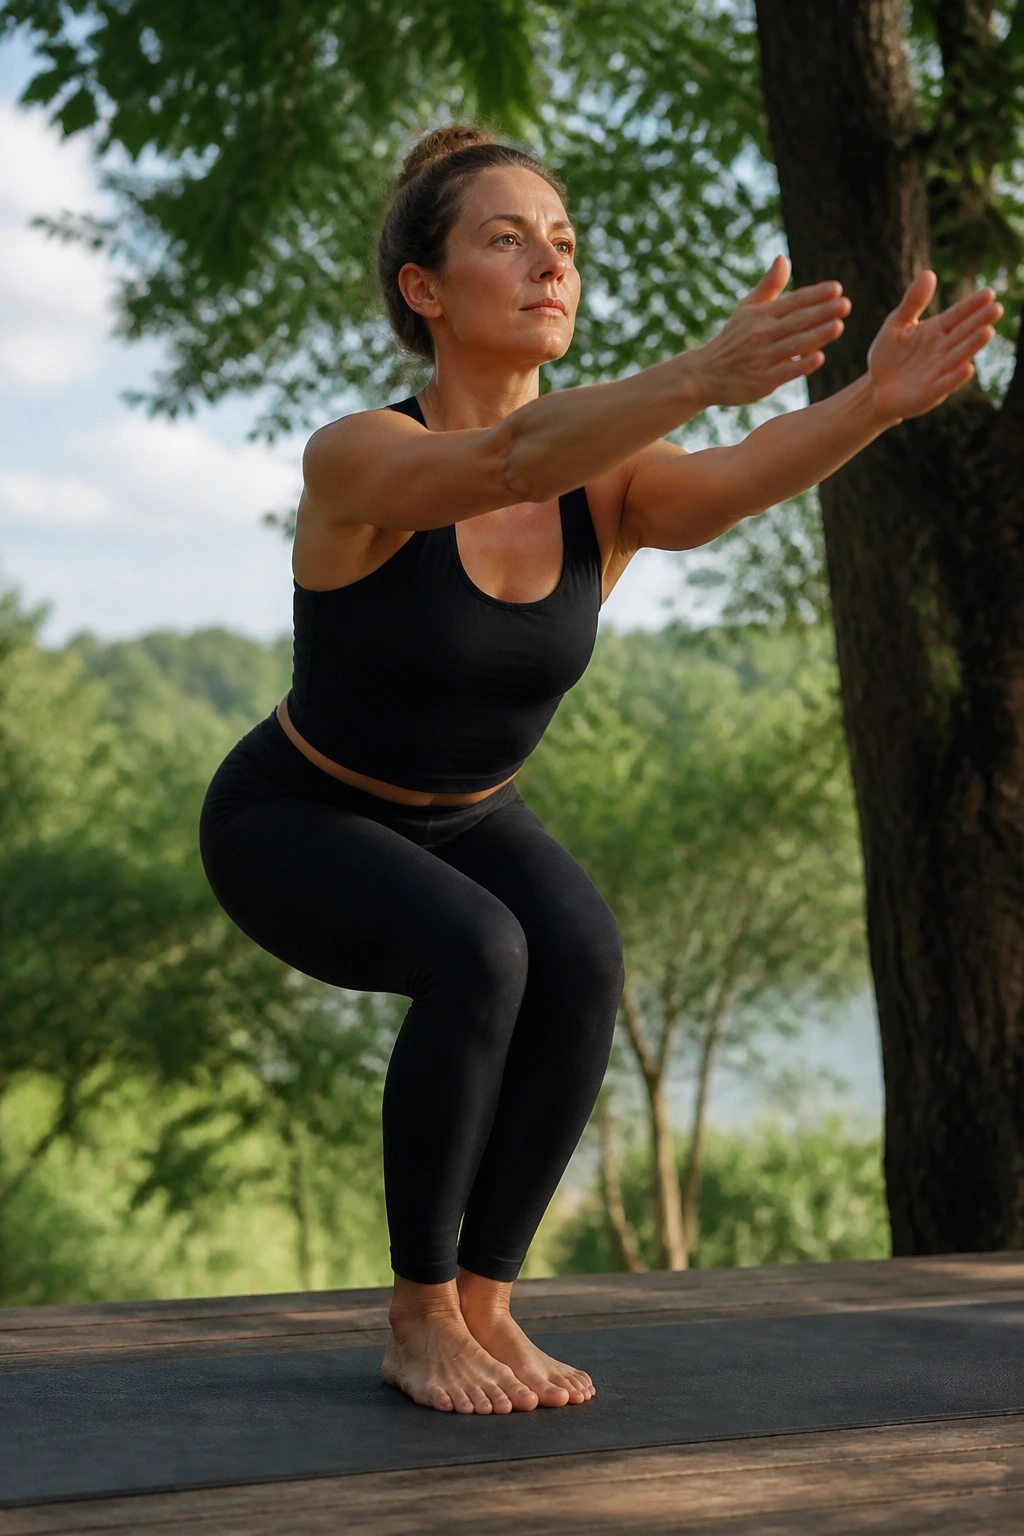
Chair Pose is a leg drill dressed up as yoga. It asks for thighs, ankles, ankles again, and a little honesty about how much you like sitting back into your heels. Start in Mountain Pose, bend the knees, and send the hips back as if you were about to tap a chair that is a few inches behind you.
The knees track in line with the second and third toes. The chest stays lifted enough that you can still breathe, but not so lifted that the ribs flare. If your weight slides to the balls of the feet, pull it back. If the knees cave inward, press the thighs apart a little.
What usually goes wrong
- Knees fall inward.
- The lower back arches.
- Heels lift off the floor.
- The shoulders creep up to protect the neck.
A useful cue: sit back, not down. That keeps the shins and knees from taking a weird forward dump. Hold 3 to 5 breaths, or step out earlier if the form starts to wobble.
7. Warrior I
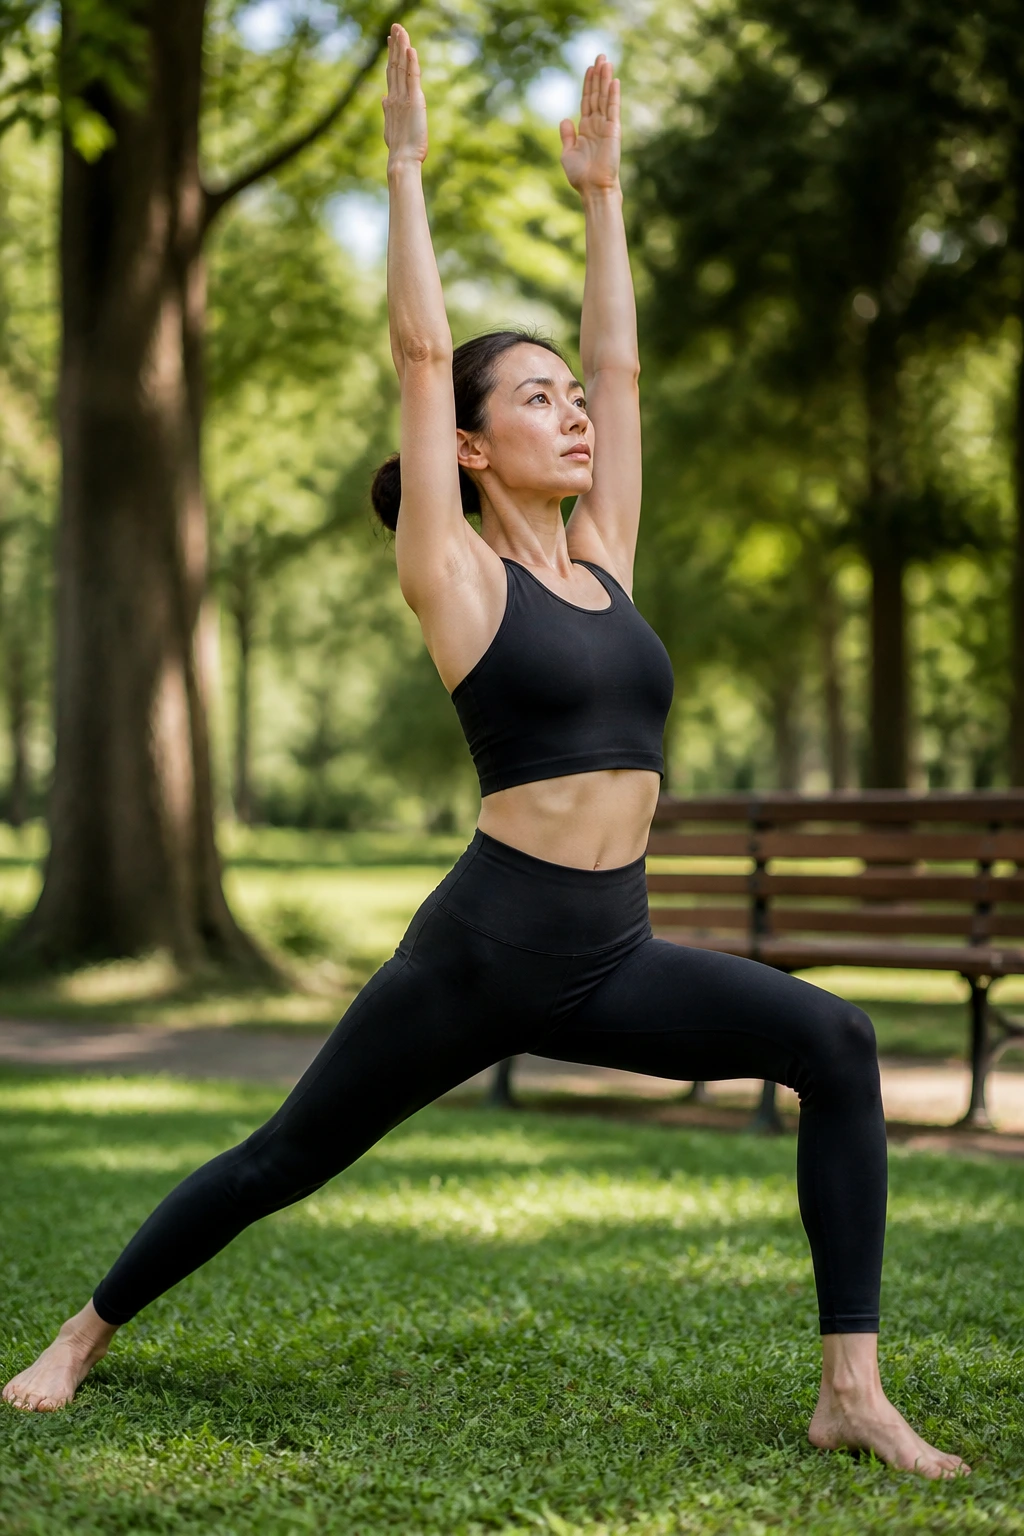
Warrior I has a reputation for being more exact than it needs to be. The hips do not have to face perfectly forward. They almost never do, and that is fine. What matters more is a long stance, a grounded back heel, and a torso that rises without pinching the low back.
Step one foot back about 3 to 4 feet, turn the back foot in slightly, and bend the front knee over the ankle. Lift the arms if that feels good, or keep them on the hips while you learn where the pelvis wants to live. Some people feel Warrior I in the front thigh almost immediately; others feel it in the back calf first.
The pose gets messy when the stance is too short. Then the front knee jabs forward and the low back squeezes. Lengthen the stance a little and the whole thing often makes more sense.
8. Warrior II
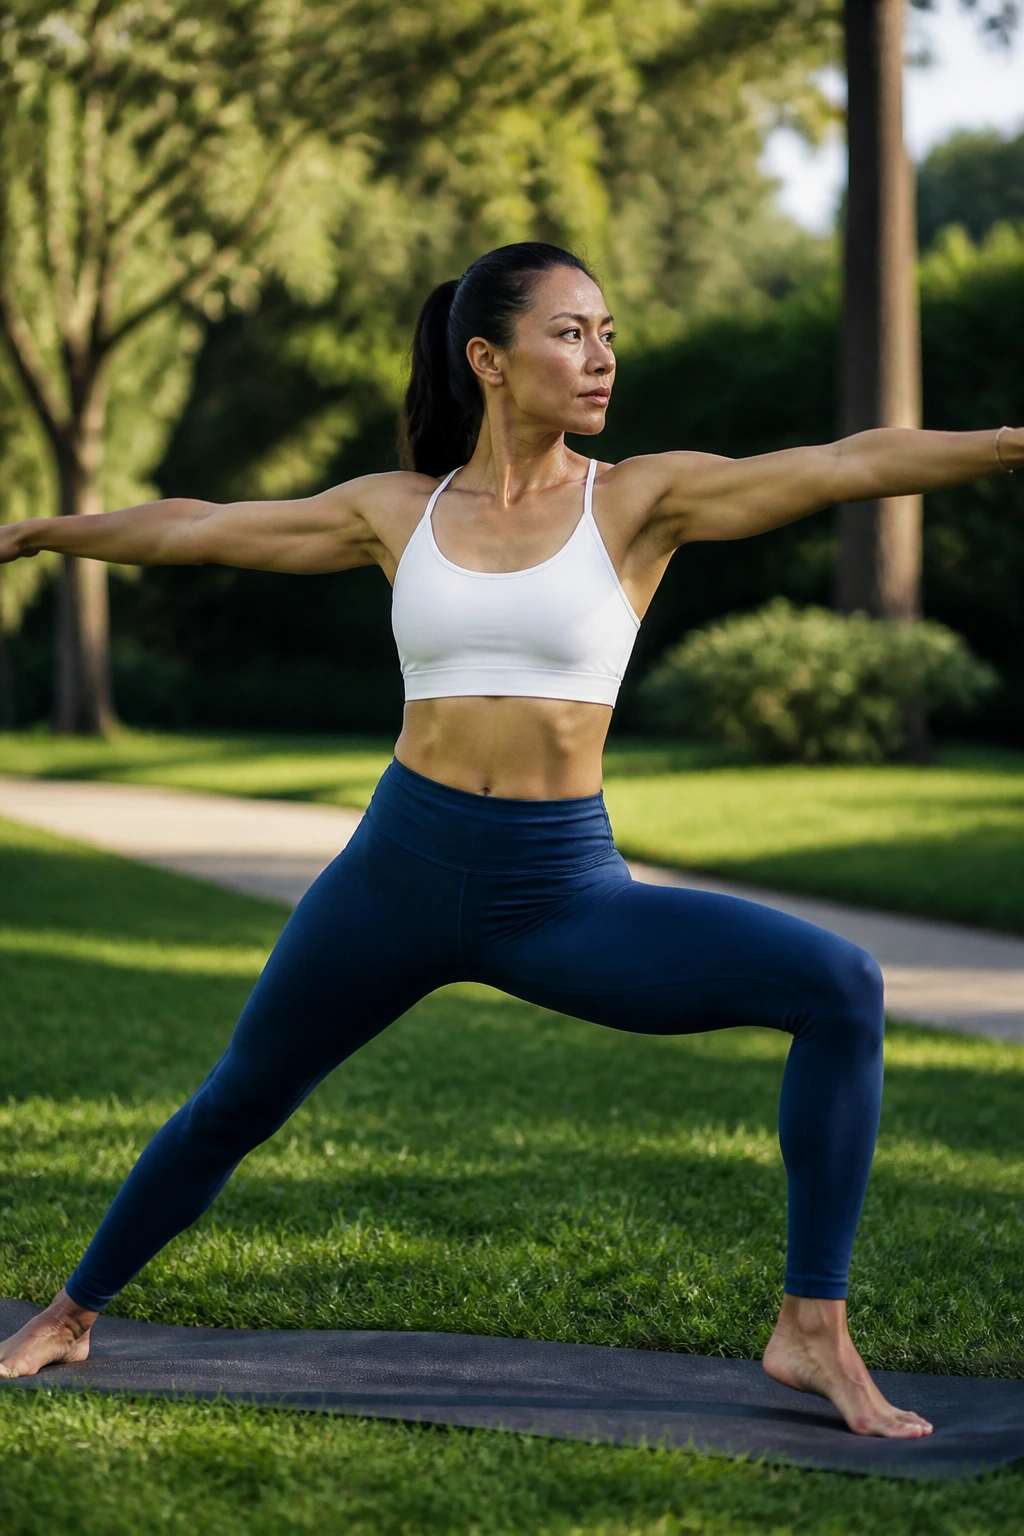
Open Warrior II and the room suddenly feels wider. The back foot turns in a little, the front knee bends deeply, and the arms extend long at shoulder height. The chest stays open to the side, not twisted toward the front leg, and the gaze goes over the front middle finger.
The front heel generally lines up with the back arch, though a slightly shorter stance is fine if your hips or knees need it. Keep pressure even across the feet. A sloppy Warrior II often shows up as a collapsing inner arch or a front knee that drifts inward.
A few clean checkpoints
- Front knee tracks toward the toes.
- Back leg stays active.
- Arms reach from the shoulders, not from a shrug.
- The side ribs stay long.
This pose asks for stamina more than flexibility. Three steady breaths in good form teach more than twenty shaky seconds.
9. Reverse Warrior
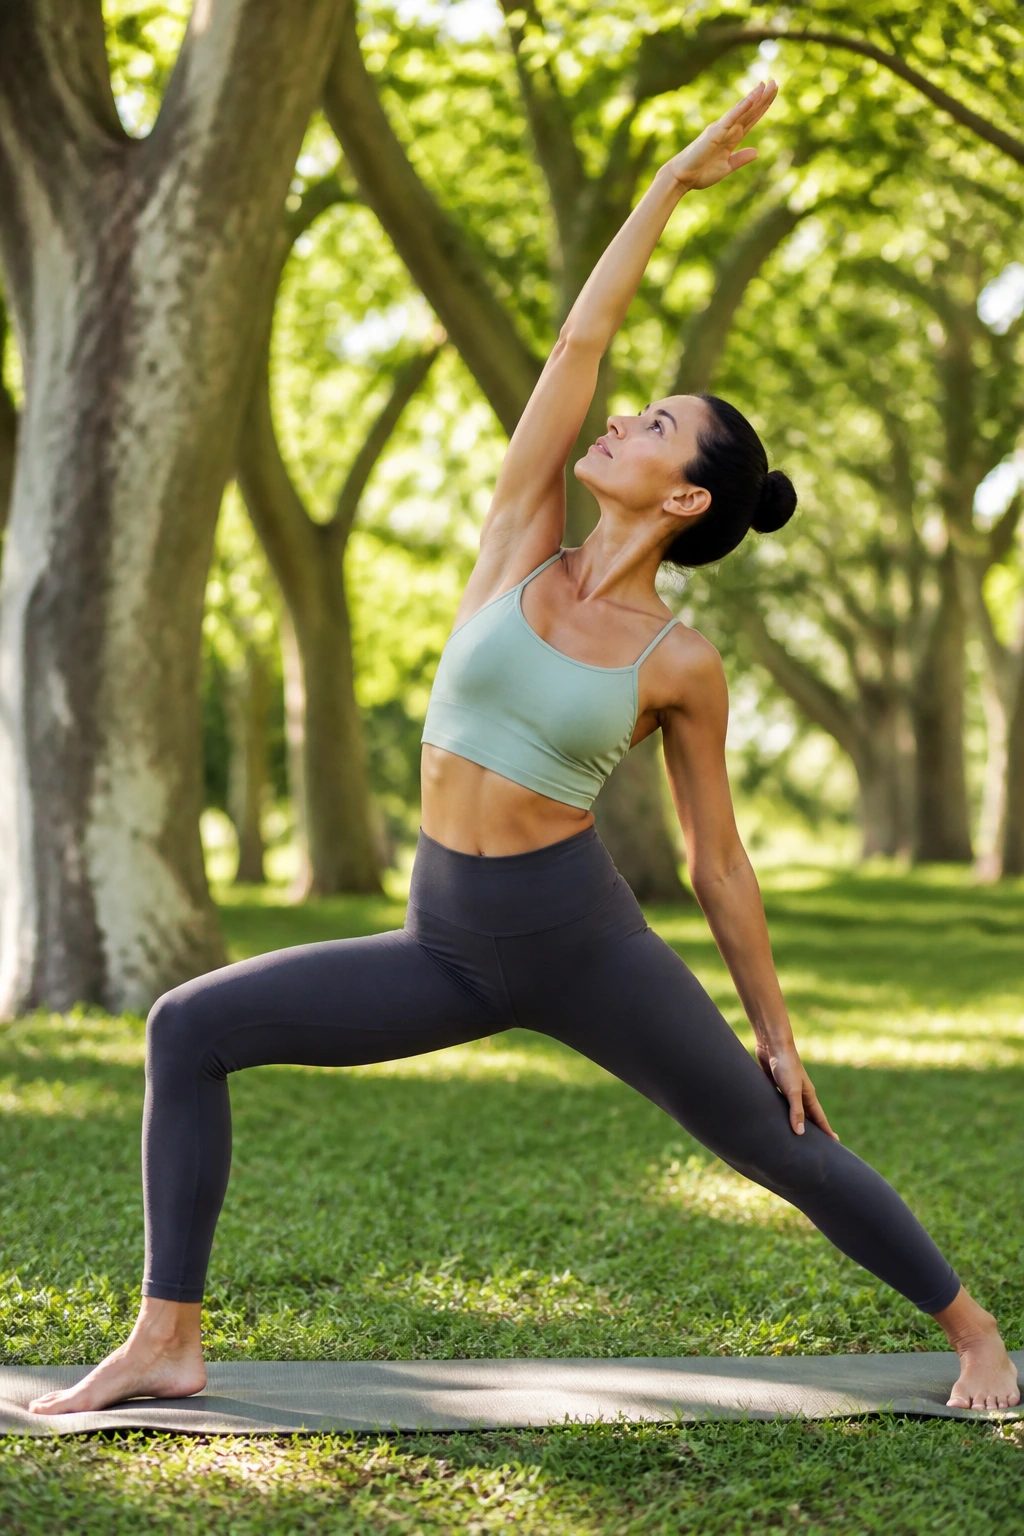
Reverse Warrior is not a backbend. That mistake happens all the time, and it turns a side-body pose into a lumbar crunch. Keep the front knee bent from Warrior II, let the back hand slide lightly down the back leg, and arc the front arm up and over.
The front side body should feel long. The chest opens, sure, but the belly stays awake and the front knee keeps its bend. If the back ribs jam or the front leg straightens too much, the pose is getting too showy.
One-sentence reminder: reach up and back, not backward.
That tiny difference changes everything. It keeps the work in the ribs, waist, and outer hip instead of letting the lower back steal the whole thing.
10. Extended Side Angle
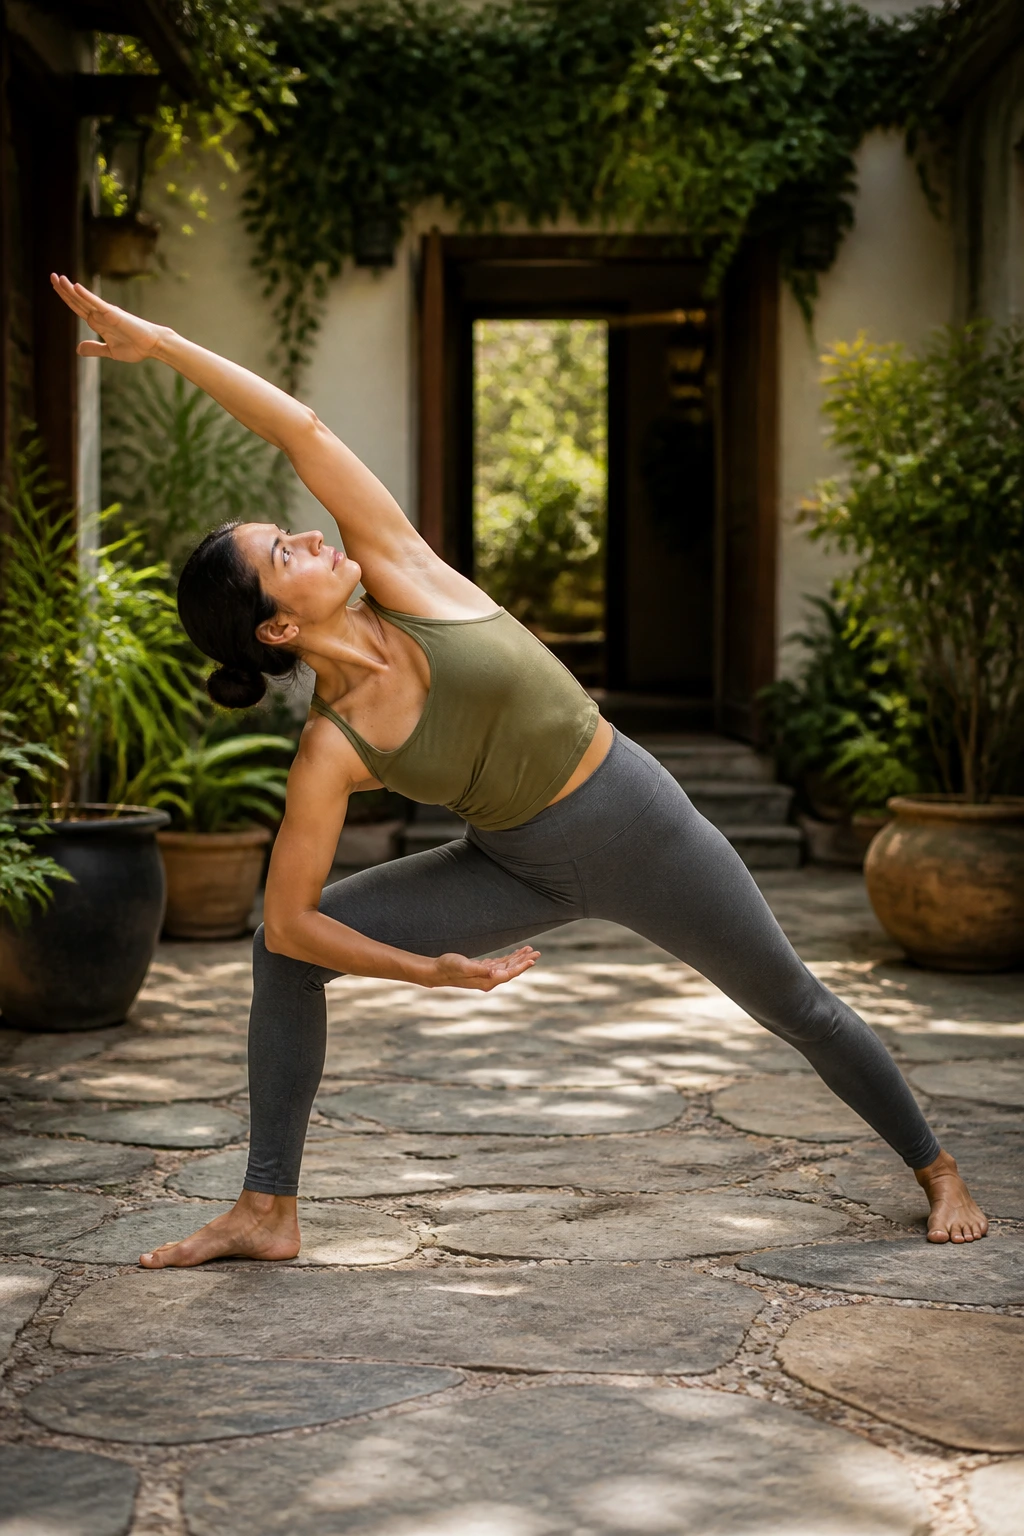
Want a standing pose that wakes up the legs and side body at the same time? Extended Side Angle does that without needing fancy flexibility. From Warrior II, place the forearm on the front thigh or the hand on a block inside the front foot, then reach the top arm over the ear.
The front thigh works hard here. The side body stretches, the chest rotates open, and the back leg keeps the pose from collapsing into the floor. If your top shoulder rolls forward, ease out a little and make the line smaller.
Use the thigh or a block
- Forearm to front thigh for the easiest version.
- Hand to a block for extra space.
- Top arm reaching past the ear, not dropping behind the body.
- Back foot pressing firmly into the mat.
A block is not a cop-out. It keeps the chest open and stops the lower body from twisting into a mess.
11. Triangle Pose
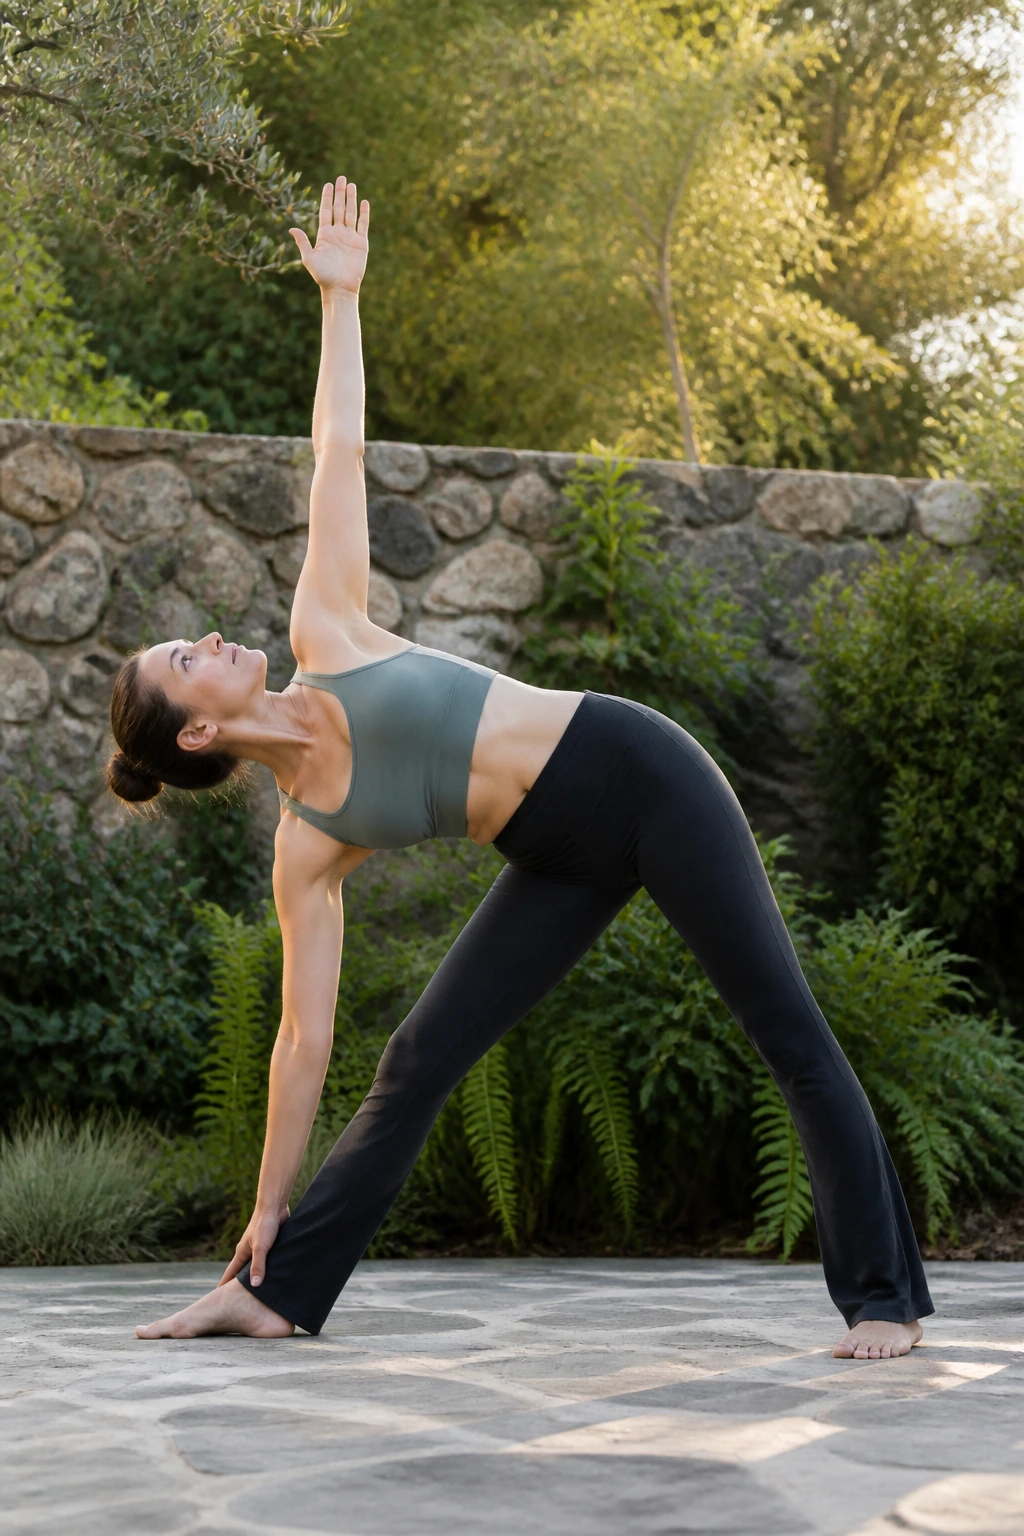
Triangle Pose can feel like a beginner is folding into a geometry project with opinions. The useful version is calmer. Straighten the front leg as much as it will comfortably allow, tip the torso forward from the hip crease, and place the lower hand on a shin, block, or the floor if that really makes sense for your body.
The top shoulder stacks over the lower shoulder as the chest opens toward the side wall. The front knee can stay micro-bent. That tiny bend often protects the hamstring and helps the pelvis stay less cranky.
What to keep in mind
- A block at the highest height is a perfectly solid choice.
- The front hip does not need to jam back aggressively.
- The torso should feel long on both sides.
- The gaze can stay down if the neck gets tense.
Triangle works best when you think length first, shape second. If you chase the final picture too fast, the whole thing usually folds into the low back.
12. Wide-Legged Forward Fold
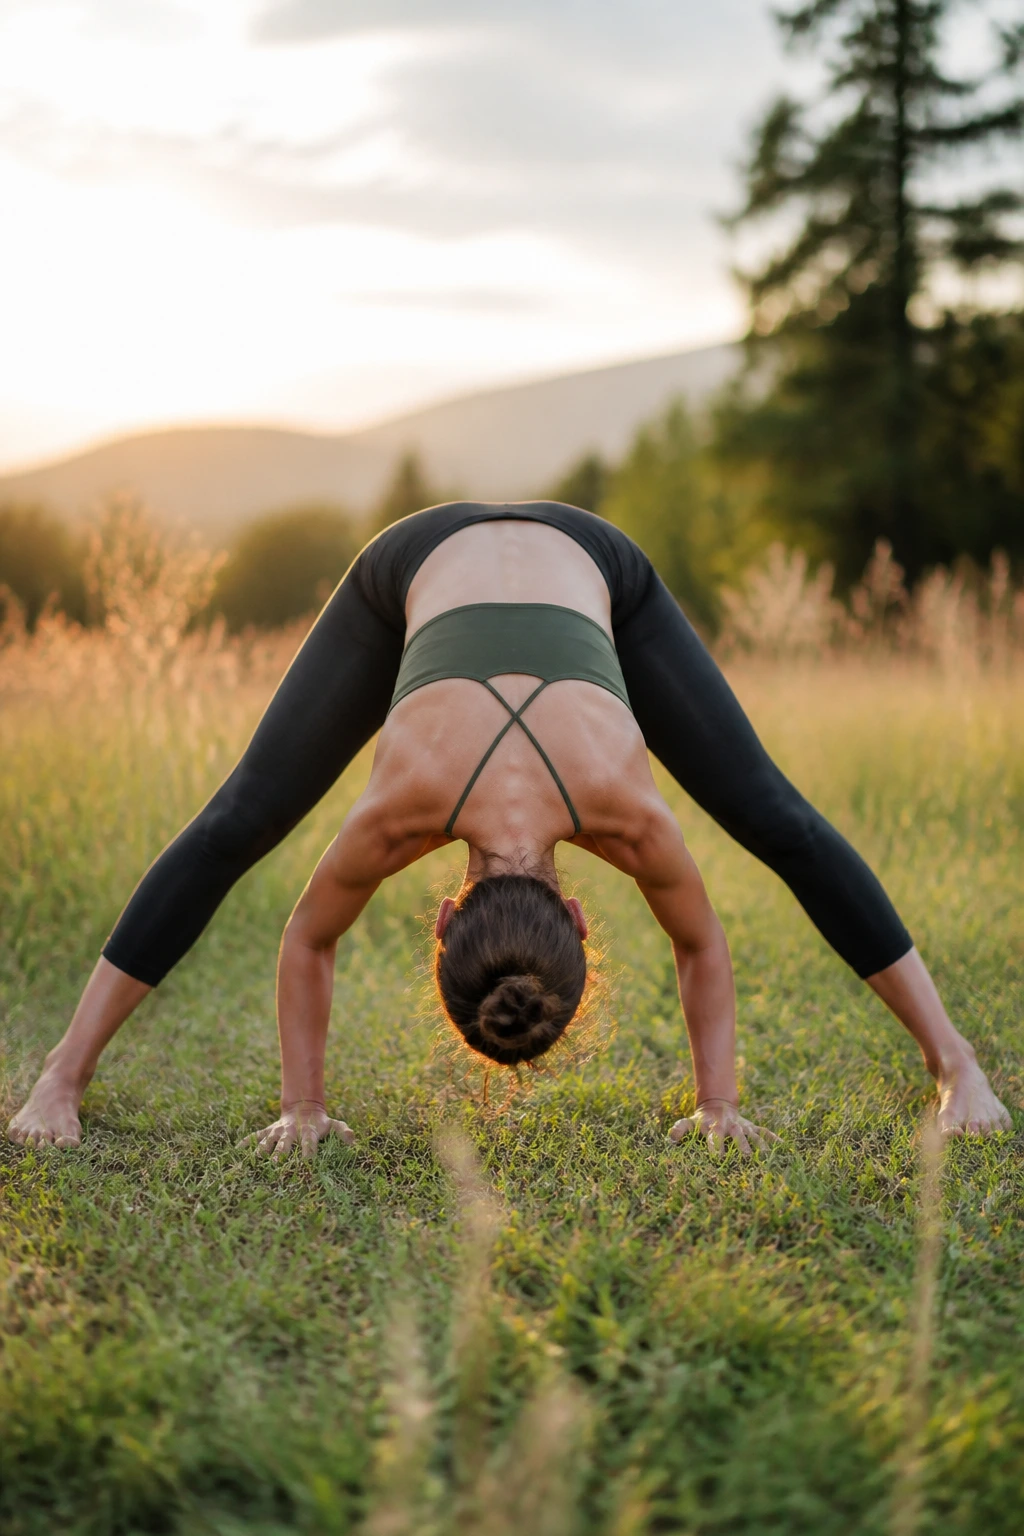
Wide-Legged Forward Fold creates space fast, which is why it shows up so often in beginner sequences. Step the feet about 3 to 4 feet apart, turn the toes slightly in, and hinge forward from the hips. Hands can stay on the hips, slide to the floor, or rest on blocks.
The hamstrings get a stretch, yes, but so do the inner thighs and the muscles along the back of the legs. Keep the weight balanced between the balls and heels of the feet. If the head rushes or the neck feels crowded, come halfway up and place the hands on the hips.
A few useful variations
- Hands on blocks under the shoulders.
- Hands clasped behind the back for a shoulder opener.
- Forearms to a block if the floor feels far away.
- Knees softly bent to protect tight hamstrings.
This is one of those poses where less effort often produces more shape. Let the breath get longer before you try to go deeper.
13. Goddess Pose
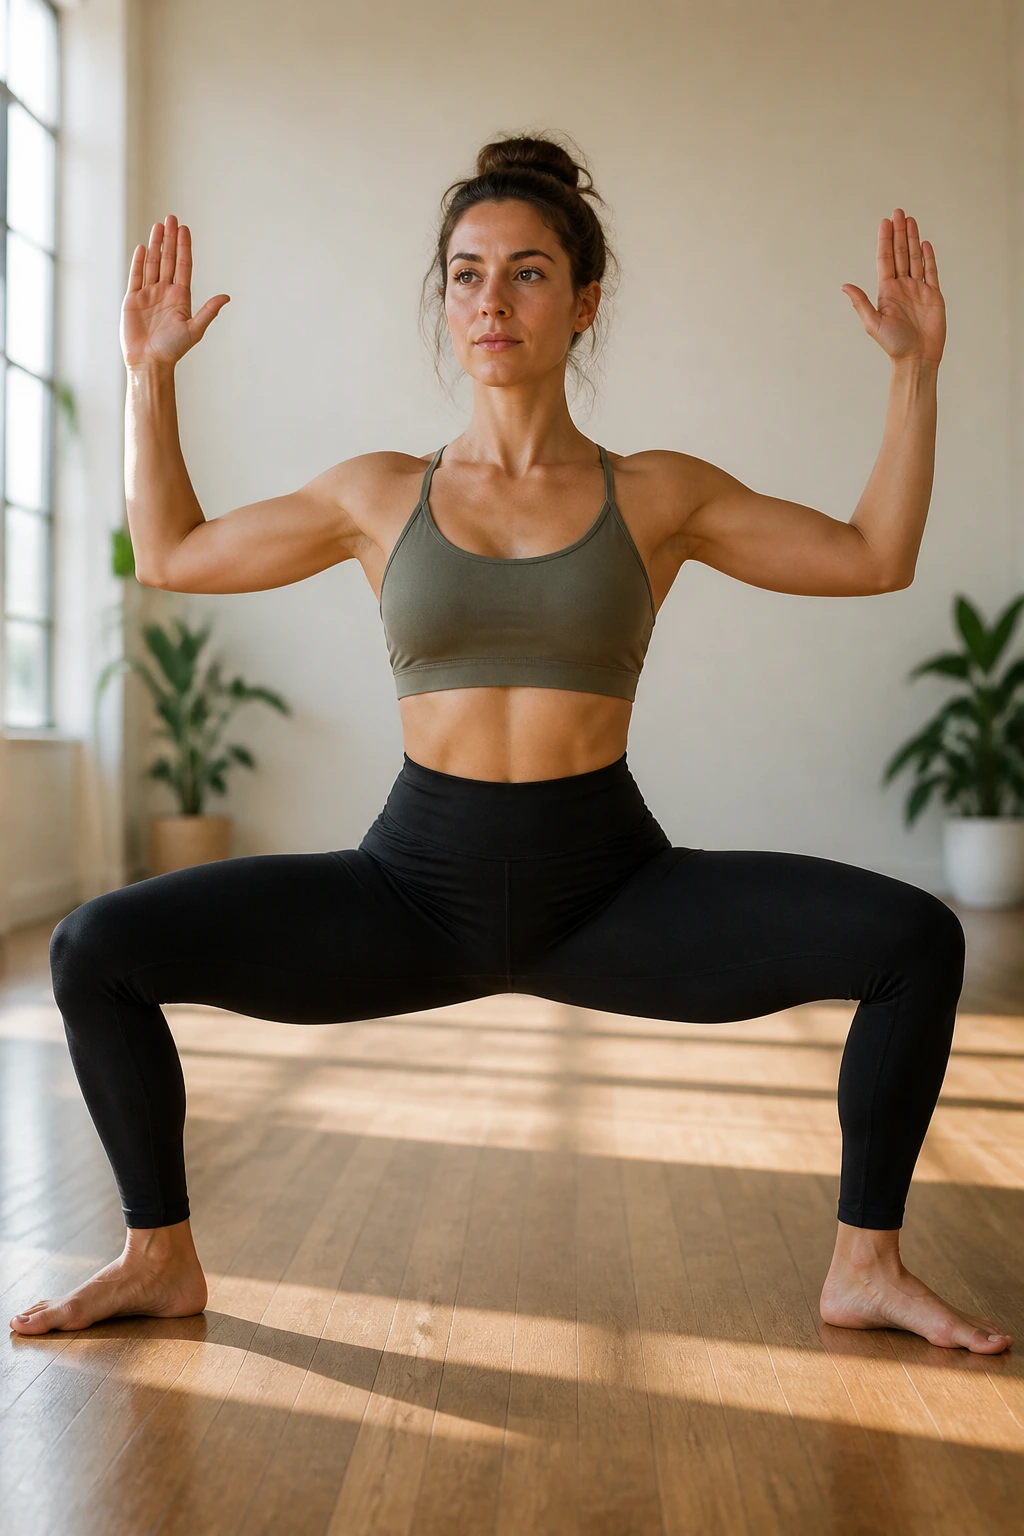
Goddess Pose is the squat I actually trust. Set the feet wider than the hips, turn the toes out about 45 degrees, and bend the knees until the thighs feel active but not wrecked. The knees track over the toes, the pelvis stays neutral, and the chest stays lifted.
The shape is simple; the work is not. Inner thighs, outer hips, and the glutes all show up. If the knees cave inward or the feet roll to the outer edges, narrow the stance a little and press the big-toe side of each foot into the floor.
Watch these details
- Keep the knees moving in the same direction as the toes.
- Sink only as low as you can keep the spine long.
- Let the shoulders stay soft.
- Use cactus arms if the shoulders like that better.
A short hold is enough to start. Even 3 breaths in good form can light up the legs.
14. Tree Pose
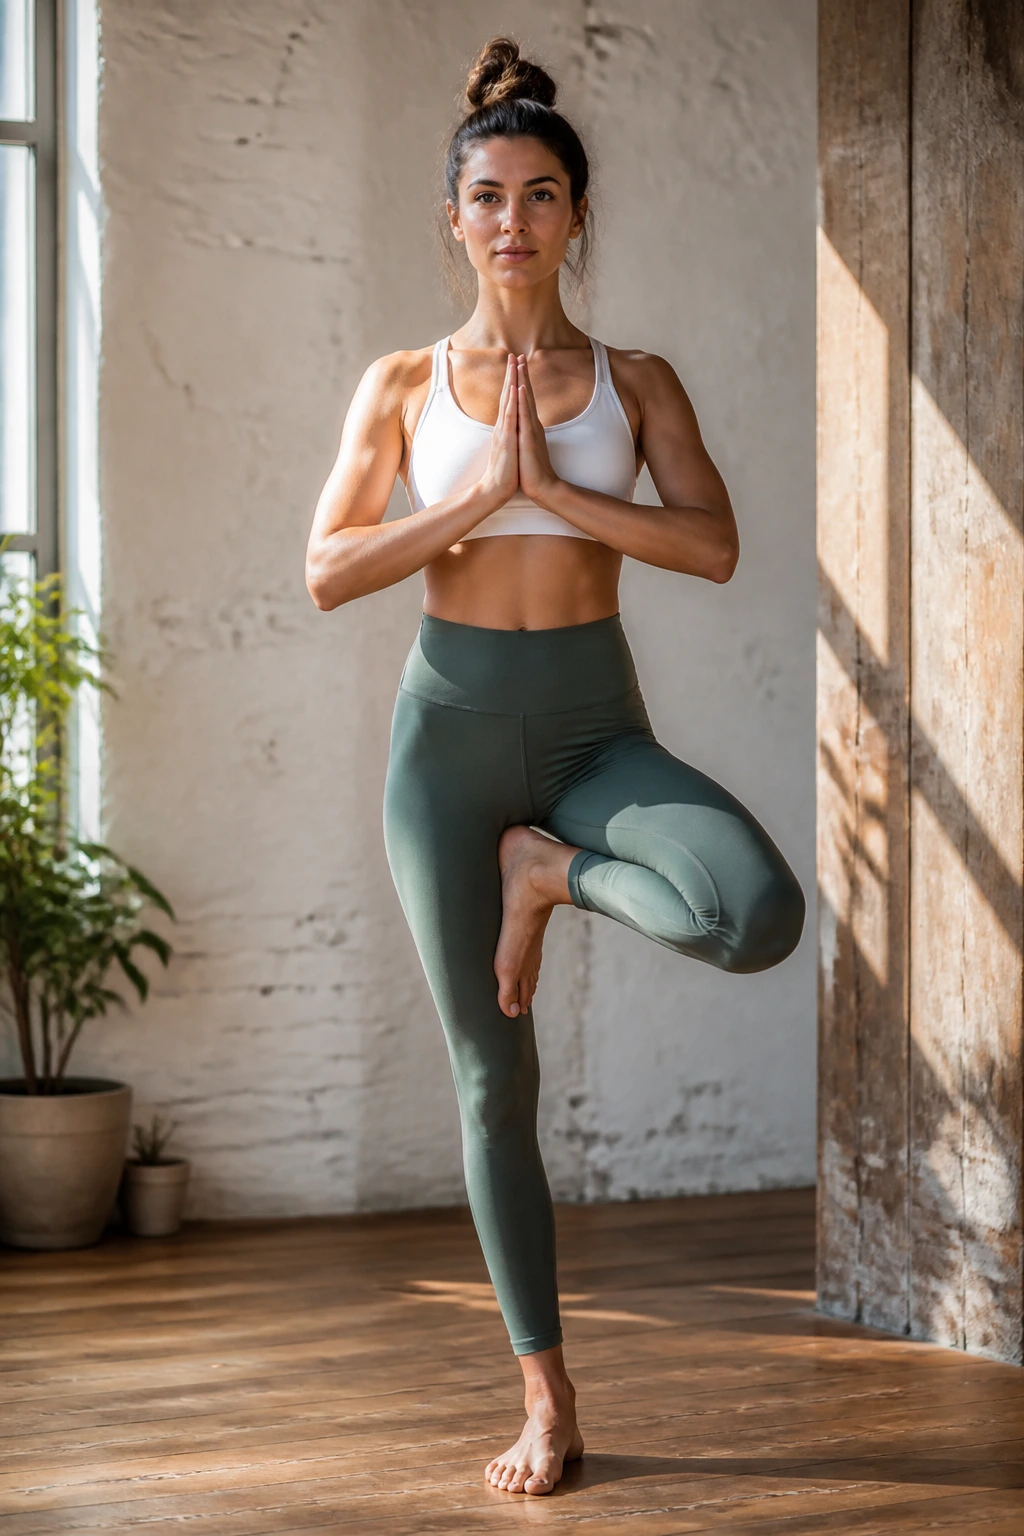
Tree Pose gets talked about like a balance test, but the real teacher is the standing foot. Shift the weight onto one leg, then place the other foot at the ankle, calf, or inner thigh. Never press it into the knee. That is a hard no.
Pick one spot on the wall and keep your eyes there. The ankle on the standing leg will wobble a little, and that is not failure. It is the body figuring out how to organize itself around a new center line.
Try these balance tricks
- Keep the toes of the lifted foot pointing down.
- Press the standing foot into the floor before you lift the other leg.
- Use the wall with one hand if needed.
- Lower the lifted foot immediately if the standing knee starts to twist.
Tree Pose is one of the clearest places to practice patience. Rush it and you get a wobble. Slow it down and it starts to feel almost calm.
15. Eagle Pose
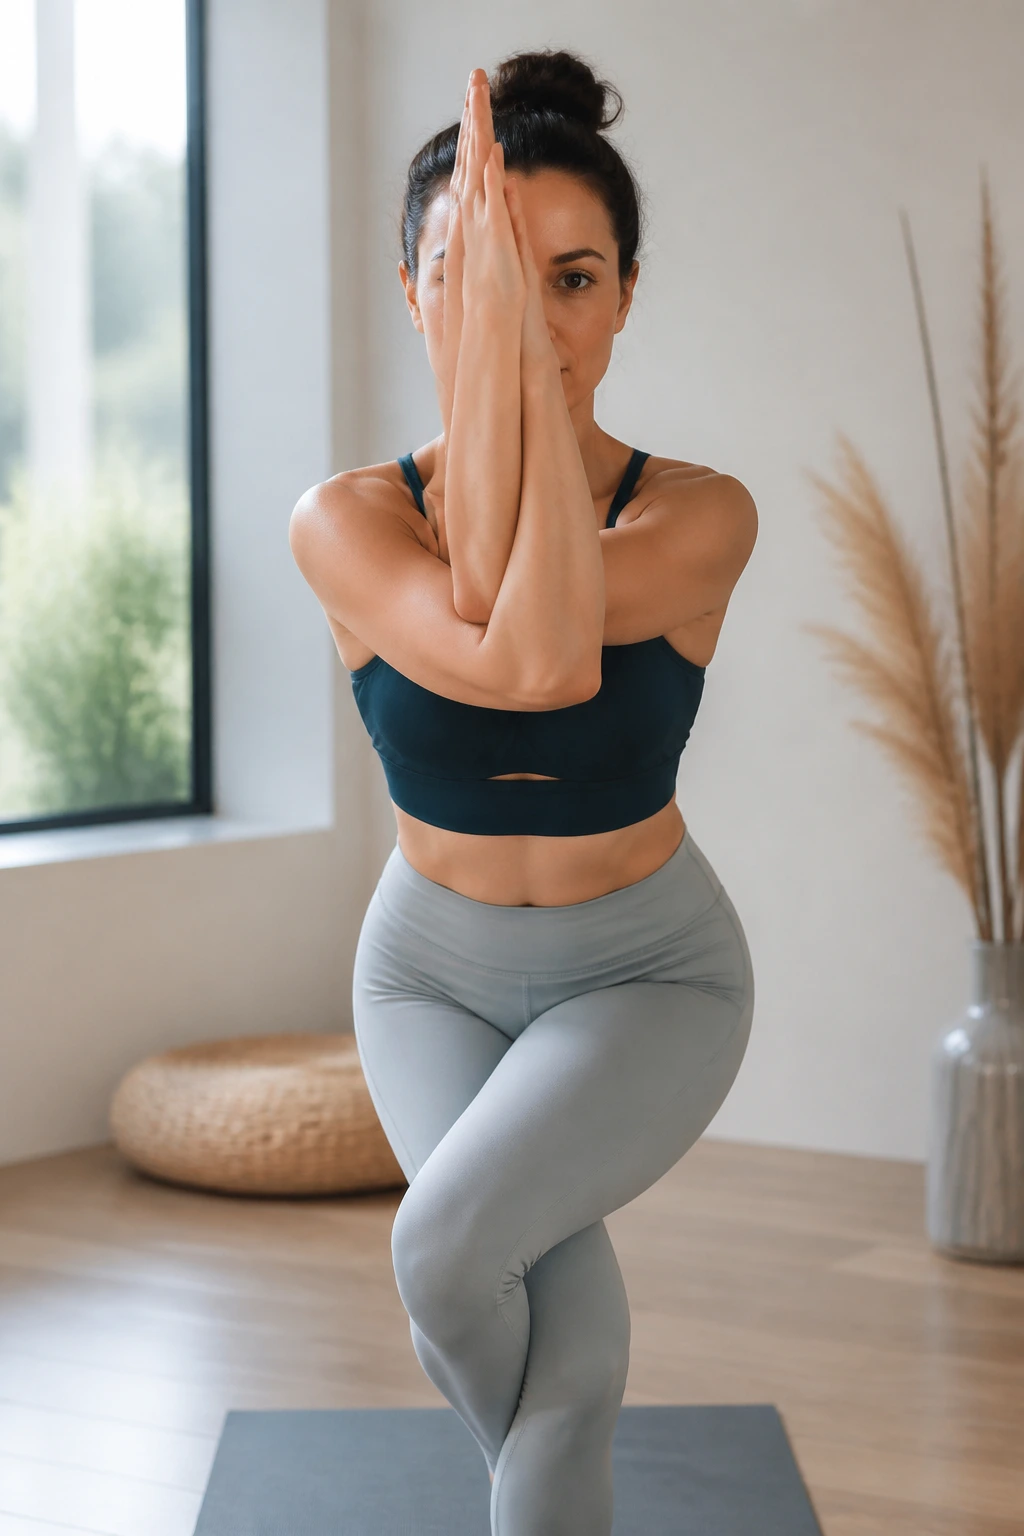
The first time you wrap Eagle Pose, it can feel like you tied a knot with your own limbs. That is normal. Start with the legs uncrossed and the arms in a version that works, because the full shape is not the only version that counts.
From Mountain Pose, bend the knees slightly, shift weight into one foot, and either cross one thigh over the other or keep the lifted toes on the floor as a kickstand. Cross the arms at shoulder height, or bring one elbow under the other if that feels better.
Build it in layers
- Arms only, legs grounded.
- Toes touching the floor for balance support.
- Full wrap if the hips and shoulders allow it.
- A soft gaze that stays fixed on one point.
Your standing foot will probably work harder than you expect. That is the sneaky part. It turns out the toes are not decorative after all.
16. Crescent Lunge
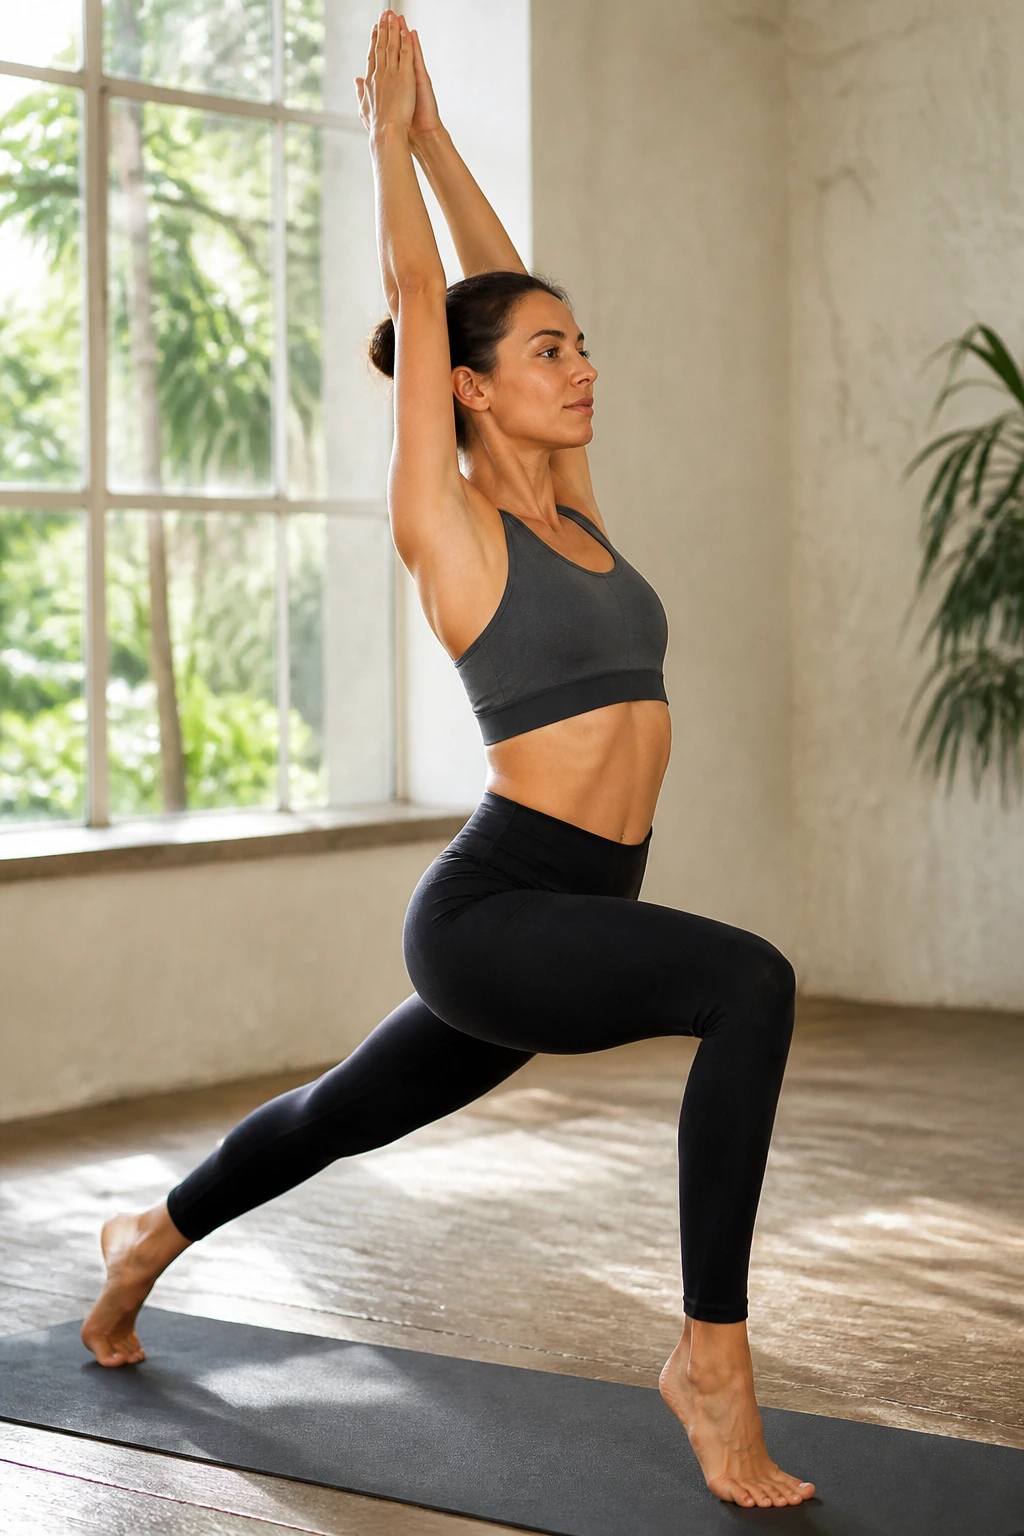
Crescent Lunge is different from Warrior I because the back heel stays lifted. That one detail changes the whole pose. Step one foot back, keep the back leg long, bend the front knee, and lift the torso upright with the hands on the hips or overhead.
The lifted heel gives the back calf and hip flexor a sharper stretch. It also asks the standing side to work a little harder to keep the pelvis from tipping forward. If your low back feels squeezed, shorten the stance and bring the ribs back over the pelvis.
A useful way to think about it: front leg bends, back leg reaches, spine rises. That order keeps the pose from turning into a saggy lunge with the chest poking forward.
17. Pyramid Pose
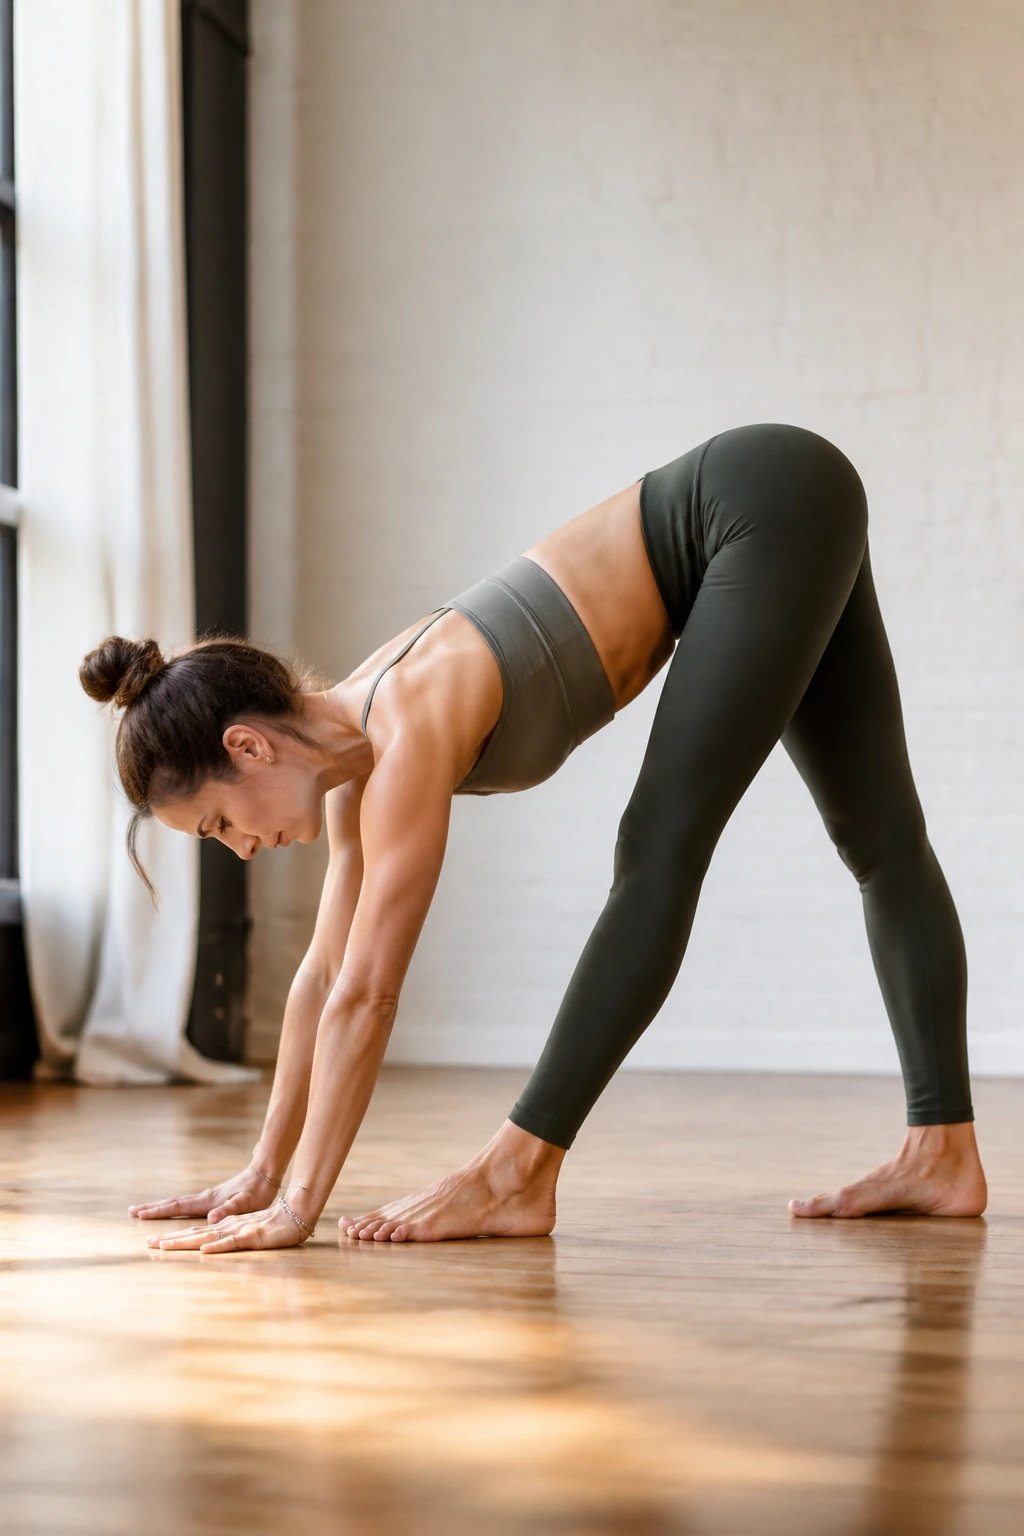
Pyramid Pose is the quiet hamstring stretch that people skip because it looks less dramatic than the bigger warrior shapes. Don’t. Step into a staggered stance, square the hips as much as they’ll reasonably allow, and fold over the front leg with a long spine.
A block under each hand can make the difference between a clean fold and a sloppy collapse. The front knee can stay soft at first. Then, as the hamstrings let go, the leg can lengthen more without losing the hinge.
What the pose should feel like
- Stretch along the back of the front thigh.
- Mild length in the spine, not a rounded slump.
- Back heel grounded and stable.
- Breath moving more easily than you expected.
If the back foot wants to spin open, shorten the stance and tuck the toes of the back foot in slightly. Tiny adjustments matter here.
18. Standing Figure Four
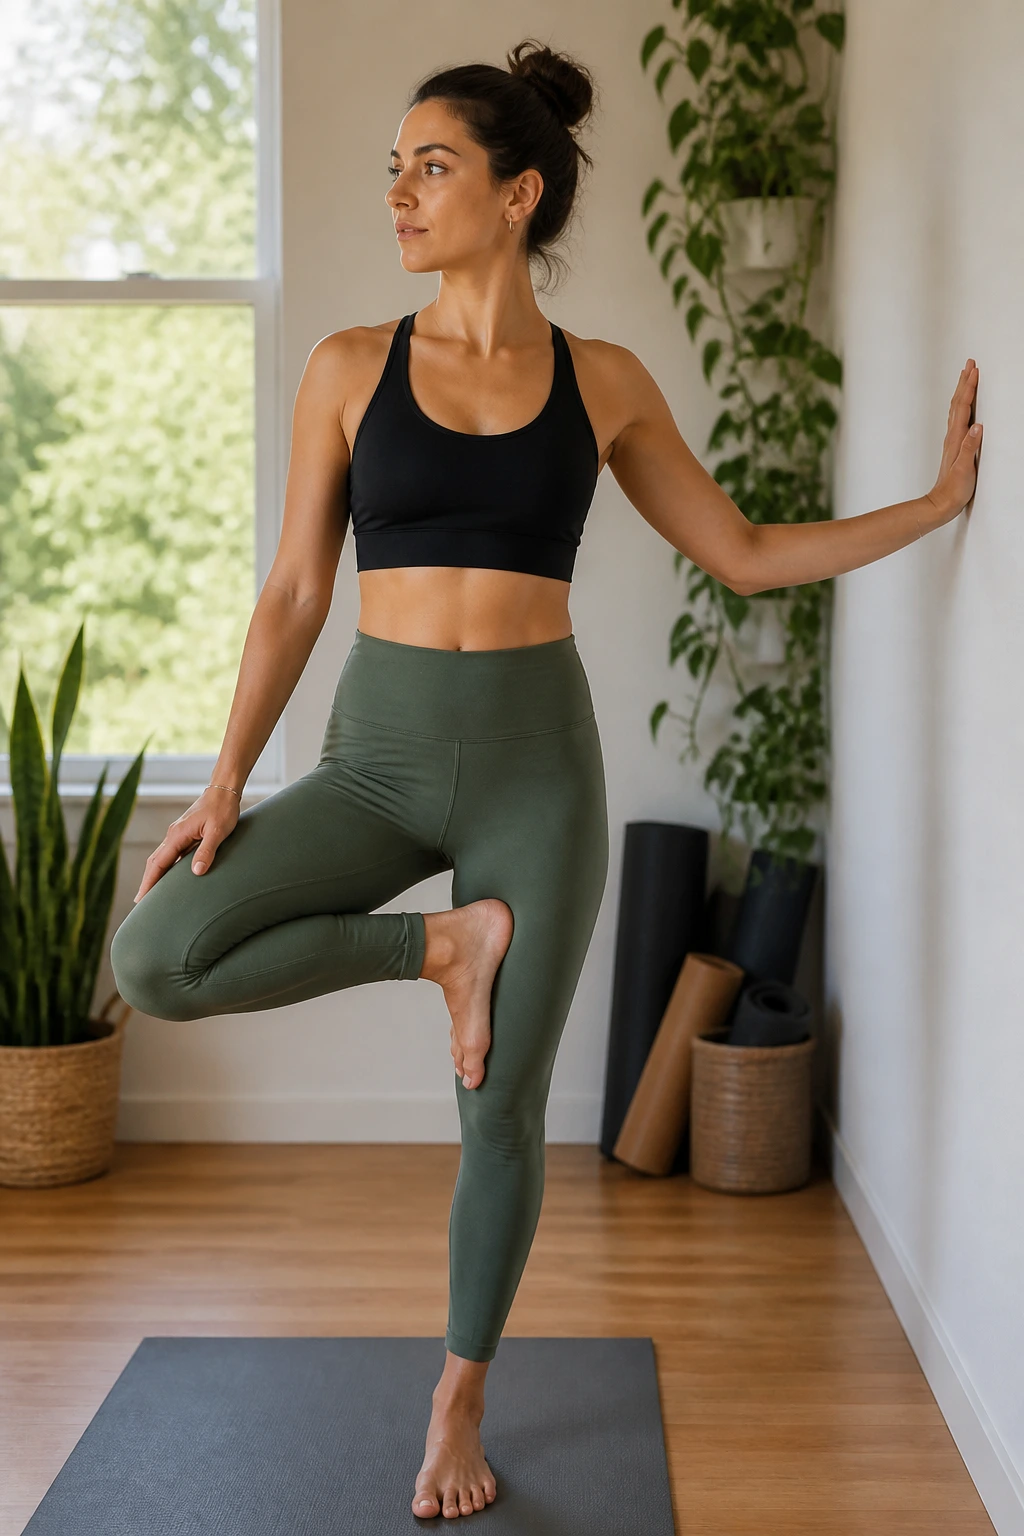
Standing Figure Four is the standing answer to a hip opener without having to sit on the floor. Cross one ankle over the opposite thigh, sit the hips back like a tiny chair, and keep the chest tall. If that feels too deep, keep the lifted foot at the ankle or lower the shape altogether.
The knee of the crossed leg should move outward, not collapse inward. If the standing leg wobbles, put one hand on a wall or rest the hips lightly against the edge of a desk or counter. That extra contact can make the difference between a useful stretch and a balance fight.
No sharp pain. Ever.
You should feel the outer hip and glute on the crossed side, not a jammed knee. Back out if the knee complains. The hips are the target; the knee is not.
19. Humble Warrior
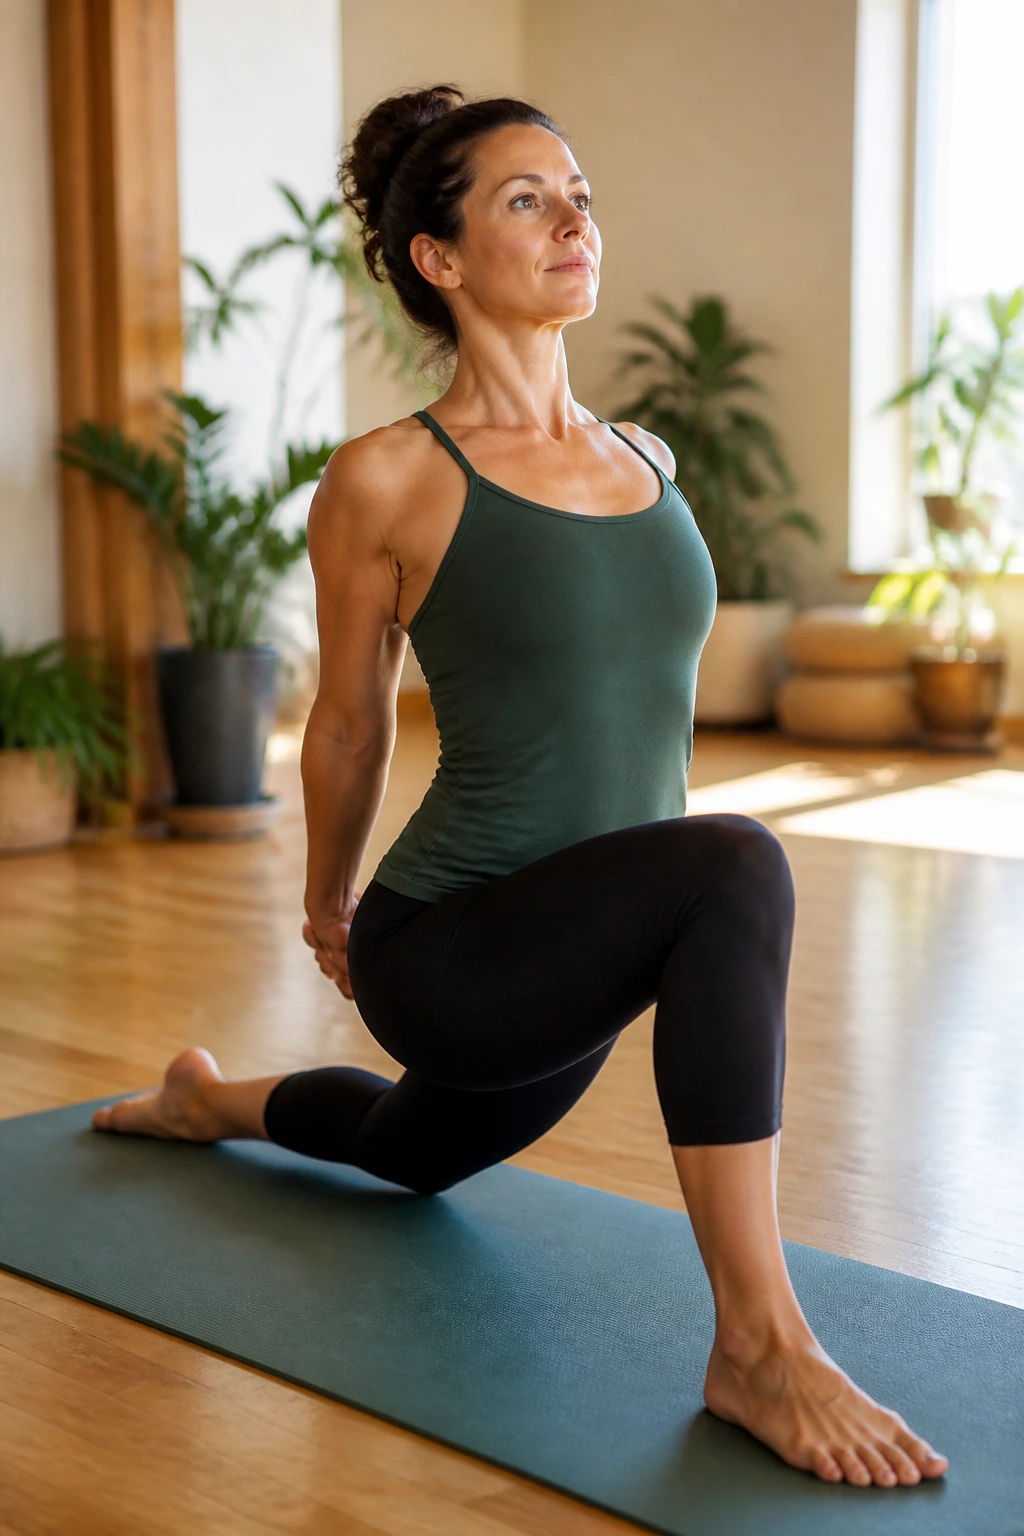
Humble Warrior is where the breath gets honest. From Warrior I, clasp the hands behind the back or hold opposite elbows if the shoulders are tight, then bow the torso inside the front thigh. The front knee stays bent. The back heel stays down.
This pose opens the shoulders while asking the hips to stay steady. It also gives the chest a different kind of stretch than the upright warriors do. If the shoulders feel crowded, keep the fold shallower and let the hands stay lower behind the hips.
One sentence is enough here: longer is not better.
A smaller fold with smooth breathing beats a giant collapse every time. Keep the neck relaxed, and if the front knee starts to drift inward, back out a little and reset the stance.
20. Standing Spinal Twist
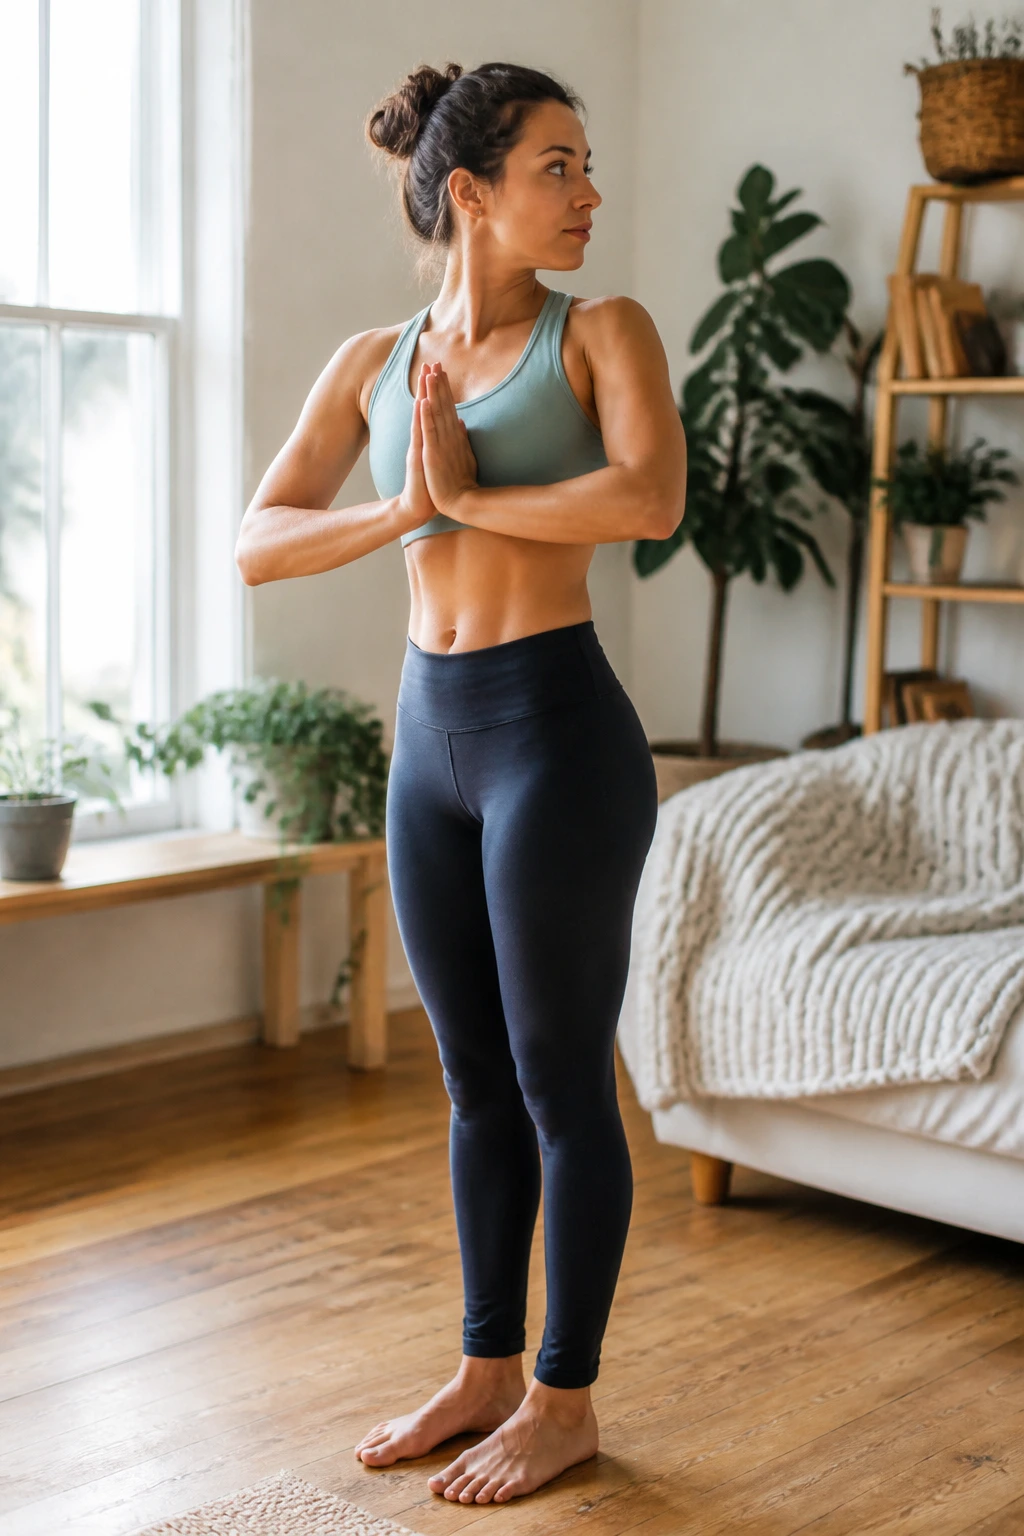
Can a standing twist feel calm instead of cranked? Yes, if you let the twist start in the ribs and not in the knees. Stand with the feet about hip-width apart, bring the hands to the heart, and rotate gently to one side while the hips stay mostly forward.
A lot of beginners over-twist by yanking the arms or swinging the knees. That usually pins the lower back. Keep the spine long before you rotate, and stop the twist the moment the breath gets shallow.
Twist with control
- Tall spine first.
- Hips level or nearly level.
- Eyes can look over the shoulder or stay forward.
- Knees stay soft, not locked.
This is a small pose with a big payoff. It wakes up the trunk, cleans out stiffness, and gives the body a chance to move without force.
21. Prayer Twist
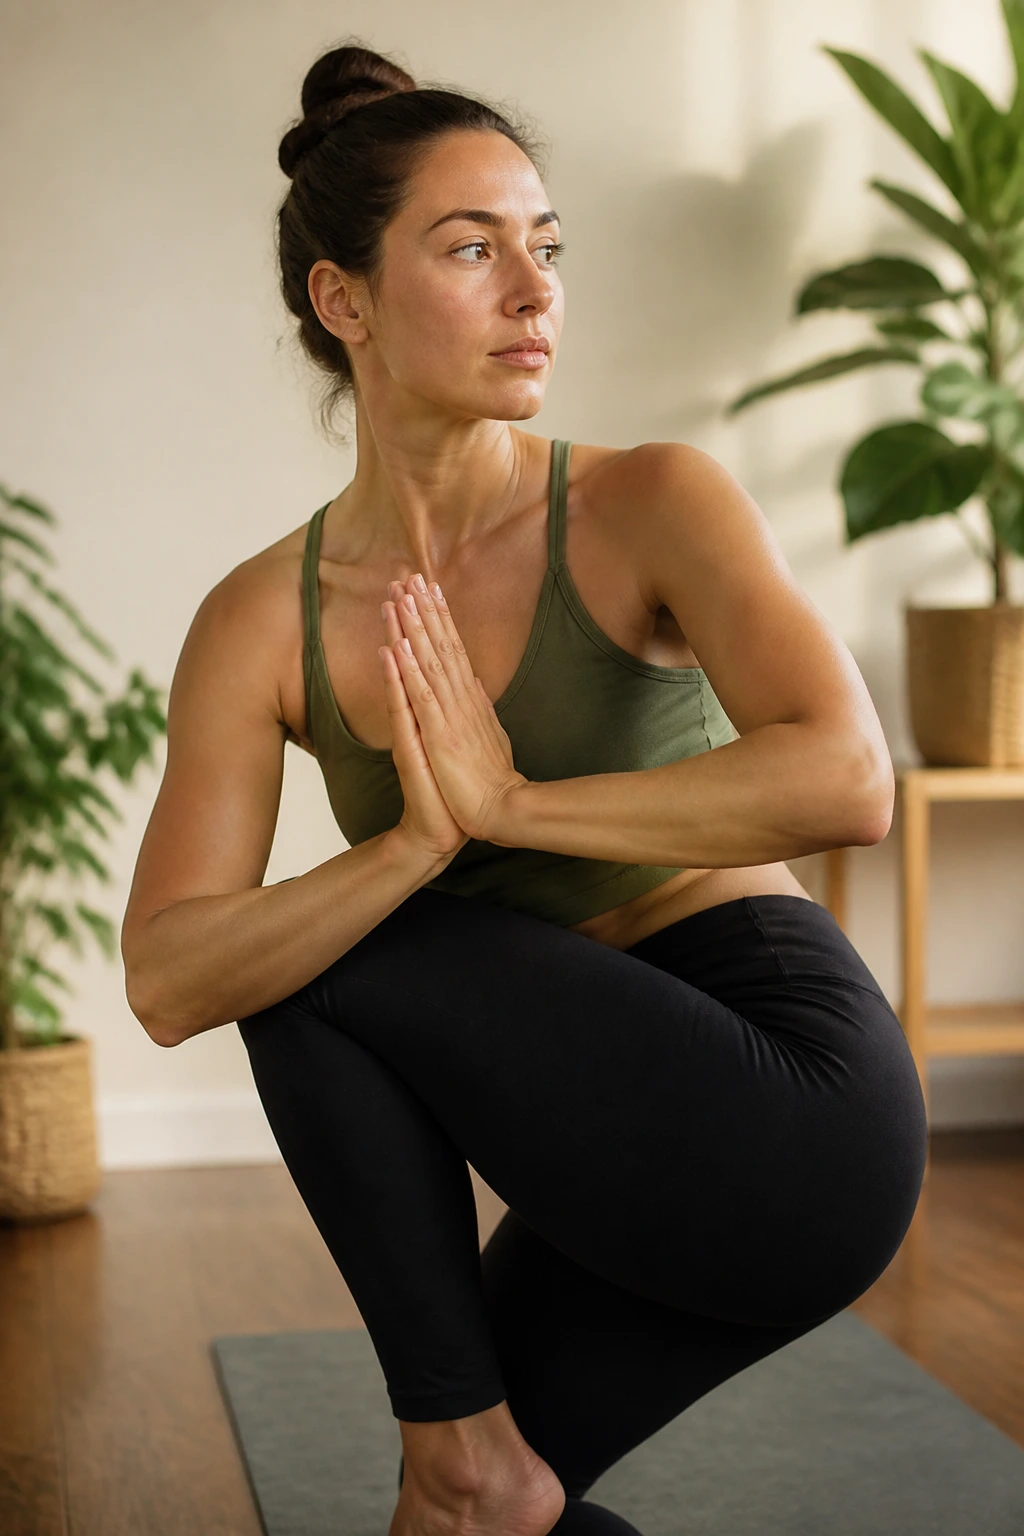
Prayer Twist often shows up in Chair or Crescent Lunge, and the shape is clearer when you build it from the ground up. Bring the palms together at the chest, then place one elbow outside the opposite knee and press gently as you twist. Keep the torso long before you turn.
The mistake is to crank the elbow into the knee and wrench the spine. That never feels good for long. Instead, lengthen first, twist second, and keep the hips as steady as possible.
What to watch for
- Front knee tracking over the toes.
- Back heel grounded if you are in a lunge version.
- Chest staying broad.
- Breath staying smooth enough to count at least 3 steady inhales and exhales.
If the twist feels unstable, widen the feet a little or back out to a less deep version. You want rotation, not a wrestling match.
22. Star Pose
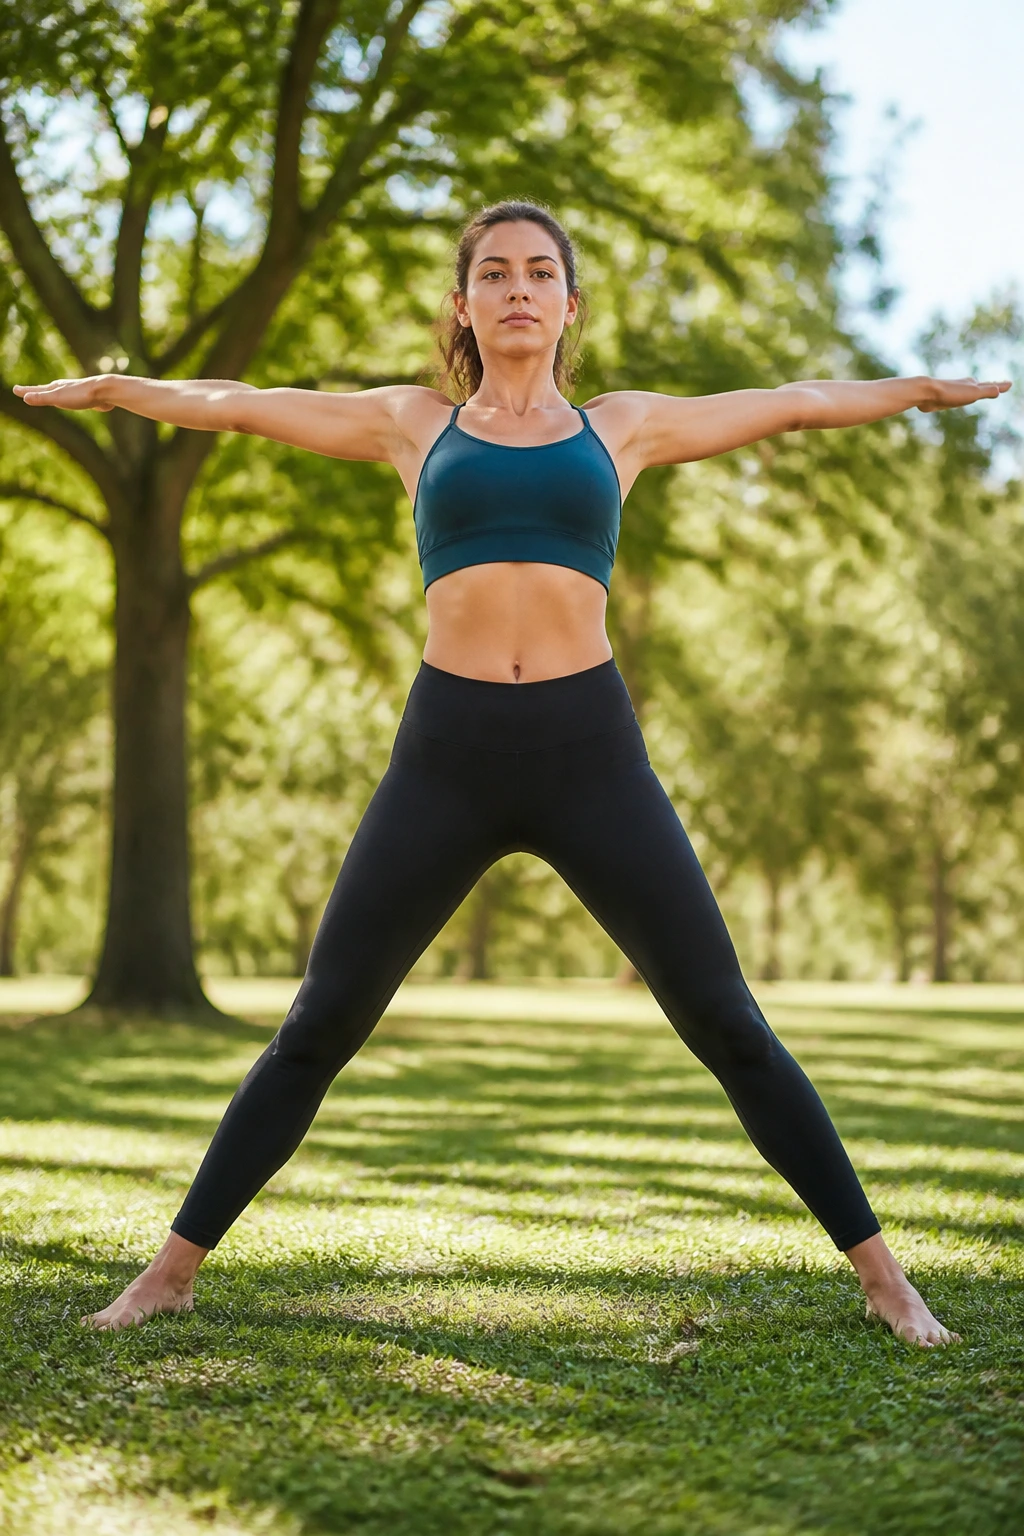
Star Pose looks simple because it is, and that is why it works. Step the feet wide, turn the toes slightly out or keep them more parallel depending on the hips, and extend the arms out to the sides like a strong, open shape. The knees can stay soft or bend slightly if the stance is wide.
Use it as a reset between harder poses. The chest opens, the inner thighs wake up, and the body gets a chance to re-center without folding or balancing. It is a nice place to notice whether one shoulder is creeping higher than the other.
Why I like it in beginner practice
- It gives the hips a break from narrow stances.
- It teaches you to stand tall without locking the knees.
- It helps the breath feel less cramped.
- It transitions well into side bends, triangle, or goddess.
Nothing fancy. Just a stable, open shape that keeps the practice moving without draining you.
23. Warrior III
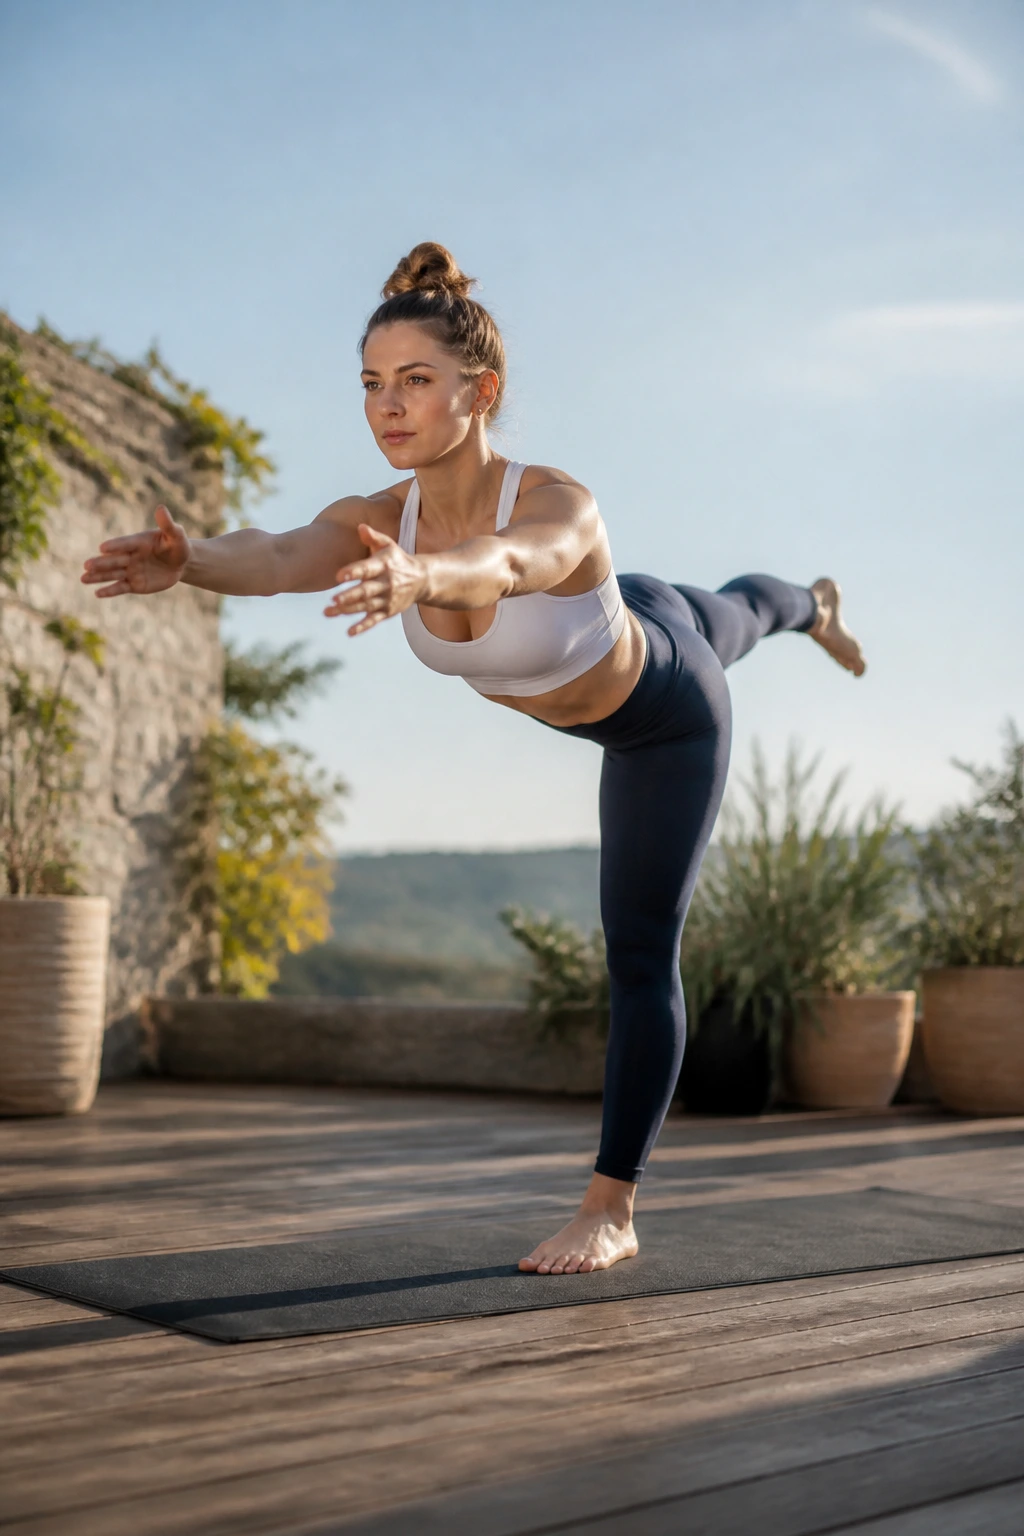
Warrior III is a hinge, not a leap. That is the part beginners miss. Shift weight onto one leg, tip the torso forward from the hip crease, and send the other leg back until the body forms a long line. Keep a wall or chair nearby if balance tends to wobble.
The standing leg should stay active, but not clenched. The lifted leg reaches back through the heel, the crown of the head reaches forward, and the pelvis stays as level as it can manage. If the back leg lifts but the chest collapses, shorten the shape.
Tree and Warrior III look like cousins, but they teach different things. Tree is vertical and contained. Warrior III asks for length, reach, and a little more courage.
24. Half Moon Pose
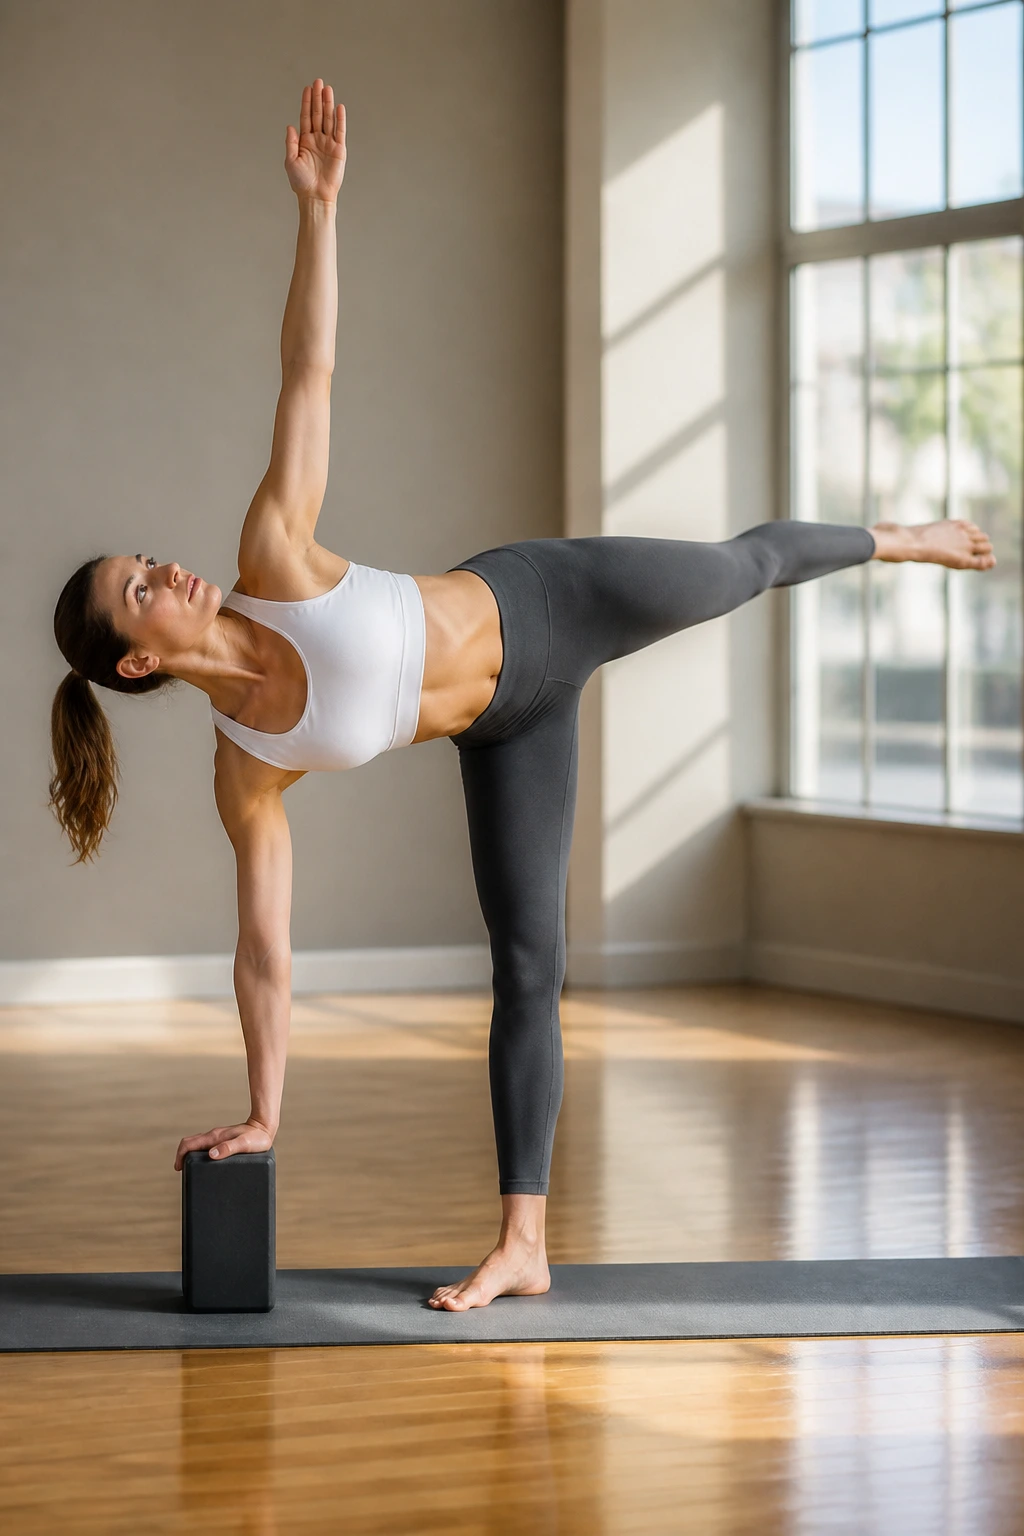
Half Moon Pose does not need to be a balancing circus. Start from Triangle or a standing lunge, place a block under the lower hand, and lift the back leg until the hips stack as much as they can. The top hand can stay on the hip if reaching upward makes the pose feel unstable.
The standing leg does a lot of quiet work here. The ankle steadies, the glute turns on, and the side body has to stay long enough to keep the torso from folding over. A soft bend in the standing knee often helps more than forcing it straight.
What the block changes
- It gives the bottom shoulder more room.
- It helps keep the chest open.
- It keeps the body from dumping into the standing hip.
- It makes the pose usable for more bodies, which is the point.
Look down if the balance starts to wander. The neck does not need to perform.
25. Dancer Pose with Wall
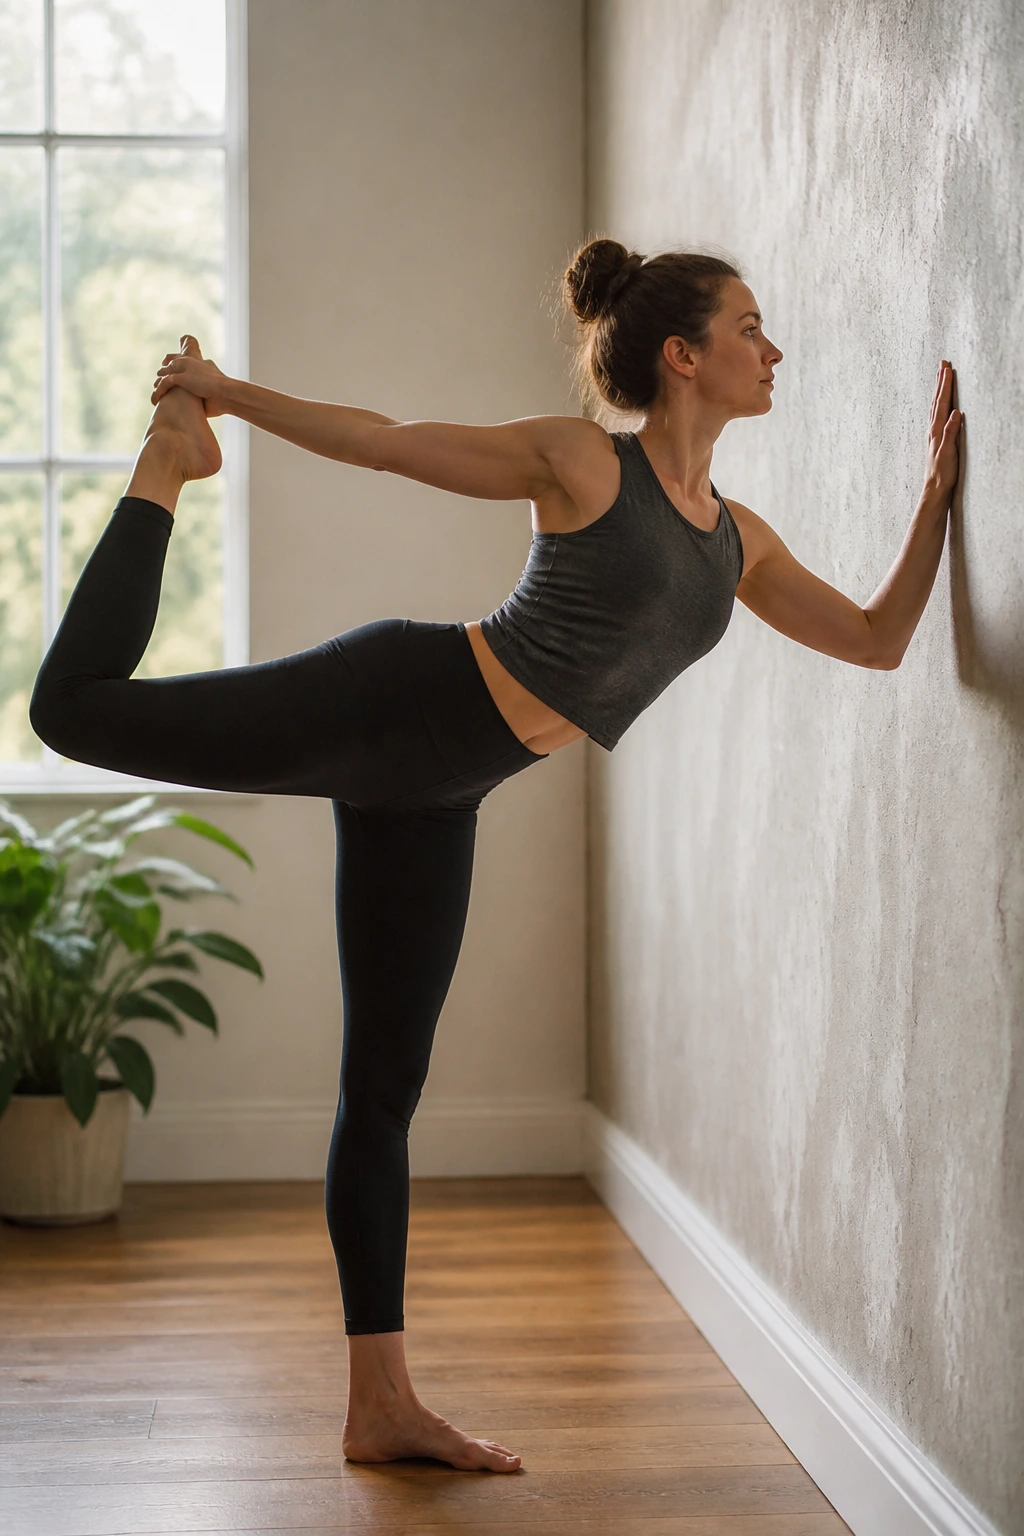
Dancer Pose near a wall turns a wobbly balance into a steadier back-body stretch. Stand beside a wall, hold it with one hand, bend the opposite knee, and reach back to hold the foot or ankle. Press the foot into the hand as the chest lifts and the standing leg stays soft but active.
The pose is most useful when you keep the back knee pointing down and the ribs from flaring. If you yank the foot high, the lower back often complains. A small lift with a long spine works better. Always.
A steady version looks like this
- One hand on the wall.
- Standing knee slightly bent.
- Chest reaching forward a little.
- Back thigh lifting only as far as the hip can keep up.
A short standing sequence can be enough: Mountain, Chair, Warrior II, Triangle, Tree, then Dancer with the wall. That’s plenty of work for one round.
Stay with the shapes that help your feet wake up, your knees track well, and your breath stay quiet. The rest can wait.
