



Pregnancy changes the landscape of your body in ways that are both incredible and physically demanding. As the weeks progress, your center of gravity shifts forward, your ligaments soften under the influence of hormones, and the muscles of your core and pelvic floor face a unique set of challenges. Pilates offers a sanctuary in this shifting terrain. It is not about “working out” in the traditional, high-intensity sense; it is about maintaining a deep, functional connection to your body. By focusing on alignment, breath, and stabilizing muscles, you can create a foundation of strength that carries you through pregnancy and into the postpartum period with greater ease.
The beauty of practicing these movements at home is that you can adapt them to exactly how you feel on any given day. Some days you might have energy to spare, while other days you might just need gentle mobility to soothe an aching lower back. This list is not a strict regime to be followed in order, but rather a toolbox of safe, effective movements. Whenever you feel discomfort or strain, stop, breathe, and adjust. Your primary goal is to maintain movement that feels supportive, not exhausting.
1. Pelvic Tilts
The pelvic tilt is the cornerstone of pregnancy Pilates because it directly addresses the lower back tension that often arises as the belly grows. When you stand or sit, the weight of the baby naturally pulls your pelvis forward, creating an exaggerated curve in the lumbar spine. This move helps reset that alignment.
How to Execute the Movement
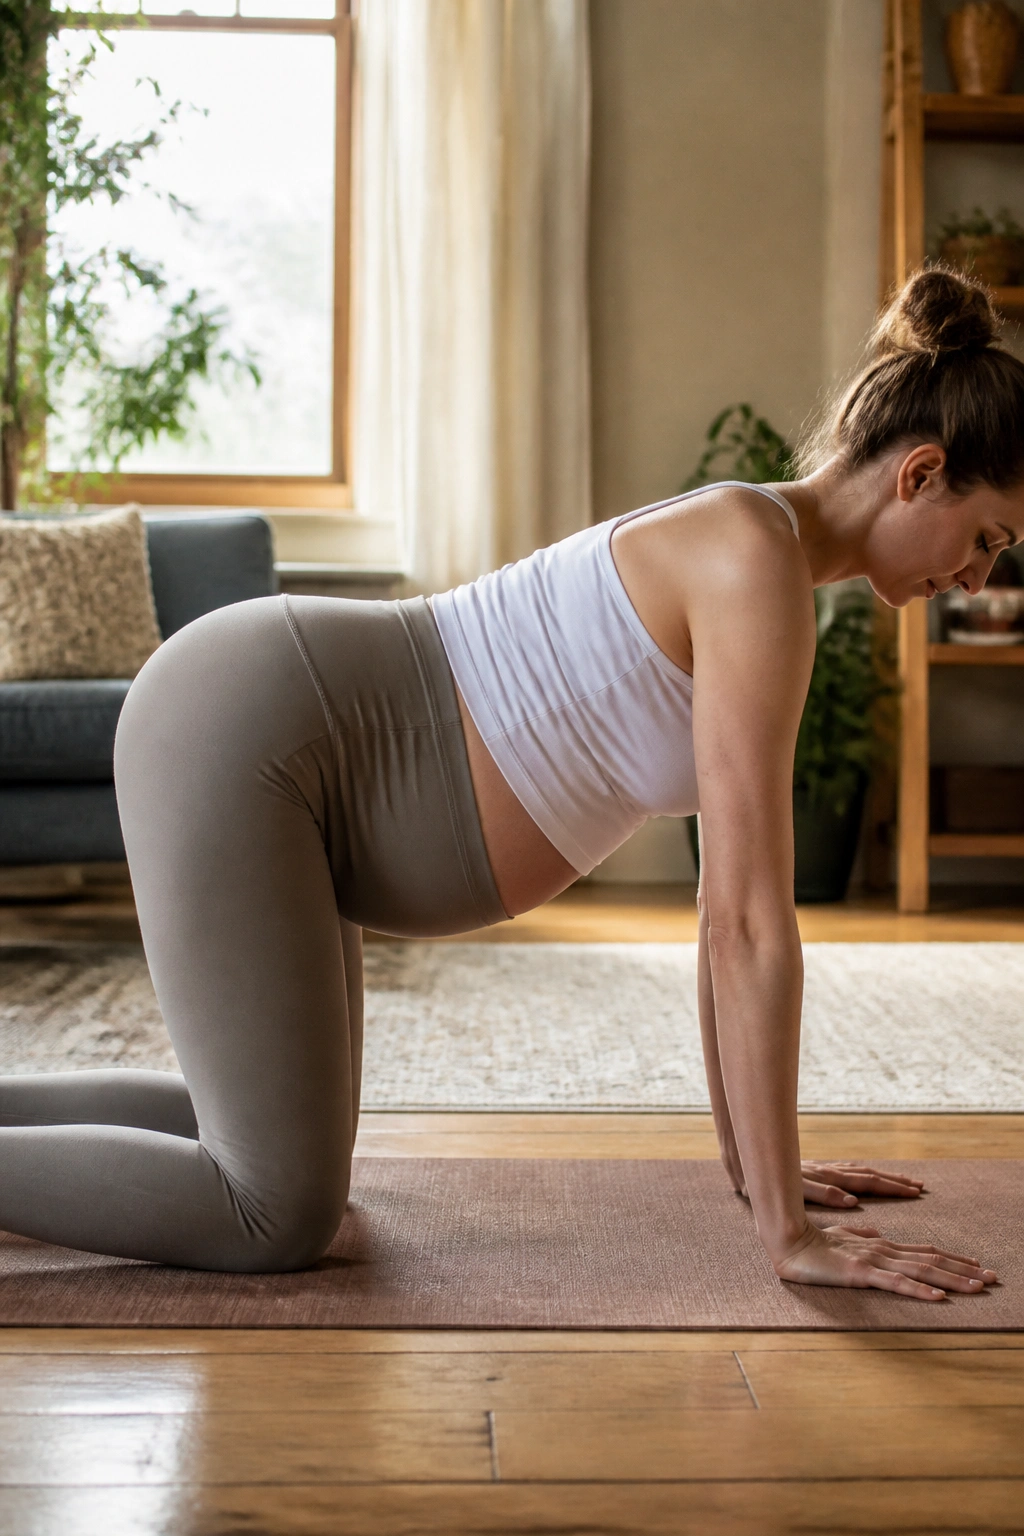
Start on your hands and knees in a quadruped position. Keep your spine in a neutral, long line—imagine a flat tray resting on your back. As you exhale, gently draw your belly button toward your spine and tuck your tailbone slightly. You are not trying to crunch or force a rounding; the movement is subtle and originates from the base of the spine.
Why This Matters for Pregnancy
This motion engages the deep abdominal muscles—specifically the transverse abdominis—without the pressure of traditional crunches. By practicing this, you are teaching your body to support the weight of the uterus from the inside out, which is invaluable for preventing lower back pain in the third trimester.
Pro tip: Perform this move slowly. If you rush, you will miss the point of the exercise, which is to articulate each vertebra individually.
2. Cat-Cow Stretch
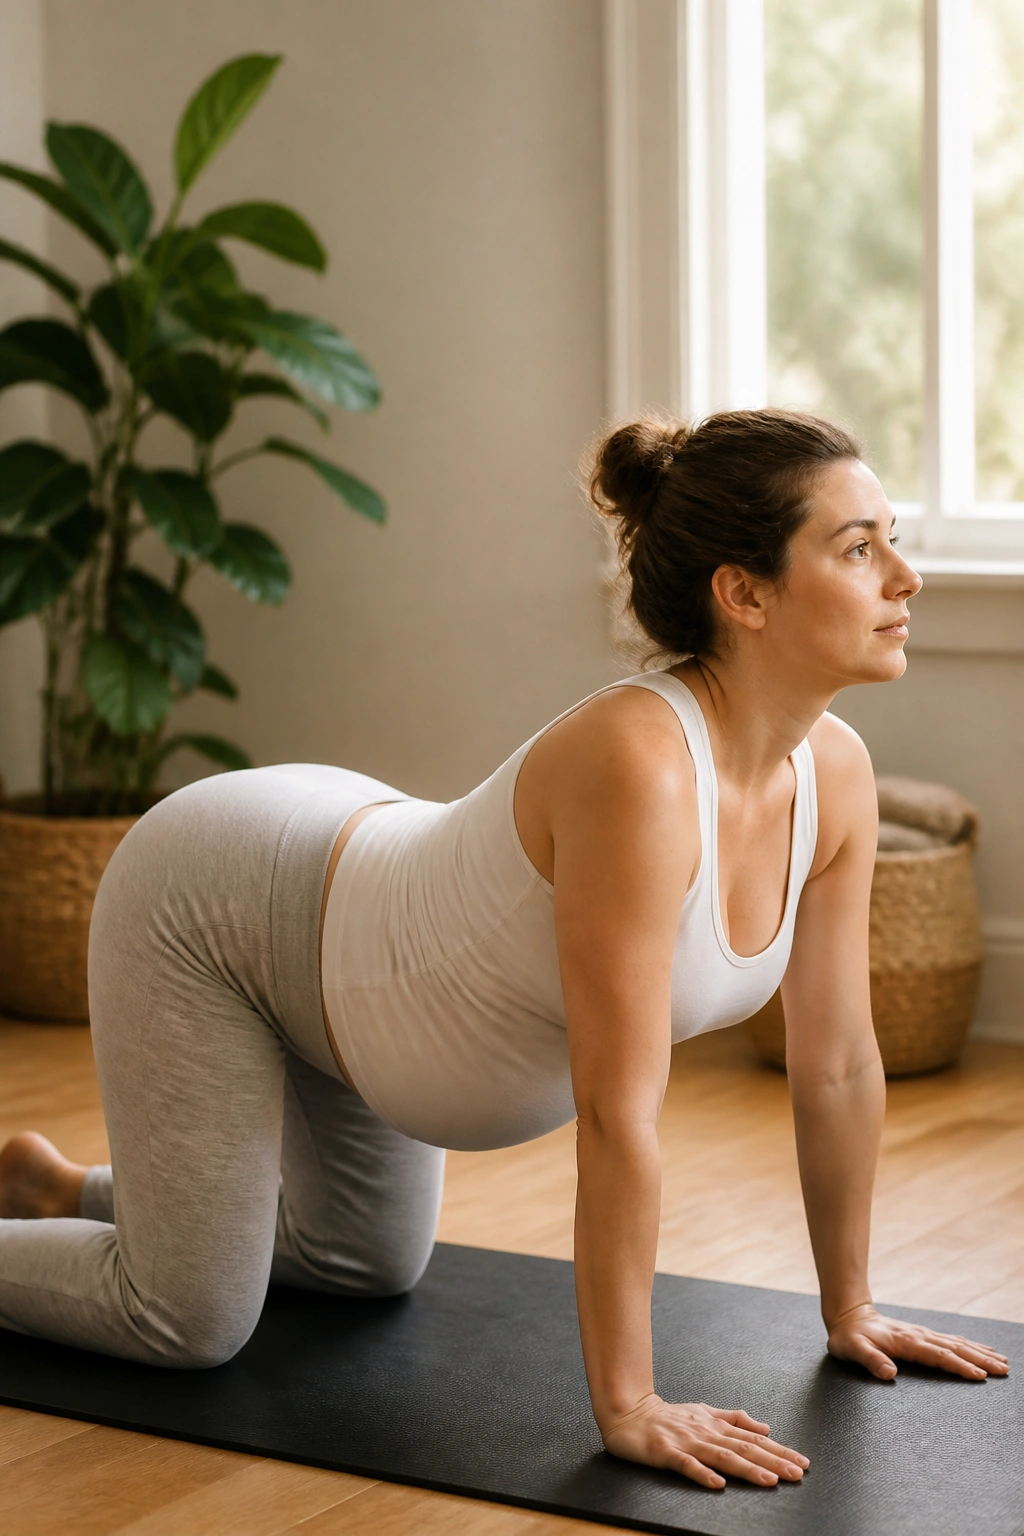
While this is a classic yoga move, in a Pilates context, we focus heavily on the articulation of the spine and the synchronization with the breath. It serves as a fantastic way to wake up the back body and release tension held between the shoulder blades.
Getting the Rhythm Right
Begin on all fours, with hands directly under your shoulders and knees under your hips. On an inhale, let your belly soften toward the floor as you gaze gently forward, lengthening the front of your neck. On the exhale, slowly push the floor away, rounding your upper back toward the ceiling and letting your head hang heavy.
Focusing on Spinal Health
The key here is avoiding “collapsing” into your joints. Even in the Cow pose, keep a slight engagement in your core to prevent your lumbar spine from dumping too much weight. This fluidity encourages spinal mobility, which often decreases as the body prepares for birth and posture changes.
A note on comfort: If your wrists bother you, you can perform this stretch on your forearms using yoga blocks or a sturdy chair for height.
3. Bird-Dog
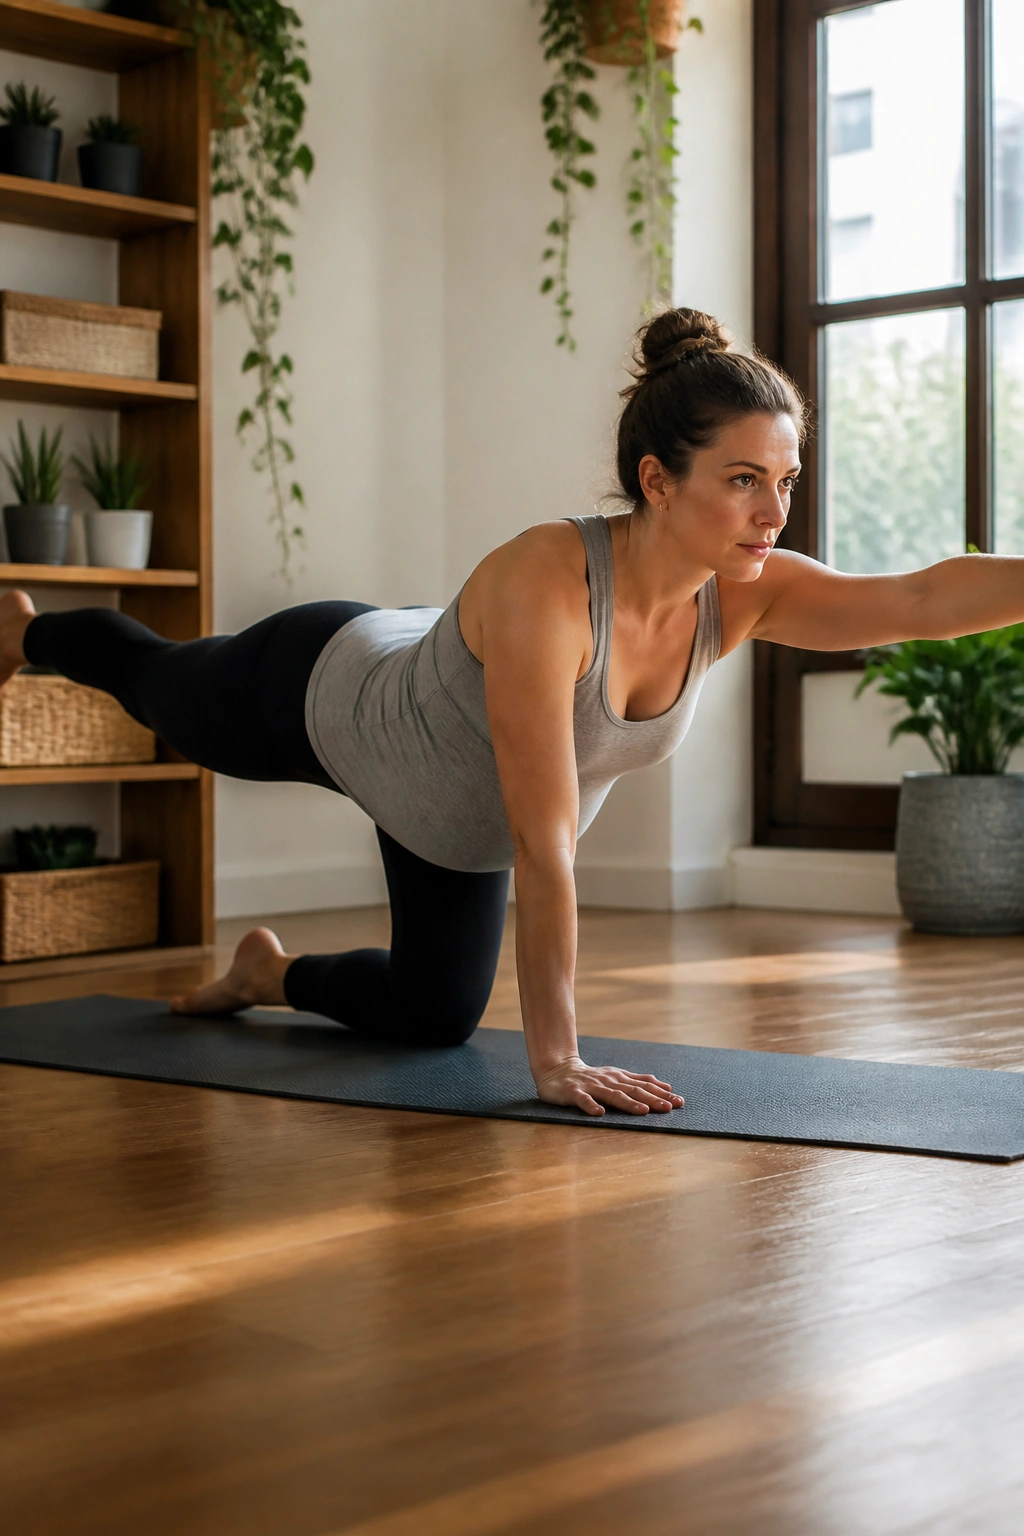
Stability is your best friend when your center of gravity is constantly changing. This move tests your balance and coordination, forcing the core to stabilize while the limbs move independently. It is surprisingly challenging despite its simple appearance.
The Execution
Position yourself on all fours. Slowly reach your right arm forward and your left leg back, lengthening your body into a straight line. Do not lift your leg higher than your hip; keeping it parallel to the floor prevents unnecessary arching in the lower back. Hold for a count of three, then return to the center and switch sides.
Why It Builds Core Strength
Because you are shifting your weight, your deep stabilizers must kick in to keep your torso from wobbling. If you find yourself tipping over, tighten your core engagement and focus on pressing the floor away with your supporting hand. This is about control, not speed or height.
Visual Cue: Imagine you are balancing a glass of water on your lower back. If you move too quickly or jerk your limbs, that glass will spill.
4. Side-Lying Leg Lifts
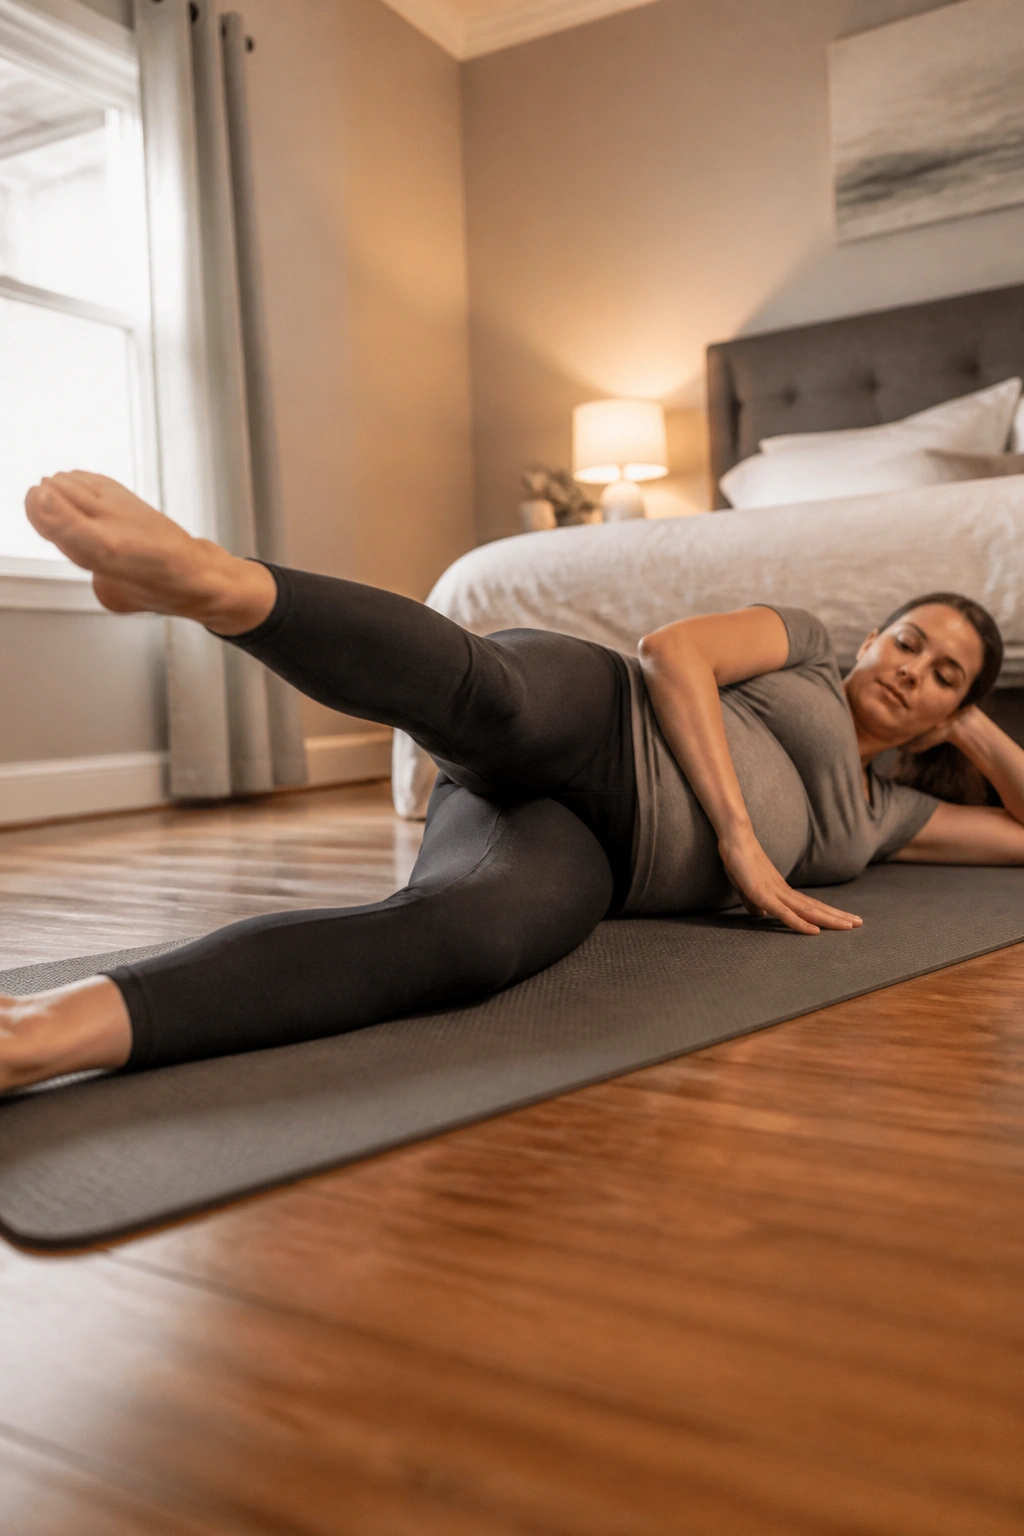
When lying flat on your back becomes uncomfortable—usually around the end of the second trimester—side-lying exercises become essential. They allow you to work the hips and glutes without compromising your comfort or blood flow.
Setup and Form
Lie on your side, propped up on your bottom forearm or laying your head on your extended arm. Stack your hips perfectly, ensuring your top hip isn’t rocking backward. Extend your legs slightly forward of your body. Lift the top leg to hip height, then lower it with control, hovering just above the bottom leg.
The Benefits
This move targets the gluteus medius, a crucial muscle for hip stability. As your gait changes during pregnancy, the hips take on more stress. Strengthening these lateral muscles helps stabilize the pelvis, which can alleviate the common “waddle” or hip pain that many pregnant individuals experience.
Challenge yourself: Try doing ten slow lifts, followed by ten tiny pulses at the top of the range.
5. Clamshells
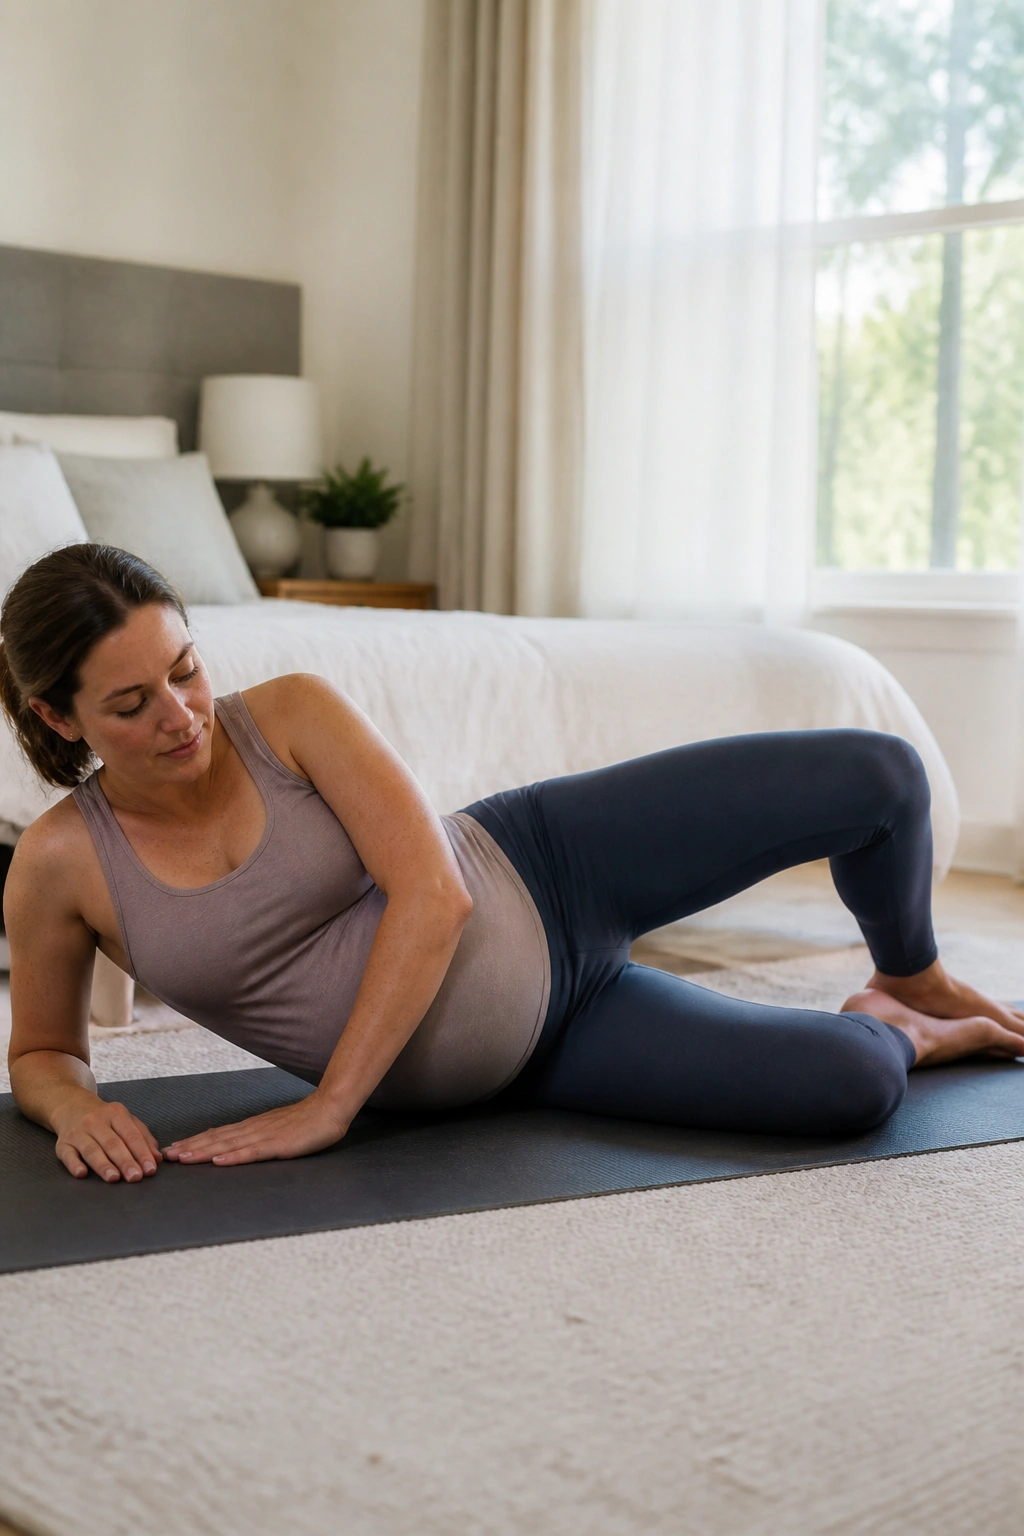
Clamshells are the gold standard for hip health. They isolate the deep rotators of the hip and are incredibly effective at keeping the pelvis balanced. If you have been feeling “tight” in your hips or glutes, this is the remedy.
The Movement
Lie on your side with your legs bent at a 45-degree angle, knees stacked. Keep your feet touching throughout the entire movement. Lift your top knee as high as you can without letting your top hip roll backward. It is not about the height of the knee; it is about the activation of the side glute.
Why You Should Include This
Pelvic girdle pain is a common pregnancy ailment. By keeping the deep hip muscles strong, you reduce the reliance on your lower back to stabilize your pelvis. This exercise is safe to perform well into the third trimester and is often used by physical therapists for prenatal rehabilitation.
Variation: Place a light resistance band around your knees to turn up the intensity once you master the basic version.
6. Glute Bridges
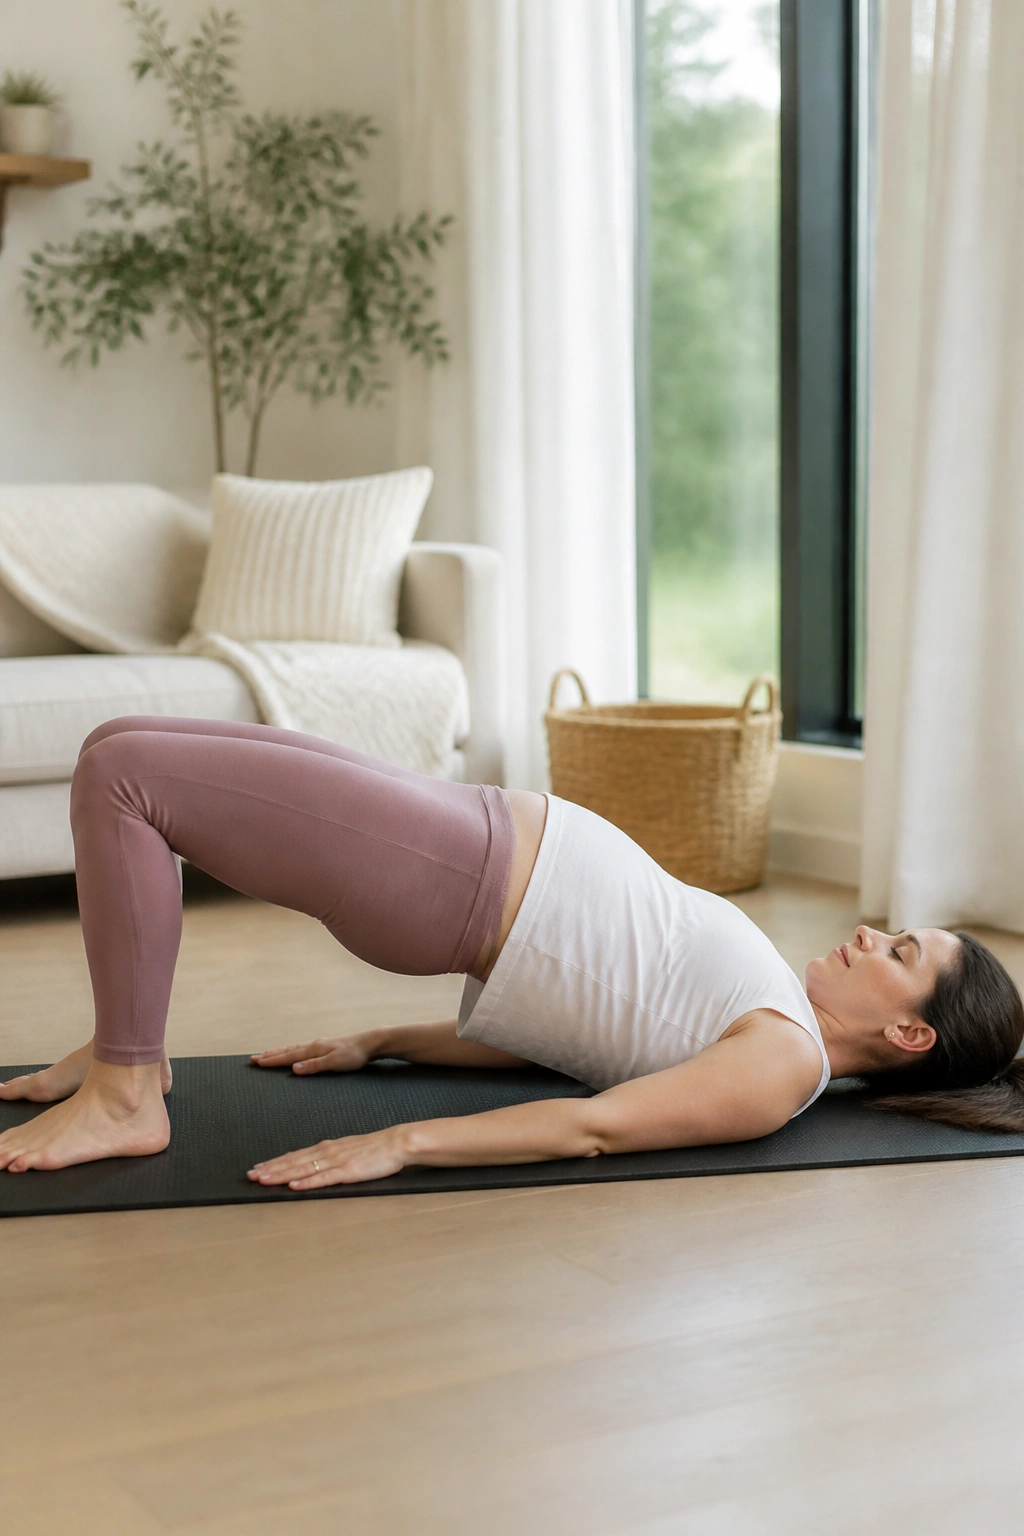
For most of your pregnancy, bridge work is a fantastic way to strengthen the posterior chain. It opens the hip flexors, which get tight from sitting, and builds power in the glutes and hamstrings.
Proper Technique
Lie on your back with knees bent and feet flat on the floor, hip-width apart. As you exhale, engage your pelvic floor and glutes, then peel your spine off the mat one vertebra at a time. Lift until your body forms a straight line from knees to shoulders. Pause at the top, then roll back down slowly.
Safety Considerations
As your pregnancy progresses, lying flat on your back can sometimes feel restrictive due to the weight of the uterus on the vena cava. If you feel dizzy or lightheaded, skip this move or modify it by performing the bridge with your upper back supported on a couch or sturdy chair.
Pro tip: Focus on pressing through your heels, not your toes, to maximize glute engagement.
7. Seated Mermaid Stretch
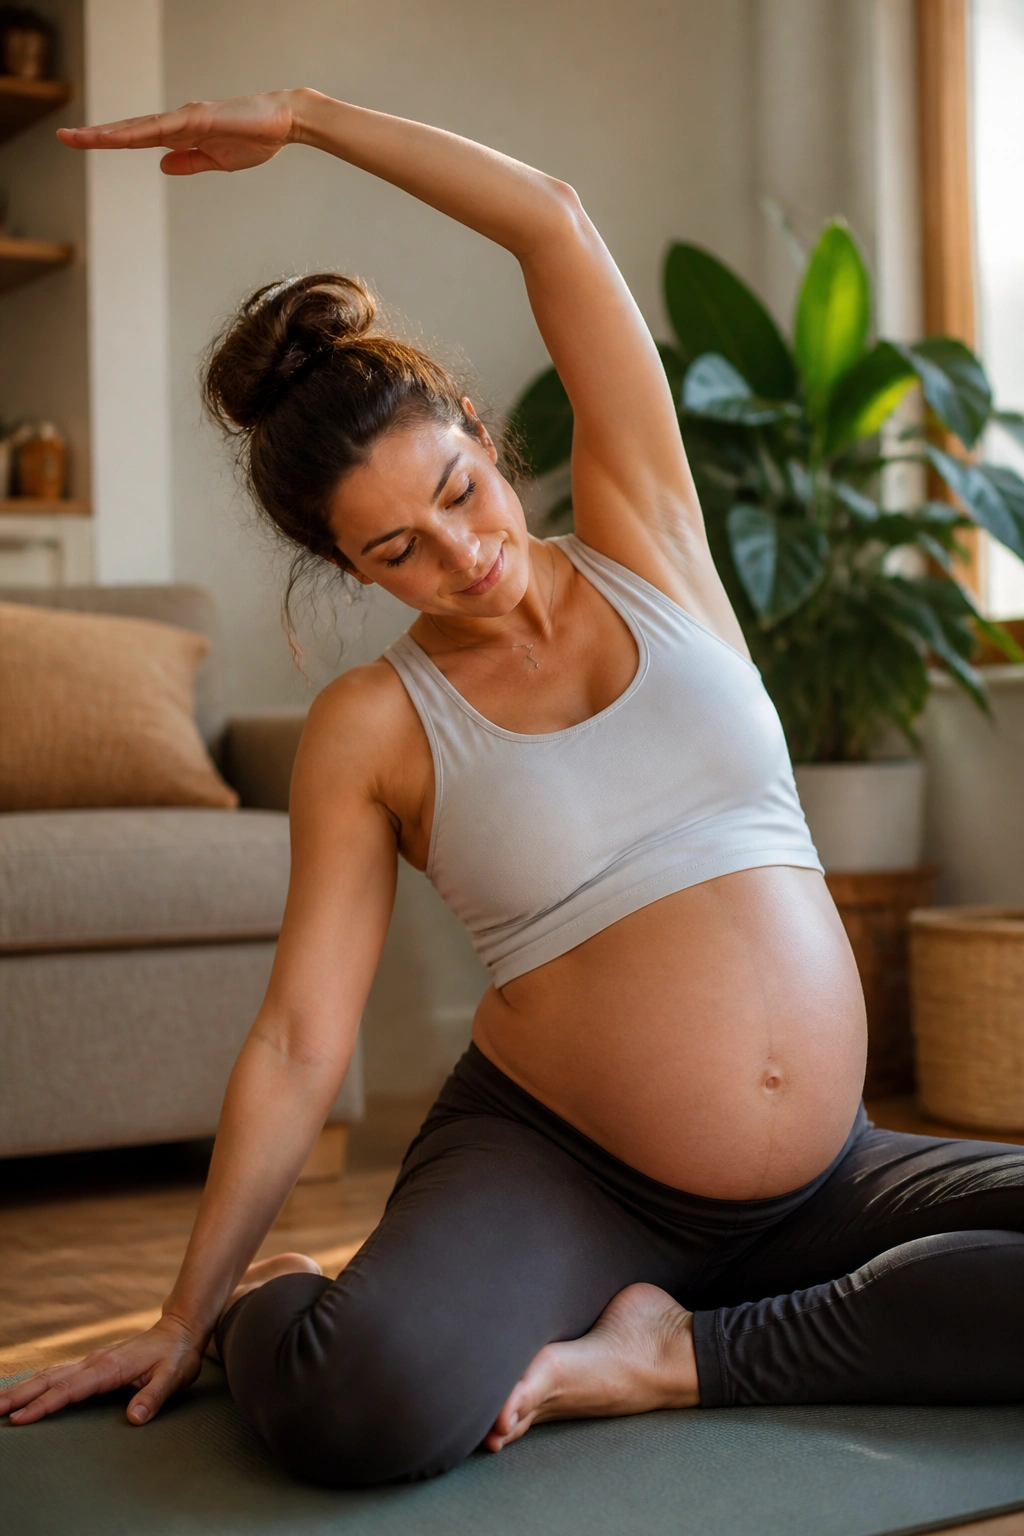
Your rib cage expands during pregnancy to accommodate the baby, and the intercostal muscles between your ribs can become stiff. The Mermaid is a beautiful, gentle lateral stretch that provides instant relief to the torso.
How to Perform It
Sit comfortably on the floor—cross-legged or in a Z-sit position. Reach your right arm up toward the ceiling, then reach over to the left side, lengthening through your rib cage. Imagine you are reaching over a giant beach ball. Keep both sit-bones firmly rooted into the floor; do not let your right hip lift as you reach.
Why It Feels So Good
This creates space in the abdomen and sides of the torso, which often feel compressed as the baby grows. It is a wonderful movement to perform after a long day of sitting, as it encourages deep, expansive breathing into the lungs.
Breathing Tip: Take a deep breath into the side of your ribs that is being stretched. You will feel the tension melt away.
8. Wall Push-Ups
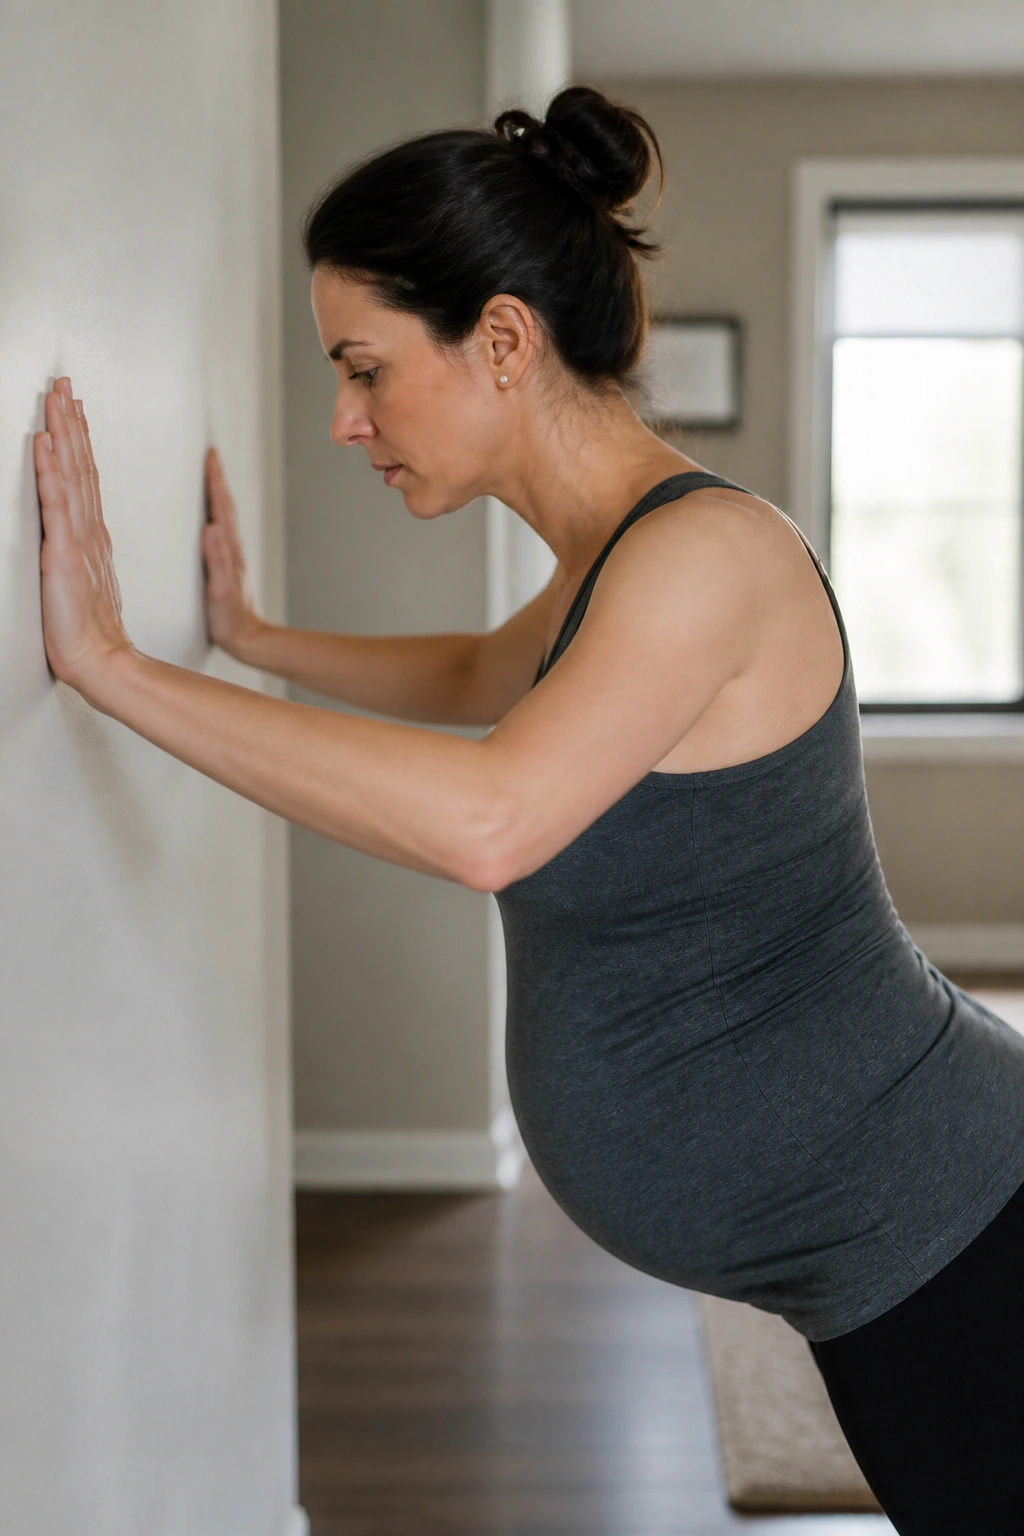
Upper body strength becomes vital as you prepare for the demands of holding a newborn, carrying car seats, and navigating daily tasks. Wall push-ups are the safest way to maintain pectoral and shoulder strength without straining your abdominal wall.
Positioning
Stand facing a wall, about arm’s length away. Place your hands on the wall, slightly wider than your shoulders. Keep your body in a straight line from heels to head. Slowly bend your elbows, bringing your chest toward the wall, then push back to the starting position.
Adjusting for Pregnancy
You can make this easier or harder by moving your feet closer to or further from the wall. This variation keeps the pressure off your core while still working your chest, shoulders, and triceps. It is a fantastic functional movement that keeps your shoulders back and your posture upright.
Avoid this: Do not let your lower back sag as you move toward the wall. Maintain that engagement in your core.
9. Tabletop Leg Extensions
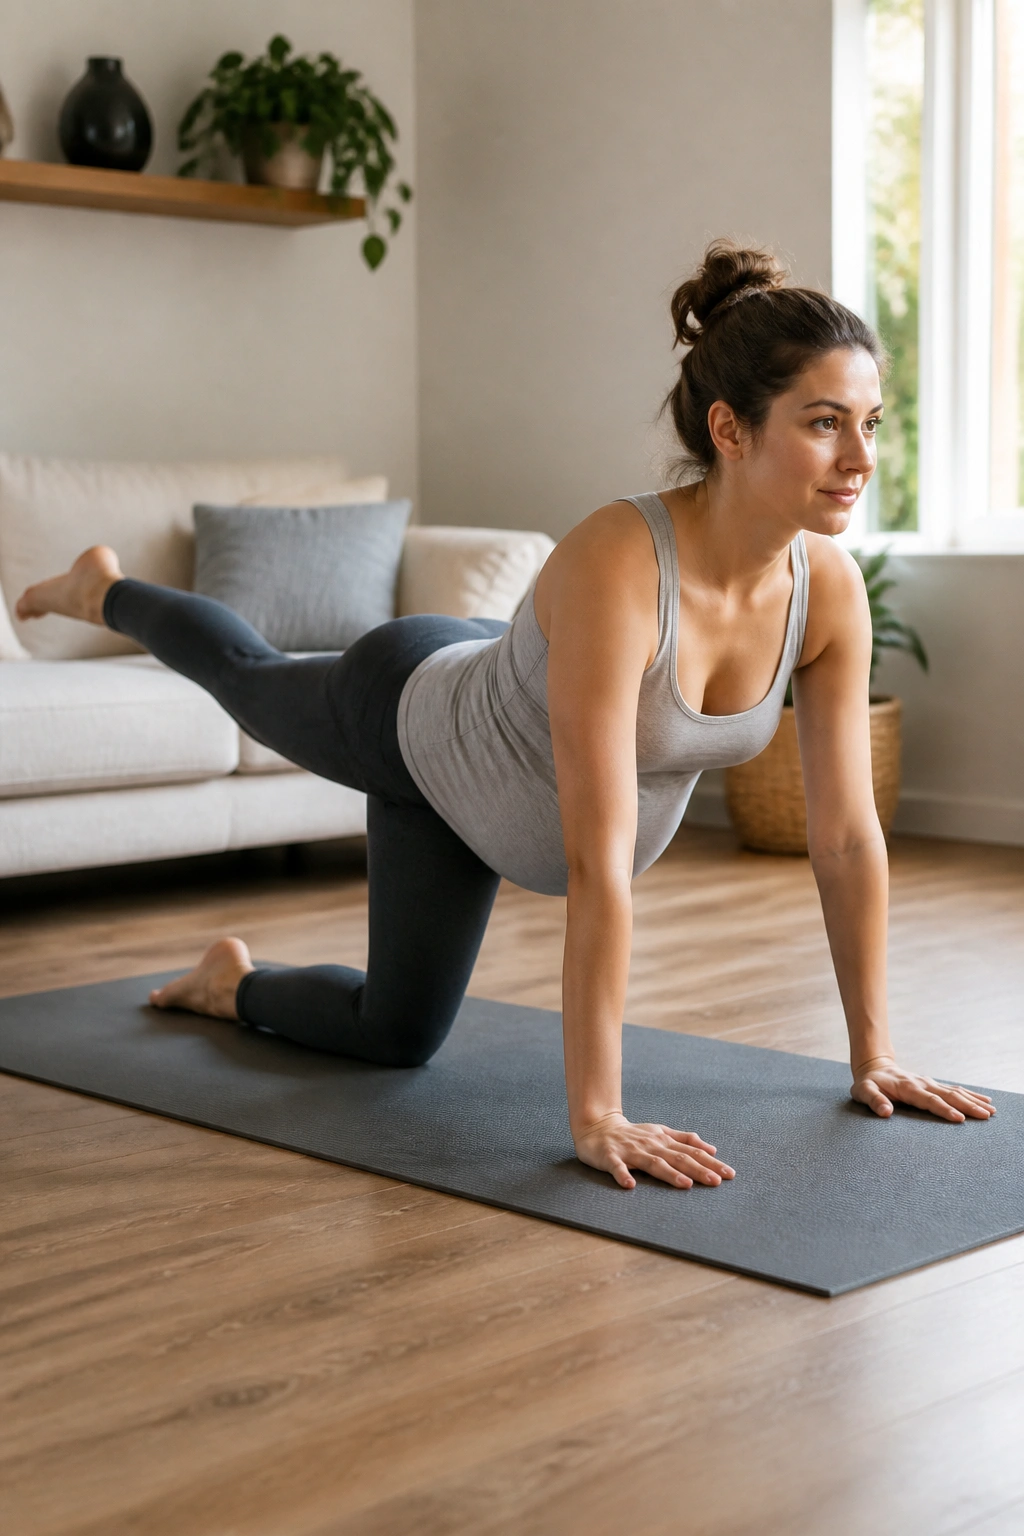
This is a subtle, high-reward exercise for the deep core stabilizers. It requires significant focus and patience, which is often a nice mental break during a busy day.
Getting Into Position
Get on all fours. Keep your spine neutral. Without moving your torso, extend one leg straight back behind you, touching your toe to the floor. Then, engage your core and float the leg up to hip height. Lower it back down with control and bring it back to the starting position.
Why It Works
By keeping the torso absolutely still, you force the abdominal muscles to counteract the movement of the leg. This prevents the “swaying” motion that often happens when we move limbs while our core is tired. It is excellent practice for maintaining stability as your body changes.
Visual focus: Watch a spot on the floor just ahead of your hands to keep your neck in a neutral, safe alignment.
10. Standing Calf Raises
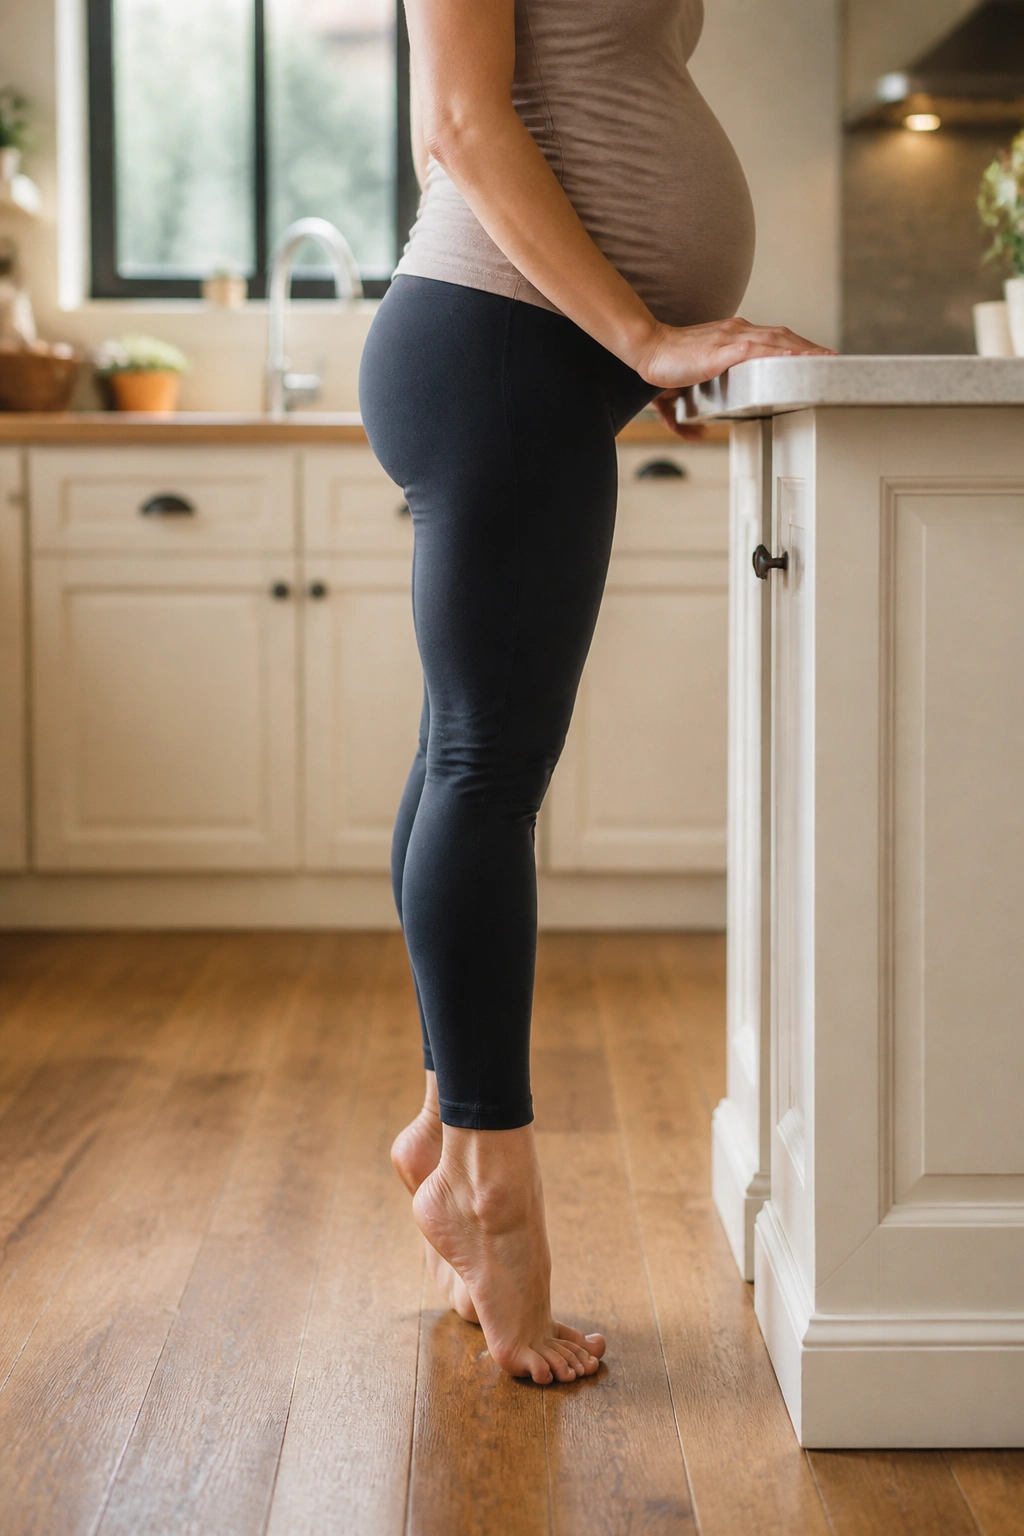
Swelling in the ankles and feet is a common part of the pregnancy experience for many. Strengthening the lower legs encourages better circulation and can help alleviate that heavy, tired feeling in your calves at the end of the day.
The Motion
Stand near a wall or a sturdy chair for balance. Rise up onto the balls of your feet, lifting your heels as high as possible. Pause at the top, squeezing your calves, then lower with control. Aim for a slow, rhythmic pace rather than bouncing.
The Circulation Benefit
The calf muscle acts as a “second heart” for the legs, pumping blood back up toward the rest of the body. By working these muscles, you are actively helping your circulatory system manage the increased blood volume of pregnancy.
Tip: Do these while you are brushing your teeth or waiting for the kettle to boil to sneak some movement into your day.
11. Butterfly Stretch
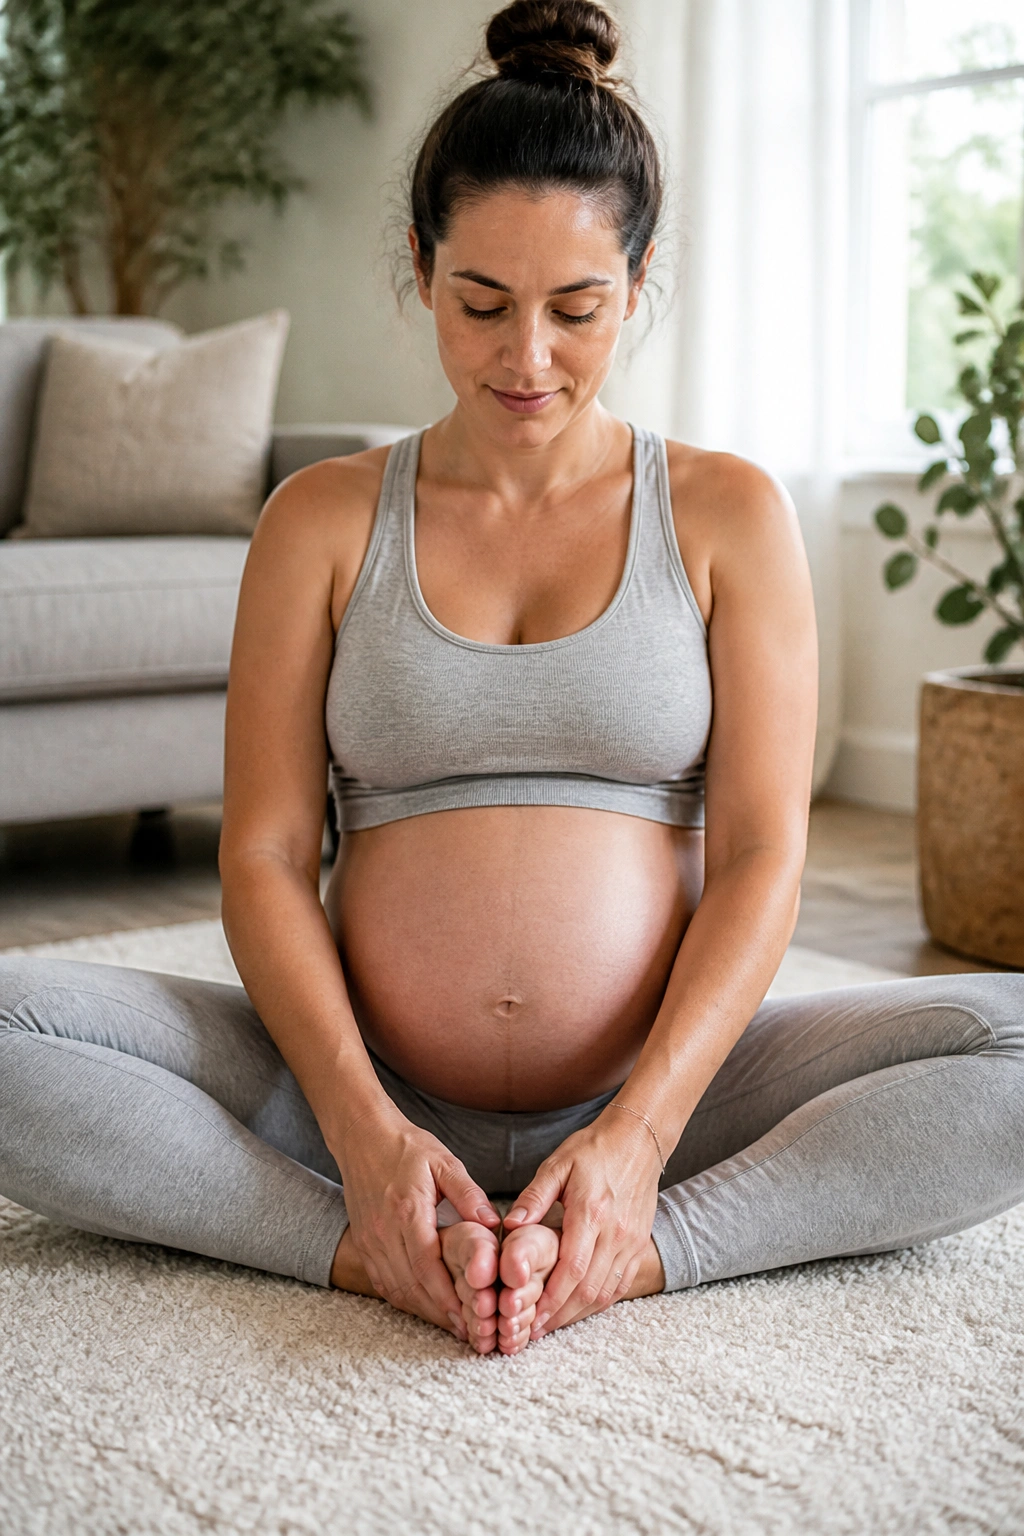
The hips take on an immense load throughout pregnancy. The butterfly stretch, performed gently and without force, helps maintain flexibility in the inner thighs and hip joints, which is beneficial for the later stages of pregnancy.
How to Do It
Sit on the floor, bringing the soles of your feet together. Allow your knees to drop open toward the sides. Hold onto your ankles or feet. Sit tall, lengthening your spine, and gently hinge from your hips—not your waist—if you want to deepen the stretch.
Why This is Beneficial
This stretch can help release tension in the pelvic floor and hips. It is also a very calming position, making it a great time to practice your breathing techniques or mental preparation for birth. Never force your knees to the floor; just let gravity do the work.
Modification: If your hips feel tight, place pillows or folded blankets under your knees for support.
12. Quadruped Hip Circles
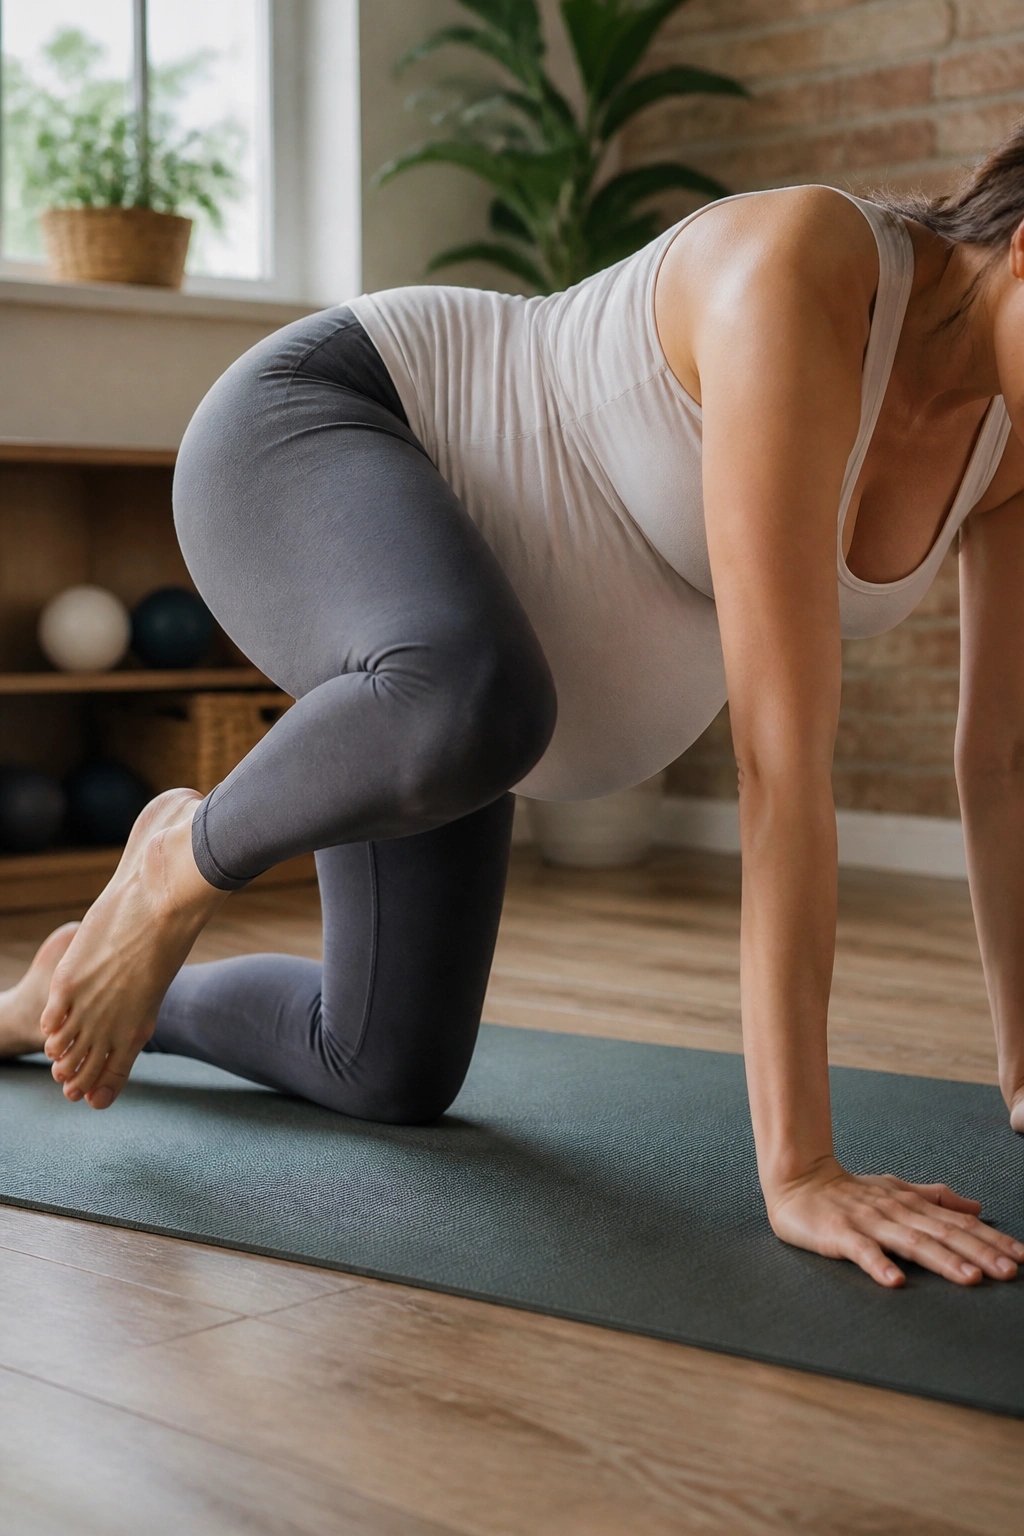
Sometimes, the simplest movements are the most effective. Hip circles, performed in a quadruped position, offer a gentle way to lubricate the hip joints and release tightness in the glutes and lower back simultaneously.
The Technique
Start on hands and knees. Lift your right knee off the floor and begin to draw a large, controlled circle in the air with your knee. Keep your torso rock-steady; the movement should come entirely from the hip joint, not your spine. Do five circles forward, then five circles backward.
Why Include This
This exercise requires core stabilization to prevent the back from moving. It is a fantastic way to ensure your hip joints stay mobile, which helps prevent stiffness. It also feels quite therapeutic for the lower back.
Consistency Check: If you feel your hips rocking or your back sagging, make the circles smaller. Quality always beats quantity.
13. Modified Hundred
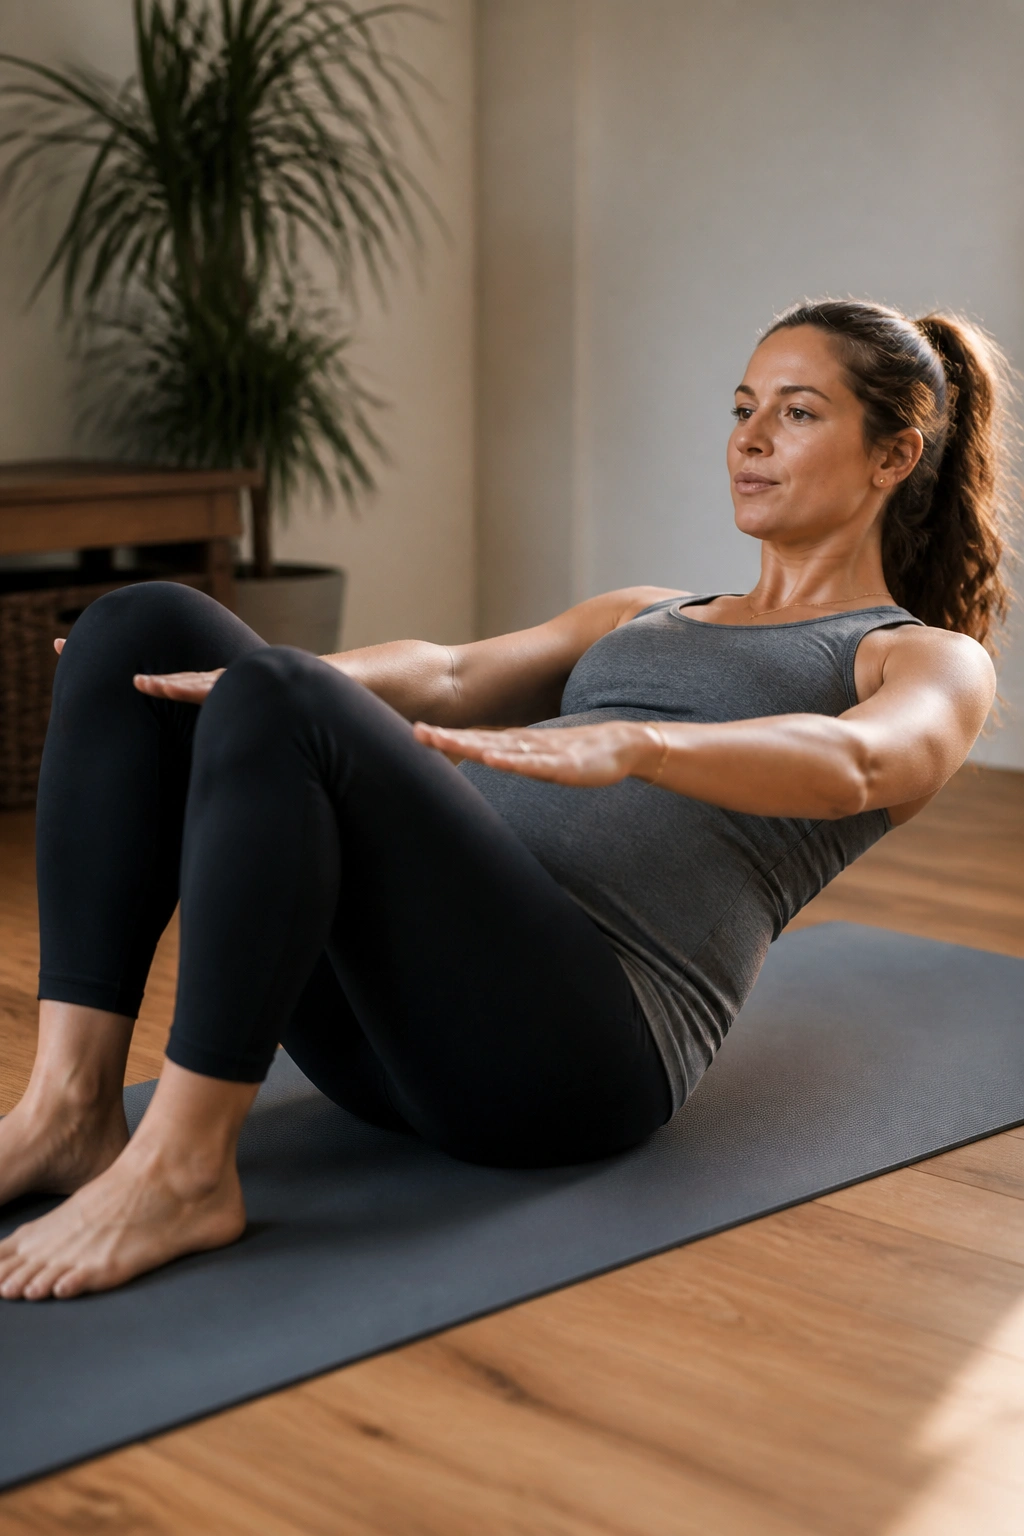
The “Hundred” is the classic Pilates core exercise, but you must modify it for pregnancy. By keeping your legs in a tabletop position or keeping your feet on the floor, you can still reap the benefits of core endurance without causing abdominal coning.
How to Modify
Lie on your back with knees bent, feet flat on the floor. If you are early in your pregnancy, you can curl your head and shoulders up. If you are later, keep your head and shoulders down to protect your neck and avoid strain. Pump your arms vigorously by your sides, inhaling for five counts and exhaling for five counts.
Building Stamina
This is an endurance exercise. It gets your heart rate up and helps you practice breathing deeply even when your muscles are working hard. The arm pumping is the focus here; keep your shoulders relaxed and your core gently engaged the entire time.
Safety Note: If you notice any bulging along the midline of your stomach, stop immediately. That is a sign the exercise is too intense for your core.
14. Seated Spine Twist
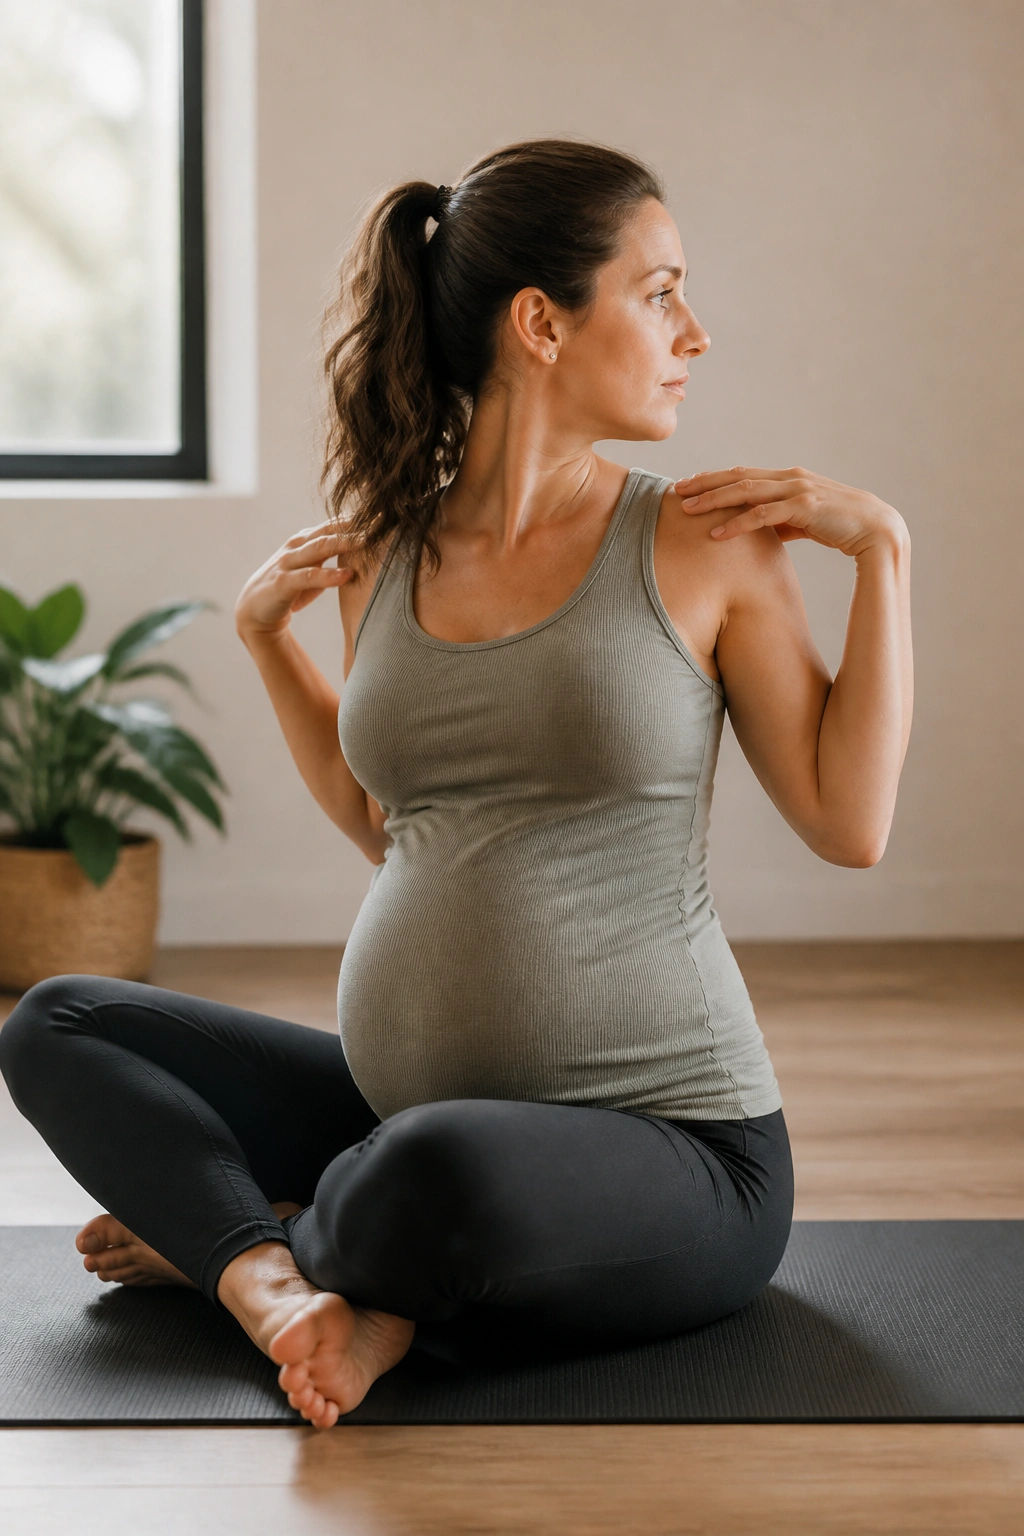
As the bump grows, twisting can feel restricted. The seated spine twist focuses on the thoracic spine—the upper and middle back—which often gets stiff from poor posture. This movement keeps the torso limber and relieves tension between the shoulder blades.
The Movement
Sit cross-legged or with legs extended in front of you. Place your hands on your shoulders or behind your head. Keeping your hips square, gently rotate your torso to the right, then back to the center, and then to the left. Move with your breath.
Why It Helps
Most of the rotation in our spine is meant to happen in the upper back, not the lower back. By isolating this twist, you keep your spine healthy without putting undue stress on your lower lumbar region, which needs stability right now.
Crucial detail: Do not “wring out” your waist. Keep the rotation focused in the rib cage area.
15. Child’s Pose
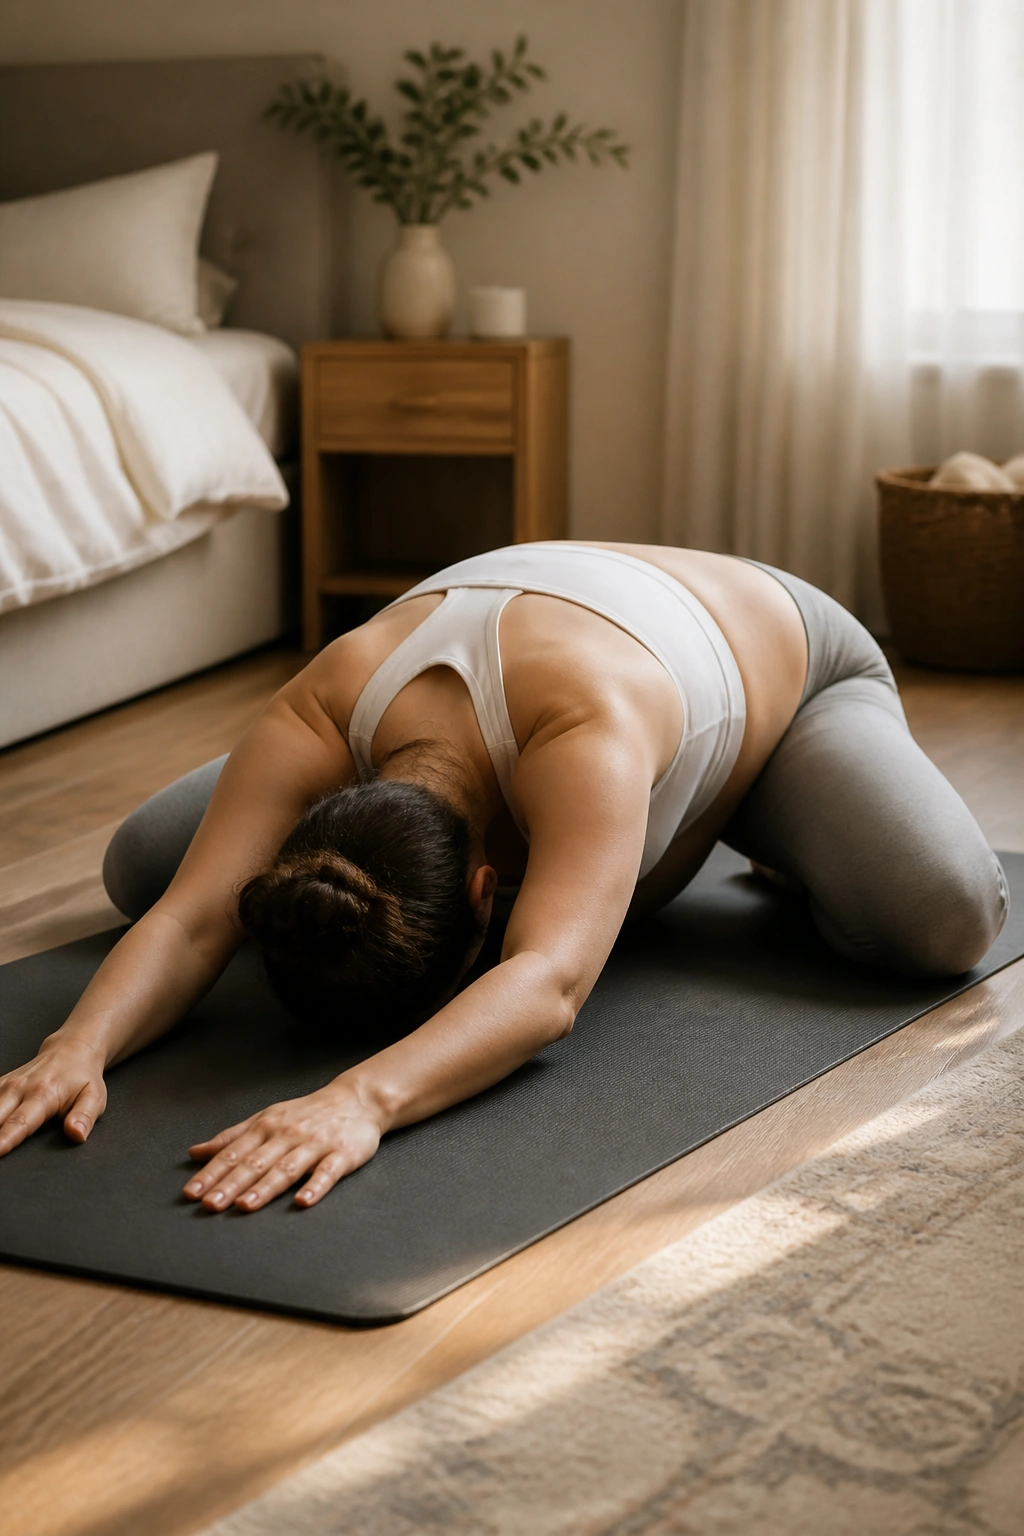
While often considered a rest pose, Child’s Pose is an active, restorative stretch for the lower back. In the context of pregnancy, it is also a perfect time to check in with yourself and connect with the baby.
How to Adjust for the Bump
Kneel on the floor. Spread your knees wider than your hips to create plenty of space for your belly to rest between your thighs. Sit your hips back toward your heels and reach your arms forward, resting your forehead on the mat.
Why You Need This
This pose gently elongates the lower back and creates space in the pelvis. It is a “reset” button for the body and mind. If you feel tired or overwhelmed, take five minutes to just breathe here.
Comfort Hack: If your knees bother you, place a folded blanket between your calves and thighs.
16. Standing Side Bends
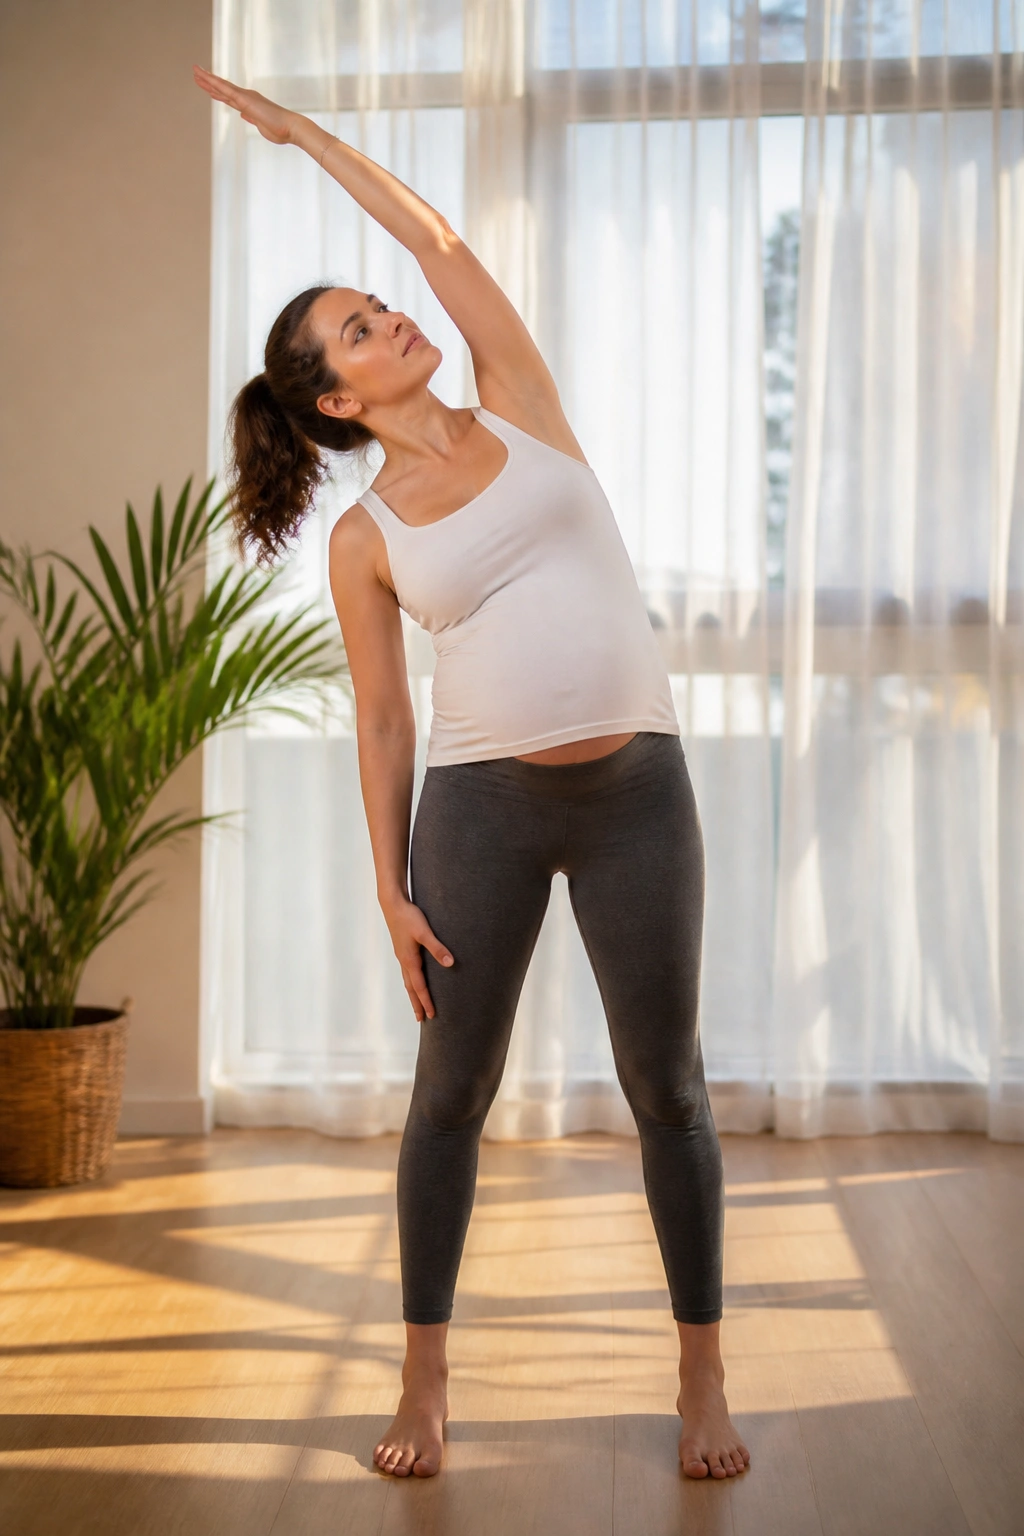
This is a great movement to do when you have been sitting at a desk or on the couch for too long. It stretches the lats and the intercostal muscles, providing relief for a cramped upper torso.
The Technique
Stand with feet hip-width apart. Reach your right arm up and over to the left, as if reaching for a star. Keep your feet planted firmly. Focus on creating length on the right side of your body. Repeat on the other side.
Why This Is Effective
Pregnancy posture often involves a hunched upper back. Side bends open the chest and side body, encouraging better alignment and deeper breathing capacity. It is a simple, effective move that you can do anywhere, anytime you feel tight.
Pro tip: Keep your shoulders away from your ears. Don’t let your shoulder hike up as you reach.
17. Supported Squats
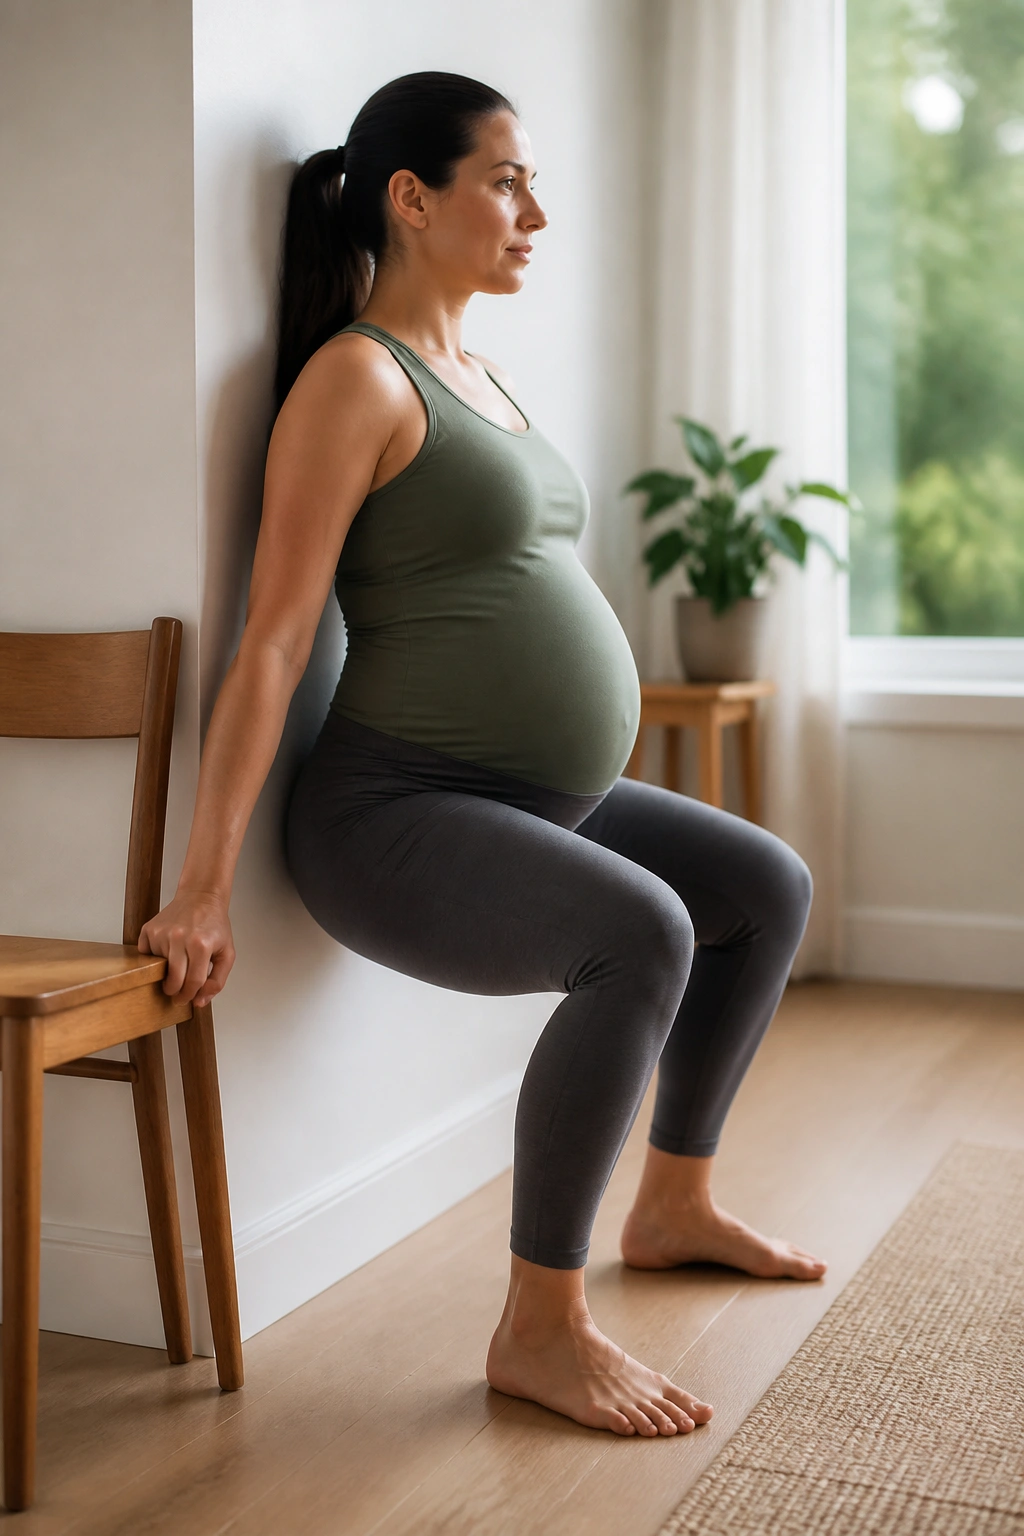
Squats are the ultimate functional move. They strengthen the legs, glutes, and pelvic floor, preparing you for the physical demands of labor and motherhood. Using a chair or a wall for support makes them safe and accessible.
How to Squat Safely
Stand with your back toward a wall or facing a sturdy chair. Lower your hips as if sitting down into a chair, keeping your chest lifted and your heels on the ground. Only go as deep as feels comfortable. Use the chair for balance if you need it.
Why This Matters
Strong glutes and quadriceps take the pressure off your knees and back. As your weight increases, your leg muscles need to be strong enough to support you. Squats help maintain that functional strength.
Important: Do not worry about “perfect” depth. The focus is on keeping your weight in your heels and your chest open.
18. Pelvic Floor Engagements
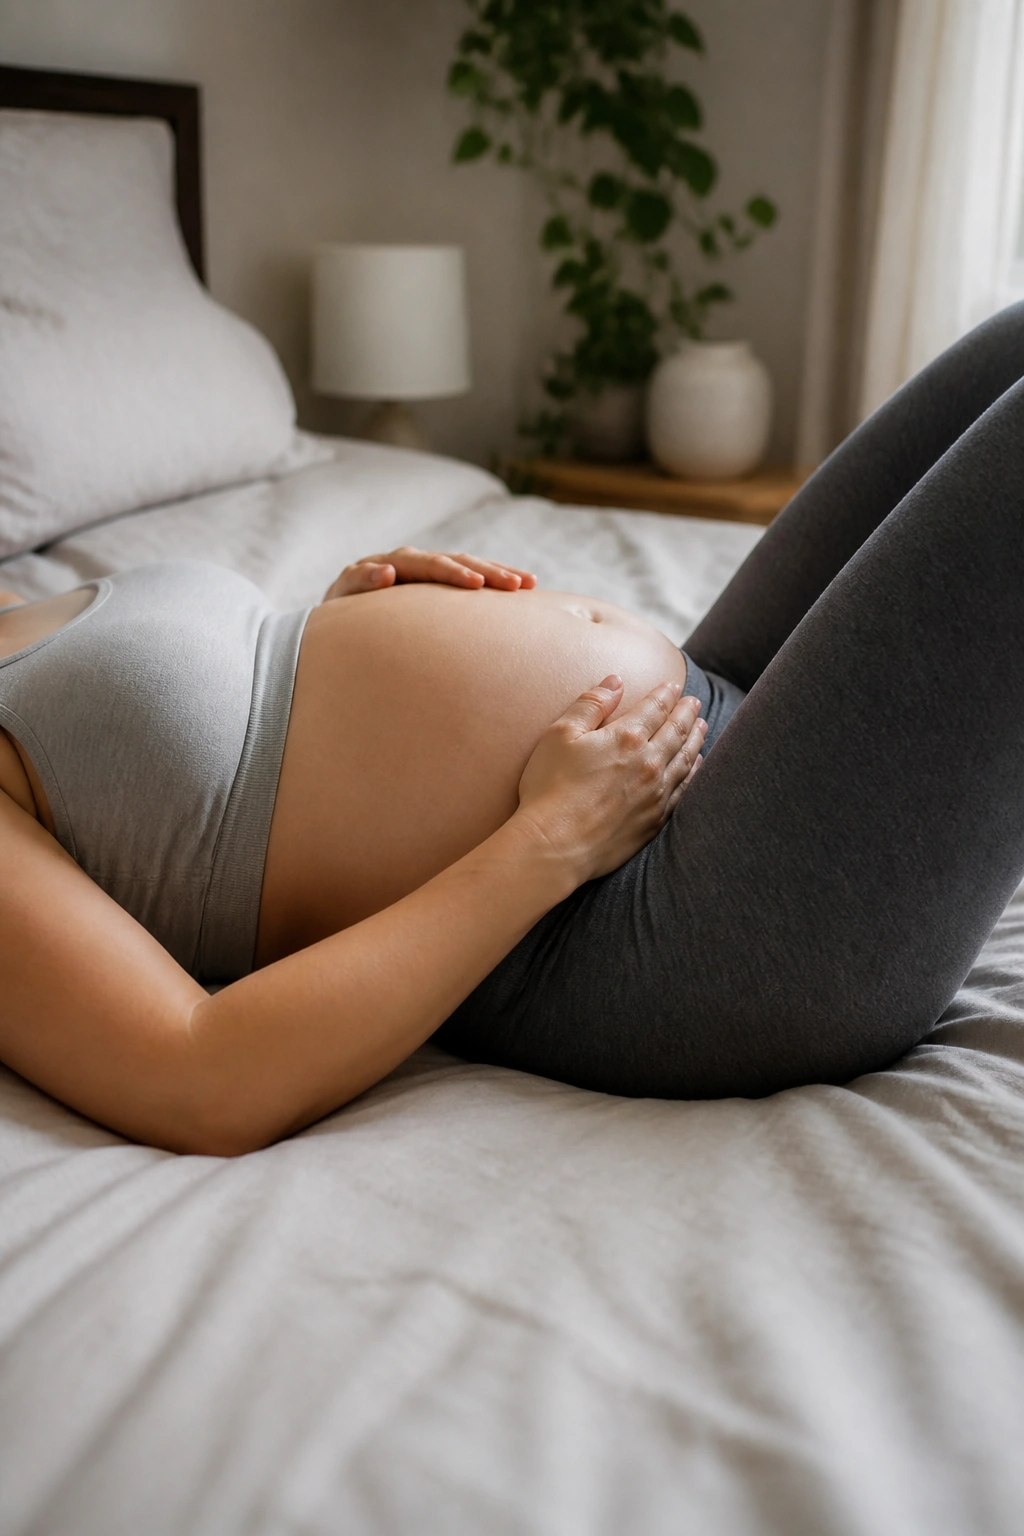
This is less of a “workout” and more of a practice. In Pilates, we refer to the pelvic floor as the bottom of our “core canister.” Learning to engage and relax it is just as important as strengthening your arms or legs.
The Practice
Sit or lie in a comfortable position. Imagine you are trying to stop yourself from passing gas and simultaneously trying to lift a blueberry with your pelvic muscles. Lift and squeeze gently, then—this is the most important part—fully relax.
Why Coordination Matters
Strength is not just about squeezing; it is about release. You need a pelvic floor that can be strong when you sneeze or cough but completely relaxed during labor. This practice helps you develop that mind-body connection.
Tip: Do not hold your breath while you do this. Your diaphragm and pelvic floor are connected; keep the breath flowing.
19. Shoulder Bridges
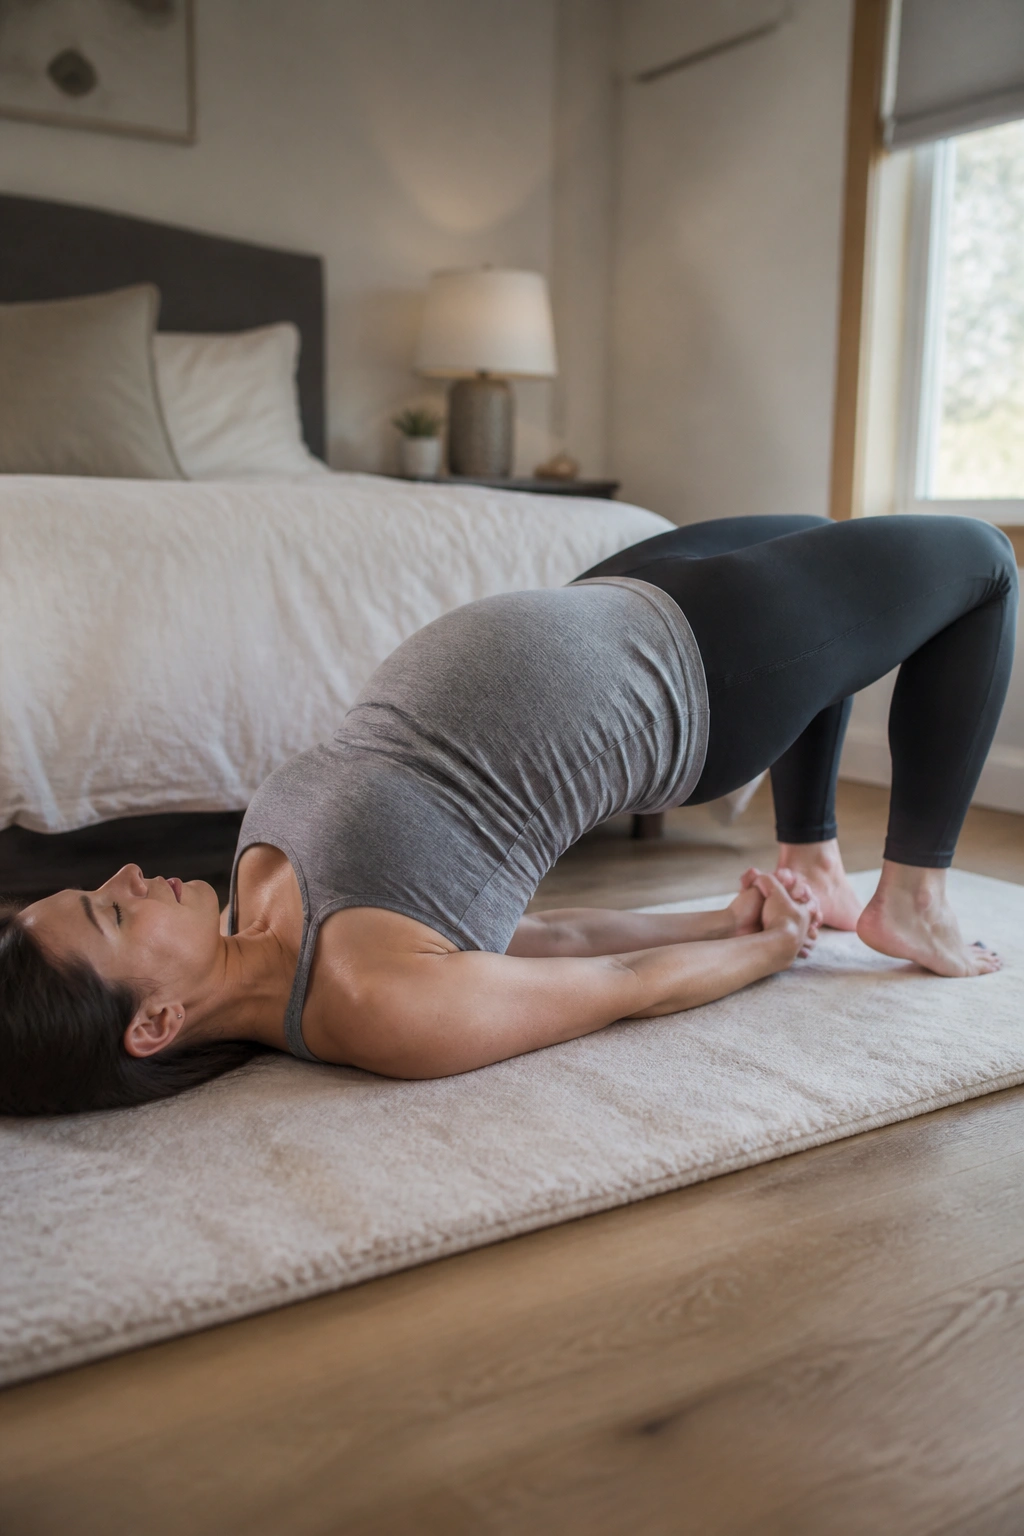
A shoulder bridge is a variation of the standard bridge that emphasizes the upper back and neck alignment. It is a fantastic way to stretch the chest while strengthening the posterior chain.
The Movement
Lie on your back, knees bent, feet flat. Lift your hips into a bridge. Now, tuck your shoulder blades underneath you, interlacing your hands (if comfortable) on the floor beneath your pelvis. This opens the chest and engages the upper back muscles.
Why It’s Great
This pose corrects the “rounded shoulders” posture that often creeps in during pregnancy. It forces you to open your chest and engage your upper back, which helps maintain good posture even as your front body feels heavy.
Warning: Only hold this for a short time. If you feel any dizziness, return to the floor immediately.
20. Chest Expansion
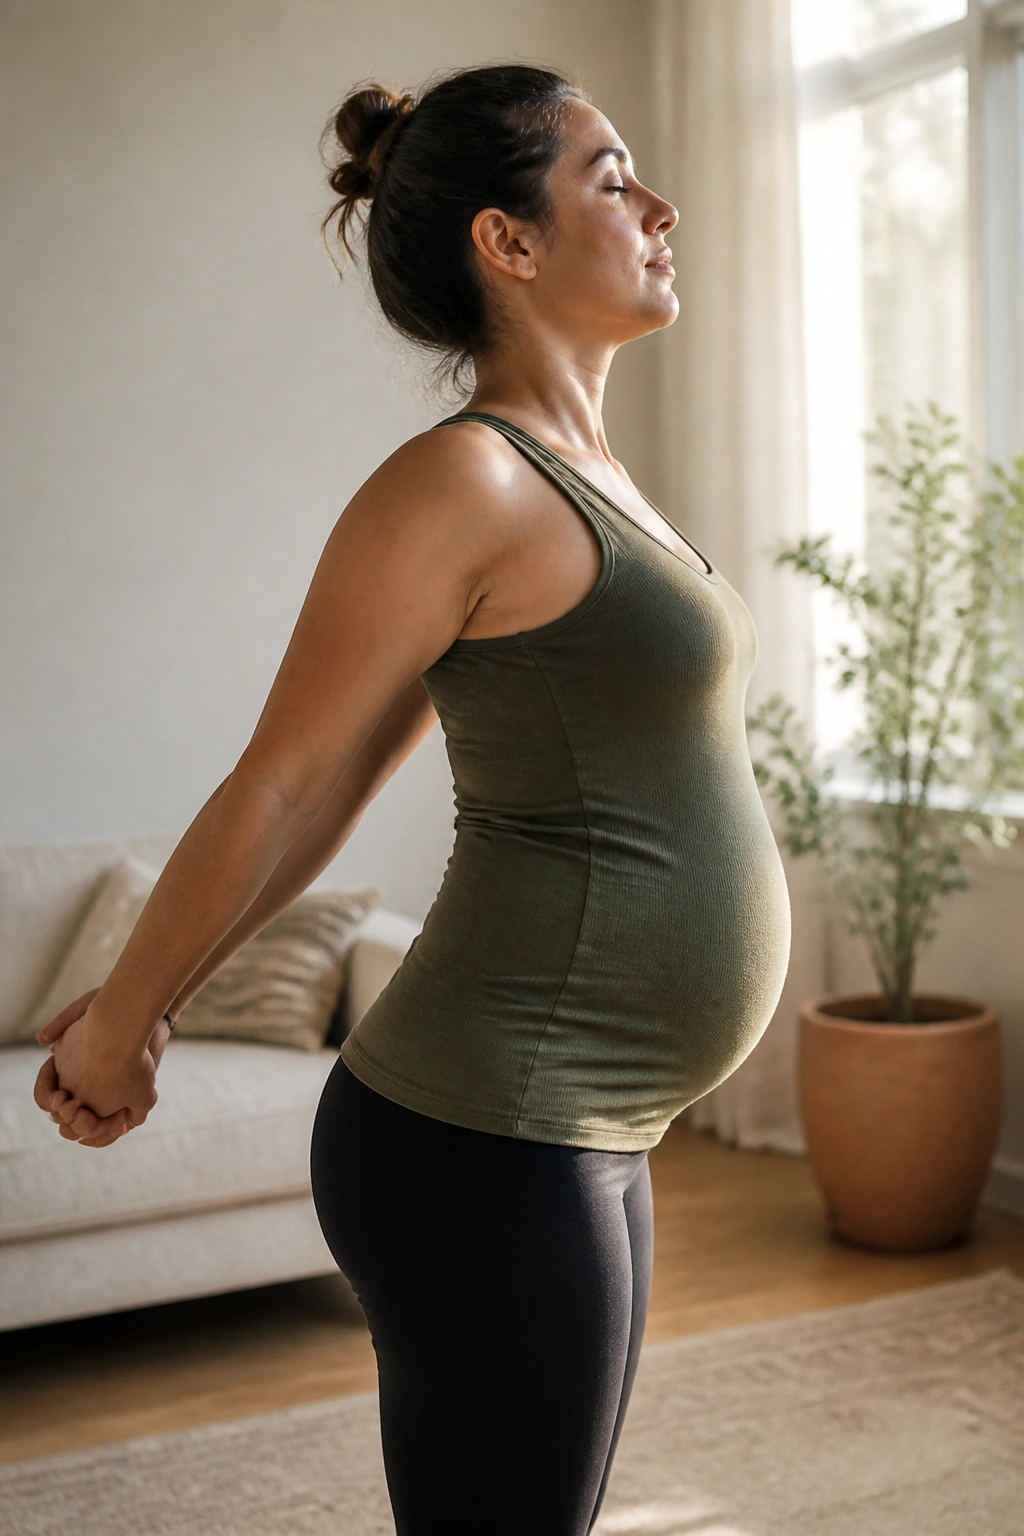
This is a classic Pilates exercise that looks deceptively simple but is highly effective at correcting forward-rounded shoulders. It is a postural exercise that counteracts the forward pull of the belly.
How to Execute
Stand tall with your feet hip-width apart. Reach your arms back behind you, palms facing your thighs. As you inhale, press your palms toward each other behind you and slightly downward. Imagine squeezing a pencil between your shoulder blades. Hold for a beat, then release.
Benefits for Posture
As your bust and belly grow, your shoulders have a tendency to slump forward. This movement strengthens the rhomboids and the muscles in the upper back, pulling the shoulders into proper alignment and opening the chest.
Pro tip: Do not let your head jut forward. Keep your ears aligned over your shoulders.
21. Arm Circles
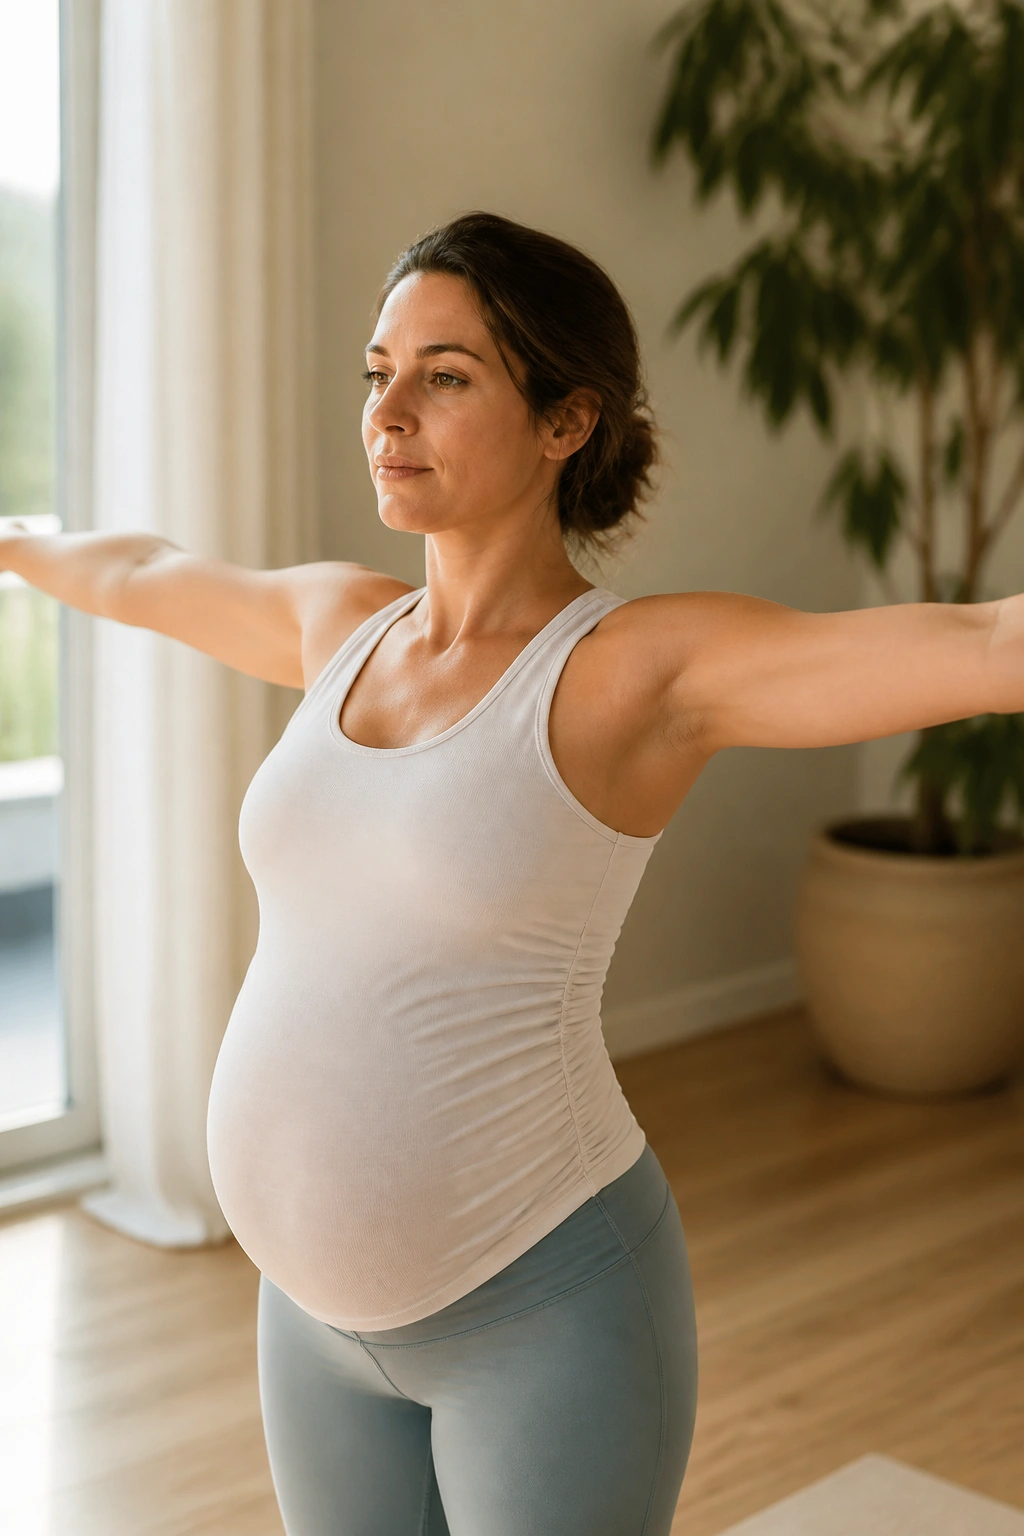
Arm circles might seem like a “gym class” move, but in Pilates, they are a deep postural exercise. They help tone the arms and shoulders while keeping the core stabilized.
The Technique
Stand or sit tall. Extend your arms out to the sides at shoulder height. Make small, controlled circles with your fingertips. Imagine you are drawing a circle on the wall with a pencil. Do ten circles forward, then ten circles backward.
Why This Works
The burn you feel in your shoulders is real! This move helps with shoulder stability and endurance. It is also great for lymphatic drainage in the arms, which can sometimes get puffy during pregnancy.
Variation: Hold small water bottles for a bit of extra resistance if you want a more intense shoulder burn.
22. Standing Inner Thigh Squeezes
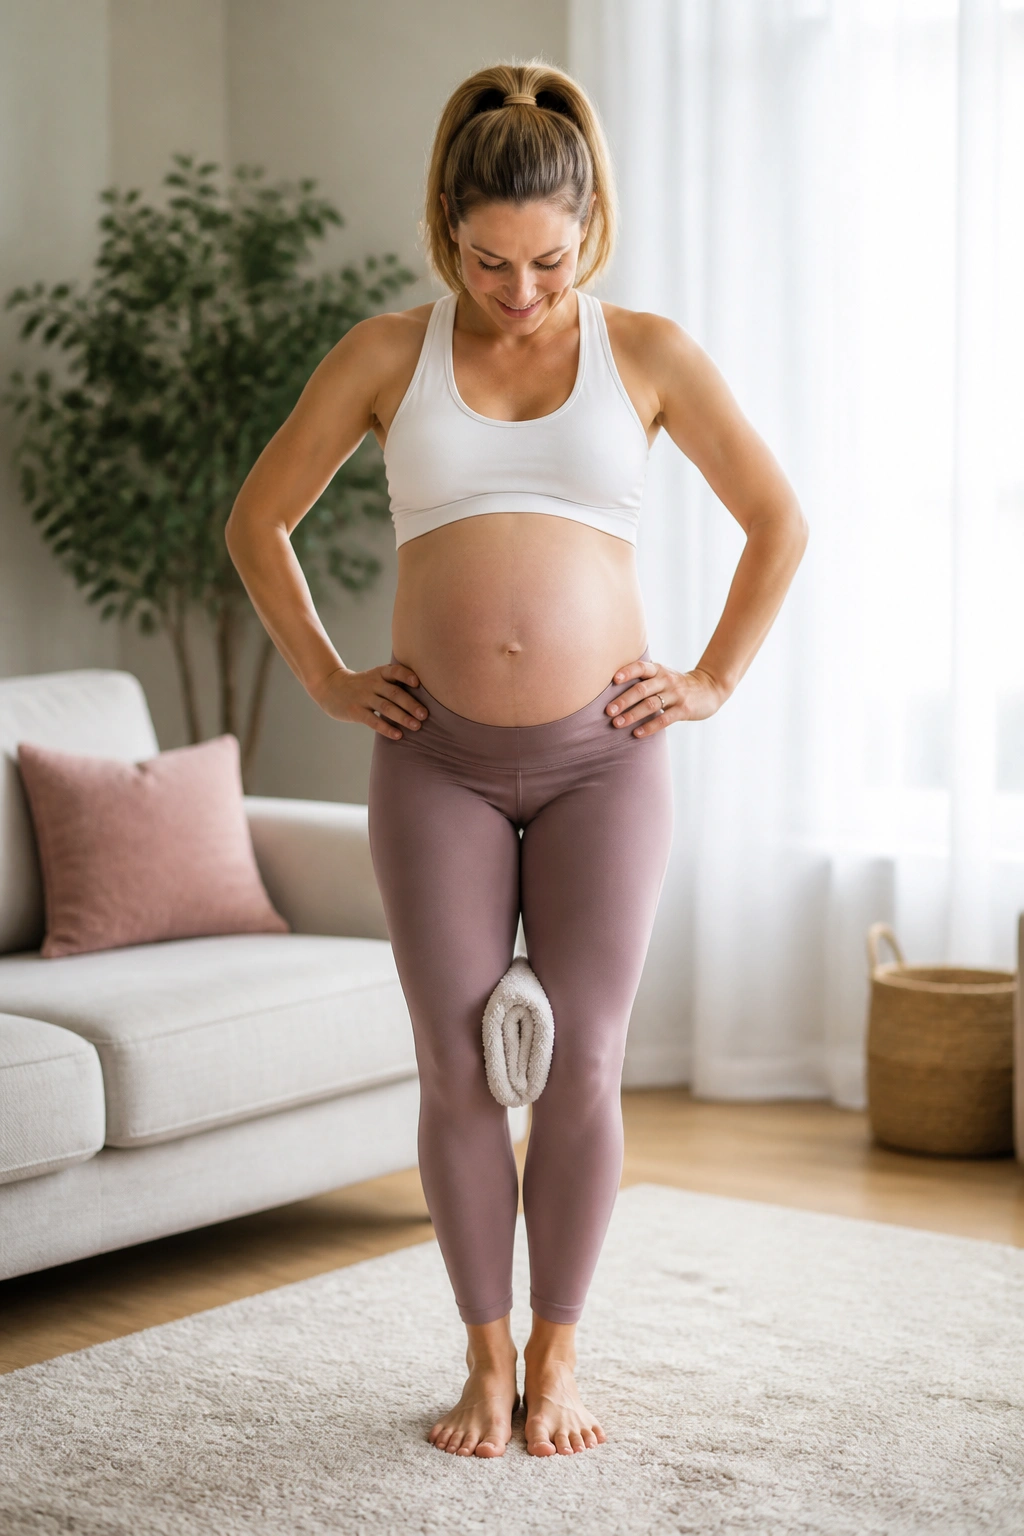
Inner thigh strength is often overlooked, but it plays a significant role in pelvic stability. This move is incredibly simple to execute and requires zero equipment—just a cushion or a rolled-up towel.
The Method
Stand tall. Place a small pillow or a tightly rolled towel between your knees. Squeeze the object with your inner thighs, engaging your core at the same time. Hold the squeeze for five seconds, then release.
Why It Matters
When the pelvic ligaments loosen, the inner thighs have to work harder to keep everything stabilized. Strengthening these muscles provides a sense of support in the pelvis and helps maintain good alignment in the legs and hips.
Tip: You can perform this while sitting as well, which makes it a great “desk workout” if you are still working.
23. Glute Kickbacks
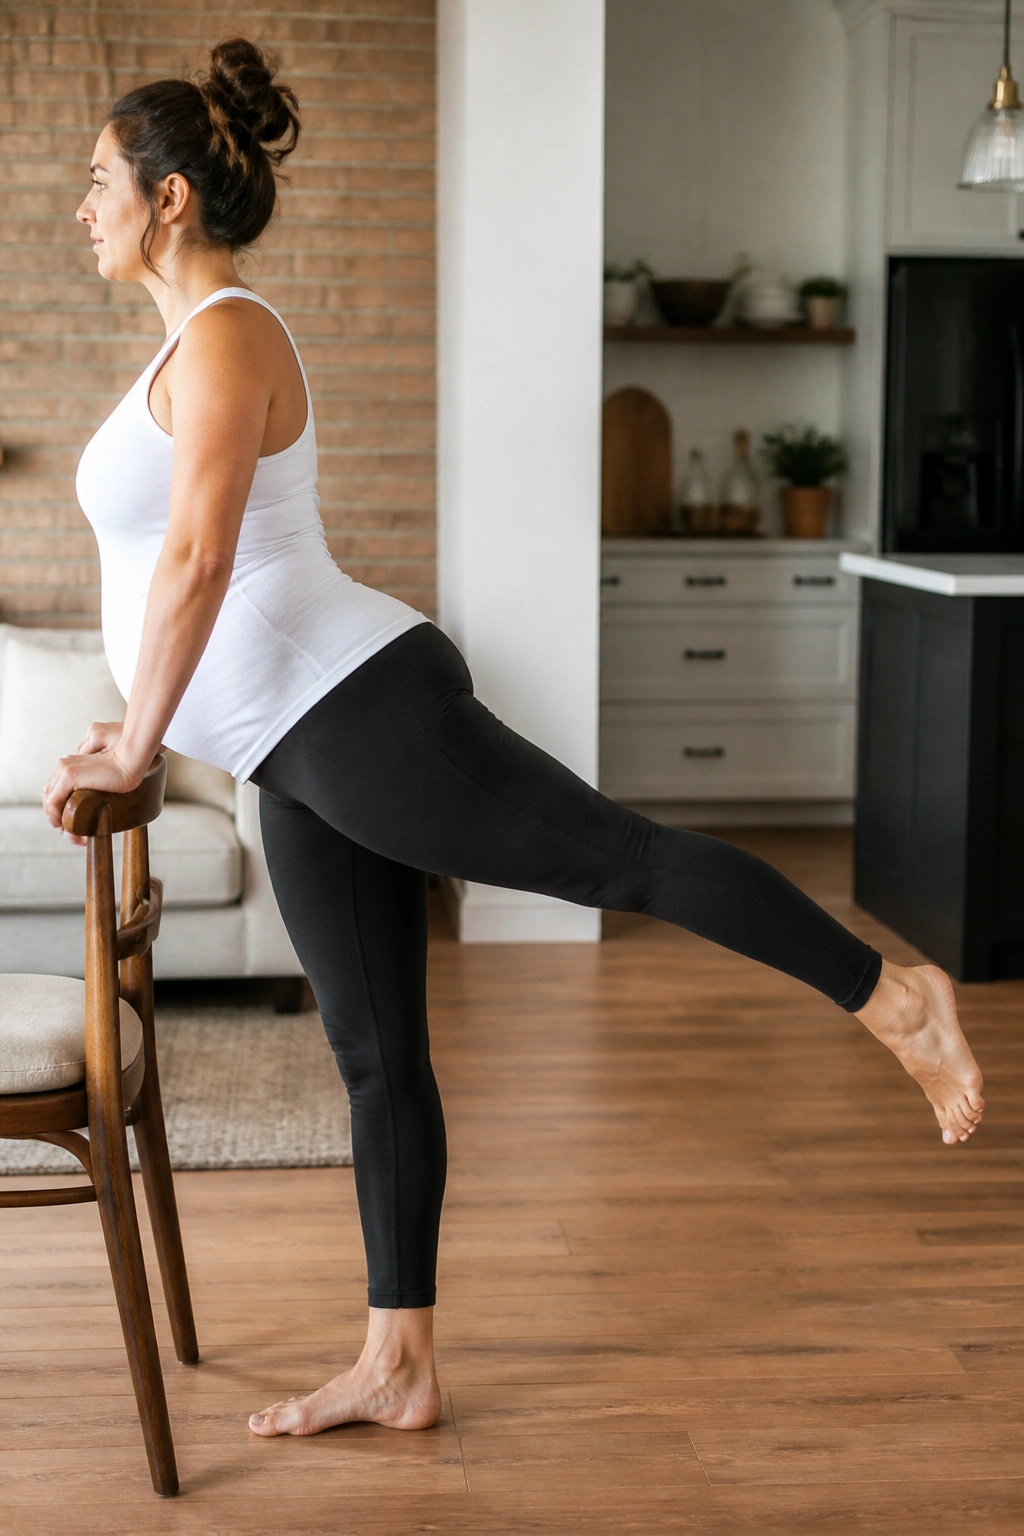
This is a great standing exercise that works the glutes and hamstrings without requiring you to get down on the floor. It is perfect for those days when getting up and down from the mat feels like a chore.
The Execution
Stand behind a sturdy chair. Keep your back straight and your core engaged. Slowly lift one leg behind you, keeping the knee straight. Focus on using your glute to initiate the movement, not your lower back. Lower back down with control.
Why It’s Effective
This targets the gluteus maximus, the largest muscle in the body. Keeping this muscle strong is essential for back health. Since you are standing, you also get the benefit of balancing on one leg, which engages the stabilizing muscles in your standing ankle and hip.
Visual Cue: Imagine you are pressing your heel into a heavy door behind you.
24. Supine Ankle Pumps
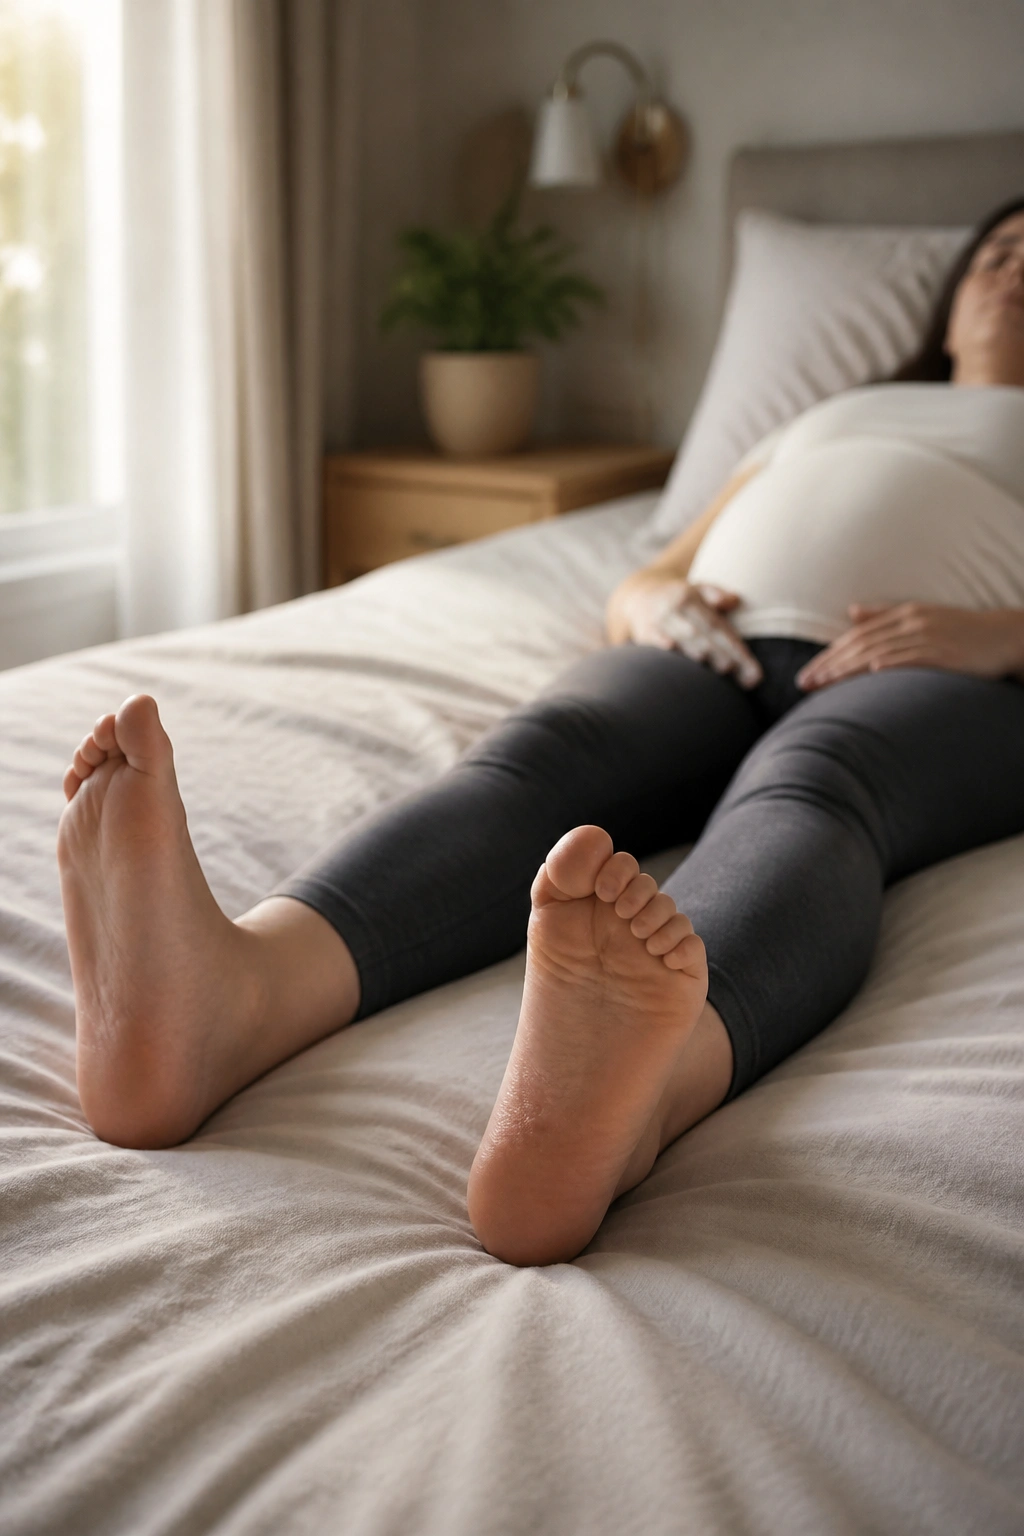
Ankle mobility is often ignored, but it is critical for blood flow. This exercise is simple, safe, and can be done comfortably in bed or on a sofa, making it a perfect end-of-day ritual.
The Movement
Lie on your back or sit with your legs extended. Point your toes away from you as far as you can, then flex your feet, pulling your toes back toward your shins. Move rhythmically, focusing on the full range of motion.
Why Do This?
If you deal with swelling (edema) in your feet, this move is a lifesaver. It stimulates the calf muscles to pump fluid back up the body. It takes seconds to do but can make a noticeable difference in how your feet feel.
Combine it: Do this alongside your breathing exercises for a complete relaxation routine.
25. Deep Diaphragmatic Breathing
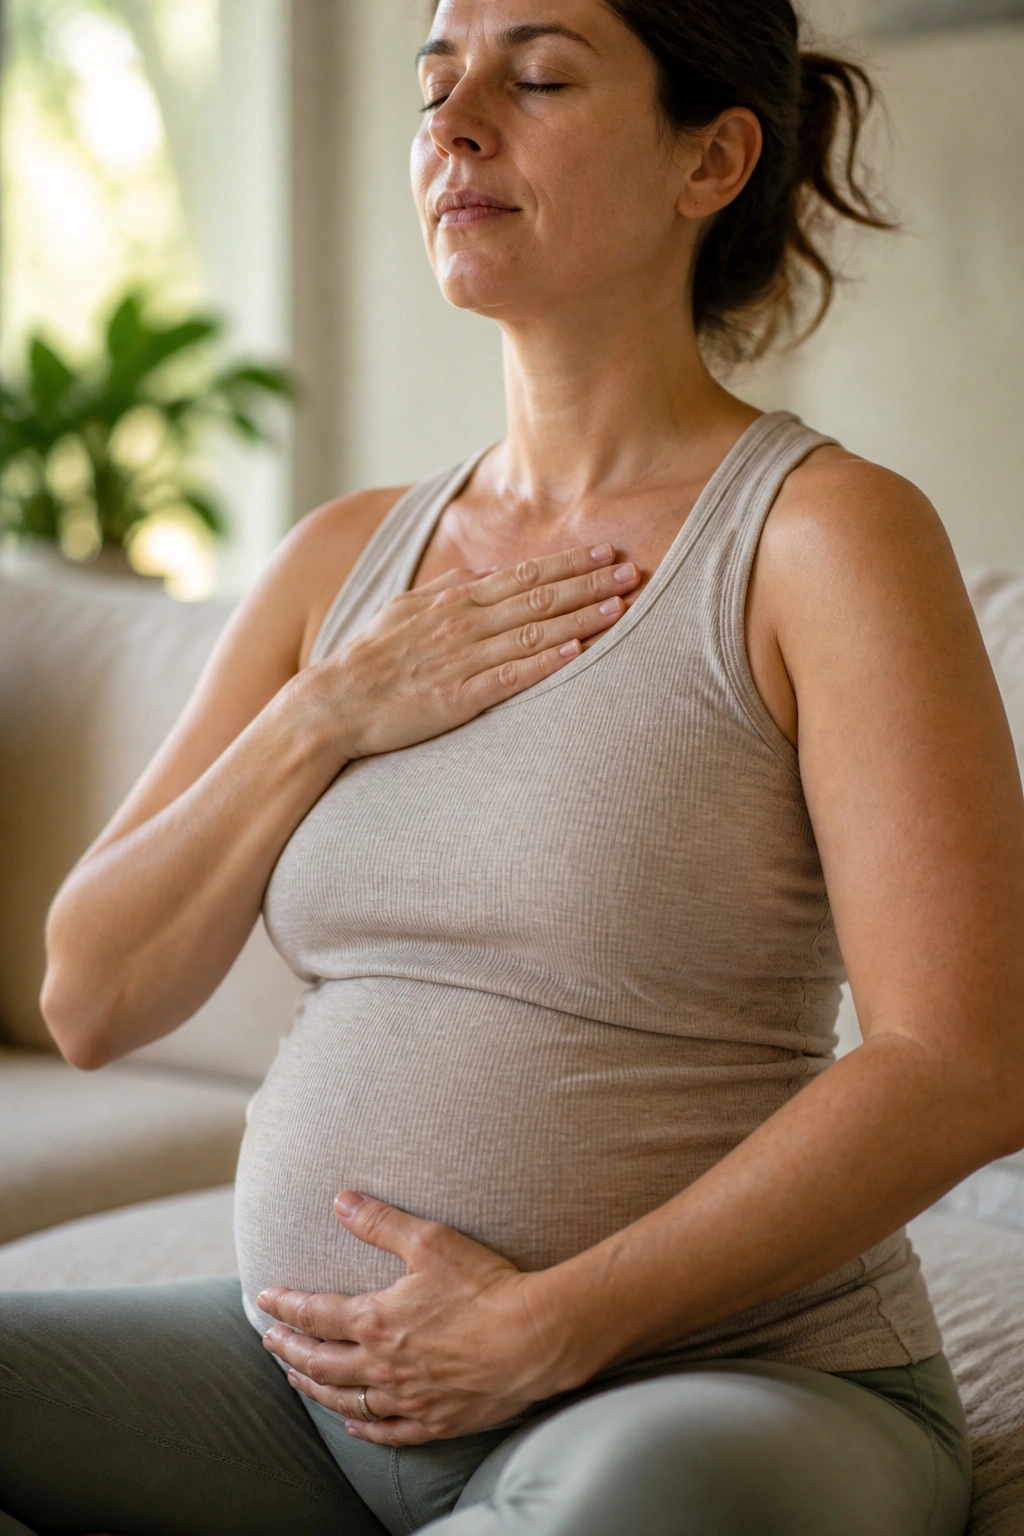
This is the most important exercise on the list. It is not just “breathing”; it is the foundation of Pilates. Proper diaphragmatic breathing helps manage intra-abdominal pressure, which is vital for pelvic health.
How to Practice
Place one hand on your chest and one on your belly. Inhale slowly through your nose, feeling your belly expand under your bottom hand—your chest should stay relatively still. Exhale through pursed lips, feeling your belly deflate as you gently engage your pelvic floor.
The Power of the Breath
When you breathe this way, you are giving your pelvic floor and core a gentle, consistent workout. It is also the most effective way to calm your nervous system. If you do nothing else on this list, do this. It connects you to your body and prepares you for the physical exertion of birth.
Pro tip: Practice this in different positions—sitting, standing, and side-lying—to get comfortable with the sensation.
Final Thoughts
Consistency is more valuable than intensity. You do not need to perform every single one of these movements every day. Instead, try to build a small habit: perhaps ten minutes of movement in the morning, or five minutes of stretches before bed. Pilates is about listening to your body, not pushing it into a specific shape.
Remember that your body is currently doing one of the most physically demanding jobs imaginable. Treat yourself with grace. If an exercise feels “off” or uncomfortable, trust your intuition and skip it. The goal is to finish your movement feeling a little bit more energized, a little more aligned, and a little more connected to yourself. Keep breathing, keep moving, and be kind to yourself throughout this incredible transition.
