



The beauty of a barre-based Pilates workout isn’t in the equipment. You do not need a mahogany ballet barre installed in your living room to feel the deep, trembling burn in your quadriceps or the stabilizing fire in your core. You need gravity, your own body weight, and enough floor space to extend your limbs fully. When you move away from the heavy-lifting mindset and into the precision of small, isometric movements, you unlock a different kind of strength—one that emphasizes muscular endurance, structural alignment, and the kind of long, lean definition that comes from keeping tension on the muscle for extended periods.
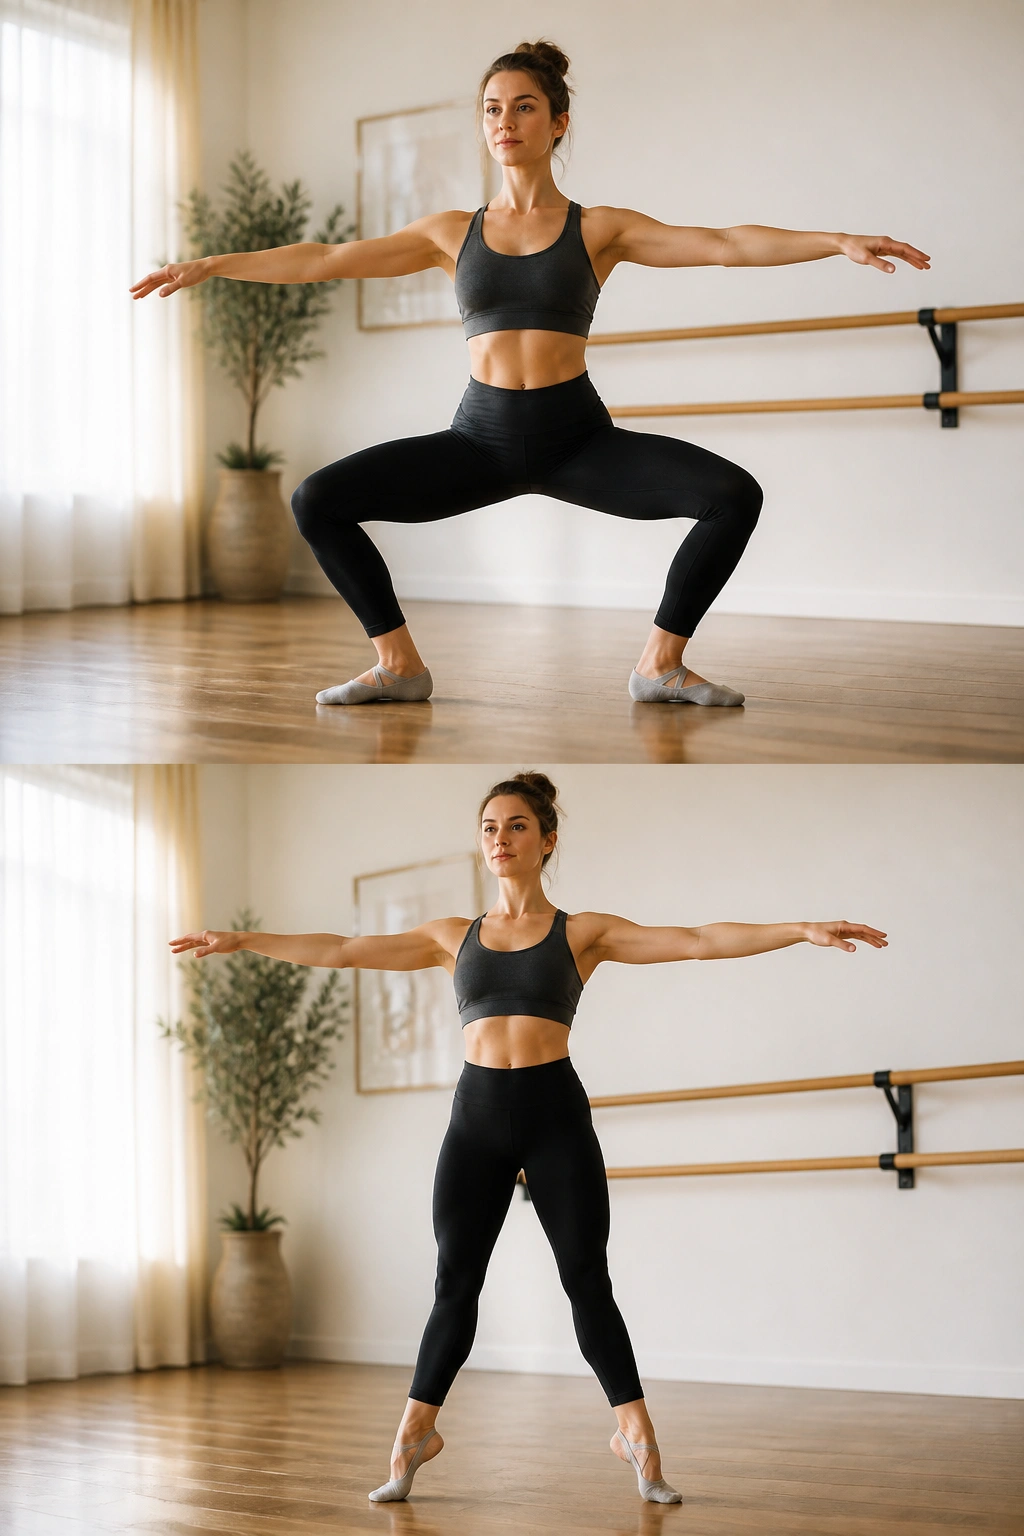
Many people stumble when trying to replicate this at home because they rush the motions. They treat it like aerobic exercise, swinging their legs or bouncing through a plié to keep their heart rate up. That is a mistake. The magic happens in the slow, controlled articulation of the movement. It is about fighting the urge to stand up straight when your legs are shaking and choosing to sink an inch lower instead. It is about breathing through the discomfort of holding a contraction.
We are going to walk through twenty-five specific movement sequences that you can do entirely at home. None of these require fancy gear, though having a sturdy chair, a kitchen counter, or even a heavy couch back to use as a support is helpful. Keep a mat nearby for the floor work. Focus on your breath, keep your shoulders away from your ears, and try to find the connection between your brain and the muscle you are trying to activate. If you feel nothing, adjust your angle. A tiny shift in foot placement or pelvic tilt can be the difference between a wasted rep and the one that finally builds strength.
1. The Classic Plié-to-Relevé Series
This is the foundation. If you master this, the rest of the workout builds on the same principle of finding your center while your legs are under extreme demand. Stand facing your support surface with feet hip-width apart, toes turned slightly outward.
Execution Details
Lower yourself into a squat—the plié—keeping your spine vertical. Imagine you are sliding your back down an invisible wall. As you hit the bottom of your range, lift your heels off the floor, balancing on the balls of your feet. Hold that position for three seconds, feeling the tremble in your calves and thighs. Lower your heels, then press through the balls of your feet to stand back up.
Why This Works
By separating the plié from the heel lift, you force the stabilizing muscles in your ankles to wake up. Most people skip the pause at the bottom, which is where the real work happens. Keep your tailbone tucked slightly to protect your lower back and ensure your knees track directly over your second toe. If they start caving inward, your form is compromised—step back and realign.
2. Tabletop Glute Pulses for Posterior Strength
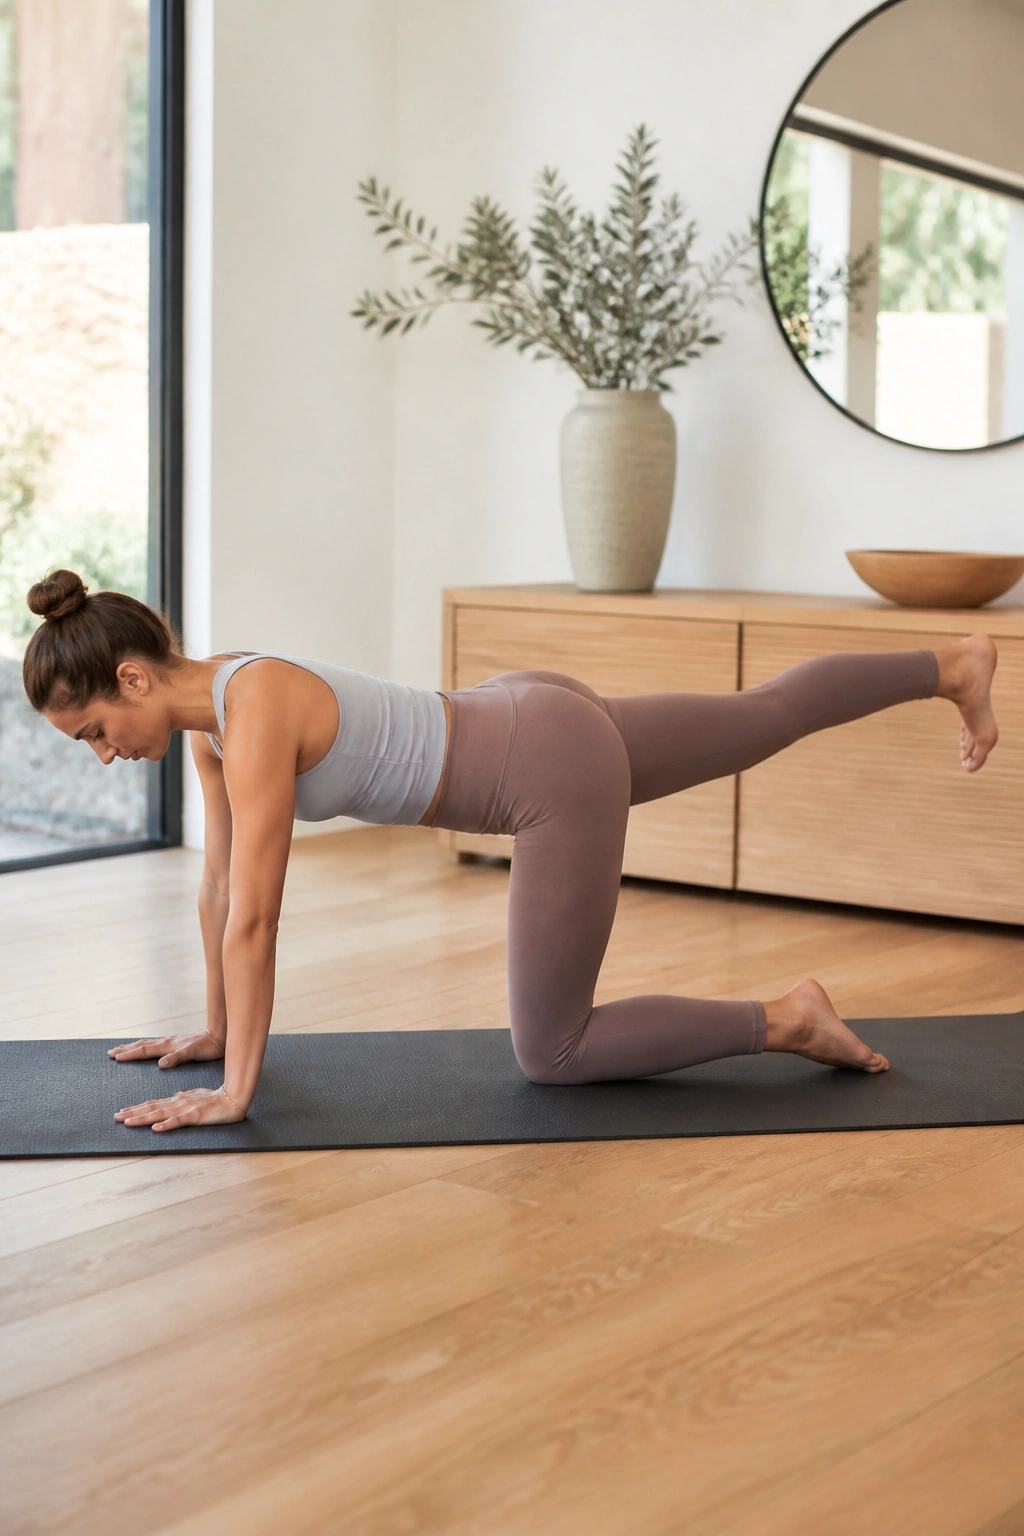
Shift your focus to the floor for this one. Get onto your hands and knees in a tabletop position. Your wrists should be directly under your shoulders, knees under your hips. This movement isolates the glutes without involving the lower back, provided you keep your core braced tightly.
The Mechanism
Extend your right leg straight back behind you, toe touching the mat. Lift that leg until it is parallel with the floor. From here, perform small, controlled pulses upward. You are not trying to reach for the ceiling; you are trying to squeeze the gluteal muscle to lift the leg an inch and then lower it a half-inch.
Common Mistakes
People love to dump weight into their lower back, causing it to arch like a hammock. Do not do that. Think of your spine as a flat table—if you put a glass of water on your back, it should not spill. Keep your gaze directed at the mat just between your hands to keep your neck long and neutral.
3. Standing Oblique Twists Using a Countertop
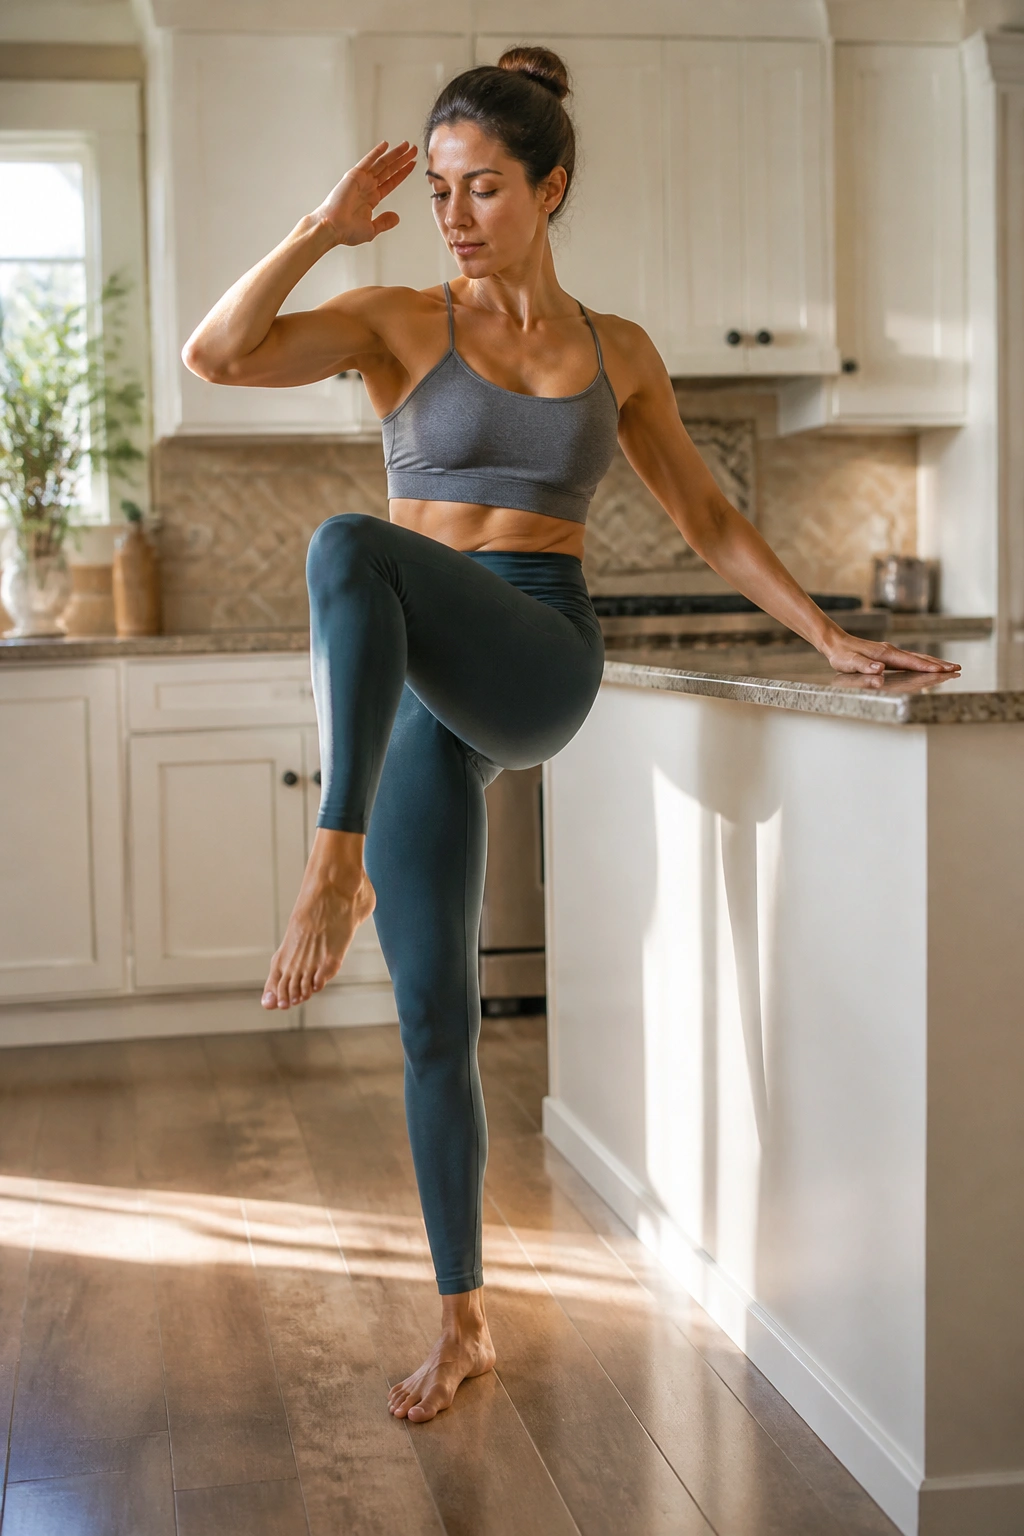
This is a standing core move that challenges your balance while working the waistline. Stand sideways to your support surface, holding onto it lightly with one hand for balance. Plant your feet firmly.
The Movement Flow
Reach your arm furthest from the support up toward the ceiling. As you exhale, pull your outside knee up toward your chest while simultaneously bringing your elbow down to meet it. It is a slow, crunchy motion that requires you to exhale all your air to engage the deep abdominals.
What to Feel
You should feel a distinct tightening in the side of your waist—the obliques—as you squeeze the knee and elbow together. Do not just move the limbs; move the torso. Think about shortening the distance between your ribcage and your hip bone. If you are just swinging your arm, you are missing the target.
4. Stability Work with Chair-Supported Lunges
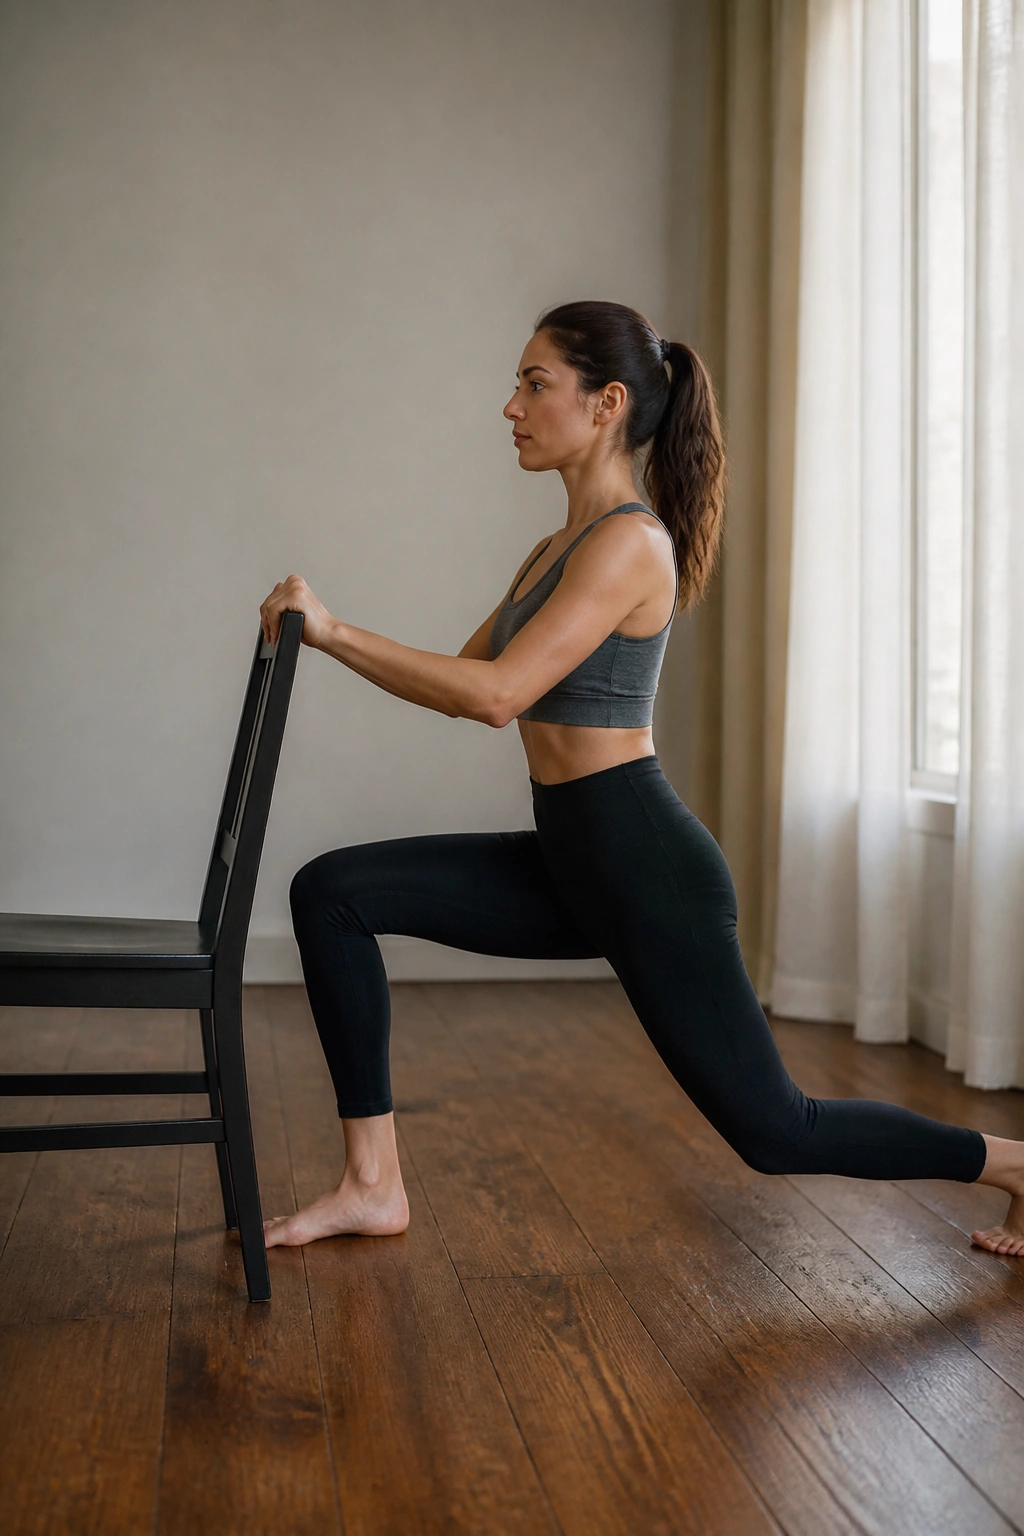
Standard lunges can be brutal on the knees if you have bad form, but using a chair for support makes this a targeted glute and quad workout that you can actually sustain. Stand behind your chair and place your hands on the backrest.
Proper Alignment
Step your right foot back into a long lunge position. Both feet should be pointing forward, not turned out. Bend both knees until they are at roughly 90-degree angles. Use the chair to keep your torso perfectly upright—do not lean forward over the front knee.
The Burn Factor
Pulse at the bottom of the lunge. Fifteen small pulses, then hold the bottom position for ten seconds. Switch legs. The key here is the vertical posture. When you lean forward, you turn this into a hip flexor exercise. When you stay upright, you hit the glutes and quads.
5. Mat-Based Inner Thigh Lifts
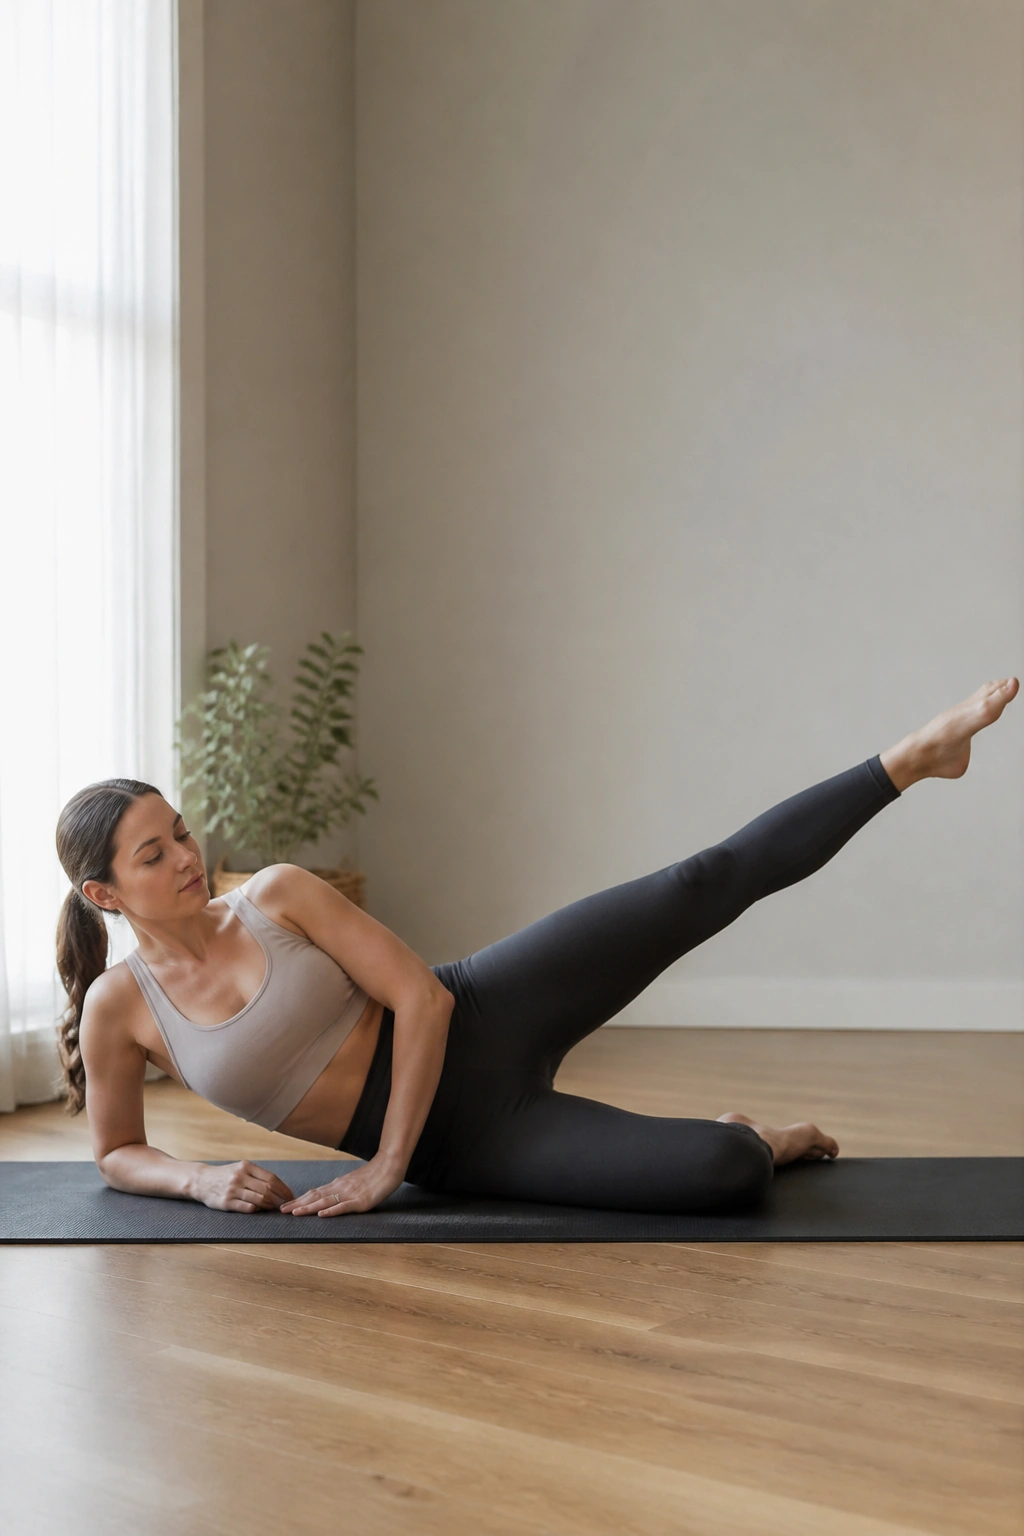
The inner thighs are notoriously difficult to target, but this classic move is effective if you slow it down. Lie on your side, propped up on your bottom elbow. Bend the top leg and place that foot flat on the floor behind your bottom leg.
The Technique
The bottom leg should be straight, toes pointed. Slowly lift that bottom leg as high as you can without rocking your hips backward. Hold at the top, pulse twice, and lower slowly. The lowering phase is just as important as the lift—do not just drop the leg. Use gravity against yourself.
Why It Matters
This is not about height. It is about resistance. Imagine you are lifting your leg through thick honey. If you feel this in your hip flexor or the front of your hip, rotate your toes slightly toward the ceiling to ensure the inner thigh muscle is doing the heavy lifting.
6. Tricep Dip-and-Lift Burnout
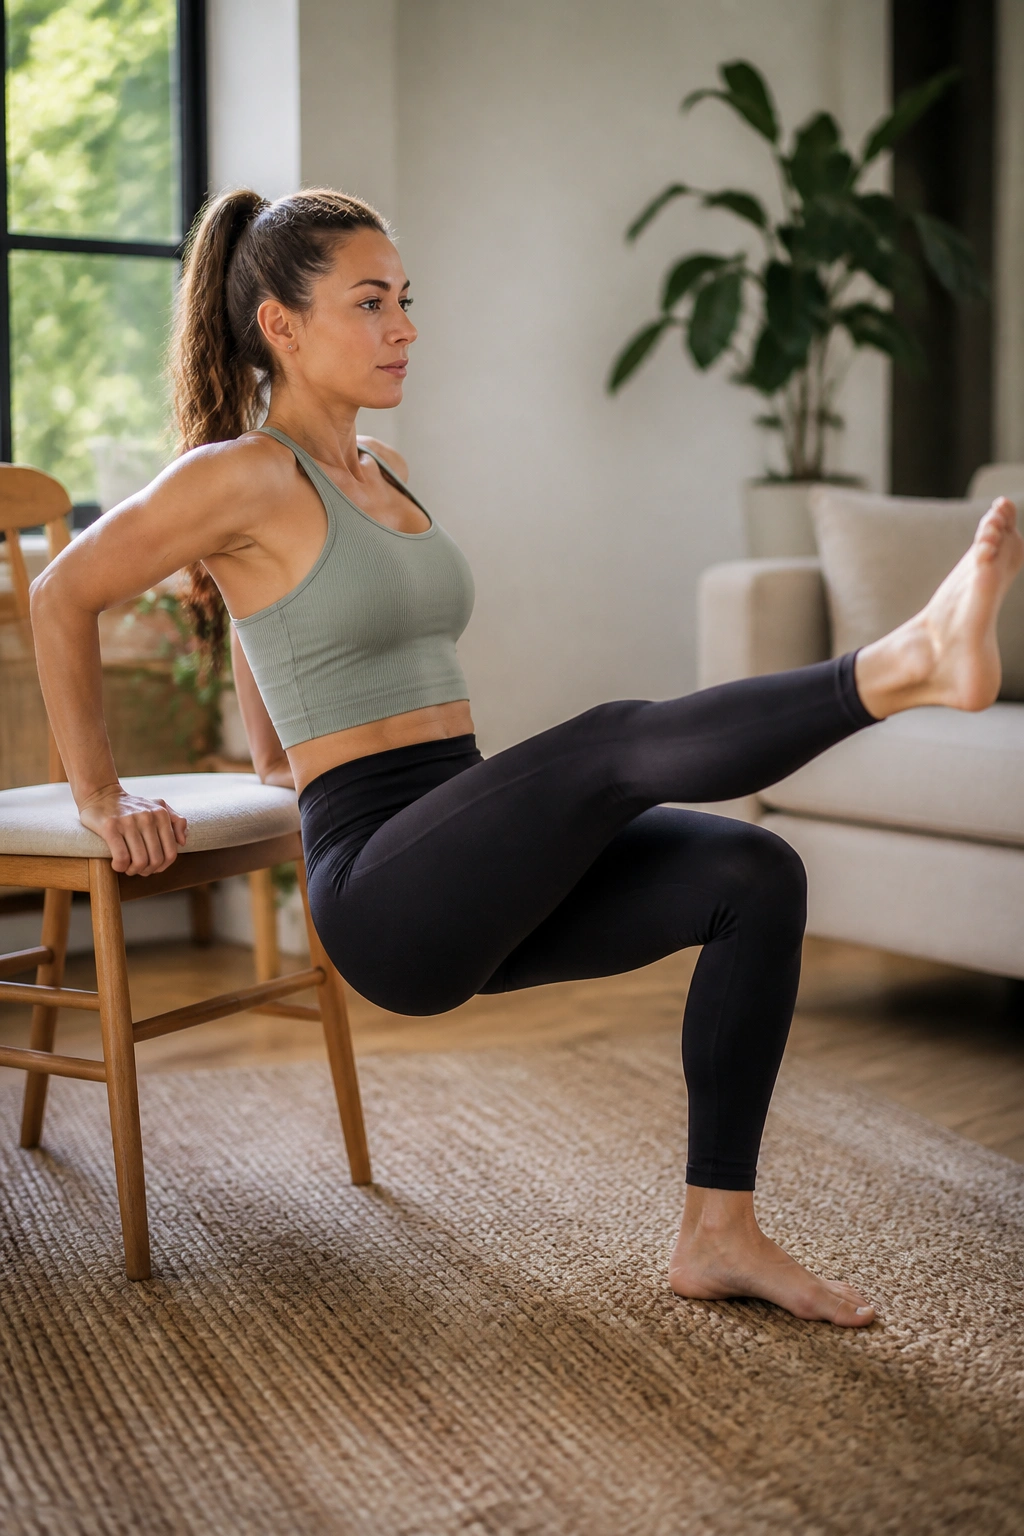
You do not need weights to tone the back of your arms. Sit on the edge of a sturdy chair, hands gripping the front edge. Slide your hips off, supporting your weight with your arms.
Controlling the Descent
Lower yourself until your elbows are at 90 degrees. Press back up. That is the basic motion, but we are adding a barre element. At the top of the press, lift your right leg straight out. Alternate leg lifts with each tricep press.
Staying Safe
Keep your shoulders pushed down away from your ears. Many people hunch their shoulders up toward their neck when their triceps get tired. It puts unnecessary strain on your traps. If your shoulders are creeping up, your triceps are likely exhausted—it is better to finish the set with good form than to force five more reps with bad posture.
7. Standing Knee-to-Chest Balances
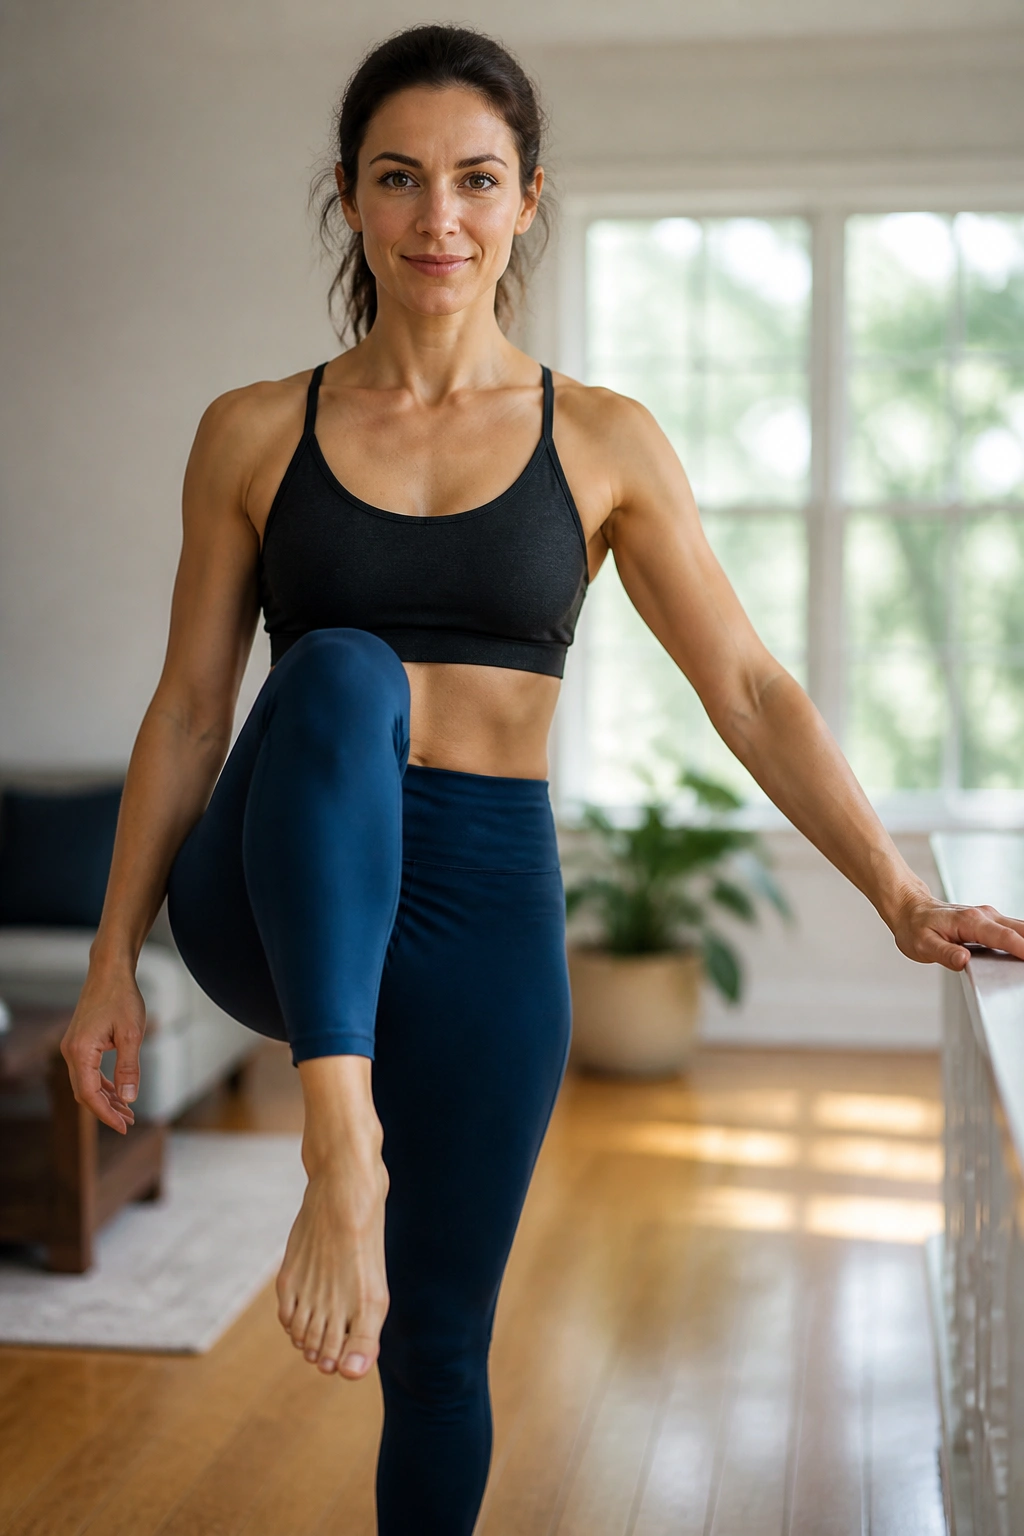
This move looks simple, but it is a masterclass in deep core stability. Stand facing your support, hands resting lightly on the surface. Find a neutral spine.
The Engagement
Engage your lower abdominals as if you are trying to zip up a tight pair of jeans. Slowly peel your right foot off the floor and draw the knee up toward your chest without rounding your back. The goal is to keep the standing leg completely still.
The Challenge
Once the knee is up, try to hover your hands just an inch above the support surface. Can you hold your balance for five seconds? Ten? If you wobble, use the support, but challenge yourself to rely on it less each time. This creates a feedback loop for your core muscles to stabilize you.
8. The Arabesque Leg Extension
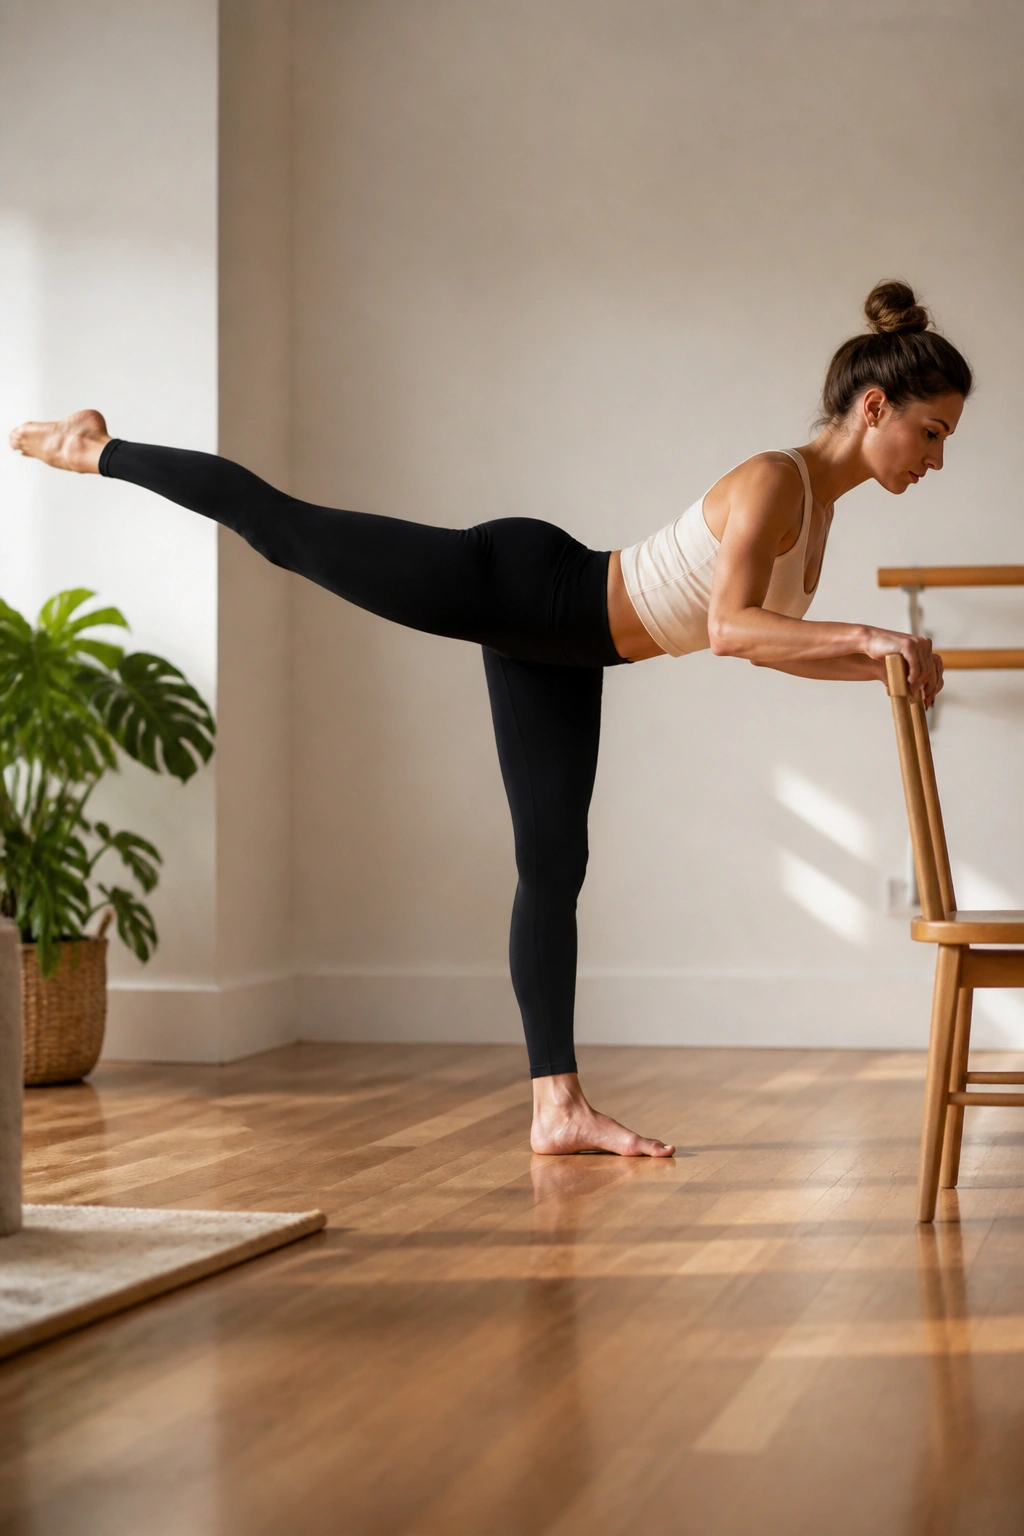
Arabesque is a ballet term, but in a Pilates context, it serves as an excellent way to strengthen the entire posterior chain—the back of the legs and the lower back. Stand facing your support.
The Form
Hinge forward at the hips, keeping your back flat, until your torso is parallel to the floor. Extend your right leg straight back behind you, lifting it until it is in line with your spine. Squeeze your glute to keep it there.
The Movement
Lower the leg until the toe taps the mat, then lift it back to the parallel line. Do not let your hips rotate. Your right hip bone should be pointing directly down at the mat the entire time. If your hip opens up to the side, you have moved out of the glute and into the lower back muscles, which is not the goal here.
9. Curtsy Lunge Variations
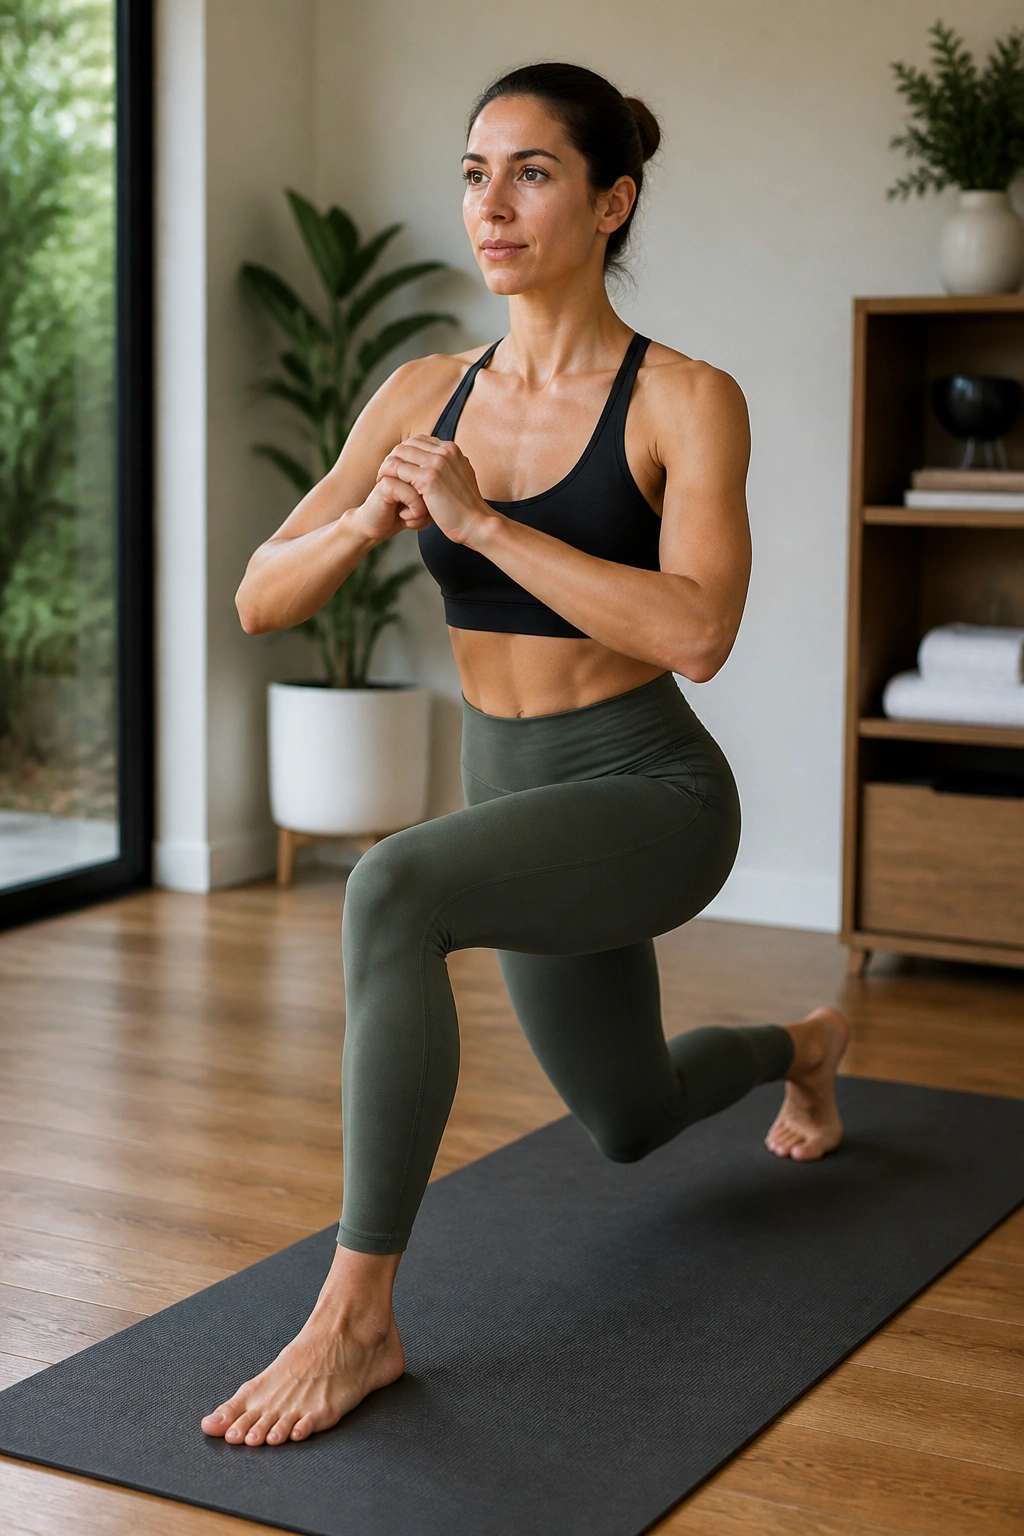
The curtsy lunge works the outer glute and the stabilizing muscles around the hip joint. Stand tall, feet hip-width apart. Step your right foot back and across behind your left leg, as if you are performing a polite curtsy.
Deepening the Lunge
Bend both knees deeply. The goal is to get your back knee close to the floor. Keep your front foot planted firmly. Pulse three times at the bottom of the curtsy before stepping back to the starting position.
Adjusting for Comfort
If you have sensitive knees, do not step back as far. You can get the same glute activation with a smaller step. The most important cue is to keep your front knee tracking over your front ankle. If the knee collapses inward, you lose the tension in the glute and put stress on the joint.
10. Pilates Swimming
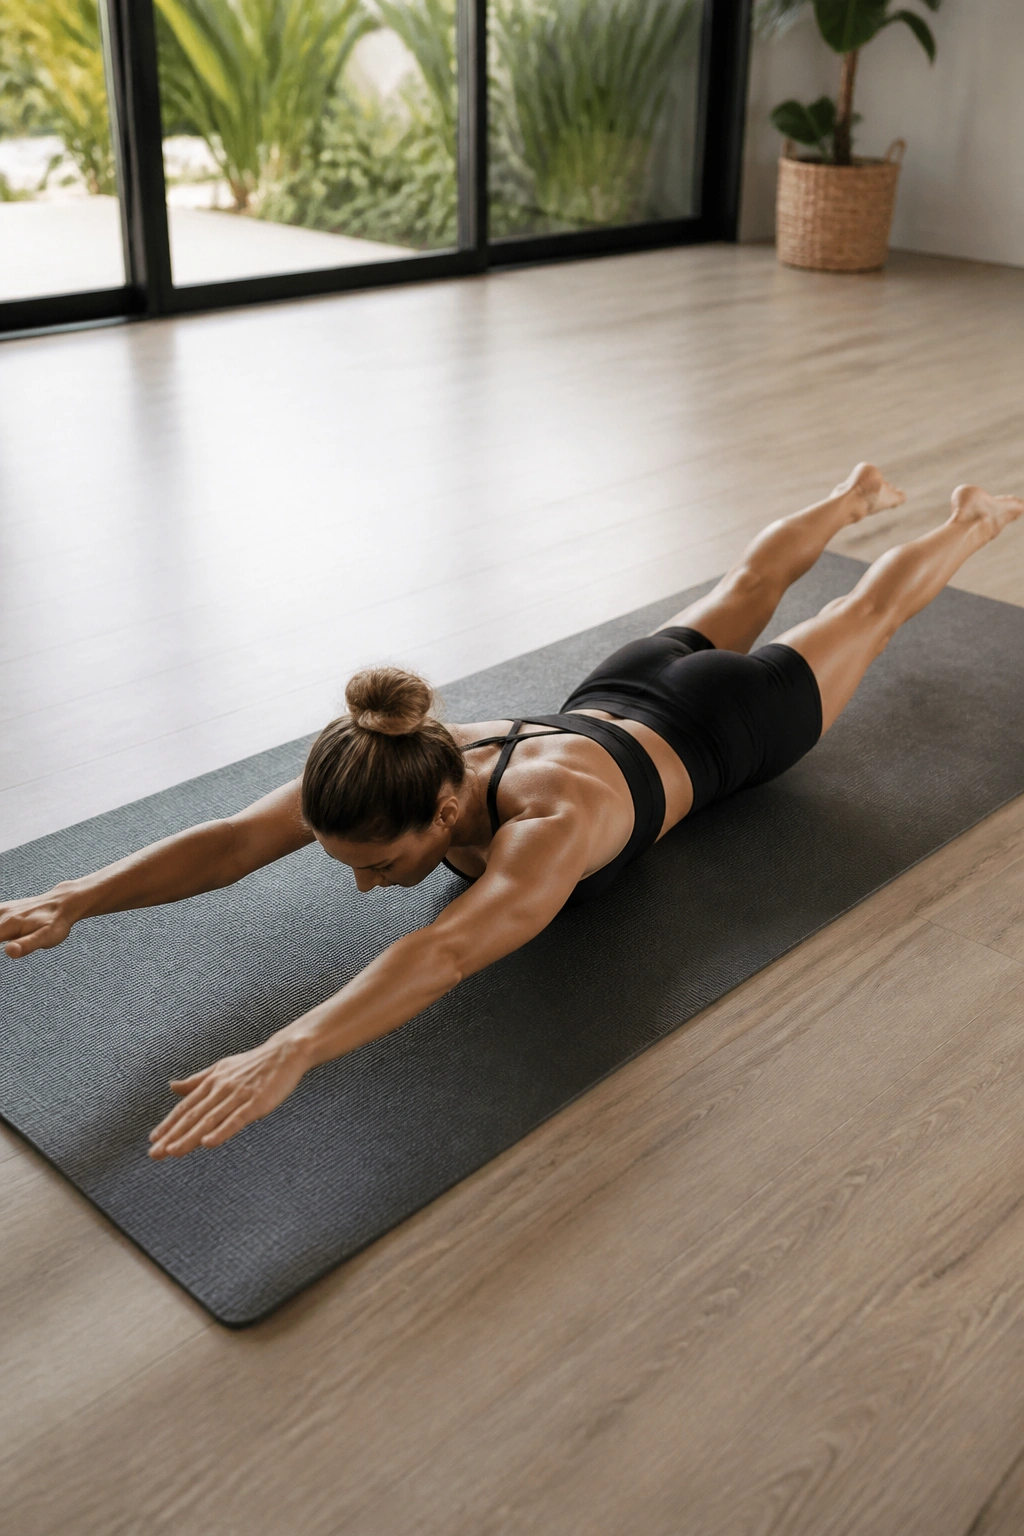
Swimming is a classic mat exercise that engages the entire posterior body. Lie face down on your mat, arms extended overhead, legs extended long.
The Coordination
Lift your arms and legs off the mat. Flutter them—right arm up with left leg, then switch. It is a rapid, small, controlled motion. Do not windmill your limbs; keep the movements small and precise.
Breathing Patterns
You will naturally want to hold your breath because the exertion is high. Don’t. Inhale for a count of four, exhale for a count of four. The breath keeps your core connected. If you feel this in your lower back, lower your limbs closer to the mat. You don’t need height; you need length.
11. The Plank-to-Pike Transition
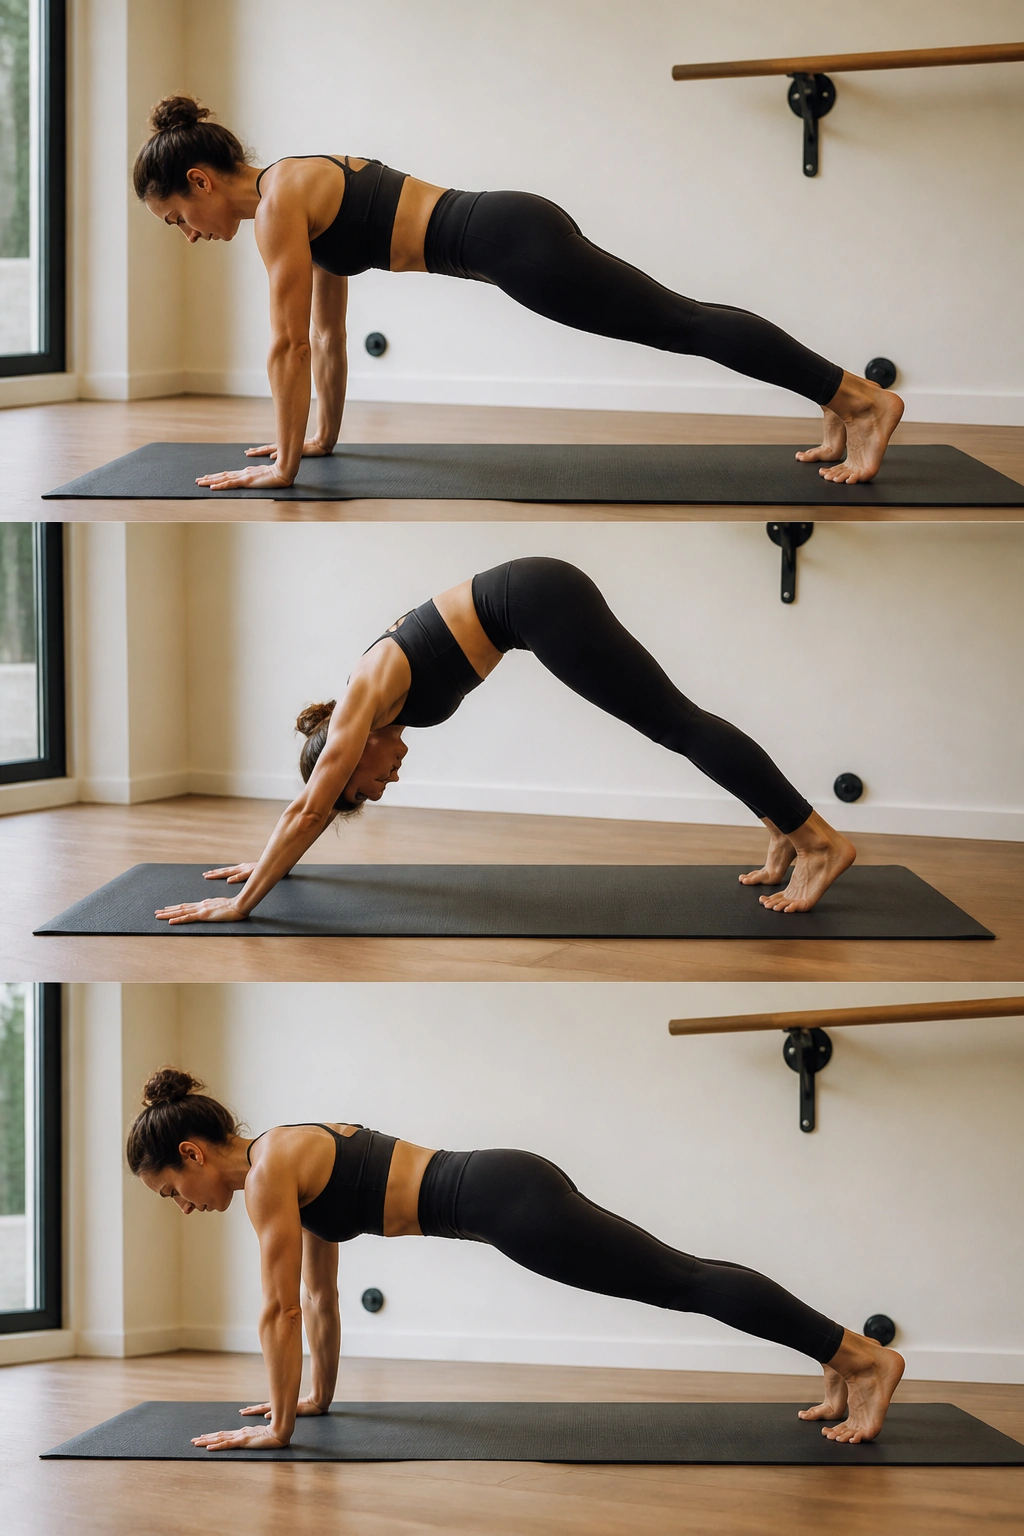
This is a total body movement that builds serious core and shoulder strength. Start in a high plank position, hands under shoulders, body in a straight line.
The Movement
Push your hips up and back toward the ceiling, creating an inverted V shape. Keep your heels heavy toward the floor to get a calf stretch, but don’t worry if they don’t touch. Then, roll your spine forward back into the plank.
Why This Works
The transition is the exercise. Moving slowly between the two positions forces your core to work overtime to prevent your back from arching or sagging. Control the descent. Do not just fall into the plank; guide your torso down with your abdominal muscles.
12. Wall-Supported Squat Holds
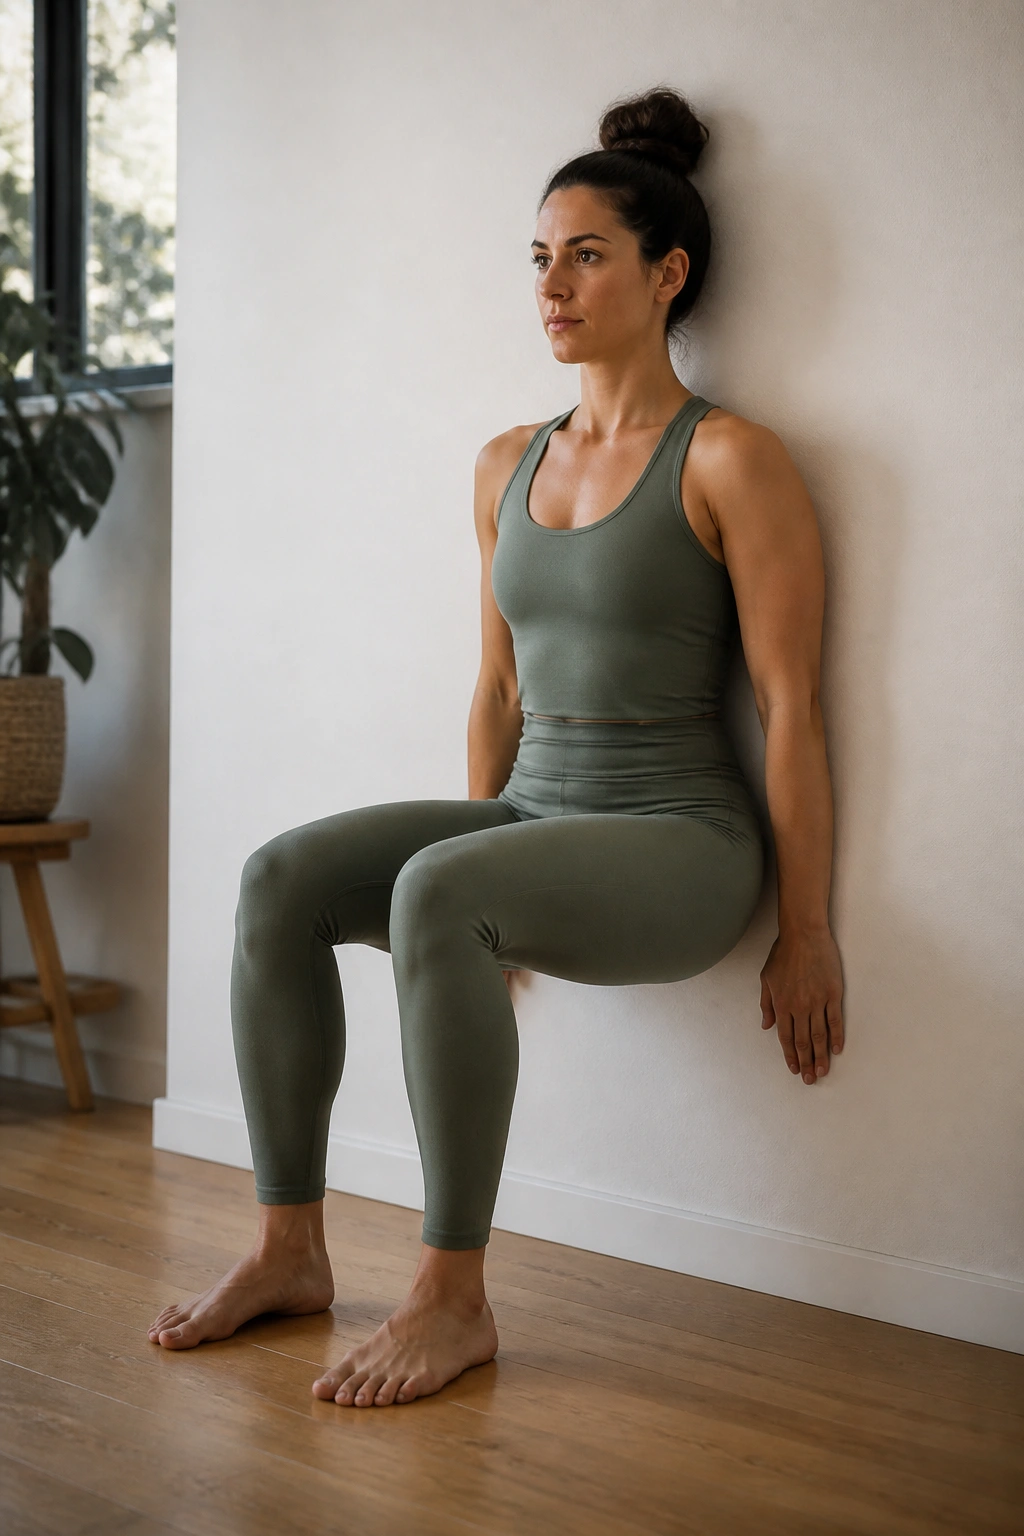
Sometimes you need to get away from the support surface and use a wall to isolate the legs. Stand with your back against a wall, feet about two feet in front of you.
The Position
Slide down until your thighs are parallel to the floor. If that’s too much, start higher. The goal is to hold this isometric contraction for as long as possible.
The Twist
To make it harder, add a small movement. Squeeze your knees together for ten seconds, then release. Or, lift your heels one at a time. This keeps the muscles under tension while demanding stability. Your quads will burn, and that is exactly the sensation you are looking for.
13. The Hundred
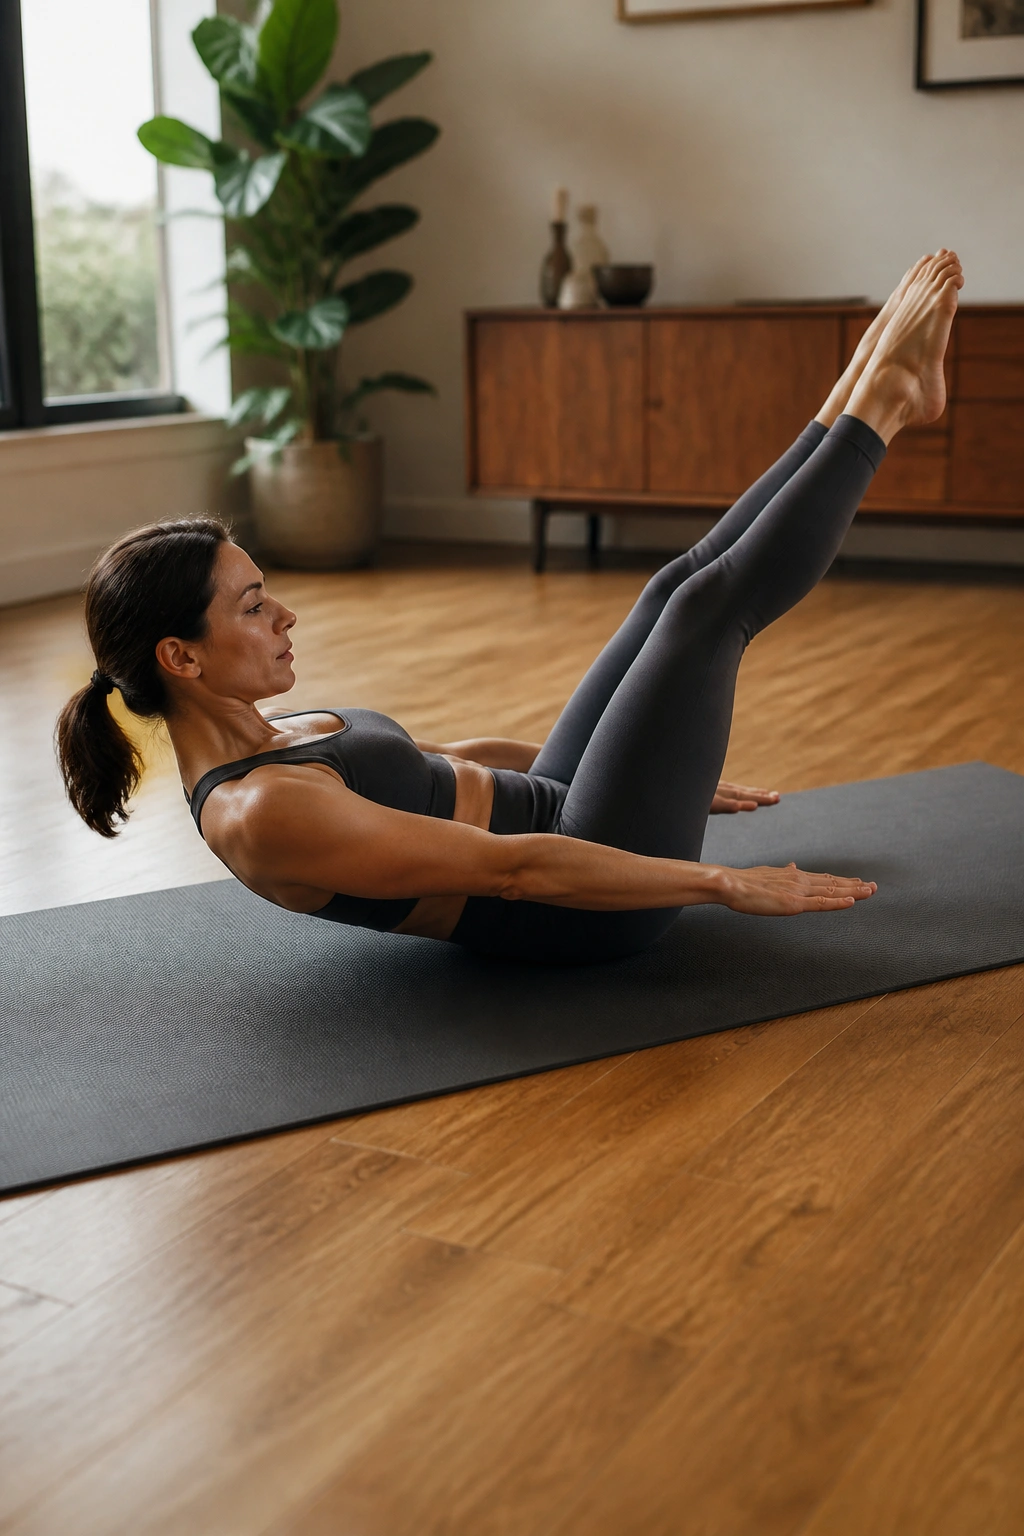
This is the quintessential Pilates exercise. Lie on your back, knees to chest. Curl your head, neck, and shoulders off the mat. Extend your legs to a 45-degree angle.
The Arm Motion
Pump your arms up and down by your sides with energy. Inhale for five pumps, exhale for five pumps. Repeat this ten times to reach one hundred pumps.
The Critical Cues
Keep your lower back glued to the mat. If your back arches, your legs are too low—raise them closer to the ceiling. This move is all about the deep abdominal contraction created by the curl and the sustained hold. If your neck hurts, put your head down or support it with one hand.
14. Single-Leg Bridge Lifts
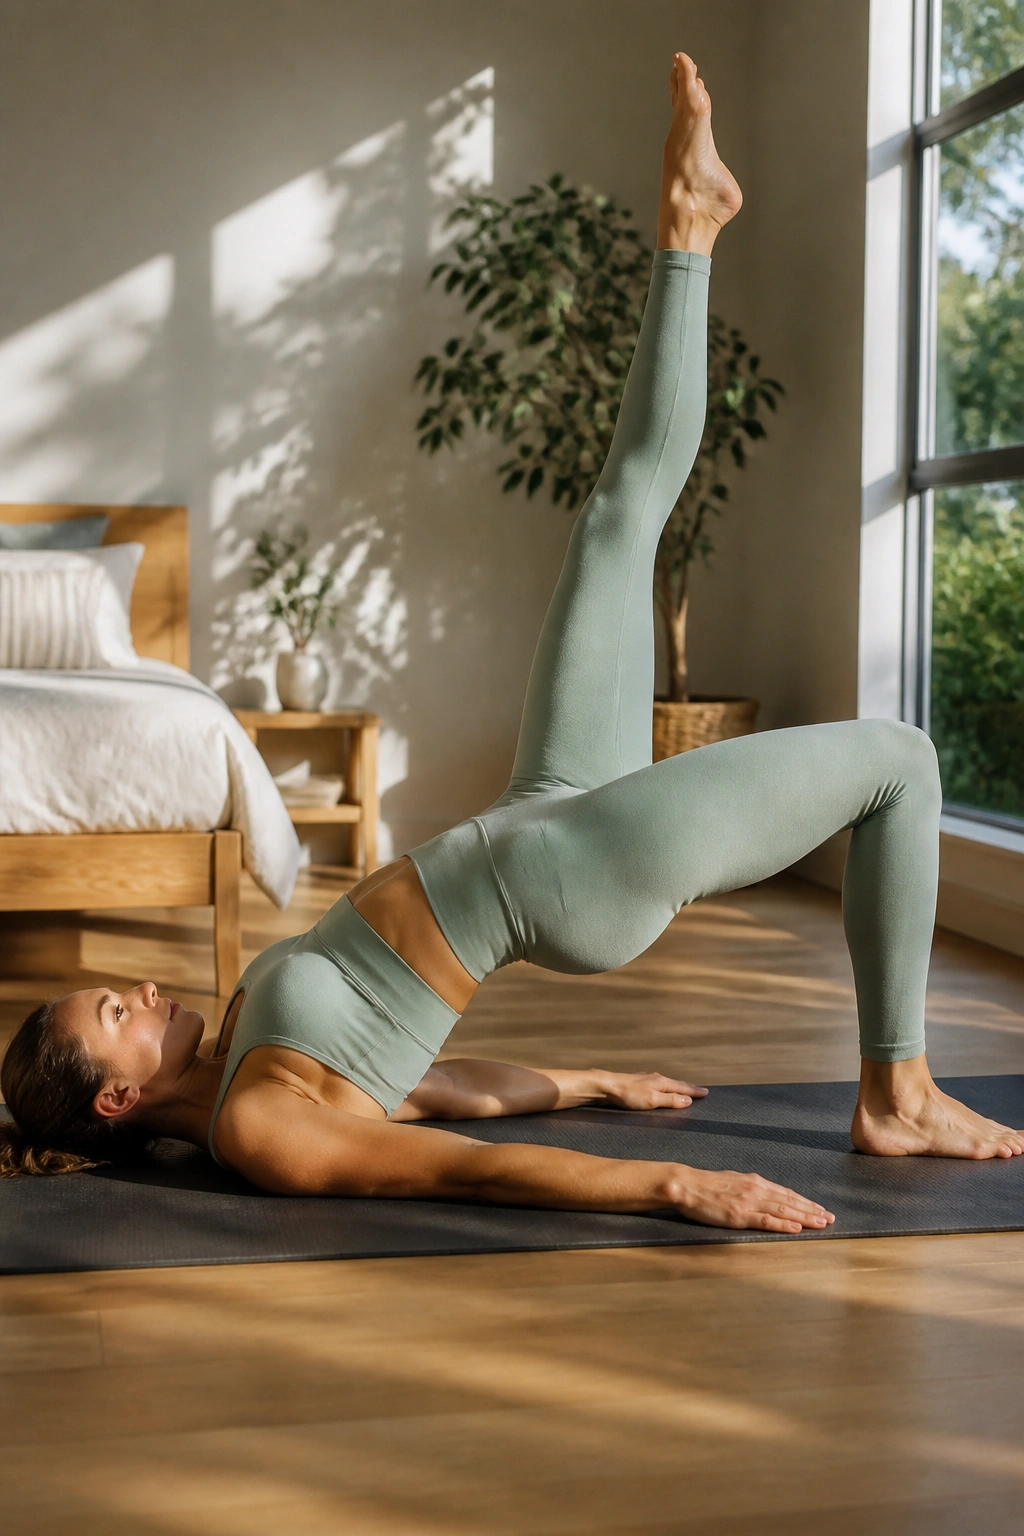
Bridges target the hamstrings and glutes without stressing the back. Lie on your back, knees bent, feet flat on the floor.
Modification
Extend one leg straight toward the ceiling. Press through the heel of the foot that is still on the mat and lift your hips. This is a single-leg bridge. The challenge is keeping your hips level—do not let the hip on the side of the raised leg drop.
Repetition
Perform the lifts in sets of ten. Focus on the squeeze at the top of the movement. Your hamstring might cramp if you are not used to this; if it does, lower down, straighten the leg, and flex your foot to stretch it out before trying again.
15. Inner Thigh Squeeze with Pillow
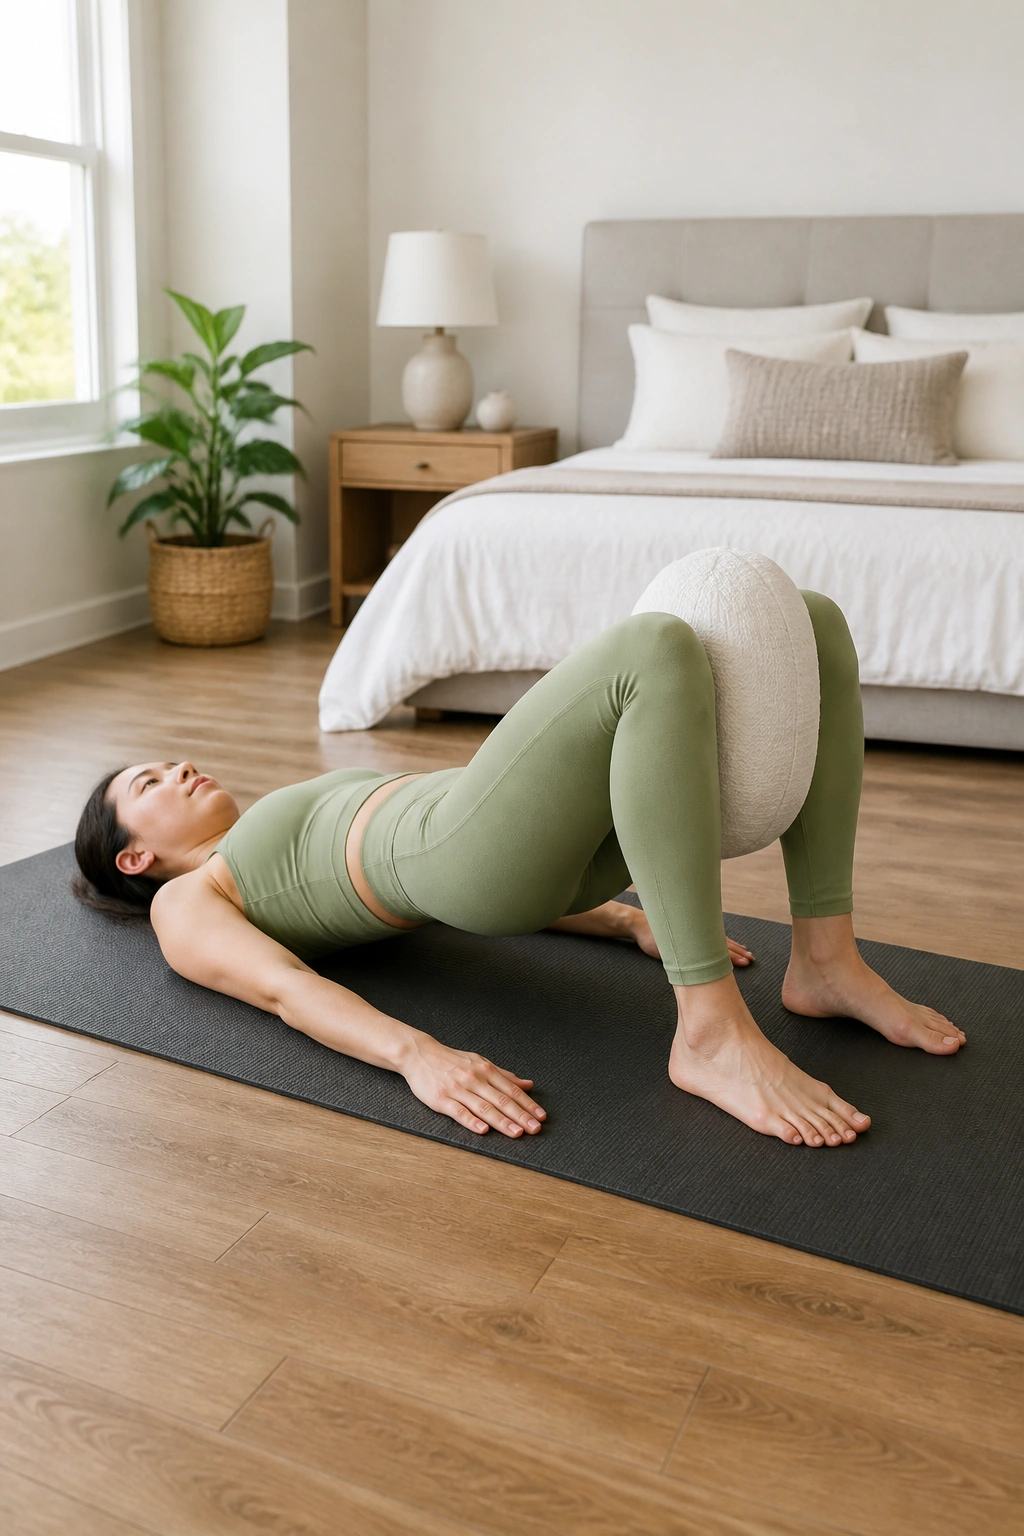
Grab a firm pillow or a yoga block. Lie on your back, knees bent. Place the pillow between your knees.
The Squeeze
Press your knees together to crush the pillow. Hold the squeeze for five seconds, then release slightly without letting the pillow fall. Repeat this twenty times.
The Added Burn
To make this more challenging, lift your hips into a bridge while you squeeze the pillow. Now you are working the inner thighs, the glutes, and the hamstrings simultaneously. Keep your breath steady—it is easy to forget to exhale during intense squeezes.
16. The Teaser Progression
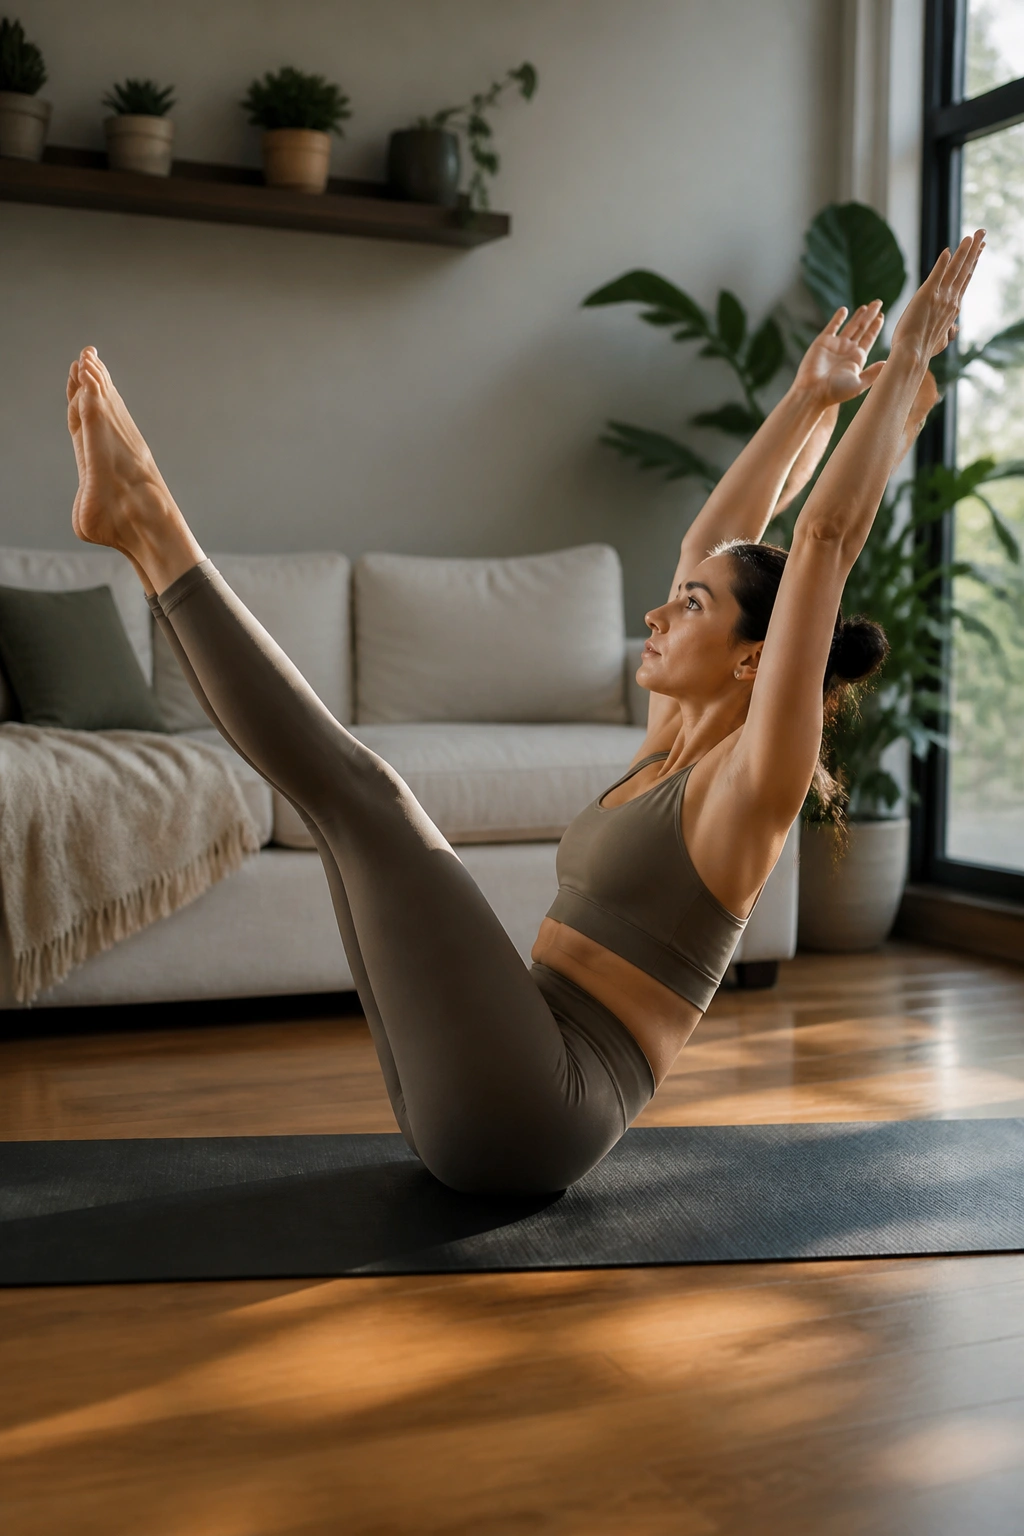
The Teaser is essentially a V-up, but in Pilates, it is about the control, not the snap. Lie on your back, legs extended.
The Movement
Simultaneously reach your arms overhead and lift your legs while rolling your spine off the mat. Your body should form a V-shape. Pause at the top, then roll back down one vertebra at a time.
Troubleshooting
If you cannot get all the way up, start by just lifting your legs and keeping your upper back on the mat. Build the strength in your lower abs first. The goal is to avoid momentum. Never use your arms to swing yourself up; use the abdominal muscles to pull you forward.
17. Standing Calf Raises for Definition
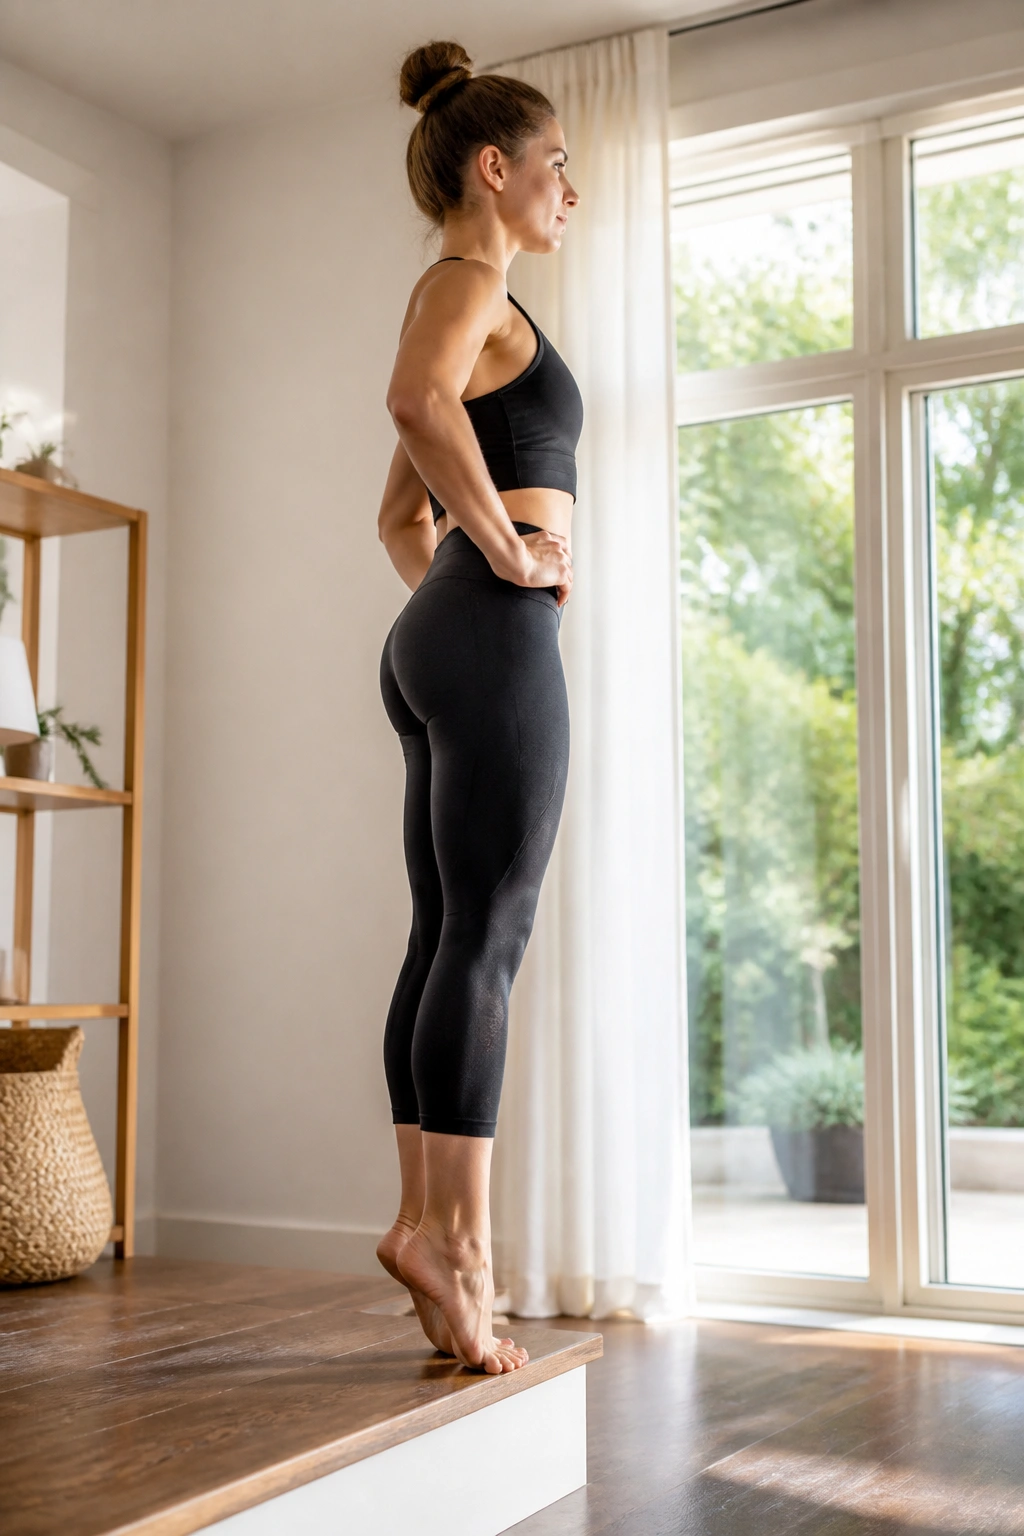
Calf raises are simple, but they are vital for ankle stability. Stand facing your support. Keep your legs straight, feet together.
The Lift
Rise onto the balls of your feet as high as you can. Hold the top position, squeezing the calves, then lower with control. Do not bounce.
Advanced Variation
Do the same motion on one leg. The extra balance requirement forces the small stabilizing muscles in your ankle to fire. It is much harder than it looks and will leave your calves feeling fatigued very quickly.
18. Lateral Lunge Power Moves
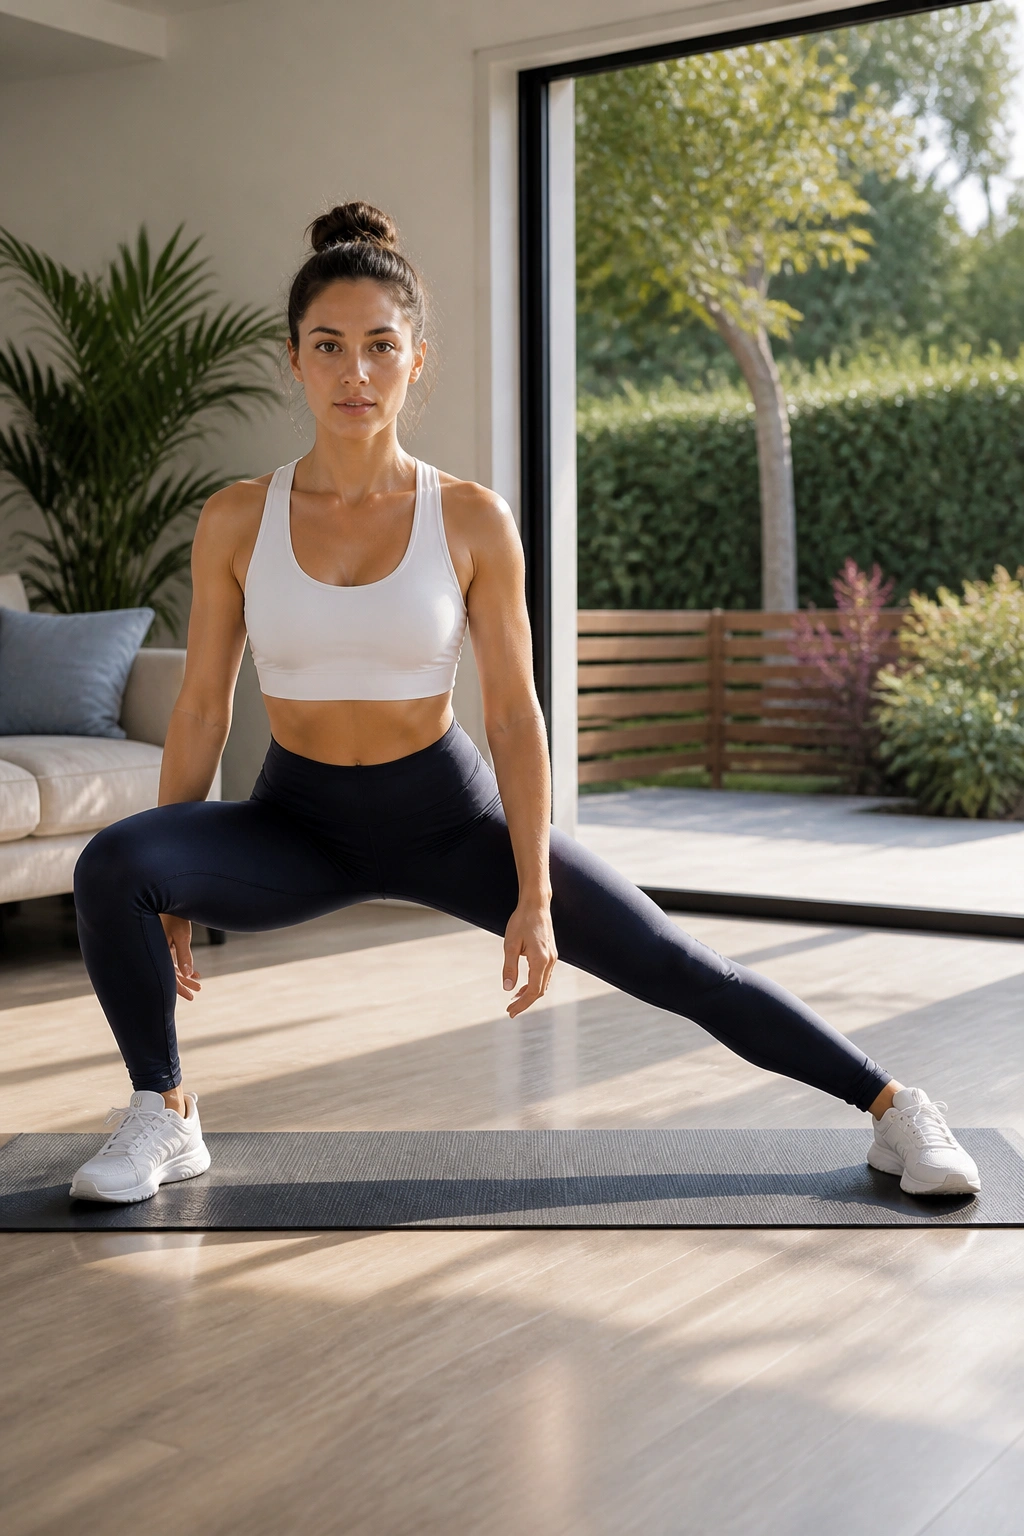
Lateral lunges target the inner and outer thighs differently than forward lunges. Stand tall. Take a wide step to the right. Bend the right knee while keeping the left leg straight.
The Shift
Push off the right foot to return to standing. You should feel this in the outer hip of the bent leg and the inner thigh of the straight leg.
Technique Note
Keep your chest up. Many people hinge forward at the waist like they are picking something up. Keep your torso upright, as if you are wearing a corset that keeps your spine long. Focus on pushing the floor away with your heel to stand back up.
19. Push-Up to Down-Dog Flow
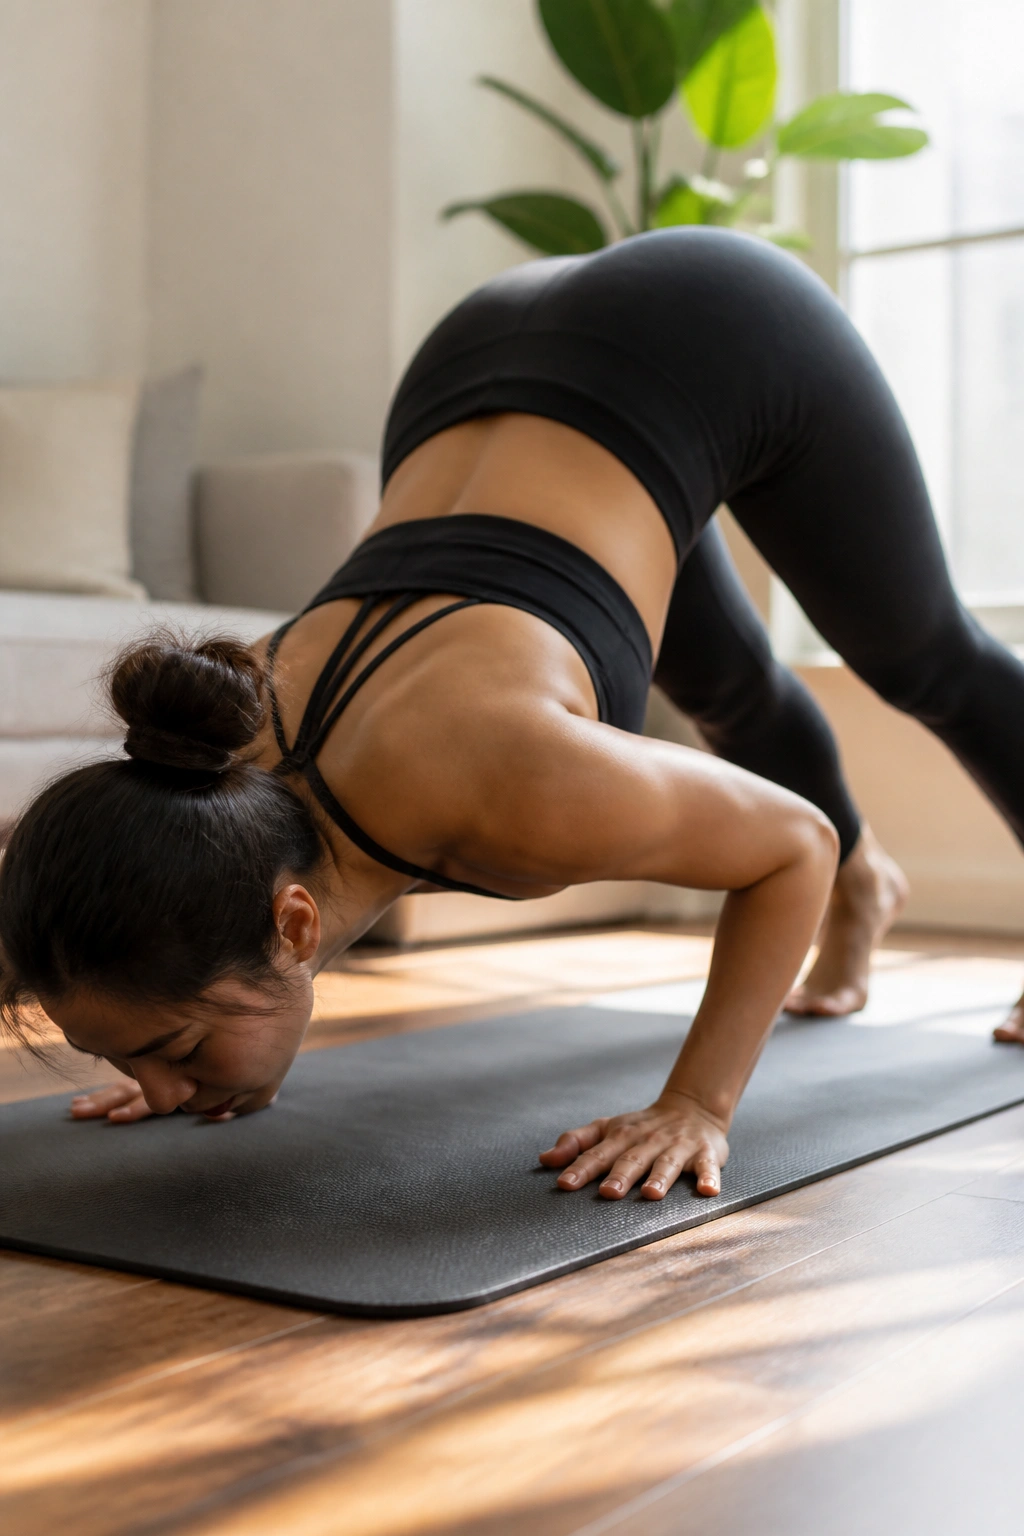
Pilates push-ups are different from the ones you did in gym class. They are slower and more controlled. Start standing at the back of your mat.
The Sequence
Roll down, walk your hands out to a plank. Do one push-up—keep your elbows tucked in close to your ribs, not flared out. After the push-up, push back into a down-dog stretch. Walk your hands back to your feet and roll up.
Why This Flows
It combines upper body strength with a deep hamstring stretch. You aren’t just building muscle; you are maintaining flexibility. The transition between the push-up and the down-dog is a great time to reset your breath.
20. Seated Russian Twist Burn
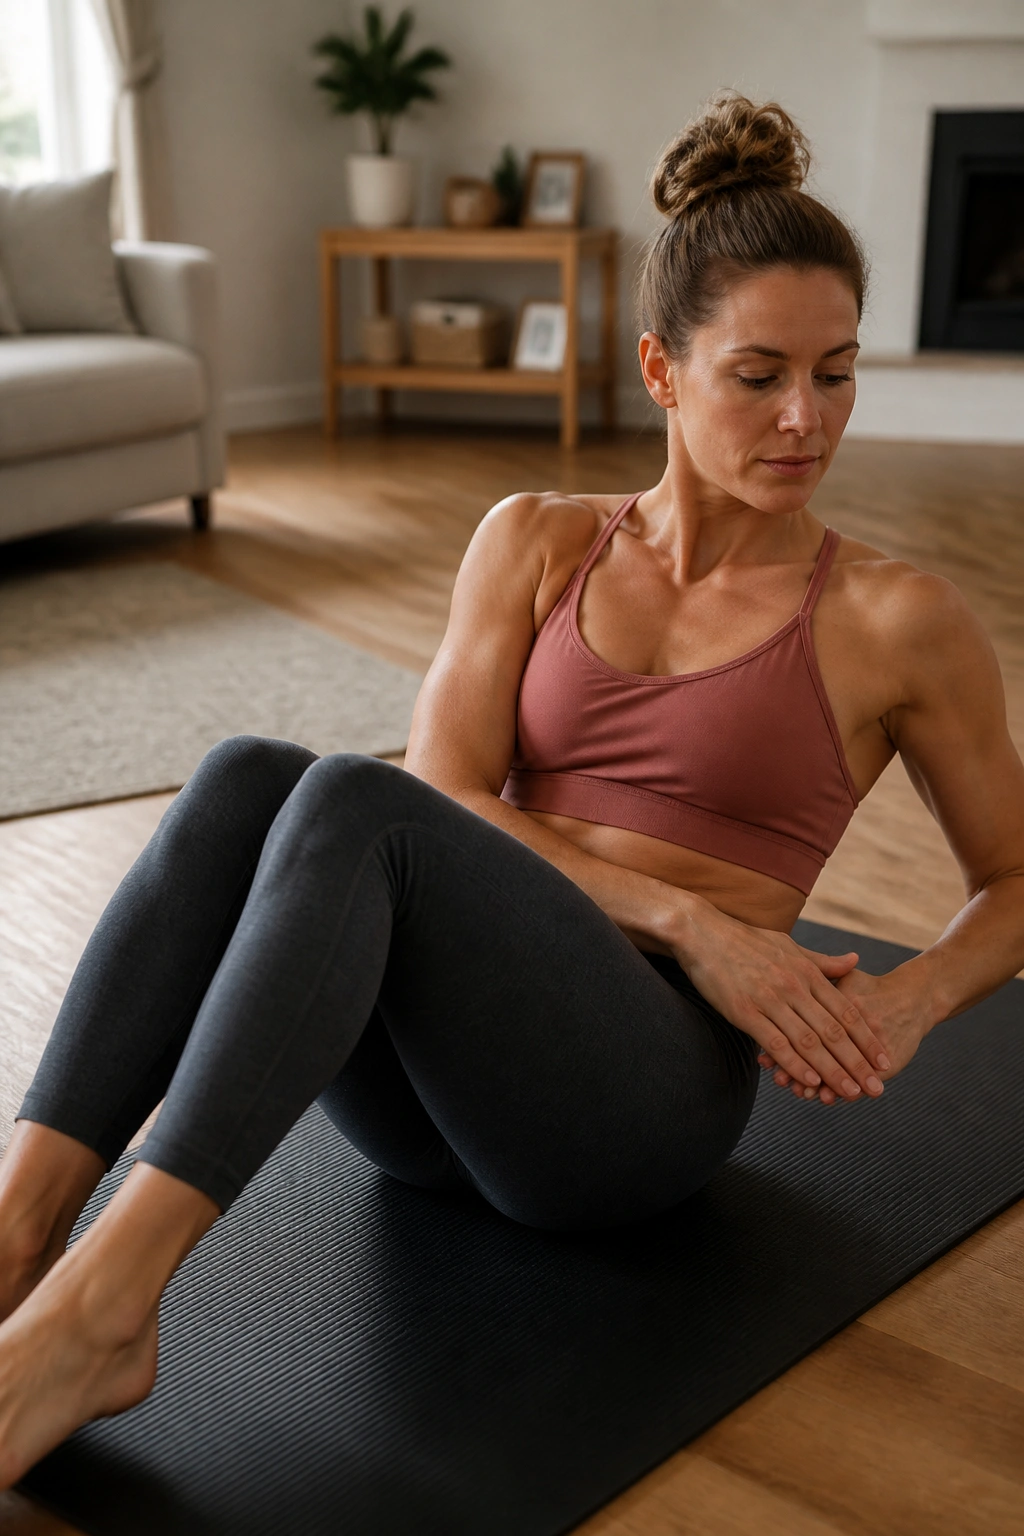
Sit on the mat, knees bent, feet flat. Lean back until you feel your abs engage.
The Rotation
Rotate your torso from side to side. Try to touch your hand to the floor on either side of your hips. Keep your spine long—don’t round your shoulders forward.
Increasing Intensity
Lift your feet off the floor for a greater challenge. If you want even more, extend your legs fully. If you feel this in your lower back, your abs are not strong enough for the full extension yet—keep your feet on the floor. That is perfectly fine; you will still get a great workout.
21. Quadruped Fire Hydrants
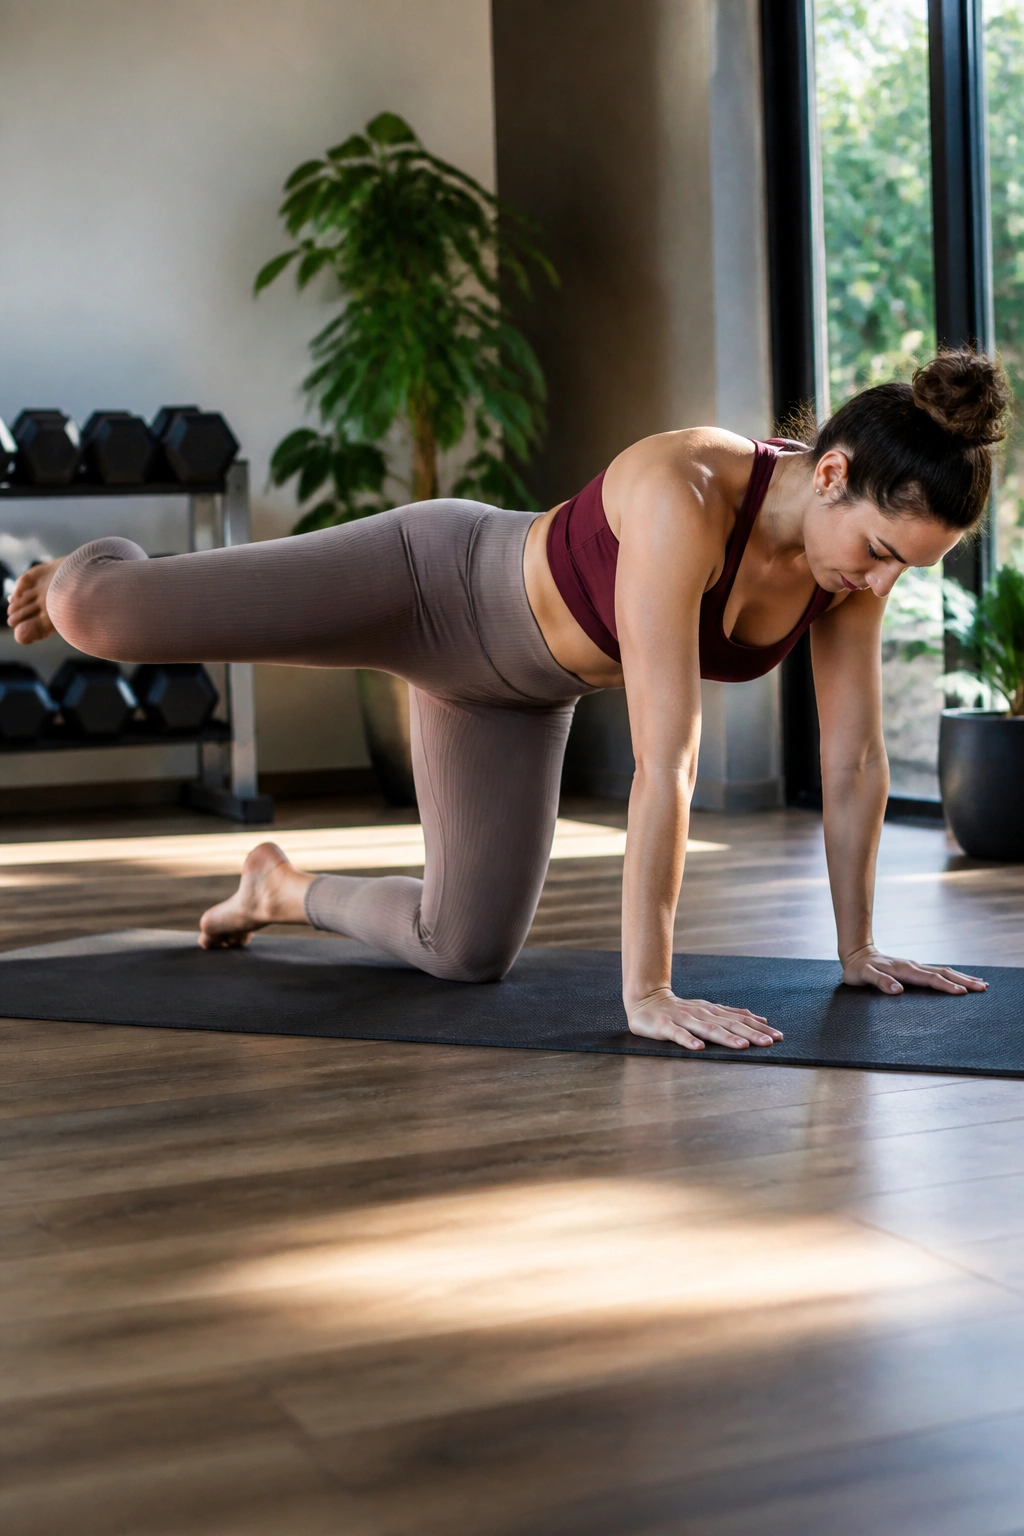
This is a classic glute isolation move. Start in your tabletop position.
The Movement
Keep your right knee bent at 90 degrees. Lift your knee out to the side, away from the midline of your body, like a dog at a fire hydrant. Return to center.
Critical Form Rule
Do not shift your weight to the opposite side. Your hips should remain perfectly still. If you are leaning to the left to get your right leg up, you are not working the glute; you are just shifting your weight. Keep your weight centered.
22. Scissor Kicks
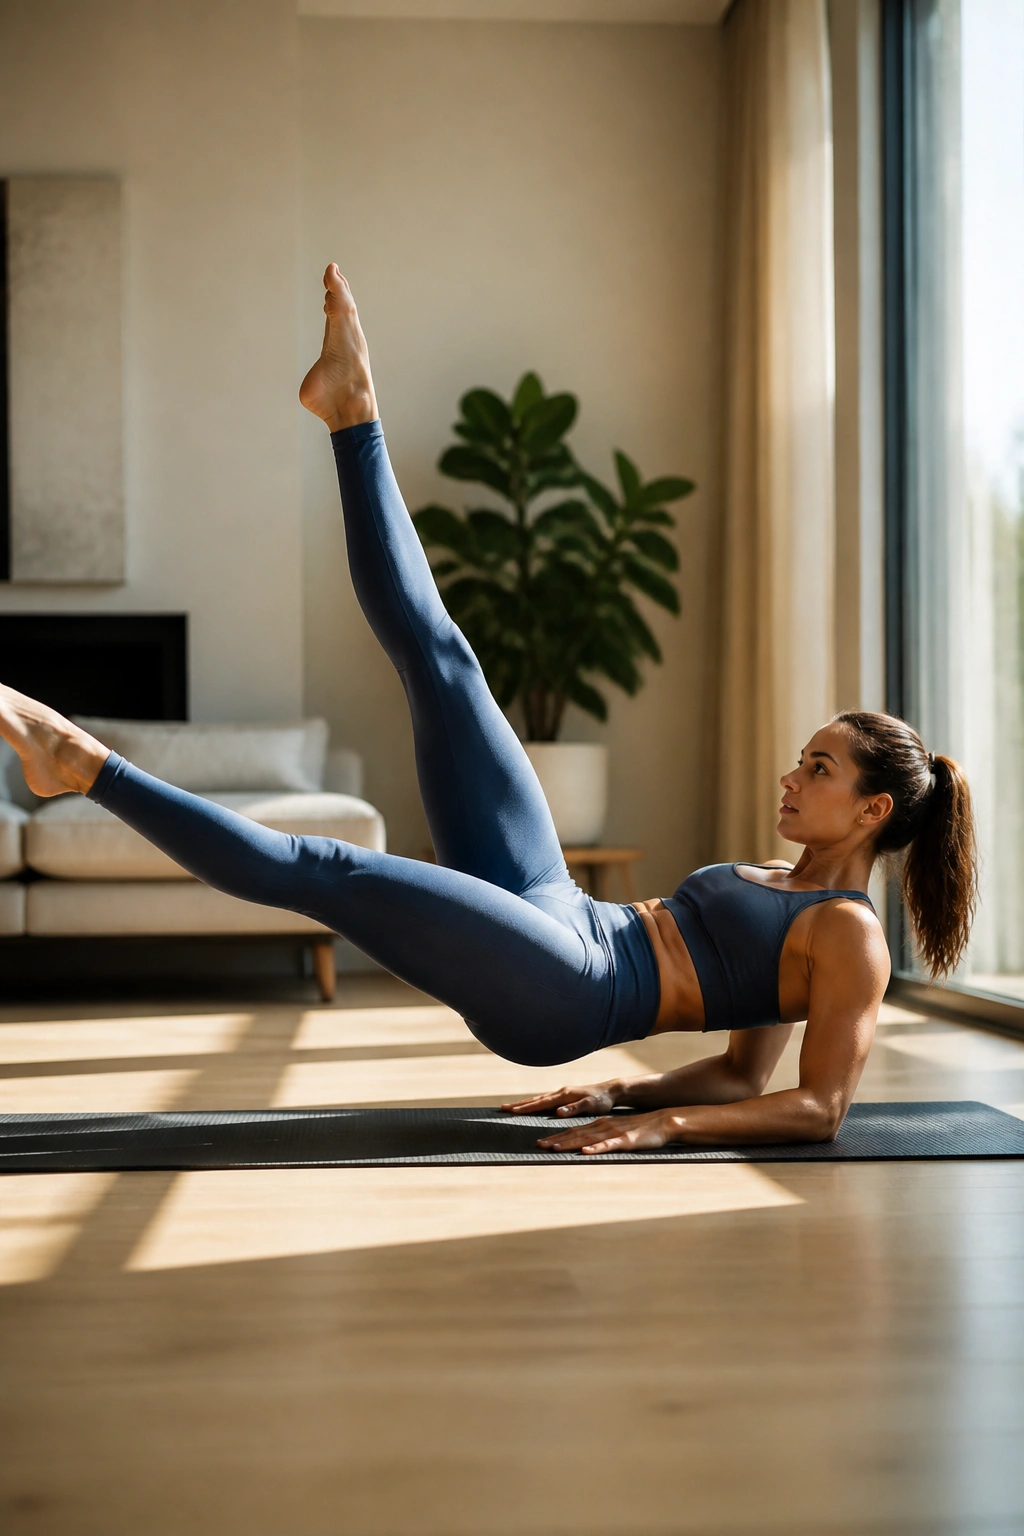
Lie on your back, legs extended toward the ceiling. Curl your head, neck, and shoulders up.
The Action
Lower one leg toward the mat while pulling the other leg toward your face. Grab behind the calf of the top leg and pull it gently for two pulses. Switch legs.
The Focus
The movement should be clean and crisp. Your legs are like scissors blades. Keep the legs straight and active—don’t let them go limp. The core should remain stable throughout the entire switching motion.
23. Standing Side Bend for Elongation
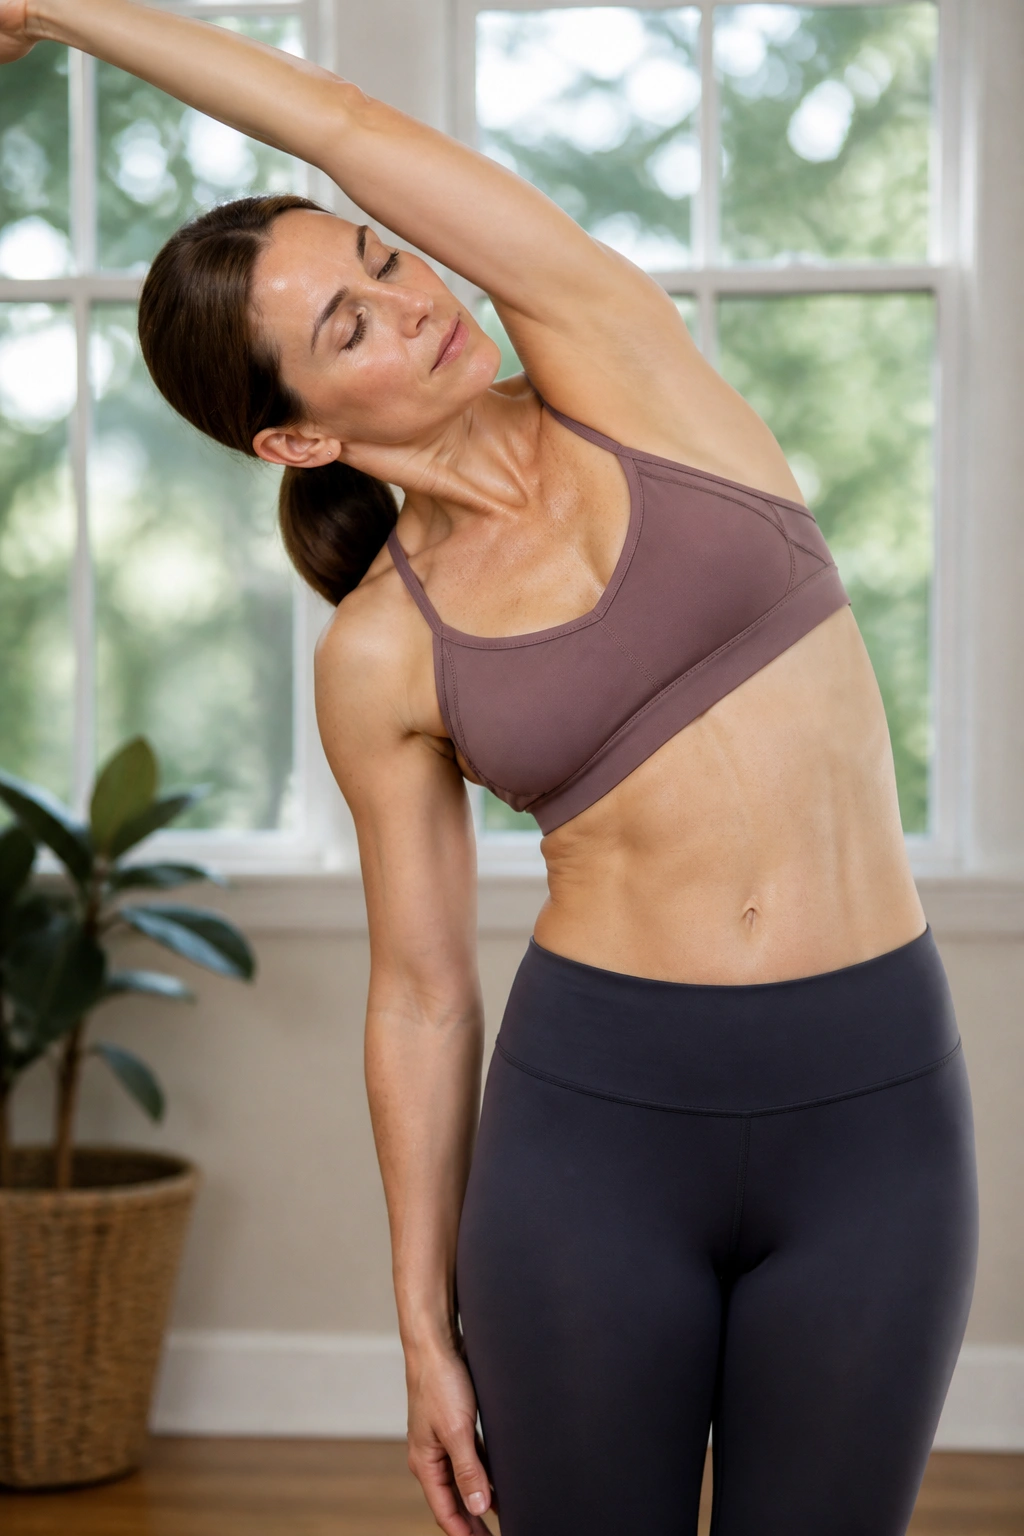
Stand with feet together. Reach your right arm up and over your head, bending your torso to the left.
The Stretch
This isn’t just a stretch; use your obliques to pull yourself back to center. It is an active side bend. You are shortening one side of the waist while stretching the other.
The Control
Use your breath. Inhale to prepare, exhale to bend. Engage the core to return to standing. This helps create length in the torso, which is a key aesthetic and functional goal in Pilates.
24. The Swan Dive Prep
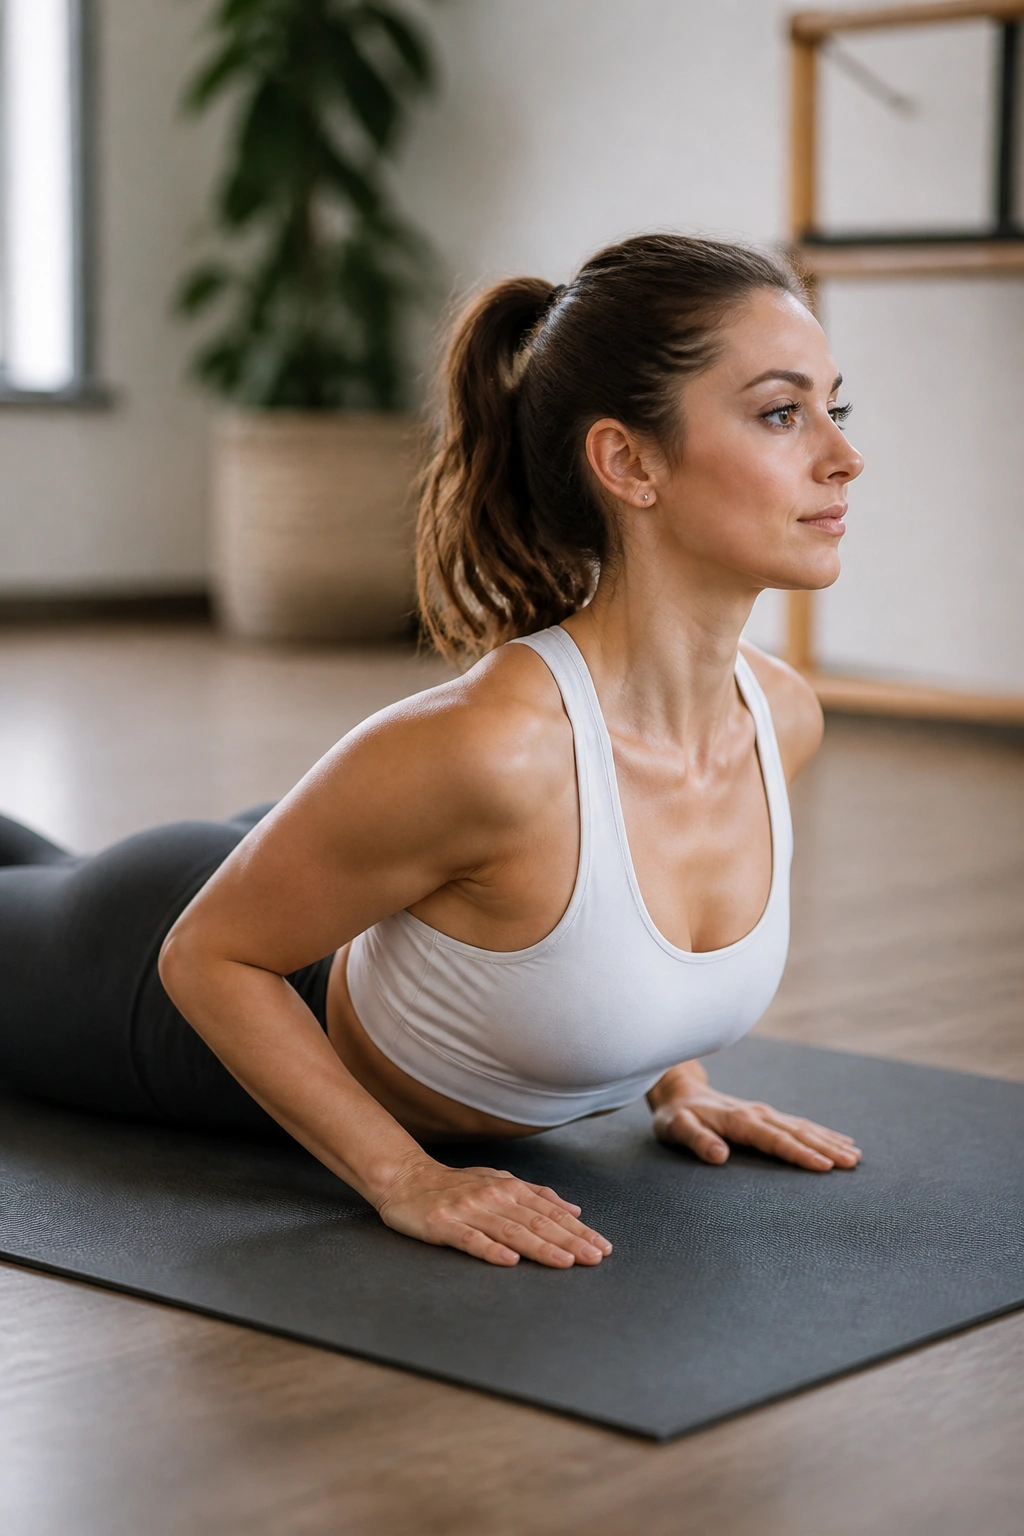
Lie face down. Place your hands under your shoulders. Press into your hands to lift your chest off the mat.
The Back Extension
Keep your elbows close to your ribs. Your pubic bone should stay on the mat. You are working the upper back and the lats.
Avoiding Injury
Do not push so high that you crunch your lower back. This is an upper-back movement. Keep your gaze forward, not up at the ceiling, to avoid straining your neck. If it feels like your lower back is pinching, go lower.
25. Cool-Down Stretch and Release
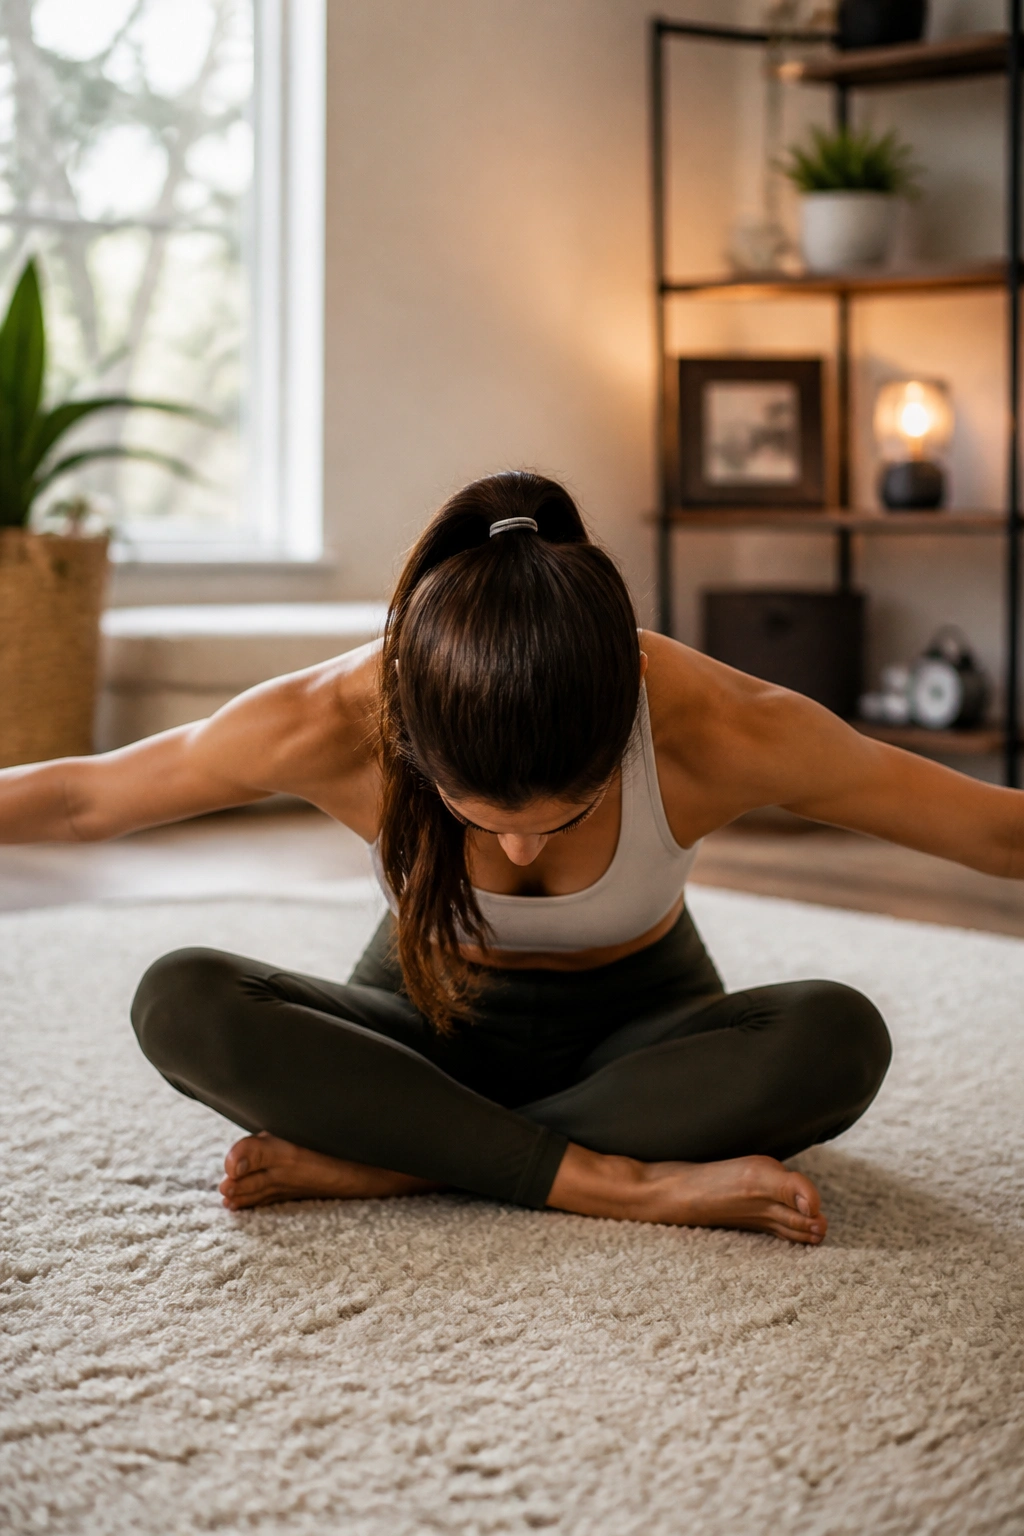
You have worked your muscles; now give them time to recover. Never skip the cooldown. Sit cross-legged or in a butterfly stretch.
The Release
Fold forward over your legs. Breathe deeply into your back. You should feel the muscles you just worked beginning to relax. Reach your arms out to the sides for a chest opener.
Why This Is Essential
Your muscles will tighten as they recover. Stretching brings them back to their full length, which helps prevent injury and improves your range of motion for the next workout. Hold each stretch for at least thirty seconds. If a muscle feels particularly tight, stay there a little longer.
Final Thoughts
The key to these workouts is not to do them all at once. Pick three or four sequences that target your goals for the day and rotate through them. Consistency is the secret ingredient—not intensity for one day, but manageable effort over the long term. You will start to notice that your balance improves, your posture feels more natural, and those daily movements—carrying groceries, climbing stairs—become easier.
Listen to your body. If something hurts in a “sharp” way, stop immediately. If it hurts in a “burning” way, that is just the muscle fiber working. Learn to distinguish between the two. Your home is the best place to build this awareness because you are not pressured by the speed of a group class. Take your time, focus on the alignment, and let the results follow.
