



Pilates workouts can make your midsection feel tighter fast, but only if you stop treating the core like a place to chase sweat and start treating it like a control system.
That sounds a little colder than the usual fitness talk. It isn’t meant to be. A 10-day ab plan built around Pilates works because it teaches your ribs, pelvis, and breath to stop arguing with each other. When those pieces line up, your stomach tends to look flatter, your posture changes, and your center feels stronger even before you’ve earned any dramatic visual change.
No crunch marathon needed. No weird twisting machine in the corner of the gym. A good Pilates core plan lives in the small details: the exhale that pulls the ribs down, the pelvis that stays quiet when the legs move, the neck that refuses to steal the show. Miss those details and the workout turns into hip flexors and low-back tension wearing a fake mustache.
The ten moves below build in a smart order. Early on, they wake up deep abdominal control. Later, they ask for rotation, balance, and a little nerve. By the end, you should feel less like you “did abs” and more like your whole trunk finally knows where to be.
1. The Hundred That Teaches Your Rib Cage to Stay Down
The Hundred is the move I’d put first every single time. It wakes up the transverse abdominis, gets the breath working, and exposes sloppy core control in about 20 seconds flat.
That’s what makes it useful. If your ribs pop up or your lower back arches the second your feet leave the floor, the Hundred tells the truth early. And truth is handy in a 10 day toned ab plan.
How to do it cleanly
Lie on your back with your knees bent in tabletop, or keep both feet on the mat if tabletop feels shaky. Lift your head and shoulders a few inches, press your lower back gently into the mat, and pump your arms up and down about 4 to 6 inches. Breathe in for 5 arm pumps, out for 5 arm pumps, and repeat until you hit 10 full breathing cycles.
What to watch for
- Keep the chin slightly tucked, not jammed to the chest.
- Let the ribs knit down on the exhale.
- Lower the legs if the back starts arching.
- Stop the pumps if the neck starts grabbing all the work.
A tiny shake is fine. A bouncing pelvis is not.
Best cue: imagine your zipper line drawing upward on every long exhale. That little image helps more people than a hundred fancy anatomy words ever will.
2. Dead Bug Toe Taps for a Quiet Pelvis
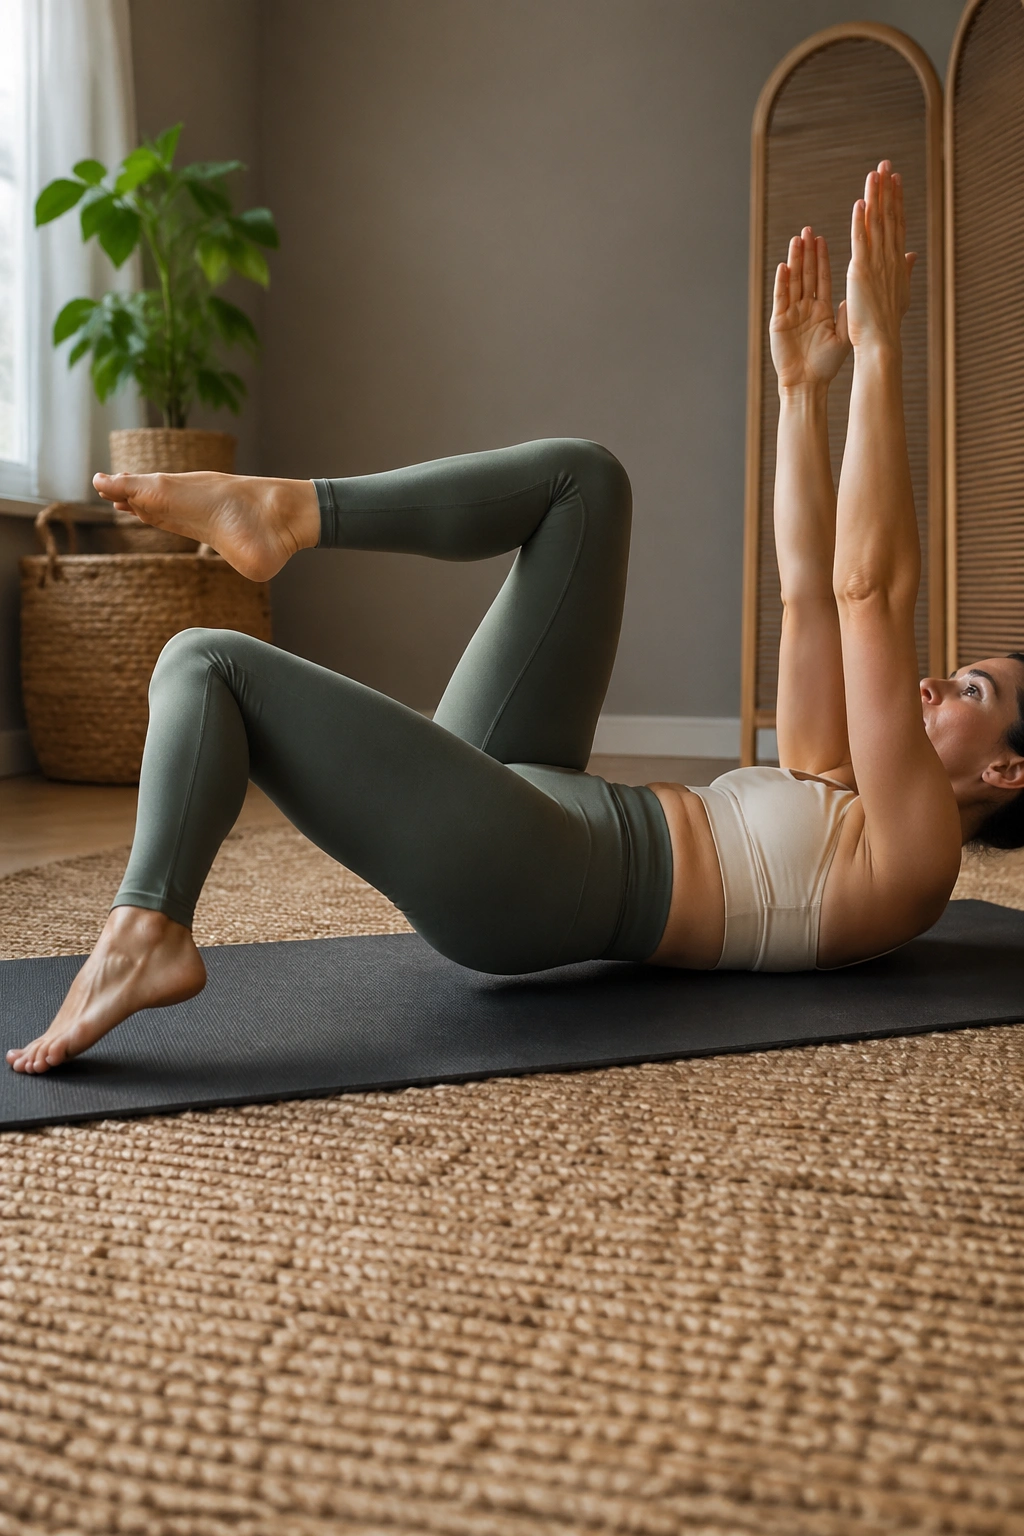
Why do toe taps show up in so many Pilates ab workouts? Because they expose the exact moment your pelvis stops listening.
Dead bug toe taps train you to move the legs while the trunk stays steady. That’s a fancy way of saying your abs have to hold the frame while the limbs do the work. If the back arches or the ribs flare, the exercise stops being about the core and turns into a low-back complaint.
Set it up like this
Lie on your back with both legs in tabletop. Bring your arms straight up over your shoulders if that feels stable, or keep them on the mat for support. Lower one foot to tap the floor lightly, then bring it back to tabletop and switch sides. Move slowly enough that you can keep your lower back from popping off the mat.
A few useful cues
- Exhale as the foot lowers.
- Keep the tap small. The floor is not a target to stomp.
- Move the thighs from the hip socket, not the lower back.
- If tabletop feels too hard, keep one foot planted and tap the other leg only.
A lot of people rush this move and miss the point.
Don’t. Slow toe taps are sneaky. Eight clean reps can light up the deep core more than 20 sloppy ones, especially when you keep your ribs soft and your belly pulled gently inward on the exhale.
3. Single-Leg Stretch and Double-Leg Stretch Without Neck Drama
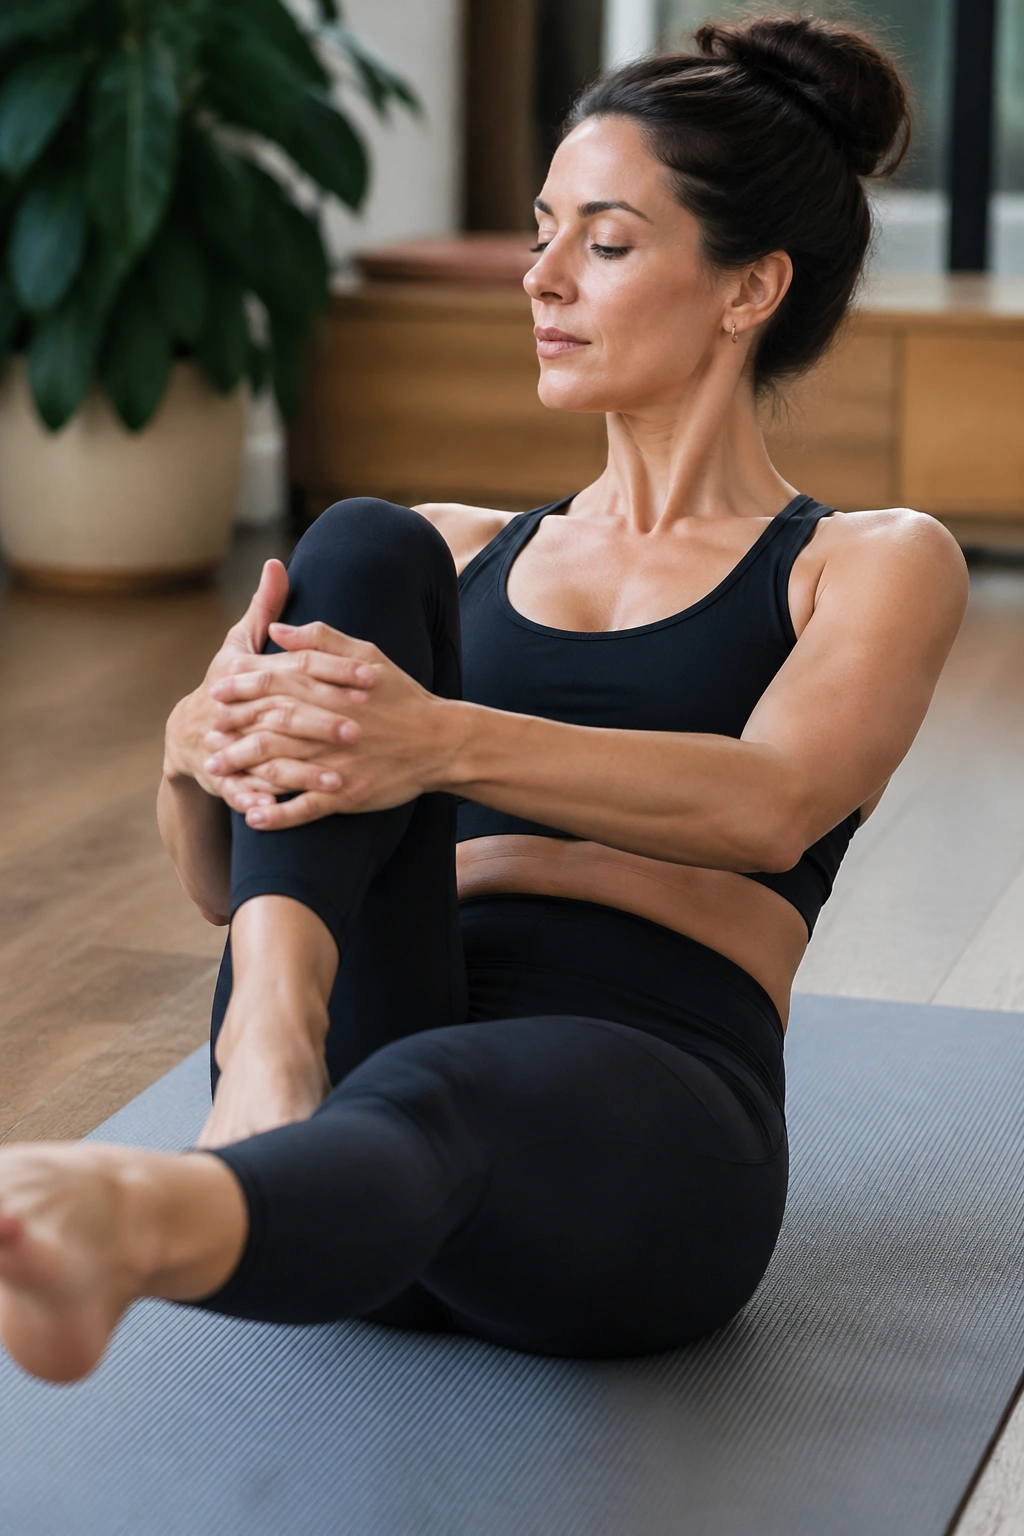
The single-leg stretch and double-leg stretch are where the plan starts to feel honest. The Hundred wakes you up. These two ask whether you can keep that control while the legs move farther away from the body.
The pair matters because it teaches two different kinds of hold. Single-leg stretch asks for alternating control. Double-leg stretch asks for control when both legs go out and the center has to work harder to stop the low back from taking over. That combination is pure Pilates.
Single-Leg Stretch first
Lie on your back, lift into a small curl, and bring one knee in while the other leg extends long at a low angle. Switch sides in a smooth rhythm. Keep the pelvis steady and breathe out as the knee draws in. The movement should feel like a controlled trade, not a bicycle race.
Then the double-leg stretch
Bring both knees in. Inhale to reach the arms overhead and extend the legs out only as far as you can keep the back quiet. Exhale to sweep everything back in. If your spine arches off the mat, shorten the range. No prize is given for the longest leg line.
What keeps this move useful
- Keep the shoulder blades anchored.
- Let the neck stay long.
- Use a smaller leg range if the hip flexors start shouting.
- Stay out of momentum. Momentum cheats.
A clean double-leg stretch looks calm. It rarely feels calm. That’s normal. The point is not to look elegant for the room; it’s to keep the center from wobbling when the lever arms get long.
4. Forearm Plank With Knee Hovers That Stop the Low Back From Sagging
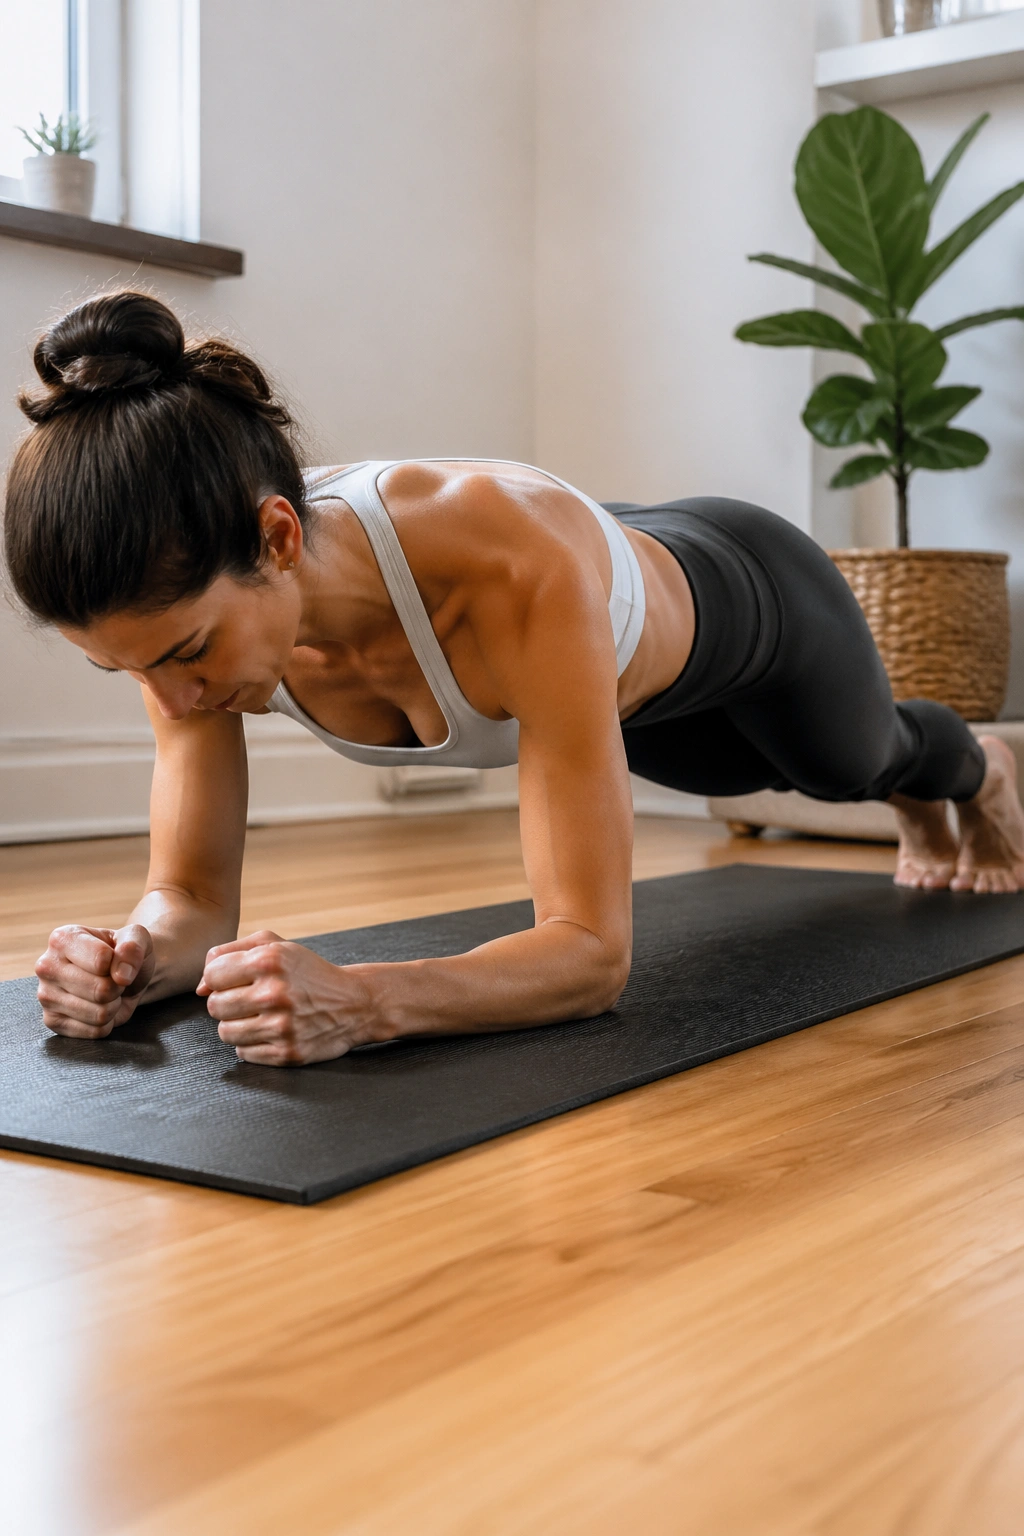
Planks get tossed into core plans all the time, and most people do them with a sagging middle and a face that says they know it.
The forearm plank with knee hovers is a better choice for a Pilates ab sequence because it forces the front body to stay honest. You’re not just hanging in space. You’re bracing without hardening, and that’s a useful skill if you want the waistline to look tighter and the low back to feel less overworked.
Start on the floor, not with the full pose
Set your forearms under your shoulders, step one foot back and then the other, and keep your body in one long line. If that’s already too much, drop to your knees and hold a modified plank first. Once you’re stable, hover one knee a fraction of an inch off the mat for a beat, then set it down and switch.
Form checks that matter
- Elbows stay under the shoulders.
- Head reaches forward a little; don’t crane it.
- Ribs stay pulled in.
- The pelvis does not dump toward the floor.
A shaky 15-second hold with clean alignment beats a sloppy minute every time. Every time.
If your low back starts pinching, shorten the hold or return to knees. That is not quitting. That is keeping the right muscles in charge.
5. Side Plank Hip Dips for the Obliques
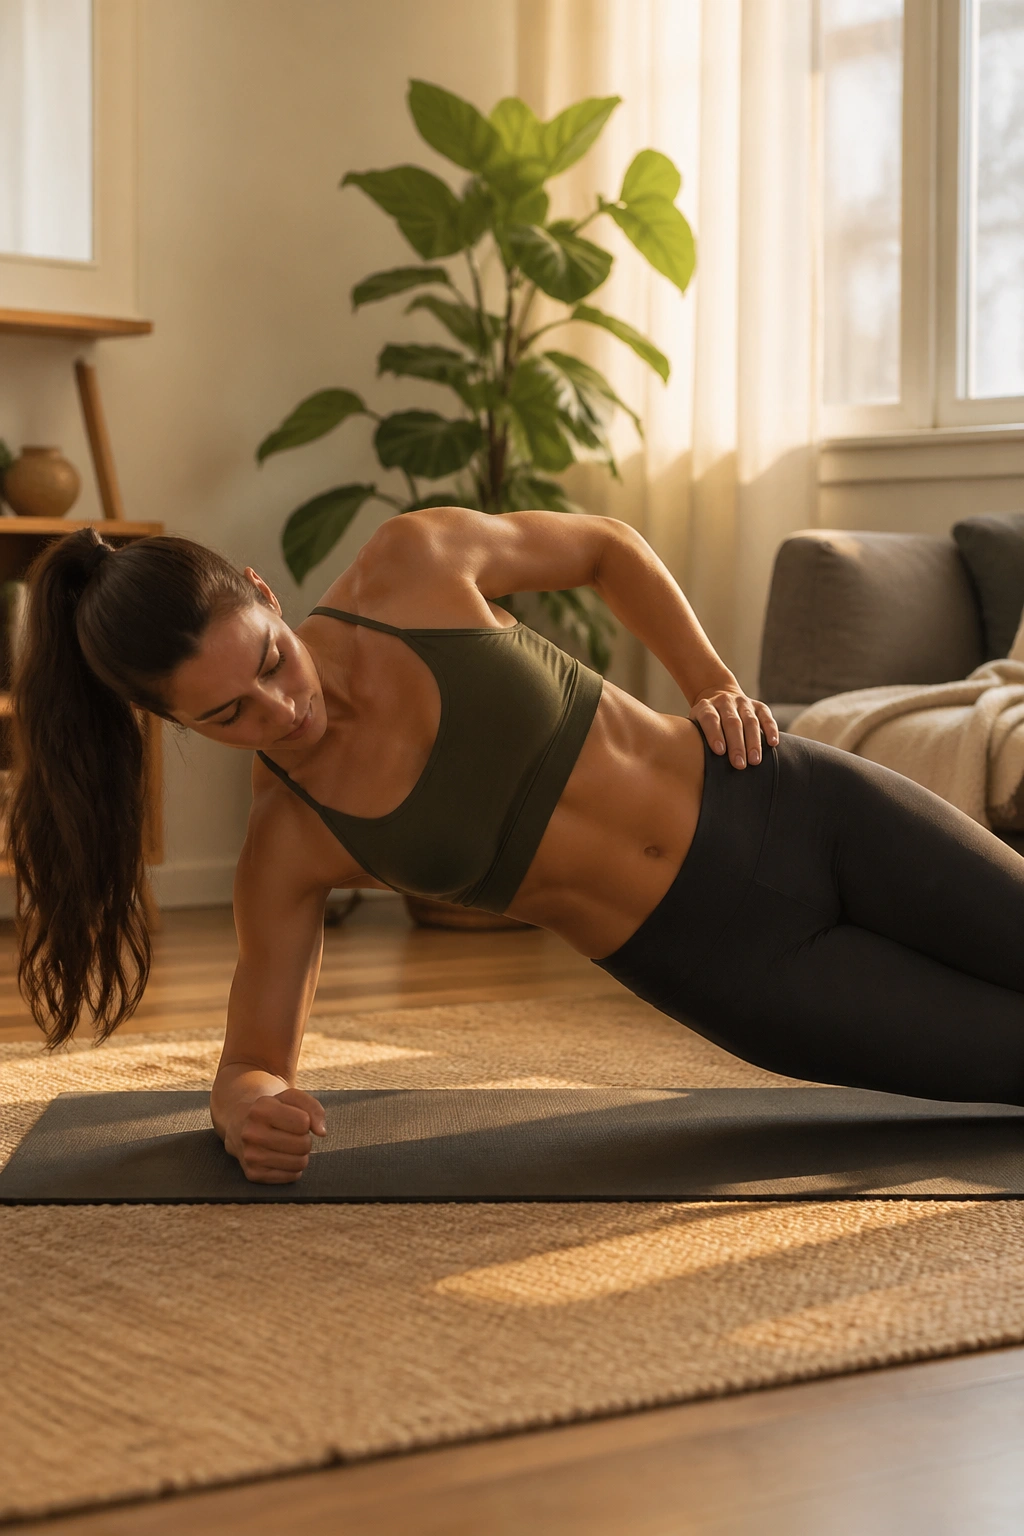
Side planks are rude in the best possible way. They ask your shoulder, obliques, hips, and rib cage to work together, and they don’t let you hide behind the easy muscles.
That makes side plank hip dips one of the smartest moves in a 10 day toned ab plan. The side body often gets ignored in lazy core work. Then people wonder why their waist feels thick or why they can’t stabilize during twisting Pilates exercises. This move fixes a chunk of that.
How to set it up
Come onto one forearm with your elbow under your shoulder. Stack your feet or drop the bottom knee for a modified version. Lift your hips into a straight line, then lower them a few inches and lift back up with control. Keep the movement small enough that you can stay in one piece.
What it should feel like
- The bottom waist lifts, not collapses.
- The top shoulder stays away from your ear.
- The neck stays long.
- The hips move like a single unit.
If your hips swing forward or backward, the movement has gotten sloppy. Smaller is better here. Much better.
Easy ways to scale it
- Keep the bottom knee down.
- Hold the side plank without dipping at first.
- Lower only halfway instead of all the way.
- Add a 3-second hold at the top if you want more work without more strain.
Side plank hip dips are not glamorous. They are useful. That’s the real reason to keep them.
6. Criss-Cross Done Slowly Enough to Actually Count
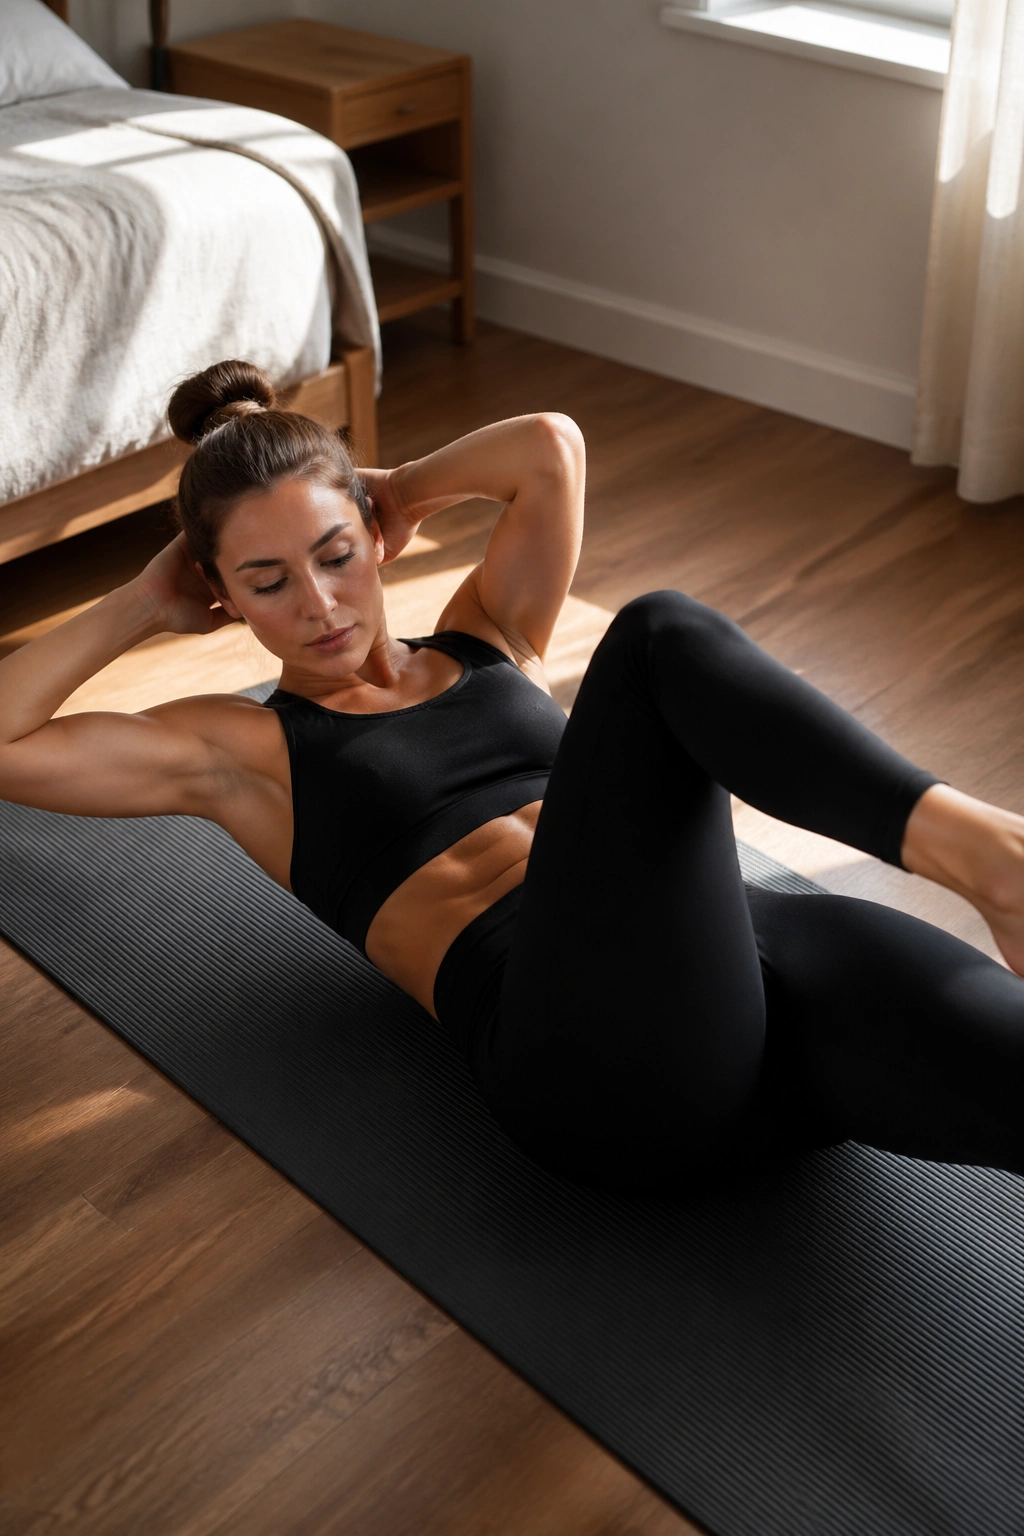
Slow doesn’t mean easy. It usually means the opposite.
Criss-cross is one of those Pilates moves that can turn into a neck yanking contest if you let it. Done well, it trains rotation through the torso, not through the shoulders. Done badly, it becomes a fast elbow-to-knee shuffle with the hip flexors doing all the heavy lifting.
Why the rotation matters
The obliques help your trunk twist and resist twisting. That matters in everyday life more than people think. Reaching for a seat belt, carrying groceries, getting up off the floor — all of that asks for controlled rotation. Criss-cross teaches it without needing any fancy gear.
Keep it clean
Lie on your back, lift into a small curl, and bring one knee in while the other leg reaches long. Rotate the rib cage so the opposite shoulder moves toward the bent knee. Switch slowly. Keep the elbows wide and the hands light behind the head. If you feel the neck clenching, drop the head and keep the rotation smaller.
- Exhale on every twist.
- Keep the lower back from arching.
- Avoid jerking the elbows forward.
- Move at a pace where you can still count each side.
One good sign: your upper abs should feel tired before your neck does. If it’s the other way around, the form needs work.
7. Shoulder Bridge Marches for Lower-Ab Stability
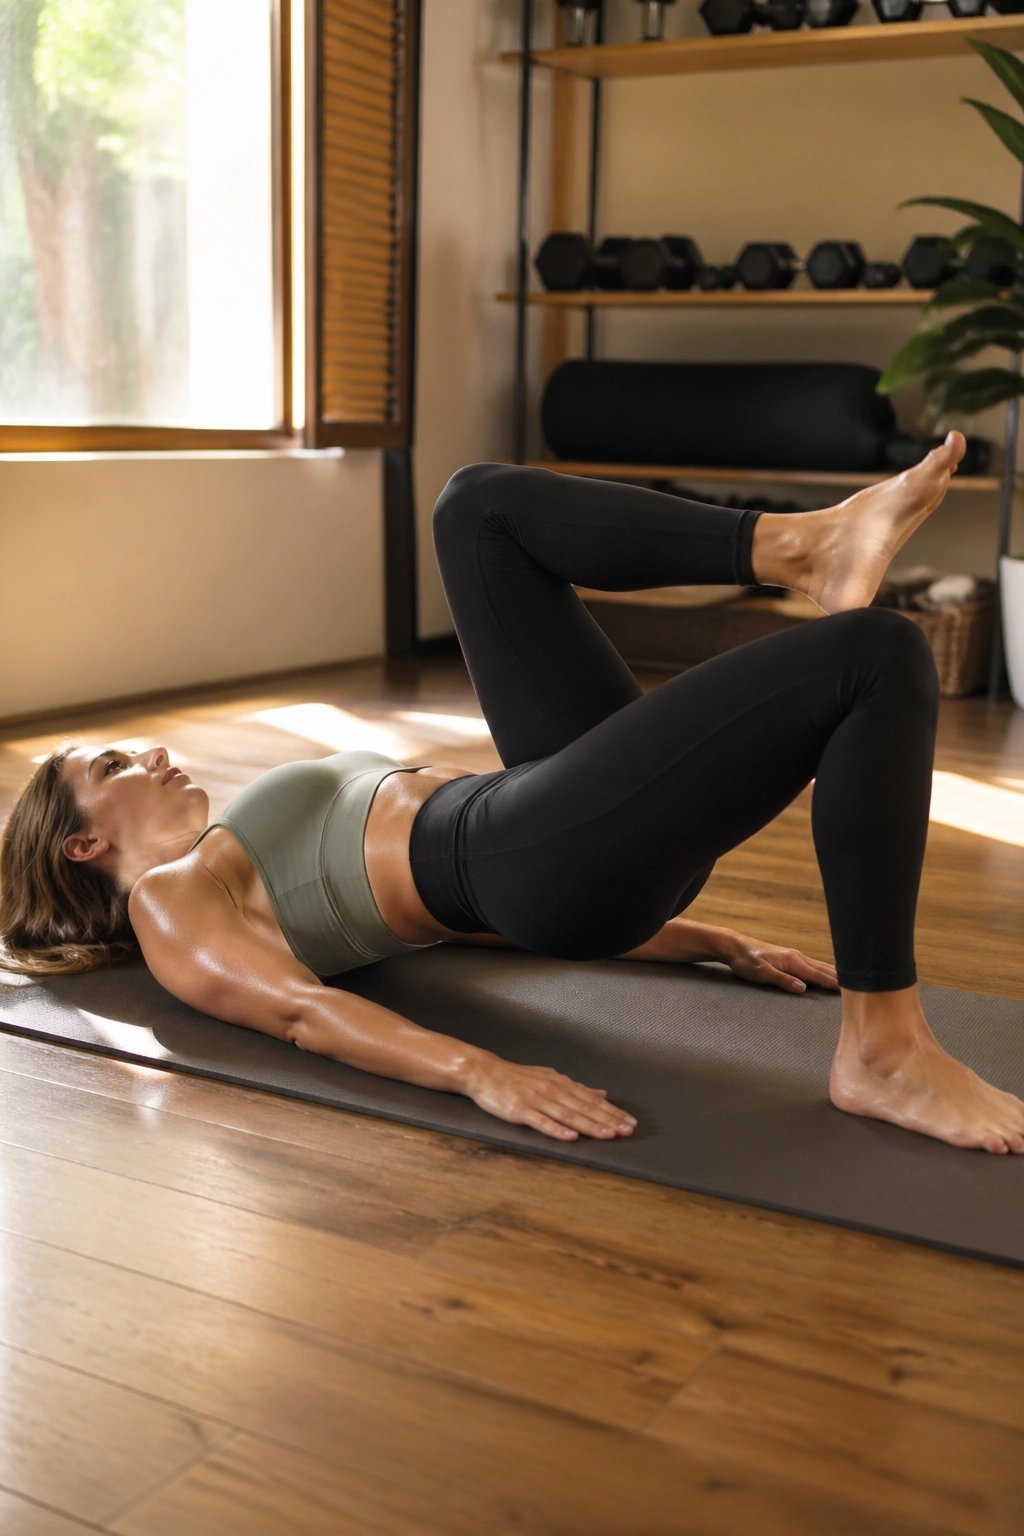
A bridge with marching legs makes the work feel more three-dimensional. You’re lifting the hips, yes, but you’re also forcing the pelvis to stay level when one leg leaves the floor. That is where the real abdominal control lives.
People often think bridges are about the glutes only. Not quite. The glutes help, of course, but the deep abs, hamstrings, and spinal stabilizers all pitch in to keep the pelvis from wobbling. When the march is clean, the whole center feels organized.
Build it step by step
Lie on your back with knees bent and feet hip-width apart. Press through the heels and lift the hips until your body forms a long line from shoulders to knees. From there, lift one foot an inch or two off the mat, set it down, then switch sides. Keep the hips level the whole time.
What ruins the move
- Letting the ribs flare.
- Hiking one hip higher than the other.
- Marching too high and turning it into a hip flexor drill.
- Squeezing the glutes so hard that the pelvis tucks under and the low back feels jammed.
That last one surprises people. A bridge should feel active, not pinned.
If you want more work, hold the bridge for 3 breaths before the march starts. If you want less, keep both feet down and practice the lift first. Simple. Effective.
8. Rolling Like a Ball to Reset Your Core Control
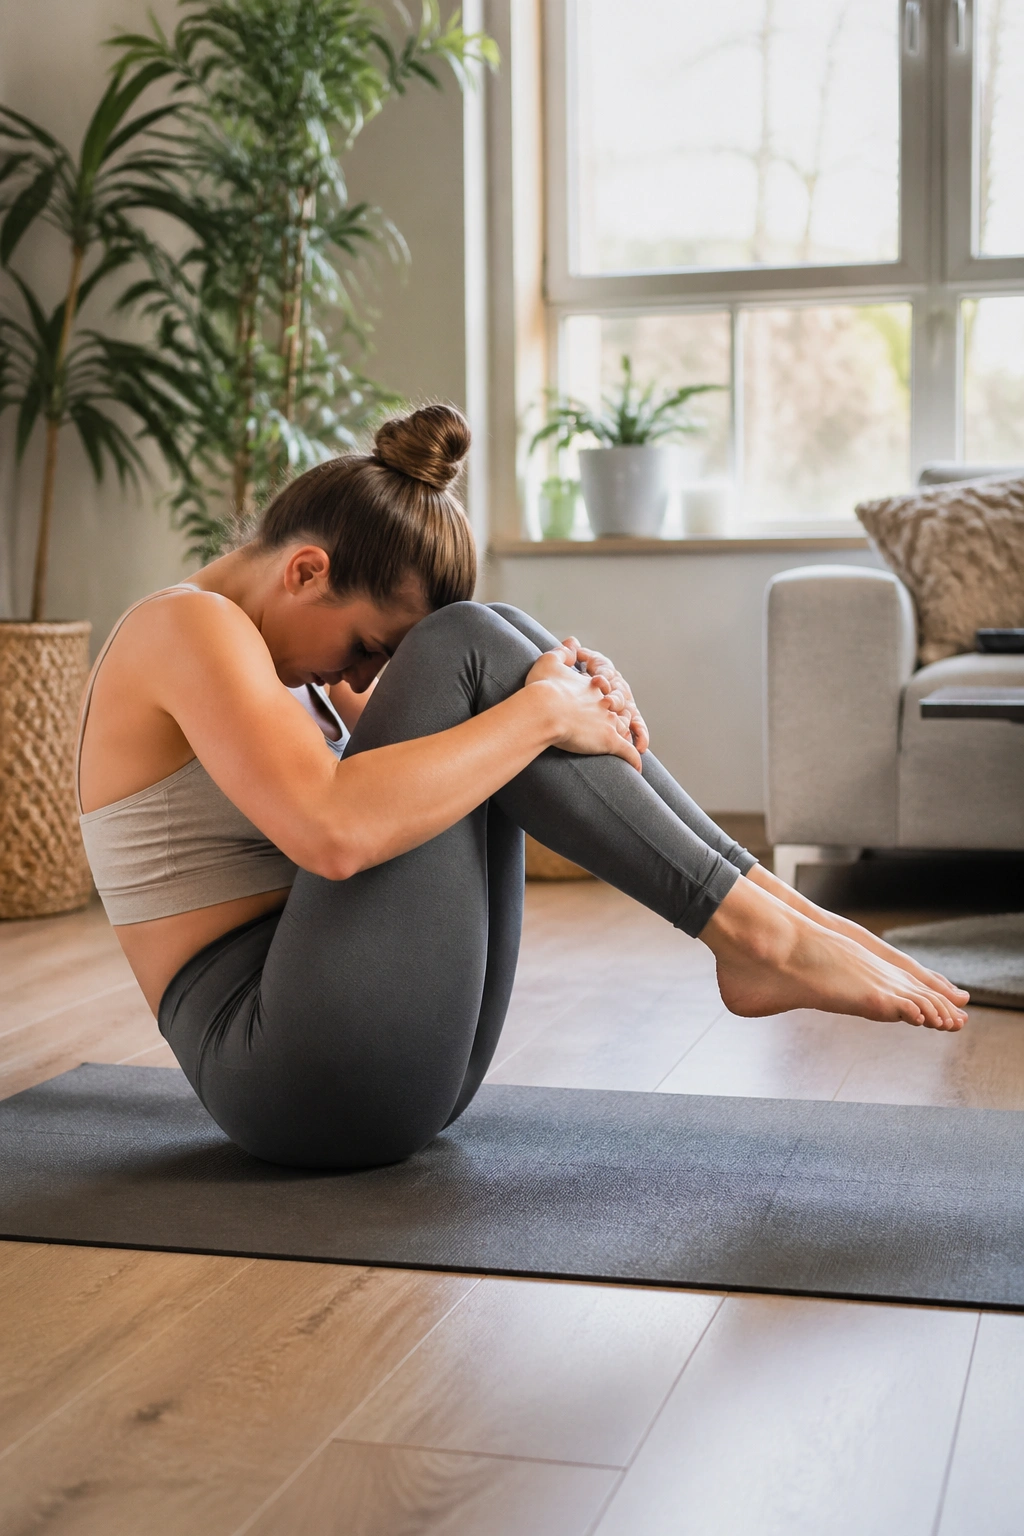
Why put a rolling move into an ab plan? Because control is the whole game, and rolling like a ball makes cheating obvious.
This exercise asks you to keep a tight shape, roll back onto the shoulder blades, and return without slamming into the floor or flopping out of the position. It’s part balance drill, part abdominal squeeze, part honesty test. And yes, it also feels a little playful when it goes well.
How to do it
Sit with your knees bent, feet off the floor, and hands holding the shins. Round your spine into a compact shape, tip back until you balance on the back of the pelvis, then roll back to the shoulder blades and return to sitting. Keep the feet lifted the whole time. Aim for 6 to 8 controlled reps.
What makes it work
- Stay in a tight ball.
- Keep the chin tucked, not crunched.
- Use the abs to pull you back up, not momentum.
- Exhale as you roll up.
If you hear your body thump into the mat, the roll is too big or too fast. Cut the range. Slow the tempo. That usually fixes it.
Some people skip this move because it looks odd. Fair enough. But if your goal is a tighter, more responsive core, rolling like a ball earns its place.
9. Teaser Prep and One-Leg Holds for Real Ab Work
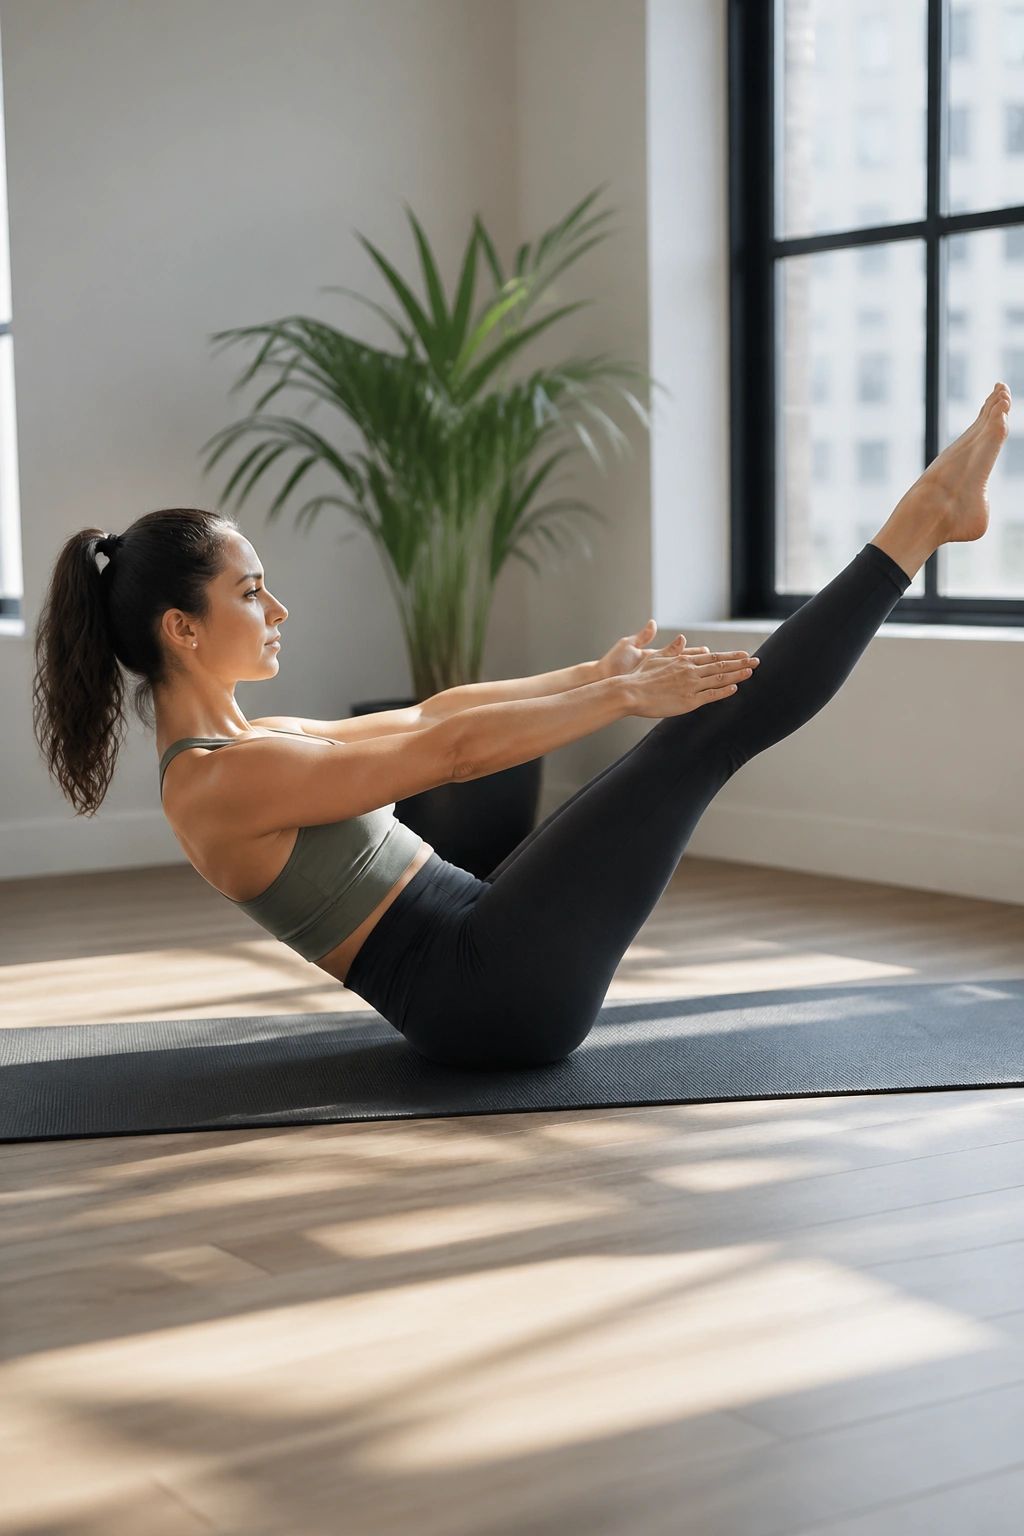
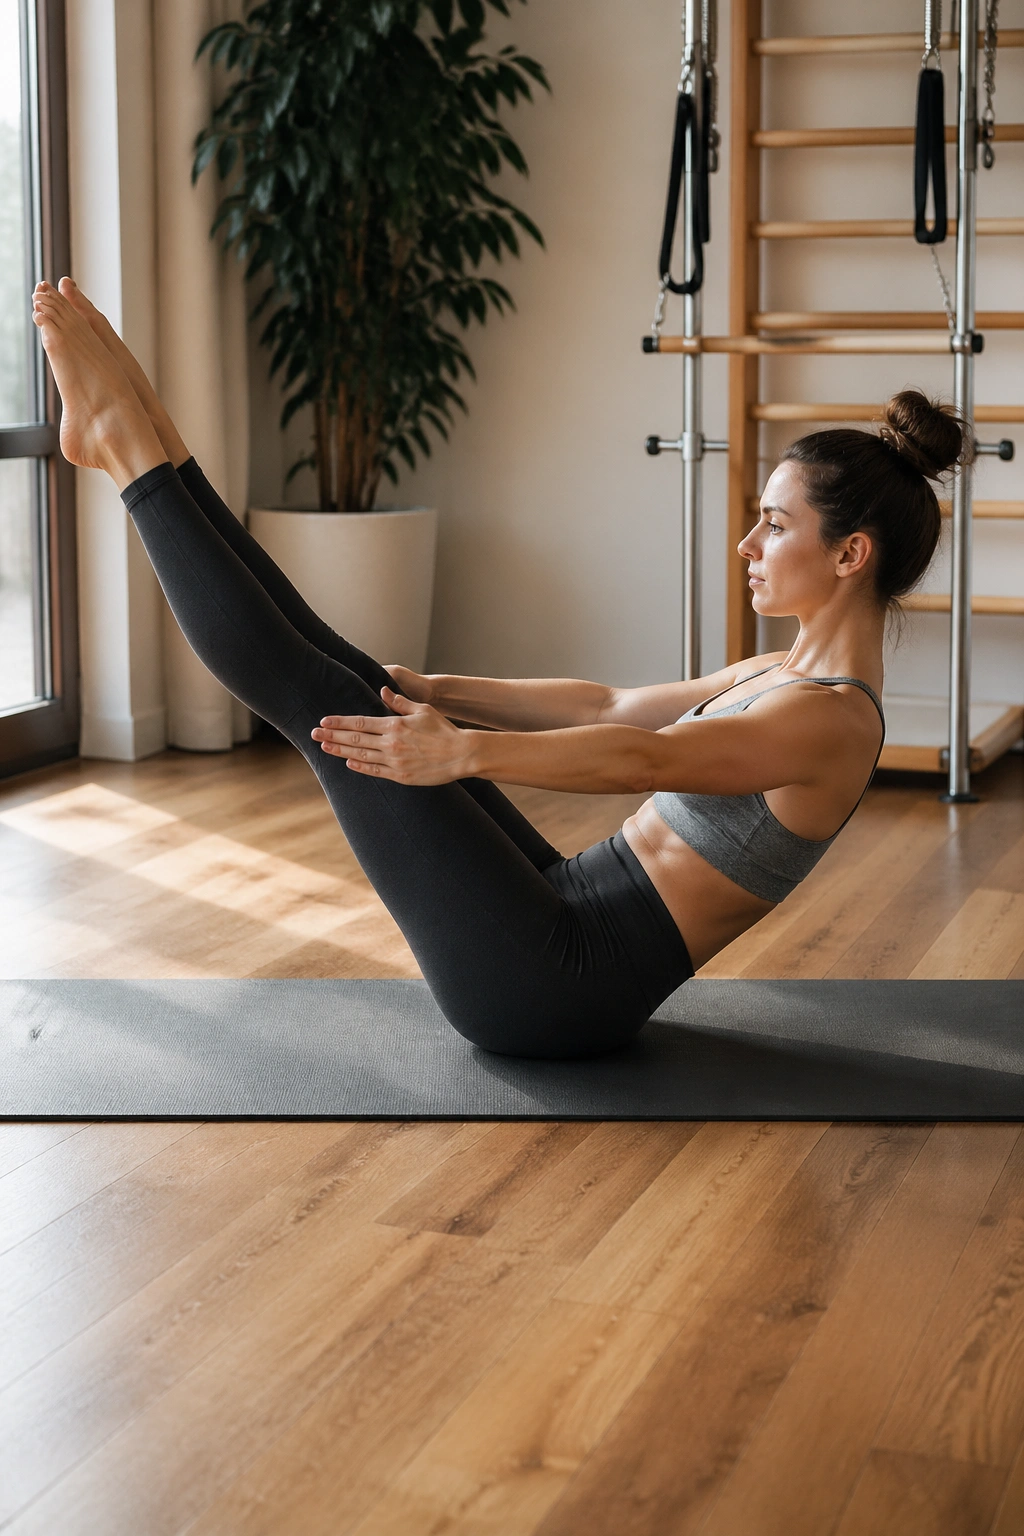
The teaser gets a big reputation because it deserves one. It’s hard. It asks for flexion, balance, leg control, and spine articulation all at once. That’s why teaser prep and one-leg holds are smarter than jumping straight into the full thing.
Unlike a showy full teaser, the prep version teaches the core to lift the trunk without yanking on the hips or neck. You get the shape, the control, and the burn without turning the movement into a circus act.
Start with teaser prep
Lie on your back with one knee bent and the other leg extended long on the mat or lifted low. Reach the arms overhead, then curl the head, shoulders, and upper back up as the arms sweep forward. Stop where you can still keep the ribs down. Hold for a breath or two, then lower with control.
Then try the one-leg hold
Lift both legs if you can keep the spine clean, or keep one knee bent. Find a balanced V-like position and hold it for 3 to 5 breaths. The goal is not height. The goal is shape.
How to make it useful, not messy
- Keep the chest open.
- Don’t pull on the neck.
- Lower the legs if the back arches.
- Pause before the shake turns into a collapse.
What to feel
- Upper abs drawing inward.
- Hip flexors assisting, but not dominating.
- A long line through the back of the neck.
- More control on the way down than on the way up.
If full teaser feels impossible, good. Stay with the prep. A clean prep beats a wrecked full hold every time, and it still gives the abs plenty to do.
10. The Full 10-Day Flow and What to Notice by the End
By the time you reach the last day, the point isn’t to pile on harder and harder moves. The point is to stitch the whole thing together so your core stops feeling like separate parts and starts acting like one unit.
That means you can run a short circuit using the moves you’ve already practiced. Try one round of the Hundred, toe taps, single-leg stretch, a short plank, side plank hip dips, criss-cross, bridge marches, rolling like a ball, and teaser prep. Keep each piece clean and stop before the form gets messy. A 10-minute circuit done with control will usually beat a 25-minute scramble.
A simple way to use the plan
- Days 1-2: Stick to the Hundred, toe taps, and single-leg stretch.
- Days 3-4: Add double-leg stretch and bridge marches.
- Days 5-6: Bring in the plank, side plank hip dips, and criss-cross.
- Days 7-8: Add rolling like a ball and teaser prep.
- Days 9-10: Blend the whole sequence into a short flow.
That’s the shape of the plan, but the real change shows up in smaller places. Your ribs stay quieter when you stand. Your lower back may stop grabbing during core work. You may notice your midsection feels less puffed after a session because you’re breathing better and bracing less.
A single 10 day toned ab plan will not erase body fat. It will not turn every stomach into a flat line. But it can sharpen the muscles you already have, improve posture, and make your center feel more awake. That part is worth chasing.
Final Thoughts
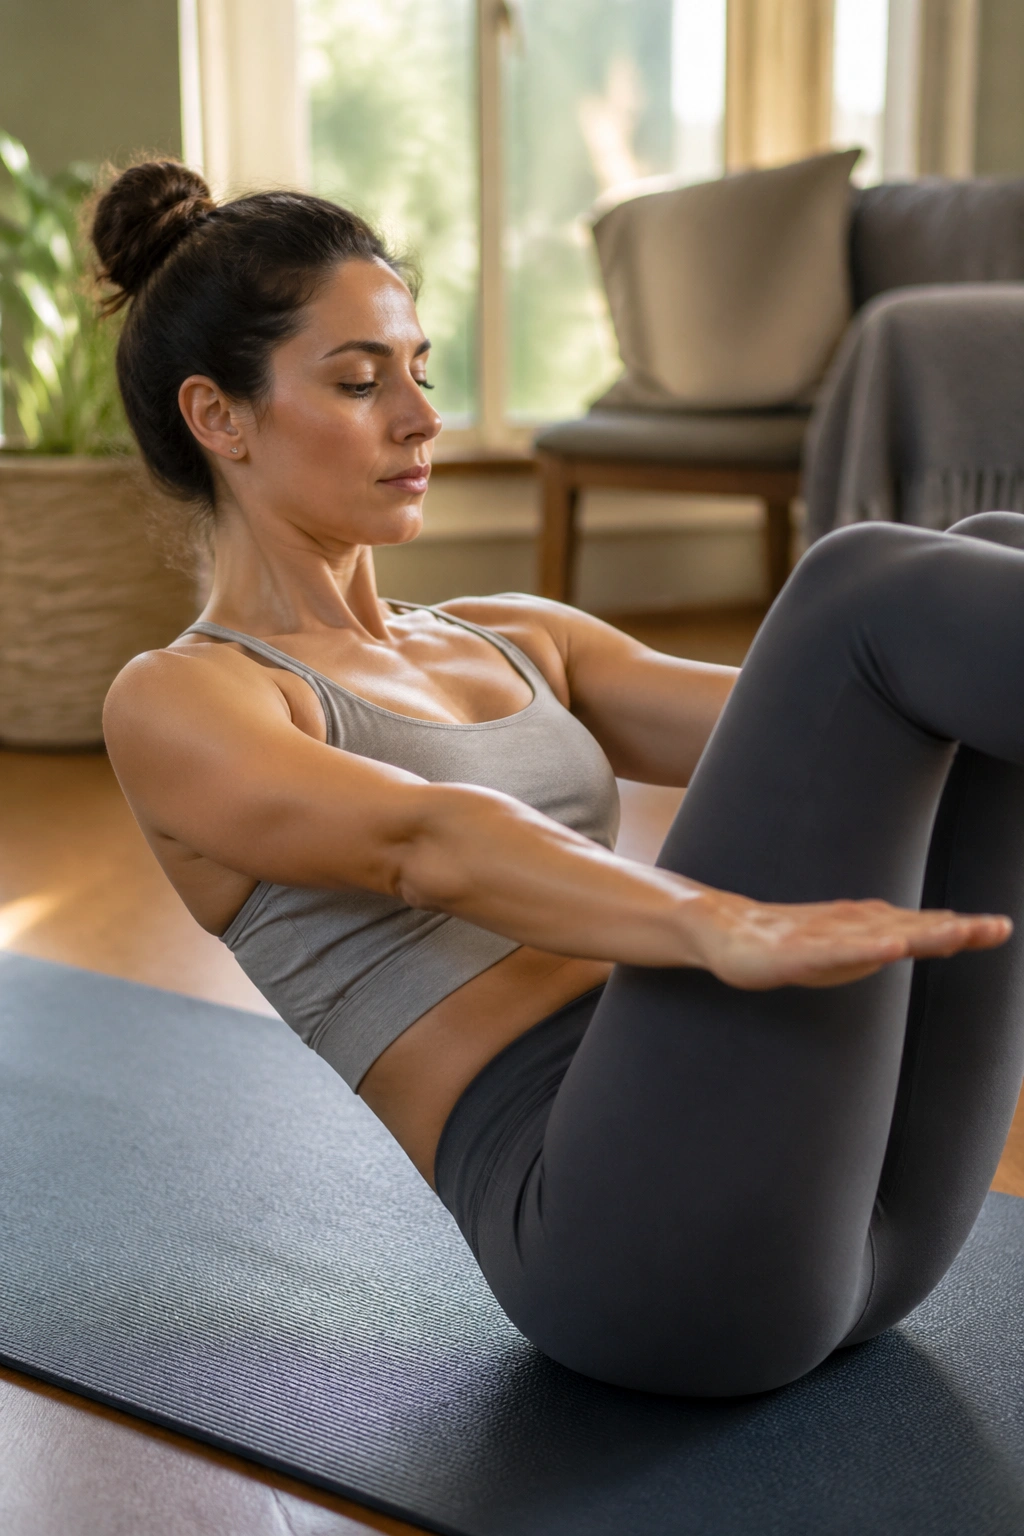
The best Pilates ab work looks modest and feels precise. If a move turns into swinging, neck strain, or lower-back drama, scale it down and clean it up.
What you want over these ten days is not exhaustion for its own sake. You want steadier ribs, a quieter pelvis, and a core that holds its shape when the limbs start moving. That changes how the whole body feels, which is usually where the visible shift begins anyway.
Pick three of these exercises and keep them in rotation after the plan ends. The ones that make you work without making you sloppy are the keepers.
