



The first workout after birth should not leave you gripping the couch.
Postpartum workouts for new moms work best when they feel almost disarmingly small at first: a few breaths, a short walk, a handful of slow reps, maybe a little more. Your body has been through pregnancy, labor, delivery, sleep loss, and the strange physics of feeding a baby on demand. That is a lot. The smart move is not to “bounce back.” It is to rebuild something sturdy enough to carry car seats, laundry baskets, and a baby who suddenly wants to be held right now.
The mistake I see most often is people treating postpartum fitness like a calorie-burn problem. It isn’t. Early on, the real goals are pressure control, pelvic floor recovery, core coordination, and enough strength to make daily life feel less like a wrestling match. If you leak when you cough, feel a heavy tug in your pelvis, see doming along your midline, or get a pulling sensation around a C-section scar, those are not personality traits. They are feedback.
Start gently, and start with movements that make you feel more organized, not more trashed. Walking, breathing, floor work, and simple strength moves are the backbone here, and they work because they respect the body you actually have. The list below moves from the most basic rebuilding patterns to more loaded exercise options, so you can pick the right place to begin and keep going from there.
1. 360-Degree Breathing Reset
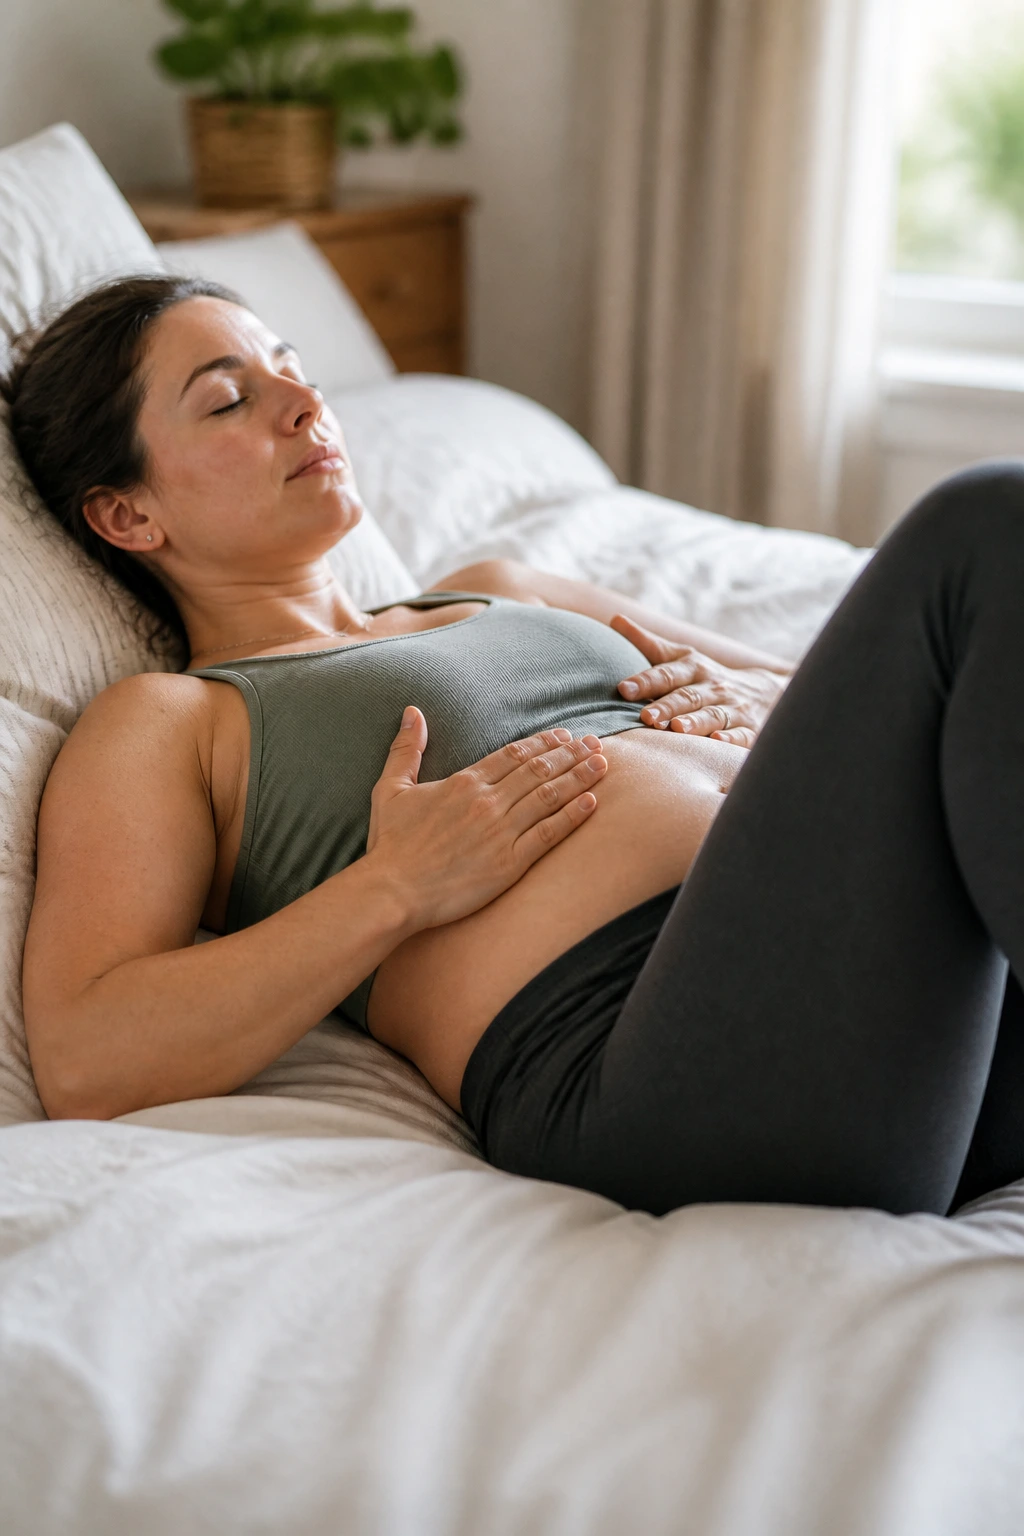
This is the place to begin. If your ribs feel stuck, your belly feels soft in a weird way, or your whole trunk feels like it forgot how to brace, a 360-degree breathing reset can wake things up without force. Lie on your back with your knees bent or on your side if that feels better, then breathe so the air expands into your ribs, back, and belly all at once.
Exhale slowly through your mouth for about 4 to 6 seconds, and let the lower belly draw in gently on its own. Do not clamp down like you are trying to flatten everything. That usually backfires. Think “zipper up” on the exhale, then fully let go on the inhale.
A good starting dose is 5 breaths, 2 rounds, once or twice a day. Tiny? Yes. Useful? Also yes. That tiny reset often makes the next exercise feel cleaner.
2. Pelvic Floor Contract-and-Release
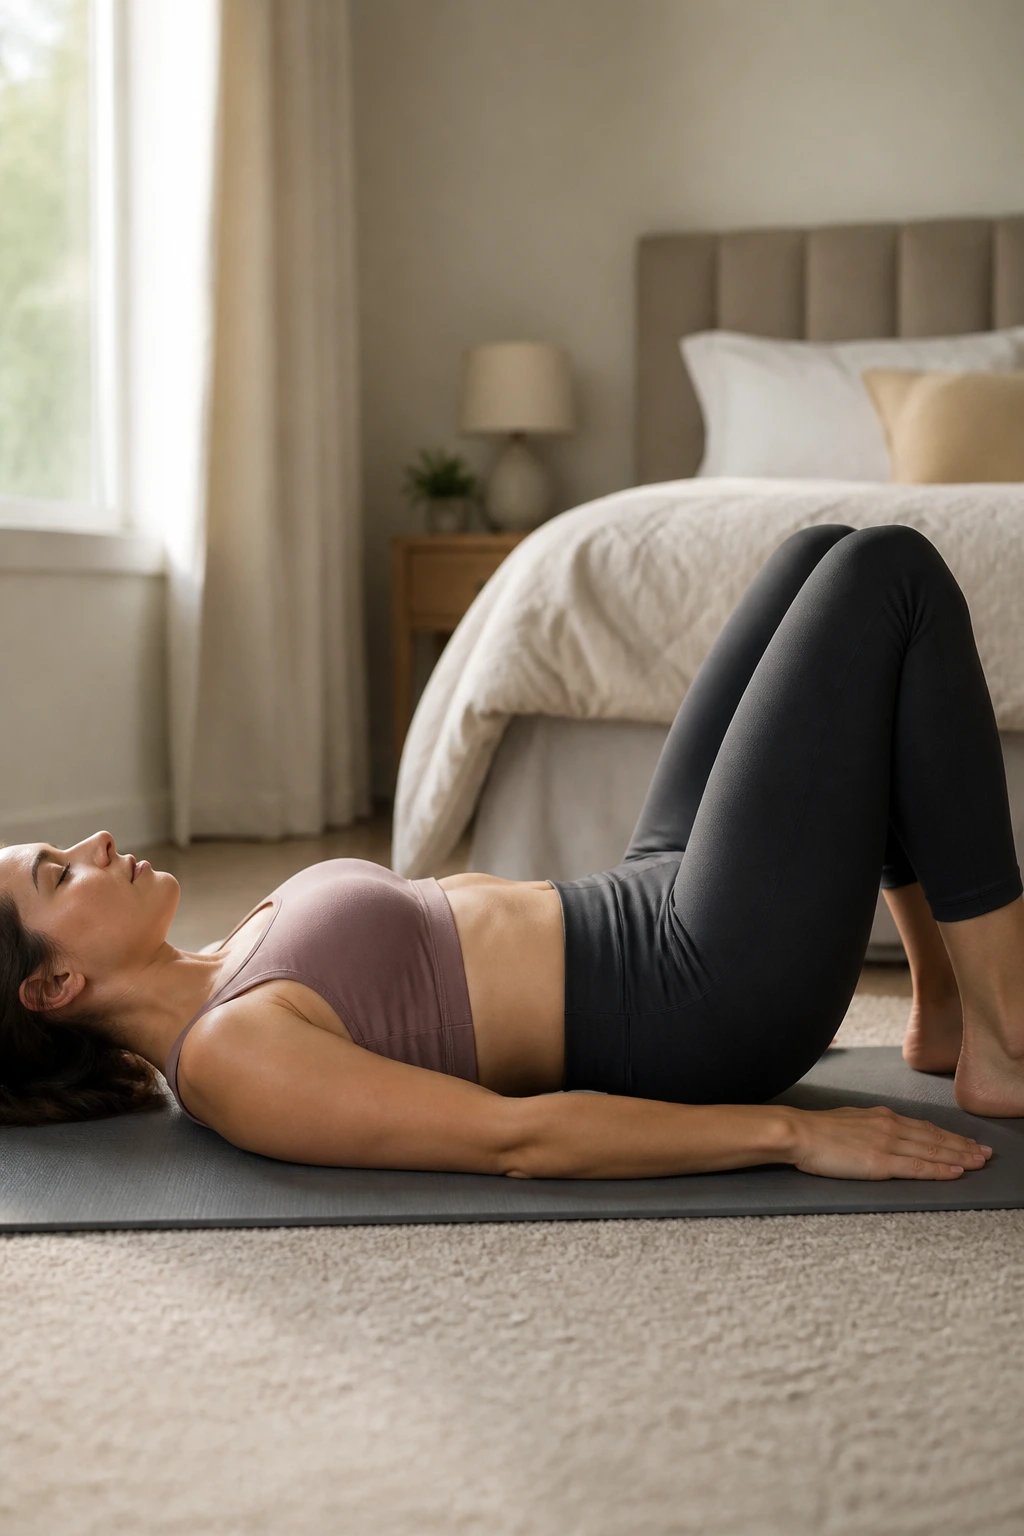
The pelvic floor is not just about squeezing. It also has to let go, and that part gets ignored all the time. A gentle contract-and-release teaches you to lift on purpose, then soften all the way back down. That matters if you feel tension, leakage, or a weird “always on” feeling in the pelvis.
How to Do It Well
Lie down or sit tall. On a slow exhale, imagine gently picking up a blueberry with the muscles around the vagina and anus. Hold that lift for 2 to 3 seconds, then release for 5 to 6 seconds. The release should feel longer than the squeeze.
- Do 6 to 10 reps
- Keep your jaw loose
- Let your butt and thighs stay quiet
- Stop if the movement turns into a hard clench
If the release is missing, the whole drill misses the point. A pelvic floor that only grips gets tired fast.
3. Short Neighborhood Walks
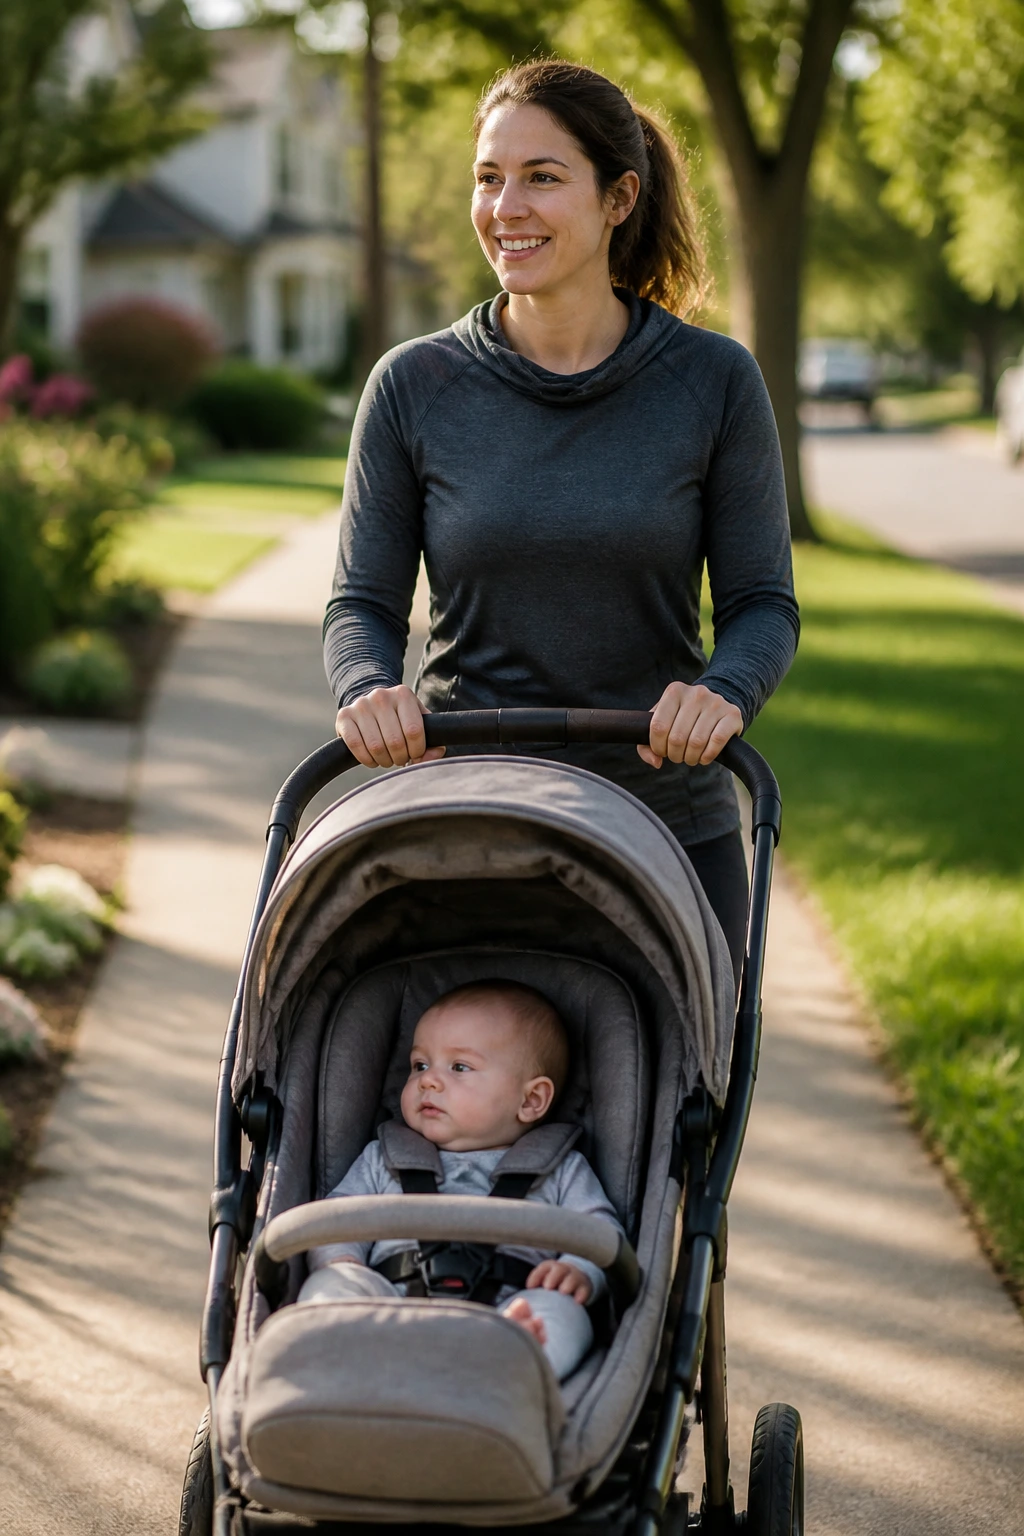
Walking is boring in the best possible way. It gives you low-impact cardio, helps circulation, and lets your trunk work without a lot of pressure. If you are early postpartum, think 5 to 10 minutes at a time, not heroic laps around the block.
Push the stroller if that feels good, or leave it at home and swing your arms naturally. Breathe through your nose when you can. If talking feels smooth, you’re probably in a good zone. If you feel pelvic heaviness, leaking, or the urge to brace your abs hard, cut the walk shorter next time.
A lot of new moms need permission to keep this simple. Here it is: walks count. Three short walks across a day can do more for your energy and mood than one session that leaves you flattened.
4. Heel Slides
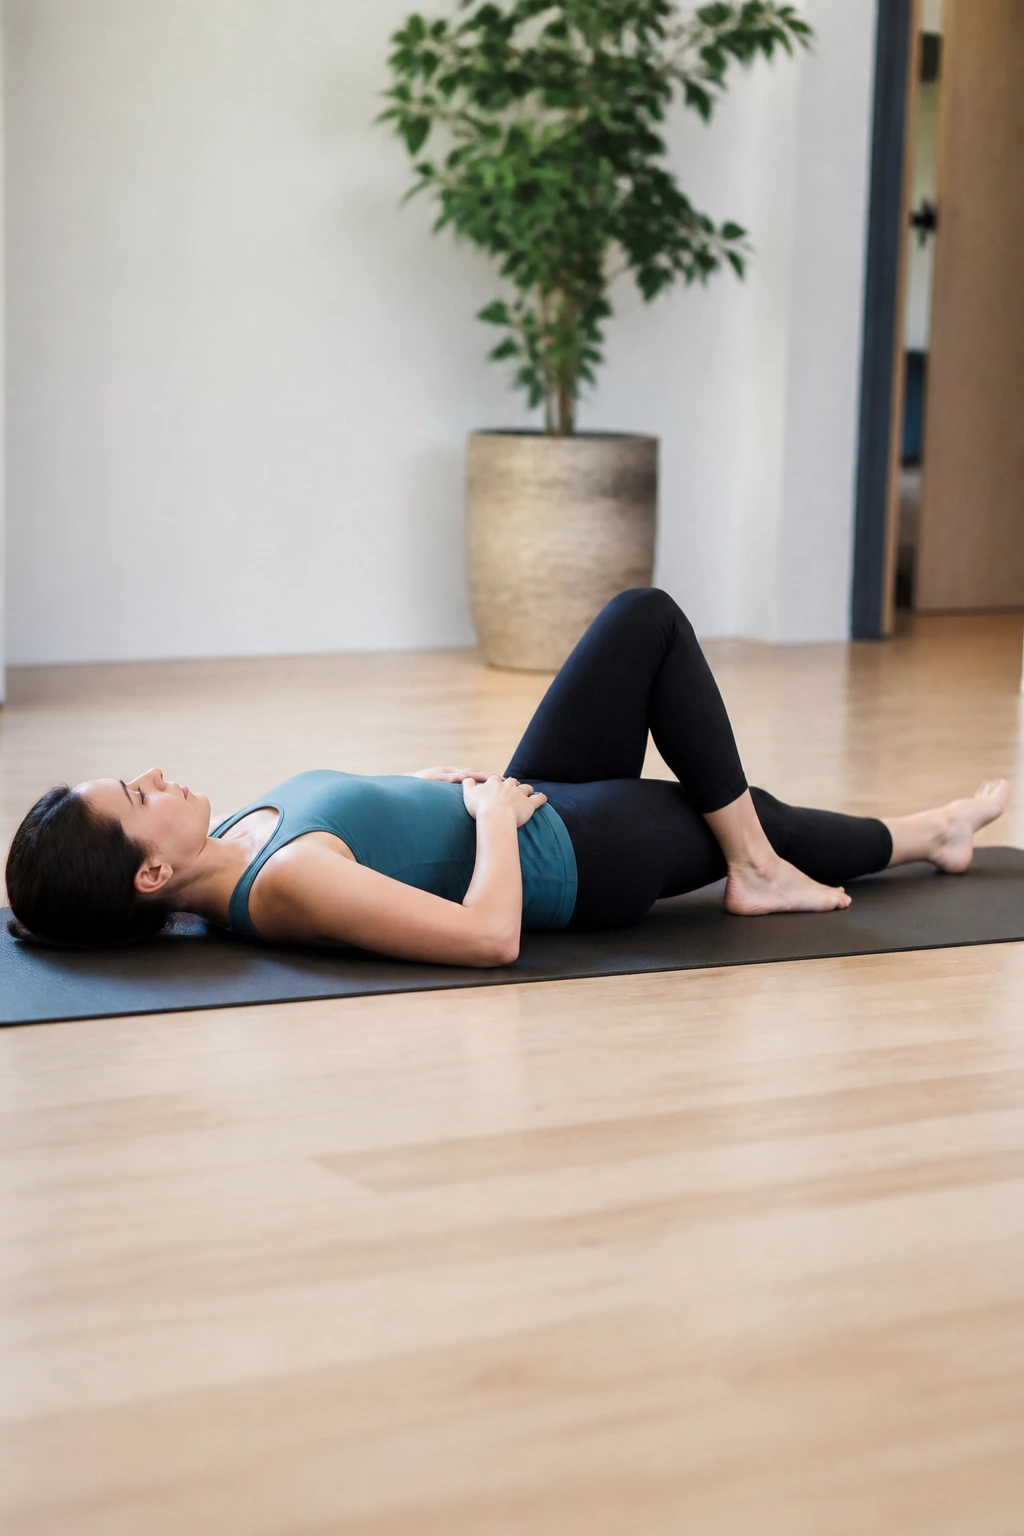
Heel slides look almost too easy, which is part of why they work. You lie on your back, one heel on the floor or mat, and slowly slide the leg away as you exhale and keep the ribs from popping up. Then slide it back in without losing control.
Why They Help
Heel slides train the deep core to stay connected while the hips move. That matters after pregnancy because the trunk often wants to flare, bulge, or brace too hard when the legs move.
Try 6 to 8 reps per side. If your belly domes or you feel your low back arch, shorten the range. A smaller slide done well beats a big slide done badly. Every time.
5. Glute Bridges
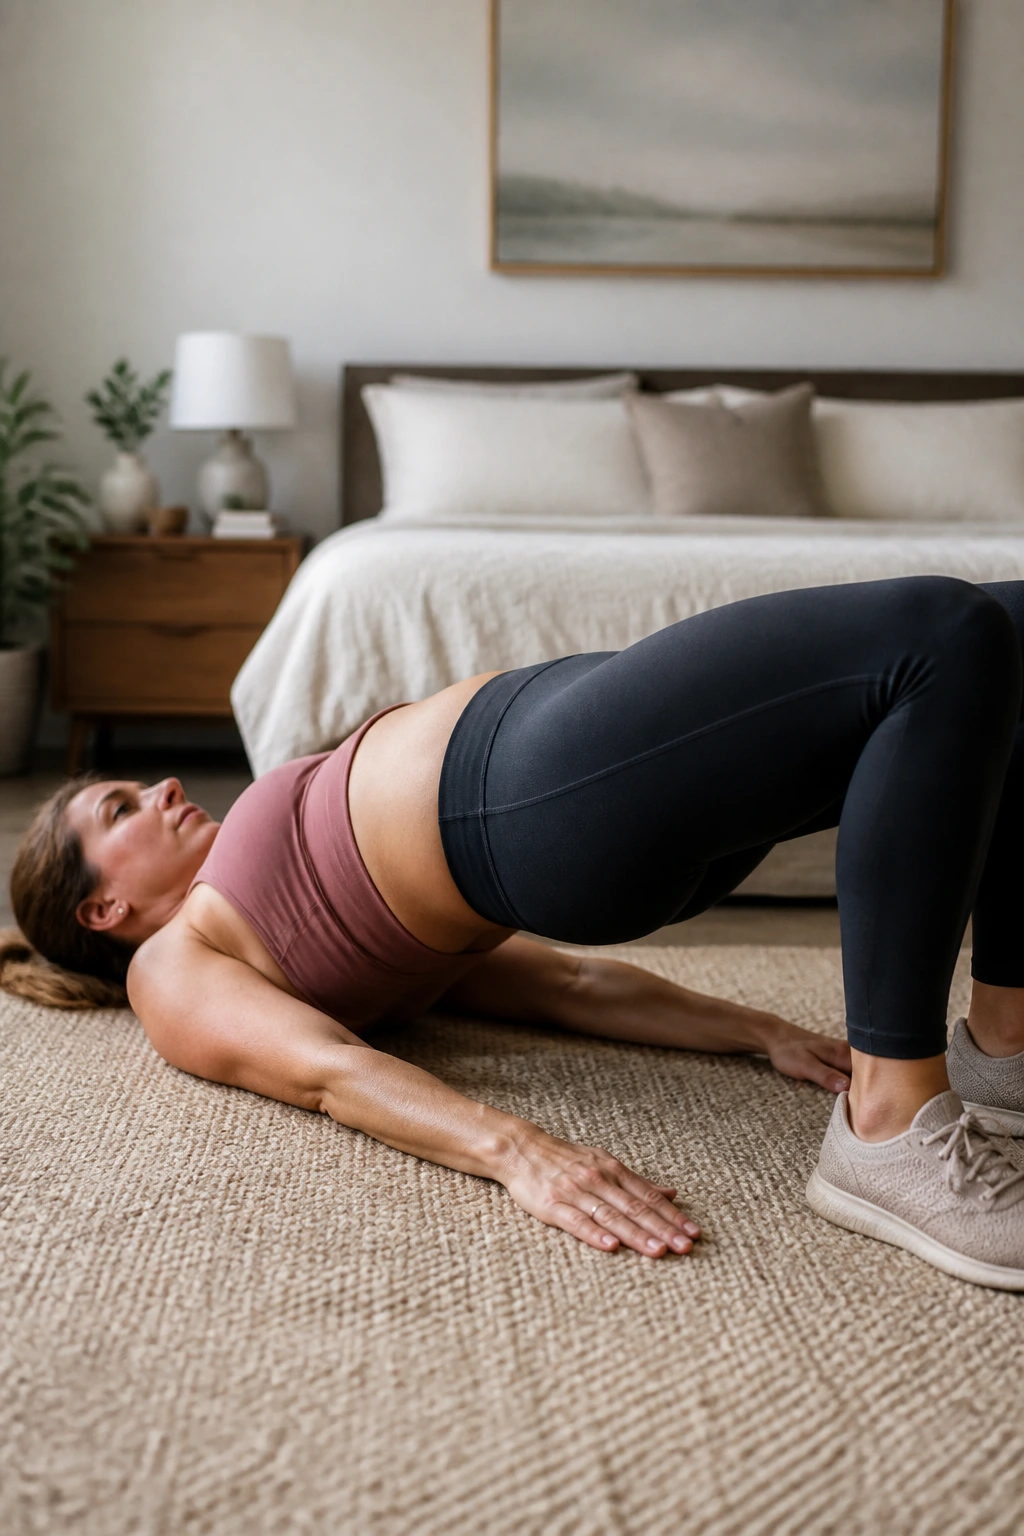
Glute bridges are a gift to postpartum bodies because they wake up the hips, the back side of the body, and the deep abs without a lot of drama. Lie on your back with your feet flat and your knees bent, then press through your heels and lift your hips until your body makes a straight line from shoulders to knees.
Pause for 1 to 2 seconds at the top. You should feel your glutes, not your lower back. If the low back takes over, lower the hips and keep the lift smaller. That’s not failure; that’s good coaching.
I like bridges because they show you whether your pelvis can stay steady under a little load. Start with 2 sets of 8 to 10, and keep the tempo slow. Fast reps usually turn into sloppy ones.
6. Bird Dog Reaches
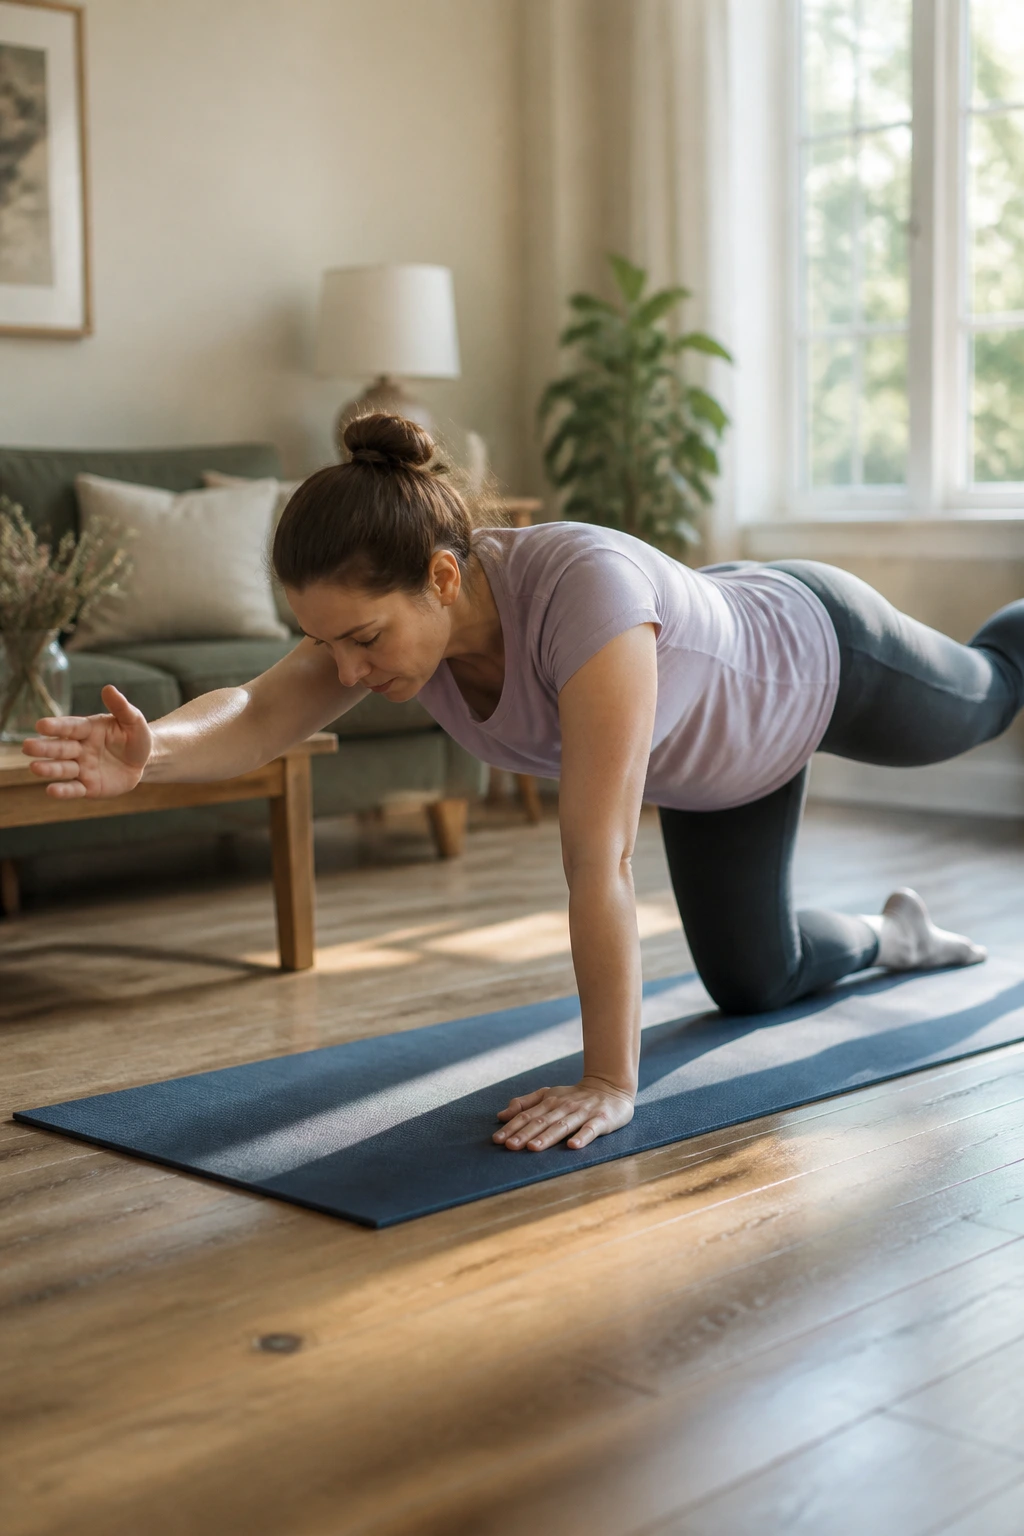
Bird dogs are one of those exercises that looks plain until you try to keep your hips from swaying. On hands and knees, extend one leg straight behind you and the opposite arm forward, then pause before returning to center. The goal is not height. The goal is control.
What to Watch For
A lot of people fling the arm and leg up and call it good. Nope. The better version is quieter.
- Reach long, not high
- Keep the ribs pulled in
- Stop if the low back pinches
- Use a shorter reach if the balance feels shaky
Start with 5 to 6 reps per side. If the full version feels wobbly, do leg only or arm only for a week and then combine them later.
7. Wall Push-Ups
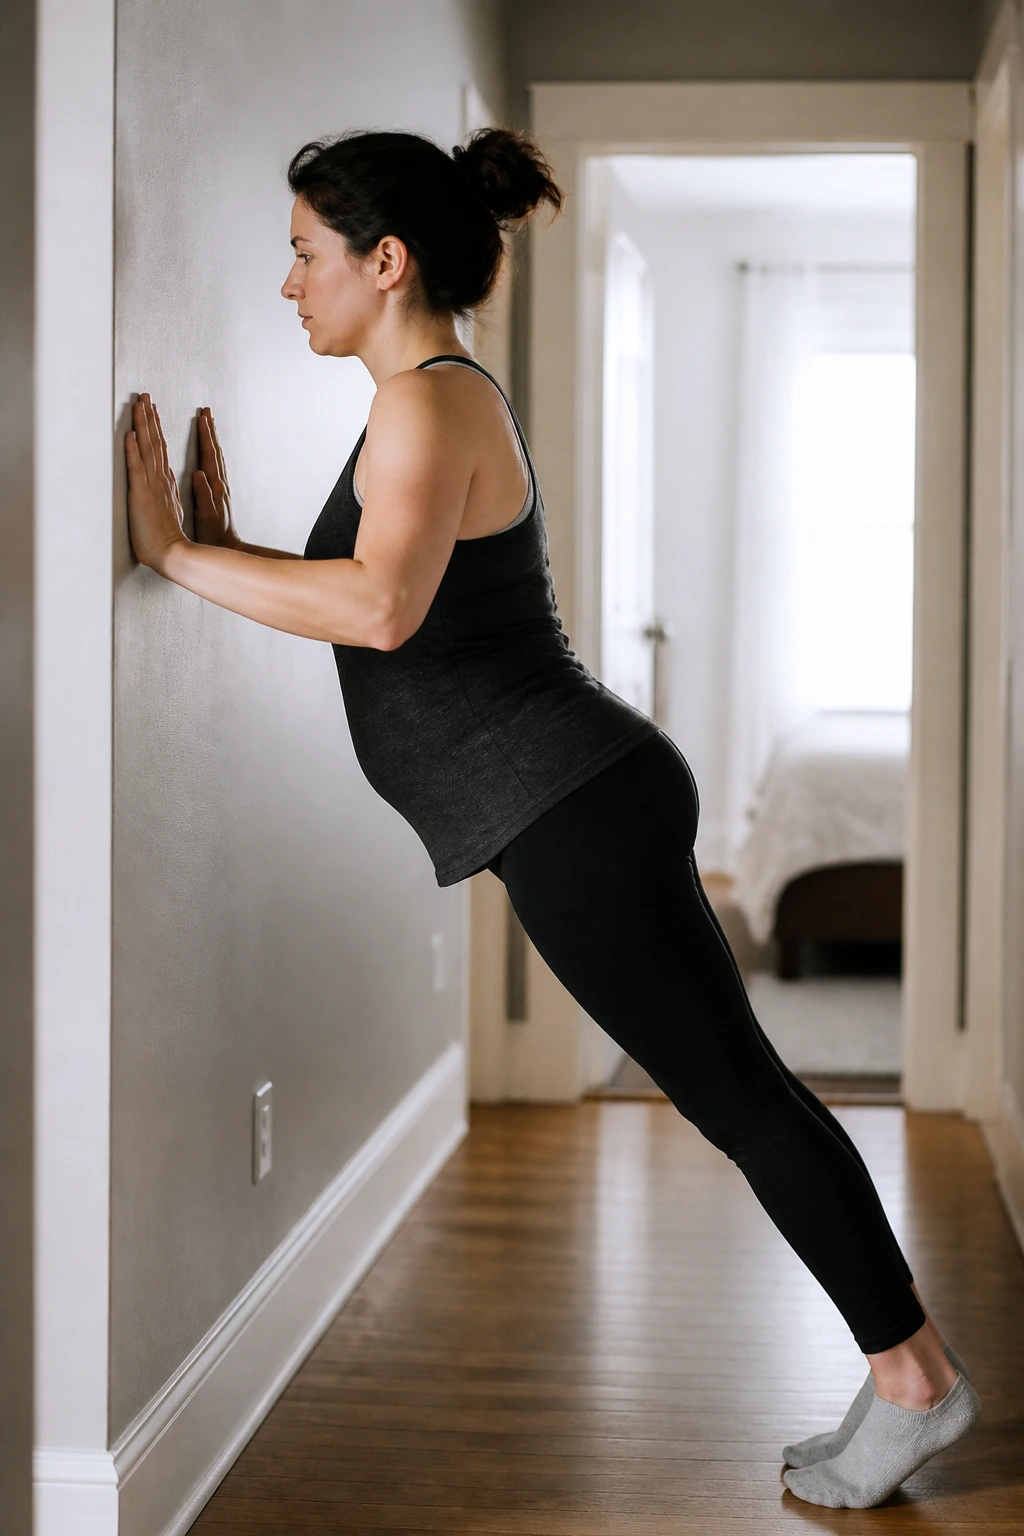
Wall push-ups are a smart first upper-body push because they let you train the chest, shoulders, and core without loading the wrists or belly too much. Stand about an arm’s length from the wall, place your hands at chest height, and lower your body in a straight line.
A steeper angle is easier. A lower hand position is harder. That gives you a neat way to progress without drama. Keep your elbows at about a 45-degree angle from your sides, not flared wide like a gym class disaster.
Do 2 sets of 8 to 12. If you feel pressure in the pelvic floor, back up your feet and make the angle easier. The wall is not cheating. It’s a tool.
8. Sit-to-Stand Squats
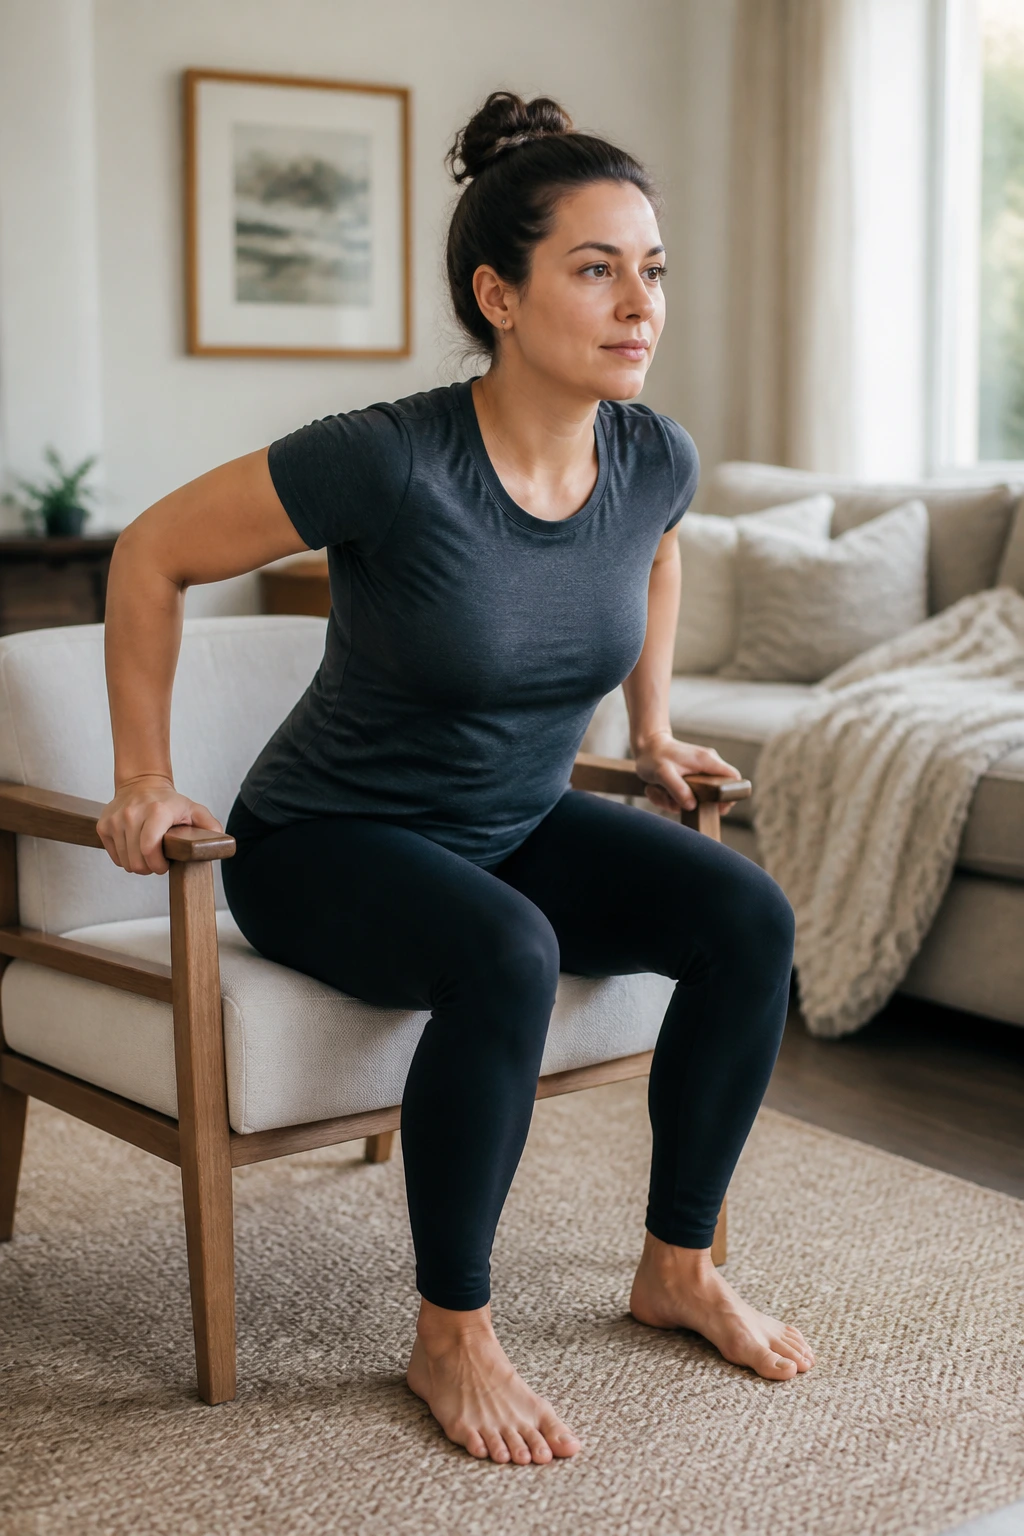
If you have ever lifted a baby out of a crib and felt your thighs complain, this one matters. Sit on a chair or couch, feet about hip-width apart, then lean slightly forward and stand up using your legs. Sit back down with control. That’s the whole movement.
How to Make It Count
Use a chair that lets your knees start around 90 degrees or a little higher. Exhale as you stand, and think about pushing the floor away instead of throwing your chest forward. If you need your hands on the armrests at first, do it.
A set of 6 to 10 reps works well. This is one of the most practical postpartum workouts because it carries over directly into life: picking up baby, standing from the floor, getting out of the car, surviving the day.
9. Side-Lying Clamshells
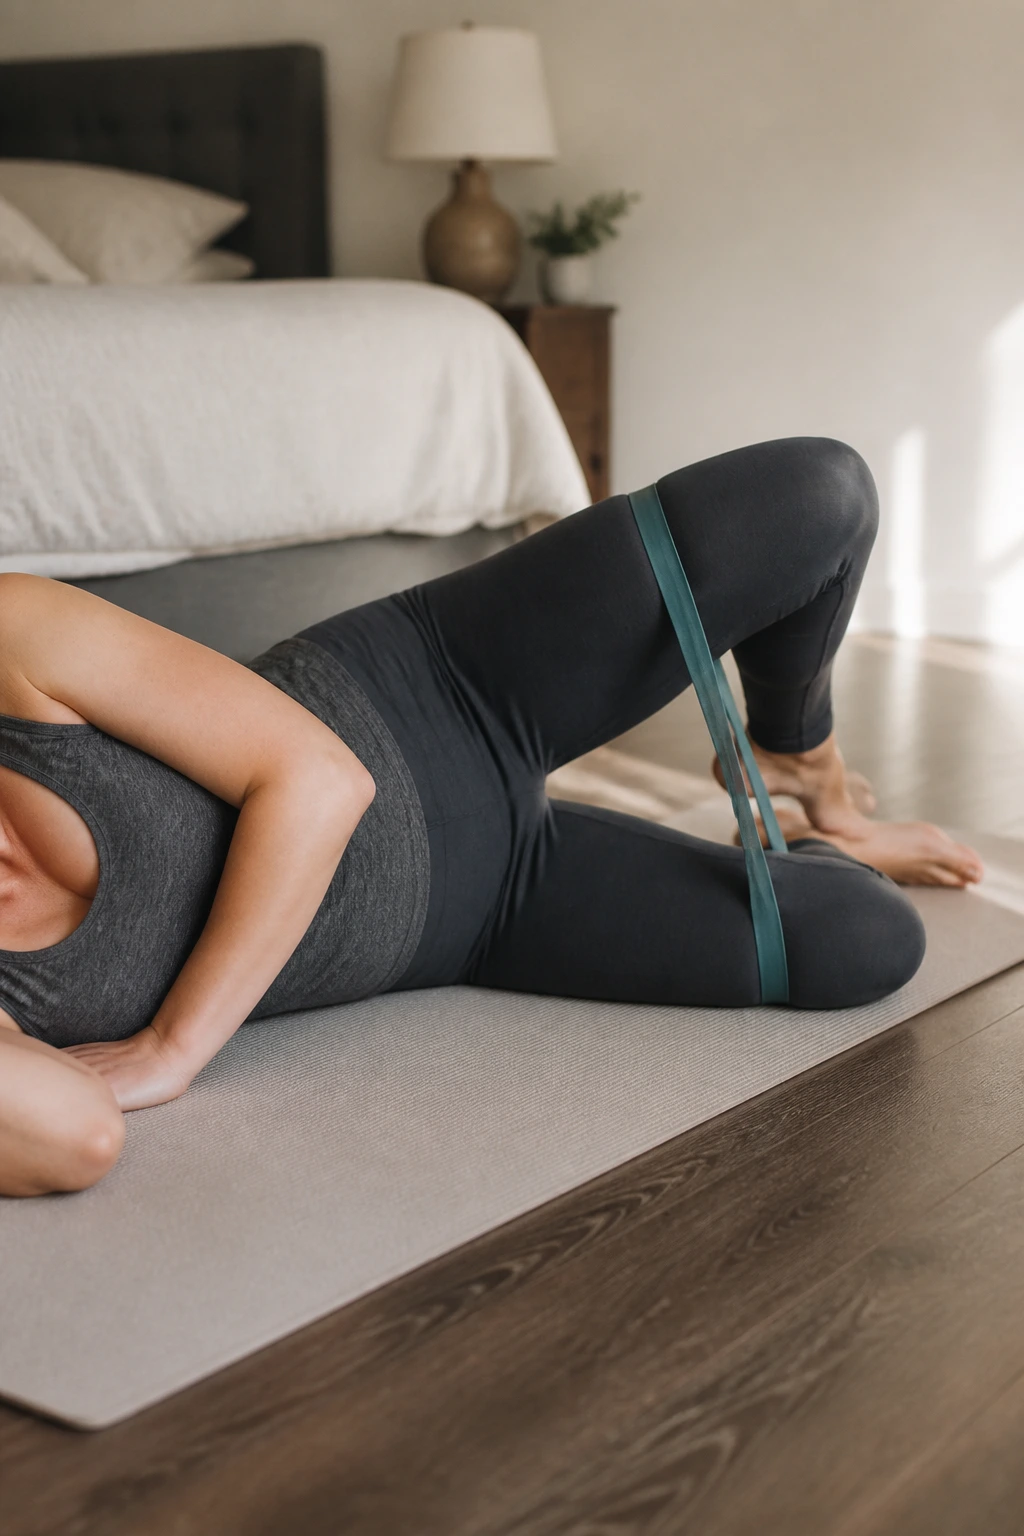
Side-lying clamshells are small, but they hit a big job: they help the side glutes and hip stabilizers wake back up. Lie on your side with your knees bent and feet together, then lift the top knee without rolling your pelvis backward.
A mini-band above the knees can make this harder, but don’t rush to add one. Clean form beats extra tension. You should feel the outside of the upper hip, not the front of the hip flexor. That little detail matters a lot.
Try 2 sets of 10 to 12 per side. If one side feels much weaker, resist the urge to blast through. The uneven side usually deserves a little more attention, not less.
10. Dead Bug March
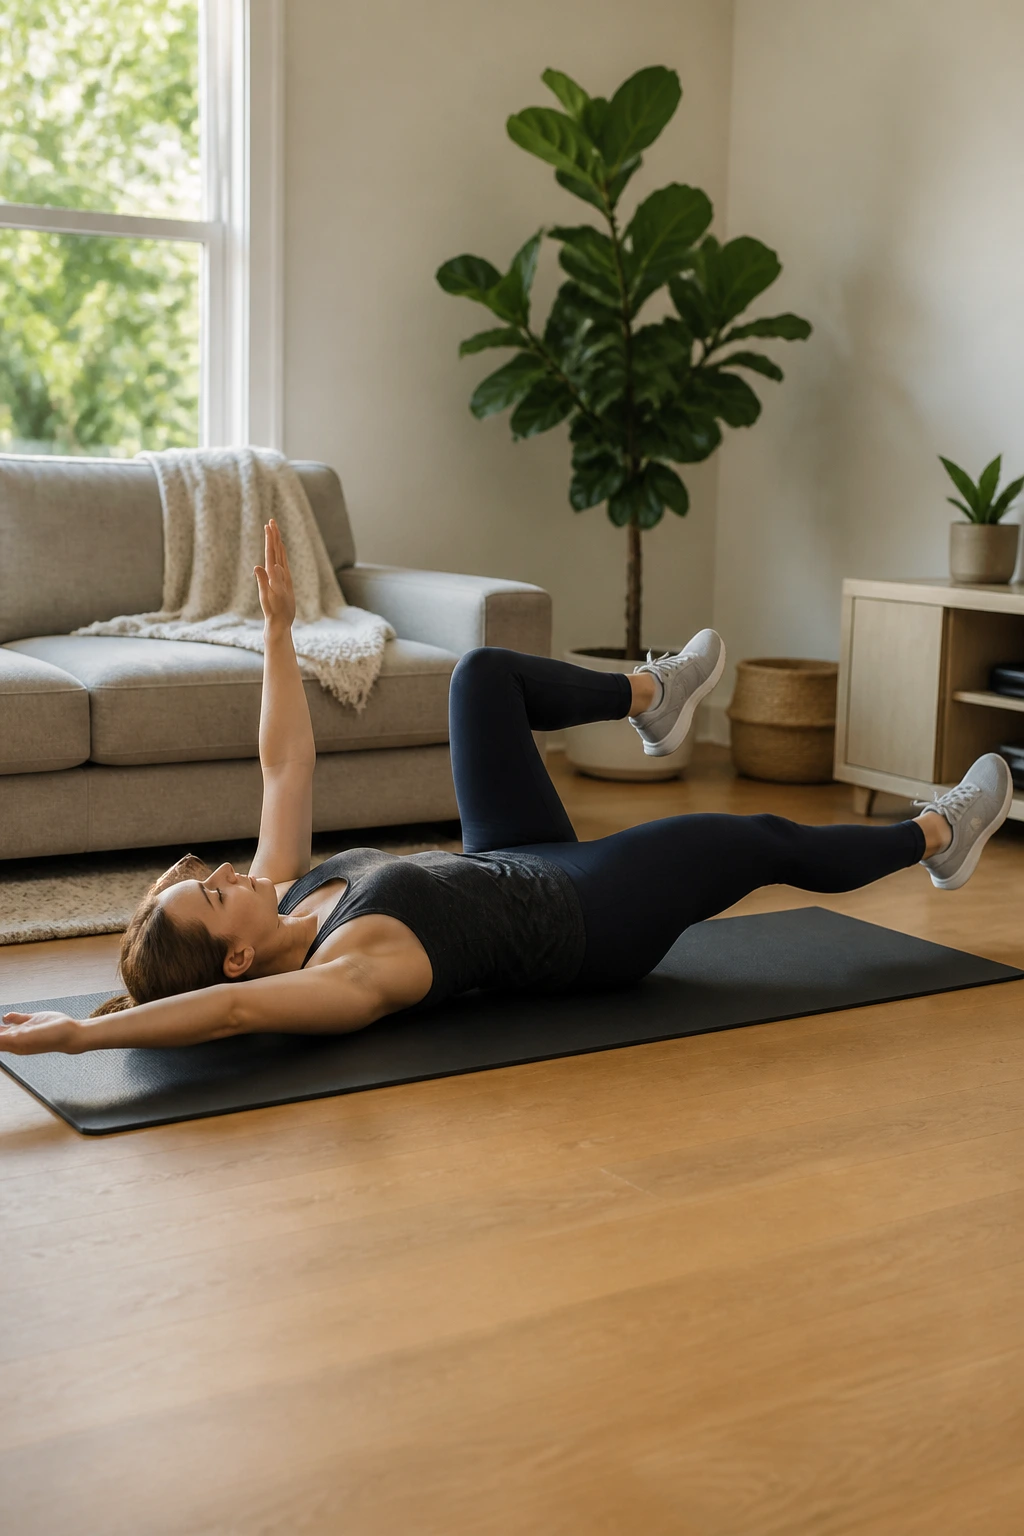
Dead bug march is the gentle cousin of the full dead bug. Lie on your back with your knees bent over your hips, then slowly lower one foot toward the floor and bring it back, alternating sides while keeping the pelvis quiet. No frantic tapping. No holding your breath.
Why It Works
The movement teaches your torso to stay steady while the legs move. That is a huge postpartum skill, because daily life asks you to twist, bend, and carry while your core is still sorting itself out.
- Start with 4 to 6 reps per side
- Keep the back heavy on the floor
- Exhale as the leg lowers
- Stop if you see doming or rib flare
If the full march is too much, tap the heel lightly and keep the range tiny. That still counts.
11. Resistance Band Rows
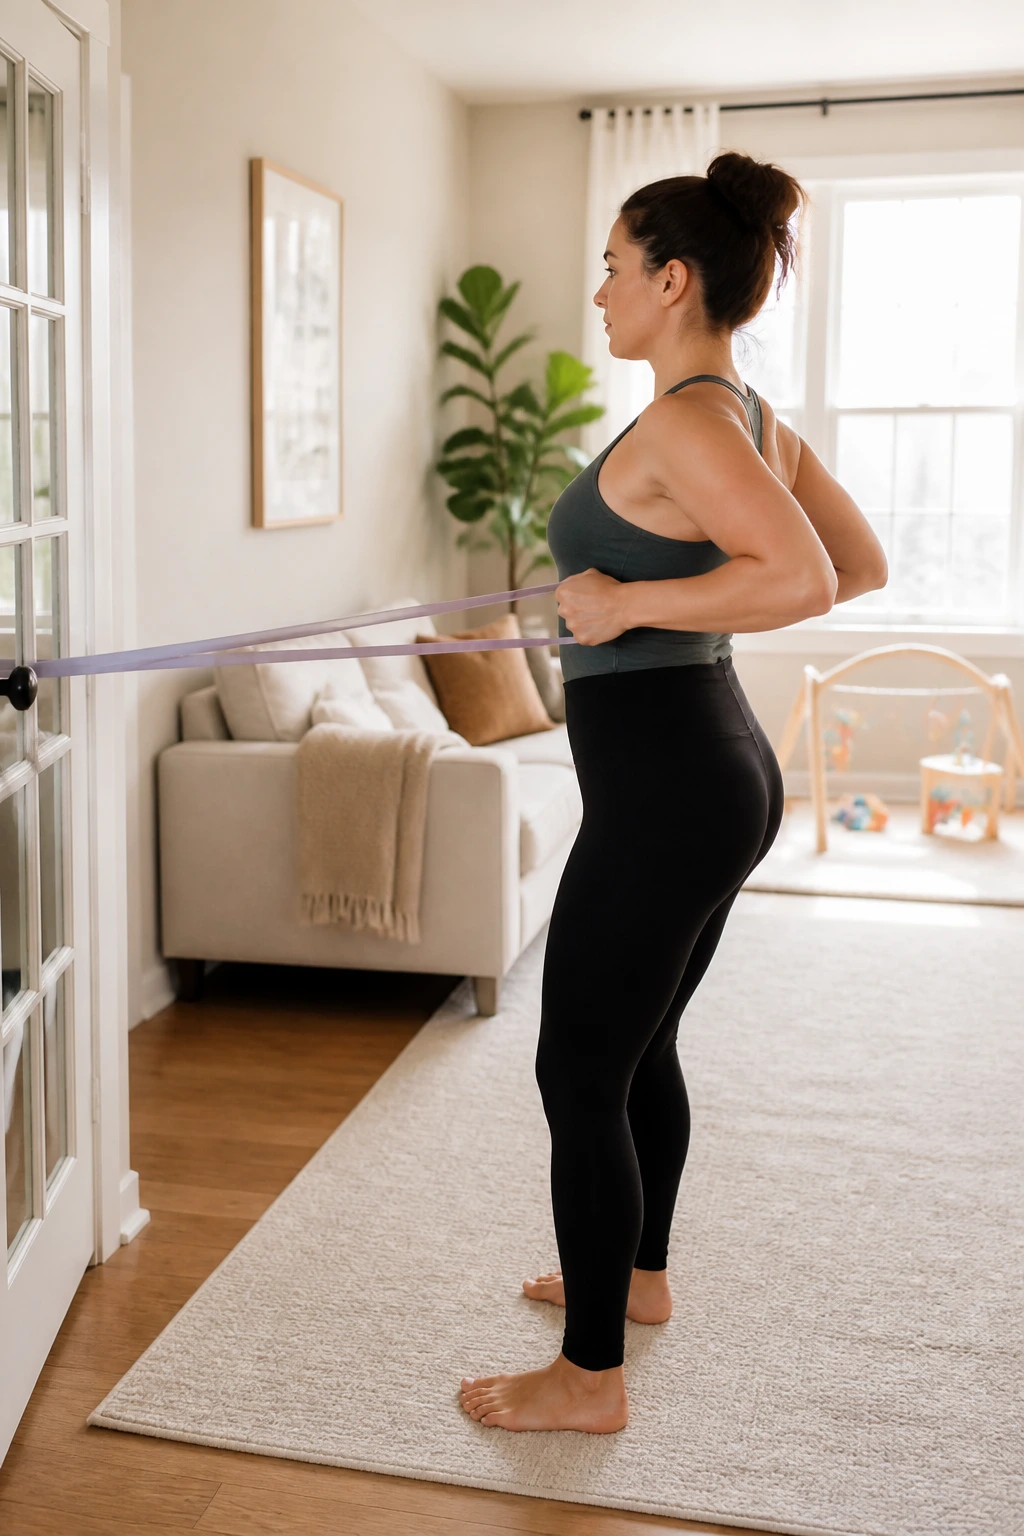
Rows are a gift if you spend half your day feeding, burping, rocking, or hunching over a bassinet. Sit or stand tall, hold a light band, and pull the elbows back so the shoulder blades glide toward the spine. Then return slowly.
What It Feels Like
Your upper back should do the work. Your neck should not feel jammed. Your shoulders should stay down, not climb toward your ears.
Do 2 to 3 sets of 10 to 12. A medium-light band is usually enough at first. This movement does a sneaky amount of good because better upper-back tone makes carrying, holding, and feeding feel less exhausting.
12. Low Stair Step-Ups
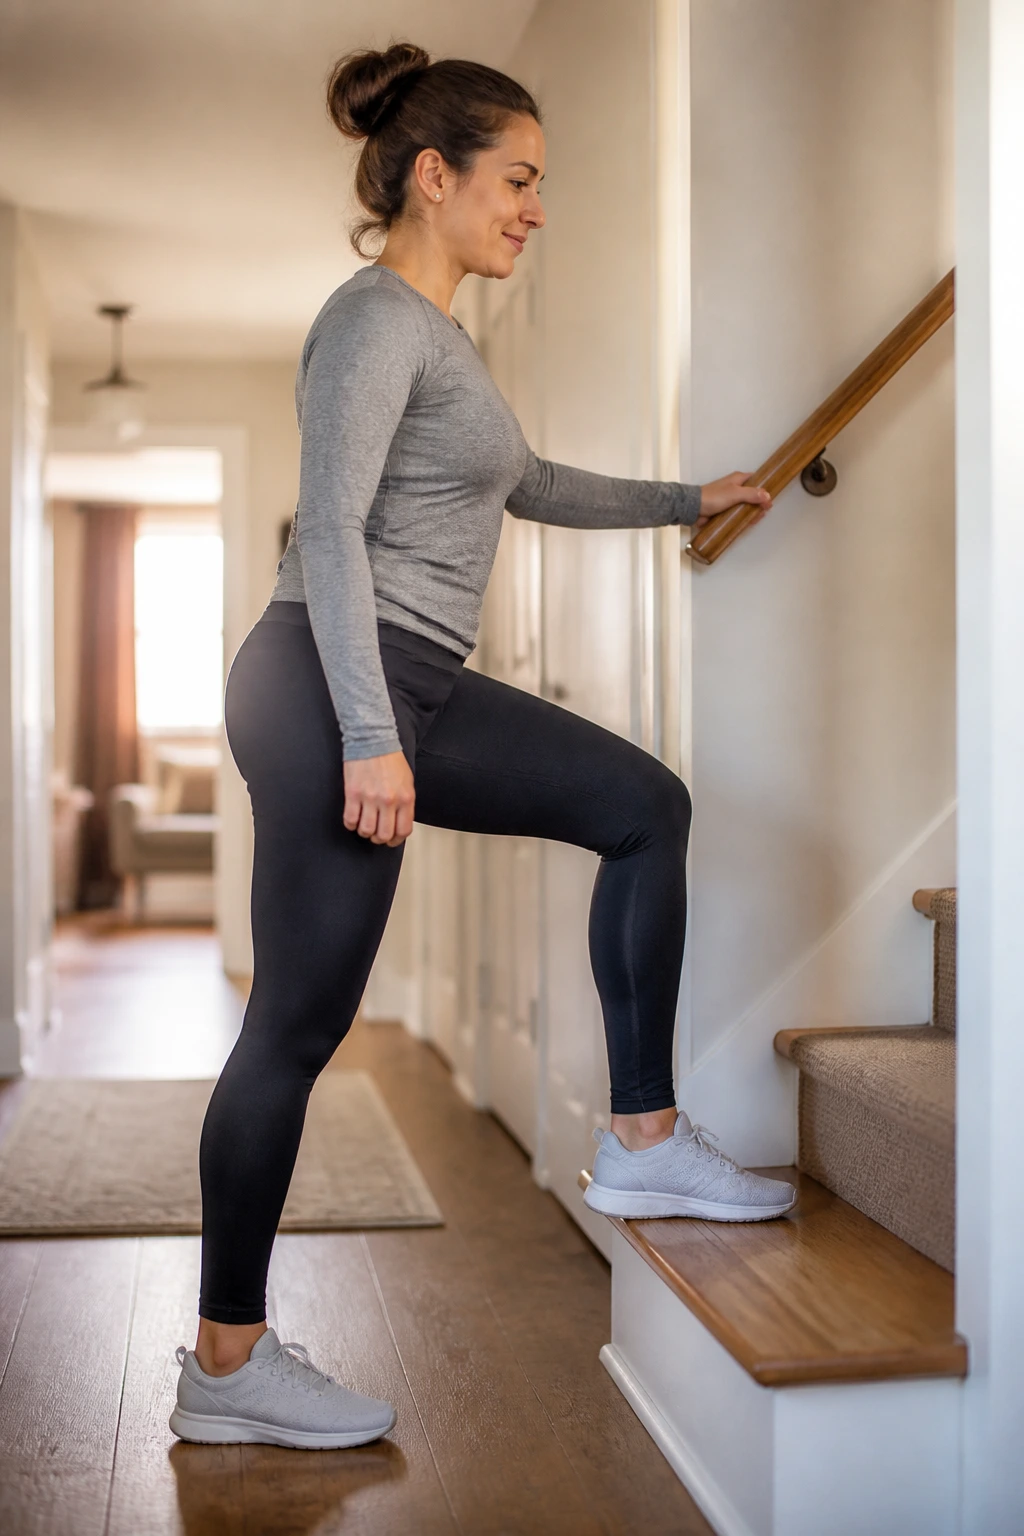
A single low step can turn into a very useful postpartum workout. Step one foot up, press through the whole foot, stand tall, then step down slowly. Keep one hand on a rail or wall if you need balance.
The step should be low enough that your knee does not feel jammed. A standard stair is often fine, but a riser or low platform can feel better in the beginning. Slow down the lowering phase. That’s where control lives.
Do 5 to 8 reps per leg. Step-ups show you whether one side is stealing the work, which is common after pregnancy. If your pelvis tilts or you wobble hard, lower the step and clean it up.
13. Supported Reverse Lunges
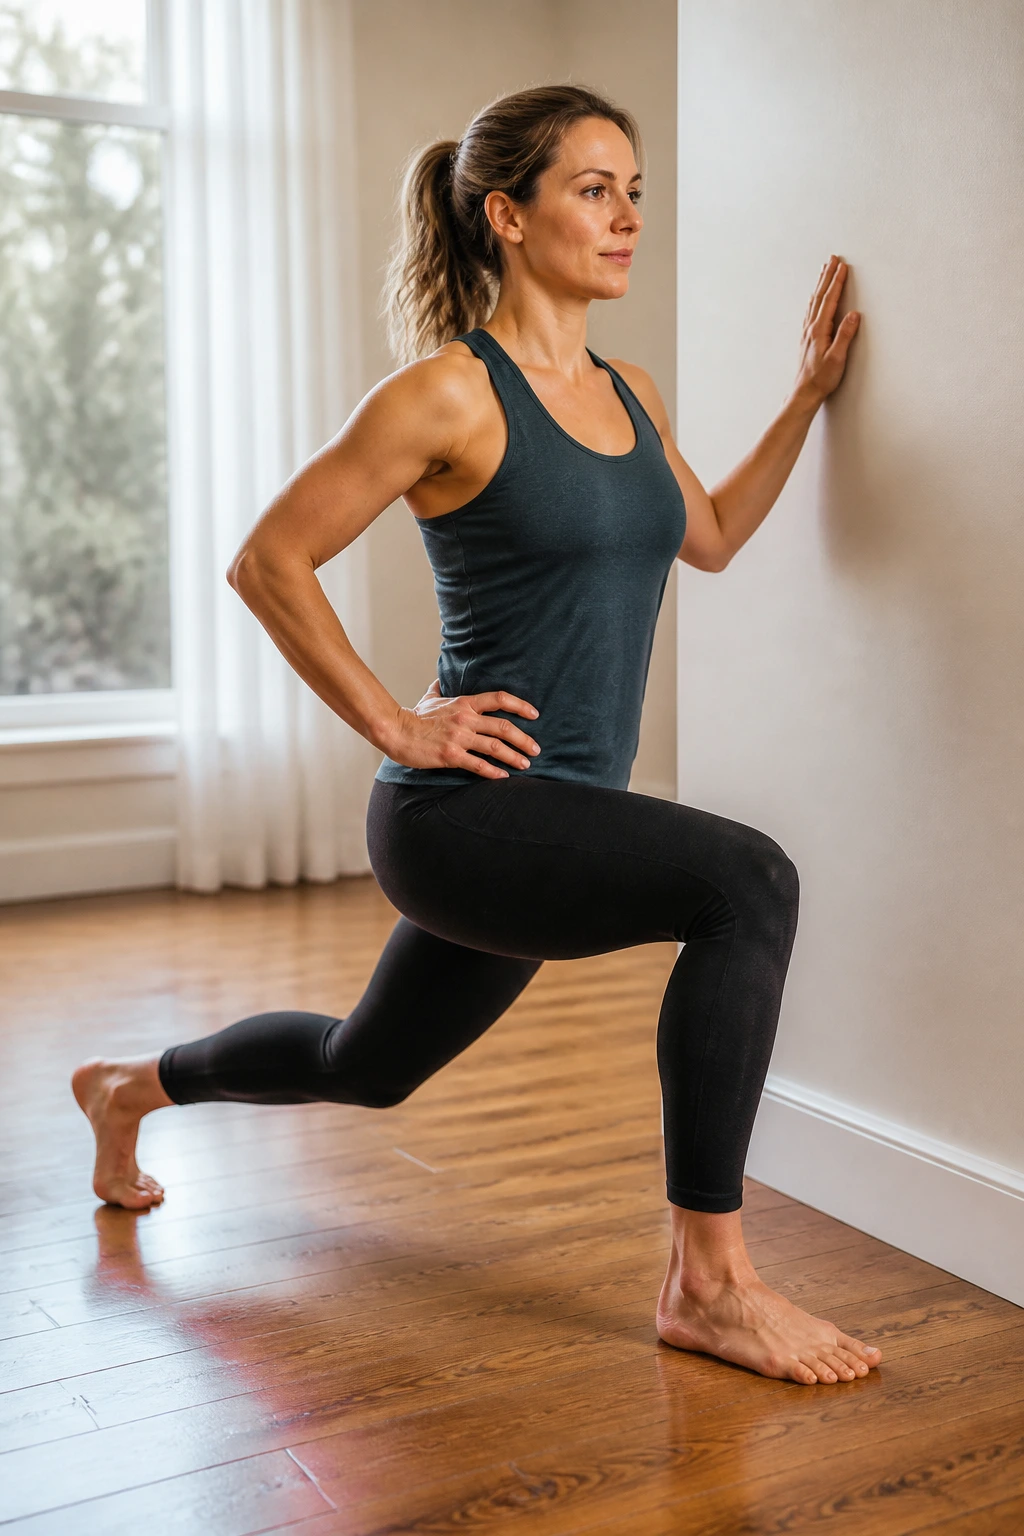
Reverse lunges are kinder than forward lunges for a lot of postpartum bodies because they let you step back with more control. Hold a wall, countertop, or sturdy chair lightly, step one foot behind you, lower a few inches, and return to standing.
Keep the range small at first. The back knee does not need to kiss the floor. The front foot should stay planted, and your torso should remain tall instead of folding over. A tiny lunge done well can build a lot of confidence.
Best Use Case
This move shines when you want leg strength without a ton of impact. It’s also useful if your daily life involves lots of stairs or getting up and down from the floor. Try 5 reps per side to start.
14. Standing Calf Raises
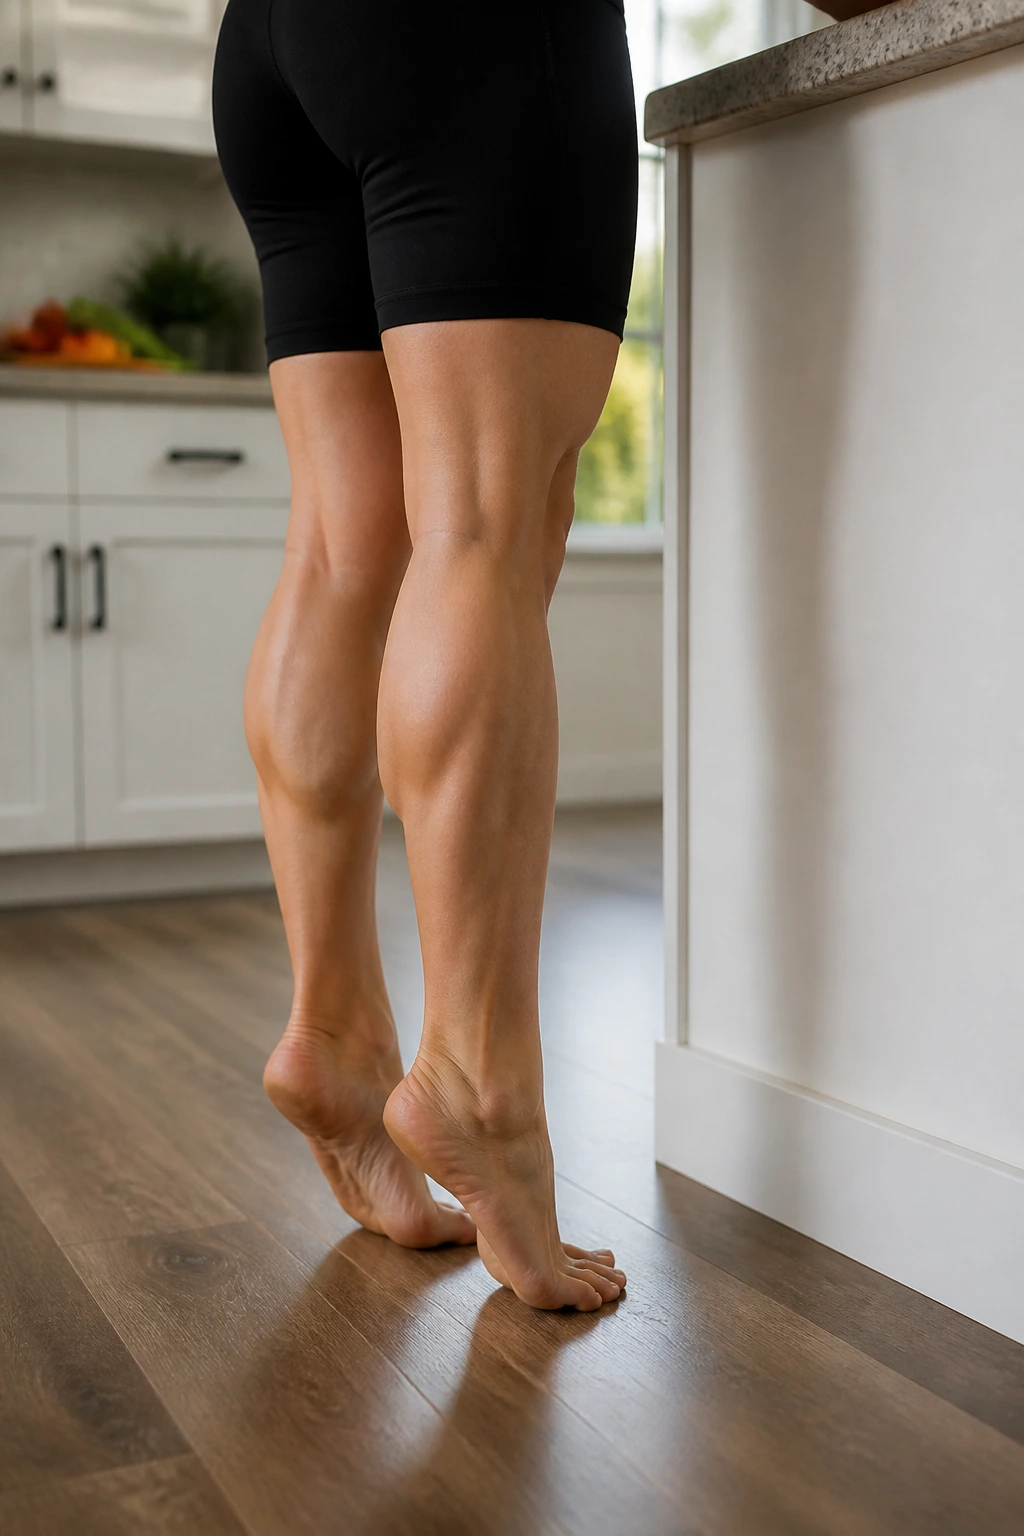
Don’t laugh at calf raises. They are one of the easiest ways to bring blood flow into the legs, build ankle strength, and train balance with almost no setup. Stand near a wall or counter, rise onto the balls of your feet, then lower slowly until your heels kiss the floor again.
A pause at the top makes the rep cleaner. Try 1 second up, 2 seconds down. You should feel the back of the lower leg doing steady work, not cramping. If balance is rough, put one hand on a surface and keep the movement smaller.
I like this one because it’s so easy to sneak into the day. Do a set while the coffee brews or while a bottle warms. 12 to 15 reps is plenty.
15. Incline Plank Holds
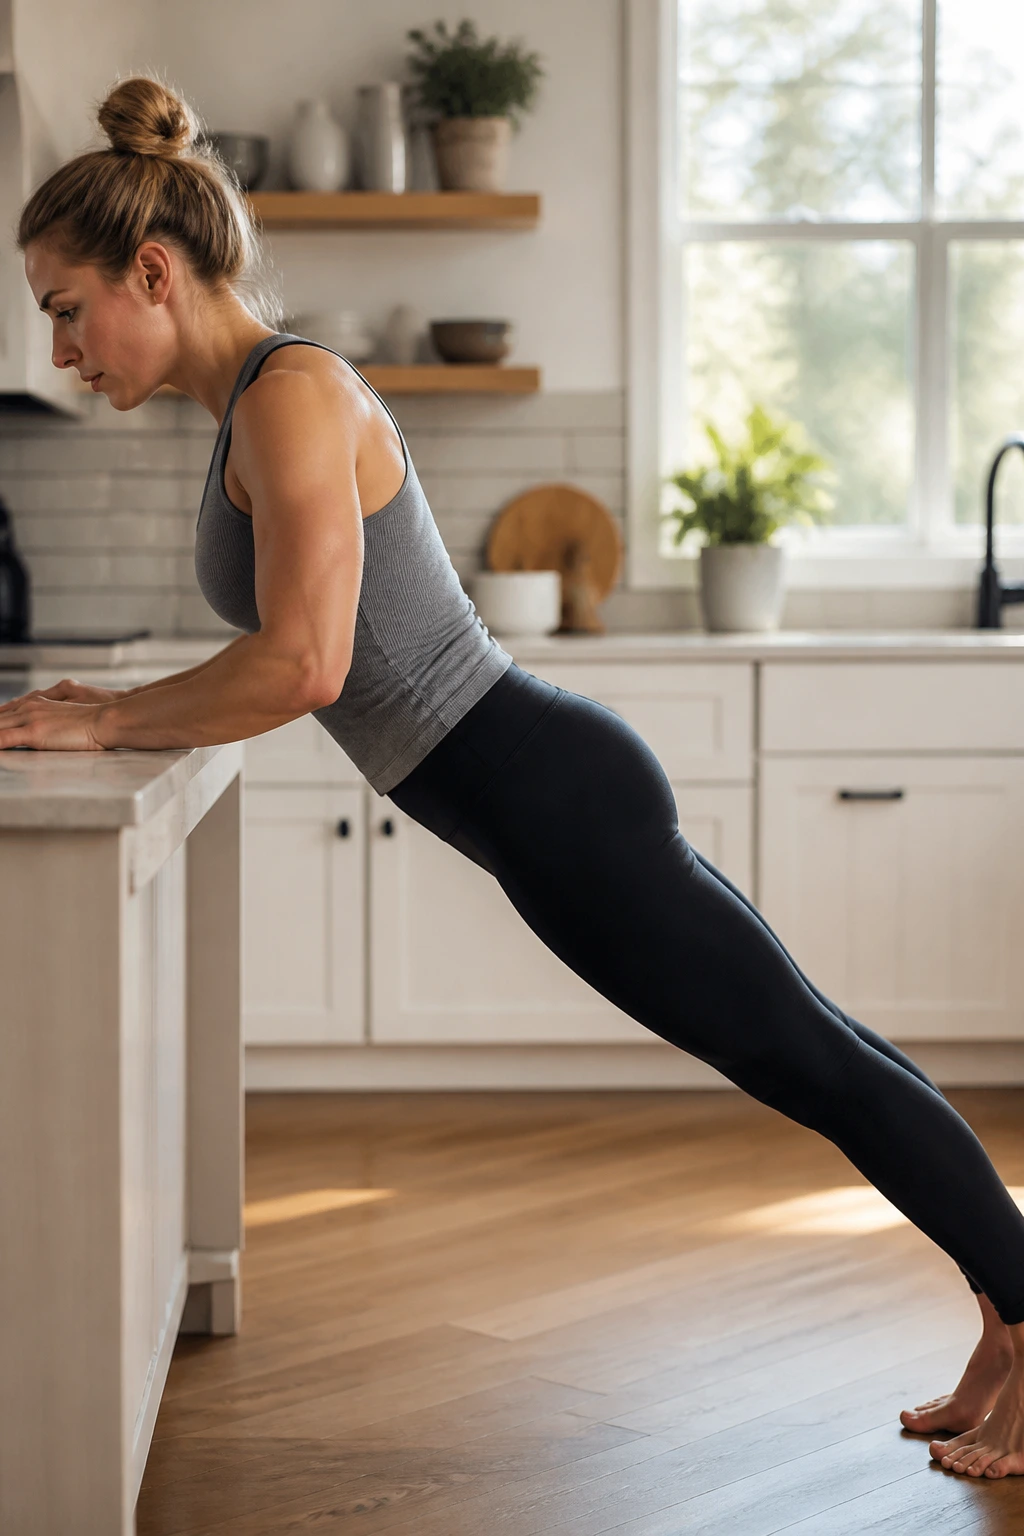
A plank on the floor can be too much too soon. An incline plank on a kitchen counter, sturdy bench, or wall gives you the same basic idea with less pressure. Place your hands under your shoulders, step your feet back, and hold a straight line from head to heels.
The Part People Skip
The hold should feel organized, not strained. If your belly domes, your back sags, or you feel pressure downward, the angle is too hard. Raise the hands higher and try again.
- Hold for 10 to 20 seconds
- Do 2 to 4 rounds
- Breathe the whole time
- Stop before shaking turns into collapse
This is a strong choice once floor work feels easy. It trains anti-extension, which is a fancy way of saying your body resists over-arching.
16. Suitcase Carry
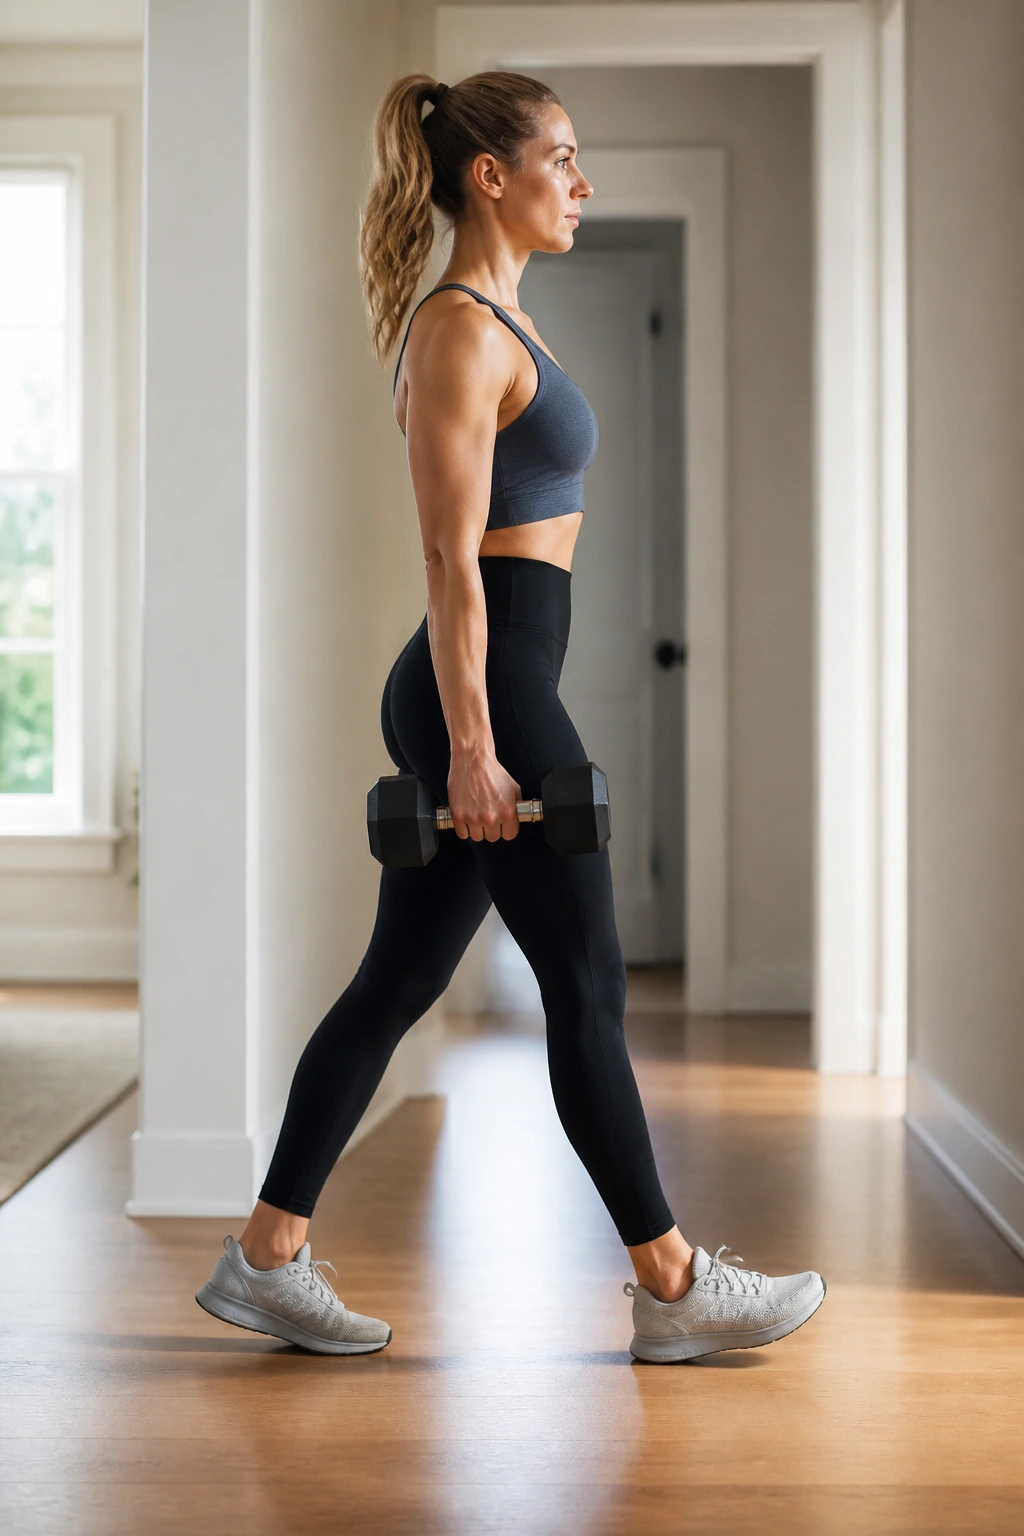
A suitcase carry is exactly what it sounds like: hold one weight in one hand and walk. A dumbbell, kettlebell, or grocery bag works fine. Keep your ribs stacked over your pelvis and do not lean toward the weight like a crooked lamp post.
Why New Moms Love This One
The carry trains your core to resist side bending while you move, which is a huge everyday skill when you are lifting a baby, a diaper bag, and half the house. It also challenges grip and posture without needing a gym floor.
Start with 20 to 40 steps per side using a light load. If you feel your shoulder hiking up, the weight is too heavy. A carry should feel like a steady march, not a survival test. And yes, it looks simple. That’s the point.
17. Modified Side Plank
Side planks can be done with knees bent, forearm down, and hips lifted just a few inches. You do not need the full pretzel version to get value. What matters is holding the side of the torso while the body resists collapsing into the floor.
If the shoulder feels cranky, skip this one for now. If the wrist is the problem, use the forearm. If the pelvic floor feels heavy, cut the hold shorter. Small adjustments go a long way here.
Aim for 10 to 15 seconds per side, then rest. A side plank teaches lateral stability, which is useful when you are carrying baby on one hip all day. Tiny. Harder than it looks.
18. Cat-Cow Spine Mobilizer
Cat-cow is not a strength move, and that’s fine. It is a reset for a back that has spent too long bent over feeding pillows, strollers, and bassinets. On hands and knees, round the spine gently on the exhale, then let the belly drop and the chest open as you inhale.
Breath Pairing Matters
The breath gives the movement shape. Exhale into the round, inhale into the extension. If you rush it, the exercise turns into a shrug with no payoff.
- Move slowly for 6 to 8 rounds
- Keep the shoulders away from the ears
- Let the neck stay long
- Pause for a second in each shape
This is one of those drills that feels almost too easy until your back finally stops complaining.
19. Open-Book Rotations
Open-book rotations are a side-lying twist that helps wake up the upper back and chest. Lie on one side with knees bent, stack your hands in front of you, then sweep the top arm open toward the floor behind you while your eyes follow the hand.
It’s a clean antidote to feeding posture. Your rib cage gets a little movement, your upper back gets a gentle stretch, and your shoulders remember they are allowed to rotate. Do 5 reps per side, slowly.
Why I Put This Here
A lot of postpartum discomfort lives in the upper body, not just the abs. Open-books help without demanding a lot of strength. If the lower body wants to stay curled up, support the top knee with a pillow and keep the movement small. That still helps.
20. Stationary Bike Intervals
A stationary bike is a useful bridge when you want cardio without the pounding of running or jumping. Start with 5 minutes of easy pedaling, then add short intervals like 20 seconds moderate / 40 seconds easy for 6 to 8 rounds. Keep the seat high enough that your knees don’t pinch.
Unlike hard-impact cardio, the bike lets you control the pressure. That matters if you’re watching for leaking, heaviness, or fatigue that lands like a brick. If the bike seat irritates you or your pelvis feels sore afterward, shorten the session and check the fit.
This works best after basic walking and floor strength feel stable. It should leave you warm and awake, not shaky. That’s the right level.
21. Stroller Walk Intervals
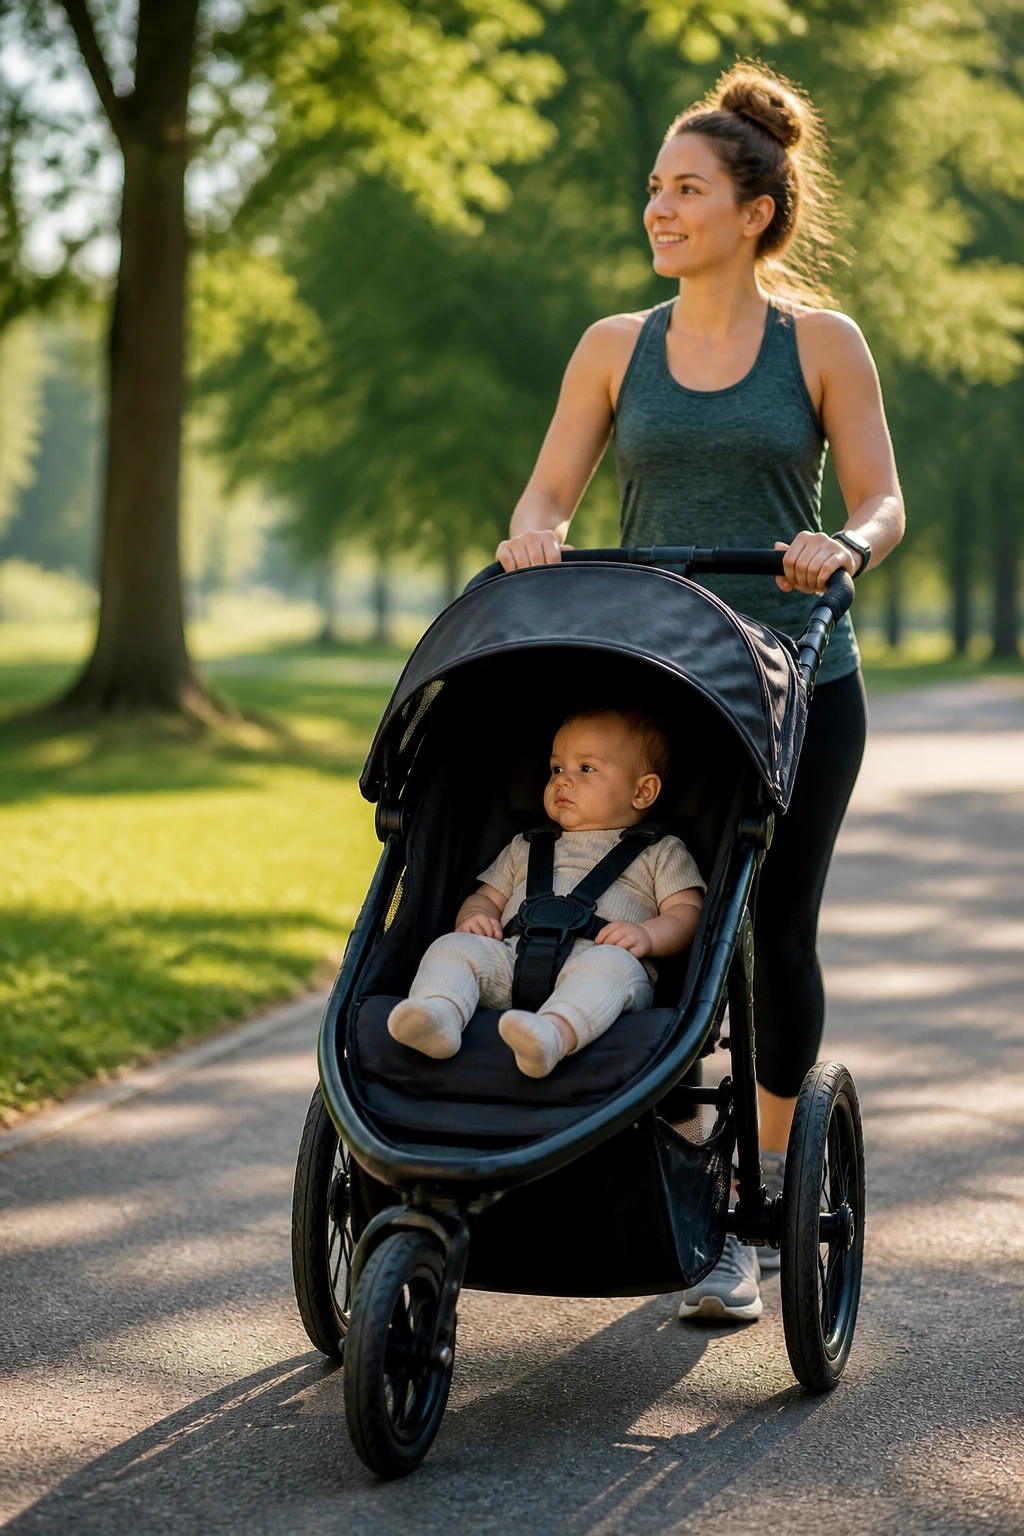
A stroller walk interval session is just a walk with a little structure. Push at a brisk but talkable pace for 1 minute, then recover for 2 minutes at a gentler pace. Repeat that for 15 to 20 minutes if your body is happy.
The stroller adds load, which can be useful. It also changes posture, so keep your shoulders loose and avoid leaning hard into the handle. That lean sneaks up on people, and your low back usually pays for it later.
This one works because it turns an ordinary errand into a session without making you feel trapped by a workout timer. If you only have time for one thing, this is a good choice. Movement counts even when life is messy.
22. Mini-Band Lateral Walks
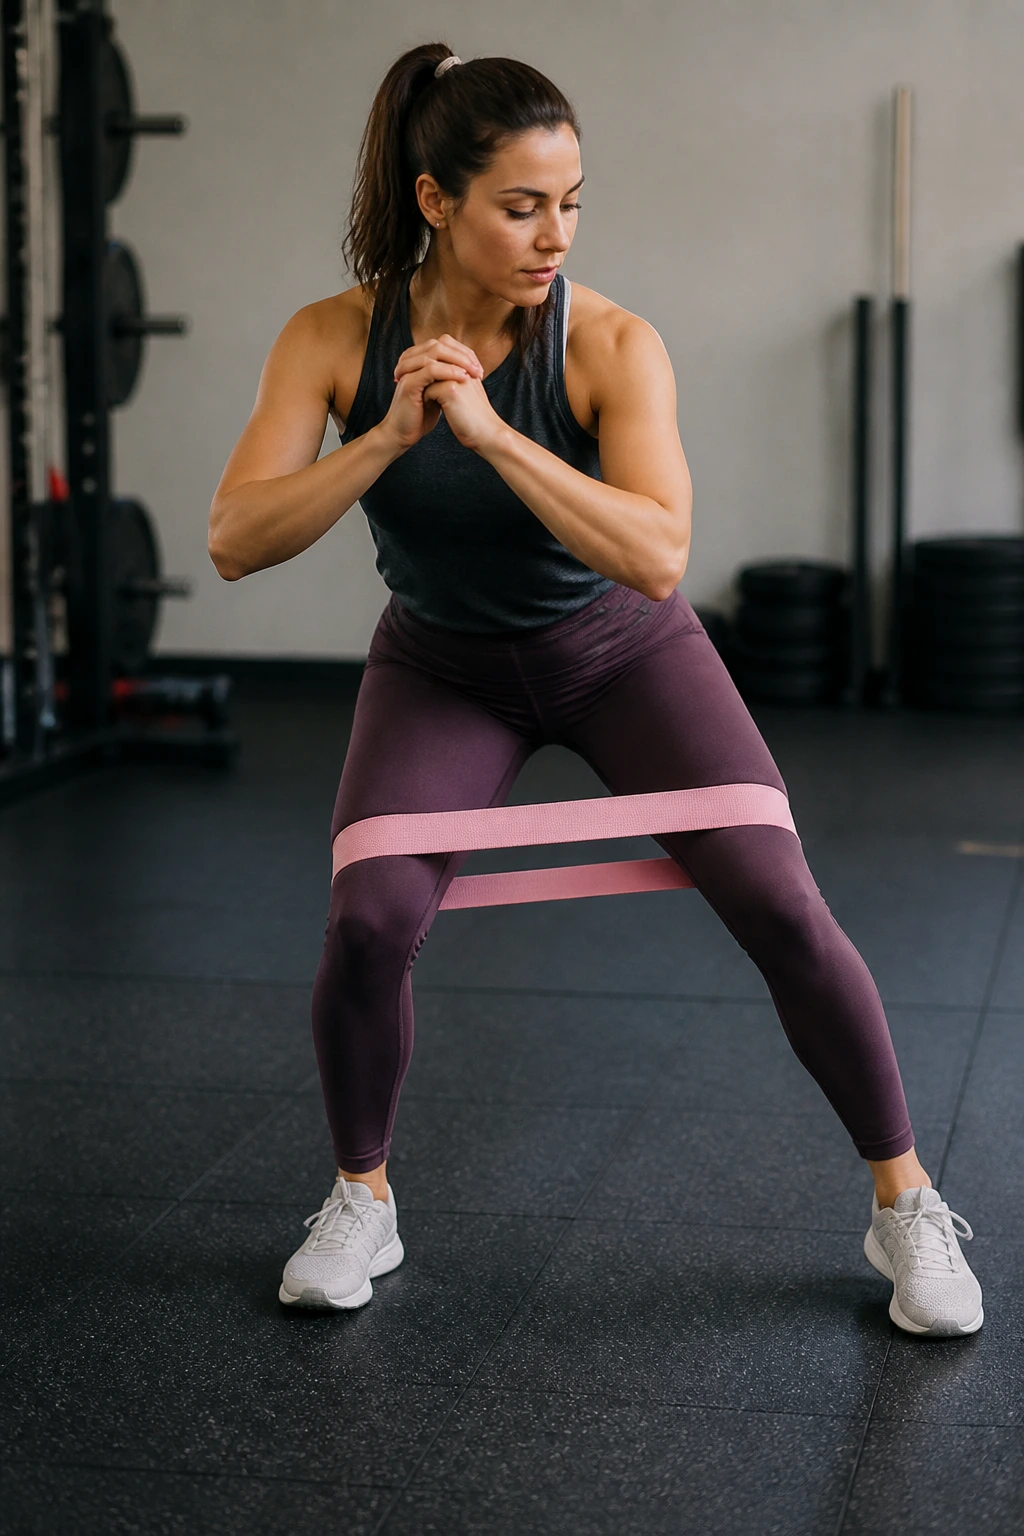
Mini-band lateral walks are a small-space glute drill that wakes up the hips in a way squats sometimes miss. Put a light band above the knees or around the ankles, bend your knees a little, and step side to side with control. Keep the toes pointed mostly forward and the knees from caving inward.
What to Feel
The side of the hips should fire first. If your feet start dragging or your lower back takes over, slow down and shorten the distance.
- Step 8 to 10 times each direction
- Keep the band light at first
- Stay low, but not squatted down hard
- Hold onto a counter if balance is tricky
It’s a clean little exercise for postpartum hip stability, and it pairs well with squats or step-ups.
23. Prone Y-T-W Raises
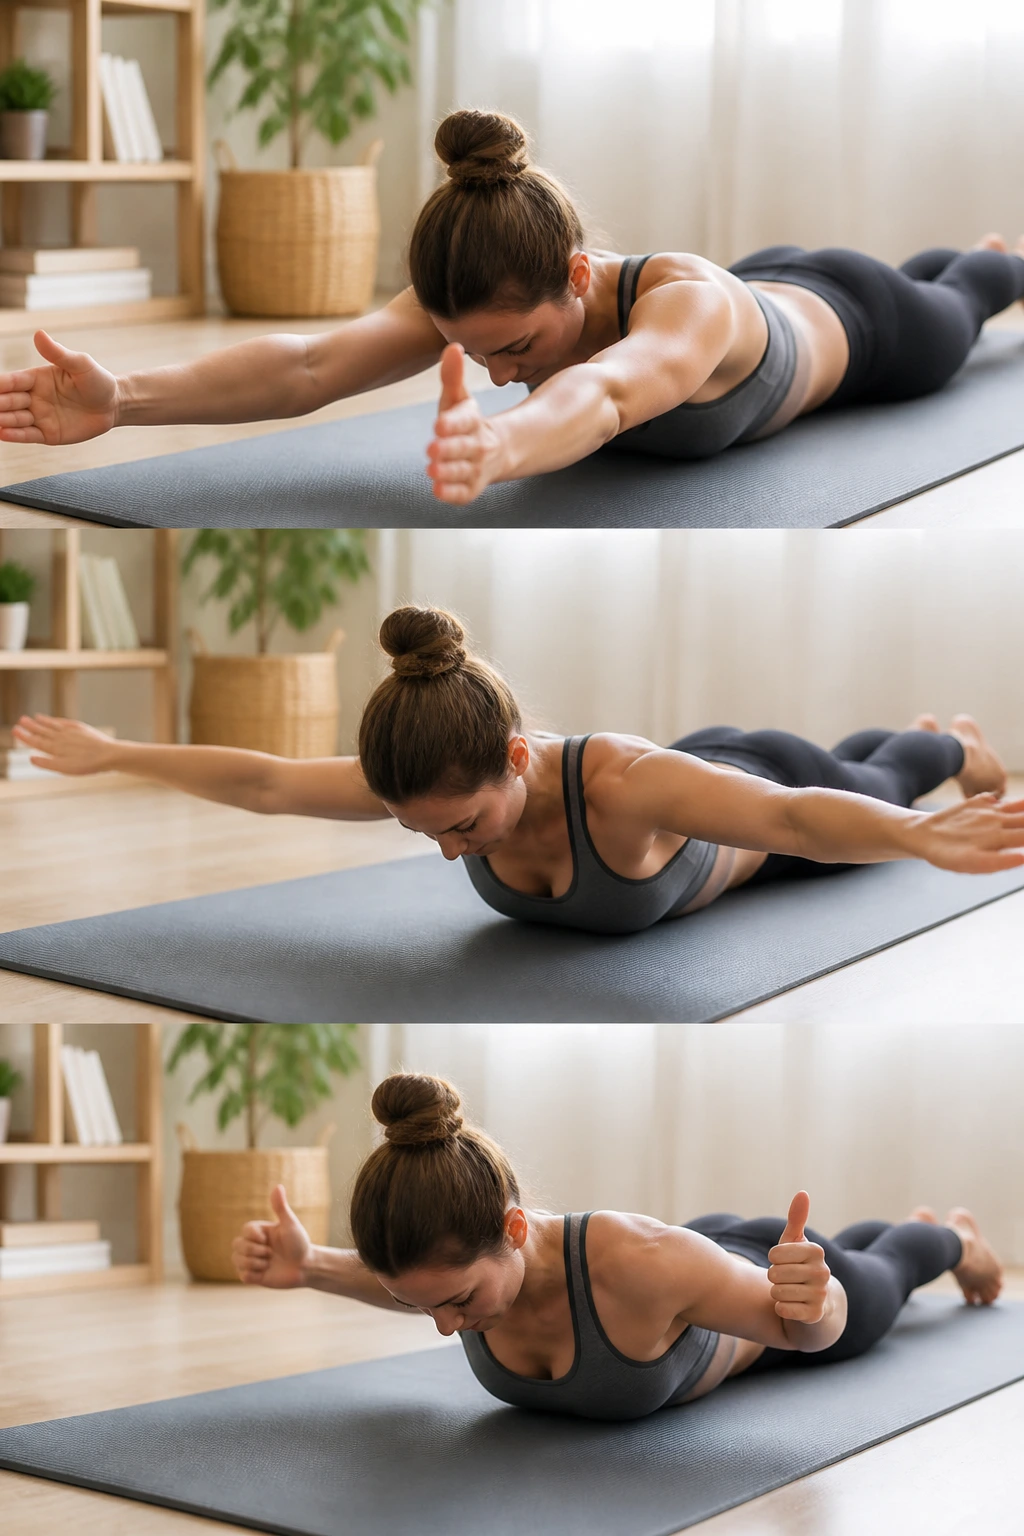
Prone Y-T-W raises are a shoulder-blade exercise that can do a lot for moms who live in a forward-hunched position. Lie face down on a mat or incline bench and raise your arms into a Y, then a T, then a W shape, all with tiny ranges and thumbs pointing up.
No need to use weights at first. In fact, skip them until the movement feels crisp. The goal is to wake up the lower traps and mid-back, not to turn this into a trap-neck contest.
If lying face down is uncomfortable, do the pattern standing with your chest supported on a counter edge. 5 slow reps in each shape is enough. Your upper back may feel weirdly proud after this one. Good.
24. Water Walking or Easy Laps
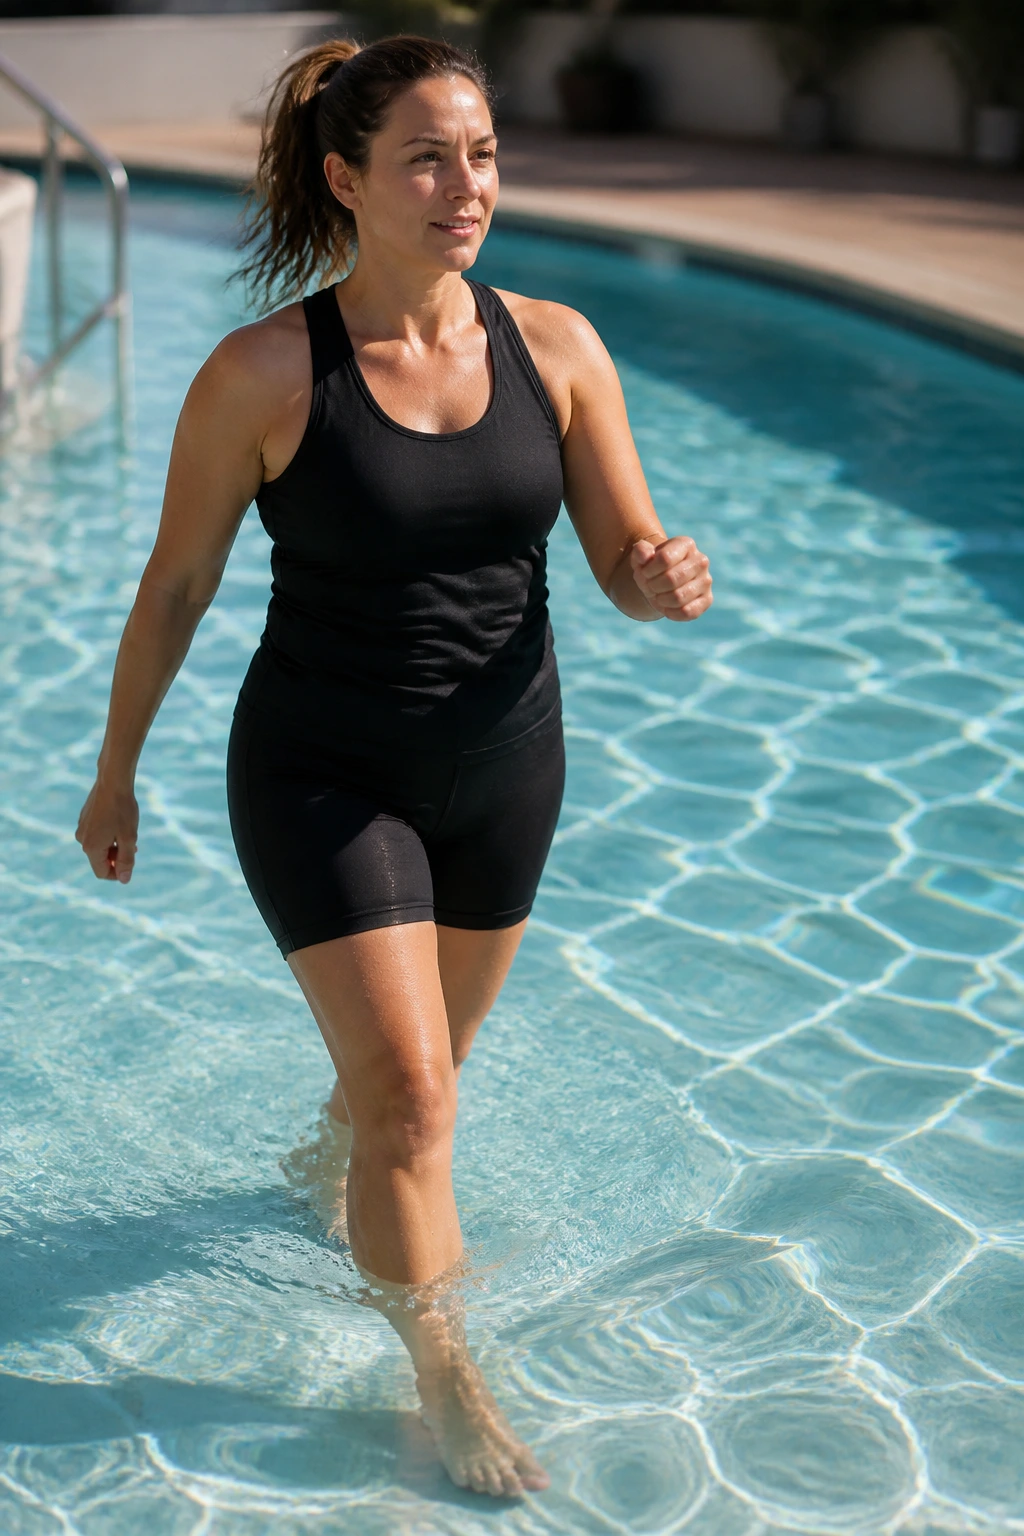
Water work is one of the nicest postpartum options when your body is ready for it. The water supports your joints, cuts down impact, and makes walking feel smoother. Water walking, gentle laps, or simple side steps in the shallow end can all count.
This is especially pleasant if land-based exercise still feels jarring. Keep the effort easy at first, maybe 10 to 20 minutes total. If you have had a C-section, an incision, or any wound healing issues, wait until your clinician says the pool is fair game. Water and open skin do not mix well.
Pool sessions should feel like relief. If they feel like a chore, keep them shorter. No shame.
25. Low-Impact Dance Circuit
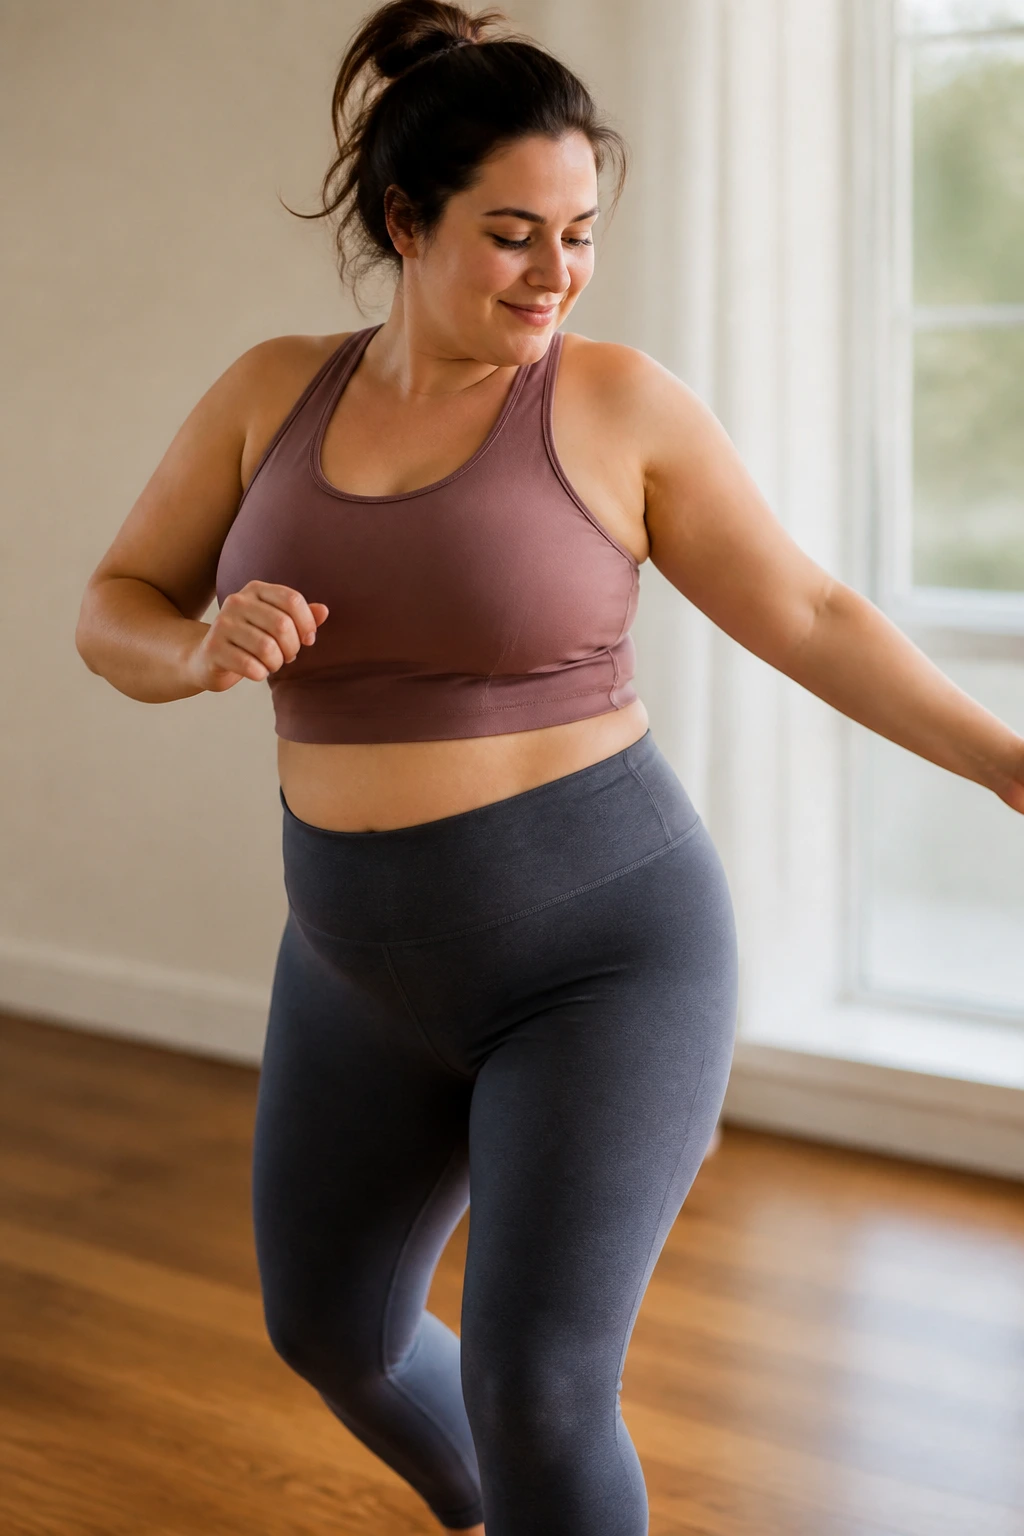
Cardio does not have to feel like punishment. Put on 2 or 3 songs and keep your movement low-impact: march in place, side step, toe tap, gentle arm swings, maybe a small hip sway if it feels good. Keep one foot on the floor most of the time and skip any jumping.
A dance circuit is useful because it blends mood, circulation, and coordination. If you are stuck indoors with a fussy baby or a sleeping baby monitor, this can be the difference between doing something and doing nothing. And honestly, that matters.
A Simple Format
- Song 1: march and arm swings
- Song 2: side steps and light squats
- Song 3: march, reach, breathe
Stop if you feel dizzy, drained, or heavy in the pelvis. Otherwise, enjoy the rare postpartum workout that does not feel like a test.
Final Thoughts
The best postpartum workouts for new moms are the ones that make tomorrow easier, not harder. That sounds almost too plain, but it’s the whole point. Breathing, walking, floor control, and basic strength work will carry you a long way before anything intense makes sense.
If a movement causes leaking, heaviness, doming, pain, or a pulling feeling around your scar, back off and choose a gentler option from the list. That is not failure. It is smart pacing. And if you want a shortcut, here it is: start with breathing, walking, and two or three strength moves you can do cleanly three times a week. The rest builds from there.
