



Pilates workouts for women over 50 work best when they feel steady, not punishing.
The moves that matter most here are the ones that wake up the deep core, the glutes, the upper back, and the balance system without making the neck clamp down or the low back pinch. That is a narrower target than the flashy mat flow you see in clips, and it is exactly why it works.
A lot of women discover that the old advice to crunch harder or sweat more misses the point. After 50, the useful question is usually whether you can stand up easier, move without gripping, and keep your hips and spine talking to each other.
That is the sweet spot this list aims for. Some of these are classic mat moves, some use a wall, a chair, or a light band, and a few are the sort of small, boring-looking exercises that quietly do the most good. If your back dislikes big curls or your knees grumble on deep bends, keep the range smaller and let the setup do more of the work.
1. Pilates Hundred with Bent Knees
The Hundred gets friendlier the moment you bend the knees.
Straight legs are not a badge of honor. Bent knees take pressure off the hip flexors and lower back, and they let you stay in the exercise long enough for the breath to do its job. Lie on your back, knees bent and feet on the mat or lifted in tabletop if that feels solid, then lift the head only if your neck stays relaxed.
What to feel in your ribs and neck
Your ribs should feel heavy on the exhale. Your belly should draw inward, not bulge up, and your jaw should stay loose.
- Pump the arms for 5 counts in, 5 counts out, then repeat for 5 to 10 breath cycles.
- Keep the gaze toward your thighs, not the ceiling.
- If your neck starts to shake, lower the head and keep pumping.
- Small range, strong breath. That is the whole trick.
I like this one at the start of a session because it wakes up the trunk without dragging the whole body into a fight. It also teaches control in a way that carries into everything else on this list. That matters.
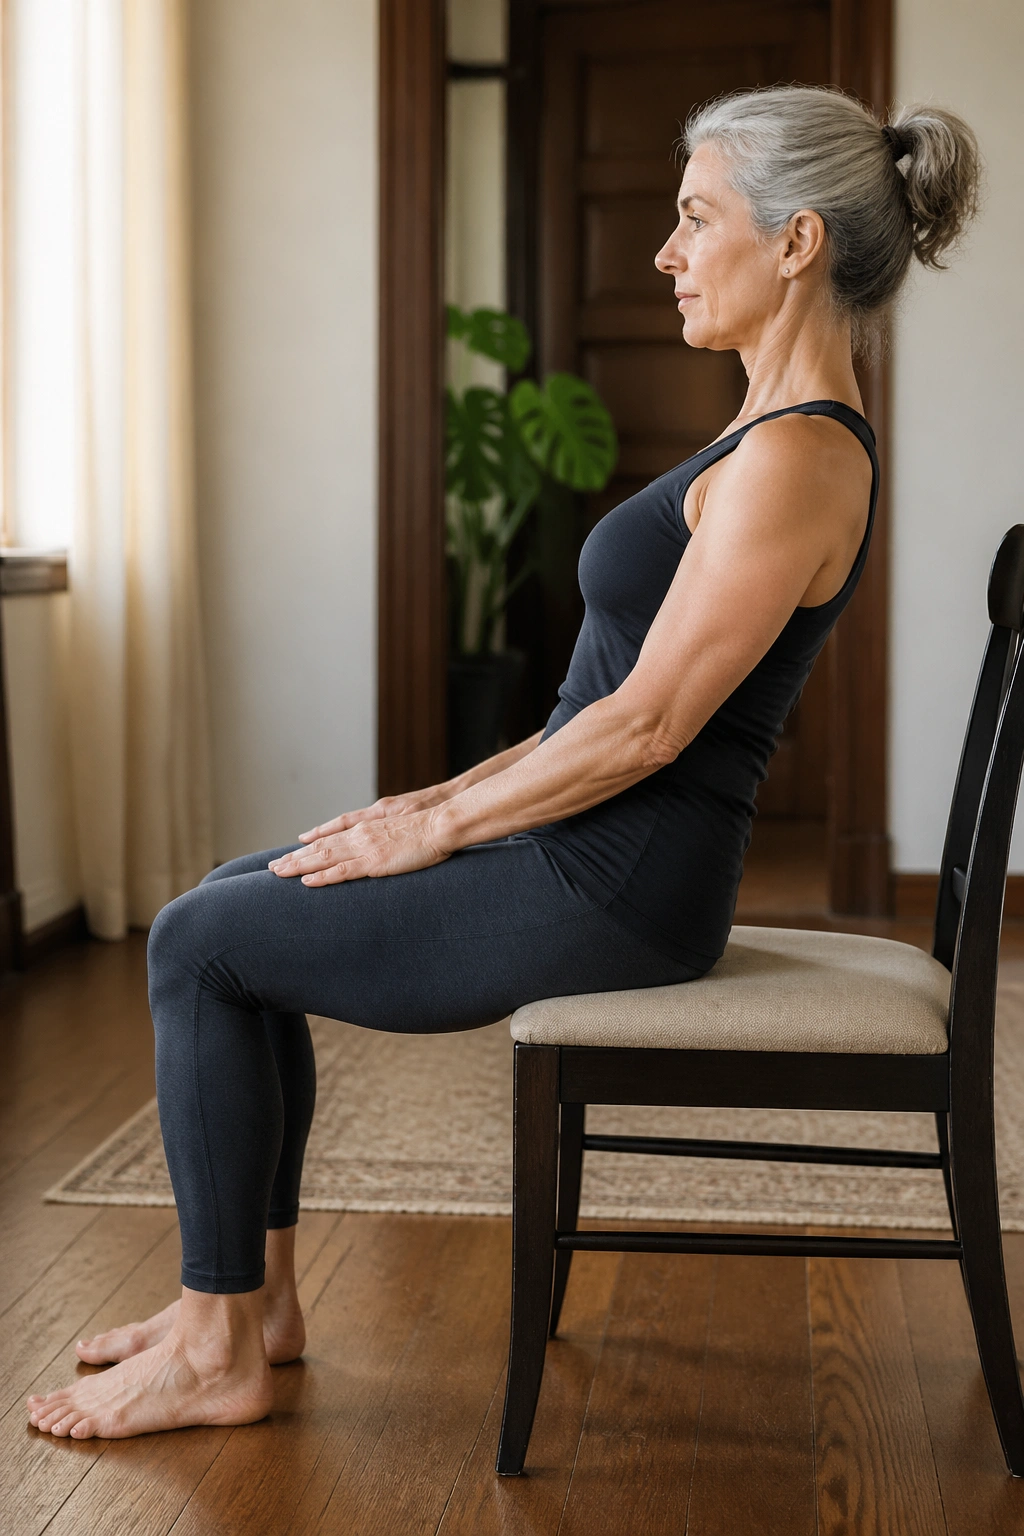
2. Half Roll-Backs in a Chair
Can a tiny roll-back build more control than a full sit-up? Yes, and I’d argue this is one of the smartest choices for women over 50 who want spinal work without a pile of momentum.
Sit toward the front edge of a sturdy chair, feet flat, knees hip-width, spine tall. Exhale and tip the pelvis back just a few inches, as if you’re sliding your waistband toward the chair back, then inhale and return to upright without throwing the shoulders back to help you.
The useful part is the pause. That moment where you hover in the middle is where the deep abdominals have to show up.
Do 6 to 8 slow reps, and stop well before your low back feels rounded or your hip flexors start to grip. If you feel stronger on the return than the way down, slow the lowering even more. That little descent is the workout.
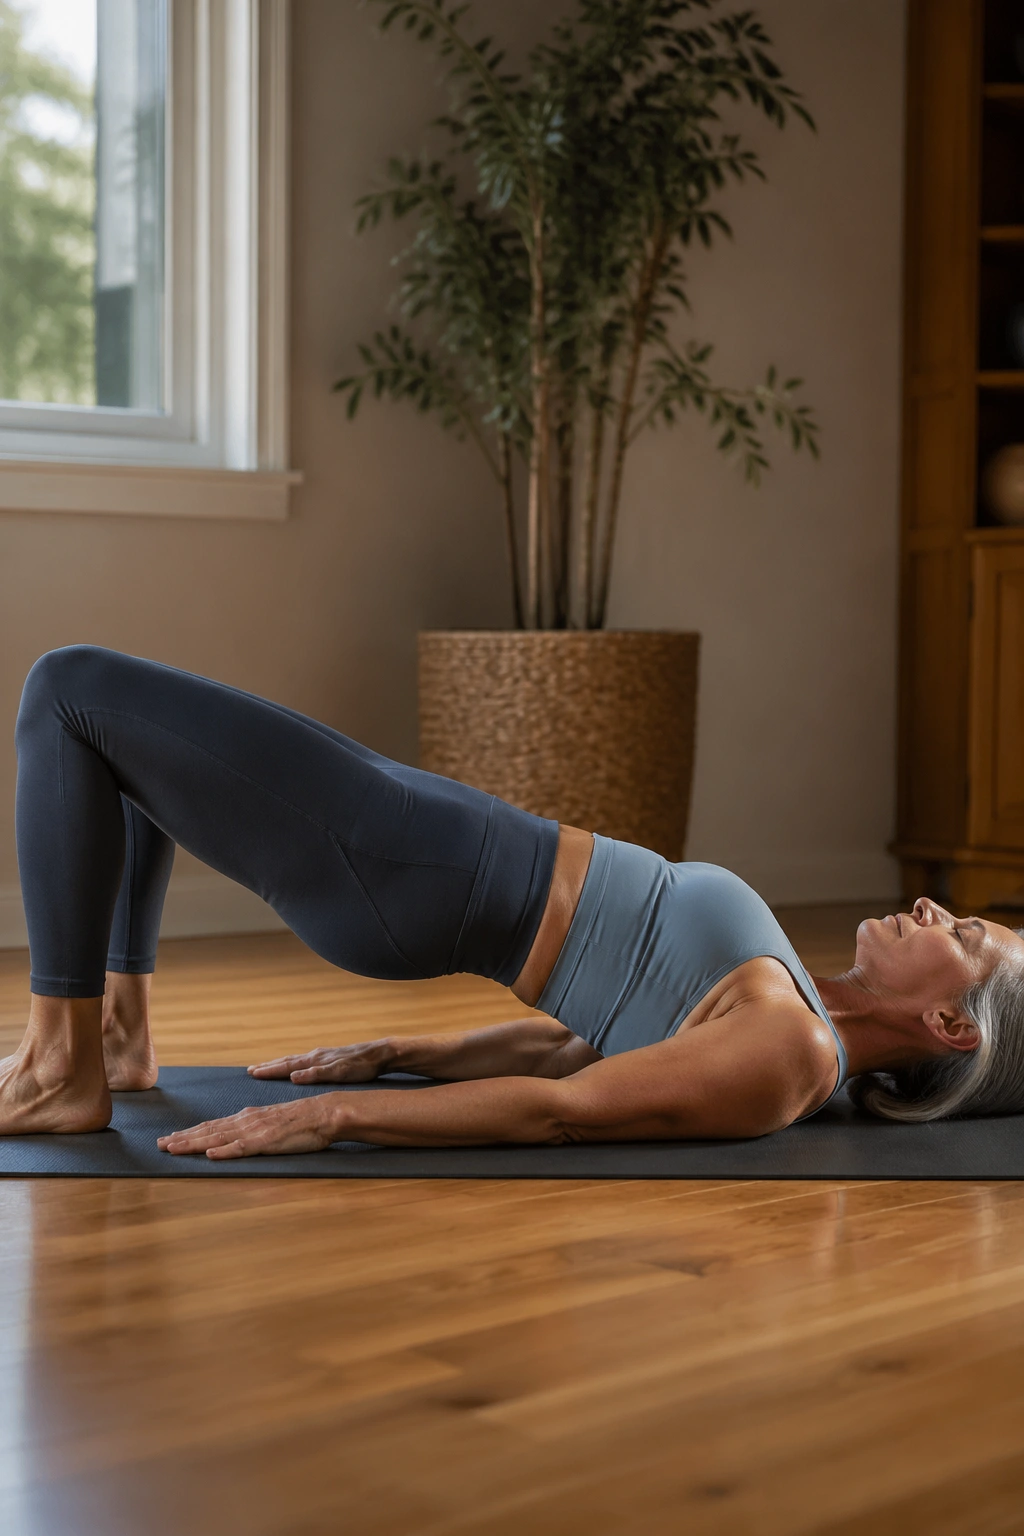
3. Pelvic Curls and Shoulder Bridge
If your glutes have gone quiet, bridging wakes them up fast.
Start flat on your back with feet planted about hip-width apart. Exhale, tuck the tail just enough to flatten the lower back, and peel the spine up one piece at a time until you land on your shoulder blades. Then lower with the same slow control.
A good bridge should feel like a back-body exercise, not a neck exercise. Keep the weight in the heels, let the knees track forward, and avoid flaring the ribs.
- Lift for 3 slow breaths at the top.
- Lower one vertebra at a time.
- Keep the hips level, not twisted.
- Stop if you feel a pinch in the low back.
Small bridges are underrated. They train the hamstrings, glutes, and spinal control in a way that carries into walking, stairs, and getting up from the sofa without that grim little push from your hands.
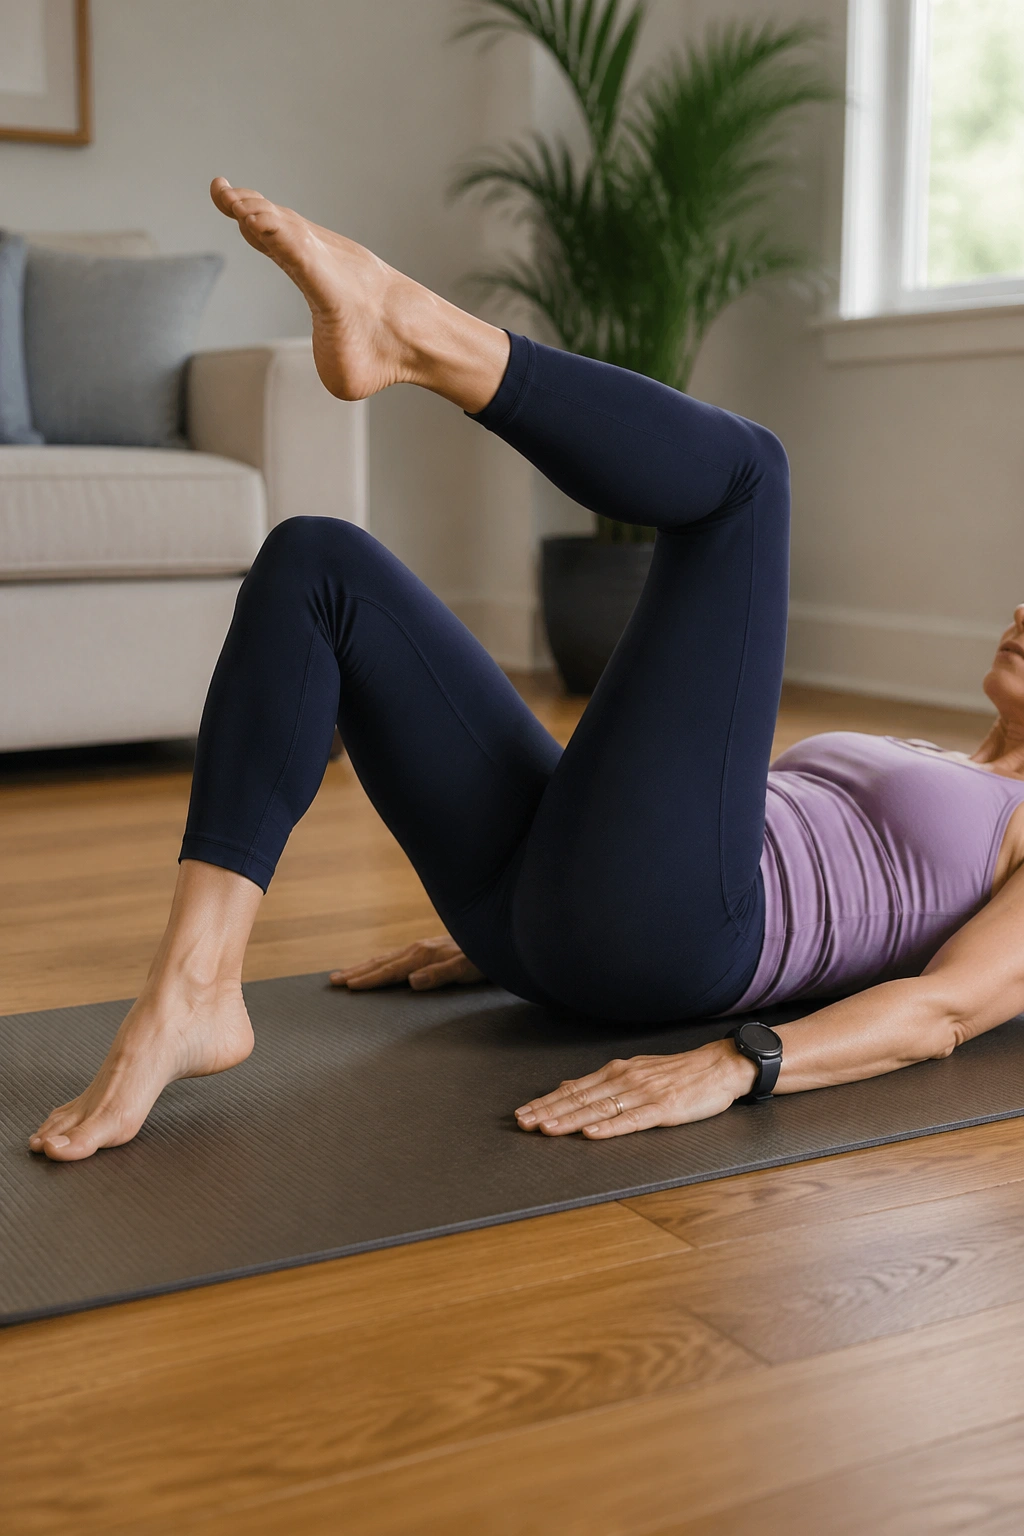
4. Toe Taps from Tabletop
Tabletop work sounds easy until the pelvis starts wobbling.
Lie on your back with both legs lifted so the knees hover over the hips, shins parallel to the floor. If that angle makes your back arch, keep one foot down and work one leg at a time. From there, lower one toe to the mat, tap lightly, and bring it back. Switch sides with almost no movement in the ribs.
How to keep the pelvis quiet
The goal is not a big leg drop. The goal is a stable trunk while the hip moves.
- Exhale as the toe taps down.
- Keep the lower belly gently drawn in.
- If your back lifts off the mat, make the motion smaller.
- Do 6 to 10 taps per side.
This is one of those exercises that looks almost too plain to matter. Then you do it cleanly and feel your midsection wake up in a way crunches never managed.
5. Single Leg Stretch with Head Down
This is one of my favorites for women who hate neck strain.
Lie on your back and hug one knee in while the other leg reaches long but low, not dropped so far that the low back arches. Keep your head on the mat. The hands can hold the shin, the thigh, or even just rest lightly on the knee if the hamstrings are tight. Switch sides in a slow rhythm and let the exhale organize the movement.
The head-down version is kinder than the classic version, and honestly, it’s often better for form. You can feel the abdominals more clearly when your neck isn’t trying to help.
Do 8 to 12 alternating reps, or fewer if your hips feel tense. If the extended leg tugs on the low back, bend it more. That is not cheating. That is smart Pilates.
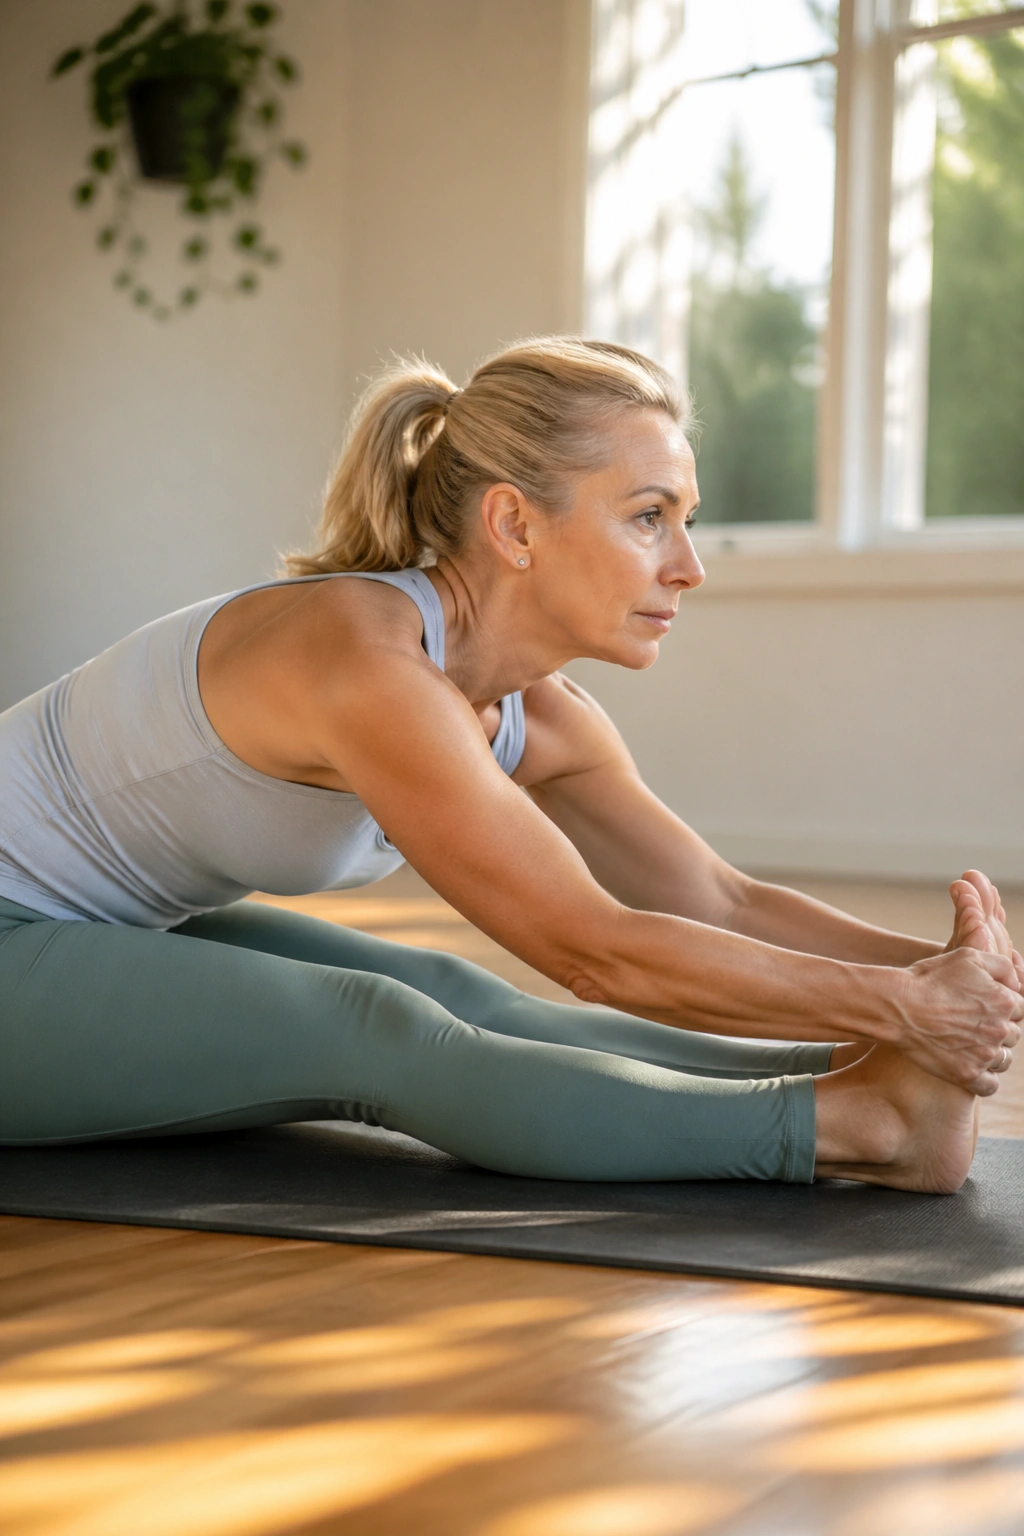
6. Spine Stretch Forward
Why does such a small movement work so well? Because it asks for length before depth.
Sit tall with the legs extended comfortably, or keep a soft bend in the knees if your hamstrings are pulling hard. Inhale to grow up through the crown of the head. Exhale and round forward from the waist, reaching the hands toward the feet as the belly pulls back and the ribs knit together.
What this should feel like
The spine should feel long as it curves, not crushed.
A lot of people fold from the shoulders and call it a stretch. This move is different. The pelvis stays anchored, the abdomen does the hollowing, and the neck stays easy. If your lower back is sensitive, keep the reach small and think about sliding the ribs away from the hips instead of chasing your toes.
Do 4 to 6 slow rounds, breathing into the back of the ribs on the way up. If you sit a lot, this one feels like somebody opened a window in your torso.
7. Side-Lying Clamshells
I keep coming back to clamshells because they solve a very common problem: weak glute medius muscles.
Lie on your side with knees bent, hips stacked, and heels in line with the sit bones. Keep the feet together and open the top knee without rolling the pelvis backward. The movement is tiny. That is the point.
Why the burn shows up late
The outer hip often feels sleepy at first. Then the last few reps get honest.
- Do 10 to 12 reps per side.
- Add a mini band above the knees only if your form stays clean.
- Pause for 2 seconds at the top.
- Stop if your lower back starts helping.
This exercise helps with knee tracking, single-leg balance, and the dull outer-hip weakness that shows up when stairs or long walks start feeling harder than they should. It is plain, yes, but plain doesn’t mean weak.
8. Side Kicks Front and Back
Unlike a big leg lift, side kicks keep the pelvis honest.
Lie on your side with the bottom arm long or bent under the head, and stretch the top leg long at hip height or a little lower. Swing that leg forward only as far as you can go without tipping the pelvis, then send it back with control. The leg stays light and long; the waist stays anchored.
The front-and-back pattern wakes up the hip flexors, glutes, and the small stabilizers around the pelvis. It also tells you the truth fast. If your torso rocks, the kick is too big.
Do 6 to 8 swings each way on each side. I’d rather see a smaller, cleaner range than a showy sweep that tosses the low back into the work. Pair this with clamshells and you’ve got a strong little outer-hip block.
9. Swimming Prep
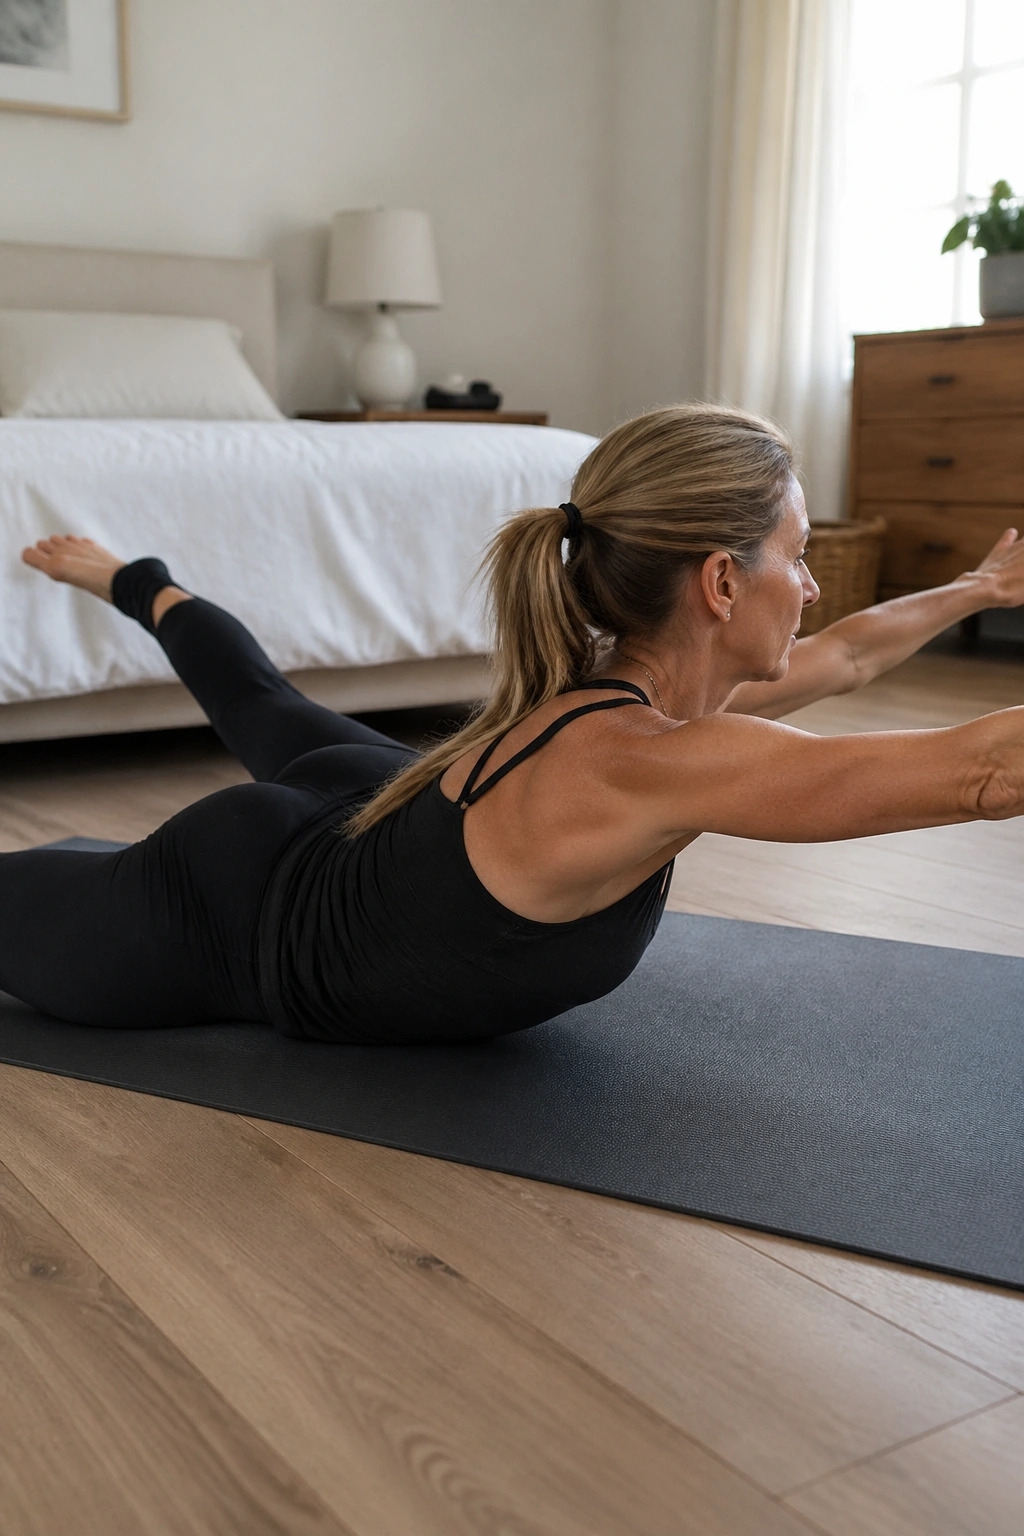
Swimming prep looks like back work, and it is, but it should feel long rather than pinched.
Lie face down with the forehead on stacked hands or a small towel. Reach the opposite arm and leg long, then lift them a few inches off the mat. Switch sides or hold both sides at once in short pulses. Keep the pubic bone grounded and the back of the neck long.
If the low back feels compressed, lift less. If the shoulders creep toward the ears, let the arms hover lower. The movement should feel like length shooting out from both ends of the body, not like a high arc.
Try 5 to 8 alternating lifts or 3 holds of 10 to 15 seconds. This one is useful for posture, but I like it even more for how it teaches the back body to work without crunching. That skill matters more than people think.
10. Bird Dog on Hands and Knees
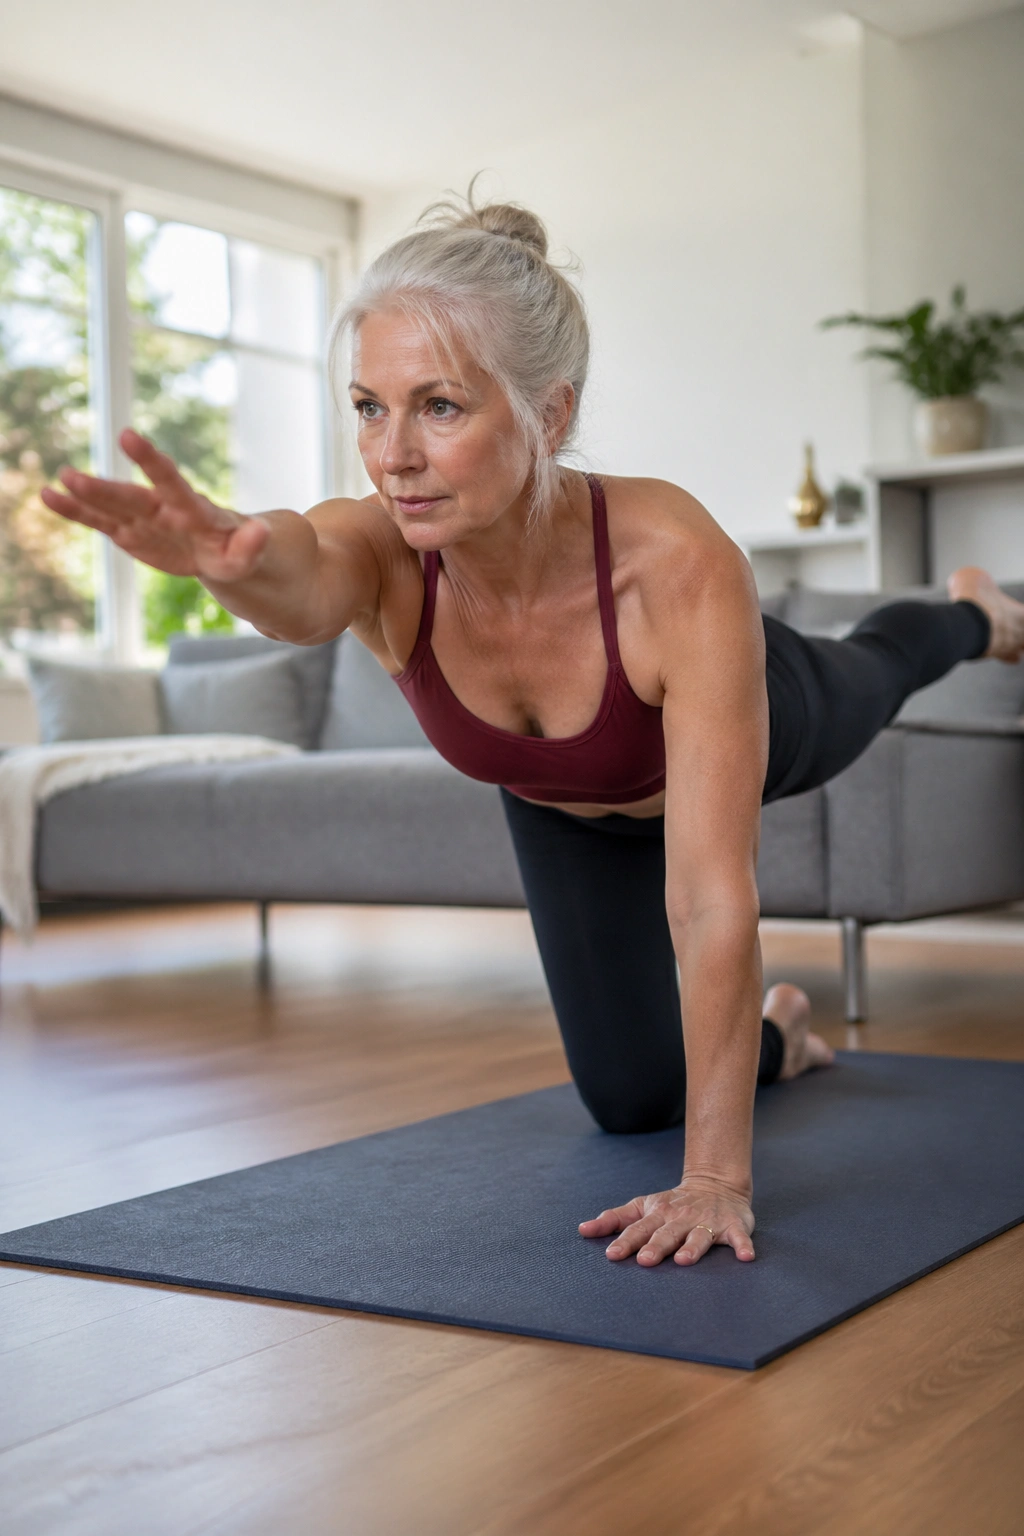
Want core work without crunching? Bird dog is the answer.
Come to hands and knees, wrists under shoulders, knees under hips. Reach one leg long behind you while the opposite arm reaches forward, but only as far as you can keep the torso square. The hips should feel level, like a glass of water balanced on your lower back.
A lot of people fling the leg and call it extension. That usually turns the move into a backbend. Better to reach smaller, pause for a breath, and return with control.
How to make it harder
If the basic version feels easy, add a two-breath pause or slide the extended foot an inch farther back before lifting. You can also hover the knee an inch off the floor for a more loaded version. Do 5 to 8 reps per side.
If wrists bother you, come down on fists or forearms. The point is to train stability, not to prove anything to the mat.
11. Wall Roll Downs for Better Posture After 50
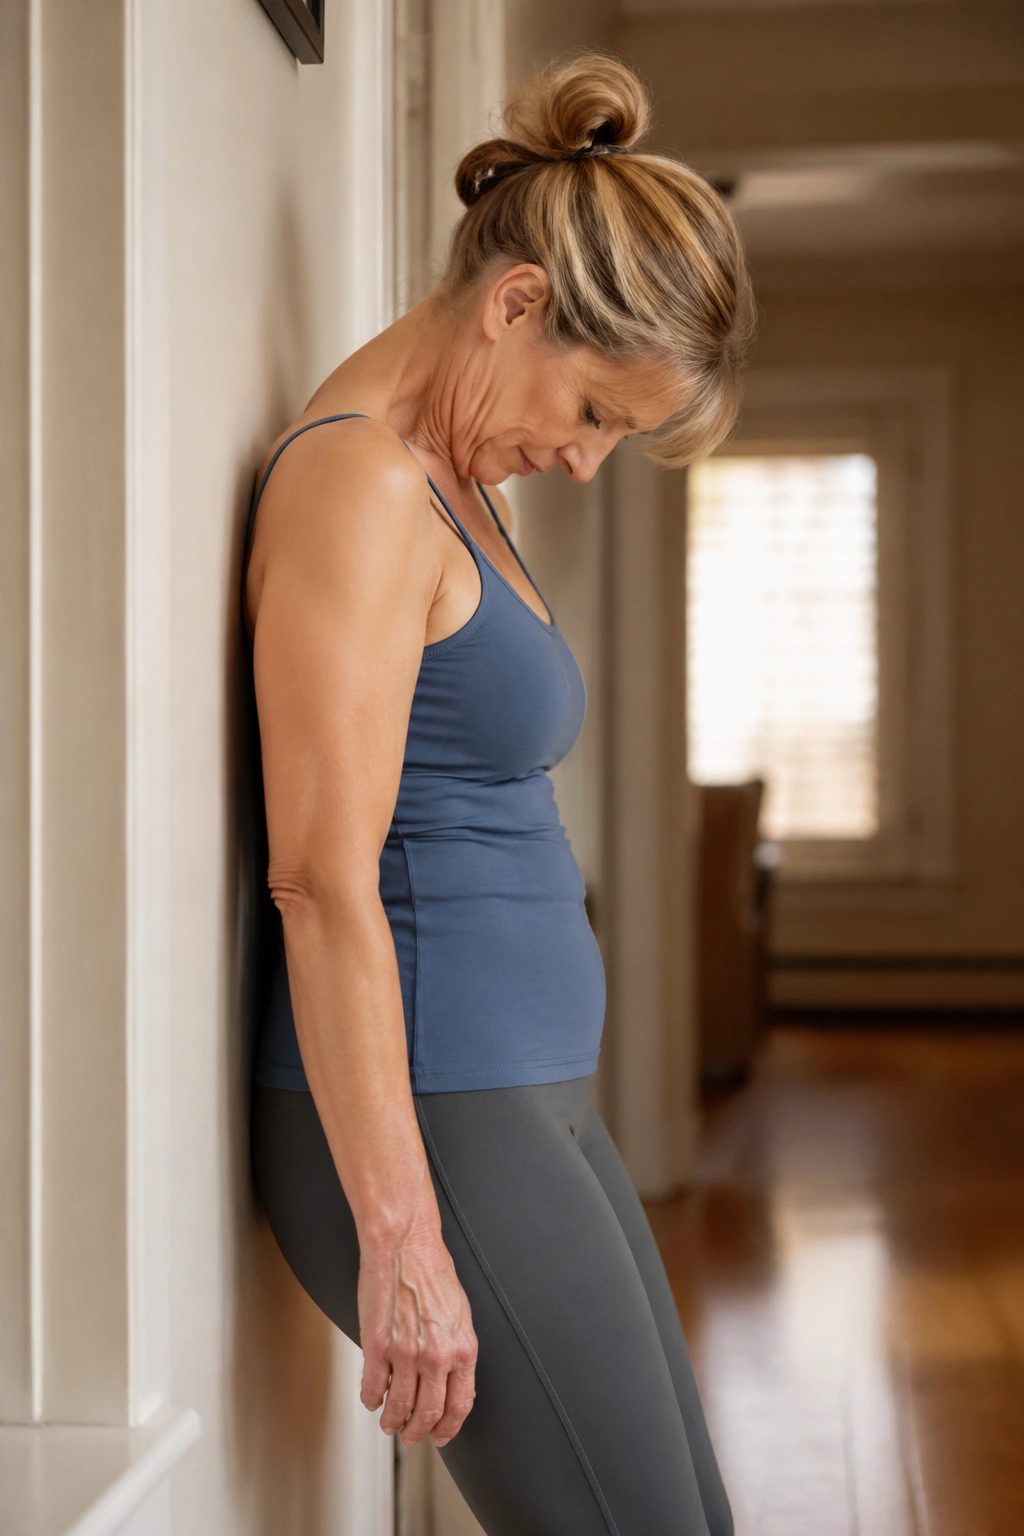
A wall can teach the spine more kindly than a floor mat.
Stand with your back lightly touching a wall, feet about 6 to 8 inches forward and hip-width apart. Nod the chin, let the rib cage soften, and roll the spine forward one segment at a time until your arms hang heavy. Then stack back up slowly, pressing the back into the wall as you rise.
This is one of the best Pilates workouts for women over 50 when posture feels tight from driving, desk work, or too much time looking down at a phone. It opens the back body without the intensity of floor flexion.
- Do 4 to 6 slow roll-downs.
- Keep the knees soft.
- Let the shoulders melt, not shrug.
- If you feel dizzy, stop and stand tall.
The wall gives you feedback. That is what makes it so useful.
12. Standing Pilates Arm Press with Light Band
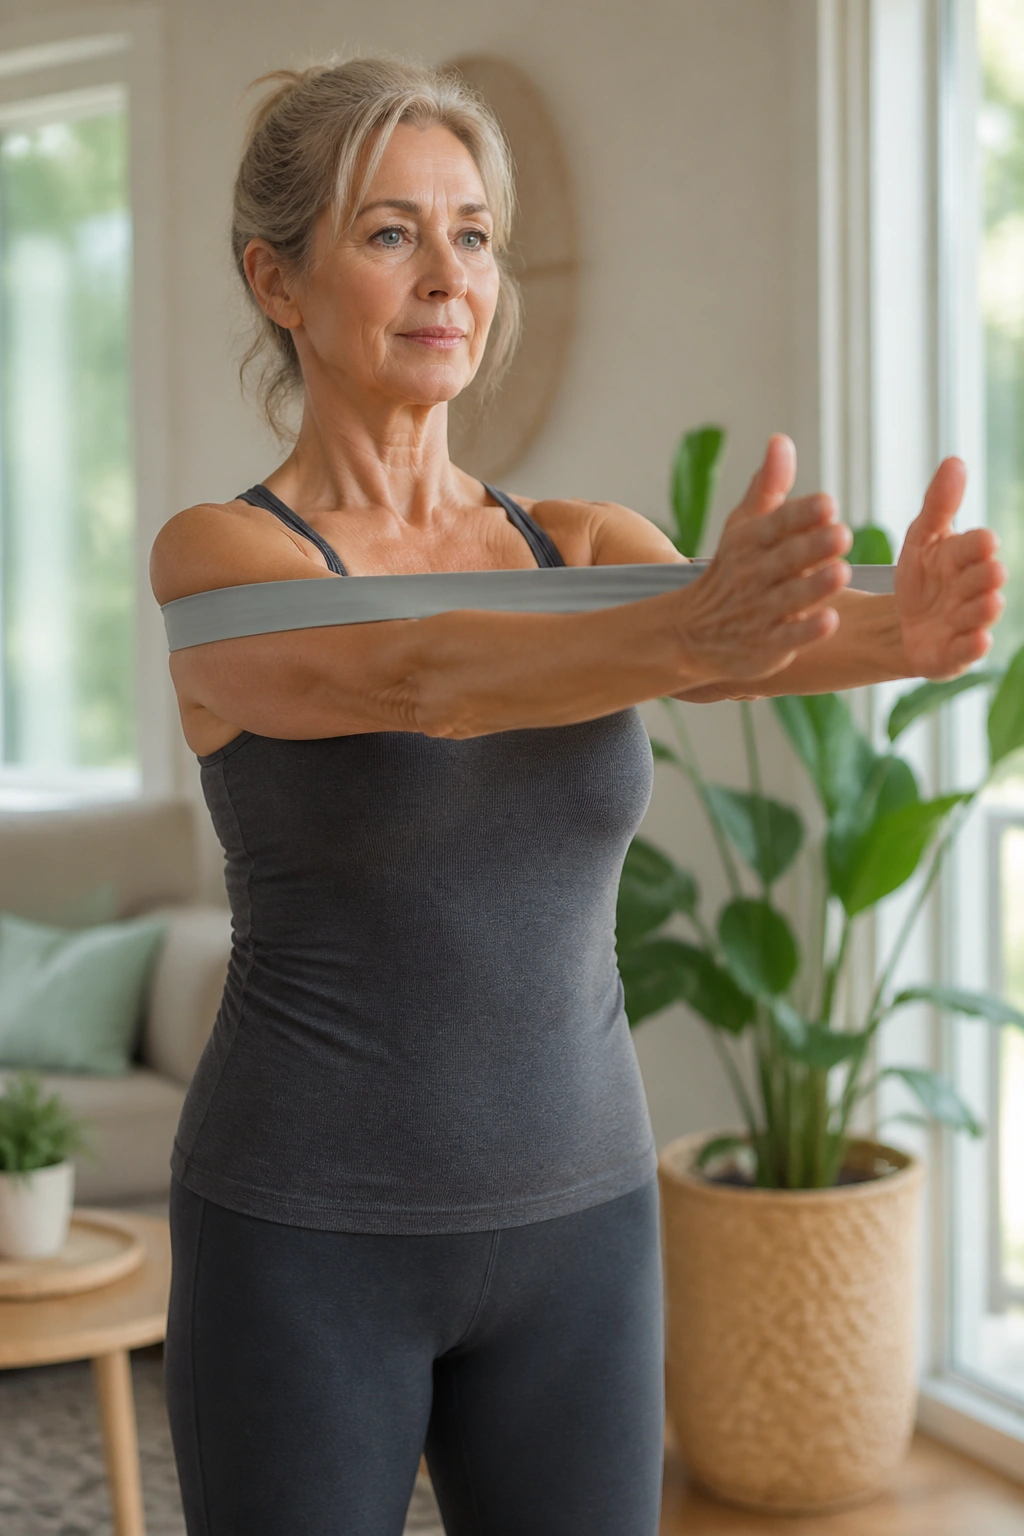
If floor work feels tedious, stand up.
Loop a light resistance band around the upper back or hold light handles in both hands, then stand tall with soft knees and ribs stacked over hips. Press the arms forward, down, or slightly out at shoulder height, depending on what your shoulders like. The movement should feel smooth, not jerky.
Band tension that works
Too much resistance turns this into a shrugging contest. Too little and the shoulders do nothing.
- Choose a band that lets you move 8 to 12 reps with clean form.
- Keep the neck long.
- Exhale as you press away from the body.
- Stop before the lower ribs flare.
This is a smart standing strength drill because it mixes arm work with trunk control. It also feels practical, which I like. A lot of mat-only routines ignore the fact that women over 50 need strength that shows up in daily life, not just on a pretty mat.
13. Mermaid Side Stretch
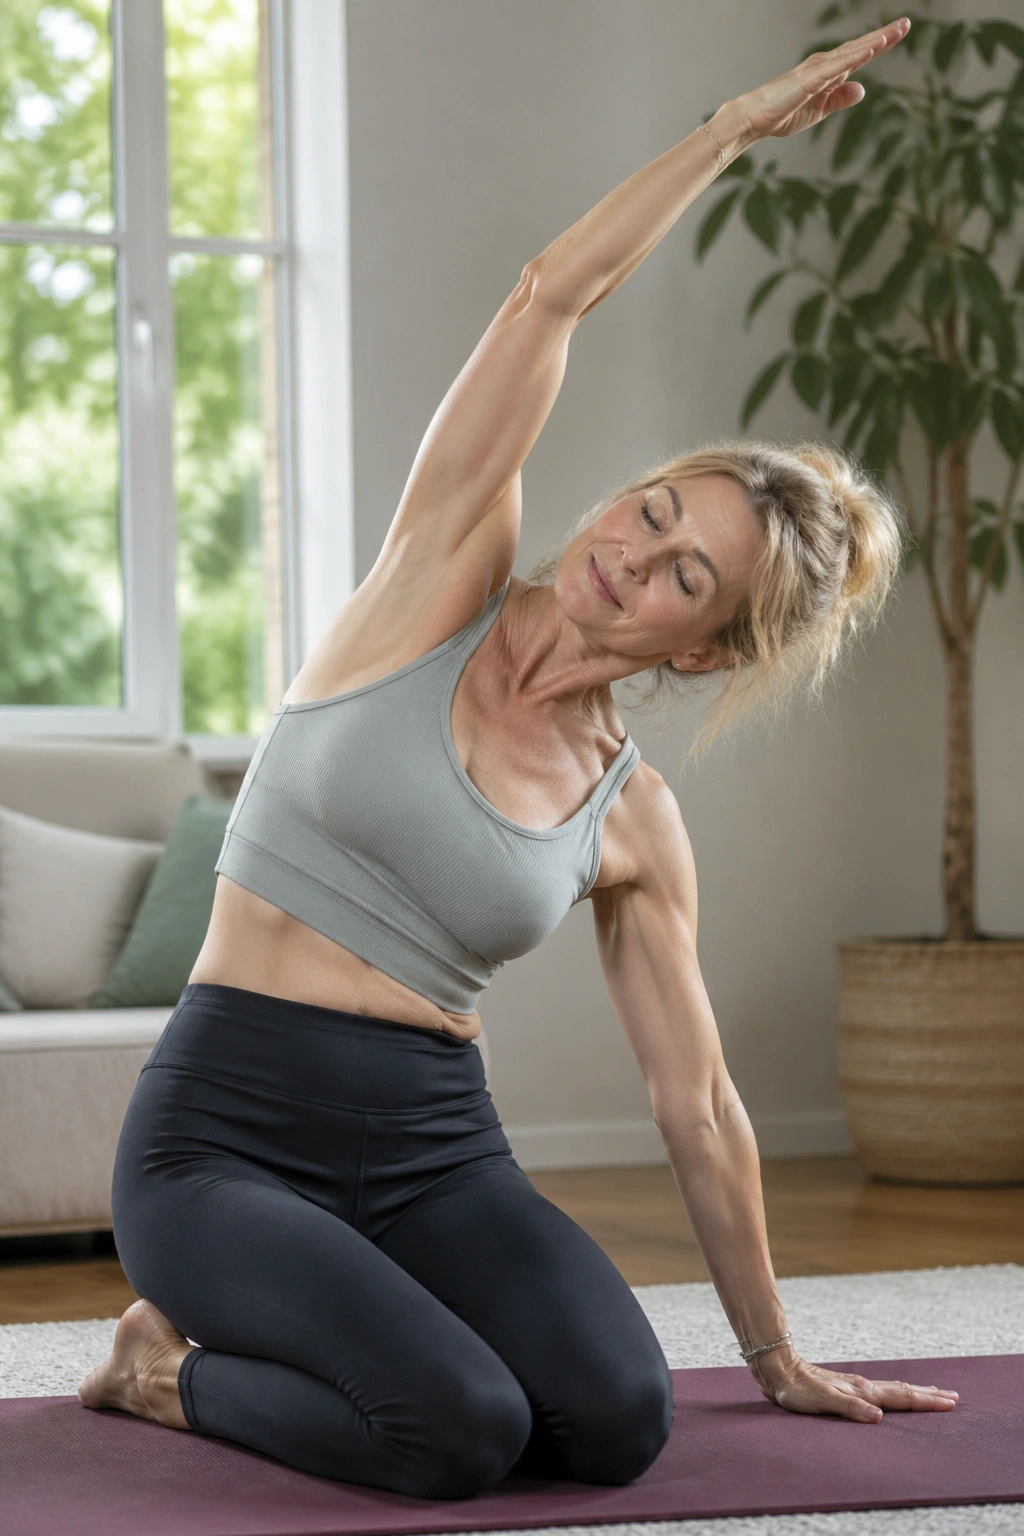
Mermaid is the stretch that makes the ribs feel alive again.
Sit on one hip or on a chair, depending on what your knees and hips prefer. One hand anchors on the floor or chair seat while the other arm reaches overhead and arcs gently to the side. Breathe into the open side ribs, then return with control and switch.
The movement is small if you do it well. That’s the beauty of it. You’re not chasing a big bend; you’re opening the side body, the waist, and the spaces between the ribs.
A good mermaid feels like the torso widens on the inhale. If the shoulder creeps up toward the ear, the reach is too ambitious. Keep it smooth and use 3 slow breaths per side.
14. Seated Saw
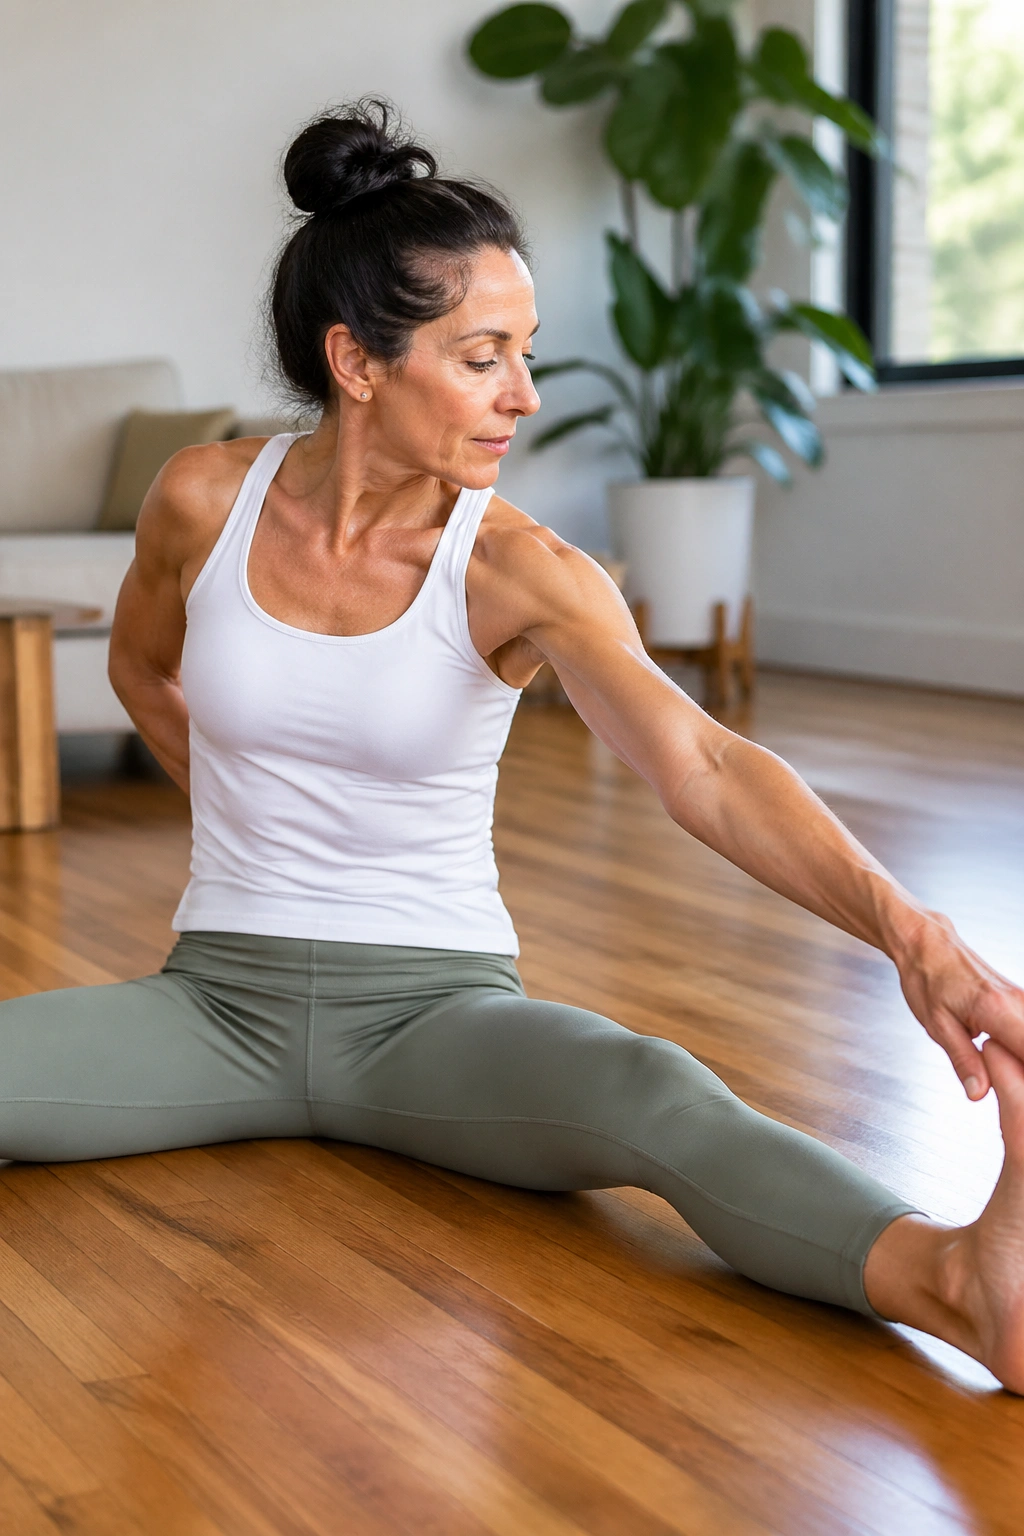
The Saw is a twist and reach, but it only works if the spine stays long first.
Sit with the legs open in a comfortable V, or keep them crossed on a chair if the floor position feels awkward. Rotate the torso to one side, then reach the opposite hand toward the outside of the little toe or ankle. The back hand reaches behind you as the belly stays lifted.
Unlike a crunch, the Saw rewards length before depth. That is why it feels so good when it’s done well.
If you have been told to be careful with spinal flexion or rotation because of osteoporosis or back pain, keep the twist tiny and stay tall. You can still work the obliques without collapsing forward. Do 3 to 4 reaches per side, and stop before the ribs buckle.
15. Swan Prep
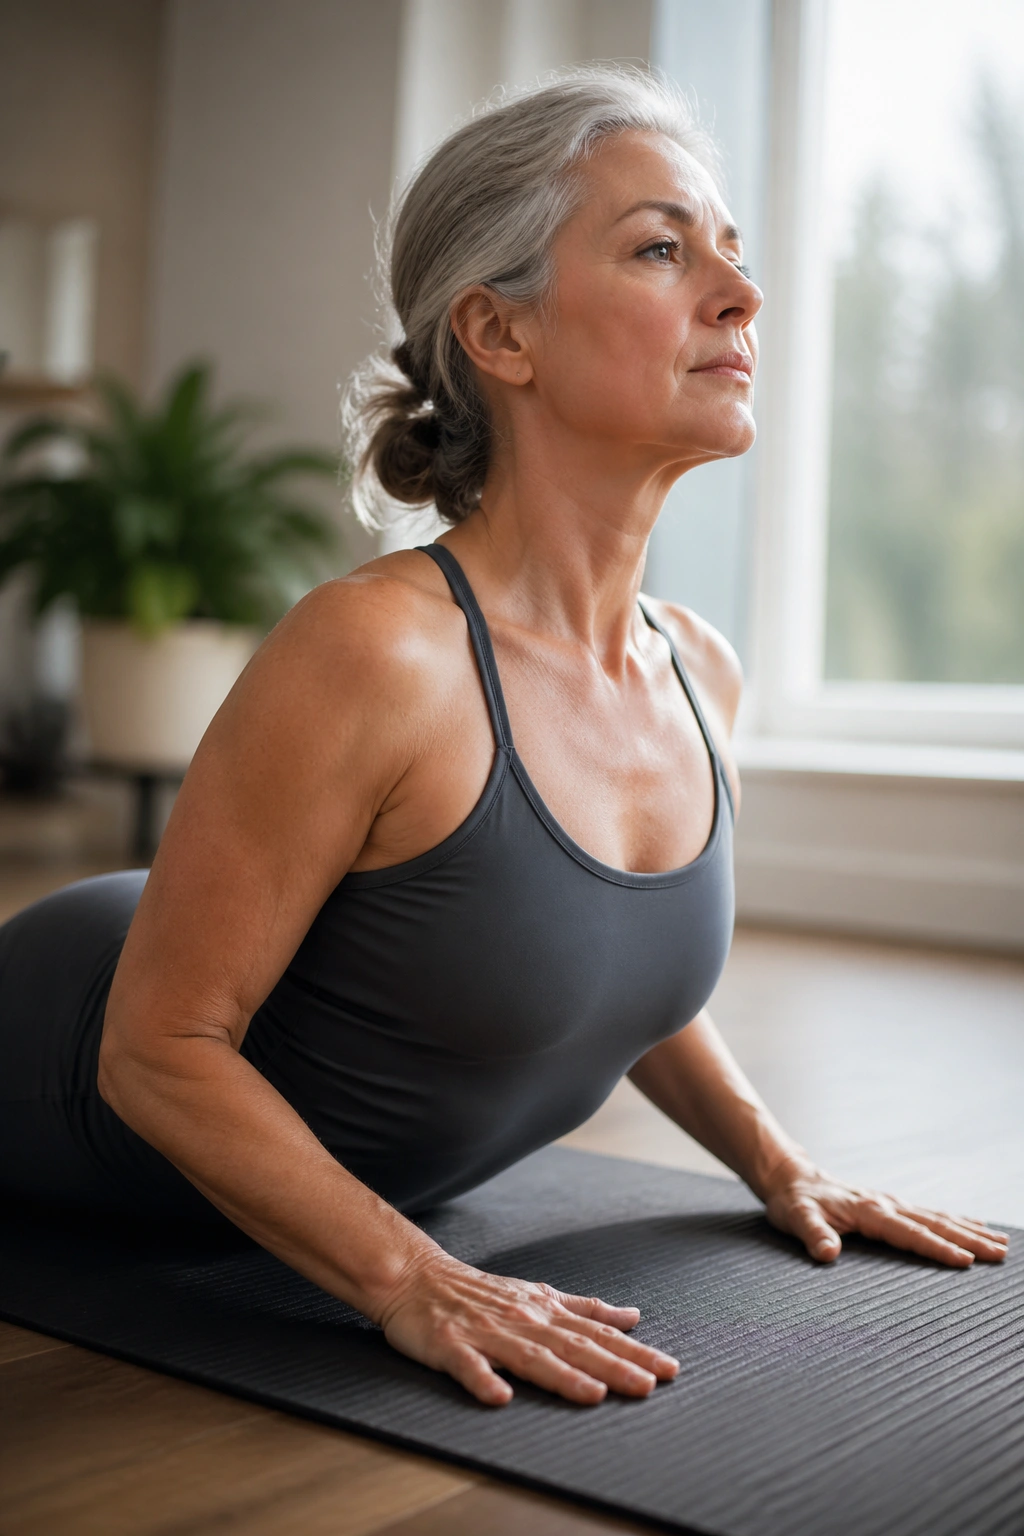
The front of your ribs opens, and the back of your neck stays long.
Lie face down with the hands under the shoulders or slightly wider. Inhale and lift the chest a few inches off the mat while the lower ribs stay anchored. Exhale and lower with control. The lift is modest. It should feel like the spine lengthens forward and up, not like the low back is taking over.
Swan prep is excellent if your posture tends to round forward. It asks the upper back to work, which is useful when the shoulders live in a forward slump. If your lower back pinches, lower less and think more about the chest moving away from the mat than about height.
Try 5 to 8 lifts, pausing for a breath at the top. If the shoulders squeeze toward the ears, take a break. That usually means the range got bigger than the strength.
16. Wall Pilates Plank
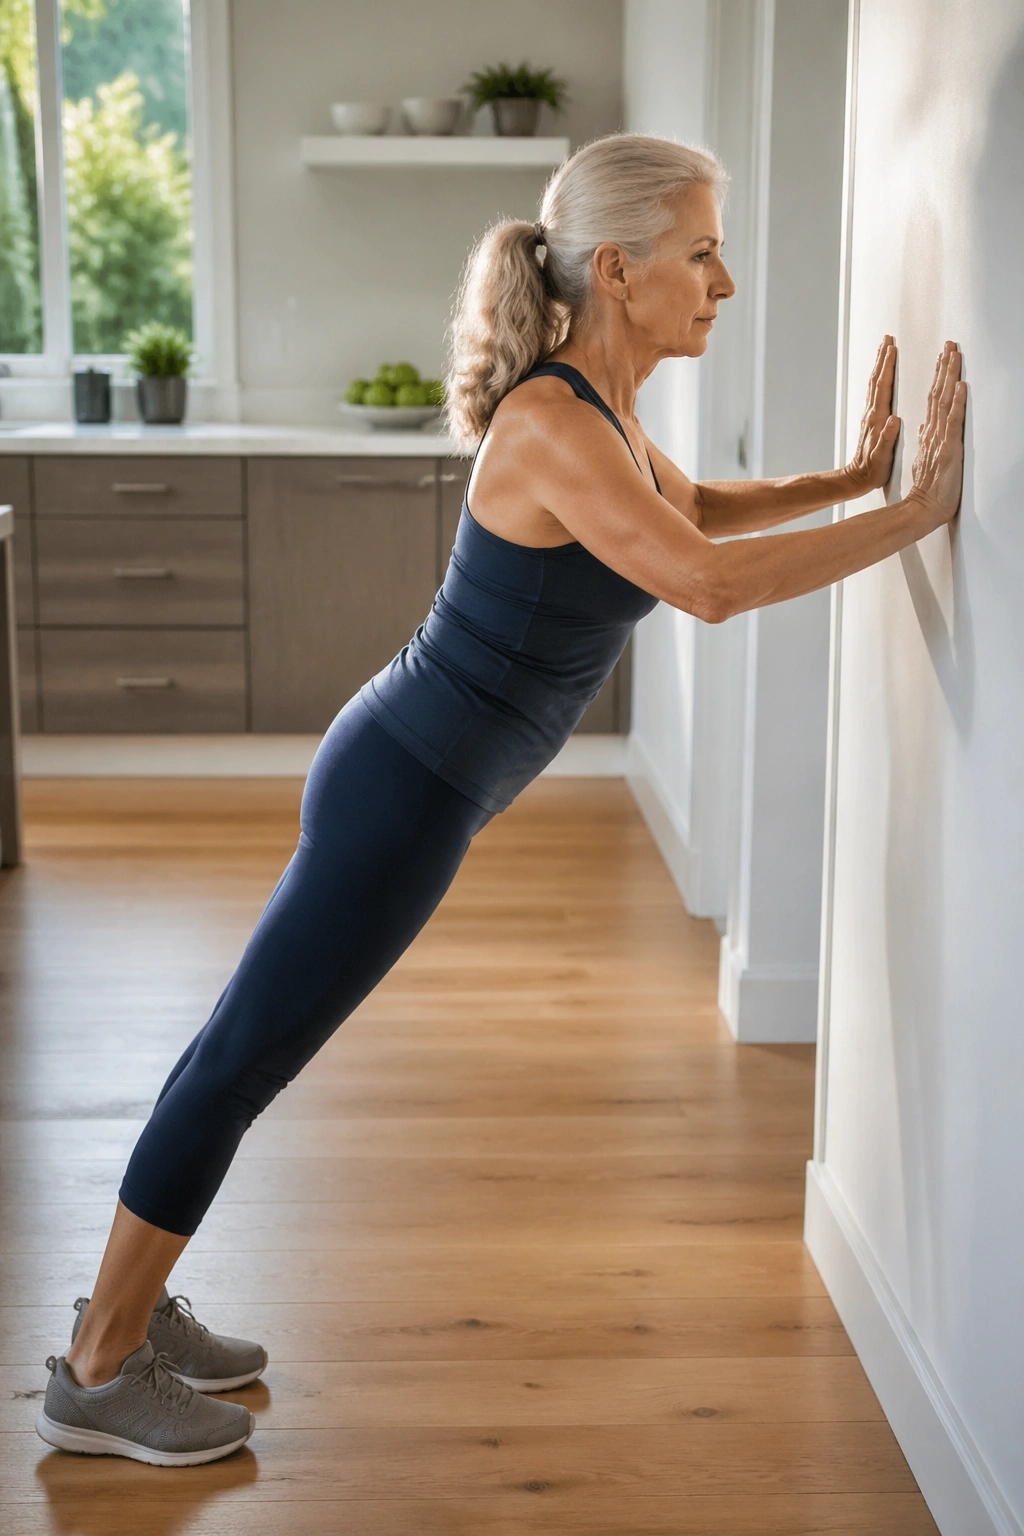
A wall plank sounds too easy until your midsection starts shaking.
Stand facing a wall, place the hands at shoulder height, and walk the feet back until your body makes a long diagonal line. Press the wall away and keep the belly gently in, ribs stacked, and heels rooted. Hold there without collapsing into the shoulders.
This is a fine place to start if floor planks irritate the wrists or make the low back sag. The wall version still trains the core, the shoulder blades, and the glutes, but the load is friendlier.
Hold for 20 to 30 seconds, rest, and repeat 2 or 3 times. Keep the ears away from the shoulders. If the neck gets tight, you’re pushing too hard into the wall.
17. Knee-Supported Side Plank
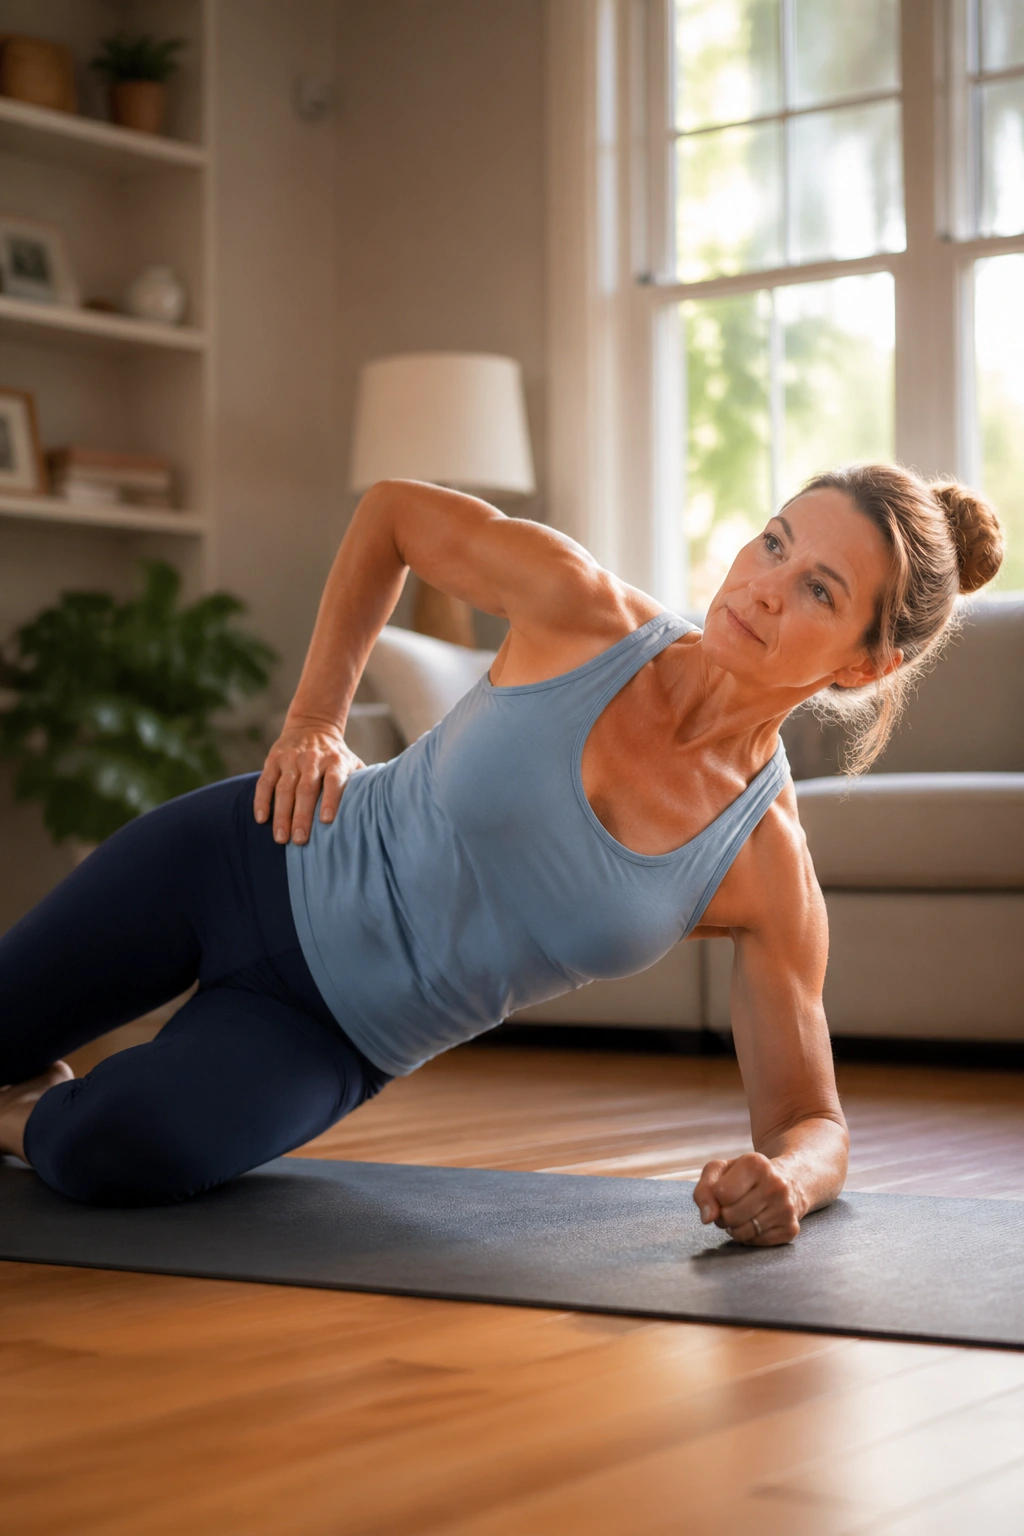
Need obliques without a floor fight? This is the one.
Set up on one forearm with the bottom knee bent and the other leg stacked or slightly forward for balance. Lift the hips just enough to make a straight line from shoulder to knee. You do not need to go high. You need to stay steady.
How to scale it
The best version is the one you can hold without twisting.
- Keep the top hand on the hip for the first few tries.
- Hold for 10 to 20 seconds.
- Rest the shoulder by widening the base if needed.
- If the neck feels crowded, lower the hips a little.
This move trains the lateral core, the shoulder stabilizers, and the side of the hip all at once. It also teaches body awareness in a way that’s useful for balance and falls prevention. A small side plank done well beats a big one done crooked.
18. Bridging March
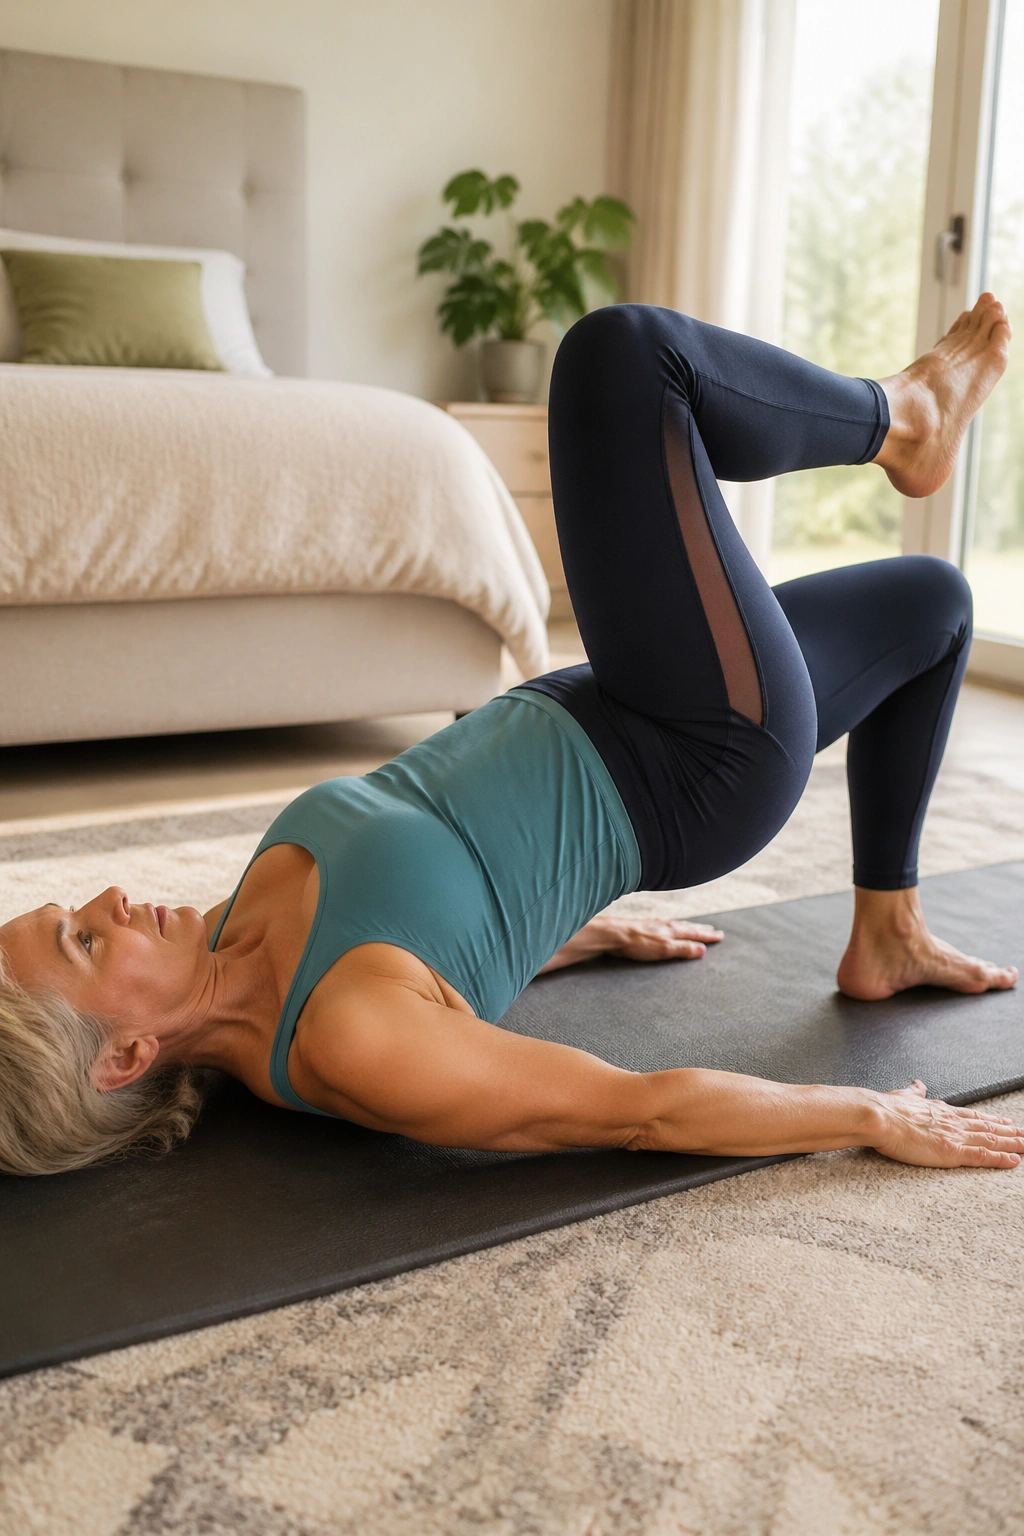
The first time people try this, one side usually wobbles.
Lift into a bridge, then keep the pelvis level as you float one foot an inch or two off the floor and set it back down. Switch sides in a slow rhythm. The challenge is not the leg lift itself. The challenge is keeping the bridge steady while one leg leaves the party for a second.
- Do 5 to 8 lifts per side.
- Keep the knees pointed forward.
- Don’t let the hips dip when the foot lifts.
- Exhale on the lift, inhale on the return.
Bridging march is excellent for walking stability and for all the little transitions of daily life: stepping into a car, climbing stairs, turning in bed. The march makes your pelvis prove that it can stay organized under a small challenge. That’s the good stuff.
19. Standing Balance Reach
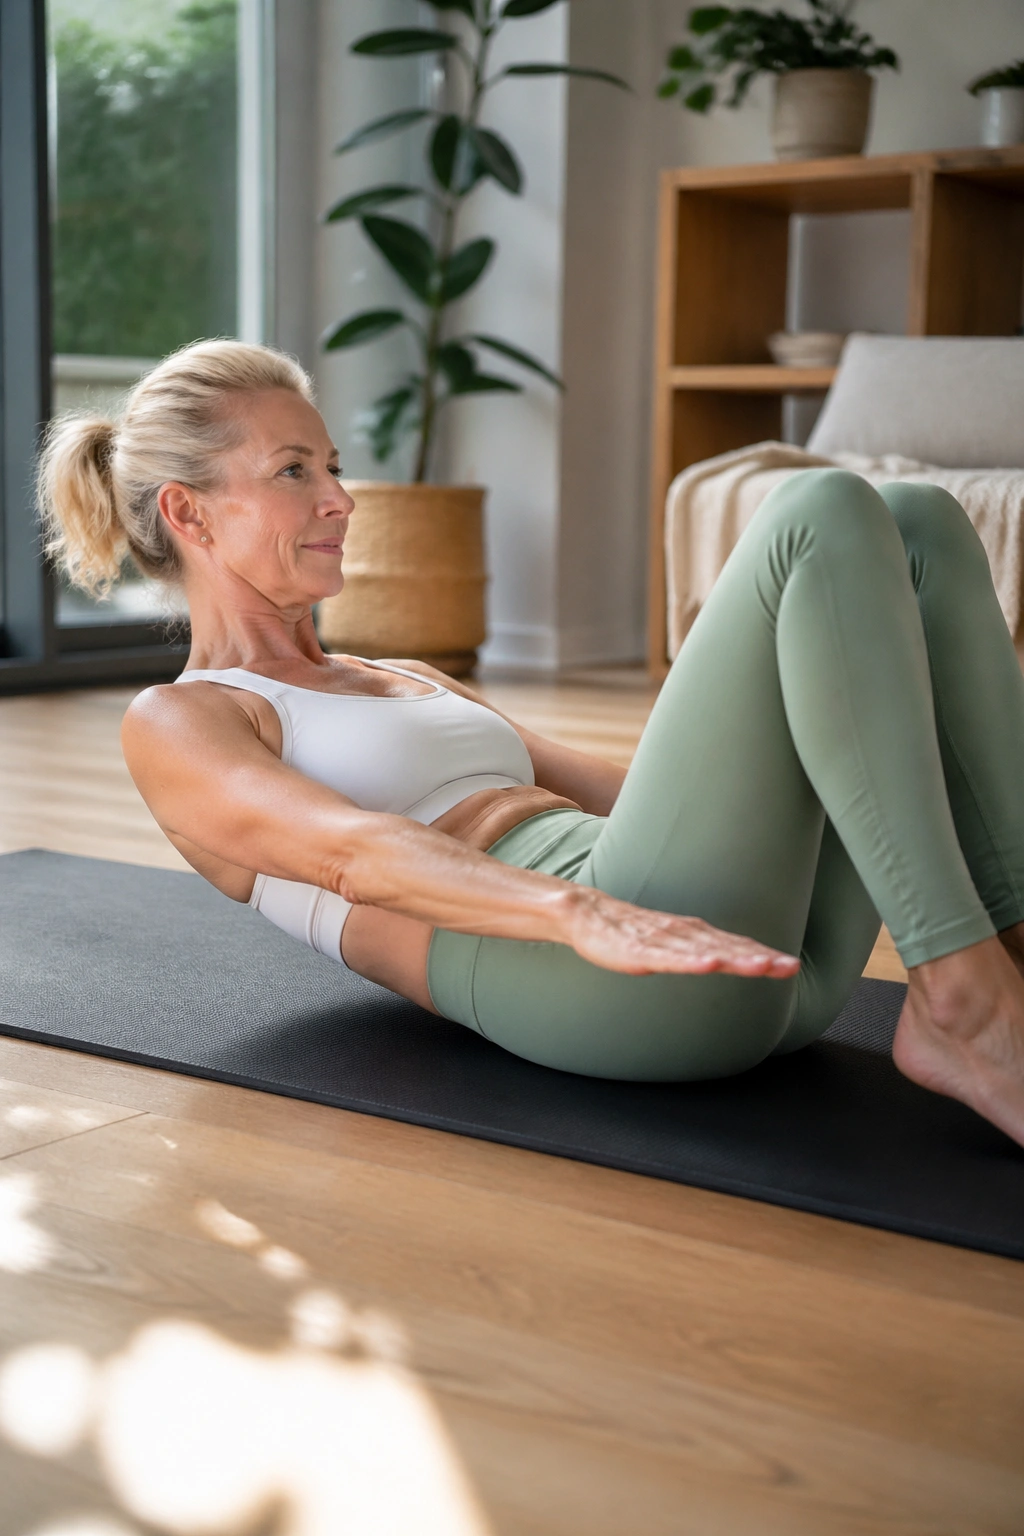
This is balance practice with a little Pilates shape to it.
Stand near a counter or chair with one foot grounded and the other foot lightly touching the floor beside you. Reach both arms diagonally upward or forward while the standing leg stays soft but stable. Then return with control and switch sides.
The movement is small, and that’s why it works. Your ankles, feet, hips, and torso have to organize themselves without a big help from momentum.
Do 5 slow reaches per side. If your standing foot grabs the floor like it’s holding on for dear life, lighten the reach and breathe out. A calmer foot usually means a steadier body. That’s a better trade than forcing a bigger pose.
20. Figure-Four Bridge
Can a stretch and a strength move live in the same exercise? Absolutely.
Lie on your back and place one ankle over the opposite knee, then lift into a bridge with the foot that stays on the floor. Lower with control and repeat on the other side. You’ll feel the glutes, the outer hip, and the deep rotators working together while the crossed-leg shape gives the hip a useful opening.
This is a good one if the hips feel tight after long sitting. It also helps expose side-to-side differences fast. If one side feels awkward, keep the bridge smaller rather than pushing through it.
Who should keep it small
If your knee doesn’t like the crossed position, make the shape higher up the shin or skip the cross and do a regular bridge with a longer hold. You can still get the glute work without irritating the joint. Do 4 to 6 reps per side.
21. Kneeling Side Bend
Side bends are not risky when you keep them small.
Come into a half-kneeling position with one knee on a cushion and the other foot flat in front. One hand can rest on the thigh or wall while the other arm reaches overhead. Bend a few inches away from the kneeling side, then come back up with the side body staying long.
This move opens the waist, the ribs, and the muscles along the side of the trunk. It also gives the hip flexor on the kneeling side a little length, which is handy if you spend a lot of time sitting.
Keep the range modest and breathe into the upper ribs. A good side bend should feel like the body is widening, not collapsing. Three to five slow breaths per side is plenty.
22. Leg Circles with a Strap
Control before range.
Lie on your back and loop a strap, towel, or long band around one foot. Lift that leg straight up as far as you can keep the pelvis level, then draw small circles in the air. The circle should be neat and quiet, not dramatic.
What to watch for
If the hips rock, the circle is too big.
- Start with 5 circles each direction.
- Keep the opposite leg long or bent, whichever protects your back.
- Use a smaller circle before you chase flexibility.
- The low back should stay quiet.
This is part hamstring stretch, part core drill, part patience exercise. And yes, patience matters here. People often want a huge range, but a modest circle teaches the trunk to stay put while the leg moves, which is the more useful skill.
23. Inner-Thigh Squeeze and Reach
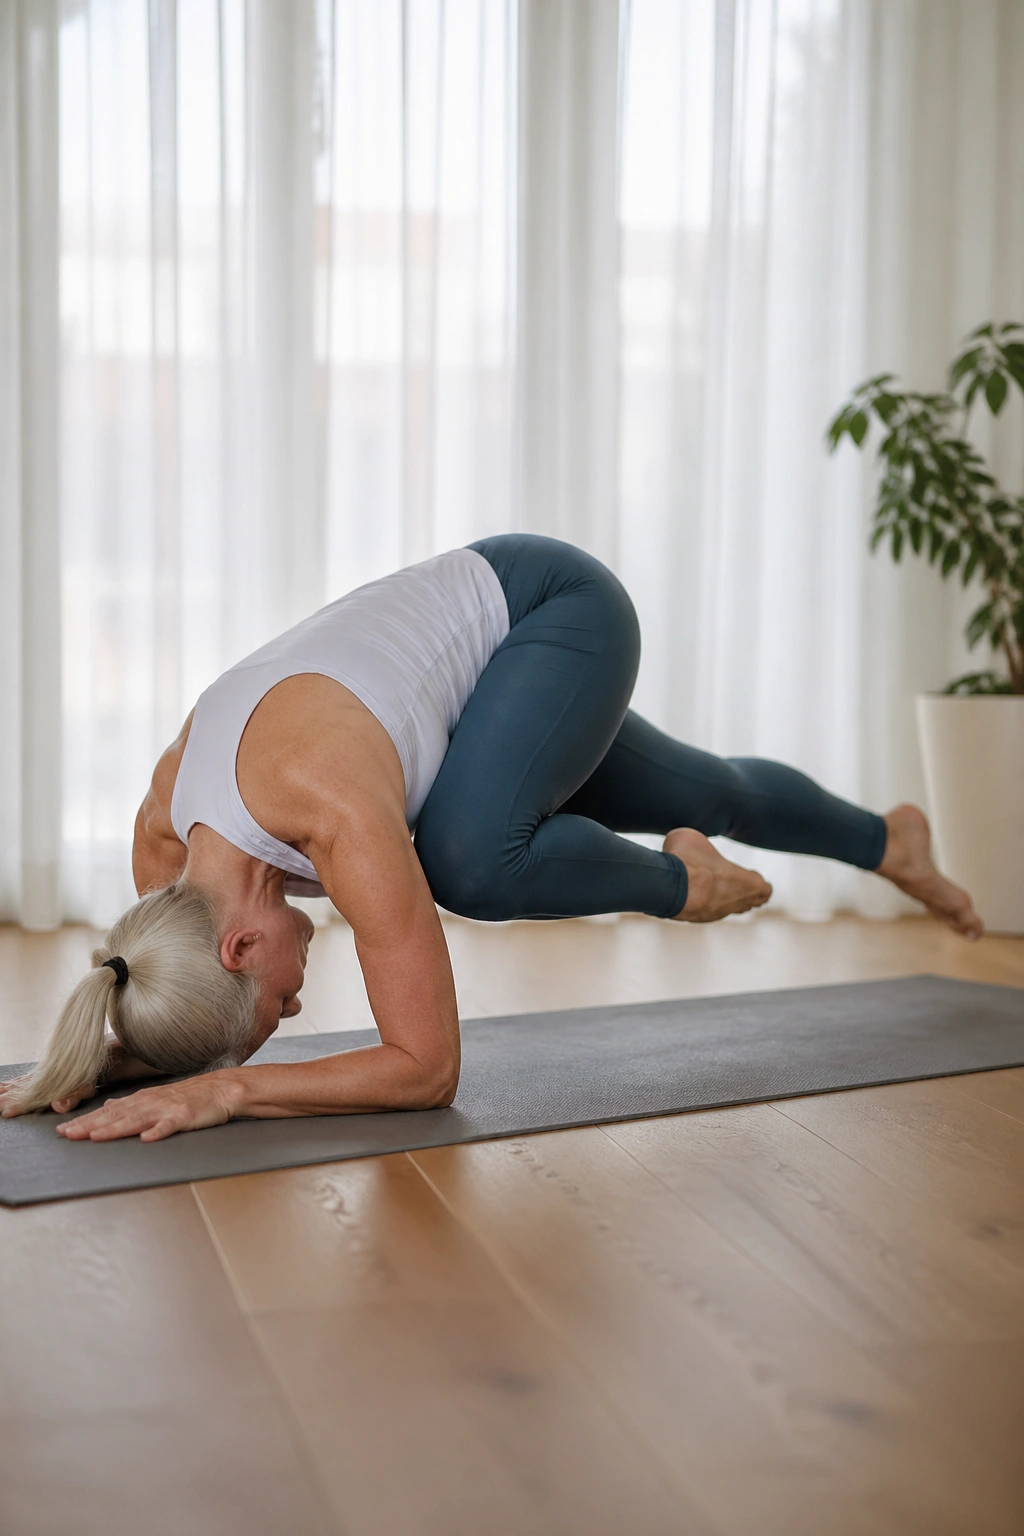
The inner thighs matter more than people think.
Lie on your back with knees bent and place a soft ball, pillow, or folded towel between the knees. Gently squeeze as you exhale, then release on the inhale. After a few reps, add an arm reach overhead or toward the ceiling so the trunk has to coordinate with the legs.
This is a quiet little exercise, but it connects the inner thighs, pelvic floor, and deep abdominals in a way that feels very Pilates. It’s also gentle on the joints. If the squeeze becomes hard or crampy, the object is too firm or the effort is too strong.
Do 8 to 10 squeezes, then rest. I like this one as a reset move between stronger exercises because it brings the body back to center without draining it.
24. Pilates Chair Sit-to-Stand with Reach for Women Over 50
If a chair is the piece of equipment you actually use, this one earns its place.
Sit on the front edge of a sturdy chair, feet under the knees, and press through the whole foot to stand without throwing the chest forward. Reach the arms forward or overhead as you stand, then lower back down with control. The descent matters just as much as the rise.
Why it belongs in Pilates
Pilates is about control, alignment, and breath. This checks all three.
- Keep the knees tracking over the toes.
- Use the exhale on the stand.
- Sit down slowly for 6 to 8 reps.
- Hold a second chair or wall nearby if balance is shaky.
This move trains the exact pattern many women want to improve: getting up from a chair without a grunt, a wobble, or a hand push. It is functional, yes, but it still fits the Pilates idea of precision. That combination is the whole appeal.
25. Seated Rotation with a Tall Spine
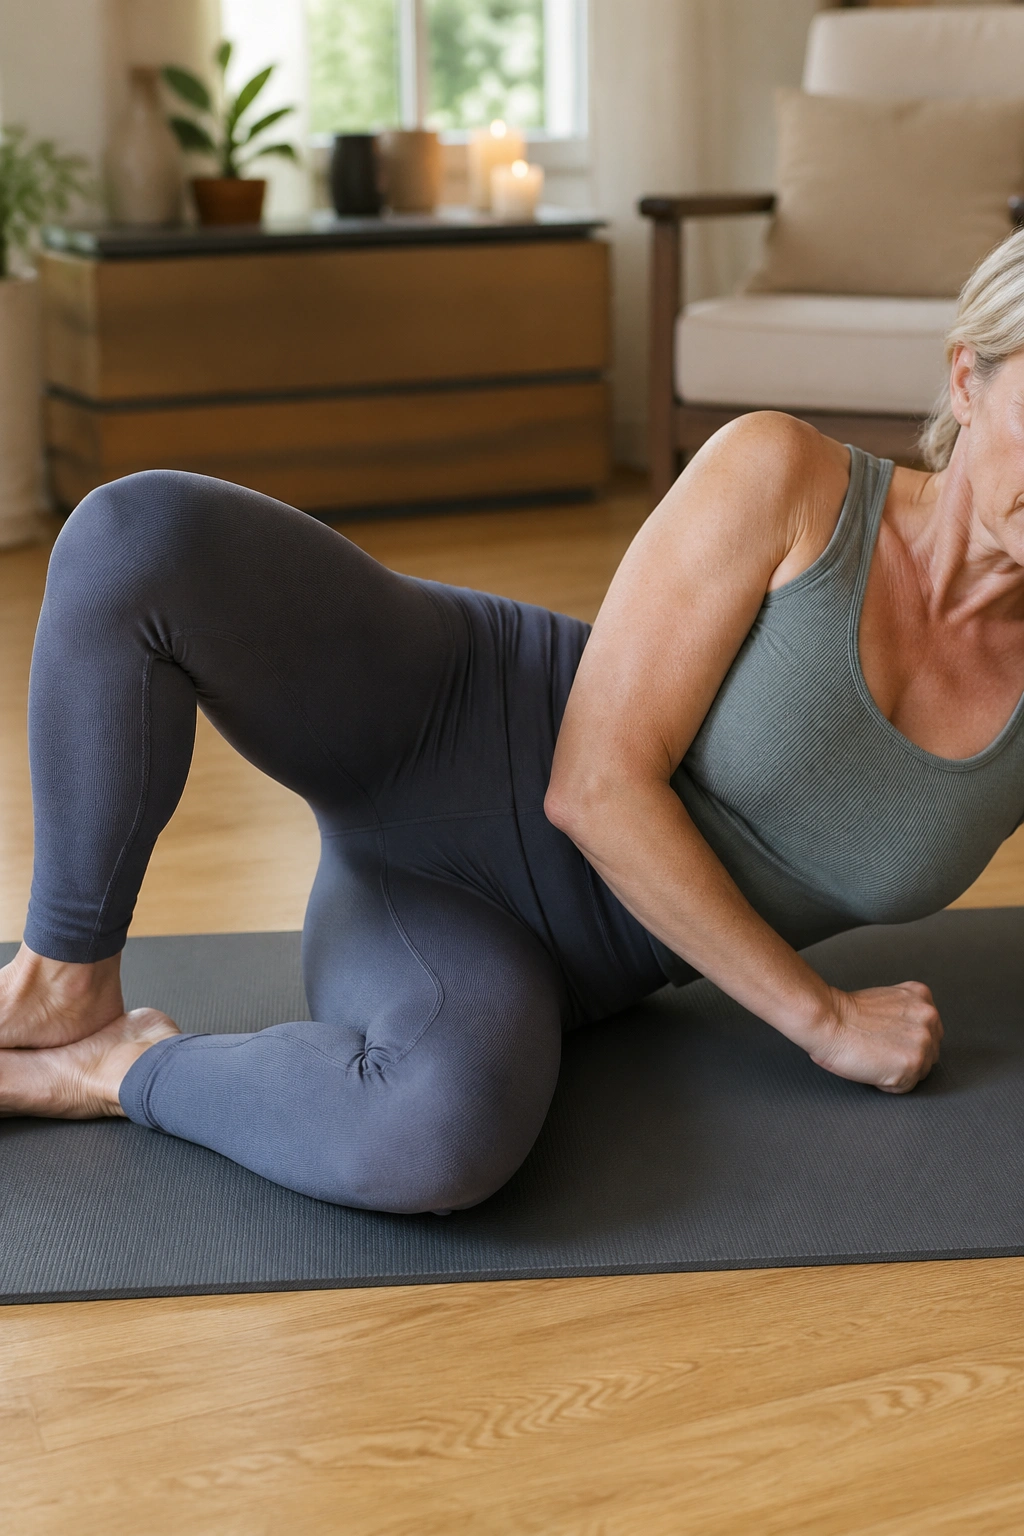
Finish with rotation only if your back likes it.
Sit on a chair or on the mat with the spine tall, feet grounded, and arms crossed over the chest or open in a soft “T.” Rotate gently to one side, pause, and come back through center before switching. Keep the twist modest and the pelvis heavy.
The point is not to crank farther each time. The point is to keep the torso organized while it turns. If your shoulders race ahead of your ribs, slow down and make the motion smaller.
For women with sensitive backs, rotation can be either lovely or annoying, and the difference usually comes down to range and timing. Keep it light, breathe out as you turn, and stop before the low back starts to grab. Small, clean rotation beats a deep twist every time.
The Bottom Line
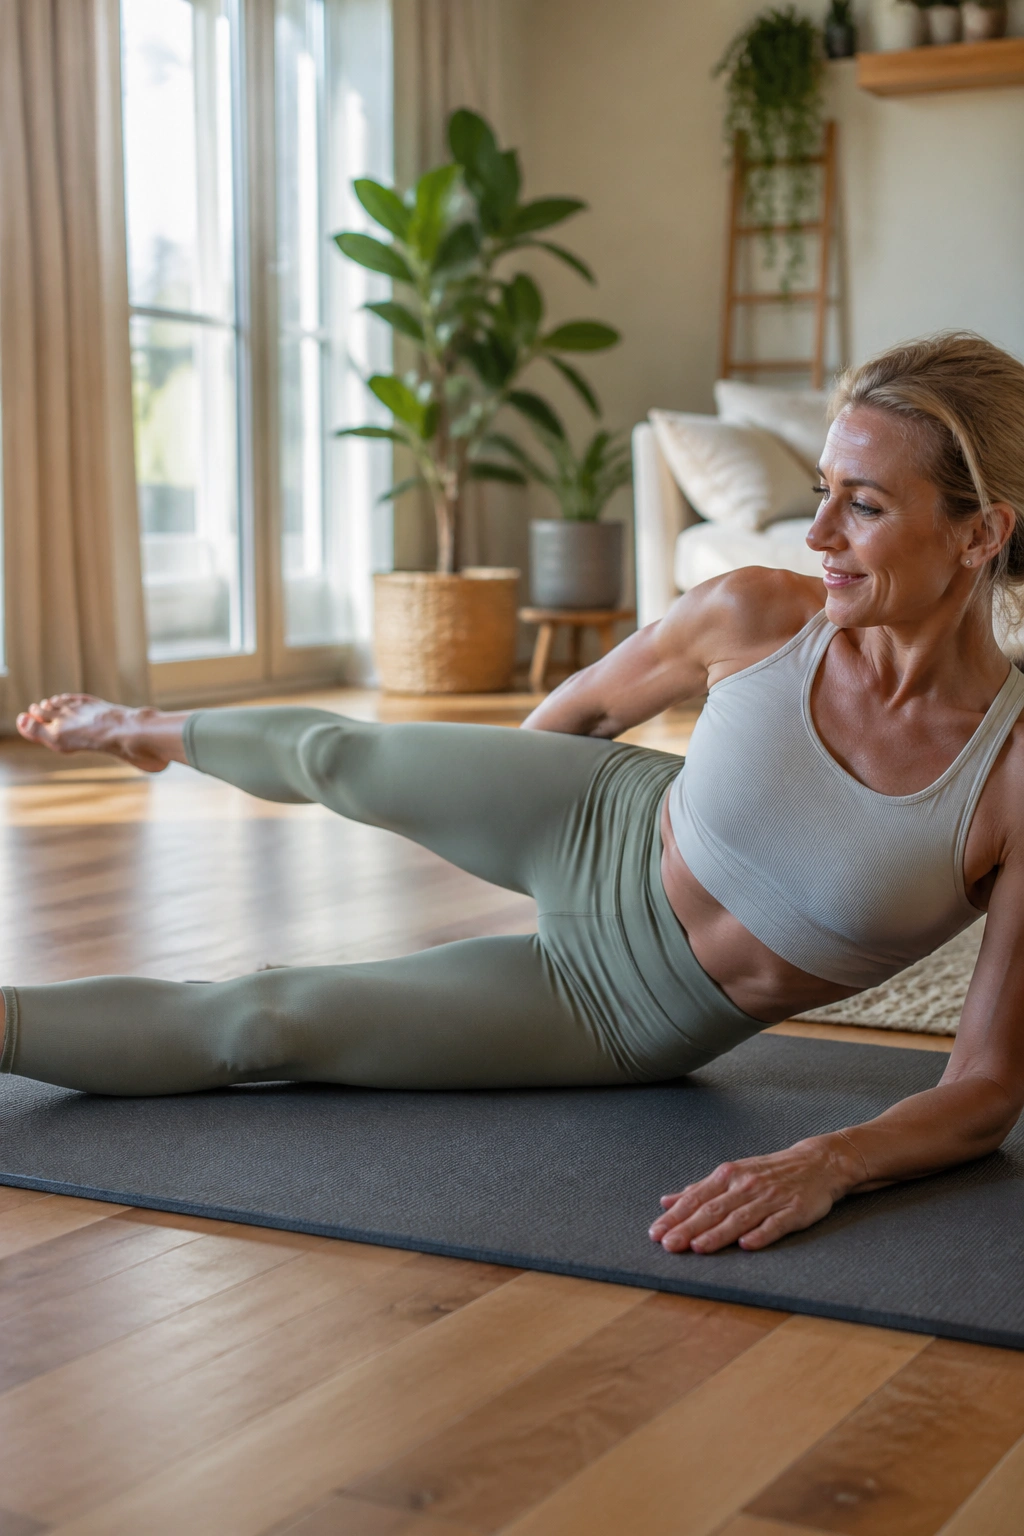
The best Pilates work after 50 is not the loud stuff. It is the steady stuff: bridges that wake up the glutes, wall work that cleans up posture, balance drills that keep the ankles and hips paying attention.
A chair, a wall, and a light band can take you a long way. So can shorter range and better control.
If you mix a few core moves, a few standing pieces, and one or two hip and balance drills into the same week, the body starts to feel more organized in ordinary life. That is usually the real win. Not the perfect pose. The easier step, the calmer back, the steadier stand when you reach for the top shelf.
