



Pilates looks gentle until you try to keep your pelvis still.
That’s the first surprise. The second one is bigger: a few small, clean Pilates moves can light up your core harder than a fast, sweaty workout that throws you around the room. The method works best when you slow down, shrink the range, and stop pretending speed is the point.
Beginners usually need less variety and more honesty. A mat, a wall, and a folded towel are enough for most of these exercises. If your neck grabs, your lower back arches, or your hips wobble the second your feet leave the floor, that’s useful information. It means you’ve found the edge of your control.
Start with breath. Everything gets cleaner once the ribs can expand on the inhale and the abdominals can gently knit together on the exhale. Then build from there, one move at a time.
1. Pilates Breathing With Rib Expansion
Pilates breathing is not a warmup you rush past. It’s the thing that teaches your trunk how to organize itself before the hard parts show up.
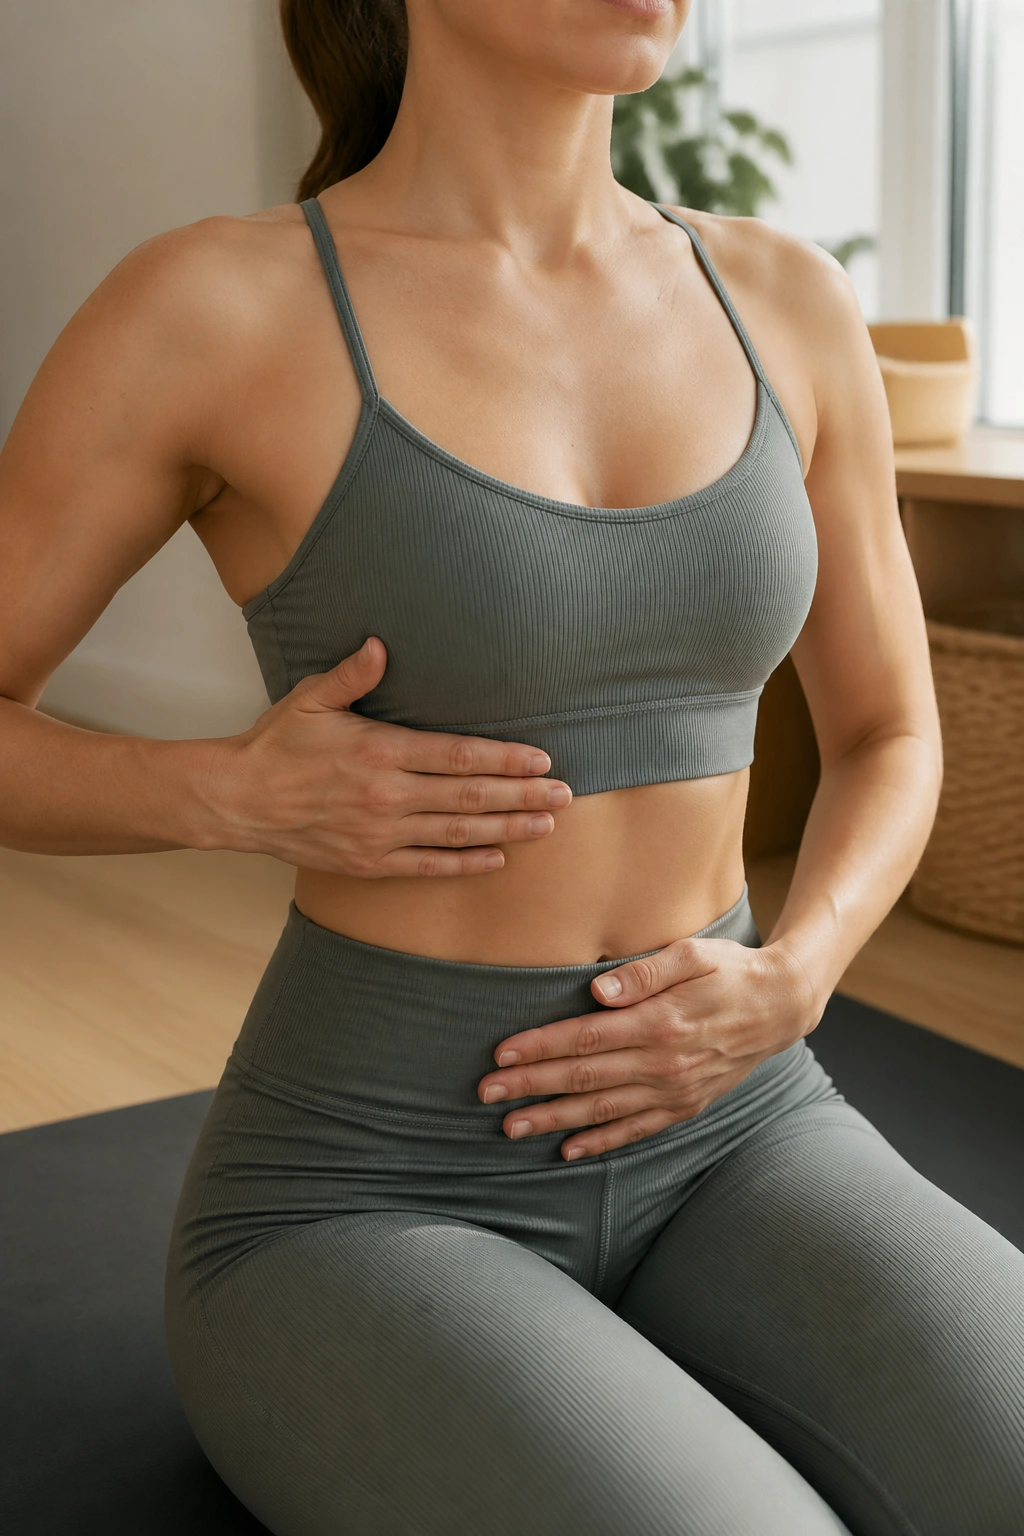
Put one hand on your ribs and the other on your low belly. Inhale through your nose for 3 to 4 counts and try to send the breath into the sides and back of your rib cage, not just the chest. Then exhale through your mouth for 5 to 6 counts and feel the ribs soften down without sucking the stomach in like you’re bracing for a punch.
How to feel it
- Keep your shoulders soft and low.
- Let the inhale widen the ribs.
- Let the exhale narrow the waist a little.
- Avoid collapsing the chest or jamming the belly flat.
A lot of beginners breathe up into the shoulders because that’s what stress does. Pilates asks for the opposite. The breath should feel roomy and quiet, with the ribs moving like a bellows instead of a shrug.
One useful test: if you can breathe this way while lying down, the rest of the mat work gets easier to control.
2. Pelvic Curl on the Mat
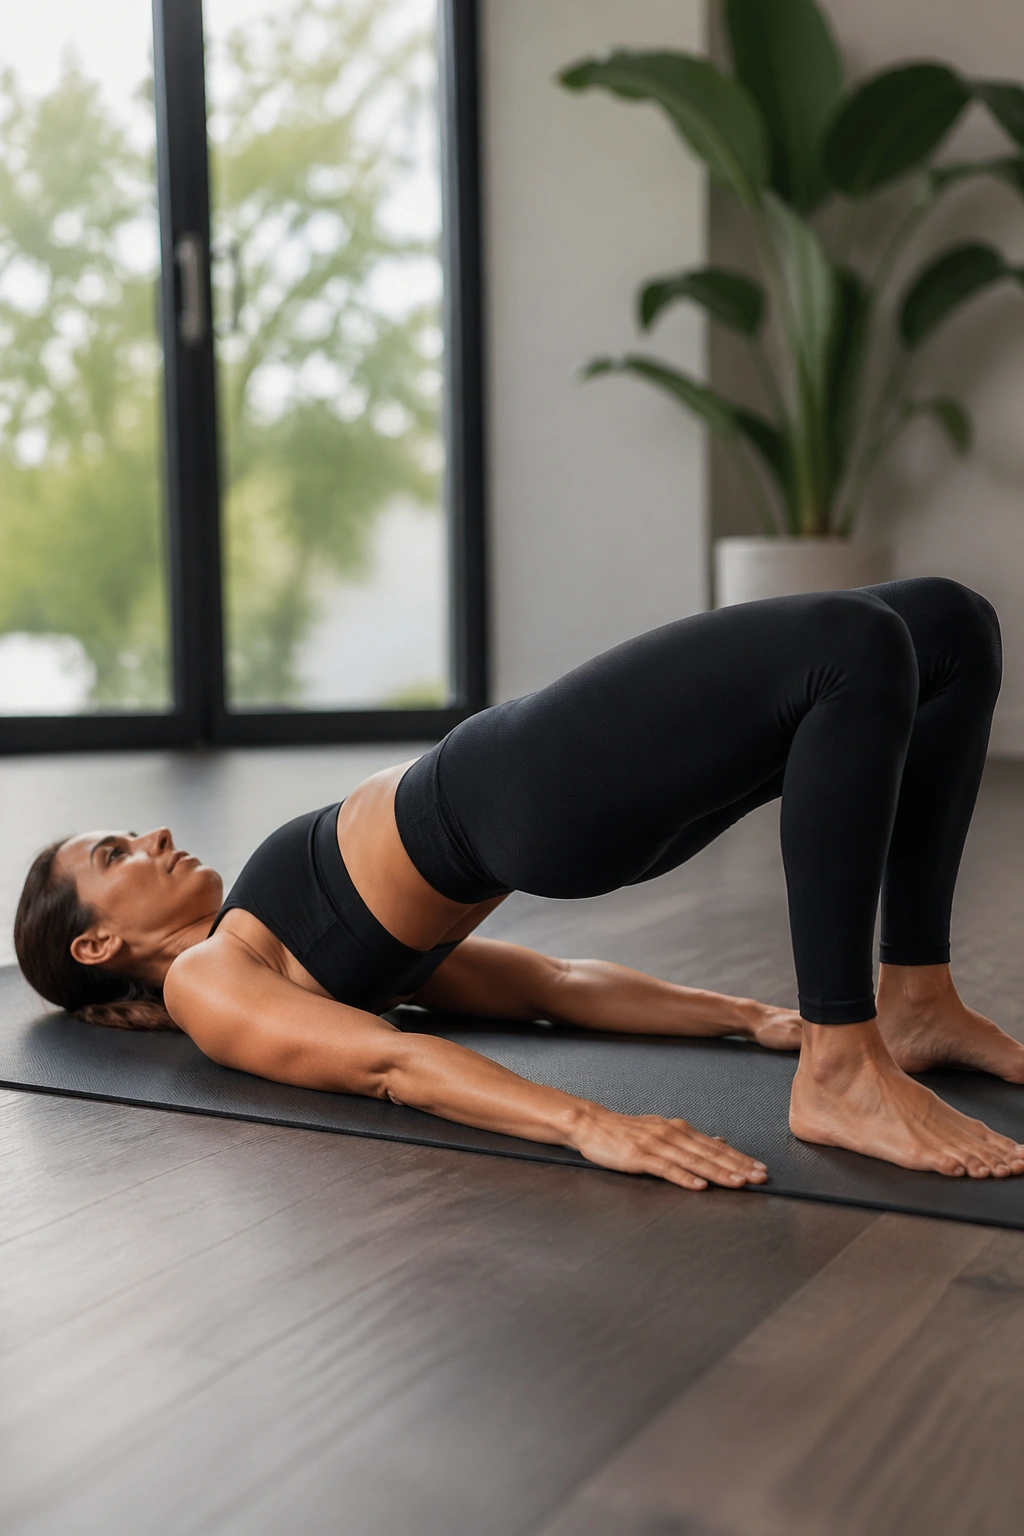
A pelvic curl looks like a simple bridge, but it teaches spinal articulation better than almost anything else on a beginner Pilates mat. You’re not just lifting the hips. You’re peeling the spine up one piece at a time.
Lie on your back with knees bent, feet hip-width apart, and arms long by your sides. Exhale, tip the tailbone slightly toward the heels, and roll the pelvis up until you’re resting on the shoulder blades. Inhale at the top. Exhale and lower the spine back down, starting from the upper back and finishing with the tailbone.
If your hamstrings cramp, walk your feet a little farther away. If your lower back feels pinched, make the lift smaller. That’s not failure; it’s useful feedback.
The best bridge is quiet. No bouncing, no squeezing the glutes until the knees shake, no dramatic arching. Just a smooth line from knees to shoulders and a slow return to the mat.
3. Chest Lift for the Deep Abdominals
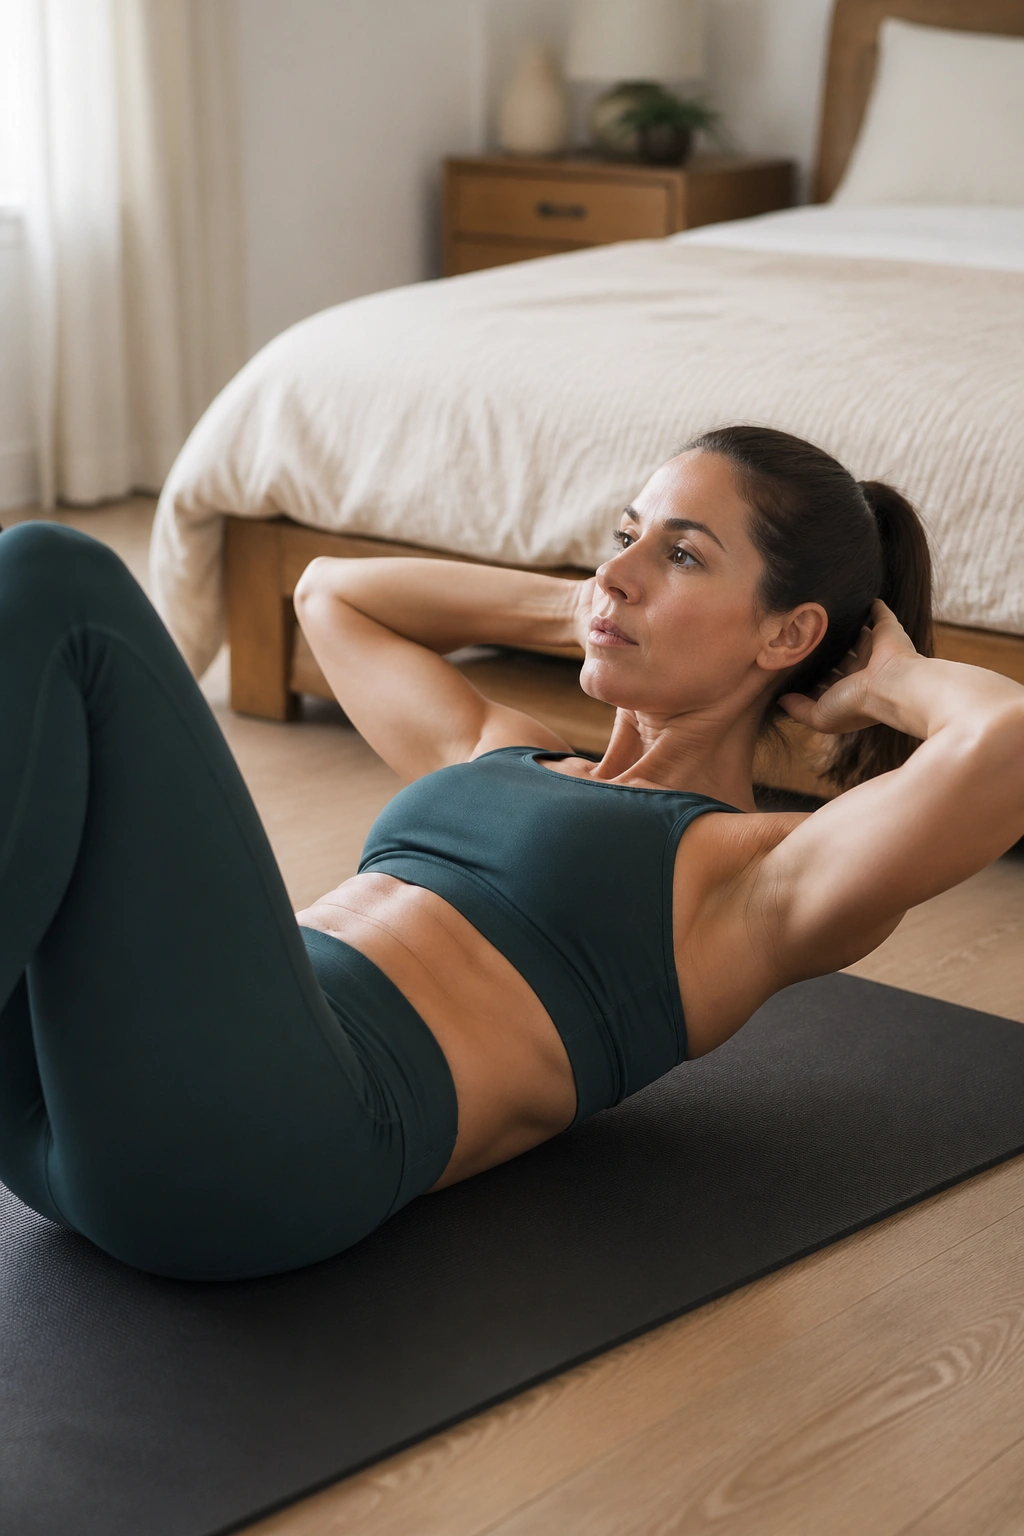
The chest lift is where beginners meet the real work. It’s tiny, honest, and far harder than it looks.
Start lying on your back with knees bent and feet grounded. Interlace your fingers behind your head without yanking on the neck, or place your hands at the base of the skull. Exhale, nod the chin slightly, and lift the head and shoulder blades only 1 to 2 inches off the mat. The lower ribs stay heavy. The pelvis stays still.
One sentence worth remembering: if your neck feels like the engine, the abdominals are not doing enough.
Lower with control. No dropping. No crunching upward as if you’re trying to sit all the way up. Beginners do better with small holds of 3 to 5 breaths than with a huge range that makes the back ache.
If the neck complains, keep the head down for a week or two and practice the exhale pattern. You do not get extra points for forcing the lift.
4. Toe Taps in Tabletop
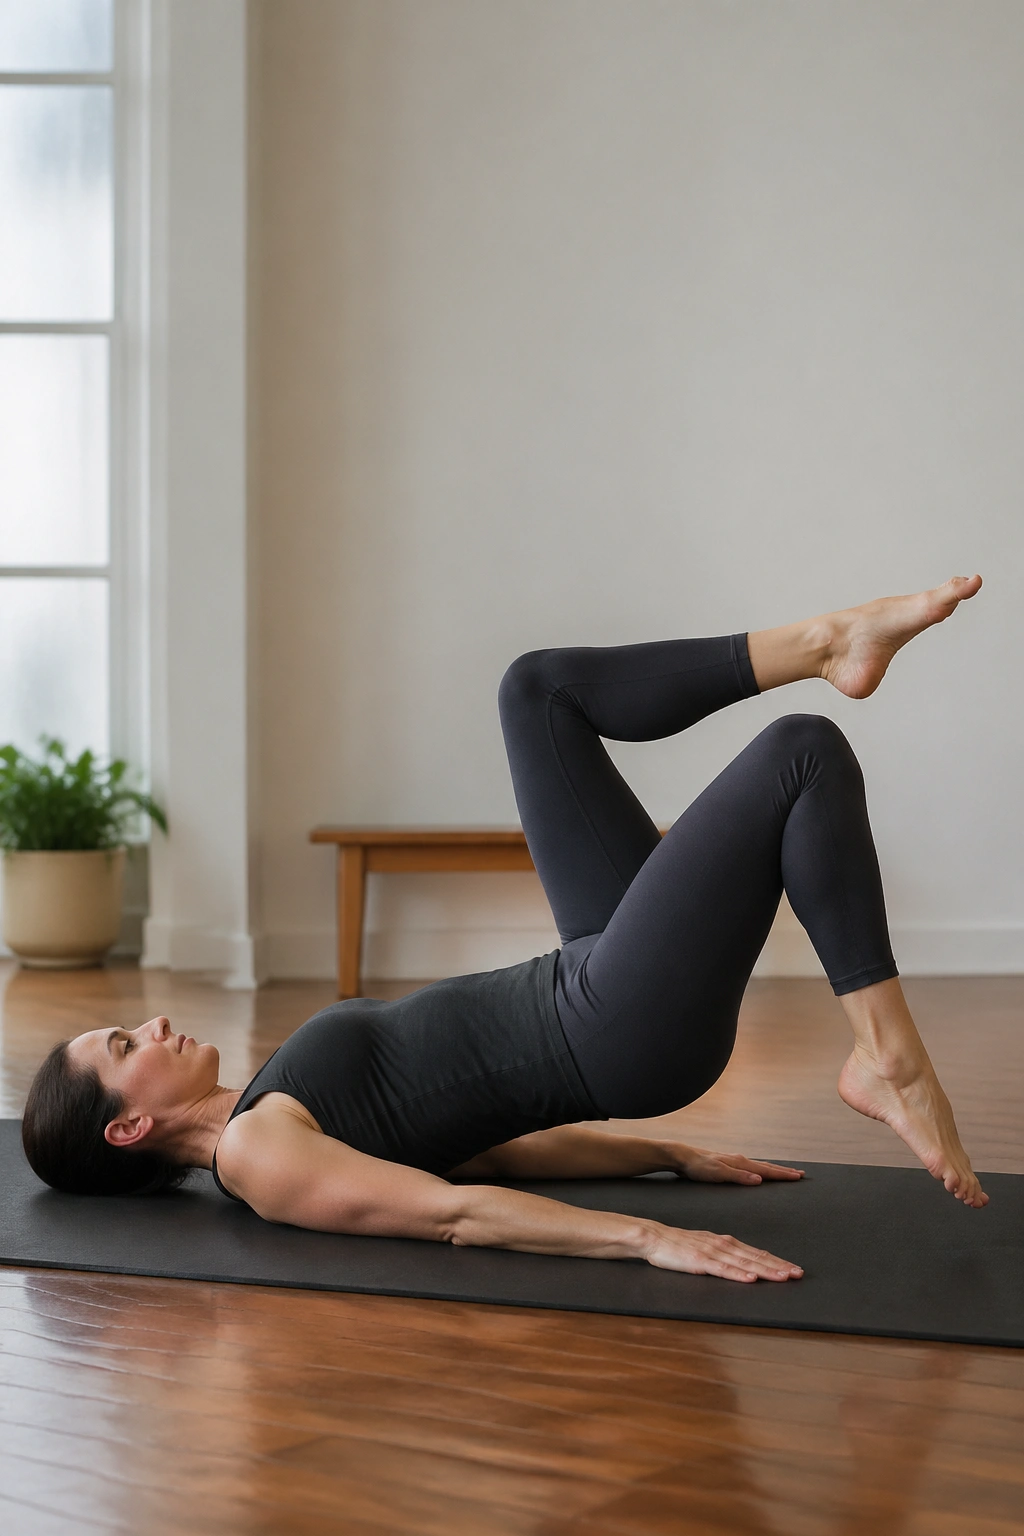
Toe taps are the place where a lot of people realize their core has opinions.
Lie on your back and bring both legs to tabletop, knees over hips and shins parallel to the floor. If that position makes your low back arch hard off the mat, keep one foot down and work one leg at a time. That’s the smarter choice for most beginners.
What to watch for
- Keep the pelvis heavy and level.
- Lower one toe toward the floor on an exhale.
- Tap lightly, or stop just before the floor if you lose control.
- Bring the leg back with the same slow pace.
The movement should feel like the hip joint is doing the work, not the low back. When people rush toe taps, they start flinging the leg from the thigh and the trunk starts to wobble. That’s the moment to shorten the range.
A good toe tap is small and boring. That’s the point. Control beats range here every single time.
5. Cat-Cow for a Flexible Spine
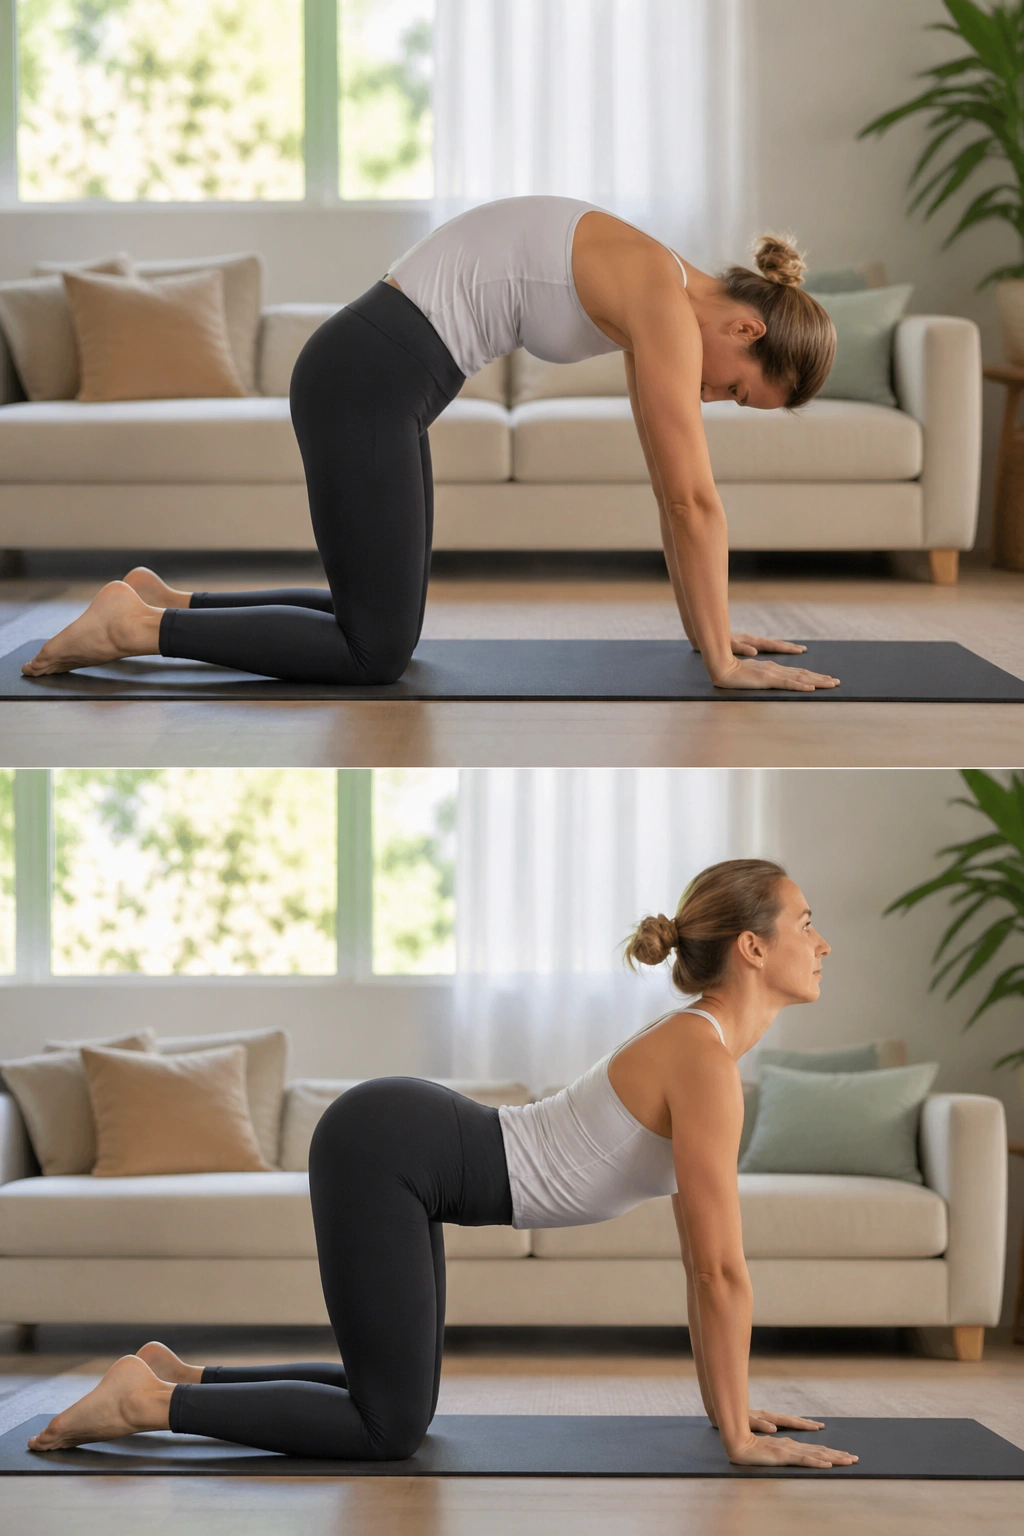
Cat-cow is the move that wakes up a stiff back without asking it to perform before breakfast.
Come onto hands and knees with wrists under shoulders and knees under hips. On an exhale, round the spine, tuck the tail, and let the head follow the curve. On an inhale, tip the tail up, lengthen the chest forward, and open the front of the body without dumping into the low back.
The rhythm matters more than the shape. Slow cat-cow should feel like the spine is sliding through sand, not snapping between two positions.
Some beginners turn this into a shoulder exercise and forget the pelvis. Others crank the neck and go way too far into the lower back. Keep the motion smooth from tailbone to crown, and stop at the point where the breath still feels easy.
One clean pass is better than five sloppy ones.
6. Knee Folds With Pelvis Control
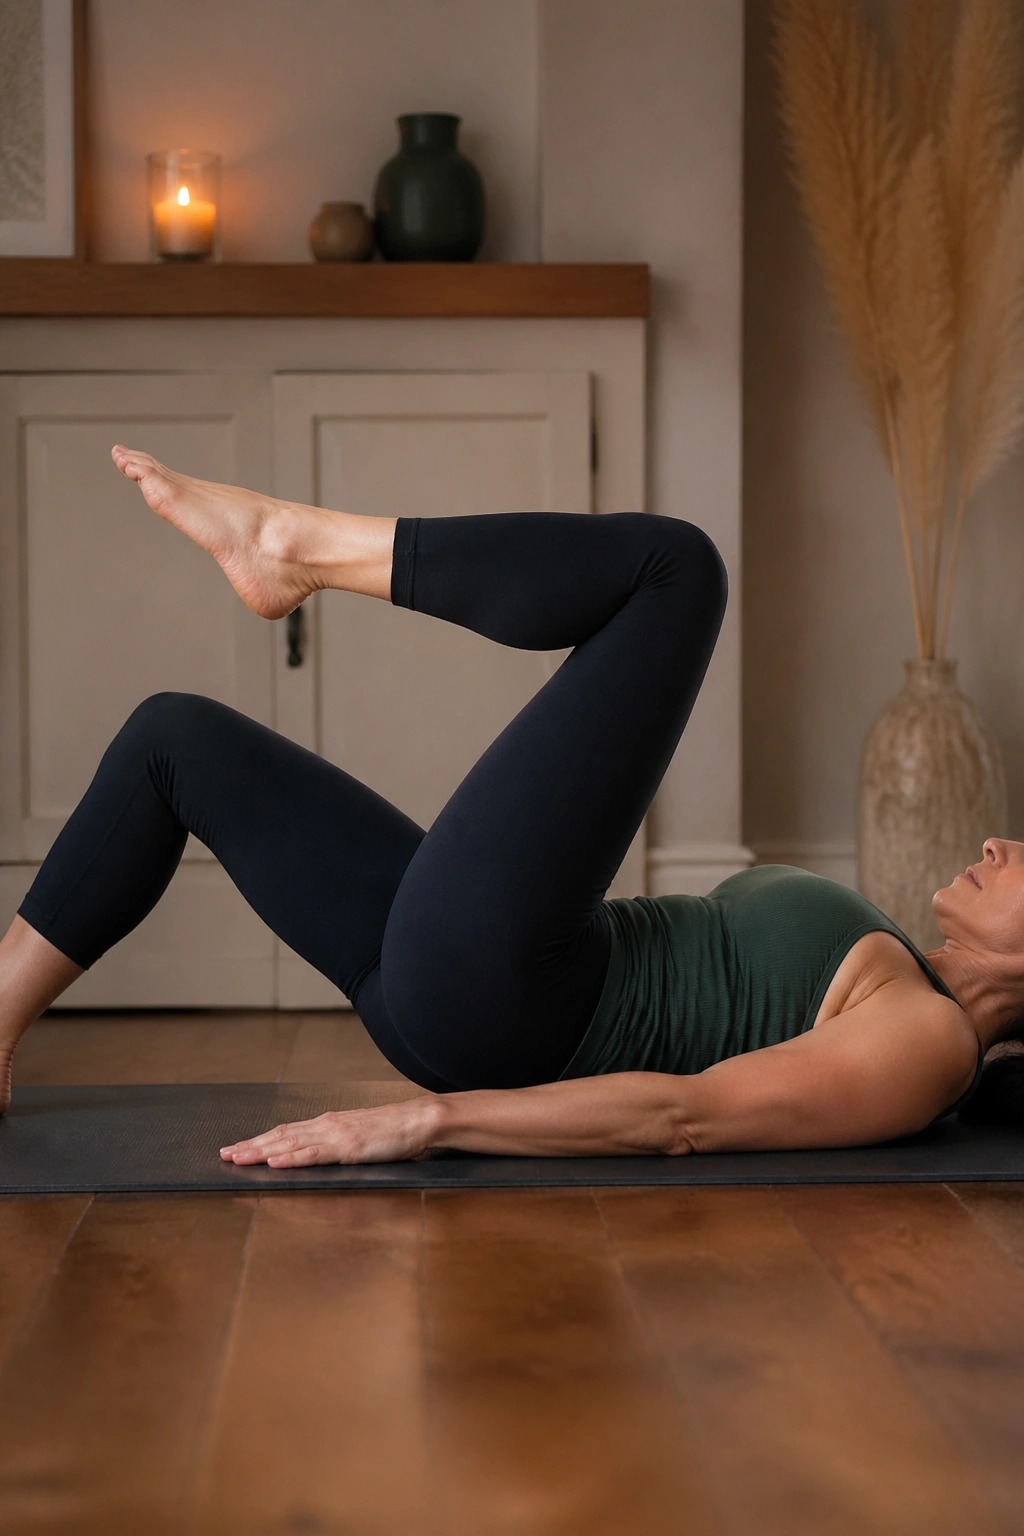
If toe taps feel shaky, knee folds give you a quieter version of the same lesson.
Lie on your back with knees bent and feet on the floor. Exhale and float one foot into tabletop, then return it with no shift in the hips. Switch sides. The movement is smaller than toe taps, and that’s why it’s useful. You learn how to move one leg without letting the whole torso join the party.
This version is a good match for beginners who feel their low back pop off the mat the moment both legs leave the floor. It’s also kind to tight hip flexors, which can pull hard during table-top work and make everything feel more dramatic than it should.
A simple rule helps: if the pelvis rocks, the leg lifted too far or too fast. Shrink the motion, slow down, and keep the ribs quiet.
7. The Hundred Prep
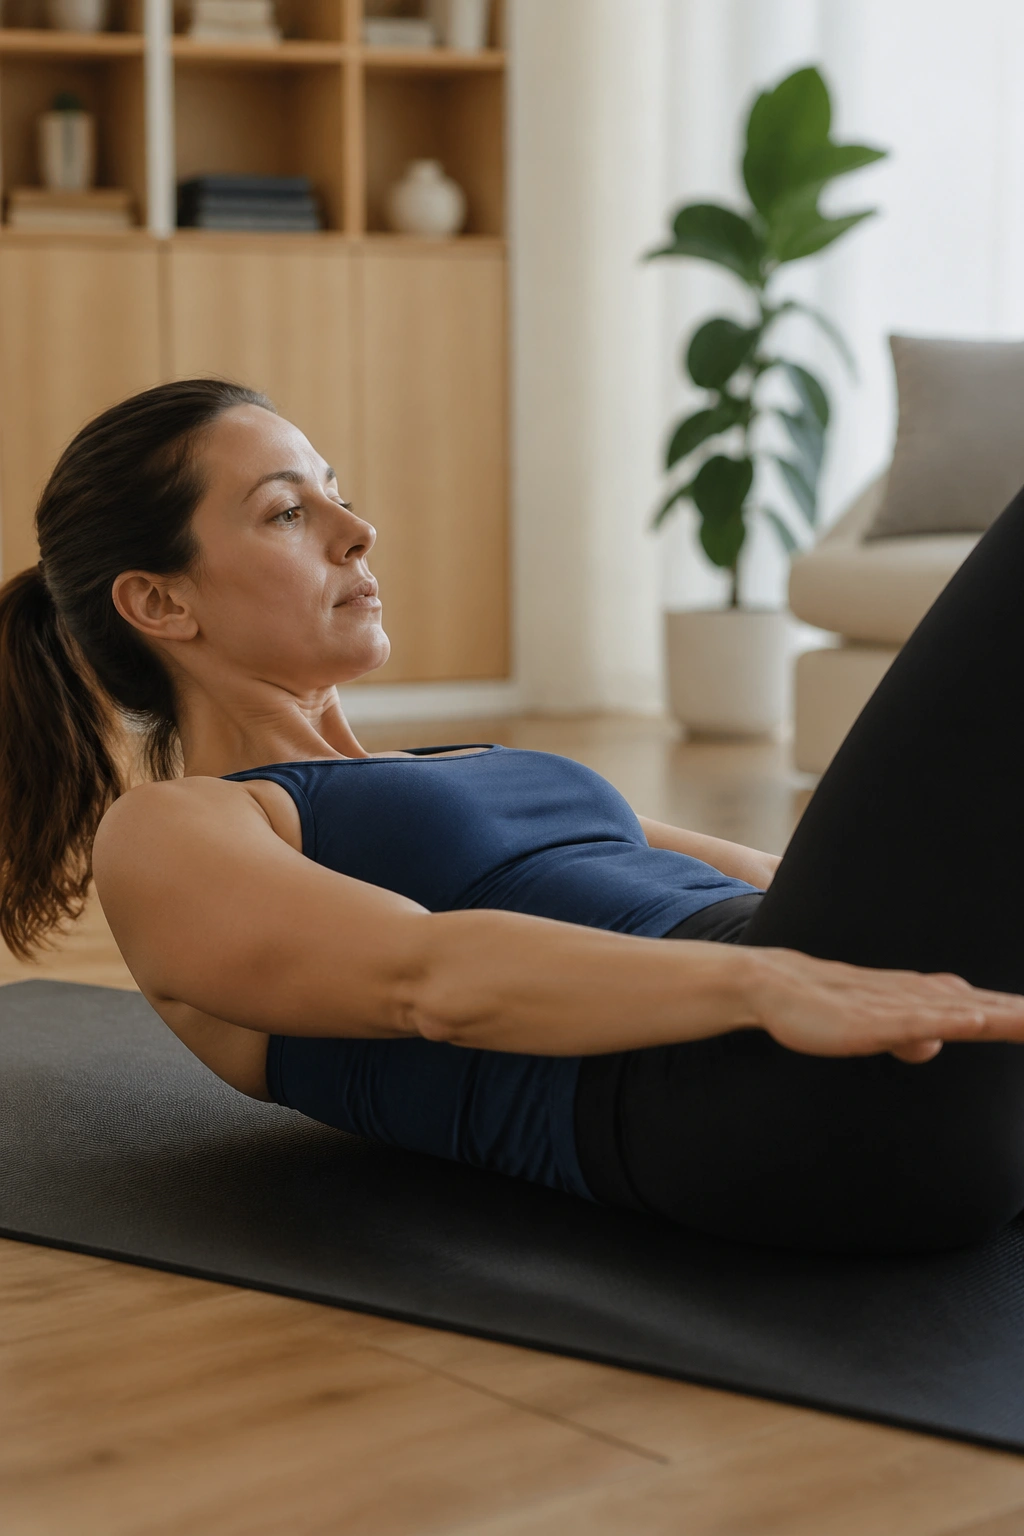
The Hundred prep is the polite doorway into one of Pilates’ most famous exercises. You get the breathing pattern and the arm work without having to endure the full neck and core demand all at once.
Lie on your back and lift the head and shoulder blades only if your neck feels ready. Legs can stay bent with feet down, or they can go to tabletop. Reach the arms long by your sides and pump them up and down in short, sharp motions for 5 counts in and 5 counts out. Keep the ribs from flaring and the jaw loose.
How to make it manageable
- Keep the head down if your neck tires fast.
- Bend the knees if the low back arches.
- Pump the arms low, not high.
- Stop before the shoulders creep up.
The classic Hundred can turn sloppy fast. Beginners usually do better when they treat it like a breathing drill with moving arms, not like a contest to survive. If your lower back starts to whisper, listen.
8. Single-Leg Stretch
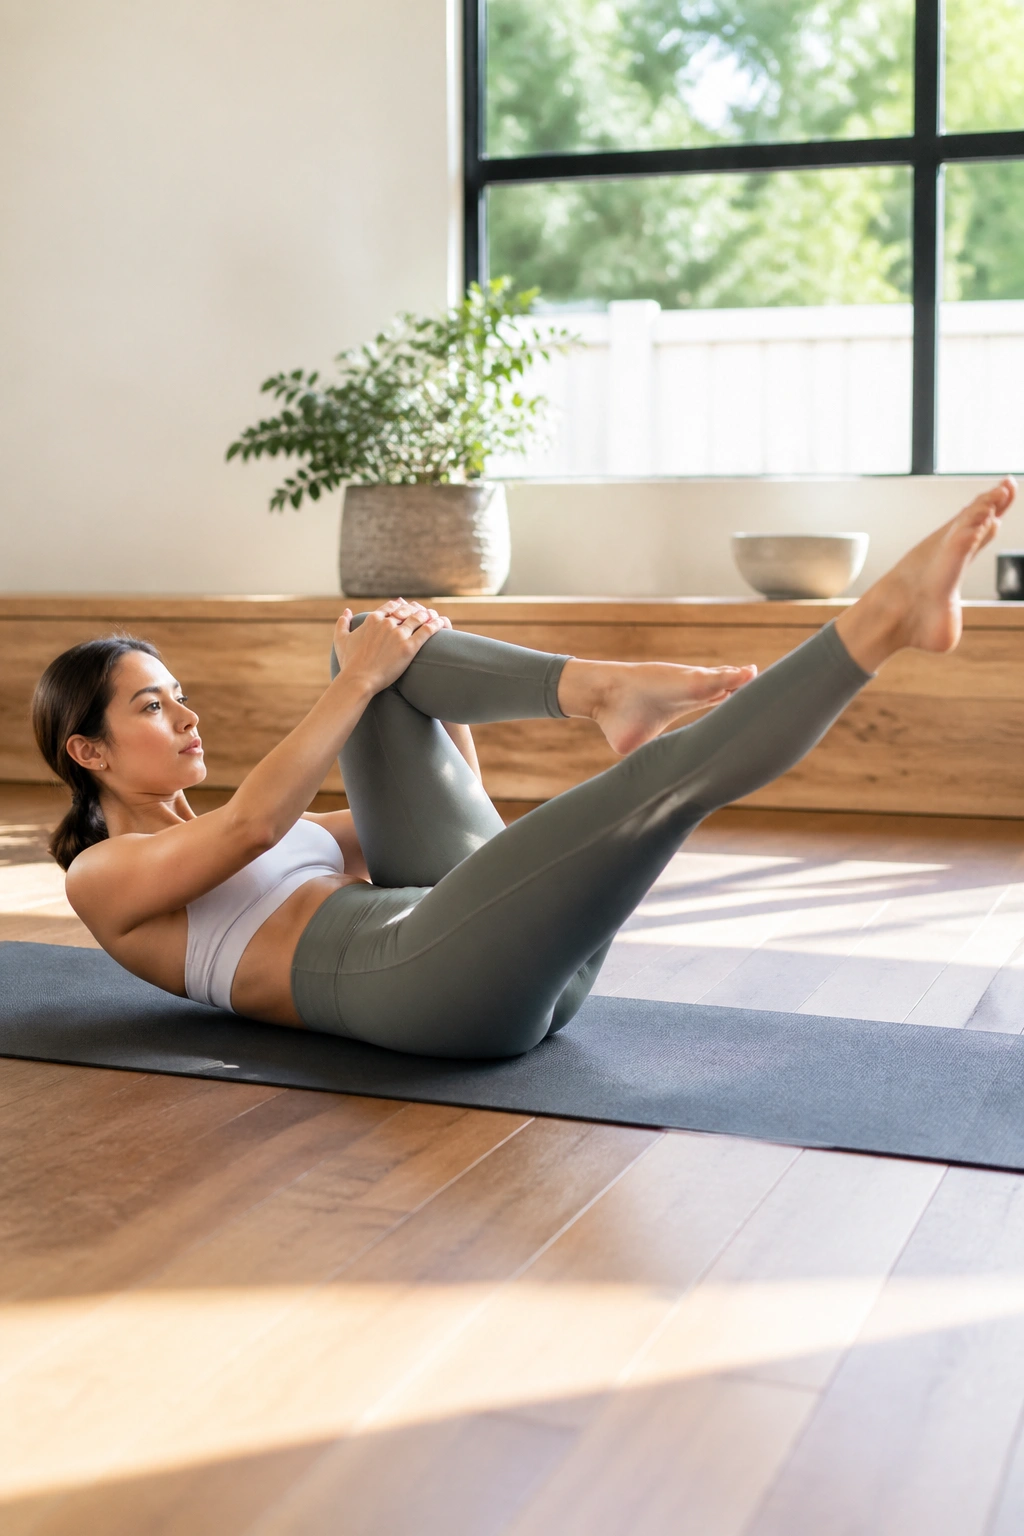
Single-leg stretch is one of those exercises that looks like a casual bicycle position until you try it for real.
Lie on your back, lift the head and shoulder blades if you can keep the neck calm, and bring one knee in toward the chest. The other leg extends long at a diagonal, not dropped so low that the back arches. Switch legs in a slow rhythm, using the exhale to help the change.
The best version is smooth and even. No yanking the knee. No straightening the long leg so low that your pelvis tips. If that happens, bend the working leg more and lift the other leg higher.
A common mistake is pulling on the shin like you’re trying to win a tug-of-war with your own thigh. Don’t. The hands guide; the core stabilizes. That little distinction matters.
9. Double-Leg Stretch Prep
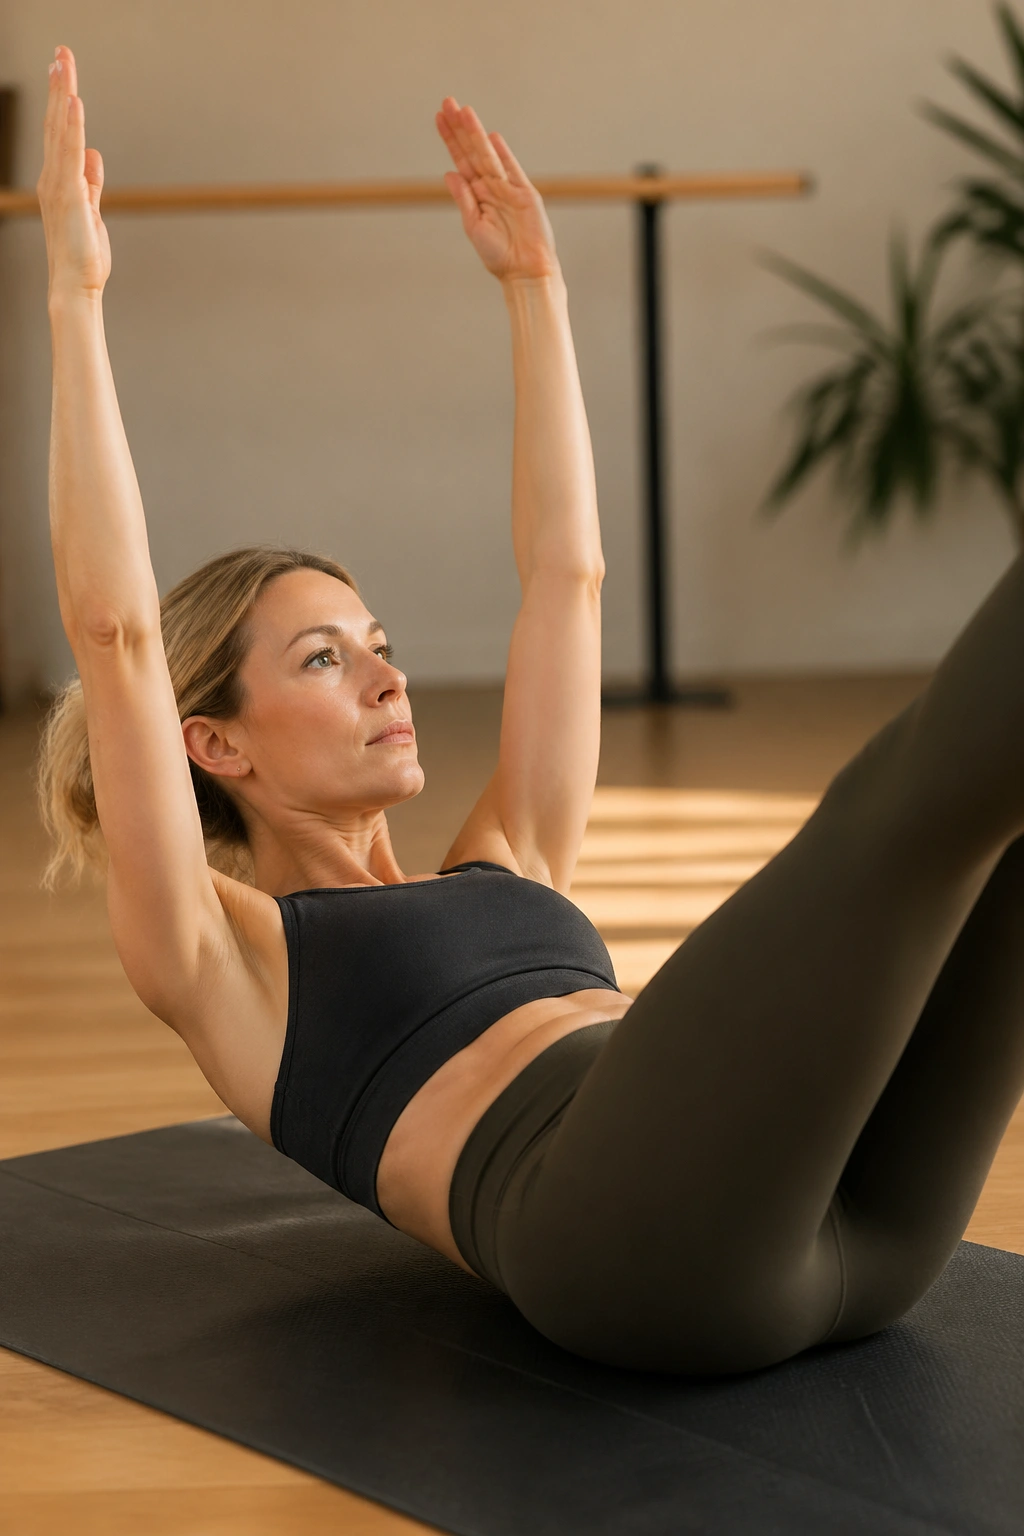
This move exposes cheating fast. That sounds harsh, but it’s honest, and beginners need honest.
Start in a tabletop position with the head and shoulder blades lifted only if the neck can stay easy. Hold both knees in for a moment, then reach the arms overhead and extend the legs out on a diagonal. Circle the arms back to the knees and return. If your low back starts arching the instant the limbs move away from center, shorten the reach.
The trick is not to make the shape bigger. It’s to keep the trunk quiet while the arms and legs travel.
Many people assume the legs should go as low as possible. They shouldn’t. A higher leg angle with a steady pelvis is far more useful than a dramatic line that rattles the spine. If the abdominals feel challenged in a controlled way, you’re in the right place.
10. Roll-Up Variation With Bent Knees
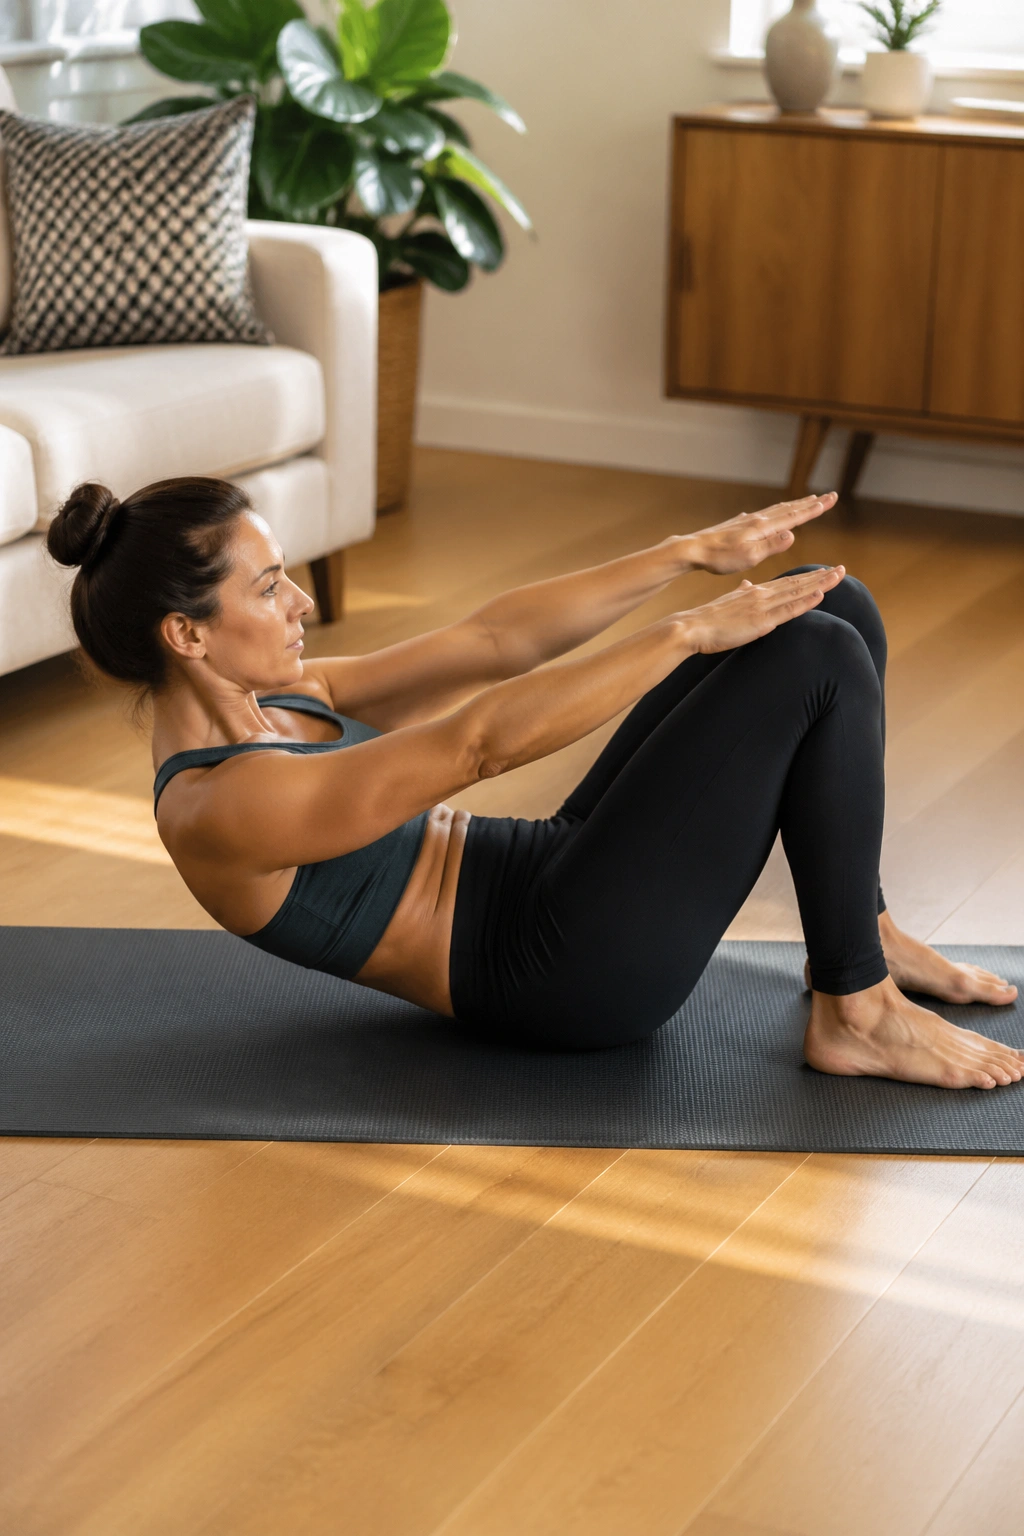
The full roll-up is famous, and also a little rude to brand-new bodies. A bent-knee version keeps the shape approachable while teaching the same curl-and-articulate pattern.
Lie down with knees bent and arms reaching overhead. Exhale, bring the chin in, and peel the head, shoulders, and rib cage up off the mat. If the sit-up stalls halfway, use the backs of the thighs for a little assistance or keep one hand behind each thigh. That support is not cheating. It is smart training.
Why beginners should care
- It teaches the spine to lift segment by segment.
- It makes the abdominals work without a huge hip-flexor takeover.
- It shows you where the sticking point lives.
- It gives tight hamstrings a way to cooperate.
Move slowly enough that you can feel the curve changing. If the motion becomes a jerk, the control disappeared. A bent-knee roll-up can stay in your program for a long time, and honestly, that’s fine.
11. Spine Stretch Forward
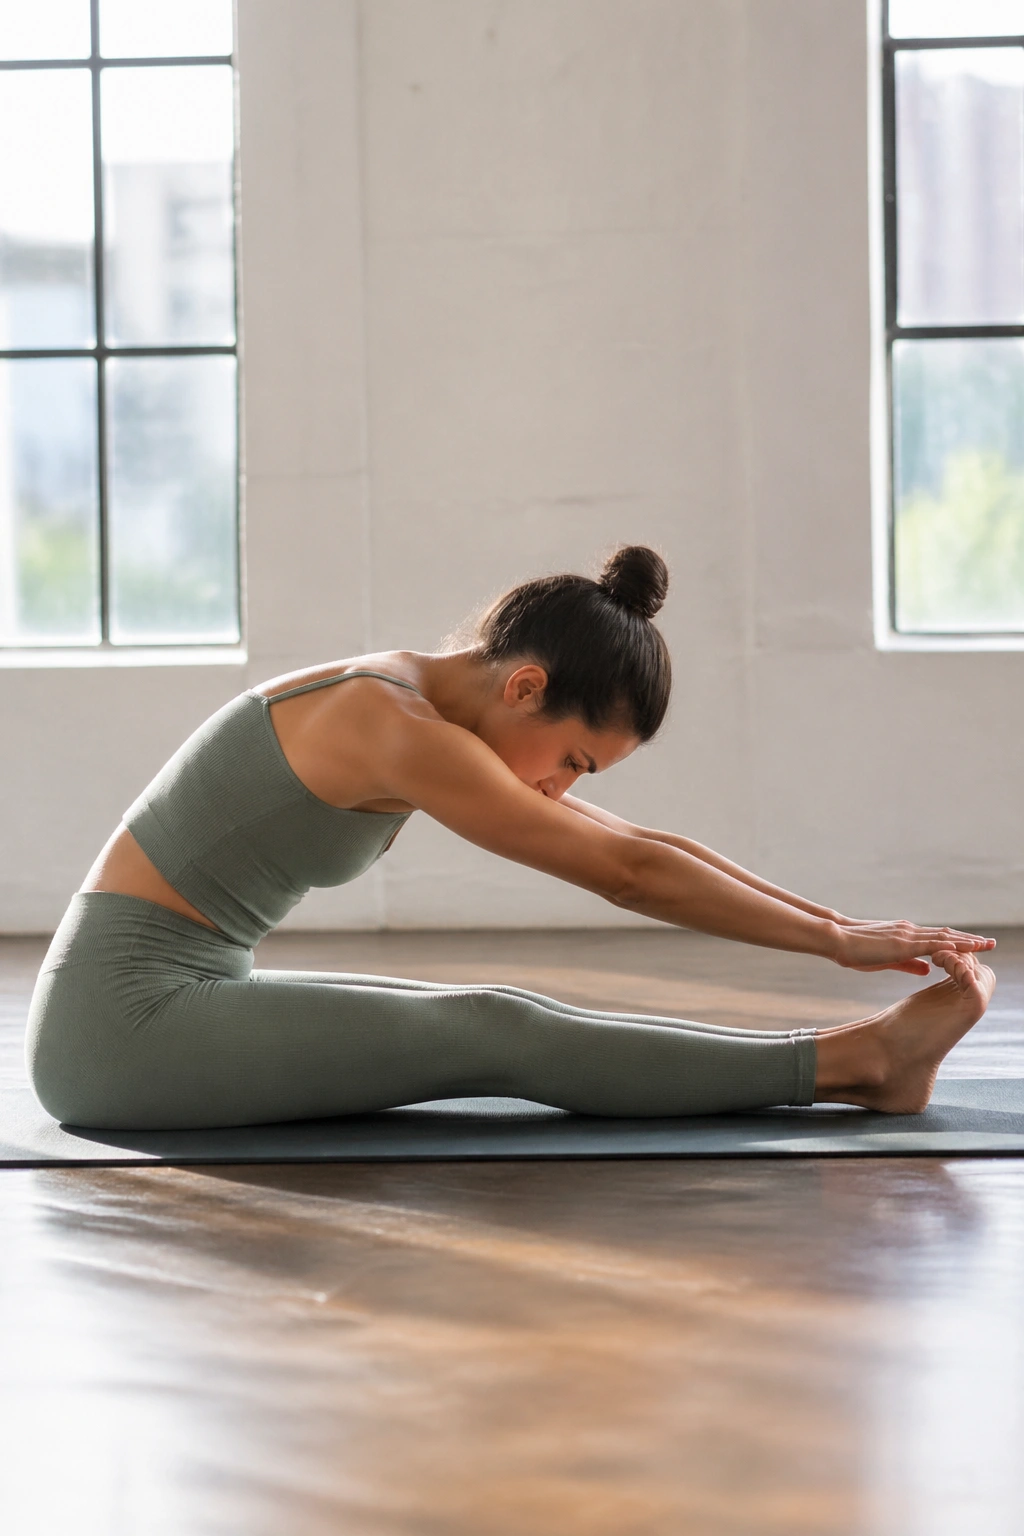
Spine stretch forward is the seated move that teaches you how to fold from the ribs instead of collapsing through the lower back.
Sit tall with legs extended in front of you, or bend the knees if the hamstrings are tight. Flex the feet, reach the arms straight ahead, and inhale to grow taller through the crown of the head. Exhale, round forward, and imagine the ribs sliding back between the shoulder blades as the arms reach out.
The shape should feel long, not mashed. You are not trying to touch the toes at any cost. You are trying to make the spine curve evenly while the pelvis stays rooted.
A cushion under the sit bones helps if the hamstrings pull hard. So does softening the knees a little. Beginners often do this move too fast, which turns it into a bounce. Slow it down, and the stretch changes completely.
12. Swan Prep for Back Extension
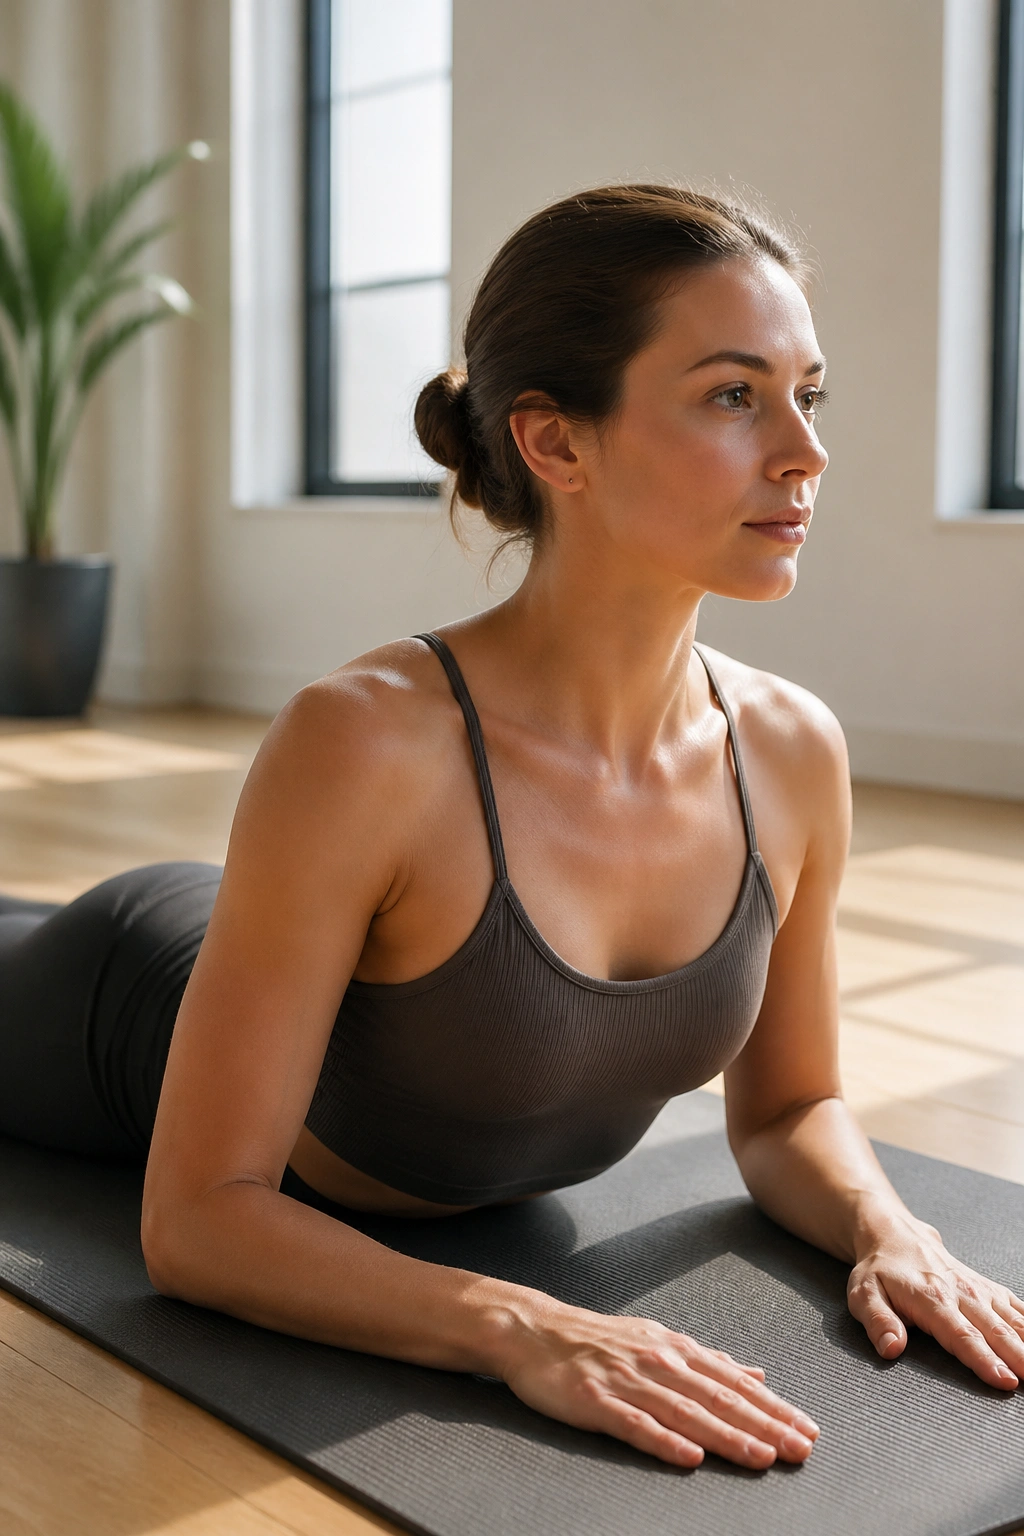
Swan prep is the antidote to too much sitting. Done well, it opens the front of the body and strengthens the back without cranking the lower spine.
Lie on your stomach with forearms on the mat or hands under the shoulders. Press the pubic bone down, lengthen the legs back, and lift the chest just 1 to 2 inches. Think of the sternum reaching forward before it rises. The neck stays long.
That tiny lift matters. A big lift can turn into a low-back pinch fast, especially if the ribs fling open and the shoulders jam up by the ears.
If you’ve got desk posture, tight hip flexors, or that slumped feeling after too much screen time, this is one move worth keeping around. But keep the range modest. Swan prep should feel like an opening, not a fight.
13. Swimming Prep
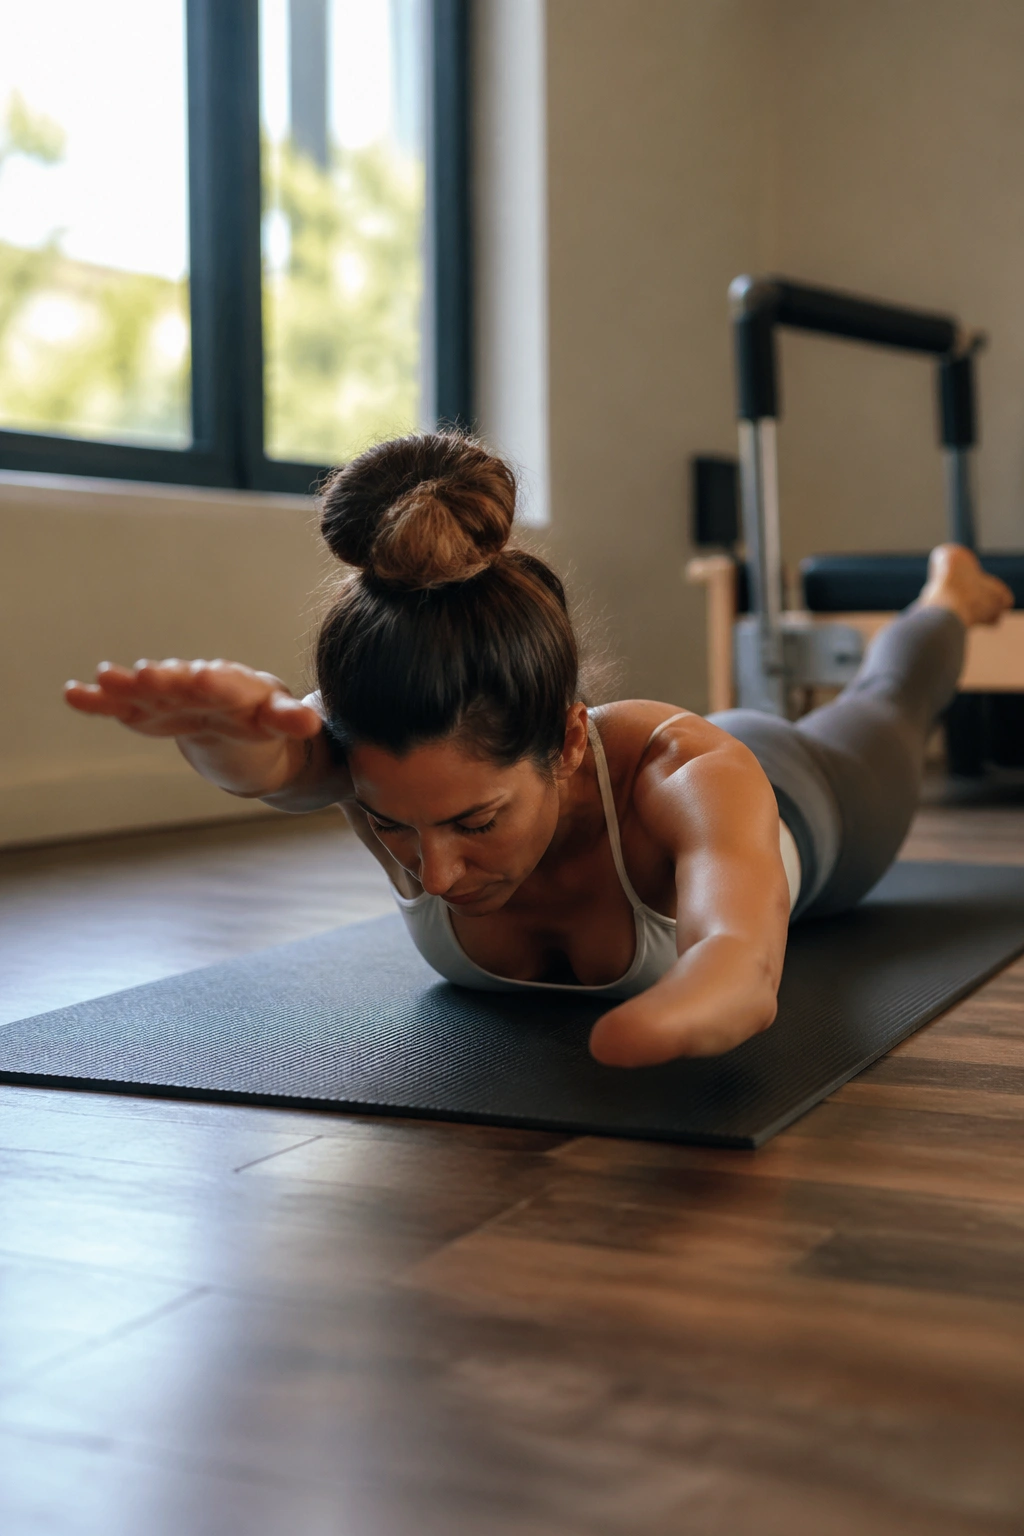
Why does swimming prep feel so hard when the lifts are so small? Because it asks the back line of the body to stay awake while the trunk stays quiet.
Lie on your stomach with arms reaching long and legs extended. Lift the opposite arm and leg just an inch or two off the mat, then switch. The head can stay down, or hover lightly if the neck feels free. Think long lines, not high ones.
How to keep your neck calm
- Reach forward and back rather than up.
- Keep the chin slightly tucked.
- Lift only until the low ribs stay grounded.
- Stop if the shoulders start to pinch.
The motion is tiny. The challenge is in the timing and the steadiness. If you start kicking hard or flinging the arms, the whole point slips away. Beginners often need just 4 to 6 slow alternations per side before they feel the back work properly.
14. Side-Lying Leg Lifts
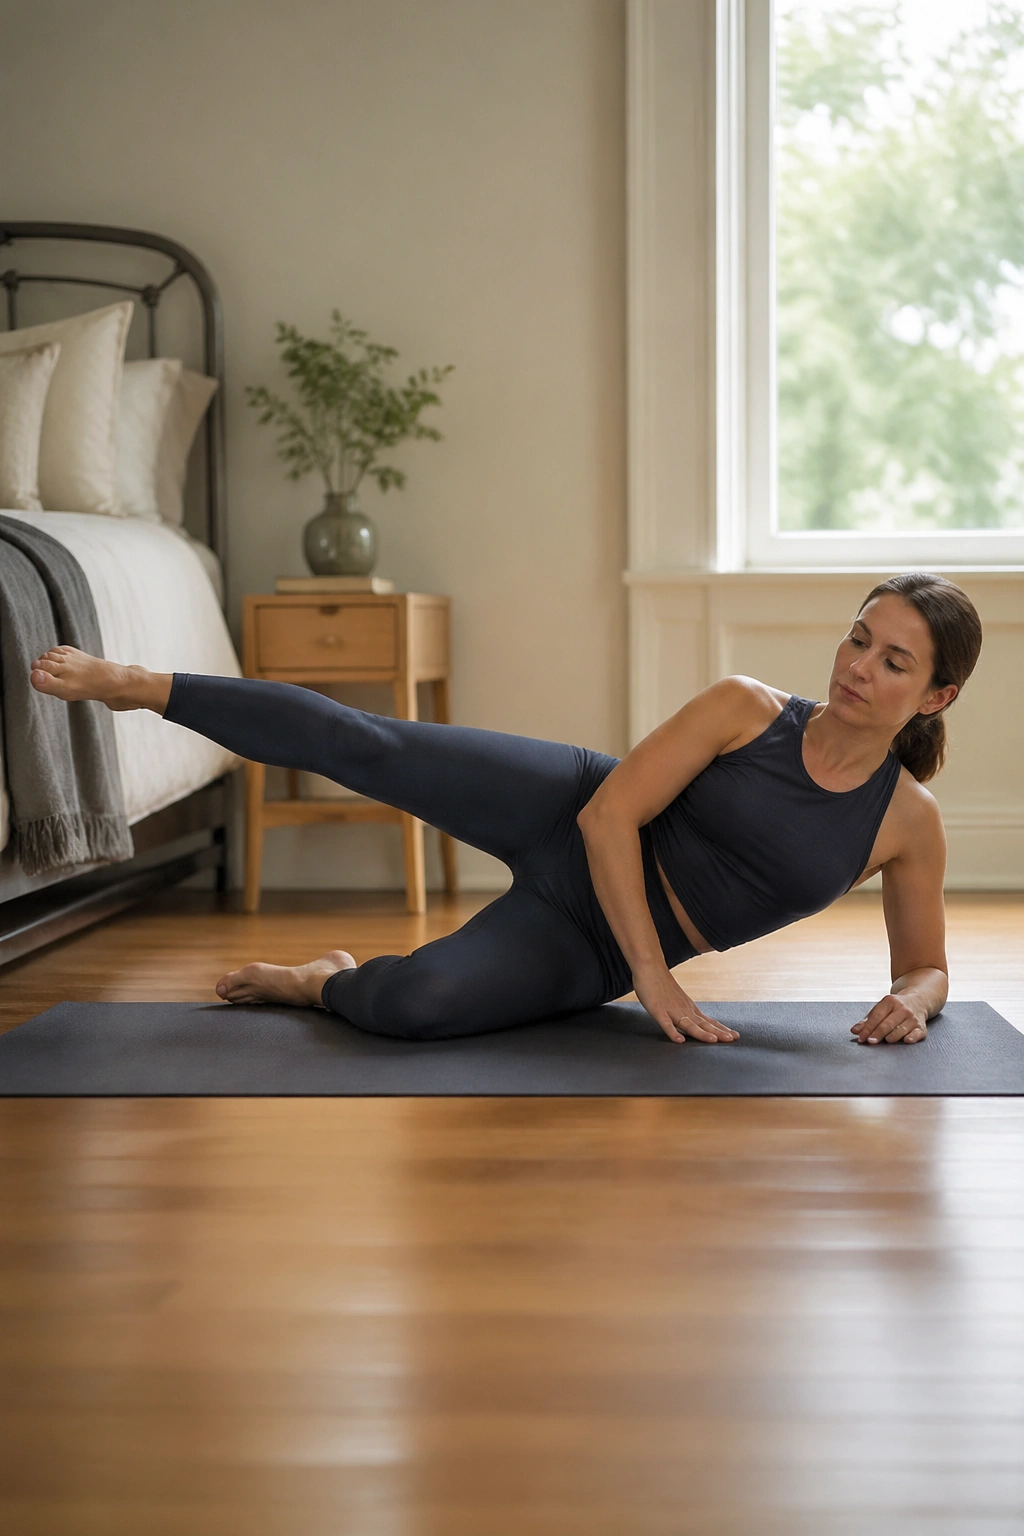
Lie on your side and the hips start telling the truth.
Side-lying leg lifts are simple on paper: stack the hips, lengthen the legs, and raise the top leg a few inches. In practice, they expose whether the waist is collapsing and whether the toes are drifting open.
Set up with the bottom knee bent for support if needed. Keep the torso long, the top hip stacked over the bottom hip, and the top toes facing forward or slightly down. Lift the leg 6 to 10 inches, then lower with control. Small range. Clean line.
If you feel it mostly in the front of the hip, the leg is probably lifting too high. If the waist caves, imagine lifting the bottom side of the rib cage away from the mat. That little cue changes the whole exercise.
This one is quiet, almost sneaky. And then the outer hip starts to burn.
15. Clamshell
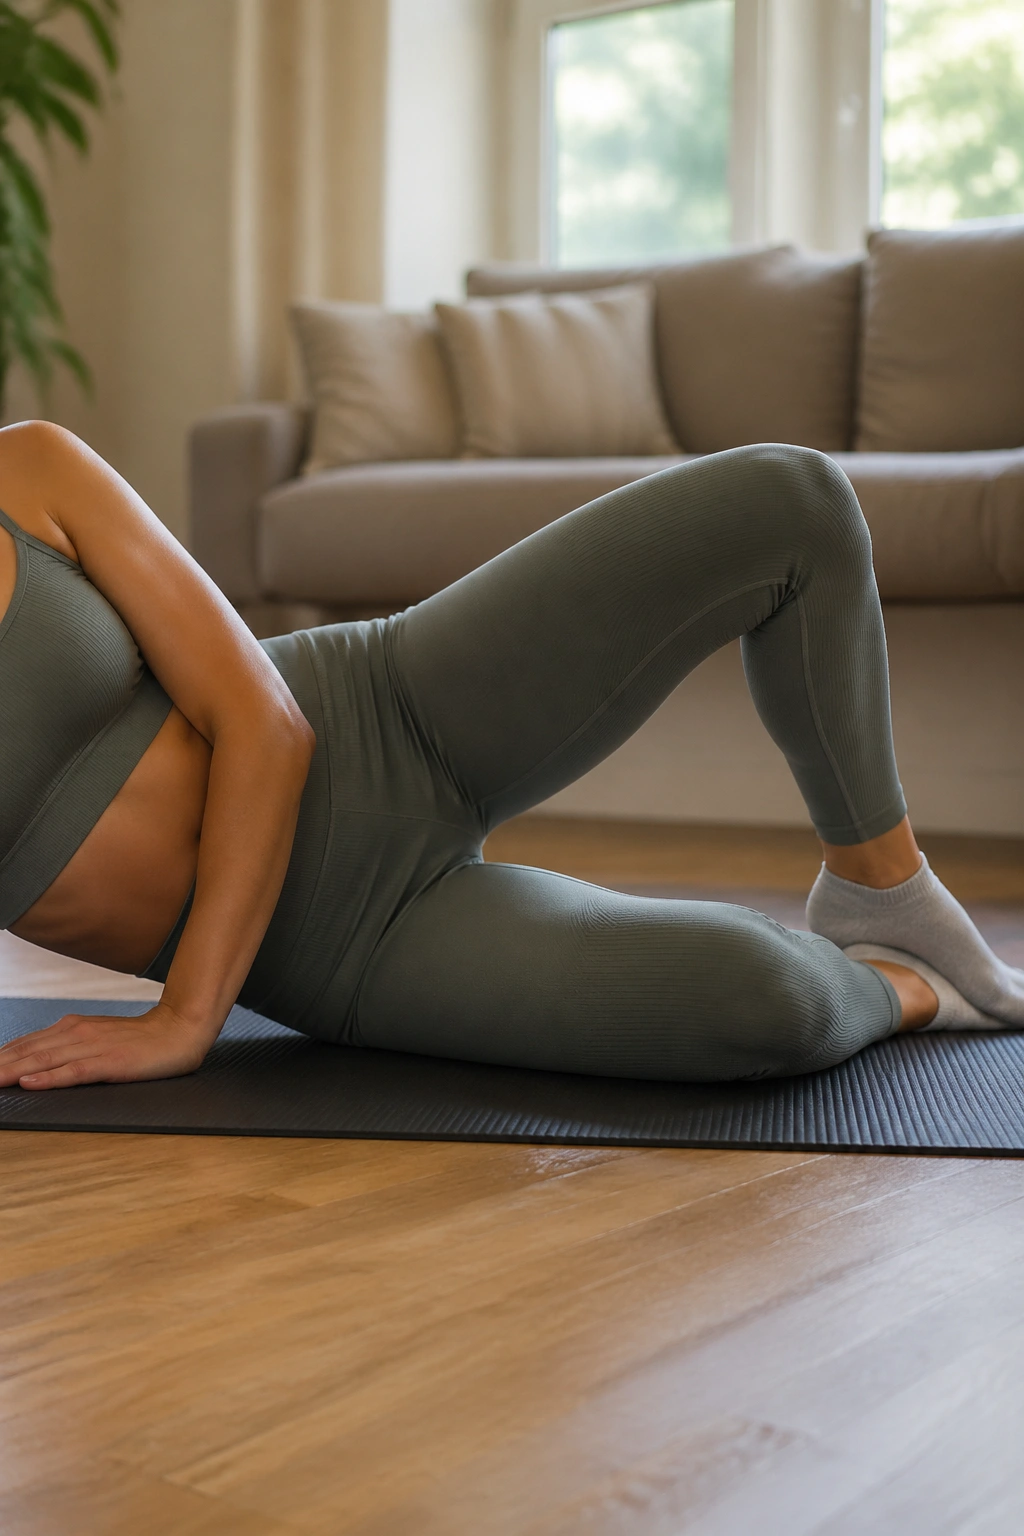
Clamshells are the blunt little exercise I always trust for hip stability.
Lie on your side with knees bent and feet together, stacked neatly behind the body. Keep the pelvis still and open the top knee like a book, then close it slowly. The feet never separate. The hips never roll backward. If the body rocks, the motion got too ambitious.
This targets the side glute in a way that helps the knees track better and keeps the pelvis from wobbling during standing work. Beginners often make it harder than it needs to be by forcing a huge range. You do not need a huge range. Two or three inches is enough.
A light resistance band can come later, but only after the body can stay still without one. If you rush that part, the hip flexors will steal the show and the exercise loses its point.
16. Leg Circles
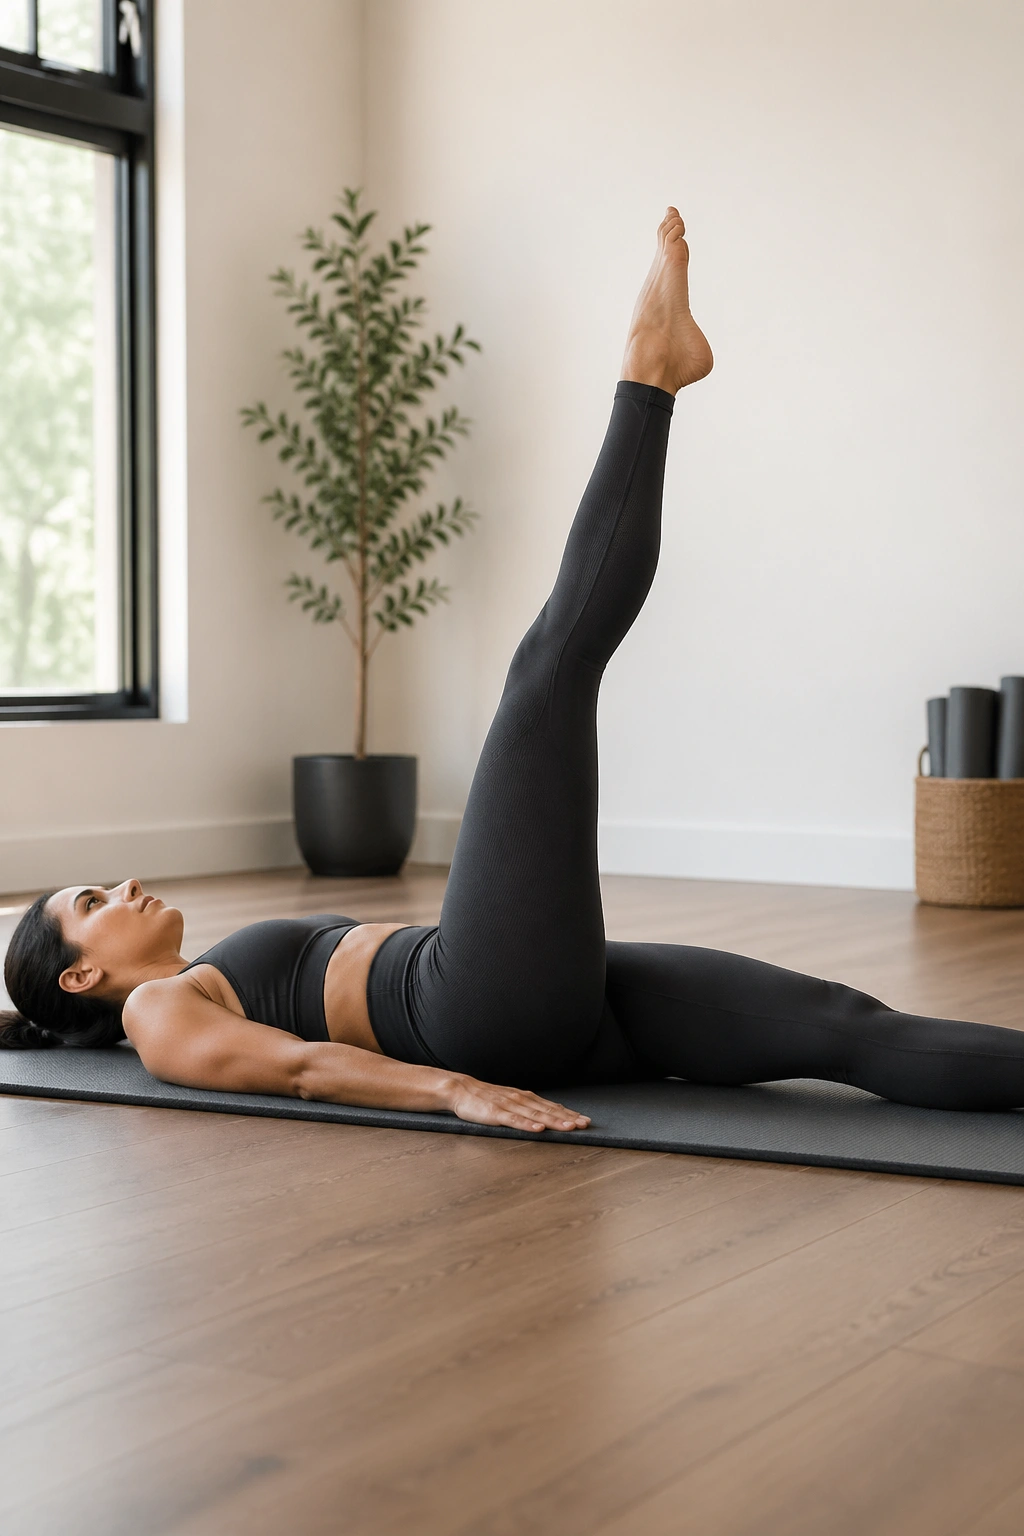
Leg circles are not about drawing the biggest circle you can manage. They’re about teaching the hip socket to move without dragging the pelvis around.
Lie on your back, one leg extended up toward the ceiling and the other leg long on the mat. Circle the lifted leg about 6 to 8 inches across, keeping the opposite hip heavy. The circle can be small, almost plain. That’s fine.
Why small circles win
- They protect the low back.
- They show you where the tight side lives.
- They keep the motion inside the hip joint.
- They’re easier to repeat with control.
If the pelvis bounces side to side, shrink the circle. If the hamstring on the lifted leg yanks hard, bend the knee a touch before you begin. Beginners sometimes think the goal is flexibility alone. It isn’t. Stability and control matter just as much.
One careful set teaches more than three sloppy ones.
17. Shoulder Bridge March
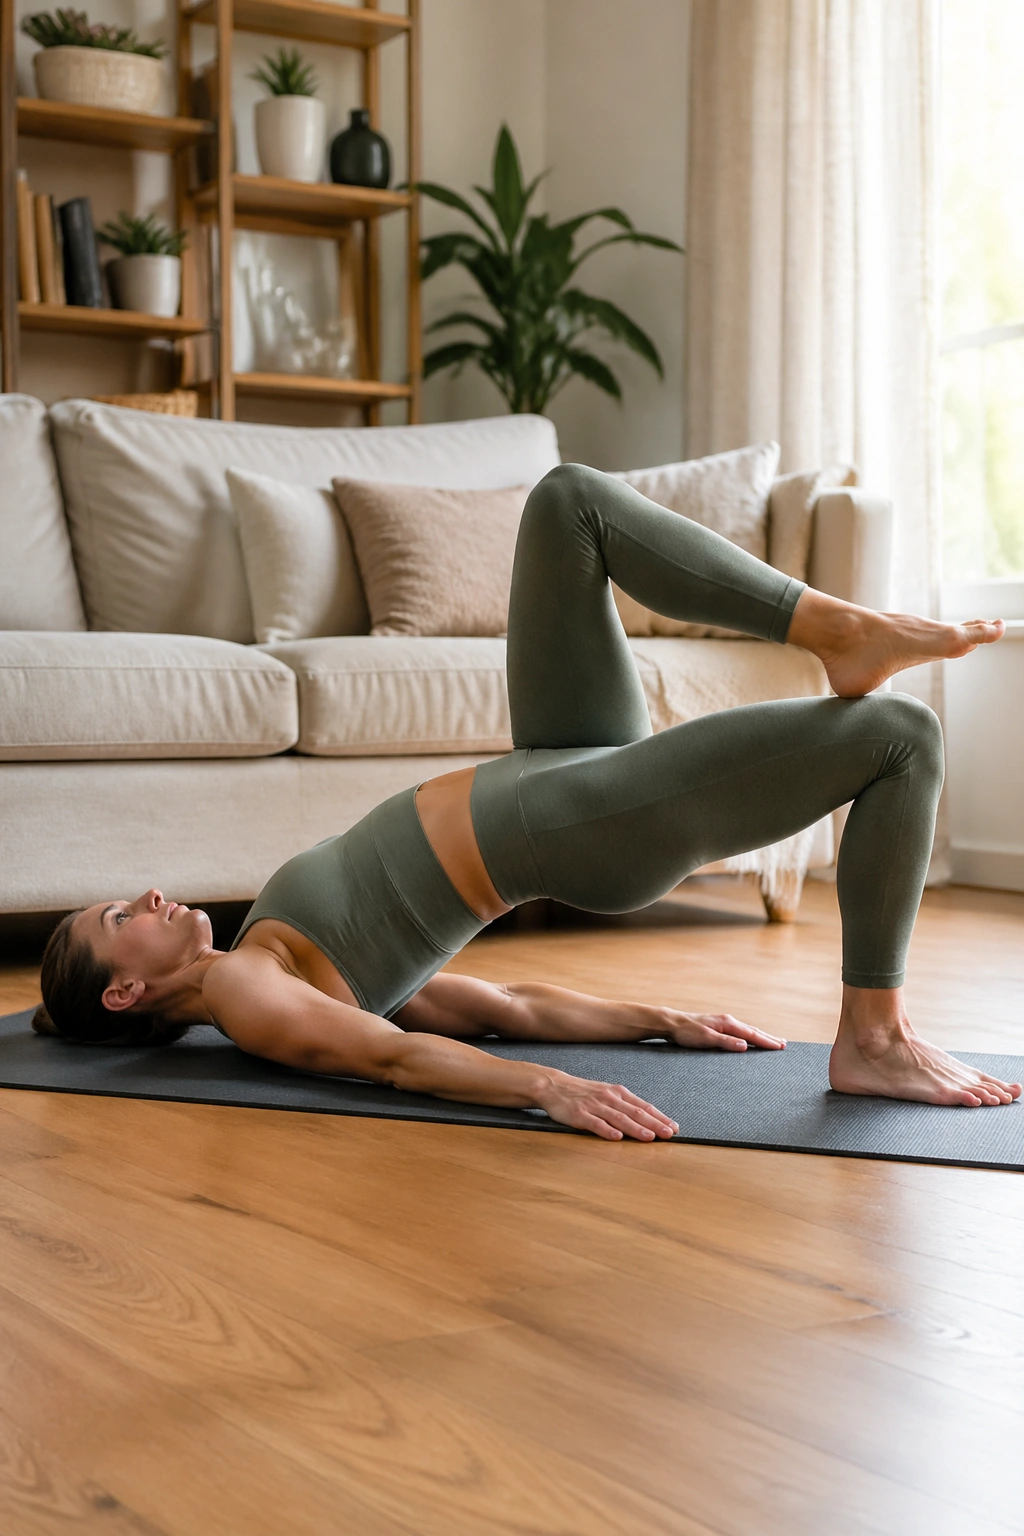
A shoulder bridge march takes the classic bridge and adds a balance test that tells you a lot about your glutes and core.
Lift into a bridge first. Once the pelvis feels steady, raise one foot an inch or two off the floor, set it back down, then switch sides. The hips should stay level. If one side drops every time the foot lifts, the range is too large or the bridge is too high.
This is a good progression after standard pelvic curls because it asks for more single-leg control without turning into a circus trick. The back line of the body works, but the center has to stay organized.
Stillness counts here. The fewer the wiggles, the better the exercise.
18. Seated Spine Twist
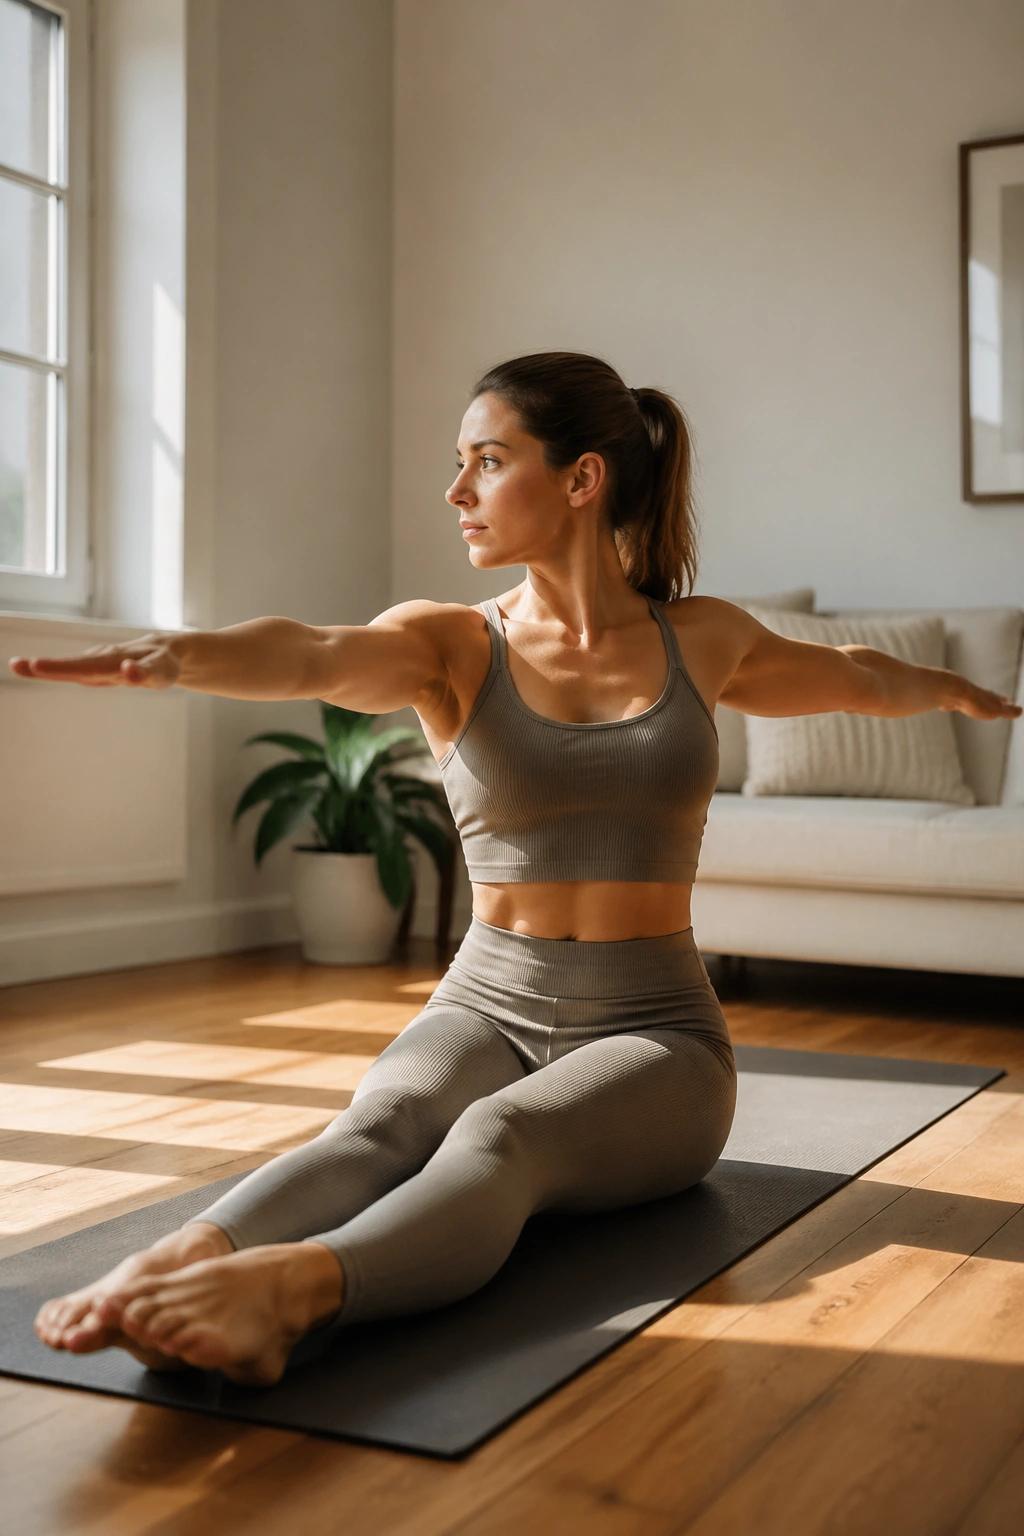
A seated twist is not a license to yank the shoulders around.
Sit tall with legs extended or lightly bent, arms out at shoulder height. Grow upward first, then rotate from the ribs while the pelvis stays anchored. The head follows the chest, not the other way around. Keep the twist even and breathe into it, rather than forcing the range.
This move is especially useful for people who sit a lot or feel stiff through the upper back. Done right, it creates a clear line through the spine without dumping motion into the lower back. Done wrong, it becomes a cranky lower-back twist with a lot of noise and no benefit.
If your hamstrings complain, sit on a folded towel or pillow. That little lift can make the whole shape easier to organize. Better posture starts with a better seat.
19. Saw Prep
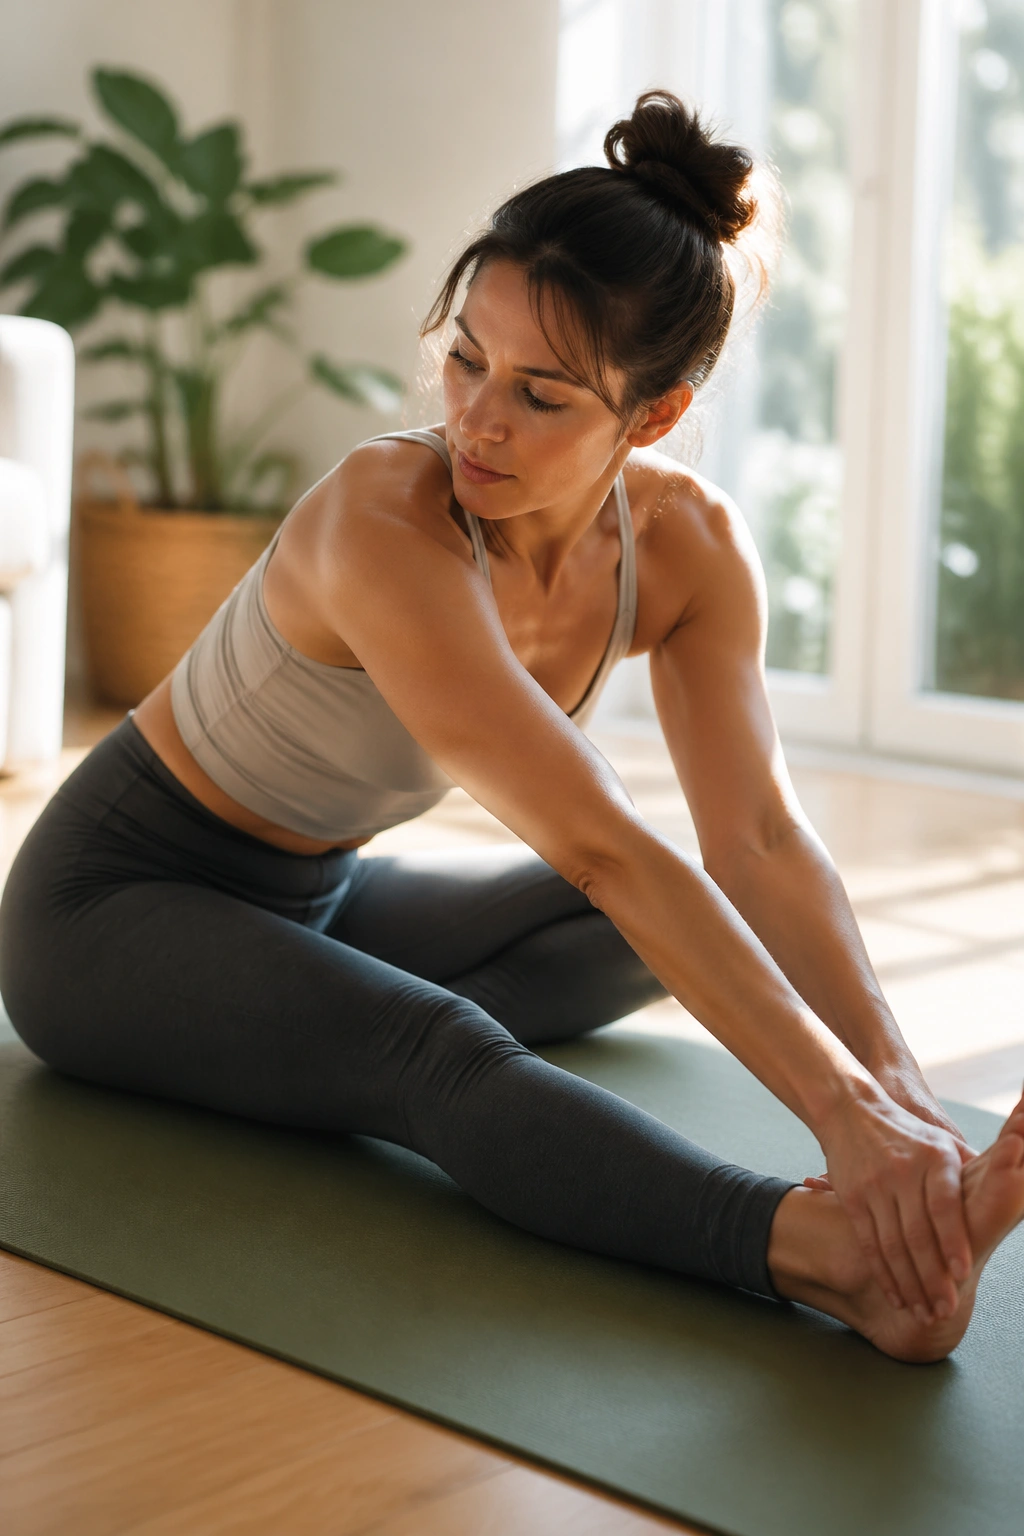
How do you fold forward without collapsing? Saw prep answers that pretty neatly.
Sit with the legs wider than the hips or with the knees softly bent if the hamstrings are tight. Reach the arms wide, twist the torso to one side, and let the opposite hand travel toward the outside of the foot or shin. Exhale as you fold. Inhale to come back up and reset before the other side.
How to keep it friendly for tight hamstrings
- Sit on a cushion if the pelvis tips backward.
- Bend the knees before you force the reach.
- Keep the twist in the ribs, not only the shoulders.
- Stop the fold when the breath gets tight.
The point is length plus rotation. Not strain. If you can keep the sit bones grounded and the spine reaching both forward and up, the exercise is doing its job.
20. Mermaid Stretch
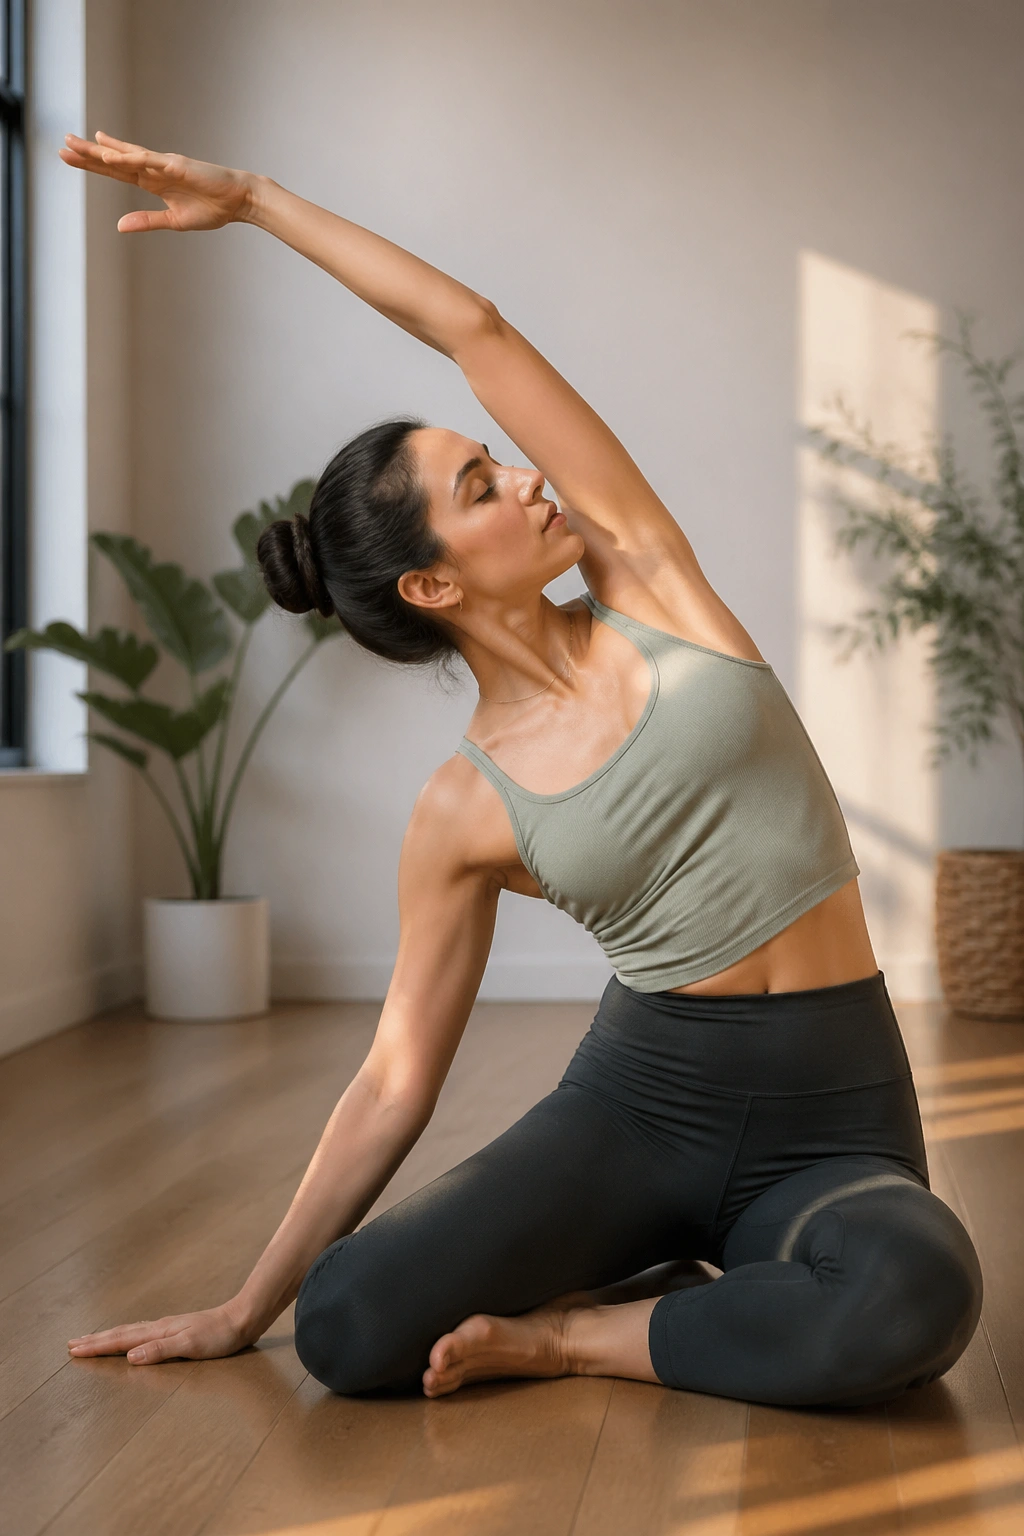
Mermaid has a nice way of reminding you that the side body exists.
Sit with both legs folded to one side or one knee bent and the other leg tucked, then reach one arm overhead and arc gently toward the opposite side. The hips stay rooted while the ribs lift away from them. The breath should feel like it’s making room between the ribs, not pushing the body into a deep bend.
This is one of the kinder Pilates shapes for beginners because it asks for mobility without speed or impact. If your shoulders are tight, keep the overhead arm slightly in front of the ear instead of reaching it way back. If your hips are stiff, sit on a folded towel.
The best mermaid feels long and open along the side waist. Not compressed. That distinction matters more than range.
21. Bird Dog With Level Hips
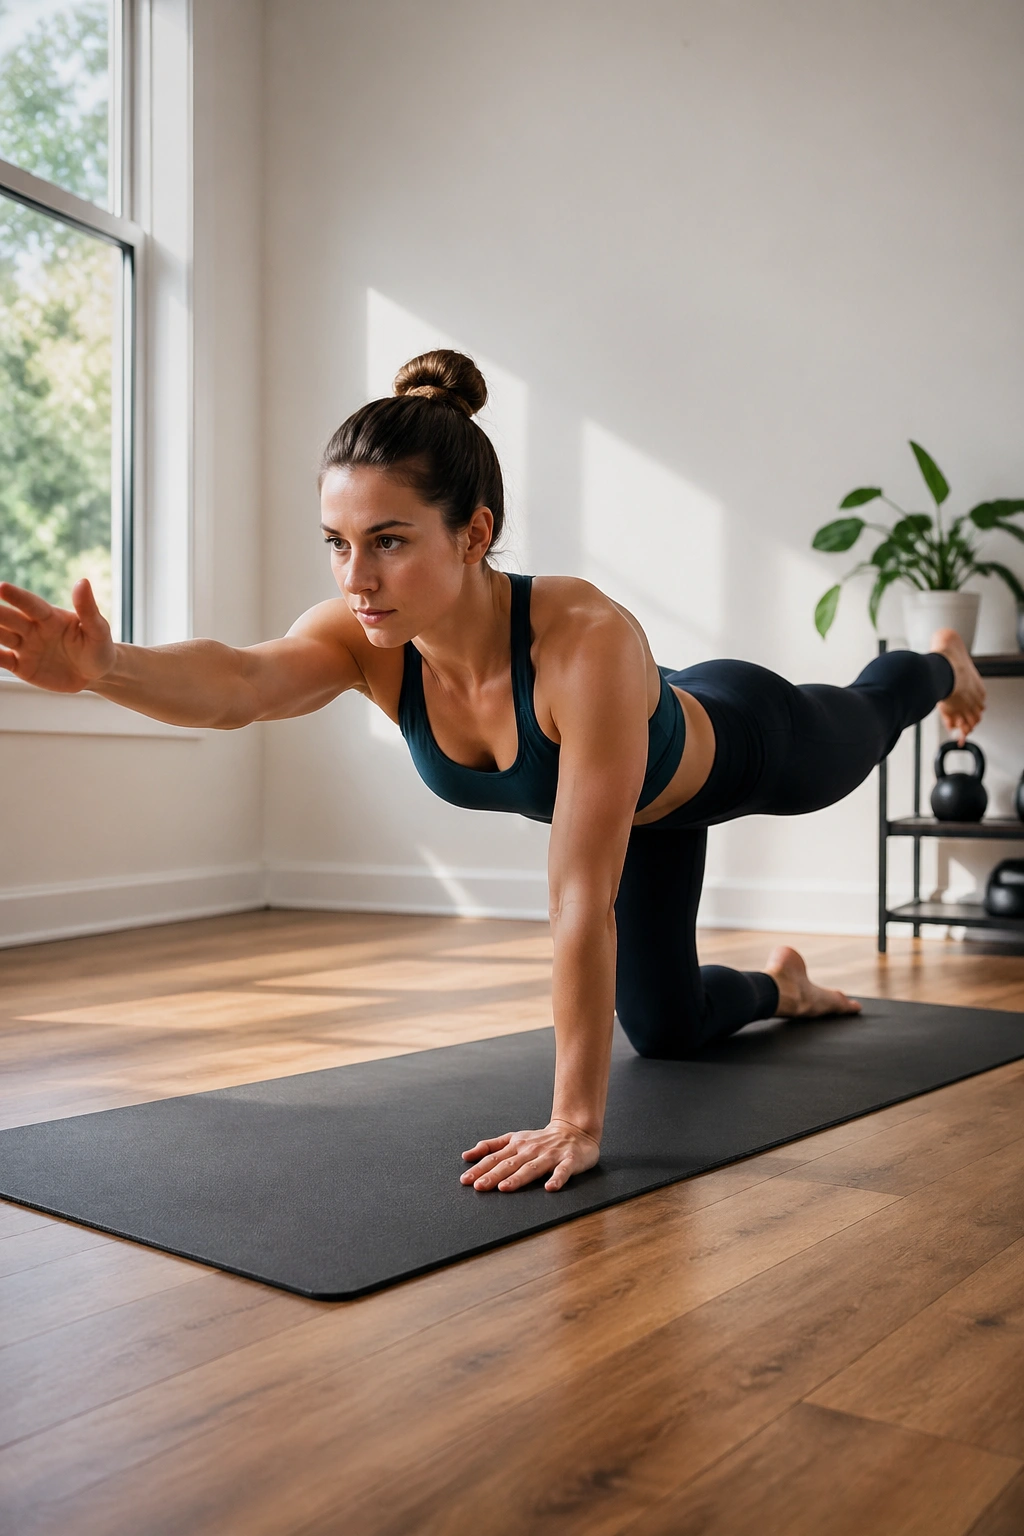
Bird dog looks easy until you try to keep the pelvis from wobbling.
Start on hands and knees. Reach one arm forward and the opposite leg back, stopping as soon as the belt line wants to tilt. Hold for 2 or 3 breaths, then return with control. The reach should feel long, not high.
This move is one of the cleanest ways to train cross-body coordination and trunk stability at the same time. It also reveals sloppy compensation fast. If the ribs sag or the lower back arches, shorten the reach and think about extending through the fingertips and heel instead of lifting them.
A steady bird dog is a small victory. It means the back, abs, and hips are talking to each other instead of arguing.
22. Wall Roll-Down
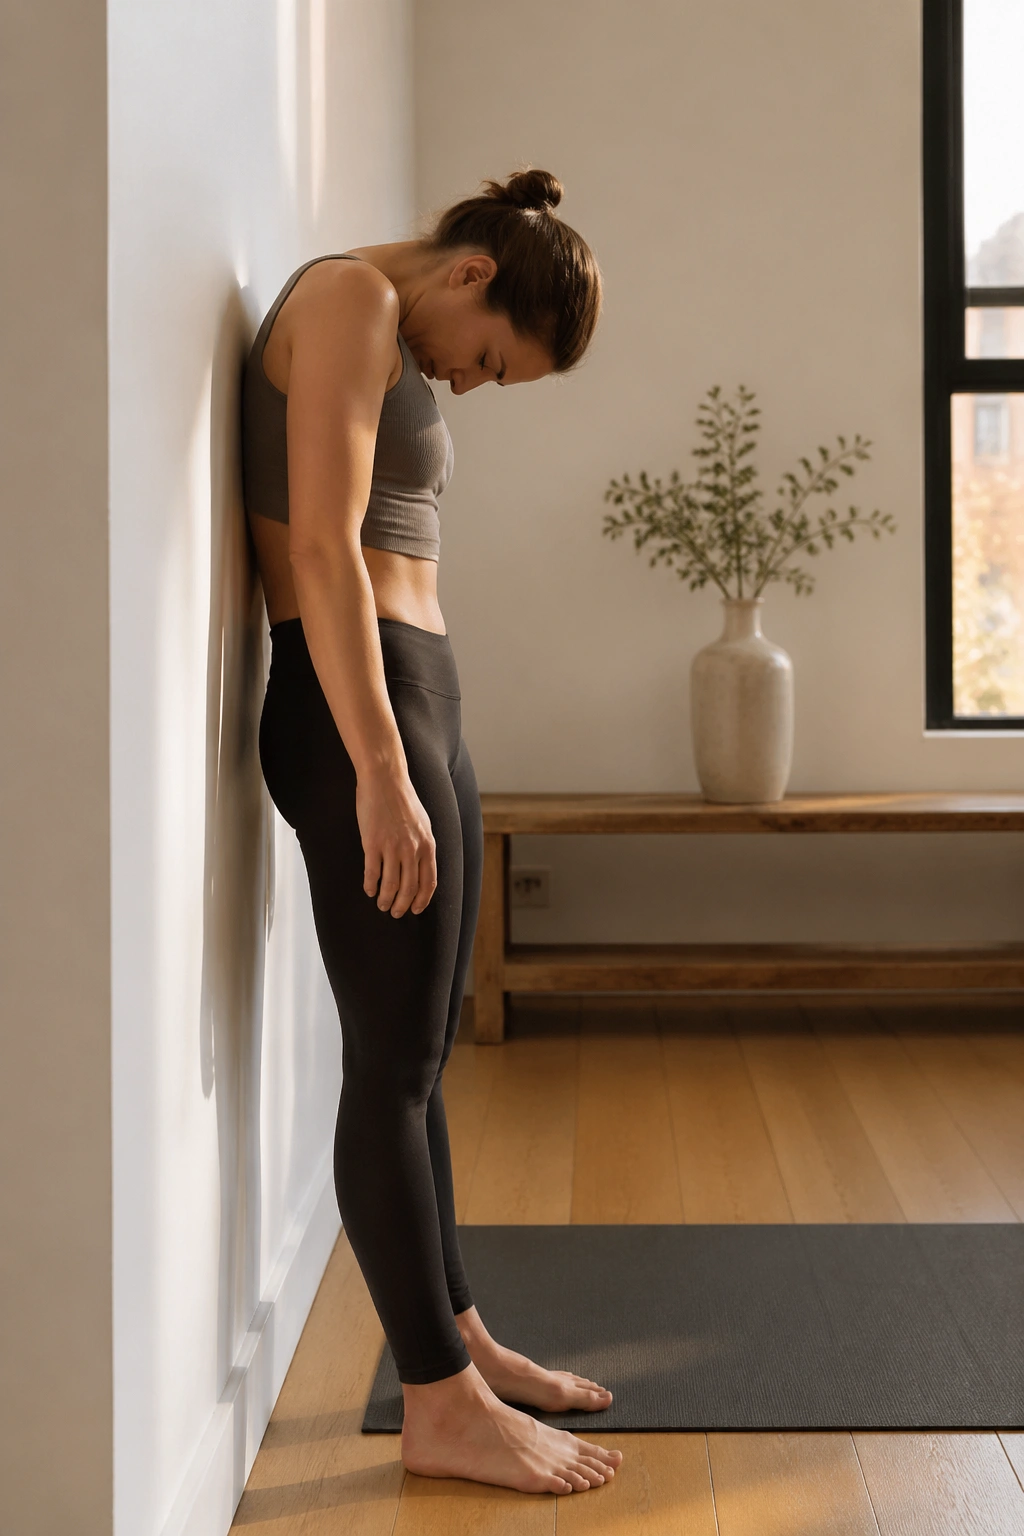
A wall roll-down is the kind of movement that looks almost too easy until your hamstrings start sending complaints.
Stand with your back against a wall or a few inches in front of it. Nod the chin, let the head lead, and peel the spine down one section at a time. The shoulders soften, the ribs drop, and the pelvis follows last. Then reverse the motion and stack the spine back up.
Quick cues
- Move slowly enough to feel each curve.
- Keep the knees soft, not locked.
- Stop halfway if the hamstrings tug hard.
- Use the wall for feedback, not a crutch.
This is excellent for beginners who want a standing option instead of everything on the mat. It also teaches spinal articulation in a way that carries over to walking, lifting, and even picking things up from the floor.
23. Standing Side Bend
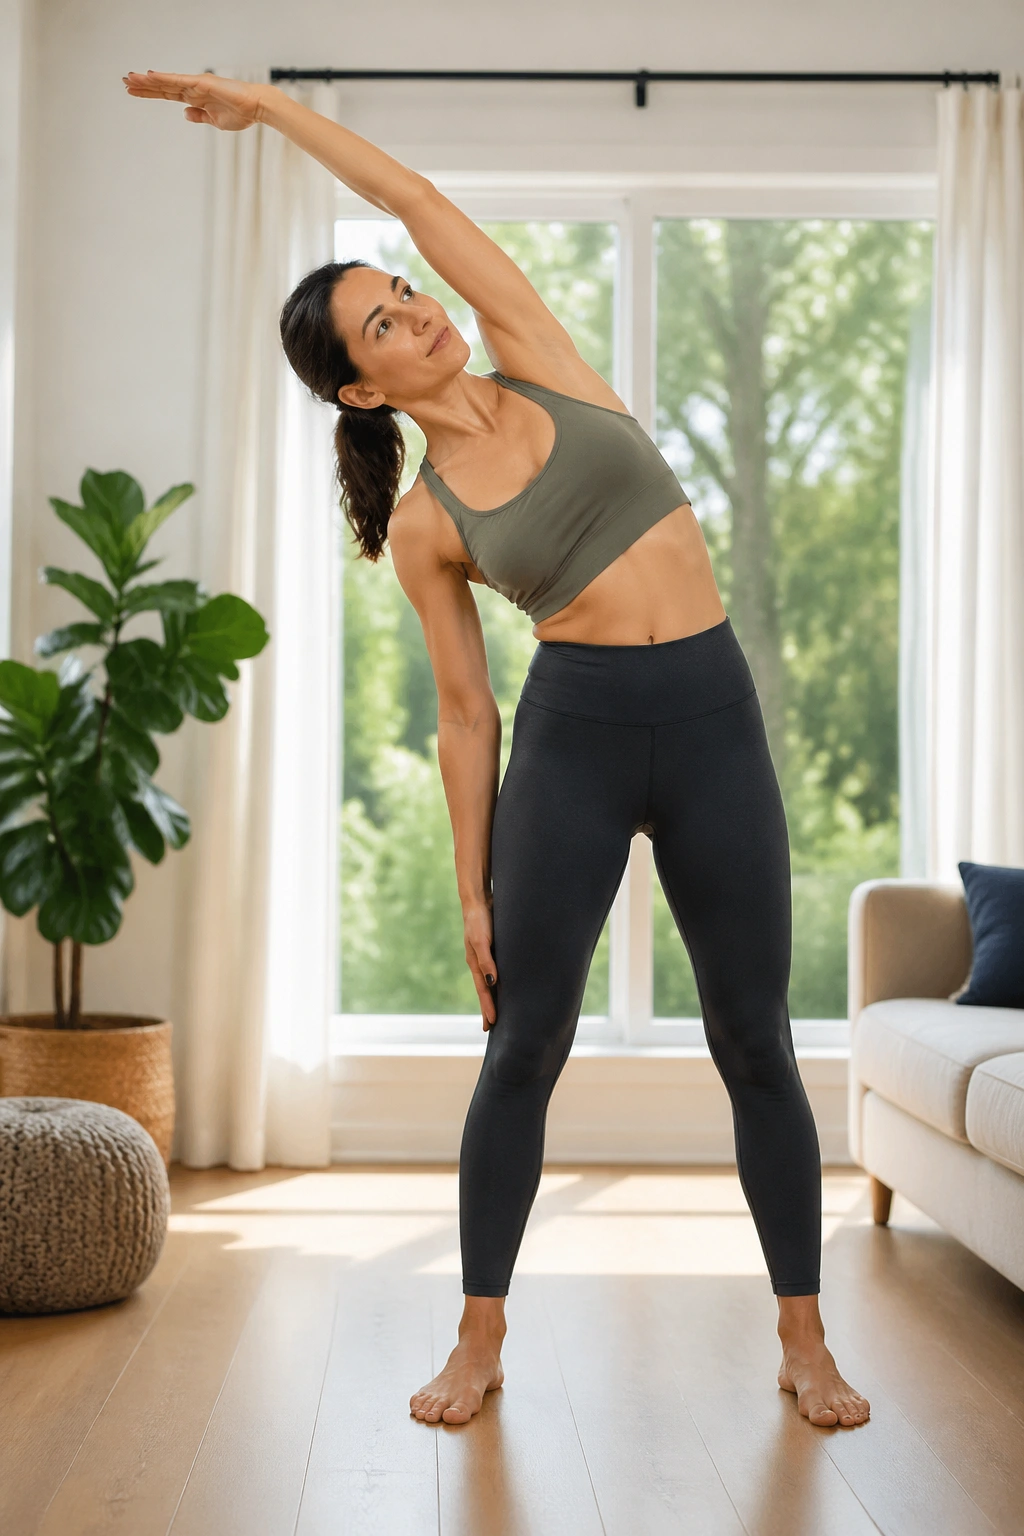
A standing side bend can either wake up the waist or dump all the work into one hip. The difference is small, but it matters.
Stand with feet rooted about hip-width apart. Reach one arm overhead and slide the ribs sideways, keeping the hips stacked. The body should lean like one clean line, not collapse into a shrug. Then return to center slowly before changing sides.
People often fold forward instead of truly bending to the side. Watch for that. The chest should stay open, the standing leg should stay active, and the opposite shoulder should not disappear toward the ear.
If you want a cue that helps, think length first, bend second. That order keeps the exercise useful instead of messy.
24. Wall Plank
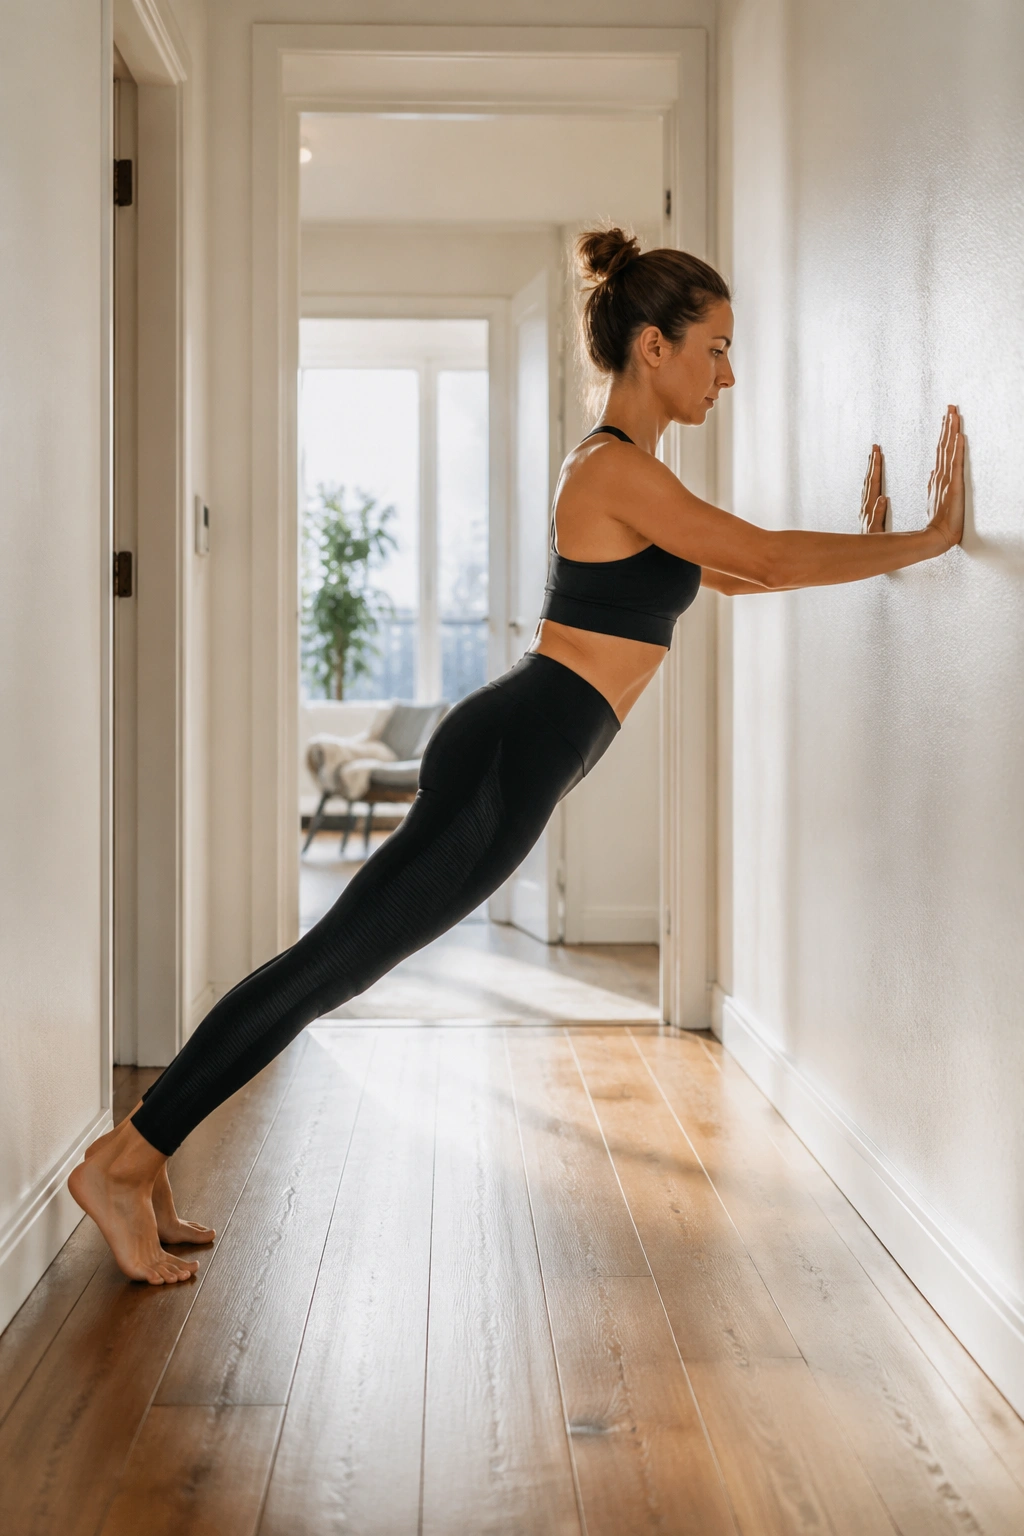
If floor planks make your wrists mutiny, a wall plank is a smart place to start.
Place the hands on a wall at shoulder height, walk the feet back until the body forms one long diagonal, and brace the trunk lightly without clenching the glutes into stone. Keep the ribs from flaring and the head in line with the spine. Hold for 15 to 30 seconds, then rest.
This version teaches shoulder stability and core control without the full load of a mat plank. That matters for beginners whose wrists are sensitive or whose shoulders feel shaky. The wall also gives immediate feedback. If the chest sinks, you’ll feel it fast.
A clean wall plank should look calm, not strained. The arms work, the belly stays awake, and the heels press into the floor. That’s enough.
25. Teaser Prep With Bent Knees
If you want one move that ties a lot of beginner Pilates work together, teaser prep with bent knees is a strong place to land.
Lie on your back, bend the knees, and hold the backs of the thighs. Exhale and curl the head, shoulder blades, and rib cage off the mat while the shins lift to tabletop or stay with the feet lightly grounded. Then balance there for a breath or two before lowering with control. The shape can stay small. It should stay small, at least at first.
This is not about proving anything. It’s about learning how the core helps the spine move while the hip flexors stay in check. If the neck tenses or the legs start shaking wildly, tuck the knees in a little more and keep the curve modest.
A beginner who can do a calm teaser prep has probably learned the biggest lesson in Pilates already: control matters more than size. That’s a useful place to be. Repeat the gentler moves, keep the breath even, and let the harder shapes wait their turn.
