



A mat, a clear patch of floor, and your own body are enough for a serious Pilates session. That is the appeal of Pilates exercises with no equipment: nothing to hide behind, nothing to brace against, and no machine doing half the work for you.
They look soft from across the room. Then the Hundred wakes up your deep abdominals, the Roll-Up checks whether your spine can move one vertebra at a time, and a simple side-lying leg lift starts talking to muscles most people do not notice until they shake.
Mat Pilates rewards precision more than force. If your ribs flare, your shoulders creep toward your ears, or you rush the breath, the exercise stops doing what it is supposed to do. That is usually where people go wrong. The movement is small. The demand is not.
A thin mat is enough, though a little extra padding helps once you get to rolling work and bridge variations. Keep the pace slow, keep your neck long, and keep the exhale active. These no-equipment Pilates exercises build from foundational control to more demanding balance work, so you can treat them as a menu or string them together into a full session.
1. The Hundred
The Hundred is the exercise people love to underestimate. Five breath cycles in, the front of your trunk is awake, your arms are buzzing, and your ribs are learning how to stay put.
How it should feel
Lie on your back, lift your head and shoulders, and bring your legs to tabletop or lower them a little if your back stays quiet. Pump the arms small and fast, about 5 counts in and 5 counts out, for 10 rounds. The motion comes from the shoulders, not the wrists.
Keep the chin slightly tucked so the back of your neck stays long. If the neck starts to grip, lower your head for a few breaths or place your feet on the mat. Do not chase a bigger leg angle if it pulls your pelvis into an arch.
- Shoulders stay away from the ears.
- Lower ribs stay heavy.
- Breath is steady and audible.
- The waist draws inward on each exhale.
My favorite cue: imagine the air emptying from the sides of your waist, not just the belly.
2. Roll-Up
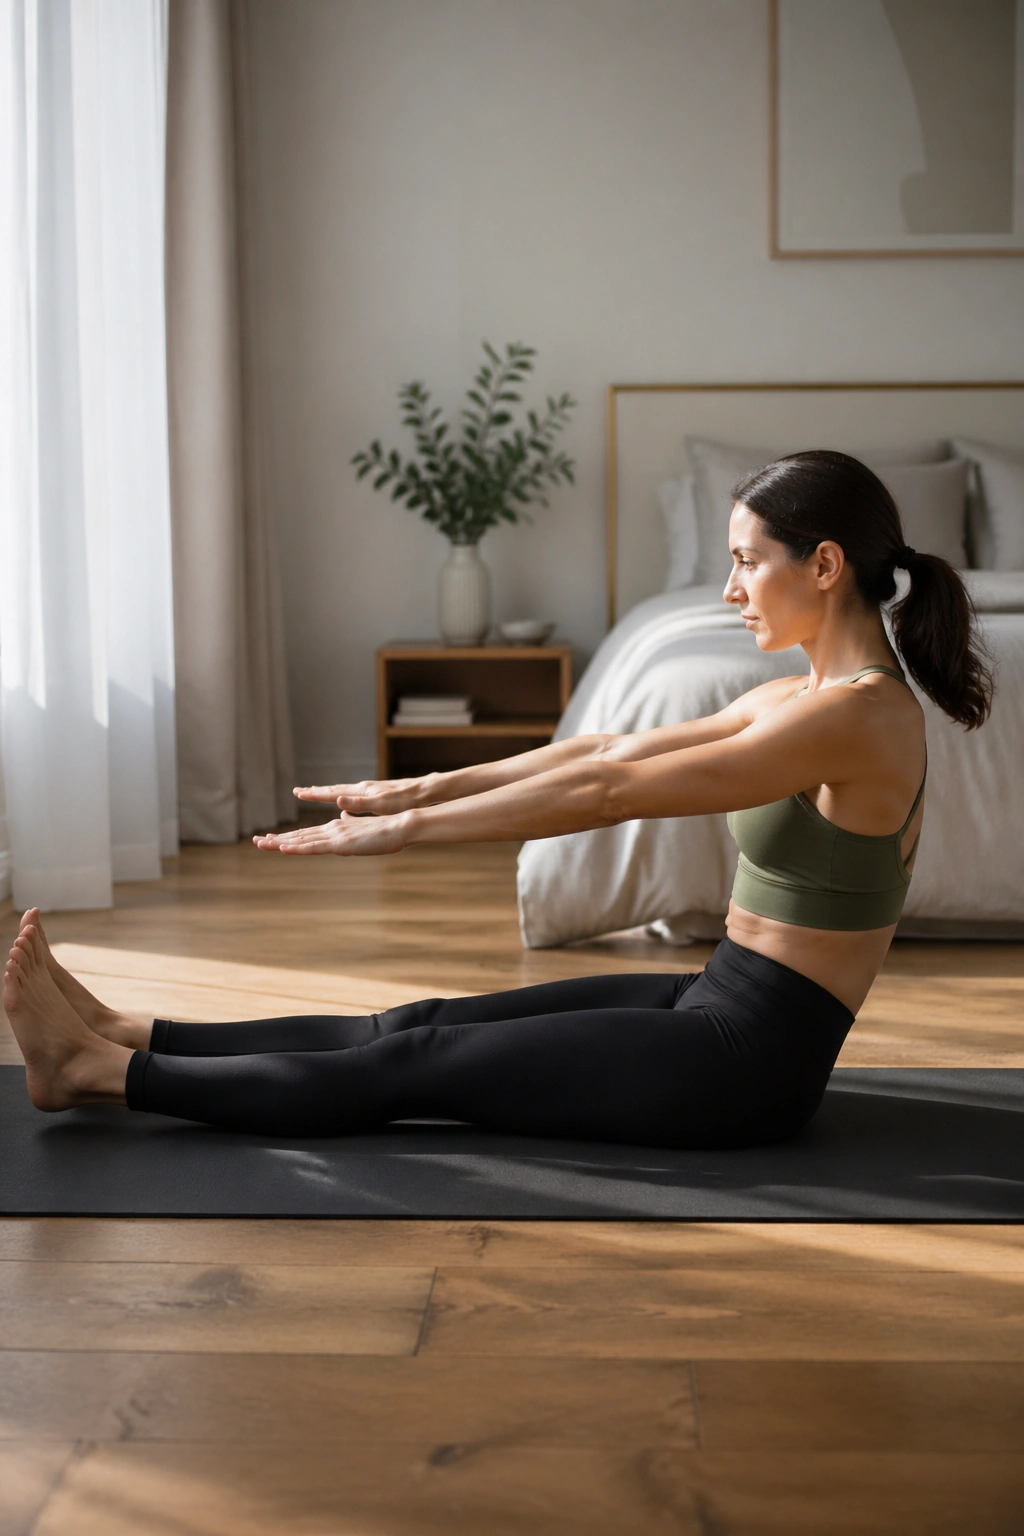
The Roll-Up is brutally honest. No speed. No bounce. If your feet fly off the mat or your torso yanks upward, the exercise has already shown you where your control is leaking.
Start flat, arms overhead, legs long and together. Exhale, nod the chin, and peel the spine off the mat one segment at a time. Sit tall over the hips, inhale to lengthen, then exhale and roll back down with control. The descent matters as much as the lift.
I like this one because it tells the truth fast. Tight hamstrings, sticky hip flexors, rushed breathing — the Roll-Up exposes all of it by the third rep. If full legs make your pelvis pop, bend the knees a little and keep the spine moving cleanly. Clean wins here. Always.
3. Single Leg Stretch
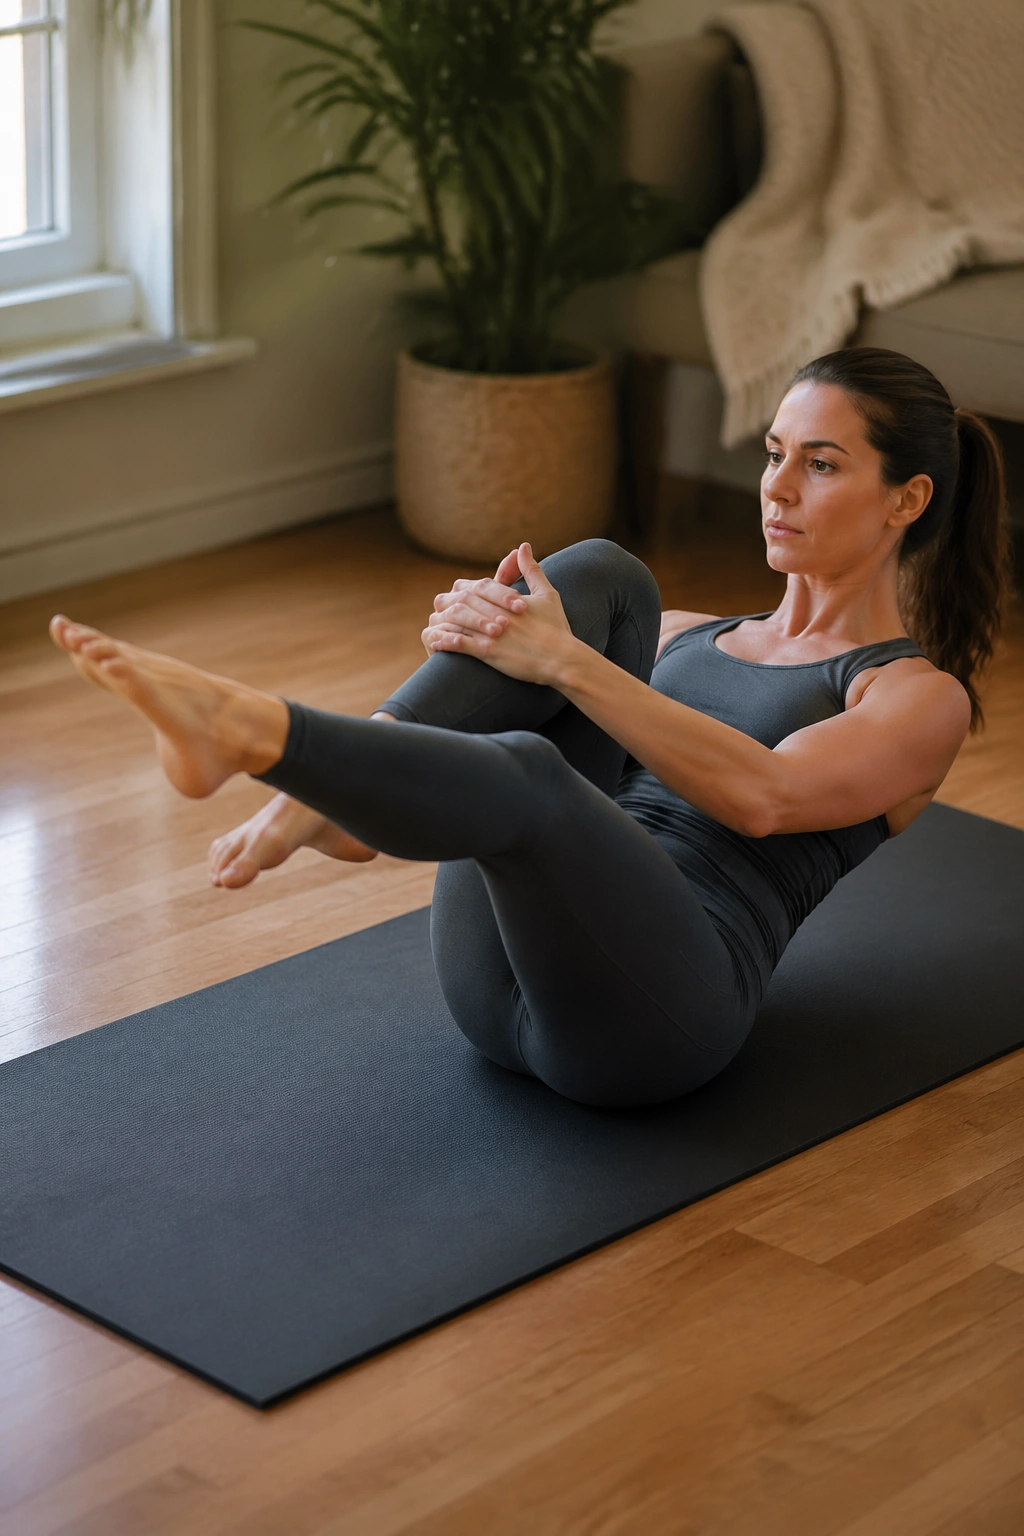
Why does a tiny switch of legs make people sweat? Because the torso has to stay calm while the legs keep changing shape. That is the whole trick.
Lie on your back, curl the head and shoulders up, and hug one knee in while the other leg reaches long. Switch sides with the breath, keeping the pelvis as still as you can. The working leg should stretch out, not fling. If the lower back starts to arch, bring the extended leg a little higher.
Keep the pelvis quiet
Your job is not to pedal faster. Your job is to keep the trunk organized while the limbs move.
A useful version for beginners is to keep the head down and do the same leg pattern with the neck relaxed. That still trains the deep abdominals and gives the neck a break. Once the movement feels smooth, add the curl again and keep the shoulder blades wide on the mat.
4. Double Leg Stretch
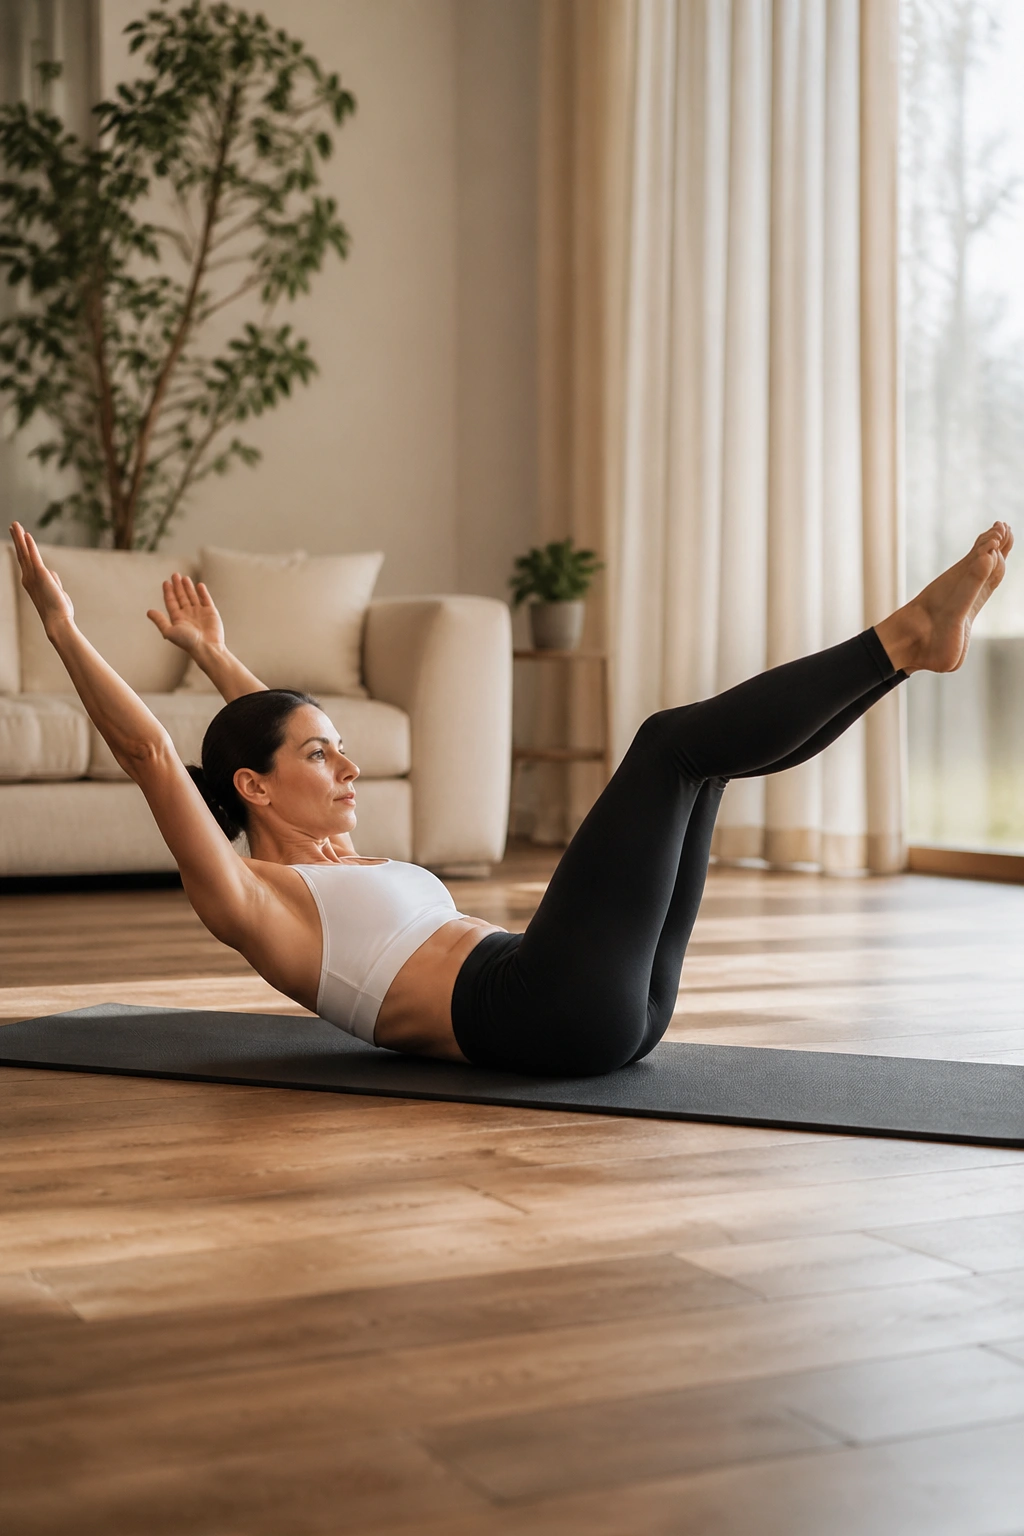
If your ribs pop open the second your arms and legs reach away, the exercise has already taught you something useful. The work here is not the reach itself. It is the return.
Start in tabletop with the knees hugged in. Inhale to send both arms overhead and both legs long on a diagonal, then exhale to circle the arms back and draw the knees in. The low back should stay settled. If the arch shows up, shorten the leg reach immediately.
- Reach through the fingertips and heels at the same time.
- Keep the chin slightly tucked.
- Let the abdominals pull the limbs back in.
- Move like you are resisting a rubber band.
The best versions of this exercise look almost too small. That is fine. Small and exact beats dramatic and sloppy every time.
5. Single Straight Leg Stretch
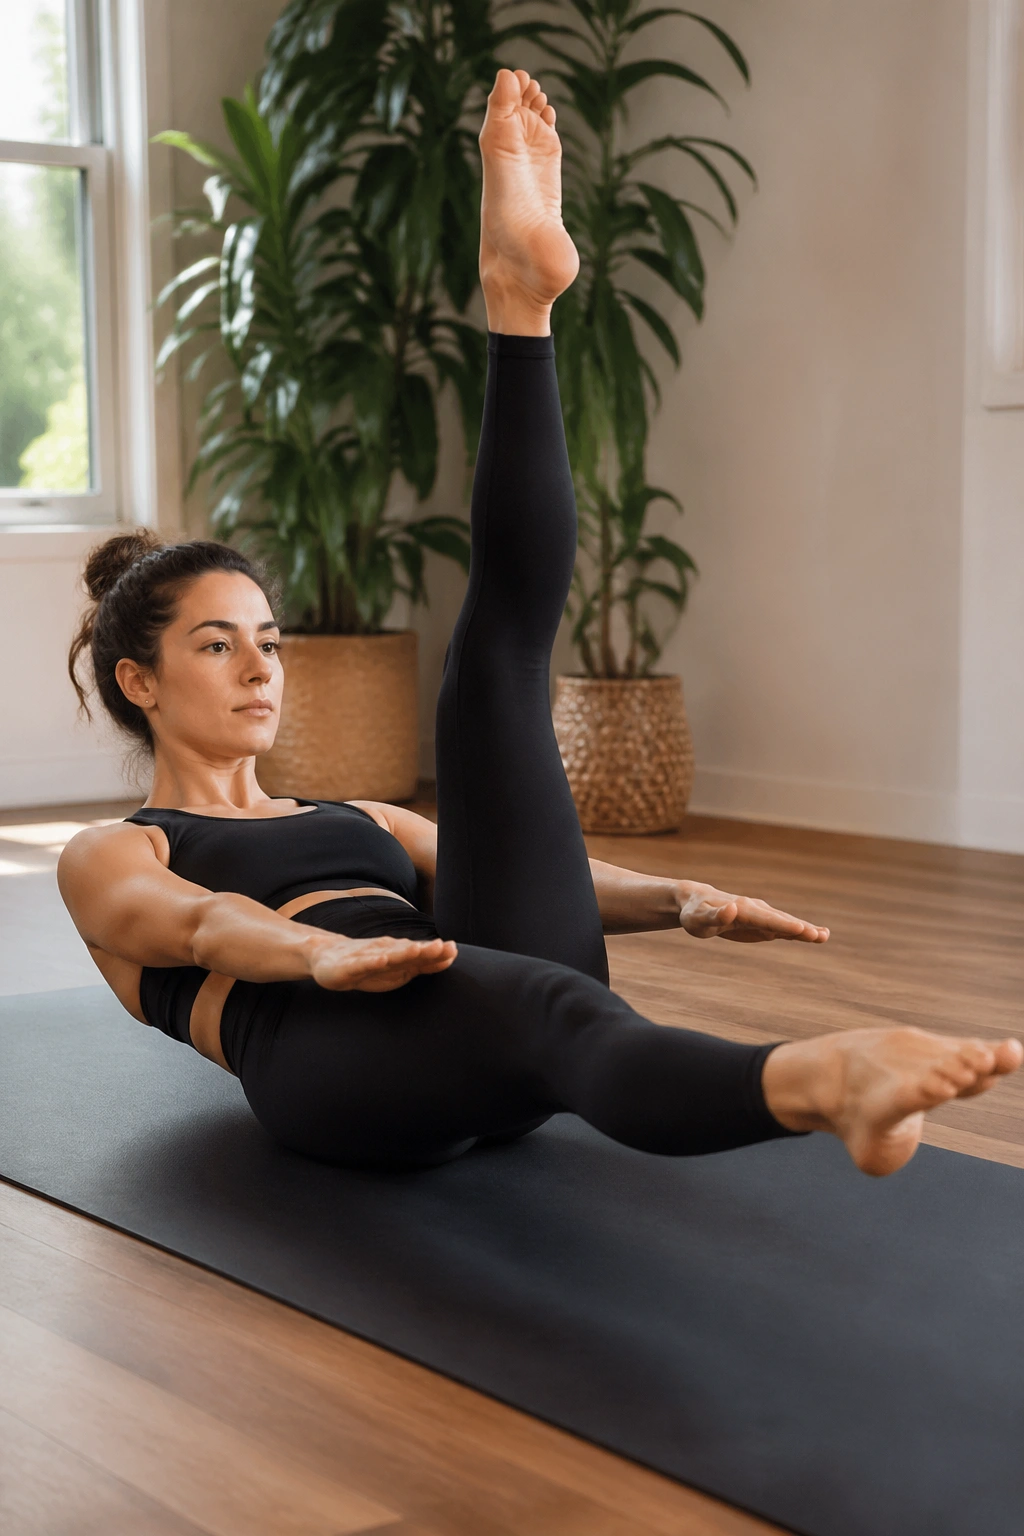
This one looks simple until your hamstrings start arguing with your core. One leg stays up, the other reaches long, and the switch happens with a clean, steady rhythm.
Keep one leg vertical or slightly bent if the hamstrings are tight. Hold the lifted leg behind the calf or thigh, curl the upper body off the mat, and switch the legs with control. The lifted leg should feel active, not loose. The other leg should stretch far enough to make the front of the hip work, but not so far that the low back pops off the floor.
A lot of people rush this because the shape is familiar. Don’t. The point is not how far you can kick. It is whether you can hold the pelvis still while one leg reaches and the other folds in. That is a different job entirely.
6. Criss-Cross
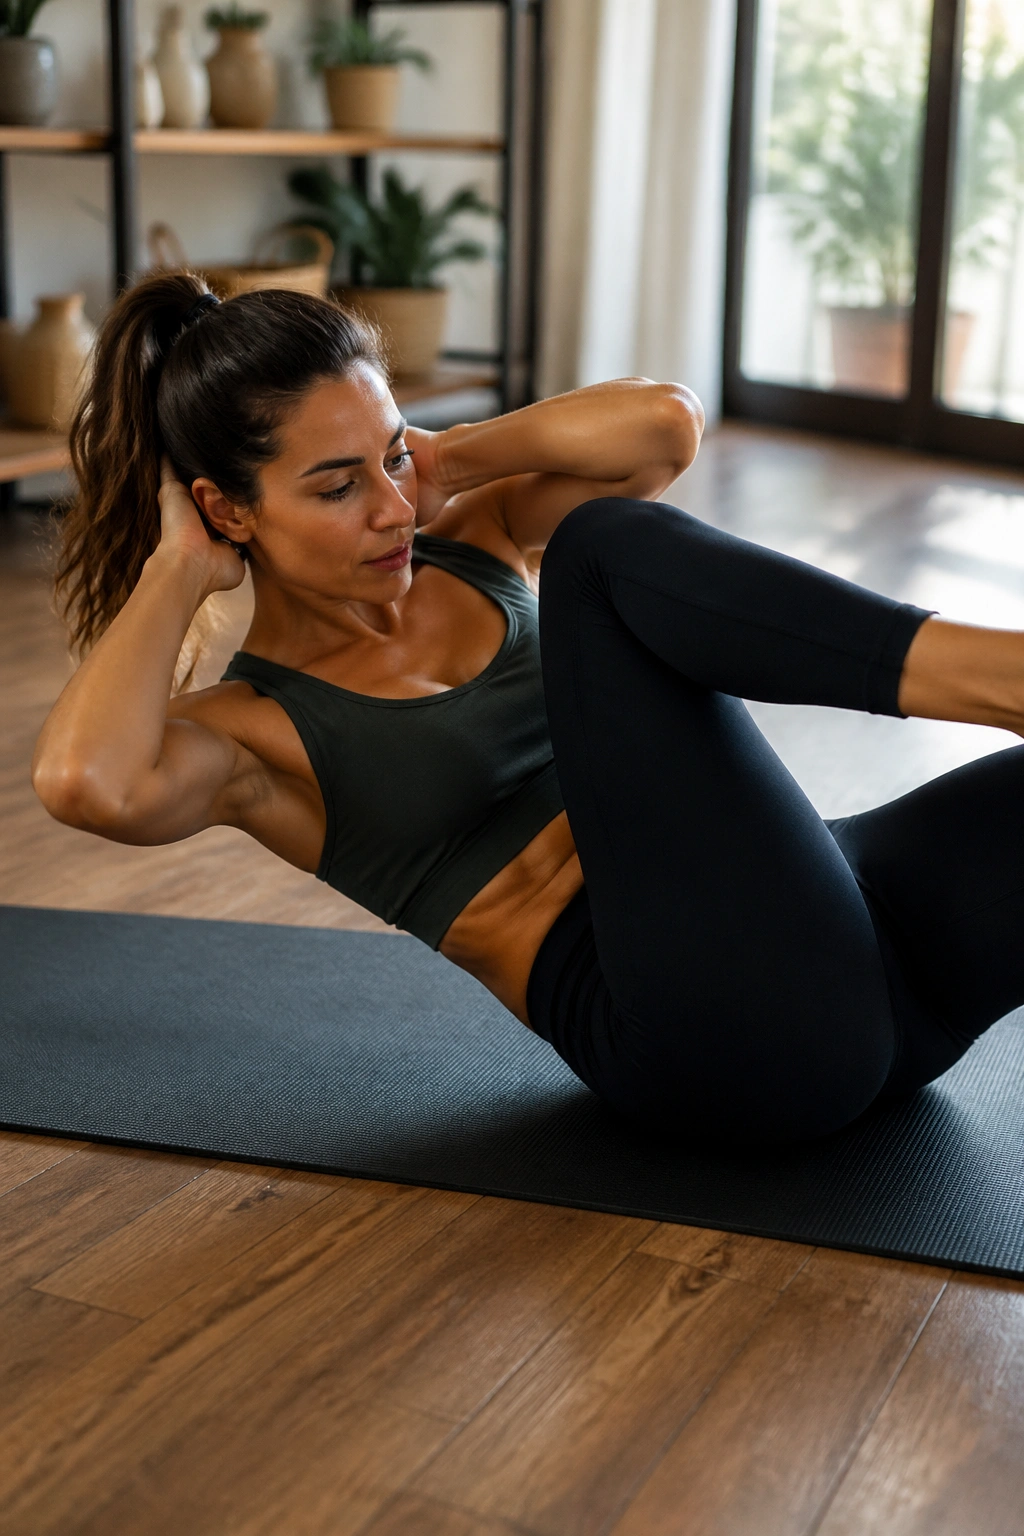
Criss-Cross is not an elbow-to-knee contest. It is a rotation exercise. Big difference.
Curl up, bring one knee in, and twist the ribs toward it while the opposite leg extends long. Switch sides in a smooth rhythm. The work should come from the waist and rib cage, not from yanking the head forward. If the neck tightens, lower the head for a set or keep the rotation smaller.
What to watch for
The classic cheat is letting the shoulders do everything. Another one is whipping the elbows wide and pretending that counts as rotation. It does not.
- Keep the shoulder blades lifted, not jammed.
- Think ribs to opposite hip.
- Rotate from the middle of the torso.
- Keep the pelvis steady.
The cleaner the twist, the better the abdominals behave. That is the payoff.
7. Rolling Like a Ball
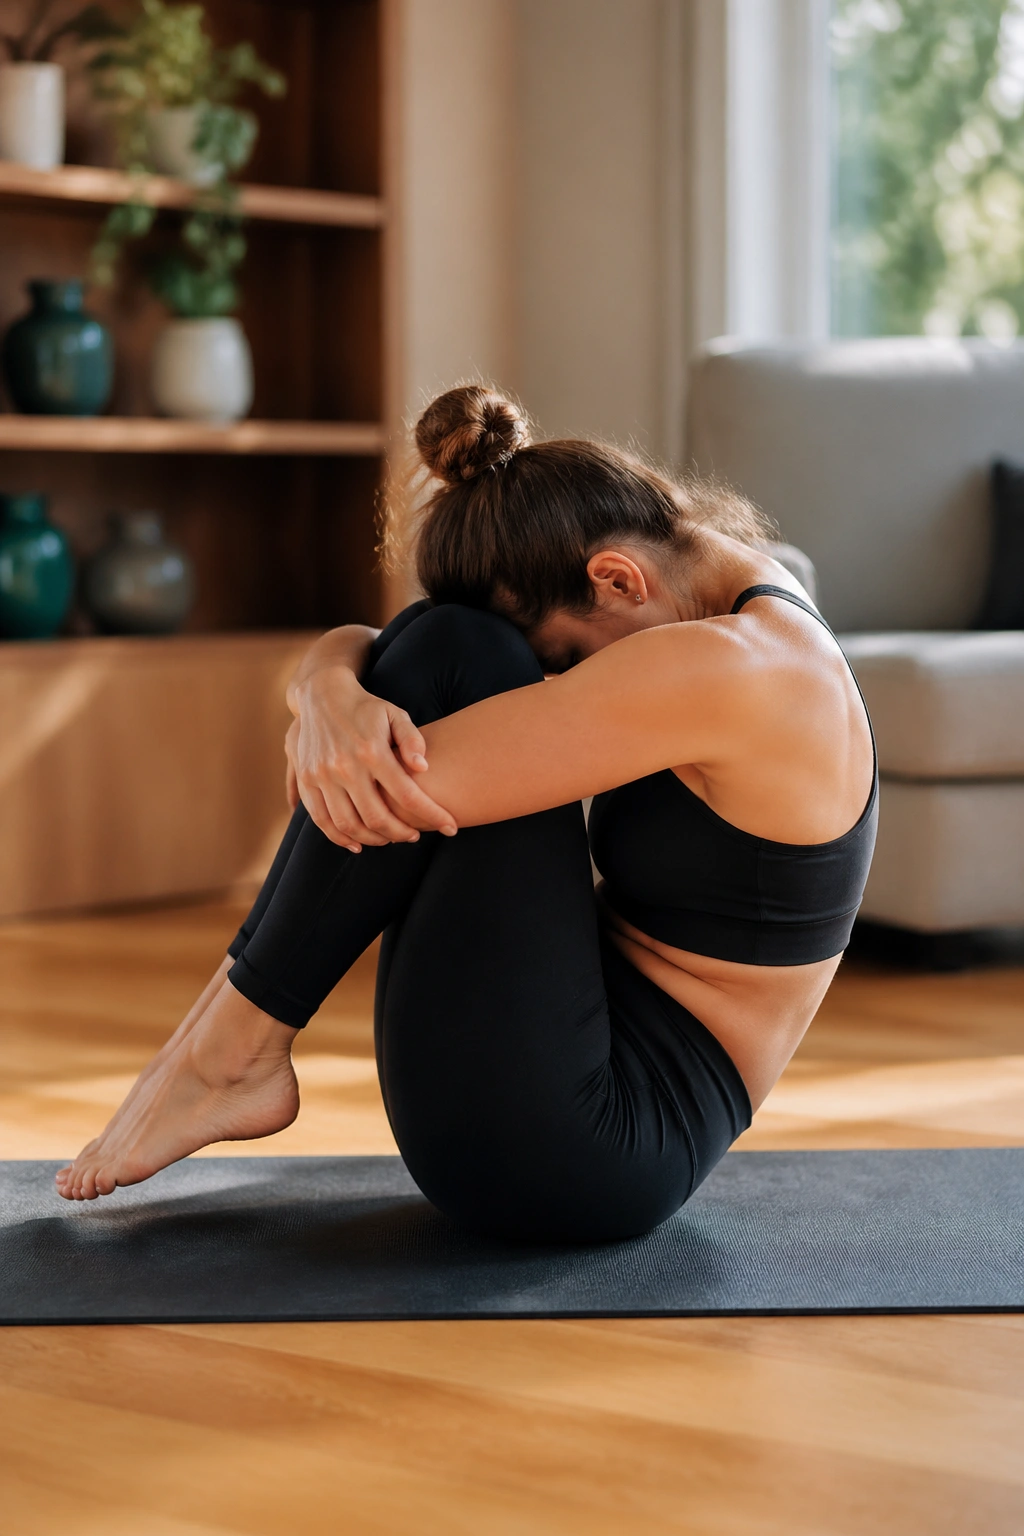
This one should feel a little silly and a little controlled. If it feels like a crash, the shape is off.
Sit in a small ball shape, hold the shins, round the spine into a C, and roll back to the shoulder blades without slamming the neck. Exhale to roll back, inhale to come forward, and stop before the feet lose their gentle hover. The motion is tiny. That is on purpose.
The fastest way to ruin Rolling Like a Ball is to throw yourself backward and hope momentum saves you. It won’t. Keep the knees tucked, the chin slightly rounded, and the belly gently hollowed. A smooth roll should feel like a rocking chair, not a rebound.
8. Spine Stretch Forward
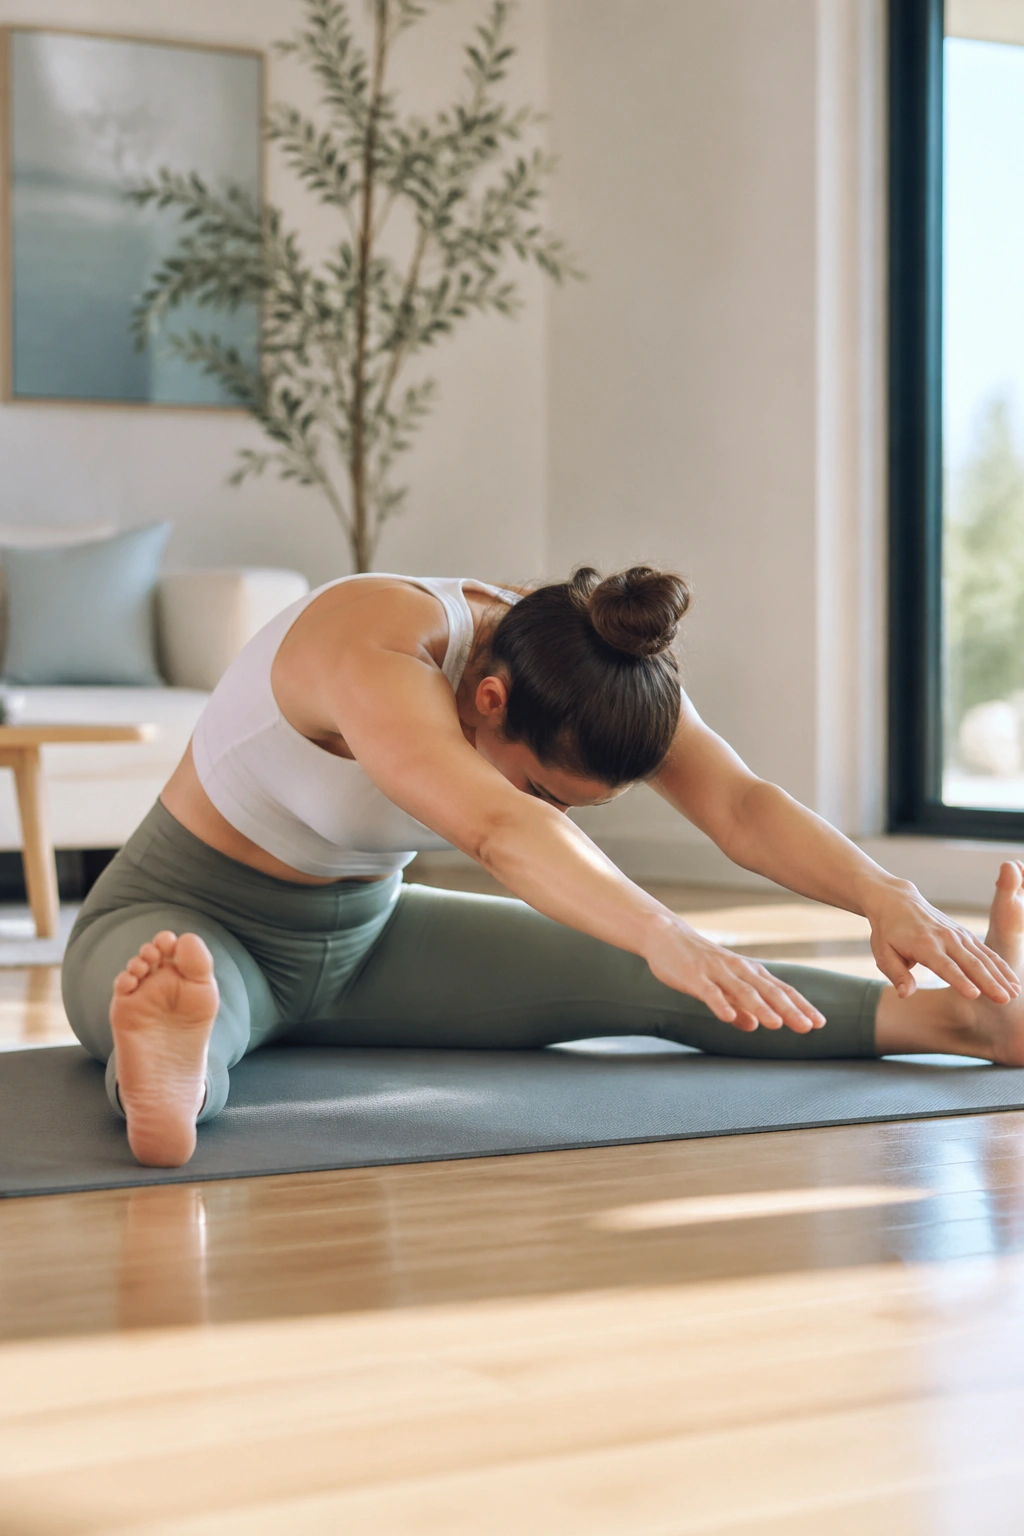
What should a Pilates forward fold look like? Taller than people expect.
Sit with the legs open or together, feet flexed, and arms reaching in front of the shoulders. Inhale to grow tall through the crown of the head, then exhale and round forward one vertebra at a time, as if the spine is folding over an invisible ball. The hips stay heavy. The chest does not collapse.
The shape you want
A good Spine Stretch Forward feels like length first, then flexion. If you dive forward too soon, you lose the point.
- Sit on the sitting bones, not the tailbone.
- Keep the shoulders sliding down.
- Exhale to deepen the roundness.
- Let the head hang only after the spine has moved.
If your hamstrings are grumpy, soften the knees a touch and keep the torso honest. Long is the goal. Not low.
9. Saw
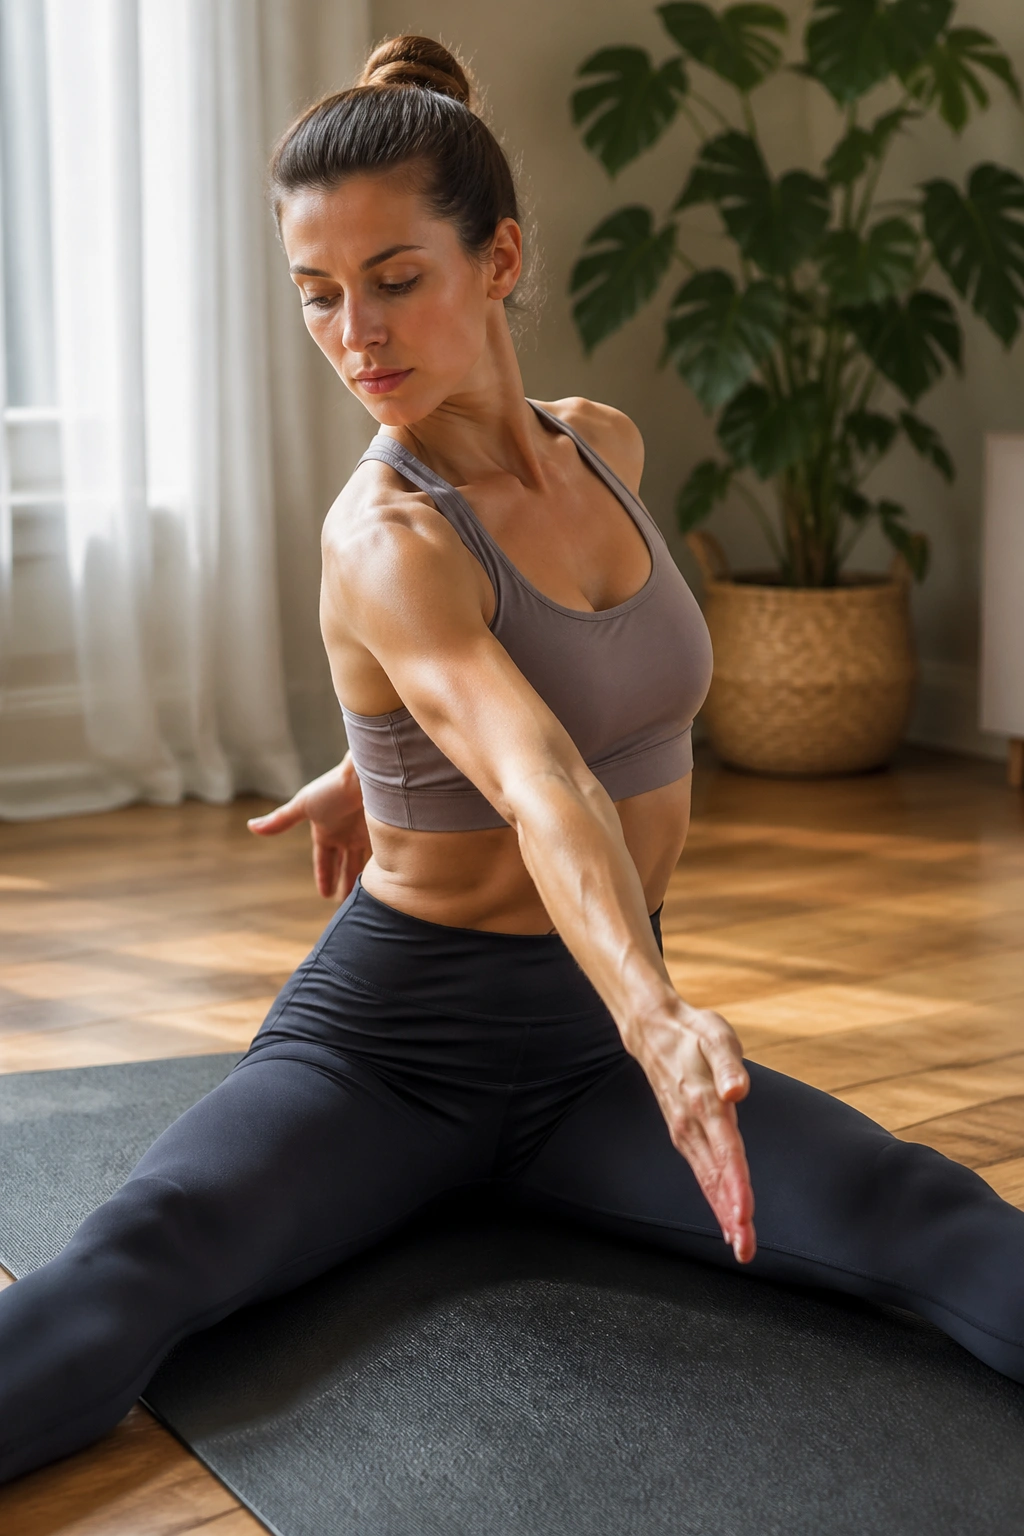
Saw looks like a reach, but it is really a twist with intent. The hamstrings, ribs, and waist all have something to say here.
Sit tall with the legs open a comfortable distance. Rotate the torso, reach the back hand behind you, and “saw” the front pinky finger toward the outside of the opposite foot. The back hand stays active, the front arm keeps reaching, and the pelvis stays anchored. If the body folds forward without rotating first, the movement gets sloppy.
A useful image
Imagine your spine spiraling upward before it folds sideways. That keeps the twist alive.
Do not yank into the toe. Reach past it. The stretch through the side body should feel clean, not crunchy. I like Saw because it exposes lazy rotation instantly. If one shoulder collapses forward or one hip lifts, the exercise is telling you to slow down and make the shape smaller.
10. Shoulder Bridge
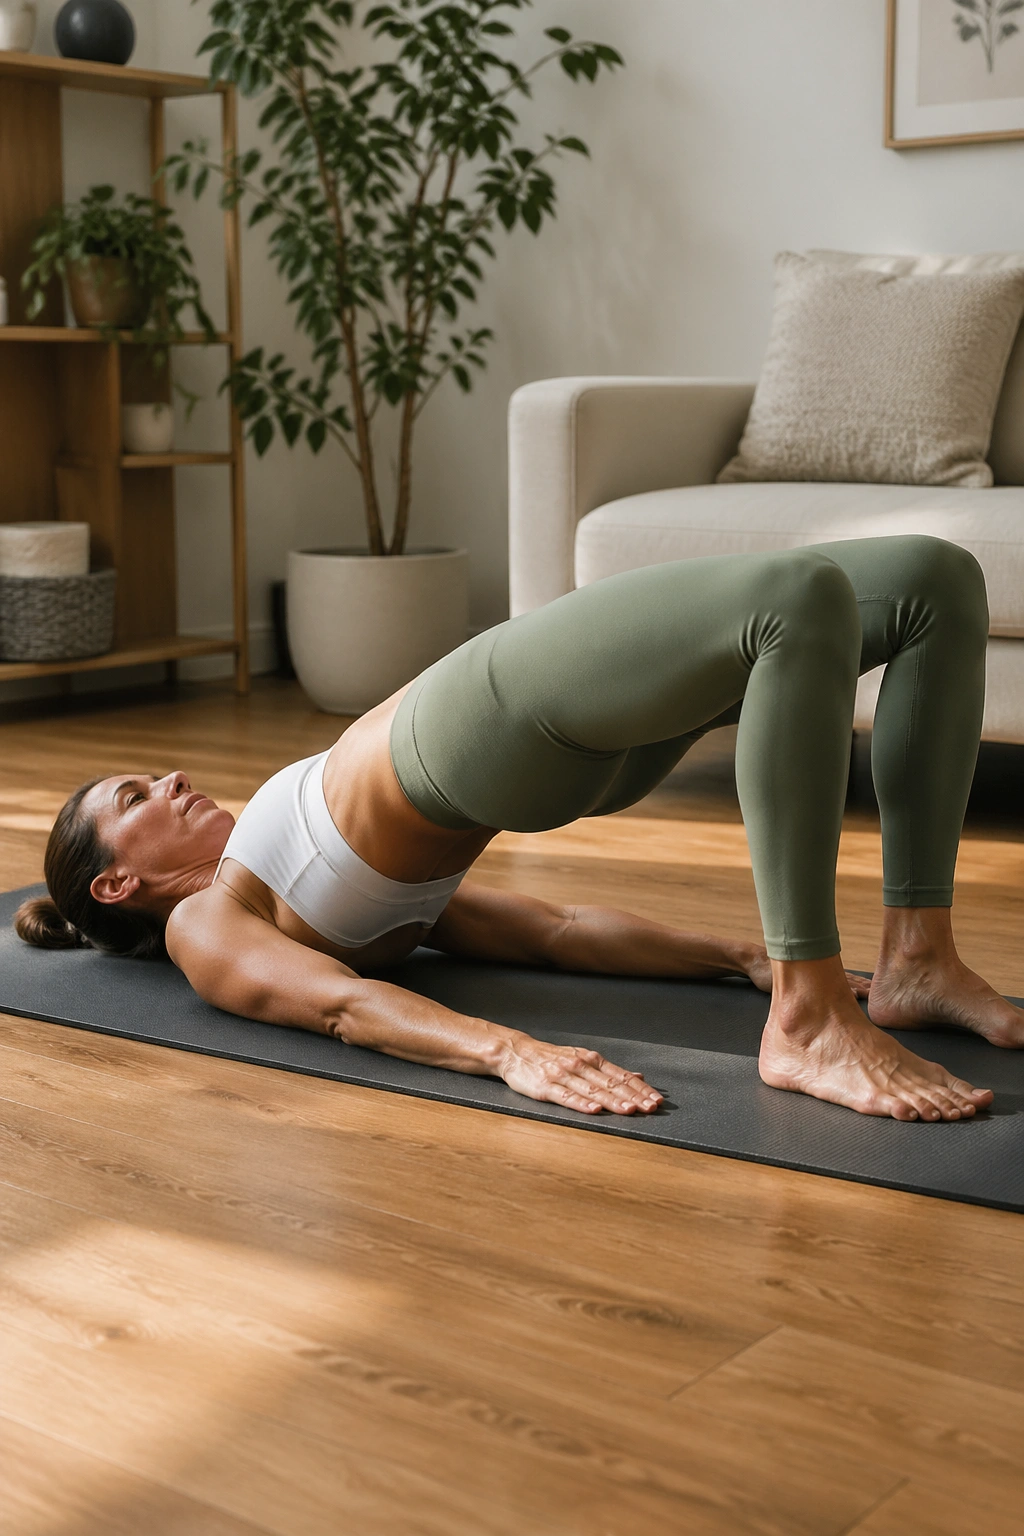
Shoulder Bridge is where glutes, hamstrings, and spinal articulation either cooperate or stage a tiny protest.
Lie on your back, feet hip-width apart, and press through the heels to lift the pelvis. Roll the spine up one bone at a time until the hips are high, then pause, breathe, and roll back down with the same control. The lift should start in the back of the legs and the underside of the pelvis, not in the low back. If the hamstrings cramp, walk the feet a little farther away and try again.
A clean bridge feels like the front of the hips softening while the back line gets stronger. Keep the knees pointing forward. Do not let them drift wide. That drift usually means the glutes have checked out and the low back is doing extra work.
11. Spine Twist
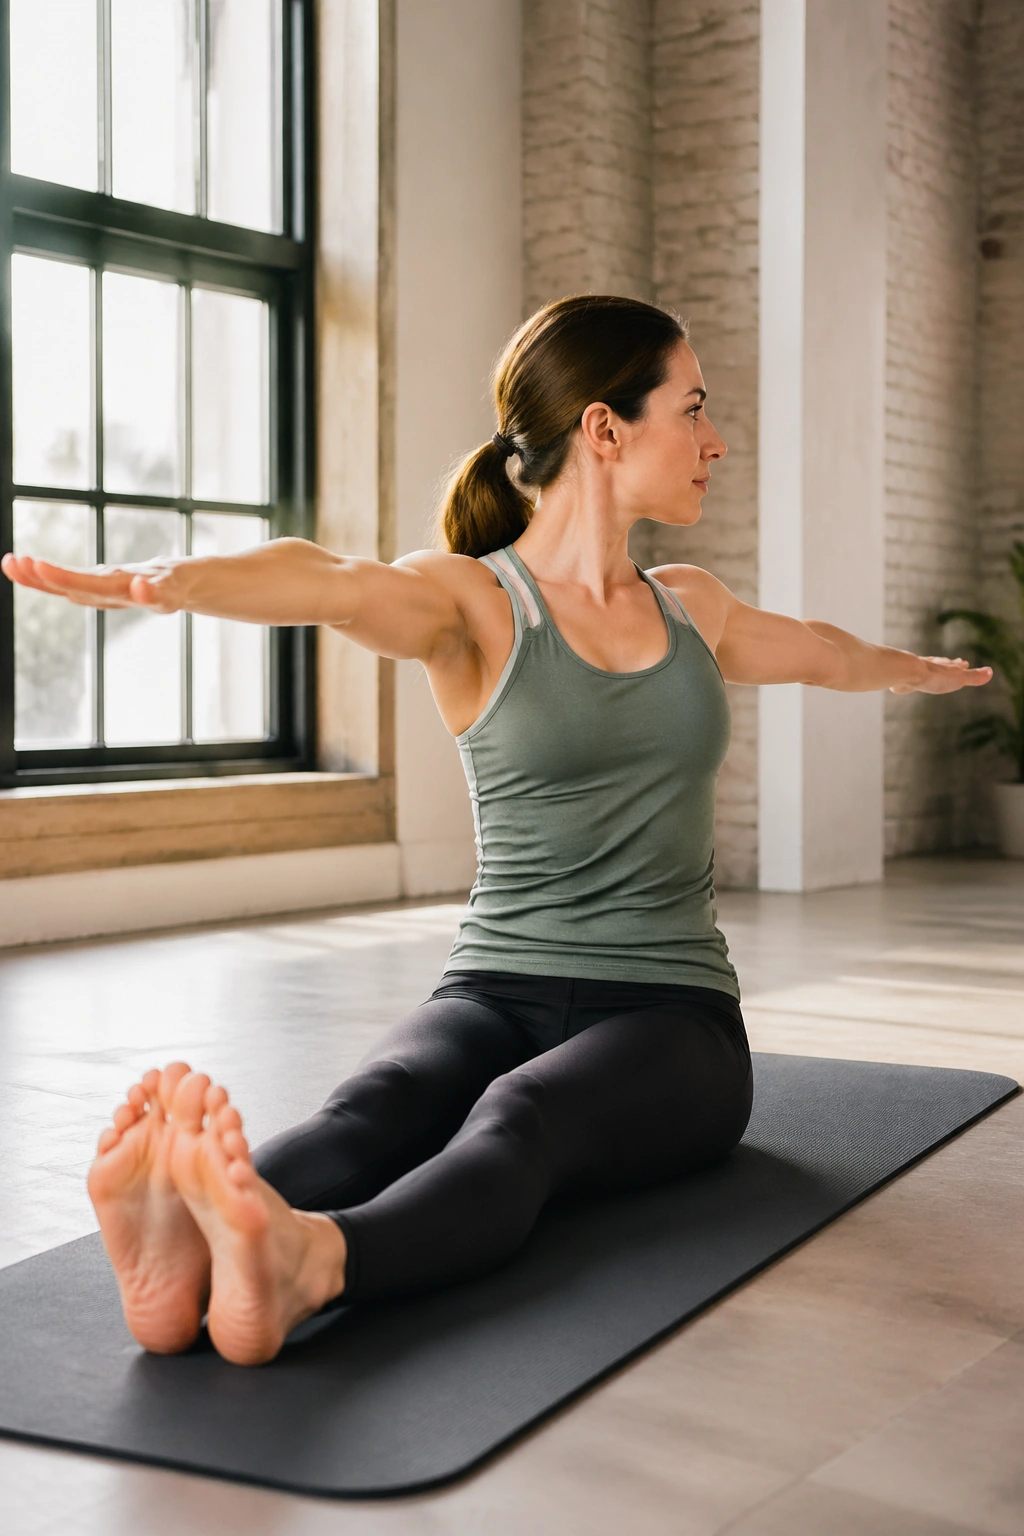
What makes a seated twist worth doing? The fact that almost nothing should move except the ribs.
Sit tall with the legs extended and the arms out to the sides at shoulder height. Grow upward first, then rotate the torso to one side, keeping the pelvis rooted. Return to center and turn the other way. The twist is small at first. Good. It should feel crisp, not forced.
What should stay still
- Pelvis heavy.
- Knees steady.
- Crown of the head lifted.
- Shoulders level.
The temptation is to crank the arms around and call it rotation. Skip that. Let the torso turn from the waist up while the seat stays planted. If your lower back feels pinched, reduce the size of the twist and keep the ribs stacked over the hips a little longer before turning.
12. Leg Circles
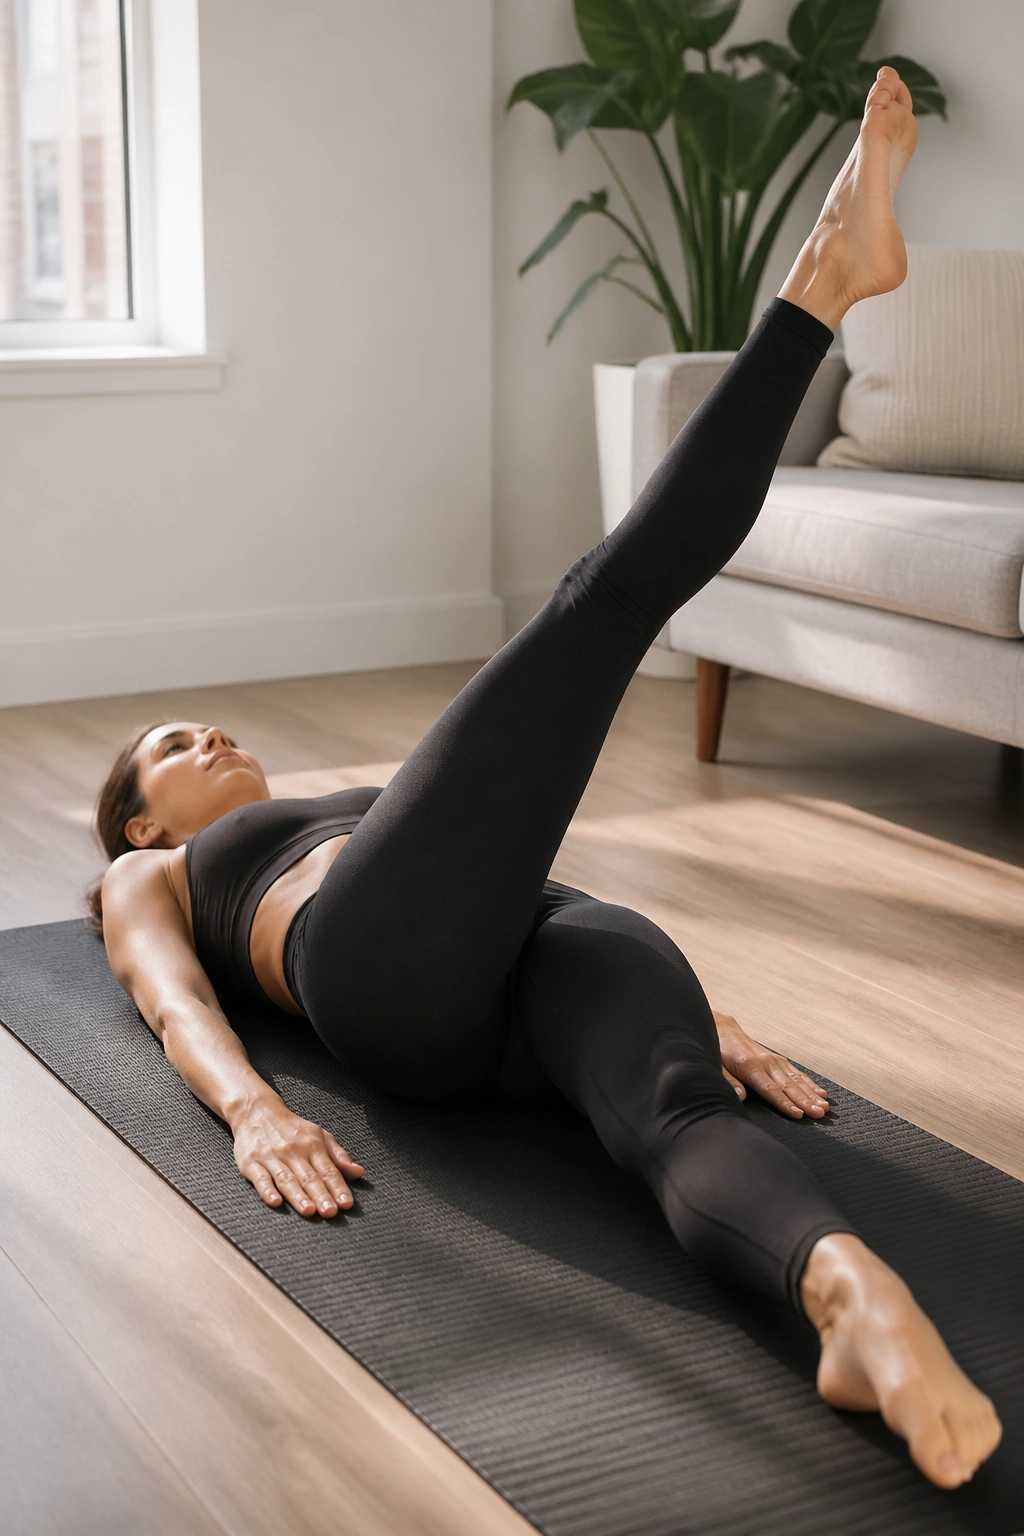
Small circles beat heroic ones. Every time.
Lie on your back with one leg reaching up and the other pressing into the mat. Circle the lifted leg across the body, down, around, and back to the starting point. Keep the pelvis as quiet as possible. If the hips rock, the circle is too big. If the low back arches, the leg is too low.
I like Leg Circles because they look like hip mobility work, but they are also a sneaky lesson in control. The leg moves in space. The trunk does not chase it. That separation is the whole point. Try 5 circles each direction on one side, then switch.
13. Side Kick Front and Back
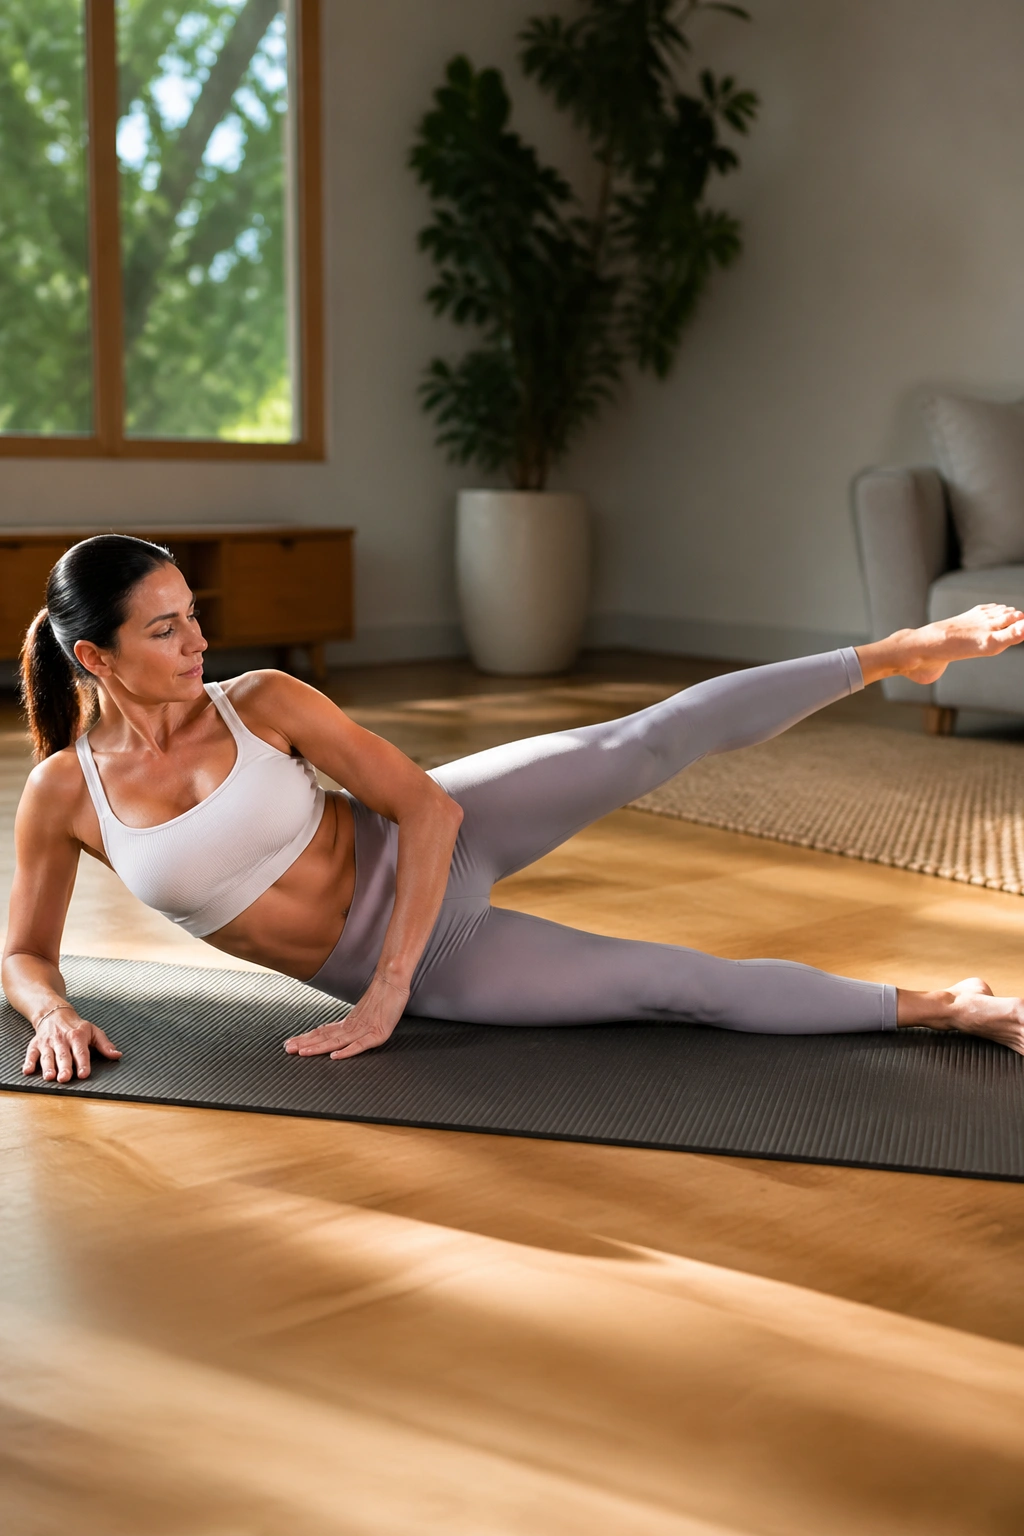
This is a hip control exercise dressed up as a leg swing. It is also a good way to learn whether your waist can stay long when your leg changes direction.
Lie on one side, head supported by the arm, and line the body up so the hips are stacked. Lift the top leg to hip height and swing it forward and back with a steady pelvis. The movement comes from the hip joint, not from the lower back twisting.
Where you should feel it
You should feel the side waist holding steady, the glute working, and the front of the hip opening as the leg reaches forward. The lower ribs should not flare. The top hip should not roll back.
A tiny range is enough here. A big swing usually means the trunk is cheating. Keep the foot flexed or softly pointed, and move with the same pace both directions. That rhythm matters more than height.
14. Side Kick Up and Down
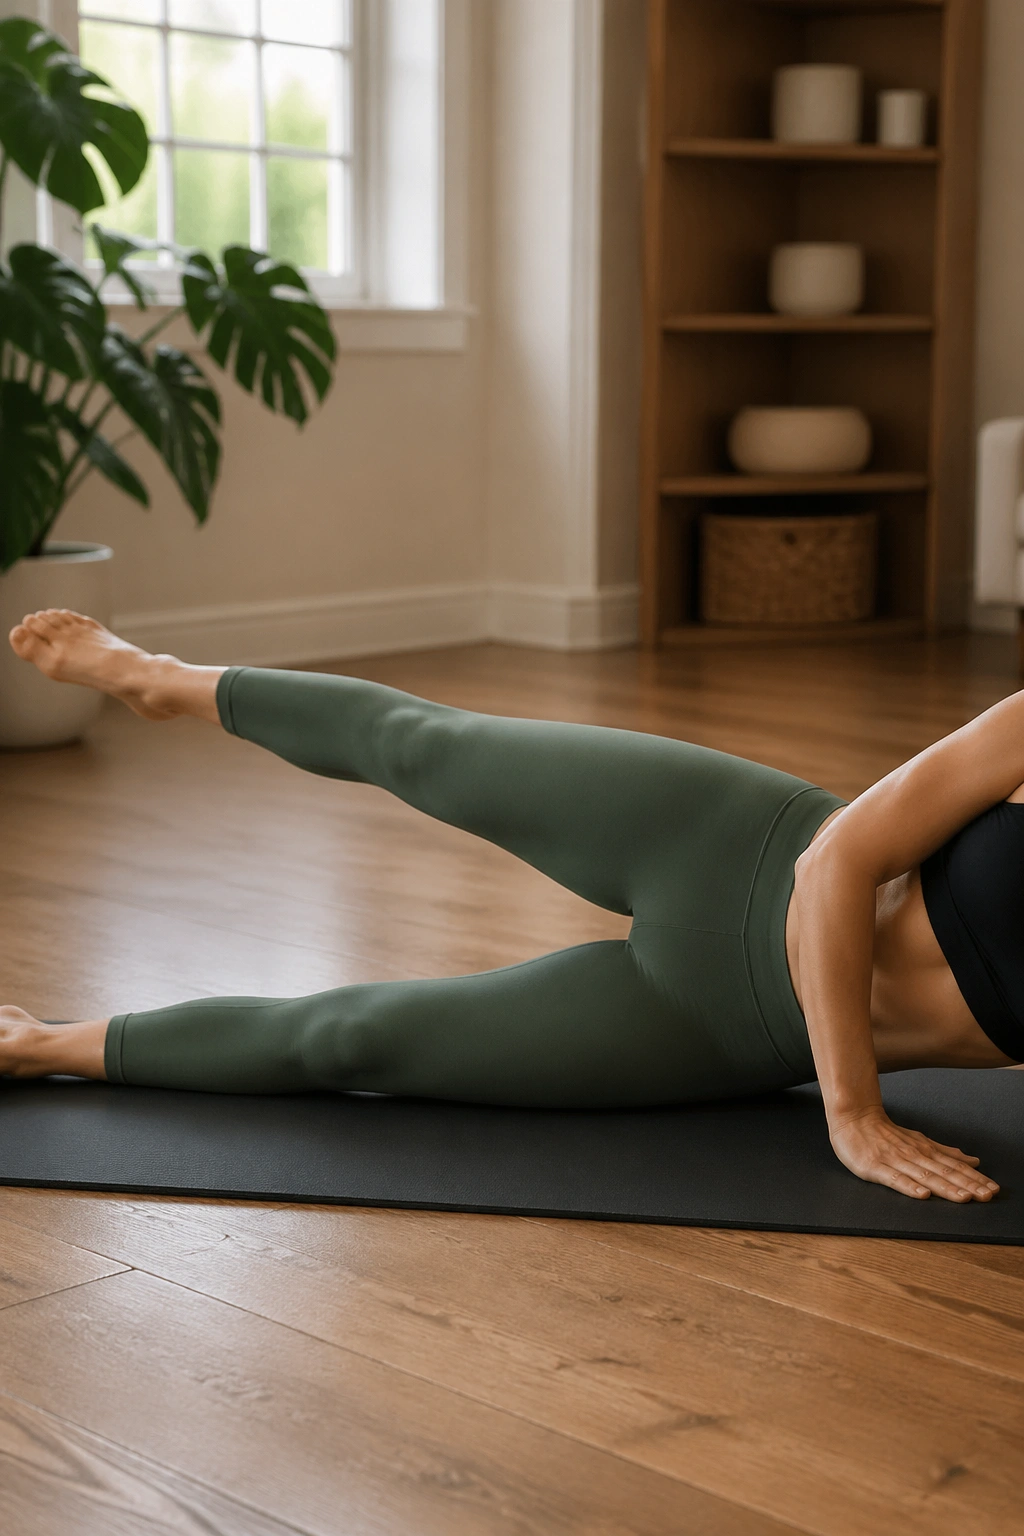
This one looks plain. Then the standing leg muscles start to complain.
Stay on your side with both legs long. Lift the top leg up a little, then lower it with control, keeping the waist lifted off the mat and the pelvis stacked. The lift does not need to be high. Six inches is plenty if the line stays clean. A bigger lift often just tilts the hip and turns the exercise into a side bend you did not ask for.
Small is hard. That is the honest answer. Keep the belly lightly drawn in, the neck long, and the foot in line with the hip rather than flopping open. If you want more challenge, pause for a count at the top instead of swinging higher.
15. Clamshell
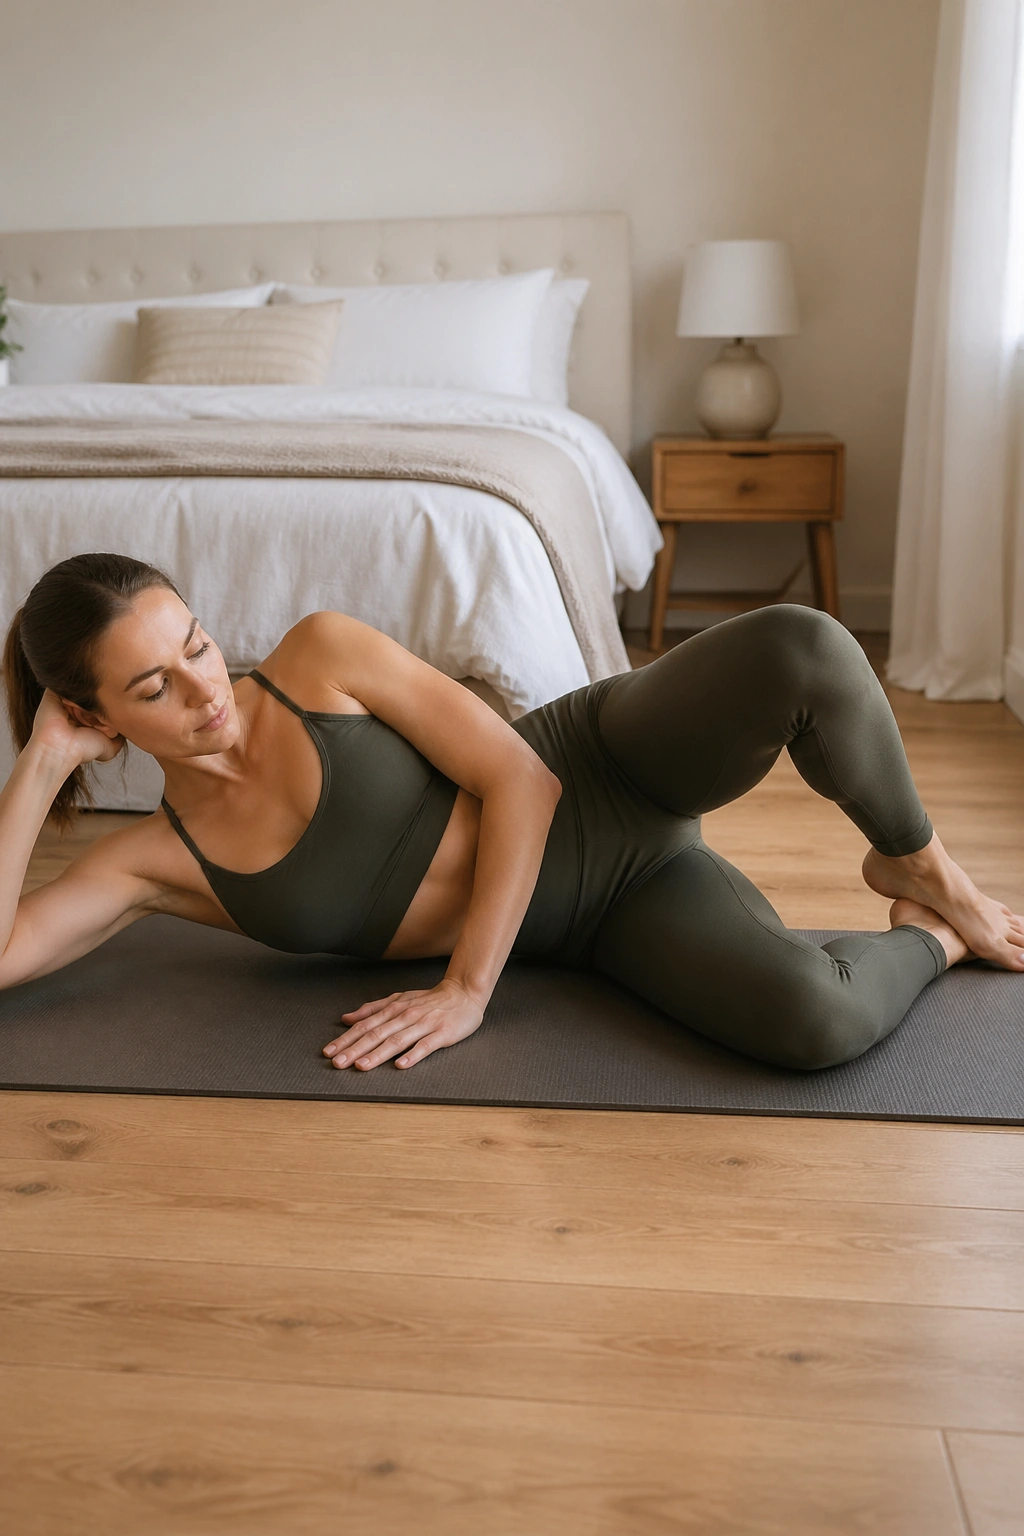
Why do such a small knee opening light up the side of the hip? Because the outer glutes are doing a lot more than people think.
Lie on your side with knees bent and heels together. Keep the hips stacked, then open the top knee like a shell and close it slowly. The pelvis should not roll back. If it does, the glutes are getting a shortcut and the move stops being honest.
A few clean cues
- Heels stay together the whole time.
- Lower waist stays long.
- Top hip points forward, not up.
- Open only as far as the pelvis stays quiet.
The exercise usually hits the glute medius, which matters for hip stability and knee alignment. If you feel it in the low back, the opening is too large or the torso is tipping. Reduce the range and keep the movement dull on purpose. That is how it gets useful.
16. Side-Lying Leg Lift
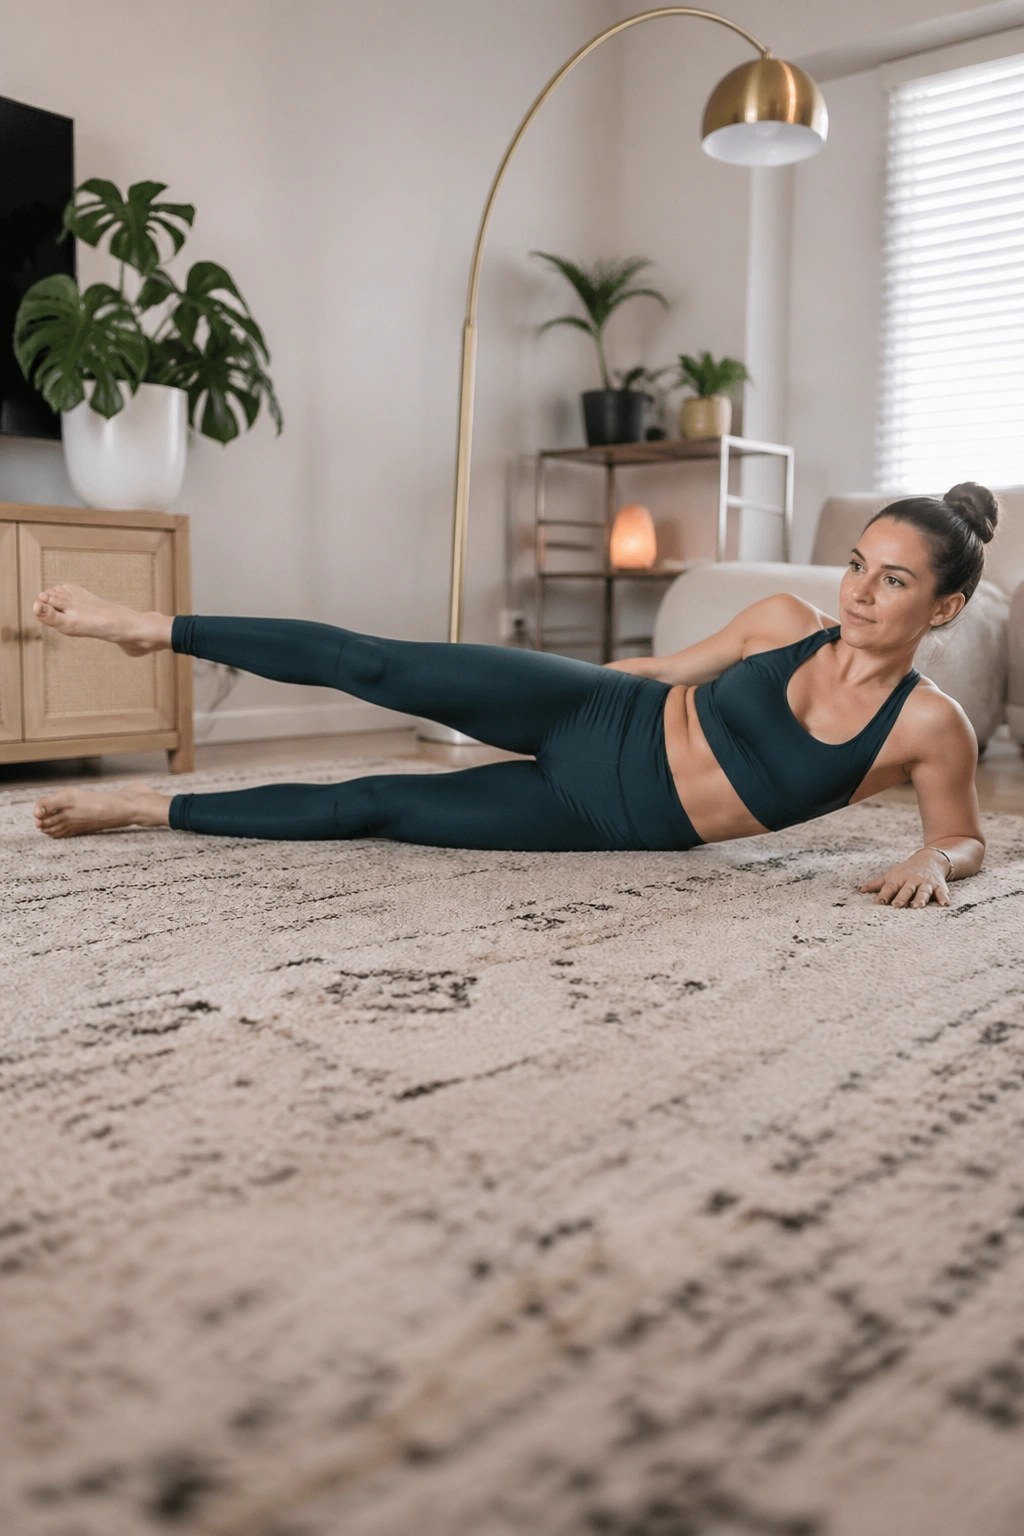
The trick here is not height. It is a level pelvis and a long waist.
Lie on your side, legs straight, bottom waist lifted away from the mat, and top leg in line with the hip. Lift the top leg a few inches and lower it slowly. The foot can stay parallel or turn slightly downward if that helps keep the work on the outer hip instead of the front of the thigh. If the hip hikes toward the rib cage, stop and reset.
This is one of those Pilates exercises with no equipment that looks easy until you do ten slow reps. Then the side body starts to talk. Keep the movement deliberate and hold the top for a second before lowering. That tiny pause makes a clean line feel like actual work.
17. Swan Prep
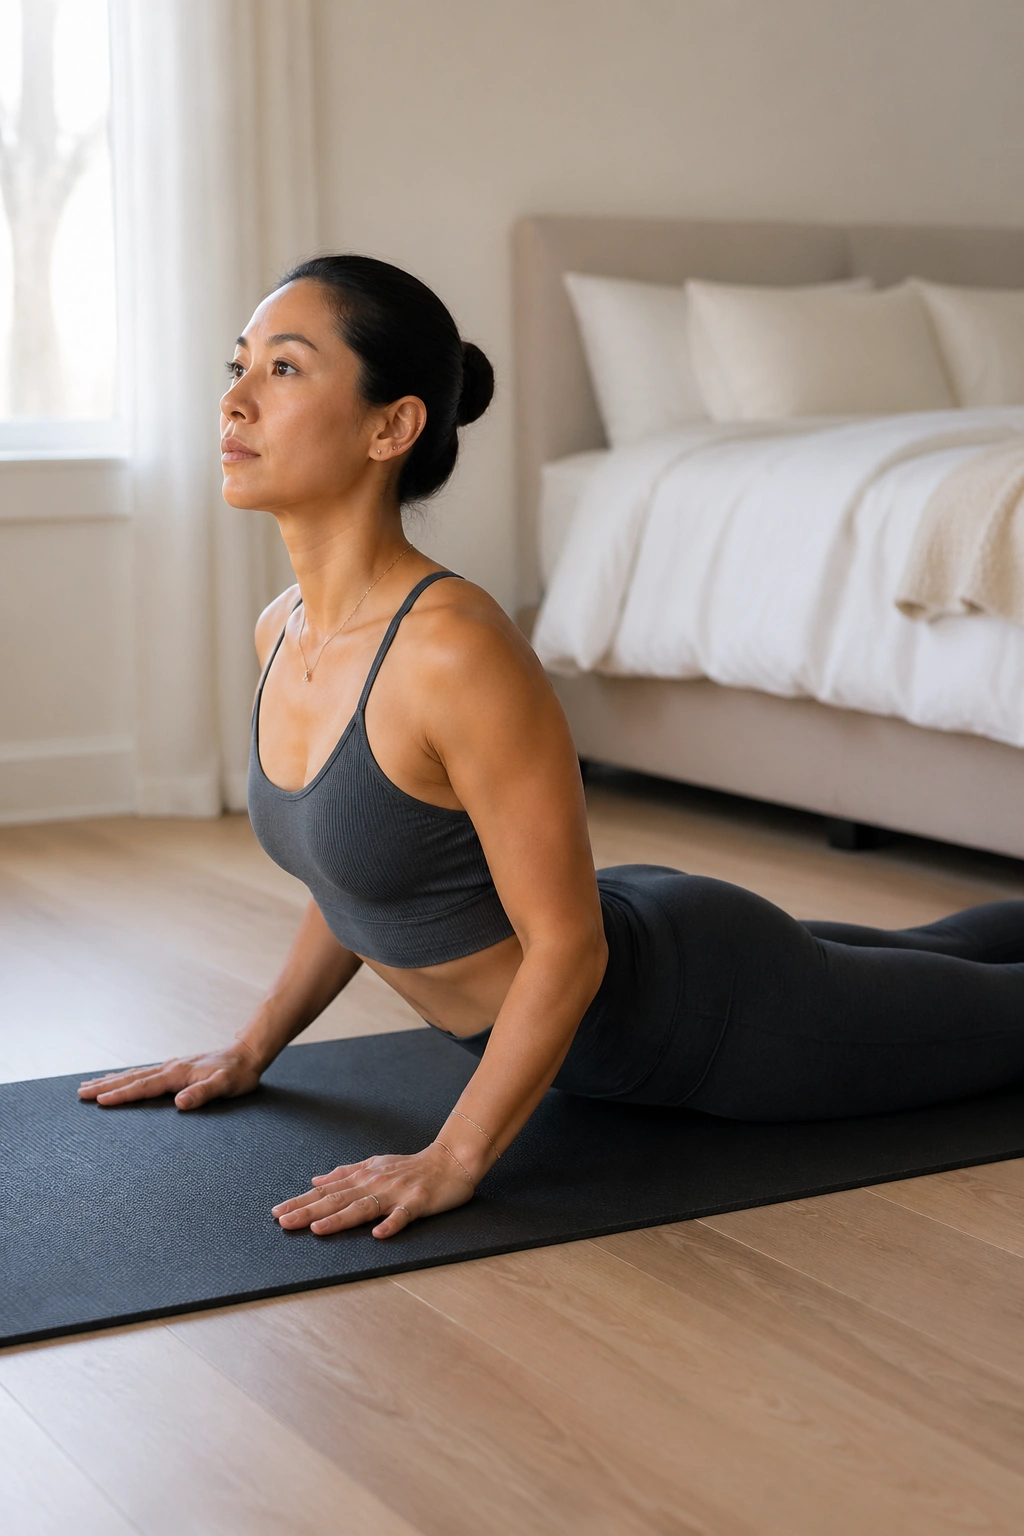
Swan Prep is a back extension, not a backbend contest. If you chase height too early, the low back gets annoyed.
Lie face down with the hands under the shoulders or beside them, legs long, and pubic bones grounded. Press the chest forward and up a few inches, keeping the neck long and the shoulders soft. Lower with control. The lift should feel like length through the front body, not a hard crunch in the lumbar spine.
What not to do
- Do not jam the head back.
- Do not squeeze the glutes so hard that the lower back locks.
- Do not lift higher just because you can.
- Do not let the shoulders creep to the ears.
A good Swan Prep feels like the sternum is sliding forward over the mat while the ribs stay connected. If the low back pinches, lift less and lengthen more. That is the fix nine times out of ten.
18. Swimming
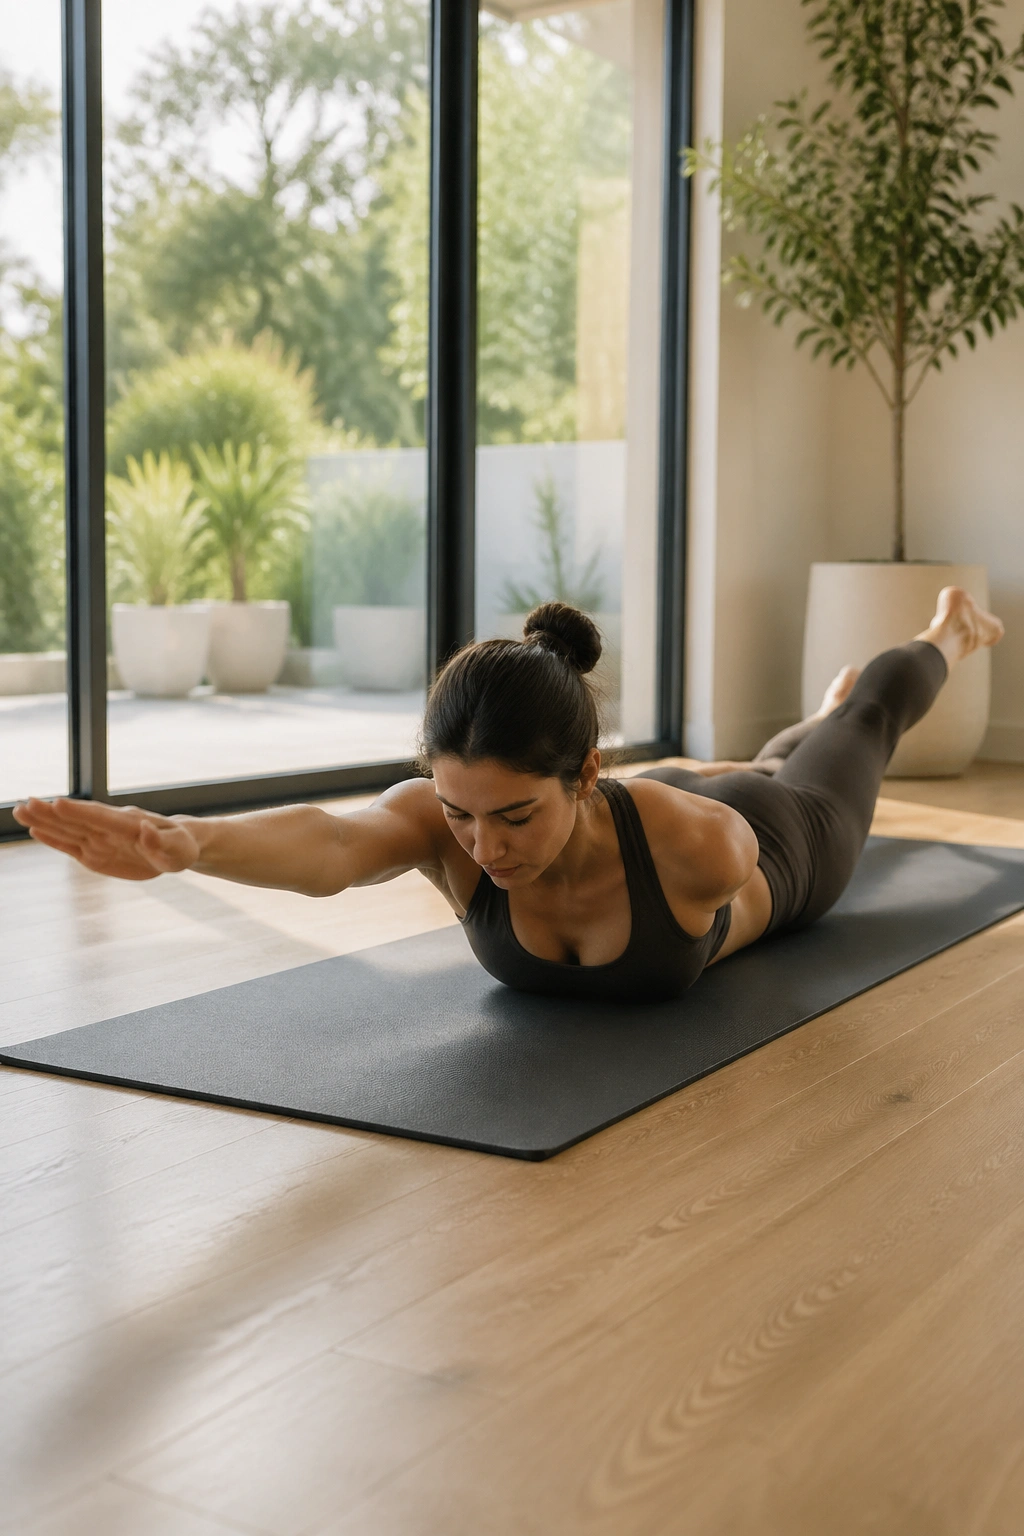
Tiny lifts count. That is the rule here.
Lie on your stomach and extend the opposite arm and leg off the mat in a long diagonal, then alternate with a steady fluttering rhythm. The forehead can hover just above the mat or rest lightly if the neck needs it. Keep the pelvis quiet and the reach long. If the legs kick too high, the lower back steals the work.
The sensation should be of length more than height. Arms and legs reach away from each other, and the back body gets warm without feeling pinched. I like 20 to 30 seconds of Swimming as a finish because it makes the whole trunk feel connected in a way that a lot of crunch-based work never does.
19. Single Leg Kick
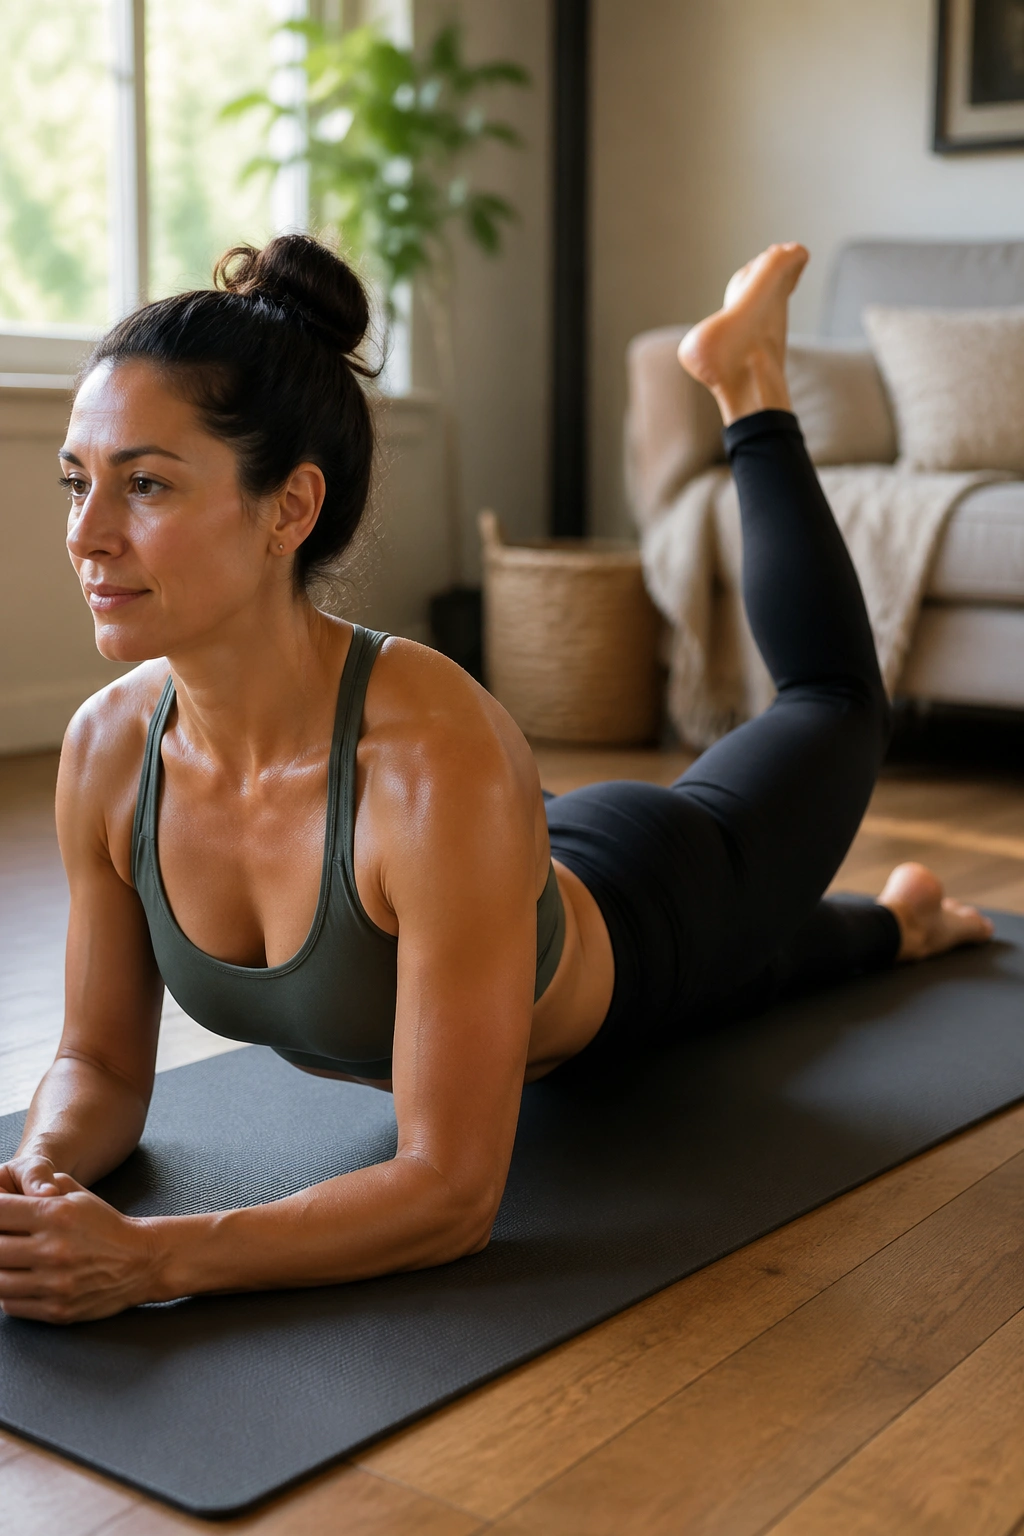
This is the hamstring version of a chest-lift, and the rhythm matters more than the range.
Prop yourself on the forearms, chest open, and take one heel toward the seat with two small kicks before switching sides. Keep the hips pressing into the mat and the front of the body long. The shoulders should stay broad, not bunched. If the lower back starts to compress, lower the chest slightly and make the kick smaller.
The nice part about Single Leg Kick is the contrast: the upper body stays lifted and still while the legs do a tiny, sharp action behind you. That split demand wakes up the back line fast. It is also a good test of whether you can keep the pelvis heavy when the hamstrings get lively.
20. Double Leg Kick
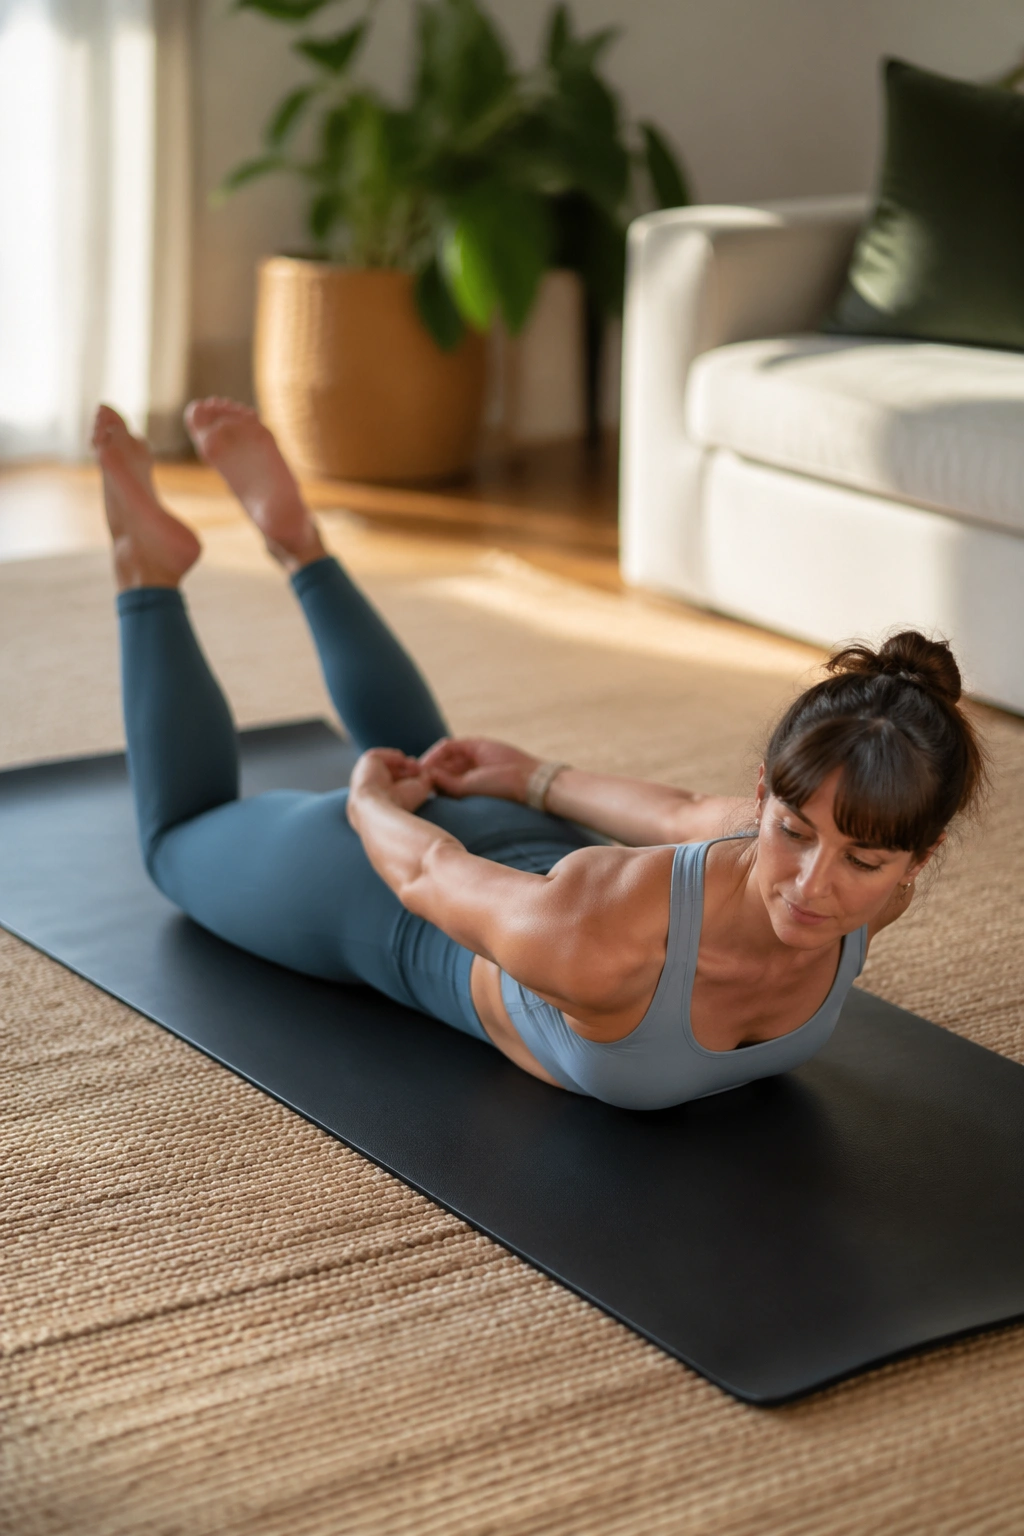
The Double Leg Kick is awkward if you rush it. That is part of the charm, and part of the lesson.
Lie prone with the head turned to one side and the hands clasped behind the back. Kick the heels toward the seat three times, then stretch the arms long behind you and lift the chest as the head turns to the other side. Switch sides and repeat. The kick is tiny. The lift is the prize.
What I like here is the clean contrast between the compressed kick and the long opening across the chest. Keep the shoulders away from the ears and the neck long when you lift. If the back feels jammed, reduce the chest lift and focus on the length through the arms instead. A bigger arch is not a better arch.
21. Plank
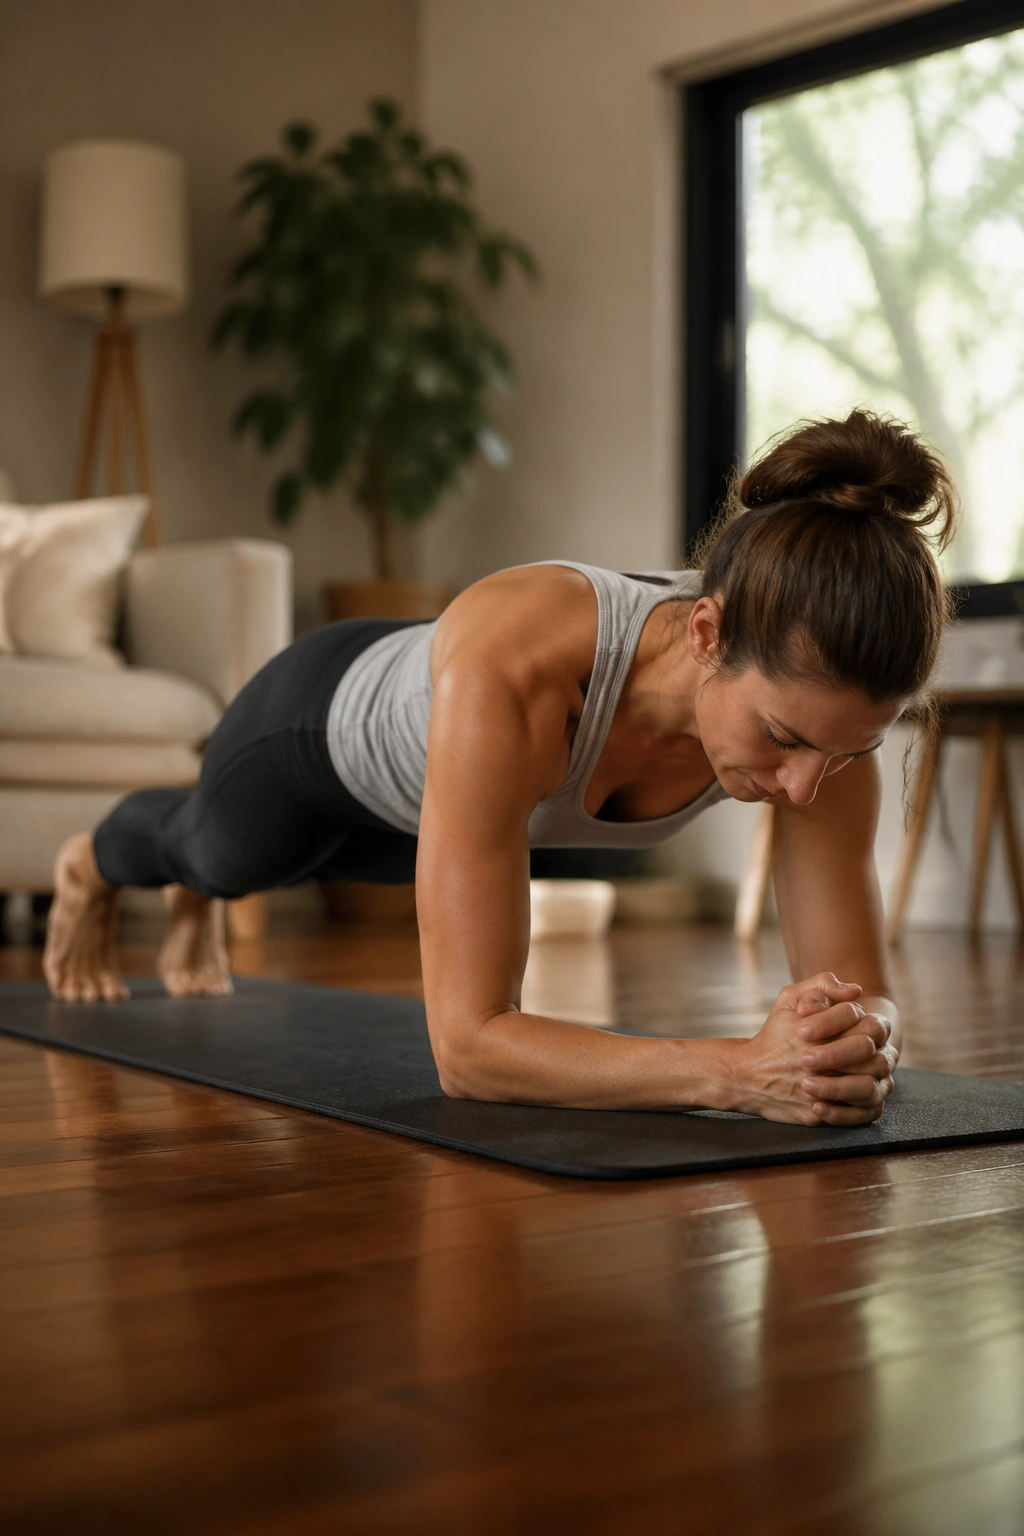
Can a plank still count as Pilates if it burns? Yes — if the line is right.
Set up on hands or forearms with the shoulders stacked over the wrists or elbows. Press the floor away, knit the ribs together, and reach the heels back so the whole body feels long. Hold for 15 to 30 seconds with control, or a little longer if the shape stays clean.
Alignment checks
- Head stays in line with the spine.
- Belly stays lifted, not dropped.
- Glutes support, but do not clench hard.
- Shoulder blades are wide.
If the hips sag, shorten the hold. If the neck cranes forward, stop and reset. Pilates plank is about the body staying organized under load. That is more useful than hanging on through sloppy form.
22. Leg Pull Front
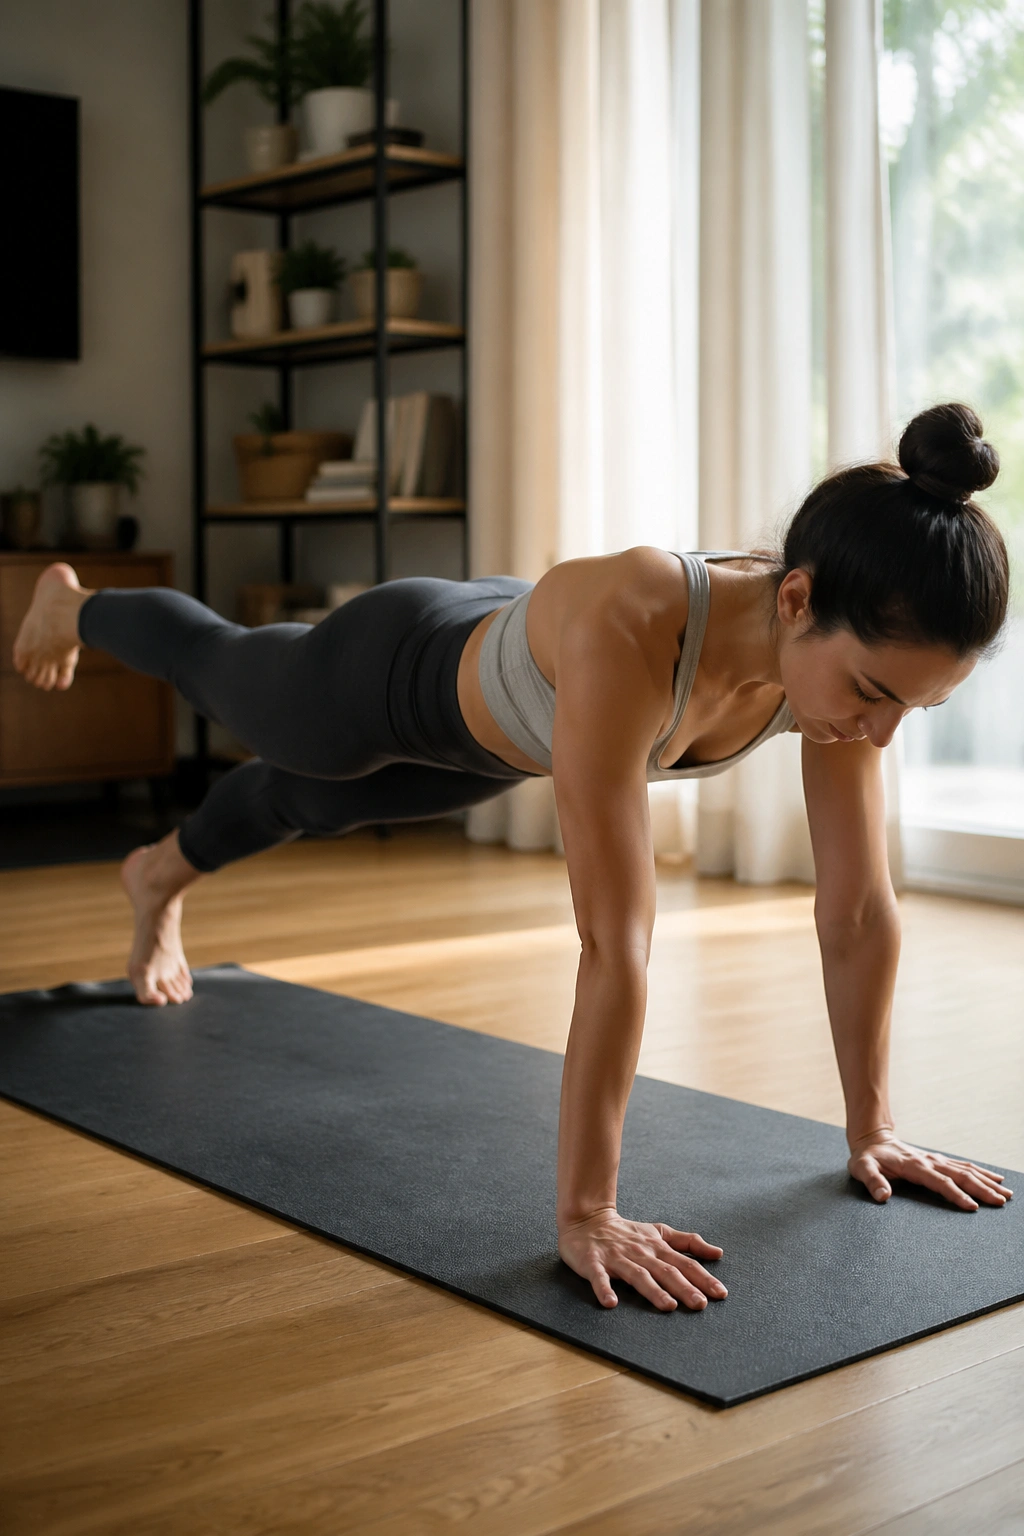
Leg Pull Front is what happens when a plank decides to ask more of the hips.
From a strong plank position, lift one straight leg a few inches without letting the pelvis tip, then lower and switch. The support side has to stay firm. The lifted leg has to stay long. If the body sways, the lift is too large or too fast.
This exercise exposes side-to-side weakness quickly. One hip often wants to hike up, and the shoulders may try to compensate by leaning or shrinking. Keep the movement small enough that the torso barely changes. The goal is not a dramatic leg raise. The goal is a quiet trunk under a moving leg. That difference matters.
23. Teaser Prep
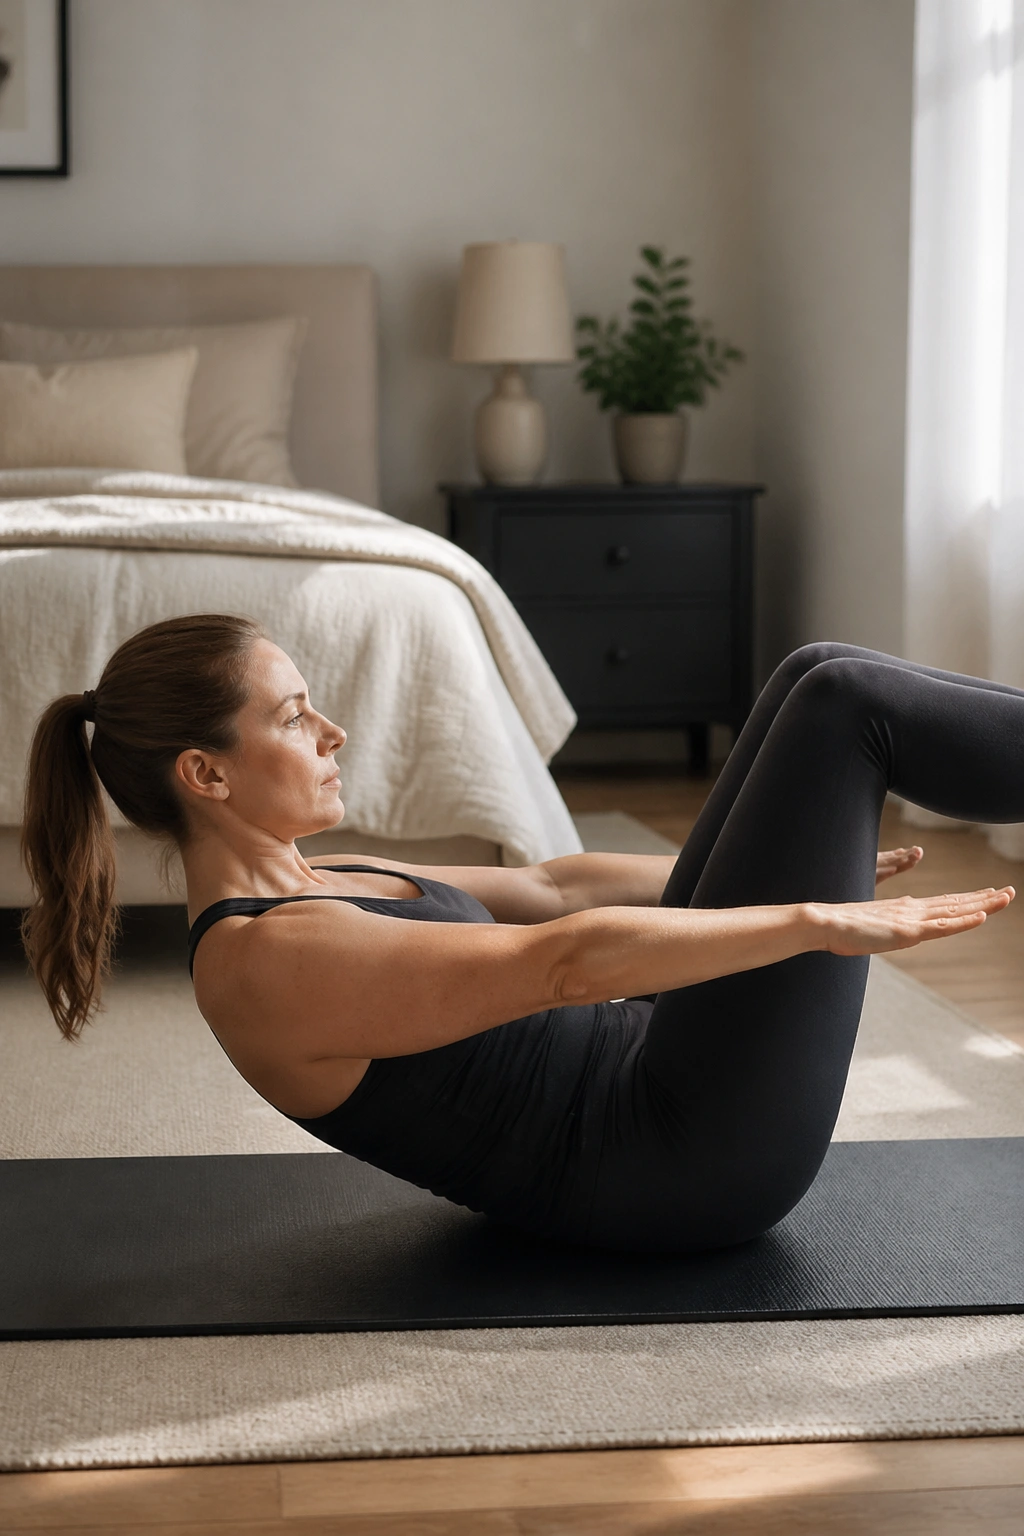
Teaser Prep looks like a V-sit trying to stay civilized.
Start on your back, curl the head and shoulders up, and either lift one leg at a time or keep both knees bent while you shape the torso into a shallow V. The arms reach forward, the chest stays open, and the low back stays honest. If the hip flexors take over, the body will pull forward without enough abdominal support.
Use the abs first, not the legs
That is the whole game here.
- Move slowly from the center.
- Keep the chin slightly tucked.
- Lower with control instead of dropping.
- Stop before the back starts to shake apart.
Teaser Prep is a much better choice than full Teaser for most people. You get the shape, the balance challenge, and the abdominal work without forcing the body into a fight it is not ready for.
24. Corkscrew
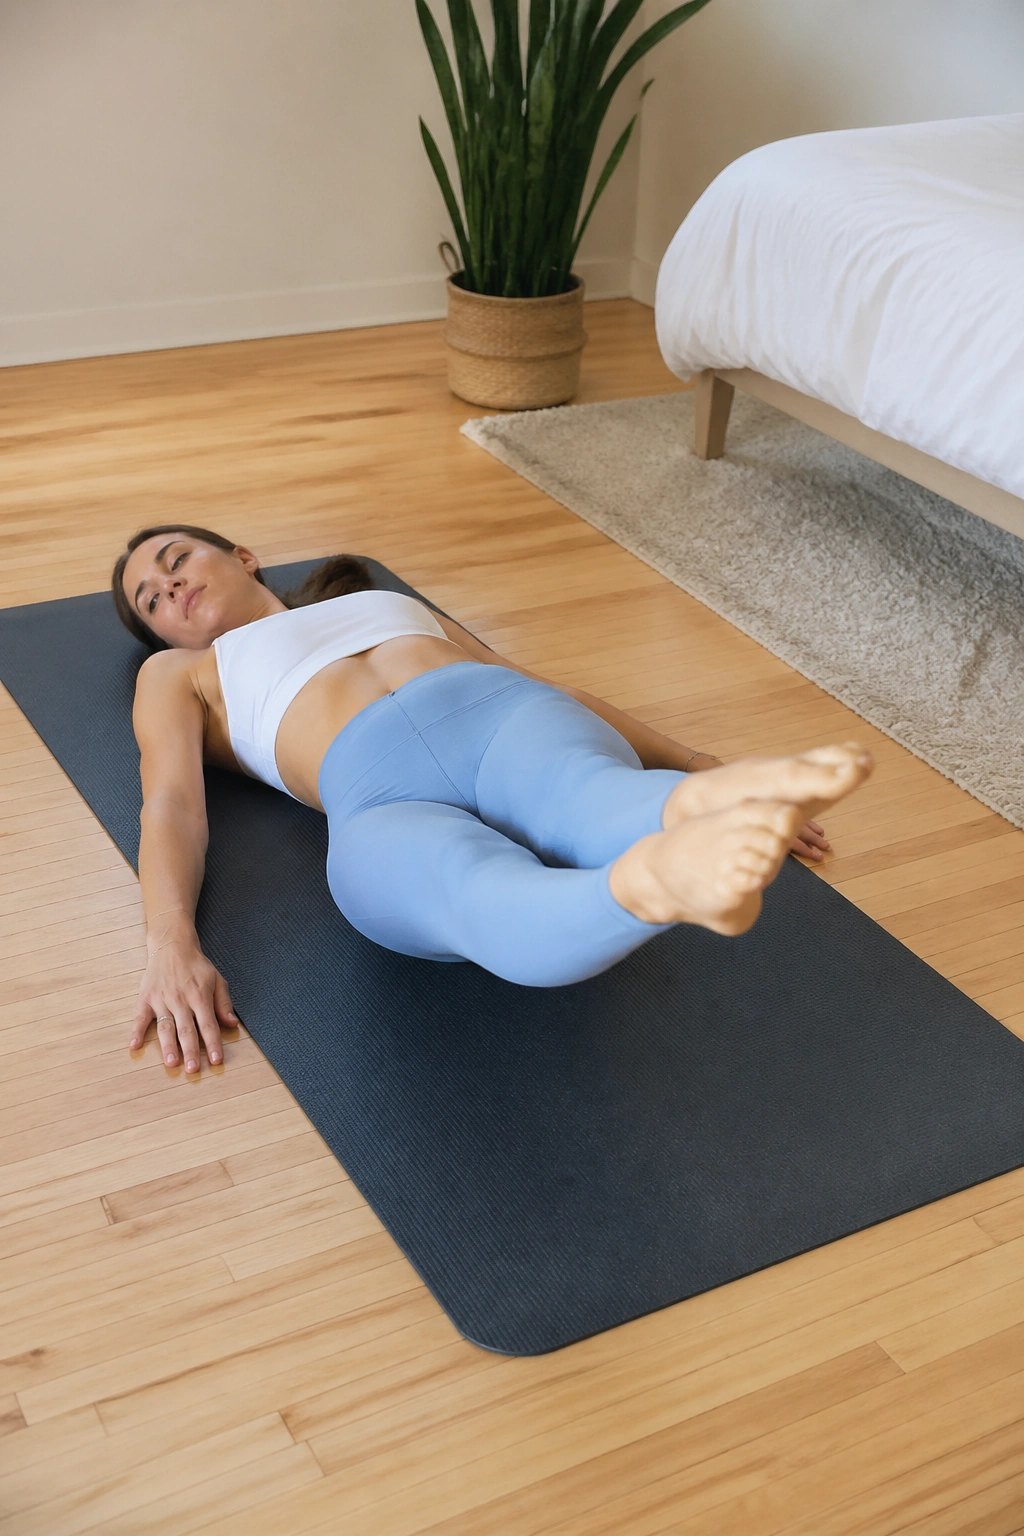
Corkscrew is a leg circle with a spinal twist underneath it. That sounds easy. It is not.
Lie on your back with the legs together and lifted, then circle them to one side, down, and around while the pelvis stays as controlled as possible. The shoulders stay heavy. The waist stays long. If the lower back feels yanked, the circle is too big and the legs are too low.
I would keep this one small until you can make it smooth. The point is not to whip the legs around like a pendulum. The point is to keep the trunk quiet while the legs trace a controlled arc. If your back is sensitive, skip the big range and do a tiny version or leave this exercise for a day when you feel more stable.
25. Mermaid
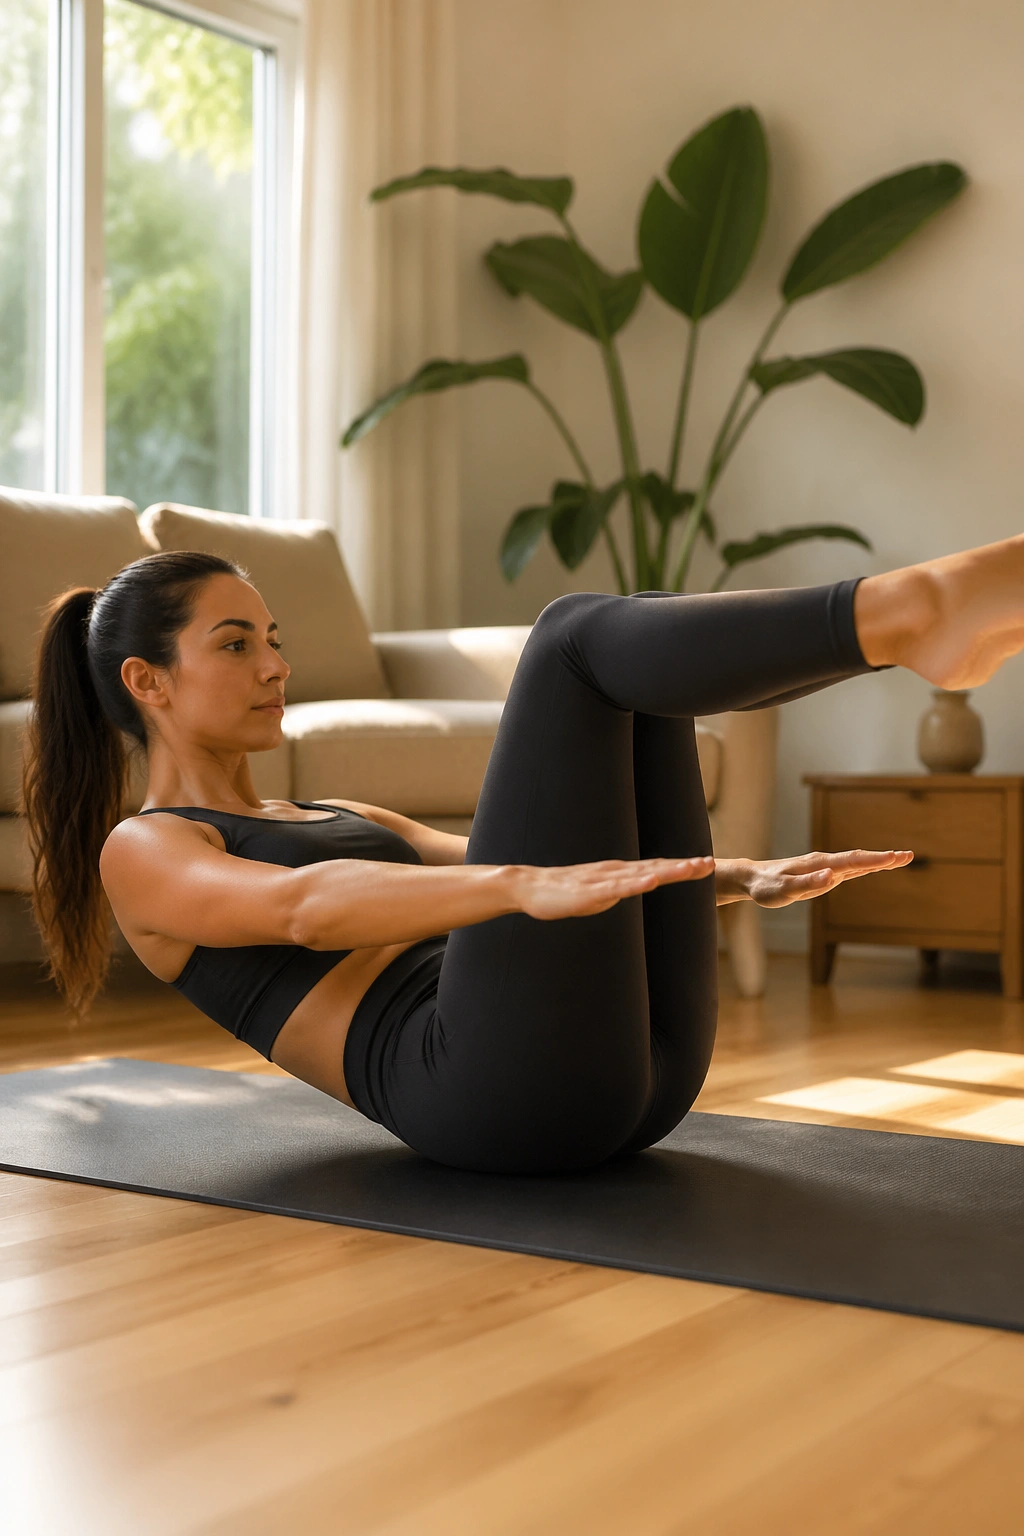
Mermaid is the exhale you want after all the work above.
Sit on one hip with the legs folded to the side, one arm reaching overhead, and the other hand helping you stay tall through the seat. Side bend away from the grounded hand, then breathe into the ribs and come back up with control. The motion should feel smooth, open, and a little luxurious after all the trunk work.
The reason I like Mermaid at the end of a mat session is simple: it lets the ribs widen again. After all the spinal flexion, rotation, and control work, this side bend gives the body a cleaner way to settle. Keep both sit bones as grounded as you can, and do not collapse into the shoulder. Reach first. Fold second.
A few slow rounds of Mermaid leave the whole line of the body quieter than you expect. That is a nice place to stop.
