



The first time your legs start to tremble during a barre-inspired movement, you might think you’re doing something wrong. You aren’t. That tremor—that undeniable, shaky fatigue—is exactly what you are after. It is the physical manifestation of muscle fibers reaching failure through sustained, isometric tension. When you combine the precise, core-centric principles of Pilates with the high-repetition, fatigue-inducing focus of barre, you stop chasing calorie counts and start chasing muscle endurance.
This isn’t about bulk or heavy lifting. It is about precision. It is about waking up muscle groups that spend the day dormant, hidden under postural habits or simple inactivity. When we talk about sculpting lean, toned muscle, we are talking about creating a physique that is capable and resilient. We are talking about deep core activation, postural alignment, and the kind of stability that makes everyday movement feel effortless.
Most people approach these movements with too much momentum. They swing, they bounce, they rush. The secret to this type of training is stillness inside the motion. You need to control the movement from the initiation to the release. If you can master the micro-movements, you can transform your relationship with your own musculature. It requires patience. It requires a quiet mind. And, more than anything, it requires the discipline to ignore the urge to quit when the burn becomes the only thing you can think about.
1. Standing Plies
The standing plie is the bread and butter of the barre world, but it is frequently butchered in practice. When done correctly, it is a masterclass in glute and quad engagement. You aren’t just dropping down and coming back up; you are fighting gravity on the way down and squeezing every fiber of your legs on the way up.
How to Master the Form
Stand with your heels together and toes turned out into a wide V-shape, your hands resting lightly on a sturdy chair or a wall for balance. As you bend your knees, keep your spine perfectly vertical—imagine you are sliding your back down a pane of glass. Do not let your torso hinge forward. The moment your heels lift, keep them together, and drive your knees outward, directly over your toes.
The Secret to the Burn
Focus on the descent. Lower yourself for a count of four, pause at the bottom, and explode back up for a count of one. That slow eccentric phase is where the muscle lengthening happens. It prevents the momentum-driven swinging that turns a high-intensity leg workout into a casual walk in the park.
2. Barre Arabesque
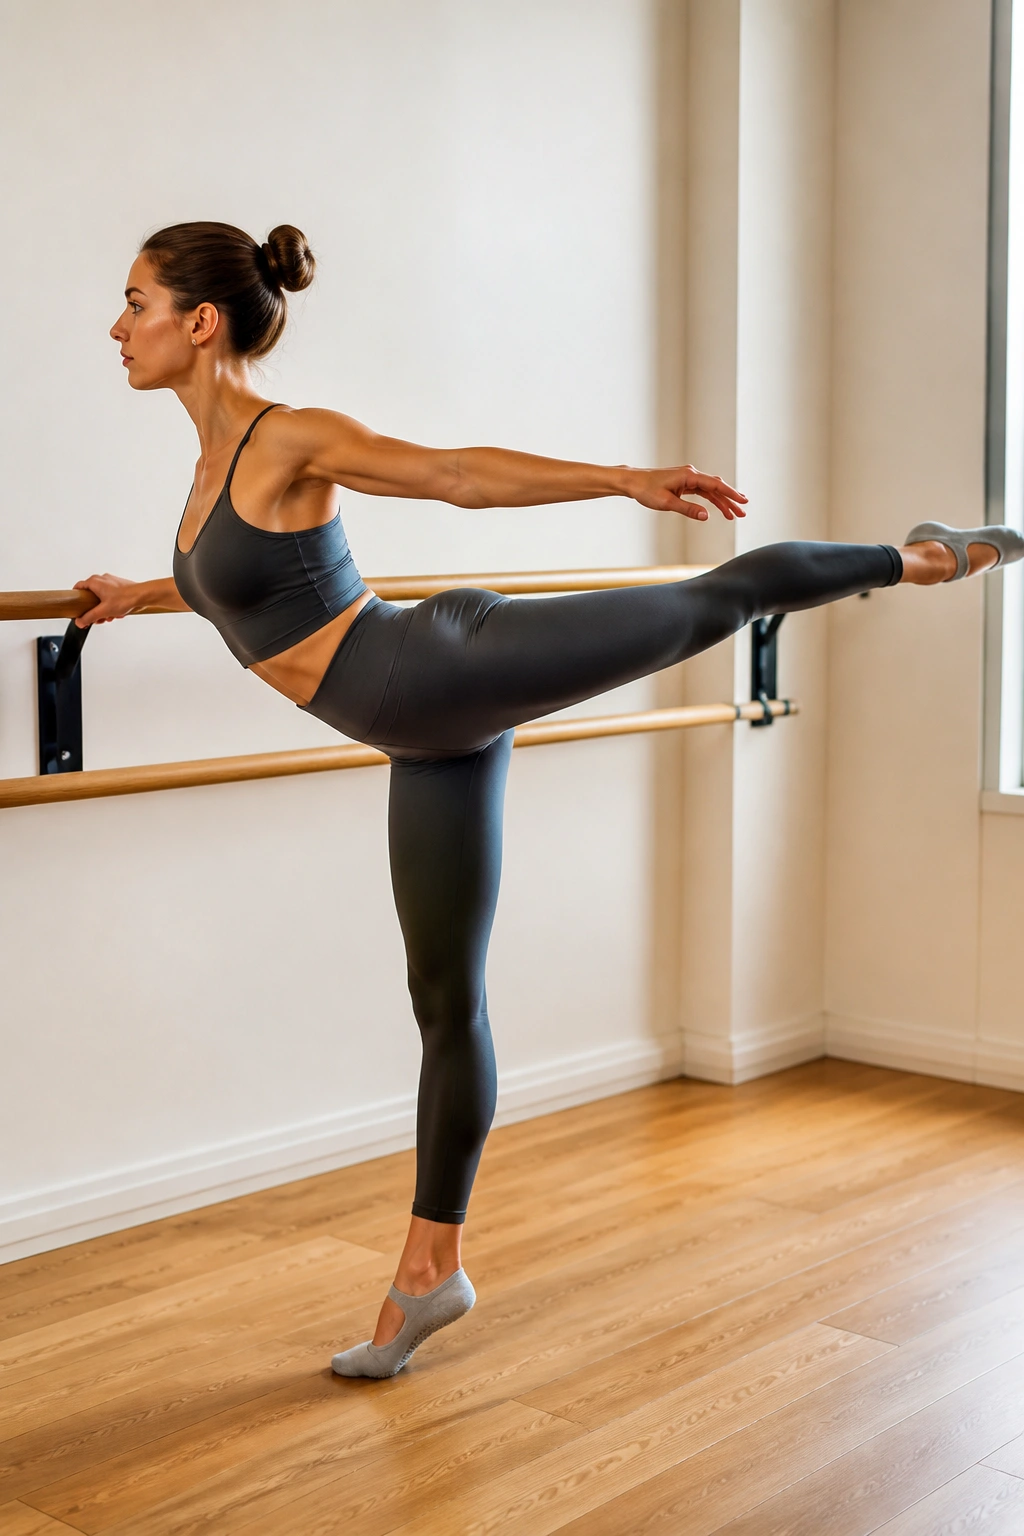
The arabesque is a classic ballet move that, when adapted for fitness, becomes a brutal posterior chain toner. It targets the gluteus maximus and the lower back simultaneously. Most people make the mistake of dumping all the weight into their lower back, which is a recipe for soreness rather than strength.
To do this right, keep your standing leg slightly soft—a micro-bend in the knee is crucial. Lean your torso forward about 45 degrees, keeping your abs pulled tight to protect your spine. Reach your other leg straight back behind you, lifting it only as high as your glute can lift it without arching your lower back.
If you feel your lower back pinching, lower the leg. It is better to have a lower, controlled lift than a high, shaky one that puts stress on your lumbar vertebrae. Pulse the leg upward for one inch, then down for one inch. Do twenty reps, then hold the leg at the top for twenty seconds. You will feel this in the glutes almost immediately.
3. The Hundred
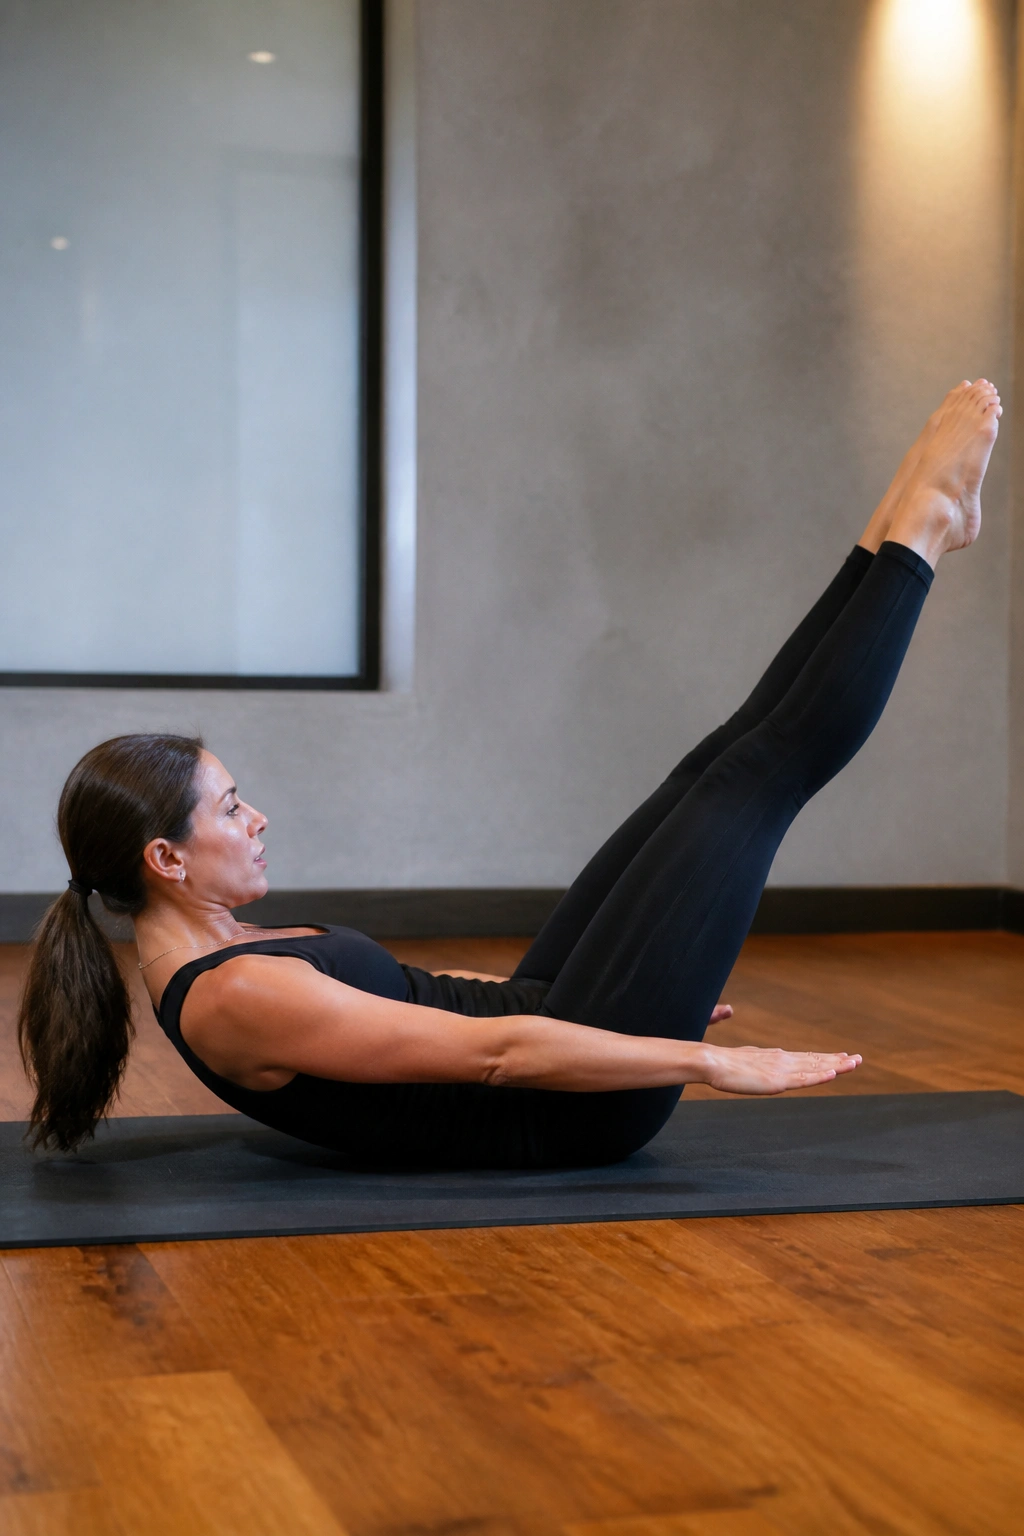
The Hundred is arguably the most famous movement in Pilates, and for good reason. It forces your core to work against gravity while your limbs are extended, creating a significant challenge for your rectus abdominis. It’s an exercise that tests your endurance and your ability to maintain a neutral spine.
Start lying on your back, knees in a tabletop position. Lift your head, neck, and shoulders off the mat. Extend your legs out to a 45-degree angle—or higher if your back starts to arch. Begin pumping your arms vigorously by your sides, inhaling for five pumps and exhaling for five pumps.
The key detail is the connection of the ribcage to the pelvis. If your ribs “pop” out or flare upward, you have lost the engagement. Keep your belly button pulled toward your spine throughout the entire hundred-count sequence. It is not about the arm movement; the arms are just a distraction while your core holds the load.
4. Clamshells with Resistance Band
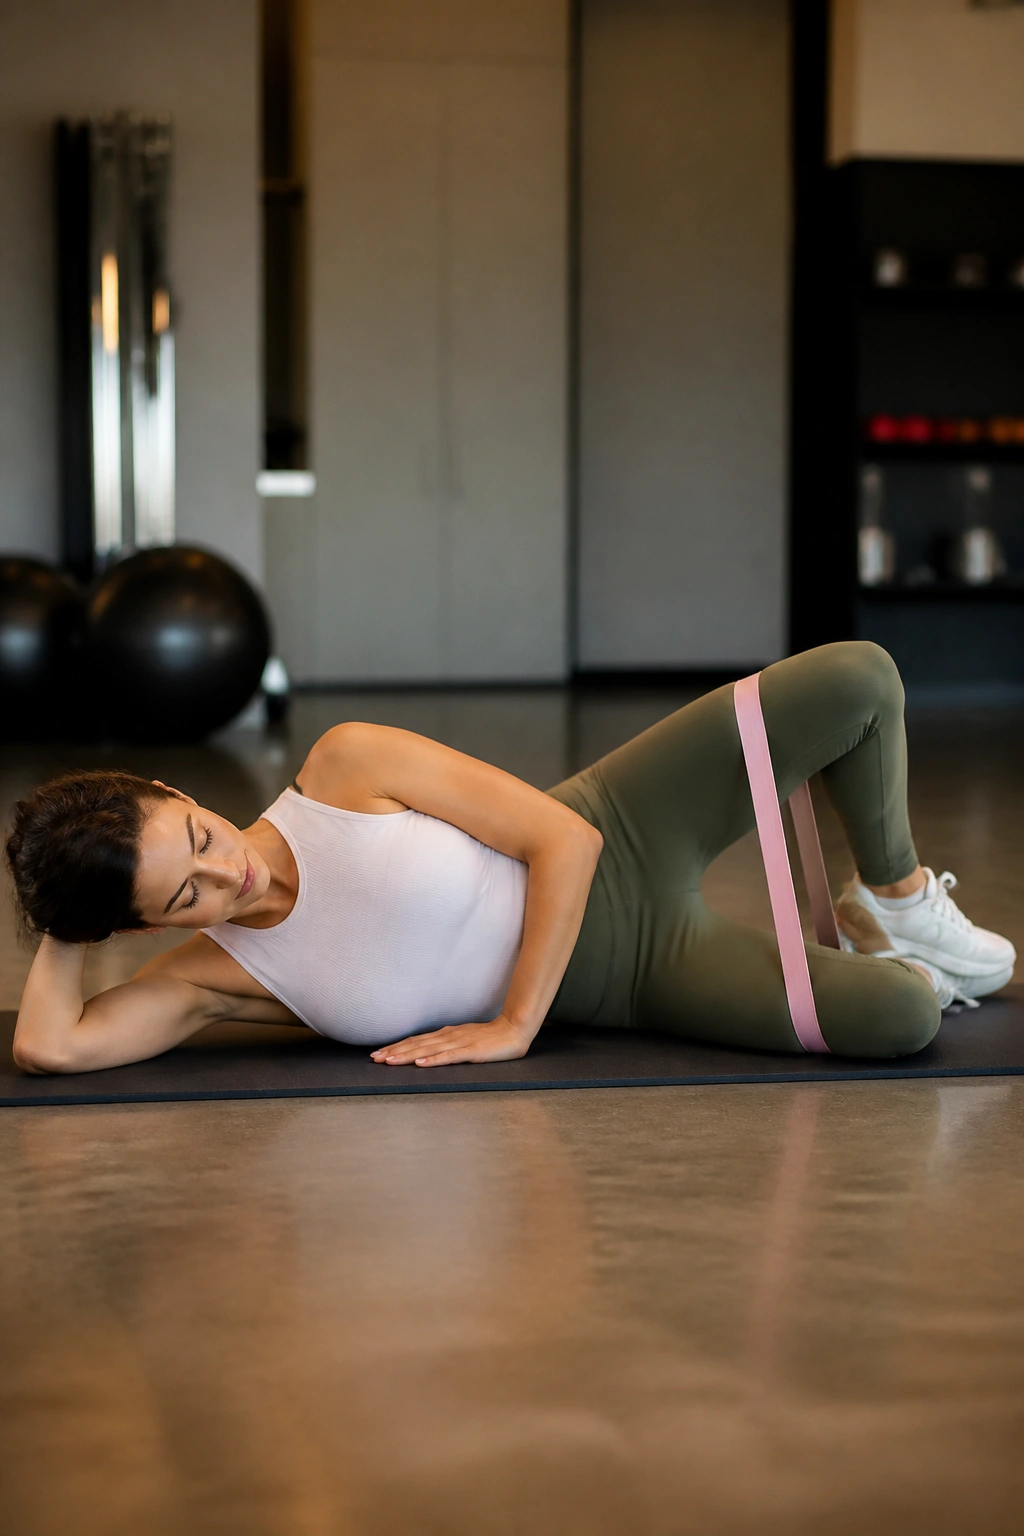
The clamshell is a targeted exercise for the gluteus medius, a muscle that is essential for hip stability and knee alignment. If you suffer from tight hips or struggle with balance, this is your corrective movement. Adding a light resistance band just above your knees turns a standard physical therapy move into a muscle-toning powerhouse.
Lie on your side, knees bent at a 90-degree angle, with your hips stacked directly on top of one another. The tendency is to roll your top hip backward—resist this. Glue your feet together and lift your top knee as high as you can without letting your pelvis rock.
Pro tip: Imagine there is a pencil between your knees, and you are trying to squeeze it as you open and close. That isometric squeeze at the top is where the work happens. If you aren’t feeling a deep ache in the side of your hip after 15 reps, you are moving too fast.
5. Barre Calf Raises
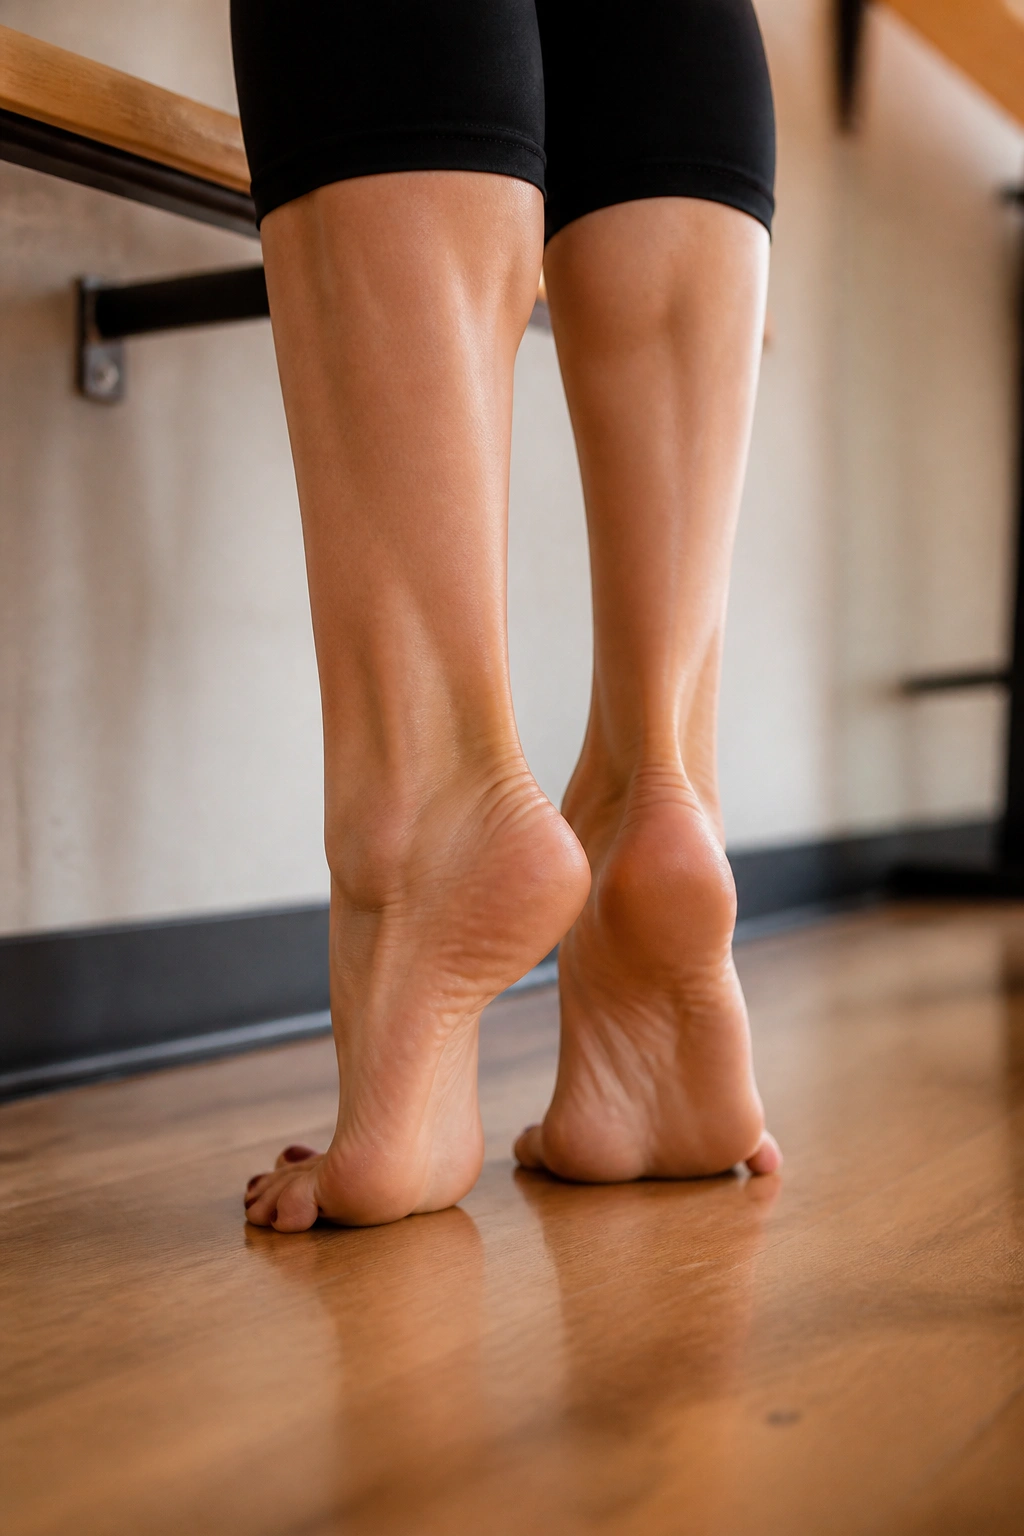
Definition in the lower leg is difficult to achieve, but focused calf work is the answer. Barre calf raises are superior to machine work because they require you to balance your entire body weight, engaging the stabilizer muscles in your ankles and feet.
Stand with heels together, toes out. Rise onto the balls of your feet, pushing your big toe into the floor. This is where most people get it wrong—they roll onto the outside of their foot. Keep your weight centered between the big toe and the second toe.
Perform three sets of twenty pulses at the top of the movement. On the final set, hold the peak position, bring your heels together to touch, and separate them again without dropping your heels. This “prancing” movement at the highest point of the raise will force the calf muscle to engage through its full range of motion.
6. Pilates Teaser
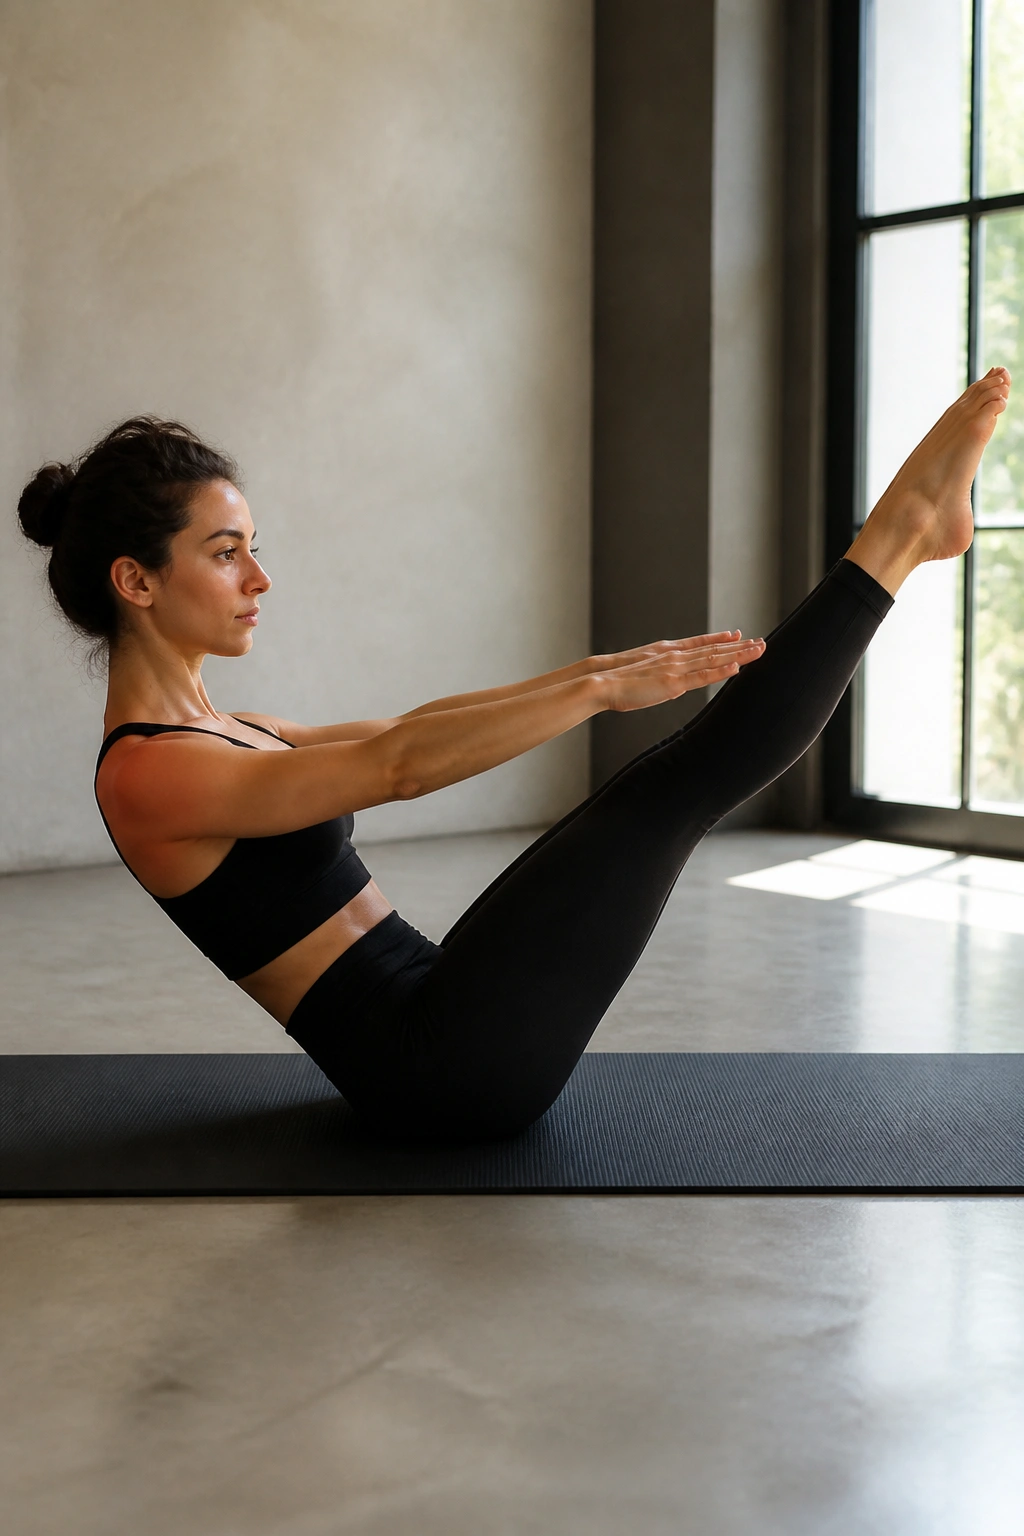
The Teaser is often viewed as the “goal” exercise in Pilates. It’s a full-body challenge that requires massive abdominal strength and coordination. Do not get discouraged if you cannot perform a perfect one immediately; the process of attempting the movement is just as effective as the final result.
Start sitting, knees bent, arms reaching forward. Roll down halfway until your mid-back hits the mat, then peel yourself back up, extending your legs simultaneously. Your body should form a V-shape. Keep your shoulders down away from your ears—the tension should stay in your abs, not your neck.
If your legs feel too heavy, keep them in tabletop rather than fully extended. The goal is to articulate the spine, moving one vertebra at a time off the floor. If you find yourself using momentum to swing your body up, stop. It’s better to use a small assist from your hands behind your thighs than to use your hip flexors to fling yourself upright.
7. Tricep Dips on the Barre
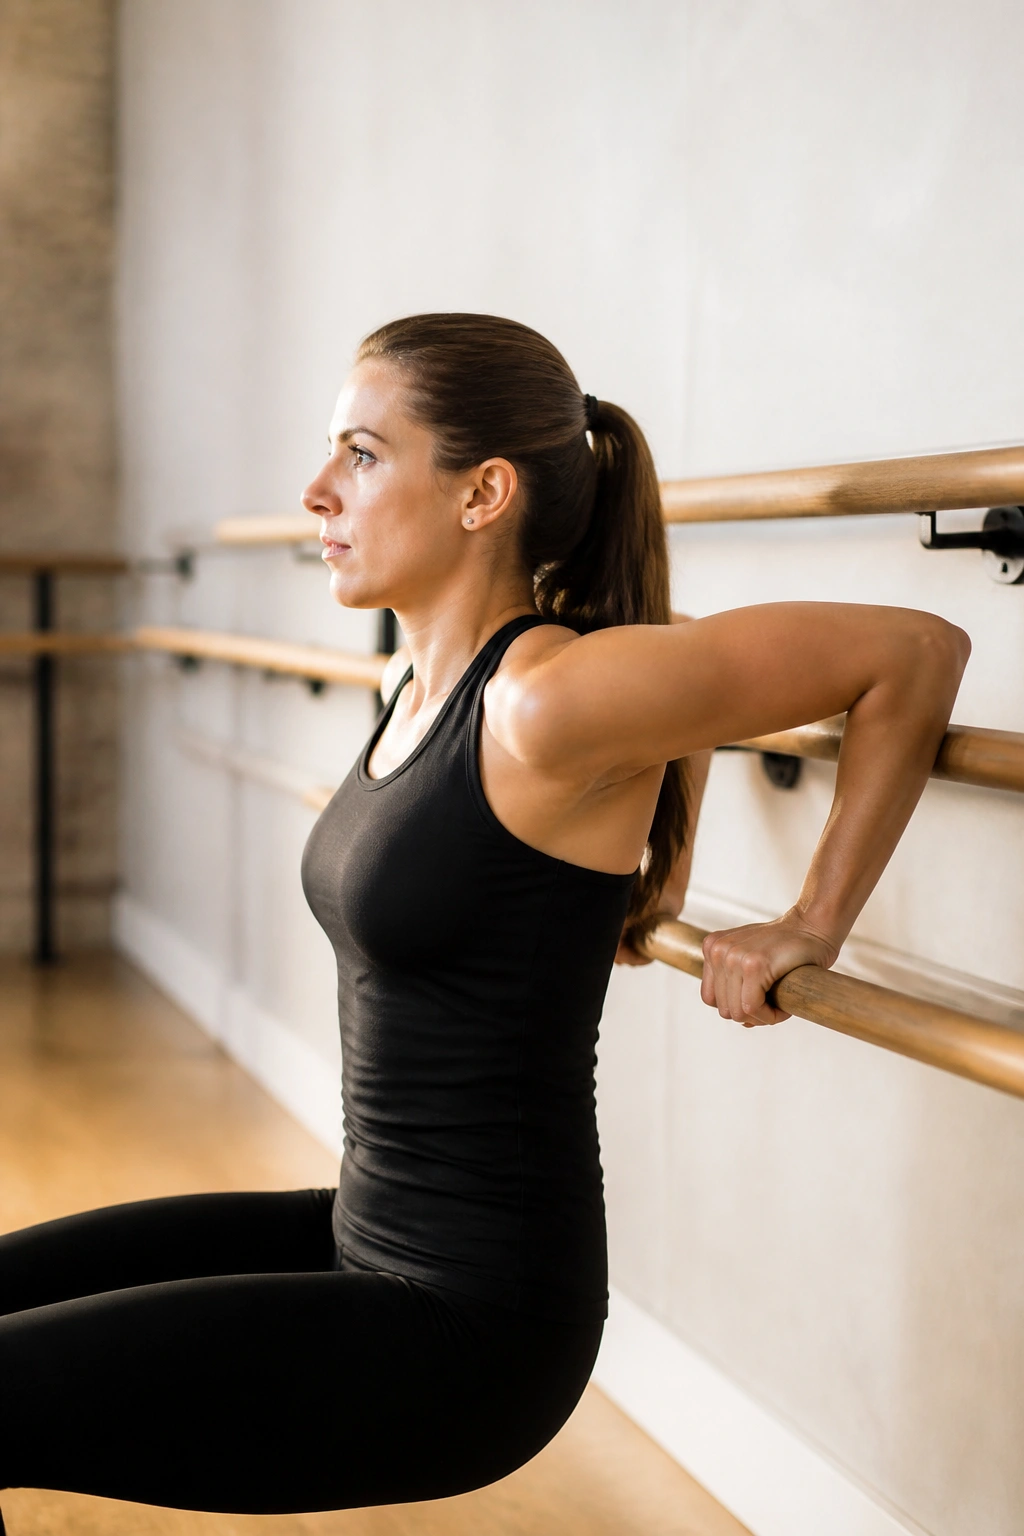
Upper body definition is often overlooked in barre-based workouts, but tricep work is essential for a “toned” arm look. Using the barre or a sturdy countertop, place your hands shoulder-width apart and walk your feet out.
Lower your hips until your elbows are at a 90-degree angle, then press back up. The secret is the depth and the speed. Don’t go to full lockout at the top; keep a tiny bend in your elbows to keep the triceps under constant tension.
Most people drop their hips too low, which strains the shoulders. Keep your hips as close to the barre as possible—your back should essentially scrape against the surface as you lower and lift. This alignment ensures the load is strictly on the triceps rather than the chest or front delts.
8. Side-Lying Leg Lifts
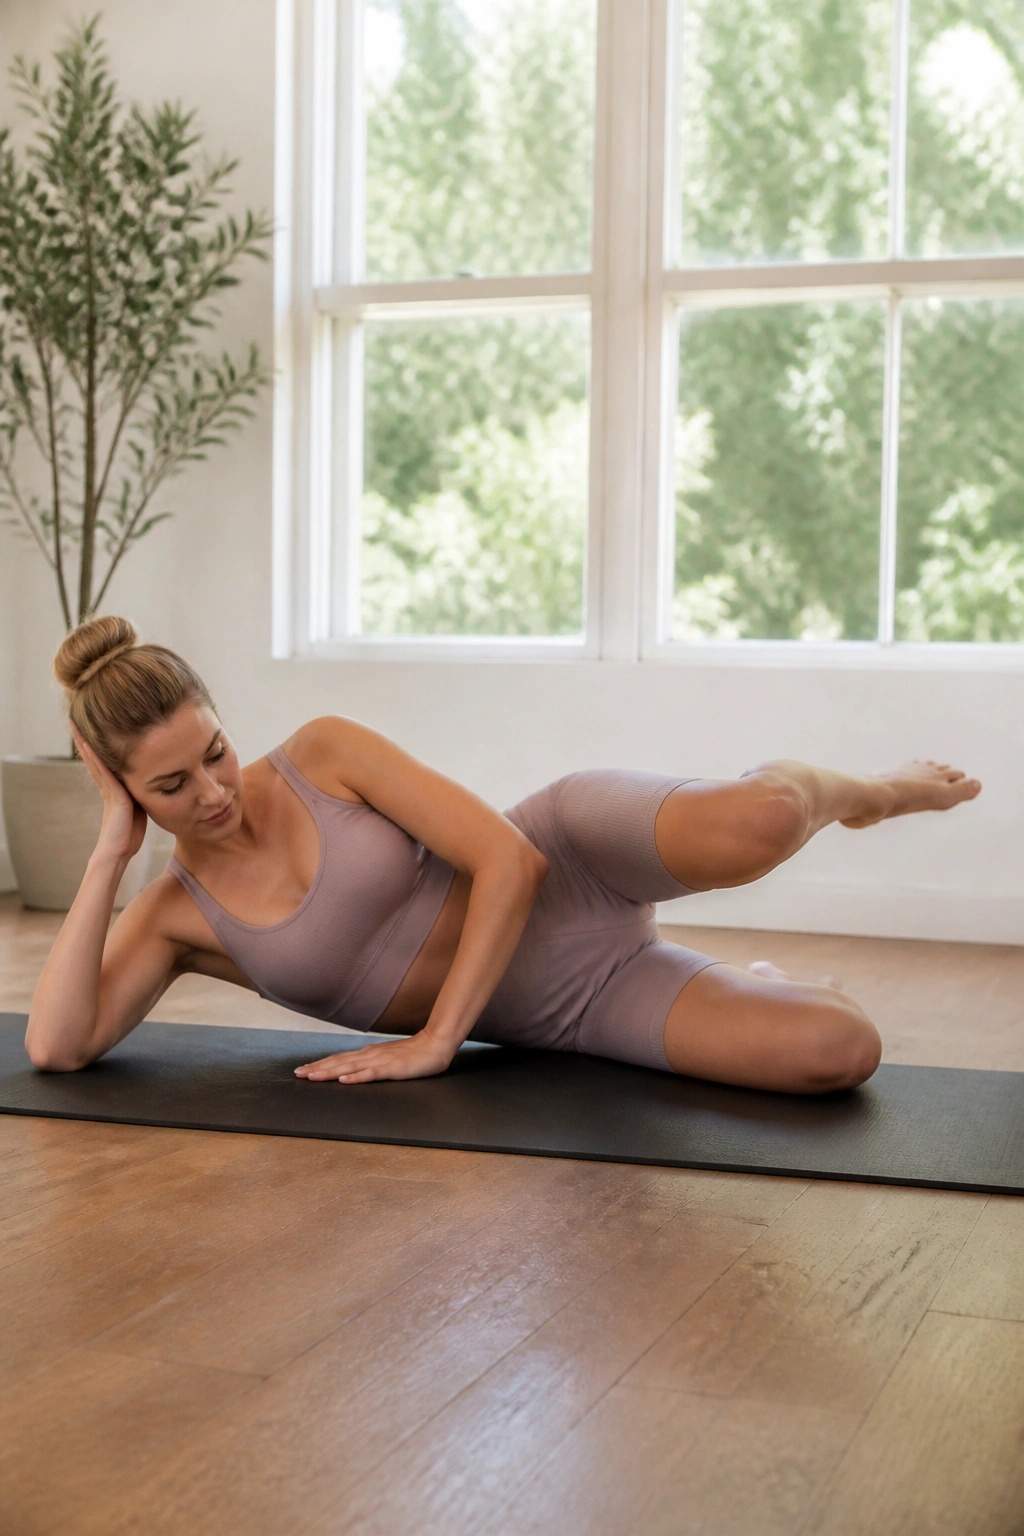
This is the movement that makes your inner thighs burn like nothing else. It’s deceptively simple, but the lack of leverage makes it incredibly taxing.
Lie on your side, bottom leg extended long, top leg bent with the foot placed on the floor behind the bottom knee. Lift your bottom leg straight up toward the ceiling. Your range of motion might only be two or three inches—that is perfectly normal.
The target is the adductor group, the muscles along the inside of the thigh. If you are feeling this in your hip flexors, your leg might be too far forward. Reach the leg out of the hip socket, lengthening it away from your body, then pulse upward. Ten small pulses, followed by five slow, controlled lifts.
9. Barre Pushups
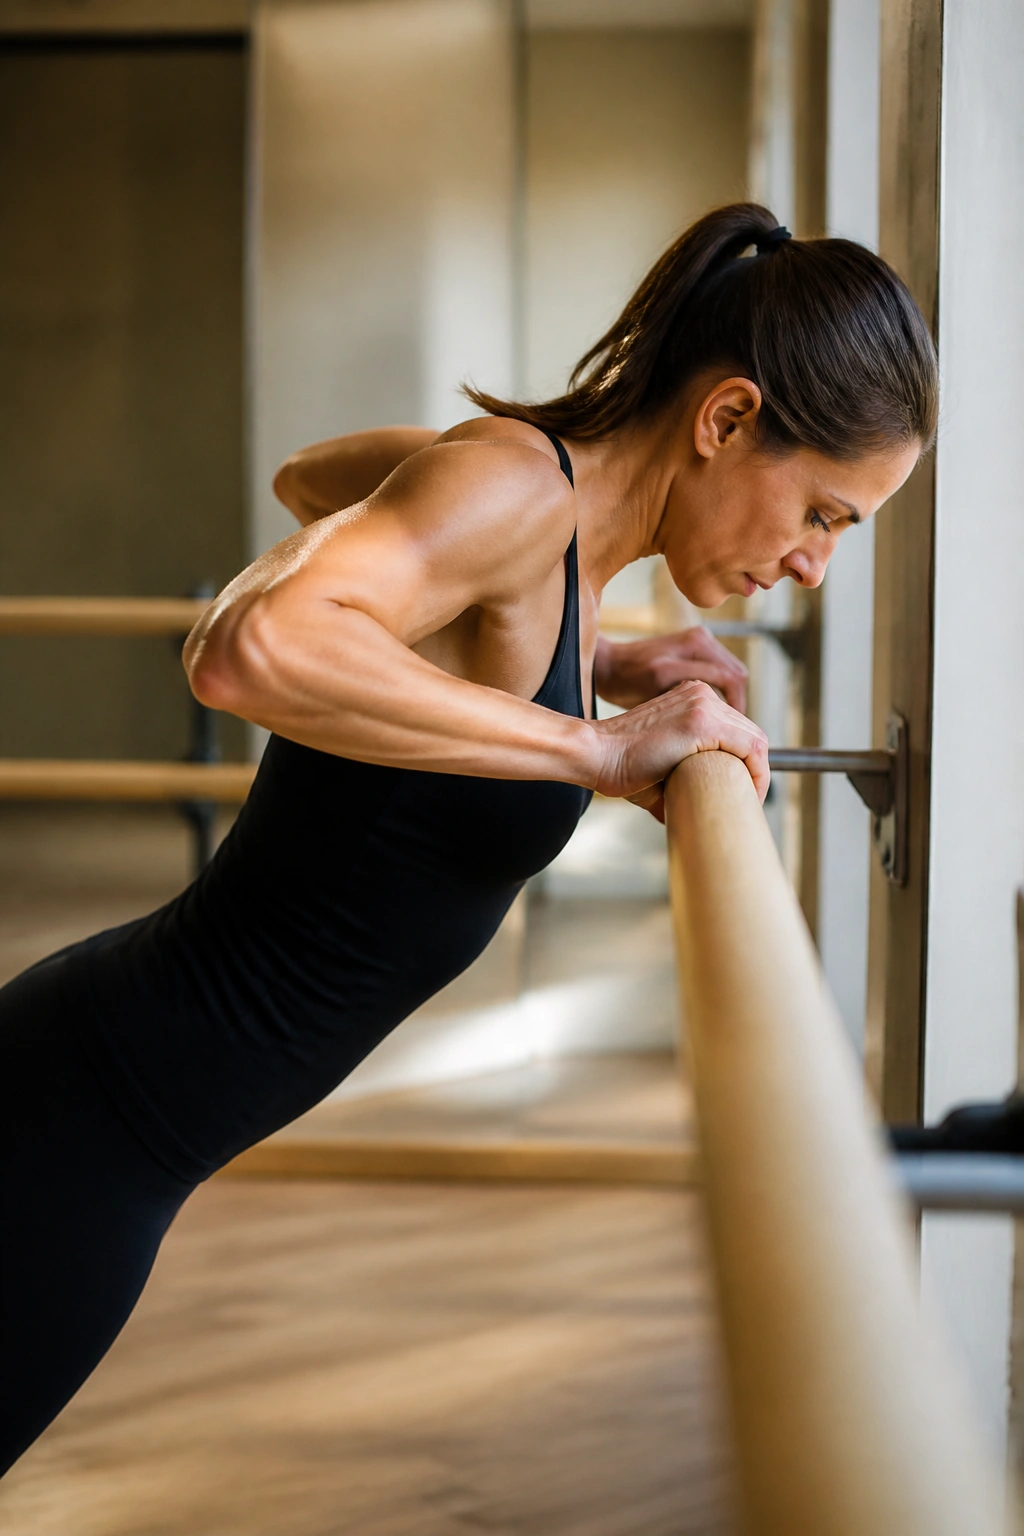
Barre pushups are not the same as standard floor pushups. They are performed at an incline, which changes the angle of gravity and shifts the focus toward the upper chest and the postural muscles.
Place your hands on the barre about shoulder-width apart. Walk your feet back so your body is in a straight diagonal line. As you lower your chest to the barre, keep your elbows tucked in close to your ribs—do not let them flare out to the sides.
The key to this movement is the “scapular retraction.” Imagine you are trying to squeeze a pencil between your shoulder blades as you lower your body. When you push back up, focus on spreading those shoulder blades apart. This creates a functional, lean upper-back look that floor pushups often fail to target.
10. Plank to Pike
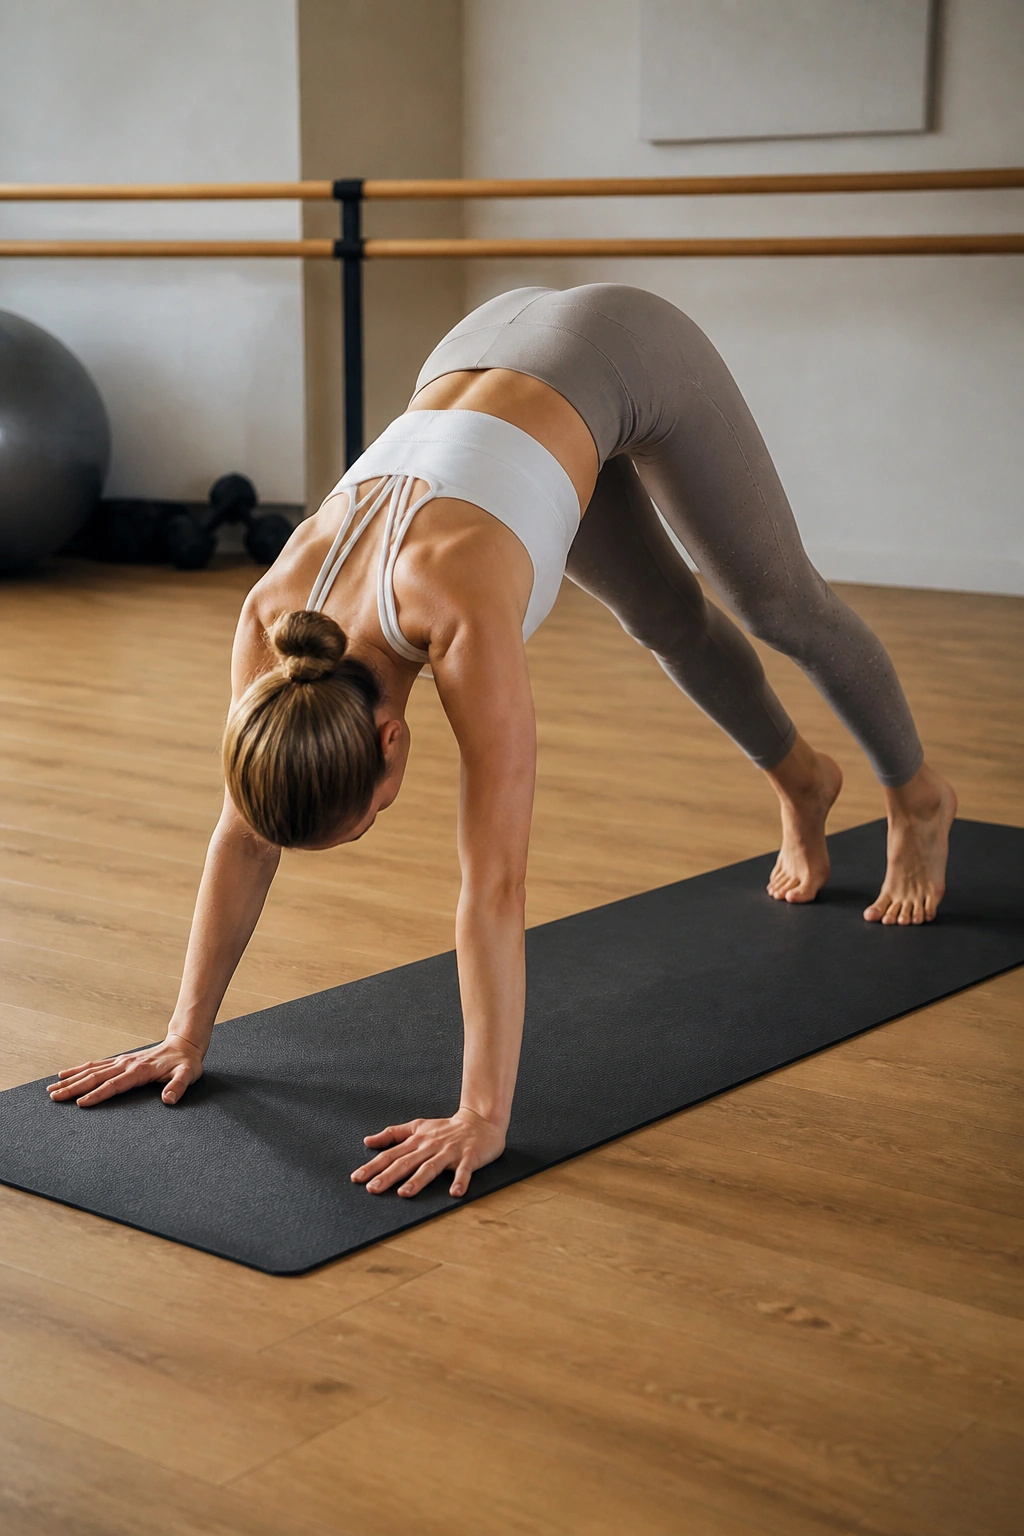
This is a core movement that also engages the shoulders and hamstrings. Start in a high plank position. From here, use your abs to pull your hips up and back, creating an inverted V-shape.
As you pike, keep your legs as straight as possible. This forces a deep stretch in the hamstrings and requires the core to work aggressively to control the movement. Lower back down to the plank position slowly—do not let your hips sag below the line of your shoulders.
If your wrists are bothering you, do this on your forearms. The effect is nearly identical. You should feel your abs “hollowing out” as you pull your hips up. That hollowing is the key to activating the transverse abdominis, the deepest layer of your core that acts like a corset for your waist.
11. Swan Dive
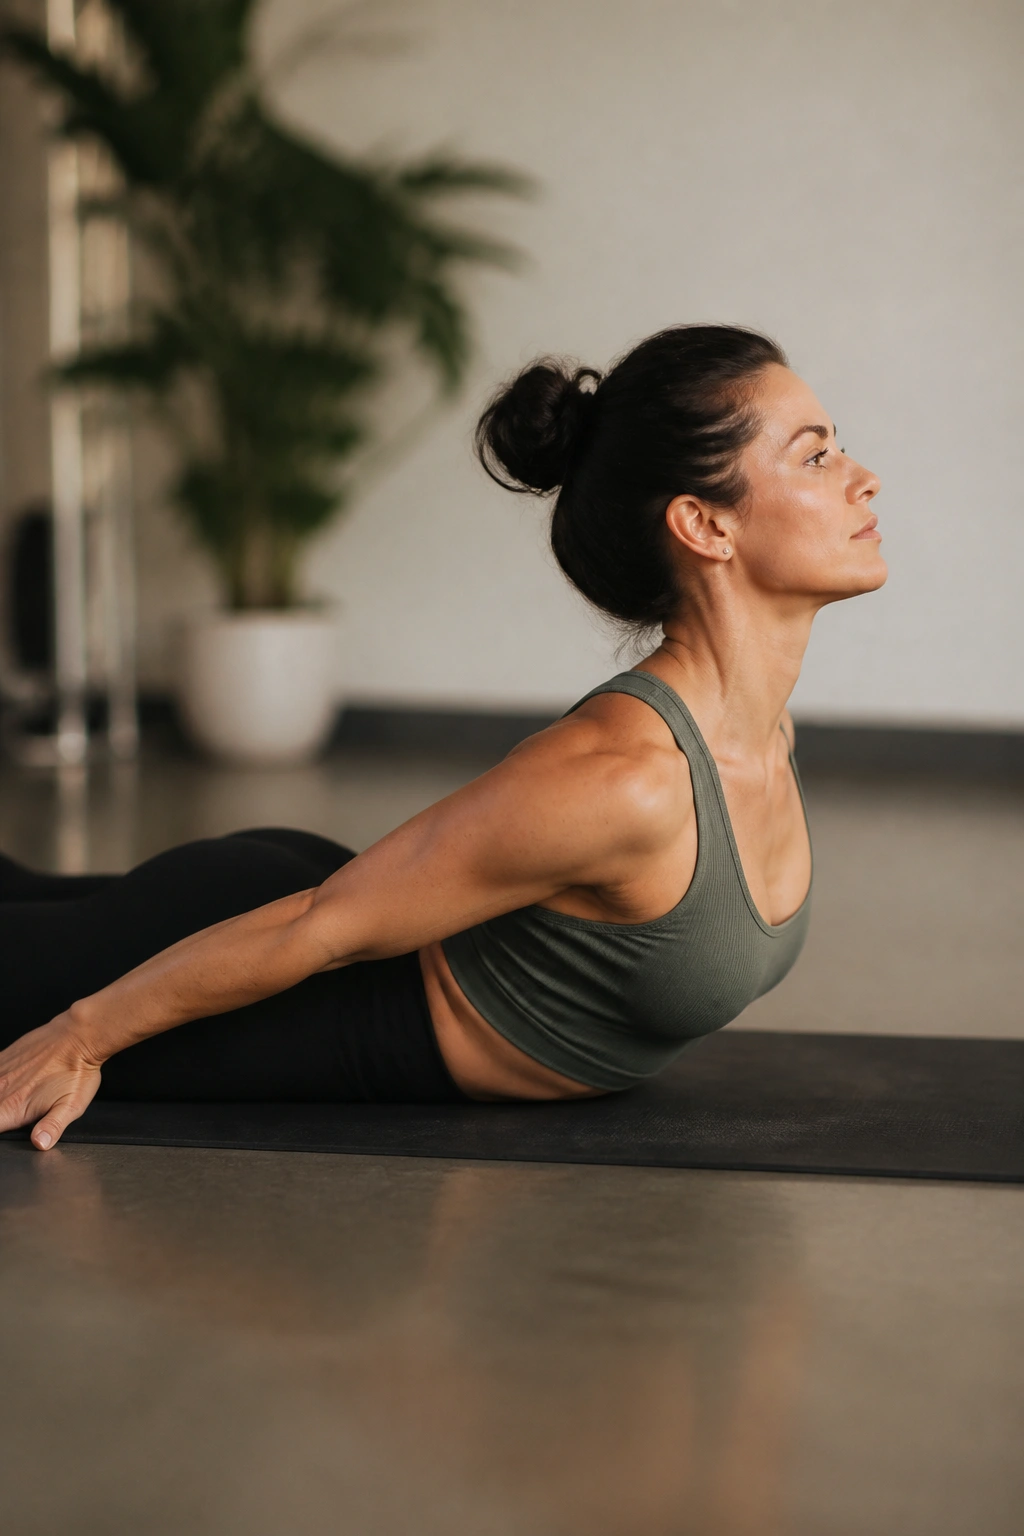
The Swan Dive is the antidote to the modern lifestyle of hunching over screens. It targets the posterior chain—the back of your legs, your glutes, and, most importantly, your erector spinae.
Lie on your stomach, legs hip-width apart, arms bent with hands by your shoulders. Press into your hands to lift your chest off the mat, keeping your neck long. Once you are up, release your hands and try to hover your chest using only your back muscles.
Hold for five seconds, then lower. To advance the movement, rock forward and back, lifting your legs as your chest drops and vice versa. It’s like a teeter-totter for your spine. Focus on keeping your glutes squeezed the entire time; this protects your lower back.
12. Barre Lunge Pulse
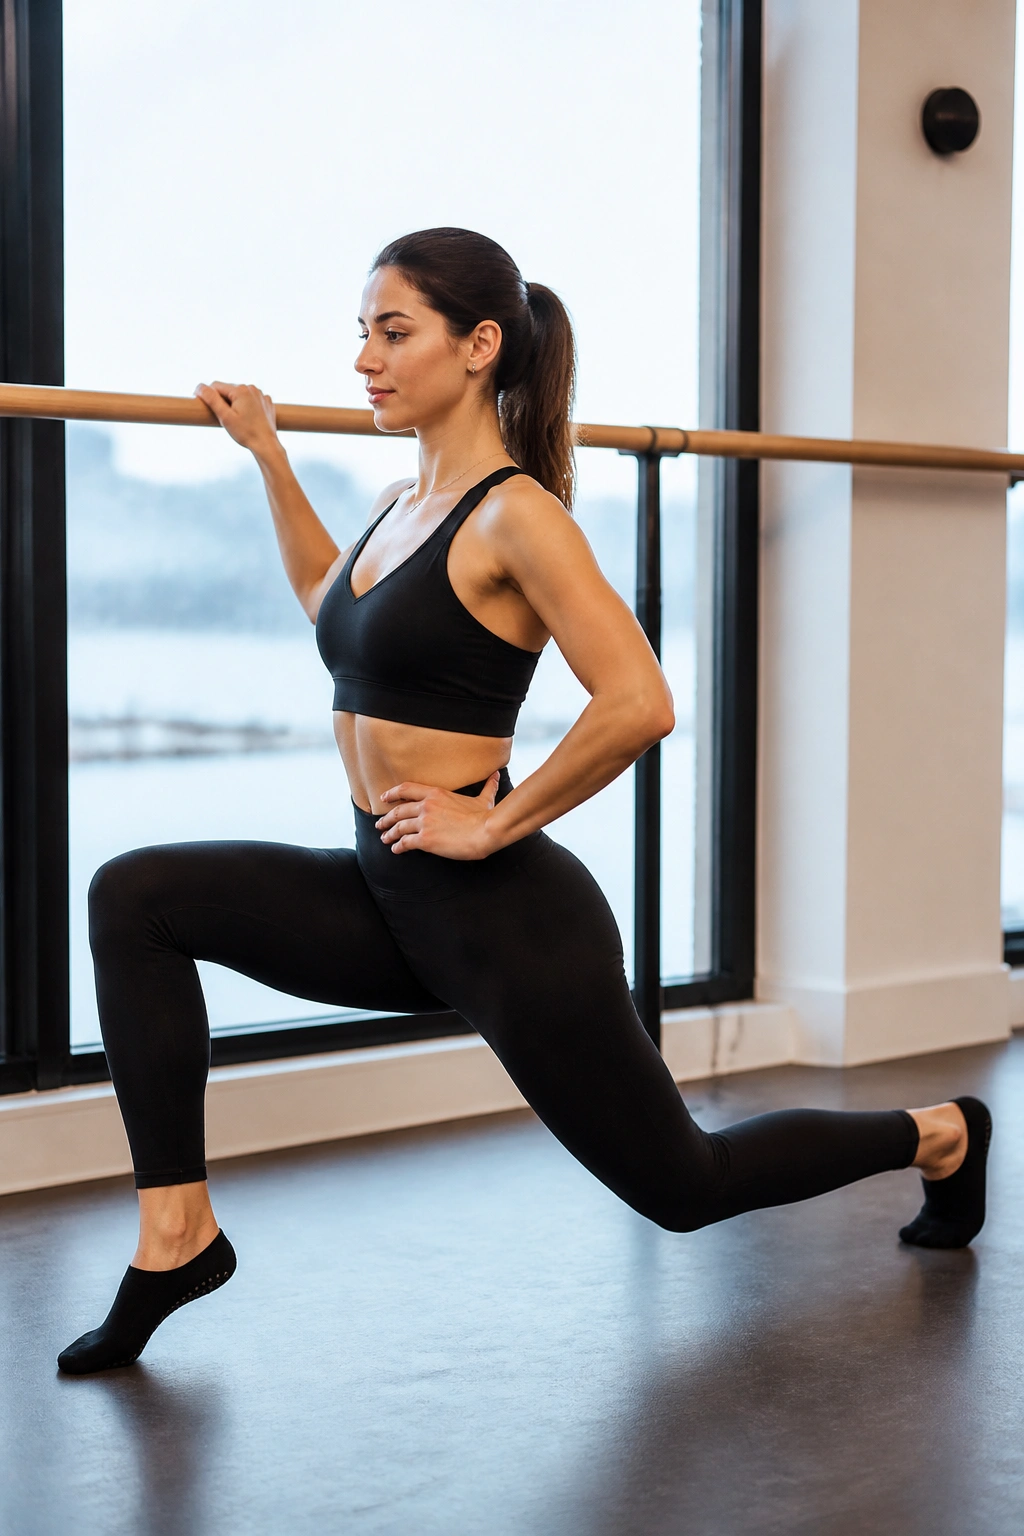
Lunges are the king of leg exercises, but the barre lunge pulse changes the game by eliminating the rest phase. Stand facing the barre, one hand on it for balance. Step one leg back into a deep lunge.
Your front knee should be directly over your ankle. Now, pulse. Drop down an inch, come up an inch. Do not straighten your front leg completely. You want to keep the tension in the quadricep for the entire duration of the set.
Most people lean forward in a lunge. Try to keep your torso perfectly upright, shoulders stacked over your hips. This shifts the load from the lower back into the glutes and quads. If you feel wobbly, engage your core. Balance is part of the work.
13. Pilates Swimming
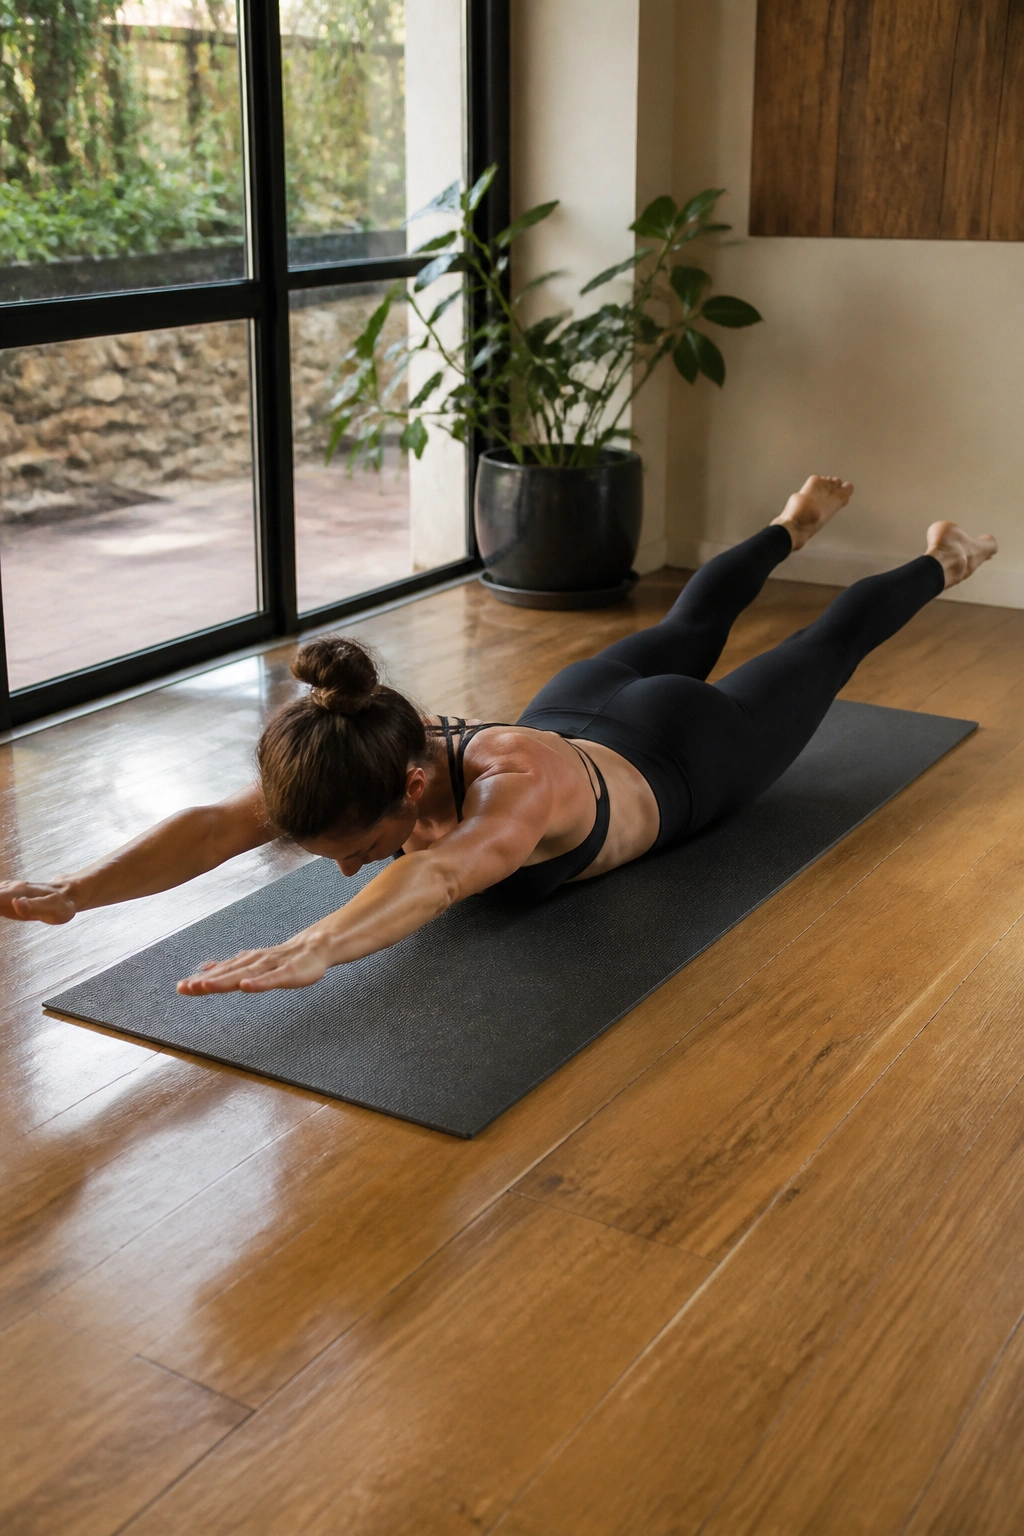
This is a low-impact movement that builds endurance in the back muscles and glutes. Lie on your stomach, arms extended in front of you, legs extended behind you. Lift both arms and legs off the mat.
Flutter your arms and legs rapidly, as if you are swimming. The goal isn’t to move your limbs wildly, but to maintain a rigid, stable core while your extremities oscillate. Keep your gaze toward the mat to avoid neck strain.
You want to breathe deeply through this. It is easy to hold your breath when you are focusing on stability, but oxygen is fuel. Perform this for 30 seconds, rest for 10, and repeat three times. The burn will eventually move from your back to your glutes.
14. Standing Leg Circles
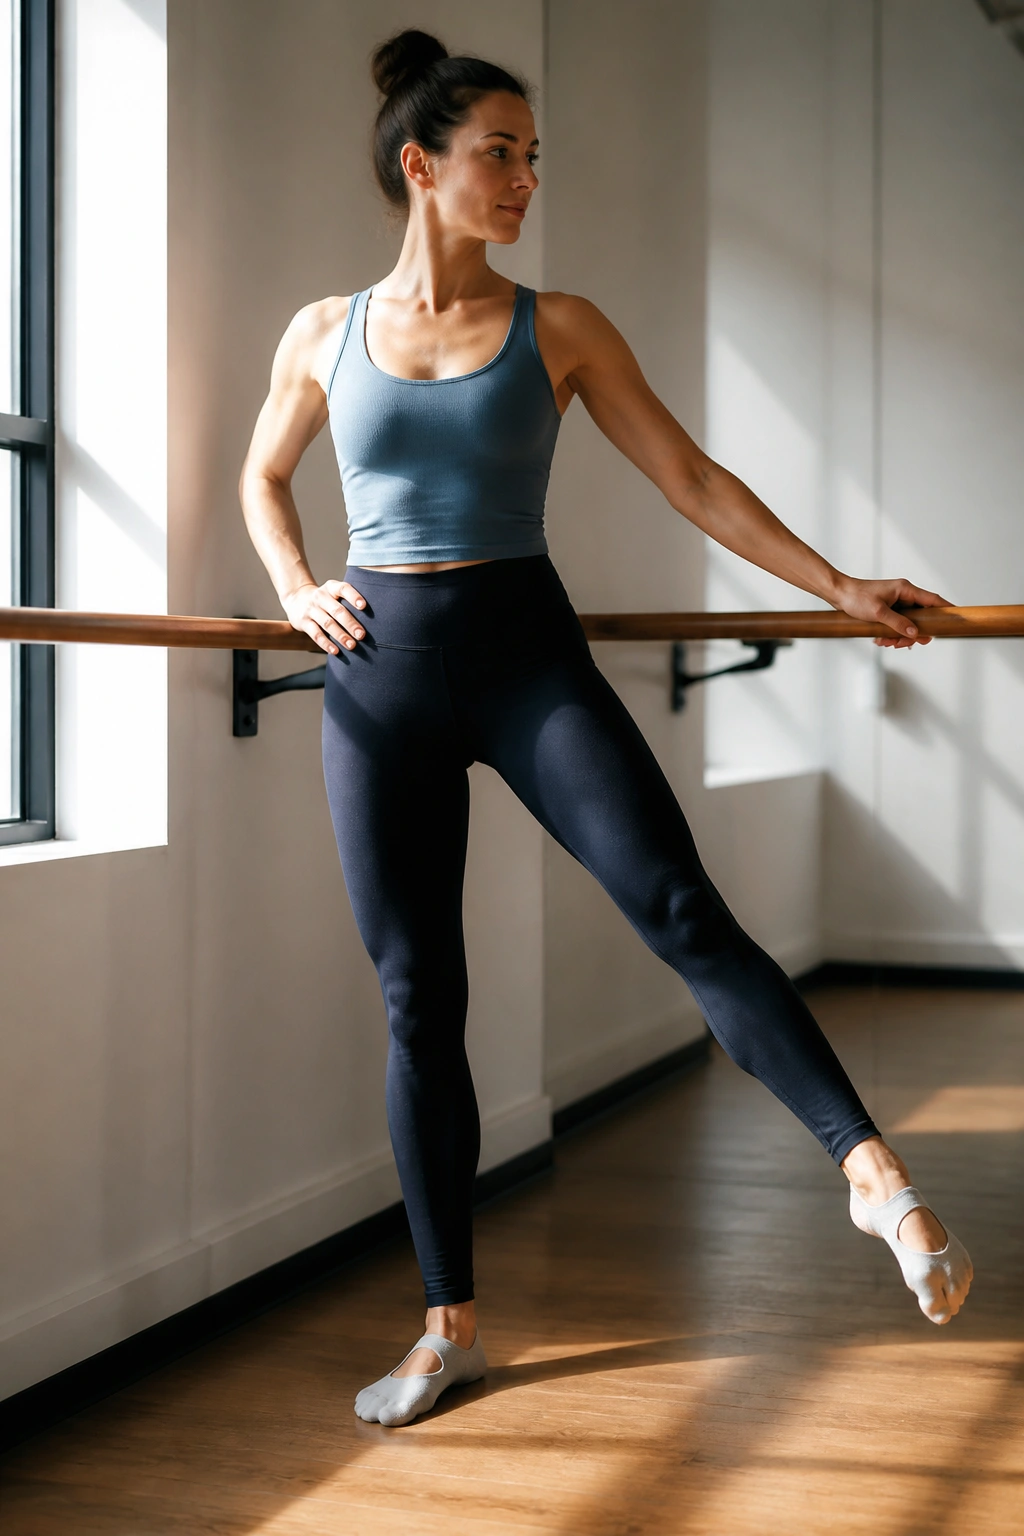
This exercise improves hip mobility while firing up the core stabilizer muscles. Stand with one hand on the barre for balance. Lift the outside leg slightly off the floor, about two inches.
Begin tracing a small circle with your big toe. The circle should be no larger than a dinner plate. The challenge here is keeping your torso absolutely still. Your hips should not rock side to side, and your standing leg should not bend.
Do ten circles clockwise, then ten counter-clockwise. Switch legs. If you find your hips swinging, imagine you are balancing a glass of water on your head. That stillness is where the core work happens—it has to work hard to keep your center of gravity from shifting.
15. Barre Knee Tucks
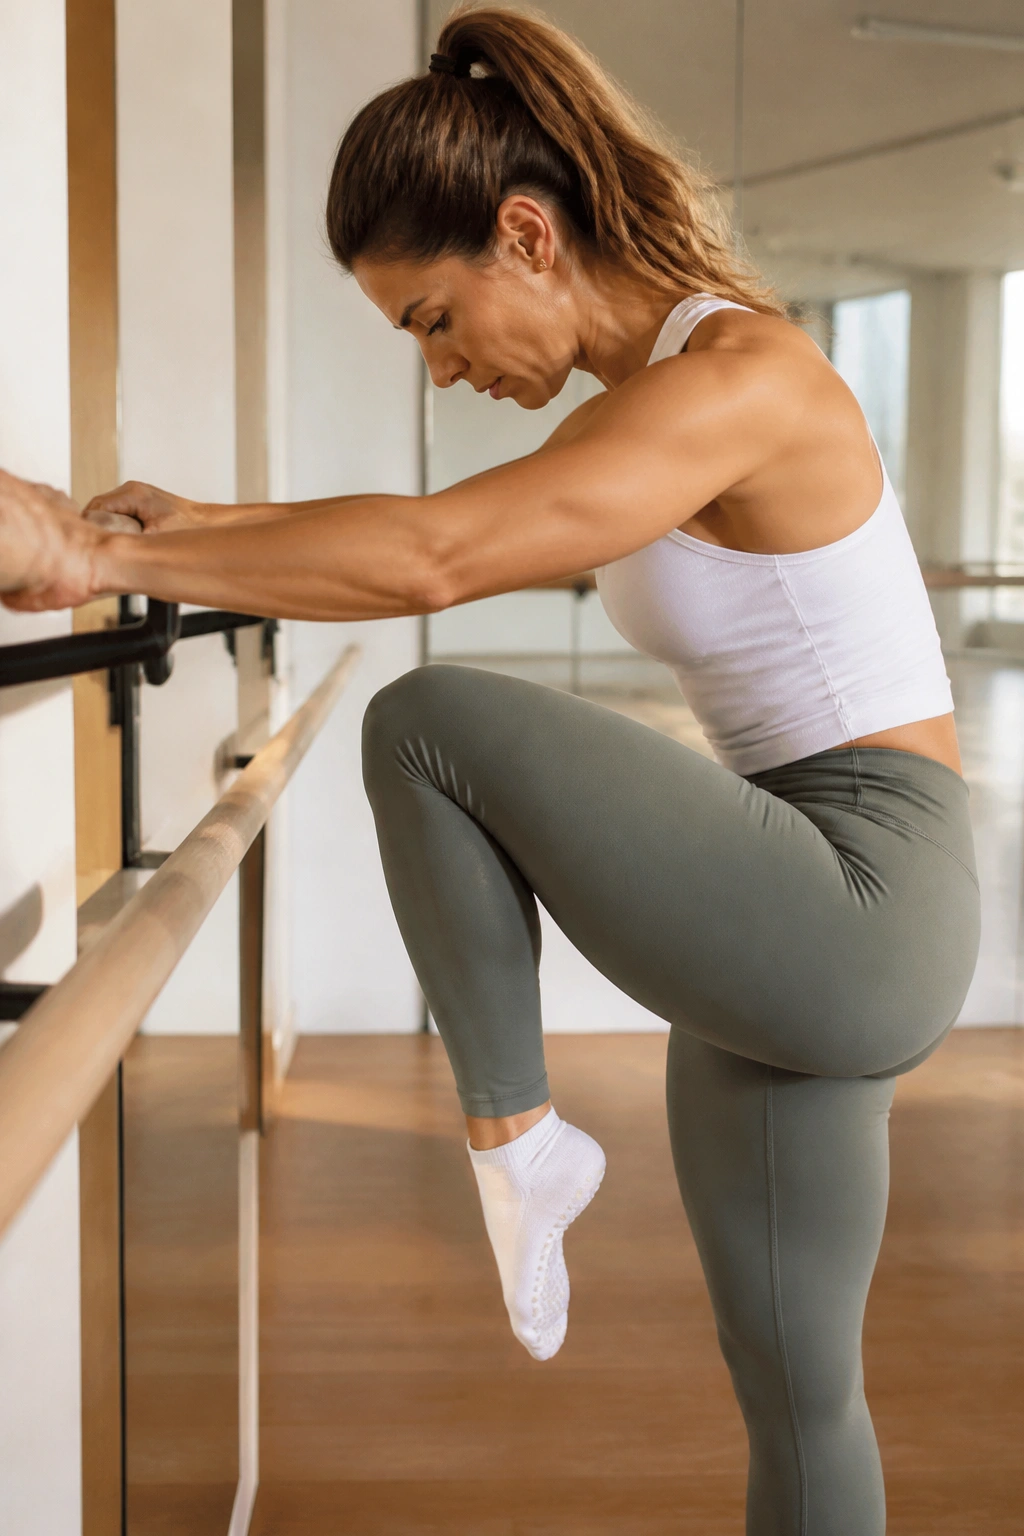
This is one of the few movements that will spike your heart rate. Stand at the barre, facing it, hands gripping it firmly. Pull one knee up toward your chest, engaging your abs to crunch your torso slightly toward the knee.
Instead of just tapping the foot, keep the knee hovering. From here, do tiny pulses, driving the knee higher toward your chest with each contraction. This targets the lower abs, which are notoriously difficult to isolate.
Keep your standing leg strong. Do not let your body collapse into the barre. You should feel like you are pushing the barre away from you, which keeps your shoulders engaged and prevents you from hanging on the joints.
16. Pilates Scissors
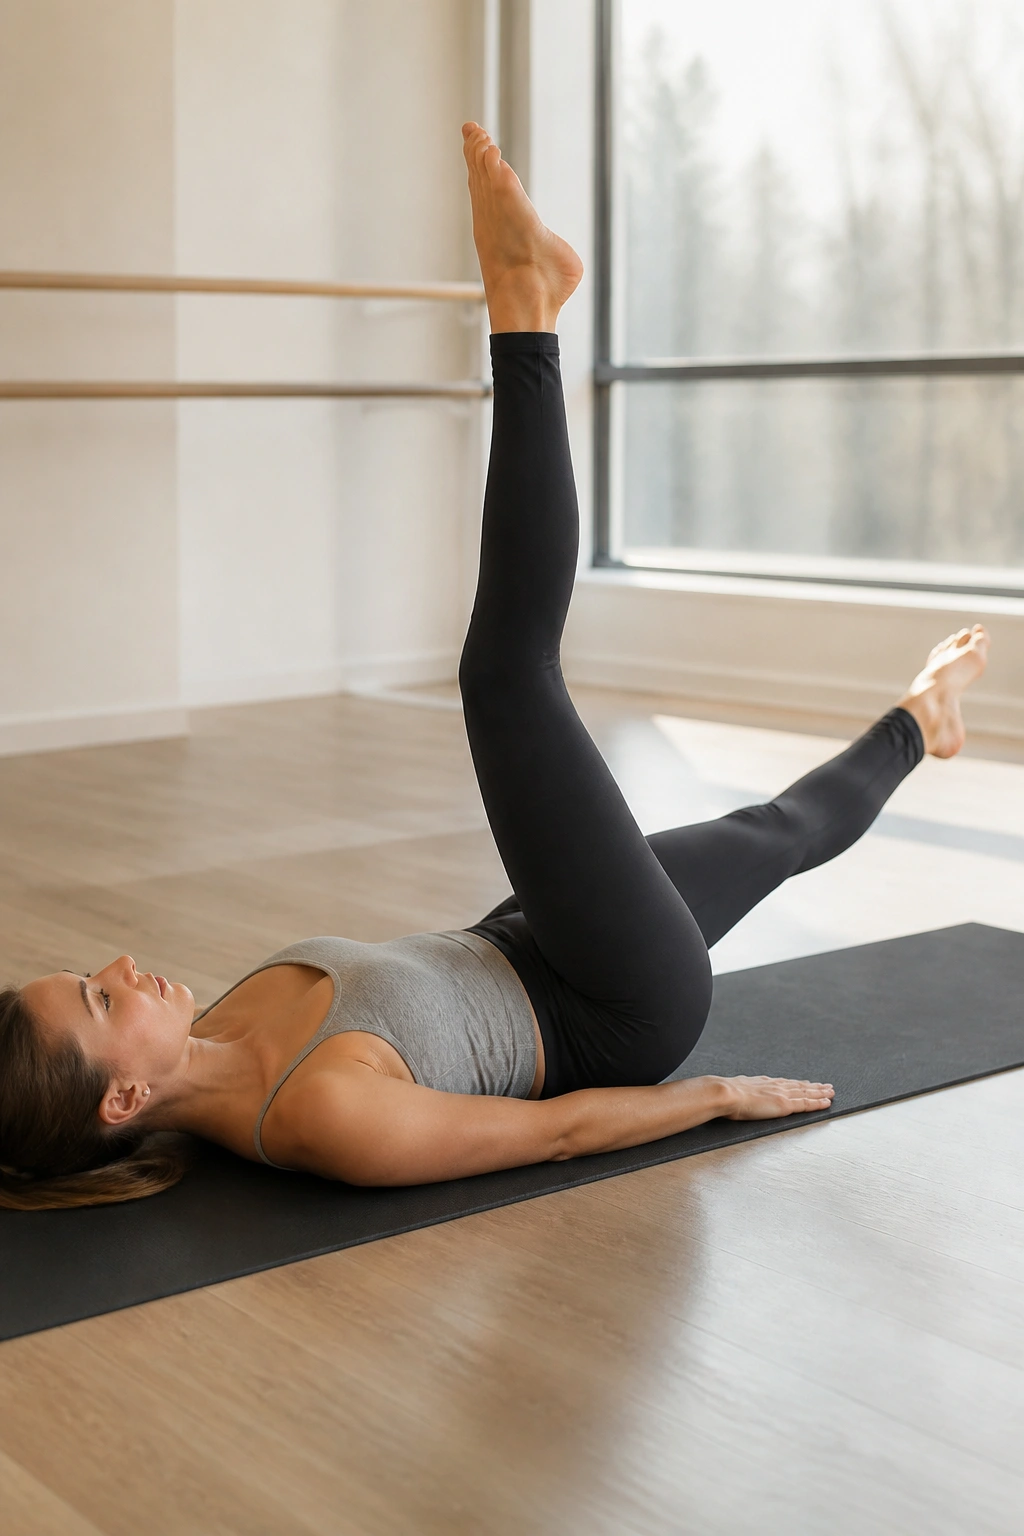
The Scissors exercise is fantastic for hamstring flexibility and abdominal control. Lie on your back, both legs extended straight up toward the ceiling. Grab one leg with both hands—either behind the calf or the thigh—and pull it toward you twice, giving it a gentle pulse.
Simultaneously, lower the other leg toward the floor, hovering it just an inch or two above the mat. Switch legs in a scissoring motion. The movement should be fluid and controlled.
The biggest mistake is letting the lower back arch when the leg drops. If you feel your back lift off the mat, don’t drop your leg as low. Keep the leg high enough that your lower back stays glued to the floor. That connection is the non-negotiable part of the exercise.
17. Lateral Lunge at the Barre
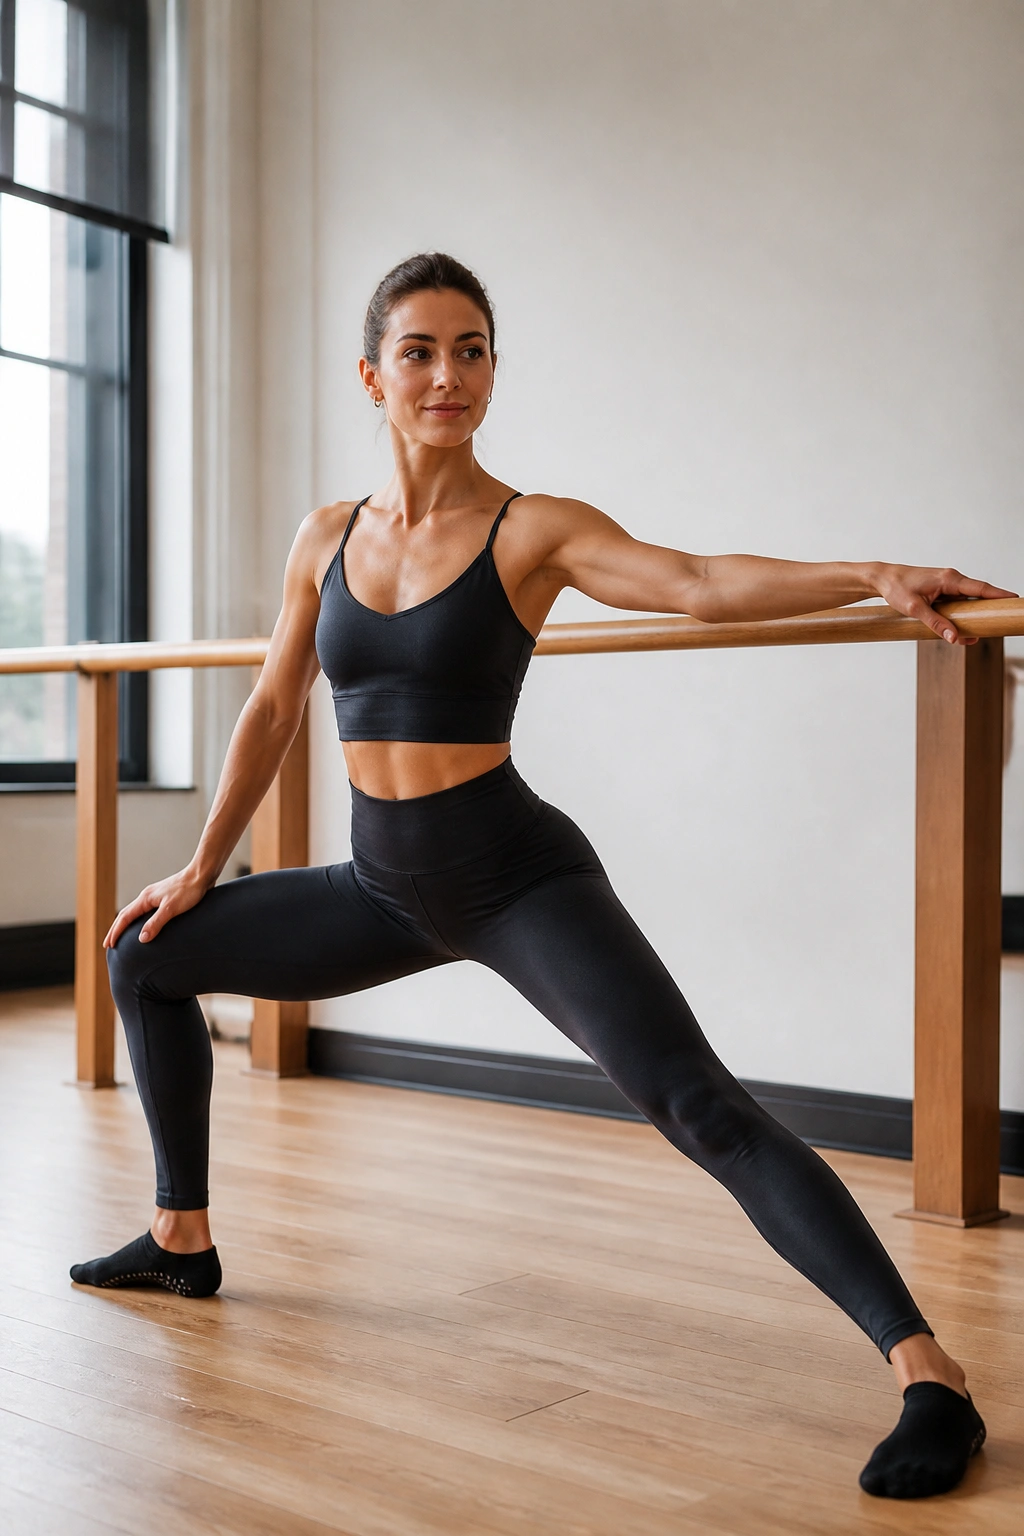
Lateral lunges work the inner and outer thighs, an area that is often neglected in standard forward-moving exercises. Stand sideways to the barre. Step one leg out into a wide side lunge, bending that knee while keeping the other leg perfectly straight.
Push through your heel to return to the starting position. Make sure your bent knee is tracking over your toes—do not let it cave inward. This is a common form error that can lead to knee pain.
For an extra challenge, hold the lunge at the bottom and perform tiny pulses. You will feel the stretch in the inner thigh of the straight leg and the burn in the glute of the bent leg. It is a fantastic dual-purpose move.
18. The “Shake”
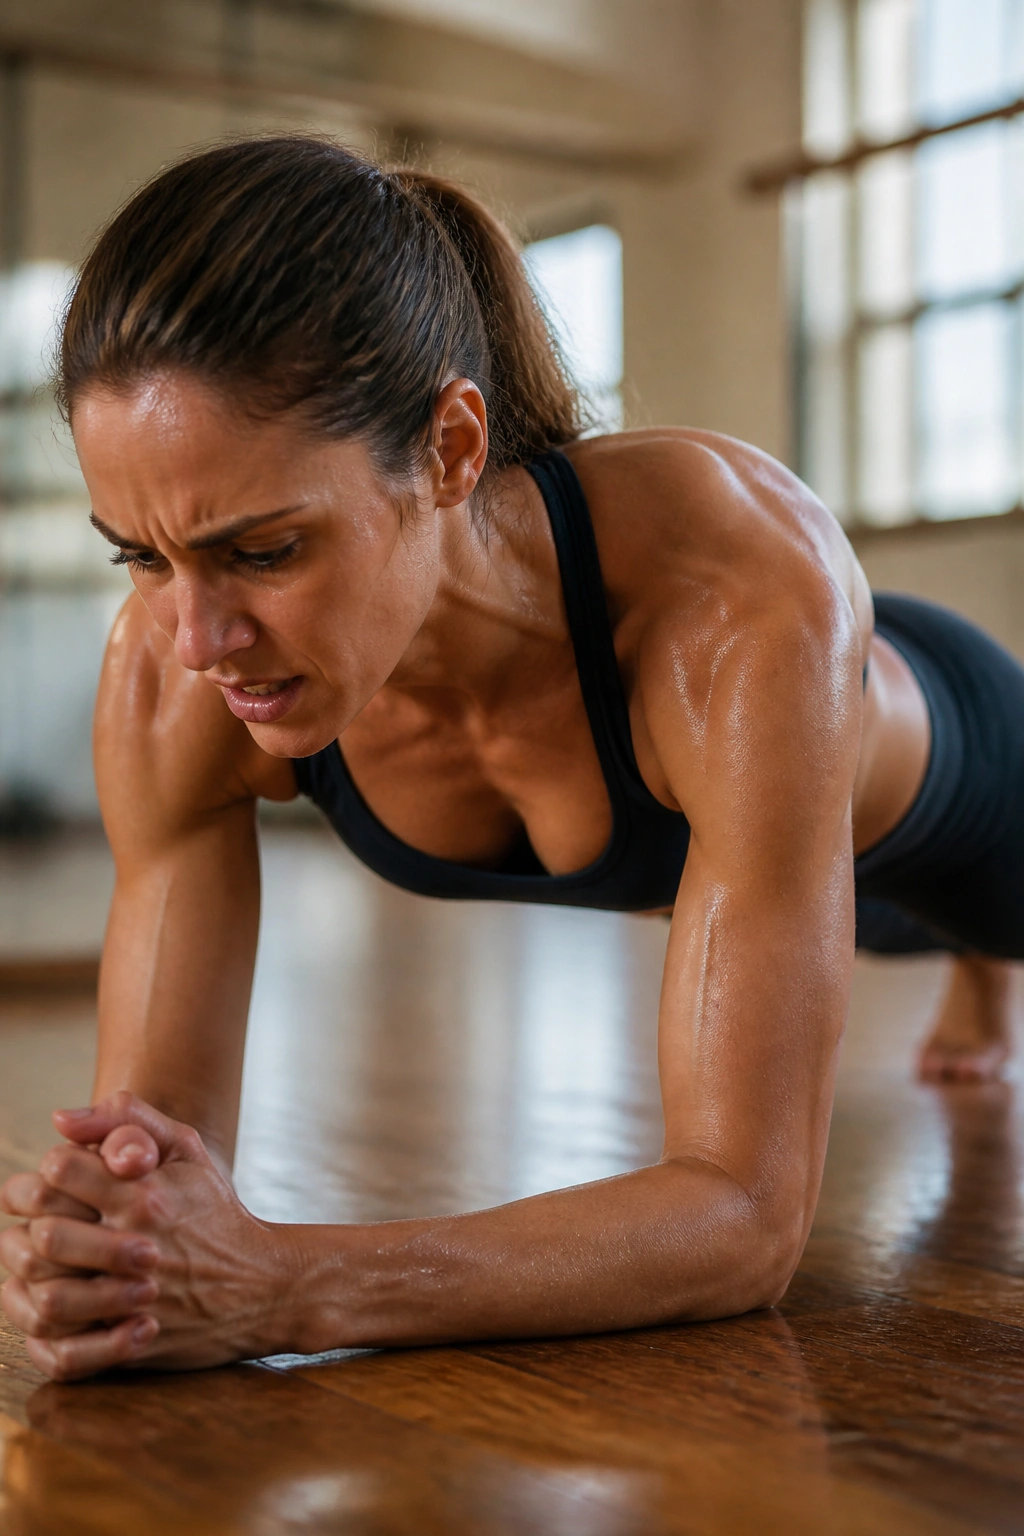
This isn’t a specific exercise, but a state of being. Toward the end of your routine, when your muscles are screaming and you want to quit, you’ve reached the “shake.” This is the point of muscular fatigue where your nervous system is struggling to coordinate the muscle contractions.
Do not stop when you start to shake. That is the moment the lean, toned results are earned. Hold your position, breathe through the discomfort, and fight for five more seconds.
If you are doing a plank, hold it until your abs tremble. If you are doing a plie, sink lower and wait for the tremor. This is the physiological threshold where you are forcing your body to adapt. It is uncomfortable, but it is entirely safe, and it is the key to seeing changes in muscle definition and endurance.
Final Thoughts
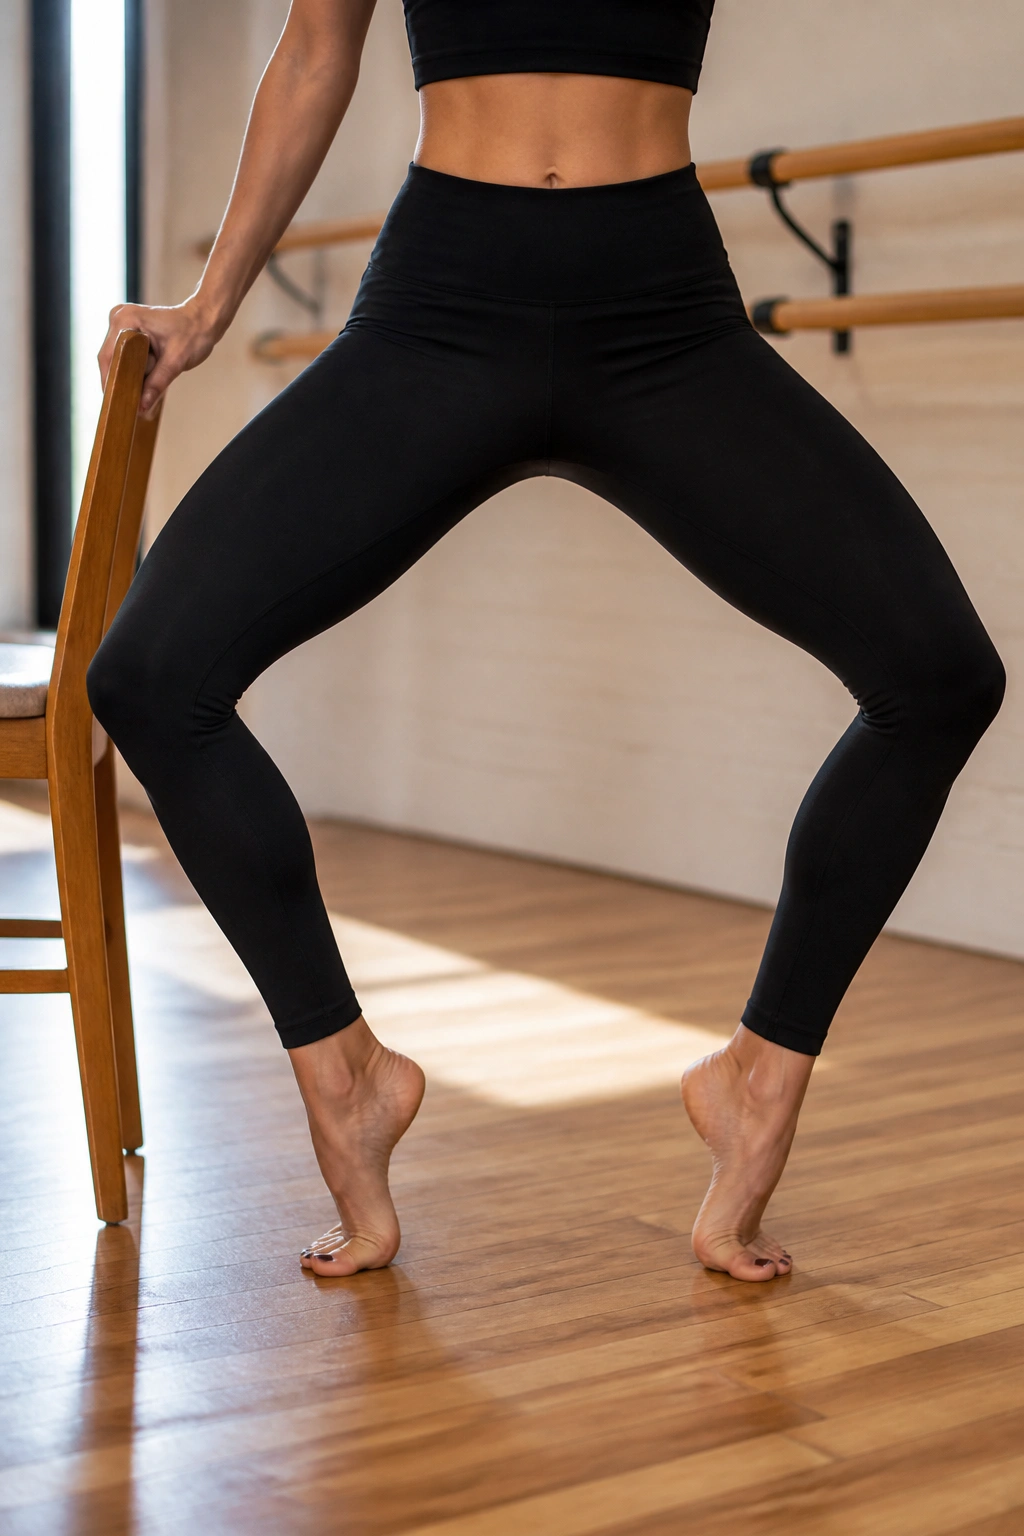
You do not need an hour of intense cardio to see results. You need intensity of focus. Whether you are using a home barre or the back of a kitchen chair, the rules remain the same: small, controlled movements, deep core engagement, and the discipline to continue when the fatigue sets in.
Lean, toned muscle is not built through ego-lifting or rushing through a list of movements. It is built in the pauses, the pulses, and the tiny adjustments that make a movement harder. Be patient with your form. If a movement feels too easy, slow it down. If it feels too hard, shorten your range of motion, but do not stop moving. Consistency in these small, deliberate actions is the only true shortcut to the results you are chasing.
