



The first time you step up to the barre, you might expect something graceful and effortless—like a ballet class. That expectation vanishes within about ninety seconds. You will feel that signature barre shake, the one where your muscles quiver uncontrollably because they are hitting a point of fatigue you rarely reach in a standard gym setting. Barre isn’t about big, sweeping movements. It is about the tiny, agonizing, one-inch pulses that force your stabilizer muscles to wake up.
This isn’t a workout where you distract yourself with a podcast and zone out for forty minutes. You have to be present. You have to think about every micro-movement—the tuck of your pelvis, the position of your shoulders, the literal weight of your leg. If you are looking for a way to build lean muscle and serious endurance without ever touching a heavy barbell, you are in the right place. Just remember that the goal is not to move fast; the goal is to move with precision until your muscles scream for a break.
1. The Classic Plié Pulse
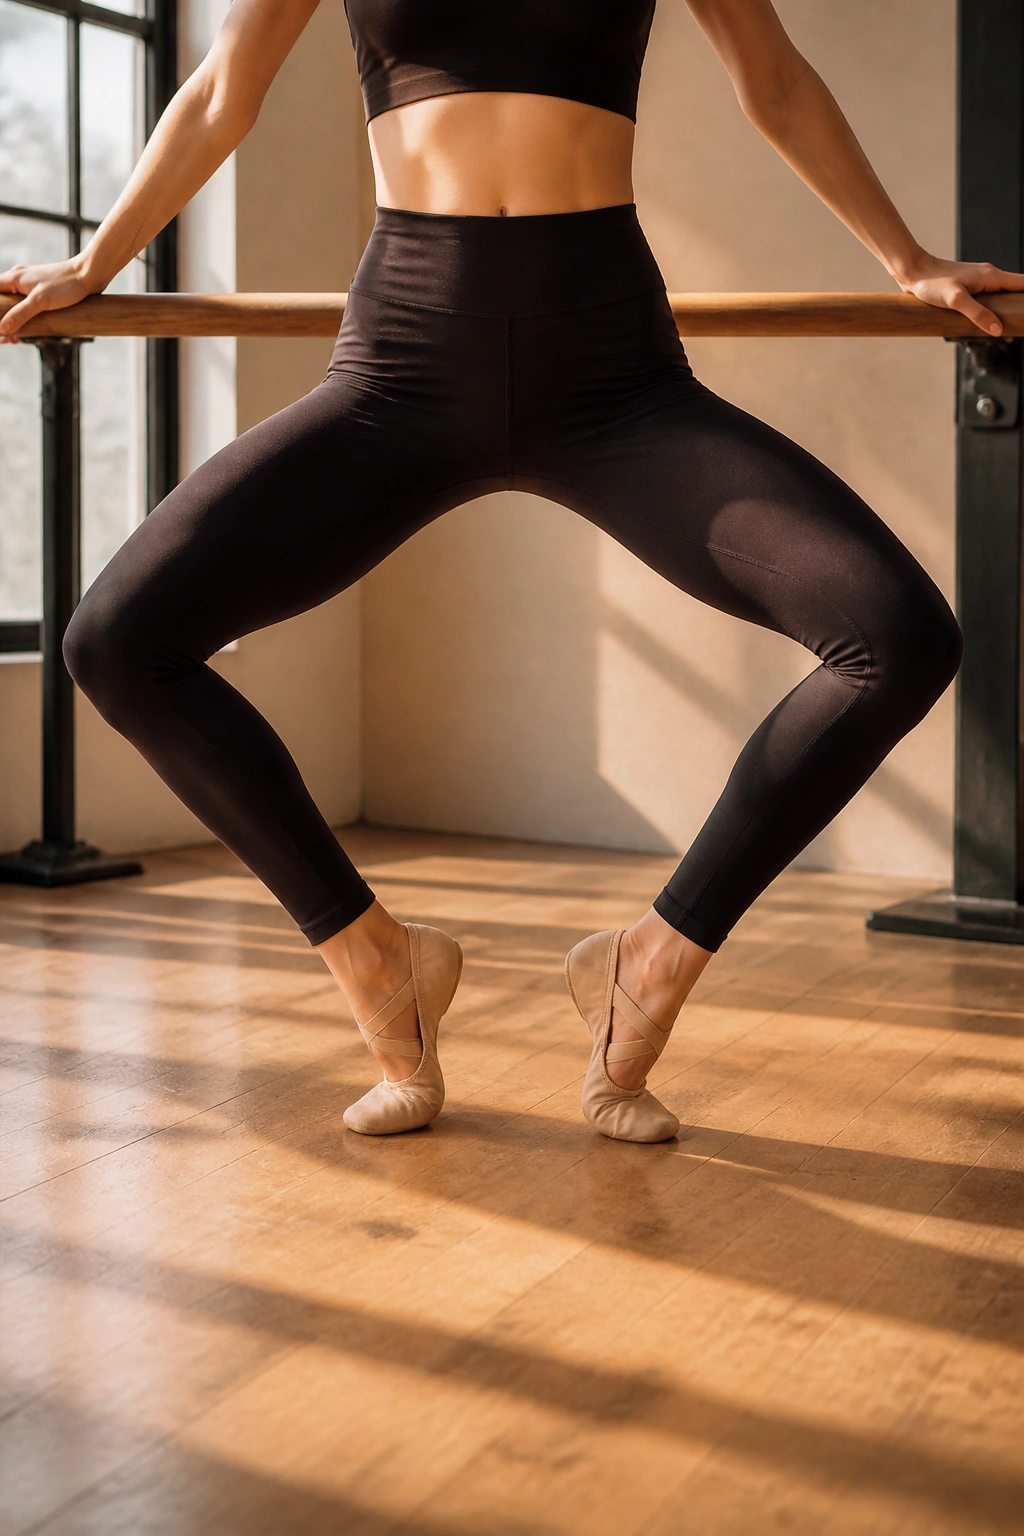
This is the foundational movement of barre. Stand with your heels together and toes turned outward, forming a V-shape with your feet. Your hands should rest lightly on the barre—or the back of a sturdy chair—for balance. As you bend your knees, keep your back flat against an imaginary wall. Do not let your chest lean forward.
Mastering the Depth
The depth of your plié is less important than your alignment. If your knees start to wobble or your heels peel off the floor, you have gone too low. Pulse an inch down and an inch up. Keep your gaze forward, not down at your feet. The burn will start in your inner thighs almost immediately. If it doesn’t, rotate your thighs outward just a fraction more.
2. Standing Glute Squeezes
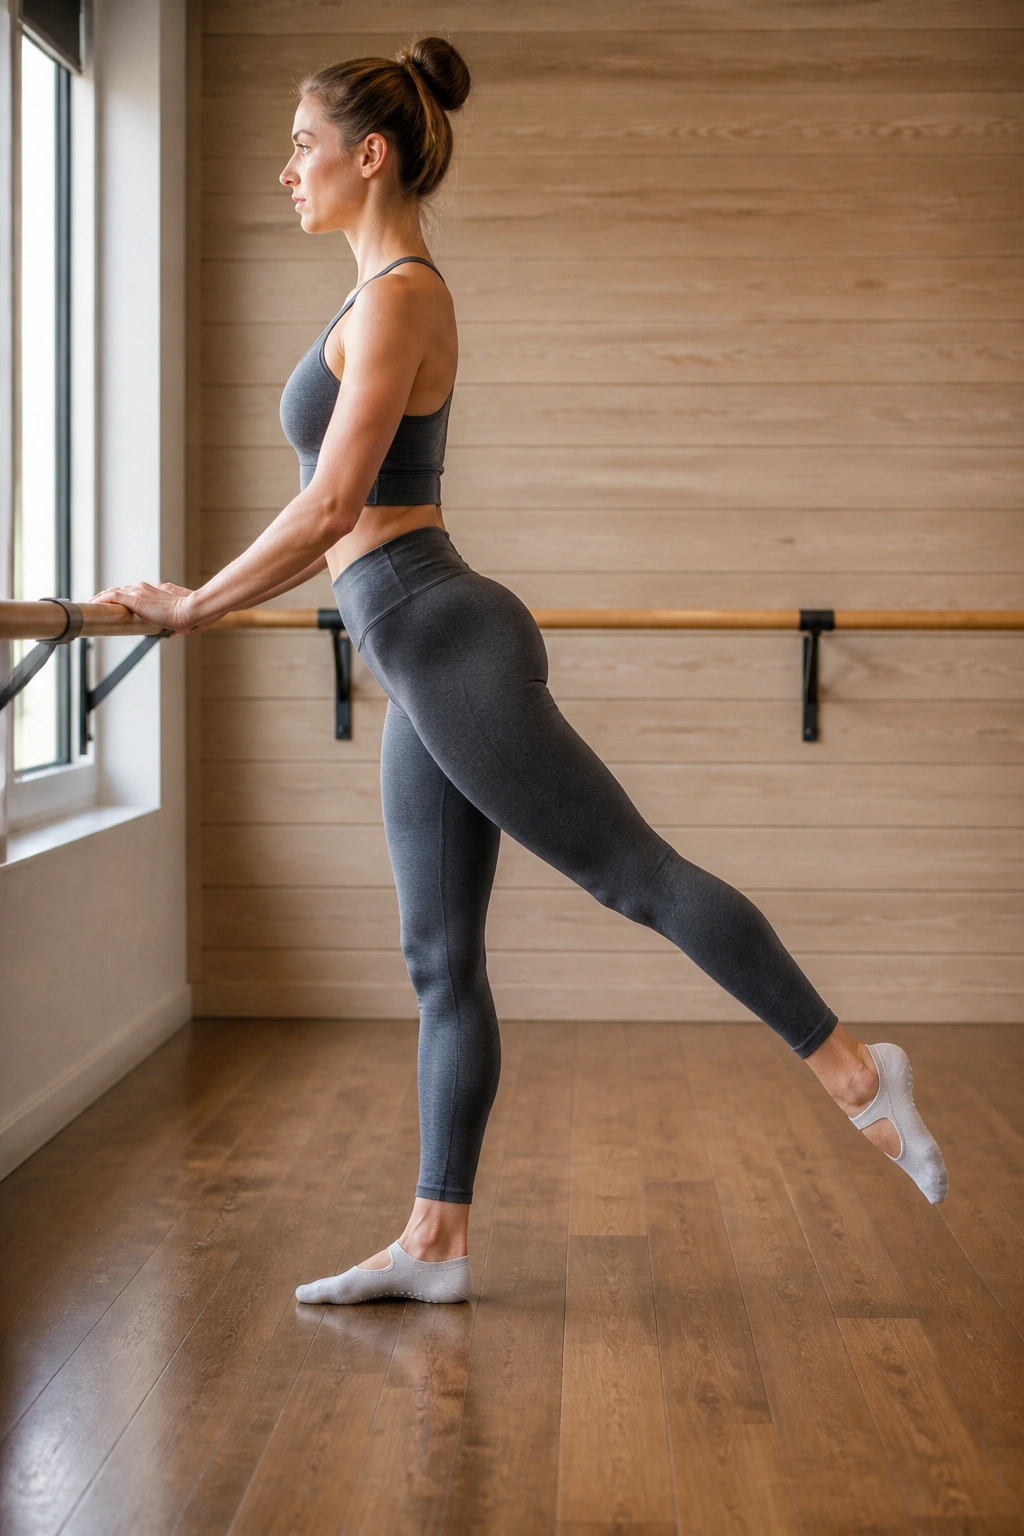
Most people rush through glute work, but in barre, we slow it down to a crawl. Stand tall with your feet parallel, hip-width apart. Shift your weight into your left leg, keeping a micro-bend in the knee to protect the joint. Extend your right leg behind you, toe pointed, touching the floor.
Lift that right leg just two inches off the ground using only your glute muscle. Avoid using your lower back to hoist the leg up. Pulse the leg upward for thirty seconds before switching sides. You want to feel a pinch in the upper glute where it meets the hamstring. If you feel it in your lumbar spine, stop and tuck your pelvis under slightly more.
3. The Second Position Wide Squat
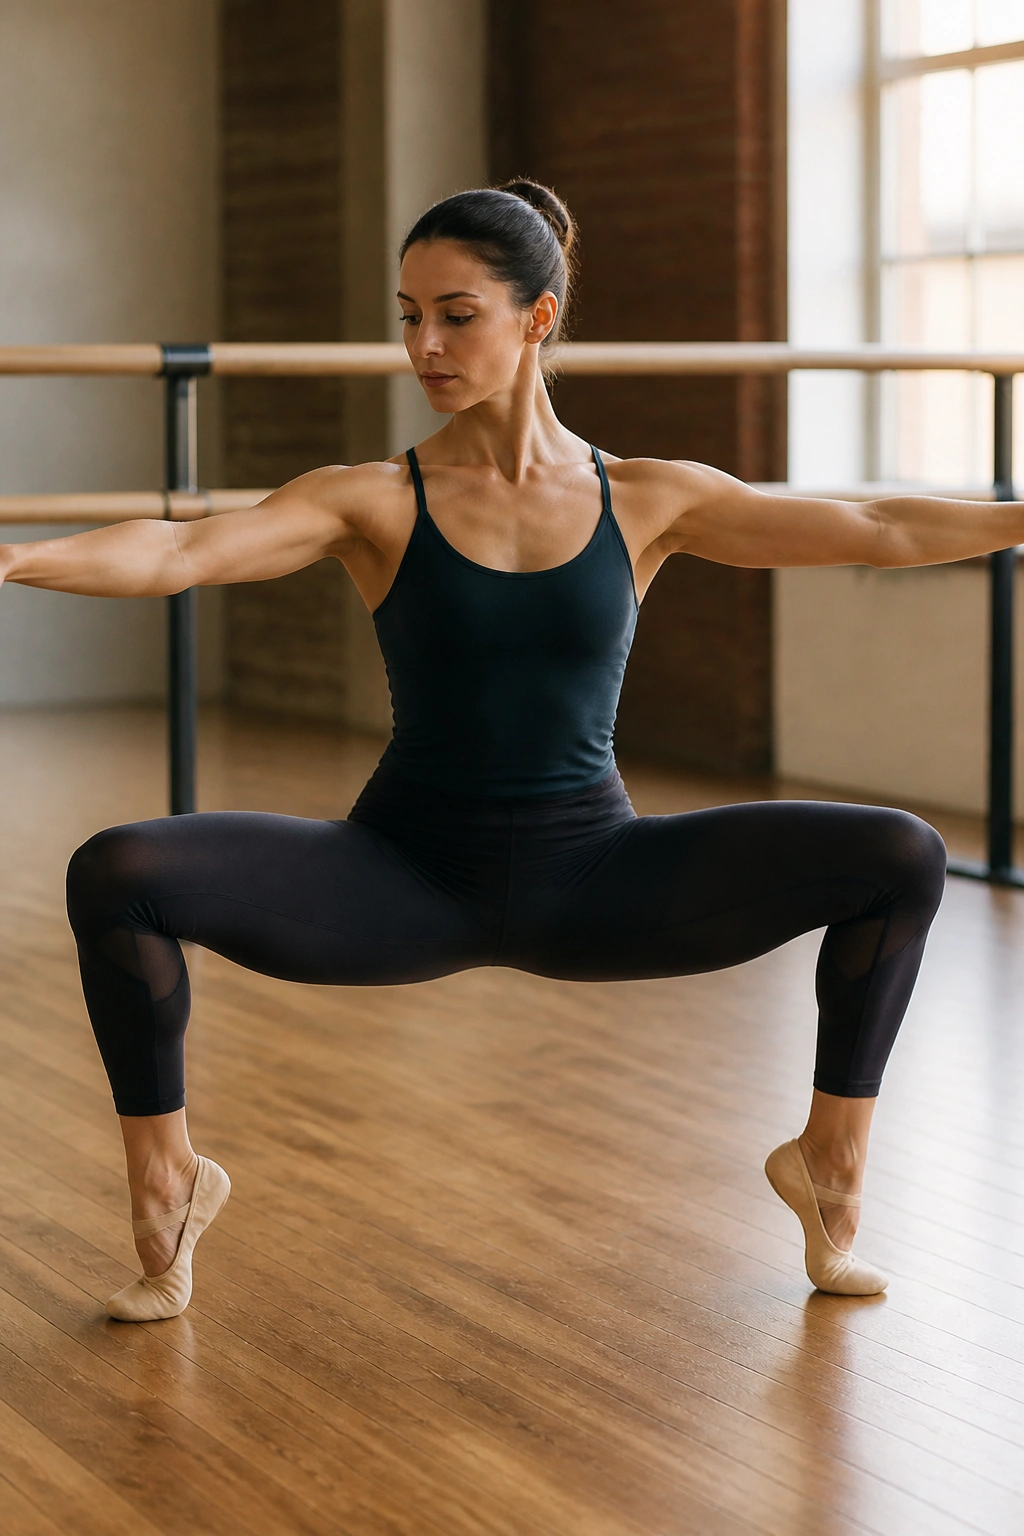
Step your feet out significantly wider than your hips. Turn your toes out to a forty-five-degree angle. Lower your hips down until your thighs are roughly parallel to the floor, or as close as your flexibility allows. This is your base.
Why This Works
The wide stance shifts the focus to the inner and outer thighs simultaneously. While holding the squat, lift your right heel off the floor, then lower it. Then lift the left. Alternating heels while maintaining the deep squat position keeps the muscles under constant tension. Keep your ribcage knitted together so you aren’t arching your back.
4. Tricep Dips on the Barre
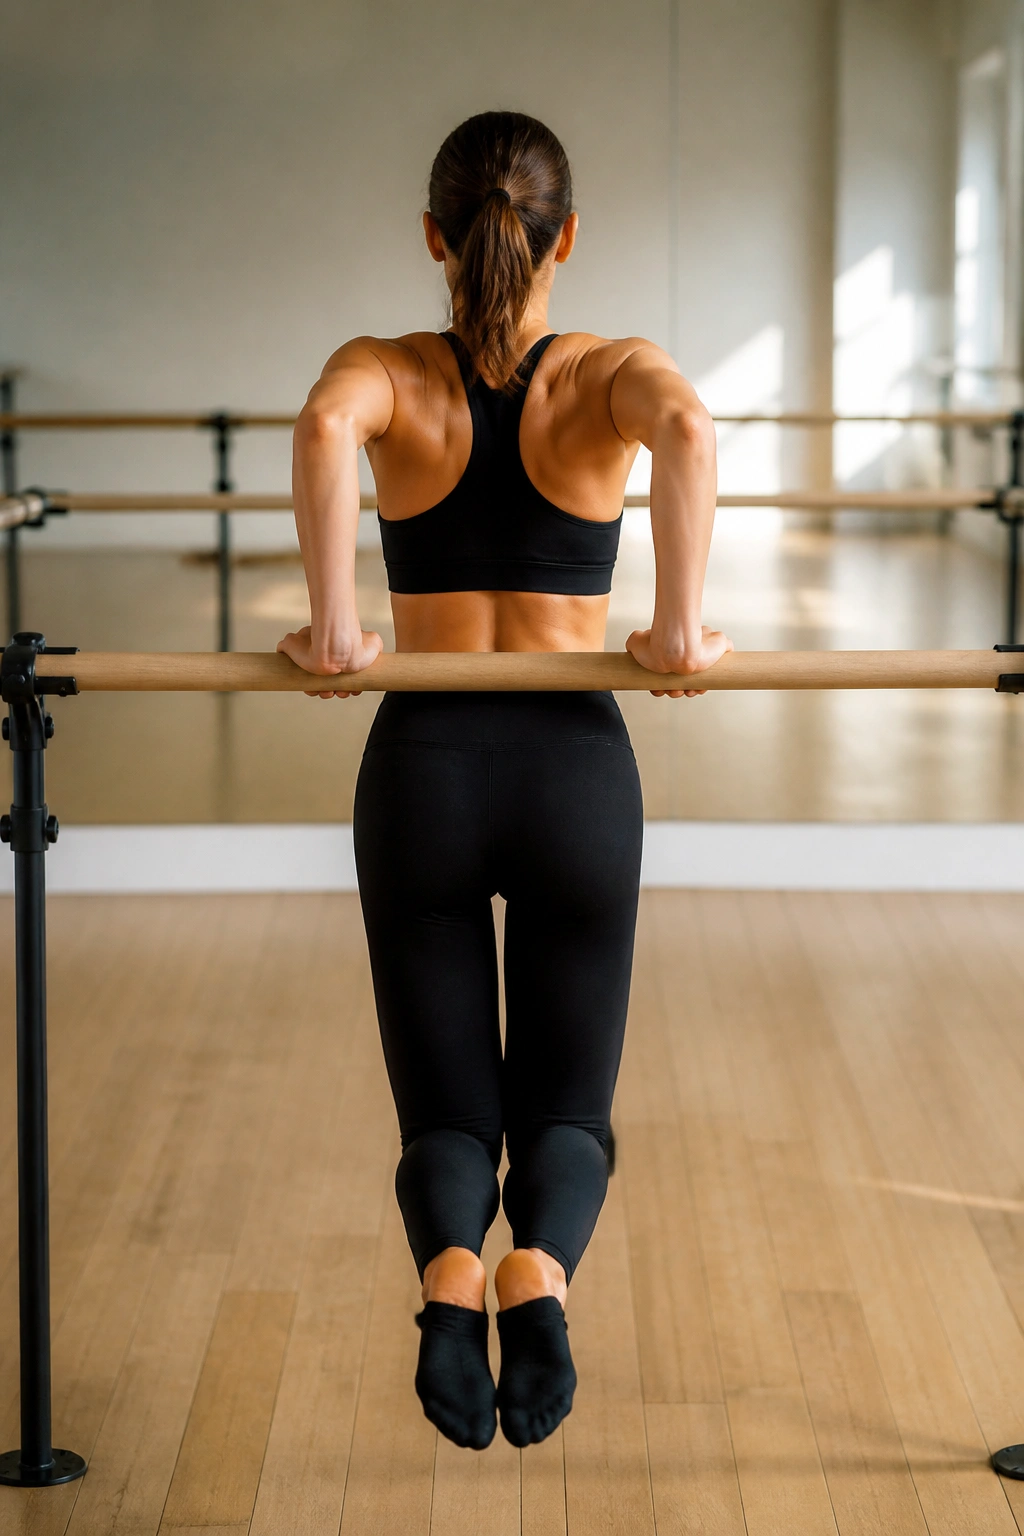
You do not need heavy dumbbells to fatigue your triceps. Stand with your back to the barre, hands gripping the edge behind you with your fingers pointing toward your heels. Extend your legs out in front of you, knees bent.
Lower your hips toward the floor by bending your elbows, then push back up. The secret is the range of motion. You only need to lower about three inches. If you go too deep, you put unnecessary strain on your shoulder joints. Keep your elbows tucked in toward your midline—they should point straight back, not flare out to the sides. This isolation is what creates that defined look.
5. Pelvic Tilt Core Engagement
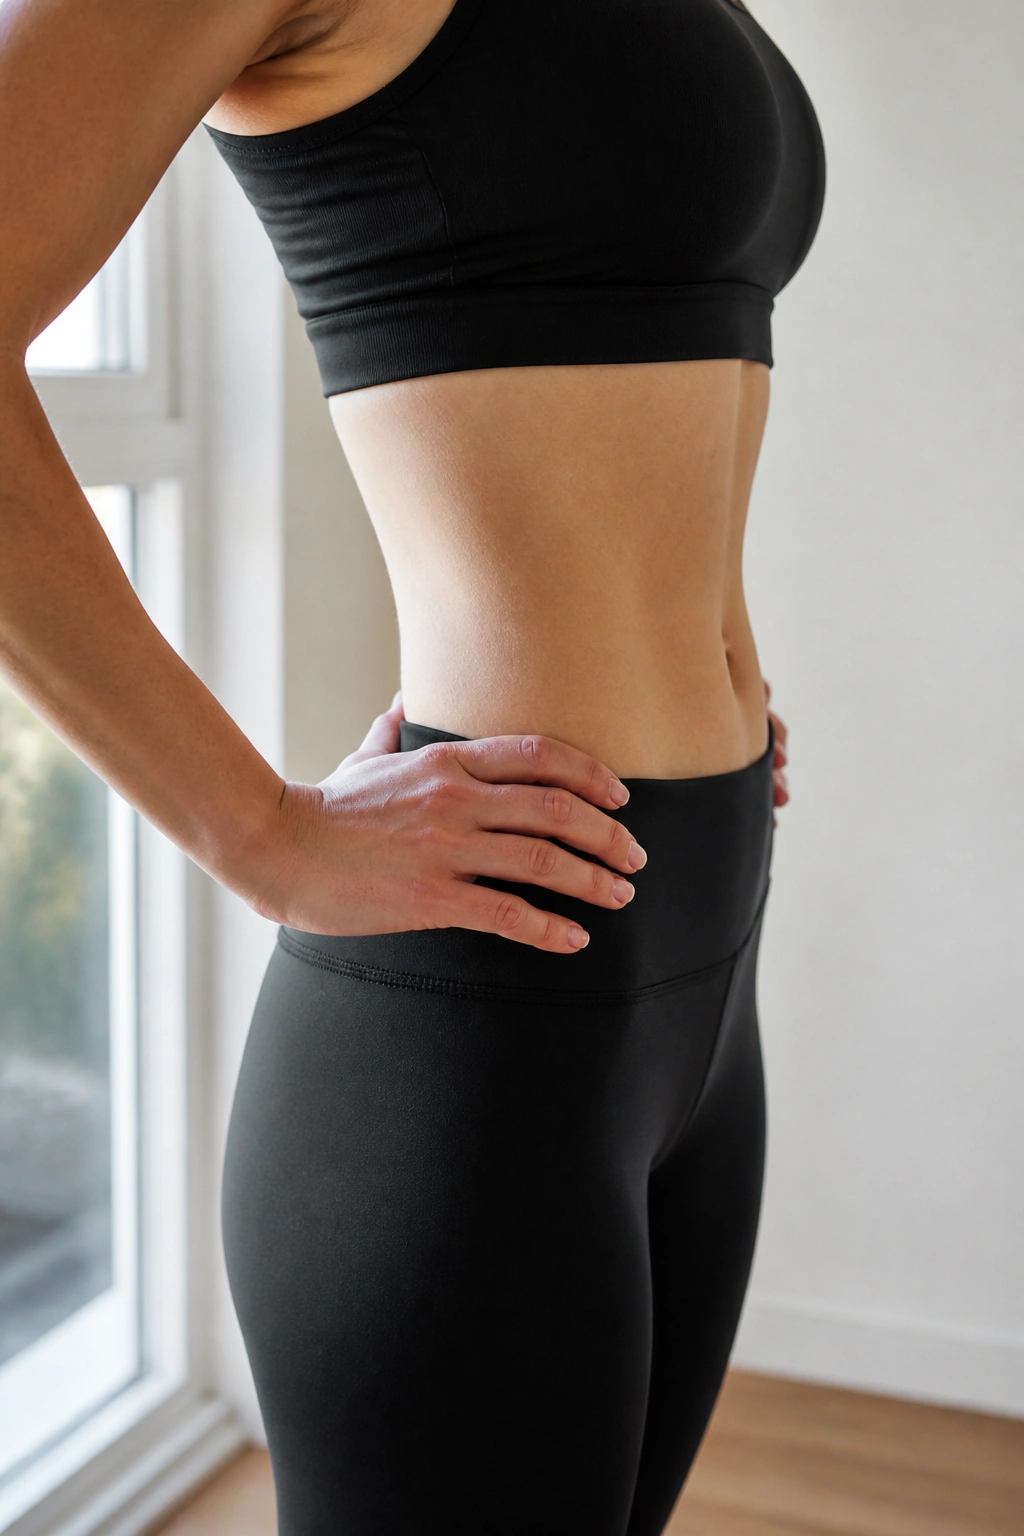
This is not a “workout” in the traditional cardio sense, but it is the secret to every other move in this list. Stand tall, feet parallel, and place your hands on your hips. Inhale, and as you exhale, pull your belly button in toward your spine and tuck your tailbone slightly under, as if you are trying to zip up a pair of very tight jeans.
The Power of the Tuck
This small, almost invisible movement is a pelvic tilt. It engages the transverse abdominis, the deepest layer of your core. Practice this repeatedly. Once you master the tilt, apply it to every other exercise. If you lose the tuck, you lose the core stability that keeps your spine safe during barre.
6. Plank Variations with Barre
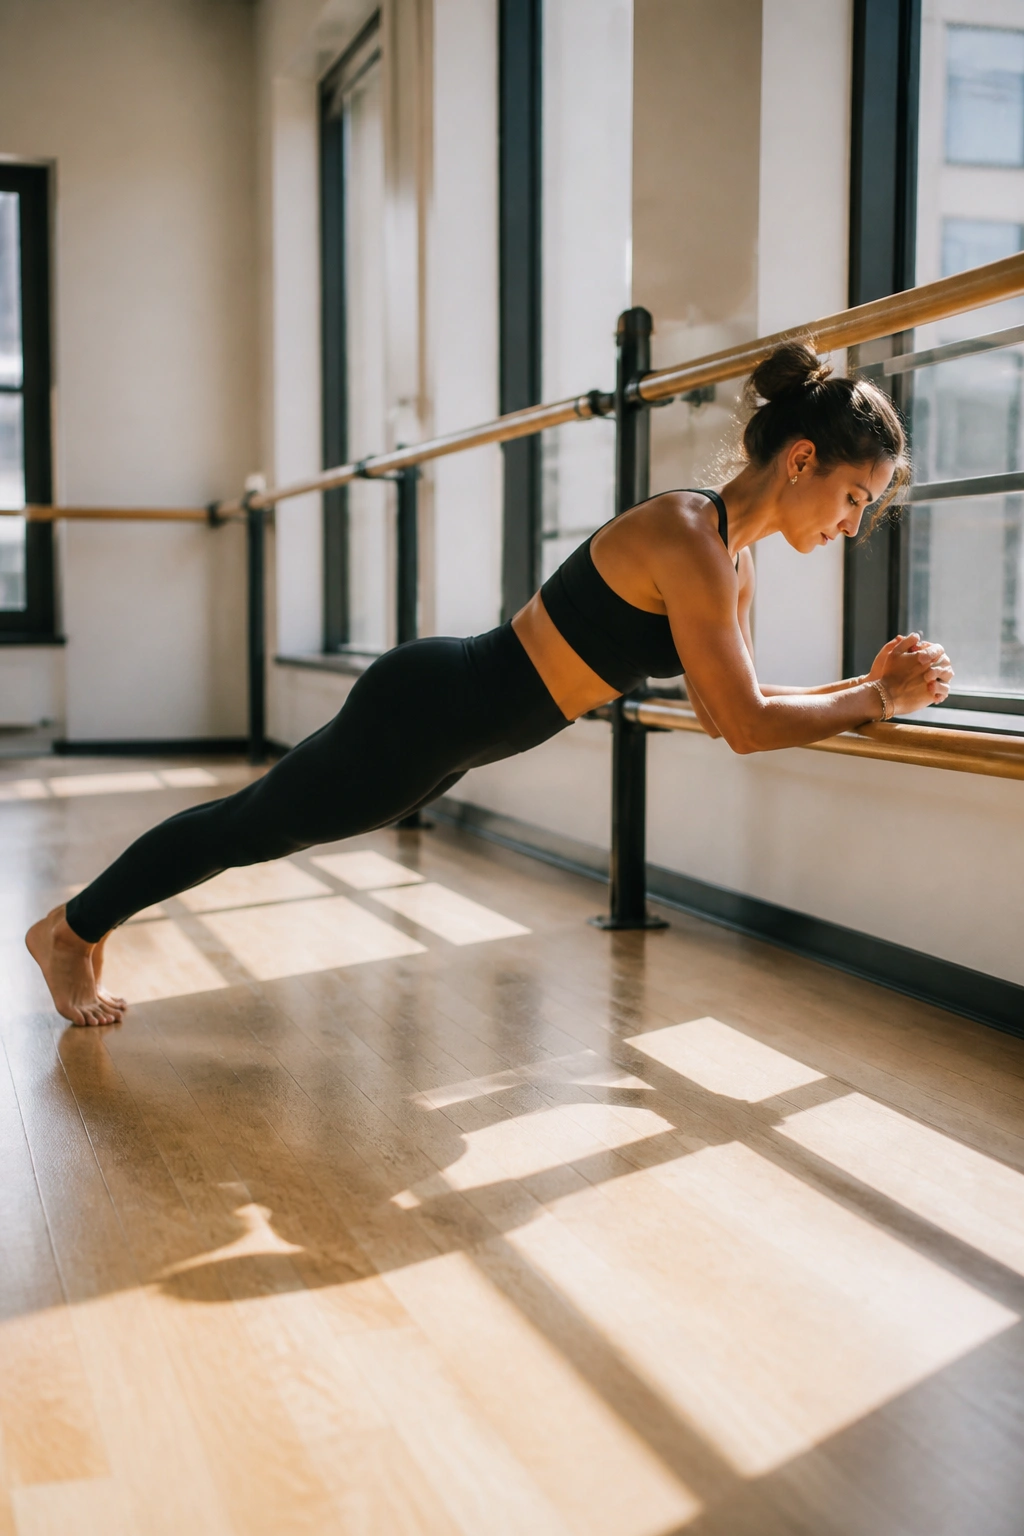
Using the barre for planks takes the pressure off your wrists and forces your shoulders and core to stabilize in a new way. Place your forearms on the barre and walk your feet back until your body forms a straight line from your head to your heels.
Hold for sixty seconds. Then, try adding leg lifts. While keeping your back perfectly still, lift your right leg two inches off the floor, then lower. Switch to the left. The key is to prevent your hips from rocking side to side as you lift. Every ounce of movement should come from your glutes, not your spine.
7. Thigh-Burning Arabesque
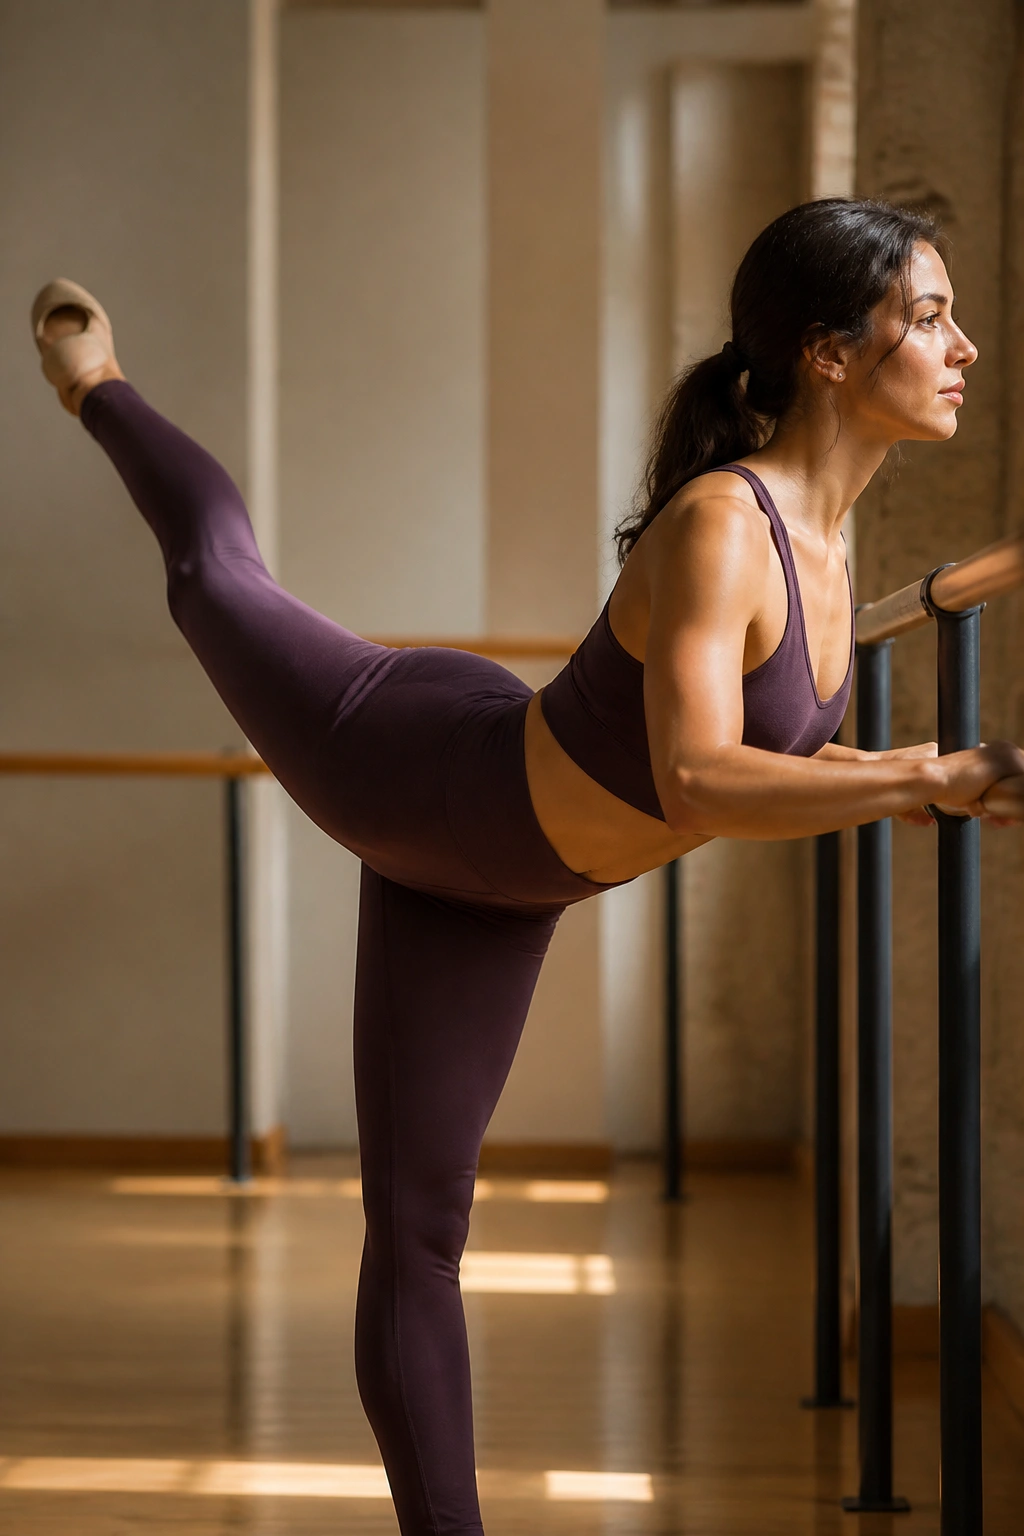
Start in a standing position, facing the barre. Rest your hands lightly on the bar. Hinge forward at the hips until your torso is parallel to the floor. Lift your right leg behind you, knee straight, toe pointed.
This is the arabesque. Keep your standing leg stable with a soft bend in the knee. Pulse your lifted leg up toward the ceiling. Focus on pulling your belly button toward your spine so your core does not collapse. You will feel a deep burn in the standing glute and the hamstring of the working leg. Do not let the working hip rotate upward; keep both hip bones facing the floor.
8. Arm Circles with Resistance
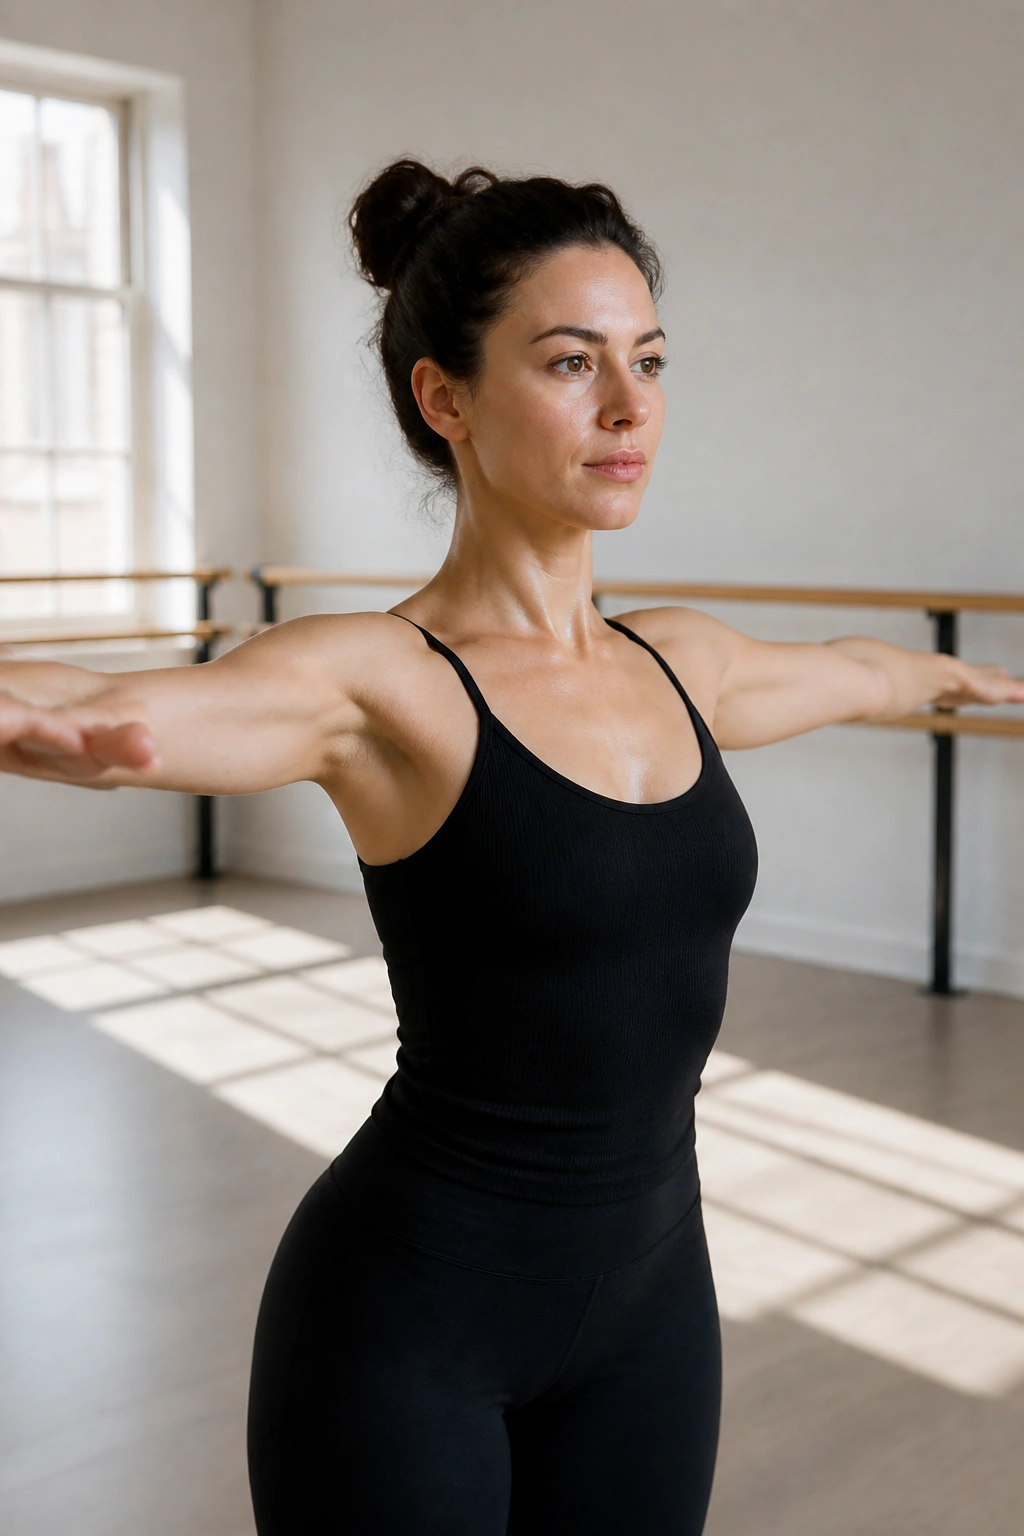
For this, you do not need weights. The resistance comes from your own muscles. Stand tall, arms extended out to the sides at shoulder height. Palms should face down. Start making tiny, controlled circles about the size of a tennis ball.
Do this for thirty seconds, then switch the direction of the circles. After that, flip your palms to face up and pulse your arms up and down an inch. Keep your shoulders down away from your ears. If your neck starts to tense up, you are likely shrugging. Focus on reaching through your fingertips to lengthen the entire arm.
9. Wall Push-Ups
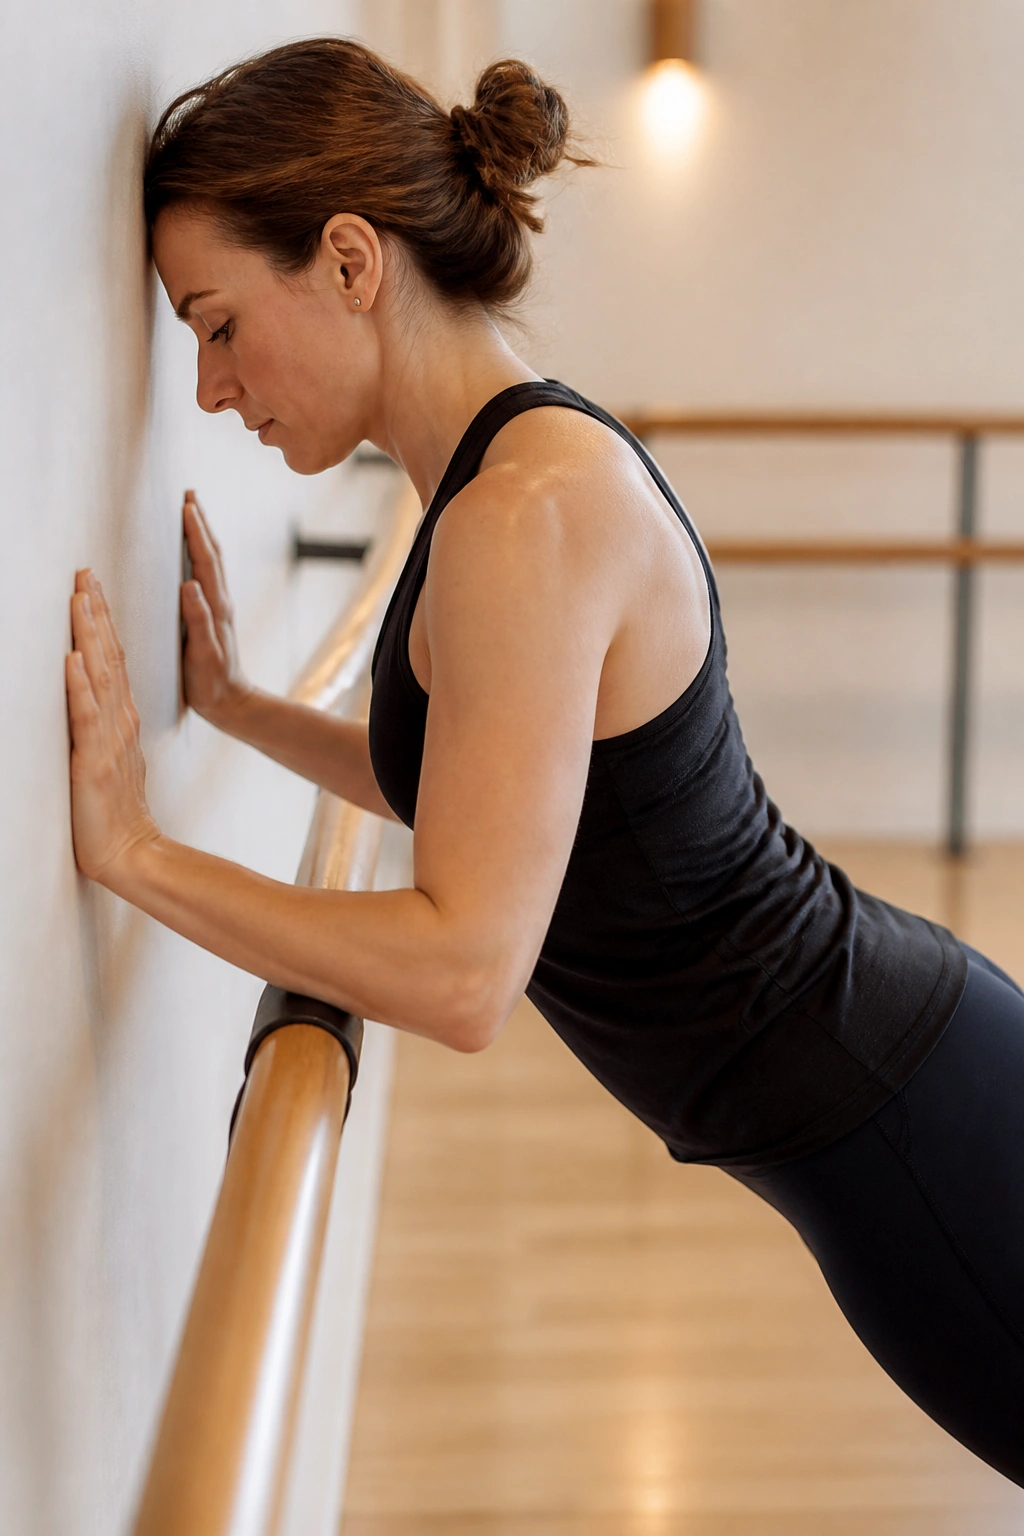
Push-ups at the barre or against a wall are significantly more effective than floor push-ups for beginners because they allow for better form. Stand about an arm’s length away from the barre. Grip it firmly. Lower your chest toward the bar by bending your elbows.
The Correct Form
Keep your body in a straight line. Do not let your hips sag or your butt stick out. Keep your core tight. As you push back, think about squeezing your chest muscles together. This is a chest and tricep exercise, not a shoulder exercise. If you feel it in your traps, your hands are positioned too high.
10. Inner Thigh Ball Squeezes
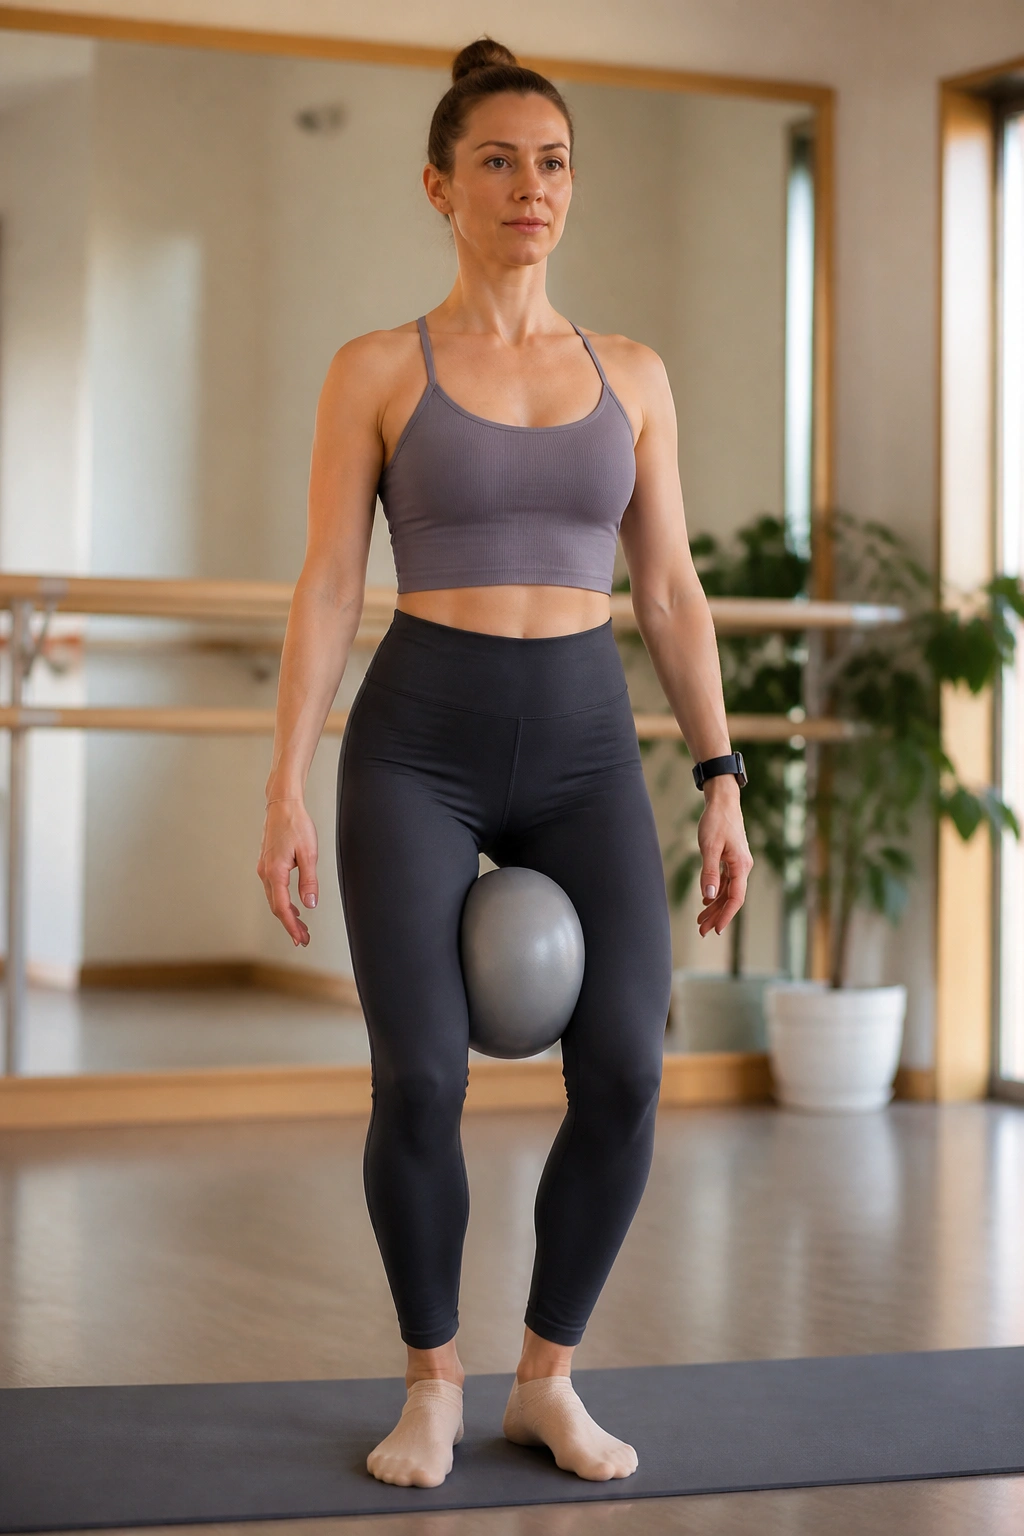
If you have a small, soft Pilates ball, place it between your knees while in a narrow, parallel standing position. If you do not have a ball, use a throw pillow or a thick rolled-up towel. Squeeze the ball as hard as you can, release slightly, and squeeze again.
While pulsing the squeeze, add a small plié. You are working the adductors—the muscles inside your thighs that are notoriously hard to isolate. Continue for two minutes. Your legs will feel like jelly, which is exactly the point.
11. Alternating Lunge Pulses
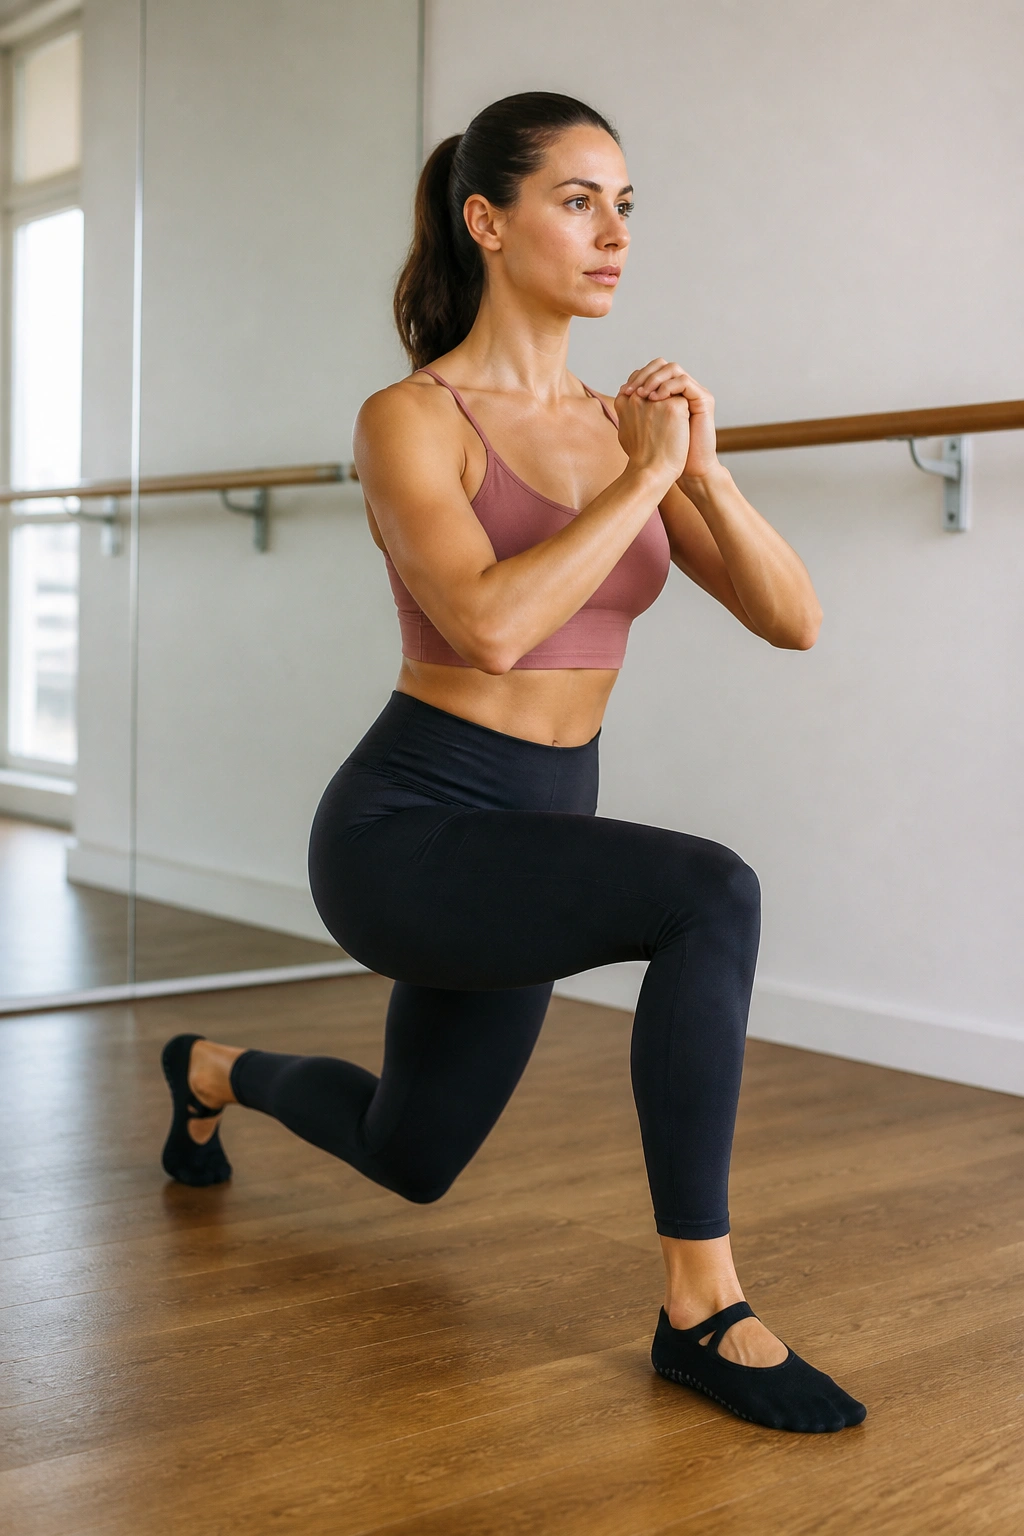
Step your right foot back into a lunge, left foot forward. Ensure both knees are bent at ninety-degree angles. Instead of doing full up-and-down lunges, just pulse in the lowest part of the lunge.
Count to thirty pulses, then step the right foot forward and repeat with the left. The challenge here is the transition. Try to step back into the lunge without dragging your toe on the floor. Use your core to lift and place the foot. This added balance work makes the simple lunge significantly more demanding.
12. Knee Tucks
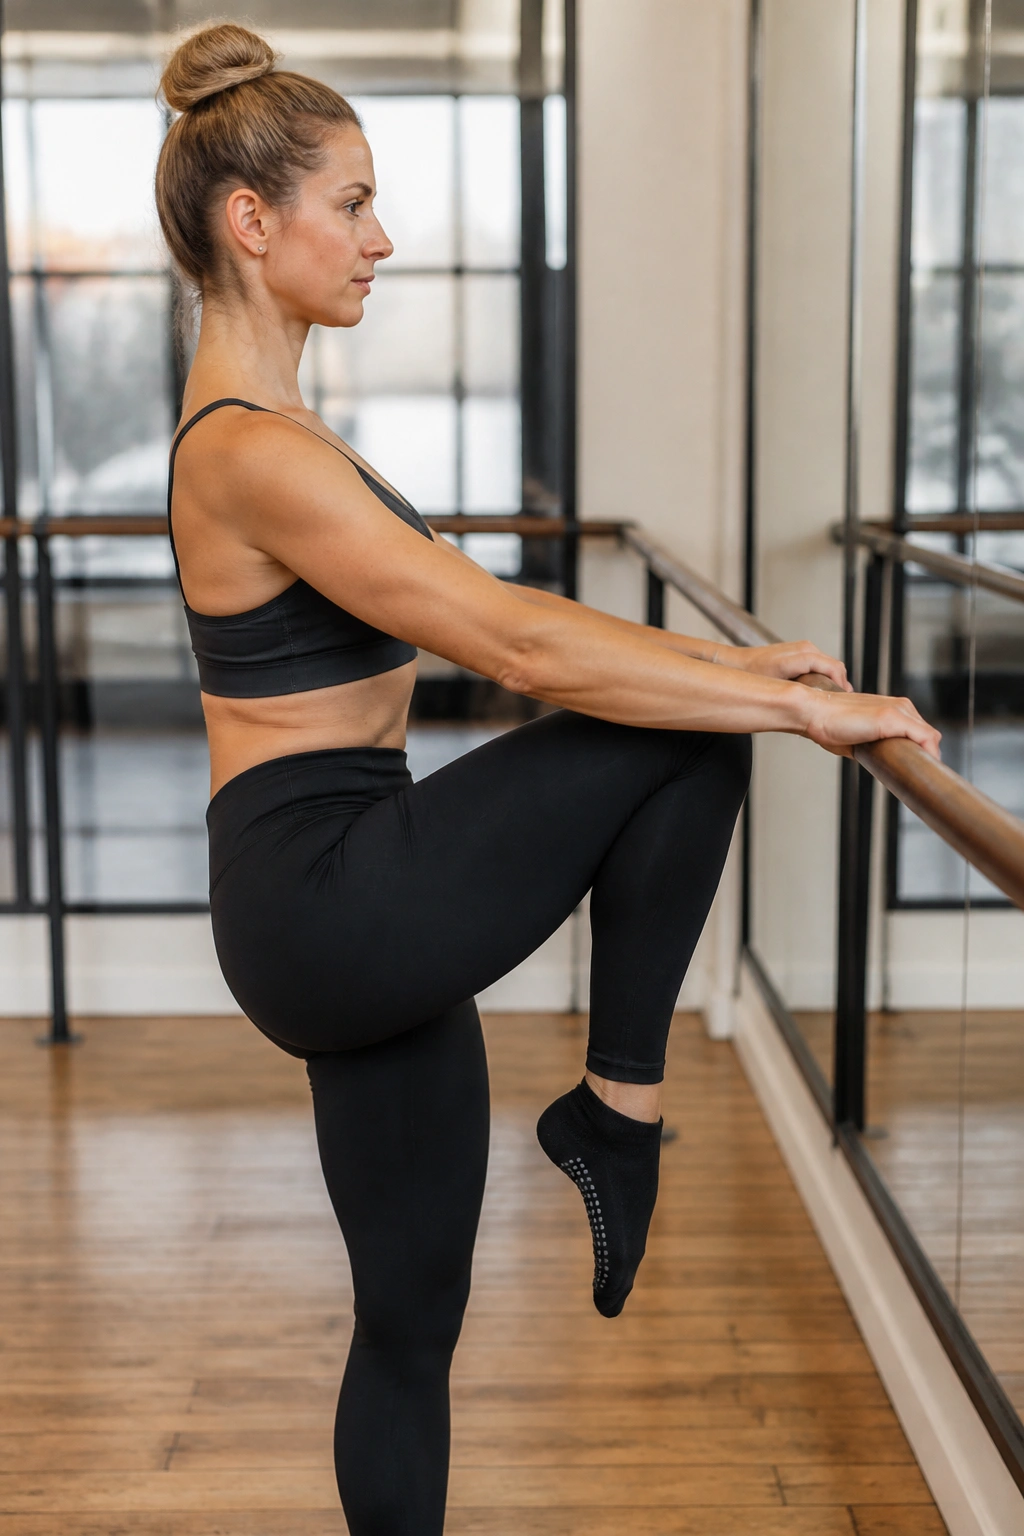
Stand facing the barre. Lift your right knee up toward your chest, keeping the foot flexed. Using your abdominal muscles, tuck your knee slightly higher, pulling your ribcage toward your pelvis.
Lower the knee back down, but do not let your foot touch the floor. Repeat this crunching motion. You aren’t just moving your leg; you are using your core to pull the leg up. If you feel this in your hip flexors more than your abs, focus on rounding your upper back slightly as you tuck.
13. Bird-Dog Stability
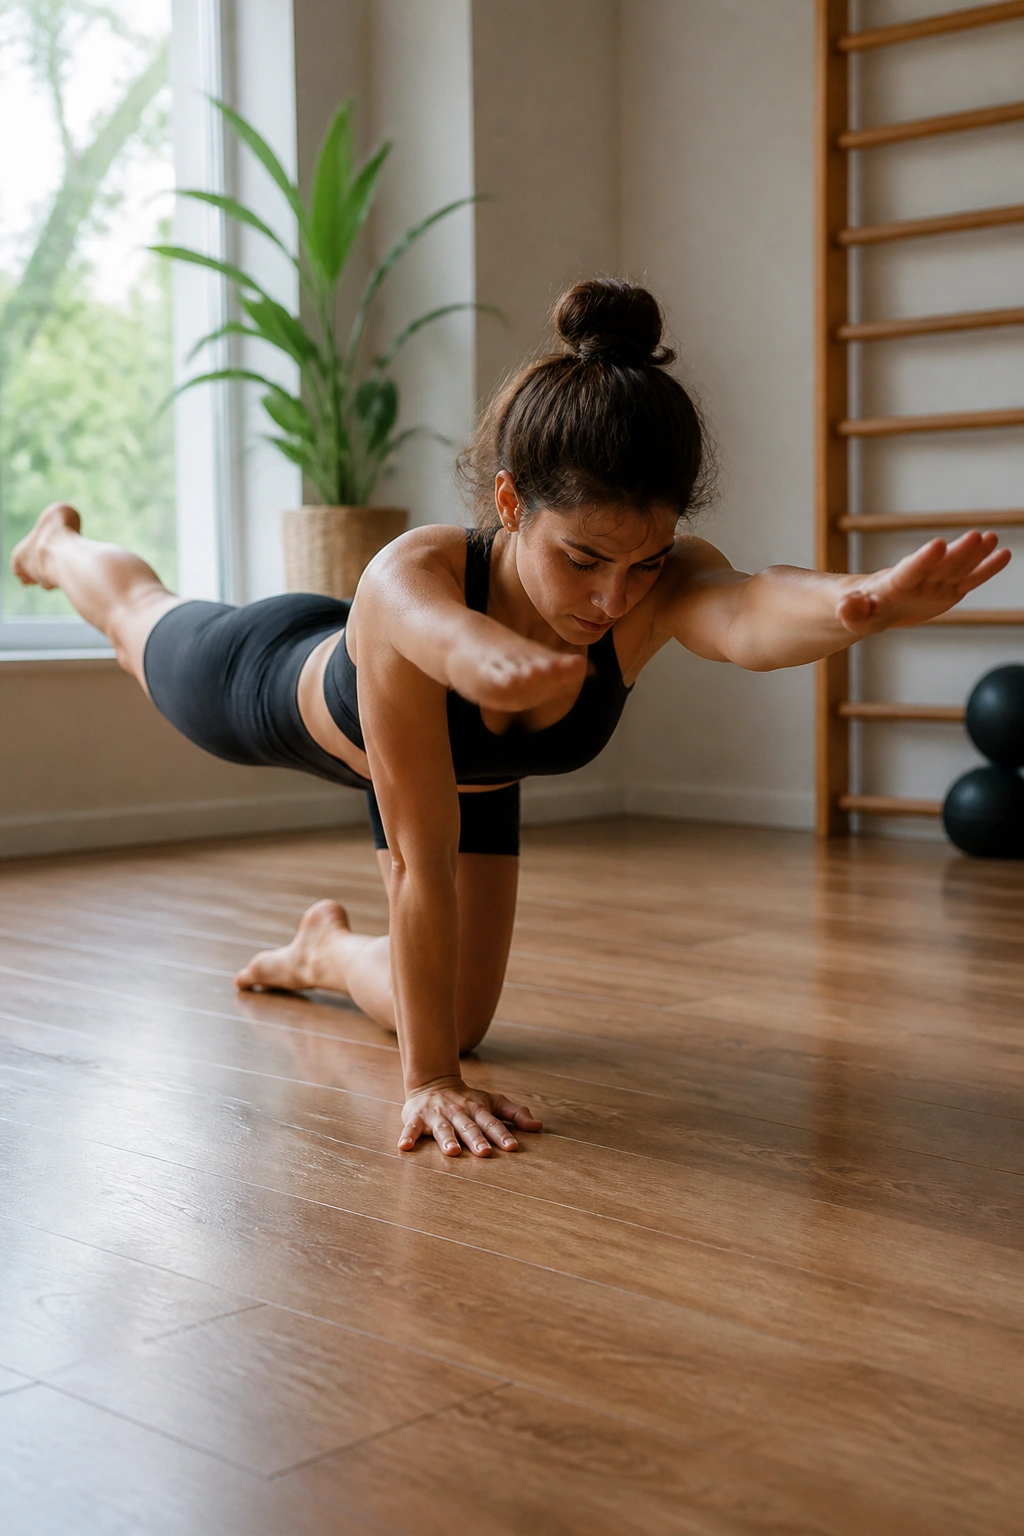
Get on your hands and knees on the floor. Extend your right arm forward and your left leg back, keeping them parallel to the floor. Hold for a count of three, then return to the starting position.
This is a classic Pilates move that translates perfectly to barre. It forces you to stabilize your core against gravity. Do not lift your arm or leg higher than your shoulder or hip height. If you arch your back, you lose the core connection. Keep your gaze toward the floor to maintain a neutral neck position.
14. Clamshells for Glute Medius
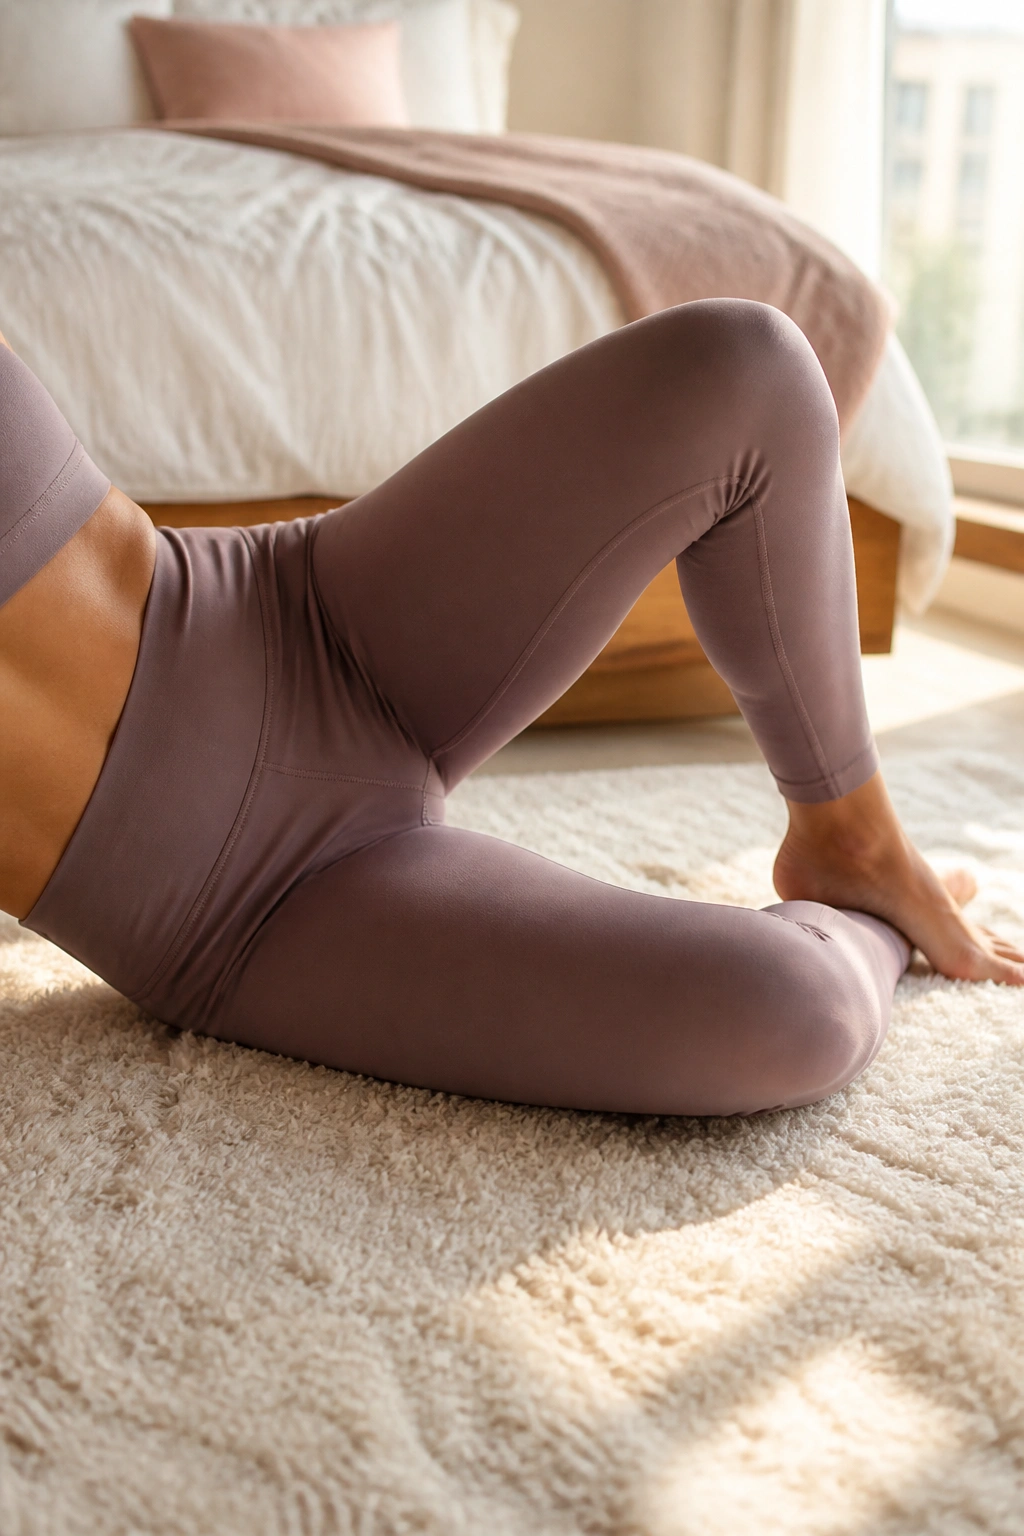
Lie on your side with your legs stacked and knees bent at a ninety-degree angle. Keep your feet touching. Open your top knee toward the ceiling, like a clam opening its shell.
Lower it back down with control. Do not let your hips roll backward. The top hip should stay stacked directly over the bottom hip. This move targets the side of your glute—the glute medius—which is vital for hip stability and preventing knee pain. It feels subtle, but the burn is undeniable.
15. Side-Lying Leg Lifts
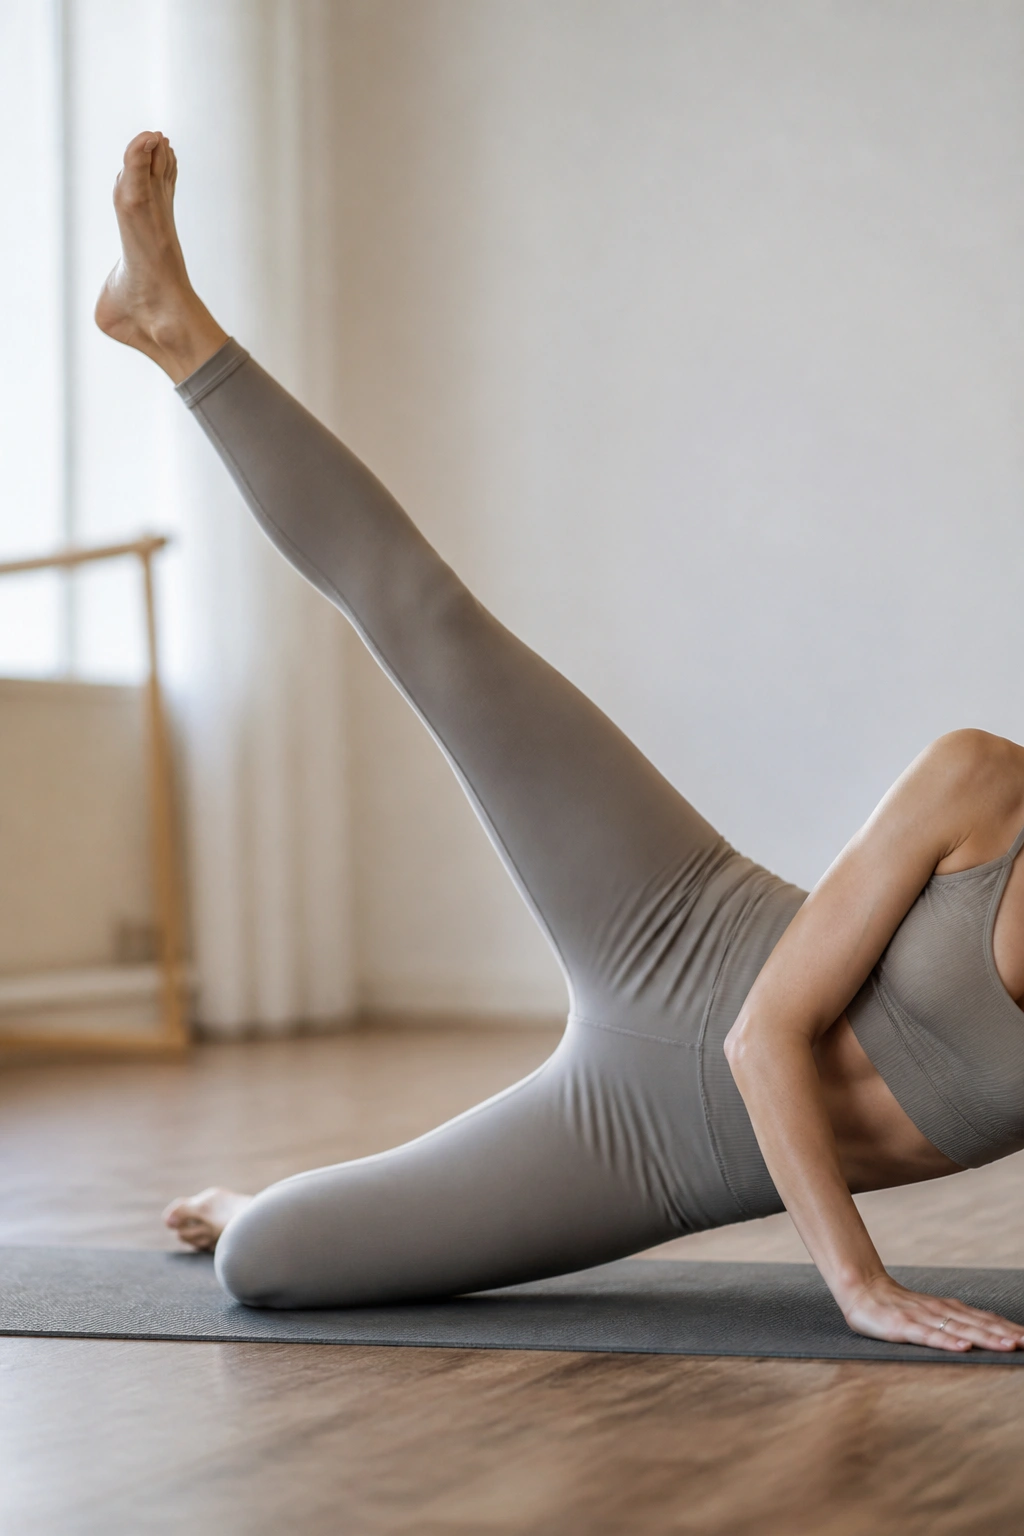
Remain on your side, but extend your top leg straight out. Flex the foot. Lift the leg toward the ceiling as high as you can without tilting your pelvis.
Control the descent—do not let the leg just drop. Slow and steady is the rule. The muscle doing the work is the side of your hip. If you start to feel your lower back working, stop. That means your core has disengaged. Take a second to reset your alignment, then continue.
16. The Chair Pose
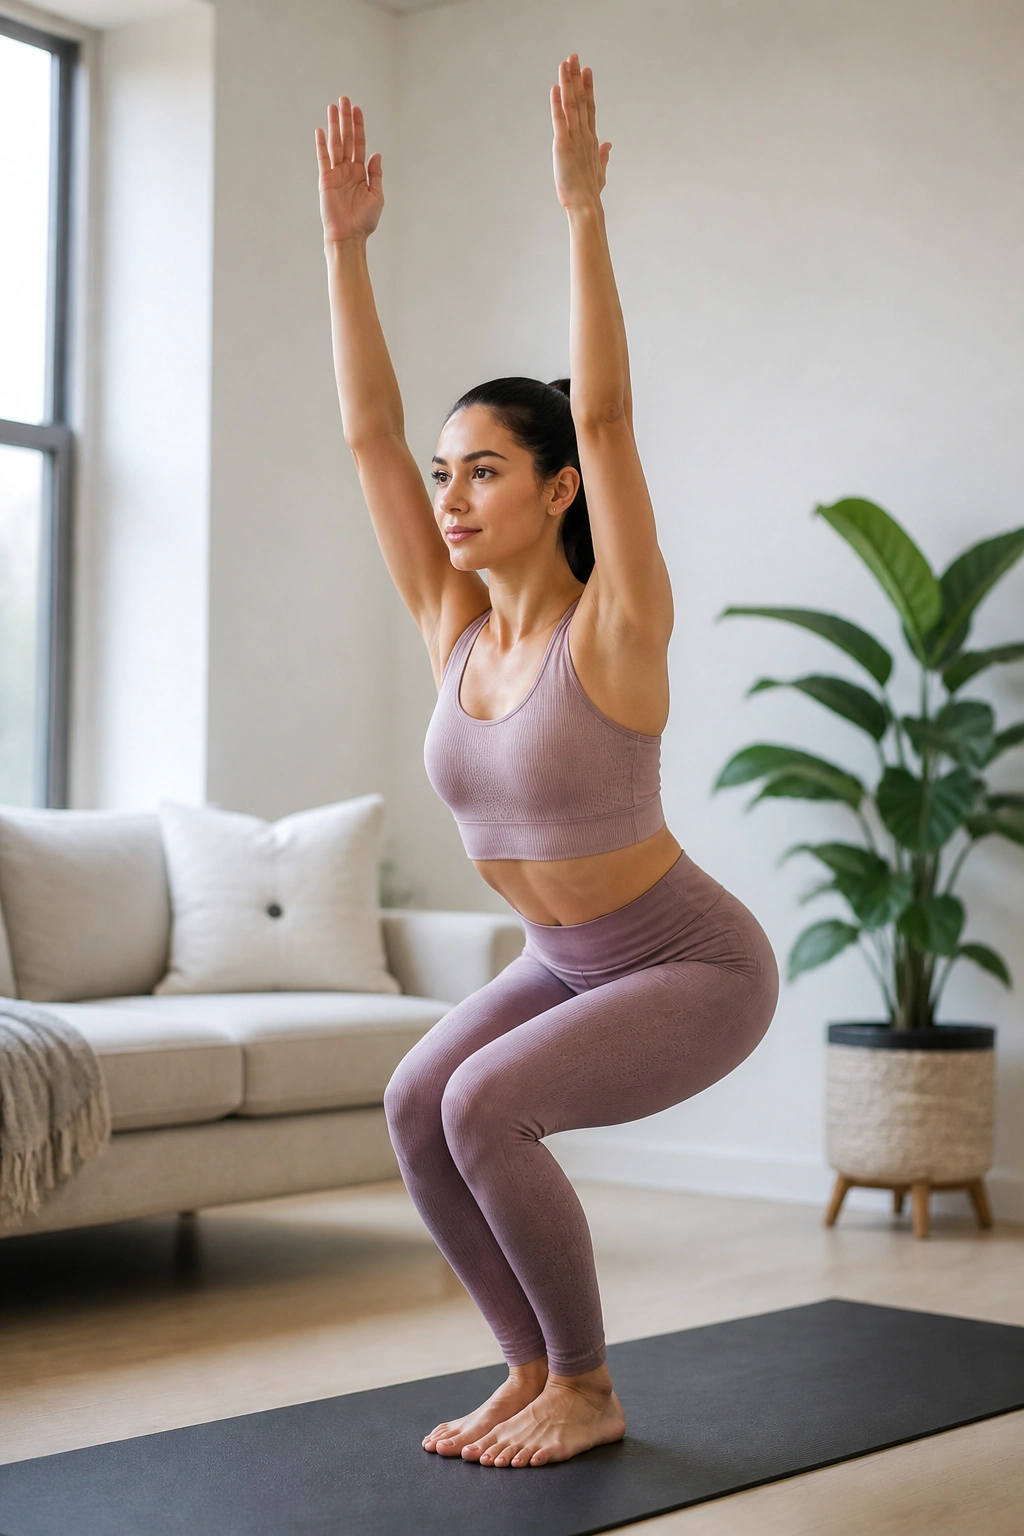
Stand with your feet parallel, hip-width apart. Reach your arms overhead, palms facing each other. Sit your hips back and down as if you are about to sit in a chair.
Keep your weight in your heels. Your knees should not go past your toes. Engage your core to keep your spine straight. This move is incredible for quad strength and posture. If you find your balance is off, place your heels against a wall to provide a reference point.
17. Reverse Lunges
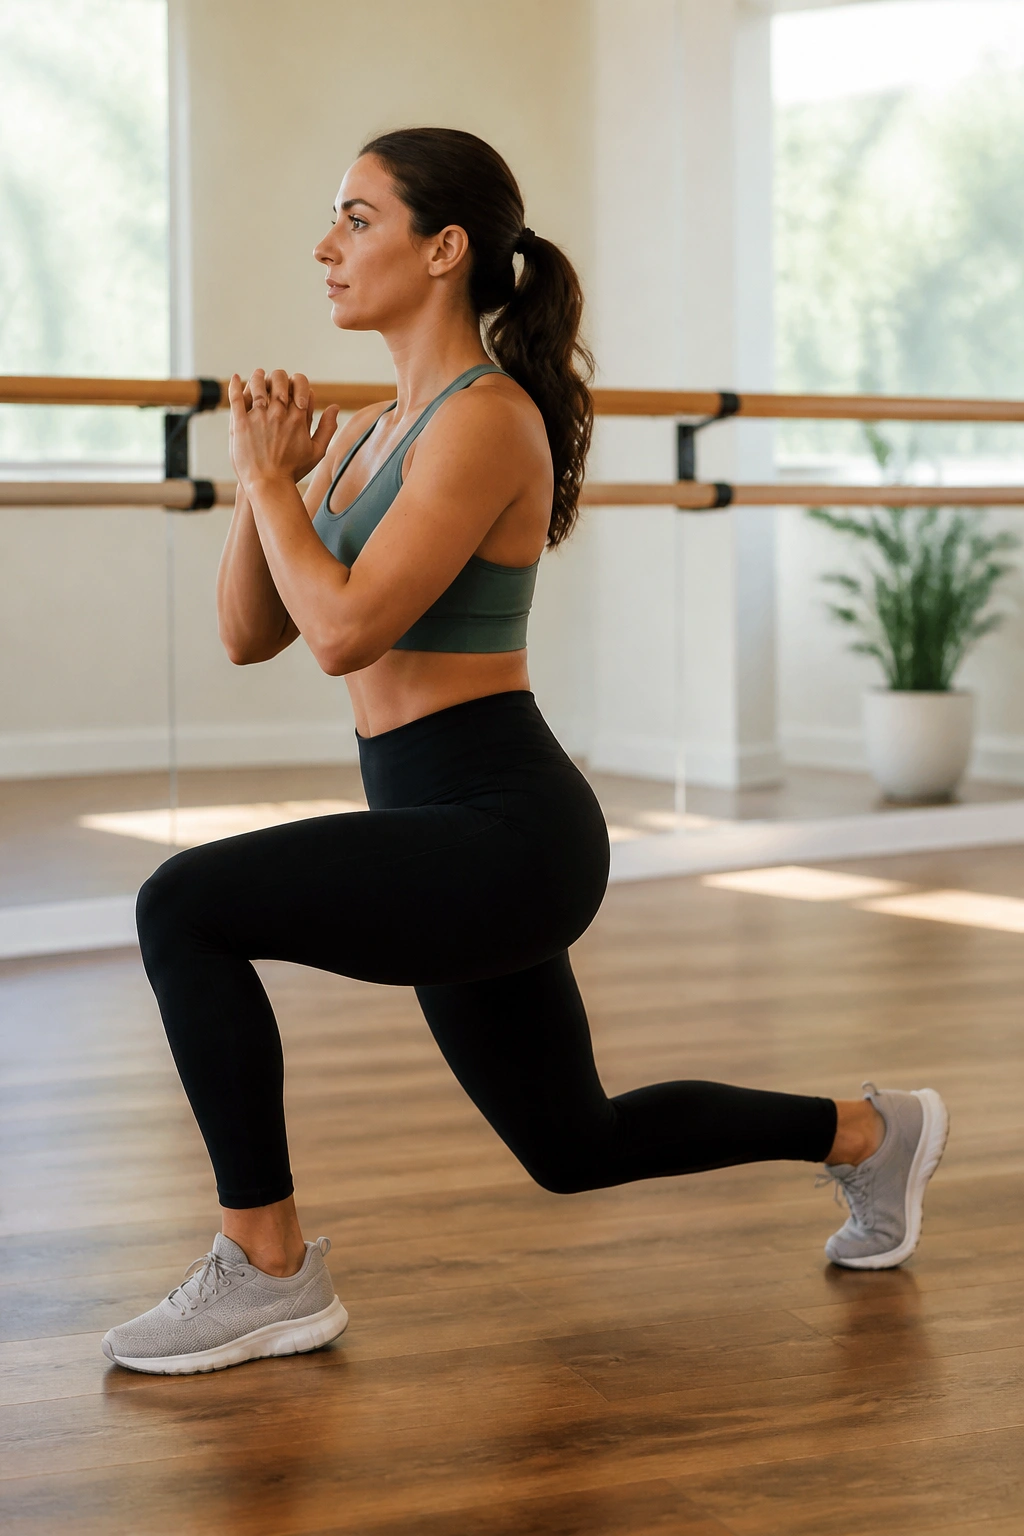
Start in a standing position. Take a large step back with your left foot, lowering into a lunge. As you stand back up, bring your left knee up toward your chest.
This combines a strength move with a balance challenge. Perform fifteen reps on one side, then switch. The key is the slow motion. Do not use momentum to swing the leg up. Use your core and the strength of your standing leg to pull yourself upright.
18. Standing Crunches
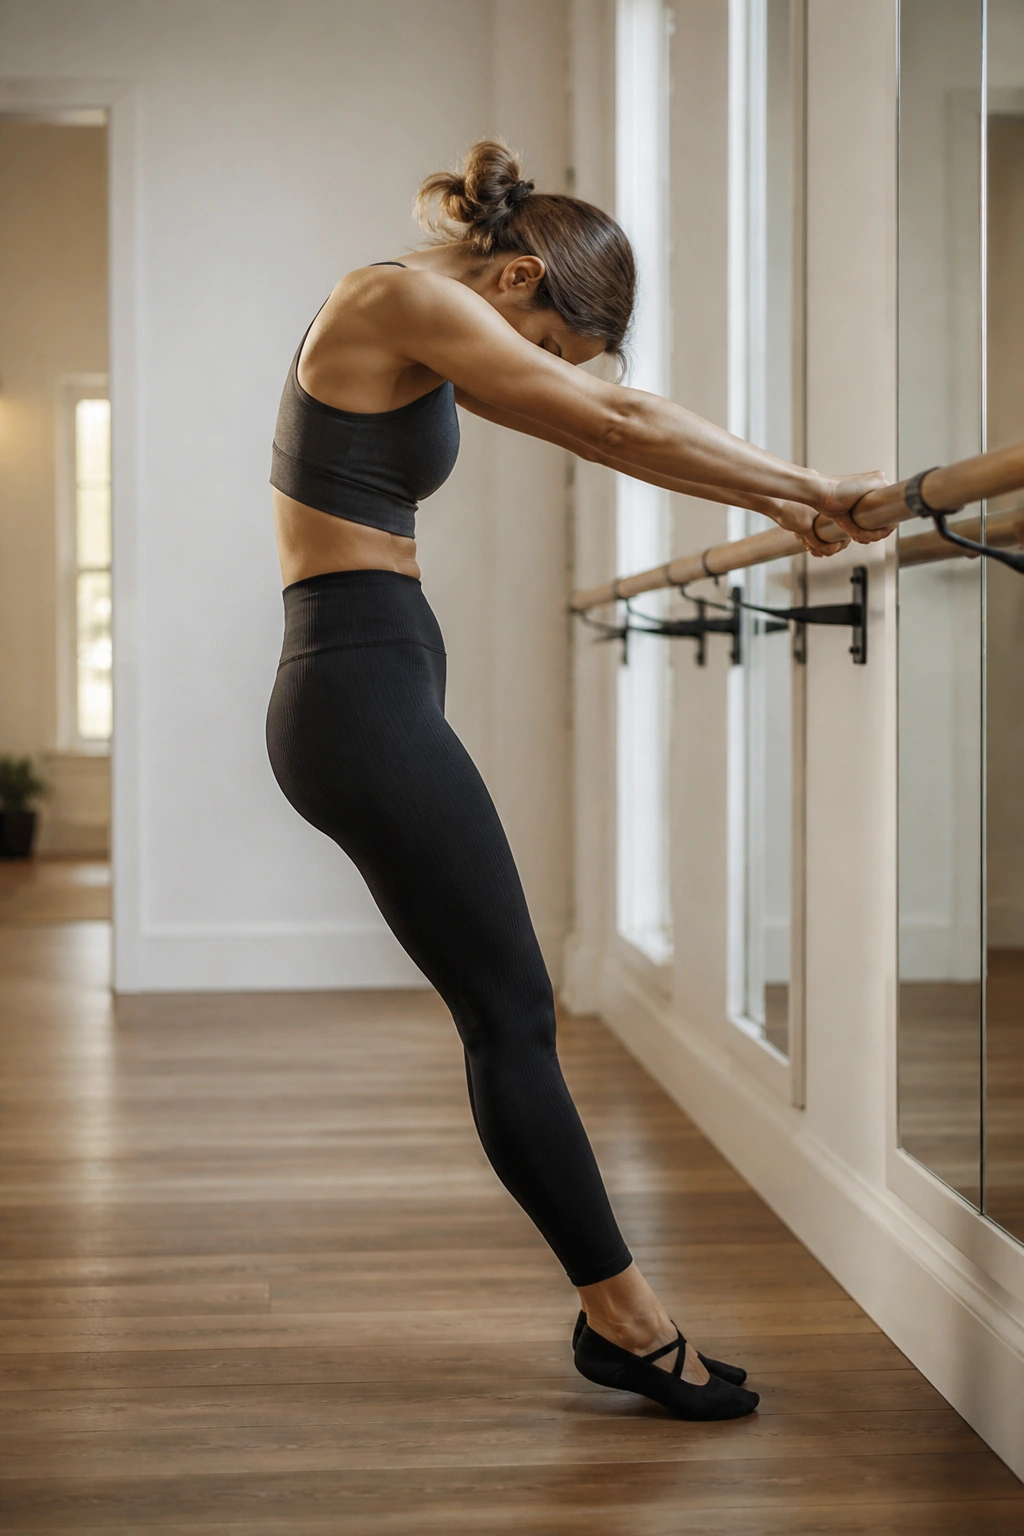
Stand facing the barre. Place your hands on the bar and step your feet back slightly. Keep your legs straight. Round your upper back, pulling your belly button in deep, and try to lift your chest slightly.
The Focus
This creates a deep abdominal contraction. Stay rounded. The goal is not a full-range sit-up, but rather a constant, focused tension on the rectus abdominis. Think about bringing your nose toward your belly button. You will be surprised how quickly your abs fatigue when you eliminate the swinging motion.
19. Hip Bridges
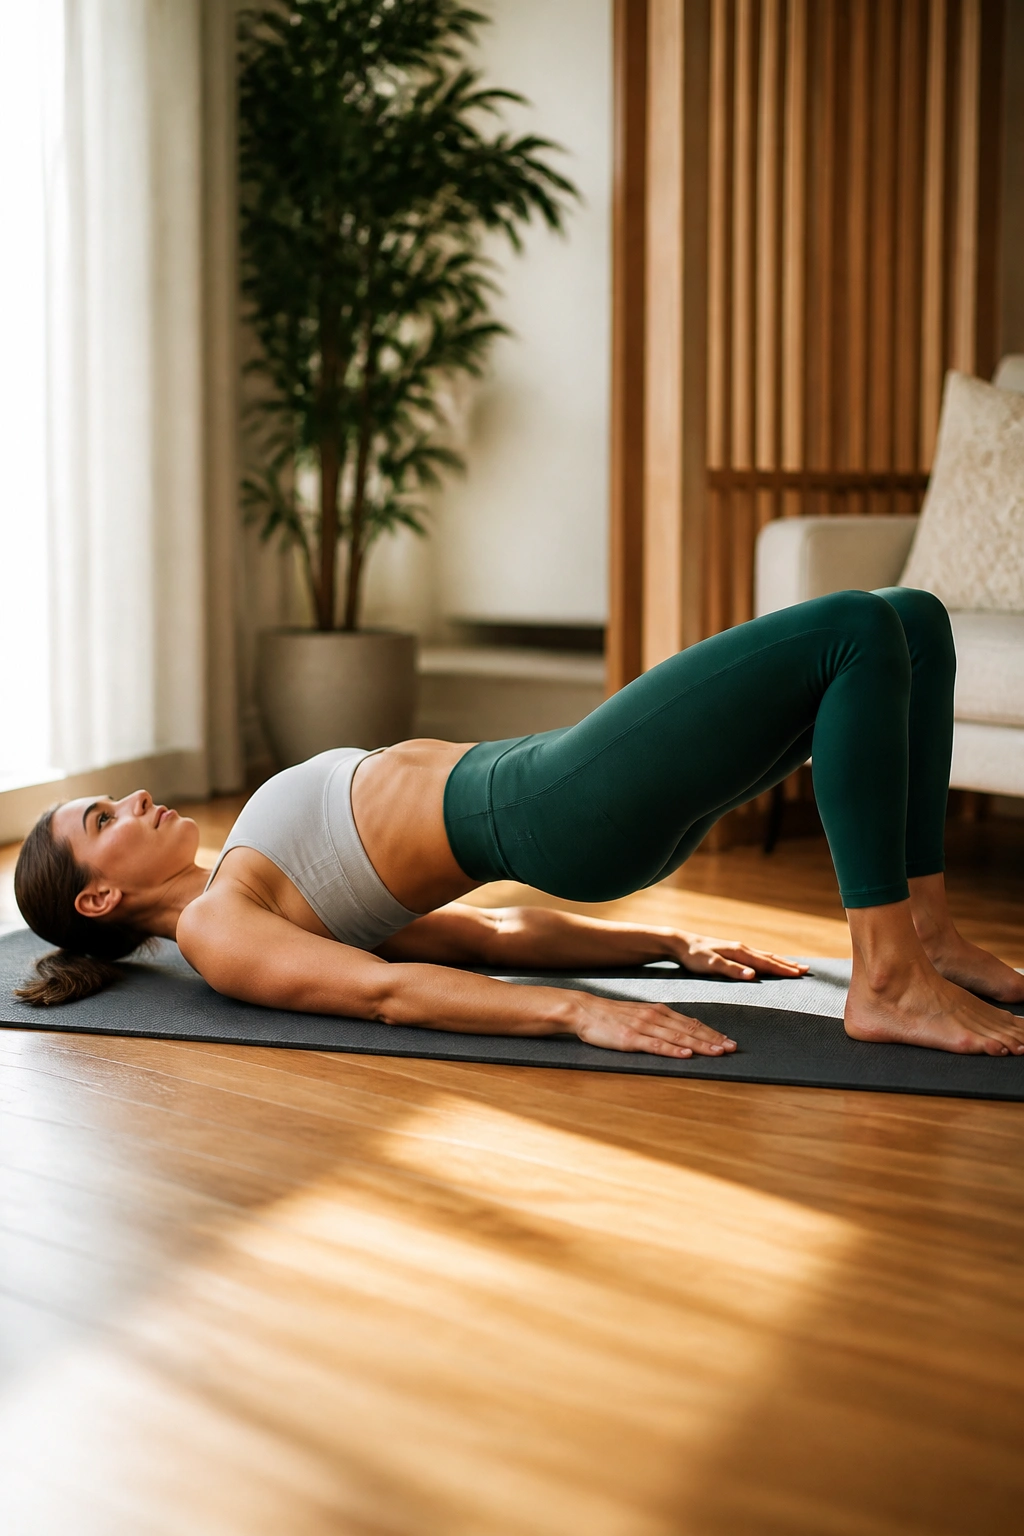
Lie on your back, knees bent, feet flat on the floor. Lift your hips toward the ceiling, squeezing your glutes at the top. Lower back down until your tailbone grazes the floor.
Perform this in a pulse-like rhythm. The glute bridge is the ultimate exercise for reversing the effects of sitting in a chair all day. Make sure you are pushing through your heels, not your toes. If you feel this in your hamstrings, move your feet closer to your glutes.
20. The “Pretzel” Move
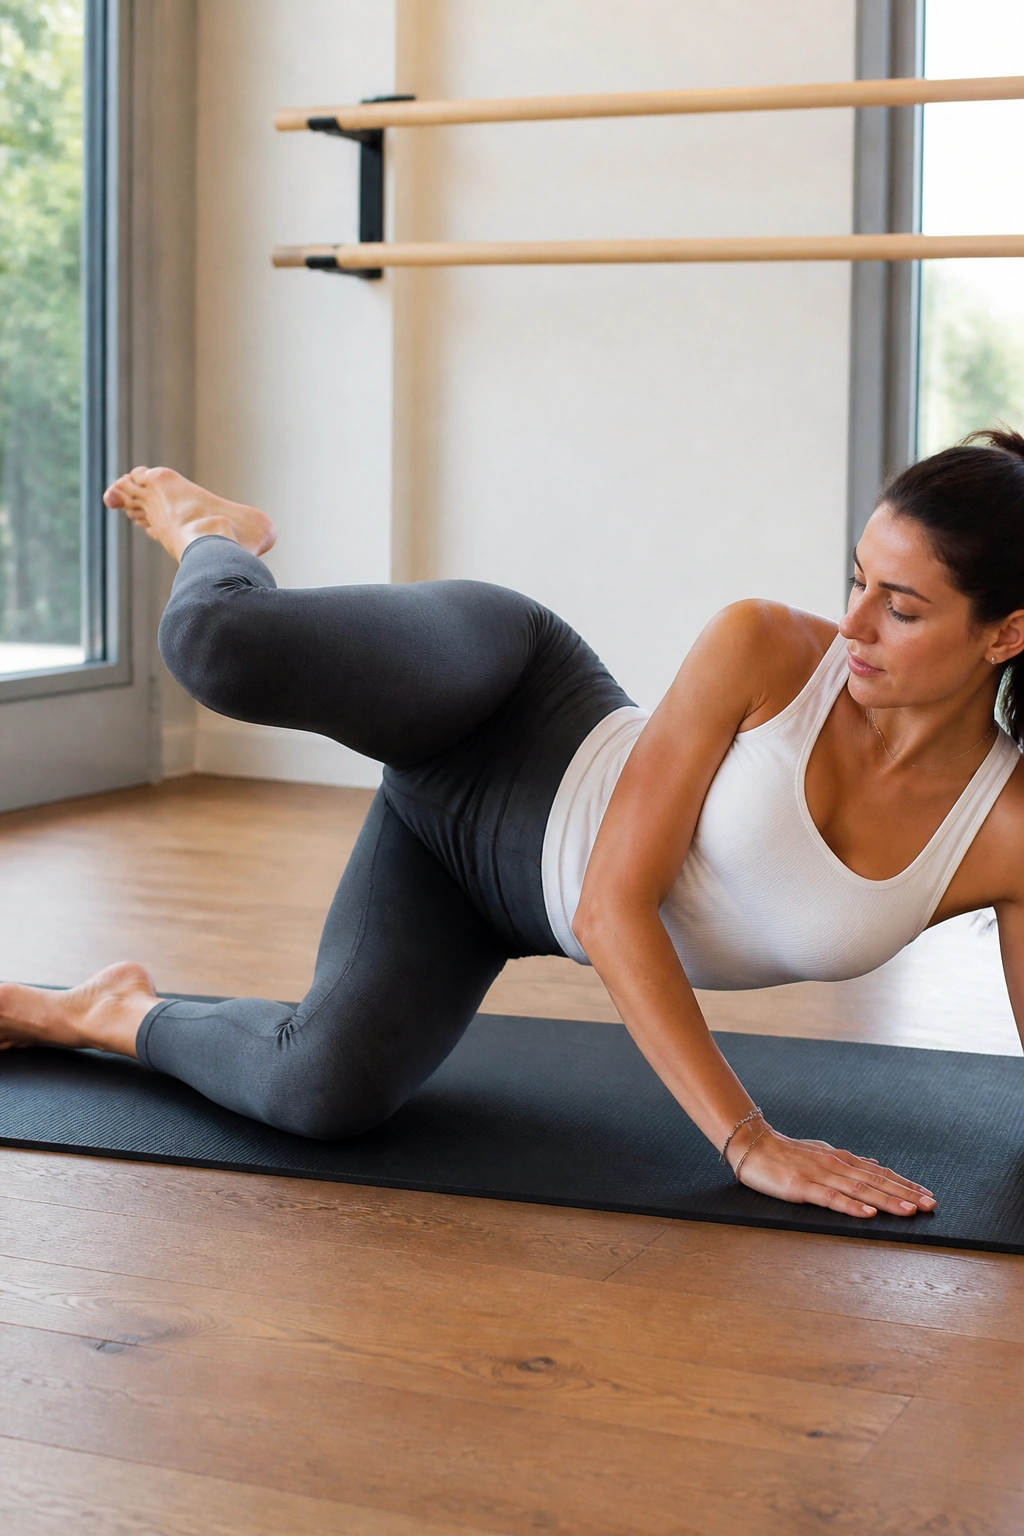
Lie on your side, then prop your torso up on your bottom elbow. Bend both knees, then slide the top knee slightly behind the bottom one, lifting the top foot off the floor.
Keep the top knee on the floor and pulse the top foot up and down. This is the “pretzel.” It targets the deep glute muscles that are often neglected. It is awkward, it is challenging, and it is arguably one of the most effective glute-sculpting moves in the barre repertoire. Do not let your torso sink into your shoulder.
21. Push-Up Variations
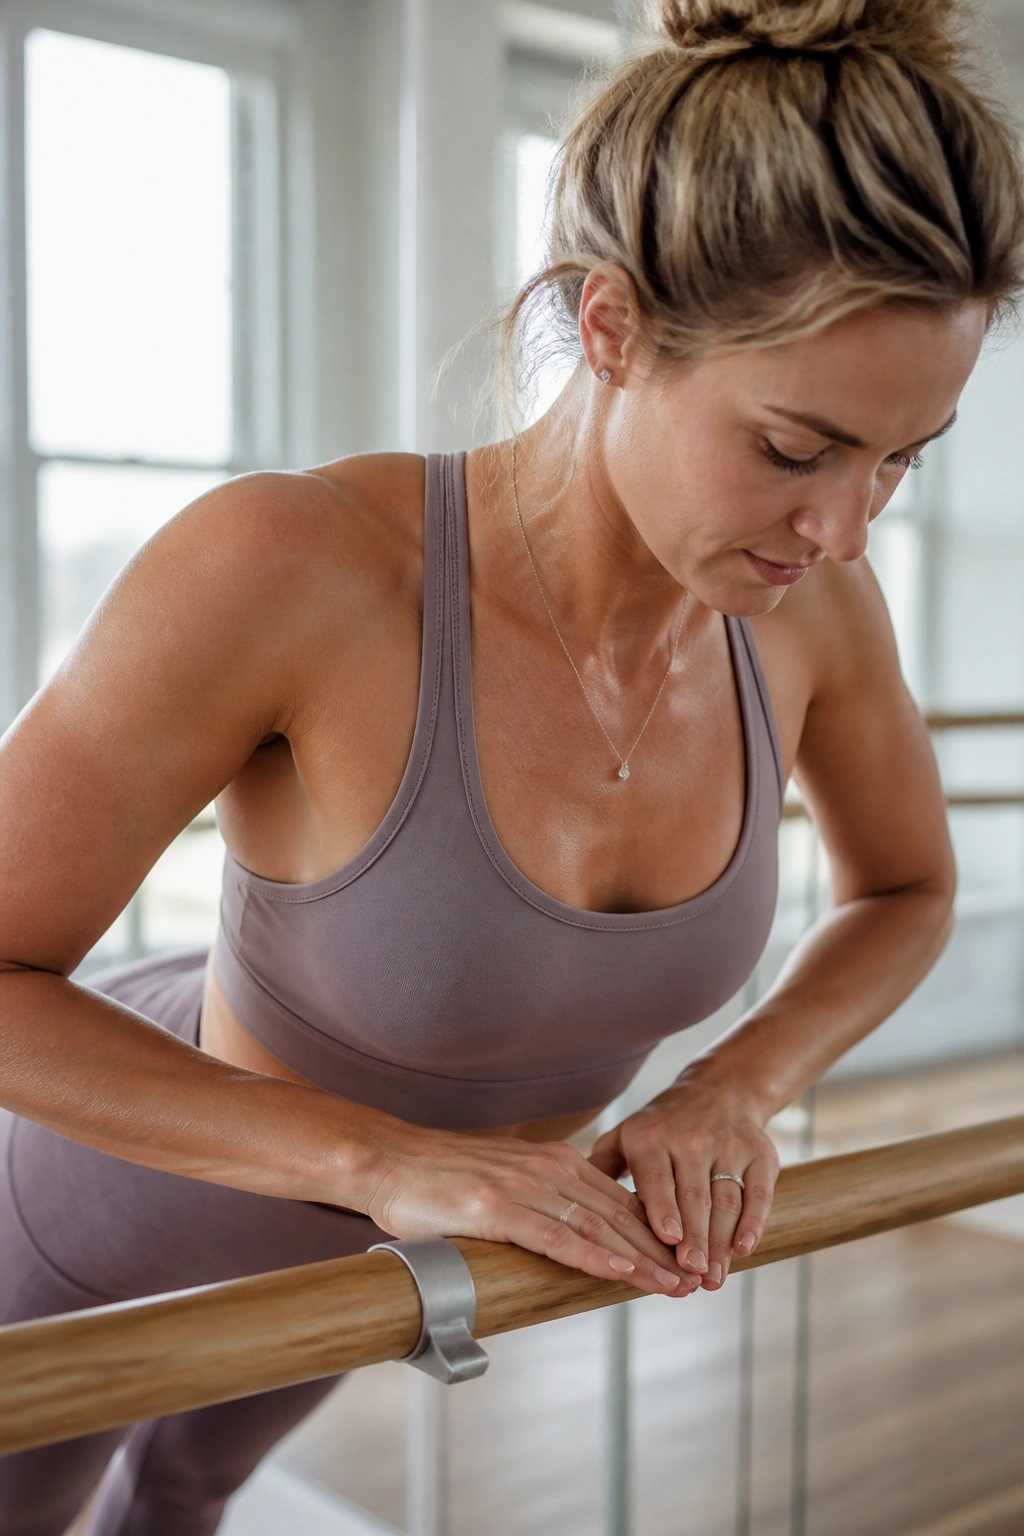
Once you master the standard wall push-up, try a diamond push-up. Place your hands on the barre so that your index fingers and thumbs form a diamond shape.
Keep your elbows tucked close to your body as you lower. This shifts the focus from the chest to the triceps. If this hurts your wrists, switch back to the wider hand placement. Listen to your joints—if something feels sharp or painful, adjust your grip or depth immediately.
22. Shoulder Presses
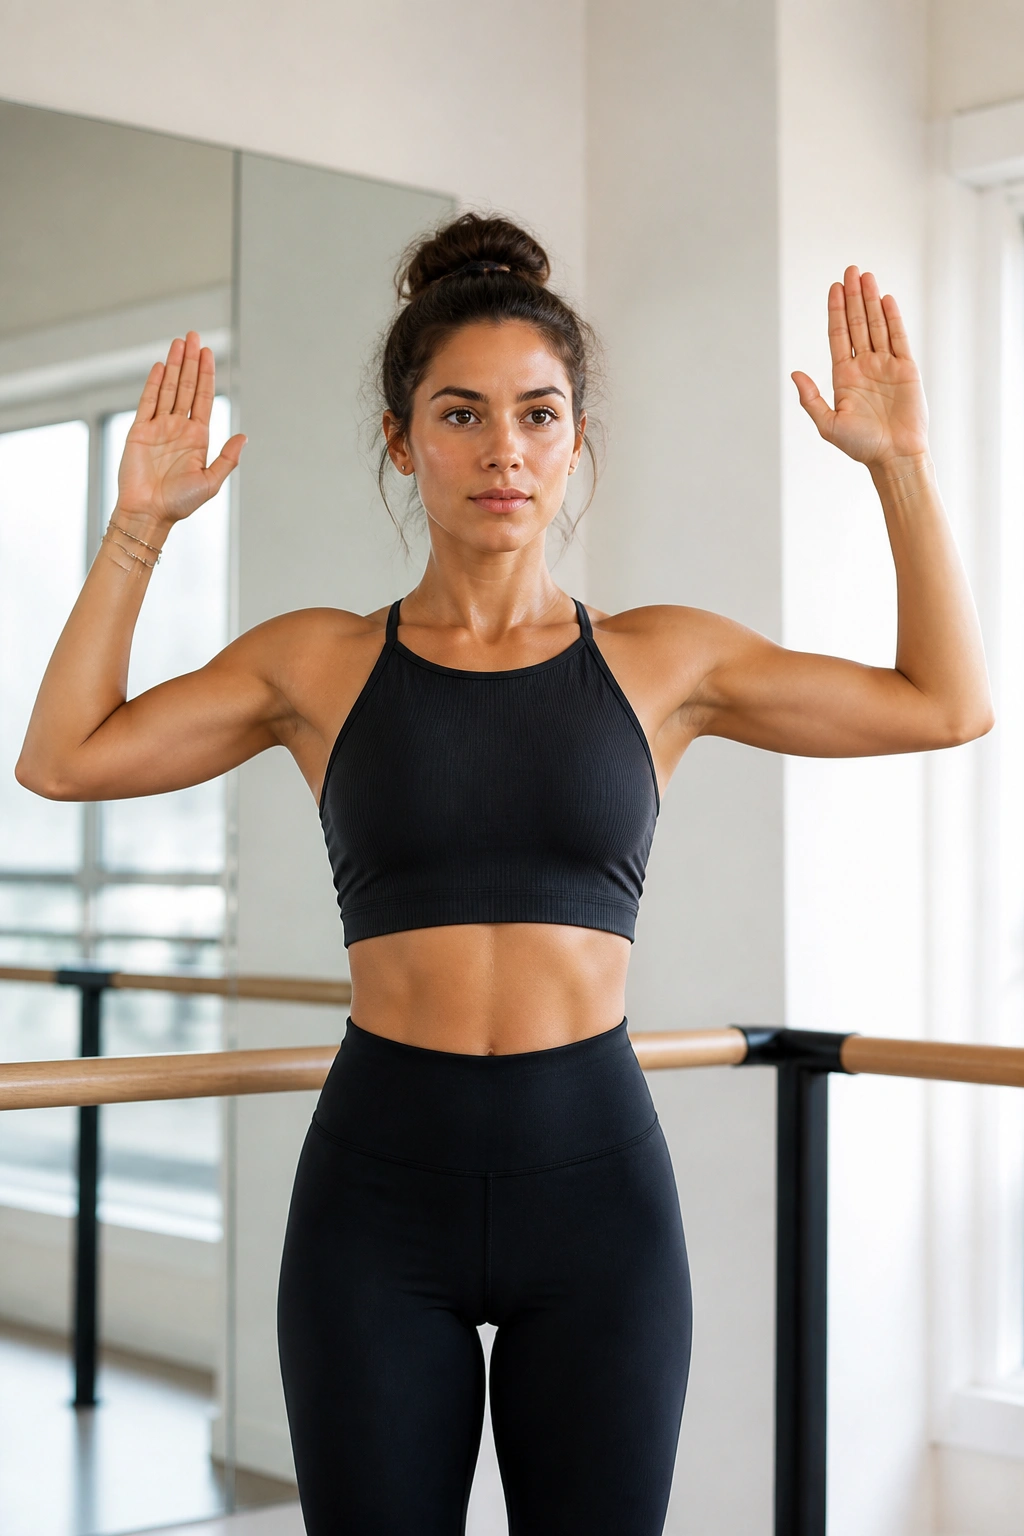
Stand with your feet parallel. Bend your elbows, bringing your hands to shoulder height, palms facing forward. Pulse your arms upward, extending them overhead, then return to the starting position.
Keep your core tight and your ribs down. Do not arch your back when you reach overhead. Think about pulling your shoulder blades down your back throughout the movement. This is a surprisingly good way to improve posture and shoulder stability.
23. Bicep Curls in Plié
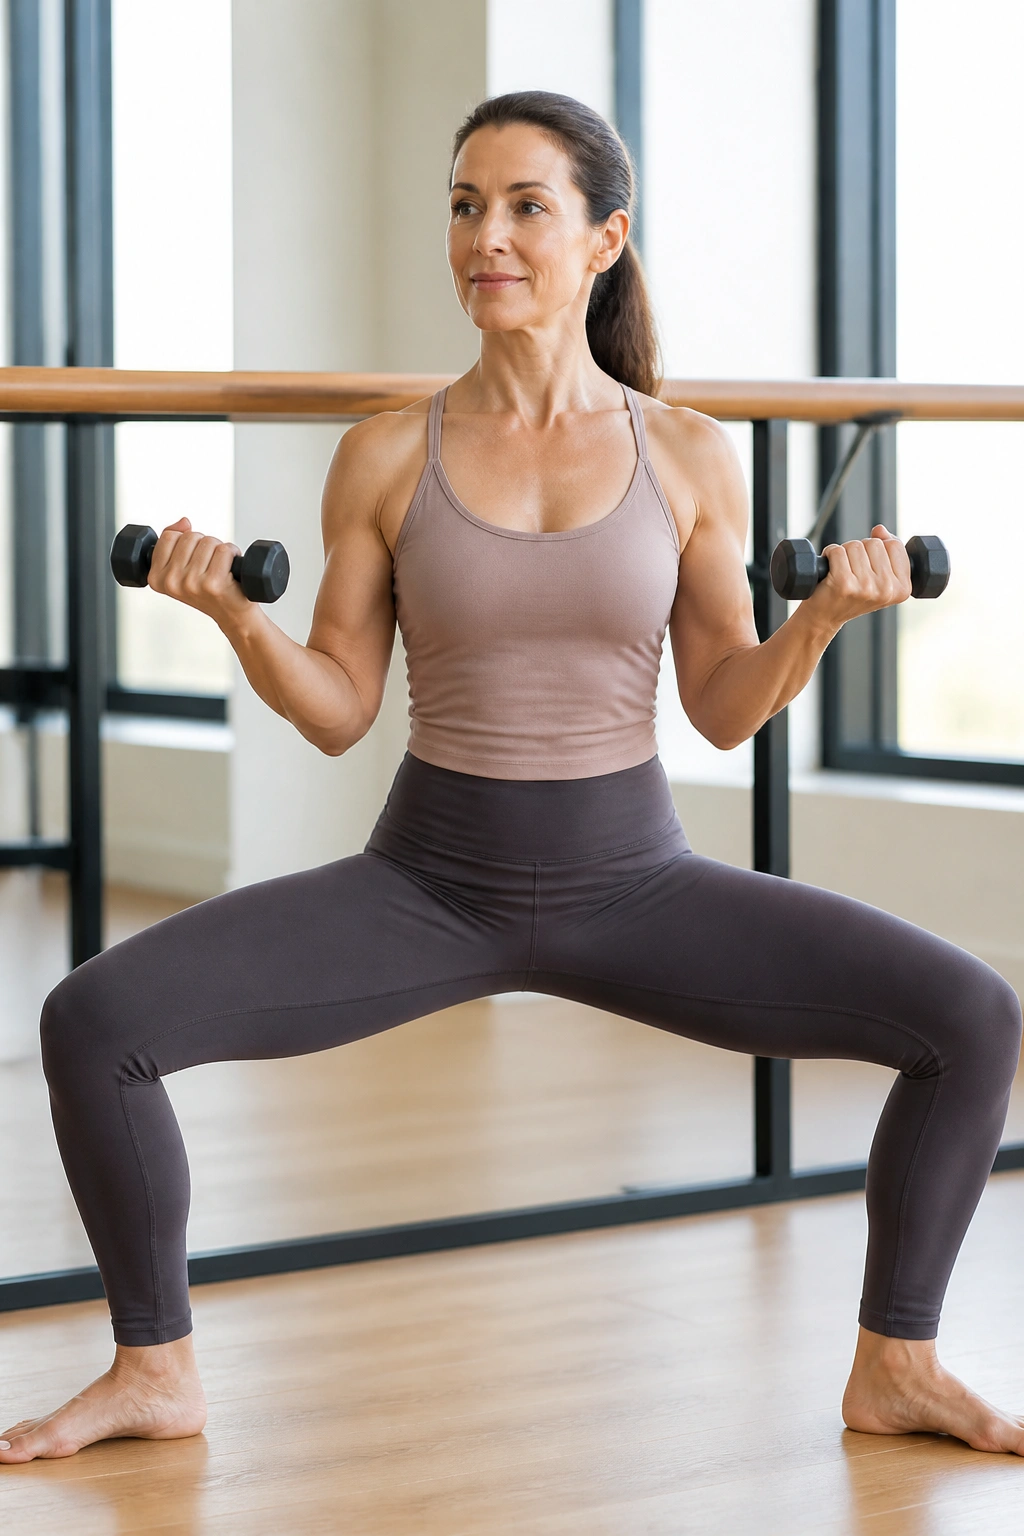
Stand in a wide plié position. Hold your arms out to the sides, elbows bent at ninety degrees, palms up. Imagine you are holding something heavy. Pulse your arms in toward your chest and back out.
You are combining lower body endurance (the plié) with upper body toning. Because you have to hold the plié the entire time, your legs are under constant strain. If your legs start to shake, take a breath, but do not stand up. That shake is the sound of your muscles changing.
24. Standing Balance Work
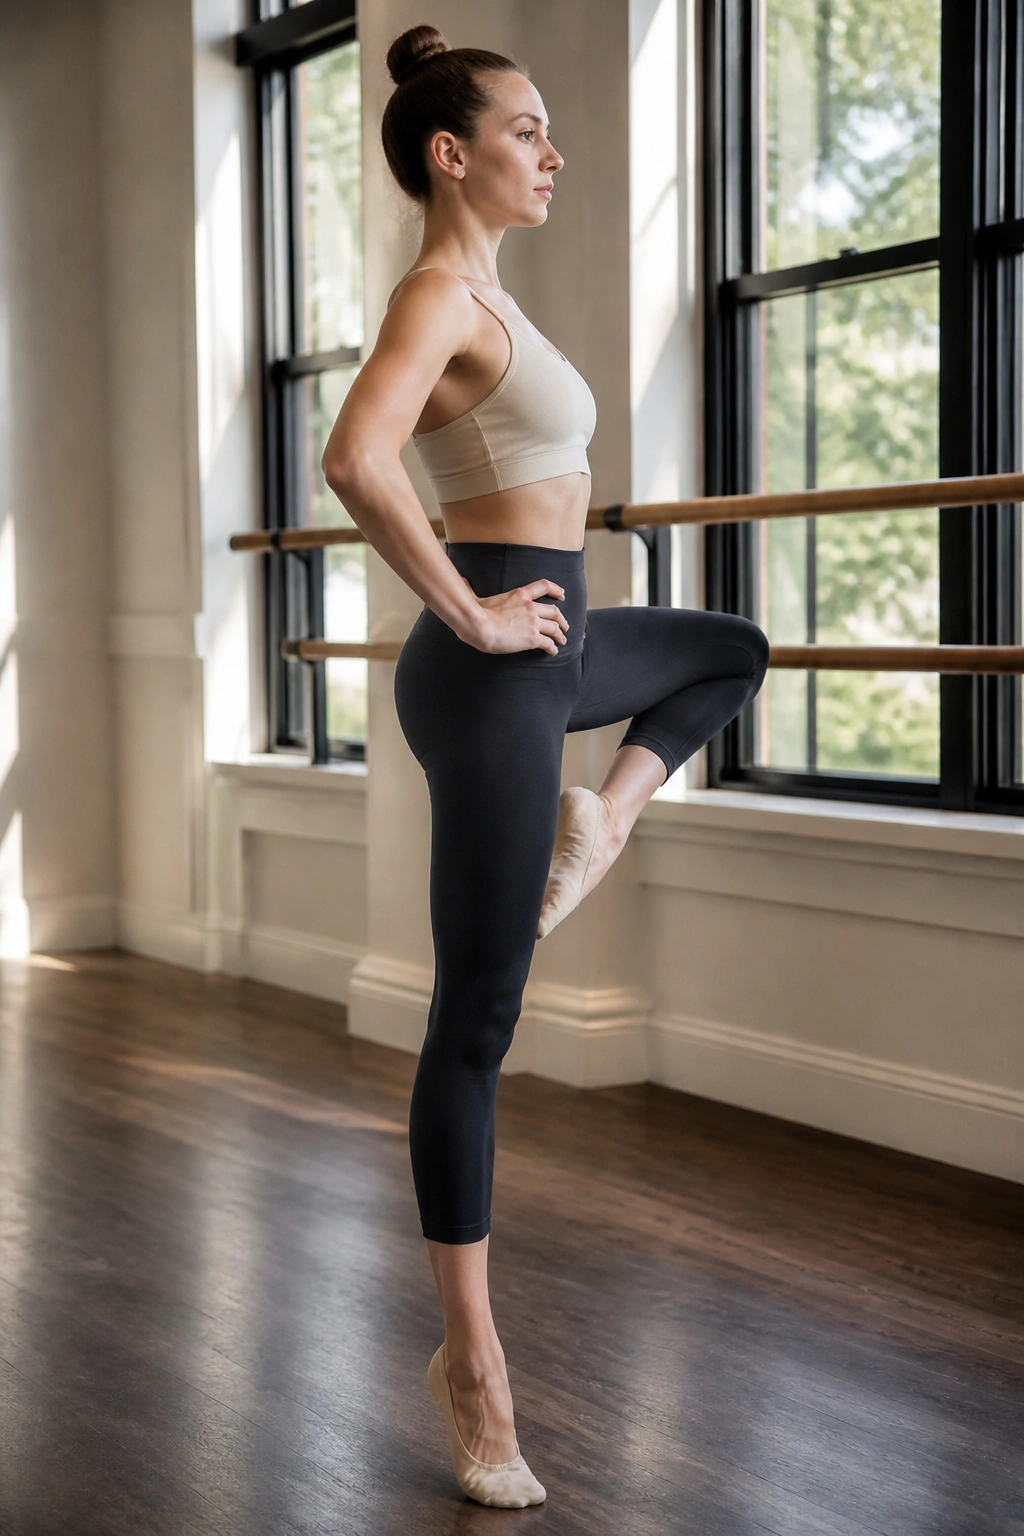
Stand on one leg, with the other lifted in a high passe (toe touching your standing knee). Hold for thirty seconds without touching the barre.
Why It Matters
Balance is a skill you have to train. Standing on one leg forces every tiny muscle in your ankle, calf, and hip to activate to keep you upright. If you wobble, that is okay. Wobbling is just your brain learning how to control your body better. Keep your eyes fixed on a single point in front of you—this is called a “drishti” in yoga, and it works just as well in barre.
25. Finishing Stretch
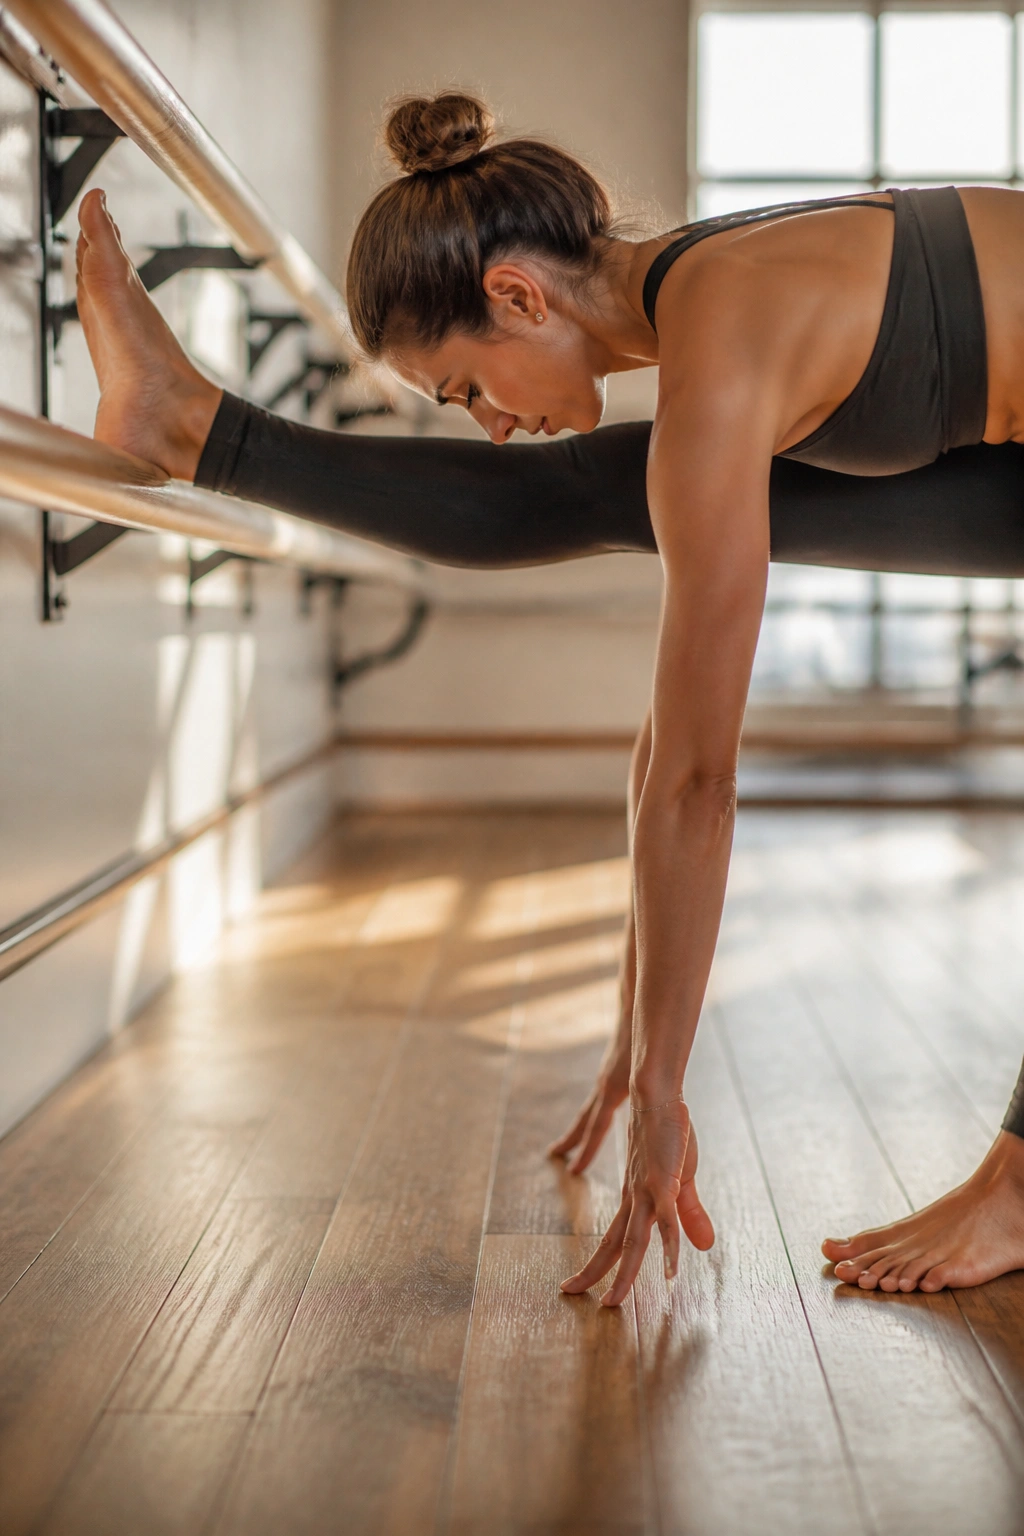
You cannot skip this. Stretch your hamstrings by placing your heel on the barre and leaning forward with a flat back. Stretch your quads by grabbing your foot behind you.
Barre movements are repetitive and intense. Your muscles need to be elongated and released after all that pulsing. Spend at least three minutes stretching. Focus on the areas that burned the most. Your muscles will be tighter tomorrow if you don’t take the time to lengthen them today.
Getting Results
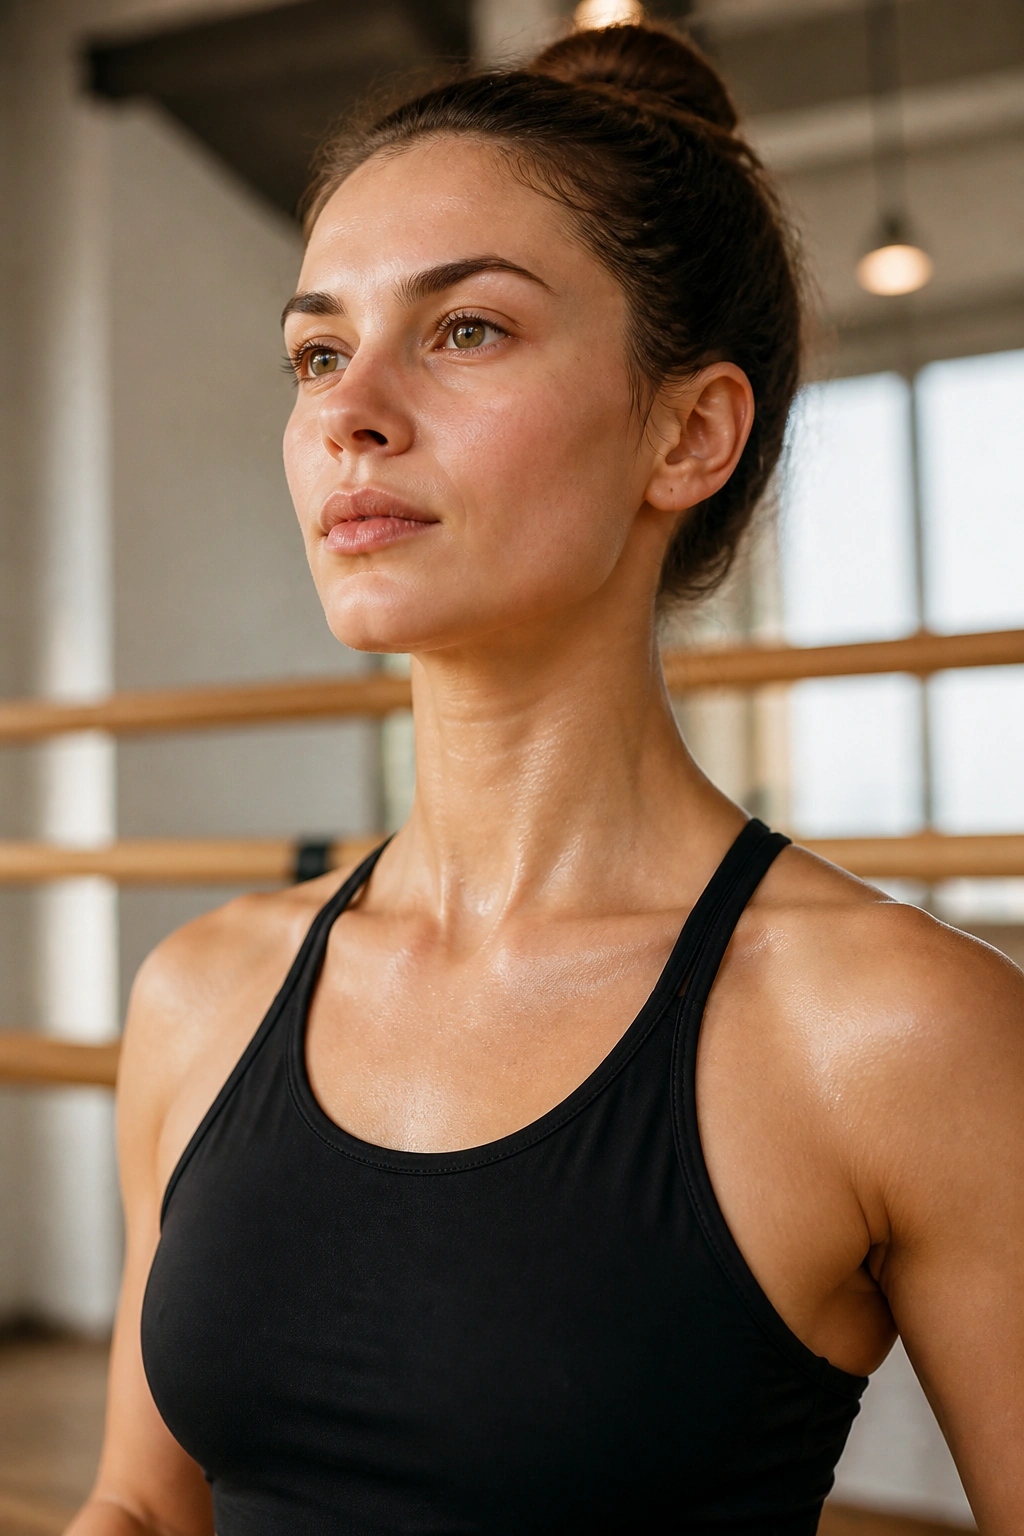
Barre is not a quick fix, and it is not a magic solution. It is a slow, methodical process of refining your muscle tone and building endurance. If you do these moves two or three times a week, you will start to notice that your posture is better and your muscles feel more resilient.
The biggest mistake people make is trying to move through these exercises too quickly. You are not trying to get your heart rate up for a cardio workout; you are trying to reach total muscular fatigue. If you finish these 25 moves and feel like you could have done more, you weren’t moving slowly enough. Focus on the quality of every single pulse, and the results will follow.
