



A steady walk can feel fine until the first turn, the first curb, or the first time you reach for something on a high shelf. That’s where balance and strength start talking to each other, and if one side is weak, the whole thing gets shaky fast. The good news is that you do not need fancy gear or a long gym session to make a difference.
The best balance and strength exercises for older adults are usually the plain ones: chair stands, heel raises, short walks, controlled reaches, and simple lower-body work done with care. They train the muscles that keep you upright, but they also train something people forget about all the time — timing. Your feet, ankles, hips, and core have to learn to work together again, not just get stronger on paper.
I’ve always liked these kinds of exercises because they show their value in daily life. Getting out of a low chair feels easier. Turning in the kitchen feels less uncertain. Climbing a few steps stops feeling like a small event. Small changes, yes. But they add up fast.
Dizziness, chest pain, or a sharp joint twinge means stop. If you’ve had recent falls, surgery, or you’re dealing with a medical issue that affects walking, get cleared first.
1. Sit-to-Stand from a Firm Chair
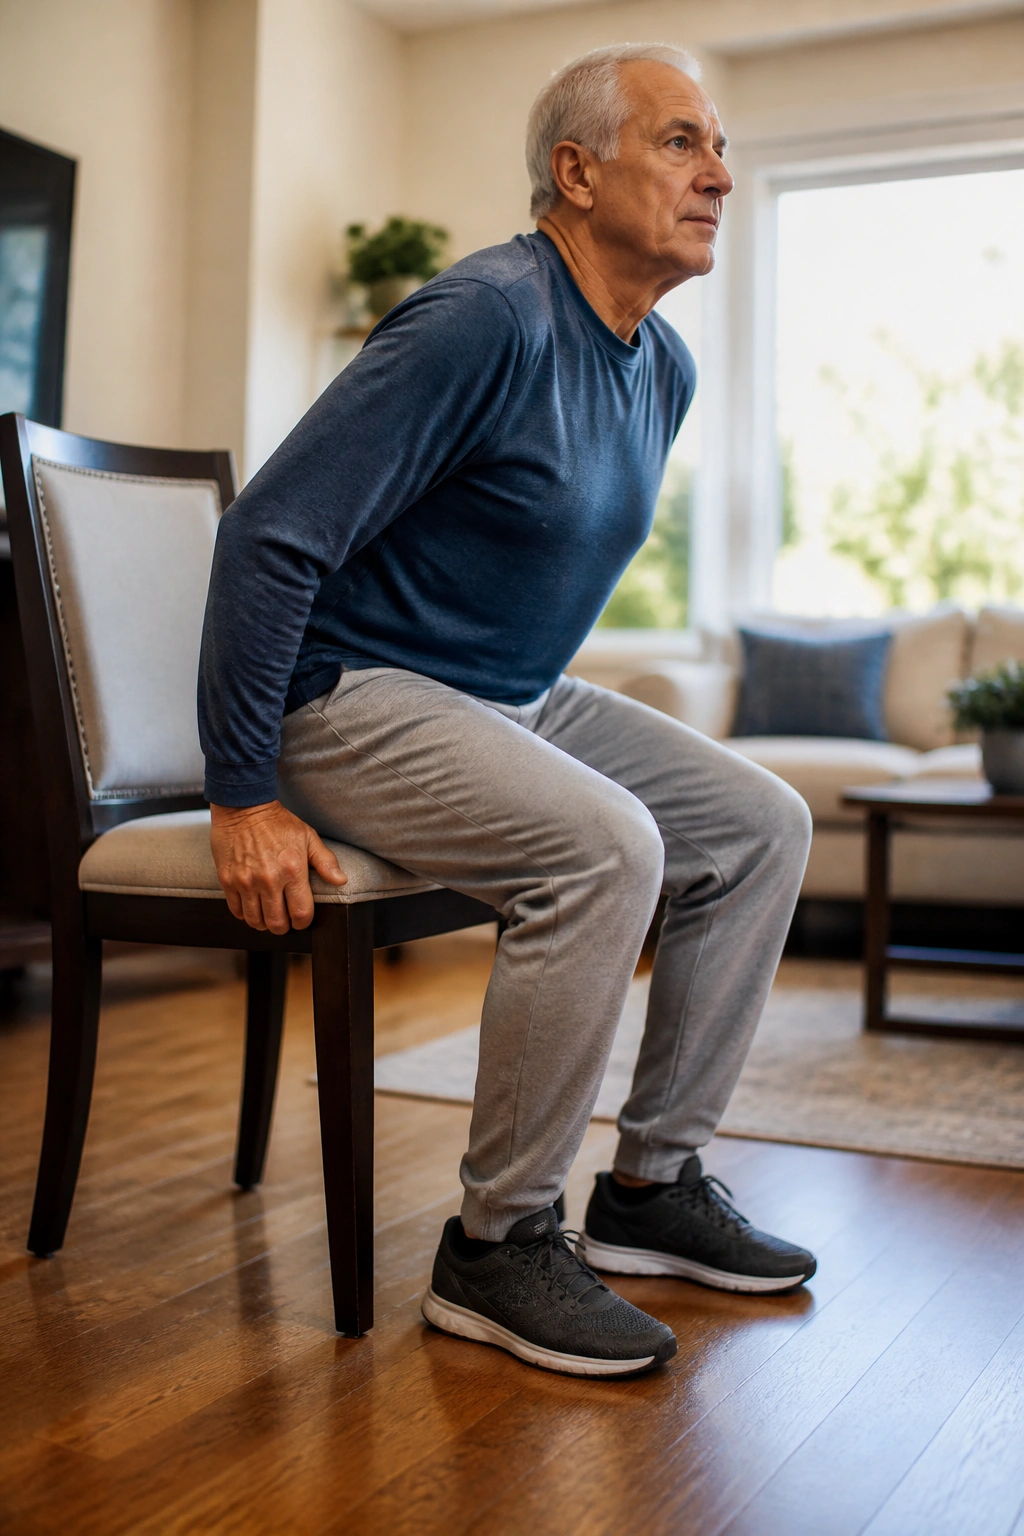
If I had to pick one exercise that earns its place for almost every older adult, this would be it. Sit-to-stand builds the thighs, glutes, and trunk muscles you use dozens of times a day, and it also teaches balance in a very real way because you’re moving from a stable seat into standing.
Start with a firm chair that does not slide. Sit near the front edge, feet about hip-width apart, then lean your chest slightly forward and stand by pressing through your heels. Lower back down with control. Do not flop into the chair — that fast drop does nothing for strength.
What to watch for
- Keep your knees tracking over your toes.
- Use your hands only if you need them at first.
- Stand up fully at the top; no half-rises.
- Try 1 to 3 sets of 6 to 10 reps.
If the movement feels wobbly, raise the chair with a folded towel or use a higher seat. That tiny change can make the whole exercise feel cleaner. And cleaner matters.
2. Supported Single-Leg Stand
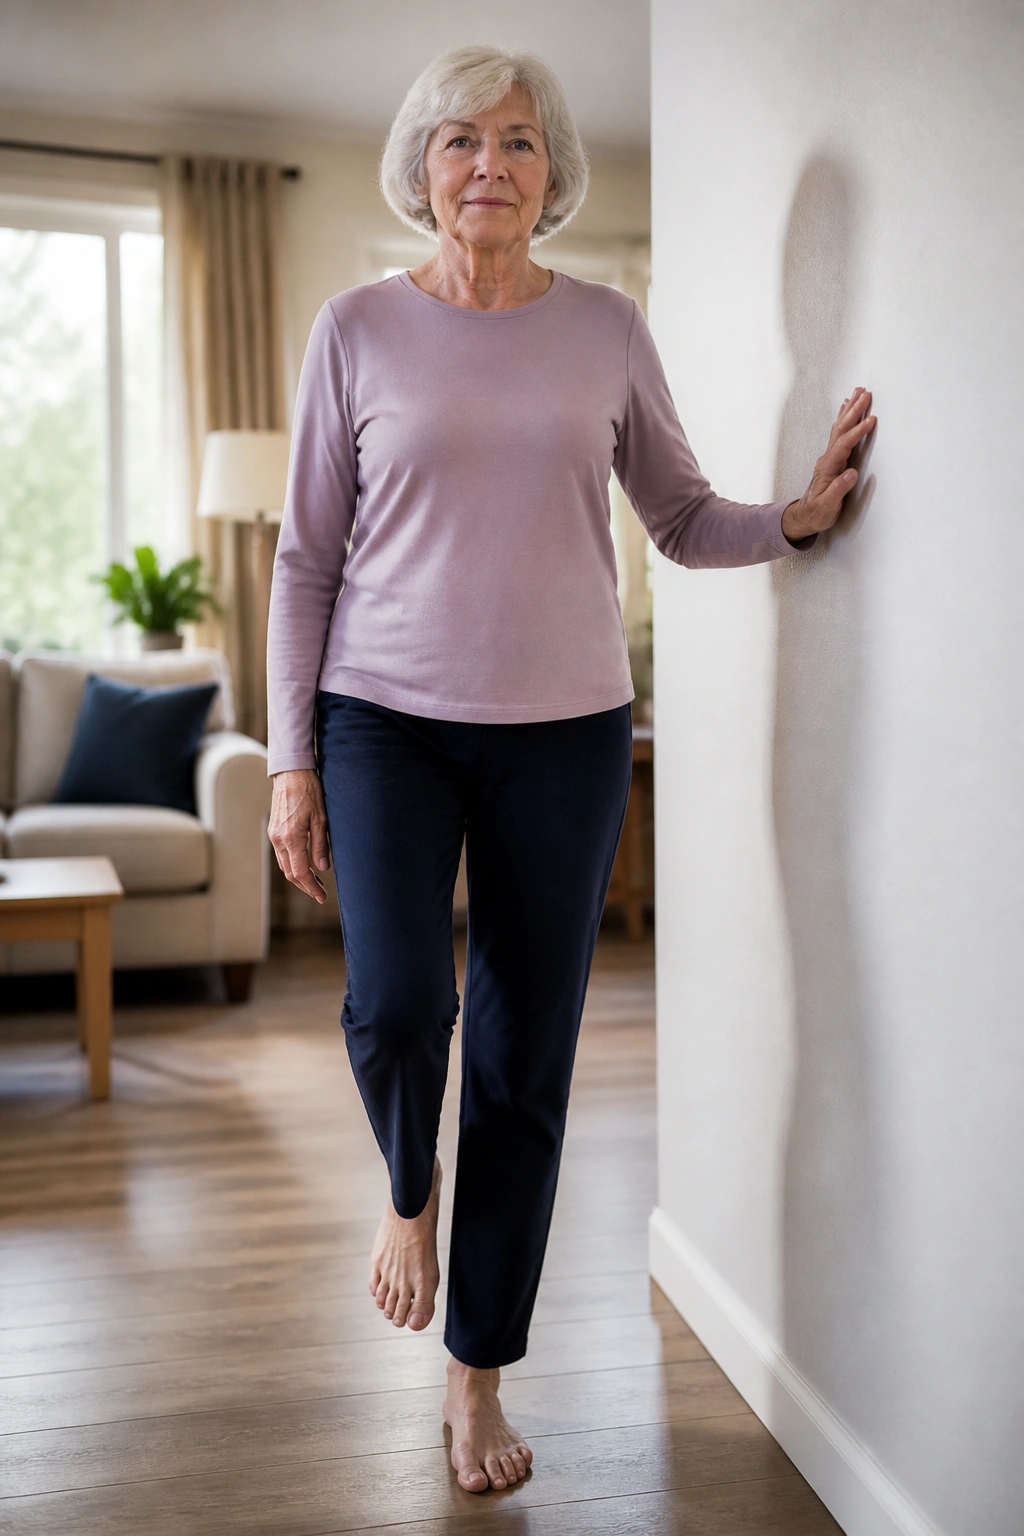
Why does standing on one leg help so much? Because walking is basically a long series of single-leg moments. Every step asks one leg to hold your body while the other swings forward, and this drill teaches that skill in a safe, slow way.
Stand next to a wall, counter, or sturdy chair and keep one hand lightly on it. Lift one foot just an inch off the floor, then hold your standing side tall for 10 to 20 seconds. Switch sides. If 20 seconds feels impossible, start with 5. That’s fine.
A lot of people rush this one and end up leaning their hip out or gripping the support like a lifeline. Don’t. The goal is light contact, not hanging on. Think “steady and tall,” not “hard and tense.”
How to make it harder
- Reduce the hand support from palm to fingertips.
- Turn your head slowly left and right.
- Close your eyes only if you’re already very steady and near support.
Short holds done well beat long holds done badly.
3. Heel-to-Toe Walk
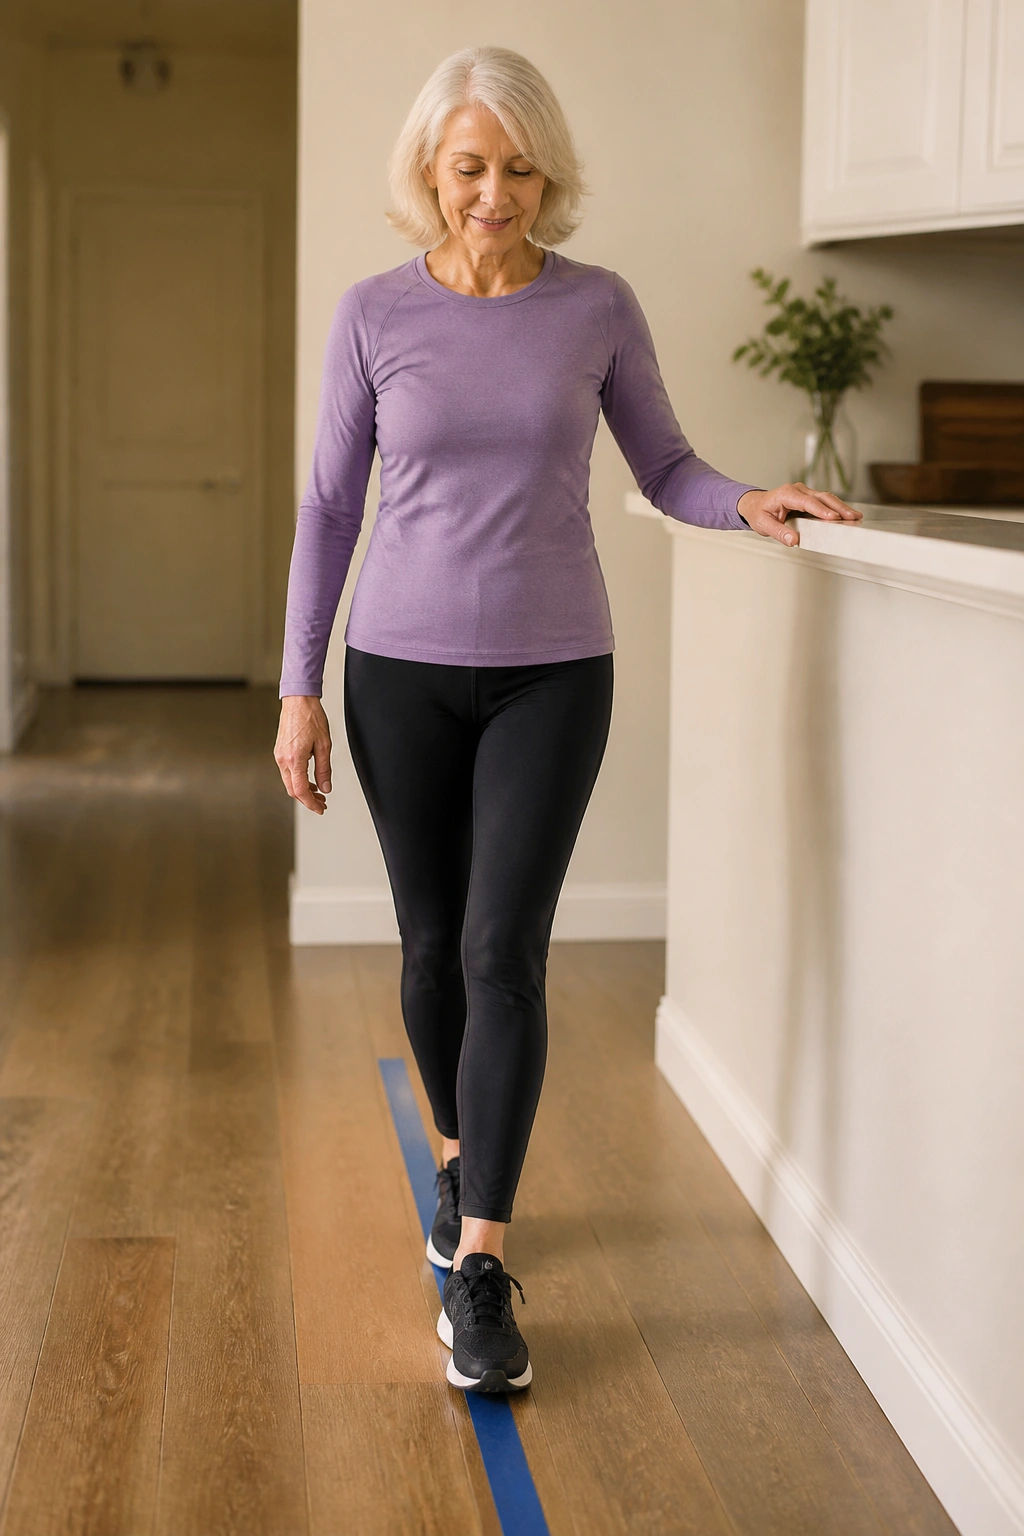
This one looks simple, and it is, but it has a sneaky amount of value. Heel-to-toe walking trains foot placement, body control, and that little bit of hip steadiness that keeps you from weaving when you turn or walk through a narrow space.
Imagine walking along a straight line on the floor. Place the heel of one foot directly in front of the toes of the other, then step forward in that same line for 10 to 15 steps. Use a wall or counter nearby. If the line wobbles, don’t force a perfect tightrope walk. A small gap between heel and toe is okay at first.
It helps to keep your eyes forward, not staring at your feet the whole time. Looking down too much can make the upper body collapse forward. Tall chest, soft knees, slow steps.
- Do 2 to 4 passes.
- Rest between passes if your calves start to burn.
- Turn around carefully at the end instead of pivoting fast.
This is one of those exercises that teaches the body to trust a straight path again.
4. March in Place with Arm Reach
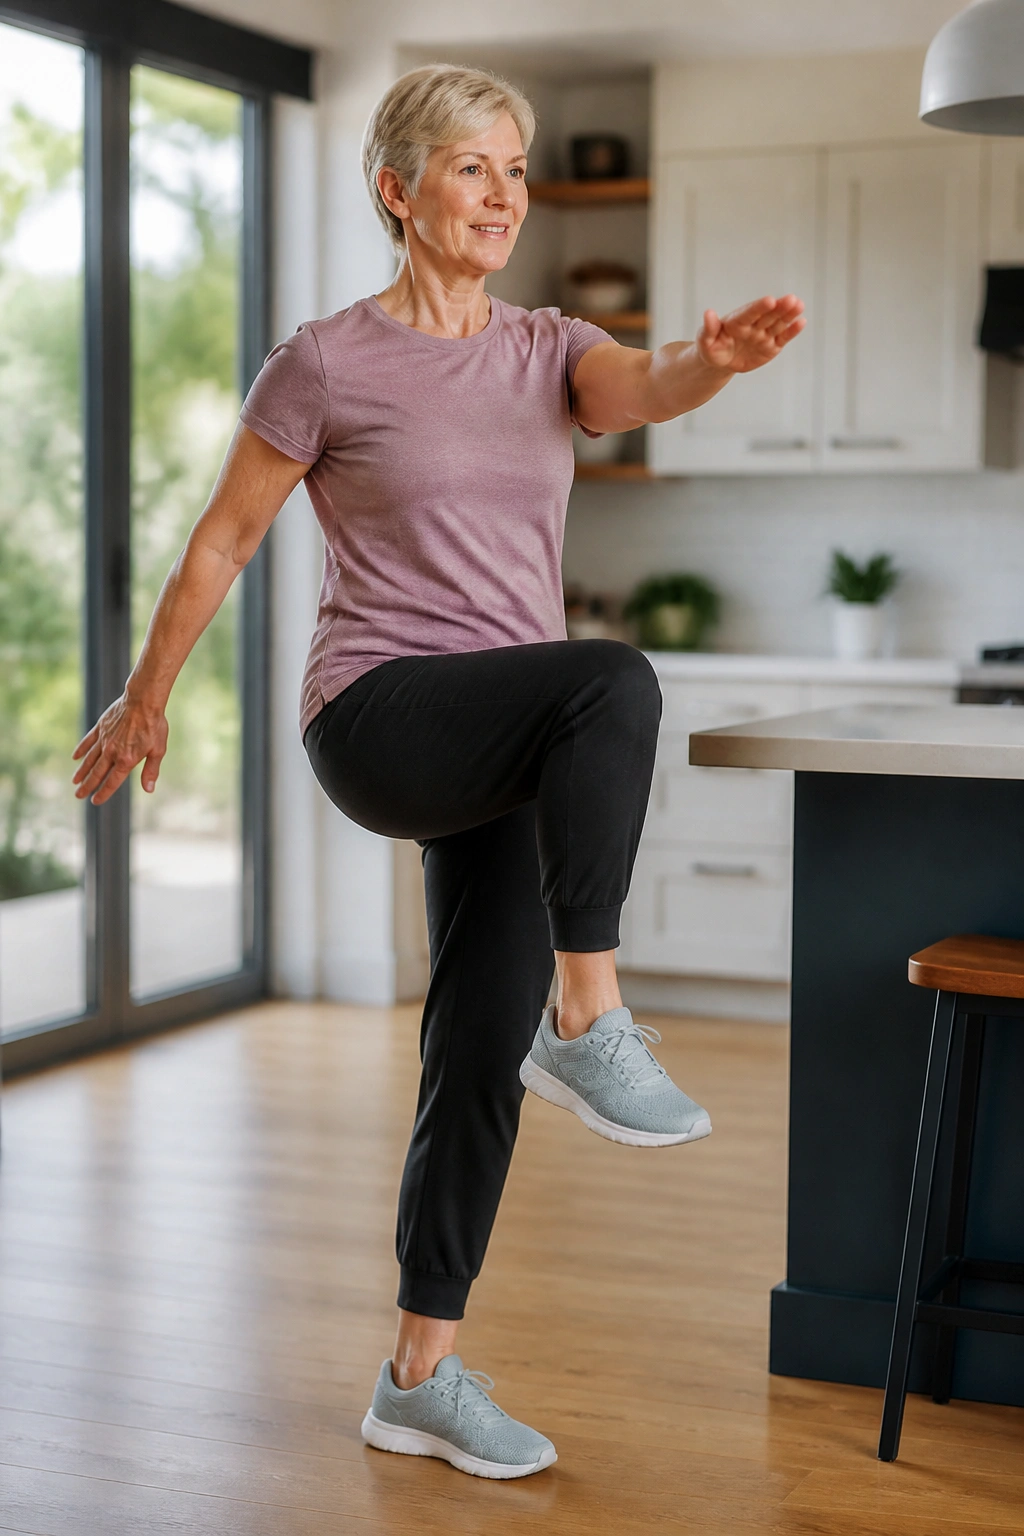
Marching in place sounds almost too easy, but that’s the point. It’s a low-risk way to practice weight shift, hip control, and rhythm without the surprise of moving across a room. Add the arms, and you ask the torso to stay organized while the legs work.
Stand near support, lift one knee at a time to a comfortable height, and swing the opposite arm forward. Keep the marching slow enough that you can feel each foot lift and land. If balance feels solid, march for 30 to 60 seconds. If not, do 10 to 20 slow marches and reset.
One useful cue: imagine you’re marching through warm sand. That image usually keeps people from stomping. Quiet feet are better feet.
You can make this harder by lifting the knees a little higher or pausing for one second at the top of each march. You can make it easier by keeping one hand on the counter and moving the legs only. Either way, the core has to stay awake.
5. Heel Raises
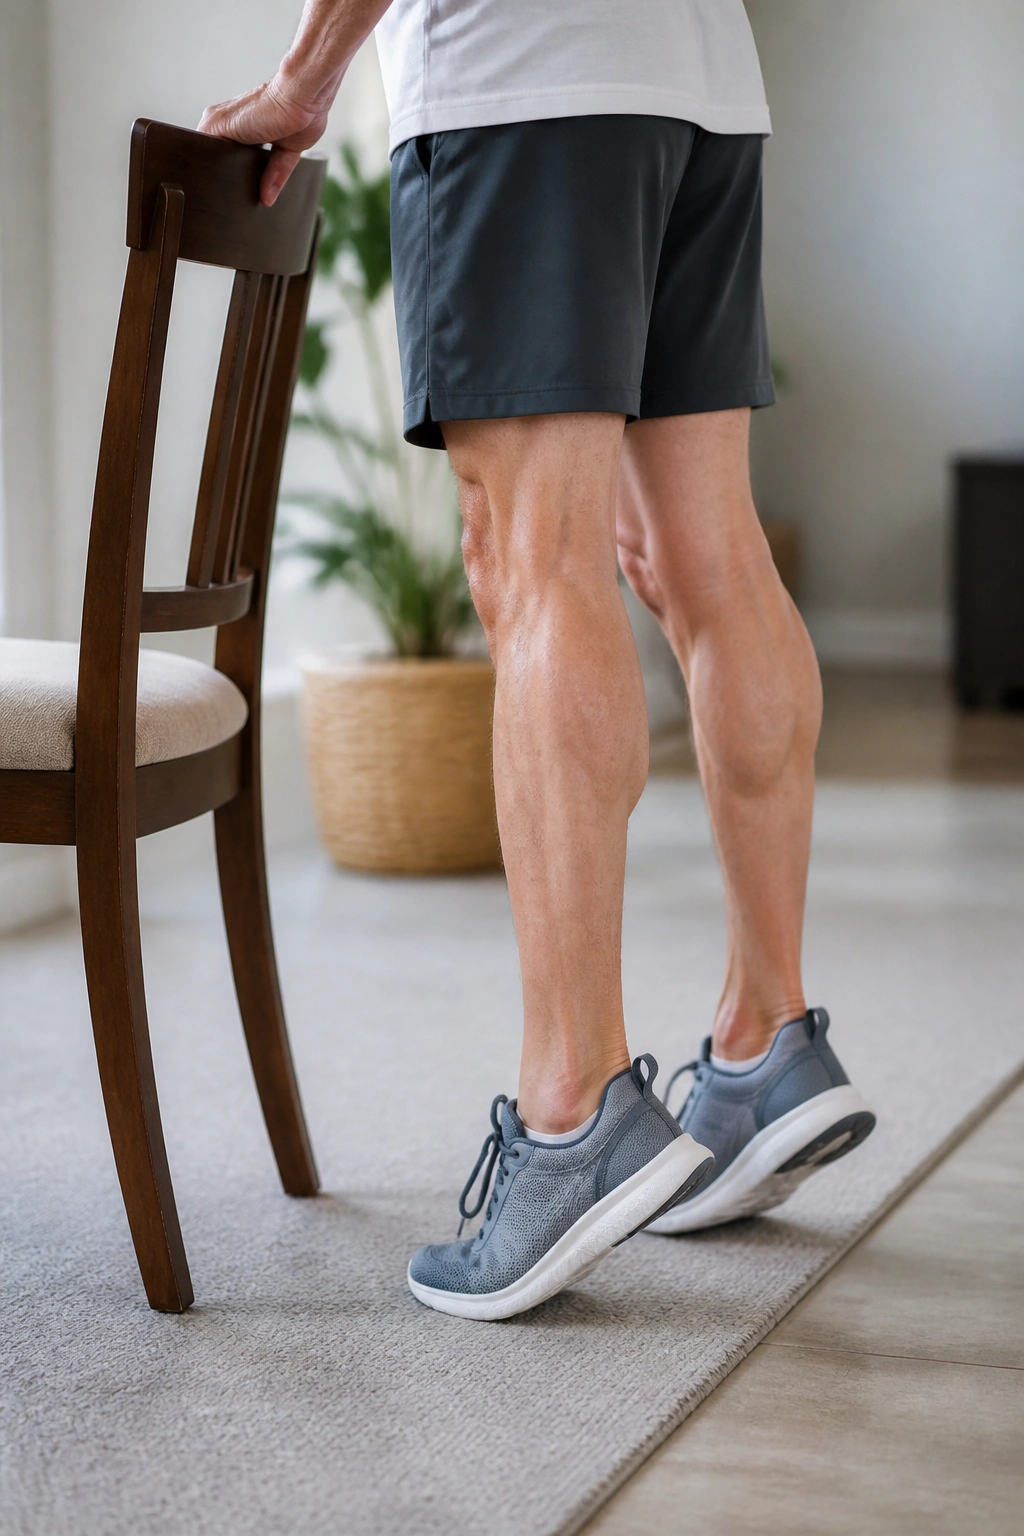
Heels are boring until they stop doing their job. Then you notice every curb, stair, and uneven sidewalk. Heel raises strengthen the calves and the muscles around the ankle, which matter a lot for balance recovery when you start to tip.
Why it works
When you rise onto your toes, the calf muscles take on a load that helps with push-off during walking and with quick little corrections when you wobble. Weak calves don’t sound dramatic, but they make standing and stepping feel less sure.
Stand behind a chair or counter, feet flat and about hip-width apart. Rise up onto the balls of your feet, pause for one second, then lower slowly until your heels touch down again. Aim for 8 to 15 reps. The lowering phase matters just as much as the lift.
If the movement feels too easy, do it on one foot while holding support with one hand. If it feels too hard, keep both hands on the chair and make the motion smaller. You should feel the calves working, not your lower back doing weird things.
6. Toe Raises
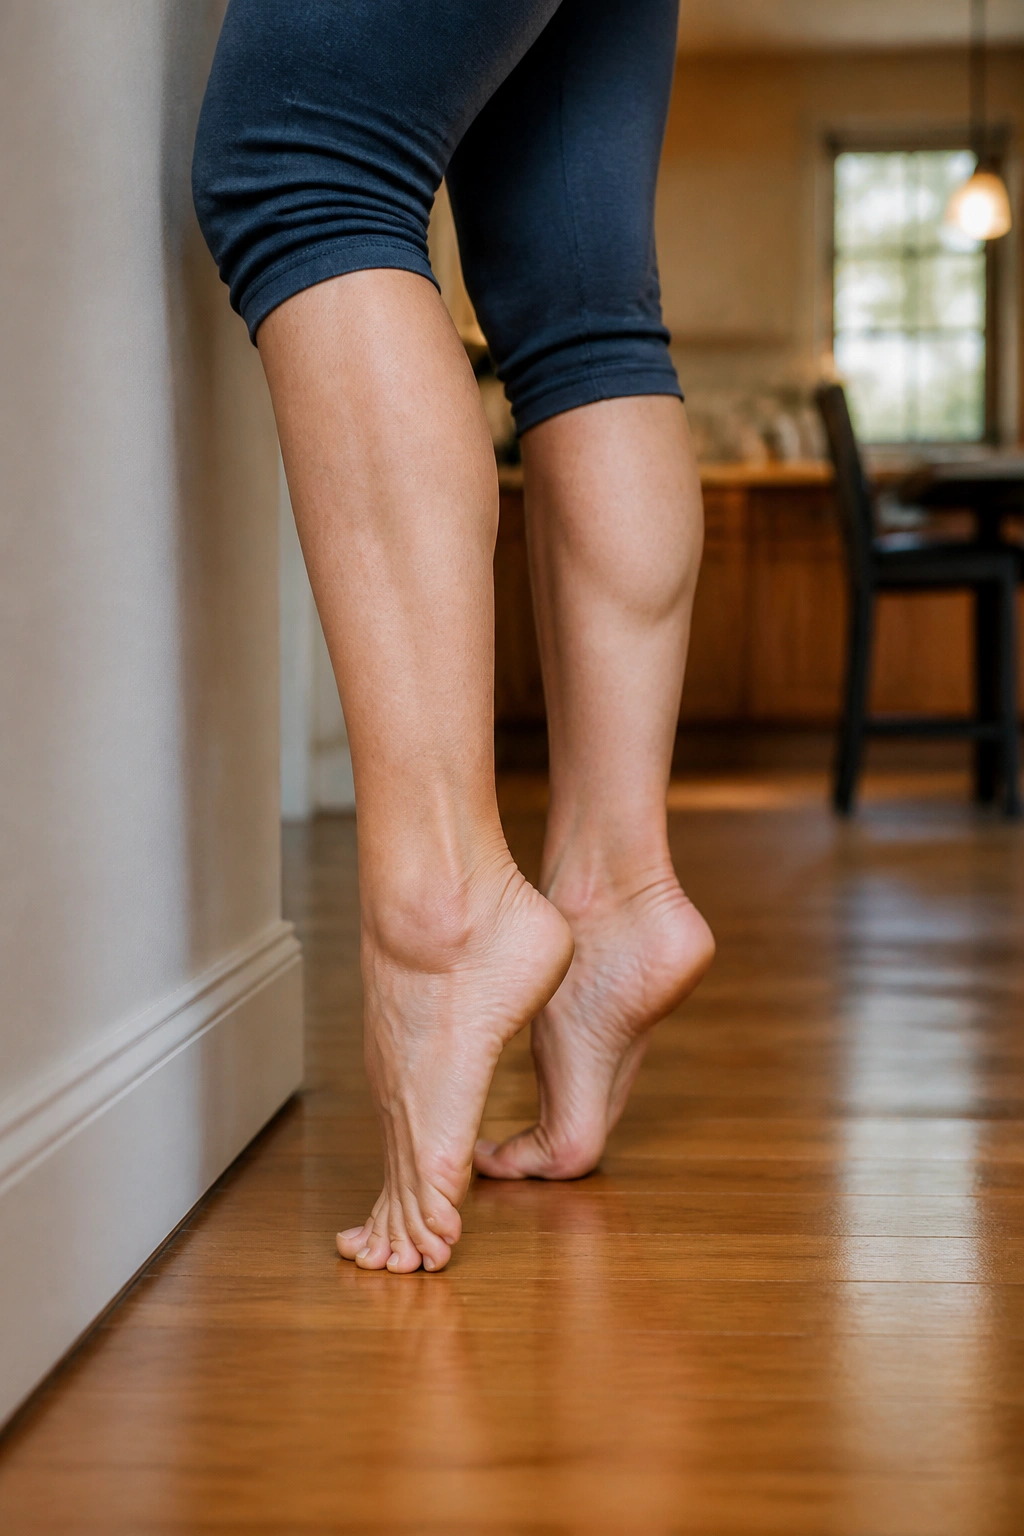
Toe raises are the quieter cousin of heel raises, and they often get ignored. That’s a mistake. The front of the lower leg helps you lift your toes so you don’t trip on carpets, thresholds, or little changes in the floor.
Stand with your heels on the floor and lift your toes toward your shins. Lower them with control. The motion is small, and that’s okay. You’re not trying to swing your whole foot around. You’re training the muscles that keep the front of the ankle alive.
A lot of people rock backward when they do this. Keep your weight centered over the heels and your knees soft. If your toes come up but your chest tips back, reset and shorten the range.
- Try 2 sets of 10 to 15 reps.
- Hold the top for 1 second.
- Use a chair or wall for light balance help.
Heel raises and toe raises make a good pair. One strengthens push-off. The other helps with clearance. Together, they handle a lot of the messiness of real walking.
7. Side Steps Along a Counter
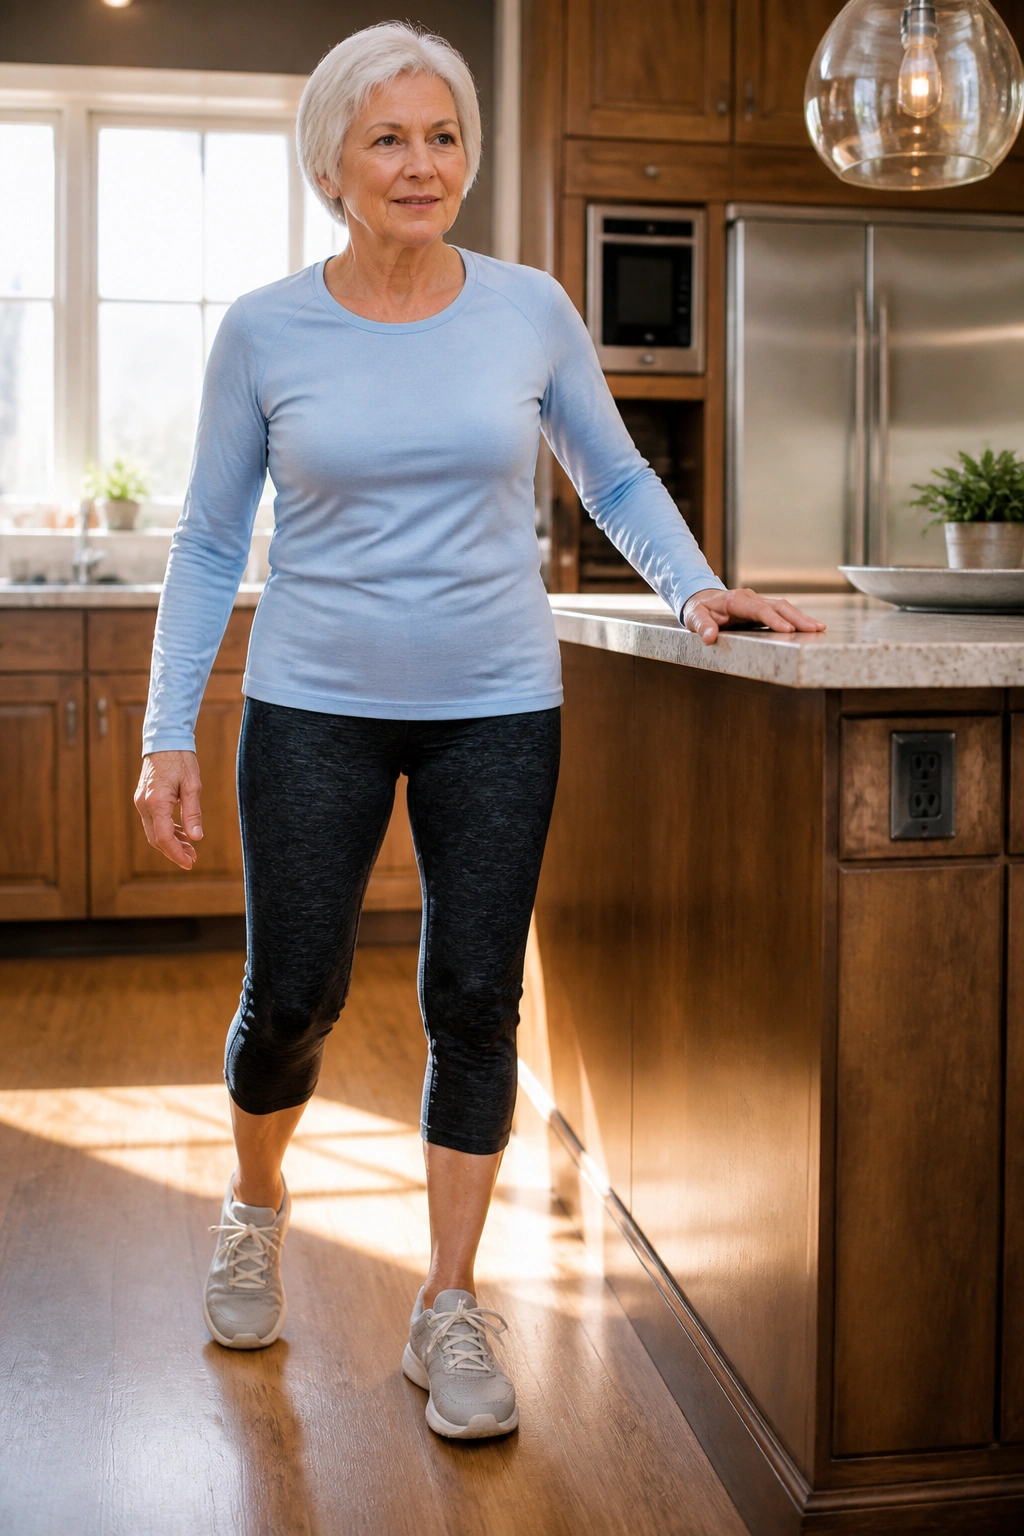
Ever notice how sideways movement gets ignored until it’s needed? Side steps train the hips, especially the muscles that keep the pelvis from dropping when you shift weight. That matters for stairs, turning, and getting out of the way of a chair leg or a pet that has no respect for personal space.
Stand facing a counter with feet under your hips. Step sideways 6 to 12 inches, then bring the other foot in without dragging it. Keep moving in one direction for 6 to 10 steps, then go back the other way. Stay tall. Don’t let the knees cave inward.
A few good details
- Keep the toes pointed mostly forward.
- Stay close to the counter for support.
- Move slowly enough that each step feels deliberate.
- Use a soft knee bend the whole time.
If you want more work, add a light resistance band just above the knees. That band turns the exercise from “easy side walk” into a real hip workout. Not brutal. Just honest.
8. Clock Taps
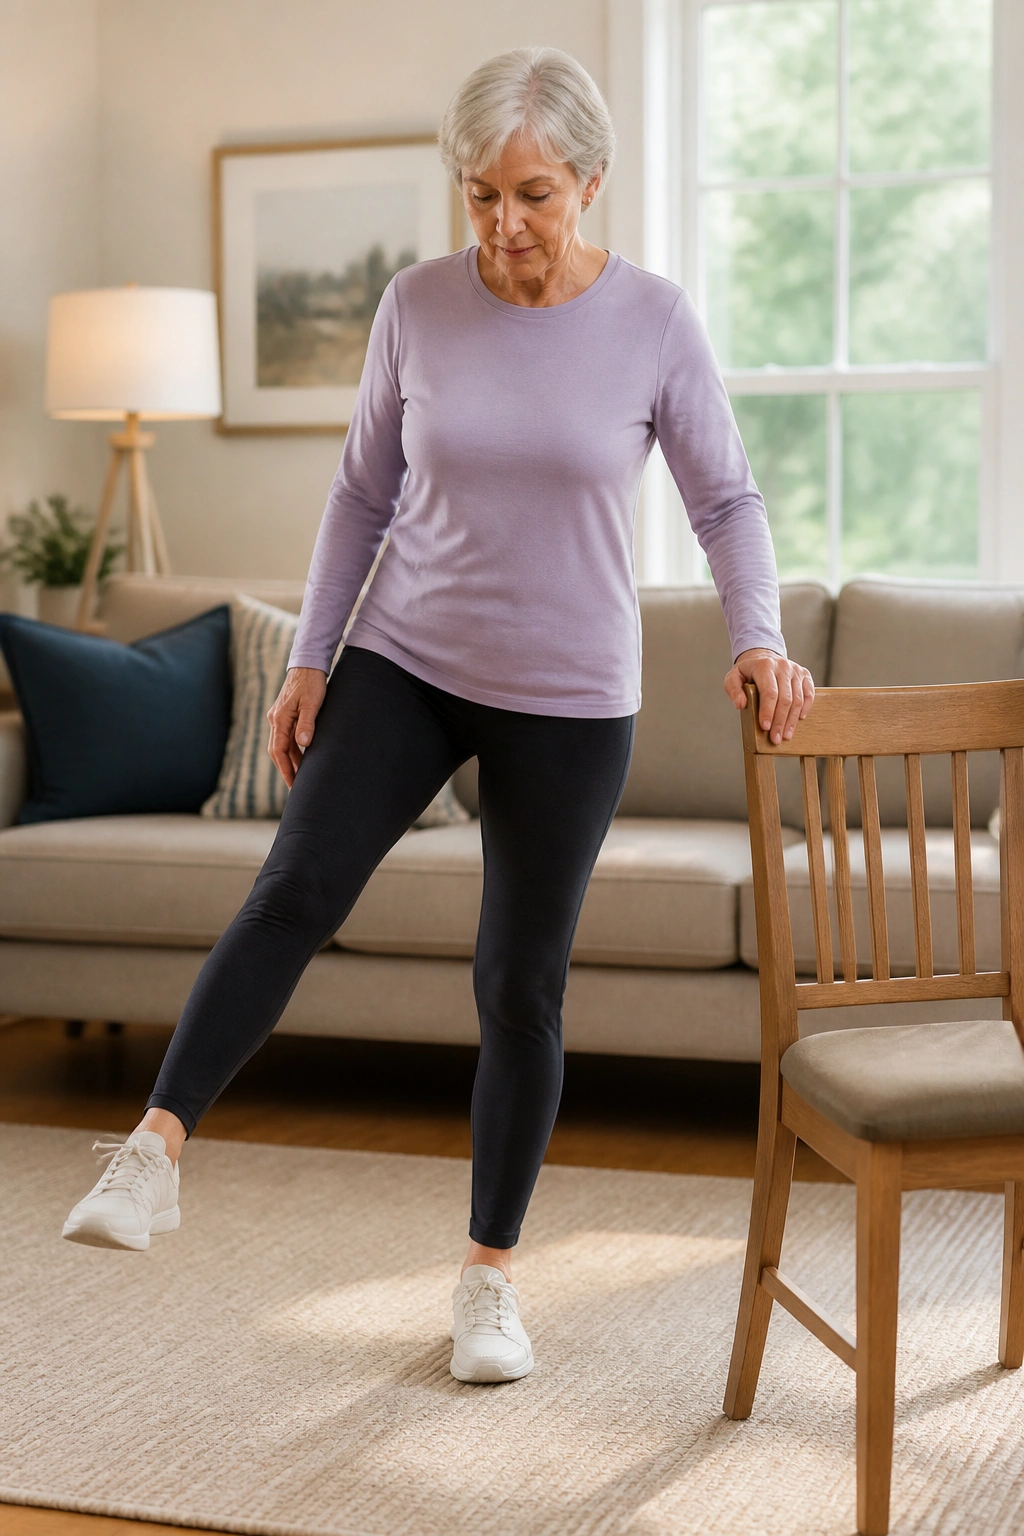
This one feels a little playful, which is nice because older adult exercise does not have to be grim. Clock taps improve single-leg balance, ankle control, and hip stability by making you reach the free leg in different directions while the standing leg does the hard work.
Imagine you’re standing in the middle of a clock face. Hold onto a chair with one hand, stand on one leg, and tap the other foot forward, then to the side, then back behind you. Each tap is light, not a kick. If that works well, try the diagonal positions too. Switch sides after 5 to 8 rounds.
The trick is to keep your hips square while the leg moves. A common mistake is letting the body twist and chasing the foot with the torso. The standing leg should do the balancing; the trunk should stay calm.
This is a beautiful drill for people who feel fine walking straight but get shaky during turns or reaches. And that’s most people, honestly.
9. Step-Ups
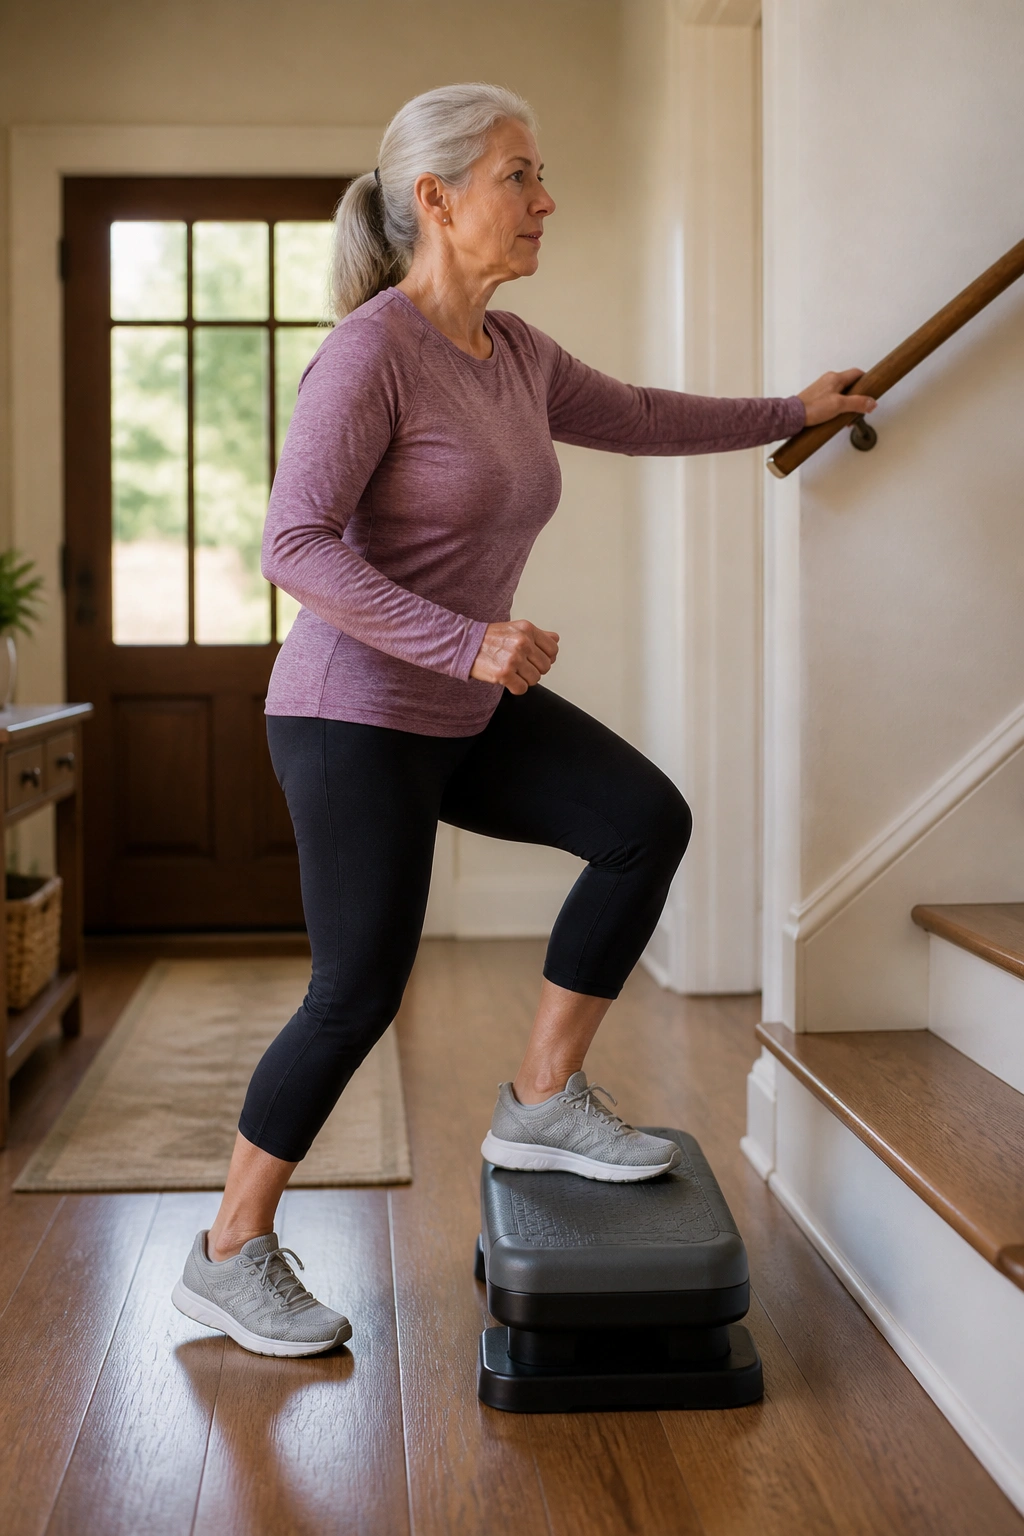
Step-ups are one of the best standing strength exercises for older adults because they train the exact pattern you need on stairs, curbs, and low platforms. They also ask for balance in a very practical way: one foot on the step, one foot moving, body weight shifting cleanly.
Use a low step, not a tall one. Place one whole foot on the step, press through that foot, and stand up tall. Step back down with control. Start with 6 to 8 reps per side. If you have knee pain, keep the step low and the movement smooth; no springing up.
The upper body should stay nearly upright. If you lean forward hard, the glutes stop doing enough and the exercise turns into a weird mini-deadlift. Push the floor away; don’t dive at the step.
A handrail or wall is smart here. Use it. There’s no medal for doing a shaky step-up without help.
10. Mini Squats to a Chair
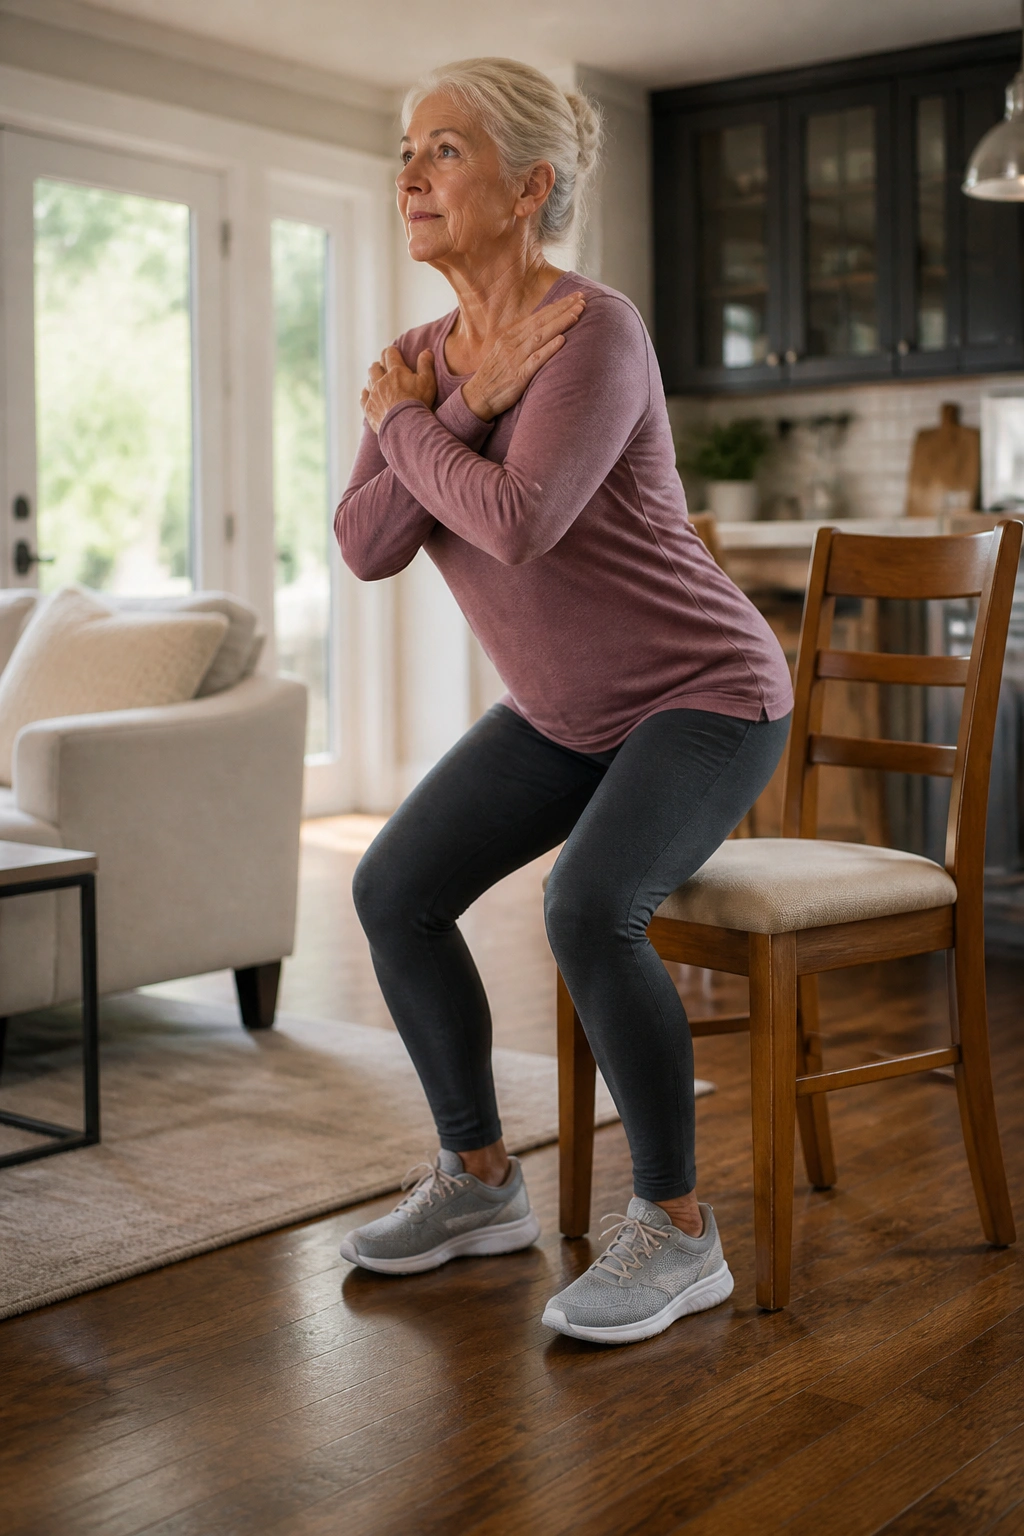
Mini squats are underrated because they don’t look dramatic. But they train the thighs, hips, and ankle balance in a way that transfers directly to getting out of bed, reaching into a low drawer, or lowering yourself into a seat without a thud.
How to use them
Stand in front of a chair with feet a little wider than hip-width. Bend your knees and hips just enough to touch the chair lightly with your hips, then stand back up. You’re not sitting. You’re checking depth and control. Do 8 to 12 reps.
Keep your weight in the middle of the foot, not shoved into the toes. If the knees cave inward, stop and reset the stance. A tiny squat done cleanly is better than a deep squat done sloppily.
Some people like to pause for one second at the bottom before standing. That pause builds control. Slow down the lower half of the move. That’s usually where the strength shows up.
11. Wall Push-Ups
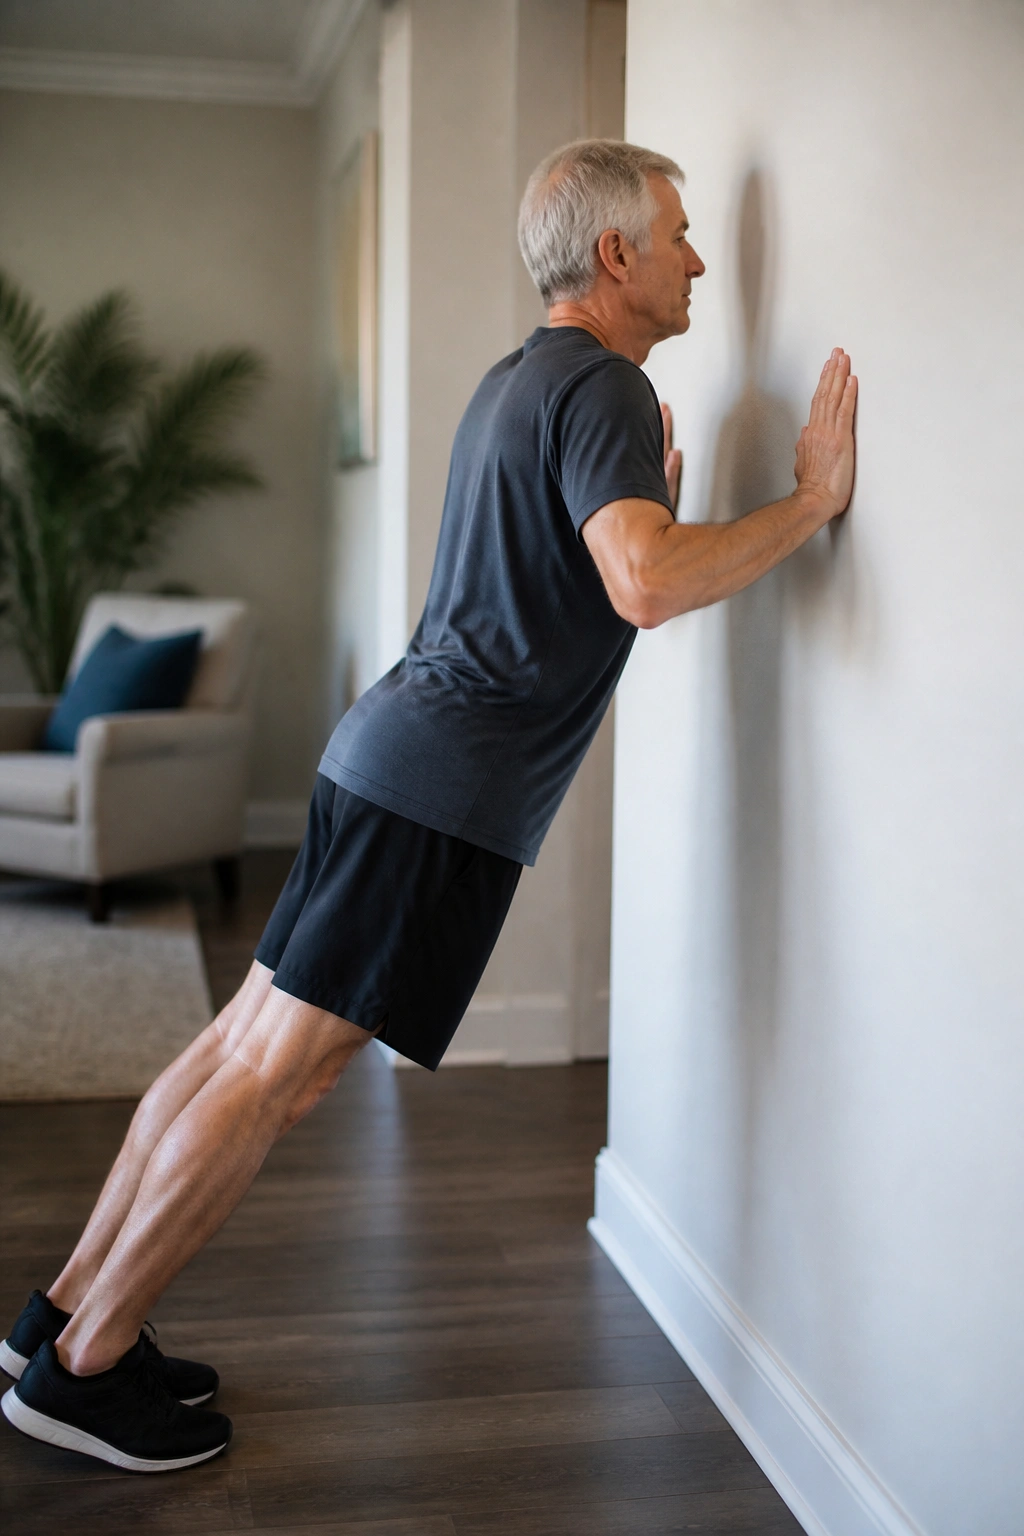
Wall push-ups are the simplest upper-body strength exercise on this list, and that’s exactly why I like them. They build the chest, shoulders, and arms without asking the wrists, shoulders, or balance system to handle too much at once.
Stand an arm’s length from a wall. Place your hands on the wall at chest height, walk your feet back a little, and lower your chest toward the wall with your body in a straight line. Press back to the start. Aim for 8 to 15 reps.
The closer your feet are to the wall, the easier it feels. Move them farther back for more load. Keep your body stiff like a plank. If your hips sag, the exercise turns sloppy fast.
A lot of people rush through wall push-ups because they look harmless. Slow down. A two-second lower and one-second press makes the whole thing more useful than twenty fast reps that barely count.
12. Countertop Push-Ups
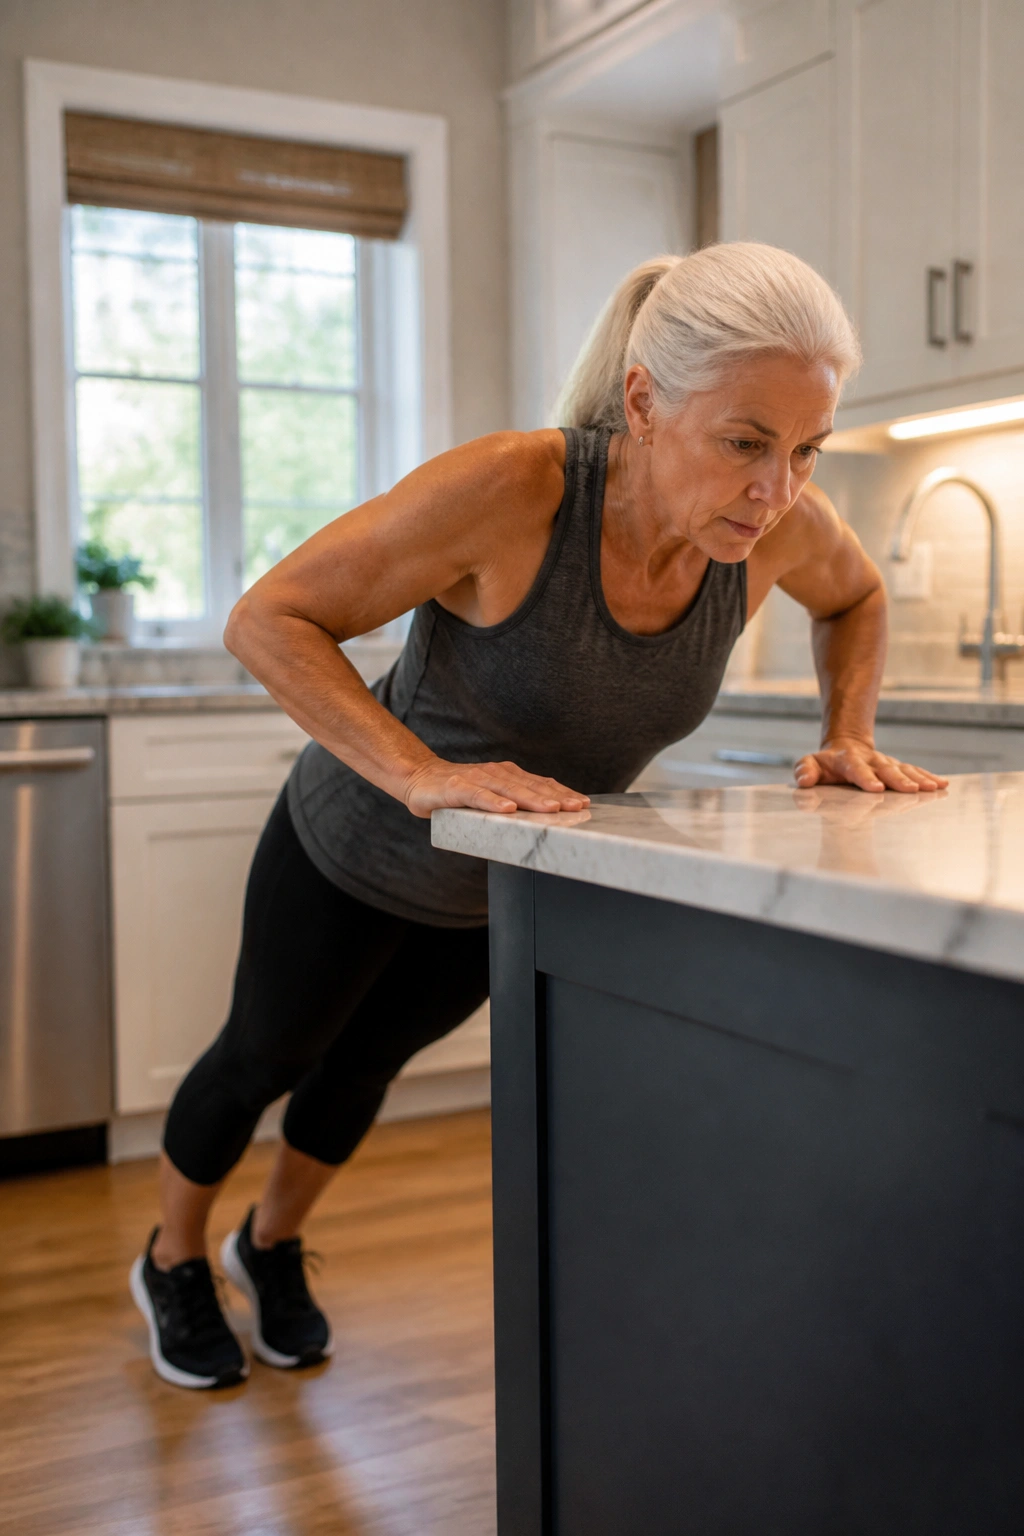
Countertop push-ups are the next step up from wall push-ups, but they still feel safe for most older adults because the hands stay high and the load stays manageable. They build more arm and chest strength while asking a little more of the core.
Place your hands on a sturdy kitchen counter, walk your feet back, and lower your chest toward the edge while keeping your body in a straight line. Press back to the start. If you can keep good form for 6 to 10 reps, that’s a solid set.
Your elbows should angle out at about 30 to 45 degrees, not flare straight sideways. That position tends to feel better on the shoulders. If your lower back arches, bring your feet closer.
This is a nice exercise for people who are ready to move on from the wall but not ready for the floor. No shame there. Progress is progress.
13. Resistance Band Rows
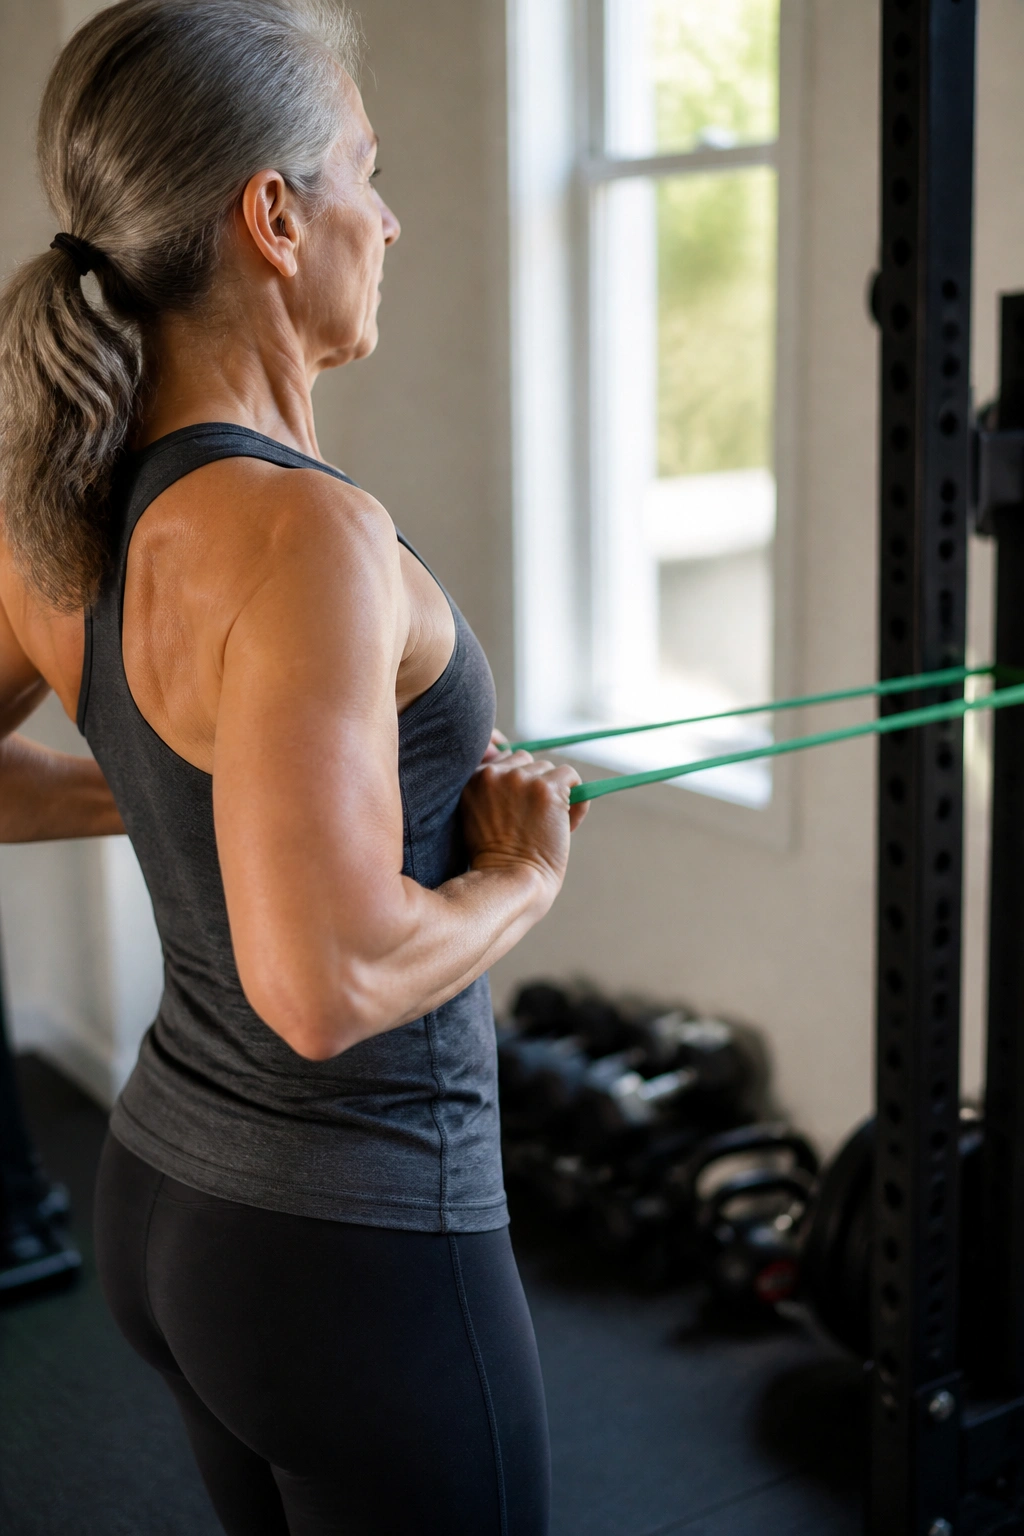
If your upper back gets rounded, your balance often suffers too. Band rows strengthen the muscles between the shoulder blades, which help keep the rib cage stacked over the hips instead of collapsing forward like a tired lawn chair.
Why it matters
Good posture is not about looking fancy. It changes how you breathe, how you turn, and how steady you feel when you walk. A stronger upper back makes it easier to keep the head from drifting forward, which is one of the little things that can make standing feel wobbly.
Anchor a resistance band at chest height, hold one end in each hand, and pull your elbows back until your hands reach your ribs. Pause for one second, then return slowly. Try 10 to 15 reps.
- Keep your shoulders down.
- Don’t shrug.
- Squeeze the shoulder blades gently, not hard.
- Exhale as you pull.
If you do this sitting, it still works. Standing just adds a little balance challenge.
14. Seated Overhead Press
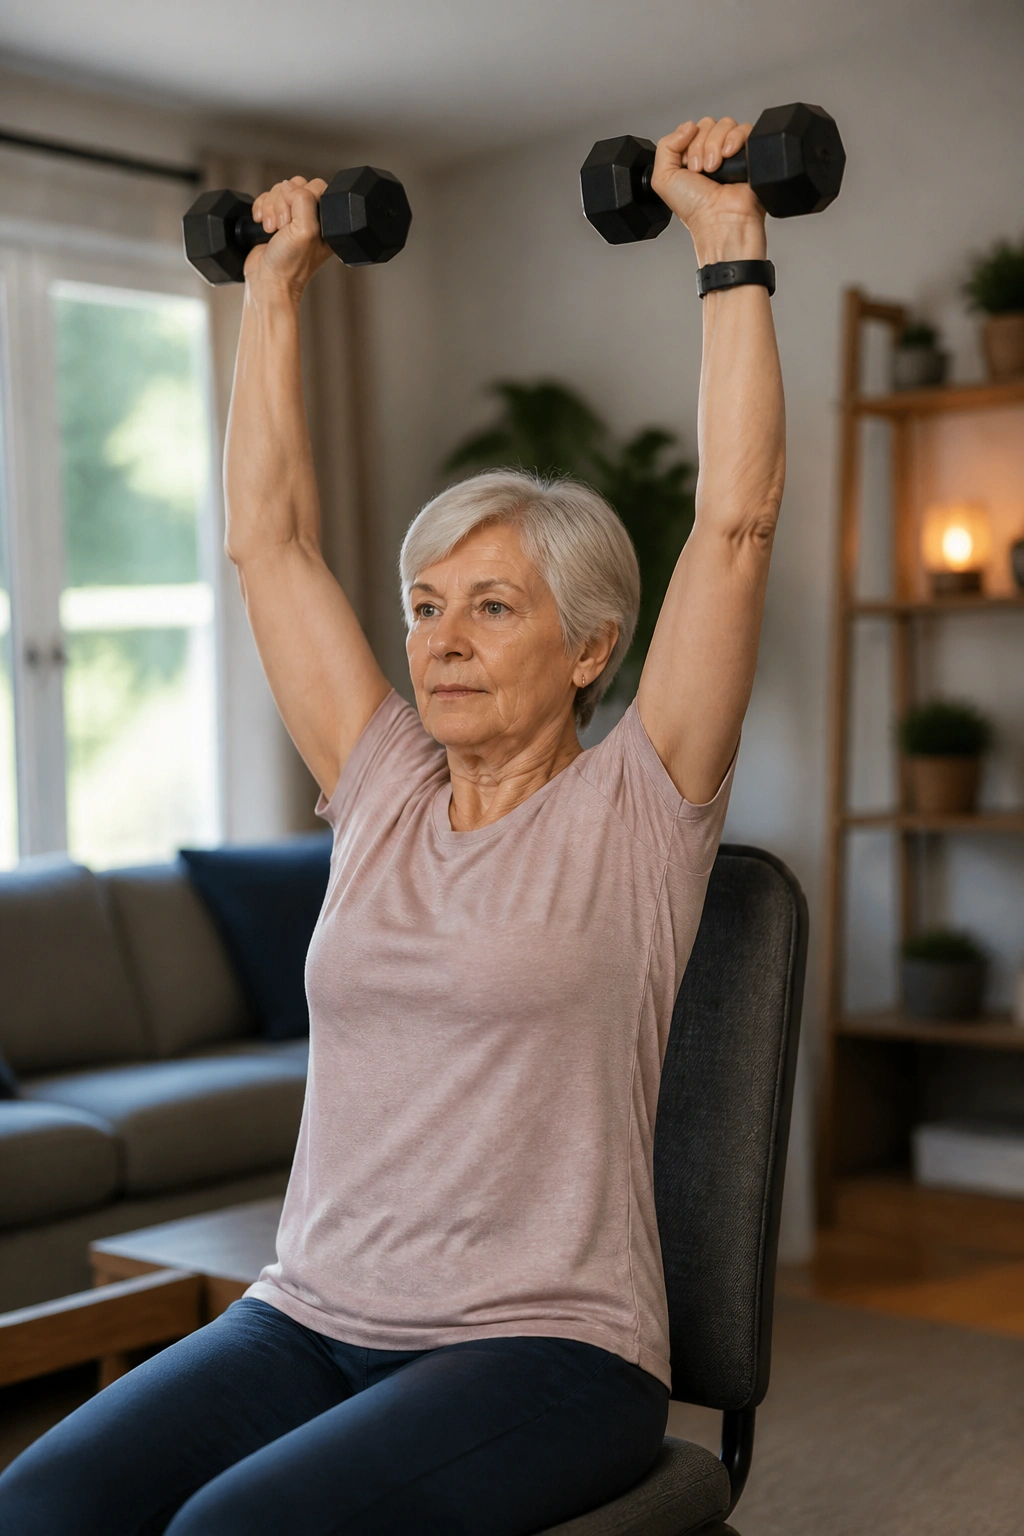
A seated overhead press is a good choice when you want shoulder strength without making the balance part too hard. It trains the deltoids and upper arms, but it also asks the trunk to stay upright under a light load, which older adults can use.
Sit tall in a chair with back support if needed. Hold light dumbbells — or even water bottles if that’s what you have — at shoulder height. Press them up until your arms are straight, then lower with control. Eight reps is enough to start if the shoulders are rusty. Ten to 12 works well for many people.
The ribs love to flare on this one. Keep them down. If your lower back arches hard, the weight is too much or the motion is too high.
This is one of those exercises where less weight and better form usually win. Clean movement beats heroic dumbbells every time.
15. Glute Bridge
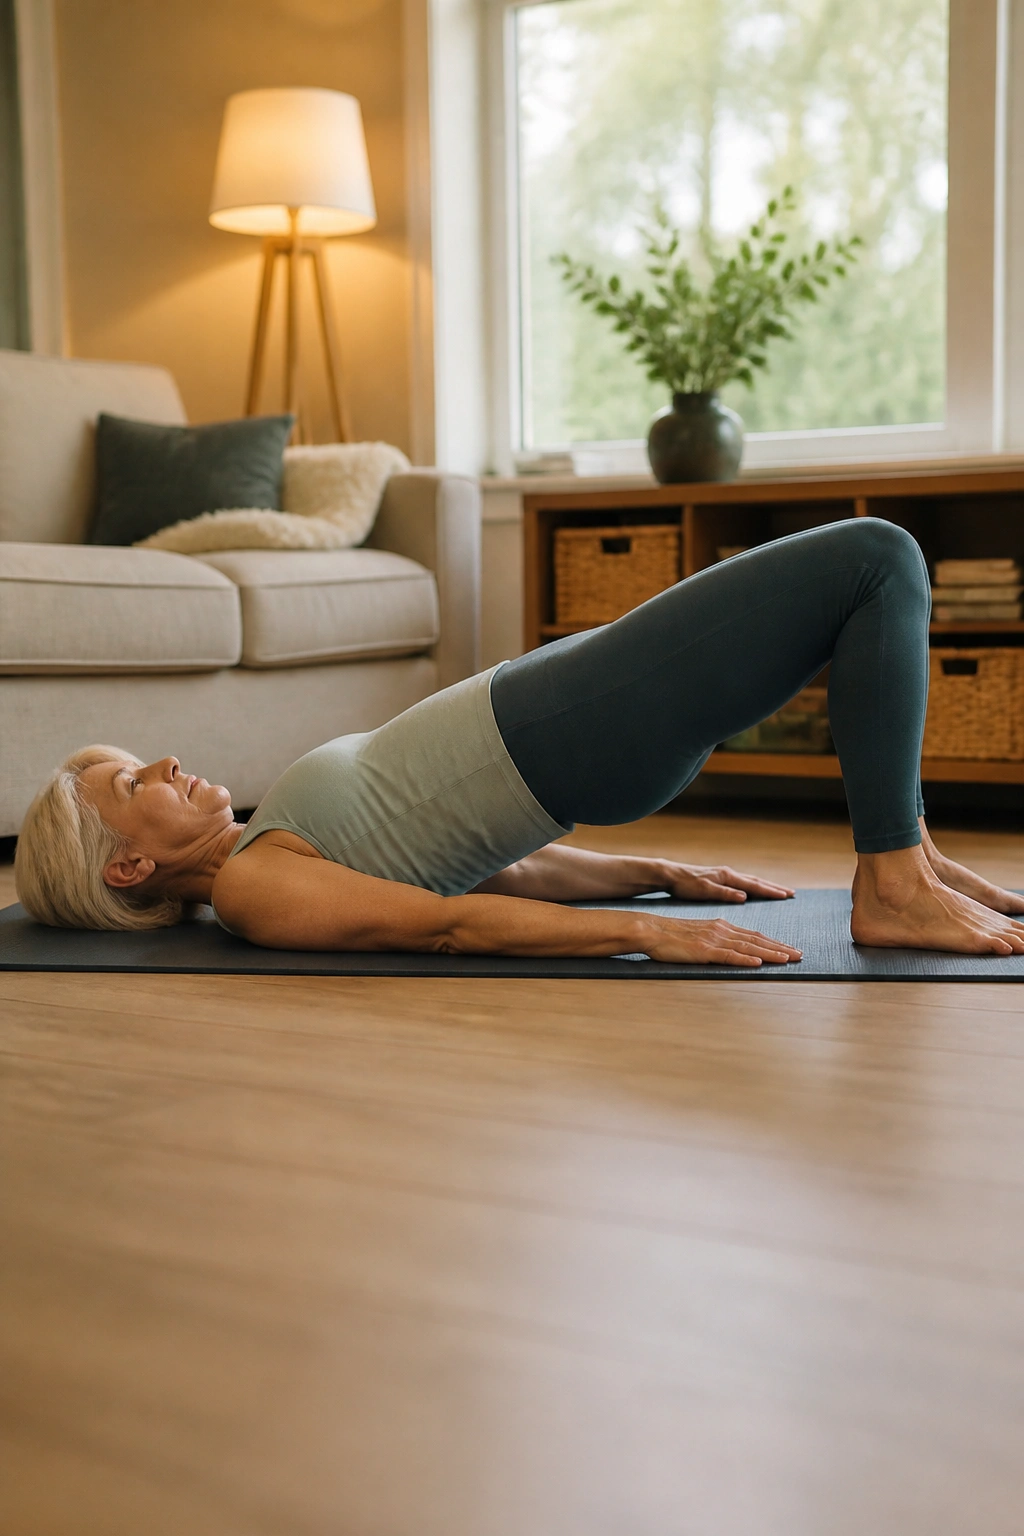
Lie on your back with your knees bent and feet flat, then press your hips upward until your body forms a straight line from shoulders to knees. That’s the whole thing. And yet it does a lot: glutes, hamstrings, and core all have to show up.
You should feel the work in your backside, not in your lower back. If your back takes over, bring your heels a little closer to your seat or lift less high. Hold the top for 1 to 2 seconds, then lower slowly. Try 8 to 12 reps.
There’s a nice sensory cue here: the floor should feel steady, and the glutes should feel like they’re doing the lifting. If you feel cramping in the hamstrings, pause and reset your foot position.
A bridge looks simple from the outside. Inside the body, it teaches a lot about hip control and pelvic stability, which show up again when you stand and walk.
16. Bird Dog
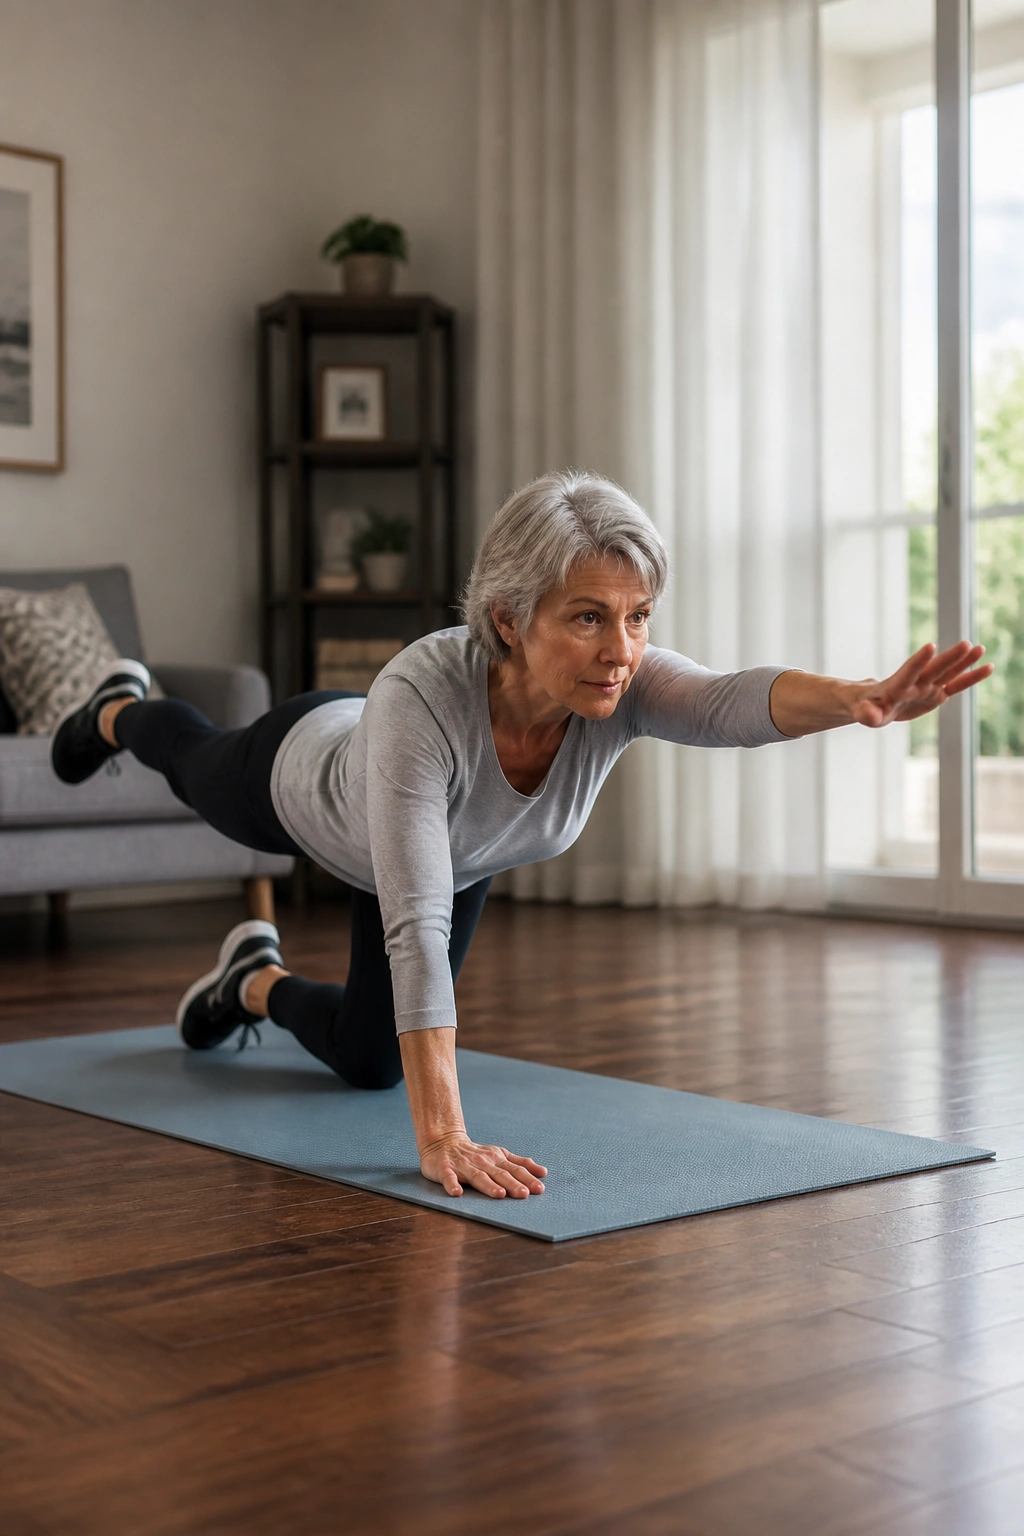
Bird dog is one of the cleaner core exercises for older adults because it trains balance without asking for fast movement. You’re on hands and knees, reaching one arm and the opposite leg long, and trying not to wobble like a table with one short leg.
Why it helps
The core’s job is not to do a hundred crunches. Its job is to keep the spine steady while the arms and legs move. Bird dog teaches exactly that. It also challenges the hips and shoulders in a gentle way.
Start on all fours with hands under shoulders and knees under hips. Reach one arm forward and the opposite leg back, pause for 2 seconds, then return. Switch sides. If full extension feels too much, slide the leg back only partway.
A useful rule: don’t let the low back sag or twist. If you do, shorten the reach. Ten slow reps total is plenty for a first round.
17. Dead Bug
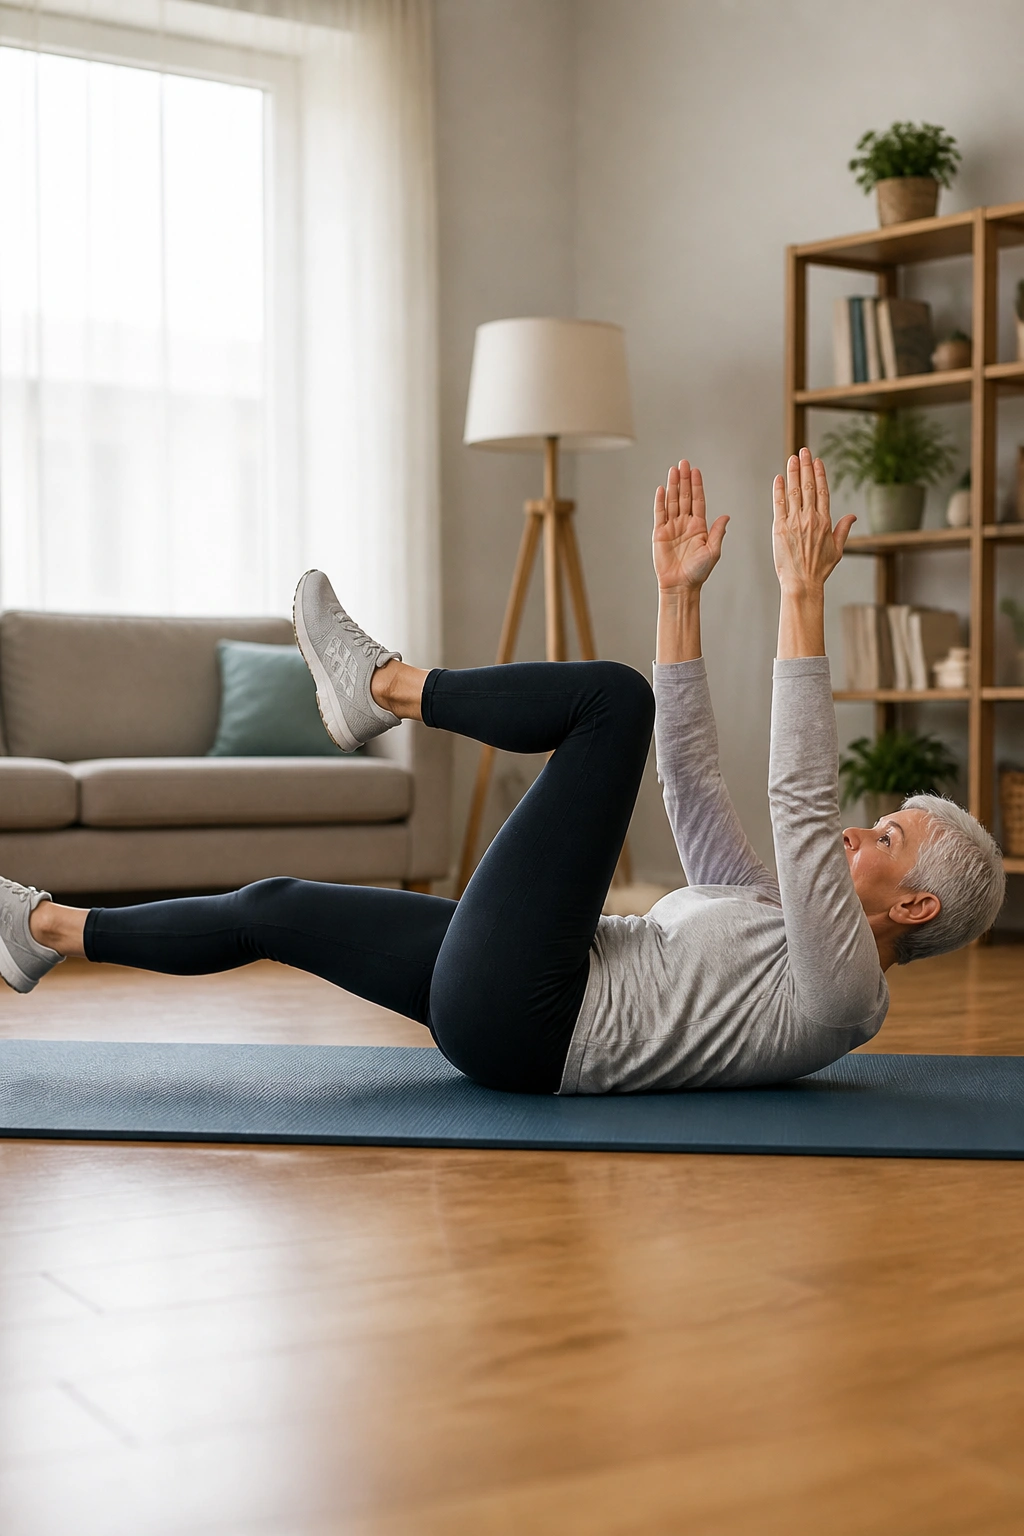
Dead bug sounds odd until you feel how much control it asks for. You lie on your back, arms up, knees bent, and lower opposite arm and leg toward the floor while the core keeps the middle from popping up. It’s a sneaky good drill for trunk strength and coordination.
This exercise is worth the effort because it teaches limb movement without losing spinal control. That matters when you reach across the car seat, bend to tie a shoe, or steady yourself after a quick turn.
Move one arm and the opposite leg away from center, then come back and switch. The lower back should stay gently pressed toward the floor. If your back arches, make the range smaller.
- 6 to 8 slow reps per side is enough.
- Breathe out as the limb extends.
- Keep the neck relaxed.
Some people hate floor work. Fair. If getting down and up is annoying, skip this one and come back later.
18. Standing Hip Abduction
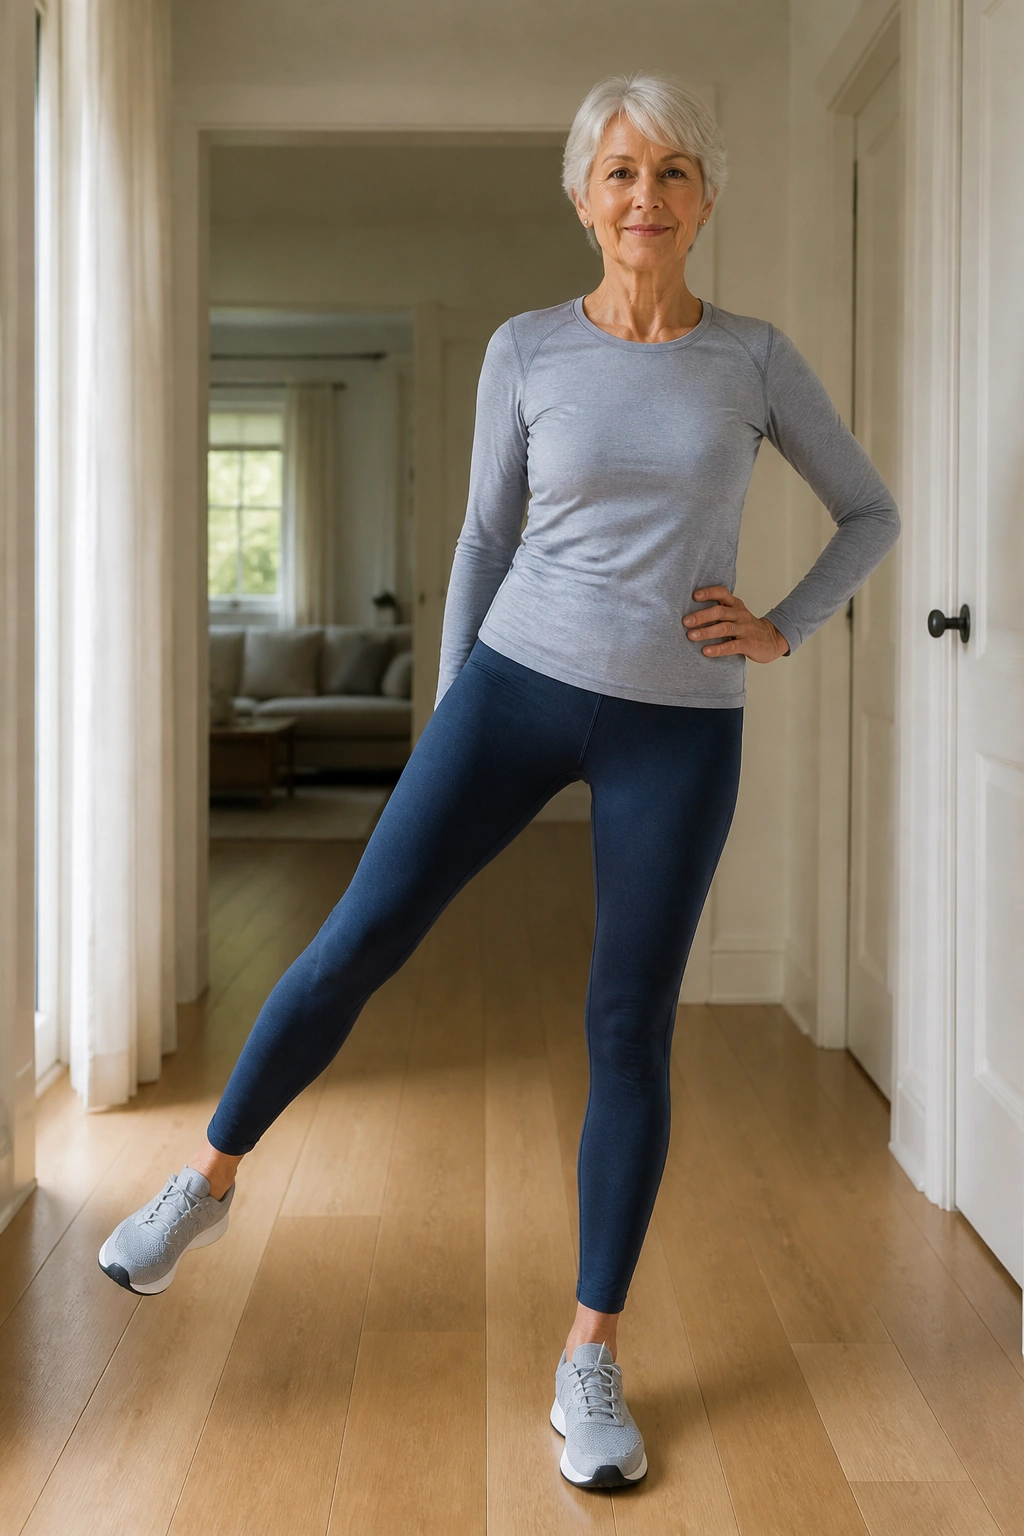
Standing hip abduction is a plain way to strengthen the side of the hip, and that side hip work is a big deal for balance. Those muscles help keep the pelvis level when you walk and stand on one leg, which is exactly the stuff that gets sloppy when they’re weak.
Hold a counter or chair, stand tall, and lift one leg out to the side without leaning your torso. Bring it back slowly. The foot should travel in a smooth line, not swing wildly. Do 8 to 12 reps on each side.
What you want to feel is the outer hip of the standing leg working to keep things upright. If you feel yourself tipping, reduce the range. A smaller lift done straight is better than a bigger lift done crooked.
If you want more challenge, add a light ankle weight or loop a band around the ankles. No need to rush that part.
19. Standing Hip Extension
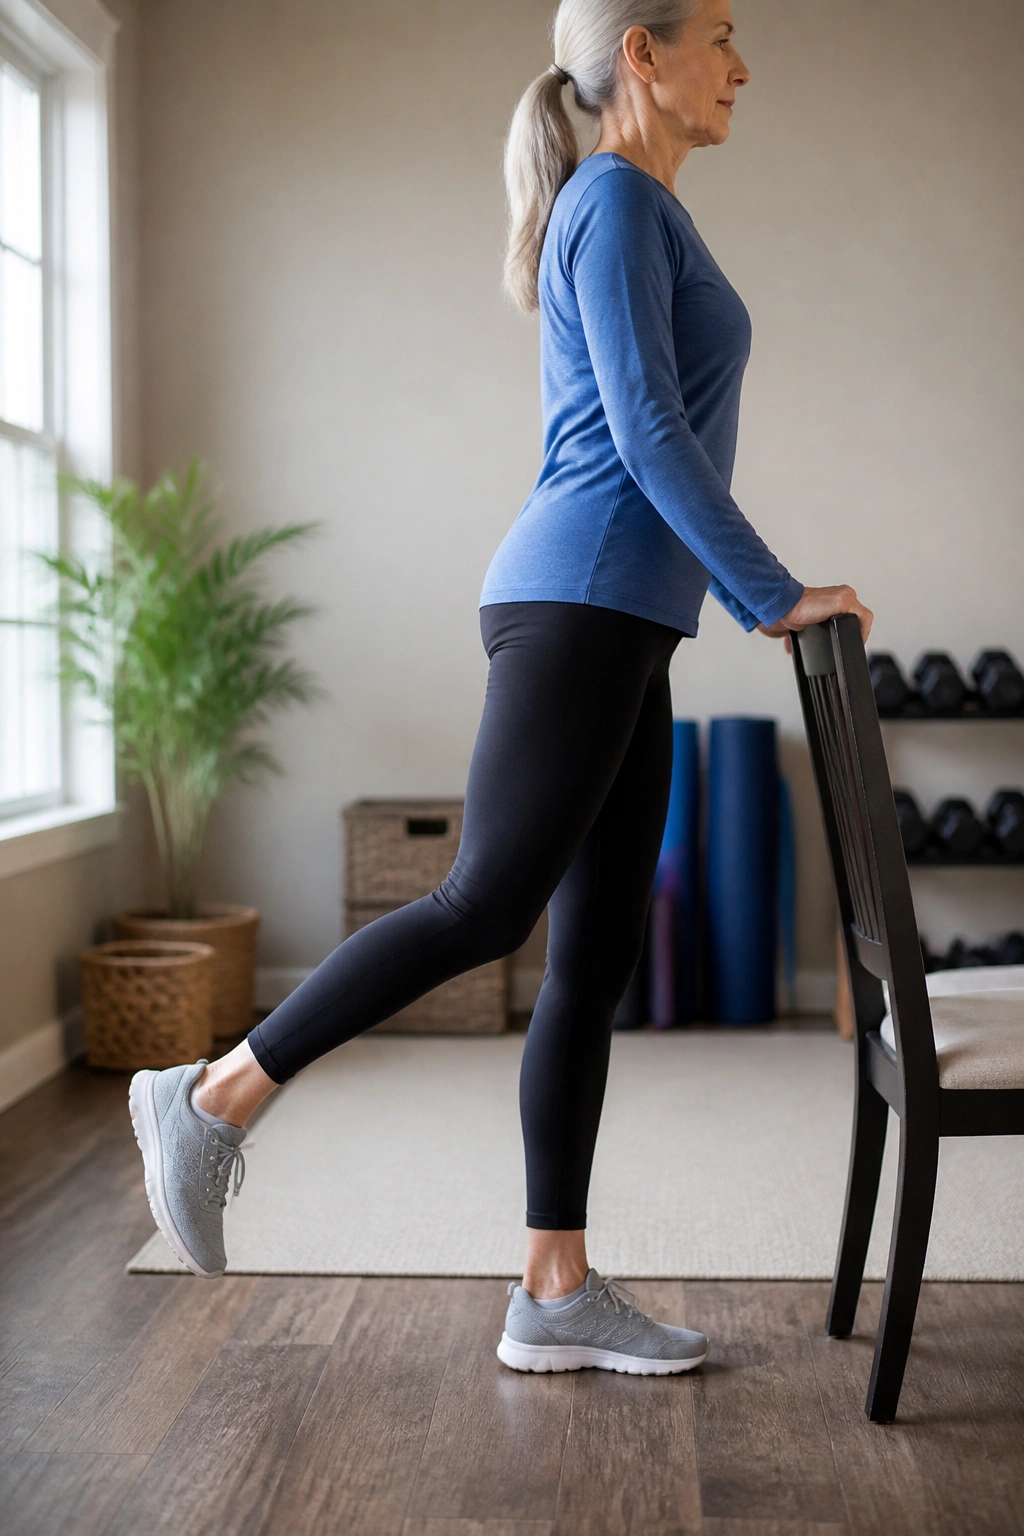
The hip extension movement strengthens the glutes in a way that supports walking, climbing, and standing from a seat. It’s a small motion, but the payoff is practical, not cosmetic.
Stand behind a chair, hold on lightly, and move one leg straight back a few inches while keeping the knee mostly straight. Squeeze the glute at the end of the motion, then return without arching your lower back. Eight to 12 reps per side is enough to start.
A lot of people swing the leg back with momentum. That usually shifts the work into the low back. Slow it down. The leg moves; the torso stays still.
- Keep the standing knee soft.
- Stay tall through the crown of the head.
- Do not point the toes hard or kick back.
This is a quiet exercise, which is probably why it gets overlooked. It shouldn’t.
20. Farmer Carry
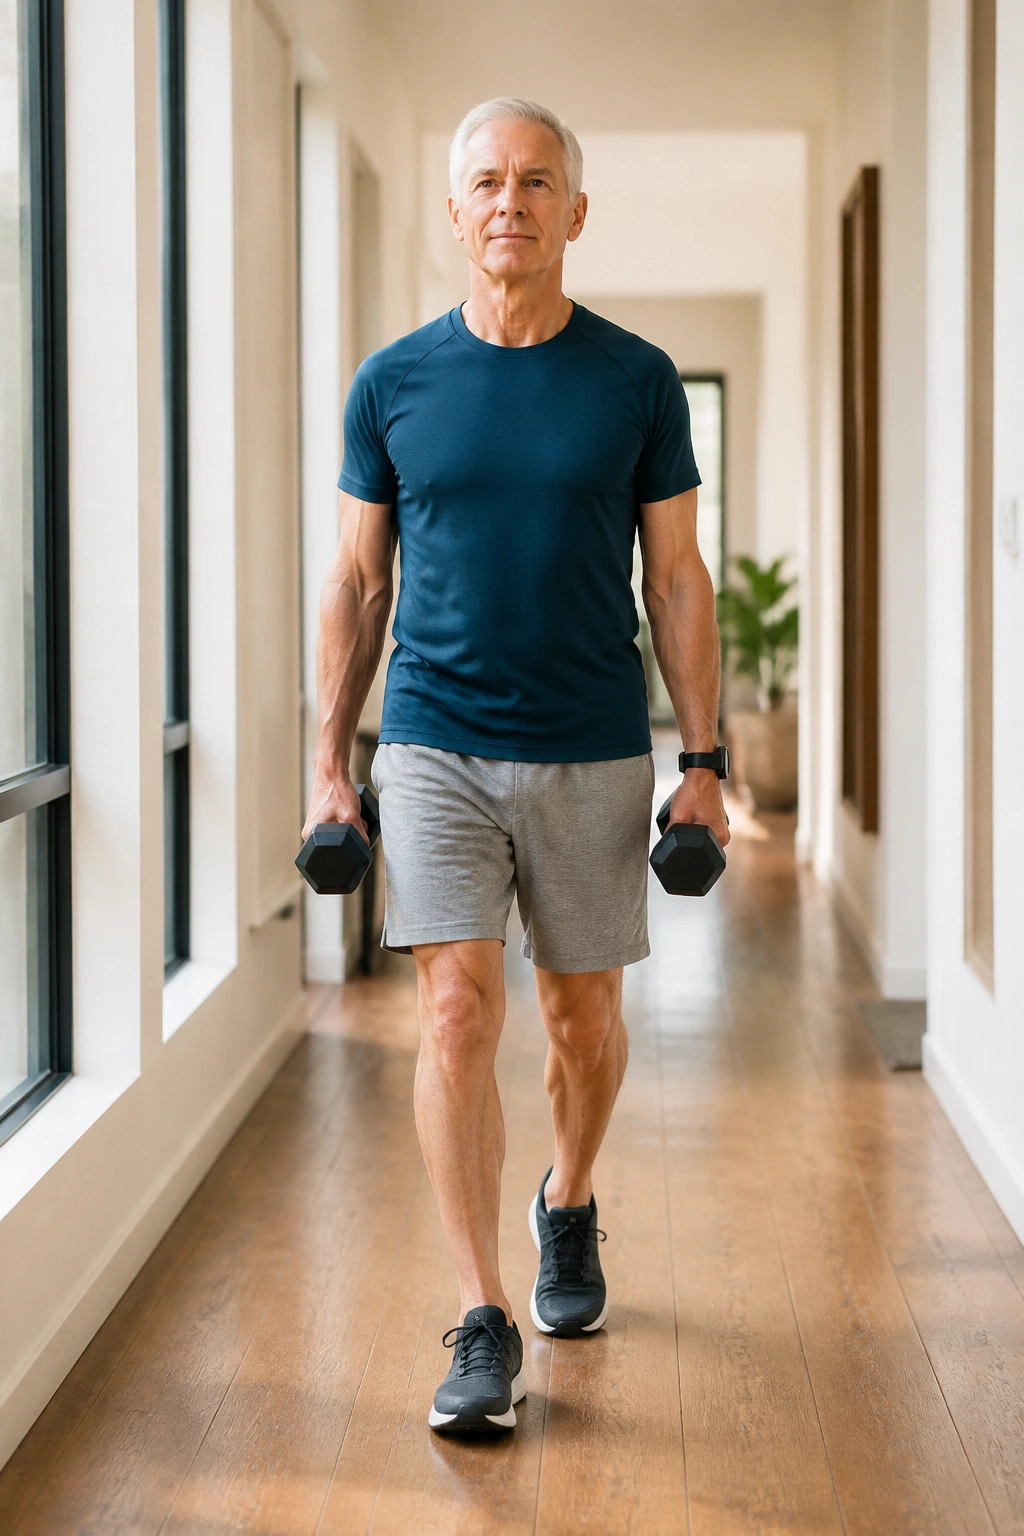
Carry something in each hand and walk with it. That’s it. And it’s one of the better full-body drills for older adults because it challenges grip, posture, gait, and balance all at once. If you want an exercise that feels normal and still works hard, this is a good one.
Use light dumbbells, grocery bags, or water jugs. Stand tall, keep the shoulders relaxed, and walk 20 to 40 steps. Turn carefully. Rest, then repeat. Start light enough that you can keep the torso steady and the steps smooth.
What makes this useful is the anti-leaning work. Your body wants to bend, shrug, or sway. Don’t let it. Walk like you’re balancing a stack of books on your head, minus the actual books.
You can do this inside a hallway, outside on level ground, or even while carrying laundry baskets if you’re careful. Practical exercises tend to stick.
21. Split-Stance Weight Shifts
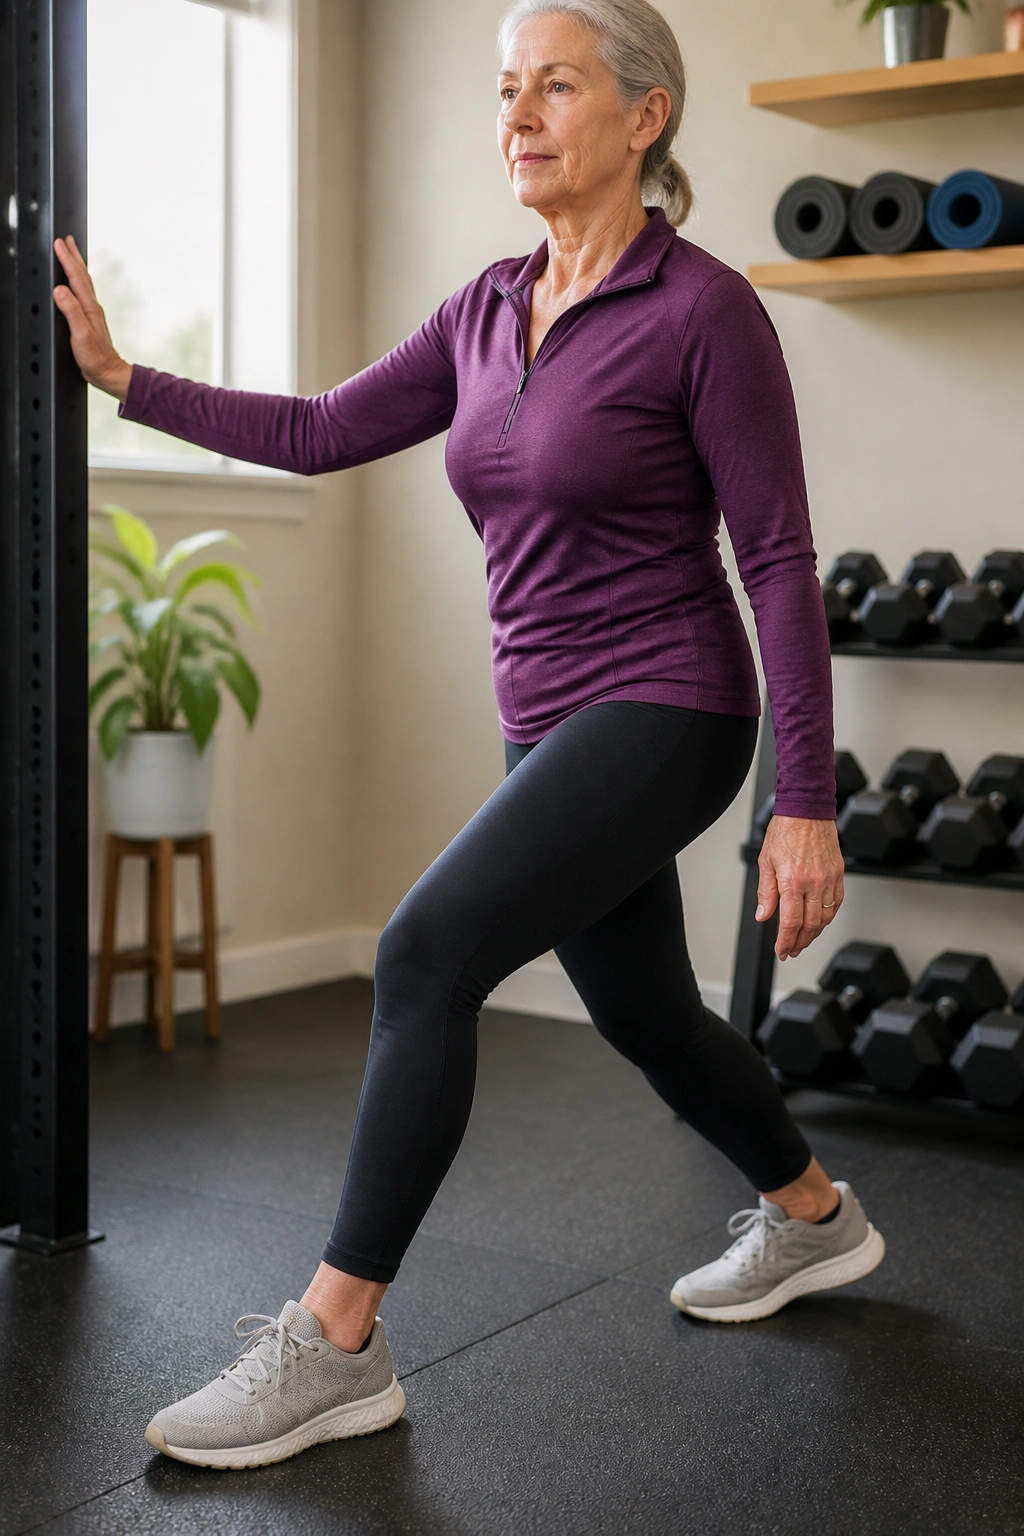
Why does this matter? Because most balance losses happen during transitions, not while standing still. Split-stance weight shifts teach your body to move from one leg to the other without the dramatic wobble that sometimes shows up during stairs or turns.
How to use it
Stand with one foot in front of the other, as if you’re taking a small step but holding the position. Keep most of your weight on the front foot, then shift back toward the rear foot. Move slowly, and keep the torso upright. Do 10 to 12 shifts per side.
A support surface nearby is smart. Light fingertip contact is enough. You’re not trying to survive the exercise; you’re trying to own the shift.
This one pairs well with step-ups and reverse lunges because all three train leg loading in slightly different ways. The split stance feels especially useful for people who struggle when they start or stop walking.
22. Supported Reverse Lunge
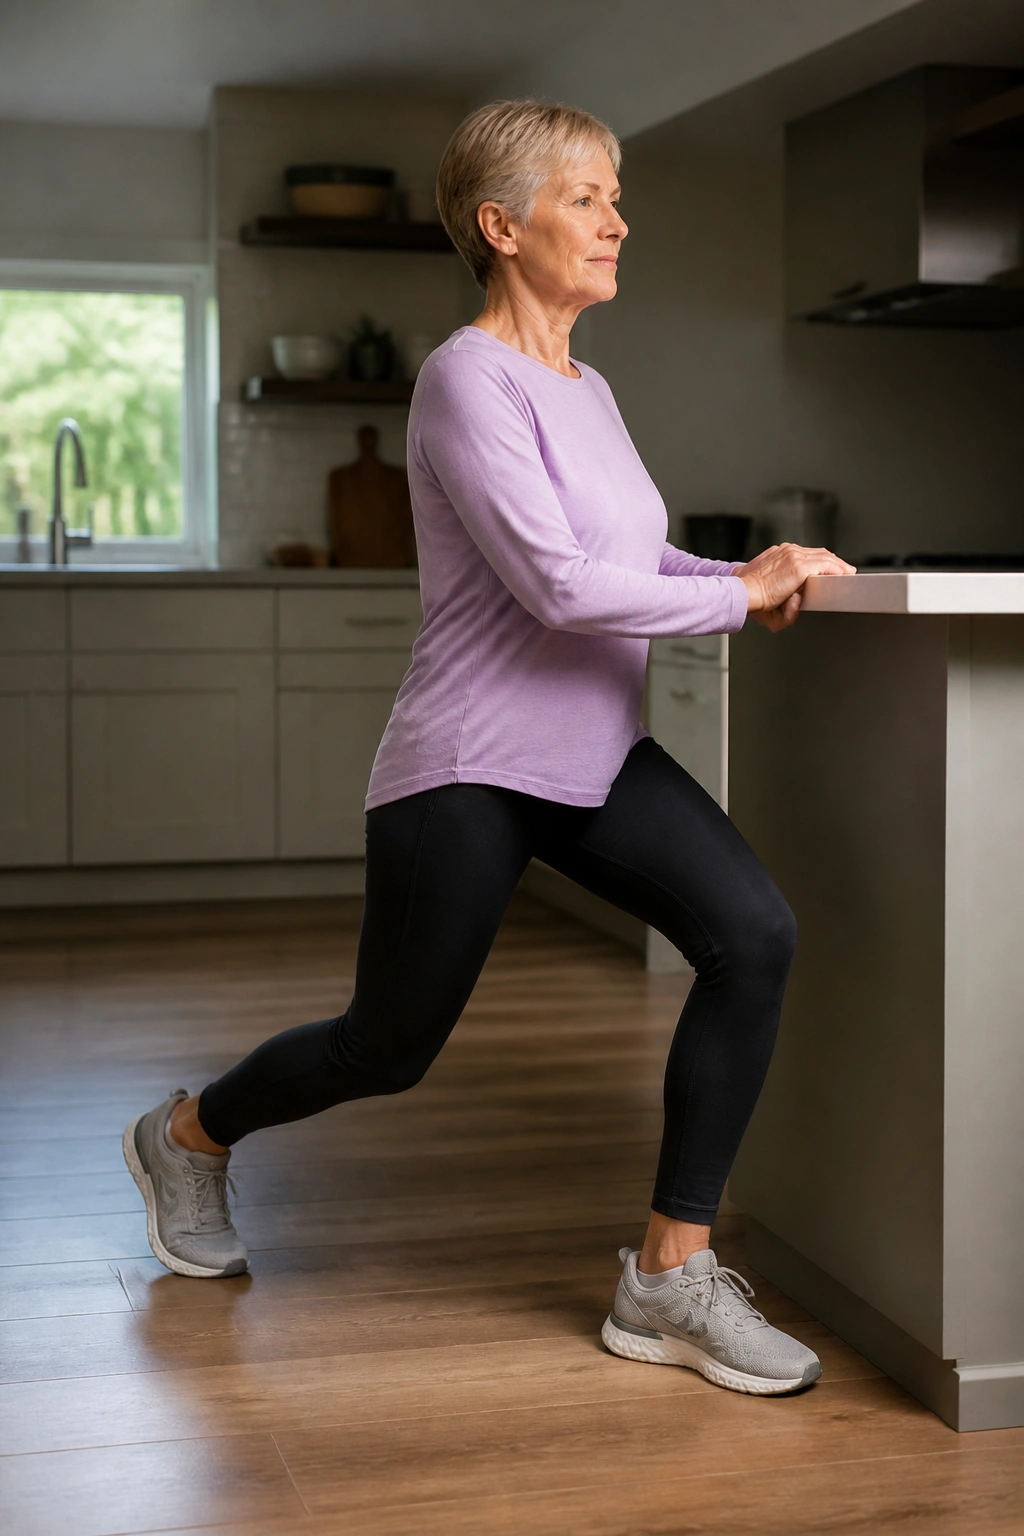
Reverse lunges are more demanding than chair stands or mini squats, which is why I like them later in the list. They strengthen the legs in a split position and ask the balance system to stay calm while one foot steps back.
Hold a wall or countertop, step one foot back, bend both knees a little, then press through the front foot to return. Keep the front knee tracking over the middle toes. Start with a very short step back so the range stays manageable.
If lunges feel too big, shorten the motion and do a shallow dip. No one needs a deep lunge on day one. The goal is clean control, not depth for its own sake.
This exercise is a bridge between simple standing work and more athletic movement. It rewards patience. Rushing it usually makes the knees complain.
23. Hip Hinge
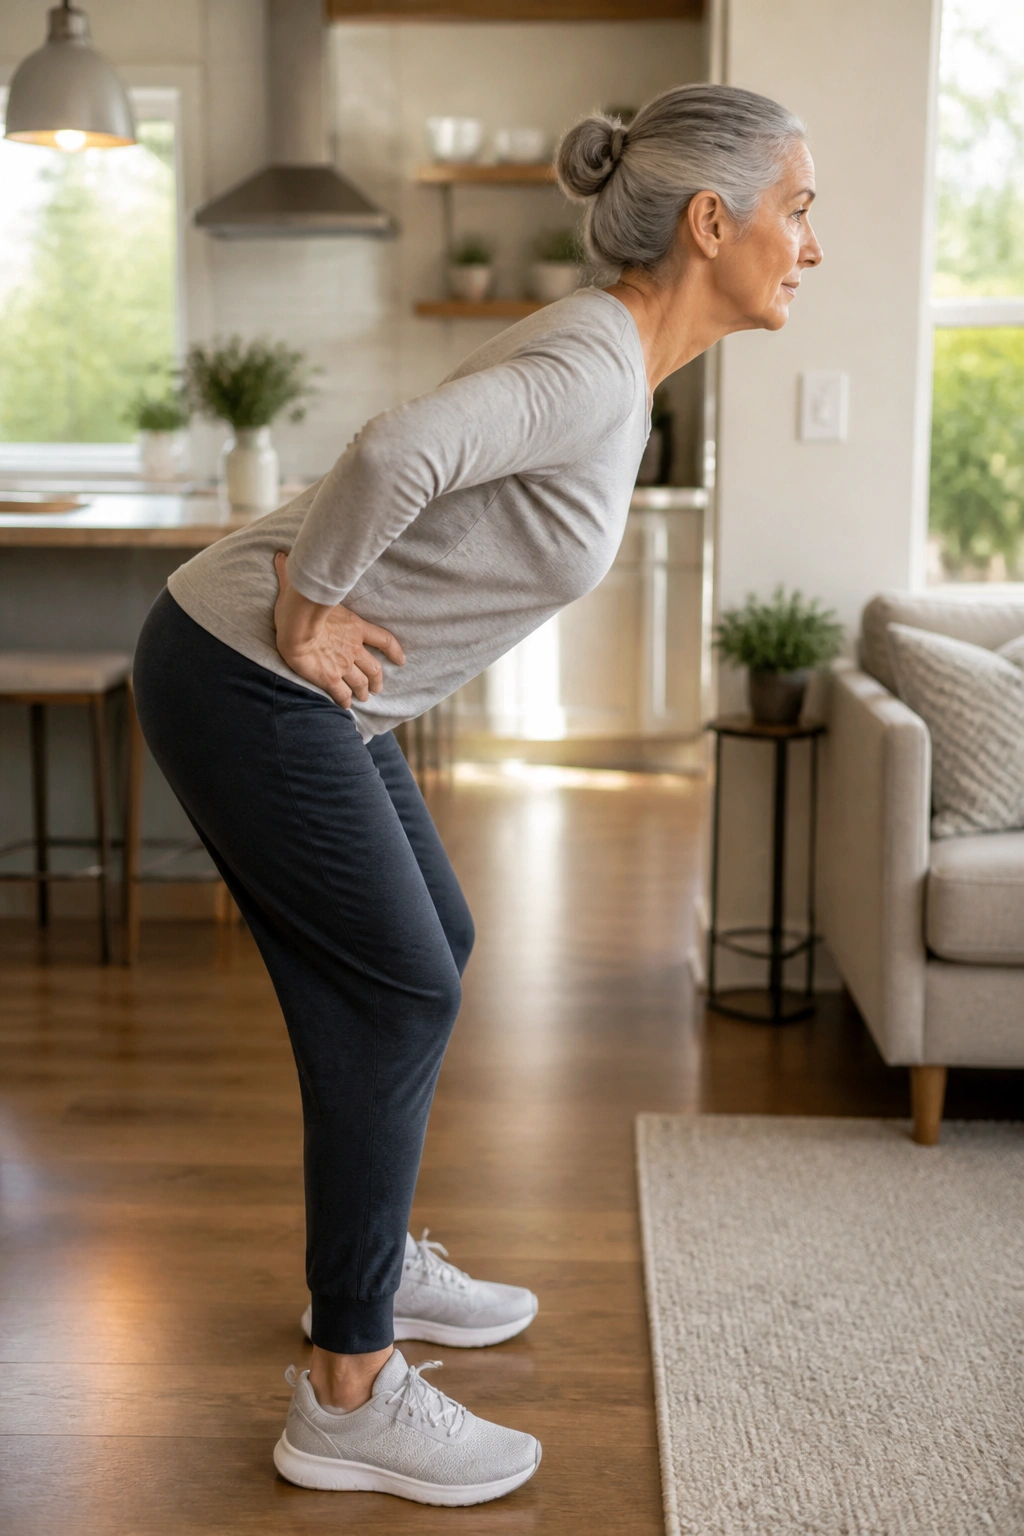
A hip hinge teaches you how to fold at the hips without rounding the spine, which is a skill that sneaks into daily life all the time. Picking up a pot, reaching for a dropped sock, loading the dishwasher — all hinge patterns.
The setup
Stand with feet hip-width apart and place your hands on your hips or slide them down the fronts of your thighs. Push your hips back as your chest tips forward slightly, then return to standing by squeezing the glutes. The knees bend a little, but not much. The movement should feel like your backside is reaching toward the wall behind you.
People often turn this into a squat or bend from the waist alone. Neither is ideal. The hips move back first.
If you want to add difficulty, hold a light dumbbell or kettlebell close to the body. If not, bodyweight is plenty. Slow hinges teach more than rushed ones ever do.
24. Side-Lying Clamshell
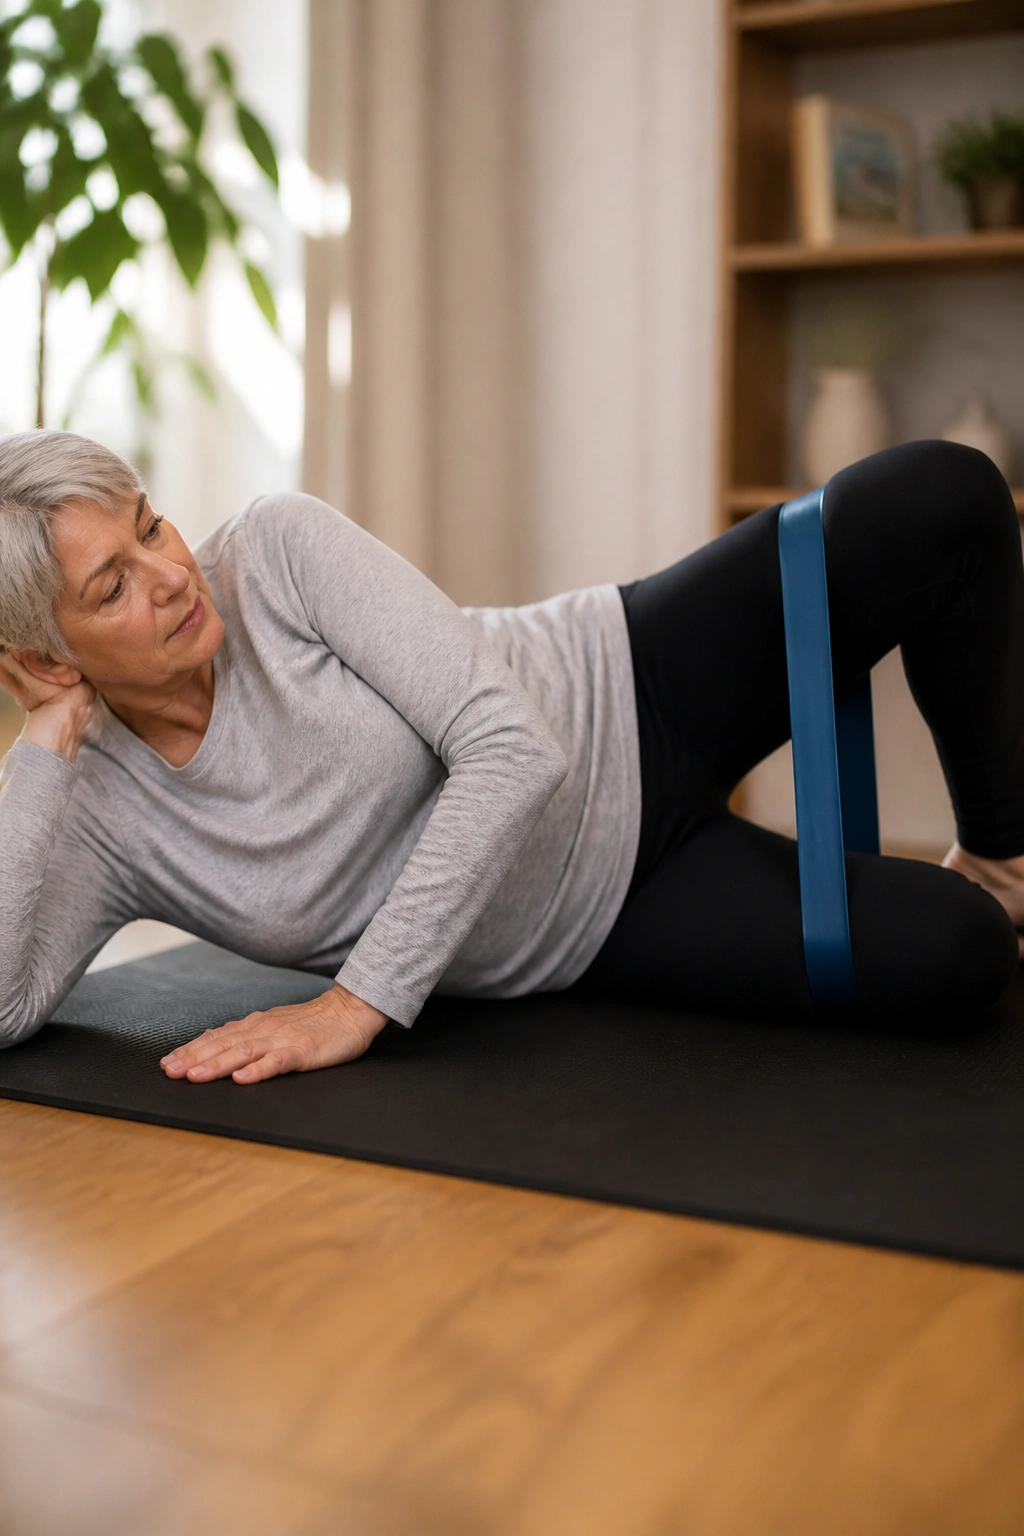
Clamshells look like rehab work because, well, they are. I mean that as a compliment. They target the outer hip, which is one of the muscle groups that helps keep the pelvis stable when you walk and stand on one leg.
Lie on your side with knees bent and feet together. Keeping your hips stacked, lift the top knee a few inches, then lower it slowly. The feet stay touching. Ten to 15 reps per side is a good starting point.
The biggest mistake is rolling the pelvis backward to fake a bigger lift. Don’t. Small, honest movement beats a big sloppy one.
- Put a light band above the knees if you want more resistance.
- Keep the motion smooth.
- Stop if the lower back twists.
If getting to the floor is a pain, skip this one and use standing hip abduction instead. That’s a fine trade.
25. Single-Leg Romanian Deadlift with Support
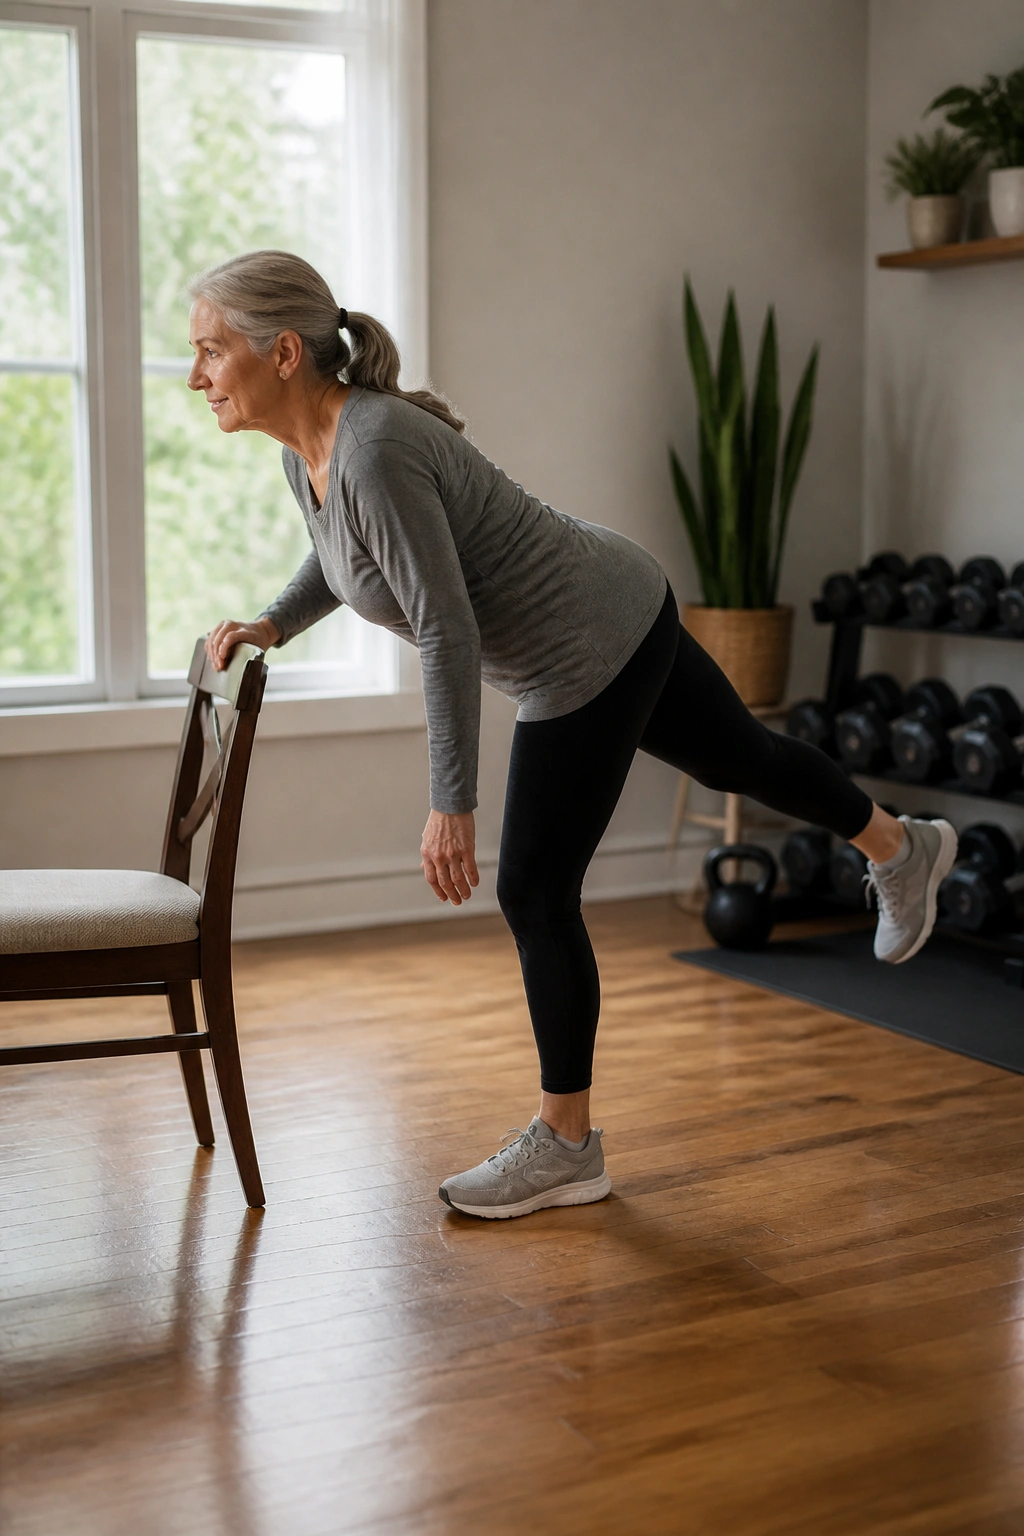
This is the toughest exercise on the list, and it earns that spot. A supported single-leg Romanian deadlift trains balance, hamstring strength, glute strength, and ankle control in one pattern. It also teaches you how to move with one foot anchored while the other leg reaches back.
Hold a chair with one hand. Shift weight onto one leg, soften that knee, then hinge at the hips as the other leg extends behind you. Your torso tips forward a little as a counterbalance. Return to standing by squeezing the standing-side glute. Start with a very small range. Five to 8 reps per side is enough.
The trick is to keep the spine long. Do not round to reach the floor. Think “hips back, chest long, back leg floating.” That cue usually helps people stop folding at the waist.
This is the kind of drill that makes walking feel smoother after a few weeks of steady practice. Not magic. Just better mechanics showing up in ordinary life.
A steady plan beats a heroic one. Pick 5 to 8 moves from this list, repeat them a few times a week, and stay honest about form. If something feels shaky, make it smaller before you make it harder.
The best progress usually comes from boring consistency: a chair, a wall, a few controlled reps, and enough patience to let the body catch up. That’s not flashy. It works.
