



Strong legs do not need to look bulky to be strong. In yoga, the work often shows up as steadier knees, quieter ankles, cleaner balance, and thighs that can hold a shape for longer than you expected.
That’s the part people miss. Stronger lean legs usually come from a mix of standing strength, one-legged balance, and long, honest holds that make your muscles stay awake instead of coast.
Yoga won’t spot-trim anything, and it won’t turn your body into a copy of someone else’s. What it can do is build the kind of lower-body control that changes how your legs feel in stairs, runs, long walks, and even the boring act of standing in line.
The poses below work best when you slow down enough to feel the front thigh, the outer hip, the calf, and the foot all doing their piece. No rushing. No flailing. Just clean shapes, one at a time, and a little patience.
1. Chair Pose
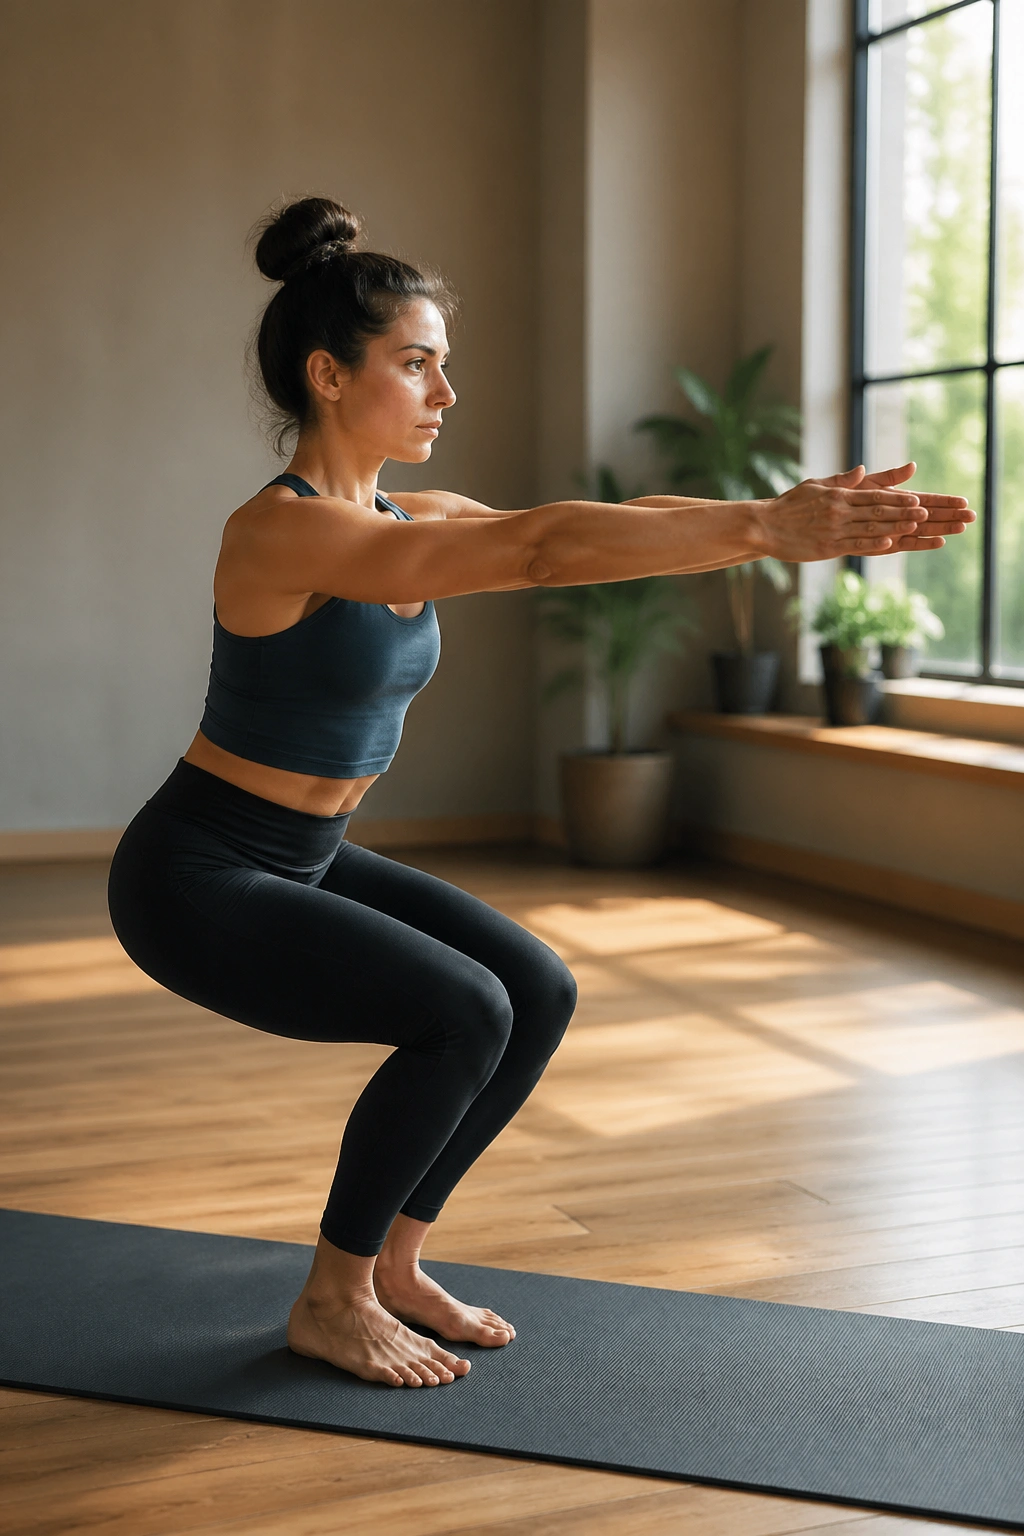
Chair Pose is one of the fastest ways to find out whether your thighs are awake. It looks simple from the outside. Your quads feel otherwise.
Why Chair Pose Hits the Legs So Hard
Sink the hips back as if you’re reaching for a chair that’s a little too far behind you. Keep the weight balanced between heel and forefoot, and let the knees track in the same direction as the second and third toes. That alignment matters more than depth.
The burn usually lands in the front of the thighs first, then the glutes start to help if you stay long enough. If you round your back to get lower, the legs work less and the pose gets sloppy fast.
- Hold for 5 to 8 breaths.
- Keep the chest lifted instead of collapsing the ribs.
- Press evenly through both feet.
- Use your arms forward or overhead, whichever keeps the spine long.
Quick tip: If your knees drift inward, bring your feet a touch closer together and think about spreading the mat apart with your feet.
2. Warrior I
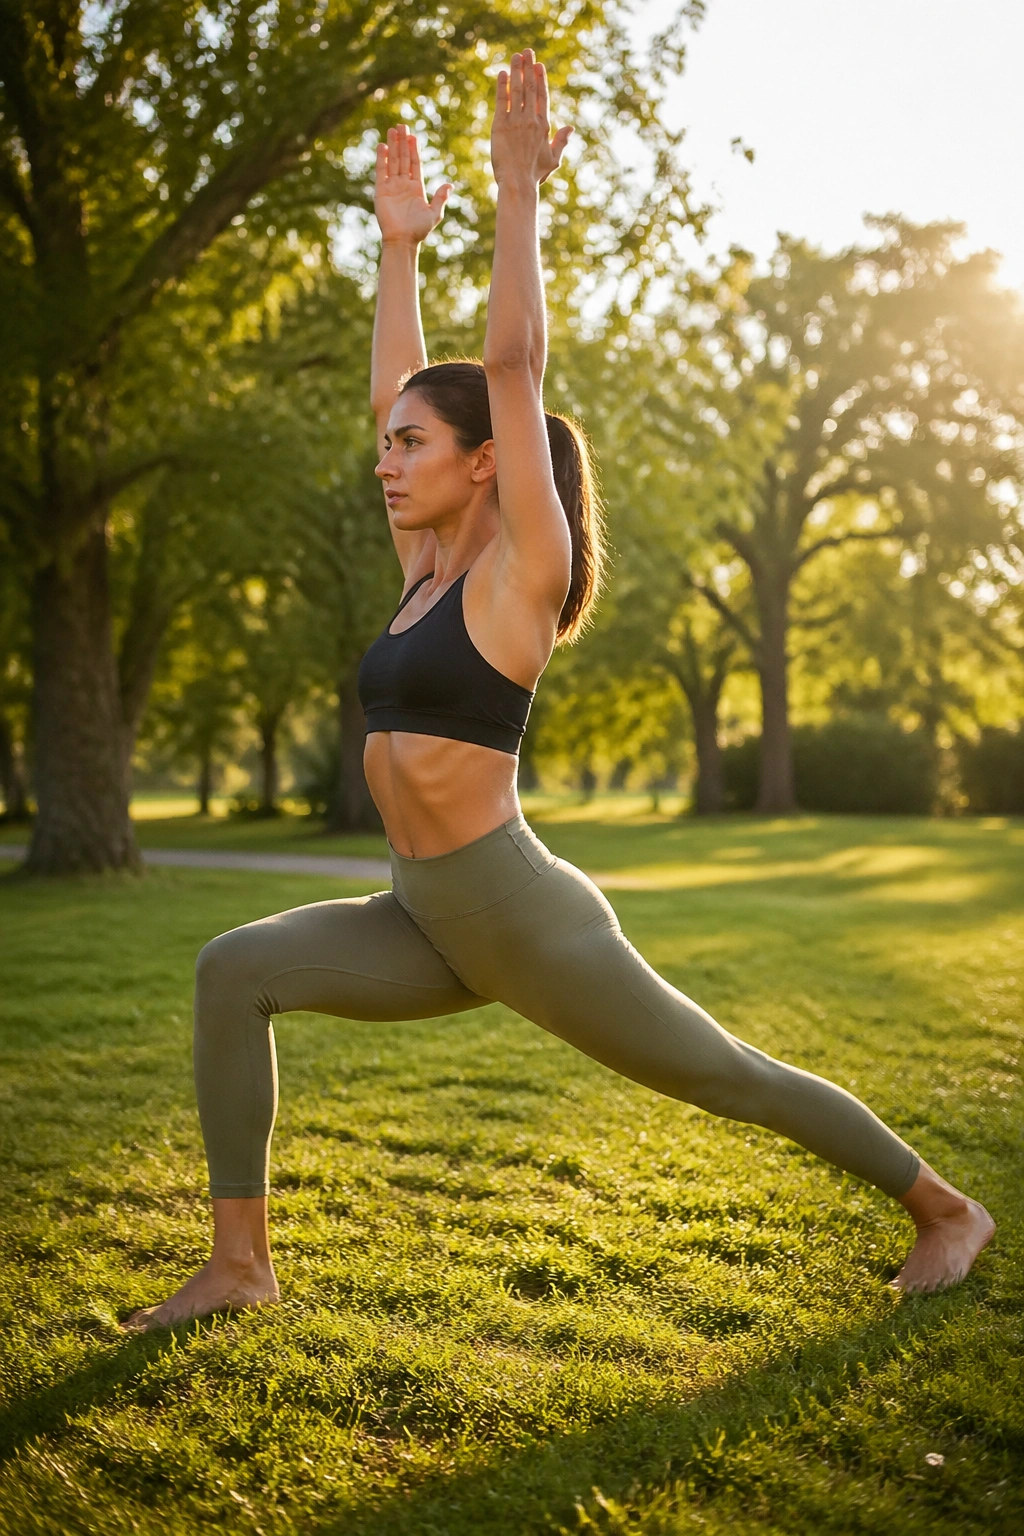
Warrior I is not a dramatic lunge with fancy arms. It’s a leg builder with a very honest face.
The front thigh works hard here, but the back leg matters just as much. Press the outer edge of the back foot down, draw the back hip forward as far as your body allows, and keep the torso rising without dumping into the lower back. If you feel the stretch only in the low spine, you’ve missed the point.
I like Warrior I because it asks for strength and shape at the same time. The front quad holds, the glute of the back leg stays active, and the hip flexors get a lengthening they rarely get in daily life. That combination is gold for stronger lean legs because it teaches the legs to support you while the hips stay mobile.
A tiny bend in the front knee is fine. A giant sway in the ribs is not.
3. Warrior II
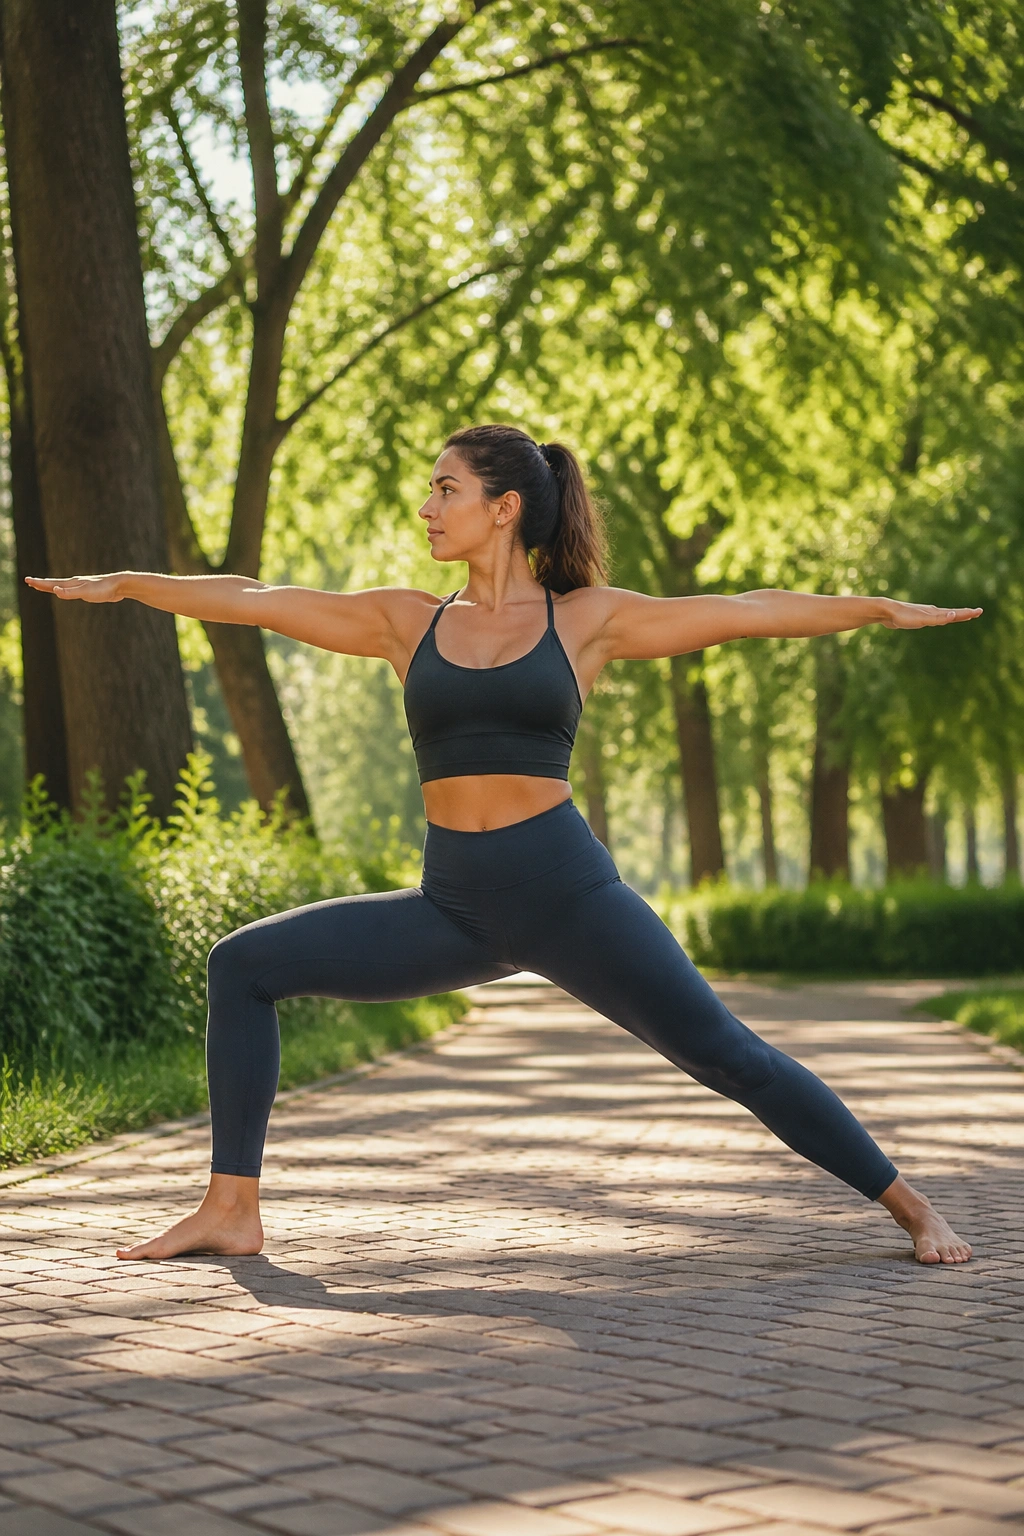
Why does Warrior II make the thighs complain so quickly? Because it asks for a long hold with almost no drama.
The front leg does a lot of the work, but the back leg is not sleeping. Press the back foot down, lift the inner arch of the front foot, and keep the pelvis level instead of dumping into one hip. The longer you stay, the more the inner thighs start to show up too.
How to Make It Count
The pose gets leg-heavy when you stop hanging on your joints. Bend the front knee enough that you can still see your big toe, and keep the torso stacked over the hips instead of leaning toward the front thigh.
- Front knee tracks over the toes.
- Back leg stays straight but not locked.
- Arms reach out from the shoulders, not from the neck.
- Hold 5 breaths per side, or longer if your form stays clean.
One small fix changes everything: turn the back toes in a little more if the back hip feels jammed.
4. Low Lunge
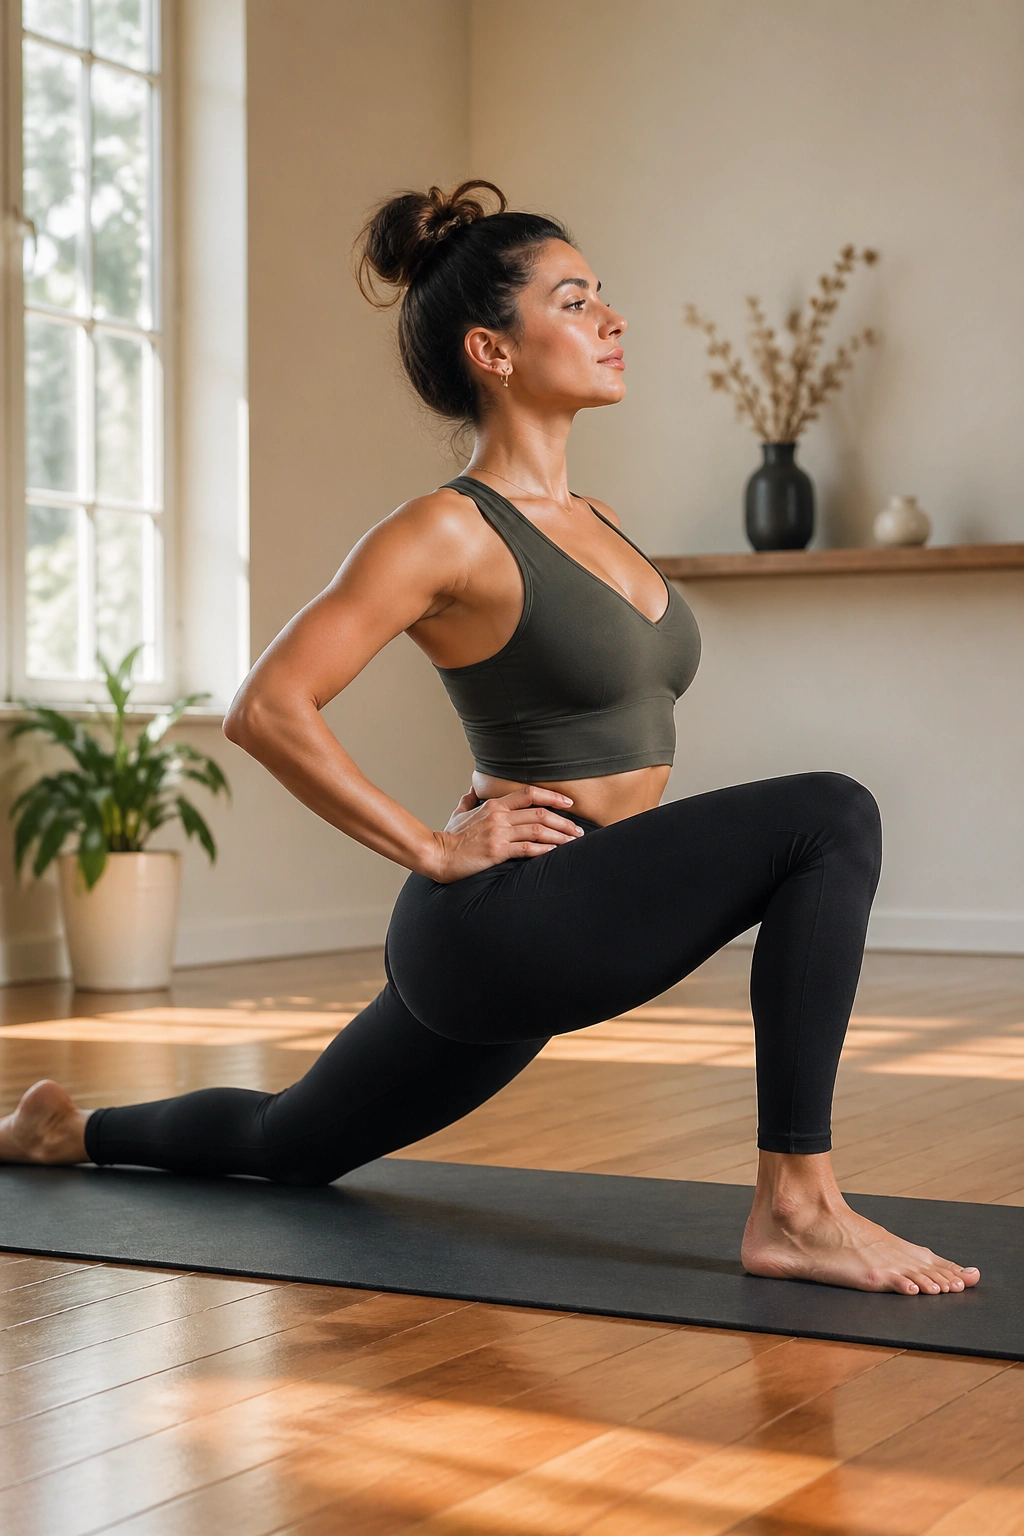
Low Lunge is where the legs get both relief and work at the same time. That sounds contradictory, but yoga loves that trick.
Drop the back knee to the mat or a folded blanket, then slide the front knee over the ankle and lift the chest. The front leg still has to support your weight, and the back thigh gets a long opening through the hip flexor and quad. If you sit into it lazily, the stretch disappears and the pose turns mushy.
This is a smart one for lean legs with less joint noise, especially if your knees don’t love deep standing bends every day. Keep the back foot active, even on the floor, and think of the pelvis as a bowl of water that you do not want spilling forward.
A block under the hands can help if the spine starts folding. No shame there. Better alignment beats a deeper shape every time.
5. High Lunge
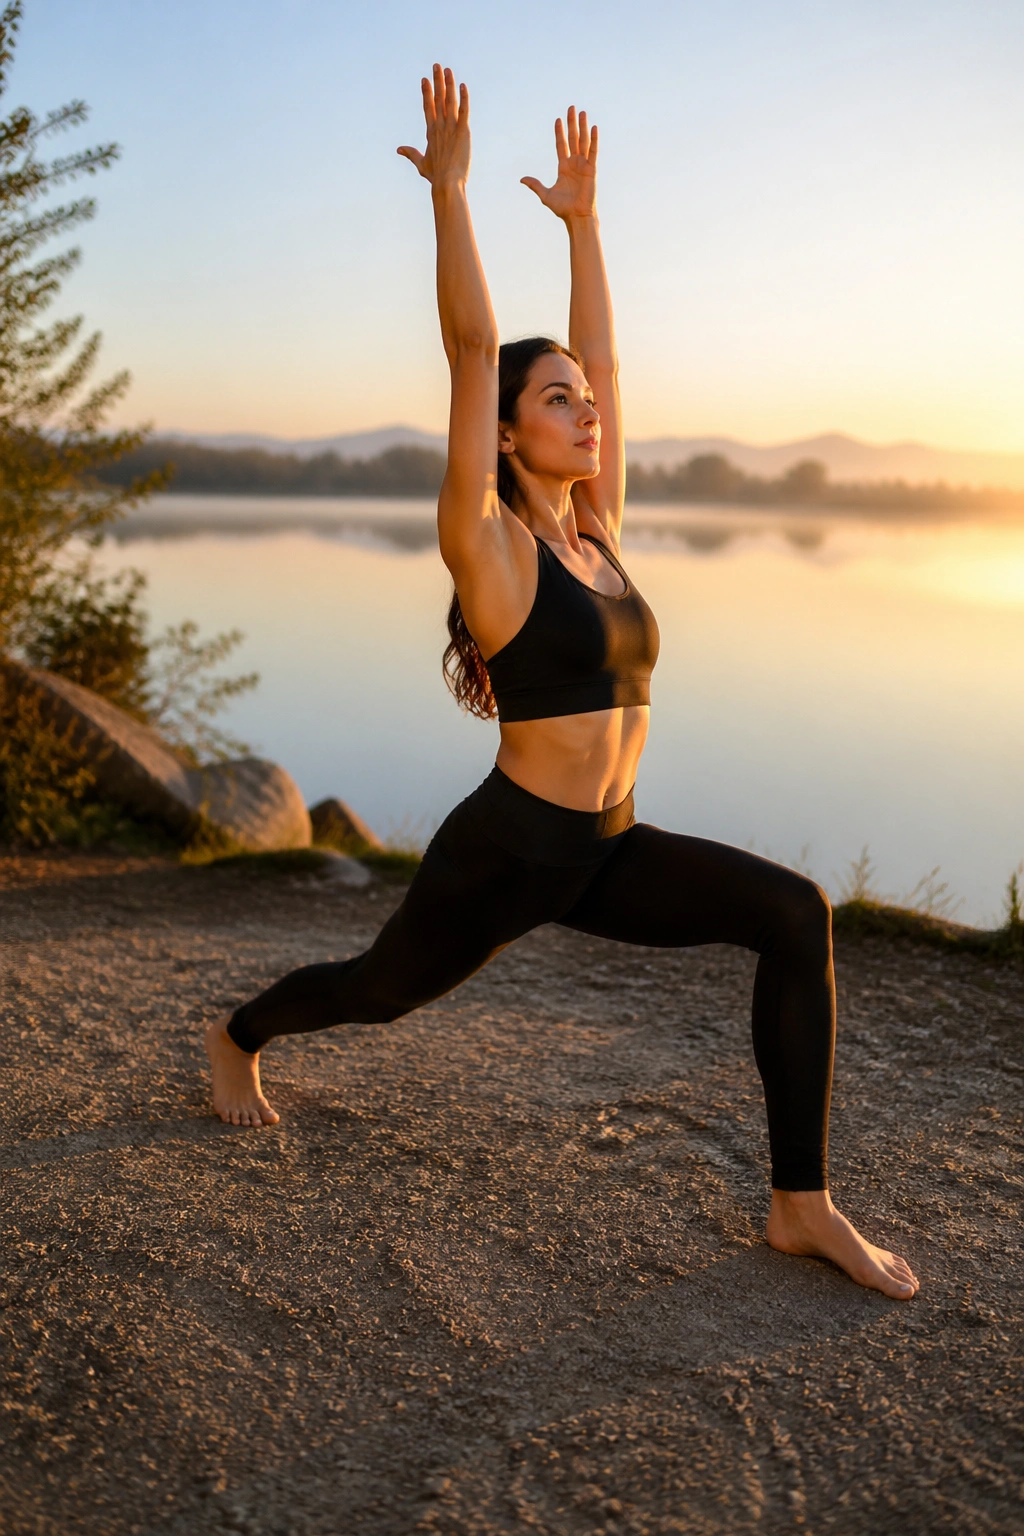
High Lunge is Low Lunge’s sharper cousin. The back knee lifts, the back heel stays high, and the whole lower body has to organize itself without help from the floor.
That missing contact changes everything. The standing leg becomes a stabilizer, the back thigh works harder, and the glutes on both sides need to cooperate. You feel it in the front thigh of the lead leg fast, but the standing foot and ankle are doing more than people realize.
Keep the torso tall. Keep the ribs from flaring. Keep the pelvis from dumping forward.
Simple. Not easy.
A lot of people turn High Lunge into a backbend and wonder why their lower back complains. Don’t do that. Instead, think of lifting through the crown of the head while pressing the floor away with the front foot. That line of energy is what makes the pose useful for stronger lean legs rather than just a hip stretch.
6. Reverse Warrior
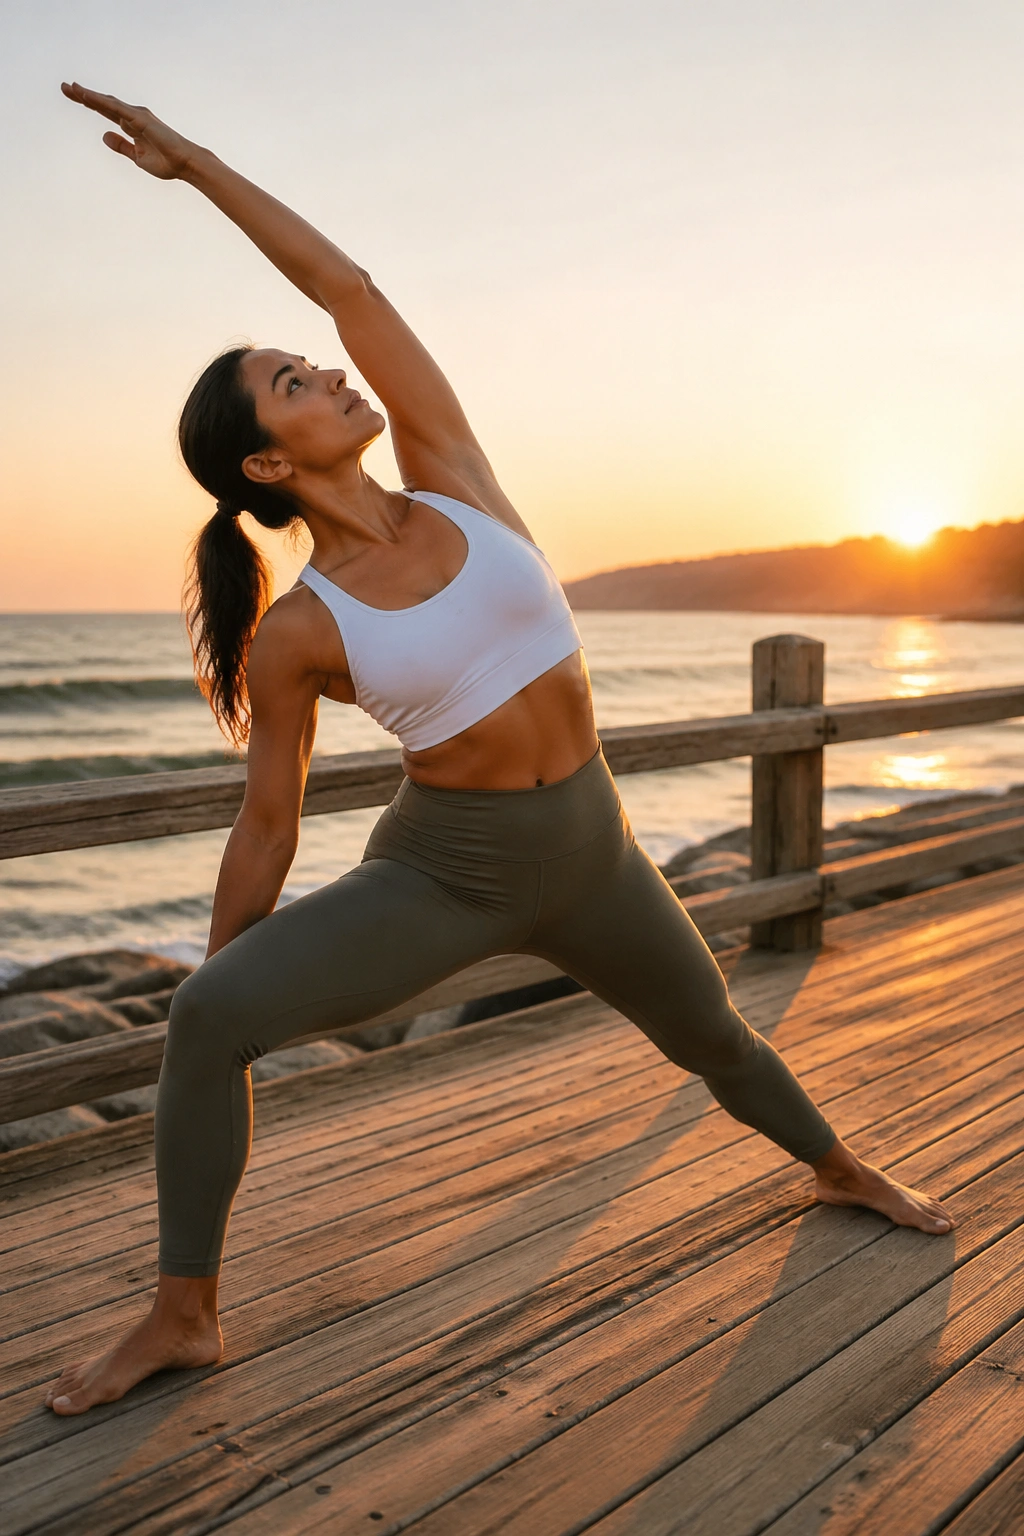
Reverse Warrior is not a rest pose, no matter how graceful it looks.
From Warrior II, let the front hand slide down the back leg and arc the top arm overhead. The front knee stays bent. The back leg stays awake. If you collapse into the back knee, the shape stops helping your legs and starts hiding the effort.
What I like about Reverse Warrior is the way it stretches the side body while the legs keep their work. That little contradiction trains endurance. The front thigh keeps holding, the back leg keeps rooting, and the obliques join the party without stealing the show.
Best for: people who already know Warrior II and want more length without losing leg tone.
Watch for: leaning too far back and dumping weight into the rear hand. The pose is supposed to feel open, not floppy.
7. Side Angle Pose
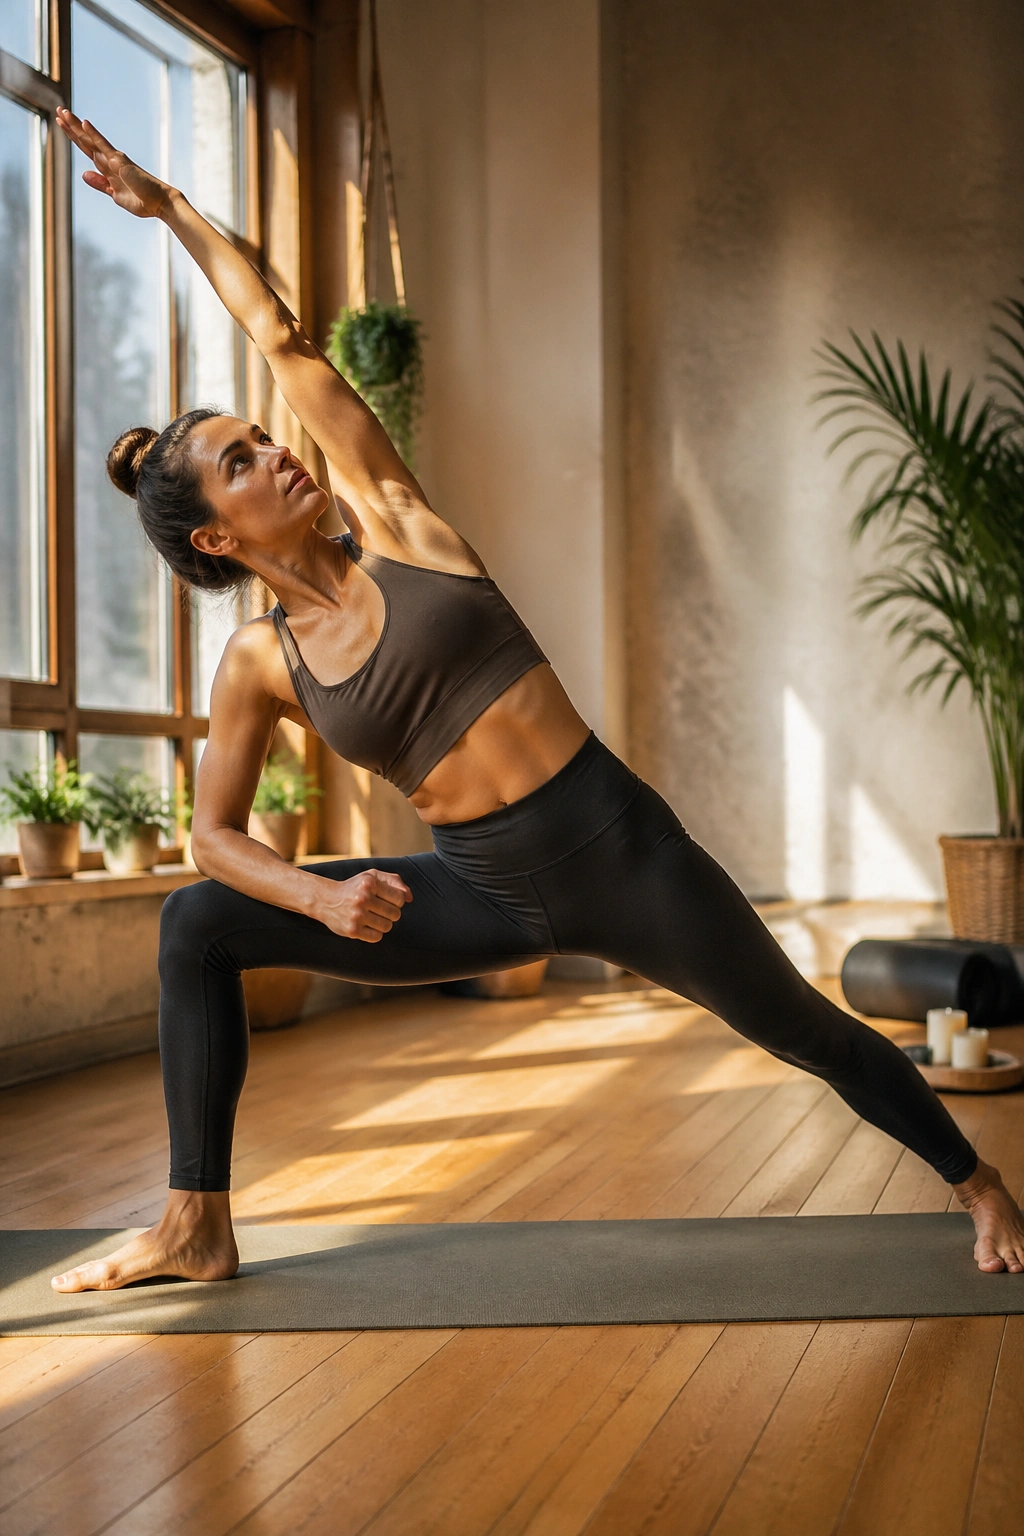
Side Angle Pose is one of those shapes that looks like a side stretch until your front leg starts shaking.
Drop into a deep lunge, place the front forearm on the thigh or a hand on a block, and lengthen the top arm past the ear. The front leg bears load the whole time, which is why this pose can light up the outer hip and quad faster than expected. The back leg also matters; if it goes lazy, the whole shape gets unstable.
Where the Work Actually Lands
The front thigh stabilizes the body while the back leg keeps the pelvis from collapsing. That makes Side Angle especially good for leg endurance and hip strength without a lot of impact.
A block under the lower hand is not a beginner shortcut. It is a smart way to keep the spine long and the legs honest.
- Keep the front knee bent and stacked.
- Press the back foot firmly into the mat.
- Reach the top arm in one line with the back heel.
- Stay for 3 to 5 breaths before changing sides.
8. Triangle Pose
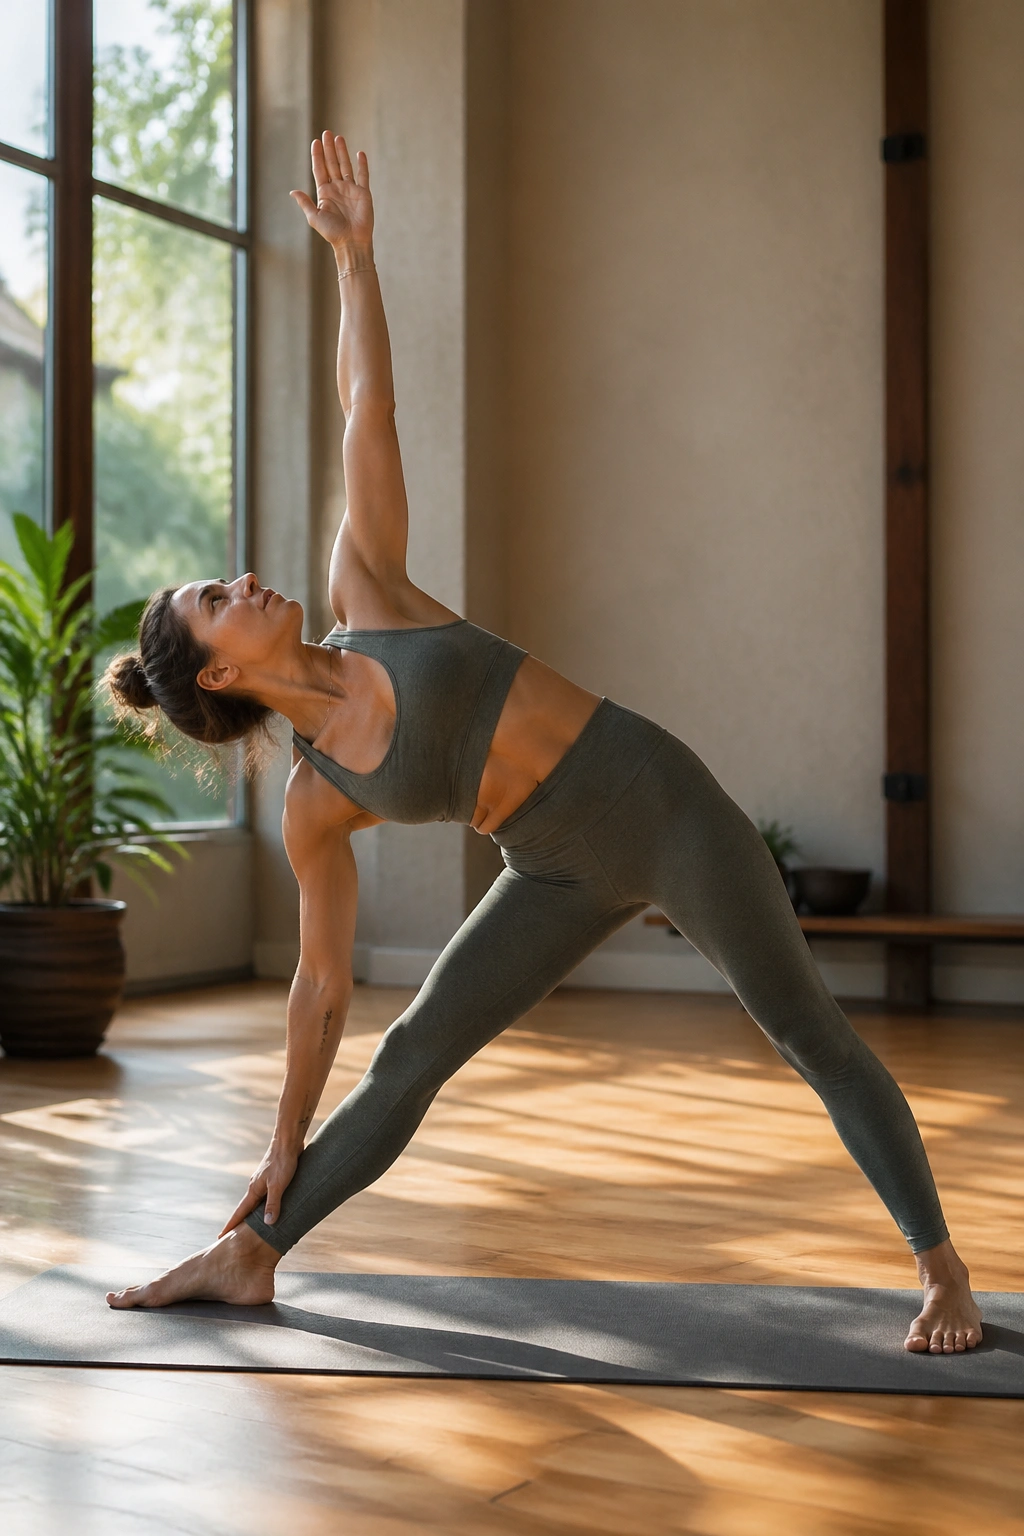
Triangle Pose asks the front leg to stay straight, which is exactly why it works so well for the hamstrings and inner thighs.
The mistake people make is reaching the hand to the floor at any cost. That’s a bad deal. Shorten the stance if you need to, use a block, and hinge from the hip crease before you open the chest. The front leg does not need to bend. The torso does not need to collapse. Clean lines matter more than touching down.
Triangle is a stretch, but it’s also a stability drill. The legs have to organize themselves so the pelvis doesn’t tip forward or backward. That quiet work is what makes the pose so useful for lean, strong legs.
If your hamstrings are tight, the back of the front knee may feel a little grabbed at first. Ease off the depth and keep the spine long. The shape will open over time, and usually faster than people expect when they stop forcing it.
9. Half Moon Pose
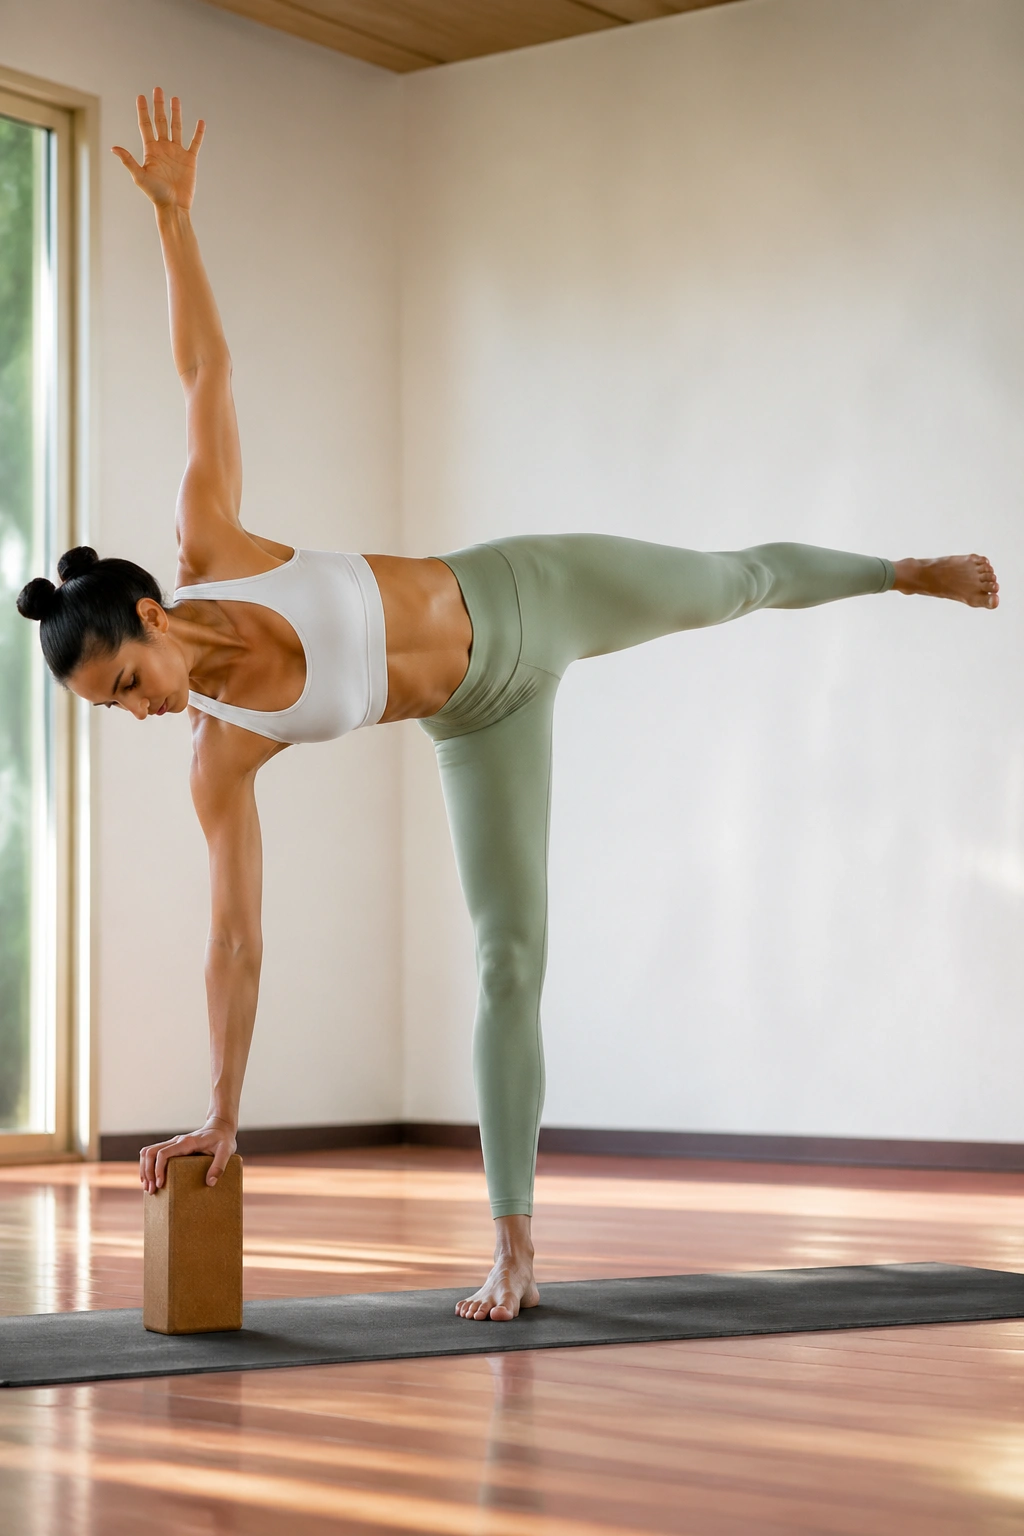
Half Moon is where balance and leg strength meet in a way that feels a little unfair the first few tries.
Lift the back leg to hip height, stack the hips as much as you can, and keep the standing knee softly unlocked. A block under the lower hand changes the whole pose if your hamstrings or ankles are limiting you. That support lets the standing leg work without the upper body tipping into chaos.
What Makes Half Moon So Effective
The standing glute has to stay on. The outer hip has to stay on. The foot has to keep adjusting, which is why the pose trains the small muscles around the ankle too.
- Stand on a stable foot, not a clenched one.
- Keep the lifted leg active through the heel.
- Gaze down if balance feels shaky.
- Use the wall if wobbling turns the pose into a fight.
Half Moon rewards patience. Stay a few breaths, then step out before the standing foot goes numb and sloppy.
10. Warrior III
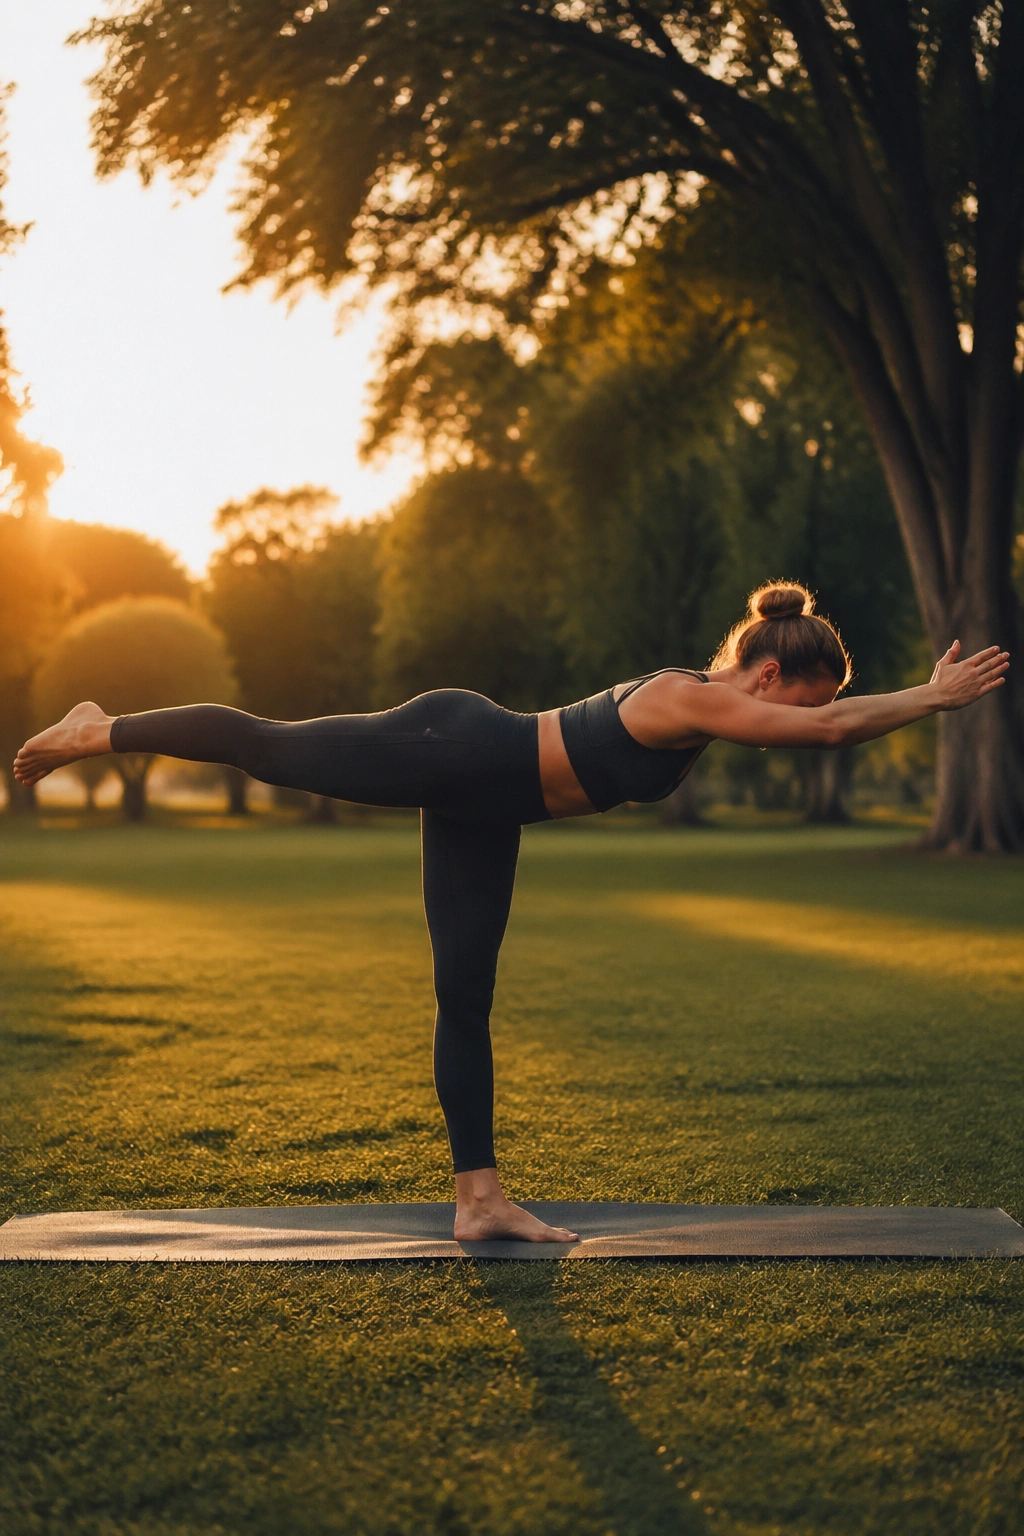
Warrior III is one of the cleanest ways to feel the back line of the body without leaving yoga territory.
Hinge forward from the hip, lift the back leg, and send the torso and lifted heel into one long line. The standing leg does a ton of work here, especially through the glute, hamstring, and foot. The lifted leg is not decorative. It keeps the pelvis level and forces the low body to stabilize against gravity.
The pose gets better when you stop reaching for height and start reaching for length. A long spine beats a high leg. Every time.
If the hips open to the side, you lose some of the leg load. If the standing knee locks back, the pose becomes brittle. Keep a tiny softness in the standing leg and let the body make micro-adjustments. That’s where the strength lives. Not in a stiff pose. In the small corrections.
11. Tree Pose
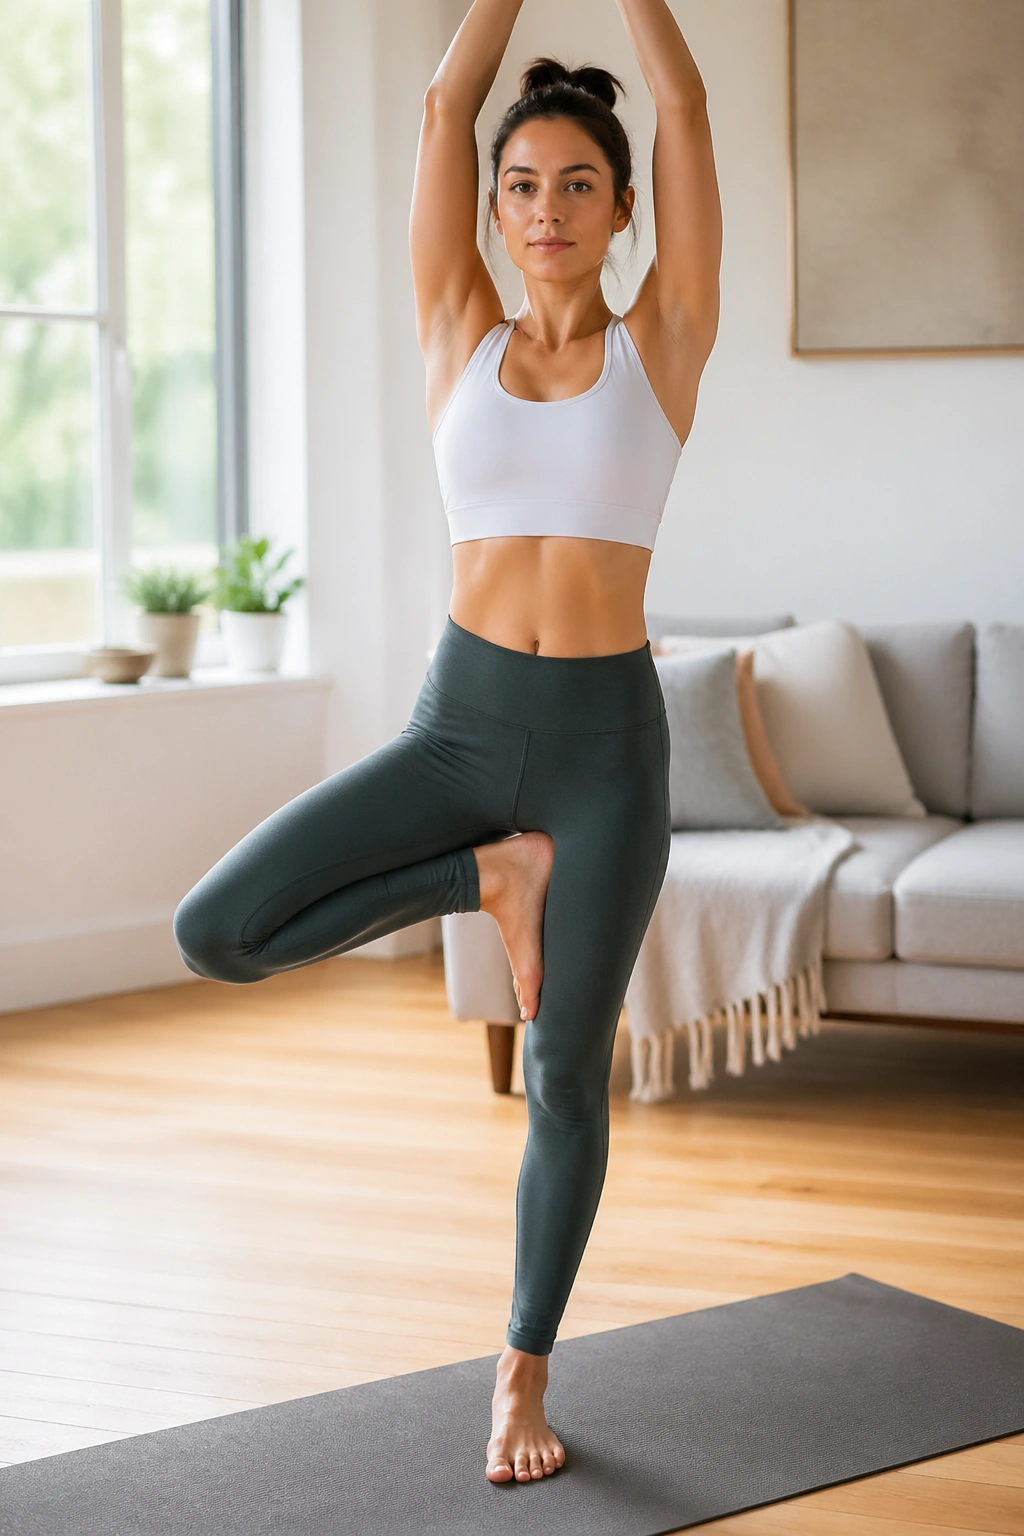
Tree Pose is quieter than the big standing warriors, but don’t let that fool you.
The standing leg has to support your weight while the lifted foot presses into the inner calf or thigh. That pressure wakes up the ankle, the arch, the outer hip, and the small stabilizers that keep your knees from wandering around when you walk. For lean legs, this matters more than people think.
My favorite version is the one where you spend a little time setting up the standing foot before you even bring the other leg up. Spread the toes. Press the big toe mound down. Lift the arch. Then grow into the pose.
That’s a lot of work for something so small.
Use a wall if you need it. A shaky Tree is still useful, but a Tree with a braced knee and a slumped pelvis is just noise. Keep the pelvis level and breathe into the work.
12. Eagle Pose
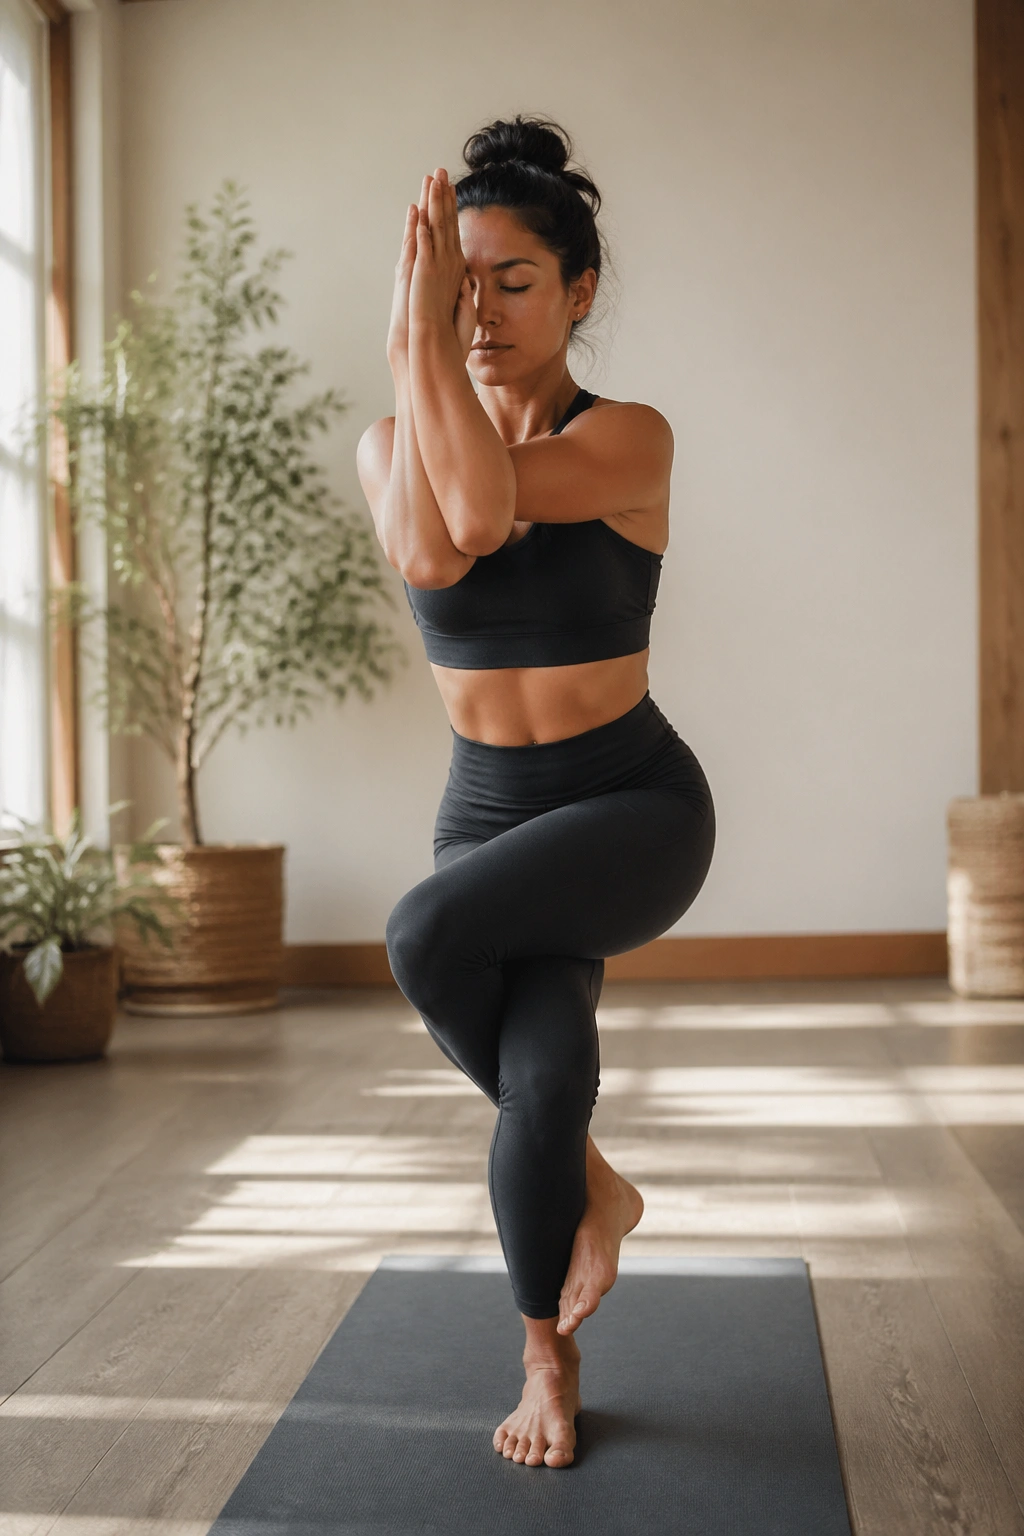
Eagle Pose compresses the body in a way that makes the legs work differently than the open-standing poses do.
Wrap one thigh over the other, sink the hips, and let the standing leg do the heavy lifting. The outer hips fire up, the calves wake up, and the feet have to stay alert because the balance gets narrow fast. Compared with Tree Pose, Eagle is less about open stability and more about controlled squeeze.
That squeeze is useful. It asks the inner thighs to hug toward the center line while the standing leg resists collapse.
Best for: people who want stronger hips, steadier ankles, and a little extra challenge without jumping around.
What to watch for: knees twisting awkwardly or the chest hunching forward. If your wrap feels jammed, skip the leg bind and keep the arms only. You still get the leg work, and the pose becomes cleaner.
13. Goddess Pose
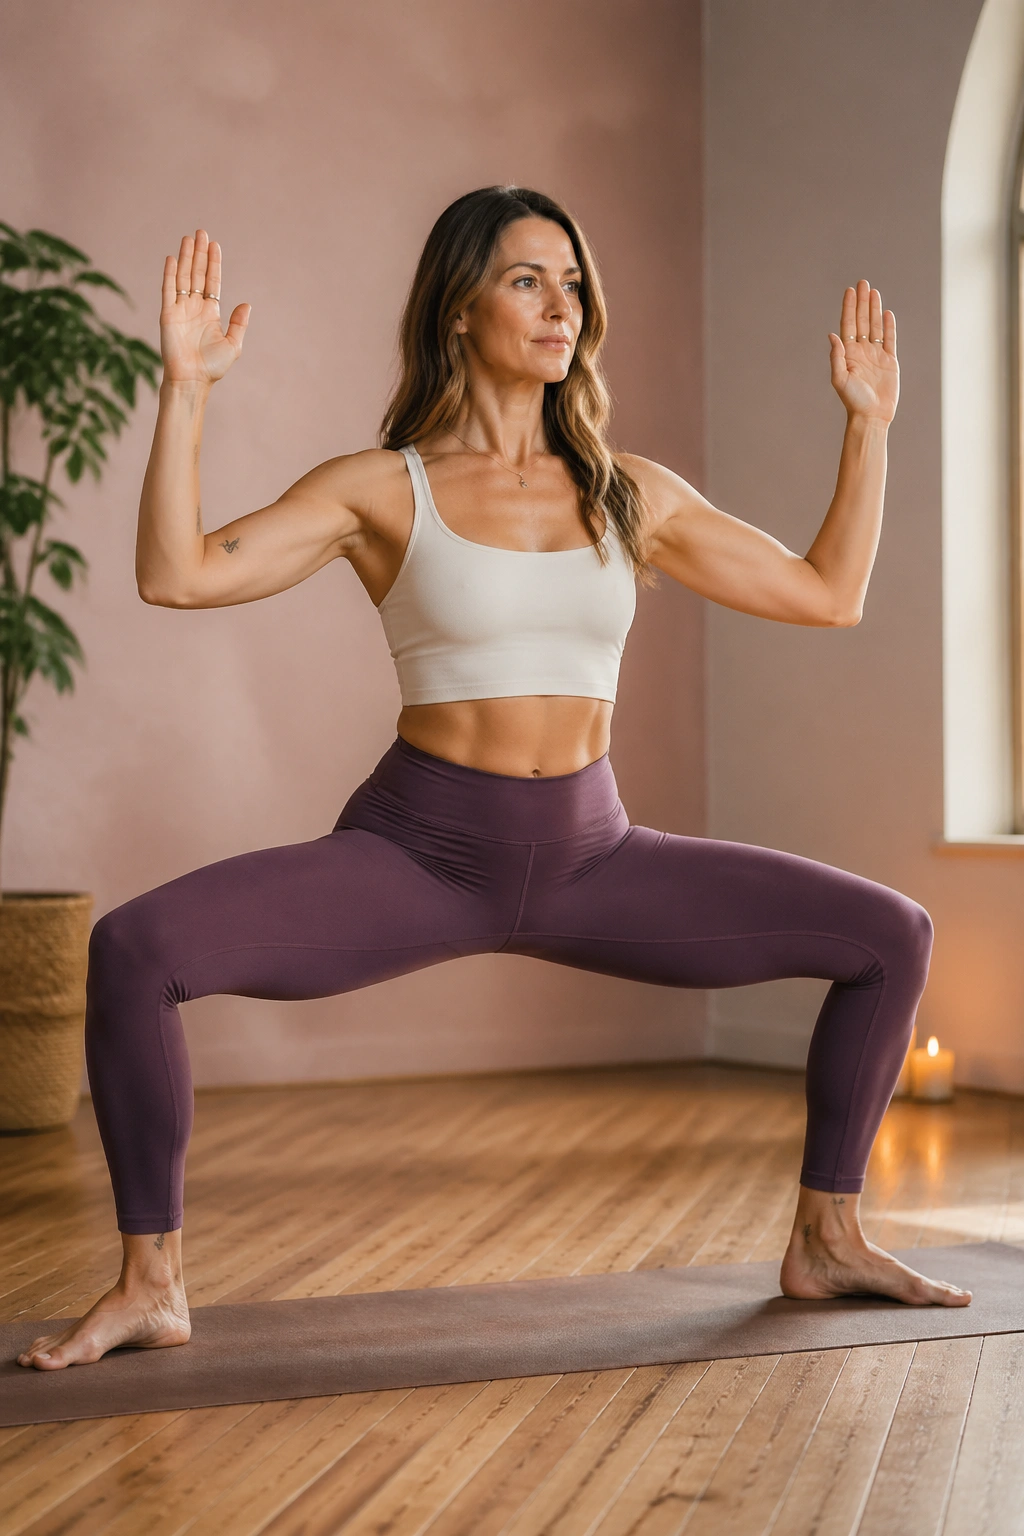
Goddess Pose is one of my favorite lower-body burners because it looks friendly and then gets serious three breaths later.
Why It Works
Stand wide, turn the toes out a bit, bend the knees, and lower into a squat without letting the knees cave inward. The inner thighs and glutes both have to stay active, which makes this pose brilliant for stronger lean legs without impact or complicated balance.
Hold the arms in cactus shape, or keep them at heart center if your shoulders are tired. Either version works. The real job is in the legs.
- Keep the knees tracking over the toes.
- Stay tall through the spine.
- Press evenly into both feet.
- Add tiny pulses only after the shape feels solid.
Simple rule: if your lower back starts taking over, rise a few inches and reset.
14. Malasana
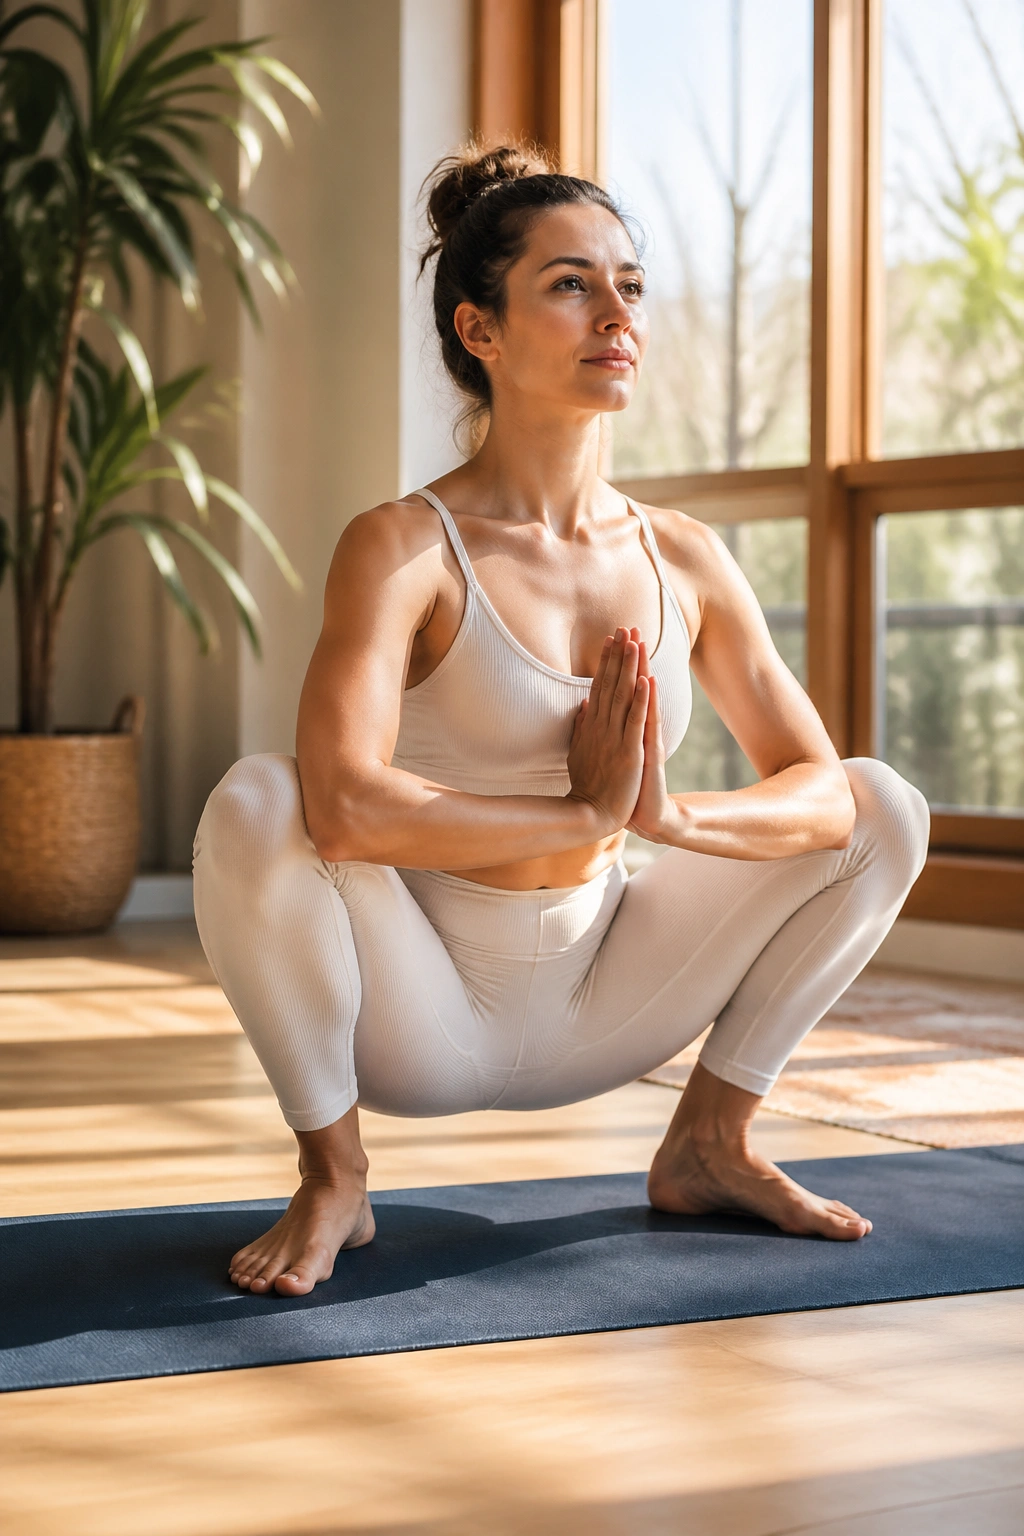
Malasana, the yogi squat, can be a beautiful mess of ankle mobility, hip opening, and leg strength all at once.
If your heels touch the floor, great. If they don’t, slide a folded blanket under them or sit onto a block. The goal is not to force the deepest possible squat. The goal is to find a shape where the inner thighs, calves, and hips can all breathe while still working.
That balance is rare. Daily life loves straight legs and stiff ankles. Malasana gives the lower body a different job.
You should feel a stretch through the adductors and a bit of engagement in the feet as you keep the chest lifted. If the spine rounds hard, bring the stance wider or use support under the seat. The pose should feel grounded, not crunched.
A short hold after standing poses can be a relief. Longer holds can reveal how tight the ankles have been all along.
15. Bound Angle Pose
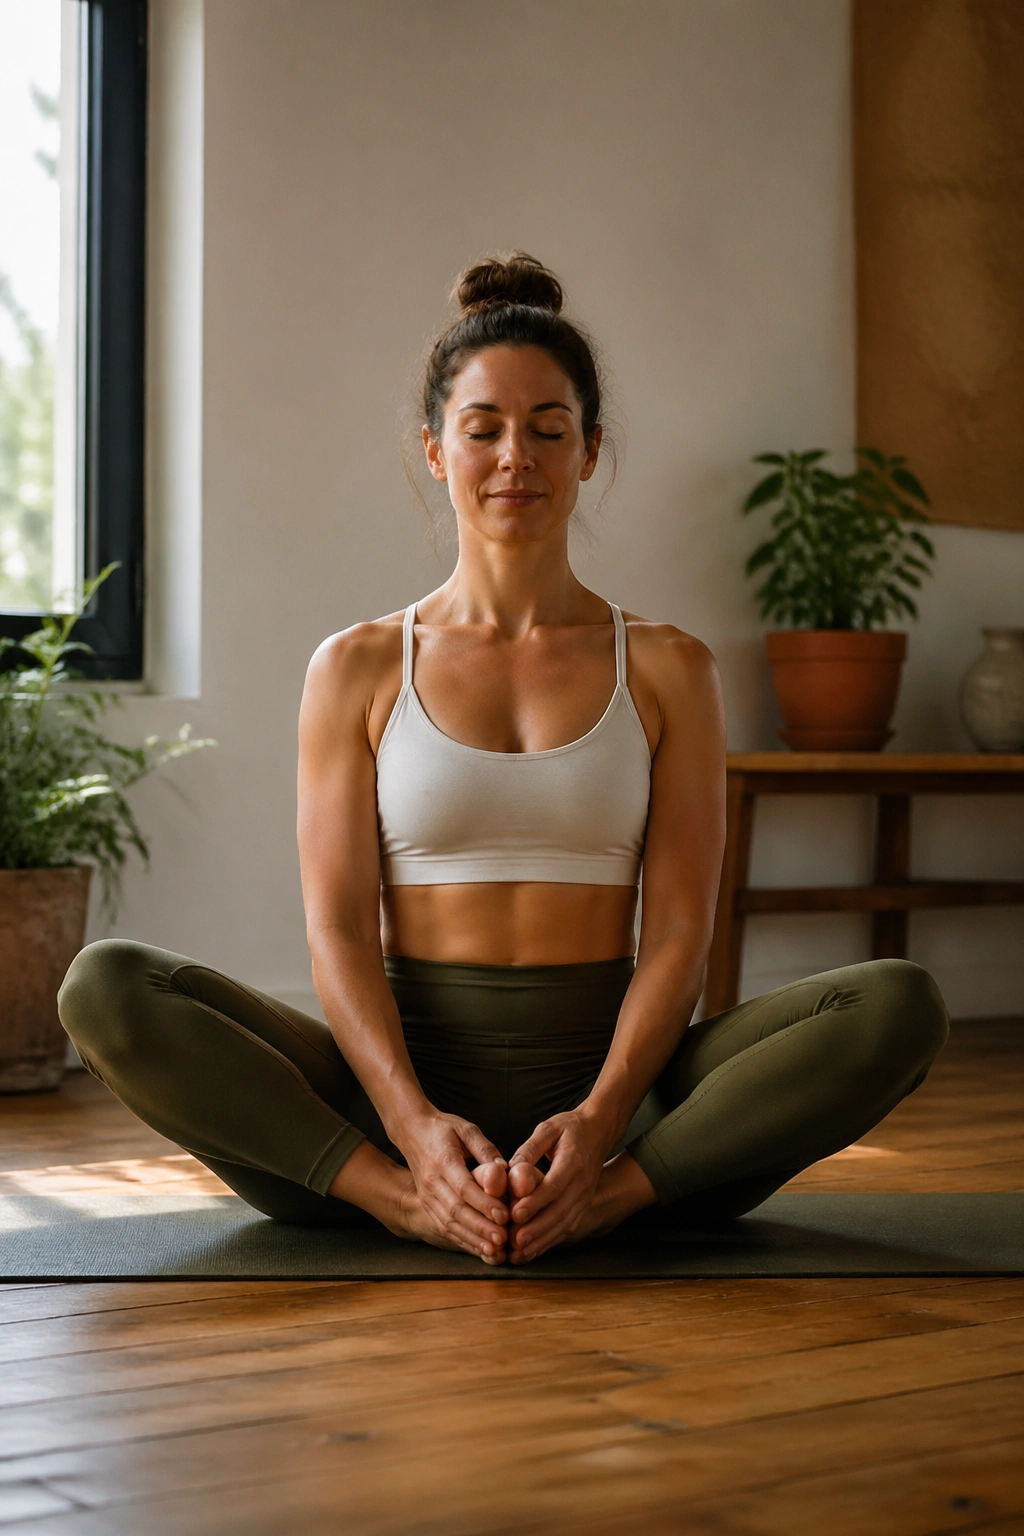
Bound Angle Pose is not a strength pose in the dramatic sense. It’s the reset that helps the stronger shapes feel better later.
Sit down, bring the soles of the feet together, and let the knees open out to the sides. Stay tall if the hips are tight, or fold forward gently if the groin and inner thighs are ready for more. After a standing sequence, this one lets the adductors soften without going limp.
Why include it in a leg-strength list? Because legs that recover well stay usable longer. Tight inner thighs can make squats, lunges, and wide-stance work feel clumsy. Bound Angle eases that grab.
How to Use It
Take 6 to 10 slow breaths here after the standing poses. Don’t yank the knees downward. Let gravity do the work.
If you want a little more stretch, walk the feet a few inches away from the pelvis and sit on a blanket so the spine doesn’t collapse.
16. Lizard Pose
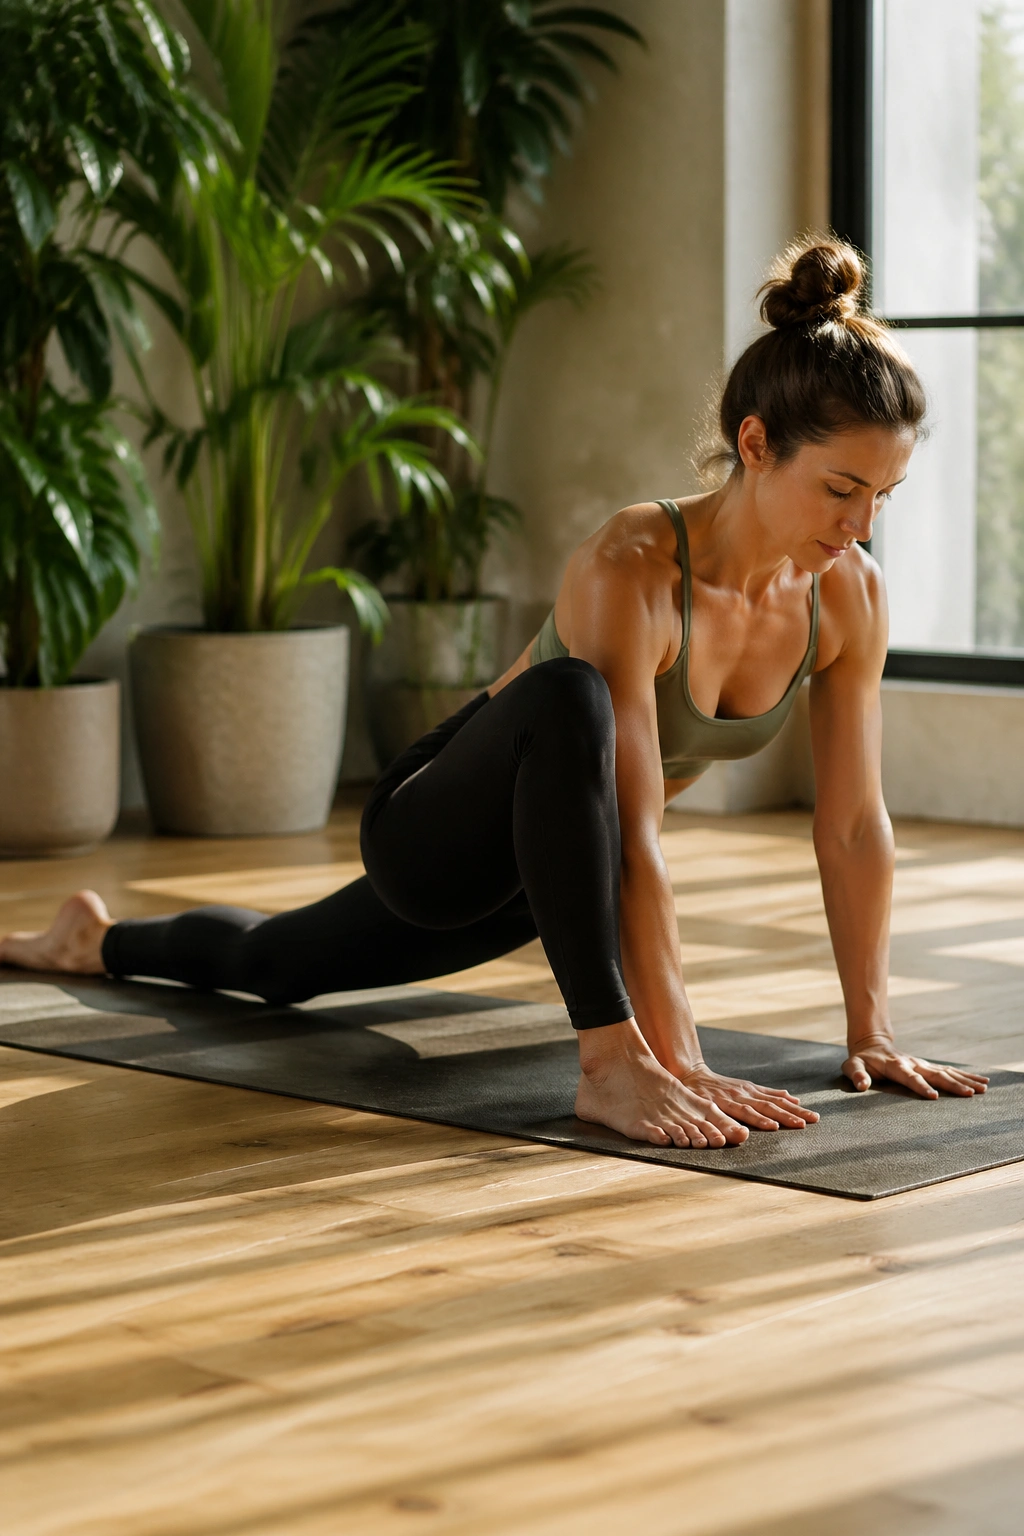
Lizard Pose gets into the places standing work sometimes skips: the hip flexor, the adductors, and the deep front line of the thigh.
Step into a low lunge, bring both hands inside the front foot, and keep the back leg long. You can stay on the hands, come to forearms, or rest the forearms on blocks if the floor is too far away. The front hip opens, but the front leg is still bearing load, which is why the pose has such a nice strength-and-stretch feel.
A lot of people rush straight into the deepest version. That’s a mistake. If the front knee spills inward or the lower back pinches, come back up. The leg work should feel alive, not pinned.
Use this when your hips feel locked after lots of standing poses. It makes the next round of lunges and squats cleaner. The better the hip mobility, the easier it is for the legs to stack and support you.
17. Frog Pose
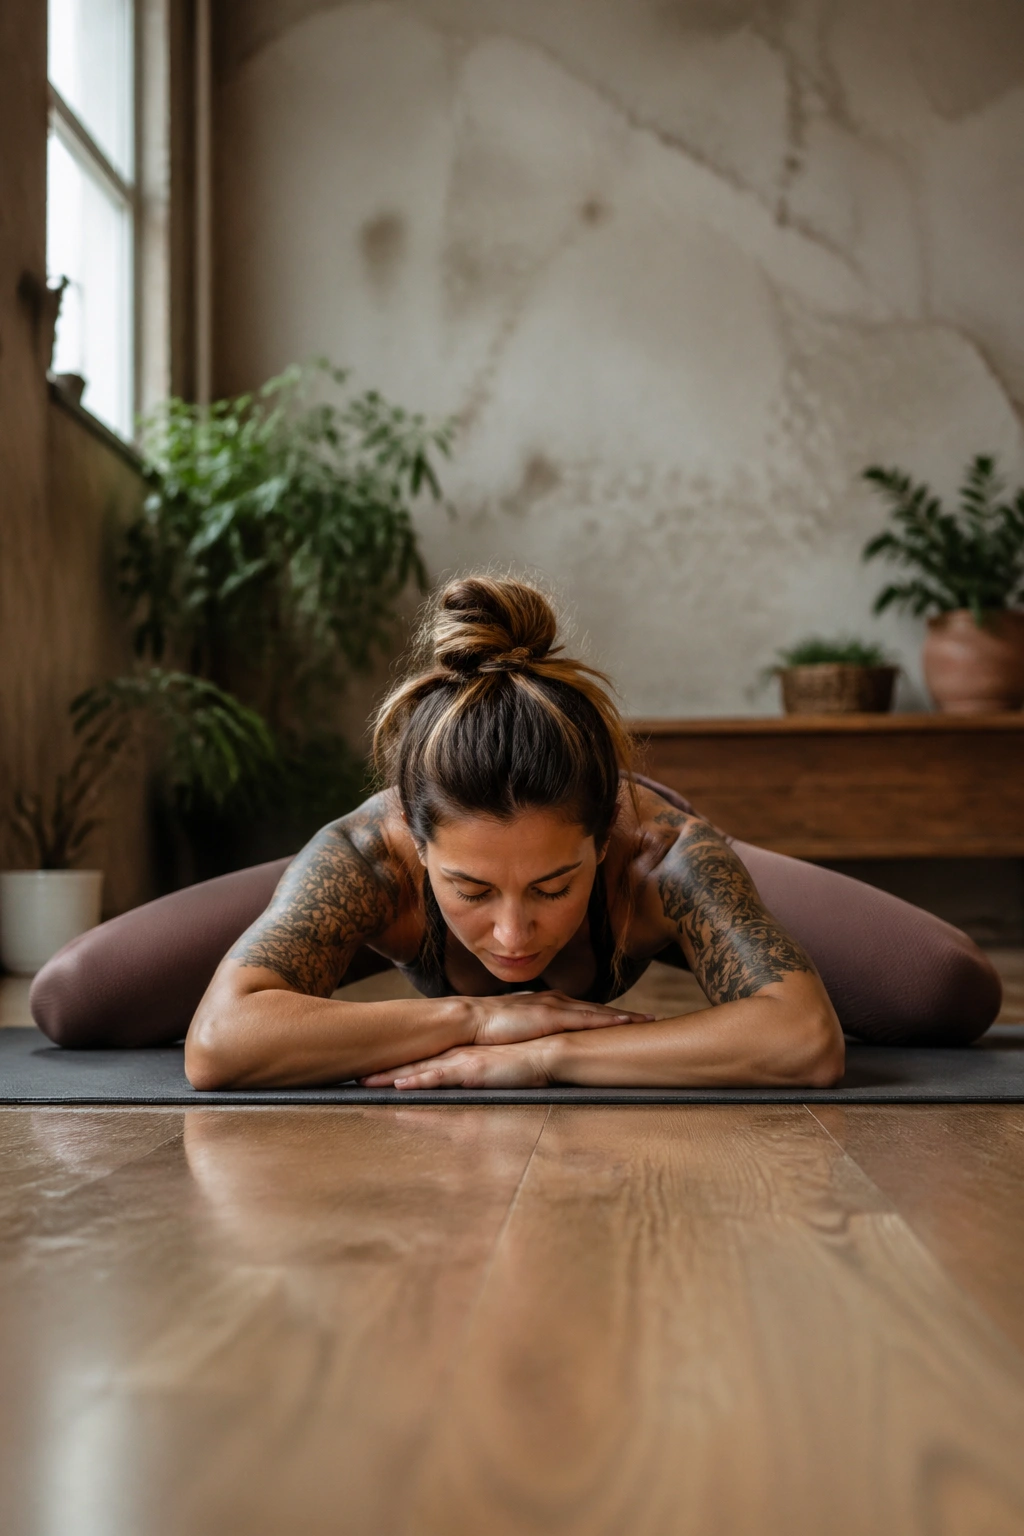
Frog Pose is intense. No point pretending otherwise.
Kneel on the mat, slide the knees wide, and keep the lower legs in line with the knees if that’s available. The inside of the thighs can light up fast, and that’s normal. What matters is that the stretch stays in the muscles and not the joints.
Take your time with this one. Move in little steps. Breathe out, let the hips sink a touch, then pause. If you force the depth, the knees and groin can complain for days, and nobody wants that.
The good version of Frog feels deep but controlled. The thighs are stretching, the hips are opening, and the spine can stay long if you support the chest on forearms or a bolster.
One breath too deep and it turns ugly.
So stay patient. This pose is one of the best for inner-thigh release, but it pays to respect the edges.
18. Standing Hand-to-Big-Toe Pose
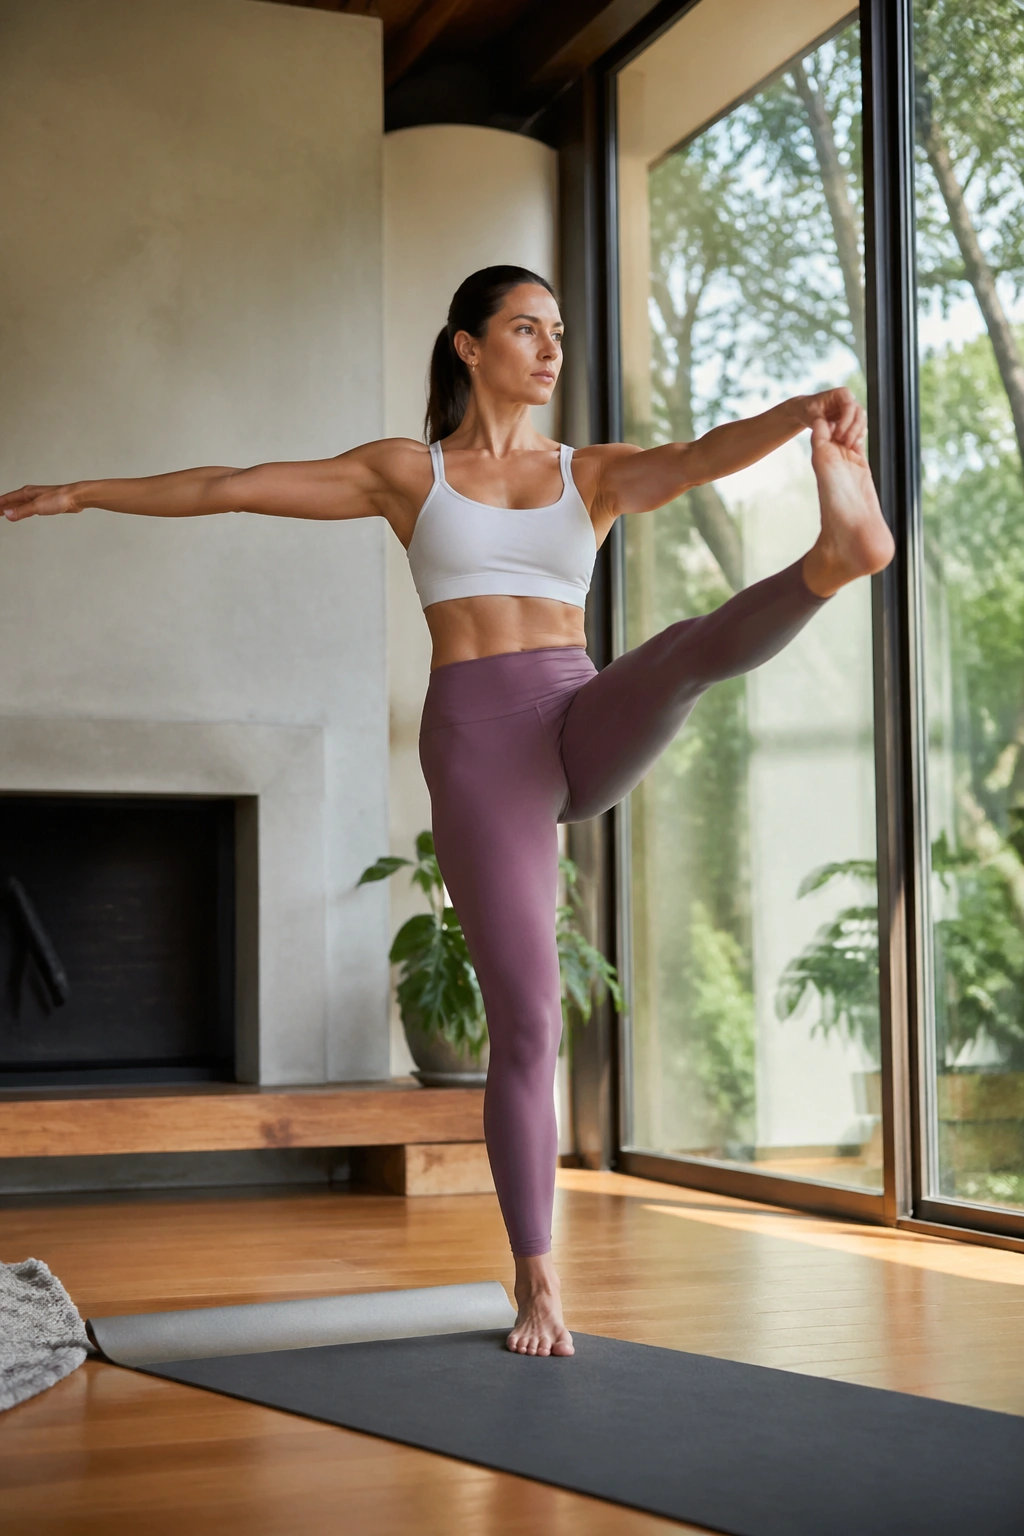
Standing Hand-to-Big-Toe Pose is a balance pose with a hamstring bonus.
Hold the big toe, loop a strap around the foot, or keep the knee bent if that’s where the line stays clean. Extend the leg forward or out to the side, and keep the standing leg rooted. The raised leg works through the hamstring and calf, while the standing side has to keep the pelvis from tilting.
Compared with Warrior III, this pose gives you more direct control over the lifted leg. You can bend the knee, square the hips, and work toward length without turning it into a circus trick. That makes it a smart pick for stronger lean legs with less lower-back strain.
Use the wall if the balance is wobbly. That isn’t cheating. It’s smart practice. The more stable the standing leg feels, the more the lifted leg can lengthen instead of flail.
19. Bridge Pose
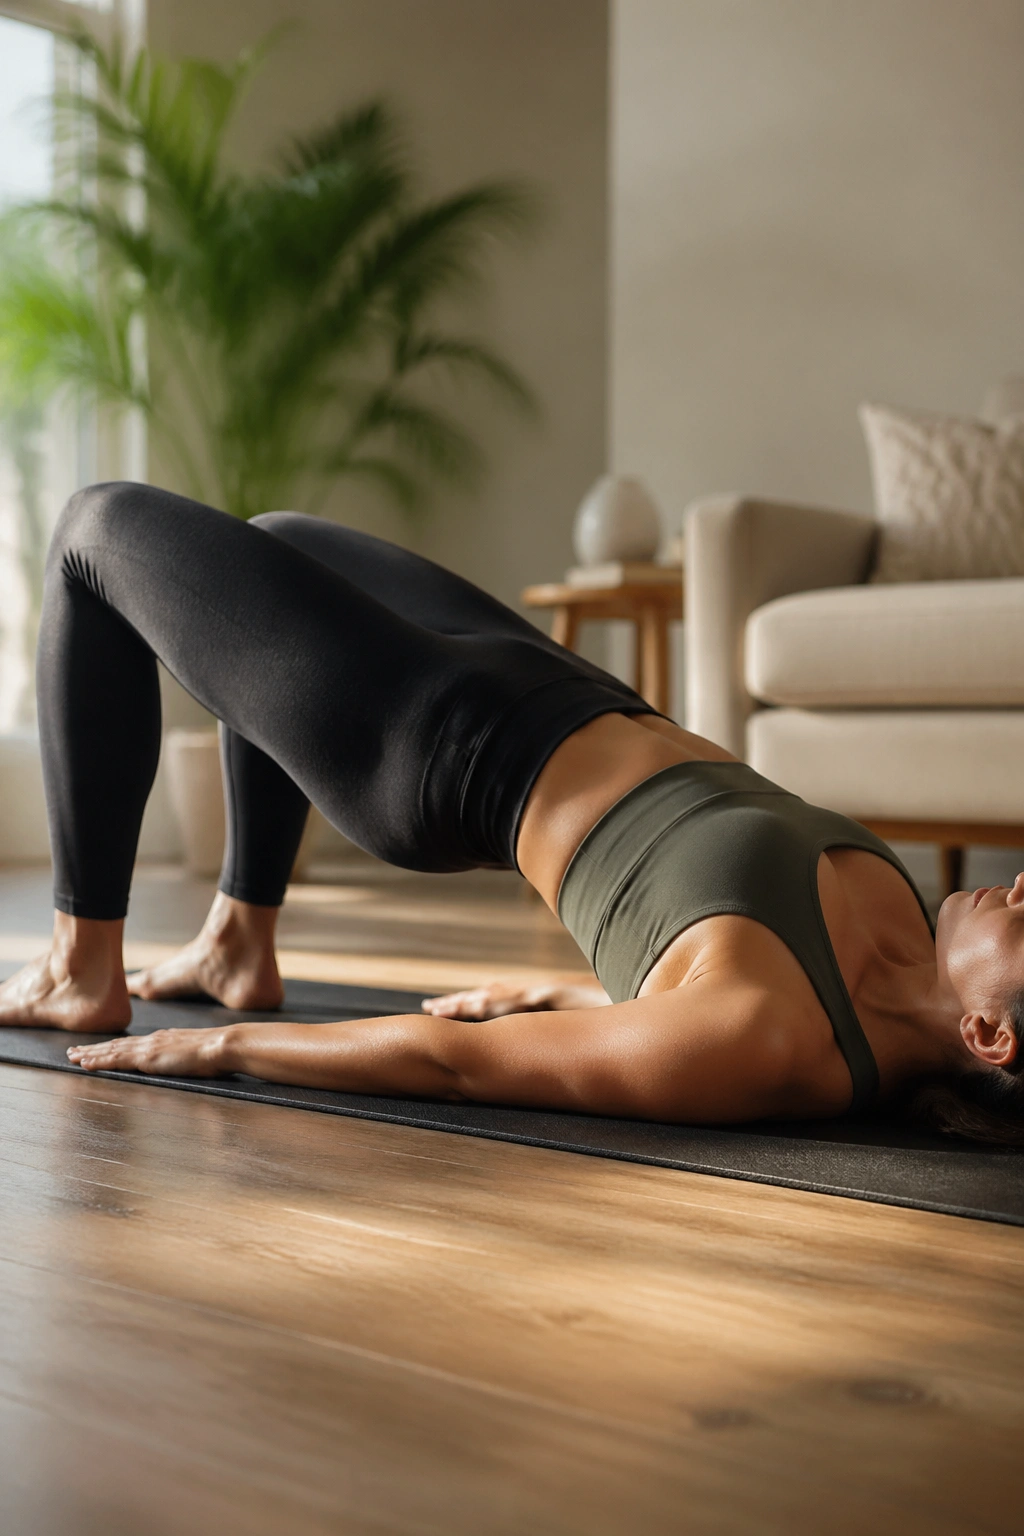
Bridge Pose is a classic for a reason. The glutes light up, the hamstrings help, and the front of the hips get a clean opening.
How to Feel It in the Right Places
Lie on your back, bend the knees, and place the feet hip-width apart. Press into the feet, lift the hips, and keep the knees tracking forward rather than splaying out. If the lower back is doing all the work, lower down and reset.
The power comes from the glutes, not the spine. That sounds obvious, but a lot of people miss it.
- Keep the chin slightly tucked.
- Roll up one vertebra at a time.
- Hold for 3 to 6 breaths.
- Lower slowly, without dropping.
A block between the thighs can help if your knees drift apart. A strap around the thighs can do the same thing. Little tools, big difference.
20. Locust Pose
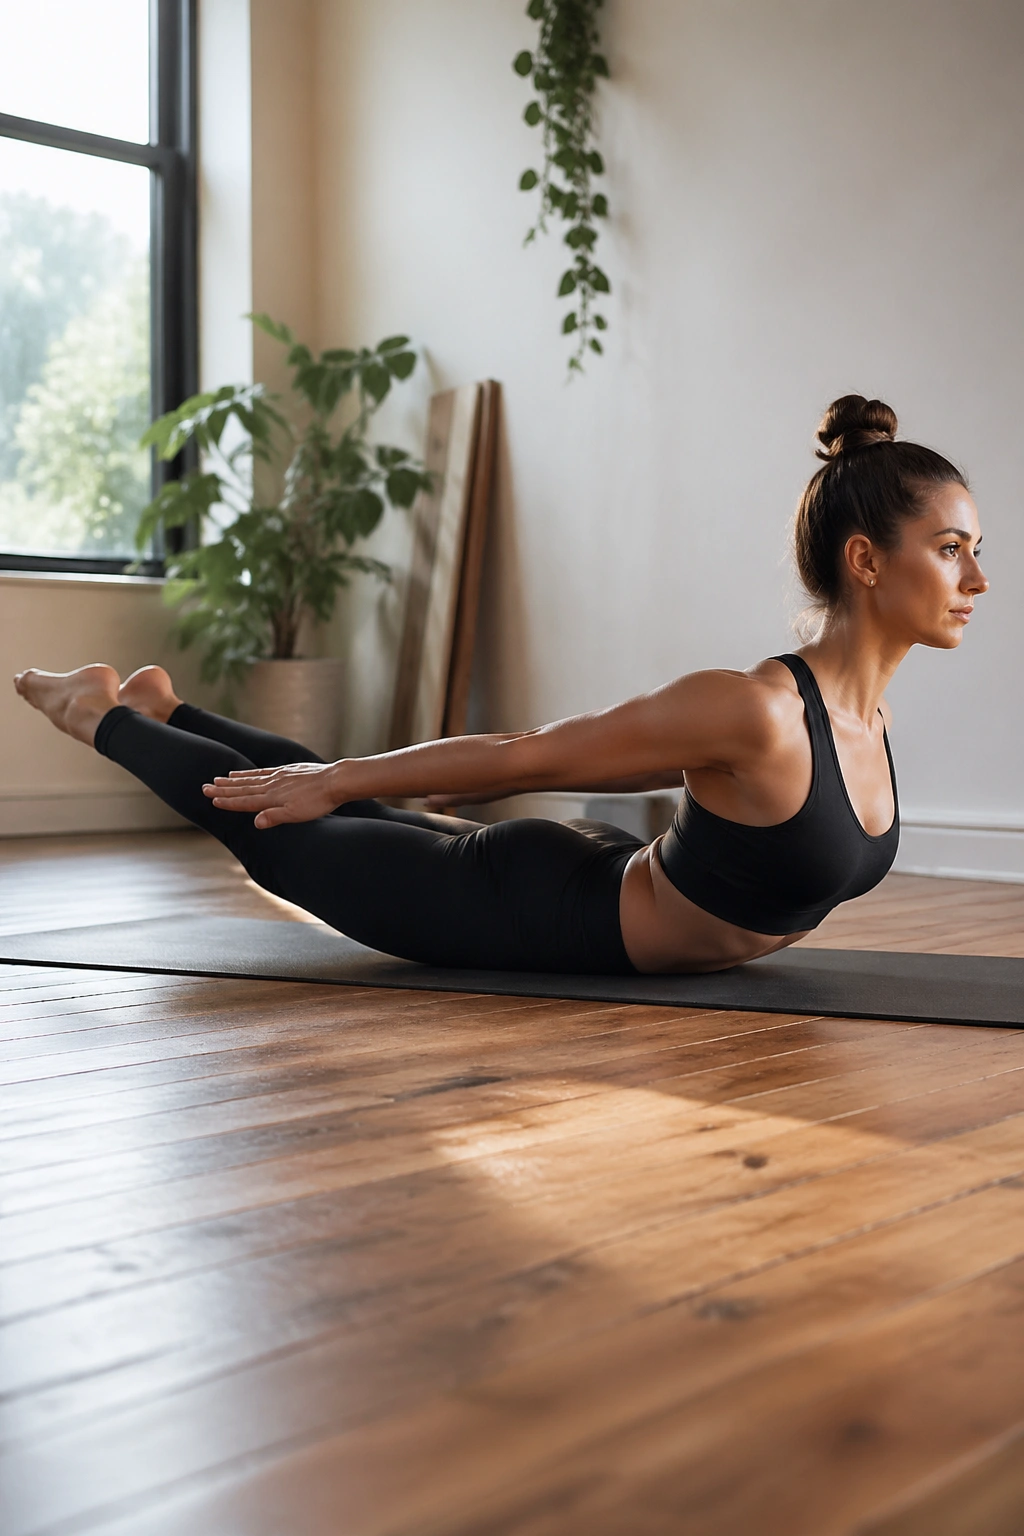
Locust Pose is one of the best back-body builders you can do on a mat.
Lie face down, lengthen the legs, and lift the chest, arms, or both off the floor. The glutes and hamstrings have to work to lift the legs, and the lower back gets stronger when the movement stays small and controlled. People often make this one too big. Bigger is not better here.
A tiny lift with a long reach through the toes can be plenty.
The beauty of Locust is that it trains the backside of the body, which standing poses can neglect if you’re always focused on the front thigh burn. For lean, athletic legs, that backside work matters. It helps support the knees, gives the glutes something real to do, and balances all the forward-facing effort from lunges and squats.
Keep the neck long. Keep the shoulders soft. Lift with effort, not momentum.
21. Side Plank with Top Leg Lift
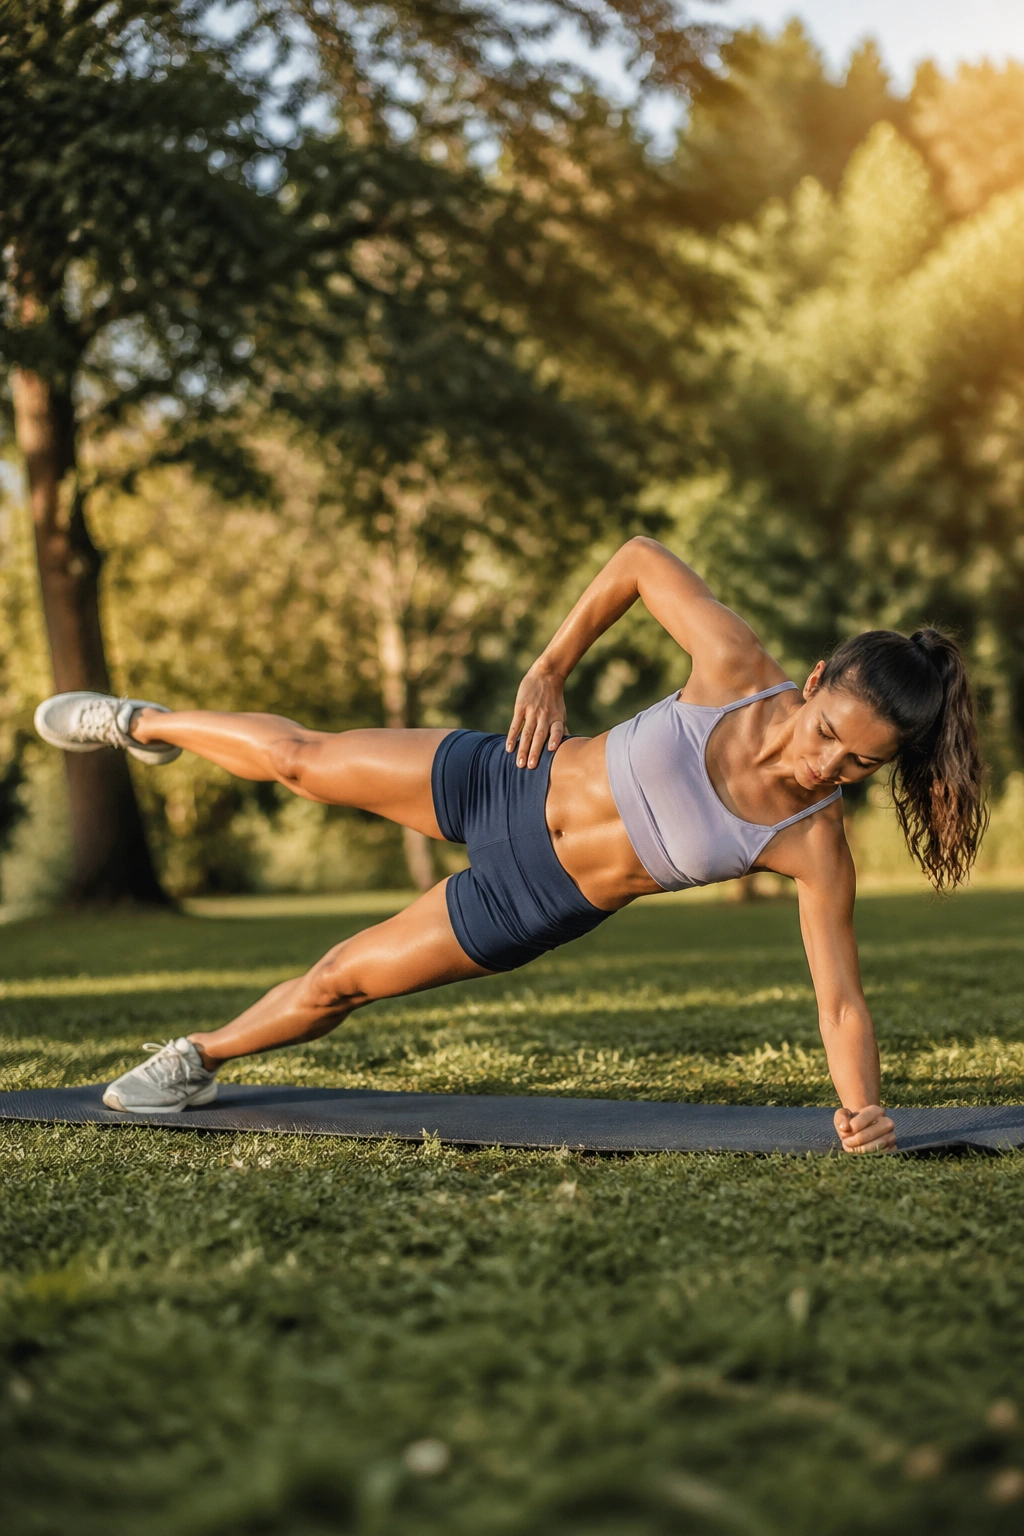
Side Plank with the top leg lifting is sneaky. It looks like a core pose until the outer hip starts yelling.
From a side plank, lift the top leg a few inches while keeping the hips stacked. The bottom leg and shoulder stabilize the body, but the standing work in the side body and outer thigh is what gives the pose its leg-building edge. If full side plank is too much, drop the bottom knee and keep the top-leg lift smaller.
Why This One Earns a Place Here
The lifted leg works against gravity, which lights up the glute medius and helps with hip stability. That muscle does a lot to keep the knees from collapsing inward during standing work.
- Keep the chest open.
- Lift through the top heel.
- Don’t let the waist sink.
- Hold 2 to 4 breaths per side if the shoulders are new to it.
A tiny range is enough. Do not turn it into a circus kick.
22. Skandasana
Skandasana is the side-to-side lunge that brings the whole lower body together near the end of a sequence.
Shift into one bent knee while the other leg stays long, then move across slowly and keep the hips low enough to feel the adductors and glutes working. The extended leg stretches the inner thigh. The bent leg gets the load. The feet have to stay awake because the weight shifts from side to side.
That lateral work matters more than it gets credit for. Most leg routines live forward and back. Skandasana trains a side plane of strength that helps with balance, agility, and the kind of stability that makes everyday movement feel easier.
If the heel lifts, that’s fine. If the hips stay high, that’s fine too. The pose still counts when the mechanics are clean.
Use this one as a slow finisher. Breathe. Shift. Breathe again. The best leg work is often the kind that leaves you steadier, not wrecked. And that’s a nice place to end: not with a collapse, but with legs that feel engaged, mobile, and ready for whatever you do next.
