



The best yoga for beginners sequences are the ones that let you breathe first and worry about flexibility later. If your hamstrings feel tight, your wrists complain, or the idea of “flowing” makes you picture people who can fold themselves in half, start smaller. Much smaller.
A good beginner sequence does not ask for fancy balance or deep backbends. It asks for attention. That’s the part people skip, and it’s usually why the practice feels awkward at first. A folded blanket, two blocks, and a wall can make a practice feel steadier than sheer grit ever will.
I like simple sequences that move the spine, open the hips a little, and build confidence without making the body brace. Some of the best ones are almost boring on paper: Cat-Cow, Low Lunge, Mountain Pose, a gentle twist, maybe Bridge. Boring is fine. Boring is often where the relief lives.
These 22 yoga for beginners sequences are organized by purpose, not by showmanship. Pick the one that matches how your body feels today, not the one that looks the fanciest in your head. Start with the easiest one on the list. That is usually the one that keeps you coming back tomorrow.
1. Beginner Breath Reset With Shoulder Rolls
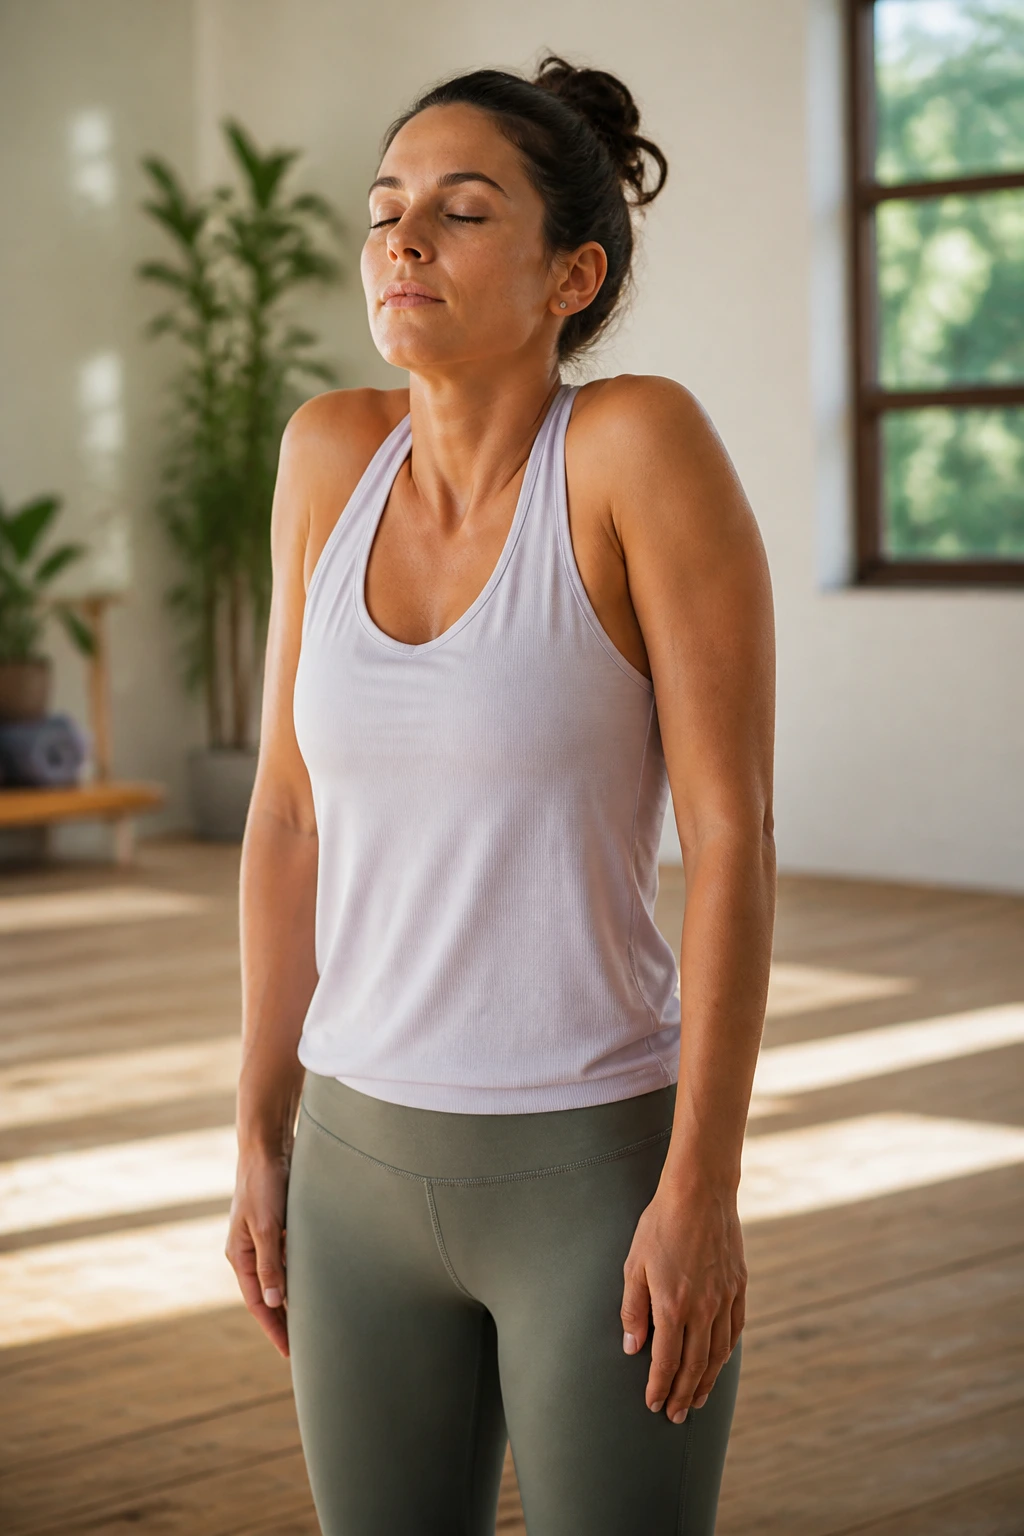
A lot of people want to roll straight onto the mat and start stretching. That works for some bodies, but many beginners do better if they begin standing, feet planted, eyes open, and shoulders unclenched. This is a clean way to arrive in the practice without rushing the nervous system.
Why This Sequence Feels So Easy to Start
Stand in Mountain Pose with your feet hip-width apart. Roll the shoulders back 5 times, then forward 5 times. Reach both arms overhead for 3 slow breaths, then tip into a gentle side bend on each side. Finish with a soft forward fold, knees bent enough that your back does not round like a question mark.
What to feel: the heels grounded, ribs soft, jaw loose. Nothing should feel forced. If your lower back tightens, bend your knees more and let your hands rest on your thighs instead of reaching for the floor.
- 5 shoulder rolls in each direction
- 3 breaths with arms overhead
- 3 breaths in a side bend
- 5 breaths in a bent-knee forward fold
- 1 slow roll-up to standing
Tip: keep your weight spread across the big toe mound, little toe mound, and heel of each foot. That tiny detail makes a standing practice feel far less wobbly.
2. Cat-Cow and Child’s Pose on the Mat
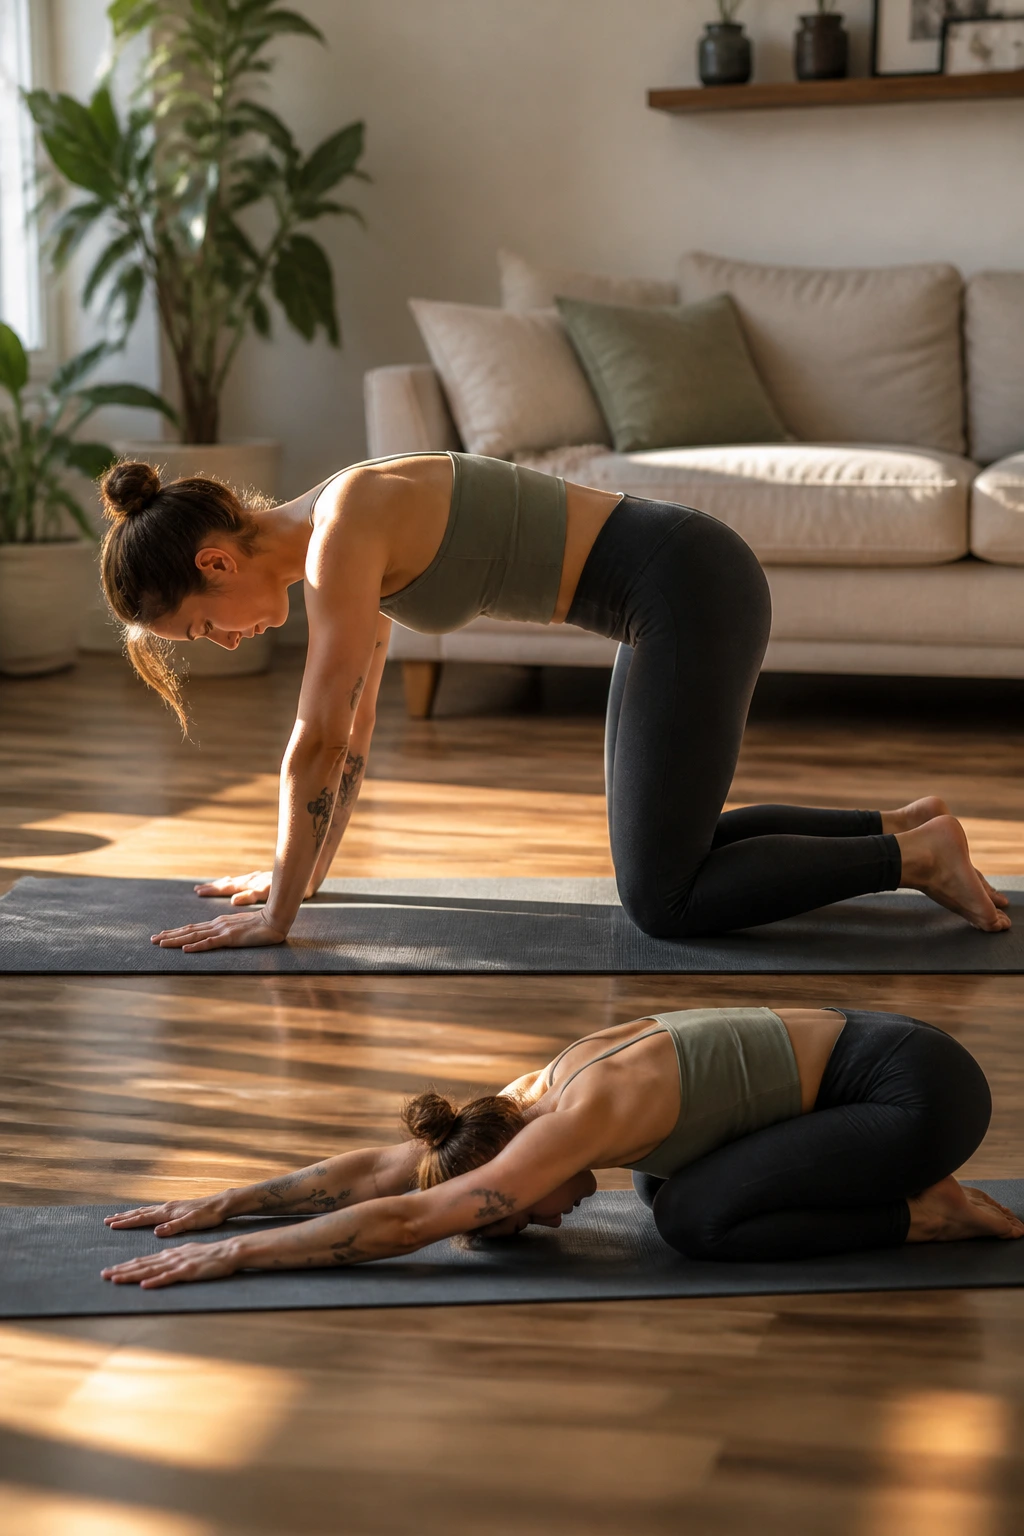
Why does this work so well? Because the spine usually wants motion before it wants stretching. Cat-Cow is one of those plain, almost humble movements that wakes up the back without asking the body to perform.
Start on hands and knees. Let the belly drop on the inhale for Cow Pose, then round the spine on the exhale for Cat Pose. Move slowly for 6 to 8 breaths. After that, sit back into Child’s Pose and let the arms stretch forward or rest by your sides. If your wrists feel cranky, lower to forearms or make fists instead of flattening the palms.
How to Move Through It
- 6 to 8 rounds of Cat-Cow
- 3 to 5 breaths in Child’s Pose
- 2 slow rounds of Thread-the-Needle on each side
The real value here is rhythm. Beginners often make the mistake of chasing a big stretch before the joints have warmed up. Don’t do that. Let the movement be small and easy, then notice how the breath starts to steady itself.
3. Mountain, Half Lift, and Forward Fold Loop
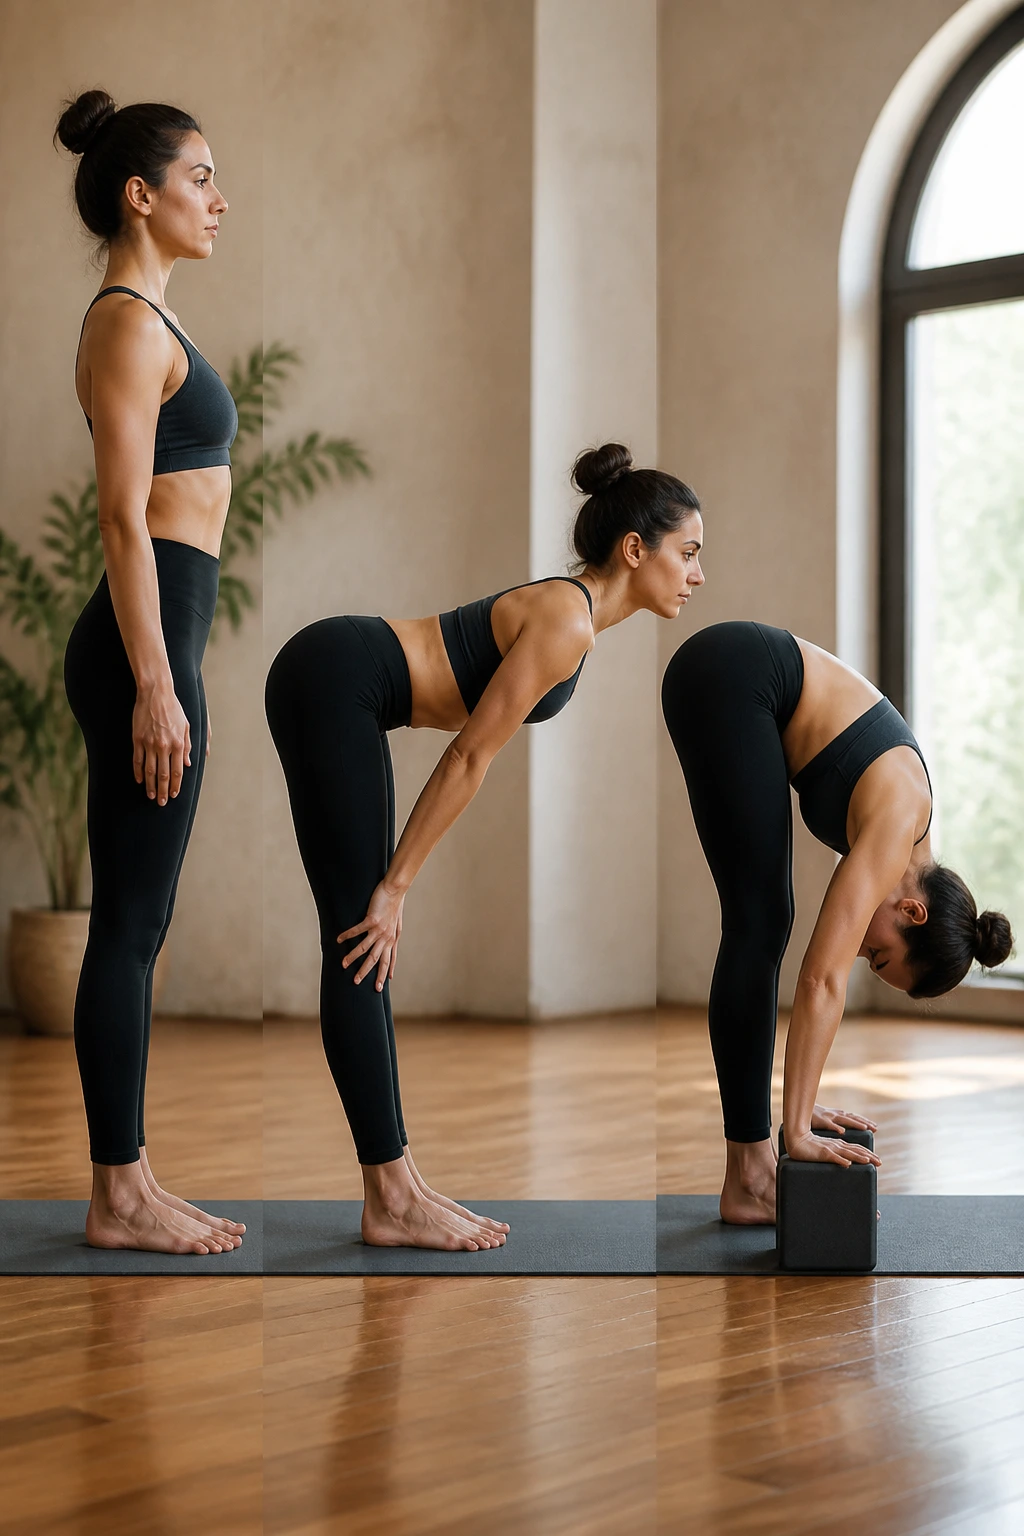
A very small standing loop can teach a surprising amount about yoga. I reach for this one when someone says they want “something gentle” but still wants to feel like they moved.
Start in Mountain Pose. Exhale into a Forward Fold with bent knees. Inhale to a Half Lift, hands on shins or blocks, back long and neck neutral. Exhale and fold again. Repeat that cycle 4 times, then rise slowly on the last inhale. It looks simple. It is simple. That’s the point.
What Makes It Friendly for Beginners
- Bent knees keep the hamstrings from shouting
- Blocks under the hands reduce strain
- A neutral neck helps if you get dizzy when folding
- Slow rising avoids that swaying feeling at the end
One good cue: think “length first, depth second.” If you fold deeper before your spine can stay long, you’ll just collapse into the shape. A small fold with a clean back is more useful than a big one with a cranky lower back.
4. Wall-Supported Downward Dog for Tight Shoulders
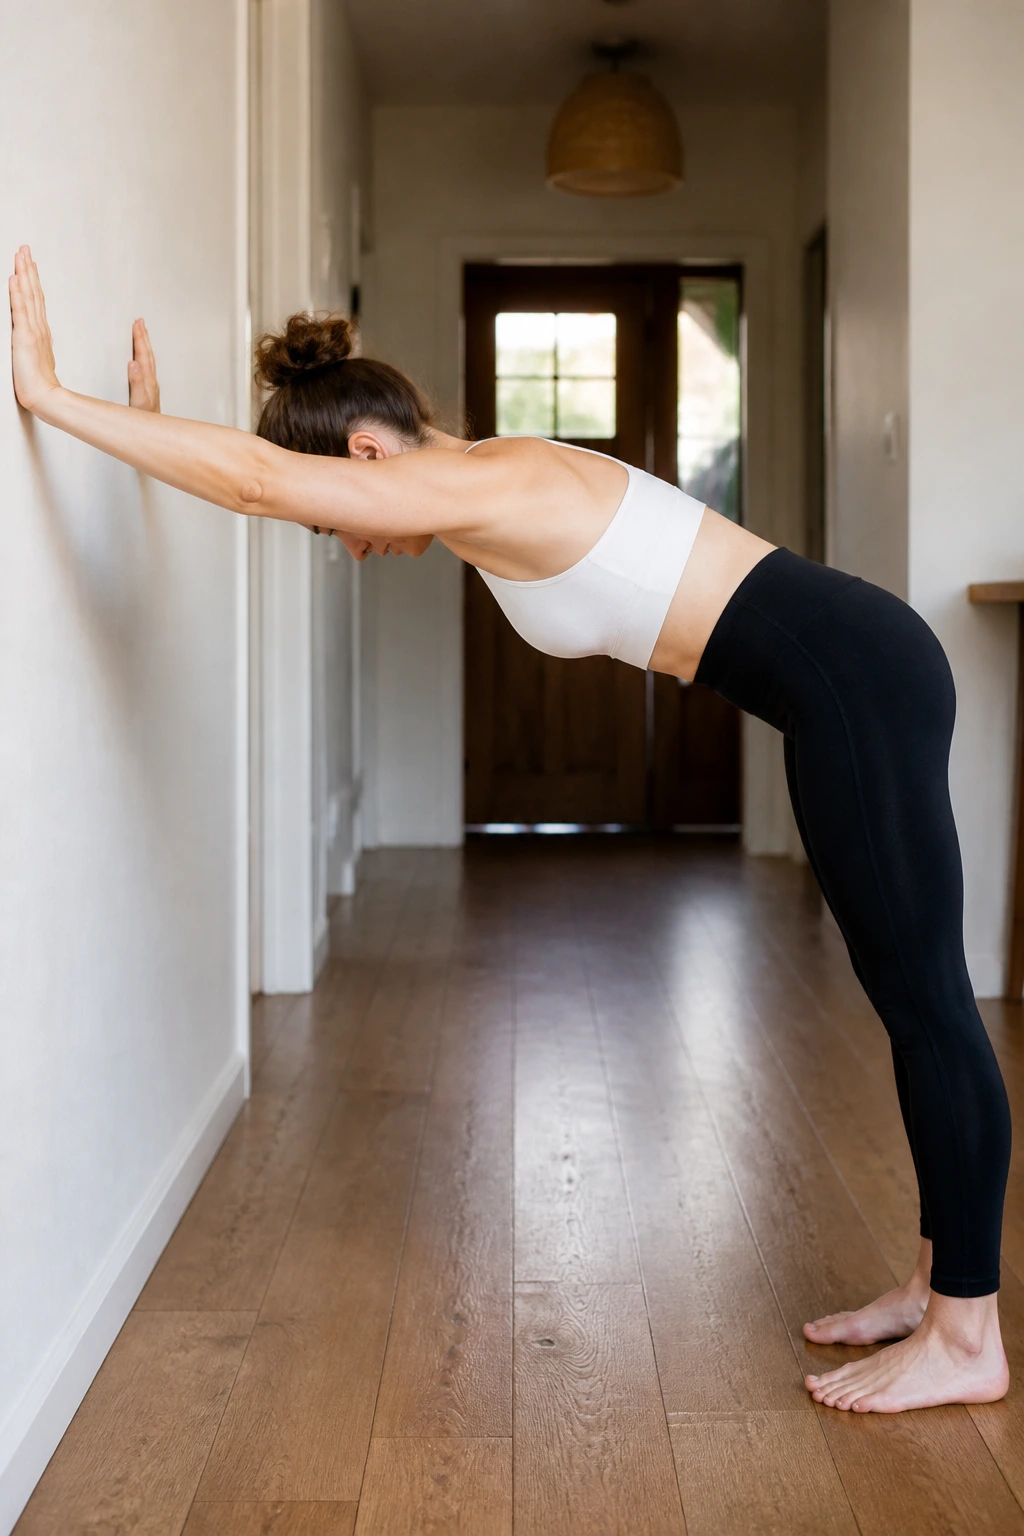
The wall changes everything here. It takes pressure off the wrists and gives beginners a way to learn the shape of Downward Dog without feeling like they’re hanging off a cliff.
Place your hands on a wall at chest height. Walk your feet back until your body makes an angled line. Press the hips slightly away from the wall, soften the knees, and let the chest drift back between the arms. Hold for 5 breaths, then bend one knee at a time to wake up the calves. You can finish with a short calf stretch, one side at a time, before standing upright again.
What to Watch For
Your shoulders should feel active, not jammed toward the ears. If the wrists still complain, move the hands a little higher on the wall. If your low back arches too much, bend the knees more and shorten the stance.
This version is especially useful for people who sit a lot. It opens the upper back, asks the shoulders to support weight in a manageable way, and gives the hamstrings a gentle nudge. No drama. No floor work required.
5. Low Lunge and Half Split for Stiff Hips
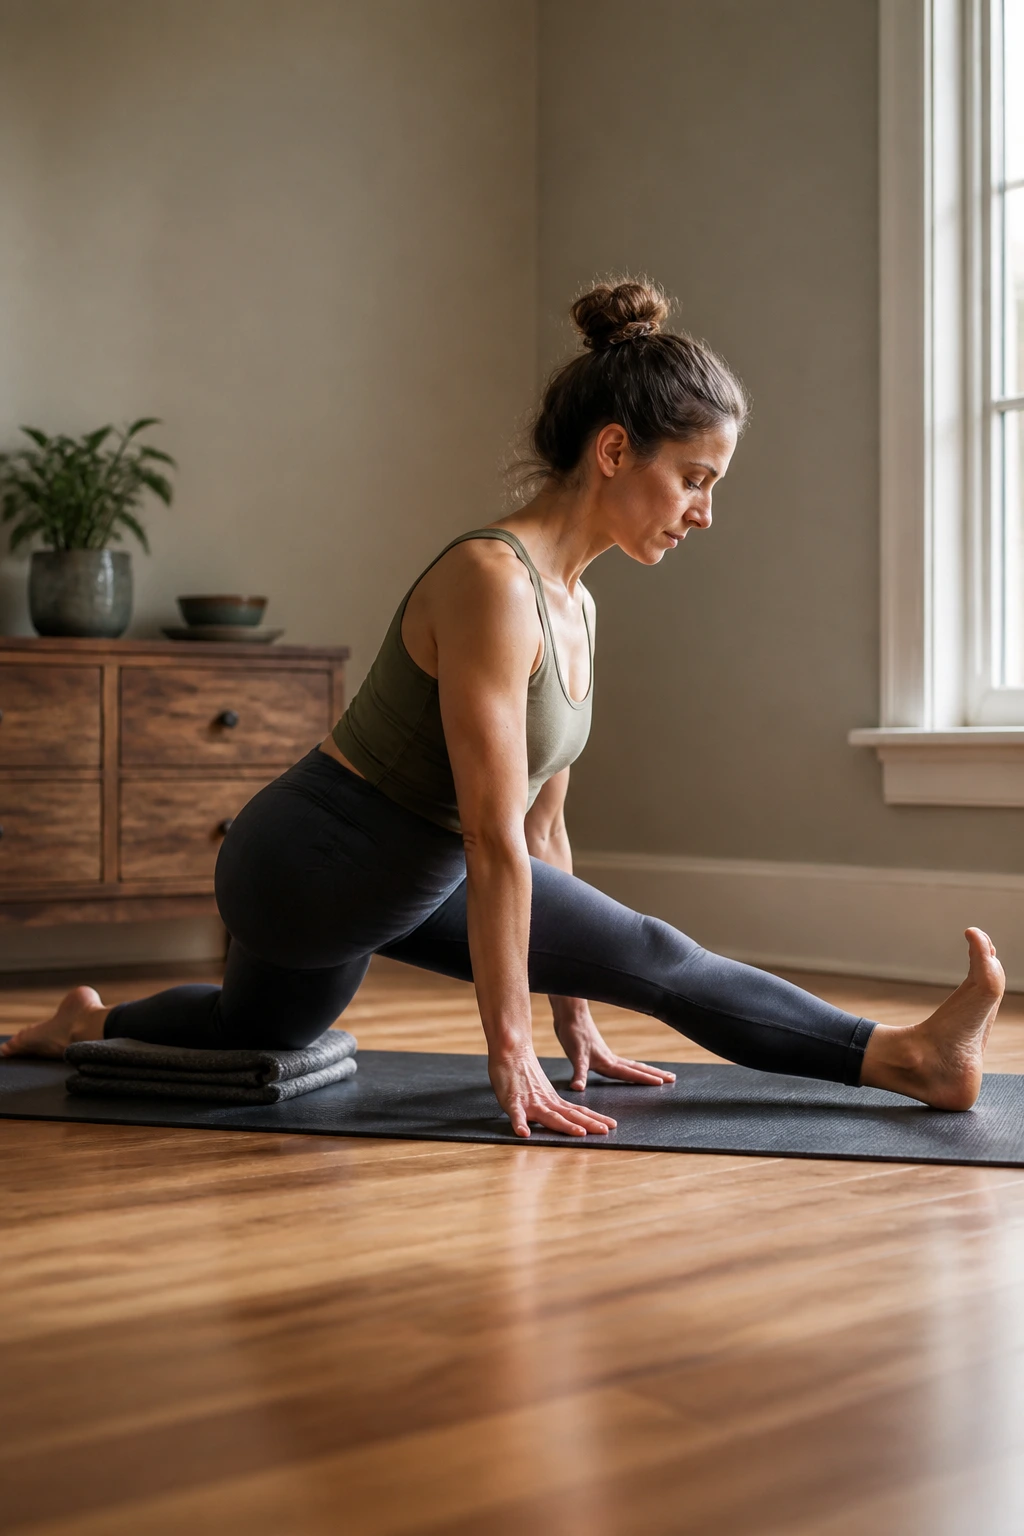
Does one side of your body feel tighter than the other? Most people have a side that resists more, and this sequence is a good place to notice it without making a fuss about it.
Step one foot forward into Low Lunge with the back knee down on a folded blanket or mat. Keep the front knee stacked above the ankle. Stay here for 3 breaths, then shift back into Half Split by straightening the front leg and lifting the hips slightly. Switch between those two shapes 3 times on each side. The flow is small, but it gets into the front of the hip and the hamstring in a much kinder way than a hard push ever will.
How to Use It
Hold a block under each hand if the floor feels too far away. Keep the front foot flexed in Half Split so the leg stays awake. And if the lunge feels pinchy in the front hip, shorten the stance.
This is one of the most useful yoga sequences for beginners because it teaches control. You are not sinking into the floor. You are choosing a shape, breathing in it, then easing out of it on purpose.
6. Sun Salutation Lite Without the Rush
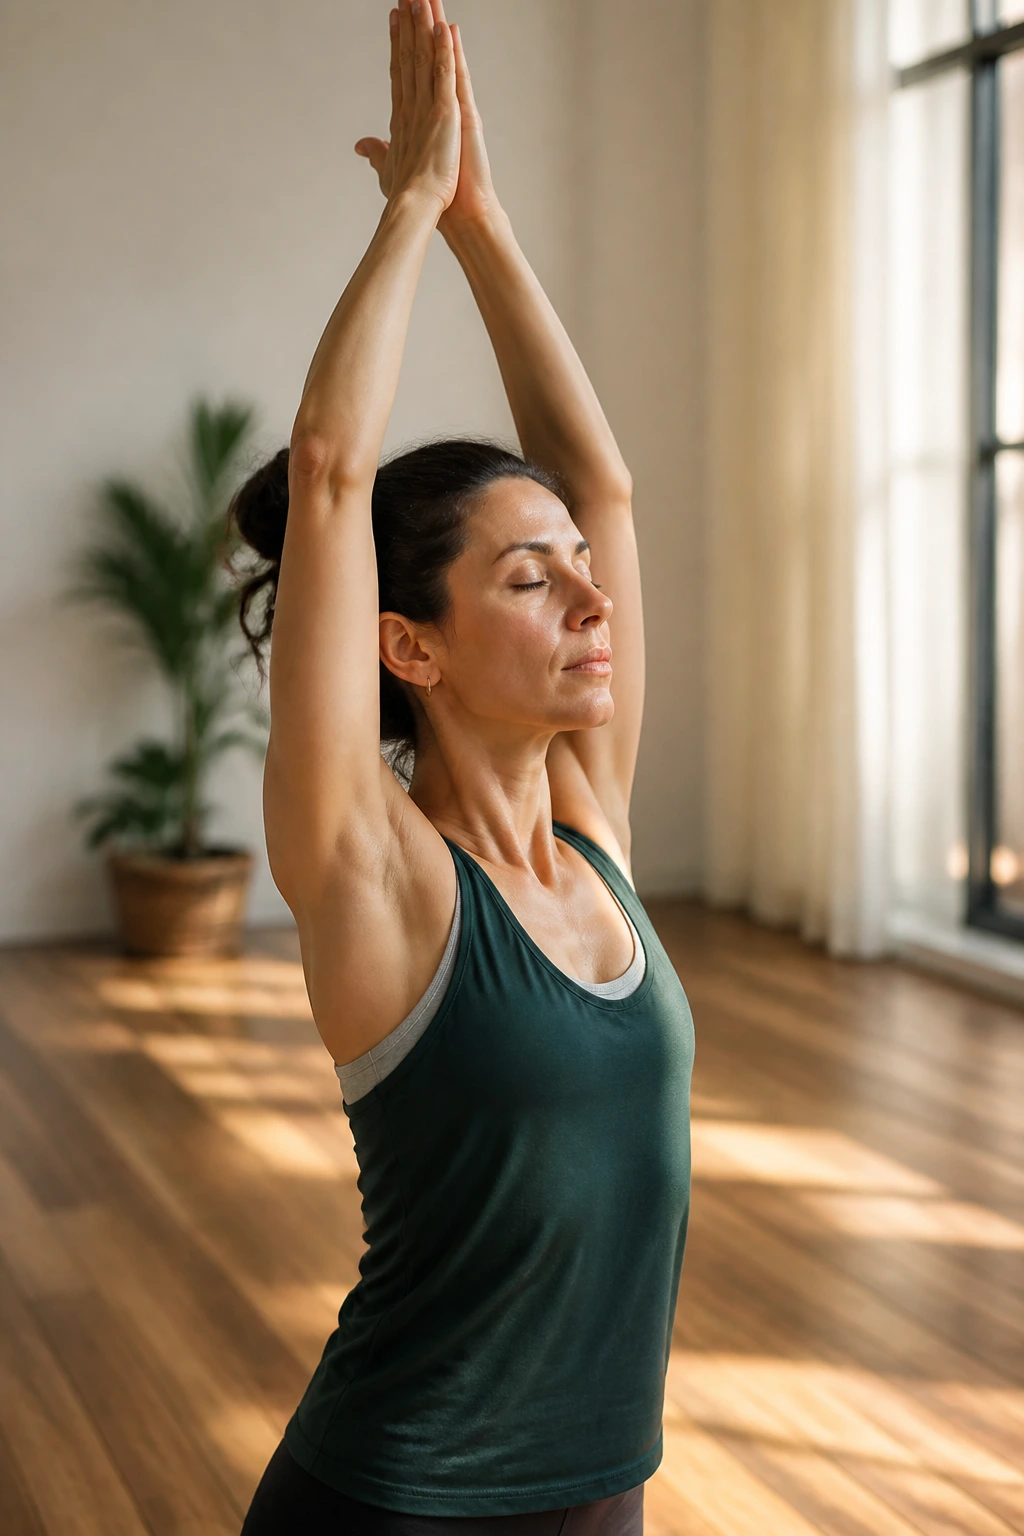
Not every sun salutation needs to look athletic. A slower version is often better for a beginner body because it gives every transition room to land.
Start standing. Inhale the arms up, exhale to fold, inhale to half lift, then step one foot back and lower the back knee. Come into Low Lunge, place the hands down, and step back to Downward Dog at a wall or on the mat. From there, lower the knees and rest in Child’s Pose for a breath or two before walking back forward and rising.
The main thing is skipping anything that feels like a leap. No jumping back. No rushing through a shape just because a video does. If you keep the pace slow, the sequence becomes a moving checklist of breath, balance, and control.
A good beginner sun salutation should leave you warmer, not wiped out.
7. Chair Pose and Forward Fold Loop
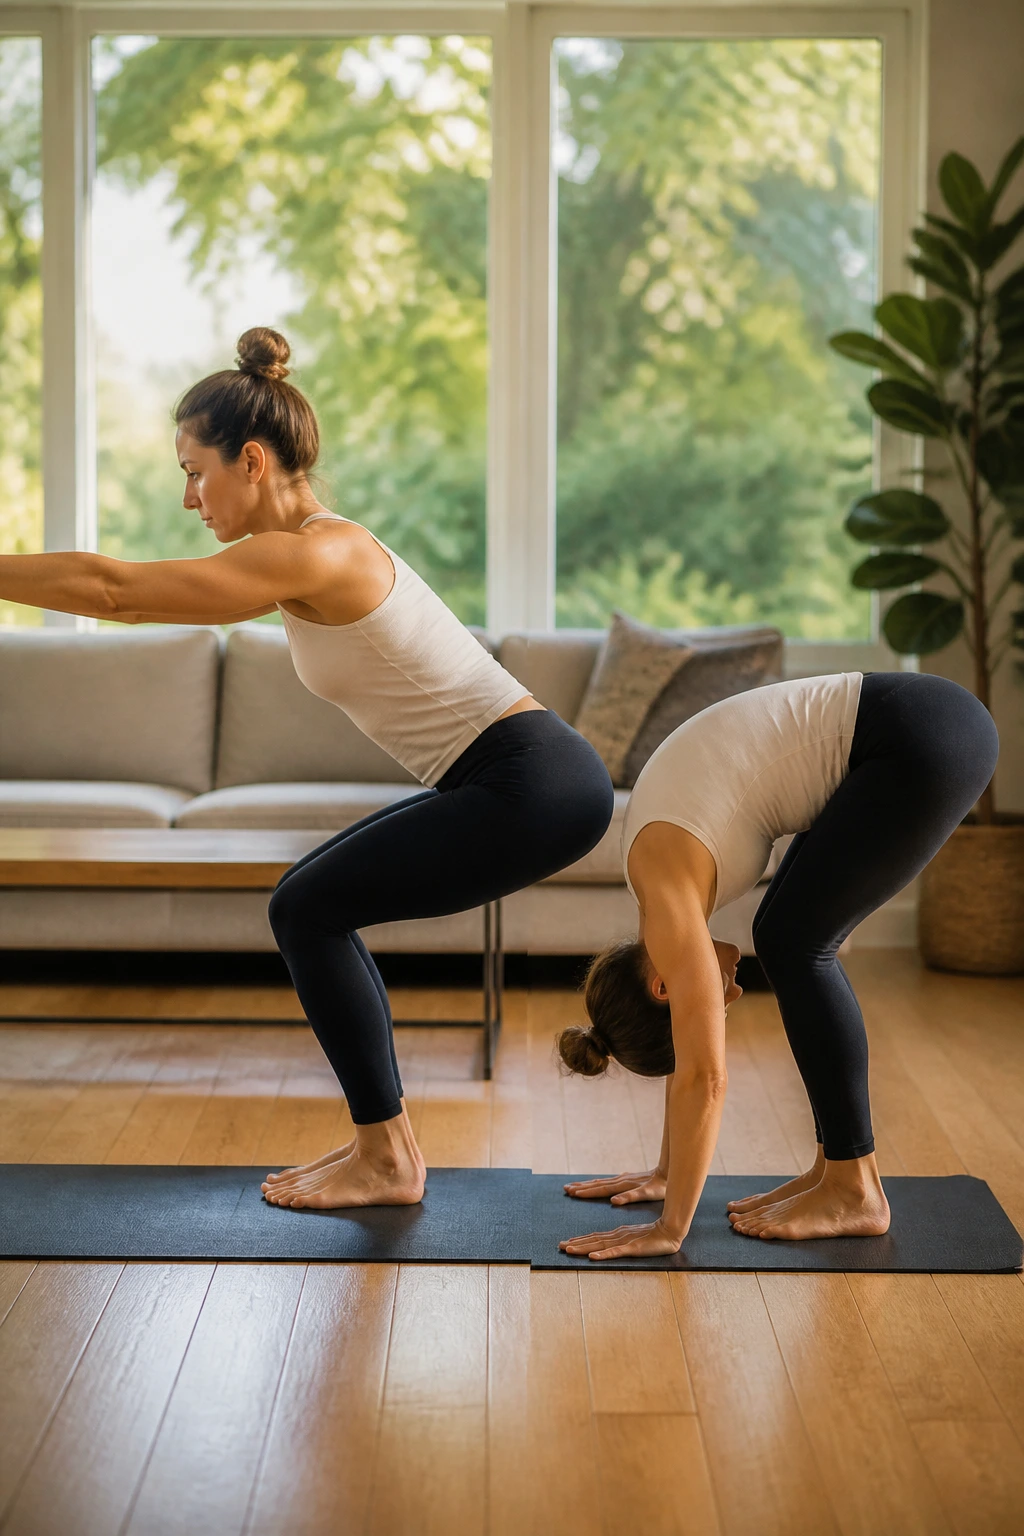
Chair Pose sounds miserable until you learn how to cheat it properly, which is to say: use the hips, not the knees, and keep the breath moving. That changes the whole experience.
Stand with feet together or hip-width apart. Sink the hips back as if reaching for a chair behind you, then bring the arms forward or overhead. Hold for 3 breaths, fold forward, half lift, and return to Chair. Repeat 3 rounds. If your thighs start burning, that is normal. If your knees hurt, you’re likely sitting too low or letting them cave inward.
A Simple Shape Cue
- Hips shift back first
- Chest stays open
- Knees track over the middle toes
- Weight stays in the heels and balls of the feet
- Breath stays slow, even when the legs get noisy
This sequence is short, but it teaches beginners what steady effort feels like. Not strain. Just honest work.
8. Warrior I for Steady Legs
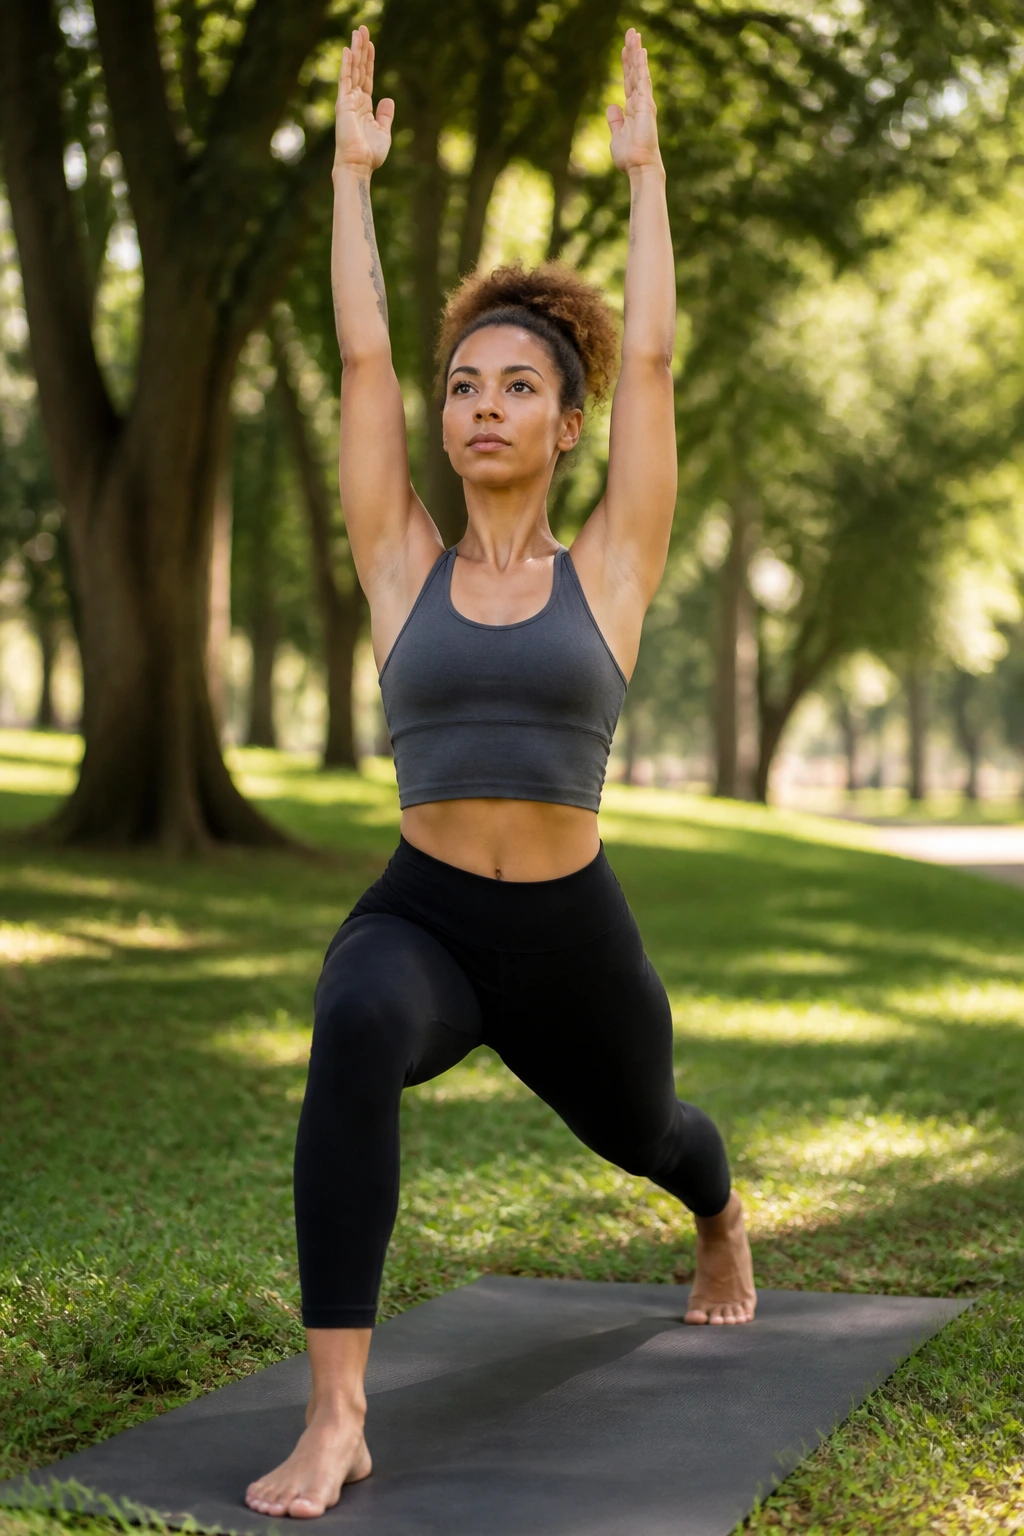
A lot of beginners think balance comes from standing on one leg. Sometimes it comes from planting both feet well and learning to breathe while the legs work.
Step one foot back into a short Warrior I stance. Turn the back heel down if the hips allow it, or keep the heel lifted for a narrower, kinder shape. Lift the arms, soften the shoulders, and stay for 3 to 5 breaths. Step forward and switch sides. If the low back arches hard, shorten the stance and bend the front knee less.
Warrior I is a good place to practice feeling upright without stiffening. The front thigh works, yes, but the ribs should still have room to expand. If your breath gets cramped, the stance is too deep.
Try this with your back foot near a wall the first few times. It makes the pose feel less like a test and more like a sturdy frame.
9. Warrior II With Side Stretch
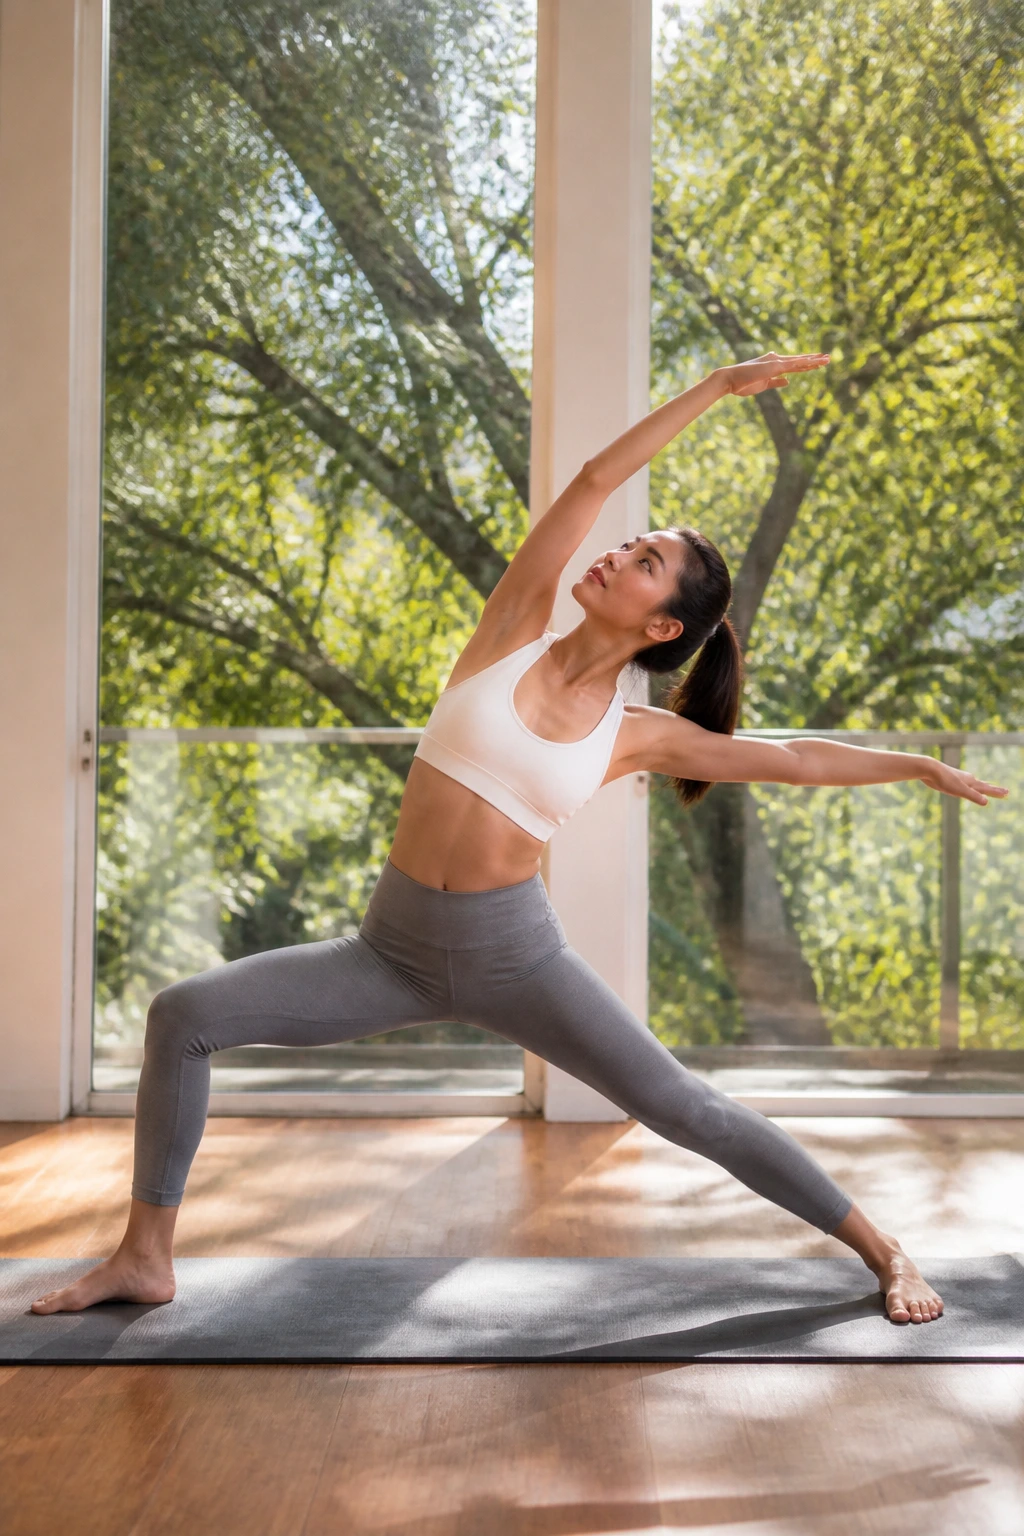
Warrior II gives beginners a wide, stable shape that feels a little like taking up space on purpose. That can be a nice feeling.
Open the feet wide, turn one foot out, and bend that front knee. Stretch the arms apart, then settle the gaze over the front hand. Stay there for 3 breaths, move into a gentle Reverse Warrior, then slide the front forearm to the thigh for a supported Side Angle. Switch sides.
What Makes It Different
Unlike a pose that asks you to fold inward, Warrior II opens the whole side body. It gives the legs a job and the lungs a little room. A block under the bottom hand in Side Angle keeps the chest from collapsing, which beginners often do without noticing.
If the front knee drifts inward, bring it back toward the little-toe side of the foot. If your shoulders creep up, drop them. A long neck matters more than a dramatic reach.
10. Triangle Pose Without Wobbling
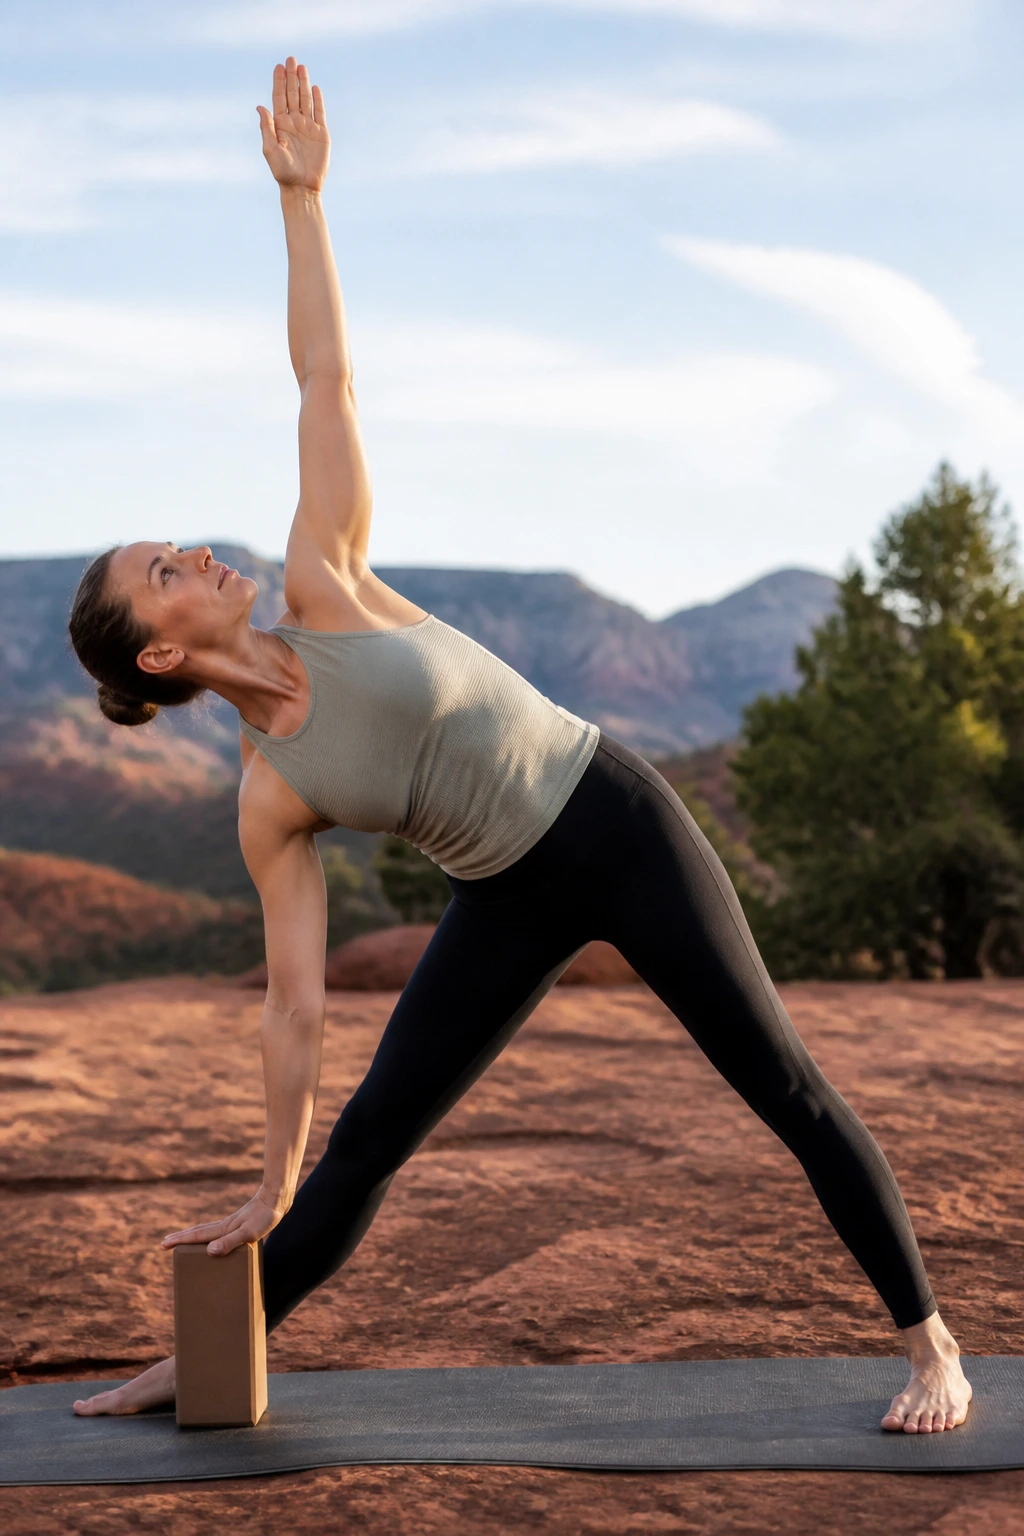
Triangle Pose is where many beginners discover that standing poses are secretly about the feet. Mess up the feet, and everything else feels unstable.
Set up in a wide stance. Turn the front foot out, hinge at the hip, and rest the bottom hand on a block or shin. Let the top arm reach up while the chest stays open. Hold for 3 to 5 breaths, then come up slowly and switch sides. If the hamstring grabs, bend the front knee a little. That is not cheating. That is smart yoga.
A block is not optional here if the floor feels far away. I’d rather see a beginner use a block and keep the spine long than reach for the mat and twist into a slump.
This pose teaches the difference between bending and folding. Those are not the same thing, and Triangle makes that plain fast.
11. Bridge Pose and Reclined Figure Four
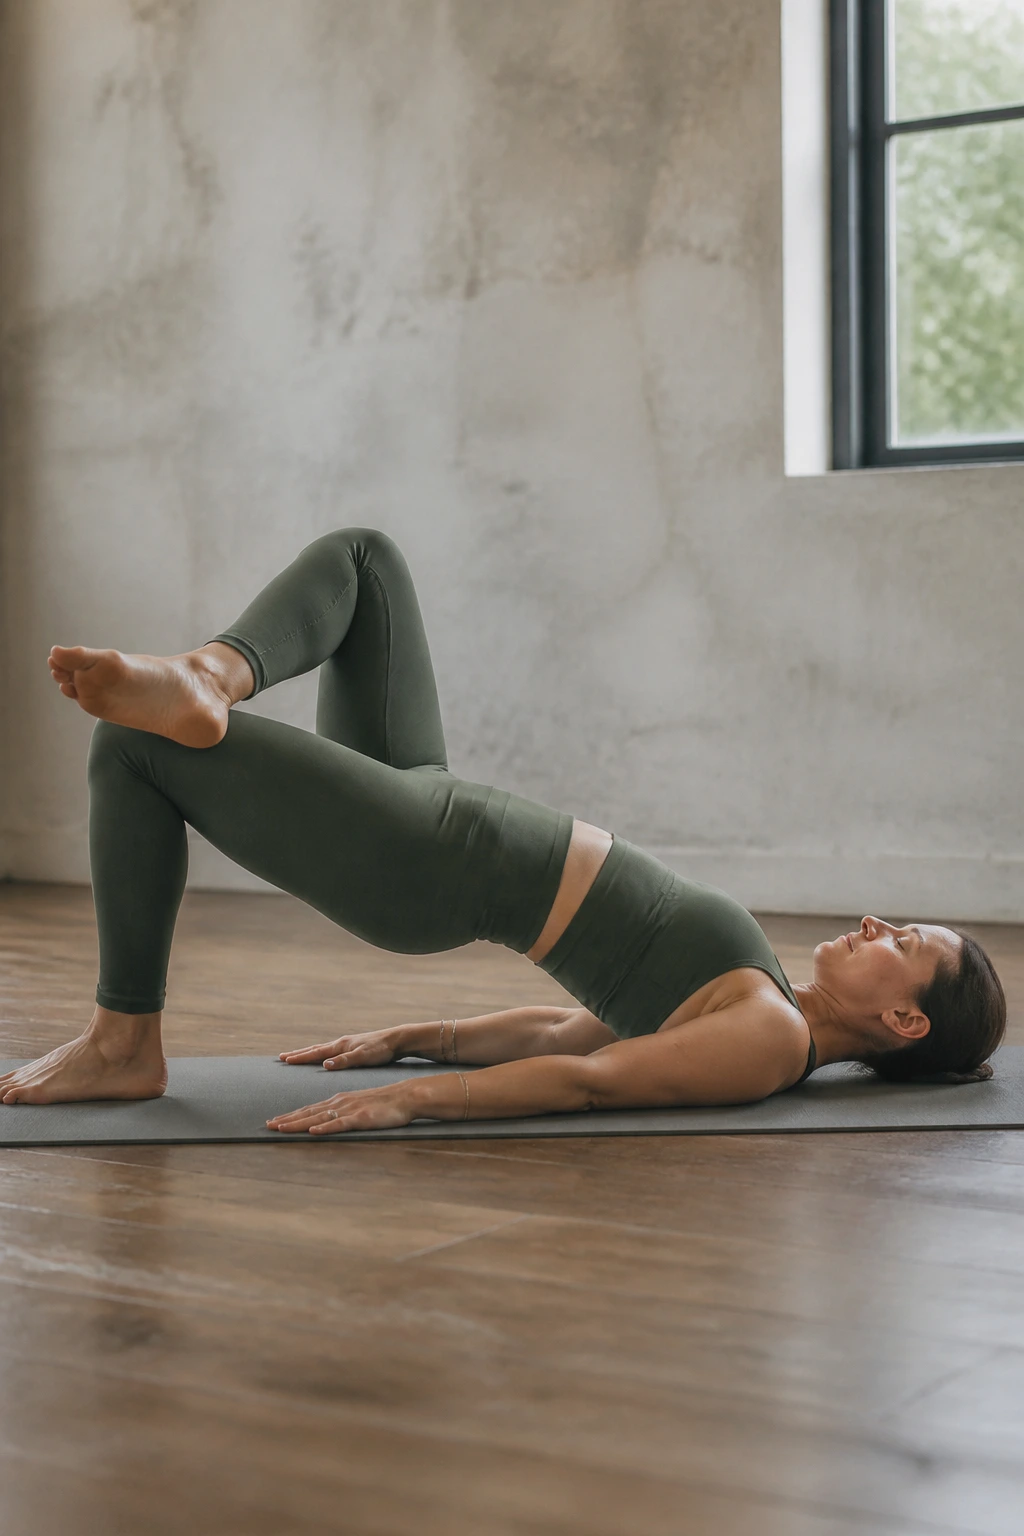
Floor work can feel friendlier than standing poses because gravity does half the work. Bridge is one of the best examples of that.
Lie on your back with your knees bent and feet hip-width apart. Press into the feet and lift into Bridge Pose for 3 breaths, then lower slowly. Repeat 3 times. After that, cross one ankle over the opposite thigh for Reclined Figure Four and hold for 5 breaths on each side. Keep the lifted foot flexed to protect the knee.
Small Details That Matter
- Feet should stay parallel
- Knees track straight ahead
- Chin stays slightly tucked
- The lift comes from the glutes and hamstrings, not the lower back
Bridge is useful because it teaches beginners to build shape from the floor up. Reclined Figure Four balances that by giving the hips a slow stretch without demanding that you sit on the floor with perfect posture. Nice pair.
12. Seated Forward Fold for Tight Hamstrings
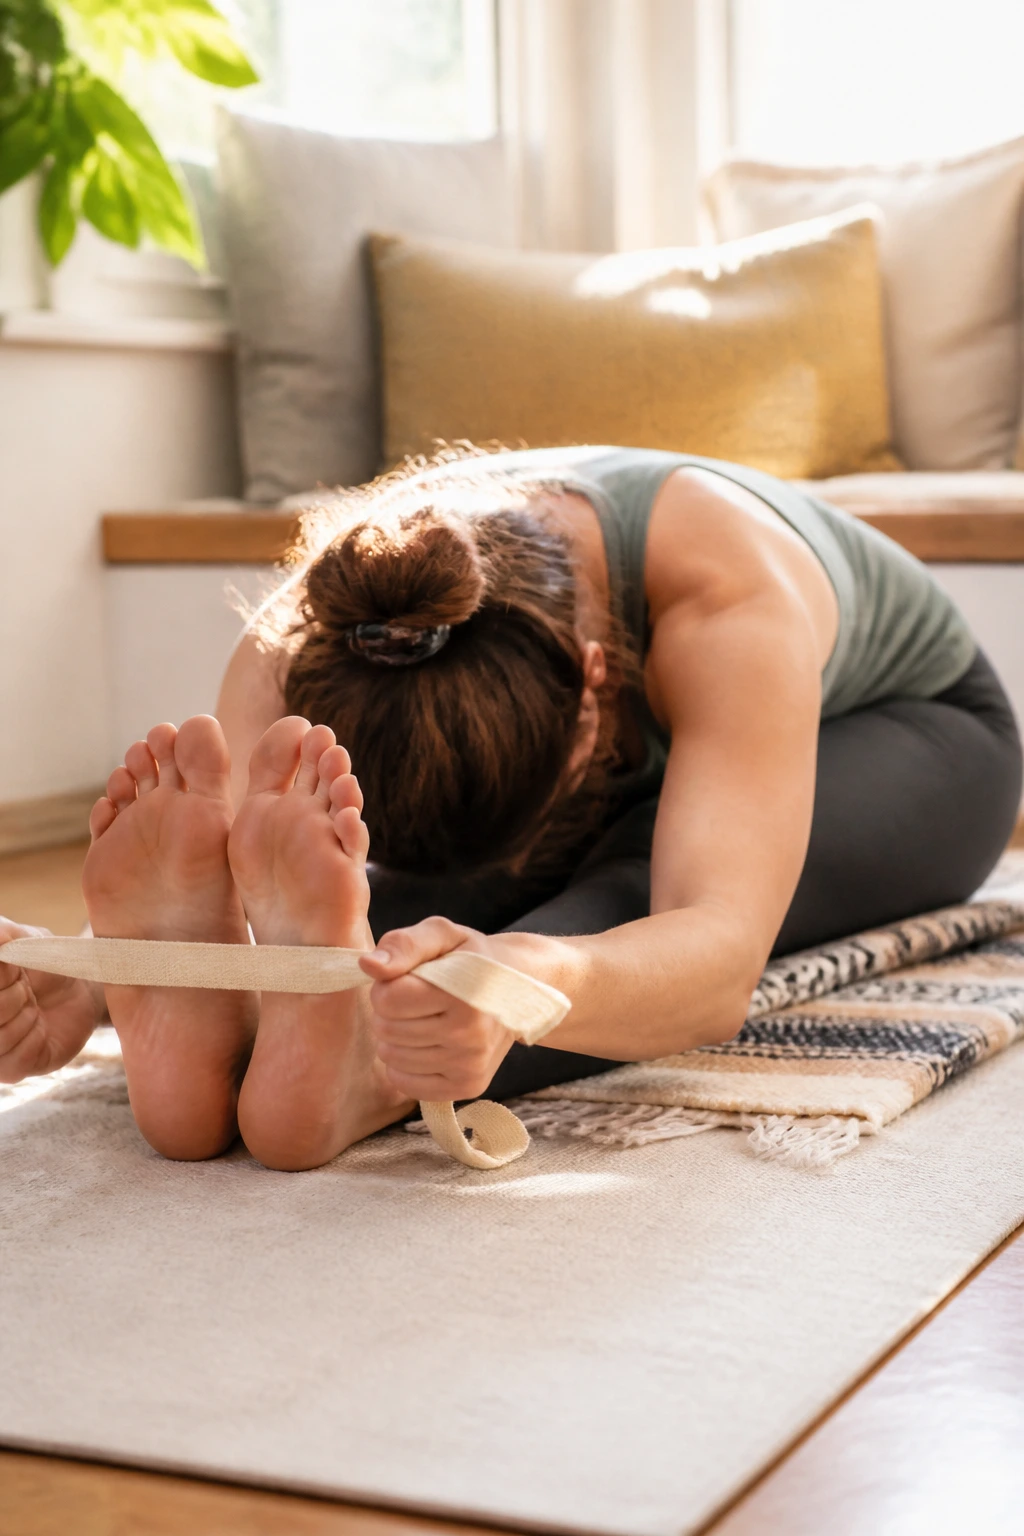
If standing forward folds make you feel like your hamstrings were made of wire, sit down. That sounds obvious, but people ignore it all the time.
Sit on a folded blanket to tilt the pelvis slightly forward. Extend the legs, keep a soft bend in the knees, and loop a strap around the feet if you have one. Inhale to lengthen, exhale to fold from the hips. Hold for 5 breaths, then come halfway up and repeat once more. The stretch should feel like a steady pull, not a tug-of-war.
A common beginner mistake is yanking the torso down with the arms. That usually just rounds the back and irritates the sit bones. Let the strap do the quiet work.
This is also one of the few sequences where being less flexible at the start can be an advantage. You notice the difference between effort and force very quickly.
13. Supine Twist and Knee Hug Flow
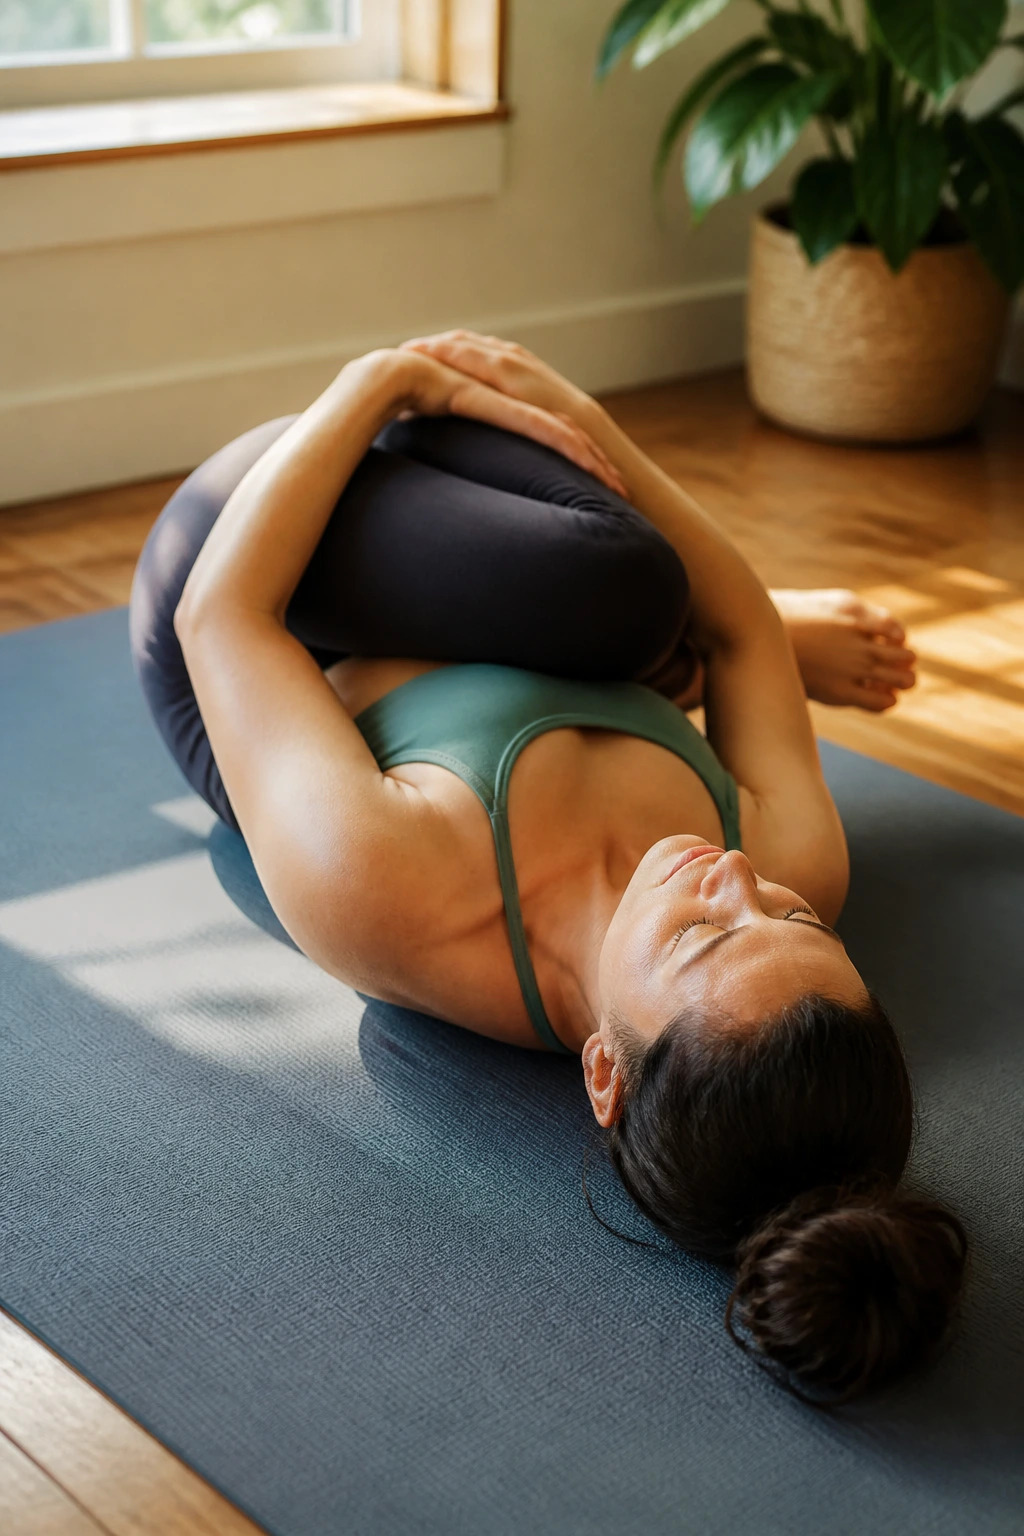
Some sequences are built for release, not effort. This is one of them.
Lie on your back and hug both knees in for 3 breaths. Drop the knees to one side for a Supine Twist, keeping both shoulders heavy. Return to center, switch sides, then finish with Happy Baby if that shape feels good in your hips. A couple of slow knee hugs before you sit up can make your lower back feel less compressed.
A Small Flow That Calms the Low Back
- Knee hug for 3 breaths
- Twist right for 4 breaths
- Return to center
- Twist left for 4 breaths
- Happy Baby or a final rest for 5 breaths
Keep the top knee stacked directly over the bottom one if you can. If the shoulder lifts, place a blanket under the bent knee for support. This is the kind of sequence you use when the body wants downshifting more than stretching.
14. Butterfly Pose and Wide-Knee Breathing
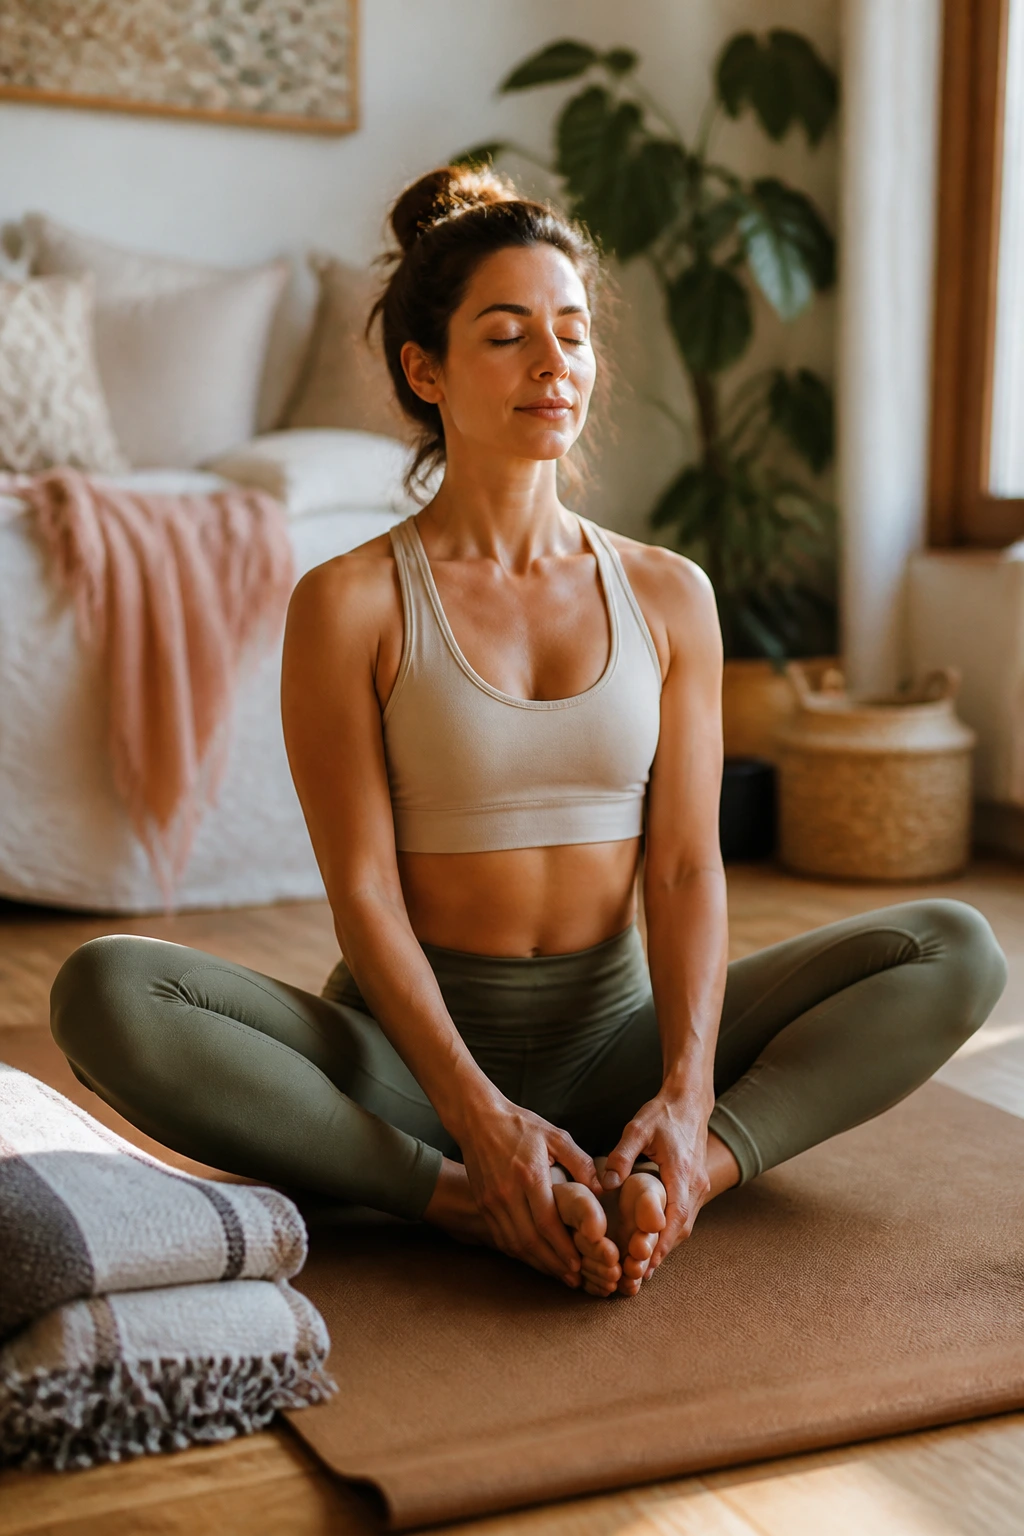
Butterfly Pose looks easy until your inner thighs remind you that they have opinions. Start upright and let the soles of the feet touch. Sit on a blanket if the pelvis tips backward. Hold the feet lightly, keep the knees supported if needed, and breathe for 5 slow rounds.
You can stay tall or hinge forward a few inches. Either is fine. The goal is not to crush the knees toward the floor. It’s to let the hips soften around the breath.
A Few Helpful Adjustments
- Place blocks or pillows under the outer knees
- Sit higher if the lower back rounds
- Keep the spine long before folding
- Stop the fold if the low back feels tight
This pose often feels better after a few other warm-up shapes. On its own, it can feel blunt. After Bridge or a gentle lunge, it tends to open more easily.
15. Tabletop Core Support Flow
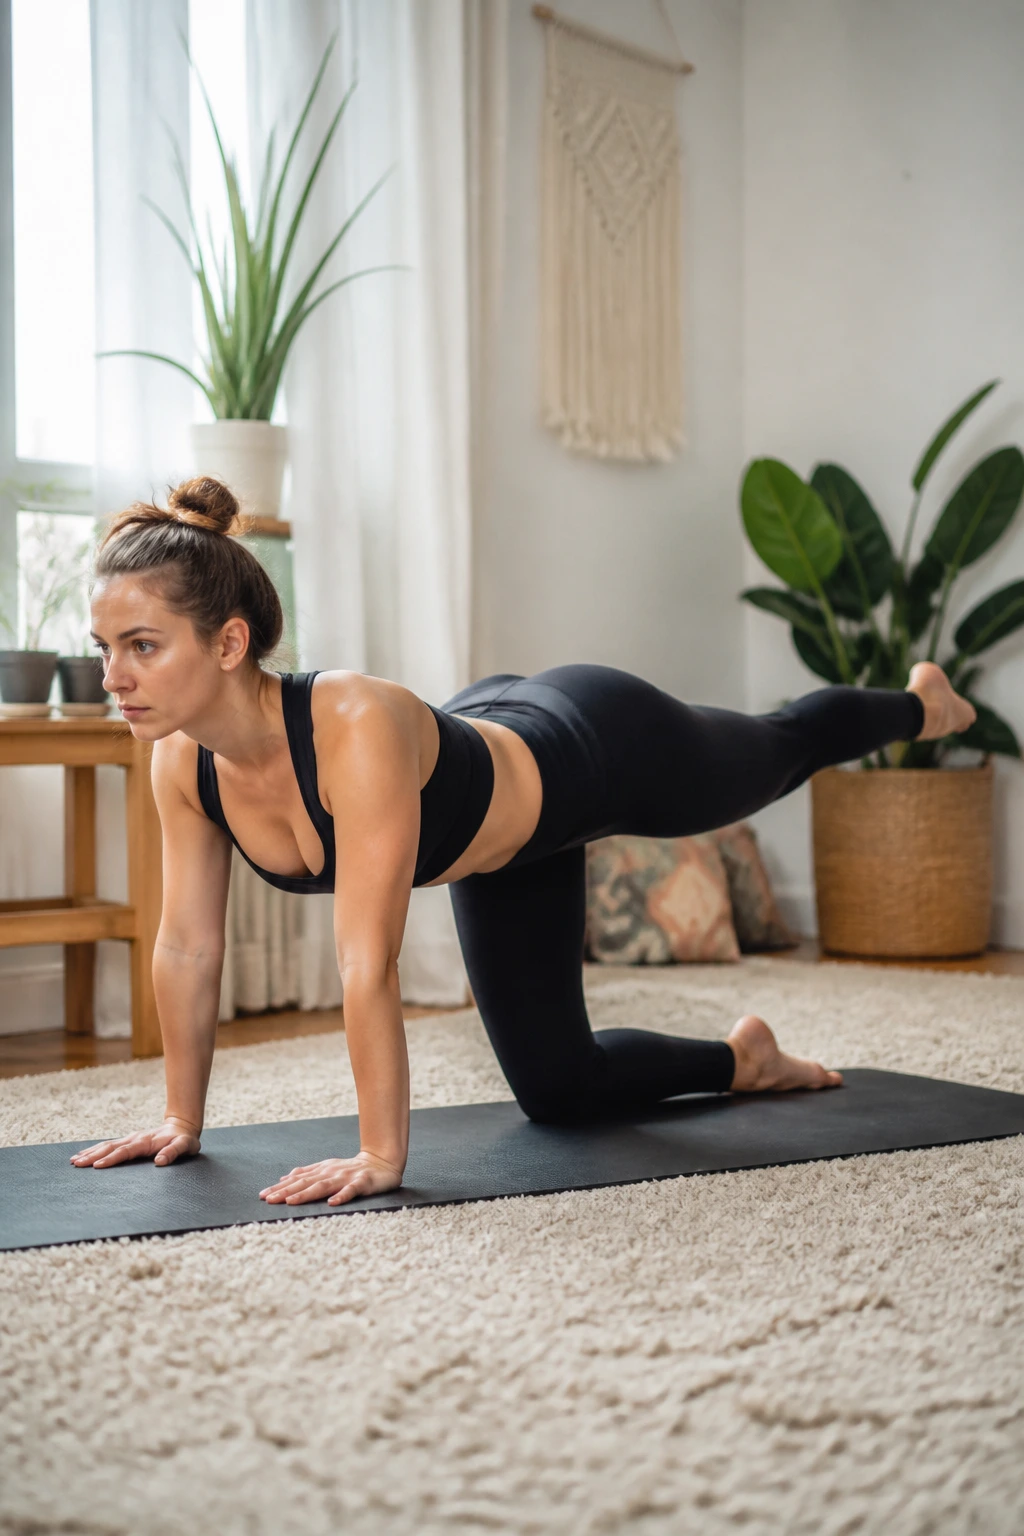
Core work does not need to mean crunches on the floor. In yoga, beginners usually learn more from controlled limbs than from fast reps.
Come to hands and knees. Extend one leg behind you for Bird Dog, hold for 2 breaths, and switch sides. Next, hover one knee an inch off the floor for 2 breaths, then lower. Finish with a short Cat-Cow round and Child’s Pose. That combination teaches the trunk to stay steady while the arms and legs move.
How to Make It Work
- Keep the hips level in Bird Dog
- Press the floor away with the hands
- Move slowly enough to avoid swinging
- Use a folded towel under the knees if the mat feels hard
The point is not to feel destroyed. The point is to notice whether your body can stay organized while it moves. That matters more than doing ten flashy reps.
16. Balance Practice at the Wall
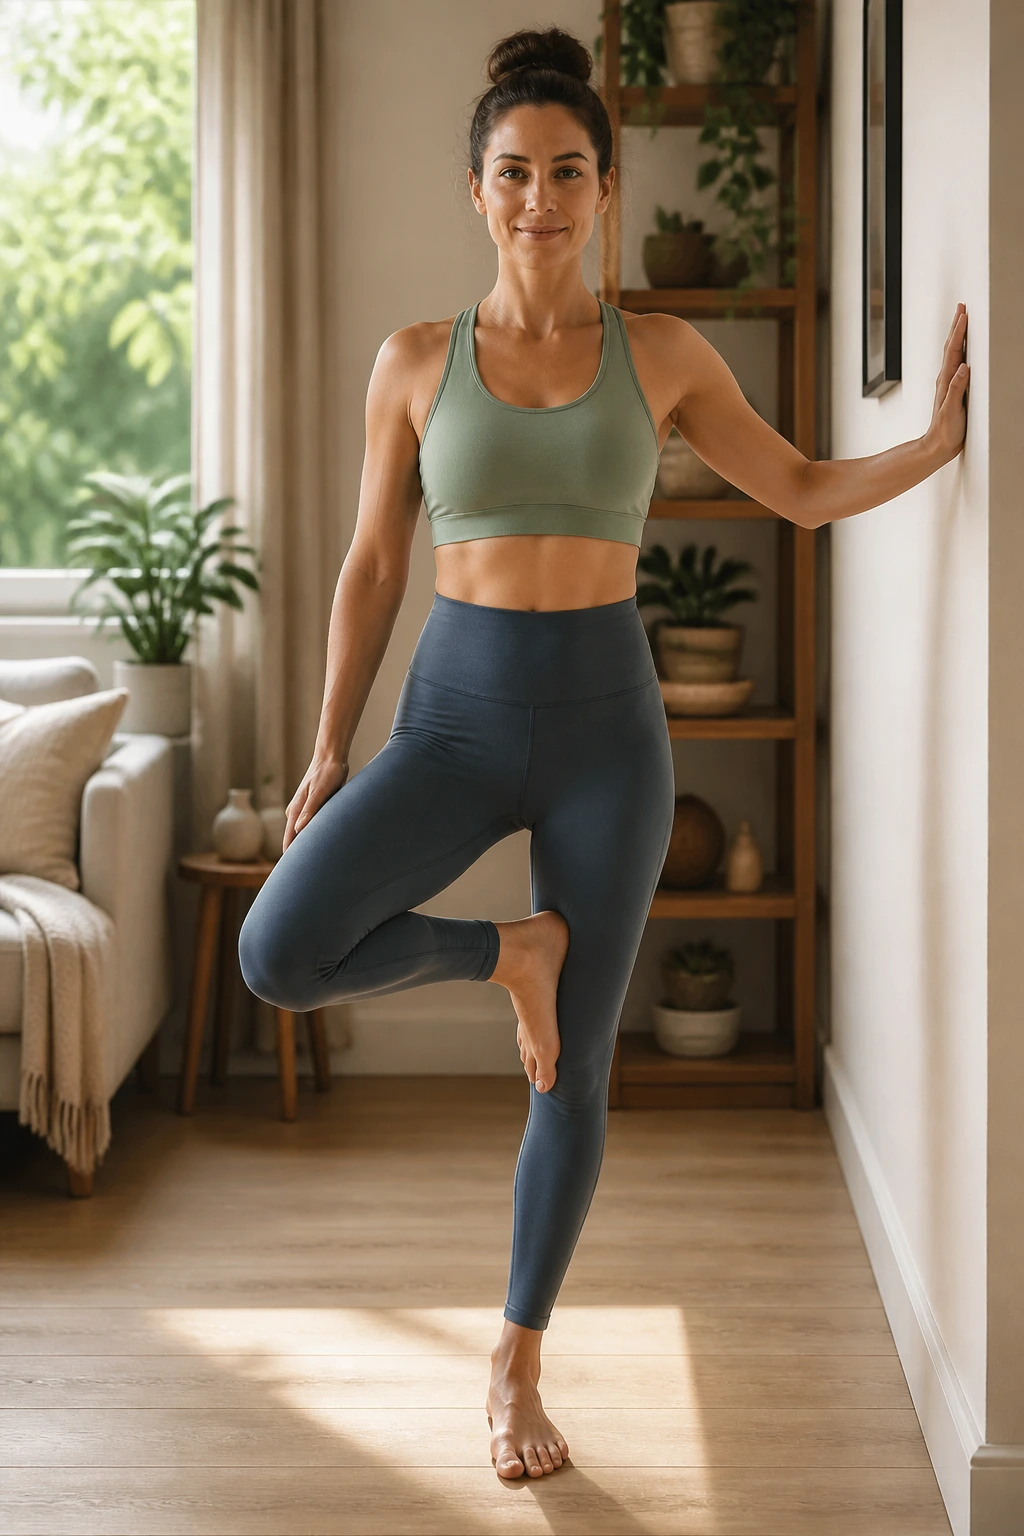
Balance is easier to learn when you are not bargaining with gravity in the middle of the room. A wall gives beginners a quiet backup.
Stand near a wall and bring one foot to the inner calf or ankle for Tree Pose. Keep the toes on the floor if lifting the foot feels shaky. Hold for 3 to 5 breaths, then switch sides. After that, practice slow heel lifts with both feet down, then one-foot toe taps behind you, fingertips still near the wall.
This kind of practice teaches the foot what “stable” feels like. The arch wakes up. The ankle gets a little smarter. The eyes stop hunting for drama.
Do not place the foot on the knee. That’s the one line I’m happiest to repeat. Lower on the leg is safer and easier to control.
17. Gentle Chest-Opening Floor Flow
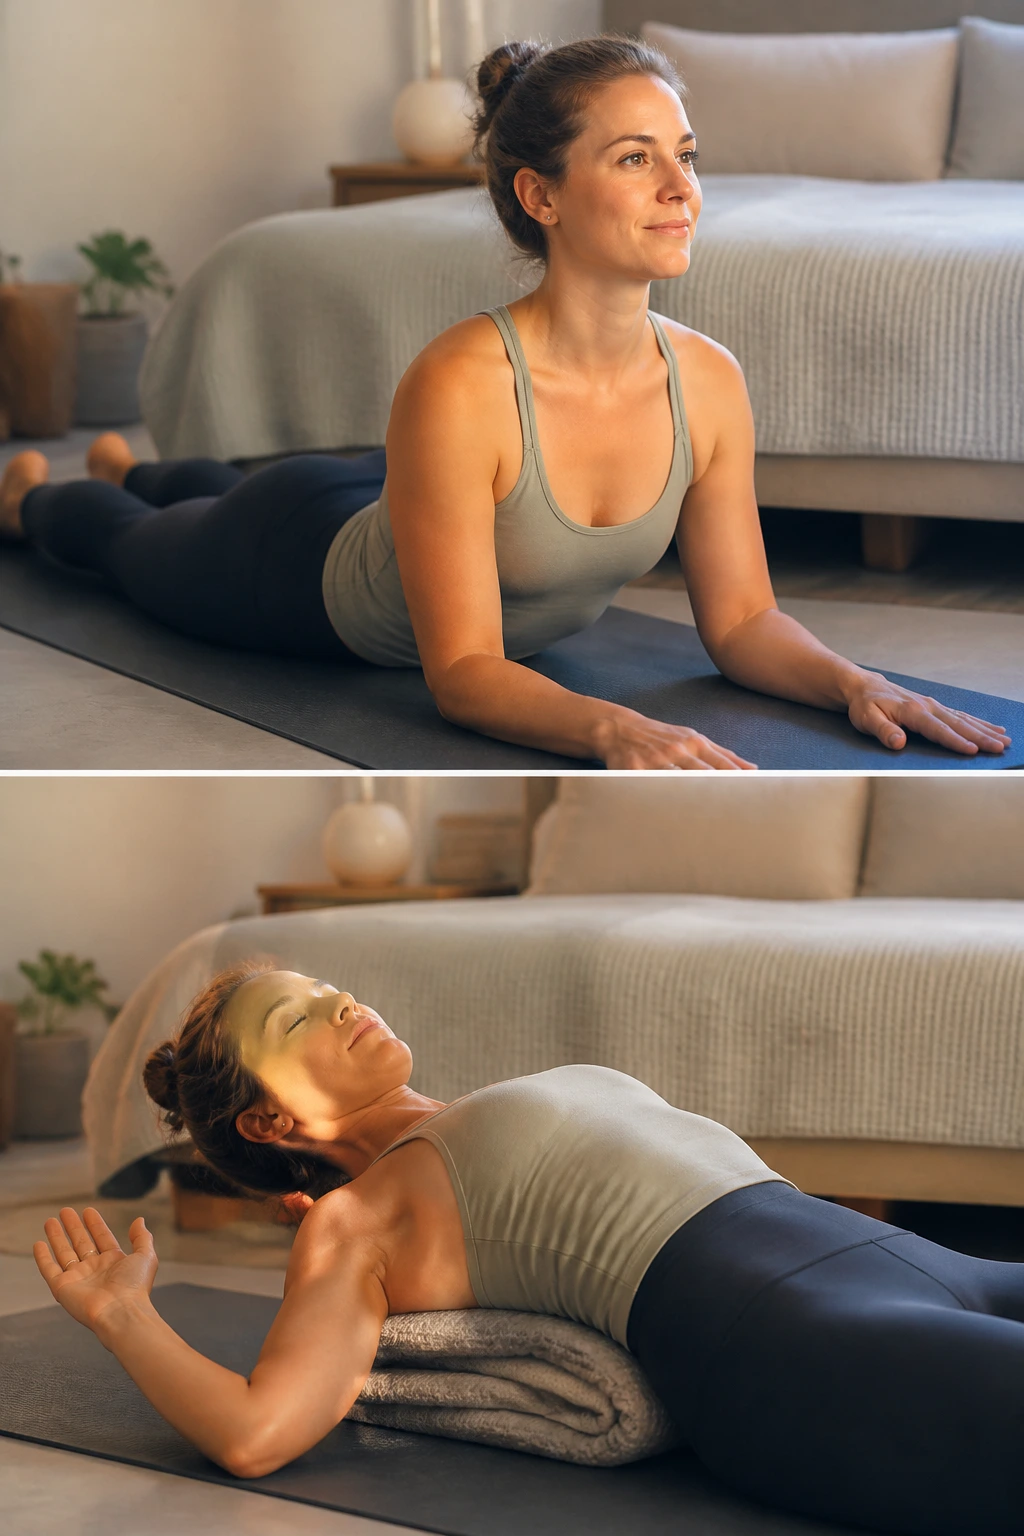
If your shoulders live near your ears, this one is worth keeping close. It opens the front body without forcing a big backbend.
Lie on your belly for Sphinx Pose for 3 breaths, then roll onto your back for Cactus Arms with the elbows bent wide. From there, thread one arm under the body for a light twist, then place a folded blanket or block under the upper back for a supported chest opener. The sequence is mild, but the upper body usually feels it fast.
What to Feel, Not Force
The ribcage should expand with each inhale. The low back should not pinch. If it does, lower the chest or remove the prop under the upper back.
I like this sequence after long computer hours because it addresses the posture problem where it actually lives: the front of the chest and the back of the shoulders. Stretching the neck alone usually misses the mark.
18. Side-Body Stretch Flow
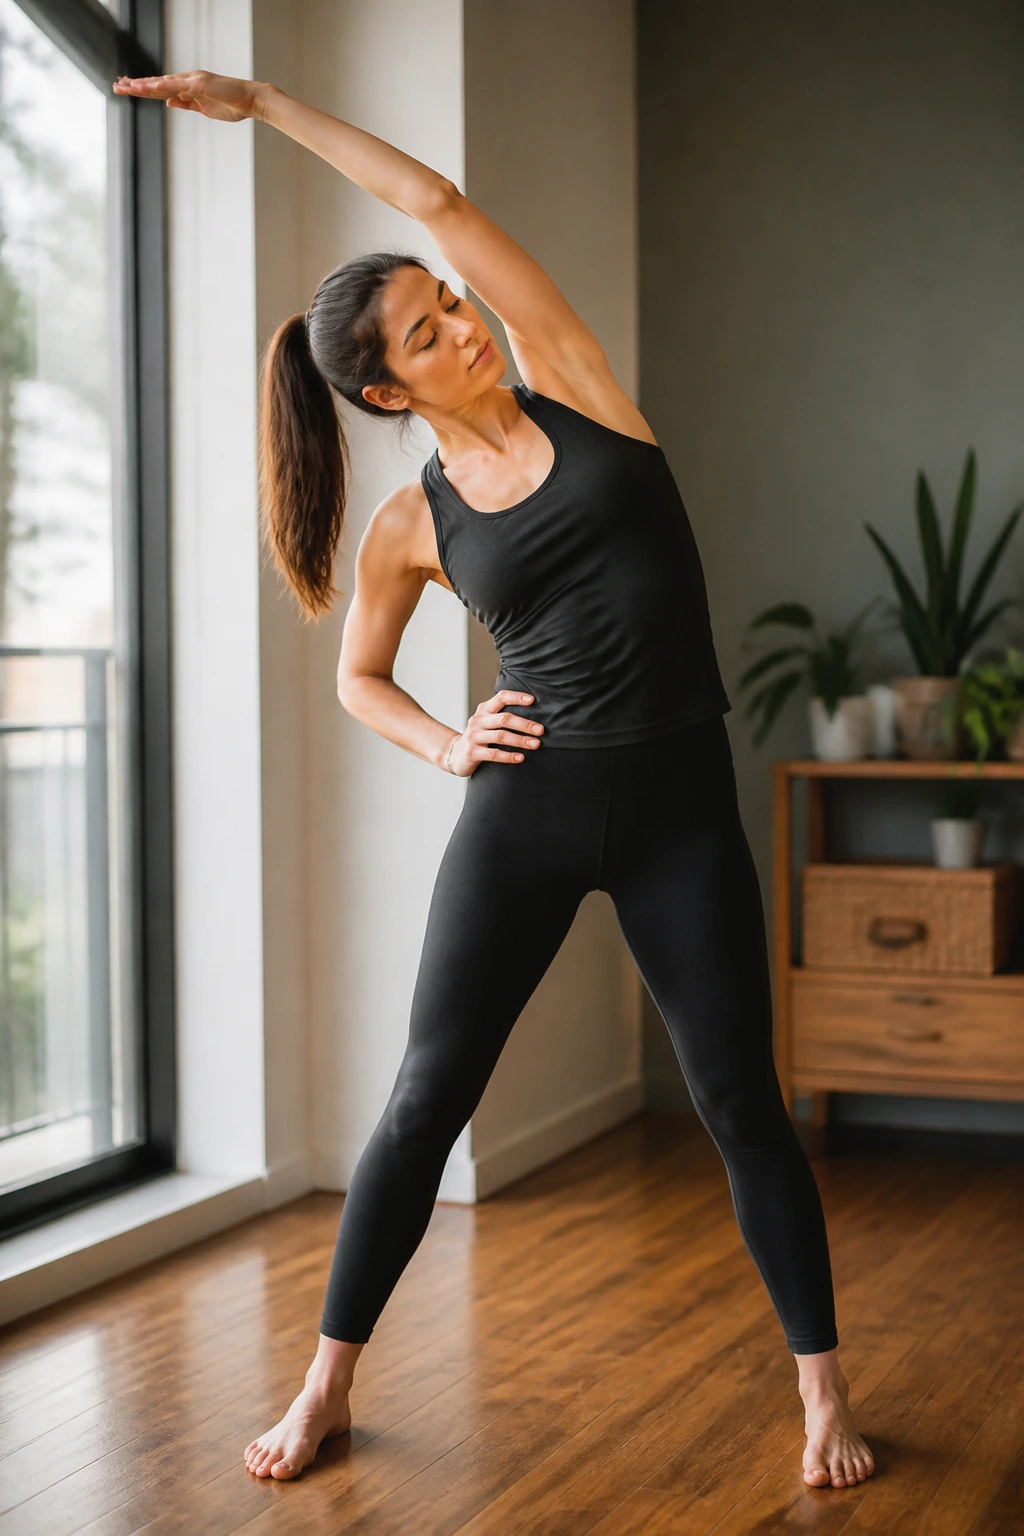
Most people think of yoga as front-and-back movement, but the side body matters a lot. Tight sides can make even easy breathing feel boxed in.
Stand tall, reach one arm overhead, and lean to the opposite side for a standing side stretch. Then come down to Gate Pose on the mat, with one knee down and the other leg straight to the side. End with a seated side bend or a Child’s Pose walk to the right and left. Hold each shape for 3 to 4 breaths.
Key Points
- Keep both hips facing forward when you can
- Let the top ribs open
- Don’t collapse into the lower shoulder
- Use a folded blanket under the knee in Gate Pose
This sequence is calm, but it sneaks in a lot of useful work. Breathing space. Lateral flexibility. A little relief from the “front-of-body only” habits most of us pick up at desks and phones.
19. An Evening Slow-Down Sequence
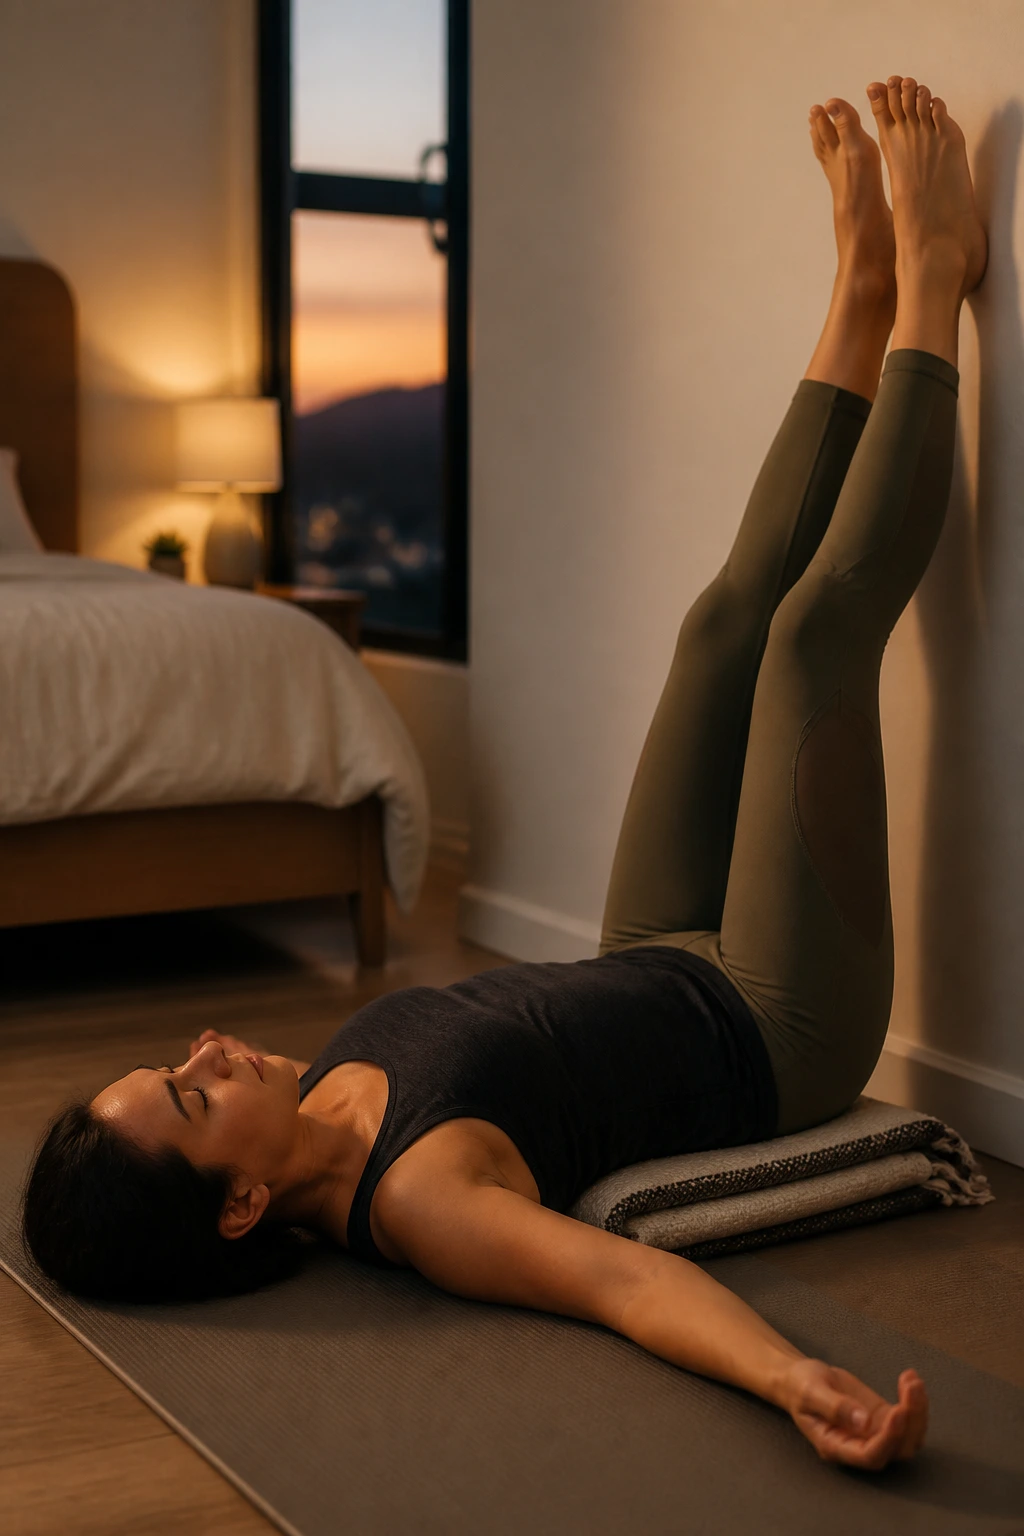
Some yoga for beginners sequences belong at the end of the day because they ask the body to stop performing. That matters more than people admit.
Lie near a wall and place your legs up it for 5 breaths, or rest the calves on a chair if that feels easier. Move into Reclined Bound Angle Pose with the soles of the feet together and blankets under the knees. Add a gentle twist on each side, then settle into a final rest. Keep everything slow enough that the breath stays soft.
A sequence like this does not need a long list of shapes. It needs room. The slower the transitions, the more the nervous system gets the message that nothing urgent is happening.
If your hips feel exposed in Bound Angle, support them. If your lower back feels strained, lengthen the legs instead. Comfort is part of the practice, not a reward for getting through it.
20. A Desk-Reset Between Meetings
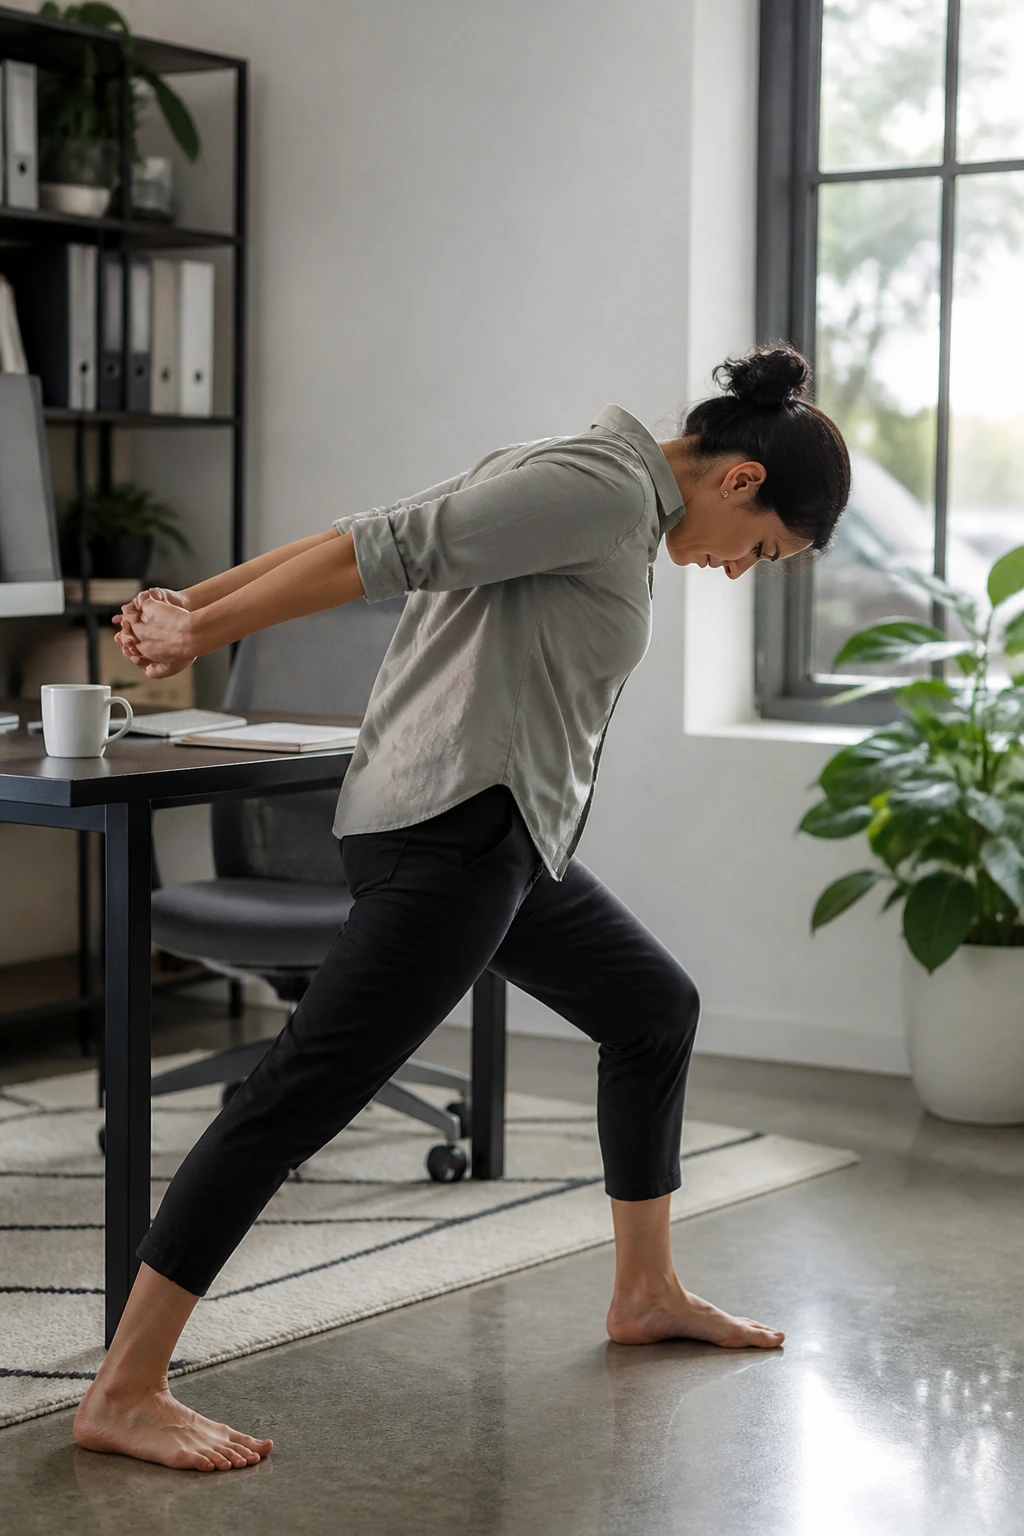
Can a yoga sequence fit into five minutes? Absolutely. It just needs to be honest about what it can do.
Stand up, roll the shoulders, take both arms behind you for a small chest opener, then fold halfway and let the arms hang. Step one foot back into a short lunge, switch sides, and finish with three deep breaths in Mountain. You can do this beside a chair, beside a desk, or anywhere with a little floor space. No mat required.
A Quick Desk-Reset Order
- 5 shoulder rolls
- 3 chest openers with hands clasped behind the back
- 3 breaths in a supported fold
- 3 breaths in a short lunge on each side
- 3 slow standing breaths at the end
A small practice like this will not replace a full class. It does, however, keep stiffness from piling up in the shoulders and hips. That alone is worth the two minutes.
21. Full-Body Confidence Flow
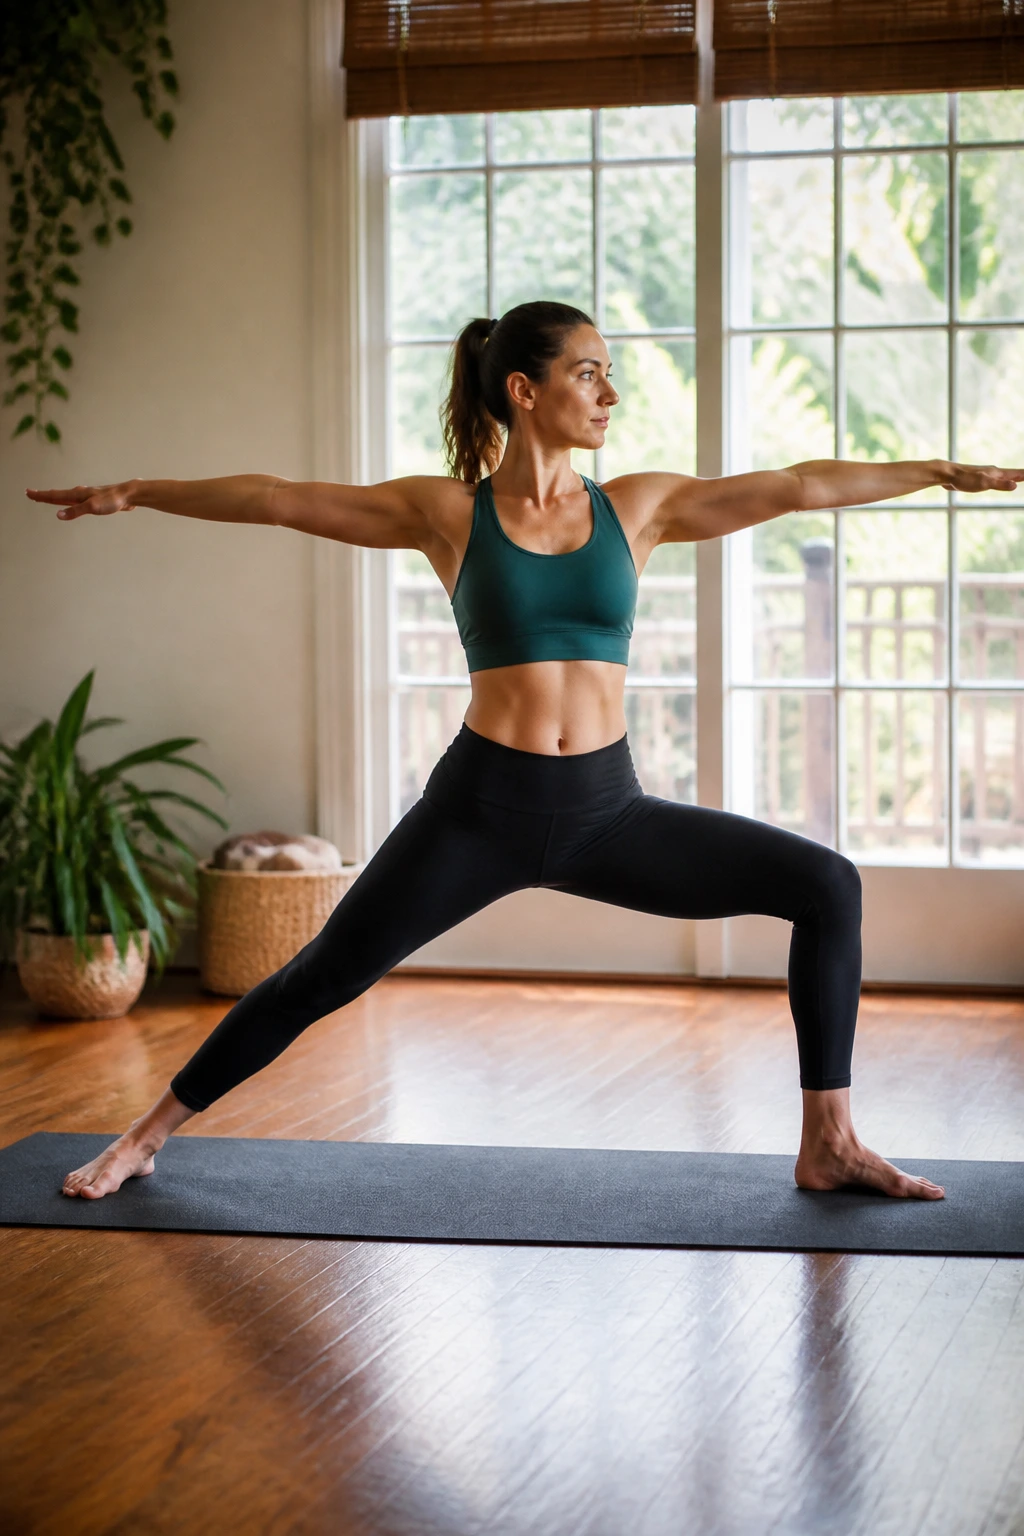
This is the sequence I’d choose when someone wants one practice that touches the whole body without getting complicated. It borrows from the simplest standing poses and ties them together at a beginner pace.
Start in Mountain Pose, fold forward with bent knees, rise to a Half Lift, step one foot back to Low Lunge, open to Warrior II, shift into Side Angle, step back to a supported Downward Dog or wall version, then lower to Bridge Pose on the floor. Finish with a seated forward fold or a short rest.
The beauty here is that each shape hands off to the next without asking for fancy strength. You get legs, hips, shoulders, and a little balance work in one pass.
How to Keep It Beginner-Friendly
- Use blocks in Low Lunge and Side Angle
- Shorten the stance in Warrior II if the hips feel cranky
- Skip the floor version of Downward Dog and use the wall if needed
- Move slowly enough that the transitions feel deliberate
That pace matters. Rushing the handoffs is where beginners often lose the point of the sequence.
22. A Quiet Savasana Finish
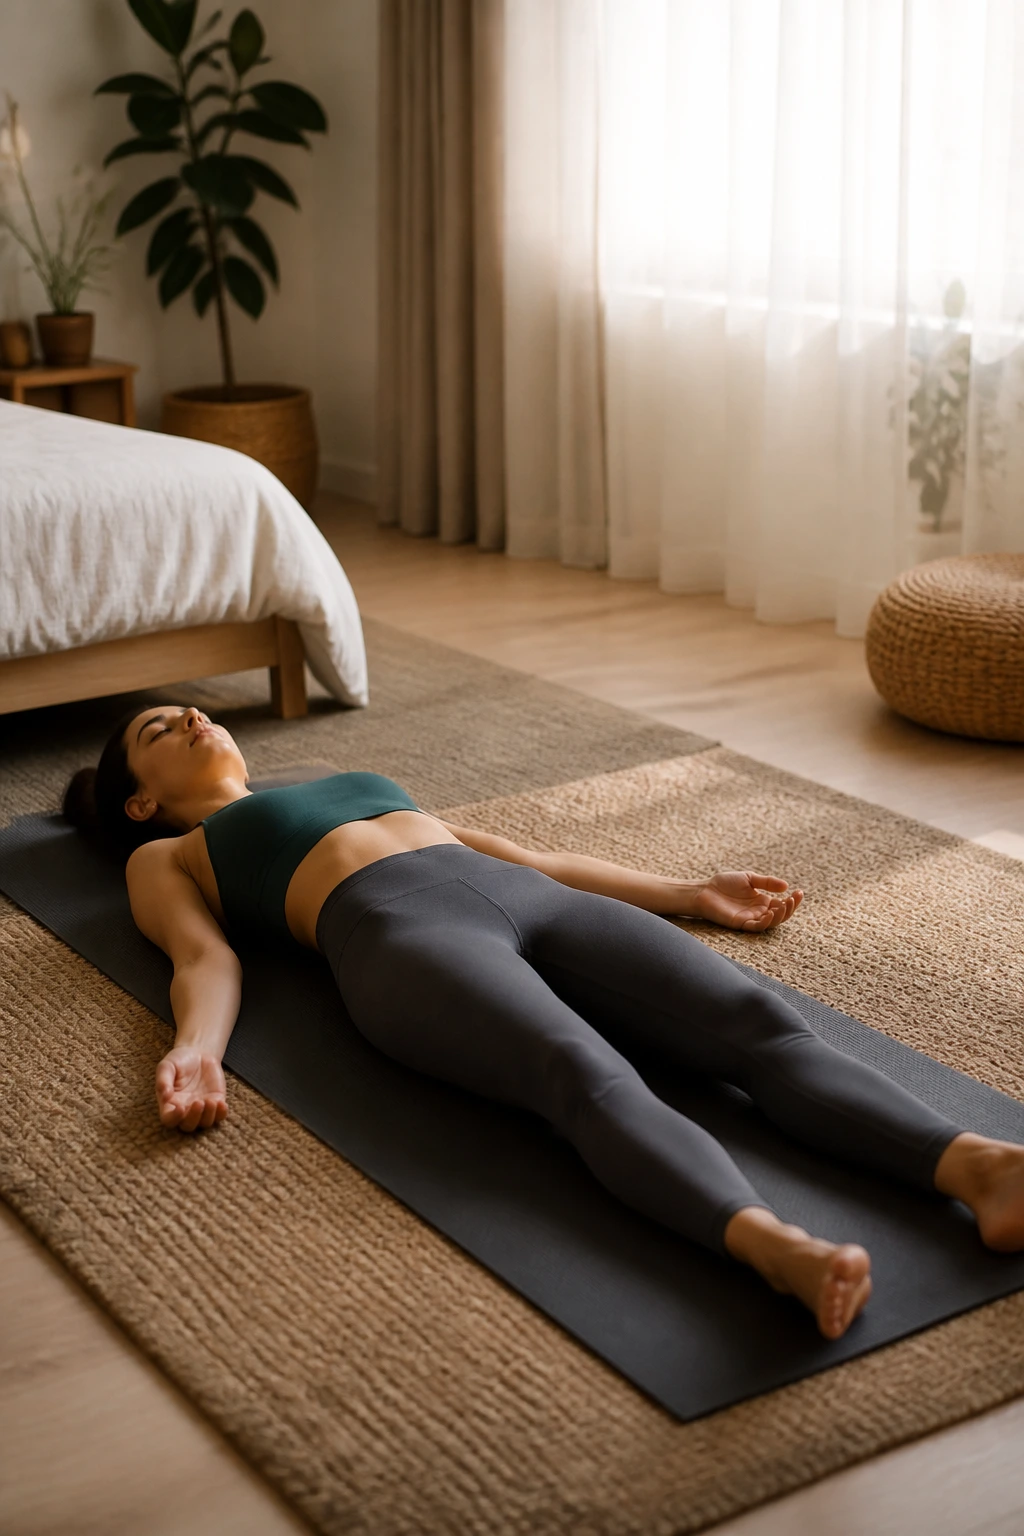
The final shape does not need to be dramatic. It needs to be honest.
Lie on your back with your legs long or bent over a chair seat, whichever feels better in the low back. Let the feet fall open. Rest one hand on the belly and one on the chest for a few breaths, then let both hands drop by the sides. Stay for at least 5 slow breaths, longer if you have the time and patience for it. If the mind keeps racing, count the exhale only.
A lot of people skip this part because it looks like doing nothing. That’s a mistake. Stillness is where the practice settles into the body instead of hovering in the air. If you stand up too fast, you miss that shift.
Use this finish after any of the sequences above, or as the sequence itself on a rough day. It leaves room for the breath to catch up with the rest of you. And some days, that is the whole point.
