



You do not need a rack of plates or a polished gym floor to build real muscle.
If a movement is hard enough, repeatable enough, and loaded enough, your body gets the message. Chest, back, legs, shoulders — they do not care whether the resistance came from iron, a backpack stuffed with books, or your own bodyweight done the hard way.
That is the whole idea behind these 22 workouts to add muscle at home with no gym: pick the right movements, make them hard in honest ways, and keep nudging them forward. A lot of home training fails for a dull reason. People do easy reps, stop far from fatigue, then wonder why nothing changes. No mystery there.
A chair, a towel, a sturdy table, a backpack, and a little patience can cover a surprising amount of ground. The trick is knowing which exercises actually build size, which ones are just busywork, and how to progress without turning your living room into a junkyard of random fitness gear.
1. Standard Push-Up for Home Chest Growth
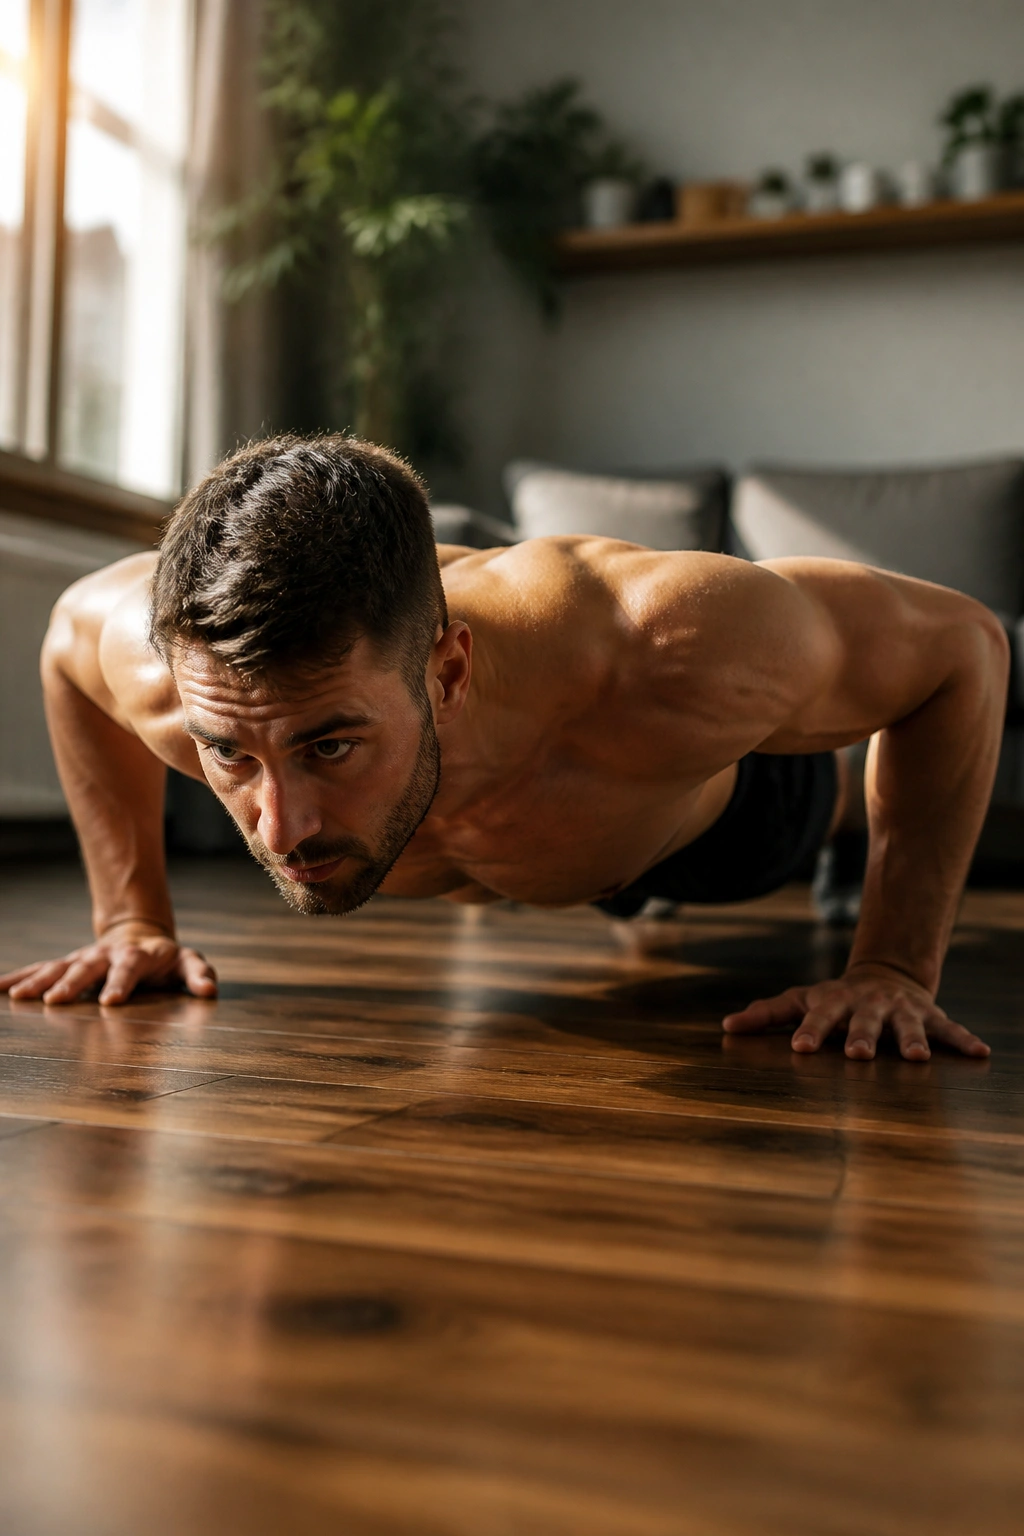
The plain push-up earns its reputation. Done well, it hits the chest, triceps, and front shoulders in one tidy package, and it gives you a clean way to judge progress: more reps, cleaner reps, harder reps.
Hands just outside shoulder width. Body straight. Chest to floor. That’s the simple version, and simple is good here.
The part people miss is pace. Lower yourself under control for about 2 to 3 seconds, touch the floor lightly, then press hard enough that the last few inches feel slow. If you can bang out 30 sloppy reps, the set is too easy for muscle gain. Make it harder by adding a slow pause at the bottom or by wearing a loaded backpack.
Aim for 3 to 5 sets of 8 to 20 reps, stopping when the last rep starts to sag in the middle. Clean tension beats ego every time.
2. Deficit Push-Up
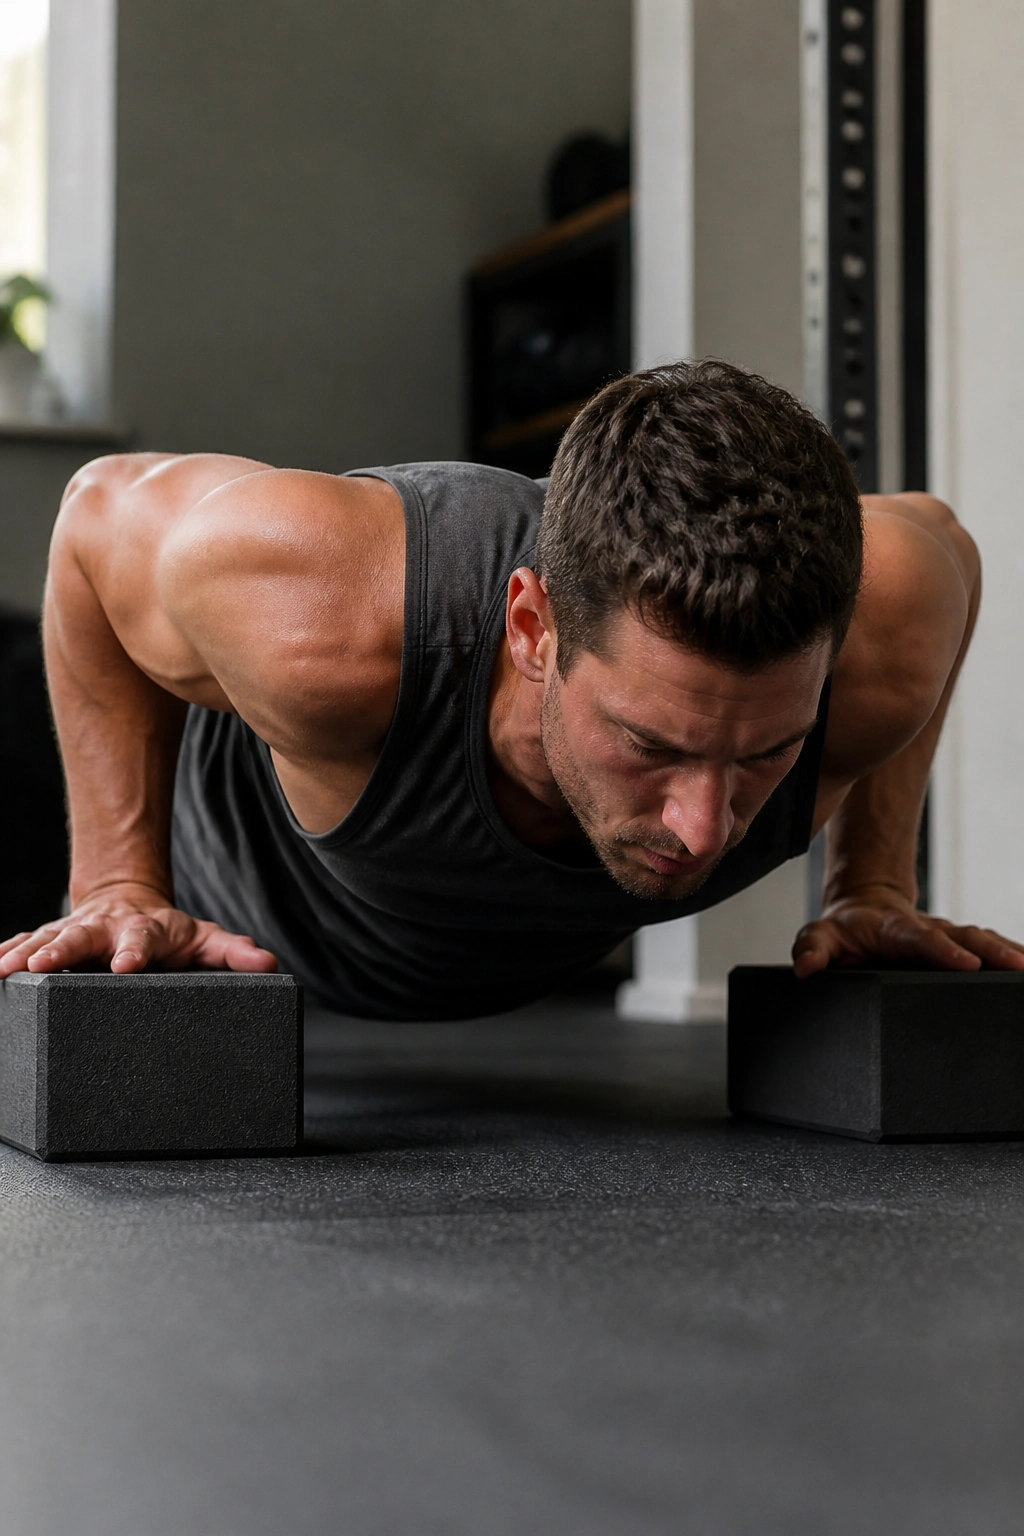
This one gives you the deep chest stretch a standard push-up can’t quite match. Put your hands on two firm books, push-up handles, or small blocks, then lower your chest between them.
Why the extra depth matters
A deeper range means more work on the chest at the bottom, where the muscle is stretched and the rep gets brutally honest. If you keep your shoulders packed and your core tight, the movement feels longer, slower, and much more demanding than it looks on paper.
That extra depth is the point. Don’t rush it.
Start with 3 to 4 sets of 6 to 12 reps and only use this version if your shoulders feel good in the lower position. If they pinch, shorten the range a little. Better a clean half-inch less depth than a cranky shoulder for the next week.
- Keep the blocks stable and level.
- Lower with control, not a dive.
- Press through the full range before you count the rep.
- Add a backpack only after your form stops wobbling.
3. Feet-Elevated Push-Up
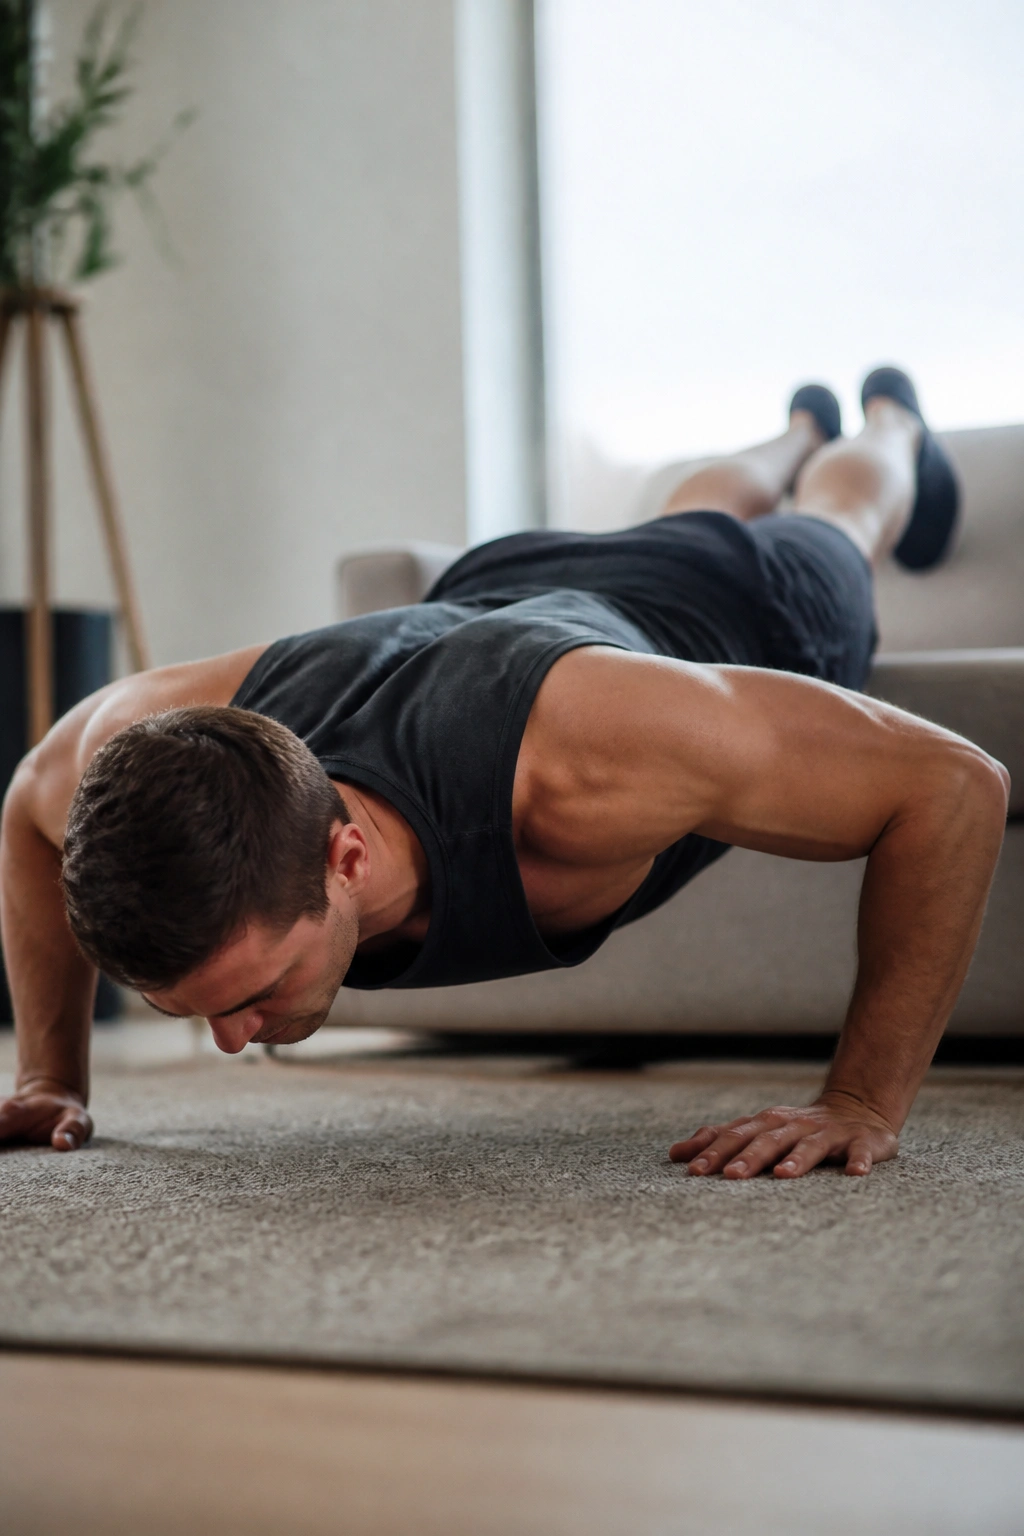
Put your feet on a couch, sturdy chair, or low bench, and the whole character of the push-up changes. The angle shifts more load onto the upper chest and shoulders, which makes this one a sneaky shoulder-builder as well as a chest move.
The higher the feet, the harder it gets. Don’t be a hero with the height. Start low enough that you can keep your ribs from flaring and your lower back from sagging.
One clean set here feels different from a flat push-up set. The shoulders light up first. Then the upper chest starts to burn. That’s the fun part, if you like that sort of thing.
Use 3 to 4 sets of 6 to 15 reps, and slow the lowering phase to about 3 seconds once bodyweight starts feeling tame.
4. Diamond Push-Up
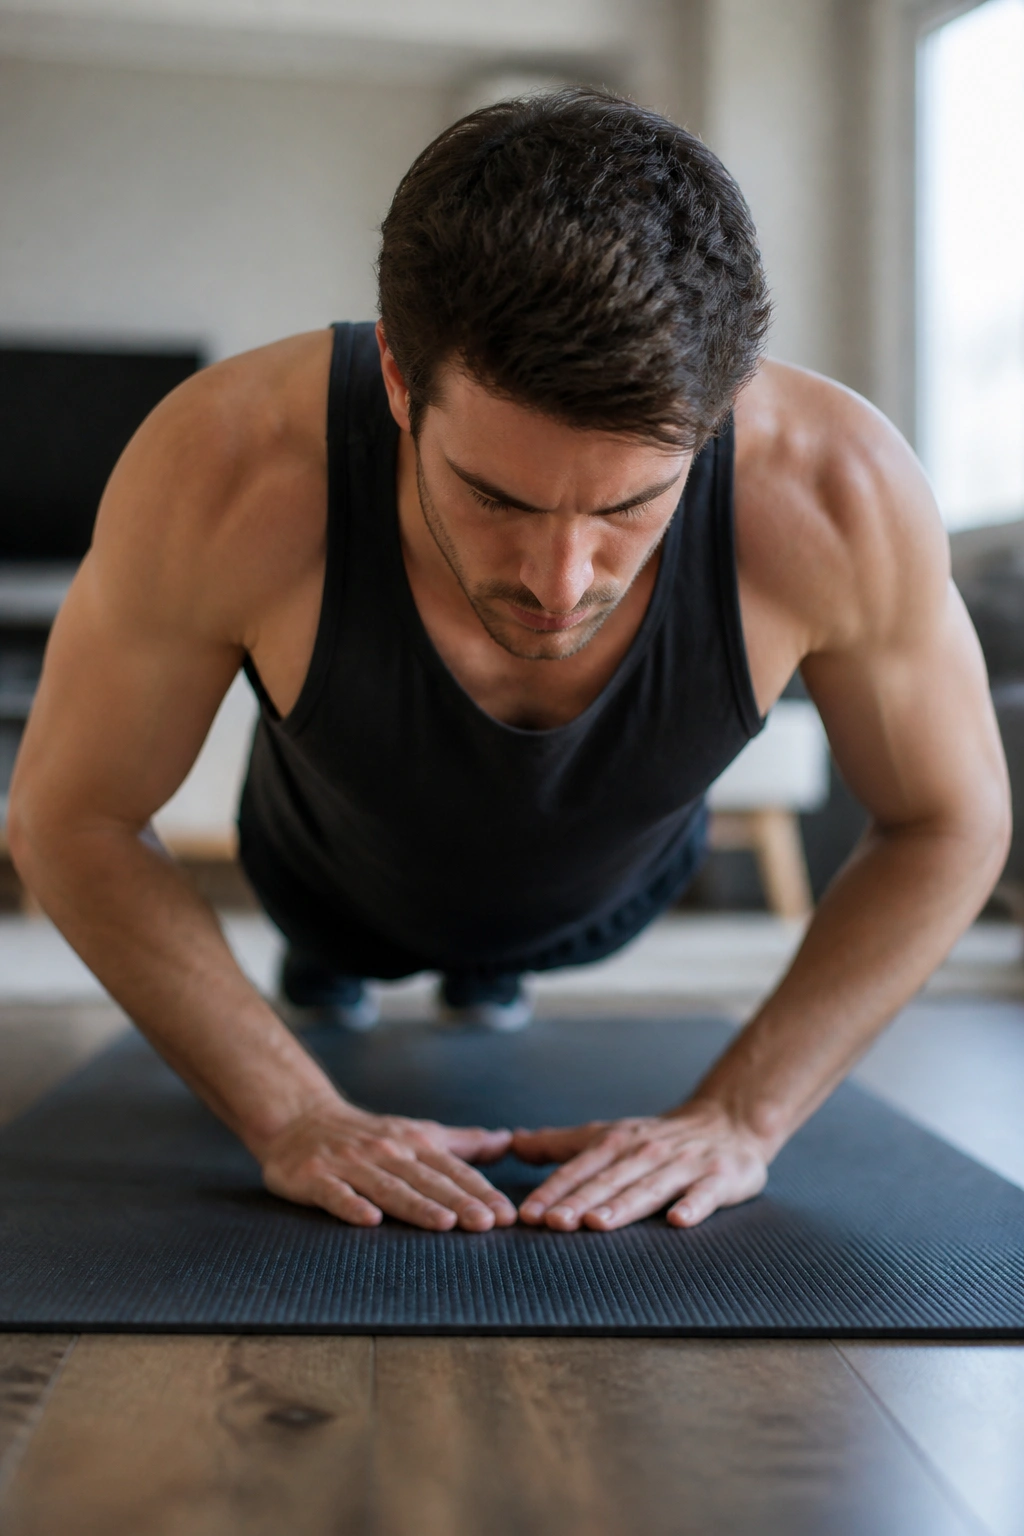
Narrow your hands under your chest, form a diamond or a close triangle, and you turn a chest-dominant push-up into a triceps-heavy one. The front of the upper arm does a lot more work here, which is exactly why this move belongs in a home muscle plan.
A lot of people try to force their hands too close and end up with angry wrists. Don’t do that. A slightly wider diamond still counts, and it usually feels better.
What to watch for
- Keep elbows tucked at about a 30 to 45 degree angle.
- Keep your hips level; no snaking through the middle.
- Stop when your chest gets close to the floor.
- Use a kneeling version if full reps are still too ugly.
The rep range can be a little higher here. 8 to 20 reps is common before the triceps really quit. Good. That’s where the growth work starts.
5. Pike Push-Up
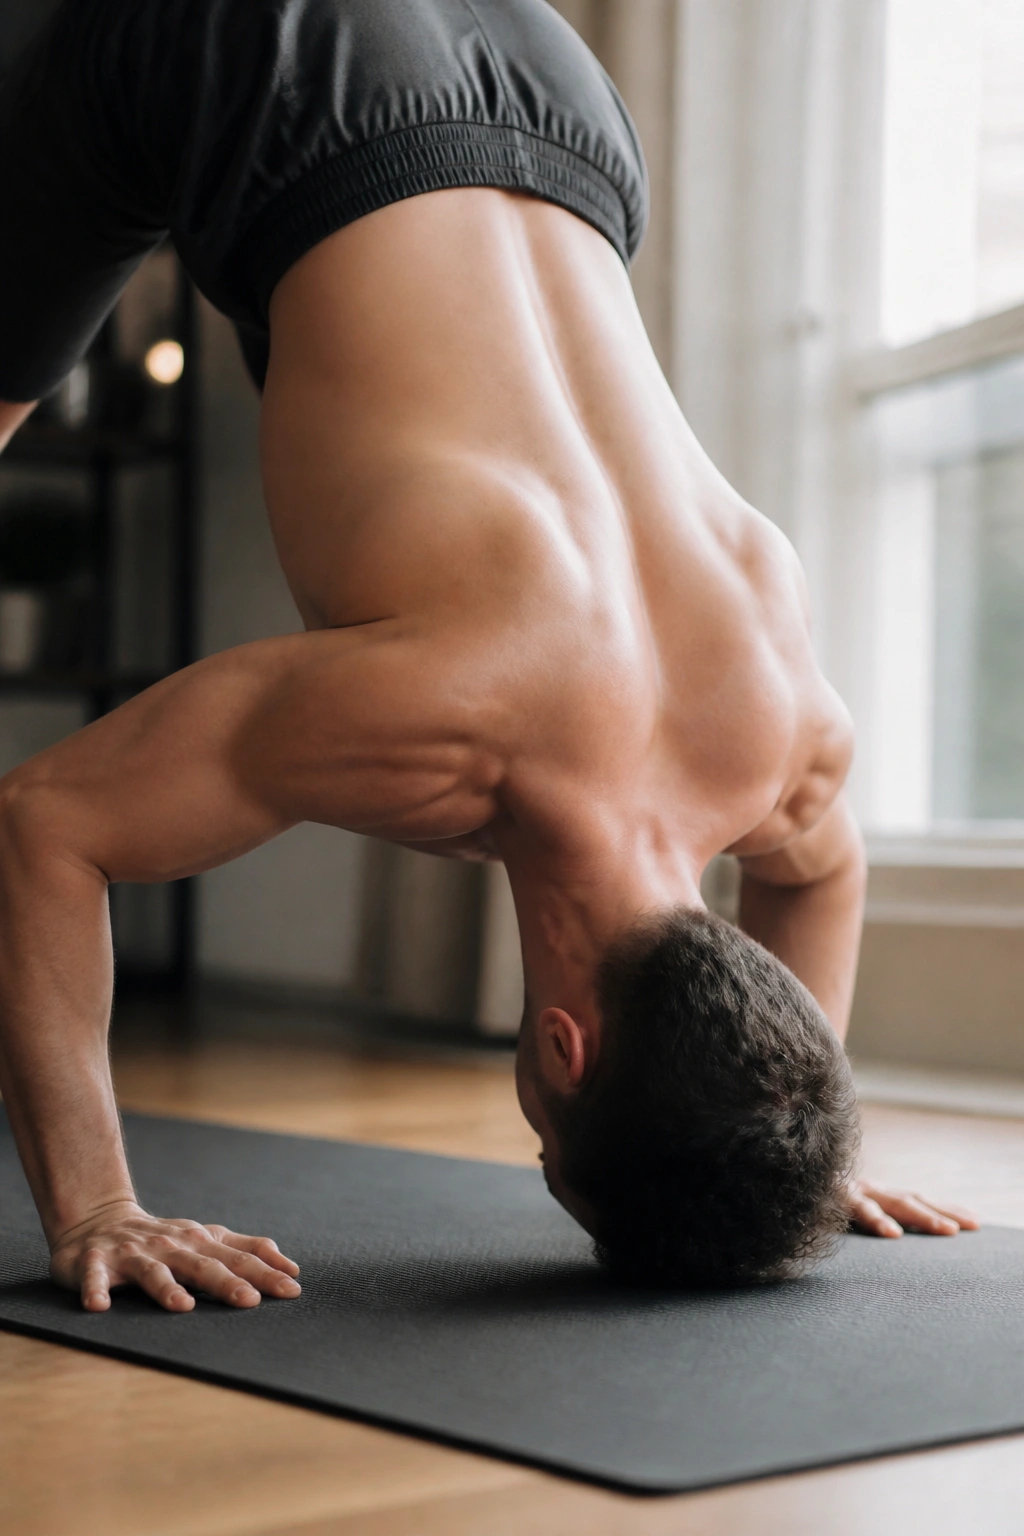
Shoulders love this exercise. Your body turns into an upside-down “V,” your head travels toward the floor, and your delts have to press without much help from the chest.
The first few reps feel awkward. That’s normal. The movement gets cleaner fast once you learn to keep pressure through the shoulders instead of dumping everything into the lower back.
You want your hips high, heels lifted, and gaze between your hands. If the top of your head is the first thing moving, you’re on track. If your elbows flare like wings, reset and start over.
4 sets of 6 to 12 reps is a good target. Once that gets easy, elevate your feet or put your hands on books for a deeper range. Small changes make a big difference here.
6. Chair Dips
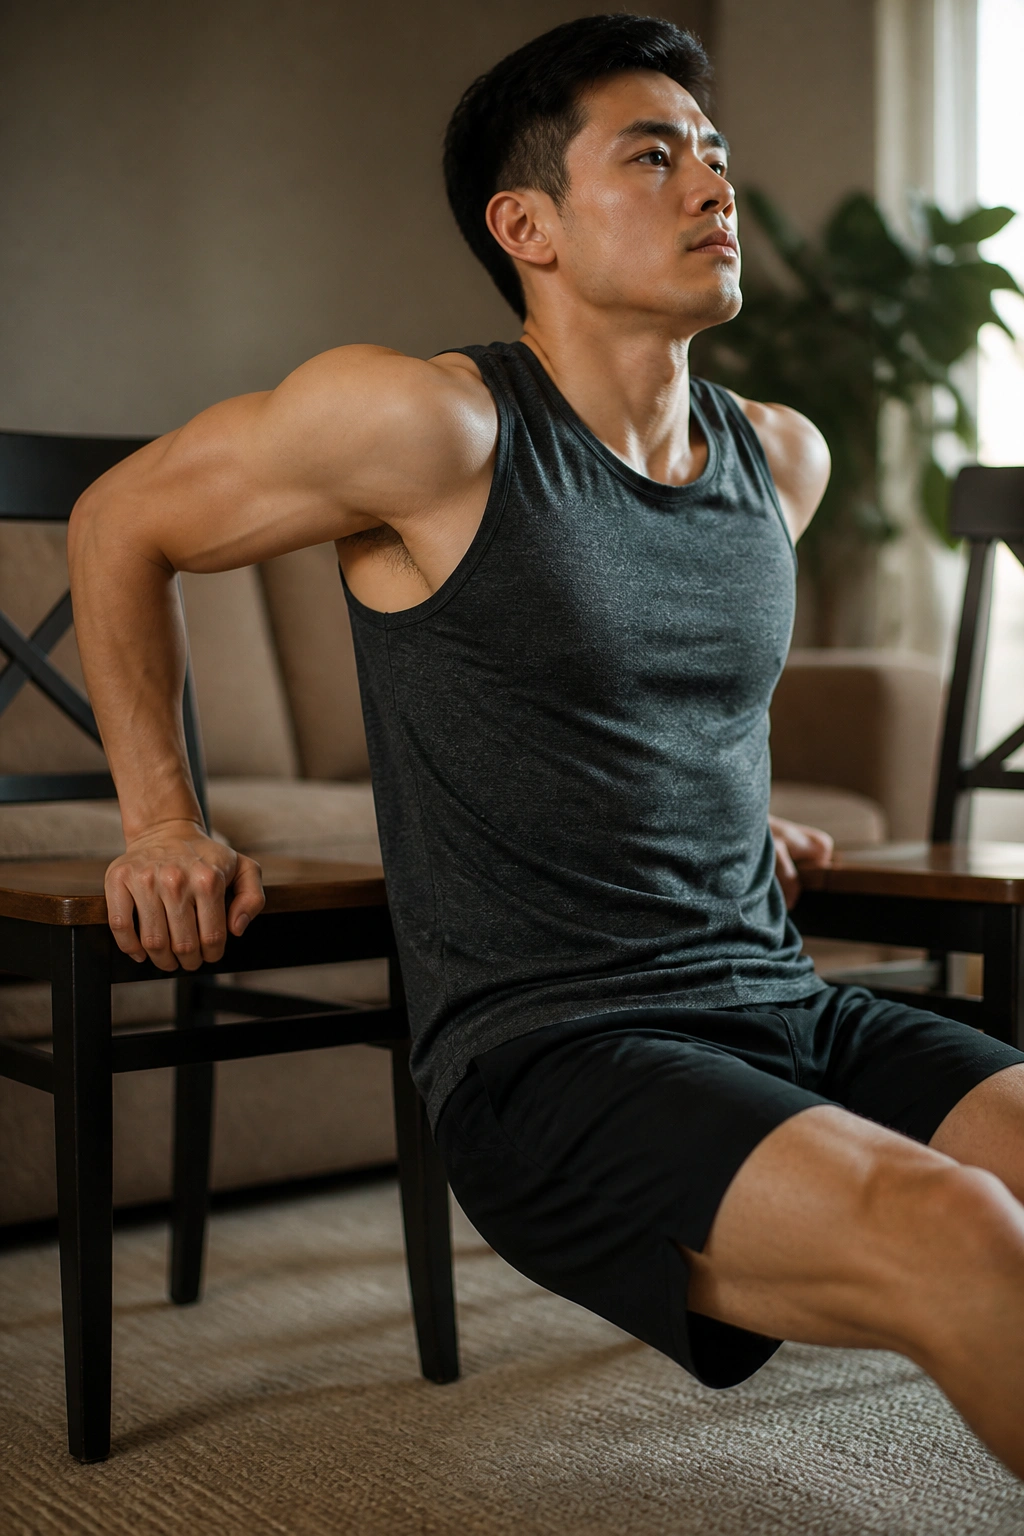
A pair of stable chairs, a strong bench, or the edge of a couch can turn into a strong triceps builder fast. Dips load the back of the upper arm hard, and they also hit the chest if you lean forward a little.
But this one has a catch. Shoulders that hate dips will tell you early. A sharp pinch in the front of the shoulder is a stop sign, not a badge of honor.
Keep the chairs steady. Keep your shoulders down, not jammed up near your ears. Lower until your upper arms are about parallel to the floor, or a bit higher if your shoulders prefer that.
3 to 4 sets of 8 to 15 reps works well for most people. Lean forward a touch for more chest, stay more upright for more triceps. Small angle changes matter.
7. Backpack Floor Press for No-Gym Chest Size
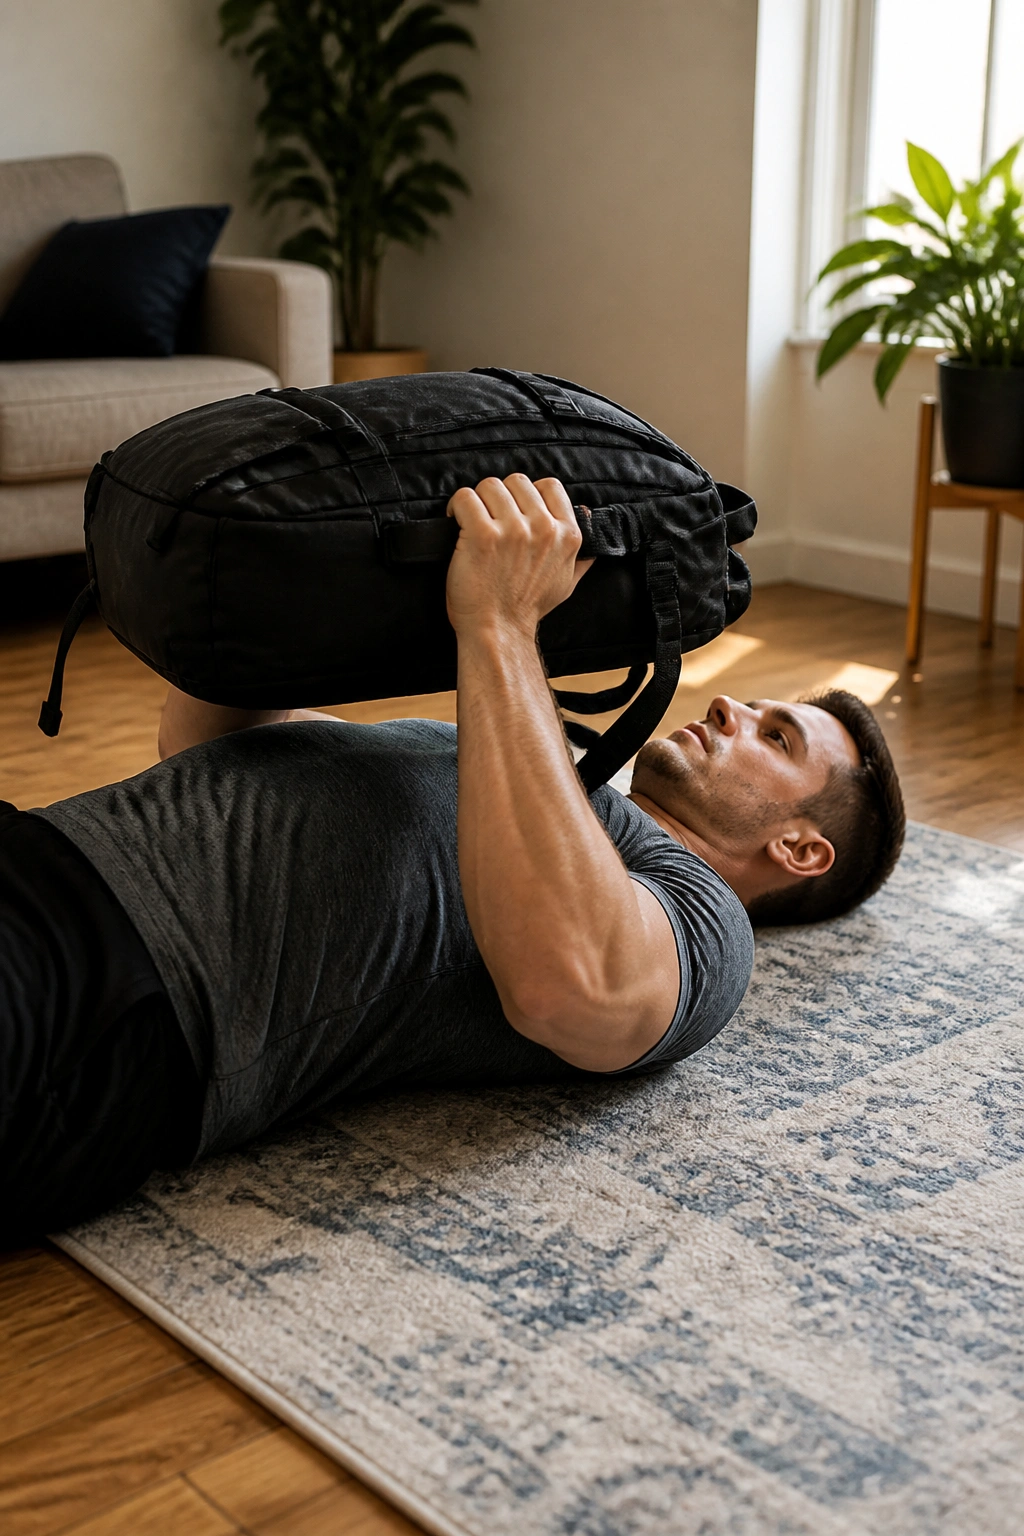
A loaded backpack makes a fine pressing tool if you use the floor as your bench. Lie down, hold the bag at chest level, and press it upward with both hands or one side at a time.
The floor limits how deep your elbows travel, which is nice for shoulders and also lets you push heavier without turning the movement into a circus act. It’s one of the simplest ways to add real load at home.
How to load it
- Fill the backpack with books, rice bags, or water bottles.
- Pack the weight tight so it doesn’t slam around.
- Keep the bag centered if you’re pressing with both hands.
- Use a folded towel inside if the edges dig into your palms.
A 3 to 1 second lower-and-press tempo works well here. Aim for 3 to 4 sets of 8 to 12 reps. If the backpack starts feeling too light, you can add weight fast without needing a new piece of equipment. That’s the beauty of it.
8. Inverted Row Under a Sturdy Table
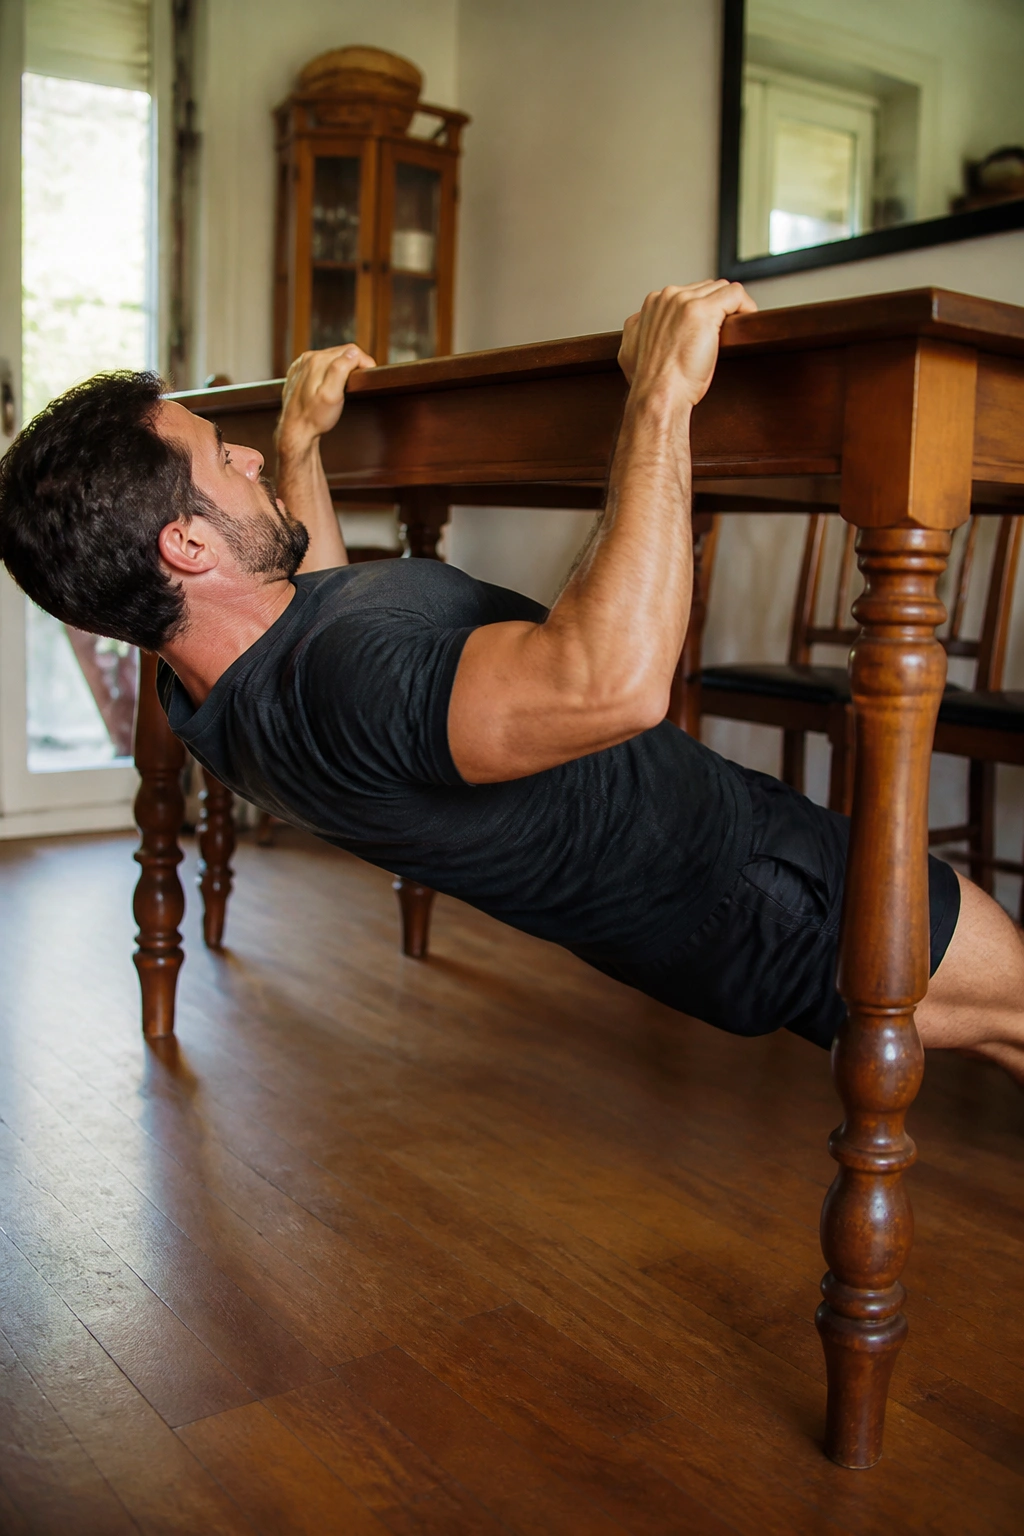
If you want a bigger back at home, you need pulling work, not just push-ups. The inverted row is the cleanest no-fuss answer: lie under a sturdy table, grab the edge, and pull your chest up toward it.
You’ll feel the lats, upper back, and rear shoulders doing the heavy lifting. Squeeze your shoulder blades together at the top and pause for a second. That tiny hold makes the set meaner.
The table has to be solid. Wobbly furniture is not fitness equipment. Test it with a light lean first, and if it shifts, move on.
Use 3 to 5 sets of 8 to 15 reps. Bent knees make it easier; feet straight make it harder; feet elevated makes it harder still. Simple progression. Good progression.
9. Towel Door Row
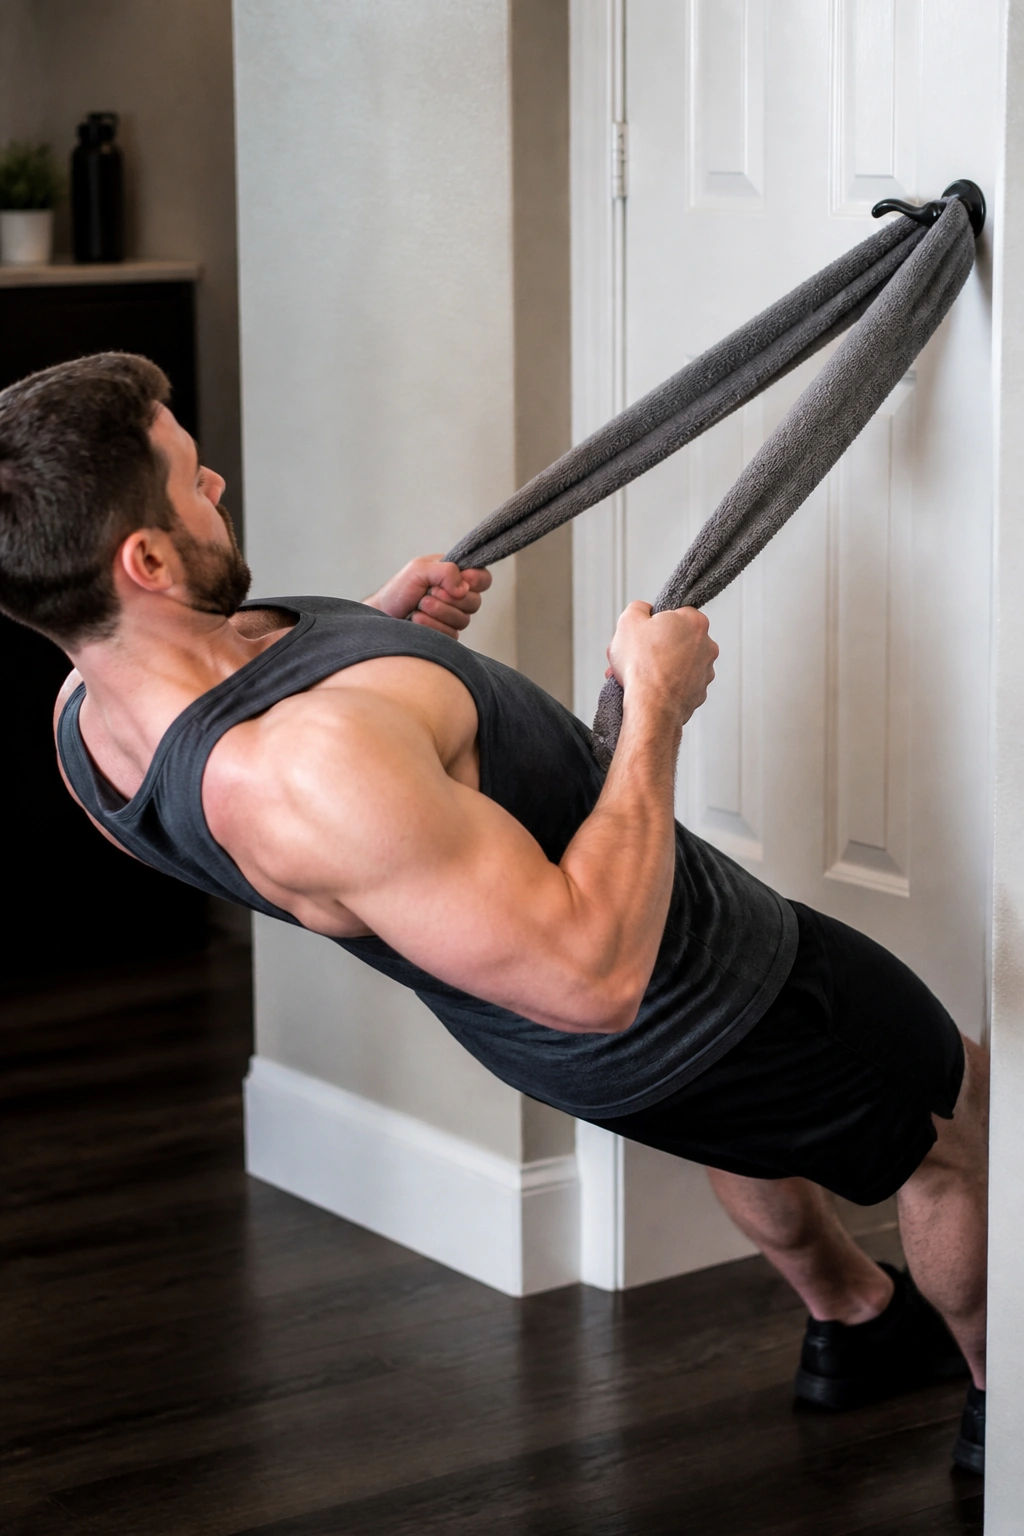
A towel row can save a back workout when you don’t have a bar, but it needs a cautious setup. Loop a strong towel around a closed, sturdy door on the side with the hinge, lock it, and test it gently before you put your full weight into it.
This is not the place for guesswork. If the door feels loose, creaky, or weak, skip it. Use table rows or backpack rows instead.
Keep it safe
- Lock the door before every set.
- Pull with a light test rep first.
- Keep your body angle modest at the start.
- Stop if the towel slips or the door moves.
Once it’s secure, row your chest toward the door while keeping your ribs down and your neck long. 3 sets of 10 to 20 reps usually works well. The higher rep range is fine here because the setup limits how much load you can safely use.
10. Backpack Bent-Over Row
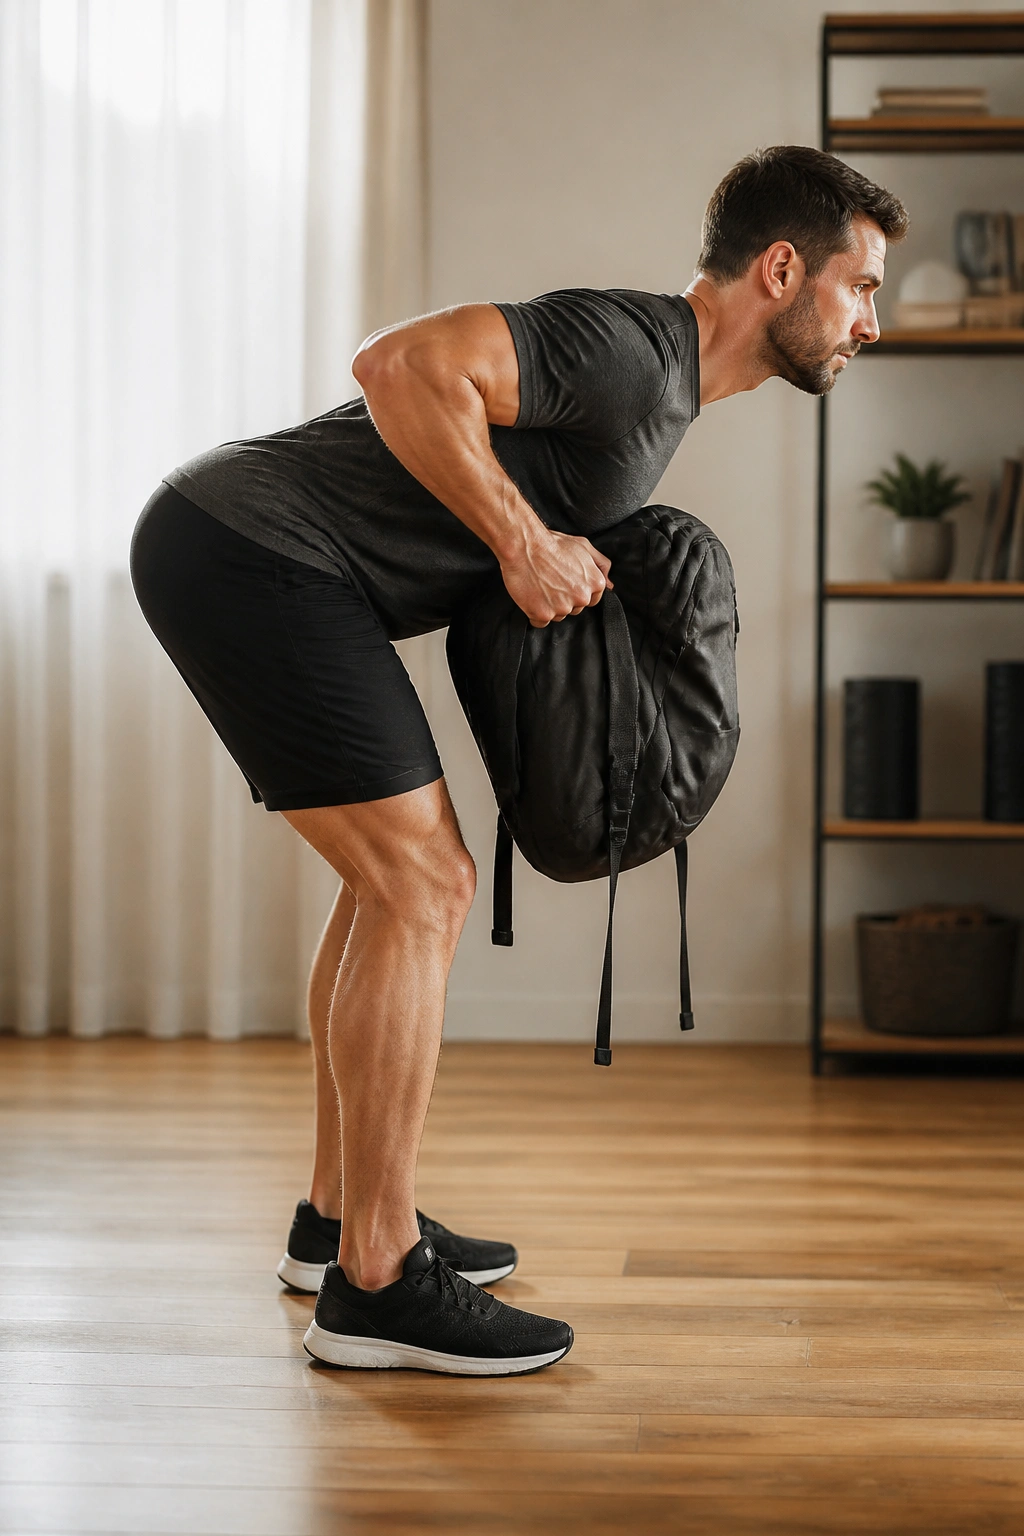
This is the old reliable back move for home training. Hinge at the hips, keep a flat back, and row a heavy backpack toward your lower ribs. The lats, rhomboids, and mid-back all get dragged into the work.
A lot of people turn this into a shrug. Don’t. Pull the elbows back, squeeze the shoulder blades, and control the lowering phase. That’s where the good stuff lives.
If the backpack is light, load it more. If grip becomes the weak point before your back does, wrap a towel through the handles for a thicker hold. Or do one arm at a time and let the bag hang lower.
3 to 4 sets of 8 to 12 reps per side is the sweet spot. Add a 1-second pause at the top and you’ll feel the difference immediately.
11. Pull-Up
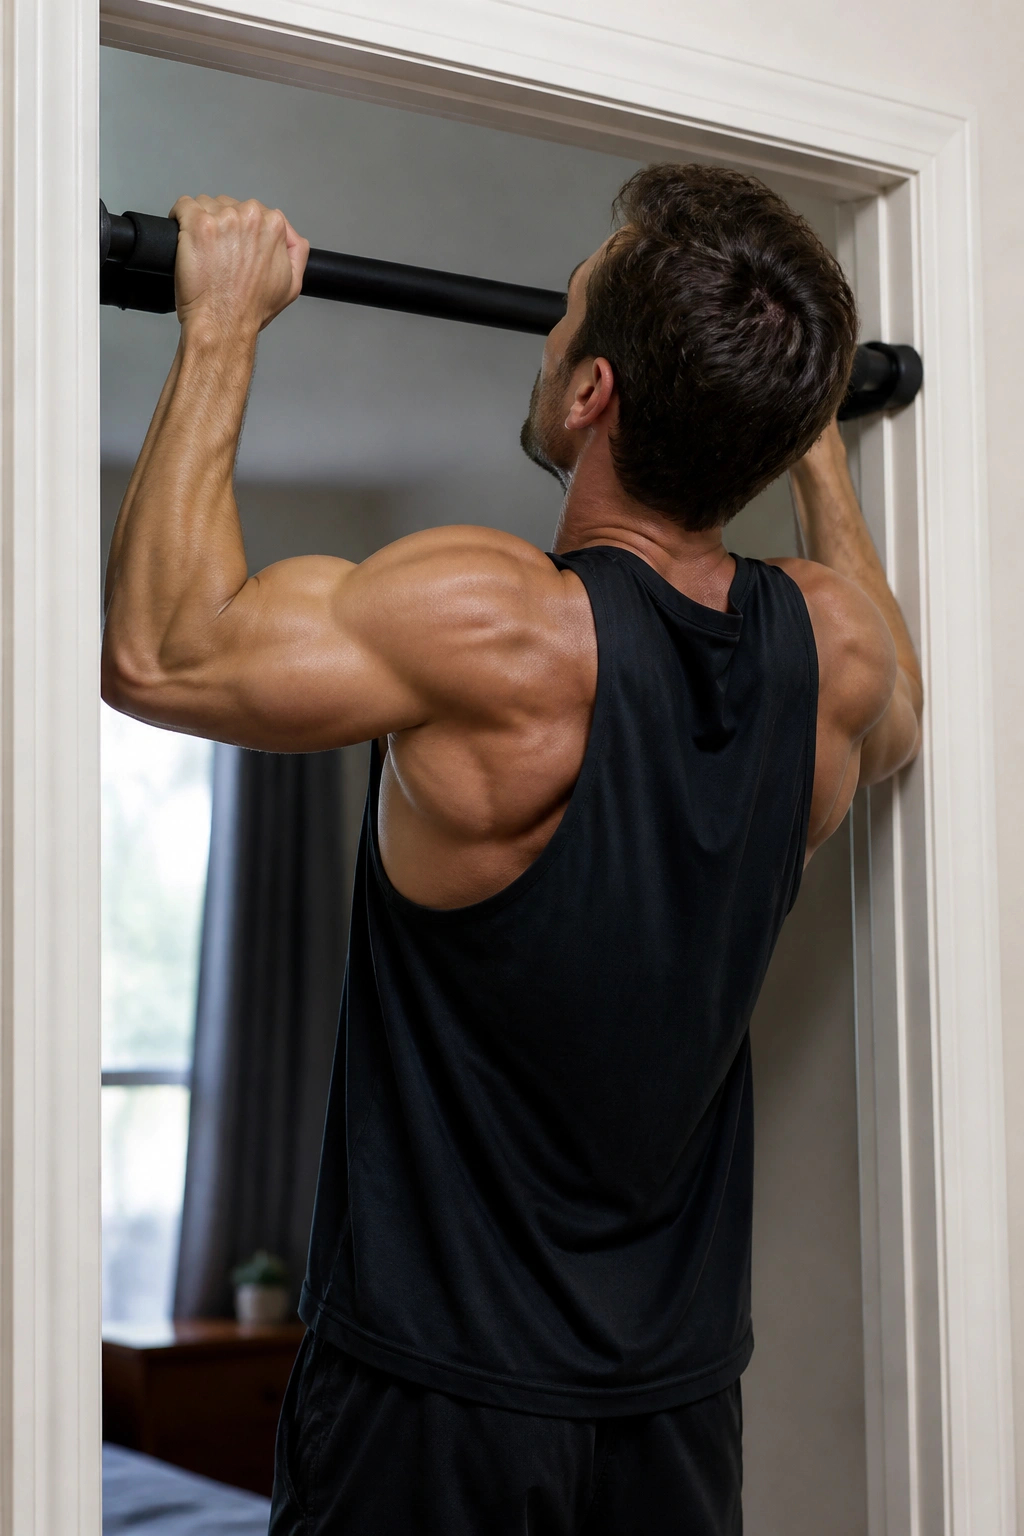
If you have a pull-up bar, use it. Full stop. Pull-ups are one of the best home exercises for adding back width and arm size because they’re hard, honest, and brutally easy to measure.
Chin-ups, with the palms facing you, usually bring the biceps in more. Pull-ups, with palms away, lean harder into the lats and upper back. Both belong in a muscle-building home plan.
Which version should you use?
If your biceps are lagging, chin-ups usually feel friendlier. If your upper back is the priority, regular pull-ups have the edge. Either way, don’t swing. No kipping. No leg flailing. Just pull.
Use 4 to 6 sets of 3 to 8 reps. If you can do more, start adding a backpack or slowing the lowering phase. If you can only do one or two, that still counts. The work is what matters, not the number on the first week.
12. Negative Pull-Up
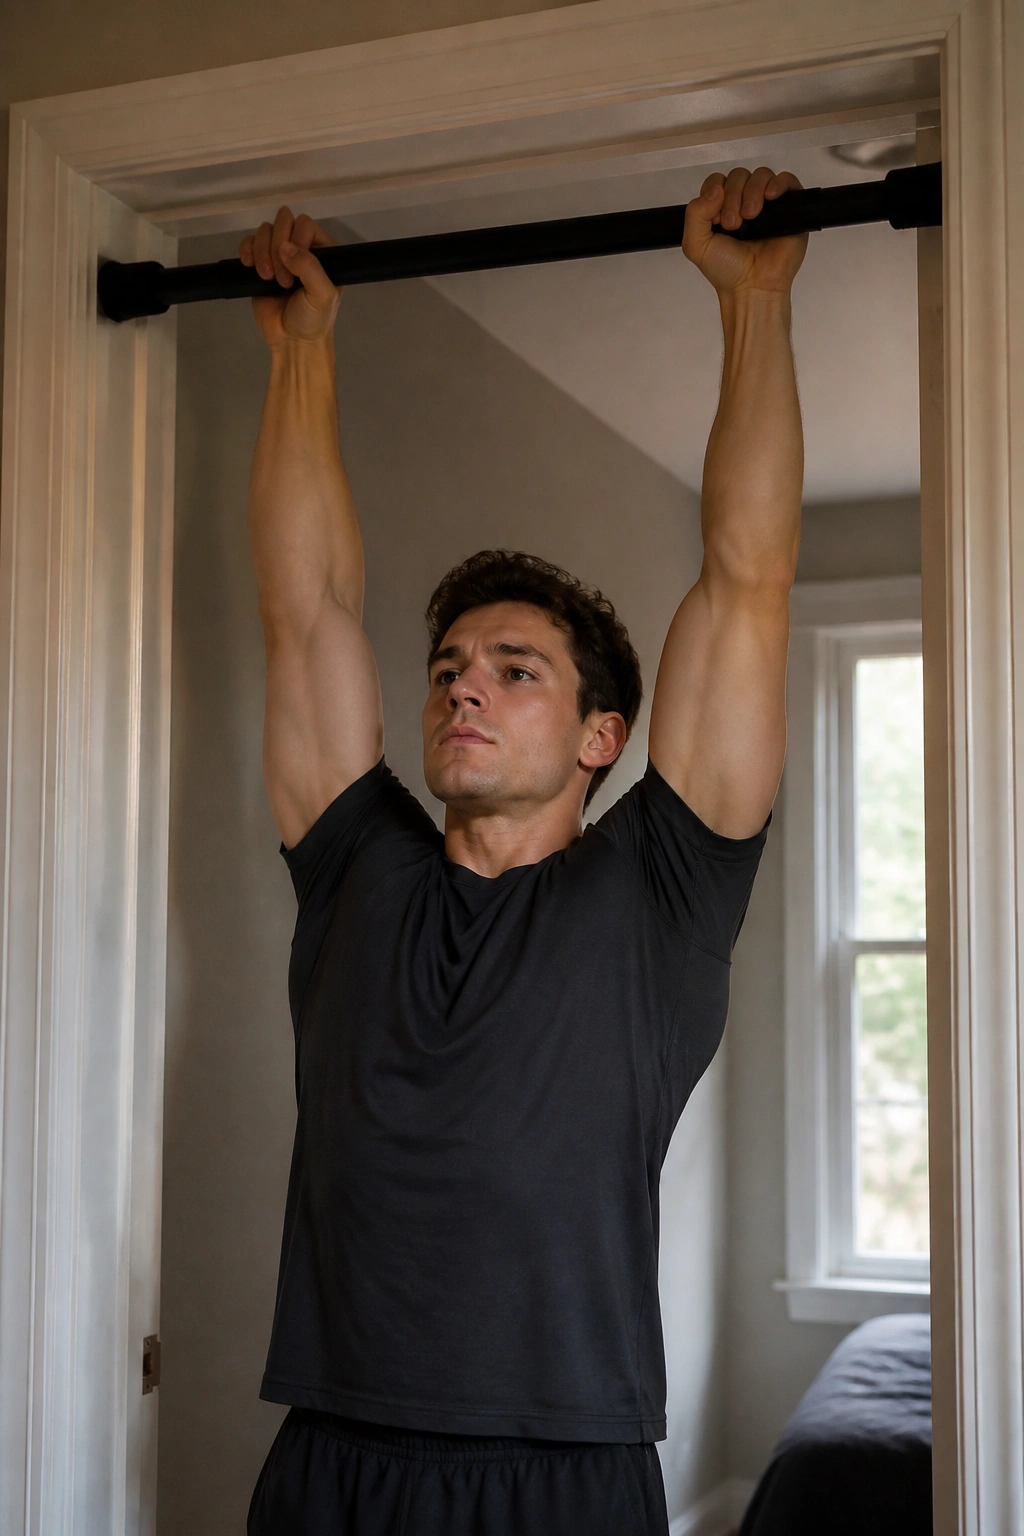
When a full pull-up is still out of reach, negatives bridge the gap. Jump or step to the top position, hold the bar, and lower yourself over 4 to 8 seconds.
Slow is the point.
That long descent teaches your back and arms how to own the movement. You get more control, more tension, and less of the sloppy momentum that steals the benefit from faster reps.
3 to 5 sets of 3 to 5 negatives is enough. Rest a full minute or two between sets. If the last half of the lowering starts to collapse, shorten the range and keep the descent smooth. Ugly reps are not a win here.
13. Backpack Overhead Press for Home Shoulder Growth
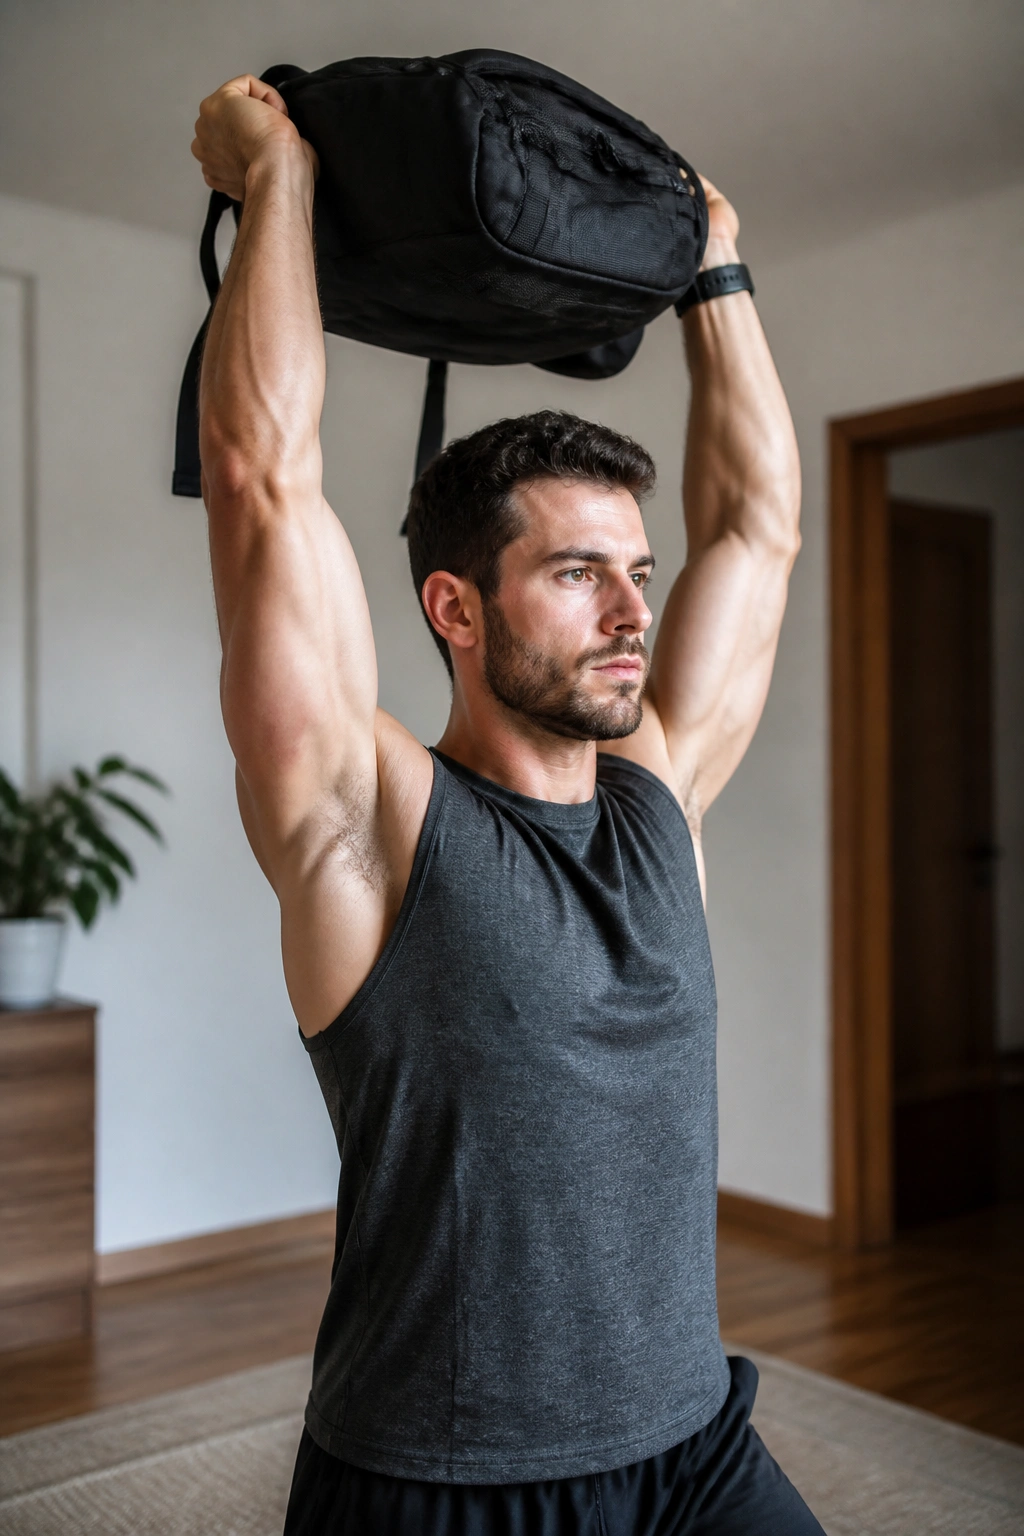
A strong overhead press matters if you want shoulders that look like they do more than sit there. A loaded backpack can work here, though a pair of heavy water jugs or gallon containers may feel cleaner in the hands.
Stand tall. Brace your ribs. Press straight overhead without leaning back like you’re trying to dodge a punch.
That lower-back arch is the big mistake. It turns shoulder work into a weird standing stretch. Keep your glutes tight and your core braced so the delts do the pressing.
3 to 5 sets of 8 to 15 reps is plenty. If the load feels awkward overhead, reduce weight and slow the lowering phase. A controlled rep with a weird object still beats a sloppy rep with a fancy one.
14. Backpack Biceps Curl
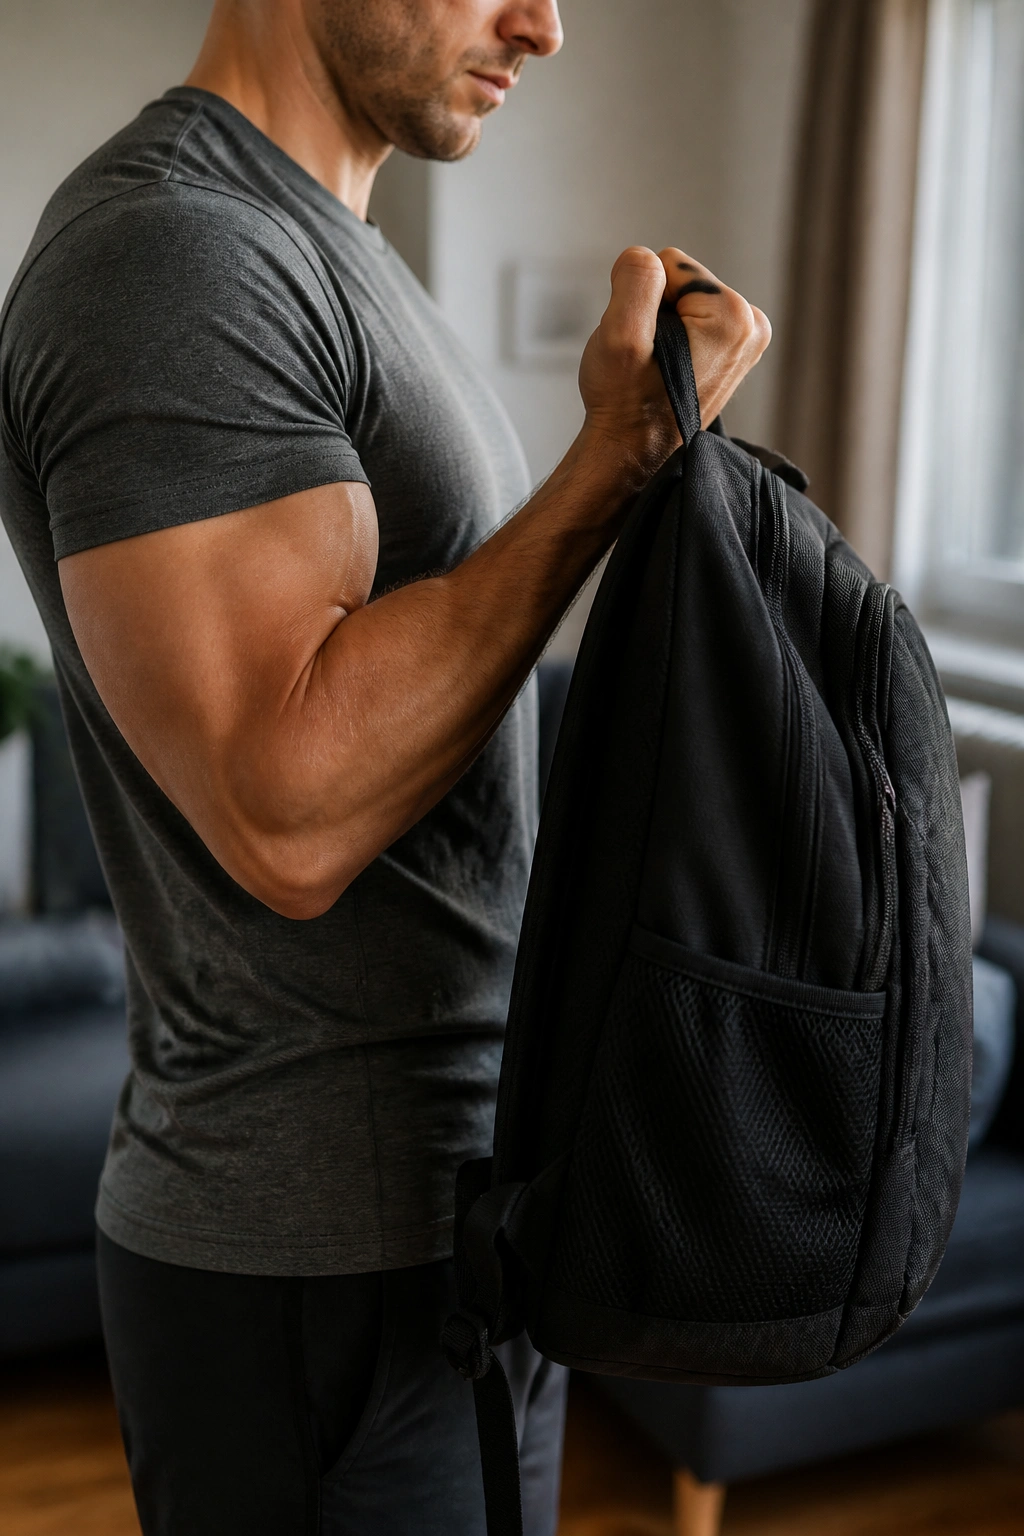
Yes, curls count. Not as much as rows and pull-ups, but if you want fuller arms, direct biceps work helps, especially when you’re training at home and not getting a lot of extra pulling volume.
A backpack curl works best when the load is balanced and your elbow stays pinned near your ribs. Curl the bag without throwing your shoulder forward. Then lower it under control, because the lowering phase is where the biceps get punished most.
Small form cues that matter
- Keep your upper arm still.
- Don’t rock your torso.
- Squeeze hard for a full second at the top.
- Use a slower lowering phase than the lifting phase.
If the backpack is awkward, switch to a tote bag or a water jug. The tool matters less than the tension. 3 to 4 sets of 8 to 15 reps per arm is usually enough to make your arms complain in the right way.
15. Bodyweight Squat
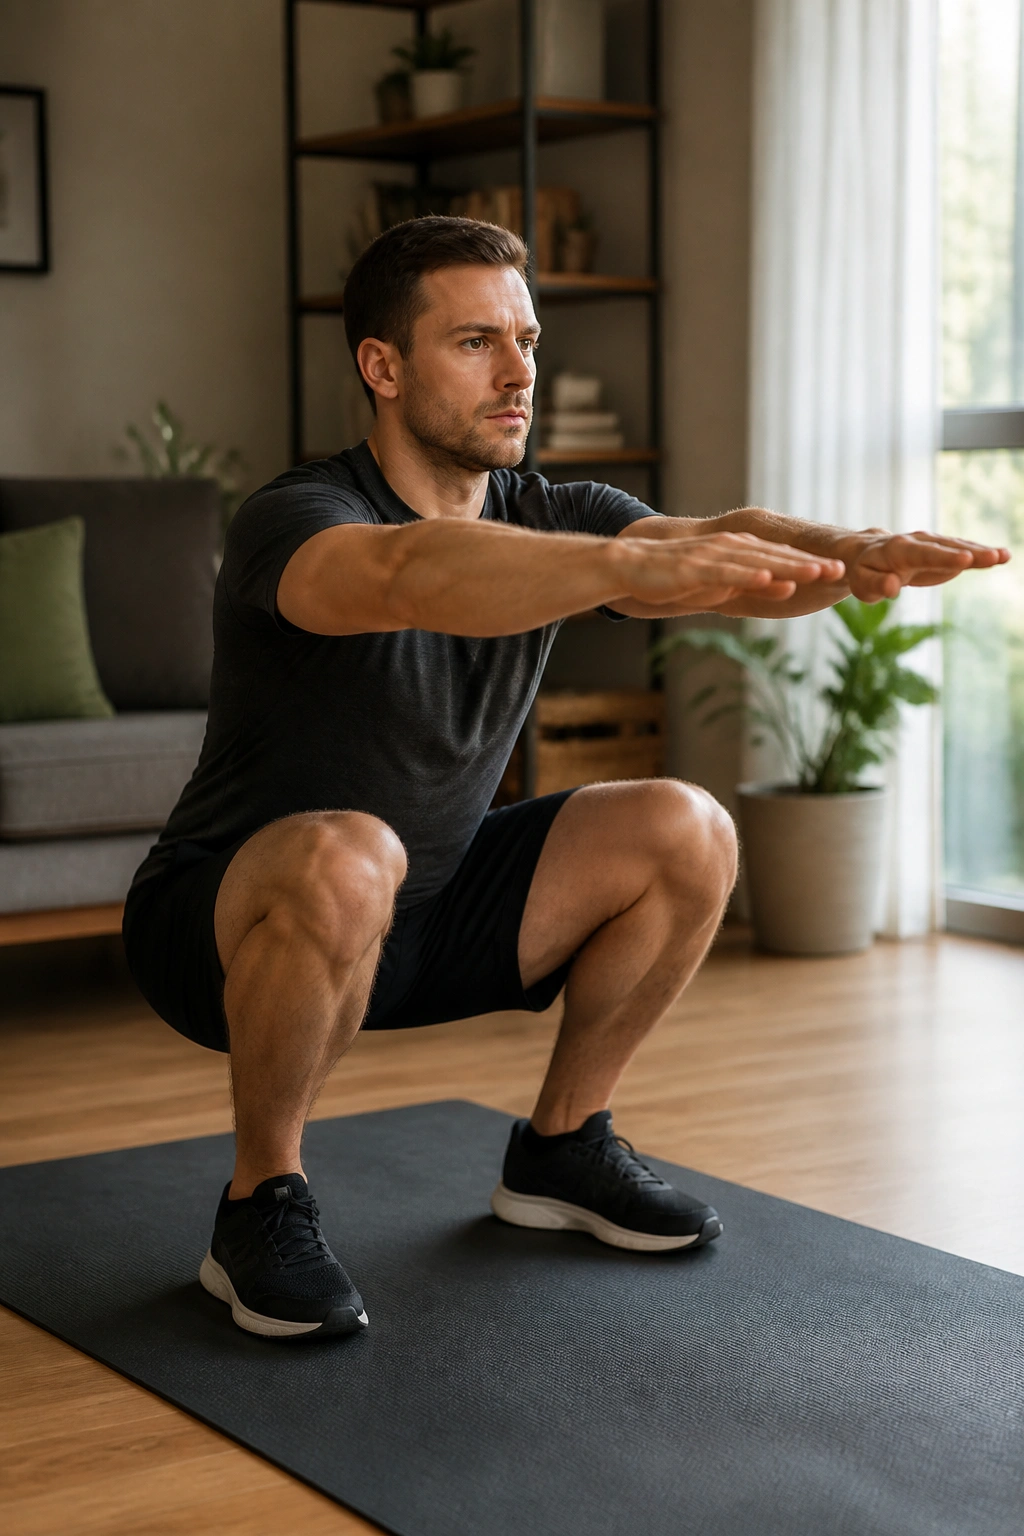
Bodyweight squats are only “easy” if you treat them like a quick dip and stand. Put some tempo into them, sink to a real depth, and the quads start talking back.
Lower for 3 seconds, pause for 1 second near the bottom, and drive up through the whole foot. Keep your heels down and your knees tracking over your toes. That’s boring advice, but it’s the stuff that keeps the set useful.
Once you can do long sets with clean form, add load with a backpack held at the chest. That turns a plain squat into a real home hypertrophy tool.
3 to 5 sets of 12 to 20 reps works well. If you can grind 20 good reps, the exercise is no longer bodyweight-only in practice. Make it harder.
16. Bulgarian Split Squat
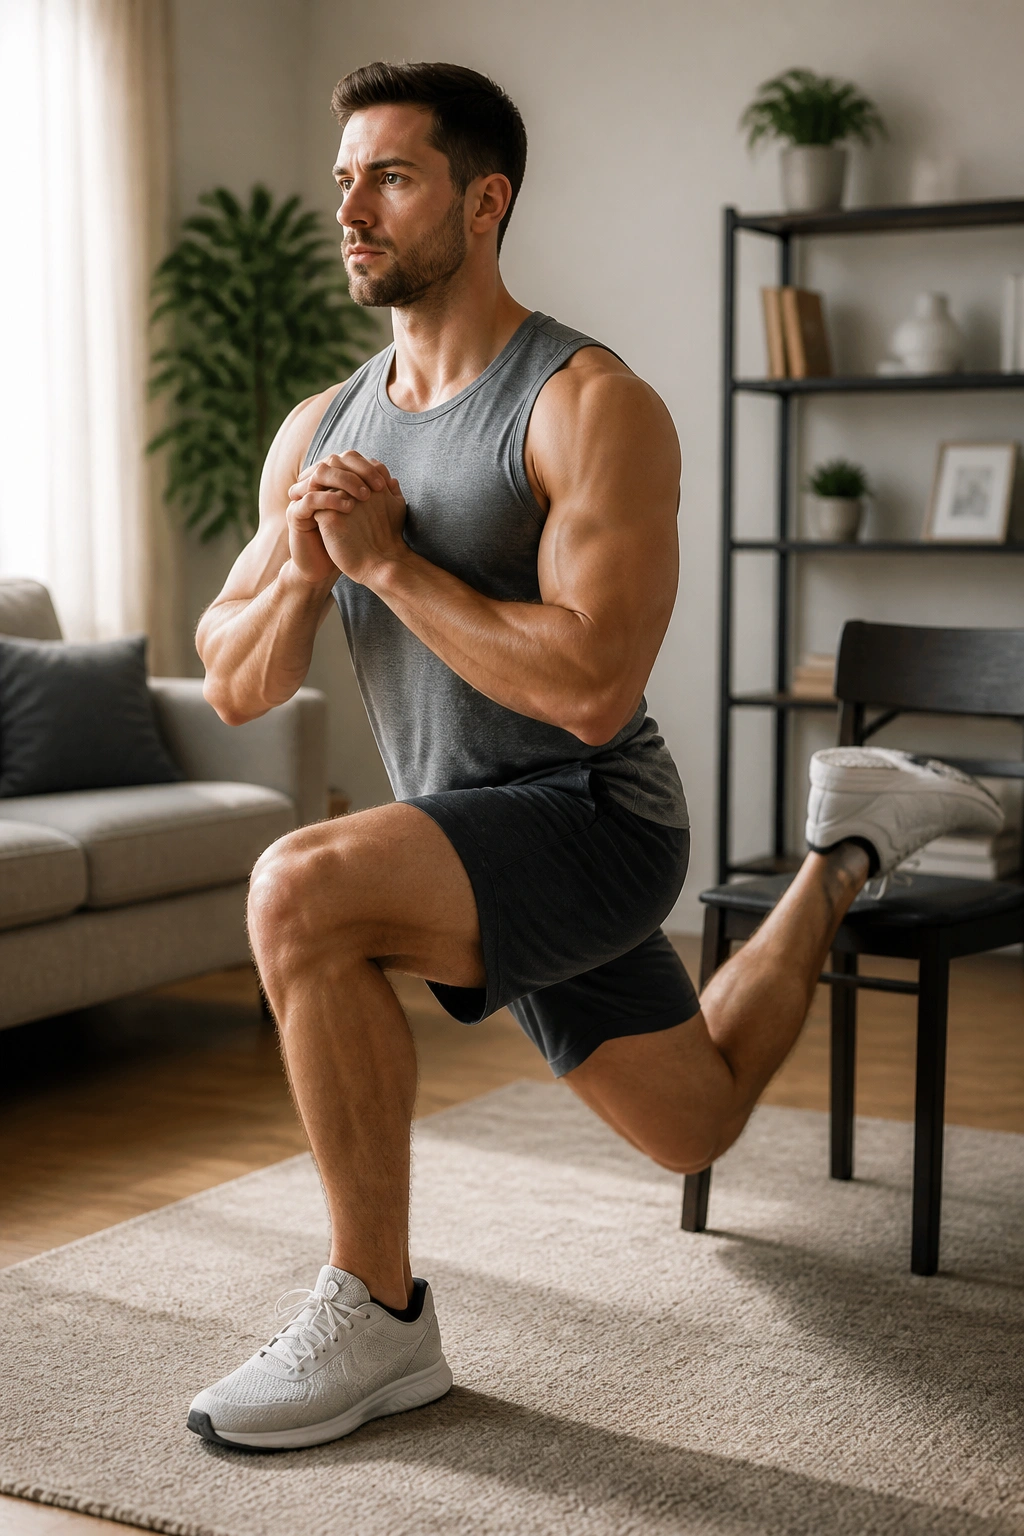
This one can humble people fast. Put your back foot on a chair or couch, keep your front foot planted, and lower until the front thigh is close to parallel. Then drive up through the front leg like the back one doesn’t exist.
It hits quads and glutes hard, and the balance demand keeps you honest. You cannot cheat a split squat very far before the rep falls apart. That’s a good thing.
How to make it feel right
A longer stance leans more into the glutes. A shorter stance makes the quads work harder. Hold a backpack at chest level once bodyweight feels too light, and keep the front heel down the whole time.
Use 3 to 4 sets of 8 to 12 reps per leg. The first side always feels better than the second one. That is normal. The second side is where the work lives.
17. Reverse Lunge
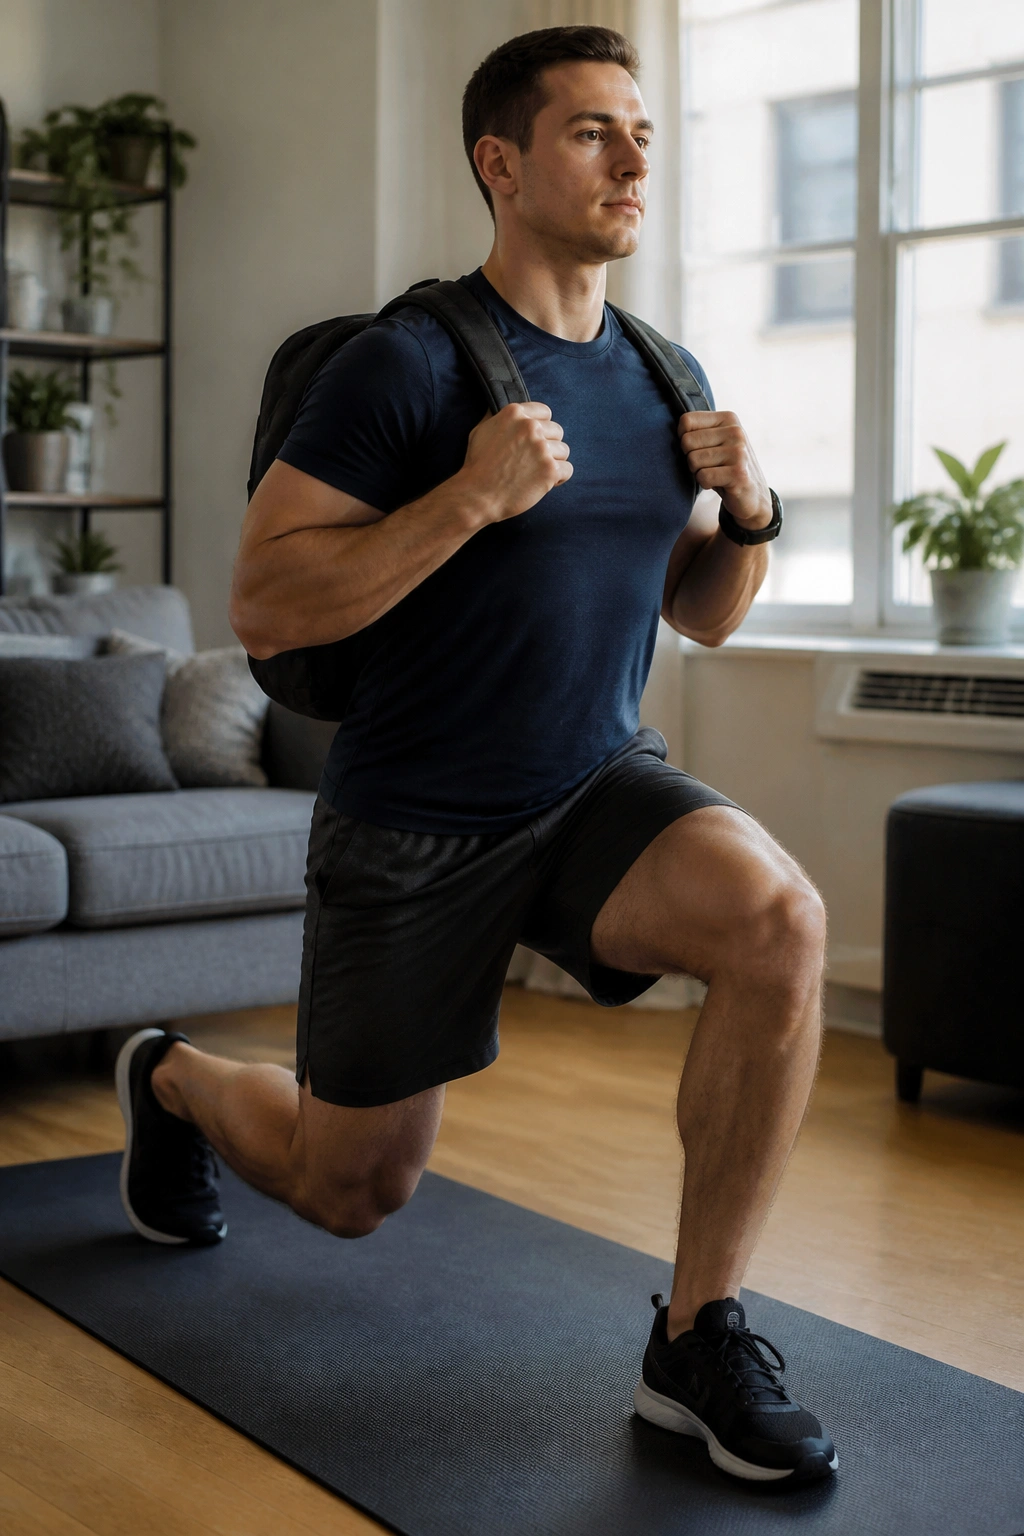
Step backward, not forward, and you usually get a kinder setup for the knees and a cleaner balance pattern. Reverse lunges still load the quads and glutes well, but they tend to feel less chaotic than forward lunges.
The back foot taps lightly. The front leg does the lifting. That’s the point. If you push hard off the back leg, the front leg gets less out of it.
This one is especially good when you want repeatable volume without beating up your knees. It also pairs well with split squats because the two movements don’t feel exactly the same in the hips.
Try 3 to 4 sets of 10 to 15 reps per side. Add a backpack when bodyweight no longer slows you down.
18. Step-Up
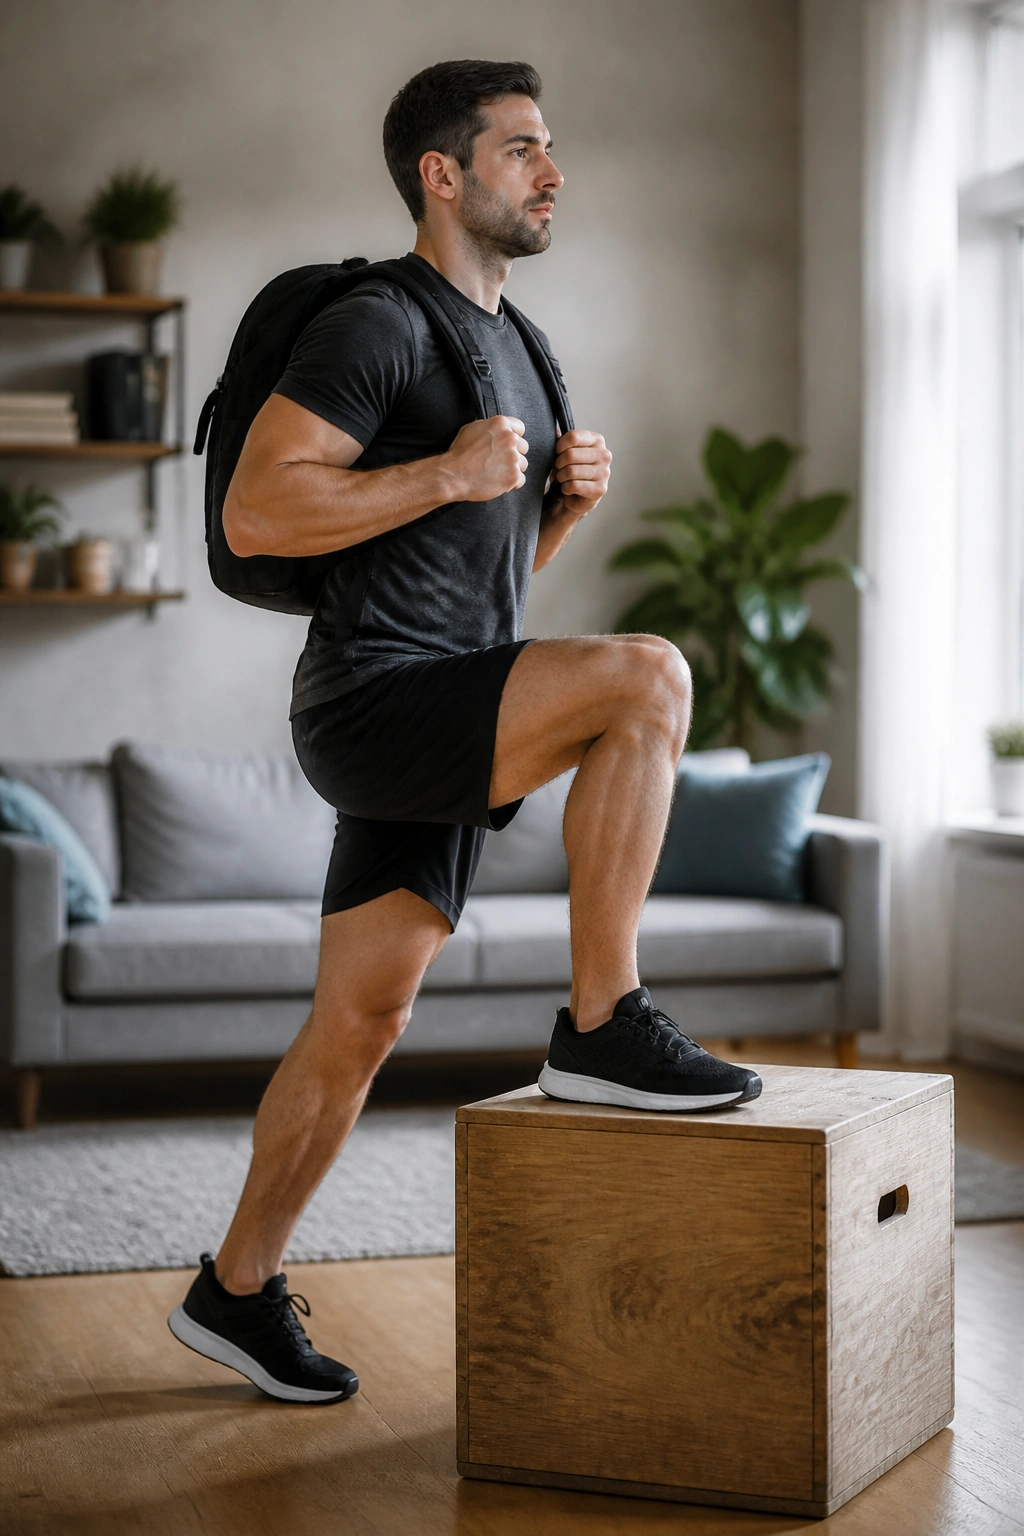
Step-ups look tame until you do them with control. Pick a sturdy box, chair, or step that puts your working thigh around parallel or a little below it, then drive straight up without jumping off the back leg.
The leading leg should do the real work. If you’re launching off the floor with the trailing leg, the movement has slipped away from you.
A slow lower on the way down changes the whole feel. The quad and glute on the working side stay under tension longer, and that matters more than people think.
3 to 4 sets of 8 to 12 reps per leg is a solid place to start. Add a backpack once the top position feels stable and you can keep your torso from swaying.
19. Hip Thrust
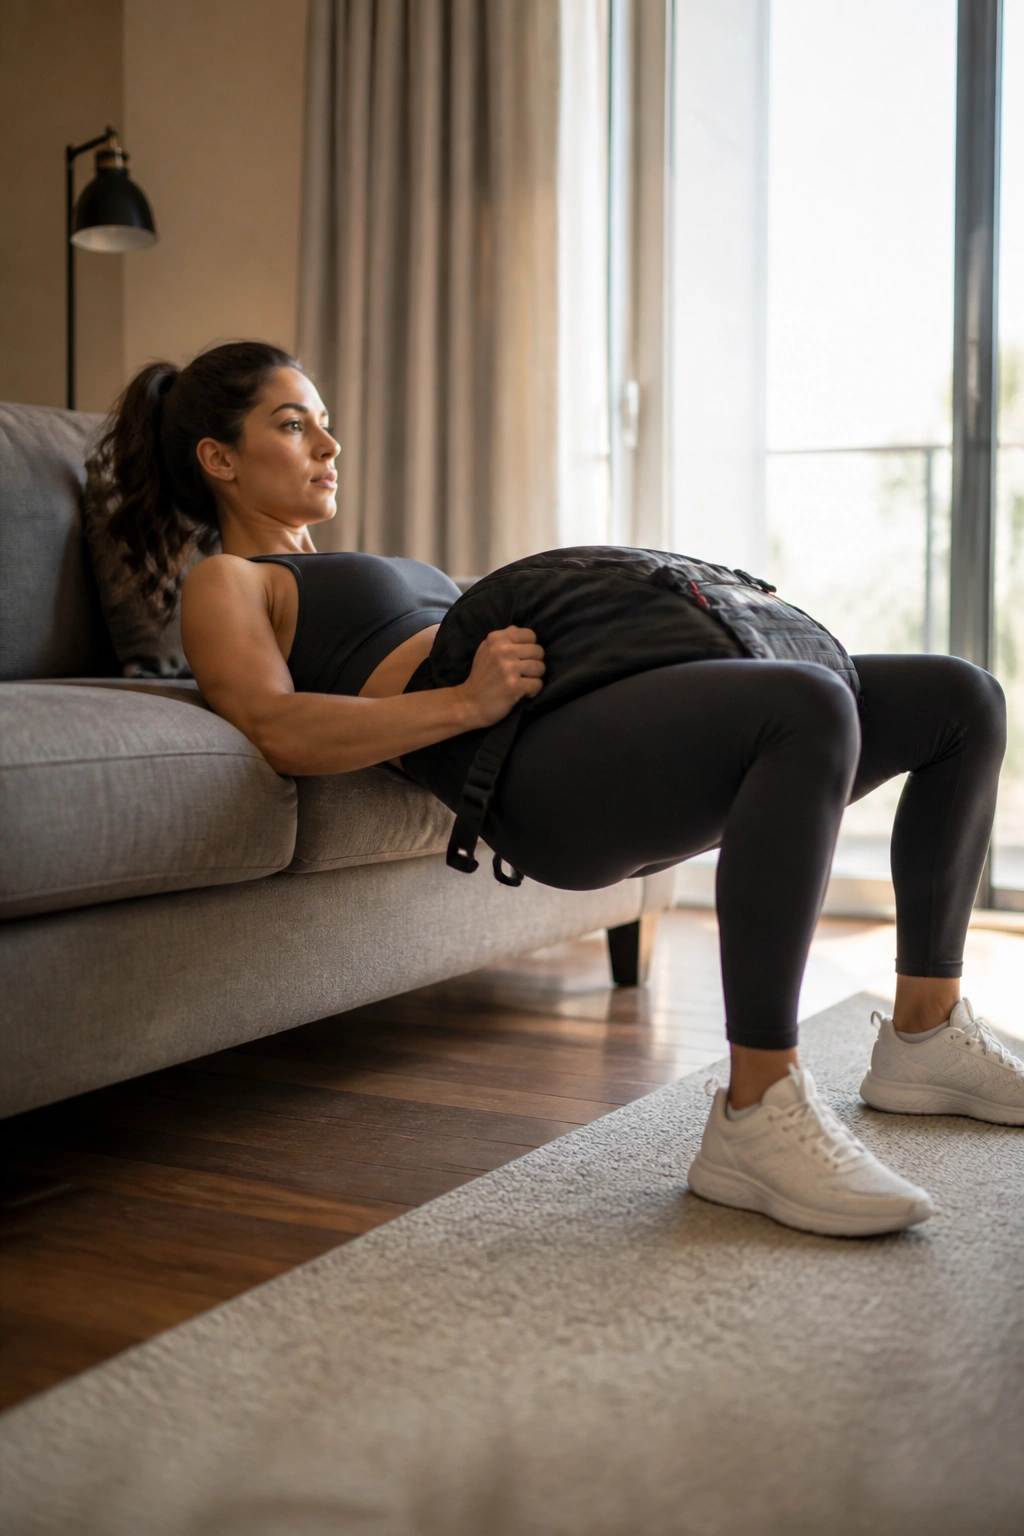
If you want glutes, this one earns its keep. Set your upper back on a couch or sturdy bench, plant your feet, and drive your hips up until your torso and thighs line up. Squeeze the glutes hard at the top for a full second.
A backpack across the hips can turn it from a bodyweight move into a real load-bearing exercise. Pad the bag with a towel so it does not bite into the hip bones.
Keep your chin tucked a little and stop the top position before your lower back takes over. You want glutes, not a dramatic spinal arch.
Use 3 to 4 sets of 10 to 20 reps. The higher rep range works well here because the movement is friendly on the joints and easy to load at home.
20. Single-Leg Glute Bridge
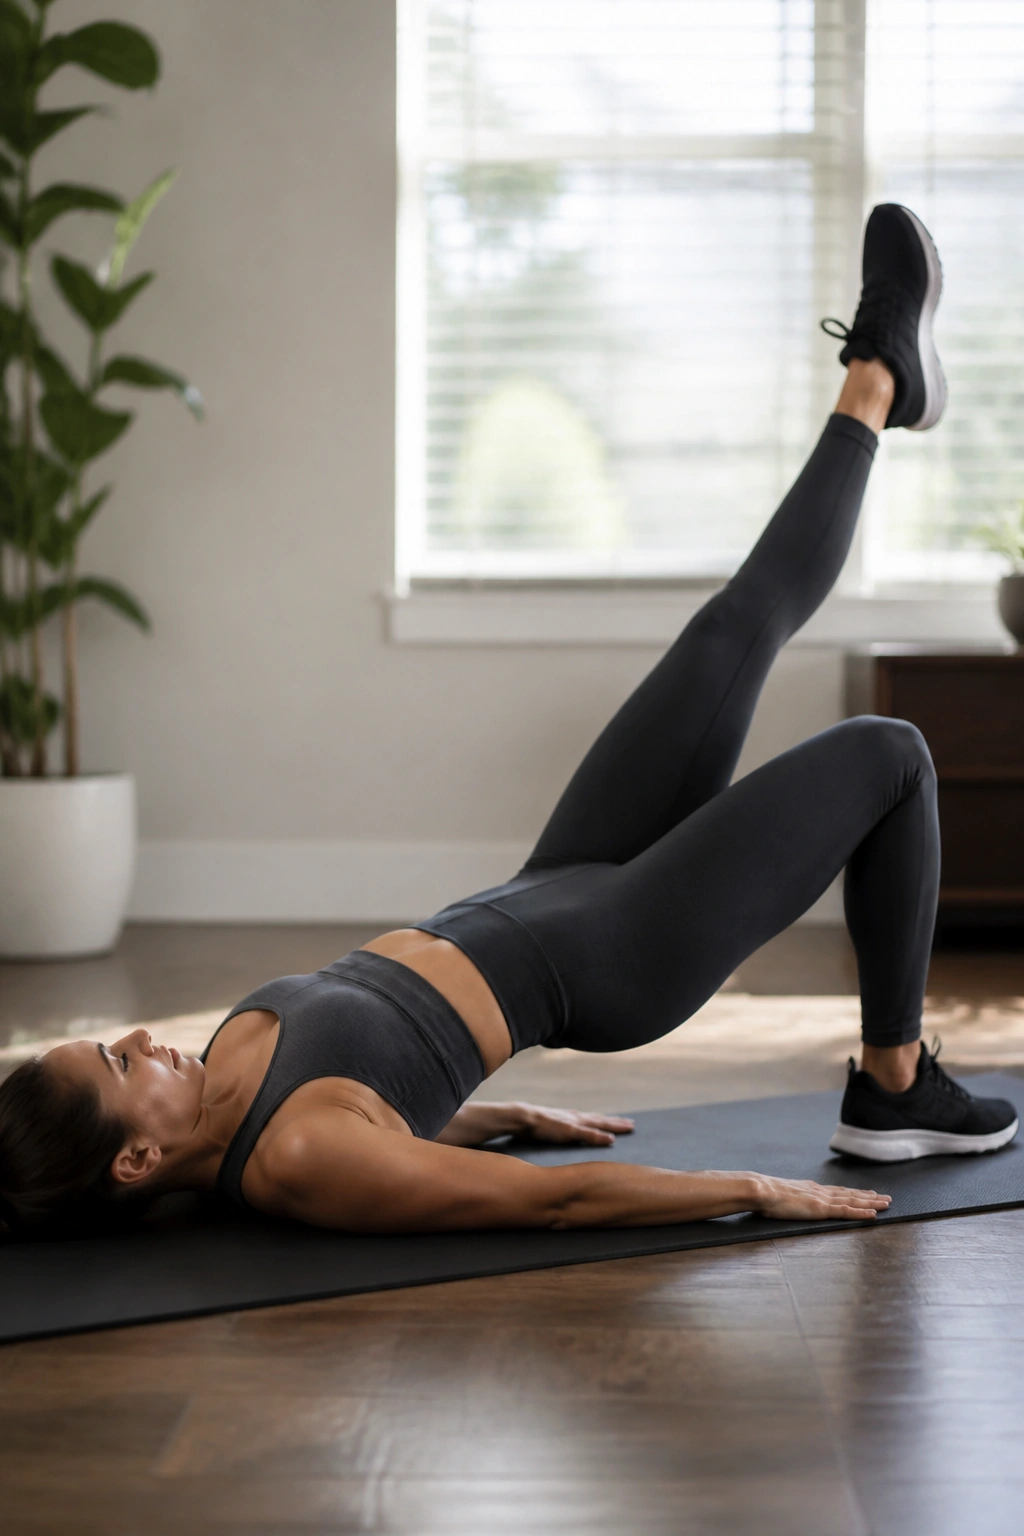
This is the quieter cousin of the hip thrust, and it’s sneaky good. Lie on the floor, plant one foot, extend the other leg, and lift your hips until your pelvis stays level and your glute is doing the heavy lifting.
It’s a simple move, but simple does not mean easy. Keep your lower back from taking over, and don’t let the lifted leg sag just because the set gets hard.
A small pause at the top helps. So does a slow lower. If you want more work without more load, hold the top position for two breaths before coming down.
3 to 4 sets of 8 to 15 reps per leg is enough for most people. It’s also a smart option when you want glute work but your lower back has had enough for the day.
21. Hamstring Slide Curl
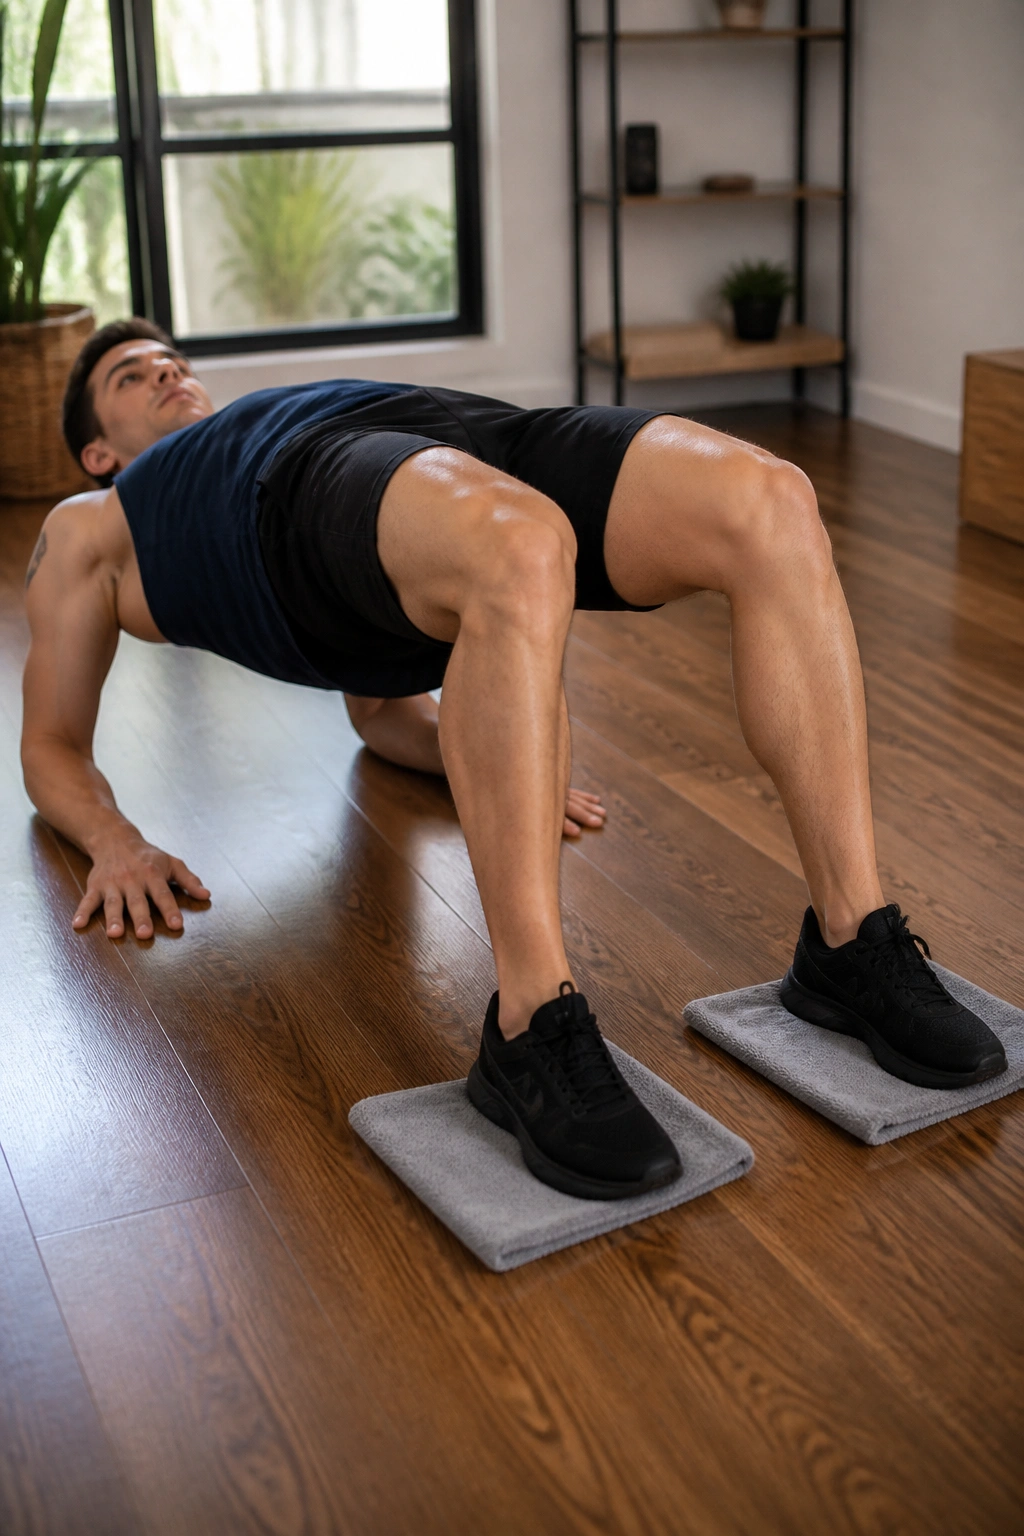
Take two towels, place them under your heels on a smooth floor, and bridge your hips up. From there, slide your feet out and in while keeping the hips lifted as best you can.
Hamstrings cramp on this one all the time. That’s common. Reduce the range a little, breathe, and keep going if the form is still there.
The real challenge is keeping the hips high while the legs move. Once the pelvis drops, the rep is done. Don’t turn it into a rest stop halfway through.
Use 3 to 4 sets of 6 to 12 slow reps. Socks on tile or hardwood usually make the slide cleaner. Carpet makes it uglier, which is fine if you like suffering, but it also shortens the usable range.
22. Reverse Nordic Curl
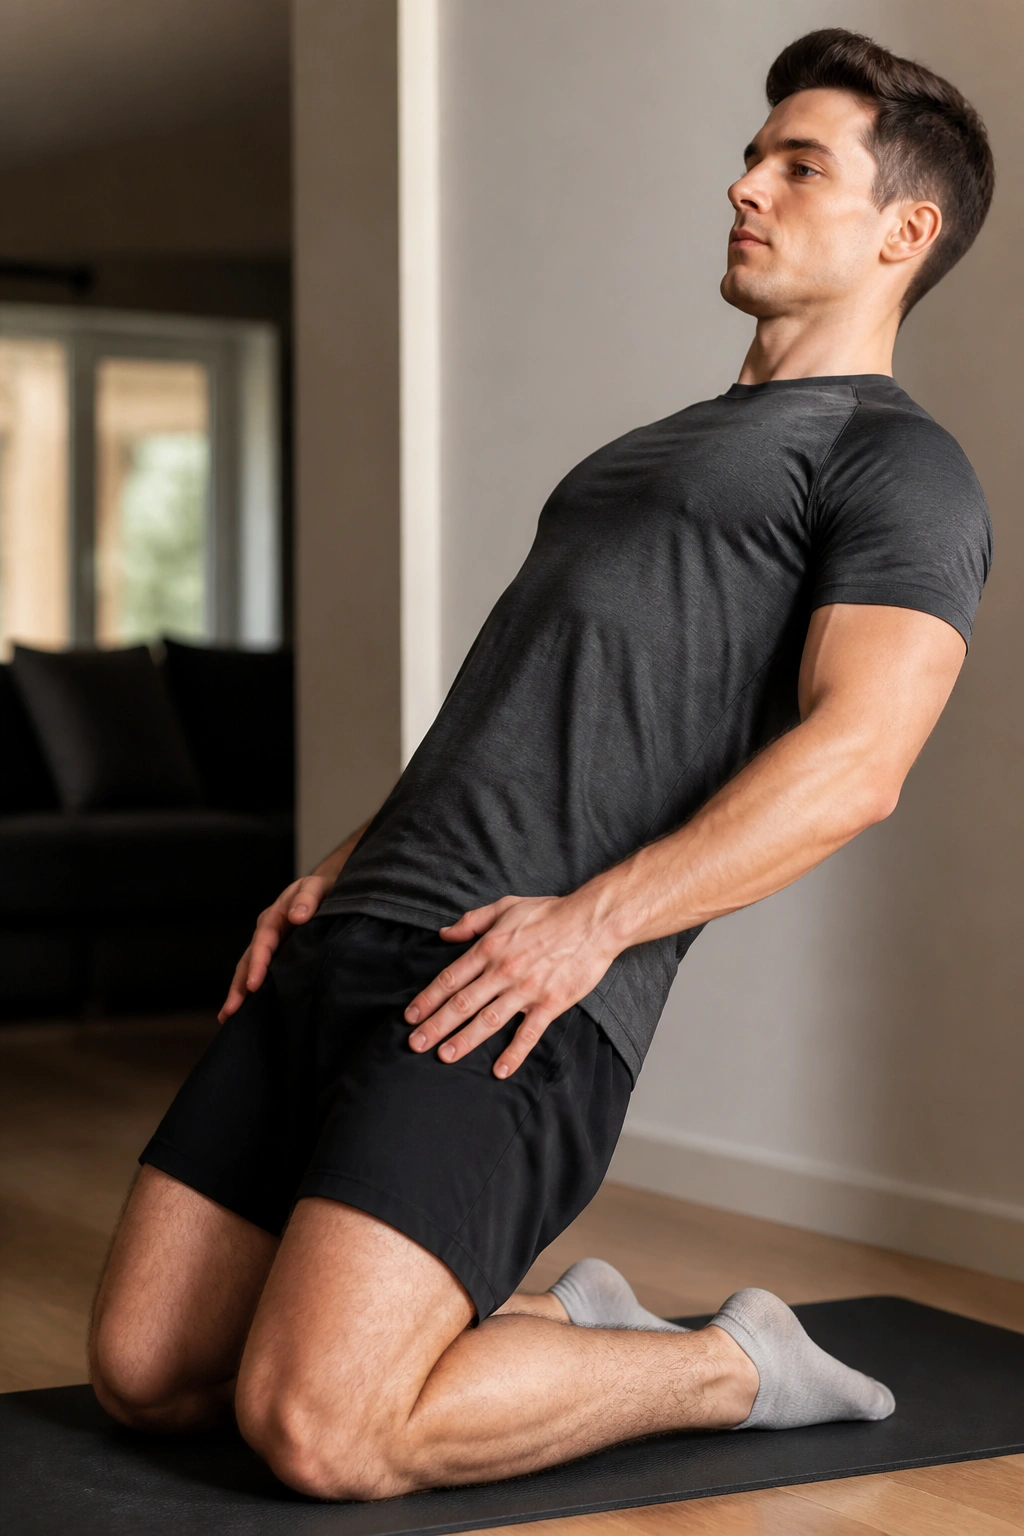
Kneel on a soft mat, keep your hips extended, and lean backward as one controlled piece. The quads take the hit, especially the rectus femoris, which is the front part that often gets left behind in simpler leg work.
This exercise looks mild until you try to come back up. Then your thighs remind you who is in charge.
Start with a short range. Use your hands on your thighs or near a wall if you need a touch of help. The goal is not to fold backward like a folding chair. The goal is to own the tension and stop before your knees or lower back get irritated.
3 to 4 sets of 6 to 15 reps is enough. If your knees are touchy, cut the depth and keep the motion smooth. If you can control the full range, this move becomes one of the nastier quad finishers you can do without leaving the house.
The nice part about a list like this is that you do not need all 22 exercises in one day. Pick a push, a pull, a squat pattern, a hinge or bridge, and one arm or shoulder move, then repeat the same few long enough to get stronger. That’s the part people skip. They chase variety when they need progression.
A backpack that gets heavier, reps that get cleaner, and sets that get closer to true effort — that’s where home muscle gain starts to look real.
