



Some strengthening yoga flows look gentle until your thighs start shaking. That’s the part I like. A mat, a little floor space, and a few clean transitions can turn into a session that works your legs, core, shoulders, and glutes without any weights at all.
The trick is not speed. It’s control. A 90-second home yoga sequence can feel a lot harder than it looks if you slow the lowering, keep the ribs tucked in, and stop hanging on your joints like they owe you money.
I’ve always thought the best yoga for strength has a certain honesty to it. No flashy setup. No clutter. Just poses that make you stay present long enough to feel the work, then move before the body starts cheating. The 22 flows below do exactly that.
1. Sun Salutation With Plank Drops
Sun salutations are often treated like a warm-up, but they can carry a lot more weight than that. Once you slow the pace and add a controlled plank drop, the whole thing turns into a compact strength set for the shoulders, core, calves, and upper back.
Start standing, then move through a classic reach, fold, half lift, plank, and lower-to-the-floor pattern. The magic lives in the middle. If you move like you’re in a hurry, the flow stays light. If you stay in each shape for 2 or 3 breaths, your body has to earn every inch.
How to make it count
- Take 3 full rounds at a slow pace.
- Pause in plank for 1 breath before lowering.
- Keep the elbows close if you lower through chaturanga.
- Use knees-down cobra if your low back starts to pinch.
My blunt opinion: if your shoulders wobble in plank, skip the fancy version and use knees down. Clean form beats a prettier shape every time.
2. Chair Pose to Crescent Lunge Switches
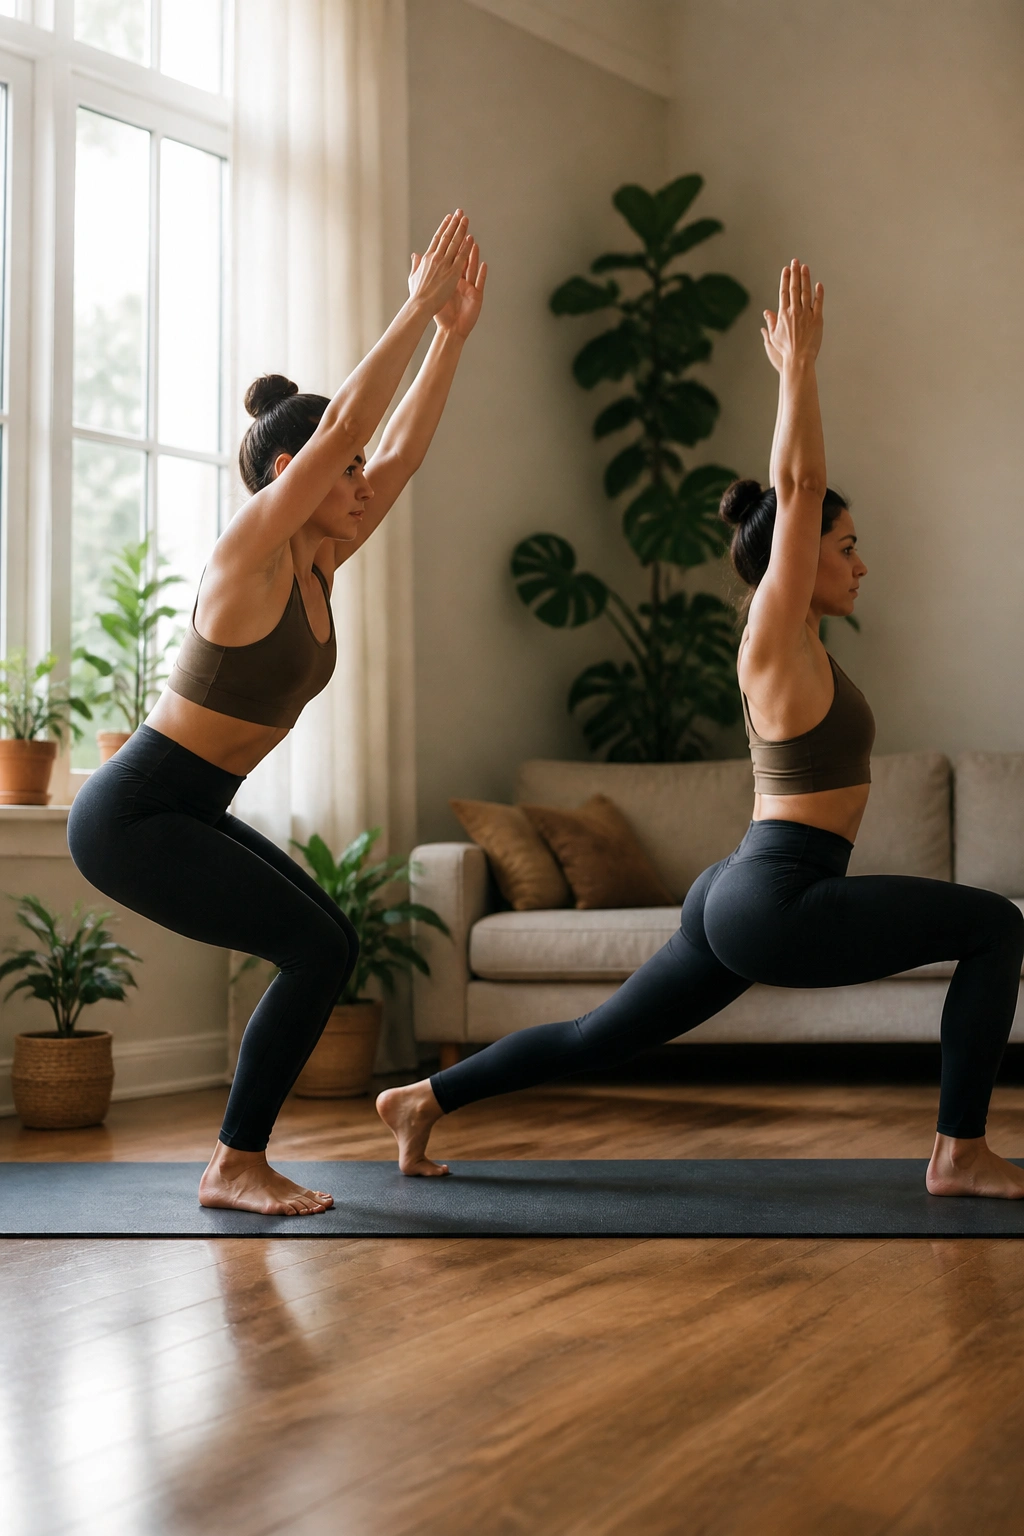
Chair Pose is not a rest stop. It’s a squat with a yoga name, and once you start stepping back into Crescent Lunge from it, the legs light up fast. Quads, glutes, calves, and the standing foot all get involved, which is why this flow feels so useful at home.
Stand tall, sit back into Chair for 3 breaths, then step one foot behind you into Crescent Lunge. Drive the back knee up, return to Chair, and switch sides. Do 5 to 8 rounds per side, and keep your torso steady while the legs do the noisy work.
A lot of people rush the step-back and lose the point of the flow. Don’t. The control on the way down and back up is where the strength lives. The slower the switch, the harder the set.
If you want a sharper burn, hover the lifted foot an inch off the floor before placing it. Tiny pause. Big difference.
3. Warrior I to Warrior II to Side Angle
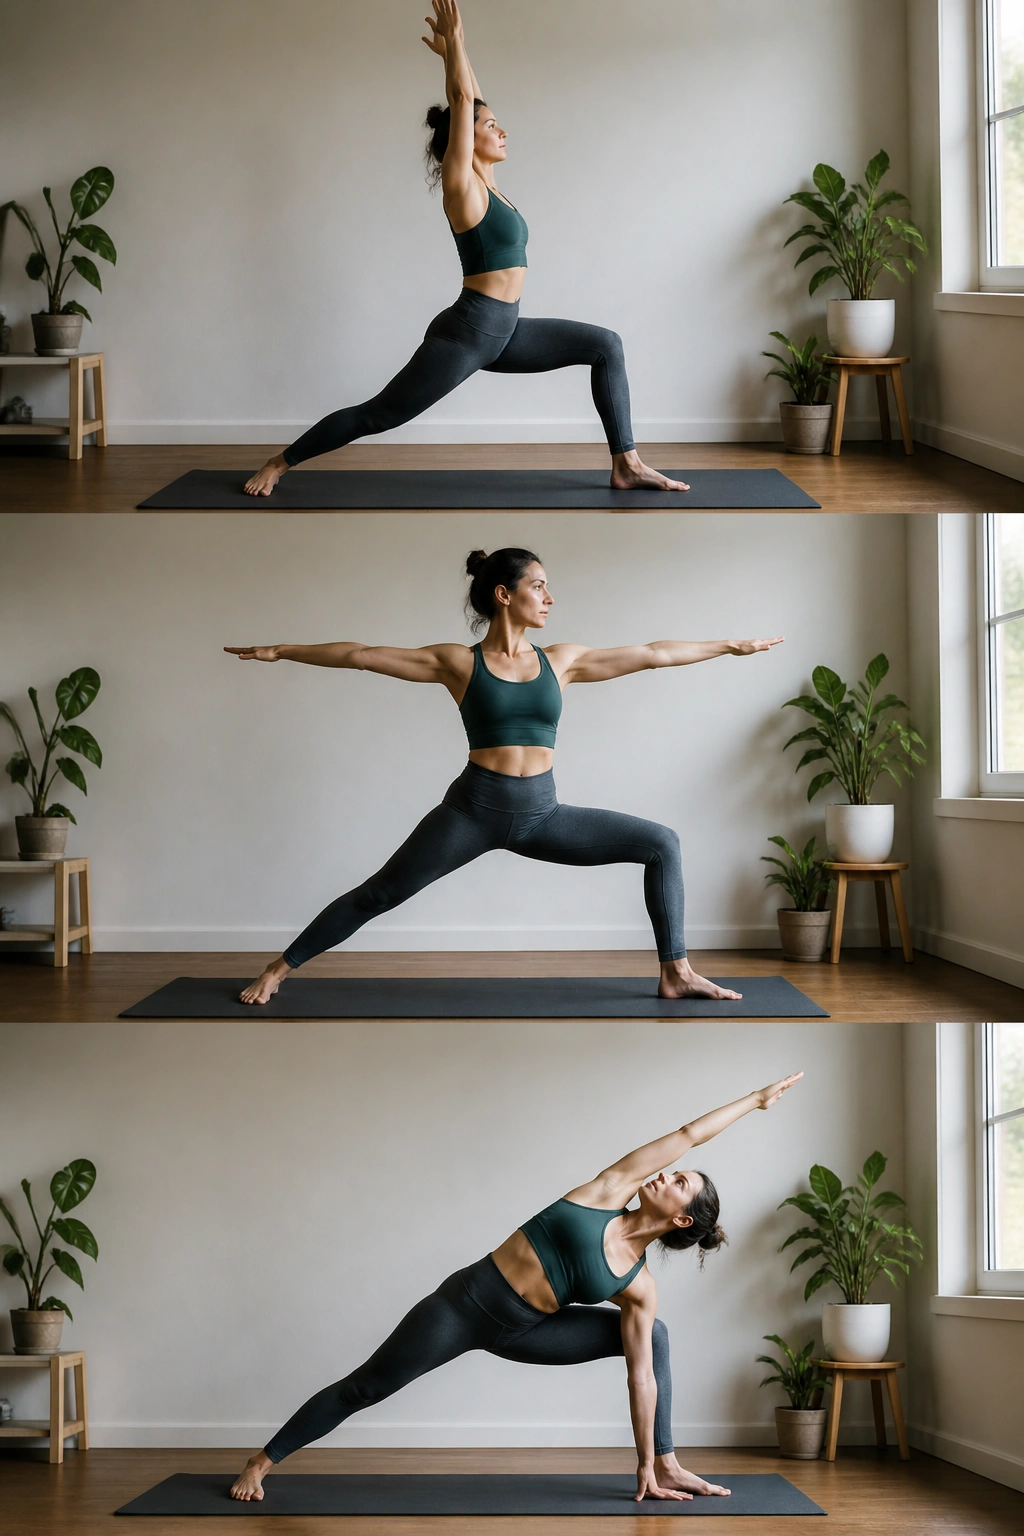
A room with a mat and one wall nearby is enough for this one. Step into a lunge, rise into Warrior I, open to Warrior II, then sink into Side Angle. It sounds simple on paper. It is not simple in the legs.
The front thigh keeps working the whole time, but the real challenge is staying organized while the torso changes direction. If the hips drift and the front knee caves in, the pose stops doing useful work. Keep the front knee tracking over the second toe, root the back outer edge of the foot, and let the breath stay calm.
- Hold each shape for 2 to 4 breaths.
- Keep the back heel heavy in Warrior I.
- Reach long through the side body in Side Angle instead of dumping weight into the front knee.
- Use the forearm on the thigh if the floor feels far away.
The appeal here is that the flow builds heat without feeling frantic. It’s steady. Predictable, even. And that makes it easy to repeat.
4. Low Lunge to Half Split Hamstring Flow
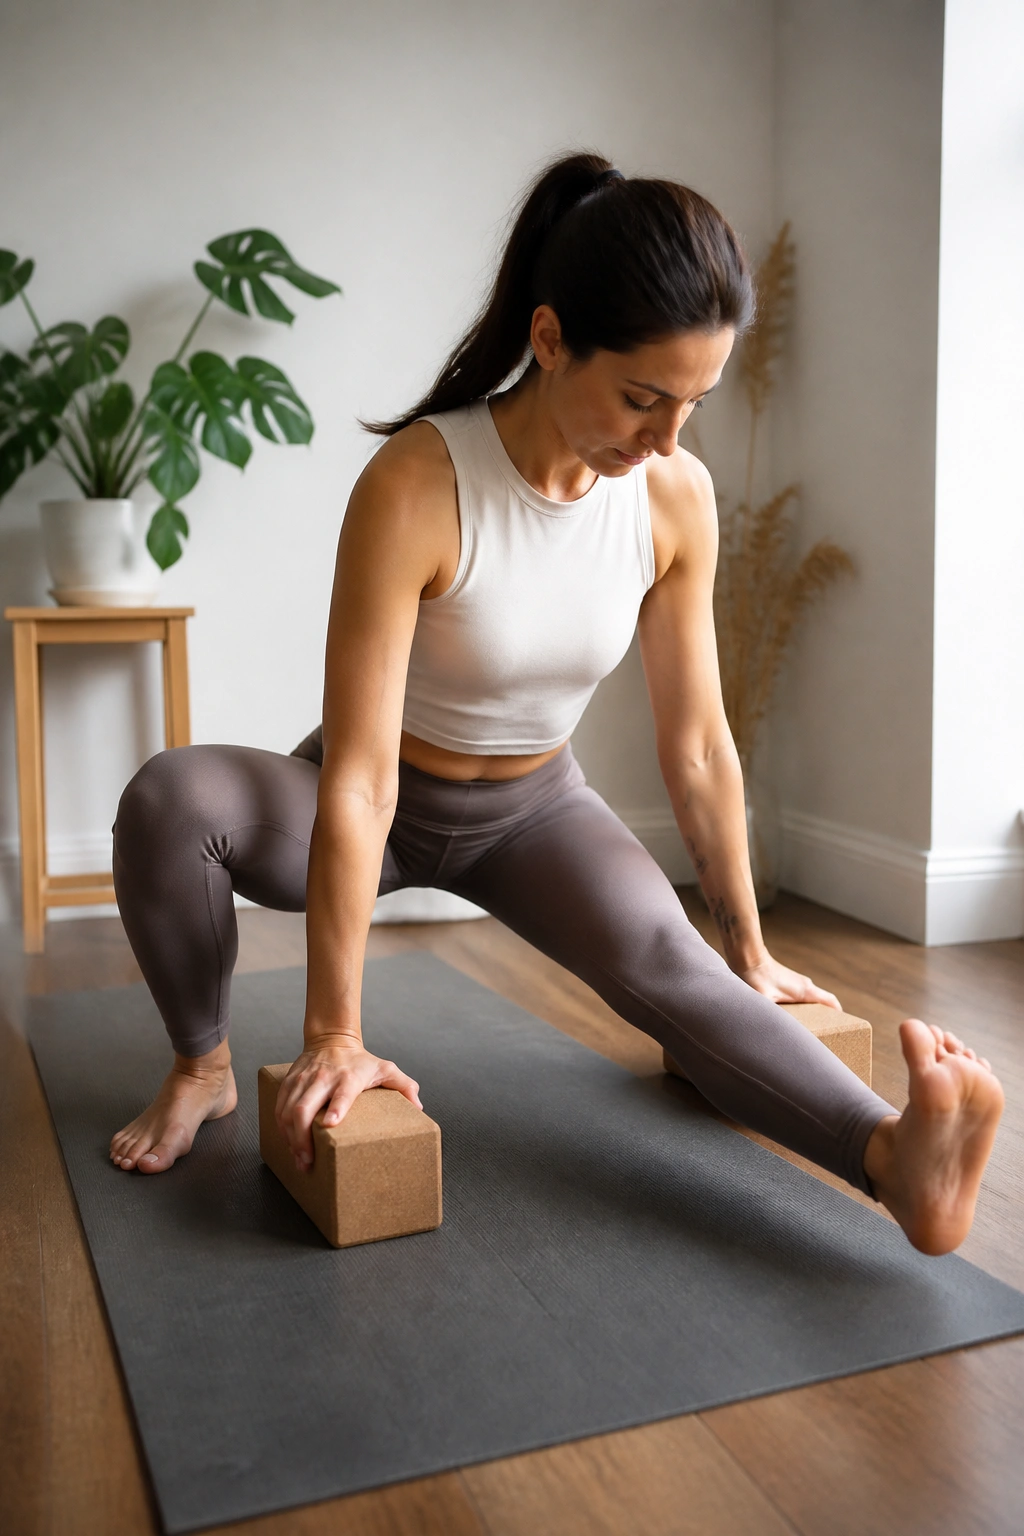
Why does this one feel calm and hard at the same time? Because the hips get one kind of work while the hamstrings get another. Low Lunge opens the front of the back leg, then Half Split asks the front leg to stay honest while the hips shift back.
Step into Low Lunge, keeping the back knee down if you want more control. Hold for 3 breaths, then shift back into Half Split and straighten the front leg as much as your hamstring allows. Bend the knee a little if the spine starts rounding. That small bend keeps the stretch useful instead of messy.
What to watch for
Don’t yank yourself deeper with the hands. That usually turns into a fight with the floor.
Use a block under the hands if the hamstrings are tight. A high hand position lets the pelvis tip forward a little more cleanly, and that matters. Do 5 slow switches per side, then finish with one extra breath in Half Split and call it good.
5. High Plank to Knee Drives
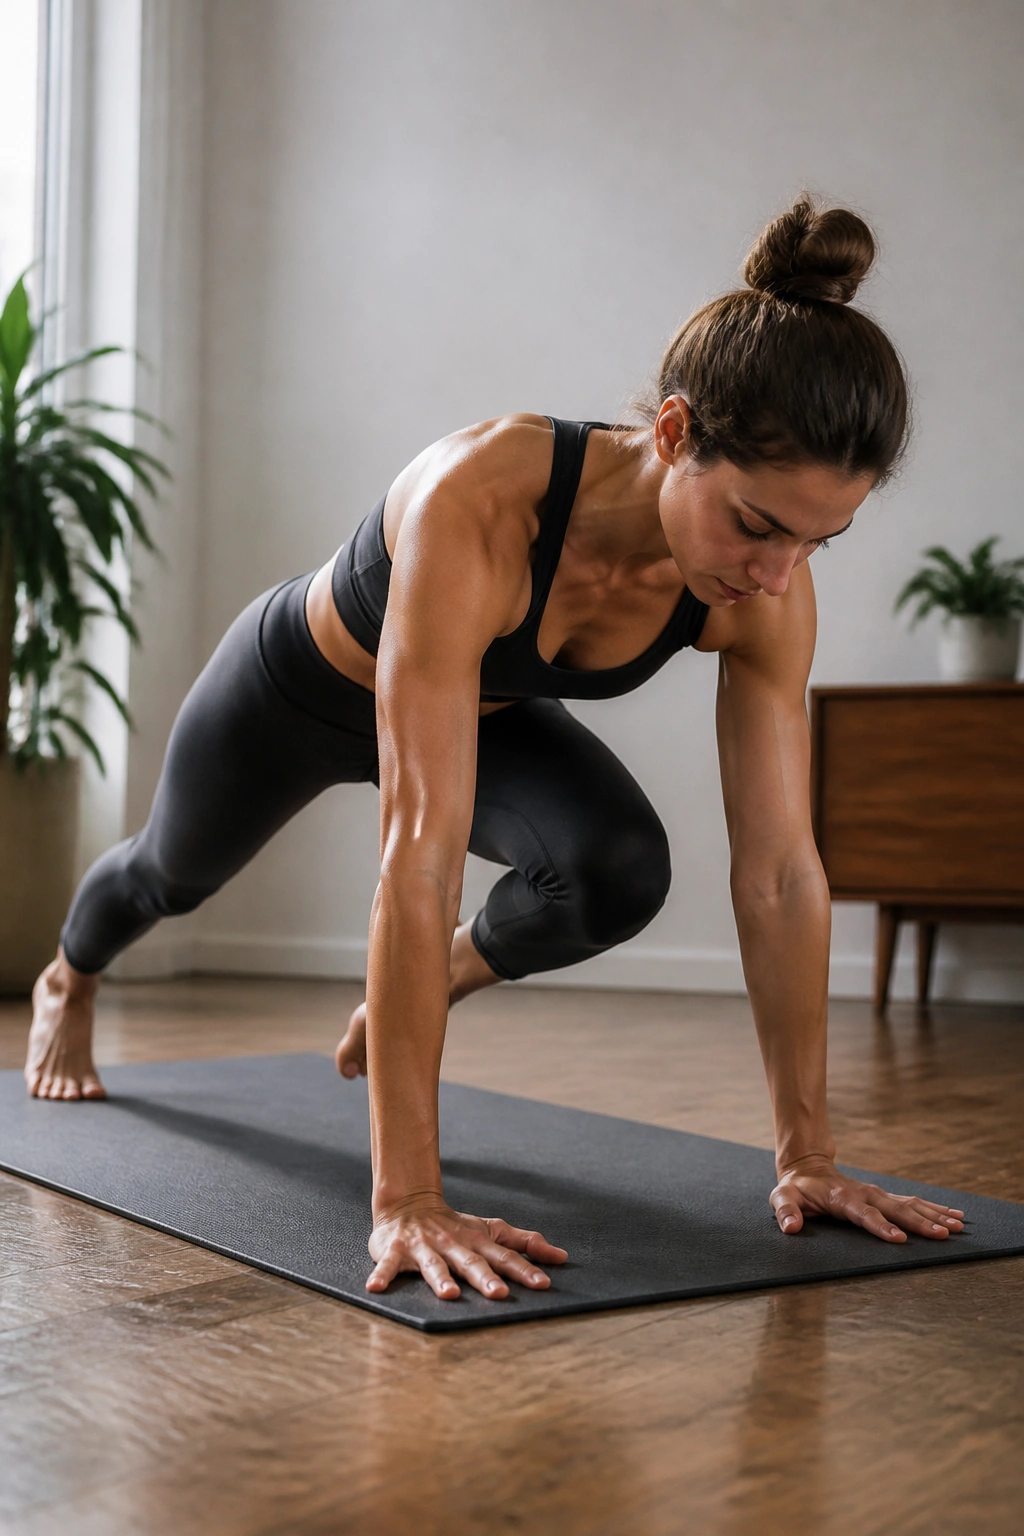
Quiet doesn’t mean easy. High Plank to Knee Drives can look almost boring from across the room, then it starts exposing every gap in the core and shoulder line. The point is not speed; it’s keeping the torso still while one leg moves at a time.
Set up in a strong plank with the hands under the shoulders and the heels reaching back. Drive one knee toward the chest, set it down, then switch. You can take the knee straight forward or angle it toward the same-side elbow if you want more oblique work. Eight to twelve reps each side is enough to feel it.
A clean plank should feel like the floor is being pushed away from you. If the shoulder blades sink or the low back dips, shorten the set. That’s not a failure. It’s a signal.
One honest note: if your wrists hate long planks, put the hands on a sturdy couch edge or use dumbbells as handles. A better position makes the whole thing more useful.
6. Side Plank With Thread-the-Needle Reach
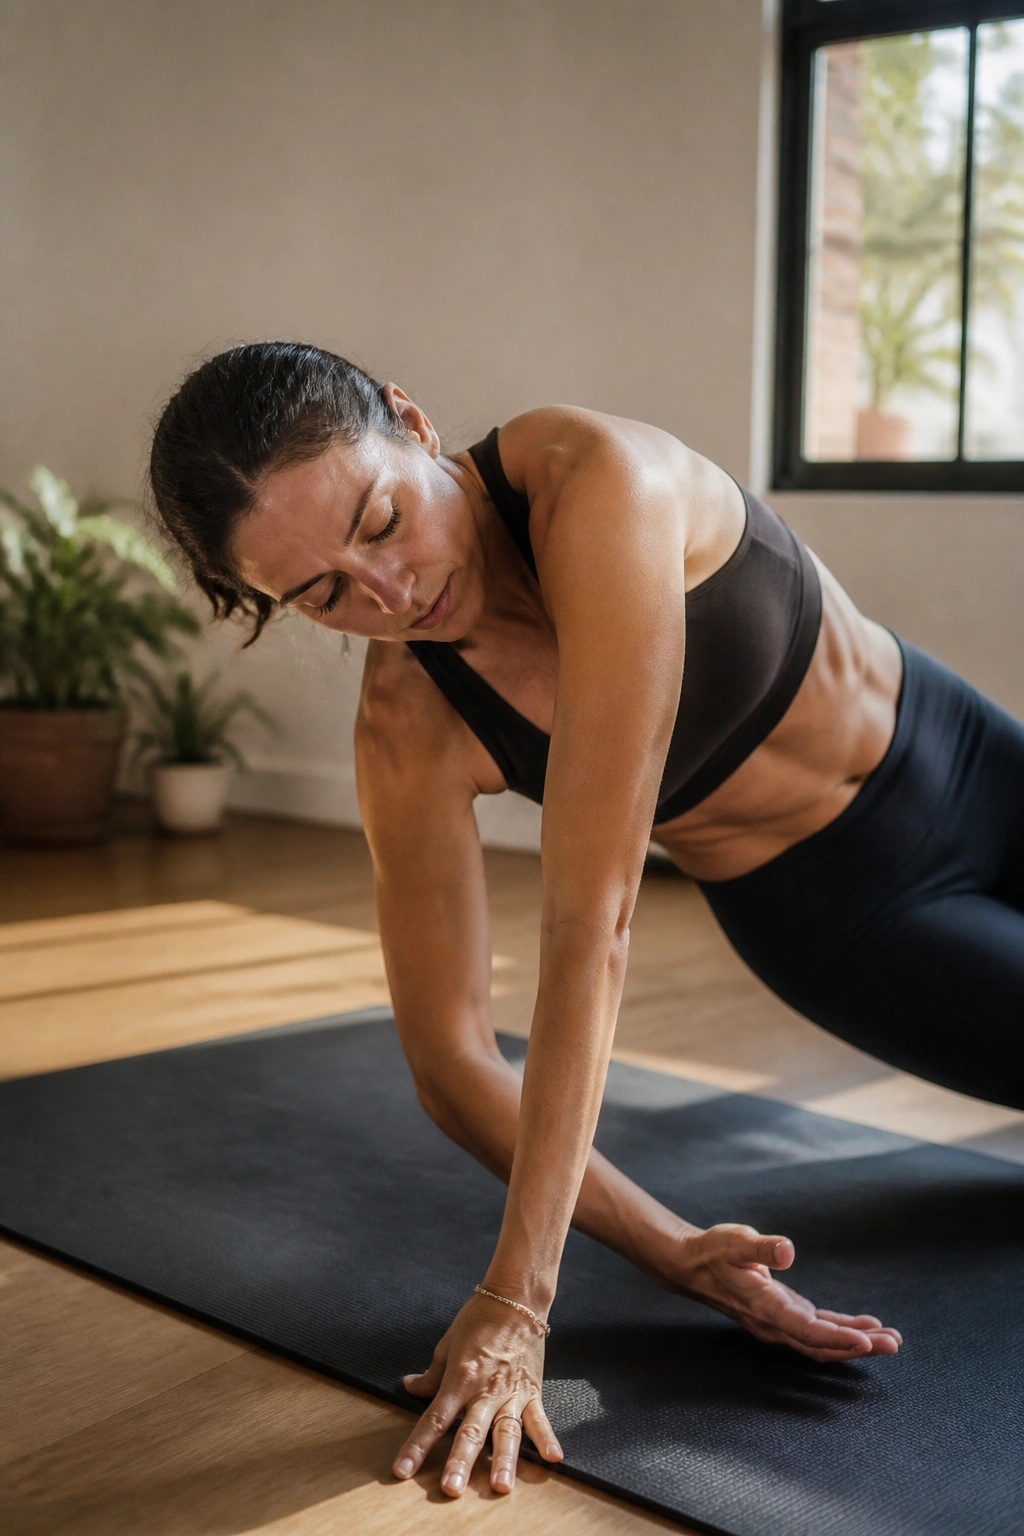
Unlike crunches, side plank makes your whole side body work to keep you off the floor. That includes the obliques, the shoulder on the bottom side, and the outer hip. Add a thread-the-needle reach and the flow gets even more interesting because the torso has to rotate without collapsing.
Come into side plank from your hands or forearm. Stack the feet if balance is good, or drop the bottom knee if you need a gentler entry. Reach the top arm up, then thread it under your torso in a slow twist. Open back up and repeat.
Best version for beginners
- Keep the bottom knee down.
- Hold the open side for 2 breaths.
- Thread through only as far as the shoulder stays comfortable.
- Use a wall behind you if balance gets shaky.
I like this one because it teaches the ribs and hips to stay connected. That connection shows up in almost every other standing balance too.
7. Goddess Squat Pulses With Arm Presses
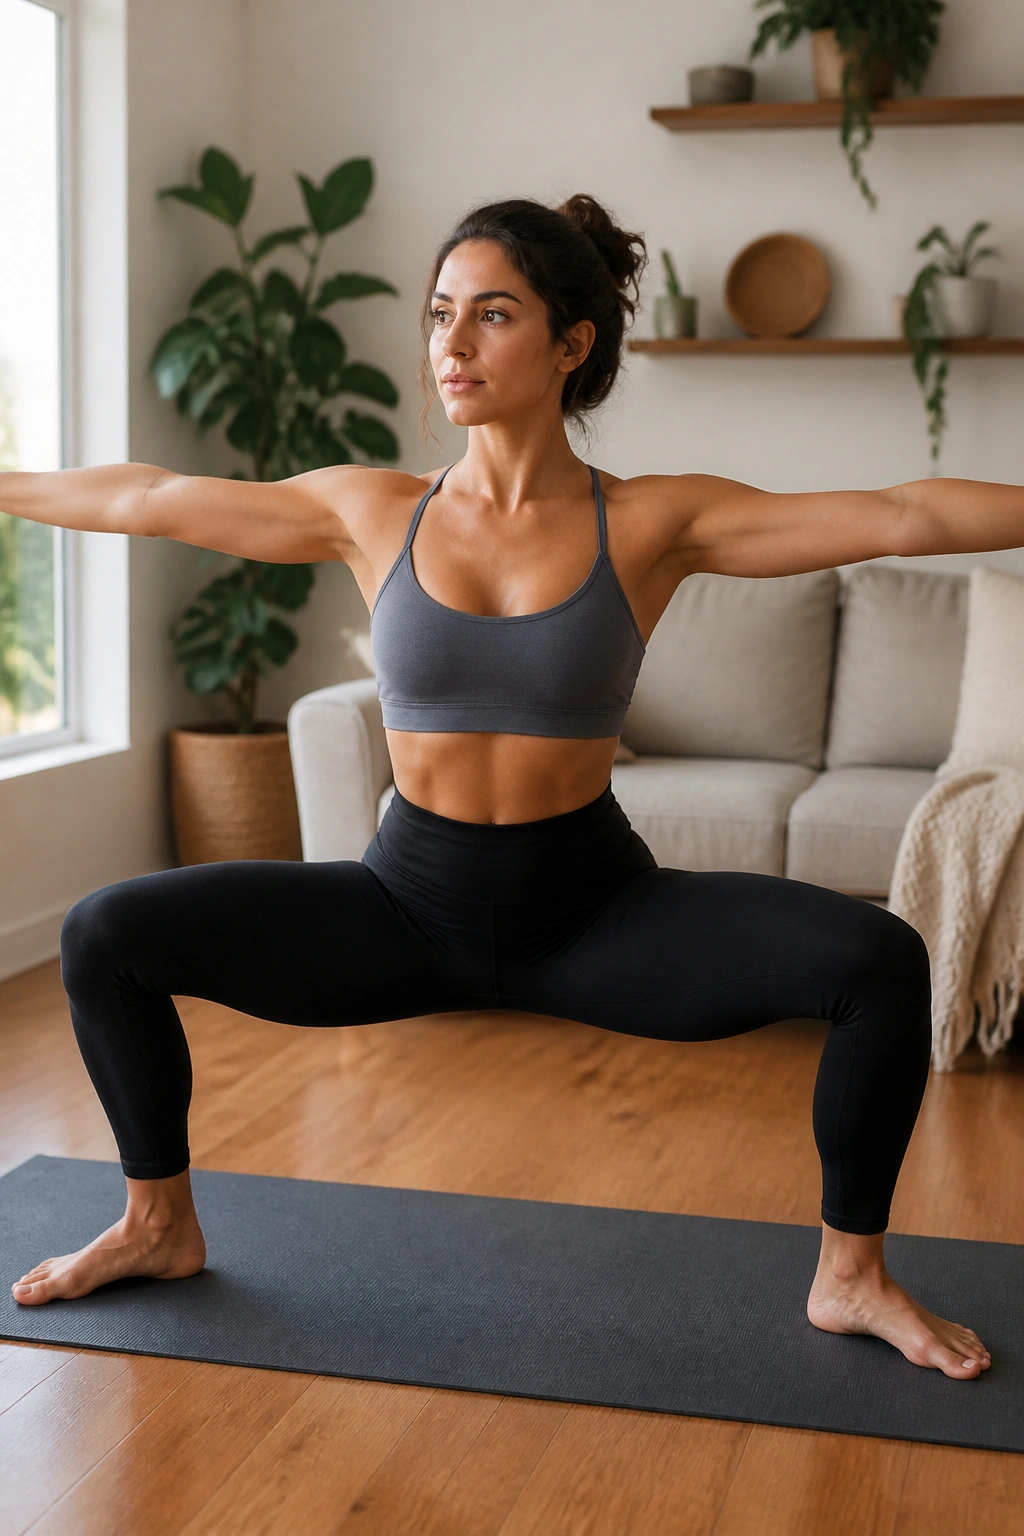
Wide stances expose everything. Put the feet out, turn the toes slightly away from each other, and sink into Goddess Pose. The inner thighs wake up, the glutes grab hold, and the calves usually join the argument before long.
Once you find the squat, pulse 8 to 12 times with tiny vertical movement. Then press the arms out at shoulder height, or bring them into cactus arms and squeeze the shoulder blades down. The upper body work keeps the posture from turning into a lazy sit.
A lot of people let the knees drift inward here. Don’t. Push them gently outward in line with the toes and keep the tailbone long. That cue alone changes the whole feel of the pose.
If you want more heat, stay low for 5 slow breaths after the pulses. The burn shows up fast, which is exactly why this flow earns a spot in a home yoga strength session.
8. Bridge Pose Marches and Single-Leg Holds
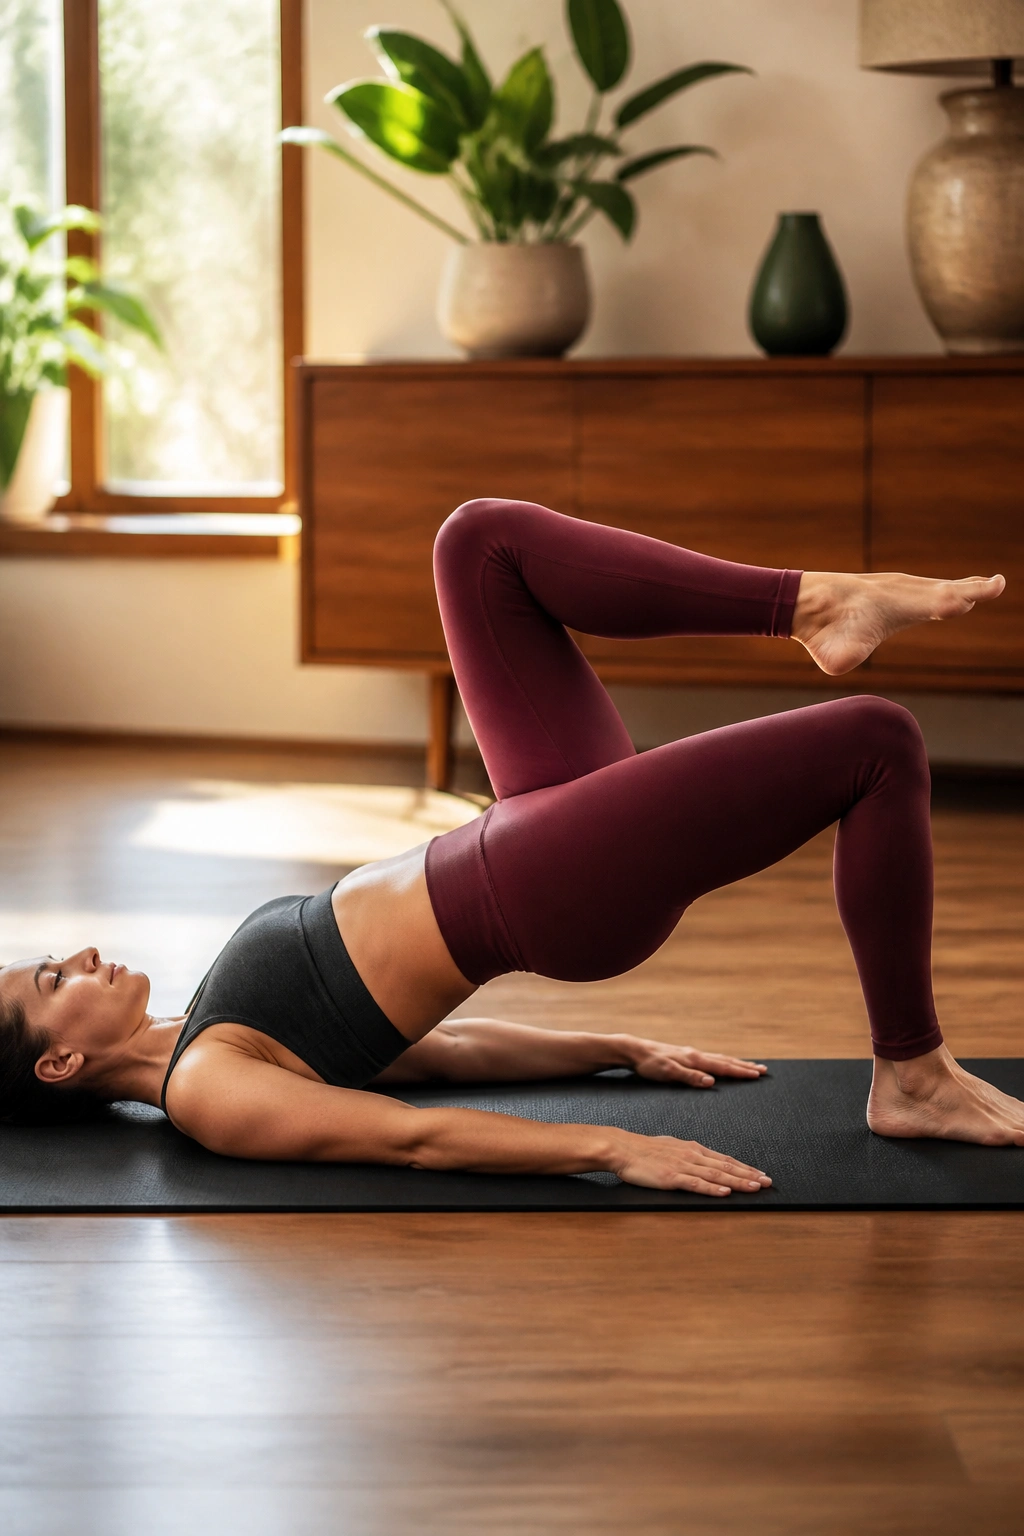
Bridge looks harmless from the outside. It is not harmless. Once the hips lift and the weight shifts into the heels, the glutes have to do real work to keep the pelvis from wobbling.
Lie on your back, feet hip-width apart, and lift into Bridge Pose. Hold the lift for 3 breaths, then march one foot a few inches off the floor and set it back down. Alternate sides for 8 to 10 marches. If that feels steady, try a single-leg hold for 2 breaths before switching.
The lower back should stay long, not compressed. If the ribs flare up, lower the hips a little and try again. A smaller bridge with good line is better than a high one that folds apart.
This is one of my favorite floor flows for glutes because it teaches the body to stabilize while one leg is moving. That lesson carries into walking, climbing stairs, and every standing balance pose that comes later.
9. Boat Pose Crisscross and Low Boat Ladder
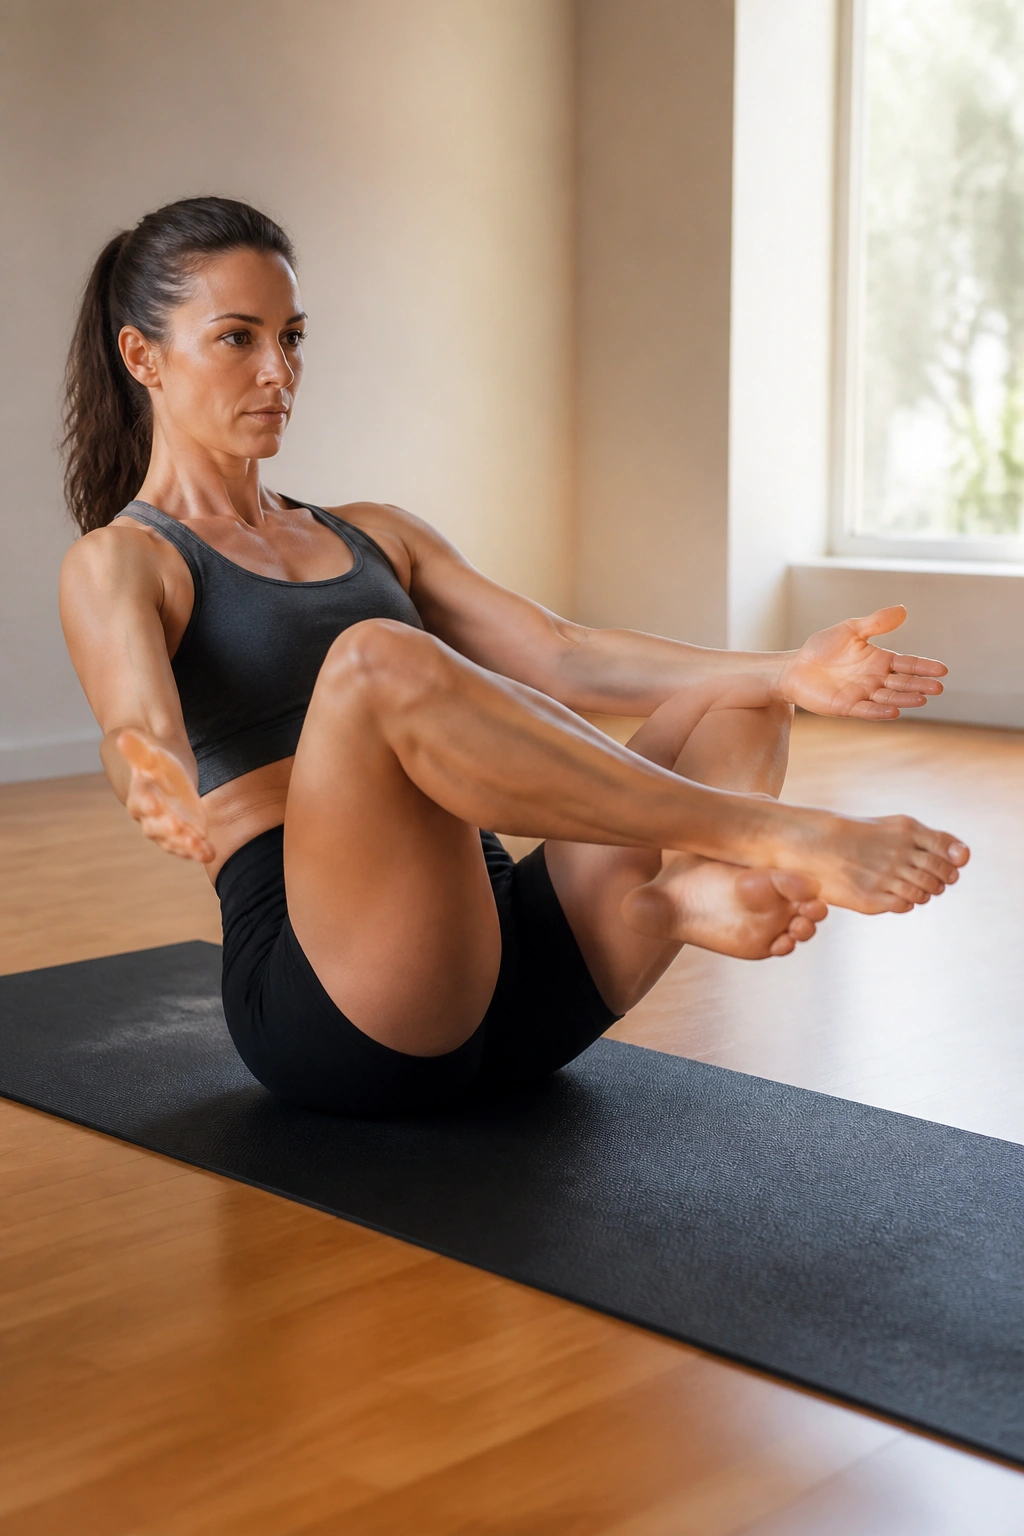
Why does Boat Pose light up the whole front of the body so quickly? Because the torso has to hold shape while the legs hover, and that’s not a casual task. The hip flexors work, yes, but the deep core is the part that keeps you from toppling backward.
Sit tall, lean back a few inches, and lift the shins to Boat. Cross the ankles, open them, then lower into Low Boat for 2 to 3 breaths. Come back up and repeat the ladder 3 or 4 times. Keep the chest lifted enough to avoid collapsing into the neck.
How to scale it
If the low back rounds hard, keep the toes on the floor and one hand behind the hips until the core catches up.
If the pose feels fine, extend the legs a little farther away from the torso. Not straight. Just farther. That small shift makes the lever longer and the work heavier.
I like this flow because it punishes sloppy posture immediately. Useful, really. A little rude, too.
10. Crescent Lunge With Eagle Arms
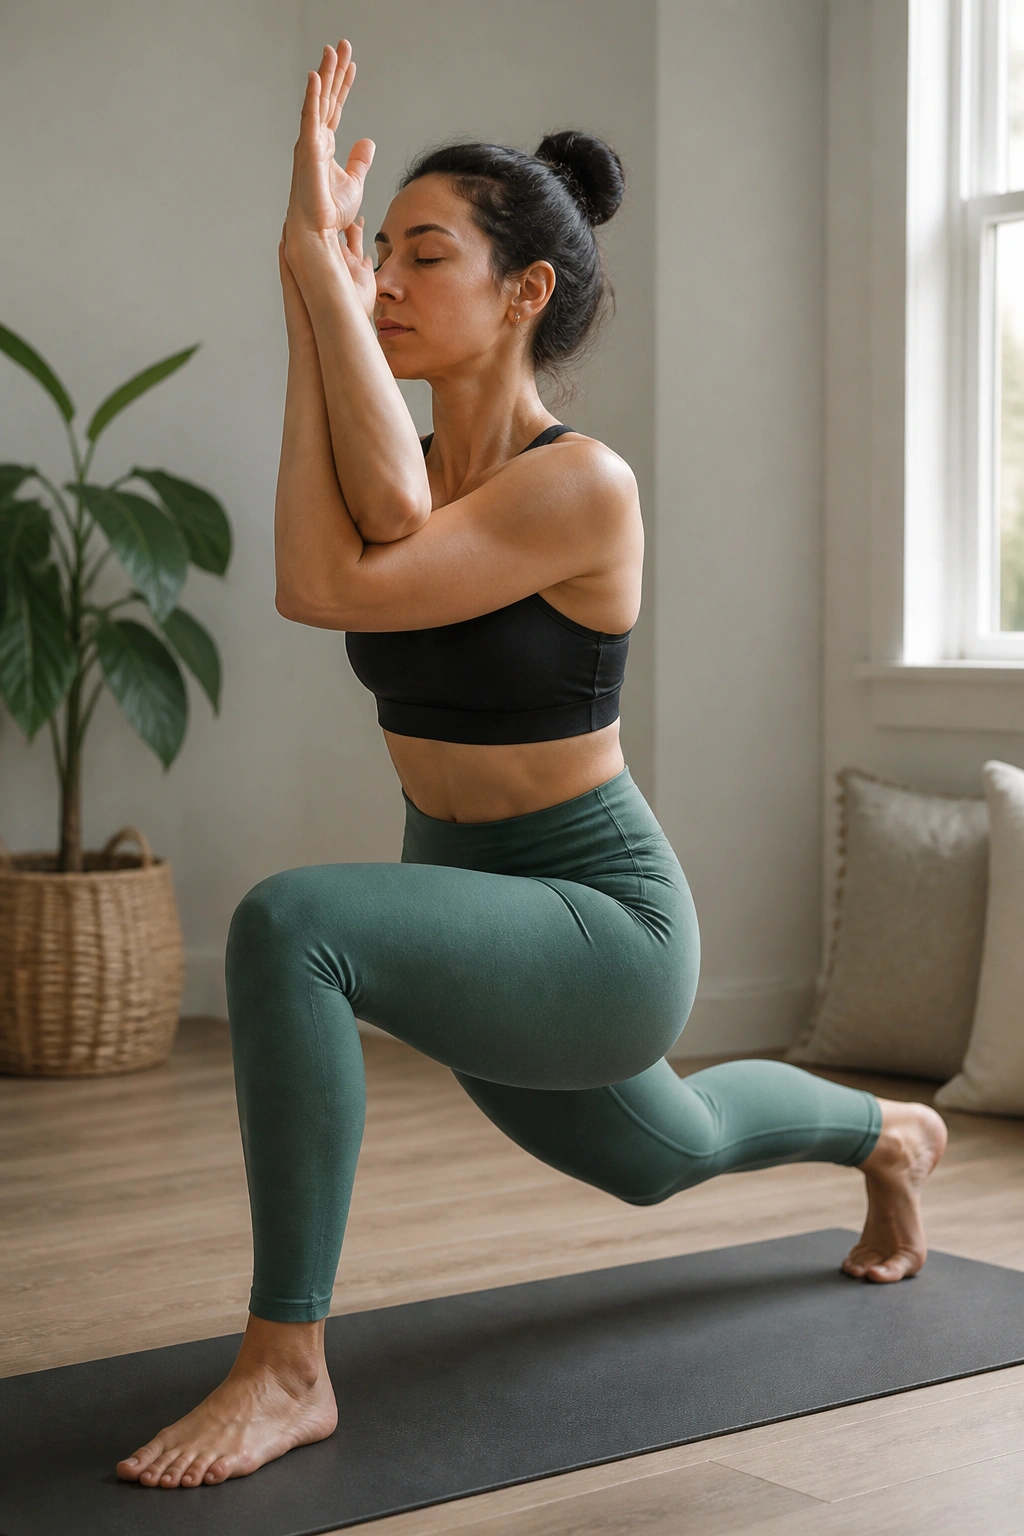
Crescent Lunge already gives you a solid leg workout. Add Eagle Arms and the upper back joins in, which makes the whole sequence feel more complete. The balance challenge is small, but it adds enough wobble to keep you honest.
Step into Crescent Lunge and hold for 3 breaths. Wrap the arms into Eagle Arms, soften the shoulders, and keep the front knee bent while the back heel stays lifted. Unwind the arms, then switch sides. Four to six rounds on each side is plenty.
What it trains
- Front-leg endurance
- Hip stability
- Upper back and shoulder opening
- Balance under mild fatigue
Use a shorter stance than you think you need. A giant lunge often turns into a backbend or a scramble. A smaller lunge lets the legs work in a cleaner line, and that matters more than depth.
If your shoulders are tight, keep the arms in a simple reach overhead. You’ll still get the leg work.
11. Warrior III Airplane Flow
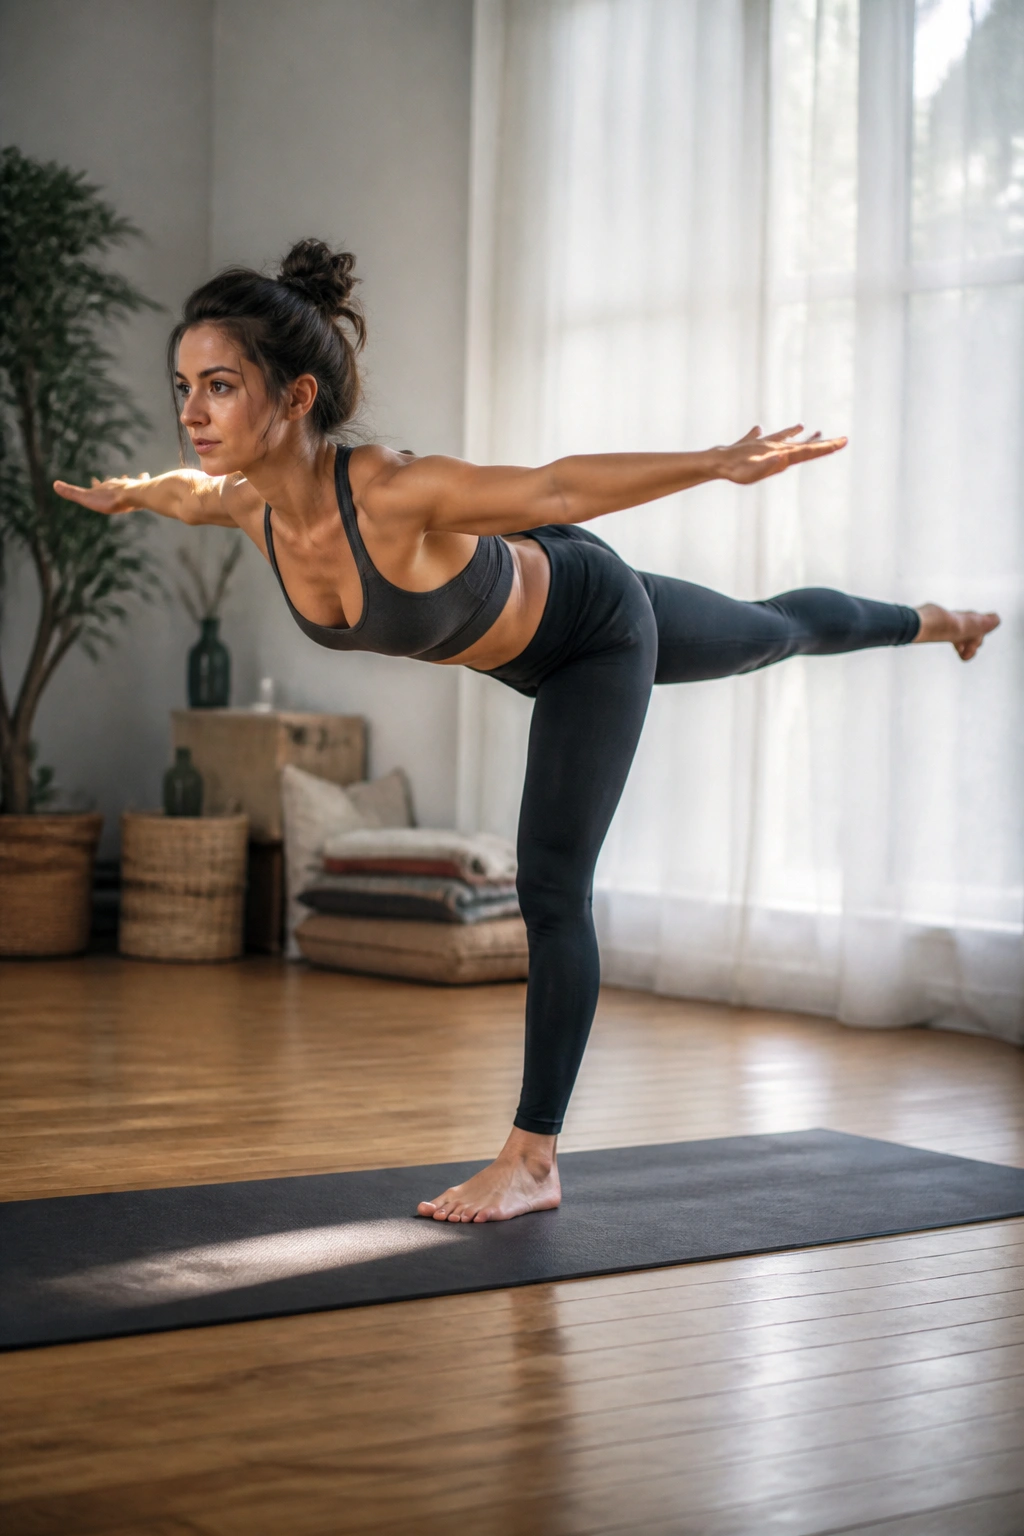
Unlike standing still in Warrior III, the airplane version asks the hips to stay square while the shoulders move. That makes it a lot more useful for balance and glute work. The standing leg has to grip, but not in a clenched, ugly way.
Hinge forward into Warrior III with the back leg reaching long. Open the arms out to a T like airplane wings, then pull them back to center or sweep them forward again. Stay for 3 breaths each side and repeat 4 to 5 times.
The standing foot should feel rooted through the big toe, little toe, and heel. If all of that collapses into the inner arch, the knee usually follows. A wall beside you helps a lot here, especially on the first few rounds.
This flow is one of those quiet strength builders that sneaks up on you. No jumping. No drama. Just a long line, a steady gaze, and a standing leg that starts talking back.
12. Forearm Plank to Dolphin Shifts
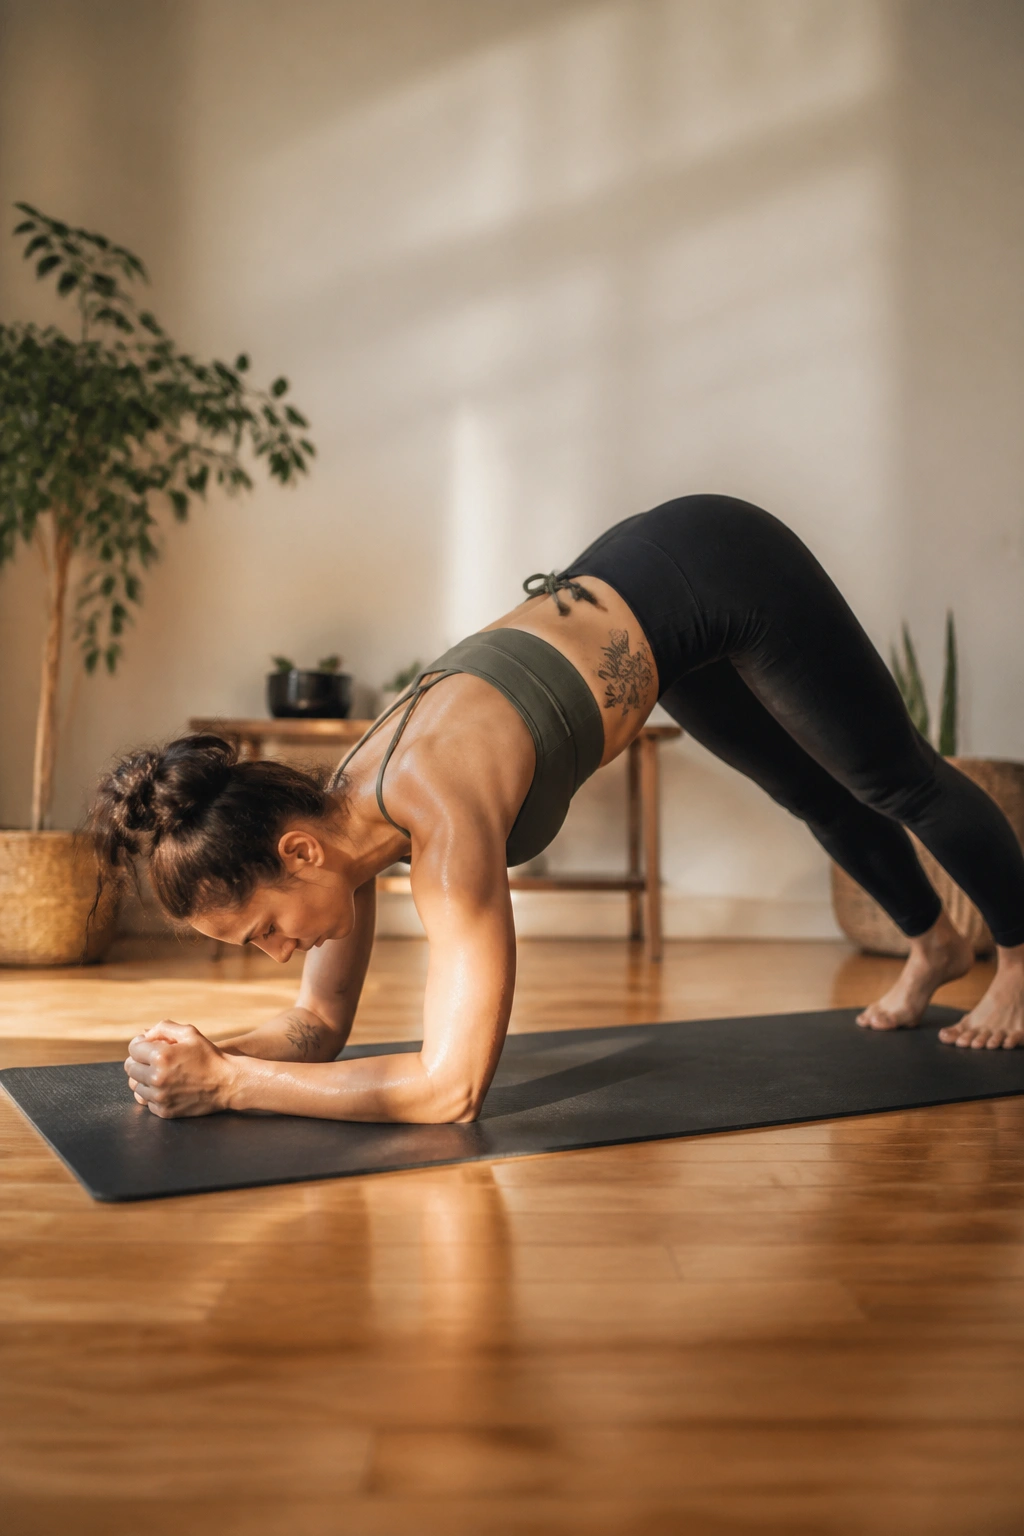
Forearm Plank to Dolphin is one of the best shoulder-and-core pairings around. The forearms take the wrist stress out of the equation, and the shift into Dolphin adds a shoulder-opening angle that still demands control. Nothing about it is soft.
Set the forearms down, elbows under the shoulders, and lift into Forearm Plank. Then push the hips up and back into Dolphin. Move between the two for 6 to 8 rounds, holding each shape for 2 breaths. Keep the neck long and the gaze slightly forward on the floor.
The shoulders should feel broad, not jammed. If the forearms slide apart, bring them closer and press the inner wrists down a bit more firmly. That tiny adjustment makes the upper back work better.
A small pause in Dolphin can be enough to wake up the lats and the deep stabilizers around the ribs. It’s a nice reminder that strength doesn’t always need a complicated setup.
13. Sphinx to Locust Backline Flow
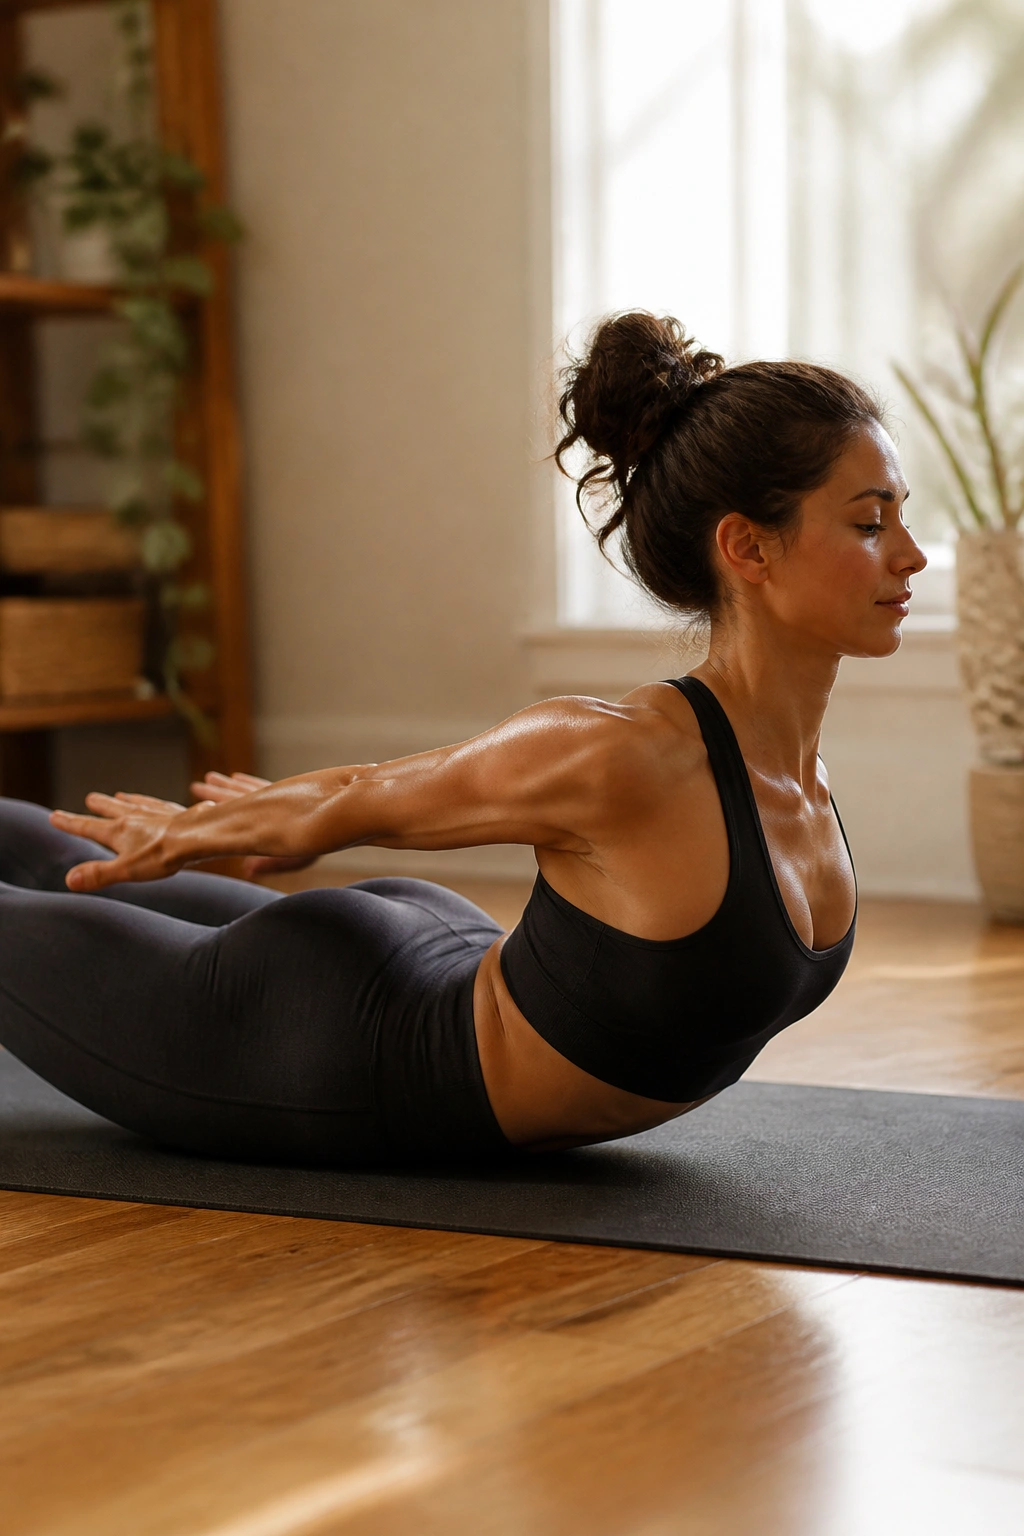
This is the back-body flow I wish more people did. Sphinx Pose is gentle enough to let you organize the spine, and Locust asks the glutes, hamstrings, and back muscles to do their part without a lot of nonsense.
Lie face down and come up onto the forearms in Sphinx for 3 breaths. Then lower down and lift into Locust, reaching the chest and legs off the floor for a few slow counts. Repeat 4 to 6 times. Keep the movement small if your lower back is sensitive.
- Pubic bone stays heavy.
- Neck stays long.
- Legs lift from the glutes, not from a hard yank in the lower back.
- Arms can stay by the sides if reaching forward feels too intense.
That last bullet matters. A lot of people overreach in Locust and end up pinching the low back. A smaller lift with cleaner effort is the better choice.
14. Malasana Squat to Heel Raise Flow
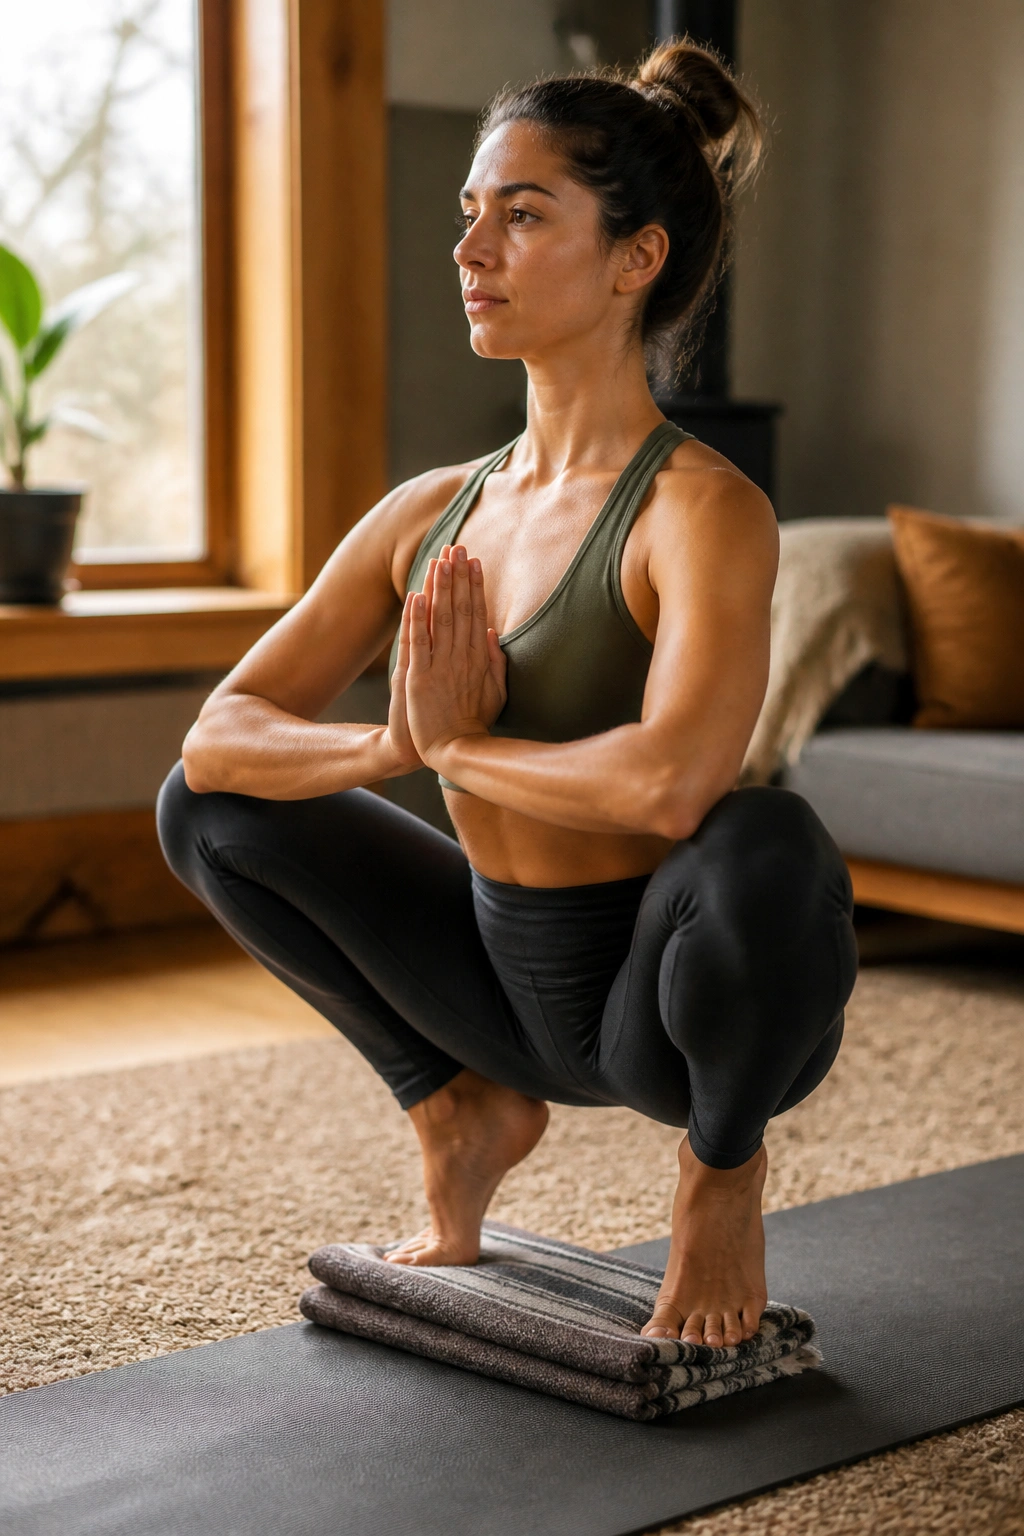
Can a deep squat be strength work? Absolutely. Malasana asks the ankles, hips, and inner thighs to cooperate, and the heel raise adds calf and foot strength without turning the flow into a pogo stick.
Drop into a supported squat with the heels on a folded blanket if needed. Hold for 3 breaths, then lift onto the balls of the feet for 2 seconds and lower back down. Repeat 8 to 10 times. If you want more challenge, press the palms together and add a gentle twist to one side.
What to watch for
Do not force the knees wider than the hips can handle. A deep squat should feel grounded, not strained.
If the heels float off the floor, that’s fine. Put a rolled towel under them or keep the squat higher. The point is to keep the spine long enough to breathe while the legs and feet work.
This one is especially useful on days when you want a standing flow but don’t want to jump around. It’s calm, direct, and harder than it looks.
15. Pigeon to Glute Bridge Reset
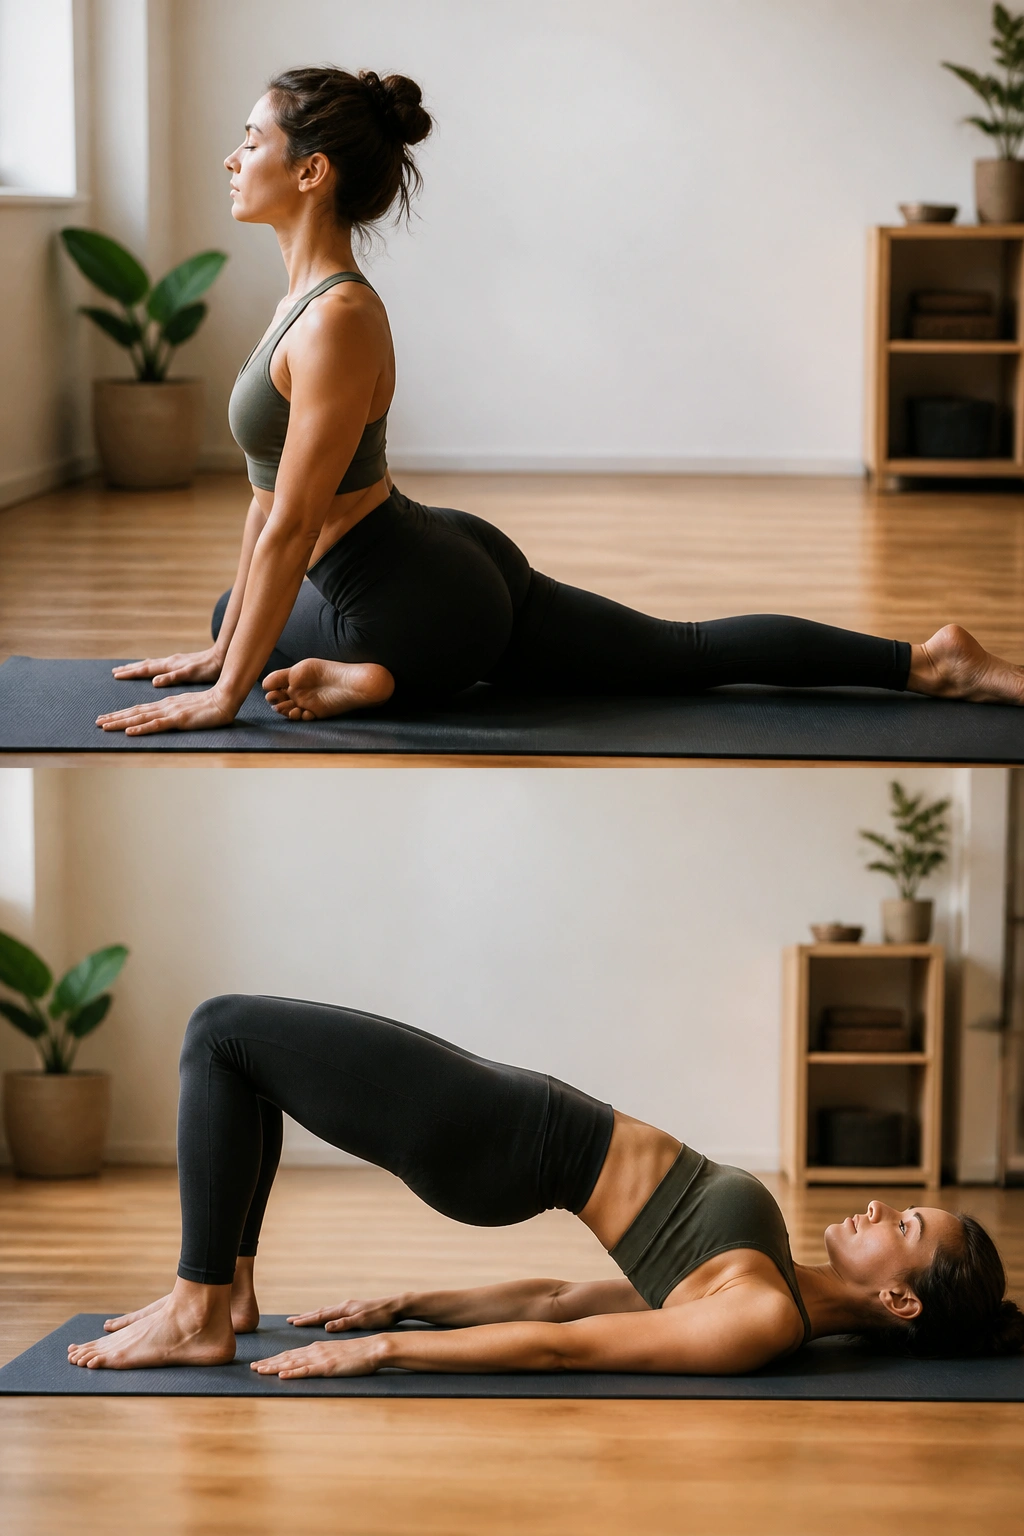
Pigeon Pose gets a stretch reputation, but pairing it with Bridge Pose turns it into a more balanced hip flow. One side lengthens. The other side learns to fire. That back-and-forth is useful, especially if you spend too long seated.
Set up a gentle Pigeon on one side and stay for 4 to 5 breaths. Then roll onto your back, plant both feet, and lift into Bridge for 8 slow reps. Switch sides and repeat. If full Pigeon bothers the knees, use Figure-Four on the back instead.
Easier entry
- Choose Figure-Four if the front knee feels sensitive.
- Keep the front shin closer to the body if the hip is tight.
- Use a blanket under the hip on the floor side.
- In Bridge, press through the heels rather than the toes.
The bridge part keeps this from becoming a pure stretch session. That’s the point. Opening a hip is nice. Teaching it to support you is better.
16. Tree Pose to Knee Drive Balance Flow
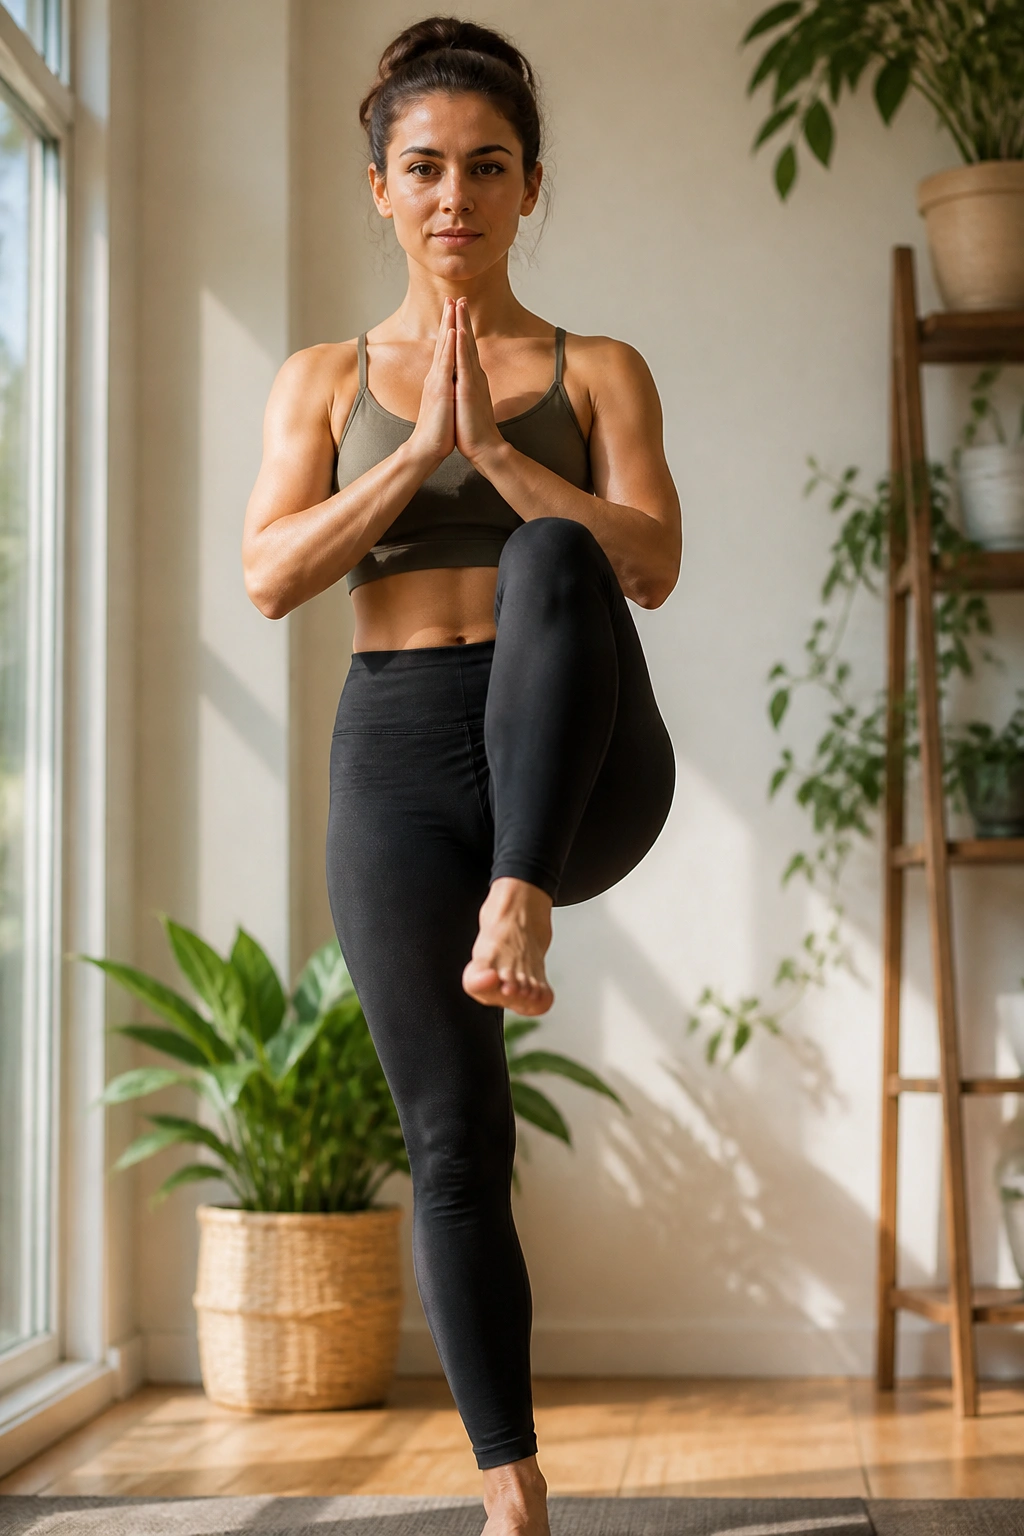
Standing still in Tree Pose is one thing. Adding a knee drive turns it into a balance drill for the standing leg, the foot, and the side hip. It also makes the core work harder because the torso has to stay upright while one leg leaves and returns.
Find Tree Pose with the foot at the ankle, calf, or inner thigh. Hold for 3 breaths, then release the lifted knee forward into a controlled drive and return to Tree. Do 6 reps per side, and keep the standing hip level.
Unlike some balance work, this one doesn’t need a lot of space. It just needs patience. If the standing foot starts clawing at the floor, slow down and shorten the lever. A wall nearby is useful too, though you may only touch it lightly after the first round.
I like this for people who want balance practice that still feels like strength training. There’s enough motion to keep it interesting, and enough stillness to make the standing leg earn its keep.
17. Lunge to Knee-to-Nose Flow
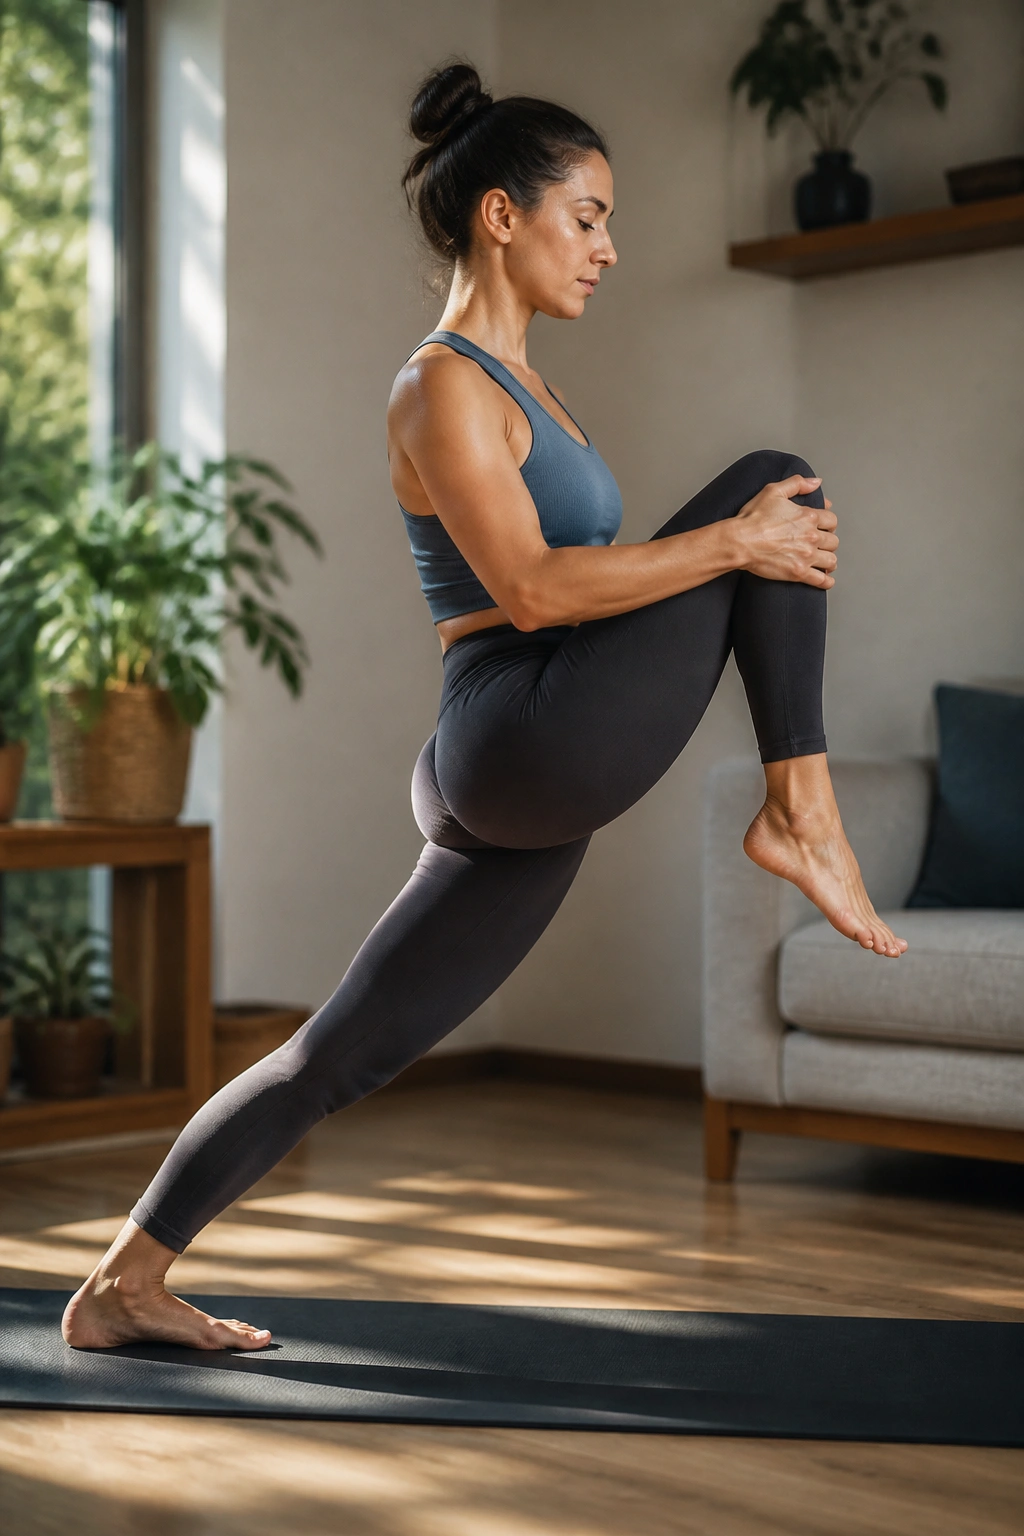
Lunge to Knee-to-Nose is a strong little sequence because it asks the body to shift weight forward, then pull the knee in with control. That tug-of-war is where the core wakes up. The shoulders help too, which makes the whole thing feel connected.
Start in Down Dog, step one foot forward into a low or high lunge, then drive the knee toward the nose or chest. Step back and repeat. Six to ten reps per side works well. Keep the shoulders stacked over the wrists when the knee comes forward.
The common mistake here is rushing the knee drive and letting the low back arch. Pull the ribs in first, then move the leg. That order matters.
If you want a little more intensity, hover the foot an inch off the floor before stepping back. Tiny hover. Big difference in the hip flexors and lower abs.
18. Bound Angle Fold With Lift-Offs
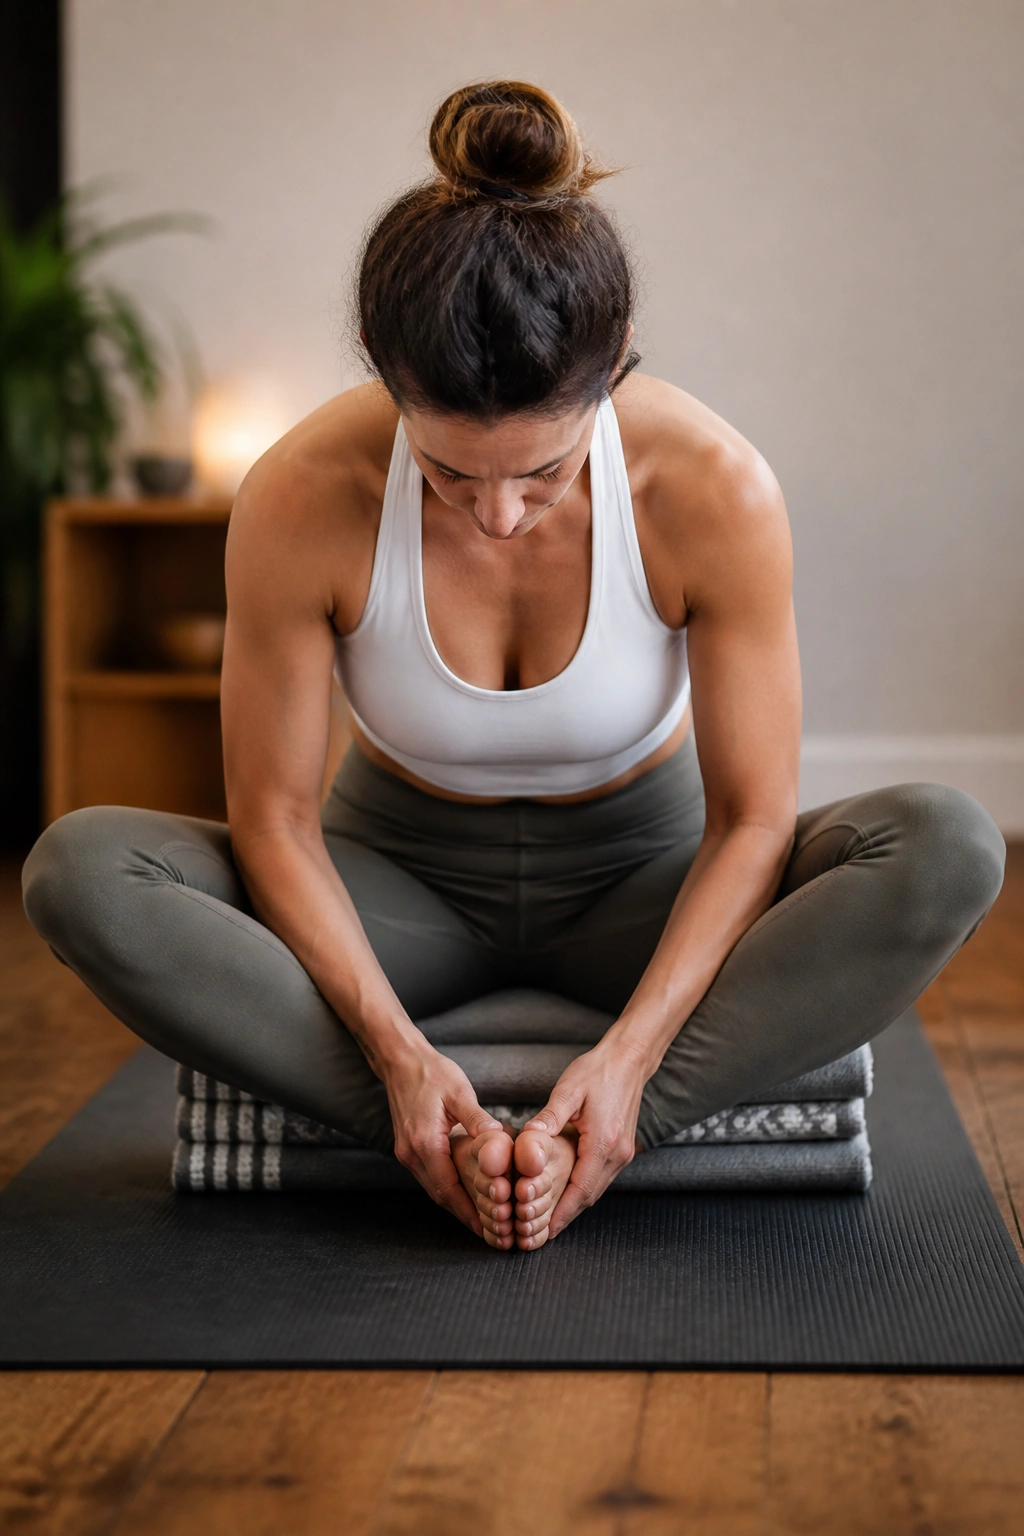
Seated work can be strength work too. Bound Angle Pose gives the hips a home base, then small lift-offs turn it into a drill for the inner thighs and hip flexors. It’s subtle. You’ll feel it anyway.
Sit with the soles of the feet together and the knees open. Fold forward a little, then press the knees gently into your hands for 3 seconds. Release, sit taller, and repeat 8 to 10 times. If the fold is uncomfortable, stay upright and keep the lift-off part only.
A folded blanket under the hips helps if the pelvis rounds backward. That little height often makes the spine easier to hold. And if the knees are cranky, don’t force the fold deeper. Work with the upright version and keep the movement small.
This is the sort of flow that looks modest on paper and then surprises people after a few rounds. The inner thighs do not coast through it.
19. Wild Thing to Side Plank Openers
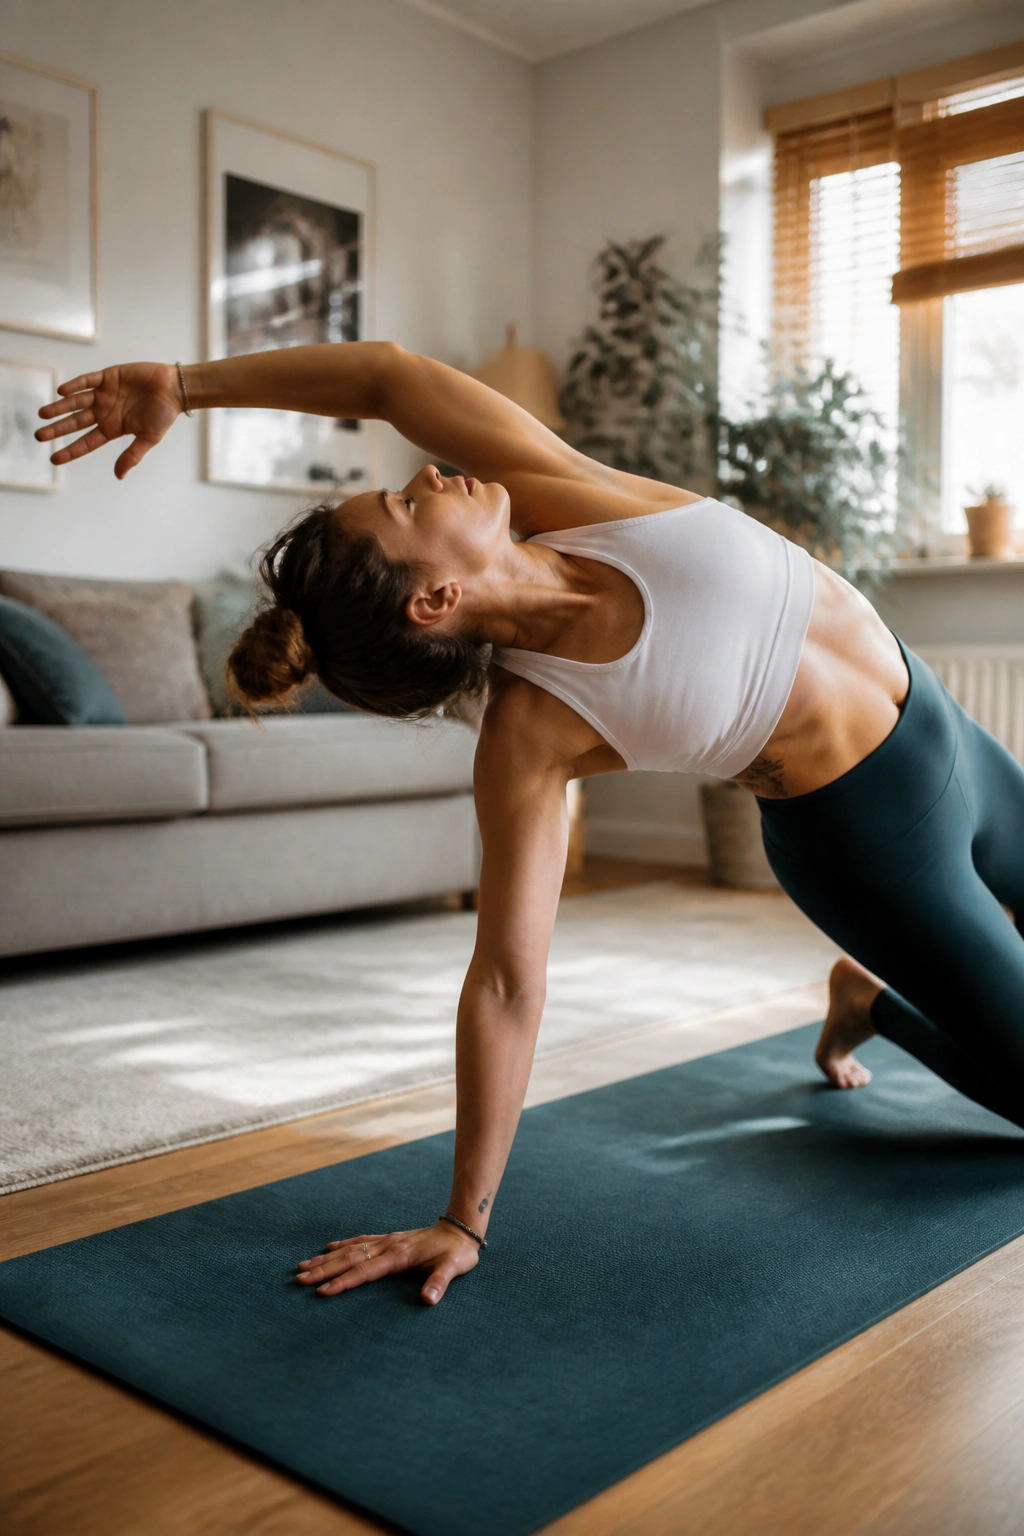
Need a side-body flow that feels a little spicy? Wild Thing delivers that in a hurry. It opens the chest, lights up the glutes, and asks the shoulders to hold shape while the torso rotates.
Move from Side Plank into Wild Thing by opening the top hip and reaching the lifted arm overhead. Come back to Side Plank, then repeat 3 to 5 times per side. Keep the bottom shoulder strong and the neck soft. If the full backbend feels too deep, stay in a supported side plank and skip the flip.
Easier entry
- Keep the bottom knee down.
- Open only halfway into a side-facing stretch.
- Use a wall behind the lifted foot for balance.
- Stop if the wrist feels compressed.
Wild Thing is not the first pose I’d hand to a new mover, but it’s a very satisfying one once the shoulders know what to do. The key is control on the exit. That’s where people usually wobble.
20. Chair Twist to Fold Flow
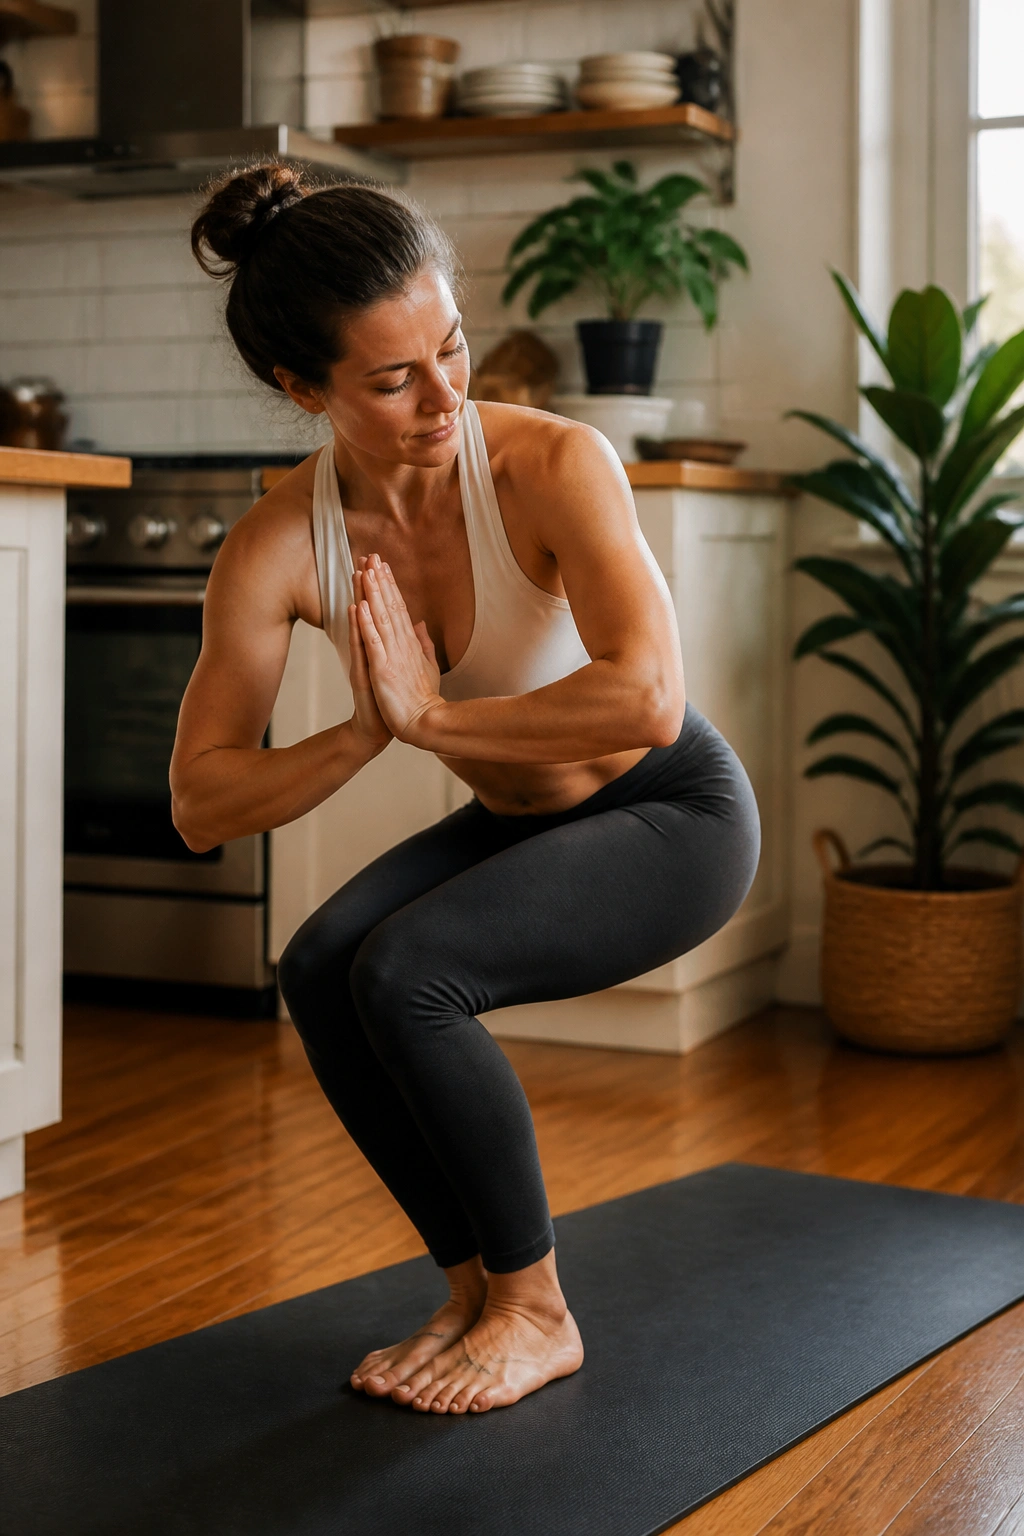
When the room is small, standing twists are one of the easiest ways to get heat. Chair Twist to Fold pulls the obliques, legs, and balance system into one neat package. No jumping. No equipment. Just honest work.
Sit back into Chair Pose, bring the hands to prayer, and twist to one side for 2 breaths. Fold forward, then rise and switch sides. Four rounds per side is enough. Keep the knees even and avoid letting one hip shoot backward just because the torso wants to turn.
- Stay low in the chair.
- Keep the twist coming from the ribs, not only the arms.
- Fold with bent knees if the back feels tight.
- Move slowly on the way up.
This one is especially useful when you want a flow that feels athletic without becoming chaotic. The twist wakes up the midsection, and the fold gives the spine a brief reset before the next round.
21. Roll Down to Plank Return Circuit
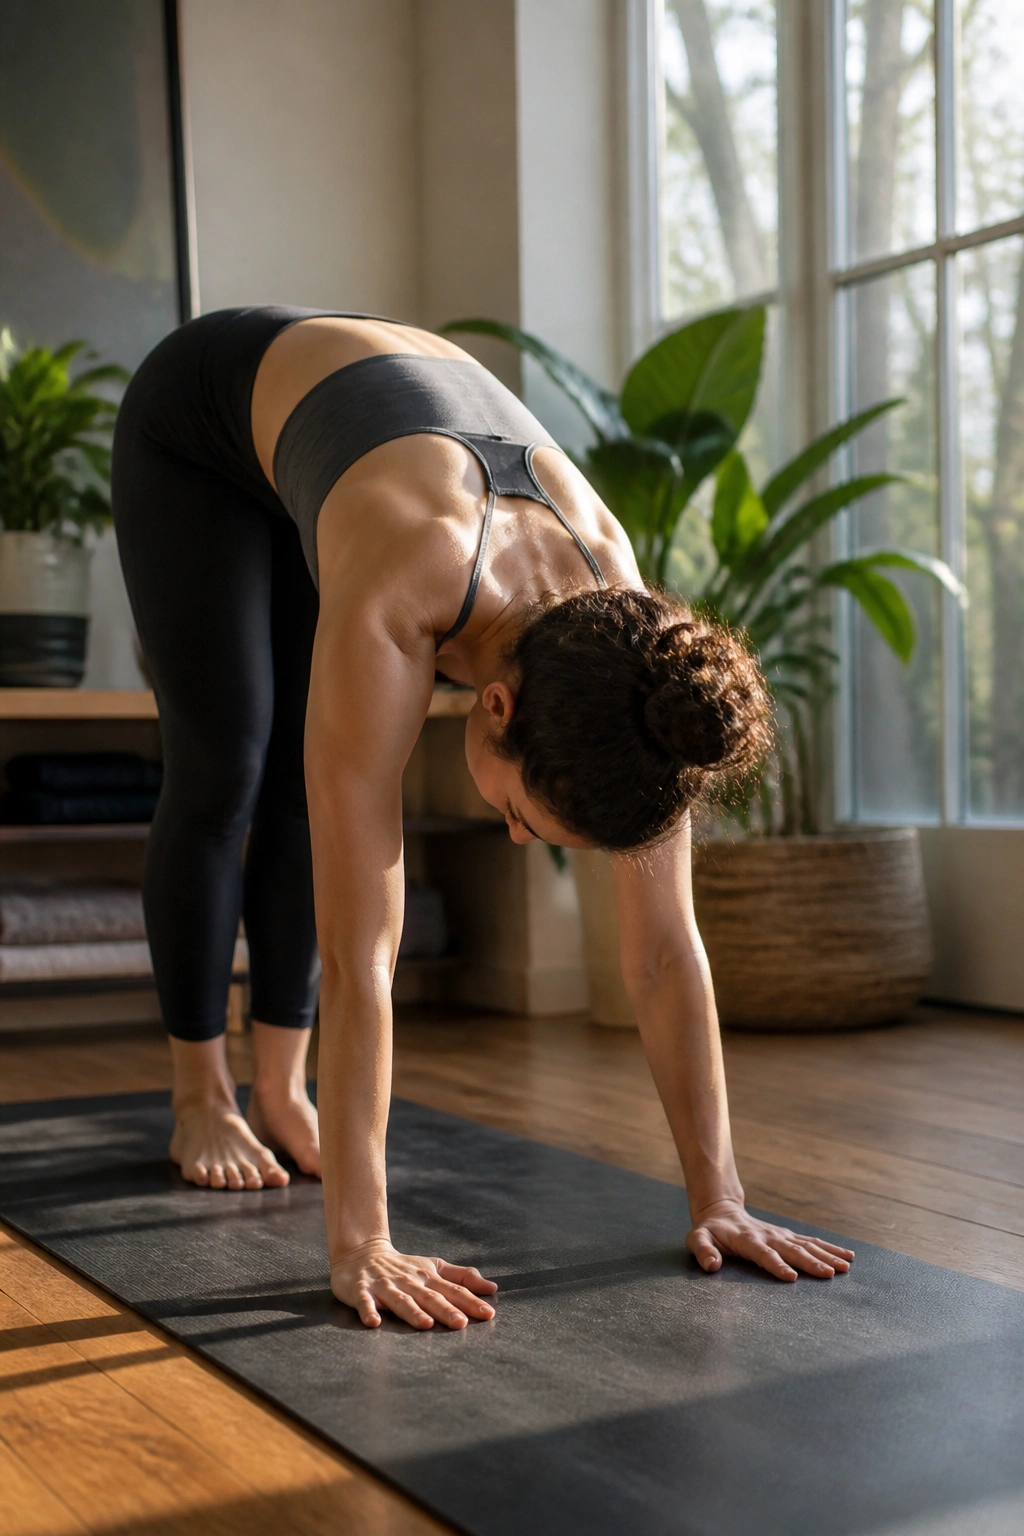
A slow roll-down is harder than it sounds. Start standing, peel the spine forward one segment at a time, walk the hands to the floor, and step back into plank. Then reverse it with care. That return is where the work hides.
Take 3 to 5 rounds. In plank, hold for 1 or 2 breaths, then step or walk the feet toward the hands and roll back up through the spine. Move slowly enough that you can feel the hamstrings lengthen without yanking. If the floor feels far away, keep a bend in the knees the whole way down.
Why the slow return matters
The controlled rise teaches spinal stacking, which is useful everywhere from deadlifts to carrying groceries.
The plank teaches the shoulders and core to stay online after a forward fold, which is a sneaky kind of full-body strength. This is one of those flows that looks simple and feels more complete than it first appears.
22. Chair to Warrior III to Plank Return
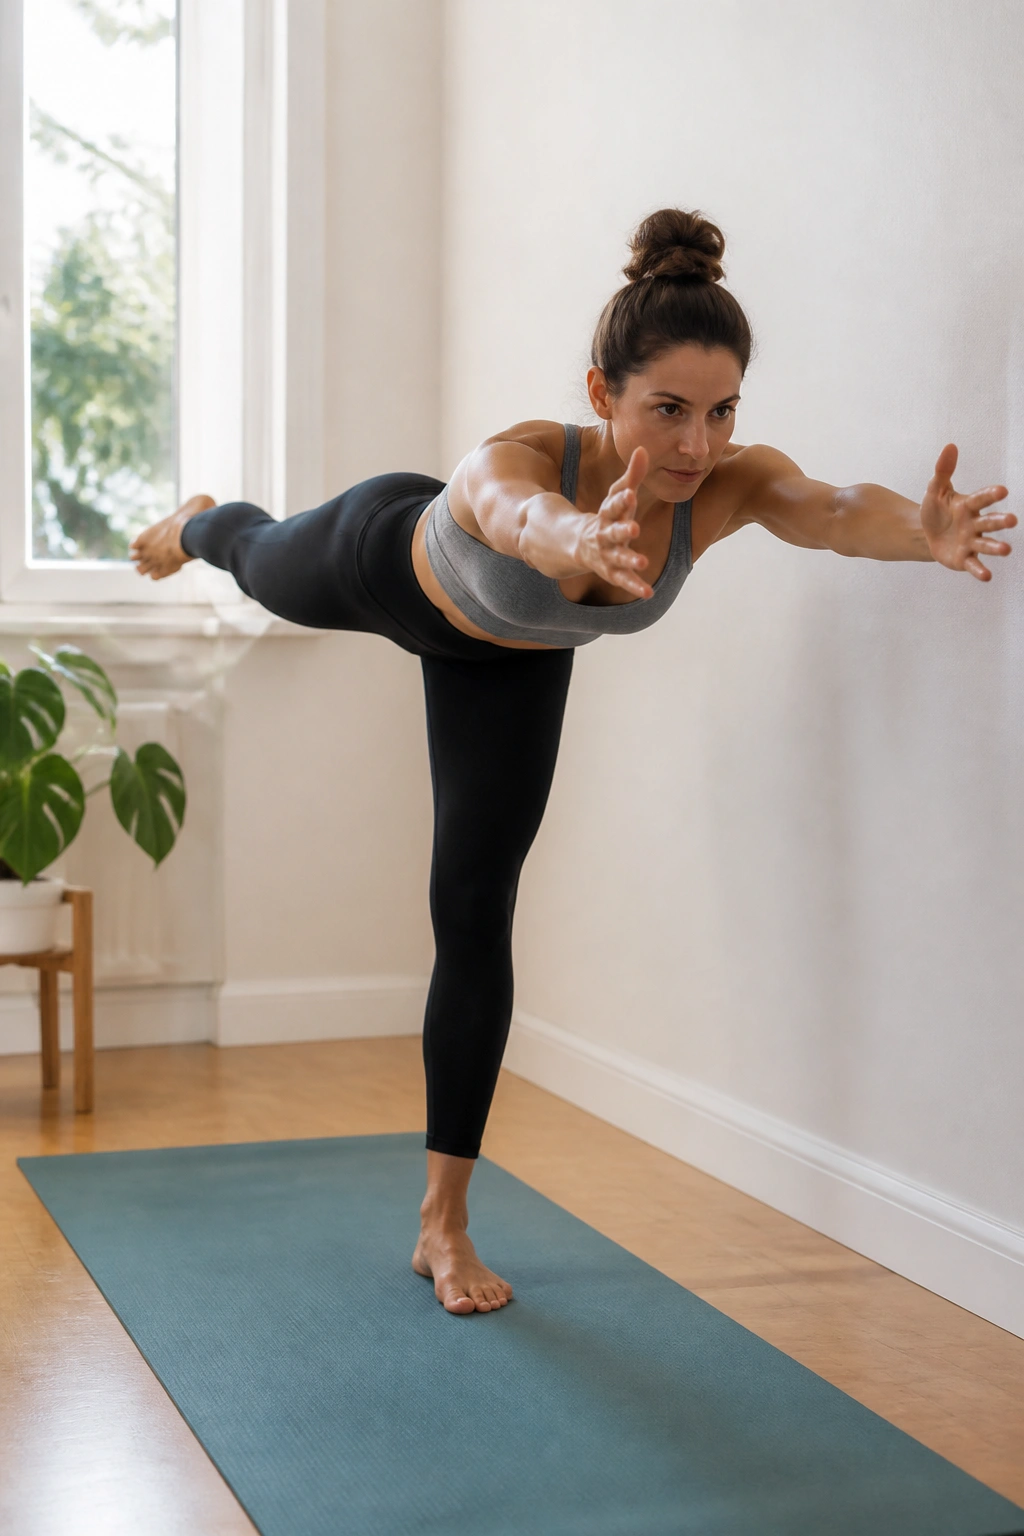
This is the full-body finisher I like when a home yoga strength session needs one last honest round. Chair Pose loads the legs, Warrior III tests balance and hip hinge, and the plank return asks the shoulders and core to stay awake during the transition.
Sit into Chair, rise into Warrior III on one side, step down into a plank, and walk or jump the feet through to finish standing again. Keep the pace steady and repeat 3 rounds per side. If the jump-back feels too much, step one foot at a time instead.
The value here is in the transitions. Not the shapes alone. A lot of people can hold a pretty Warrior III for a few seconds, then lose everything the moment they have to move. This flow fixes that gap.
Use a wall or chair the first few times if balance gets messy. Once the path feels clear, the circuit becomes a compact strength session that hits almost everything without needing a long setup.
One Last Note
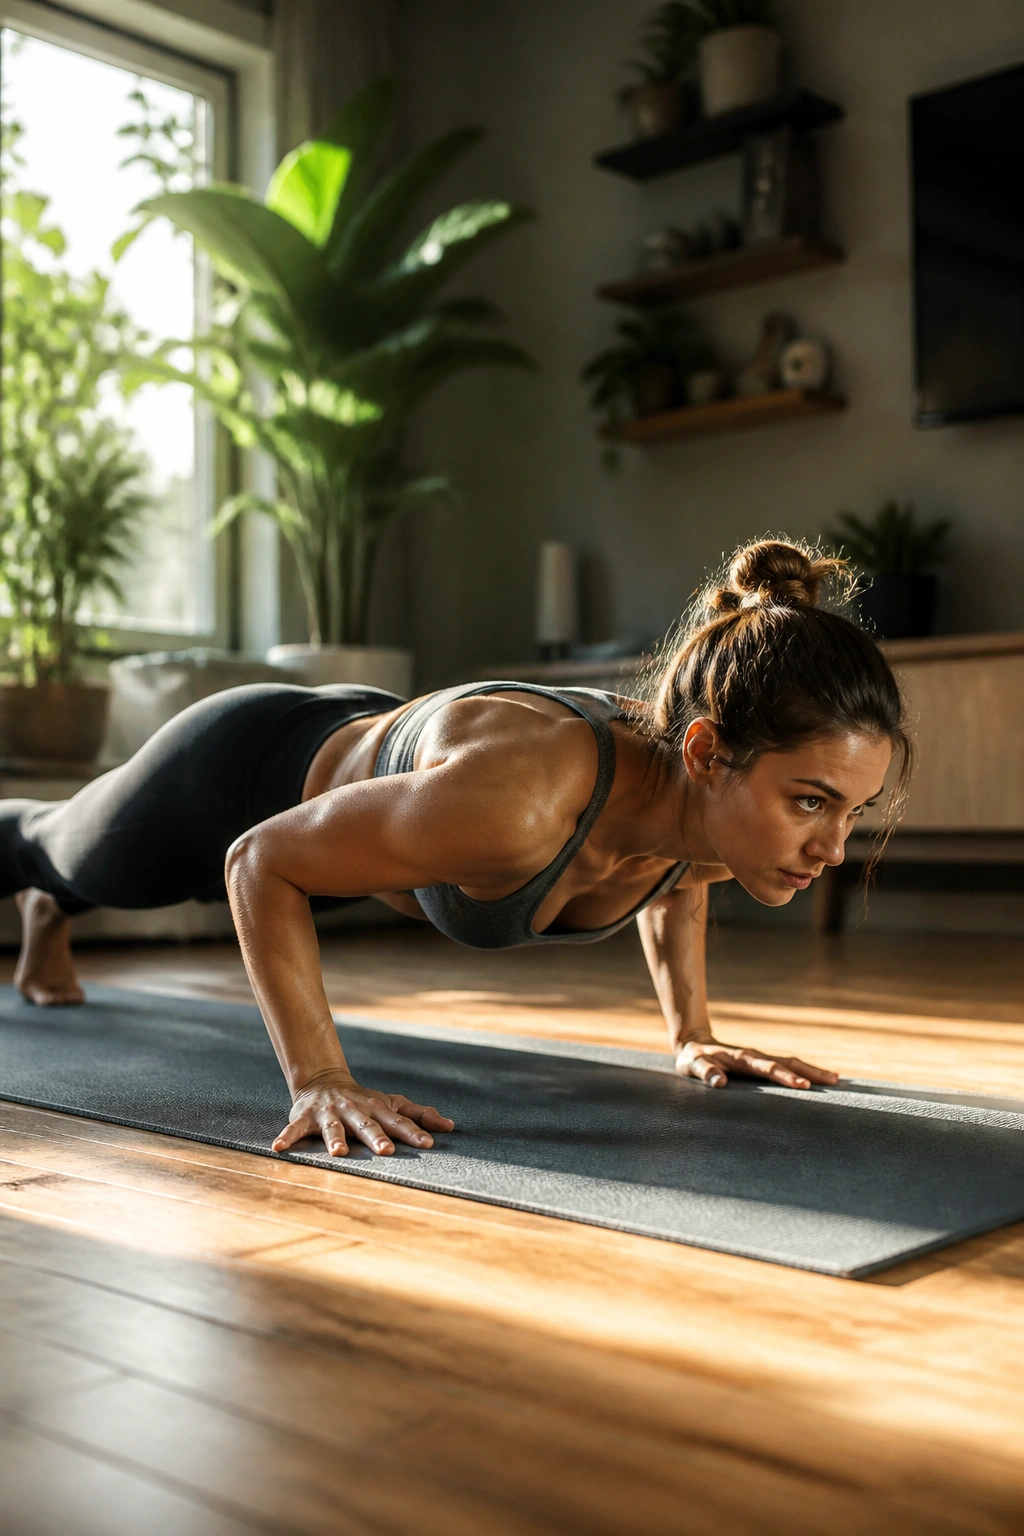
The best strengthening yoga flows are the ones you can repeat without falling apart halfway through. That usually means slowing down more than you think, shortening the stance when you need to, and treating the transitions like real work instead of filler between poses.
I’d pick three of these for a short home session: one standing flow, one plank-based flow, and one floor sequence. That mix hits the legs, core, and back without turning the practice into a marathon.
A good session leaves you warmer, steadier, and a little more aware of where you cheat. That’s useful information.
