



A stronger-looking seat does not come from endless squats alone. The best Pilates butt lifting exercises at home rely on small, precise moves that wake up the glutes before the front thighs hijack the work. If you have ever felt bridges in your hamstrings or your lower back, you already know why that matters.
The glutes are not one muscle. The big one drives hip extension, but the side glutes keep your pelvis from wobbling and give the whole back line a cleaner shape. That is why the tiny side-lying lifts and the slow bridge holds matter so much; they train the parts most people forget.
You do not need a reformer, ankle weights, or a big room. A mat, a chair, and maybe a loop band are enough for a serious workout, and the burn arrives fast if you slow the tempo to three seconds down and one or two seconds up. Clean form beats wild reps every time.
Some of these moves look mild. They are not. Keep your ribs stacked, stop the low back from arching, and the glutes do the job the way they are meant to. Start with the floor work, then build into the standing and plank variations as your hips wake up.
1. Glute Bridge With a Posterior Pelvic Tilt
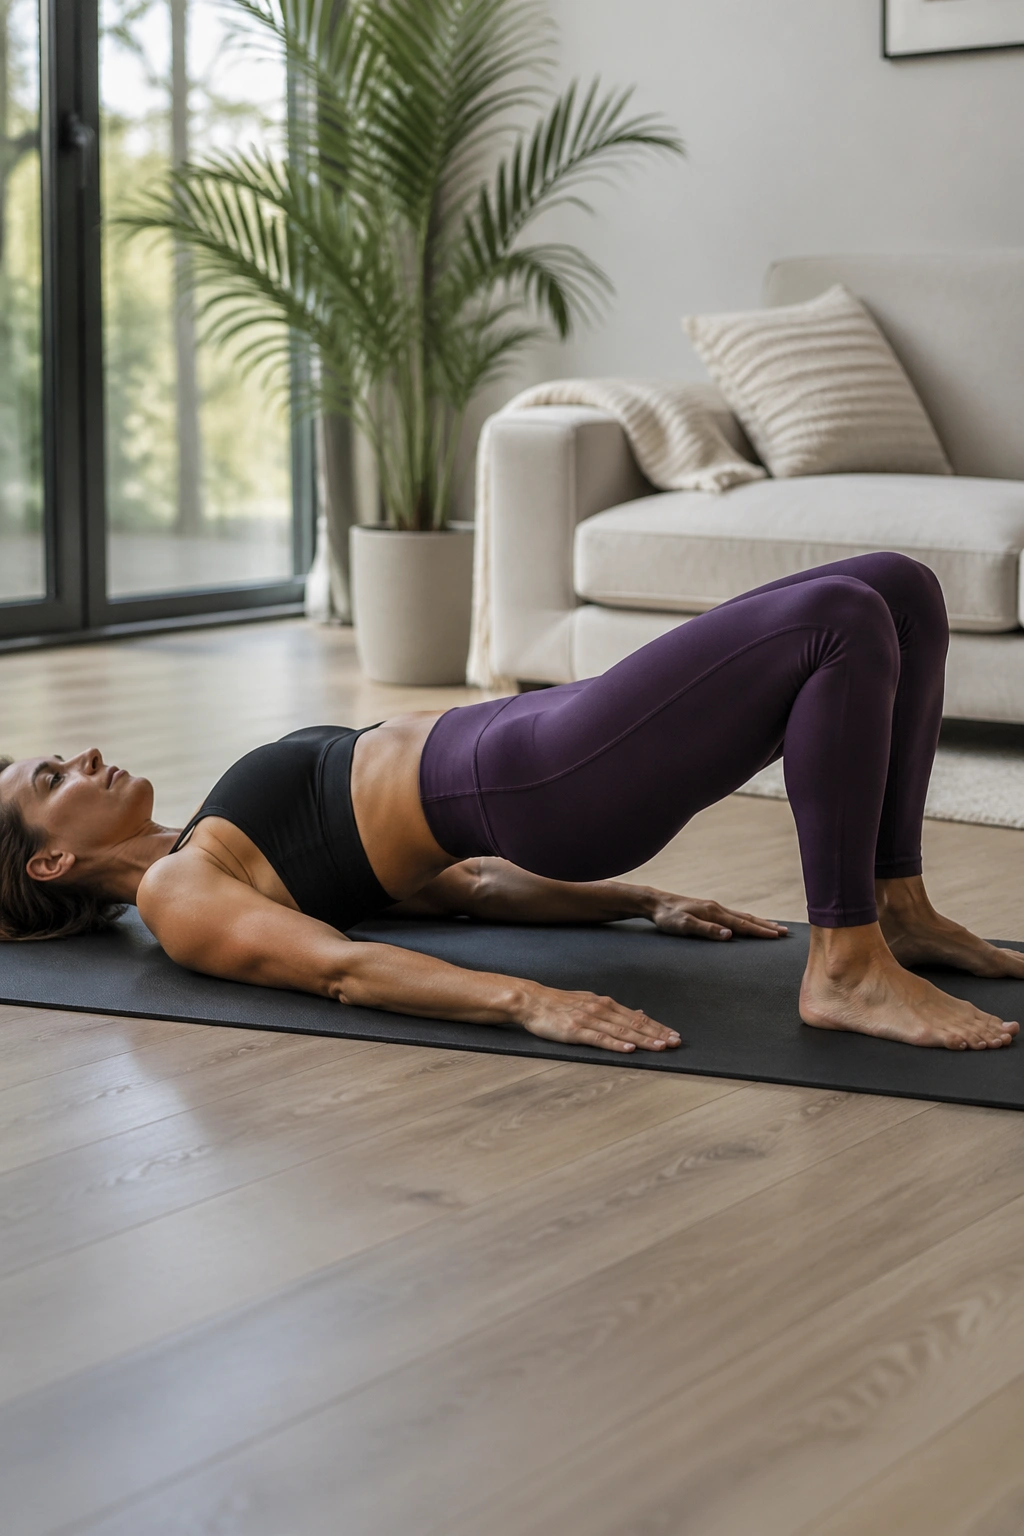
If one move belongs at the front of a Pilates butt-lifting routine, it is this one. The classic glute bridge teaches your body how to extend the hips without turning the lower back into the main player. That tucked pelvis at the start is the whole trick.
Why It Works
Lie on your back with your knees bent and feet flat, then exhale and lightly tip the tailbone toward your heels before you lift. That small posterior pelvic tilt helps flatten the low back into the mat and puts the glutes on notice. From there, press through the heels, lift the hips until the body makes a long line from shoulders to knees, and pause for 2 seconds at the top.
- Keep your feet hip-width apart.
- Think “ribs heavy, pelvis tucked.”
- Stop the lift when your body is straight; do not arch higher.
- Use 10 to 15 slow reps, or 20 pulses at the top.
Best cue: if you feel this mostly in your hamstrings, walk your feet a little closer to your seat and shorten the lift by an inch or two.
2. Single-Leg Glute Bridge Hold
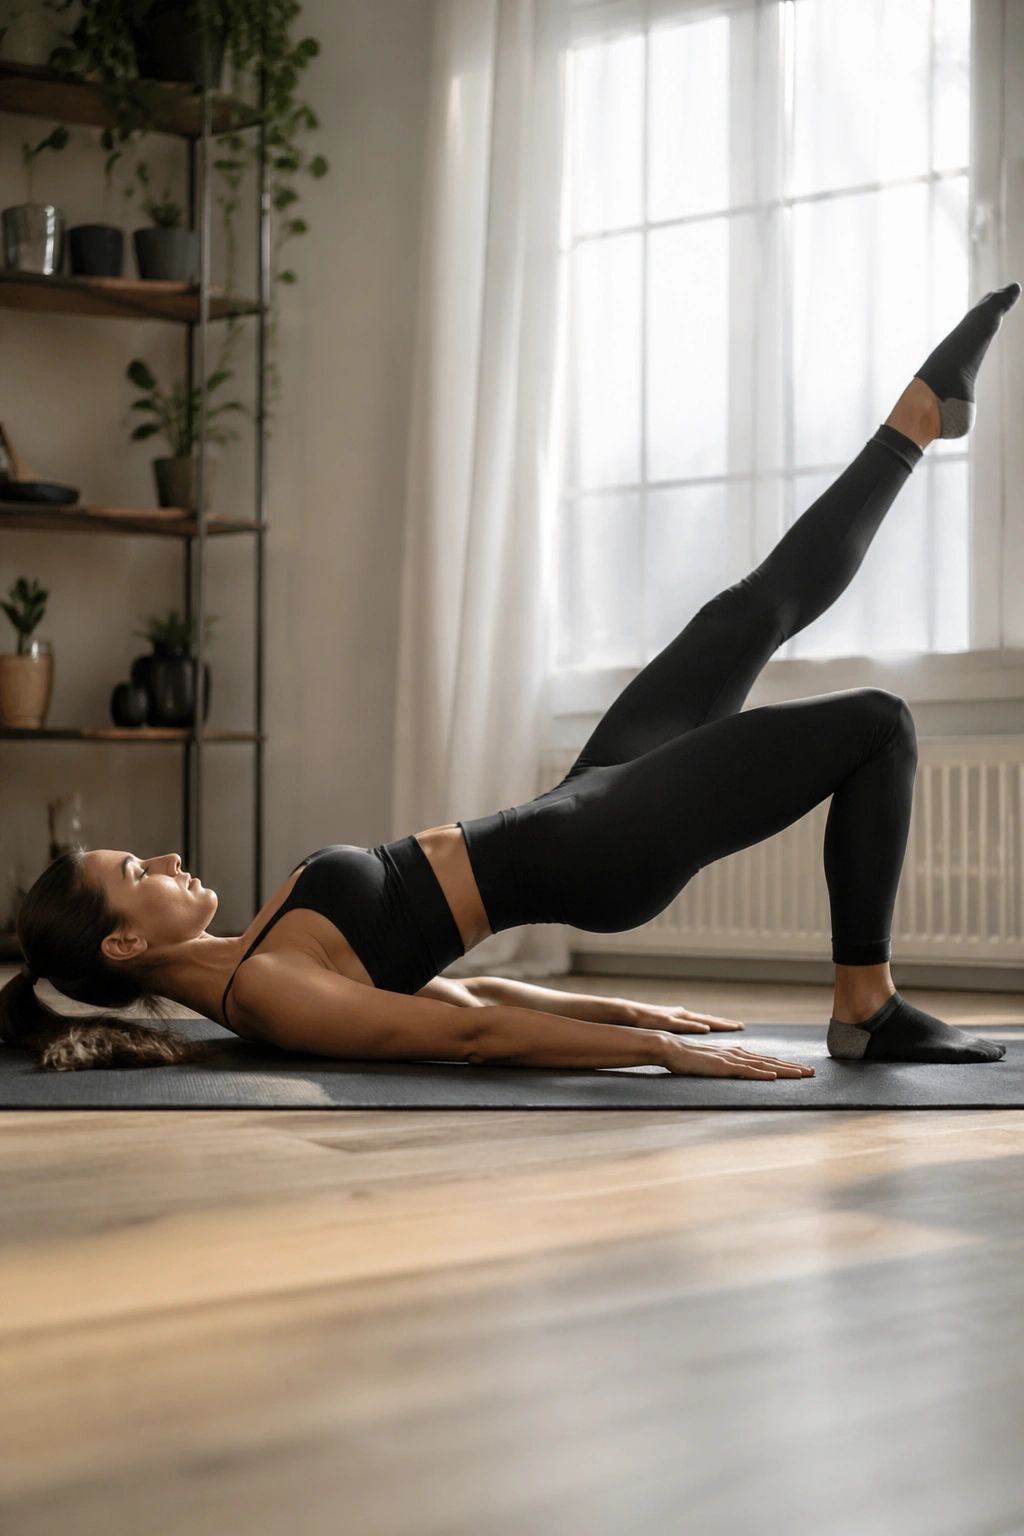
One side at a time exposes every cheat. A single-leg bridge hold will show you exactly which hip likes to rotate, which side is weaker, and where your pelvis starts to tip the second one foot leaves the floor. That is why it works so well for a lifted, even-looking glute line.
The move is simple but not easy. Start in a bridge, extend one leg long, and keep the thighs level. Hold the top position for 10 to 20 seconds, or do 6 slow reps with a 3-second pause each time. The supporting heel should stay heavy, and the lifted leg should feel like a long line rather than a loose fling.
If your hips open toward the ceiling, reset. If your low back tightens, lower a little and rebuild from a smaller range. This exercise rewards patience, and it punishes rushing.
Use it when regular bridges feel too familiar. It sharpens the outer glute, and it makes the whole back body work harder without needing more space or equipment.
3. Frog Pumps
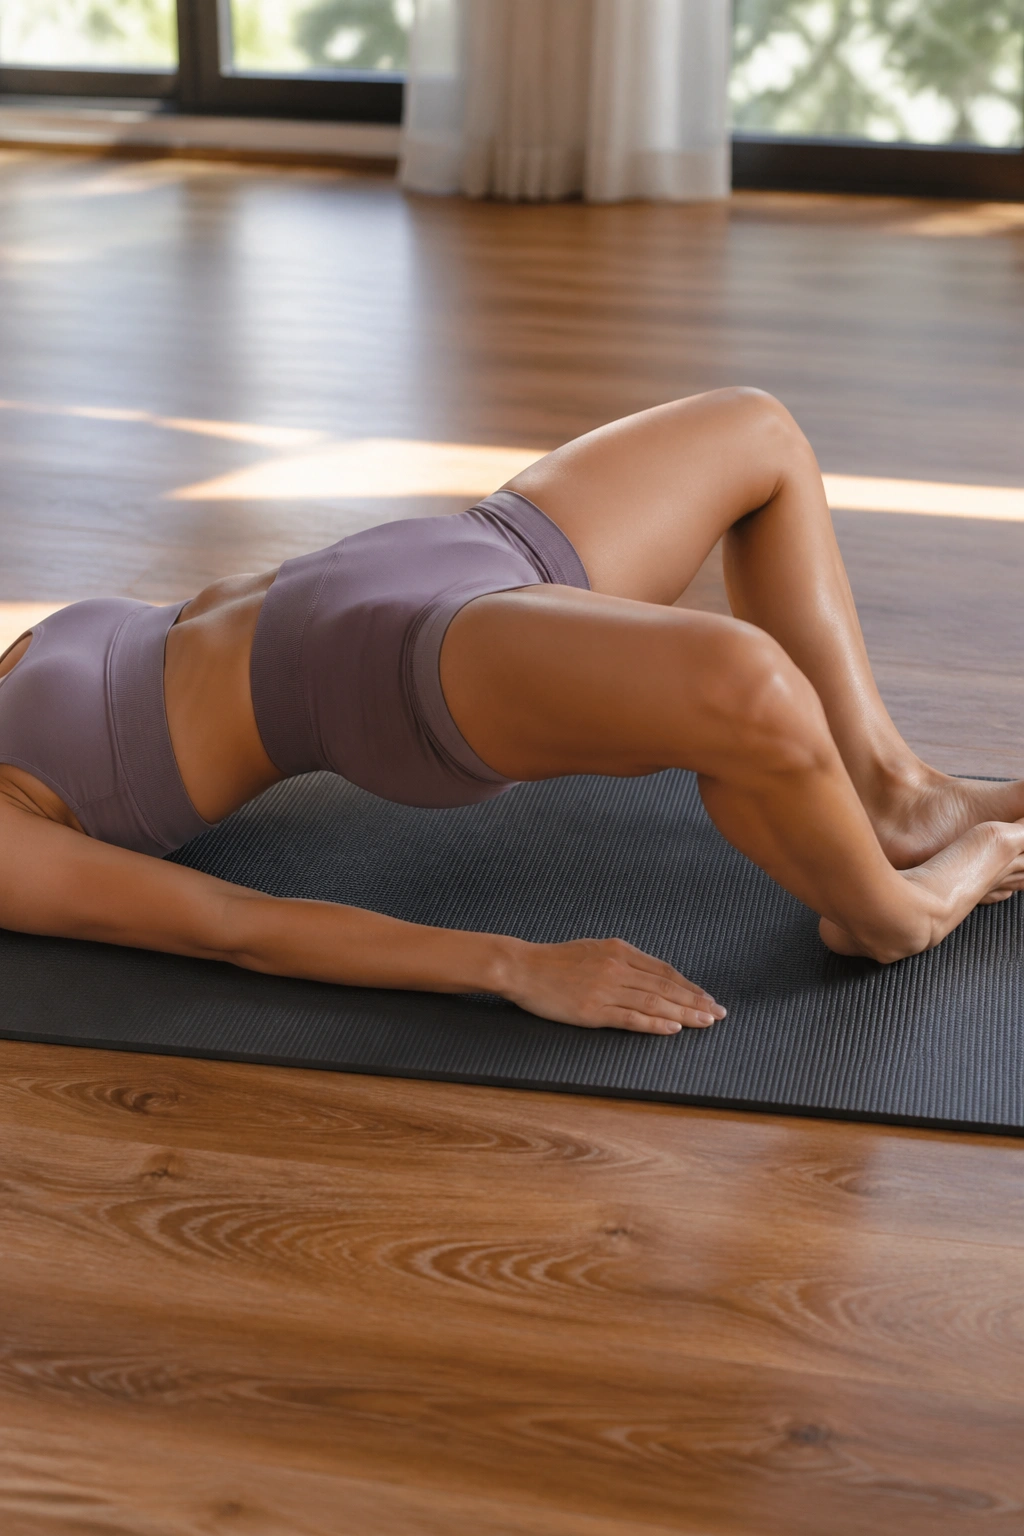
Why do frog pumps torch the glutes so fast? Because the position shortens the range and puts the hips in a shape that makes cheating harder. Your knees stay open, the soles of your feet touch, and the glutes have to do a short, sharp push over and over.
Lie on your back, bring the bottoms of your feet together, and let the knees fall out to the sides. Then curl the tailbone slightly, press the hips up a few inches, and pulse. The movement stays small. That is the point. Ten full bridges may feel calmer than 30 frog pumps, but the pump work can light up the seat in a way people never expect.
How to Use It
A good starter set is 20 to 30 pulses, rest 15 seconds, then repeat for 3 rounds. Add a loop band above the knees if you want more outer-glute work, but keep the knees from collapsing inward if you skip the band.
Do not overthink the top position. A tiny lift is enough. If you shove the hips high, the low back will take over and the point of the exercise disappears.
4. Clamshells
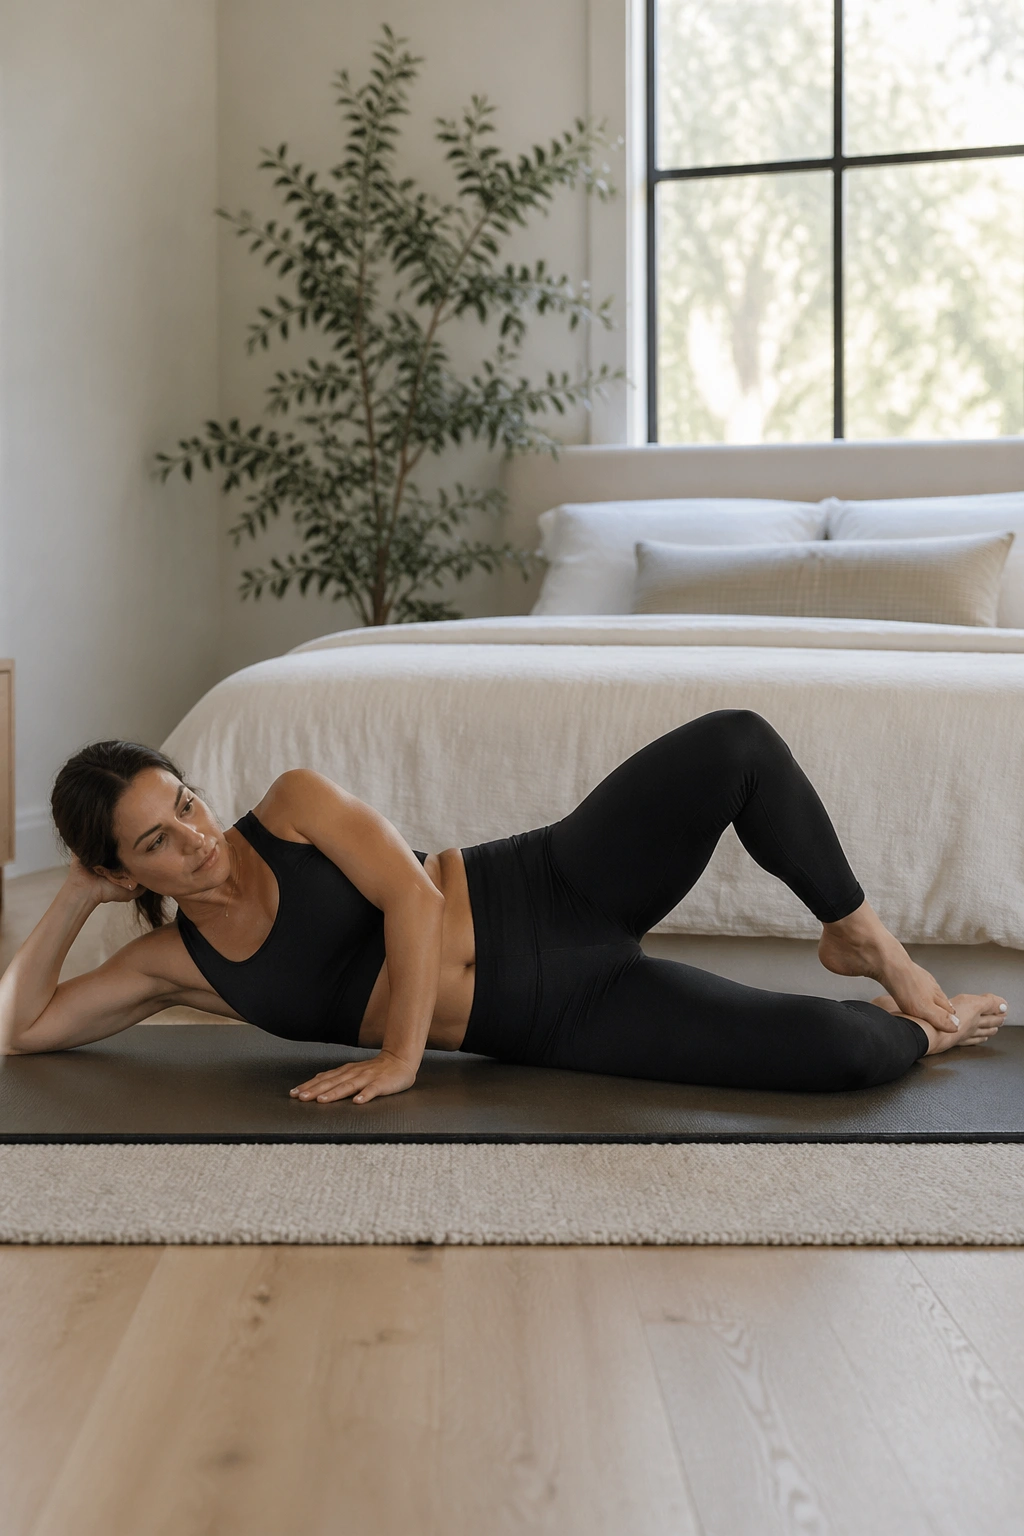
I have watched plenty of people lie on the floor and barely feel clamshells at first. Then the next round starts, the top hip stays quieter, and suddenly the outer glute is on fire. That shift happens because clamshells train hip external rotation, which is one of the quiet jobs that shapes the side of the butt.
Lie on your side with knees bent, feet stacked, and heels lined up with your seat. Keep the pelvis still as you open the top knee like a shell, then lower it with control. The top foot should stay in place; if it starts drifting apart, you are losing the point of the move.
- Keep your waist long, not collapsed.
- Open the knee only as far as the pelvis stays stacked.
- Use 12 to 20 reps per side.
- A light loop band above the knees adds tension without changing the shape.
The move looks tiny. It is. That tiny range is what wakes up the glute medius instead of letting the hip flexors boss the whole thing.
5. Side-Lying Top-Leg Lift
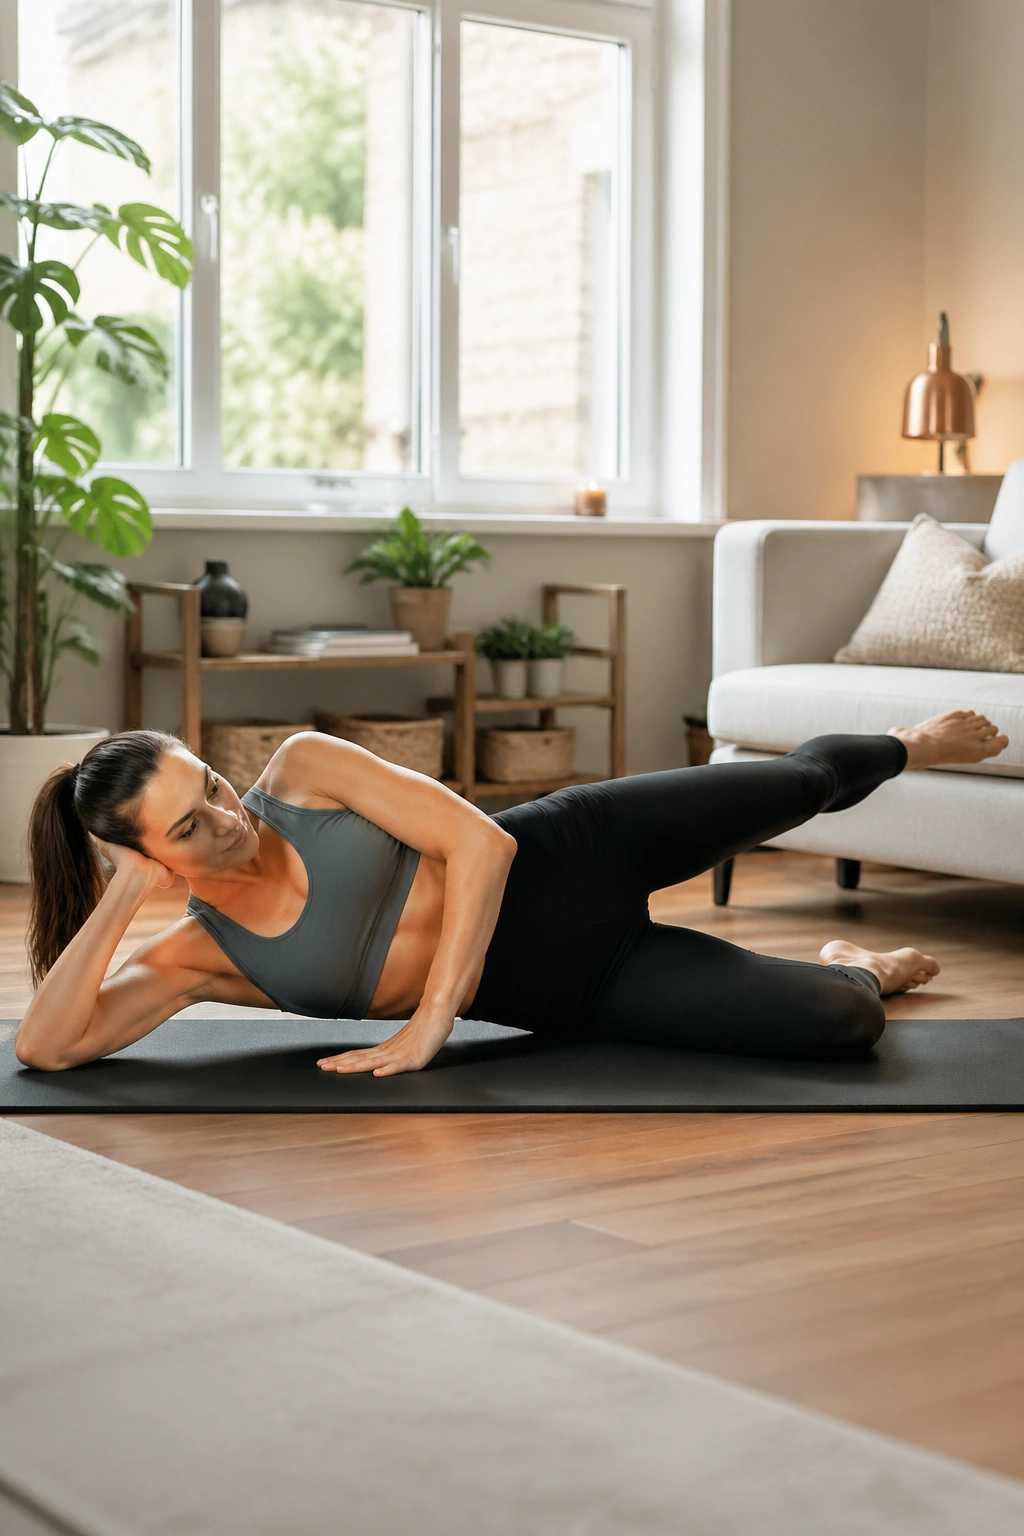
A side-lying leg lift looks almost too plain to matter, and that is exactly why people underestimate it. Once you keep the hips stacked and move the leg without rolling backward, the outer glute starts to work hard in a clean, honest way.
Lie on your side with the bottom leg bent or long, depending on what feels better for your lower back. Point the top leg slightly behind you, flex the foot a touch, and lift it to about hip height. The lift should feel like it comes from the side of the seat, not from the waist or the front of the hip.
Then lower slowly. That slow descent matters more than people think. A controlled 3-second lower creates more tension than ten rushed reps, and it keeps the leg from swinging.
This is a good move for people who want more shape along the upper outer glute. It also pairs well with clamshells because one trains rotation and the other trains pure abduction.
6. Side-Lying Leg Circles
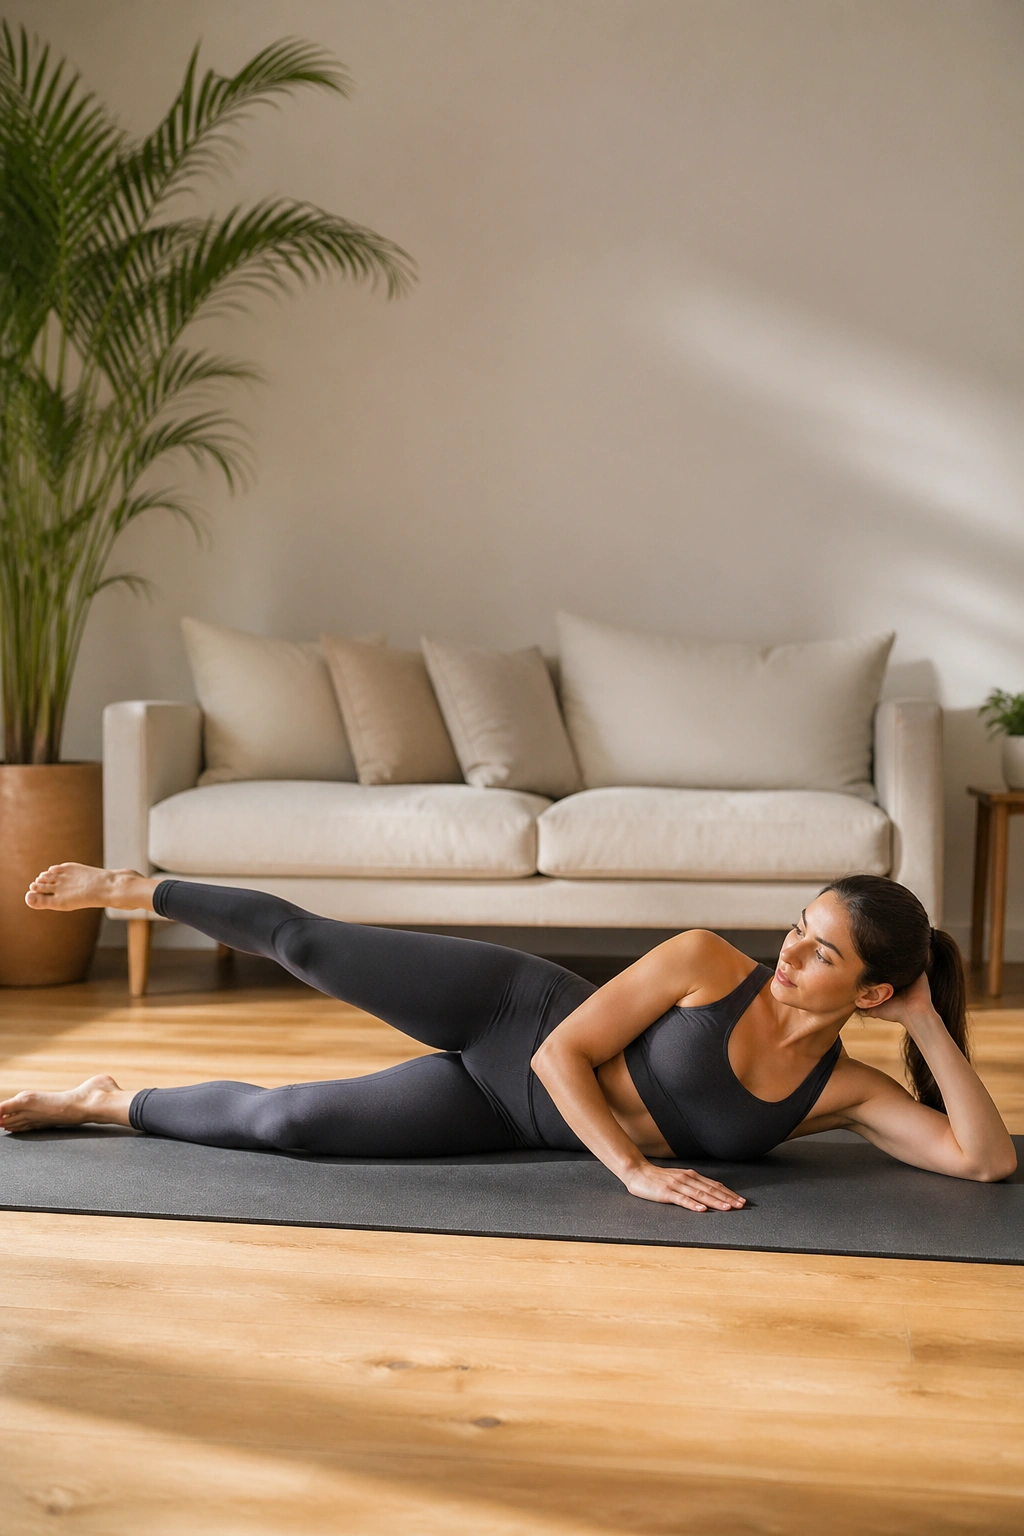
Unlike straight lifts, leg circles make your hip control the whole story. The movement looks graceful, almost easy, until the pelvis starts wobbling and you realize the glute medius has to stabilize while the leg moves through space.
Lie on your side and lift the top leg a few inches off the floor. Draw small circles from the hip socket, not from the foot. Keep the waist long and the belly gently braced. Six circles one way, six the other way, is enough to make the outer hip notice what is happening.
This is the right choice if side leg lifts feel too linear or too predictable. The circles demand more control from the small muscles around the hip, and that control tends to show up later in walking, standing on one leg, and climbing stairs.
Keep the circles small. Big circles look flashy and usually turn into a swing. Small ones burn, and they burn in the right place.
7. Donkey Kicks
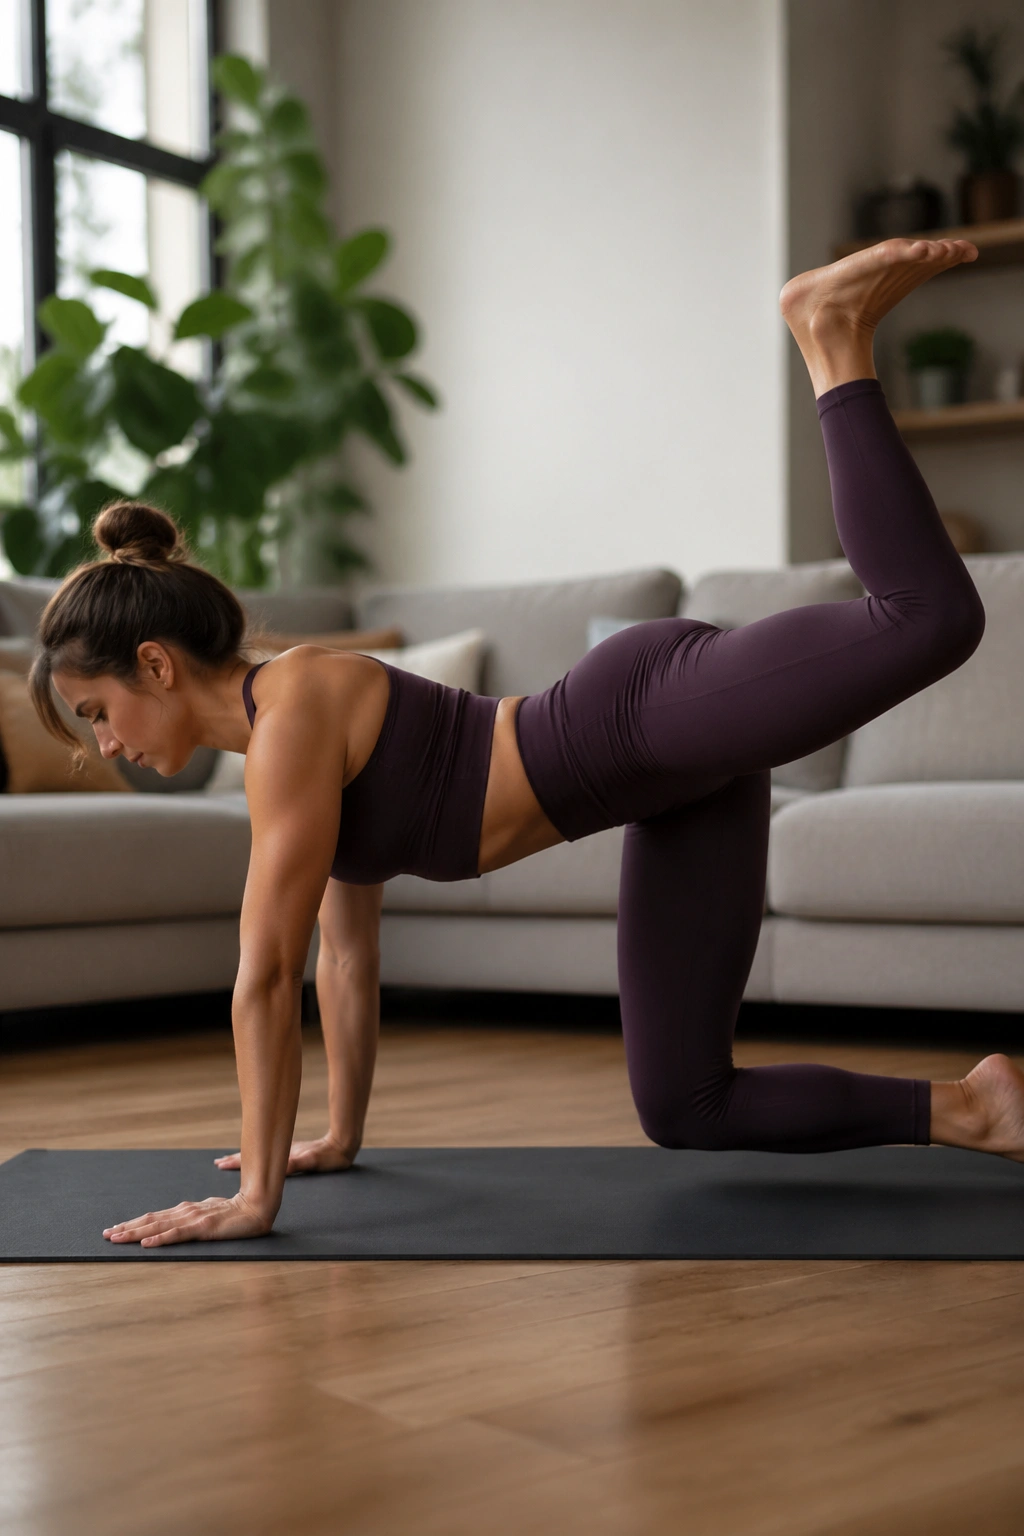
Donkey kicks are a sneaky way to load the glute max without needing a single piece of equipment. The bent-knee shape lets you drive the heel up while keeping the lumbar spine from doing all the work. That is the whole game here.
Start on all fours with hands under shoulders and knees under hips. Keep one knee bent at 90 degrees, flex the foot softly, and press the sole of the foot toward the ceiling until the thigh is roughly in line with the hip. Pause for a second, then lower with control. Ten to 12 reps per side is a clean starting point.
What to Watch For
- Keep the ribs pulled in.
- Do not let the lower back arch.
- Stop the lift when the hip starts to twist.
- Move slowly enough to feel the squeeze, not the swing.
Best cue: imagine stamping the ceiling with your heel, not kicking the leg backward from the spine.
8. Fire Hydrants
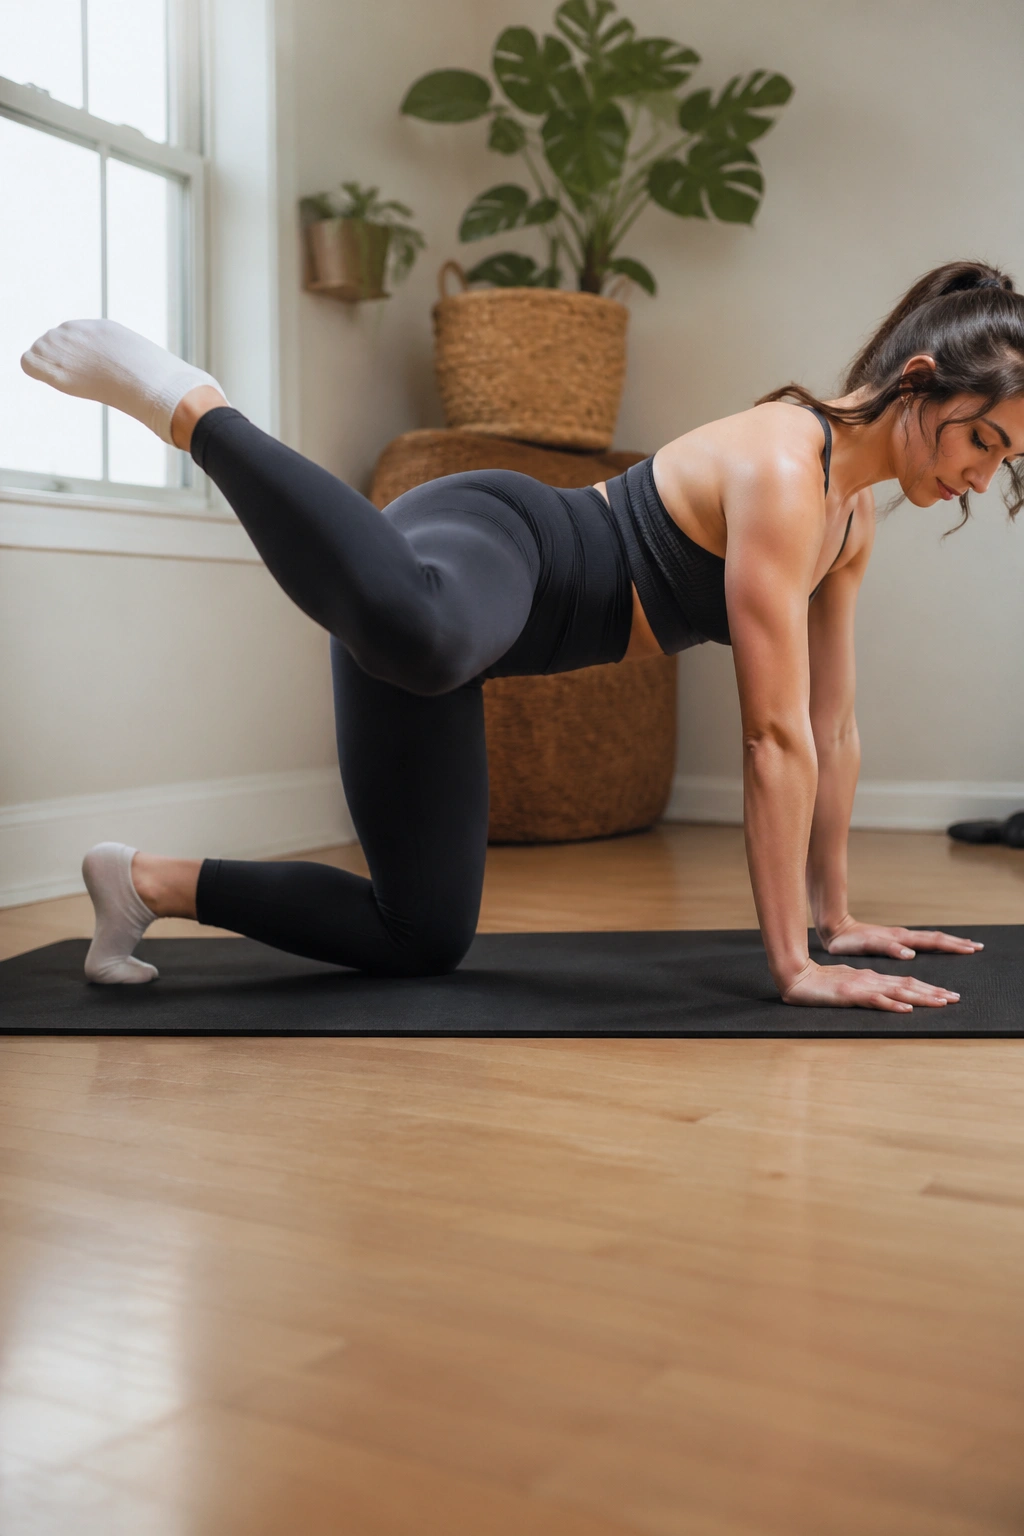
Why does a fire hydrant feel so different from a donkey kick? Because the leg moves out to the side instead of back, and that changes which part of the glute has to step up. The outer glute has less room to hide here.
Come to all fours and keep the knee bent. Lift one knee out to the side without shifting your weight into the standing arm or rolling your hip open. The motion is small. It should look controlled, not dramatic. Twelve to 15 reps on each side usually says enough.
A lot of people open the leg too high and let the body turn. That turns the exercise into a hip tilt instead of a glute drill. Keep the navel lightly drawn in and the shoulders quiet. If you need a tactile reminder, place a yoga block or light book on the lower back and try not to knock it off.
How to keep the hips square
Keep both hip bones pointed down.
Lift the leg only until the glute on the side you’re working starts to tighten.
Lower slowly and stop before momentum takes over.
That small discipline makes the move worth doing.
9. Quadruped Kickbacks With Toe Flex
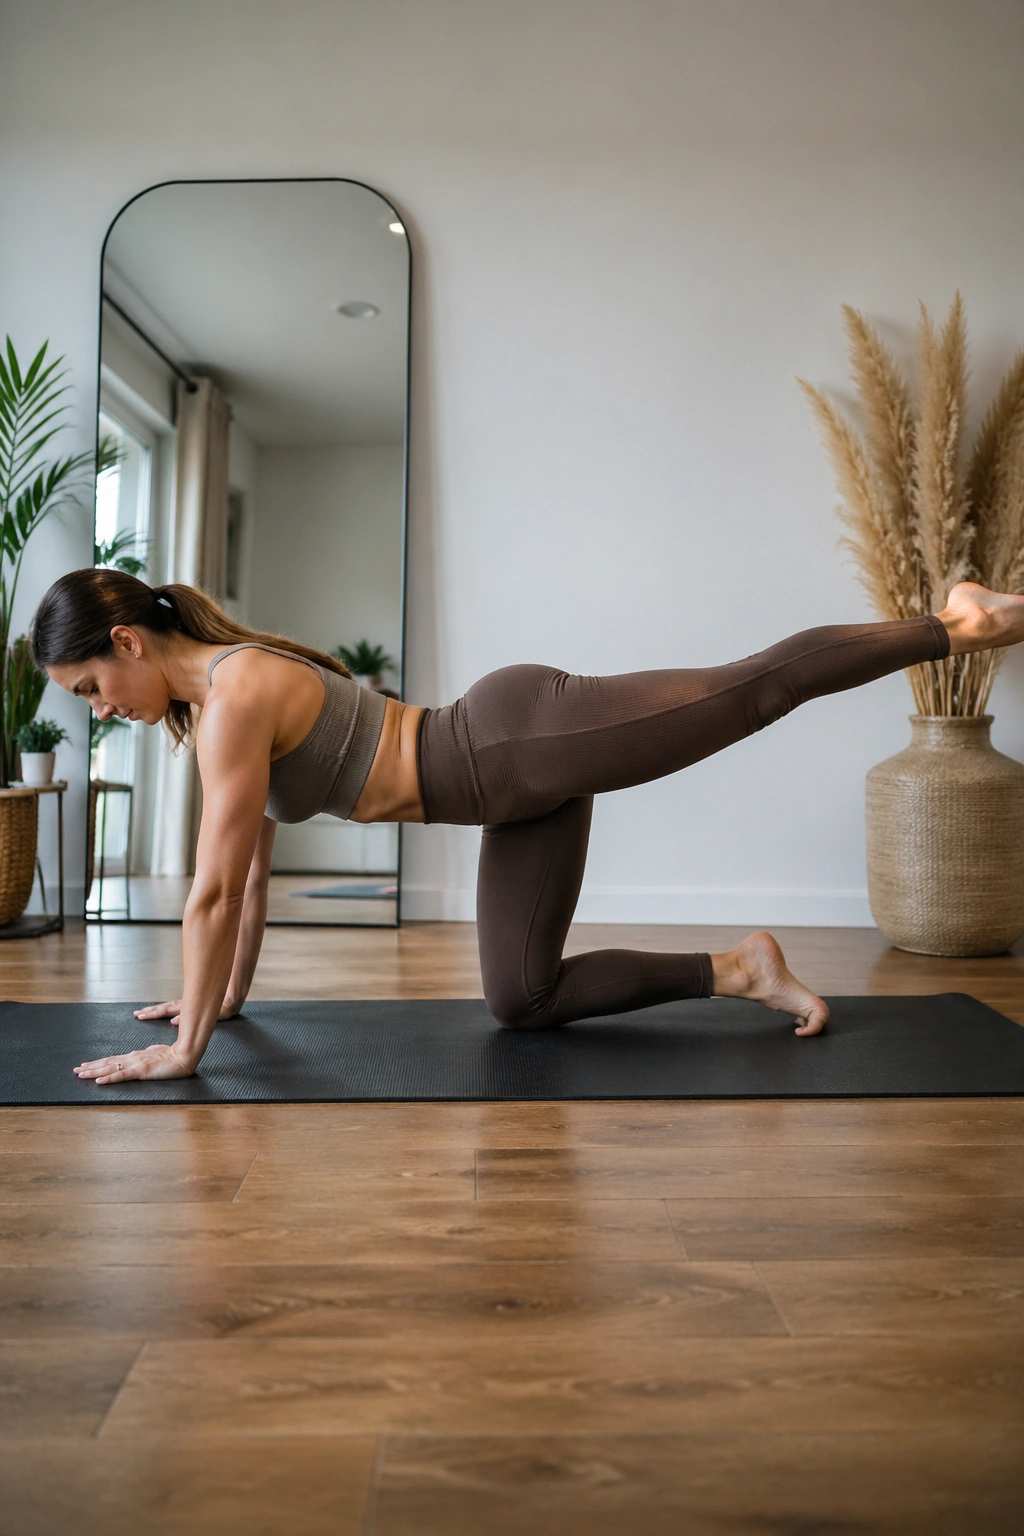
What changes when you straighten the leg a little more? You shift the work deeper into the glute max and hamstrings, and the kickback starts to feel less like a mini pulse and more like a real line of force.
From all fours, extend one leg back with the knee bent only slightly or nearly straight, then flex the foot and press the heel back. The torso stays still. That stillness matters more than the height of the leg. If the spine arches to make the leg look higher, you have lost the target.
This version suits anyone who already knows donkey kicks and wants a sharper challenge. The flexed foot tends to make the back of the leg work harder, and the glute squeeze at the top feels deeper. Try 8 to 10 slow reps, then add a 2-second hold on the last 3 reps.
The best range is often smaller than you expect. Bring the leg back until the glute tightens, then stop. Bigger is not better here.
10. Bridge March
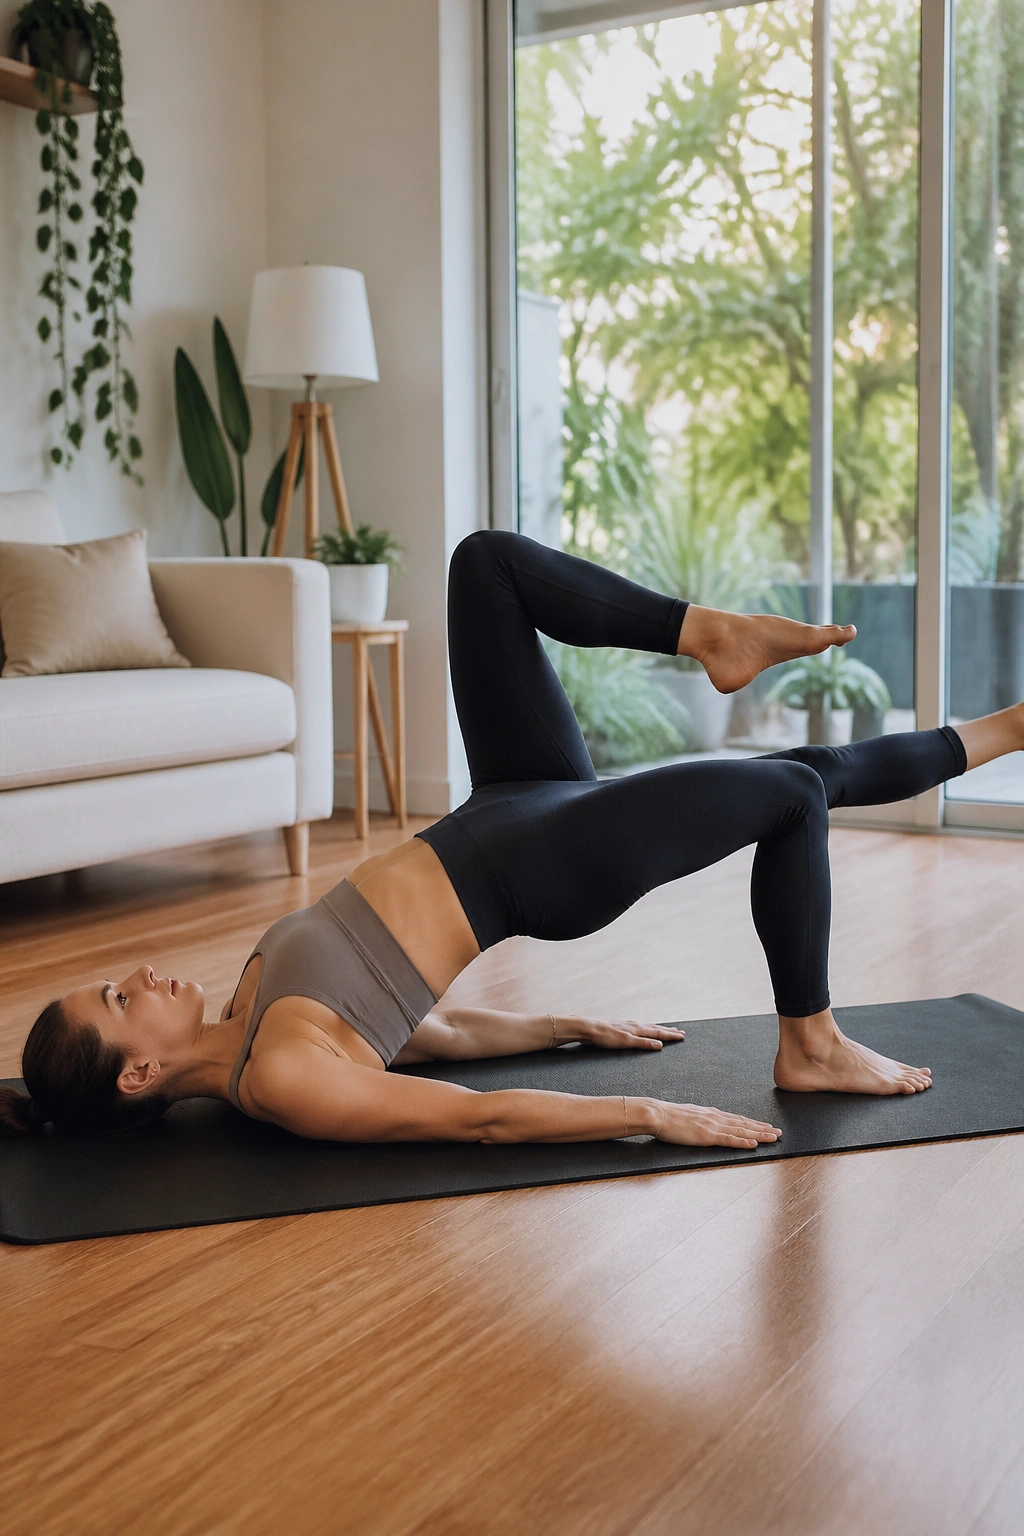
The moment one foot leaves the floor, sloppy bridge form shows up. That is why the bridge march is such a good test of real glute strength. It asks the hips to stay level while the legs take turns moving, and that is a harder job than it sounds.
Lift into a stable bridge, then slowly bring one knee toward your chest without letting the pelvis tip or sag. Lower that foot, switch sides, and keep the pace deliberate. Six to eight marches per side is plenty. If the hips wobble on rep 2, the set is already useful.
- Keep the bridge height moderate.
- Press the standing heel down hard.
- Move one leg at a time, not in a hurry.
- Stop if the low back starts pinching.
The march is a nice bridge between basic floor work and more advanced stability training. It builds control under load, and that control is part of what gives the glutes a lifted look.
11. Pilates Swimming
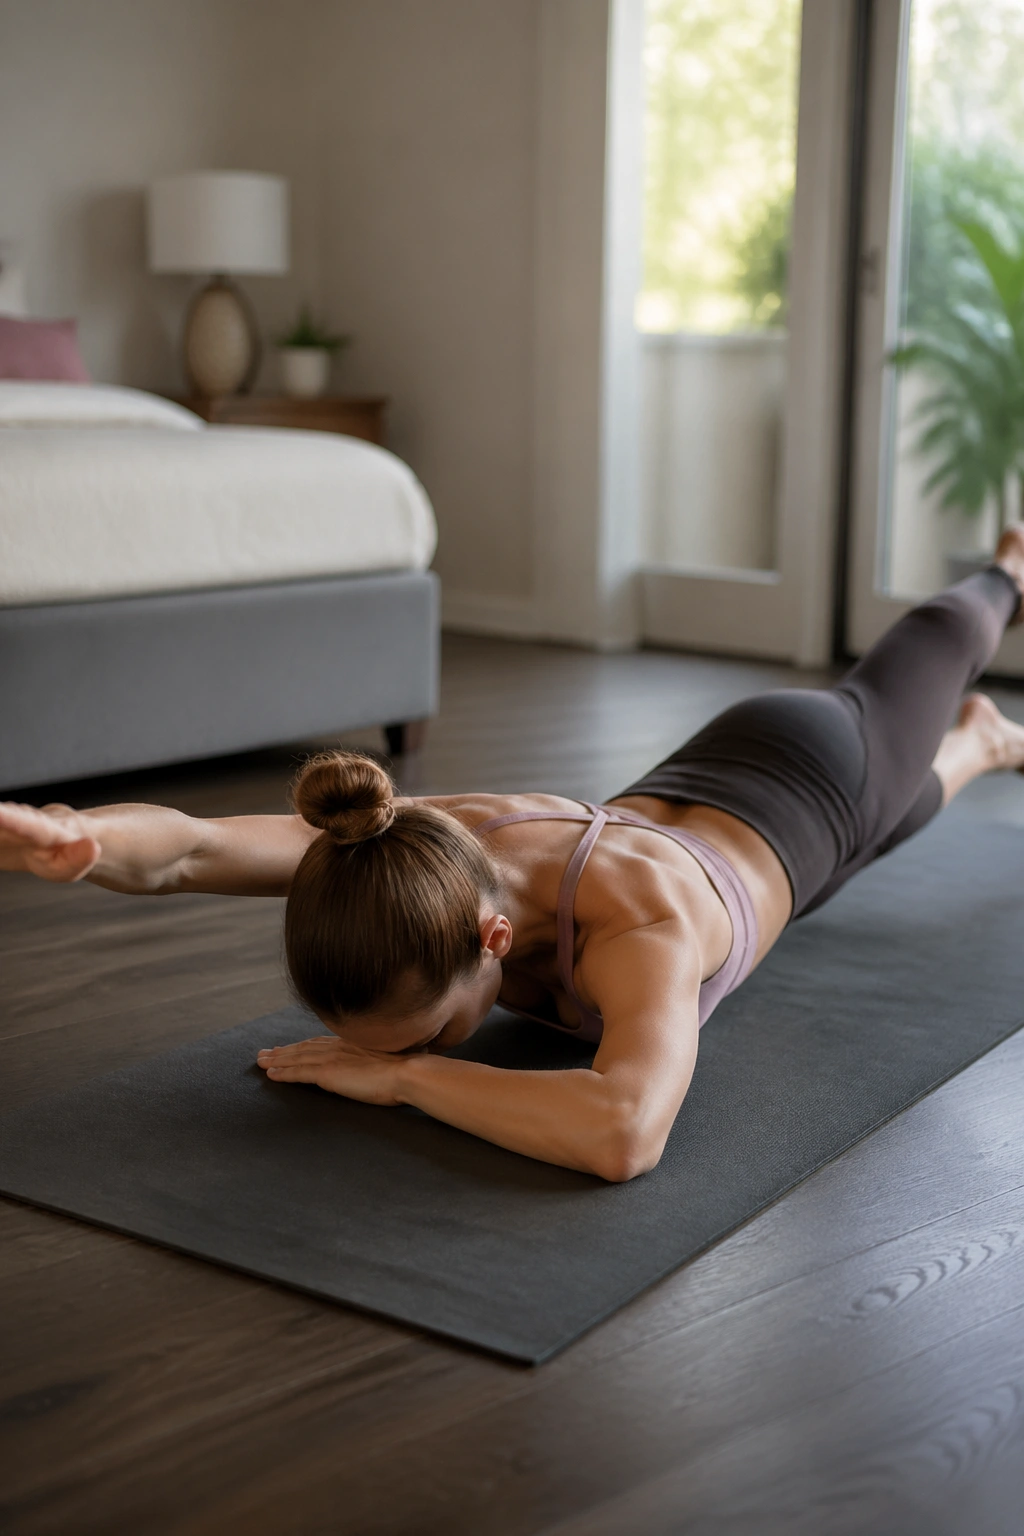
Swimming looks harmless until the first 15 seconds pass. Then the back of the body starts to work in a way that surprises people who usually only think about glutes in bridge positions. This is one of those Pilates moves that builds endurance more than a quick burn.
Lie face down, rest the forehead on the hands or a folded towel, and lift the opposite arm and leg in a small alternating pattern. The movement is brisk but tiny. You are not trying to kick or reach high. You are trying to keep the torso quiet while the glutes, hamstrings, and upper back all stay on task.
A good set lasts 20 to 30 seconds, followed by a short rest. If your lower back grabs, reduce the height of the legs and make the motion smaller. The body should feel long, not crunched.
What I like about swimming is the way it trains endurance without needing big range or joint strain. It is one of the few mat moves that can make the back of your body feel athletic and tidy at the same time.
12. Prone Arabesque Lifts
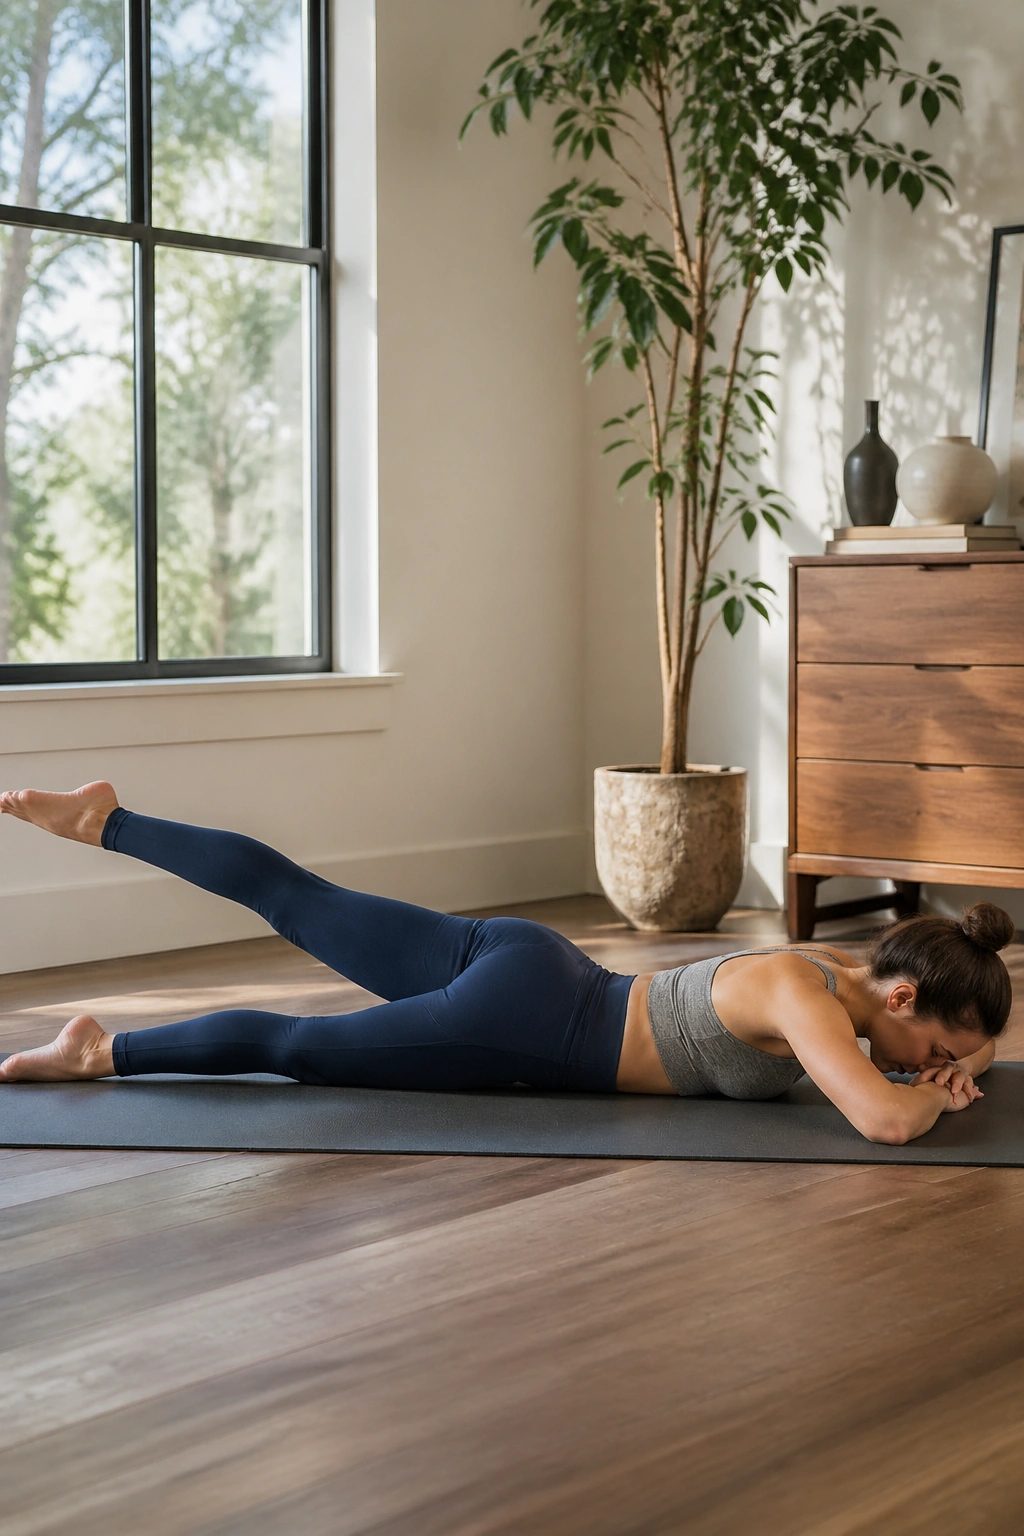
Unlike swimming, the prone arabesque lift gives one leg more of the spotlight. The shape is slower, cleaner, and a little more demanding on the standing side of the pelvis because there is less motion to hide behind.
Lie face down with the forehead resting on the hands. Extend one leg long, then lift it a few inches off the floor while keeping the hips square. Hold for 1 to 2 seconds, lower slowly, and repeat 8 to 12 times before switching sides. If the lower back starts to compress, lower the leg height and keep the glute squeeze small but real.
This move is best for people who want a clear glute contraction without a lot of leg flapping. The long line of the leg also makes it easy to feel whether the lift starts from the hip or from the spine. If the lumbar area tightens first, reset and make the lift smaller.
A solid recommendation: use this after bridges or kickbacks, when the glutes are already awake and ready to work a little harder.
13. Side Kick Front-and-Back Kicks
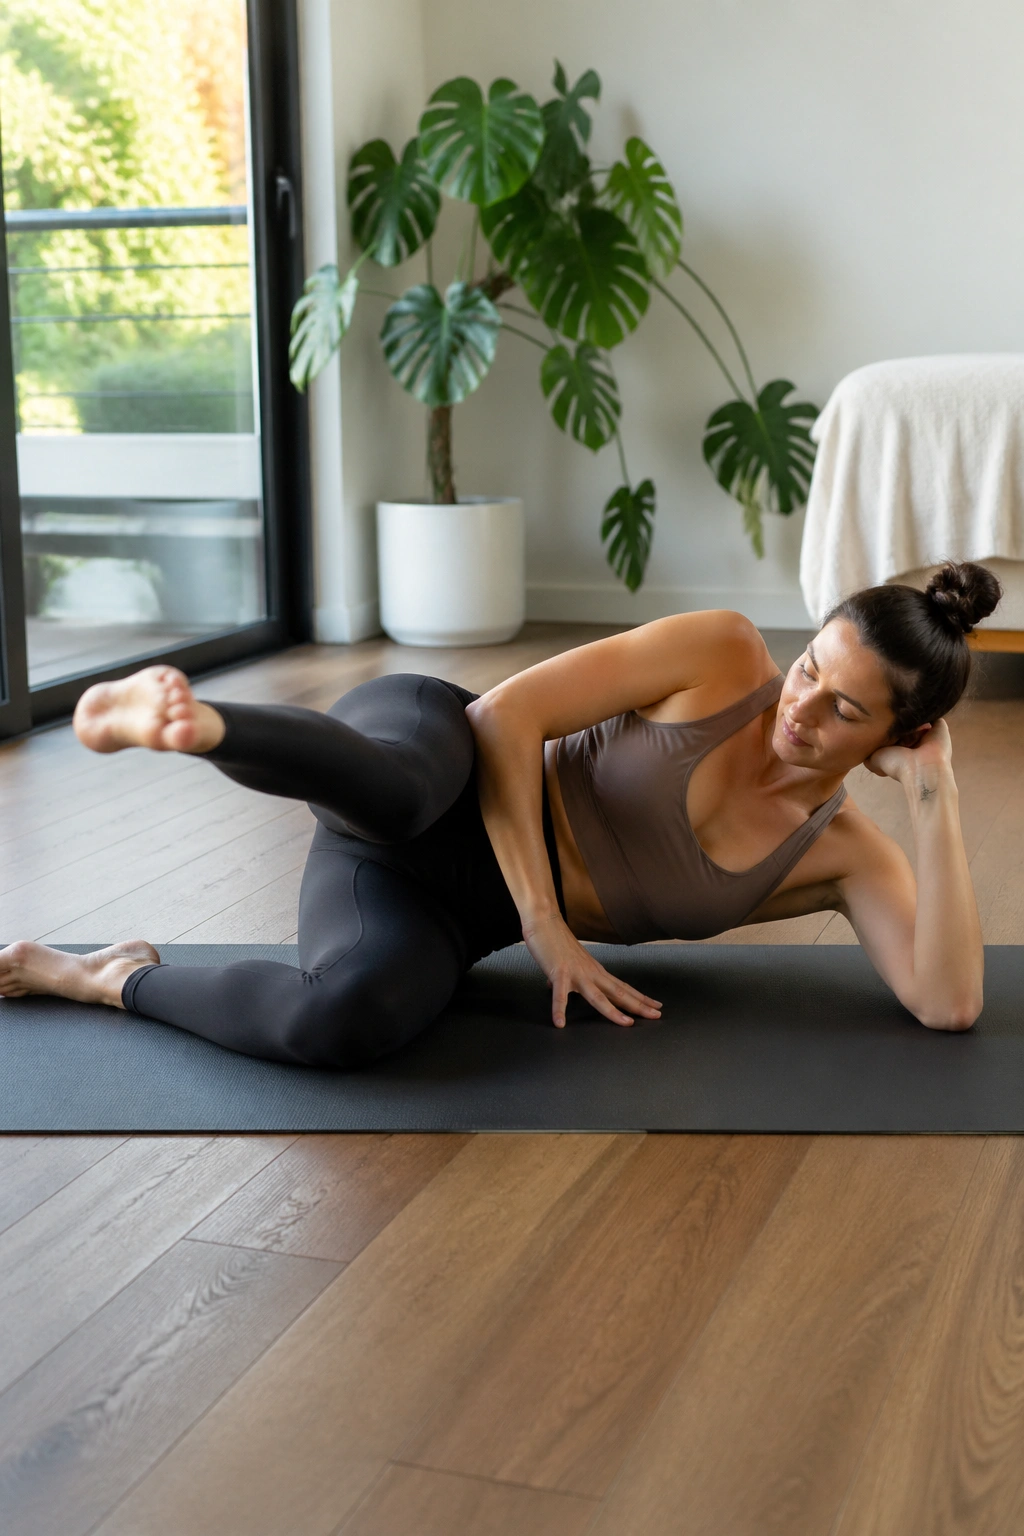
There is a reason side kick series shows up in so many Pilates classes. Once the torso stays still, the moving leg has nowhere to cheat. The front-and-back swing hits the hip flexors on the forward reach and the glutes on the backward reach, which makes the whole pattern useful.
Lie on one side, stack the shoulders and hips, and bring the top leg slightly in front of you. Swing it forward under control, then sweep it back behind the body without letting the low back arch. The backward part should feel like the glute is pulling the leg into line, not like the spine is throwing it there.
Why the Back Swing Matters
The kick back is where the butt work lives.
That is the part people rush.
If you cut the range short, you miss a lot of the glute activation.
Use 8 to 10 controlled swings per side. Keep the foot flexed, the waist lifted off the mat, and the motion smooth enough that the pelvis stays quiet. The cleaner the line, the more the glute has to do.
14. Side Kick Up-and-Down Lifts
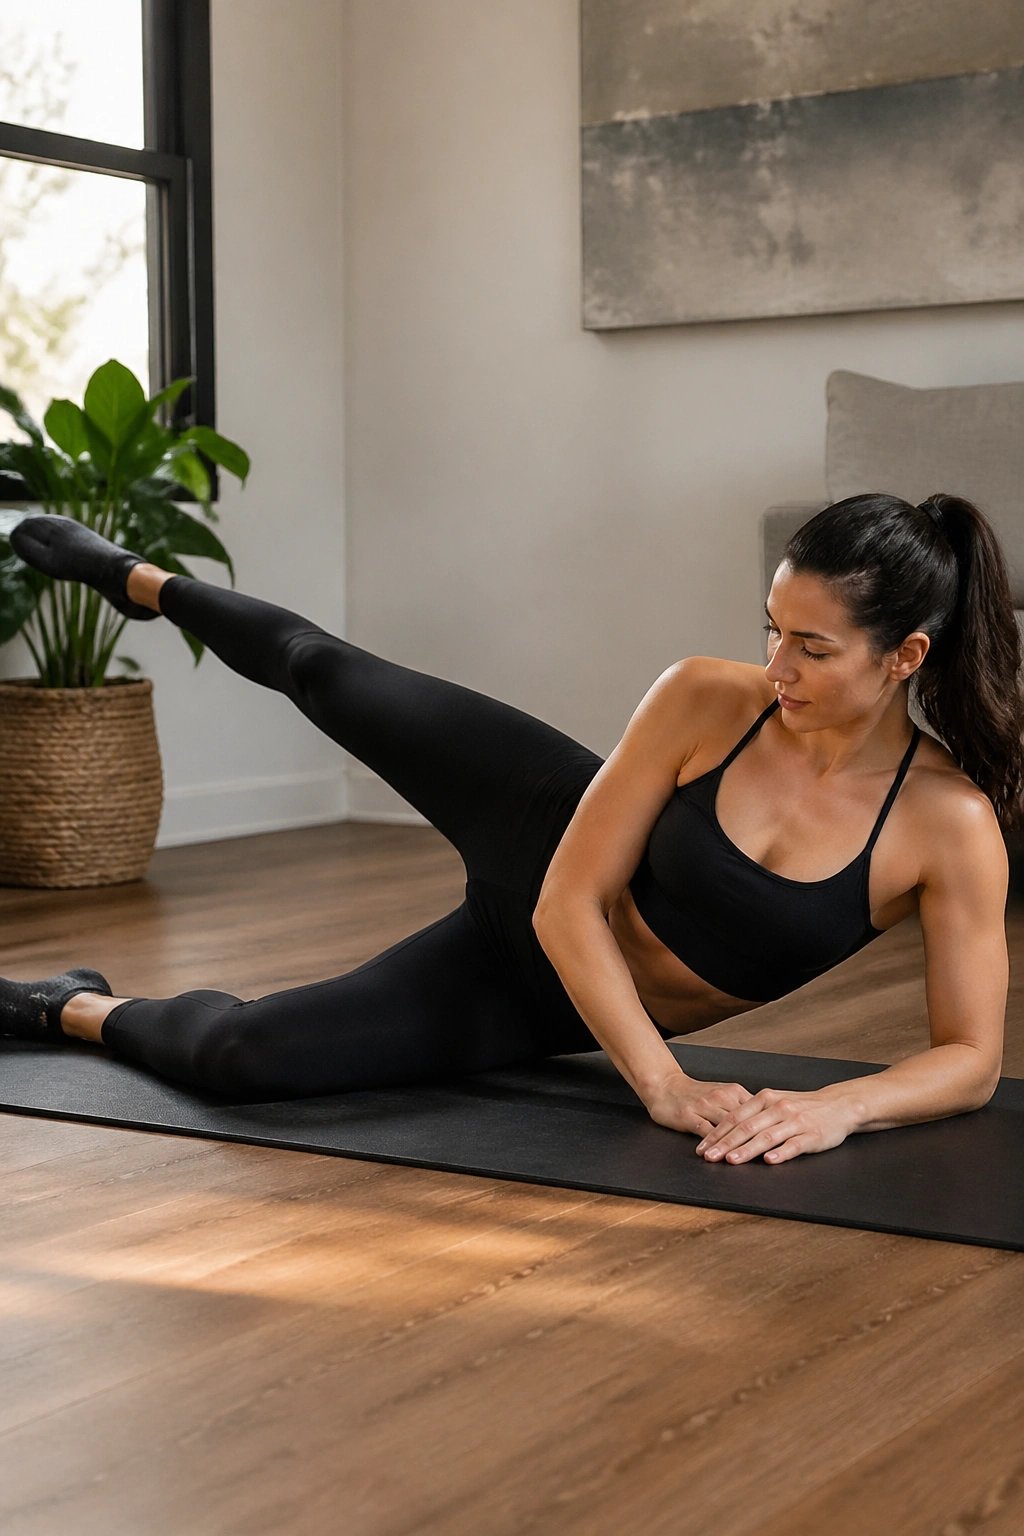
This is the one that makes people discover the outer glute. Side kick lifts are tiny, but they are unforgiving if you drift out of alignment. The top leg moves up and down while the rest of you stays stacked and still.
Lie on your side, brace the waist, and lift the top leg to about hip height. Lower it just before it touches the bottom leg, then lift again. That narrow range keeps tension in the side glute instead of letting gravity do half the job. Try 15 to 20 reps, or 12 reps with a 2-second hold on the last 3.
Compared with front-and-back kicks, this variation is more about pure abduction. There is less momentum, less swing, and more time under tension. If the leg starts drifting forward, turn the toes slightly down and shorten the range.
A small body lean forward can help you feel the glute medius sooner, but keep the hips stacked. The goal is fatigue in the side hip, not a twist through the waist.
15. Standing Donkey Kick With a Chair
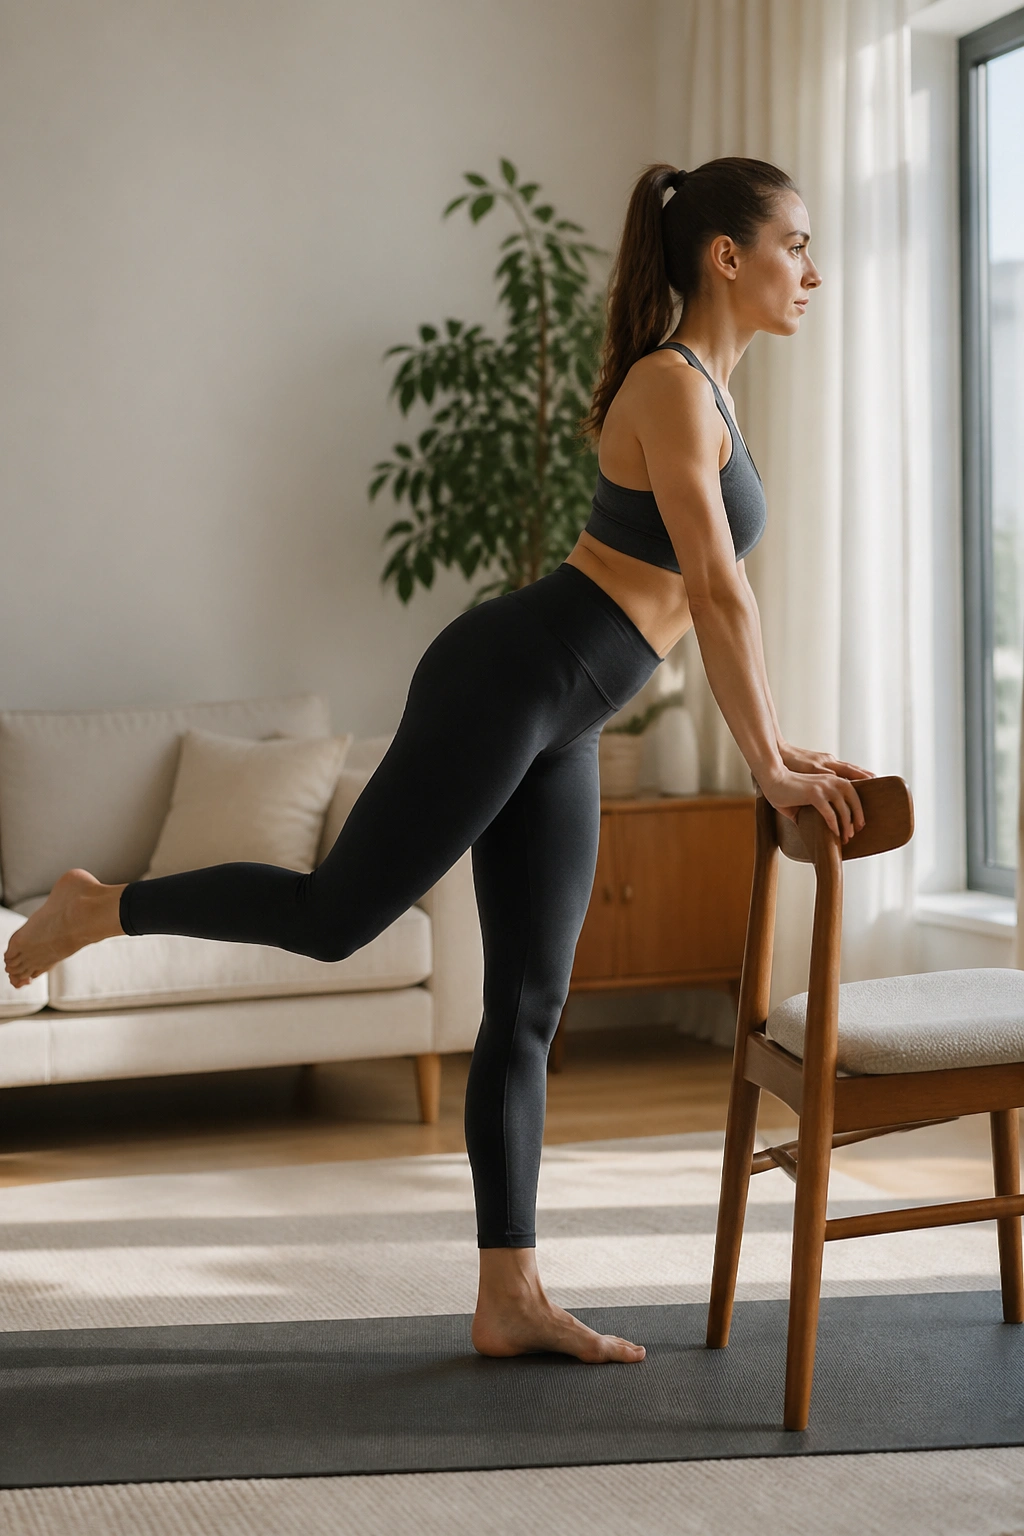
If getting on the floor feels unappealing, this standing version is a gift. It keeps the kickback pattern but loads it in a more upright, balance-heavy way, which means your glutes and stabilizers both have to pay attention.
Hold the back of a sturdy chair, hinge the torso forward a little, and bend one knee to send the heel behind you. Keep the standing leg soft, the pelvis level, and the lifted thigh from swinging too high. The kick should feel controlled, almost restrained. That restraint is what makes it good.
How to keep the pelvis square
Press down through the standing foot.
Keep both hip bones facing the floor.
Lift the heel only until the seat tightens.
This is a smart move for people who want a little more load than a mat exercise can give, without jumping into heavy resistance. Use 10 to 15 reps per side, and slow the lowering phase so the glute stays under tension longer.
The chair support makes it safer and cleaner than a free-standing kick. That matters more than looking advanced.
16. Standing Side Leg Lift With a Slight Lean
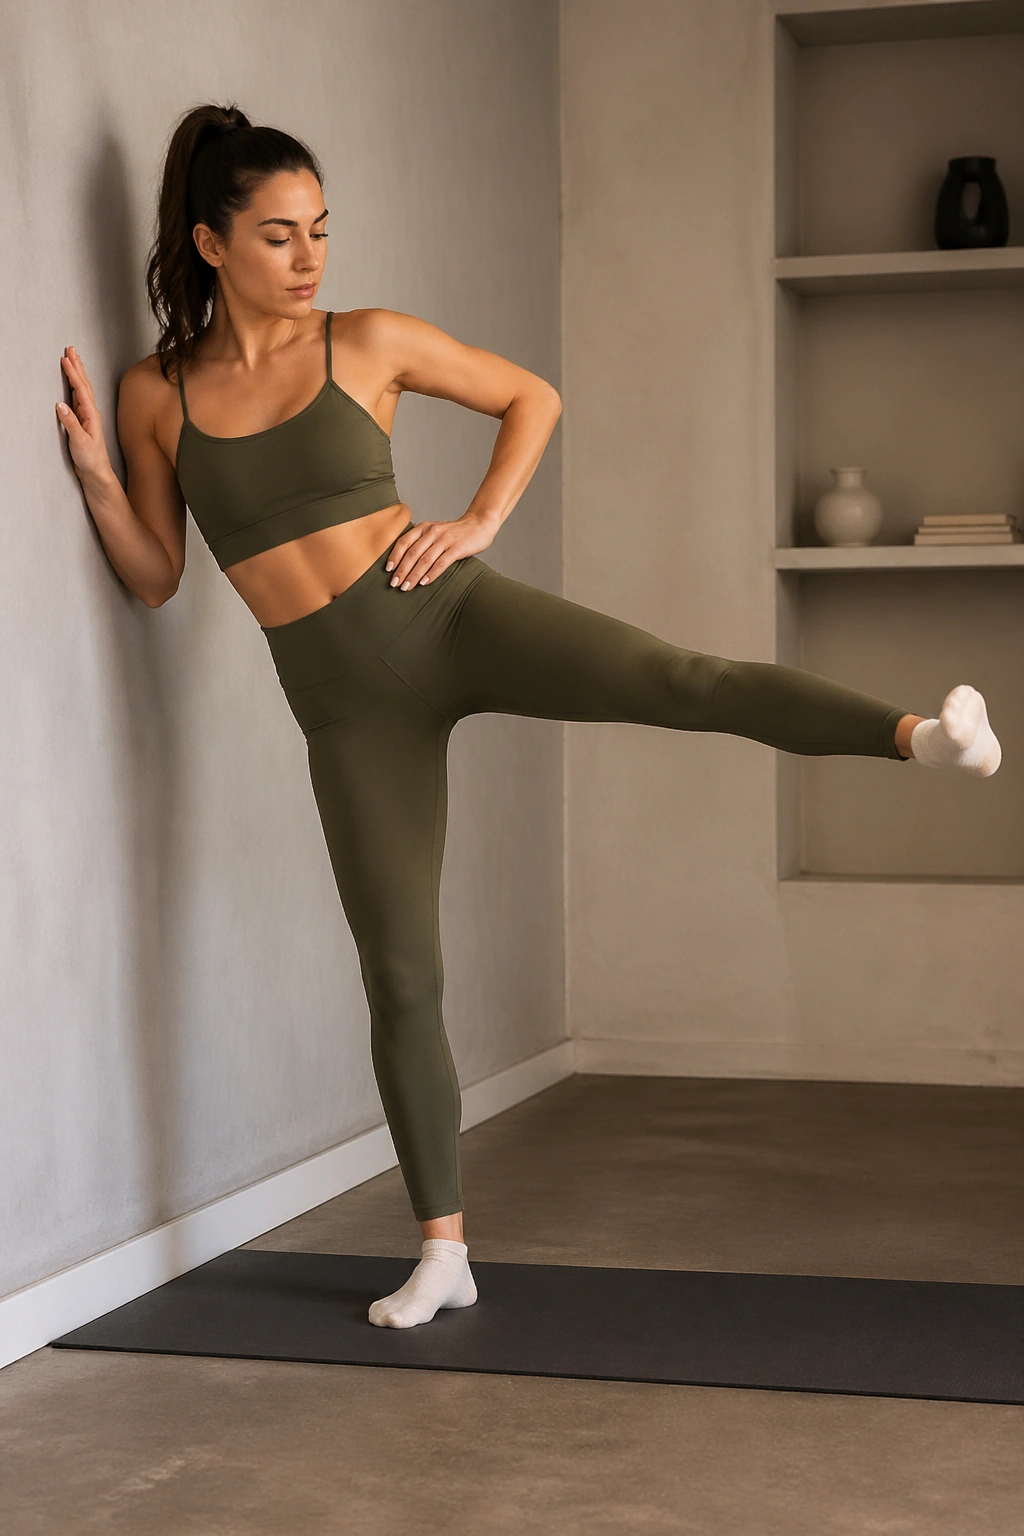
If side-lying work feels too easy, this is where you find out how honest your glutes are. A small standing side leg lift, done with a slight lean into a wall or chair, brings the outer hip into play while asking the standing leg to stay steady.
Hold onto support with one hand, lean the torso a little toward the support side, and lift the free leg straight out to the side. Keep the toes pointing forward or slightly down. The lift should be smooth and not huge. A leg that goes too high usually recruits the hip flexors and tips the pelvis.
- Keep the standing knee soft.
- Lift only to a range you can control.
- Pause for 1 second at the top.
- Use 12 to 15 reps per side.
The slight lean matters because it changes the line of pull and makes the outer glute work harder. That little setup tweak is the difference between a casual side lift and one that actually wakes up the hip.
17. Curtsy Lunge Pulses
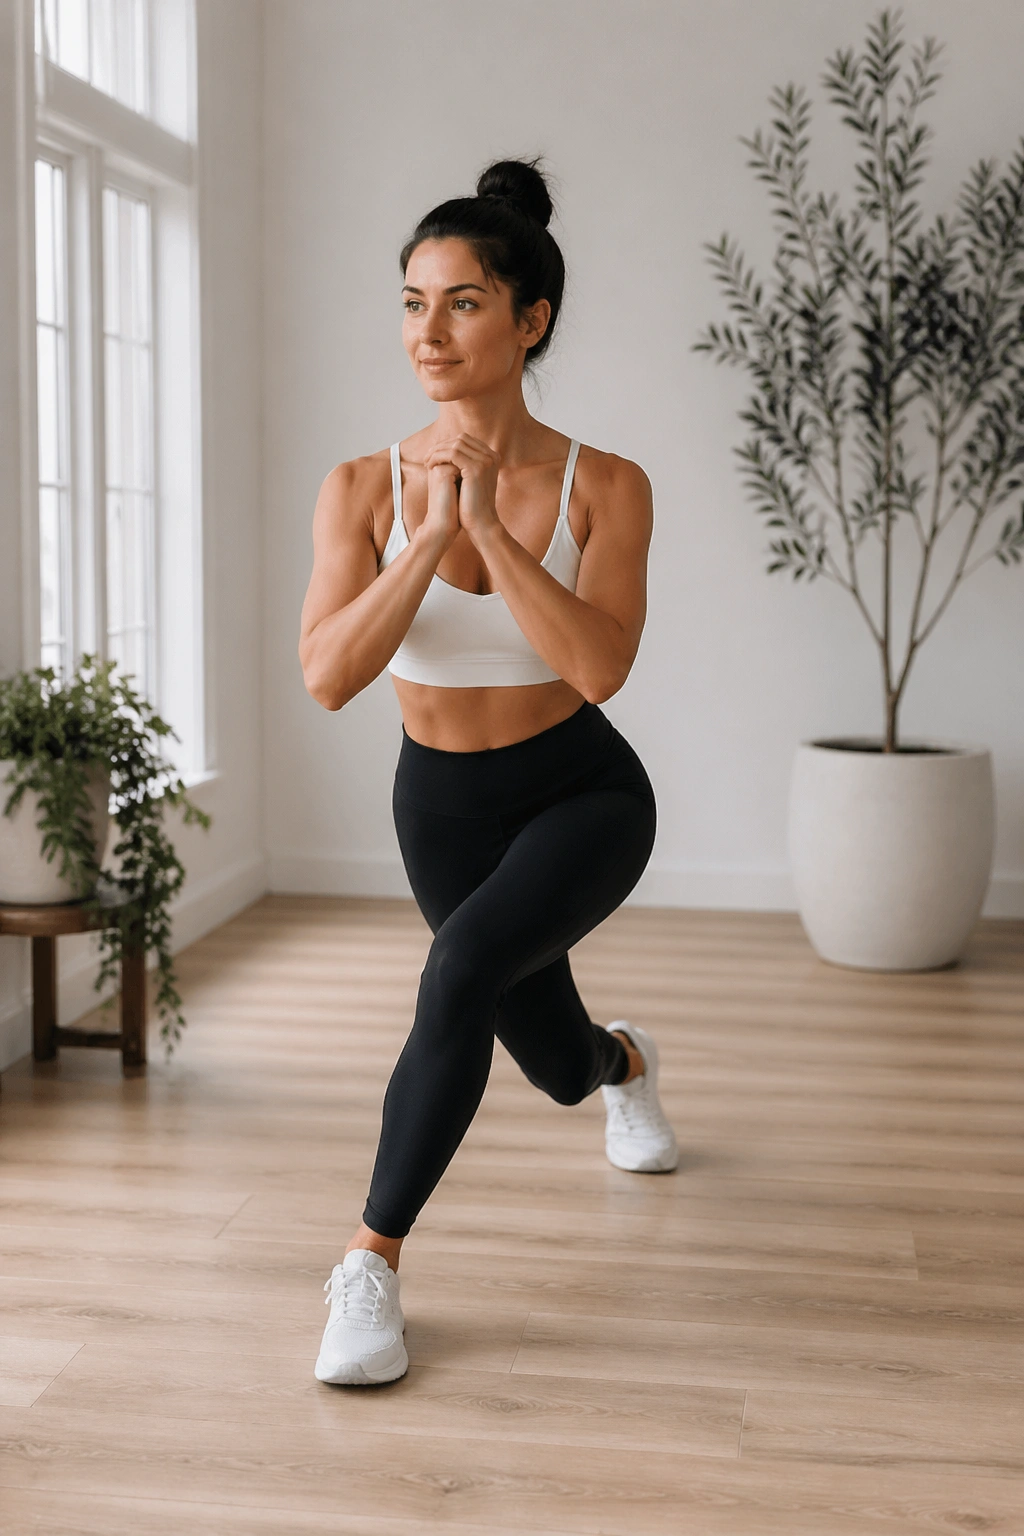
Curtsy pulses are blunt. They do not pretend to be delicate. The crossed-back position makes the glute medius and outer glute work hard while the legs stabilize under load, which is exactly why the move belongs in a butt-lifting routine.
Step one leg back and across the body into a shallow curtsy, then pulse a few inches up and down without losing the alignment of the front knee. Keep the chest lifted and the front heel grounded. Eight to 12 pulses on one side, then switch, is a good place to start.
The danger here is depth. Too much depth turns the exercise into a knee dance, and the glutes lose control. Stay shallow enough that you can keep the front leg steady and the back leg light. If the knee caves inward, reset your stance a little wider.
This one works best after some floor activation, when the glutes are already awake. Cold, lazy curtsies usually feel like a knee exercise. Warm curtsies feel like the side of the seat finally switched on.
18. Reverse Tabletop Leg Lifts
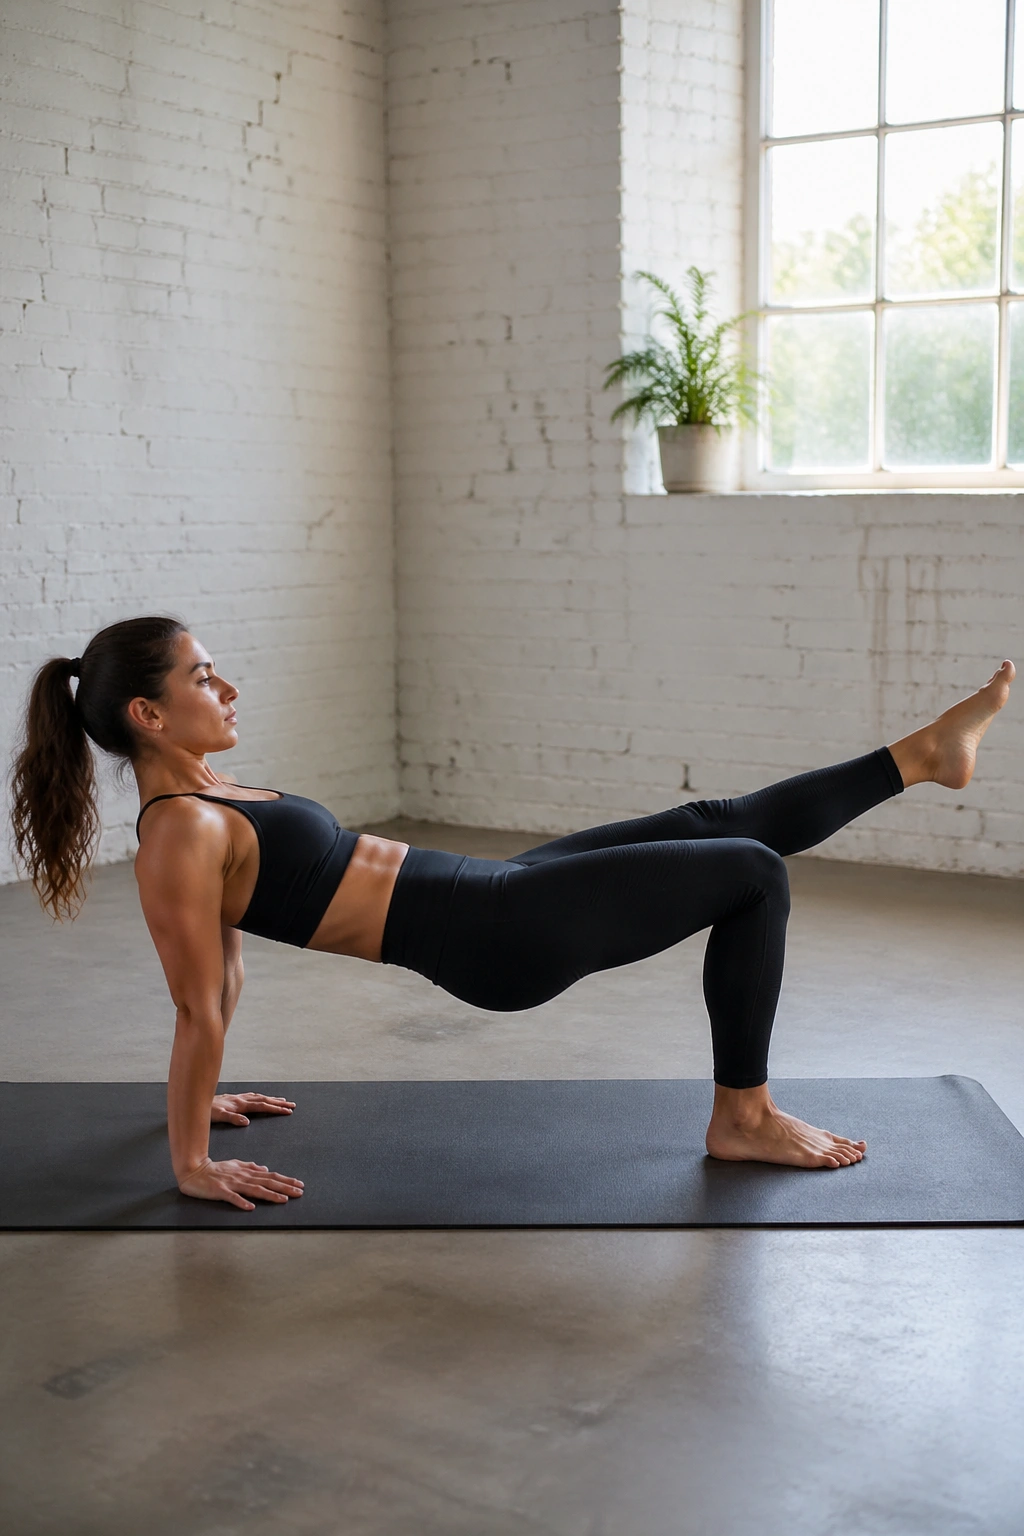
Reverse tabletop is a nice change of pace because it opens the chest while loading the back line. Your hands and feet are both on the floor, the hips are lifted, and the glutes have to keep the body from sagging as one leg takes a turn.
Sit with your knees bent, place the hands behind you, and press the hips up into reverse tabletop. From there, lift one leg a few inches off the floor or extend it with control if that feels stable. Six to eight reps per side is enough for a first set. The shoulders should stay calm and the chest open.
What makes it different
It is not just a glute move.
It is a glute move with shoulder support and a chest opener built in.
That changes the feel completely.
This is a good pick for people who want to train the posterior chain without lying face down. It also tends to make the hamstrings and glutes work together in a way that feels athletic rather than tiny.
19. Plank Leg Lifts
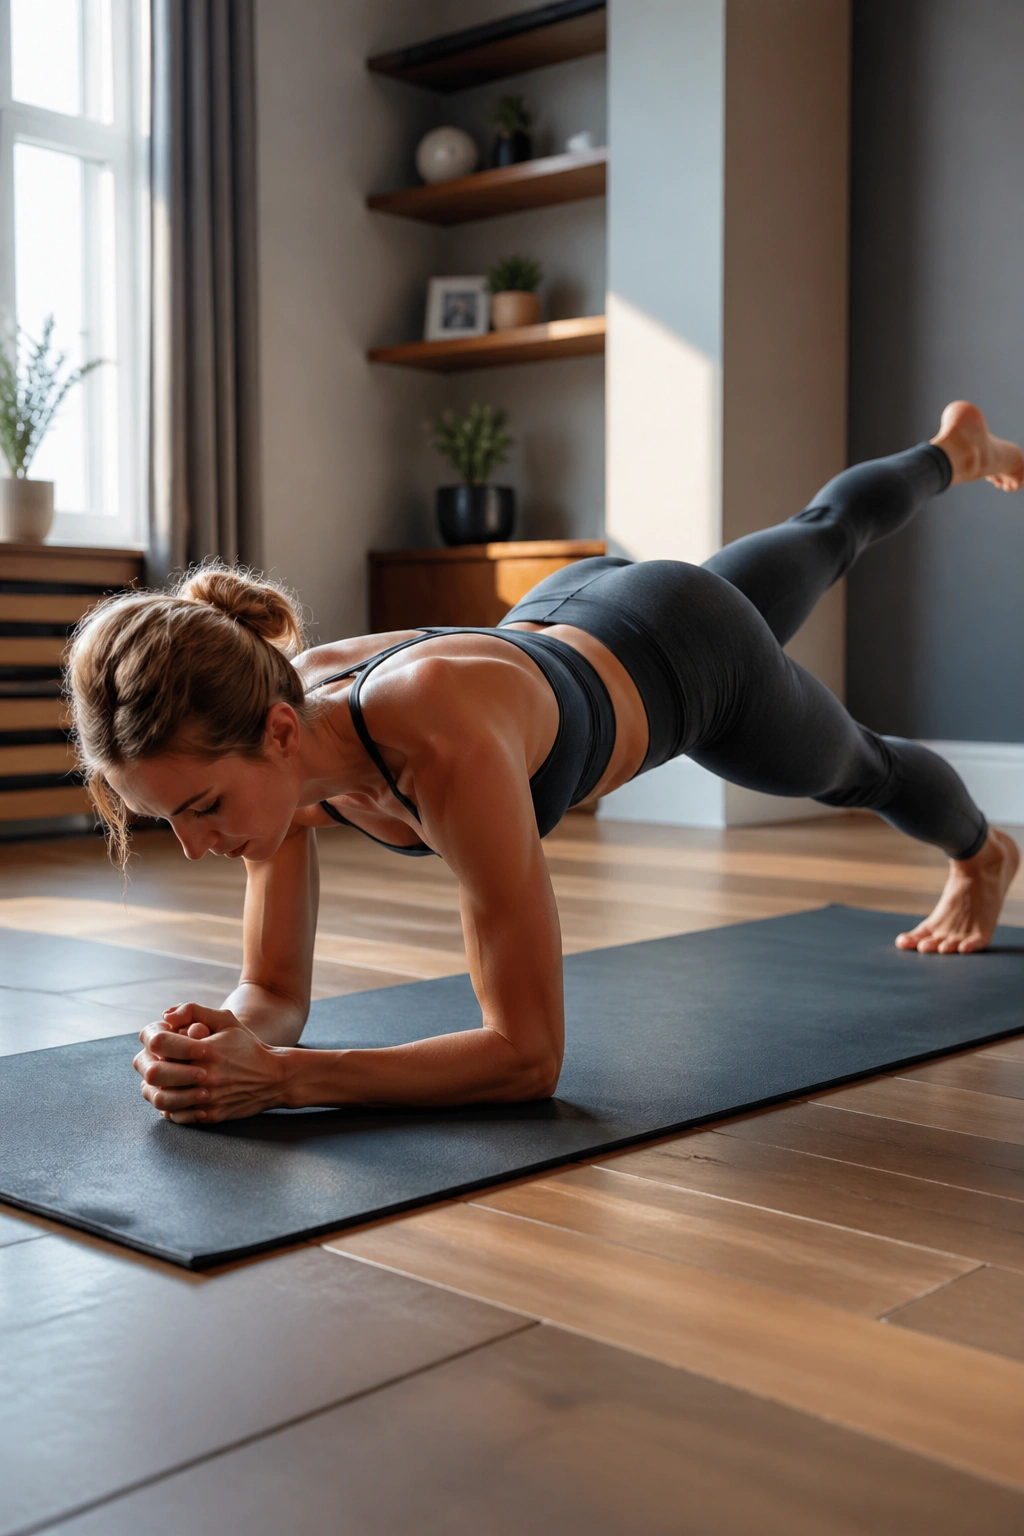
Plank leg lifts are the point where core control and glute work stop being separate things. Once you lift one leg in plank, the pelvis wants to sway, and the only way to keep it honest is to brace through the center and drive from the hip.
Set up in a forearm plank or high plank, whichever lets you stay cleaner. Lift one leg a few inches, hold for a beat, and lower without rocking side to side. Six to eight lifts per side is plenty, or hold one leg for 15 to 20 seconds if you want more stability work.
Why the Plank Version Matters
- It trains the glutes under bodyweight support.
- It makes the core protect the pelvis.
- It shows whether one side is weaker.
- It carries over well to walking, running, and standing on one leg.
If your hips sway, widen your feet a little or use a forearm plank first. There is no prize for looking advanced. There is a reward for staying level.
20. Bridge Heel Walkouts
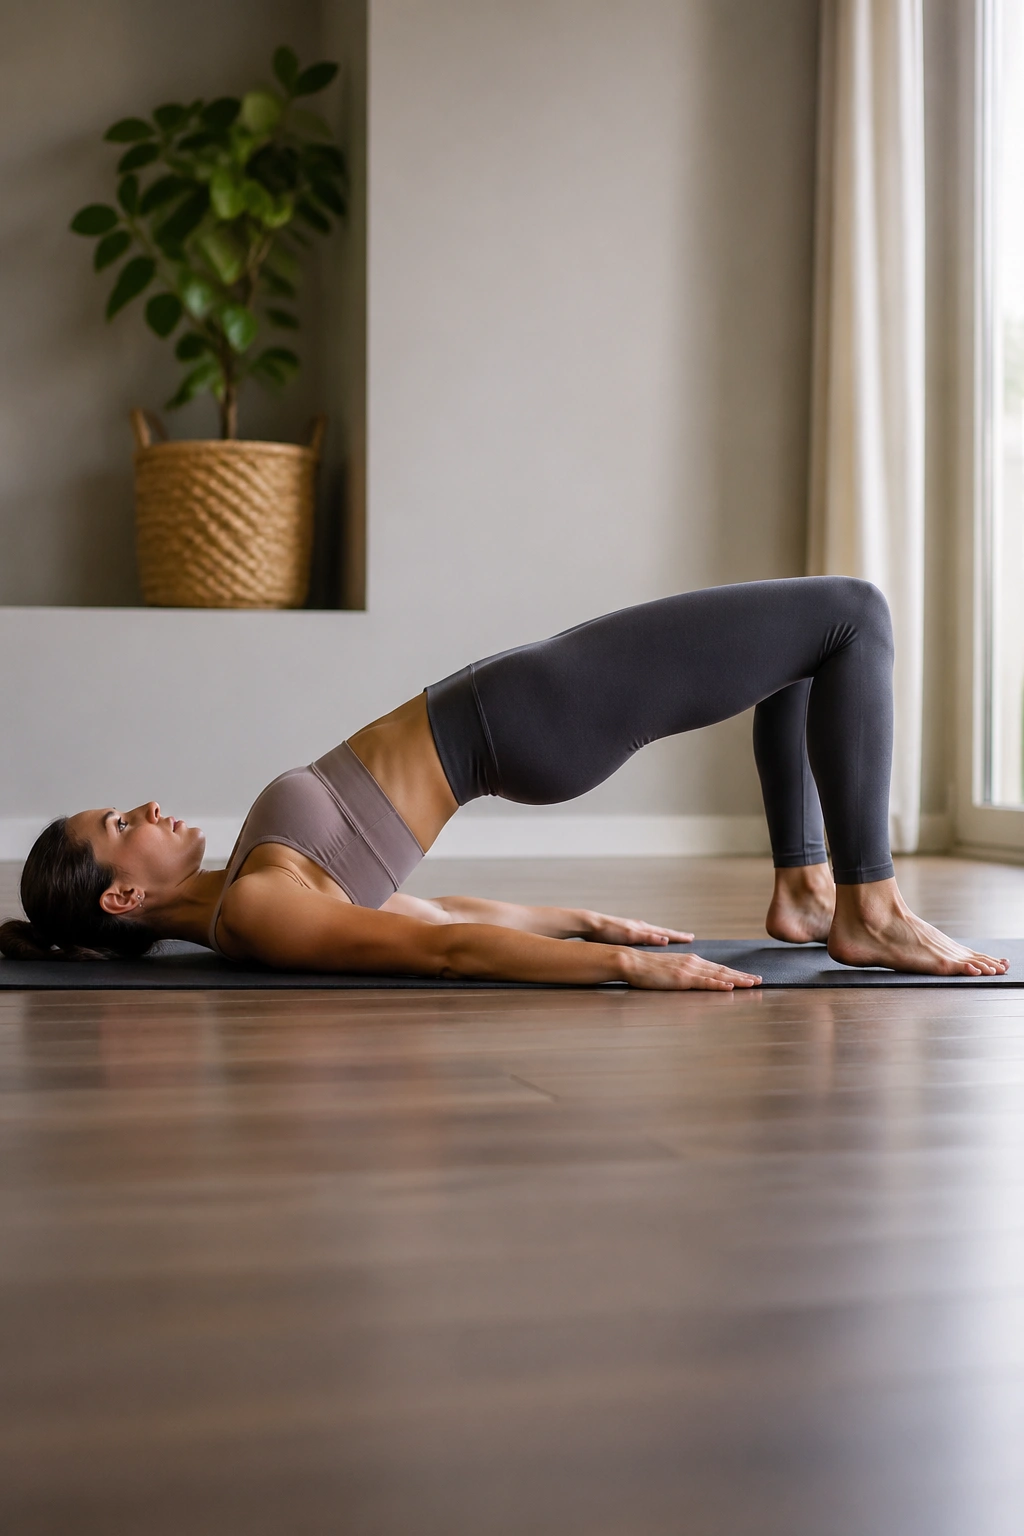
Bridge heel walkouts are a little ugly in the best way. You start in a bridge, then walk the heels away from the seat in small steps and bring them back. The hamstrings light up, but the glutes still have to keep the hips lifted and steady.
Lift into a bridge, walk both heels out 3 or 4 short steps, then walk them back in. Keep the hips from dropping. If the cramp monster shows up in the hamstrings, shorten the walkout and lower the bridge height a touch. Two to three rounds of 4 walkouts can be plenty.
The move is a nice bridge progression because it changes the lever without changing the setup. You still need the glutes, but now the back of the legs has to work through a longer line. That usually makes the exercise feel tougher even when the movement looks small.
Take your time. Fast walkouts turn messy fast.
21. Single-Leg Pulse Bridge
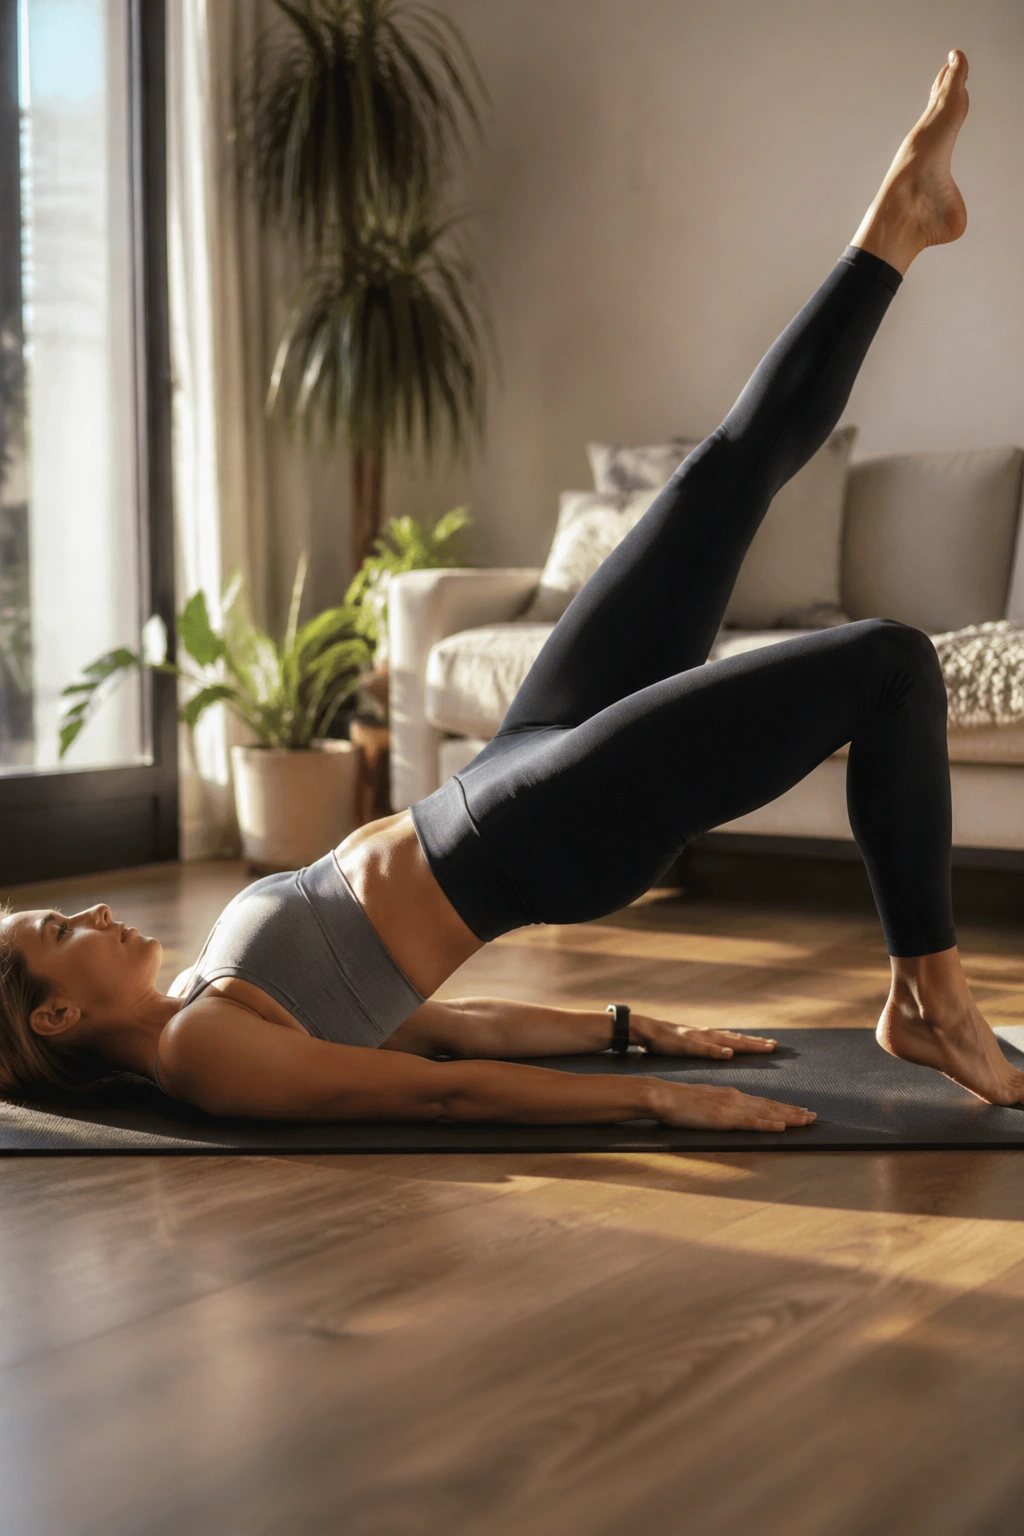
Why do pulse bridges hit harder than holds? Because the muscles never get to settle. Instead of resting at the top, the glutes keep firing through short, stubborn little pulses that stack fatigue fast.
Set up in a bridge, extend one leg, and pulse the hips up and down just an inch or two on the standing side. Keep the pelvis level and the ribs quiet. Ten to 15 pulses, then a 10-second hold at the top, makes a strong set. Switch sides and notice whether one hip starts shaking sooner.
How to make the pulse count
Keep the movement tiny.
Drive through the heel of the working side.
Stop the set the second your low back takes over.
This is a strong finisher after regular bridges or frog pumps. It keeps the tension where you want it and gives the glute max a final, direct push without needing speed or momentum.
22. Standing Skater Hinge Pulse
A lot of people like finishing on the floor, but I prefer ending with a standing move that makes the body feel like it has to own its shape. The skater hinge pulse does that. It loads one leg, reaches the other leg back, and asks the glute on the standing side to keep the whole thing from folding.
Stand tall, shift weight onto one leg, and hinge forward slightly as the free leg reaches behind you. Pulse a few inches down and up while keeping the chest long and the standing knee softly bent. Ten to 12 pulses per side is enough to make the side of the seat come alive.
- Keep the spine long.
- Let the hips sit back, not drop straight down.
- Reach the free leg long instead of lifting it high.
- Use a chair or wall if balance gets shaky.
This is a clean way to finish because it feels like real-life strength. You are not just squeezing a muscle on the floor; you are teaching the glutes to support you while you move. A few rounds of these at home, done slowly and with control, will show up the next time you climb stairs, stand from a chair, or carry groceries without thinking about it.
