



The fastest way to frustrate diastasis recti is to treat it like a crunch problem. If the belly domes, the ribs flare, or your breath vanishes the second your legs lift, the exercise is asking for more pressure than the midline can handle.
Pilates earns its place here because it cares about shape, not just effort. The good work happens when the ribs stack over the pelvis, the diaphragm and pelvic floor share the load, and the deep abdominal wall learns to turn on without bracing like a panic-stricken plank.
That does not mean every Pilates move is fair game. Some classic mat work is too much too soon, especially if you are still rebuilding after pregnancy or dealing with a wider separation that feels soft under your fingers. Small ranges, slow exhales, and a little patience usually beat flashy repetition.
Pick up the pace later. First, earn control.
1. 360 Breathing With Rib Expansion
Breath first. Strength second. If I could only keep one Pilates tool for diastasis recti, this would be it, because nothing else works well when the rib cage is hanging open and the lower belly is doing all the work.
A 360 breath teaches your torso to expand sideways and into the back, not straight up into the chest. That sounds tiny, but it changes pressure in a real way. The goal is not to suck your stomach in hard. The goal is to let the ribs move, then use the exhale to gently draw the lower abdomen back toward center without crunching.
Why It Helps
The diaphragm, pelvic floor, and transversus abdominis are a team. When one part is overworking or asleep at the wheel, the midline often takes the hit. A slow exhale gives the deep core a chance to organize before movement starts.
How To Do It
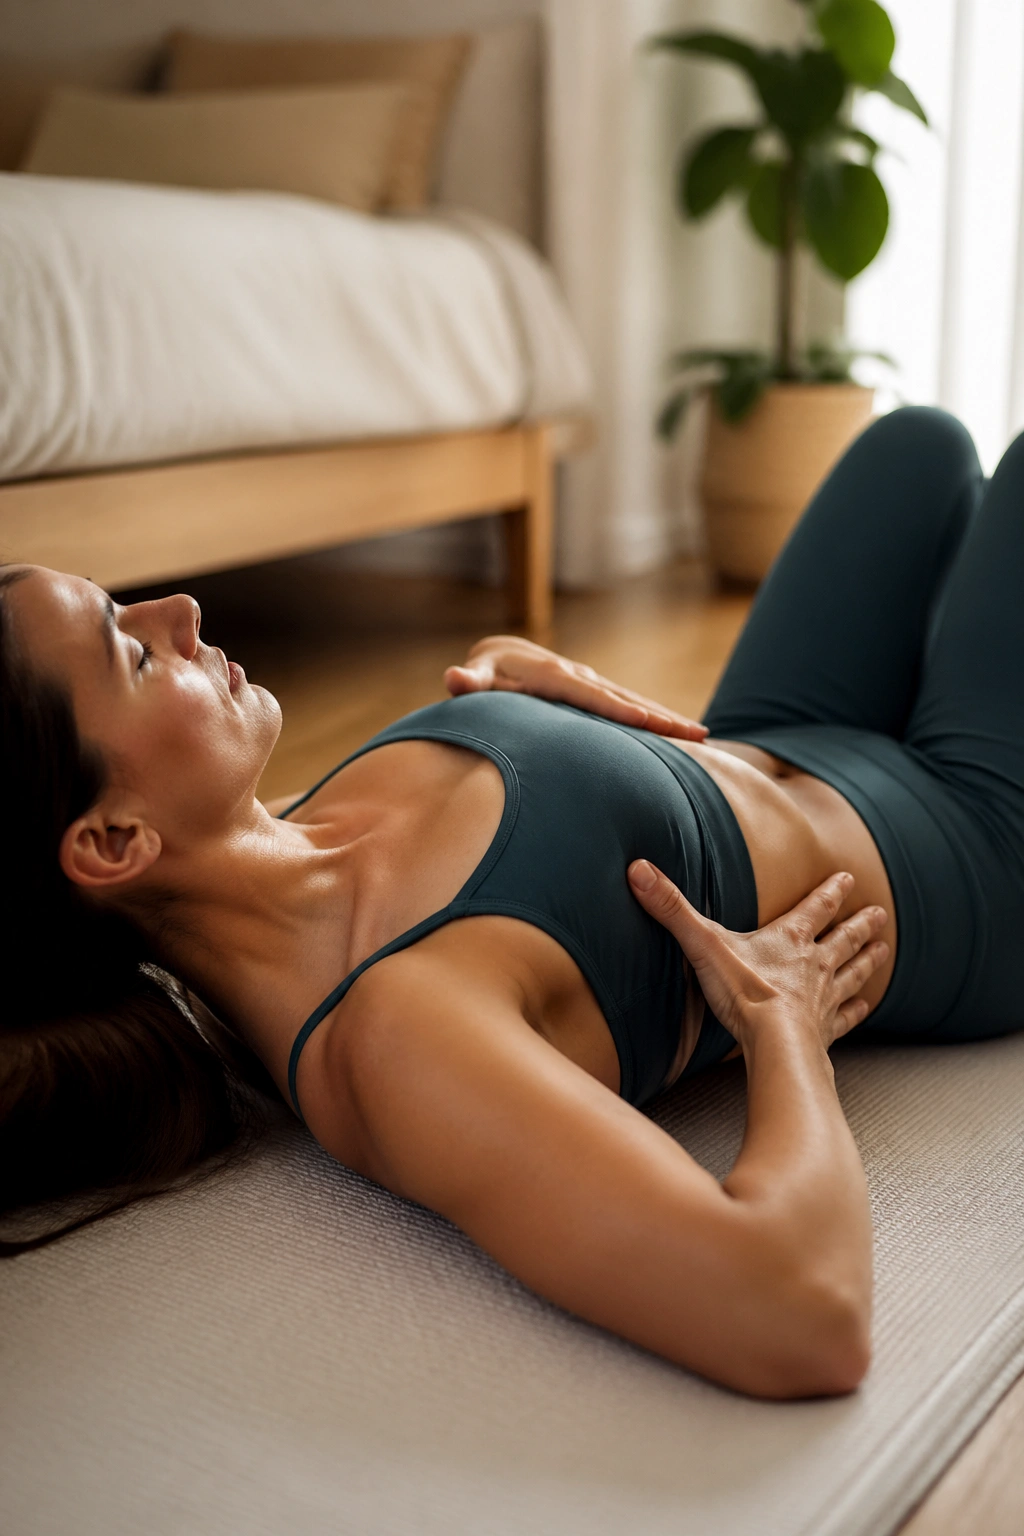
- Lie on your back with knees bent and feet flat.
- Place one hand on the side ribs and one hand low on the belly.
- Inhale through the nose for 4 counts, aiming the breath into the sides and back of the ribs.
- Exhale through pursed lips for 6 counts and feel the ribs soften down.
- Repeat for 5 to 8 breaths.
Watch for: the shoulders creeping up, the neck tightening, or the belly pushing out hard on the inhale. If that happens, reset and make the breath smaller.
A good rep feels quiet. Almost boring. That is the point.
2. Pelvic Tilts on the Mat
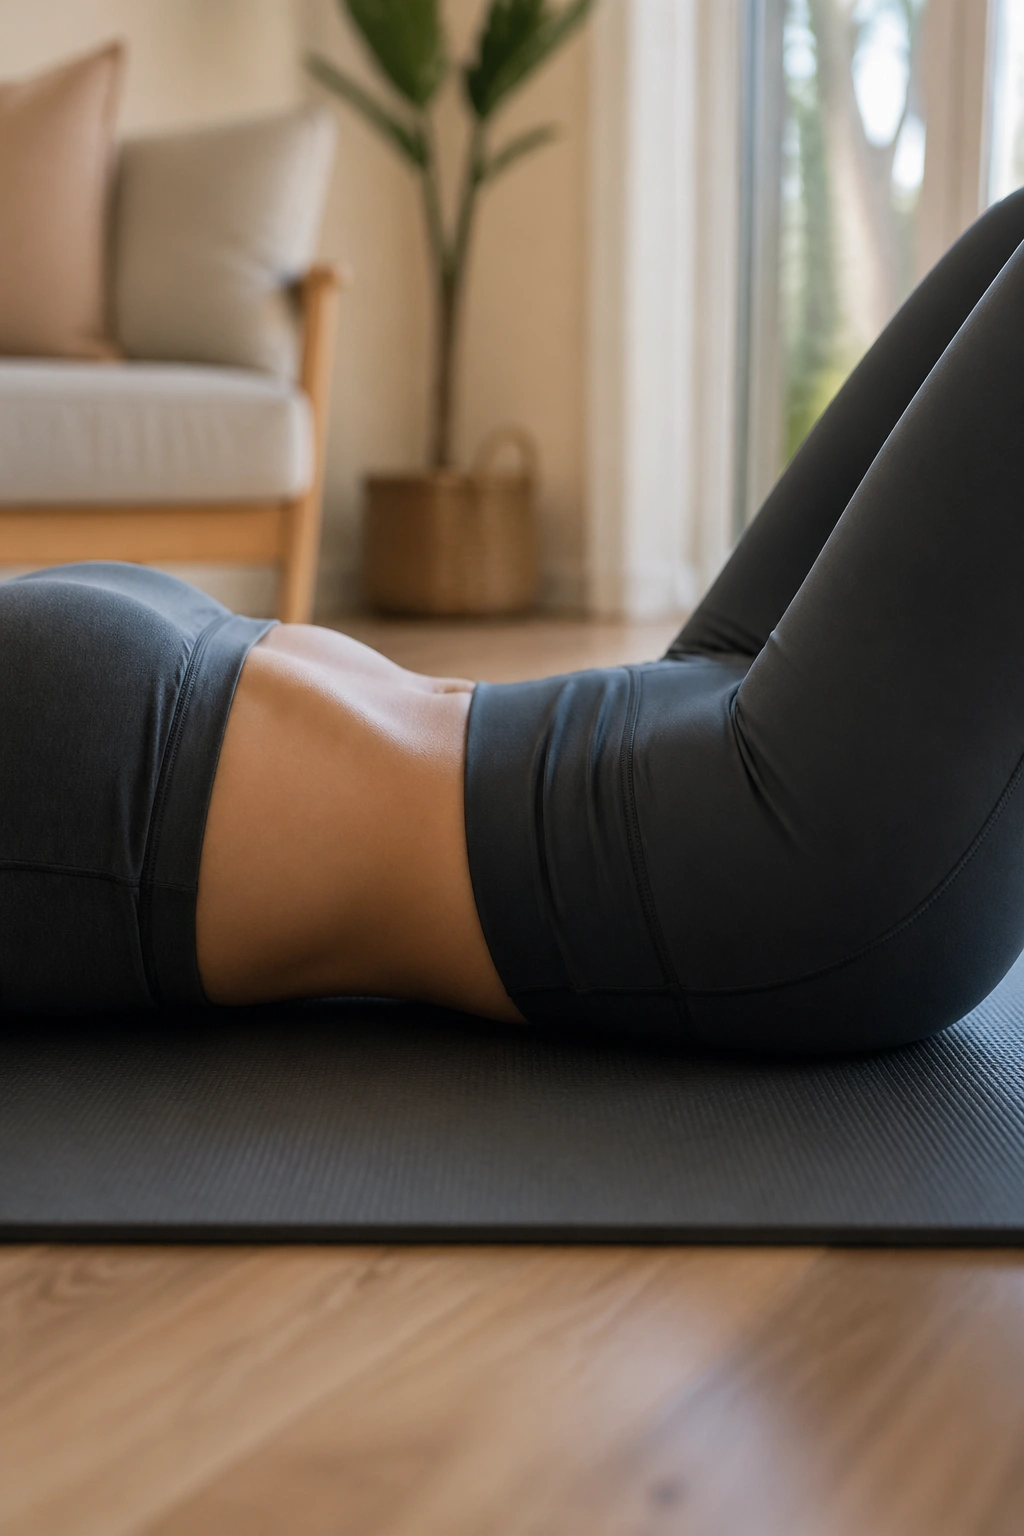
Why bother with something this small when stronger moves exist? Because pelvic tilts teach the pelvis to move without the abdomen doming, and that is the kind of control you need before you ask the core to hold much more.
Start with your knees bent and feet planted. On the exhale, gently tip the pelvis so the low back melts a little closer to the mat. On the inhale, return to a neutral spine. The movement is tiny. If it looks dramatic, you are doing too much.
What It Should Feel Like
You should feel the lower belly flatten and the low back get heavier, but not jammed. The glutes may join in a little. Fine. What you do not want is a hard brace, a tucked tailbone that locks everything, or that unmistakable ridge in the middle of the abdomen.
How To Use It
- Do 8 to 10 slow reps.
- Pair each tilt with a long exhale.
- Keep the rib cage quiet.
- Stop before fatigue turns the movement sloppy.
A lot of people rush this drill because it looks simple. I would not. Slow pelvic tilts can show you, in about 30 seconds, whether your core is ready for more or still needs cleanup work.
3. Heel Slides That Keep the Belly Flat
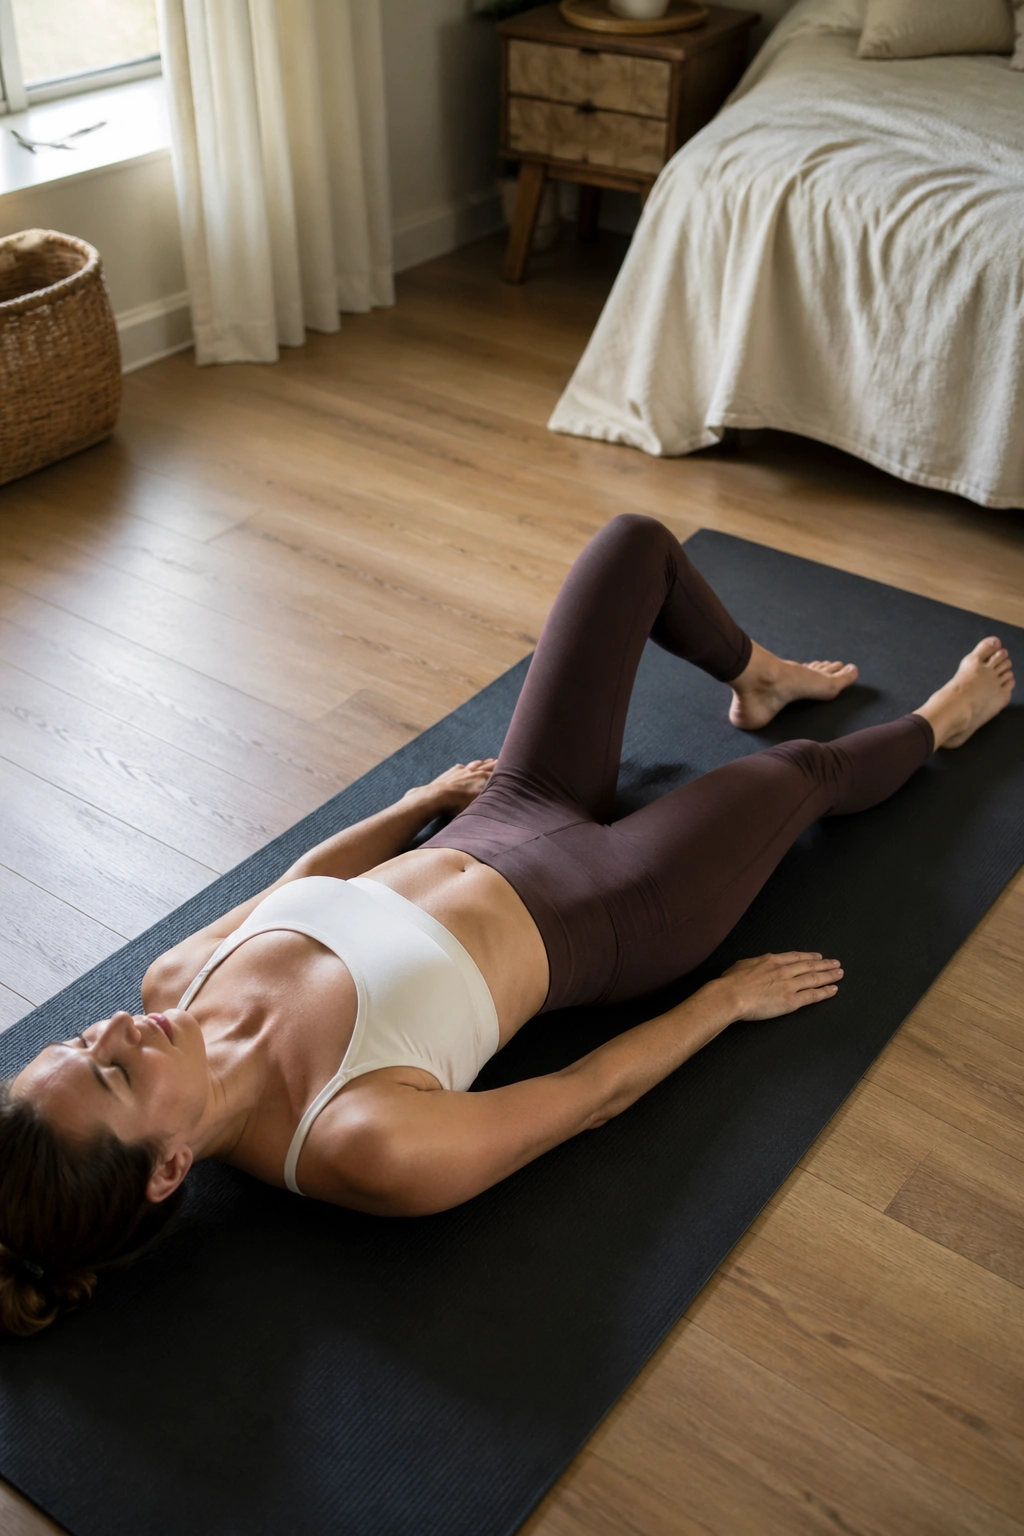
Heel slides are the first move in this list that can trick you. They look easy. Then one leg starts drifting away and the front of the belly tries to pop up like a tent.
The fix is plain: keep the pelvis steady while one heel glides away from you, then slides back in. Use the exhale on the effort part. If the low back arches or the midline domes, shorten the range immediately. An inch counts. Six inches is not some magic number.
How To Set It Up
- Lie on your back with knees bent, feet hip-width apart.
- Exhale and gently engage the lower belly.
- Slide one heel out until the leg is almost straight, or stop earlier if control fades.
- Inhale to return the heel to the starting spot.
- Alternate sides for 6 to 8 reps each.
Heel slides are useful because they expose the tiny cheats. If your right side is rock-solid and the left side wobbles, you will feel it right away. That is useful information, even if it is a little annoying.
One good rep beats five half-reps. Keep the range small enough that the abdomen stays flat and the pelvis stays calm.
4. Toe Taps for Low-Load Core Control
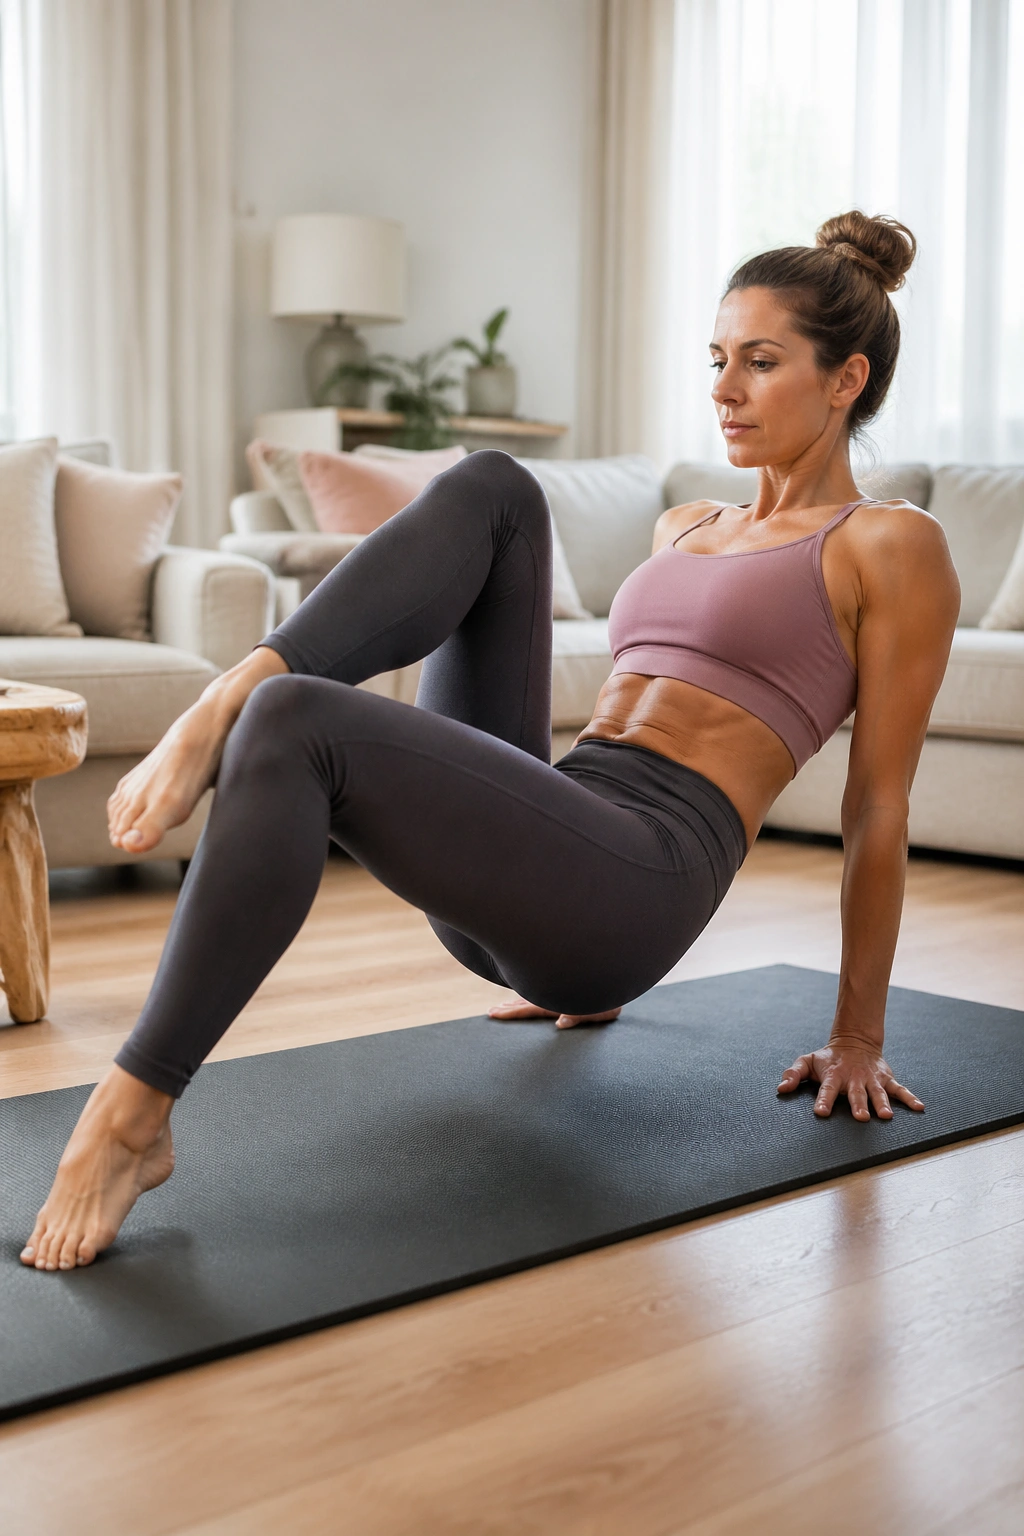
Toe taps are trickier than they look. The leg is still, the trunk is still, and yet everything in the middle wants to recruit a little too hard.
That is exactly why they matter. A controlled toe tap teaches your abs to resist movement without forcing the rib cage to flare or the pelvis to tilt all over the place. Done well, it feels like a quiet challenge. Done badly, it feels like a mini sit-up with the wrong muscles doing the work.
Begin with both knees in tabletop, then lower one toe to the mat with a slow exhale. Tap lightly. Return. Keep the movement small and the back stable. If tabletop is too much, one foot can stay down while the other leg works. No prizes for making it harder than it needs to be.
A Few Cues That Help
- Keep the ribs heavy.
- Think “zip up” through the low belly on the exhale.
- Let the thighs move, not the whole pelvis.
- Stop the set the moment the belly starts to dome.
I like toe taps for a simple reason: they tell the truth. If your body cheats, this move shows it fast.
5. Bent-Knee Fallouts
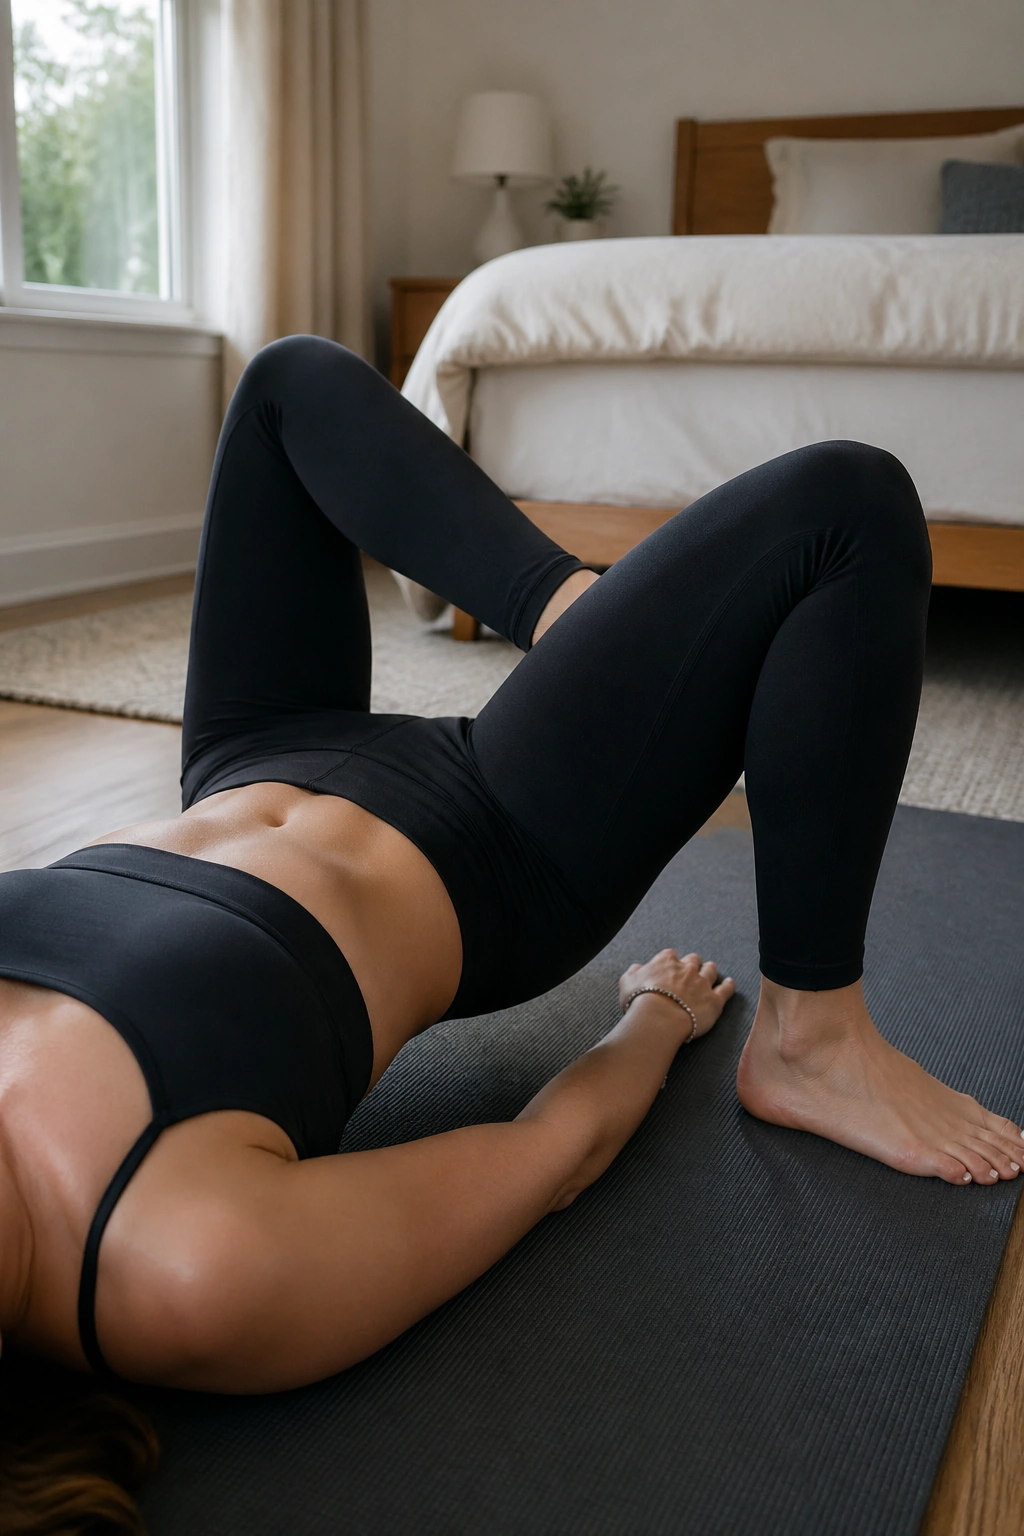
Unlike crunches, bent-knee fallouts do not shove pressure straight down the centerline. They ask the pelvis to stay quiet while one leg opens away from the body, which is a much better test for early core control.
Lie on your back, feet flat, knees bent. Keep one knee bent and slowly let it drift out to the side by a few inches. The pelvis should stay still. That part matters more than how far the knee opens. If the hip rolls, the range is too big.
What Makes This Move So Useful
It trains anti-rotation. That is a fancy-sounding phrase for something very practical: your trunk learns not to twist every time a limb moves. For diastasis recti, that is gold, because uncontrolled twisting and bracing are common ways the midline gets overworked.
Best Way To Do It
- 6 reps per side is enough at first.
- Exhale as the knee opens.
- Inhale as it returns.
- Keep the opposite hip heavy on the mat.
If one side feels shaky and the other does not, do not ignore that. The asymmetry is useful information. I would rather see a tiny clean fallout than a big sloppy one every time.
6. Glute Bridges With Rib Control
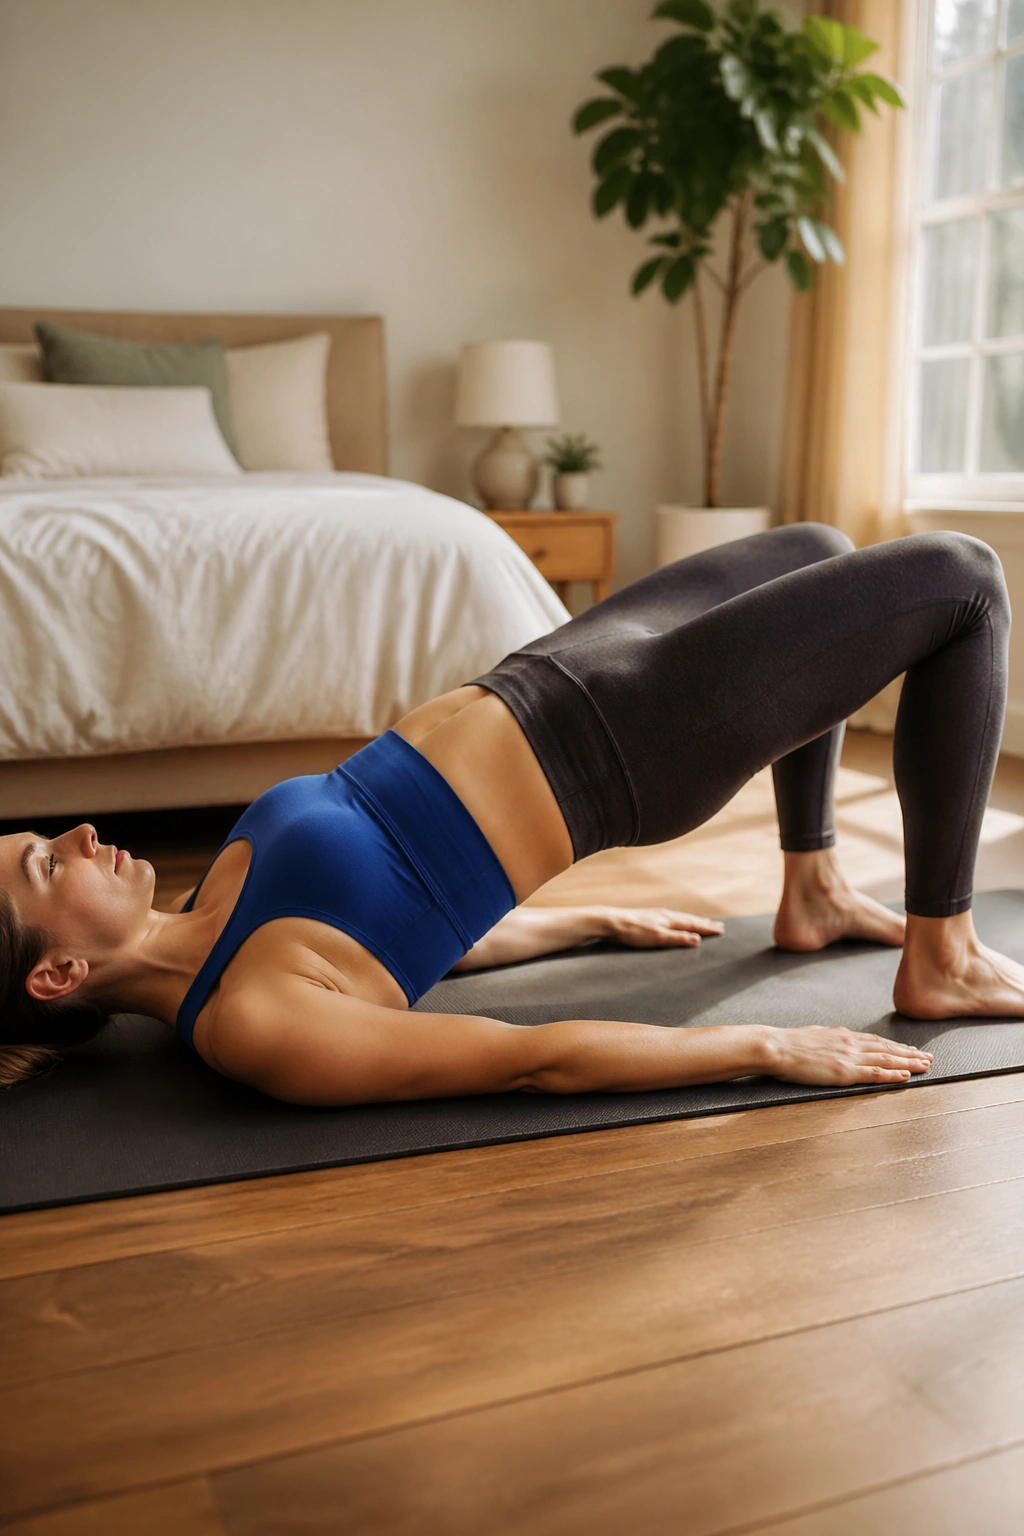
A bridge can be too much—or exactly right. The difference comes down to whether your ribs stay stacked and the belly stays supportive as the hips rise.
I like bridges because they teach effort without turning the whole front line into a rigid plank. The glutes help lift the pelvis, the hamstrings join in, and the deep core keeps the trunk from flaring open. It is a nice piece of teamwork when it clicks.
How To Keep It Safe
Start on your back with feet flat and knees bent. Exhale first, then gently tip the tailbone so the low back gets long. Lift the hips only as high as you can without rib flare or belly bulge. A straight line from shoulders to knees is enough. Higher is not better.
Watch These Mistakes
- Pushing through the low back instead of the glutes.
- Spreading the ribs wide.
- Holding your breath at the top.
- Splaying the knees outward.
Do 6 to 8 controlled reps. If that feels easy and clean, add a 2-count hold at the top. If not, keep the range smaller and cleaner. A shorter bridge with no doming is the win.
7. Supine Marches
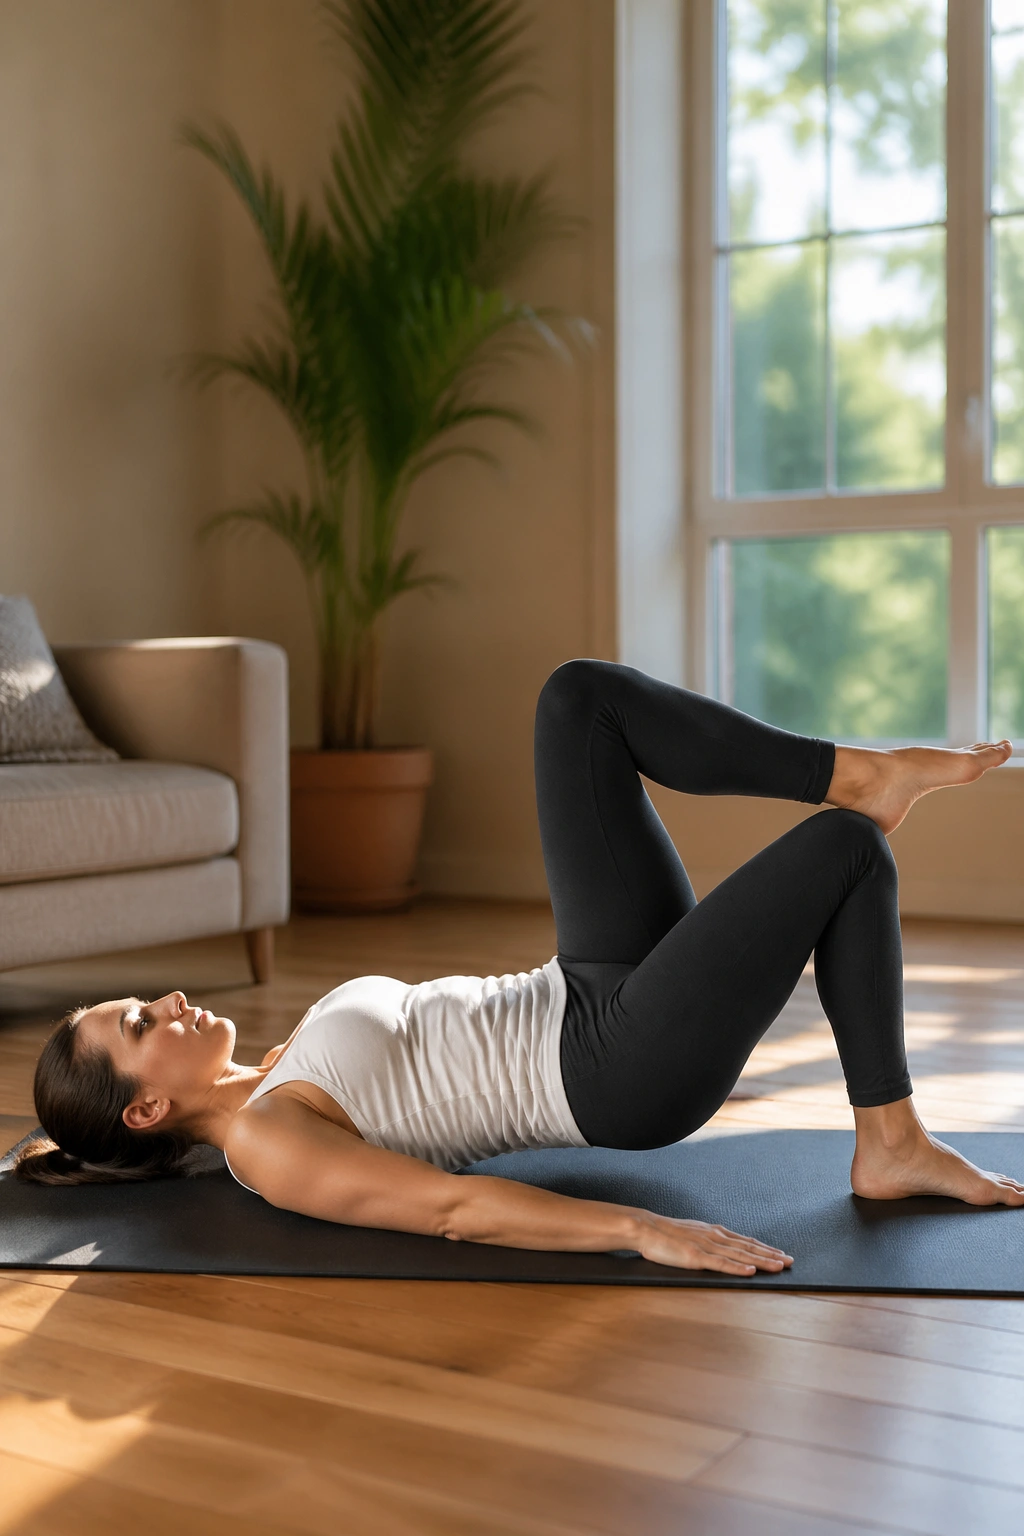
What makes marching different from toe taps? The leg stays a little more bent, the lever is shorter, and that usually makes the move feel more manageable while still demanding real trunk control.
From a Pilates standpoint, marching is a clean way to train one-sided load without asking for a big range. One foot lifts a few inches, pauses, then lowers with control. The pelvis should stay level. No rocking. No rib popping. No “I can fake this for two reps” energy.
A Solid Setup
- Lie on your back with knees bent and feet flat.
- Exhale, engage the lower belly, then lift one foot a few inches off the mat.
- Pause for 1 second.
- Lower it slowly and switch sides.
If tabletop marching is too much, keep the knee lower and the foot closer to the floor. That smaller position still teaches the pattern and usually keeps pressure under control.
One side may feel suspiciously easy. That does not mean it is doing more work. It often means it is cheating more smoothly.
8. Quadruped Rock Backs
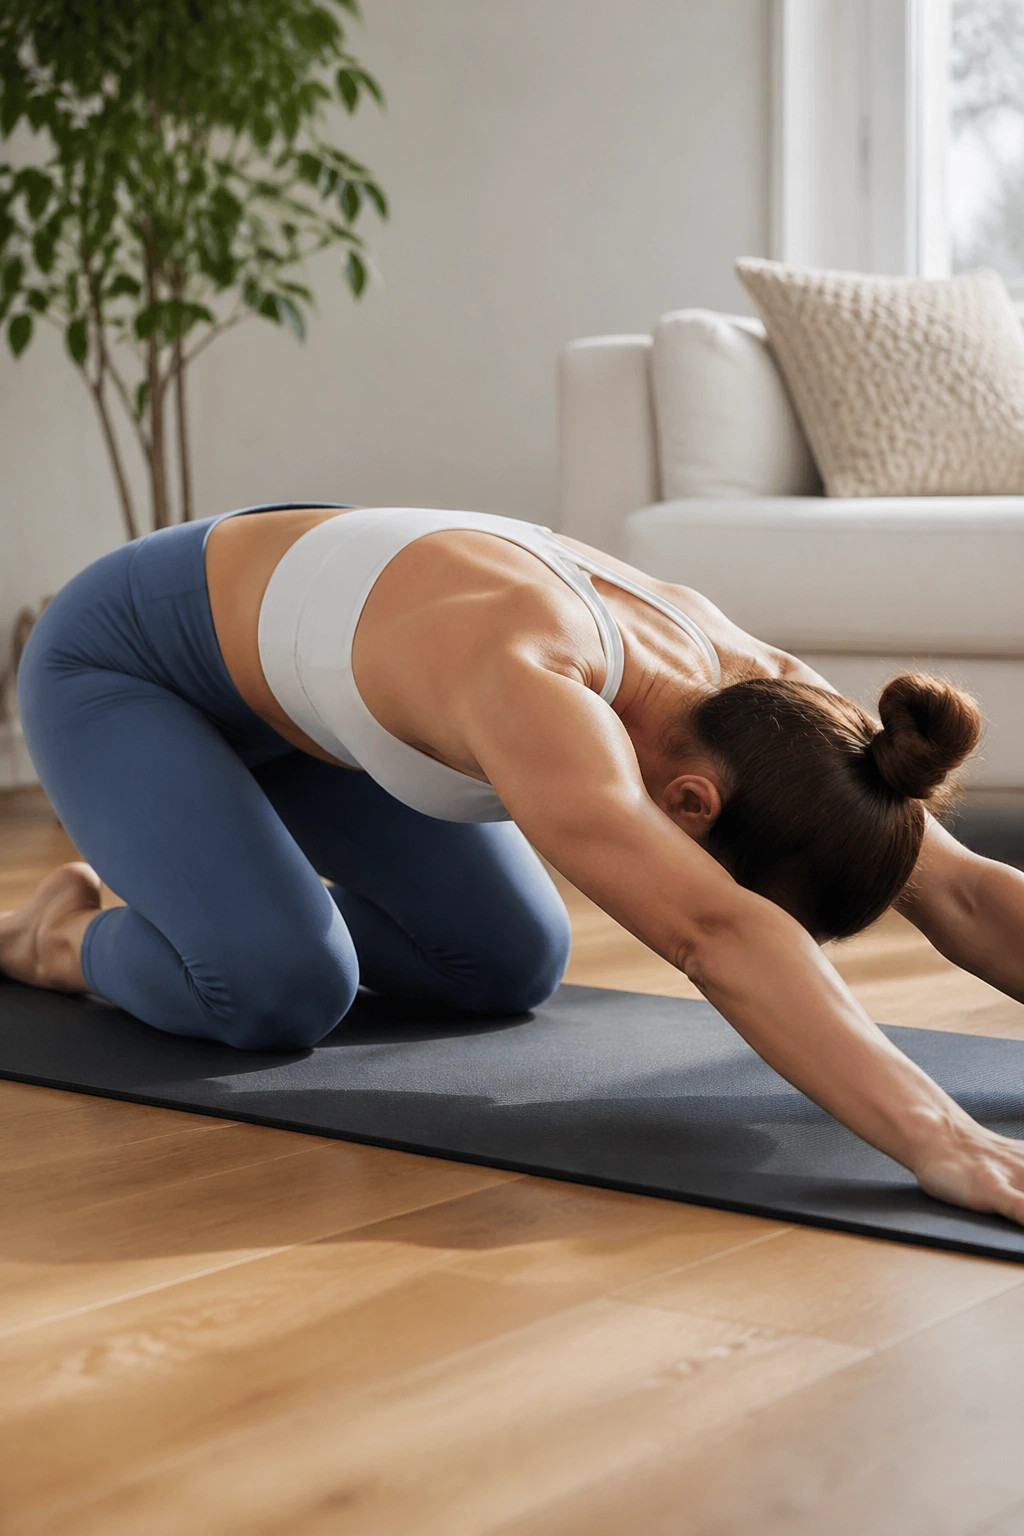
On hands and knees, the belly often behaves better than it does on your back. Gravity changes the pressure pattern, and for a lot of people that makes quadruped work feel safer almost immediately.
Rock backs are simple. Set your hands under your shoulders and knees under your hips, then shift the hips back toward the heels and return. The spine stays long. The ribs stay connected. The move is small, smooth, and oddly revealing.
Why It Works So Well
The position gives you feedback. If your low back collapses or your belly drops, you feel it right away. If you keep the ribs stacked and the exhale steady, the abdomen can support the motion without bracing like a board.
Use It Like This
- Try 8 slow rock backs.
- Exhale as you shift backward.
- Keep the neck long.
- Stop short of any doming or pressure in the midline.
This is a good one on days when you feel weak or a little disconnected from your center. It is not fancy. It is useful, and sometimes that is the better deal.
9. Bird Dog Reach
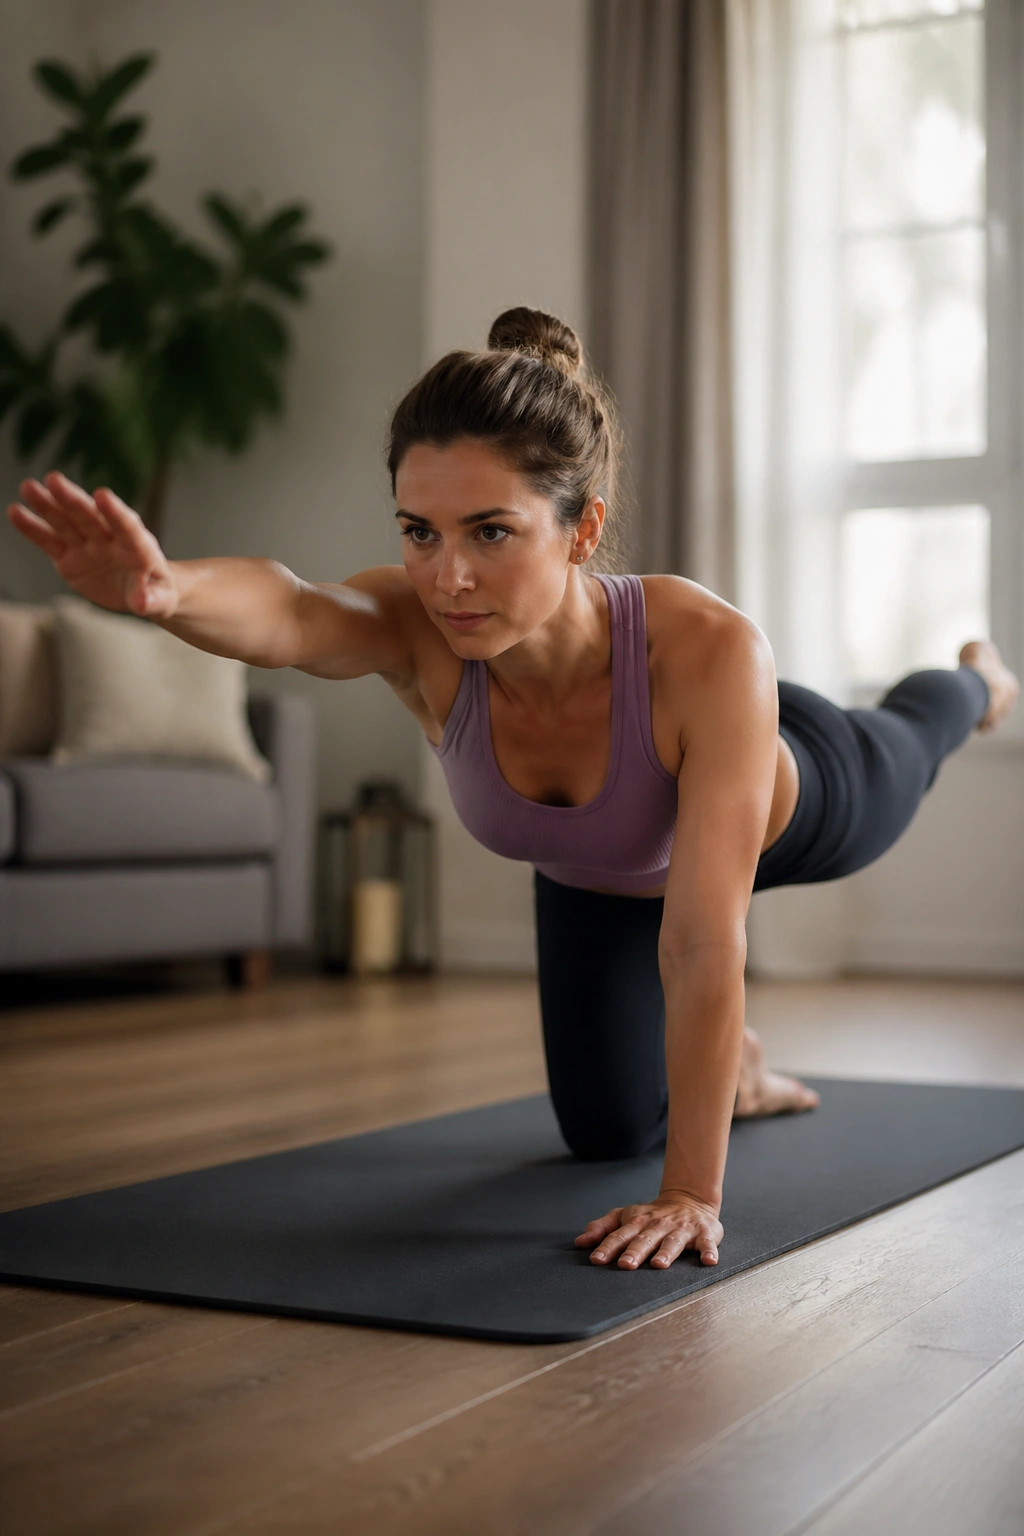
Bird dog looks simple. It is not. The second you send one arm and the opposite leg away from the body, your core has to organize the whole trunk against rotation and sway.
The trick is to reach long, not high. A tiny reach is often cleaner than a big one. Keep the hips level, imagine the belly lifting away from the floor, and do not let the low back sag. If the opposite arm and leg are shaking a little, that’s fine. If the torso is twisting like a steering wheel, scale back.
A Good Version Looks Like This
- Start on hands and knees.
- Exhale and reach one leg straight back, toes tucked or pointed.
- Reach the opposite arm forward, only as far as you can keep control.
- Hold for 2 slow breaths.
- Return and switch sides.
Some people do better with just the legs, or just the arms, for a week or two. That is not a downgrade. It is smart pacing. The bird dog only earns its keep when the midline stays calm.
10. Side-Lying Clamshells
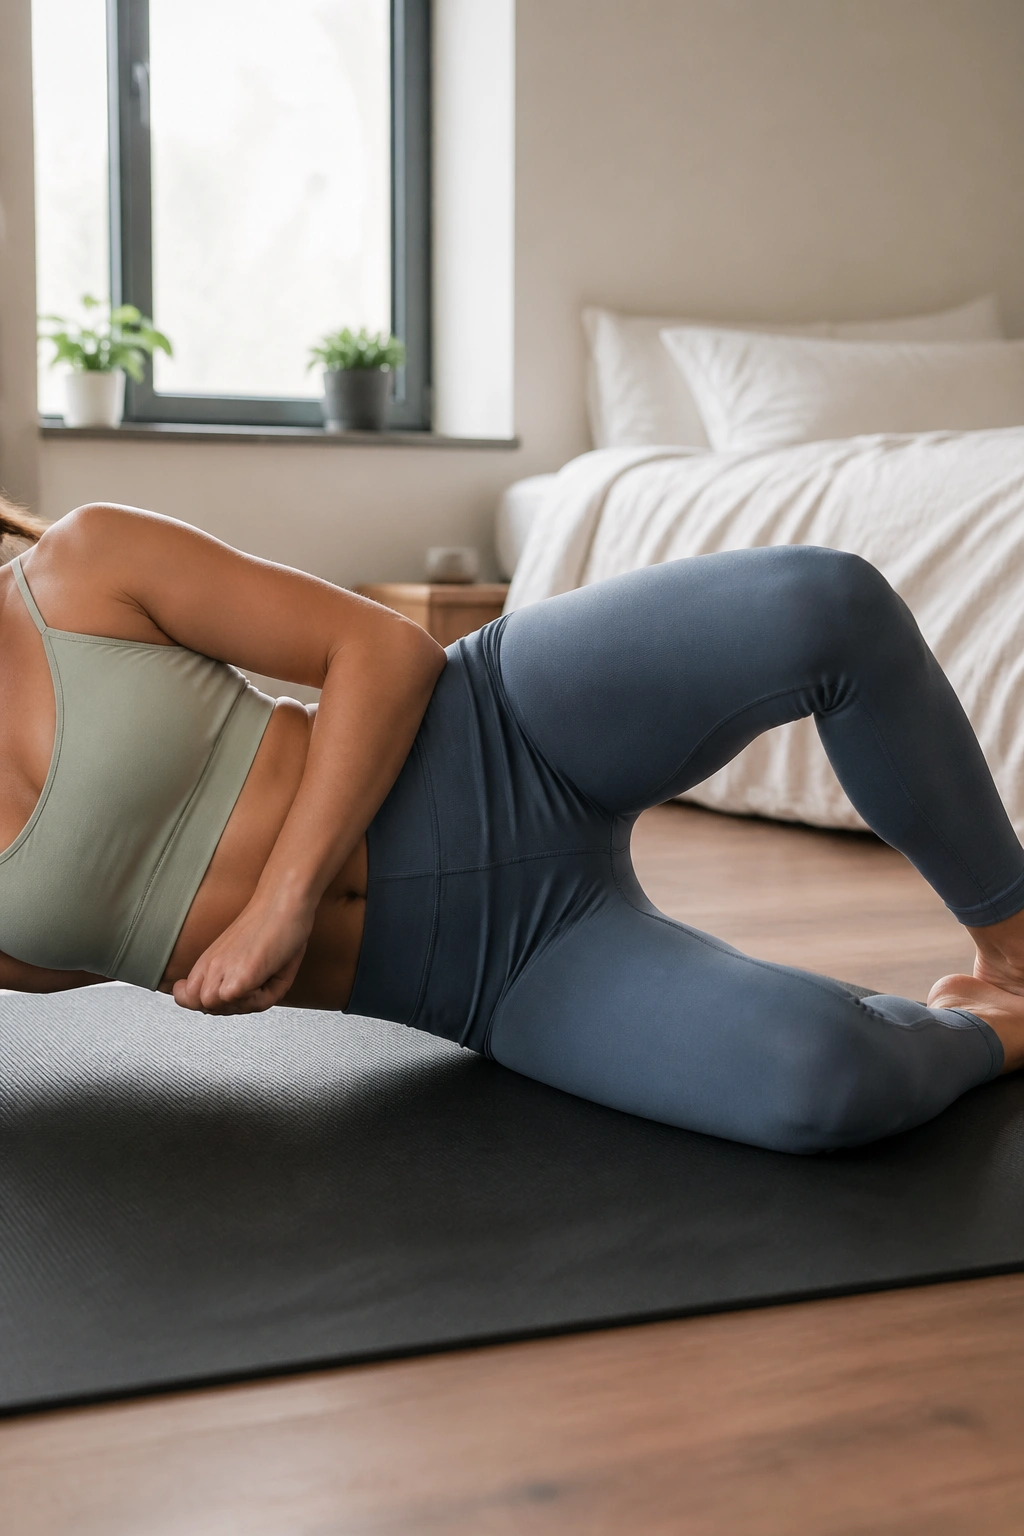
Clamshells do one thing well that a lot of standing work misses: they wake up the side glutes without asking the front of the body to carry everything.
That matters for diastasis recti because pelvic stability is part of abdominal stability. If the hips are weak or messy, the torso often overcompensates. You feel that as gripping, bracing, or a lower belly that never quite relaxes.
How To Do Them
Lie on your side with knees bent and heels in line with your hips. Keep the feet touching, then open the top knee like a clamshell. The pelvis stays stacked. The movement is small. If the top hip rolls back, you have gone too far.
You can add a light loop band above the knees once bodyweight feels easy. Not before. The band should challenge the side glute, not force you to twist.
- 8 to 12 reps per side
- Slow on the way up
- Slower on the way down
- Stop if the low back starts taking over
I like clamshells for people who feel unstable in standing work but do fine on the mat. They are not flashy. They get the job done.
11. Side-Lying Leg Lifts
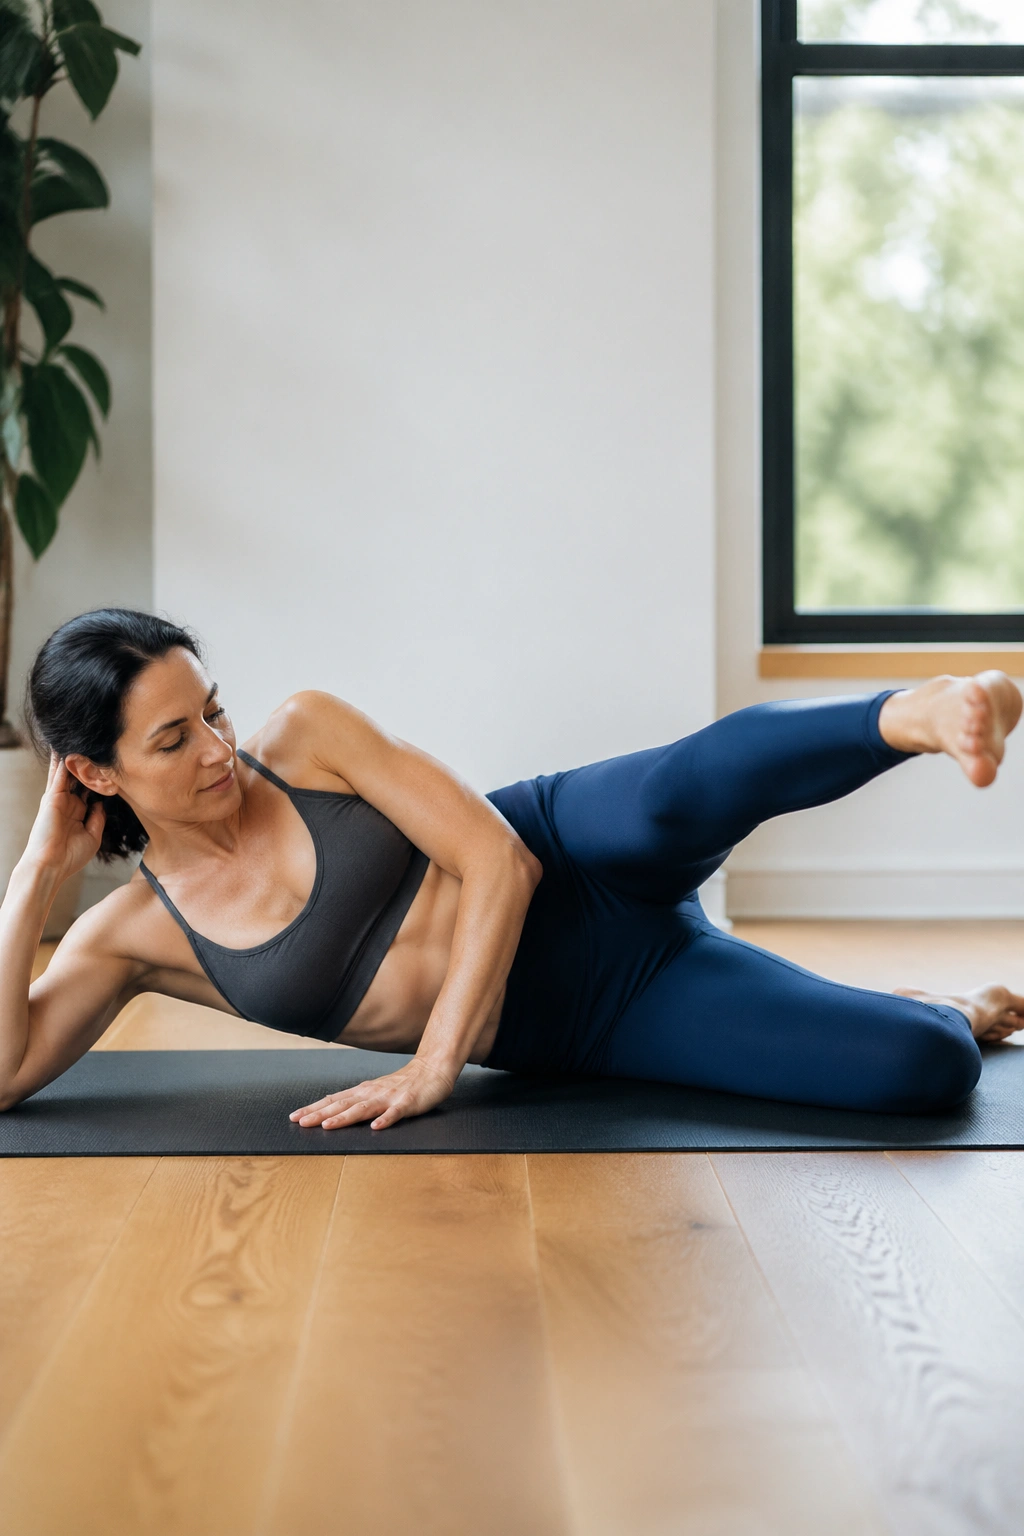
Side-lying leg lifts are sneakier than clamshells. The range looks small, but the demand is bigger because the whole side body has to stabilize while one leg floats away from center.
Keep the bottom knee bent or straight, whichever gives you better alignment. The top leg lifts only 6 to 8 inches, toes angled slightly down so the hip stays honest. If the waist caves or the top hip rolls backward, you are losing the line.
Why This Move Matters
The outer hip and side waist help keep the pelvis from wobbling every time you walk, carry a child, or twist to set something on a counter. That is everyday stuff, not gym stuff, and it matters more than people think.
A few clean reps are enough.
How To Use It
- 8 reps per side to start.
- Keep the foot quiet.
- Do not kick the leg high.
- Pause for 1 second at the top.
If you feel it in the front of the hip, lower the leg and shorten the range. The outside of the hip should do the work. The lower back should not be the star of the show.
12. Modified Dead Bug With Feet on the Wall
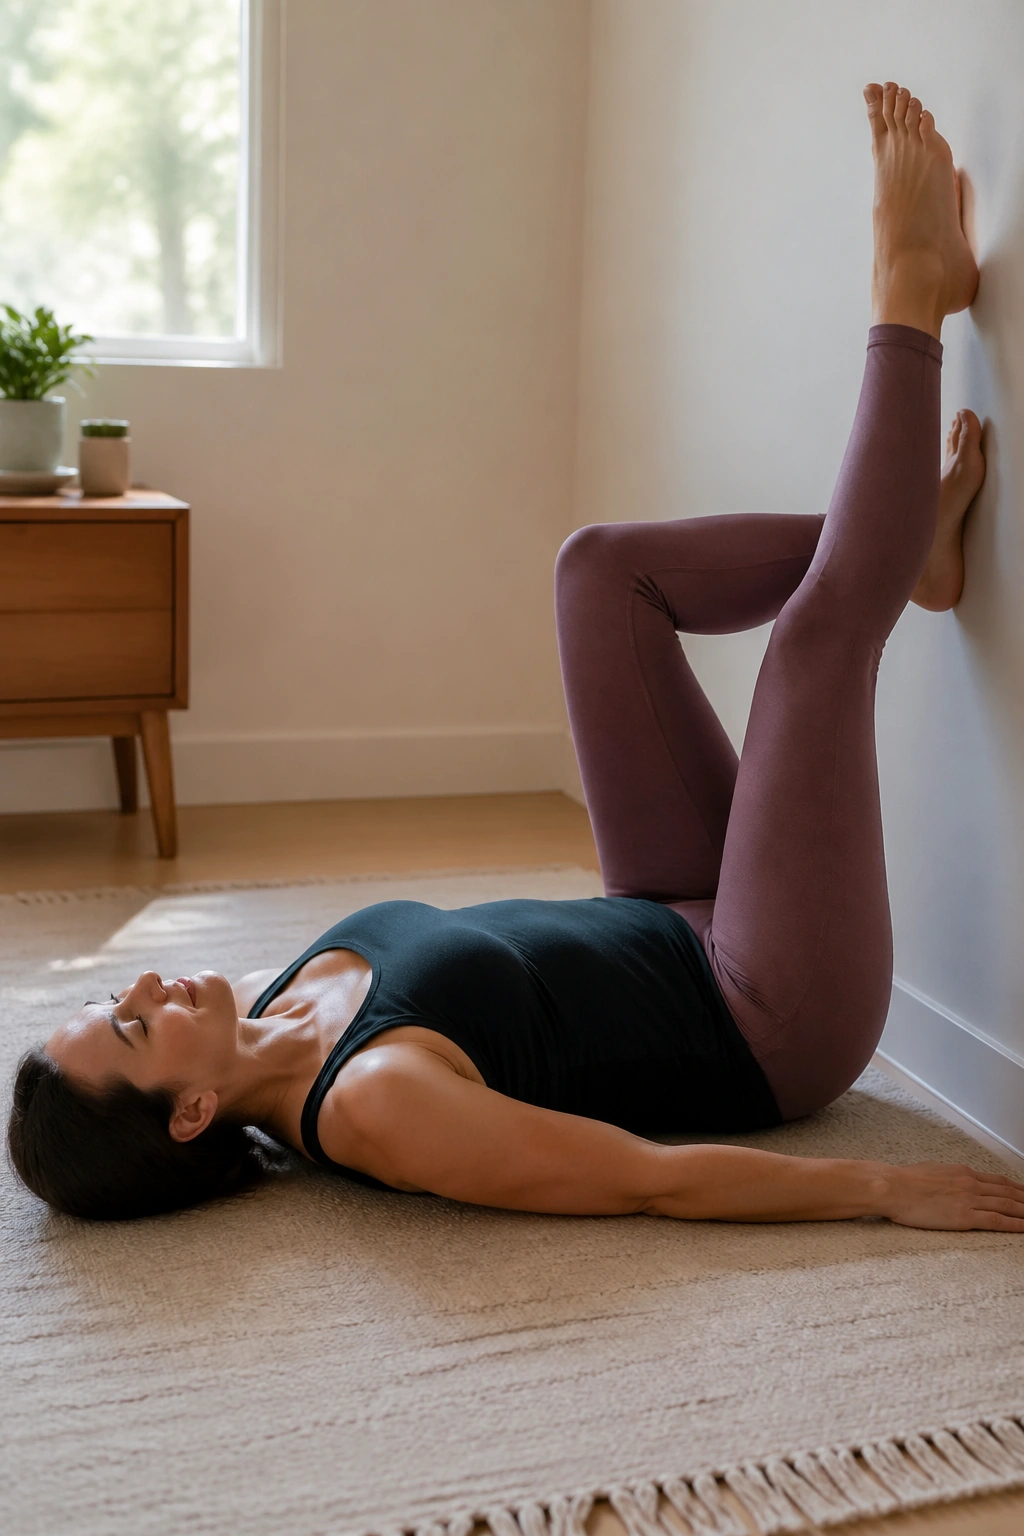
Why is the modified dead bug such a staple in diastasis recti rehab? Because it creates a clear test of control without demanding a full hollow-body hold that your core may not be ready for.
Feet on the wall is a smart starting point. Lie on your back with hips and knees bent at 90 degrees, calves resting on a wall. Press the feet lightly into the wall, then slowly lower one heel an inch or two down the wall and return. The pressure should stay light. The abdomen should stay flat.
A Few Cues That Make It Better
- Keep the low back heavy, not smashed.
- Exhale as the heel slides.
- Move one leg at a time.
- Stop if the ribs pop up.
You can make this harder later by taking the arms overhead or adding a tiny opposite arm reach. But start basic. Too many people jump straight to a full dead bug and spend the whole set fighting their own back.
This version is calm, measurable, and easy to scale. Those are good rehab qualities.
13. Wall Roll-Downs
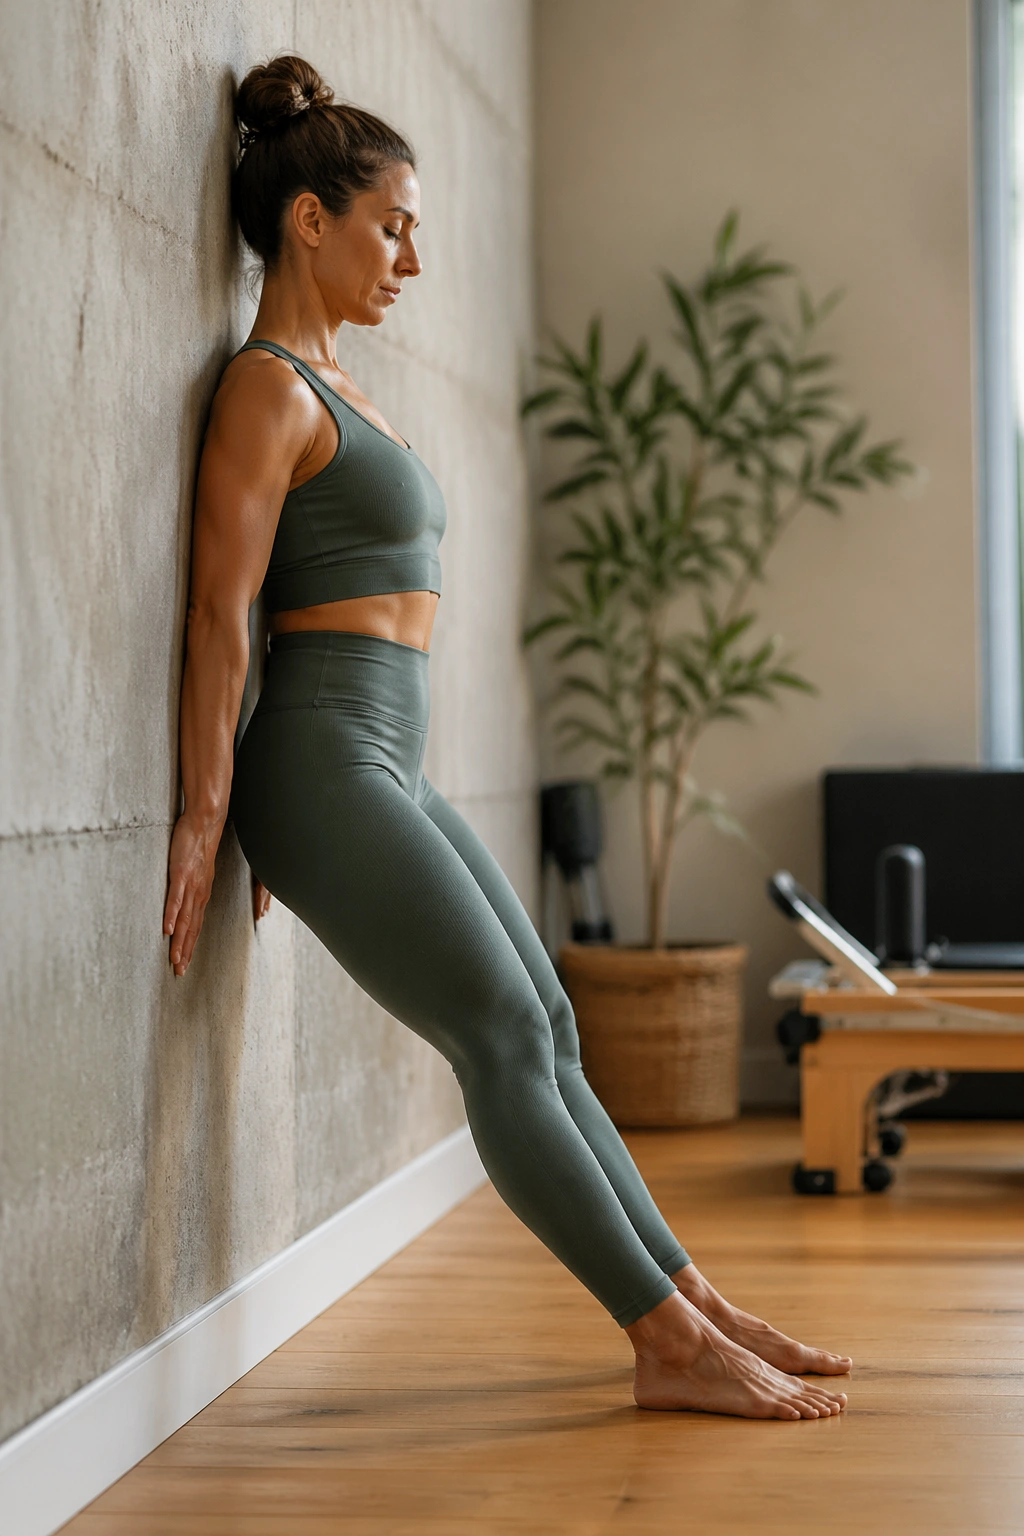
A wall can be a surprisingly good teacher. It gives your spine a reference point, and that makes roll-down work feel less slippery than trying to control every segment in open space.
Stand with your back near a wall and feet a few inches forward. Nod the chin, exhale, and slowly roll the spine down one vertebra at a time until your hands reach toward your thighs or shins. Only go as far as you can keep the belly from pushing out. Then inhale to stack back up.
What To Look For
- The ribs should soften, not flare.
- The pelvis should roll over smoothly.
- The shoulders should stay loose.
- The knees can bend a little. Bent knees are fine.
This move is not about touching the floor. That goal makes people chase range instead of control, and control is the whole point here. A half roll-down done well beats a full collapse every time.
How To Progress It
Add a small pause halfway down. Hold one breath. Then return. That pause often reveals whether the abs are actually holding the spine or just pretending to.
14. Kneeling Side Plank
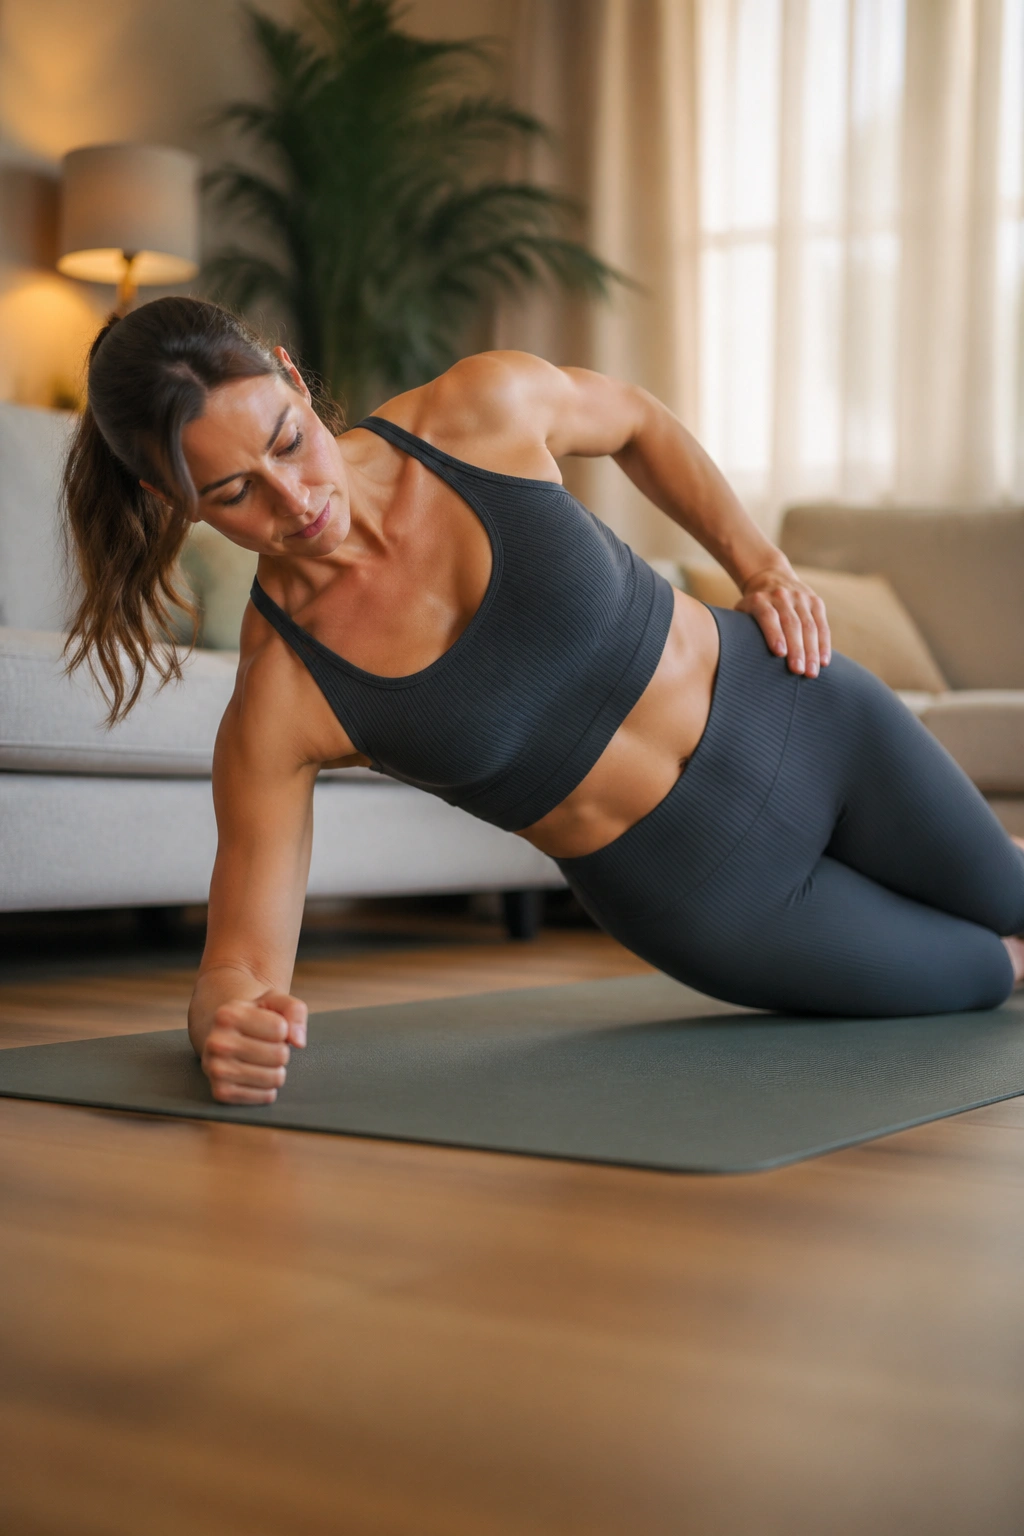
The kneeling side plank is where the work gets honest. The front-body pressure is lower than in a full plank, but the side waist and obliques still have to show up in a real way.
Set the elbow under the shoulder, knees bent, hips lifted just enough to make a straight line from shoulder to knee. Keep the top shoulder from collapsing forward. Breathe. If you cannot breathe here, the hold is too hard.
Why It Helps
Side planks train lateral support, which matters because the trunk does not only move straight ahead and back. It also has to resist side bending and twisting. That kind of support often helps the belly feel more organized during real life movements.
Keep It Small at First
- Hold 10 to 15 seconds.
- Do 2 to 4 rounds per side.
- Keep the top hand on the hip if balance feels shaky.
- Drop the hold the moment doming shows up.
If the elbow position bothers your shoulder, do it with the hand on a bench or wall instead. The shape matters less than the quality.
15. Standing Pallof Press With Breath
Standing band work feels less glamorous than floor work, but it often carries over better to picking up groceries, carrying a baby, or reaching for a heavy pan. The Pallof press is one of the cleanest ways to train anti-rotation while you stand tall.
Anchor a resistance band at chest height. Stand sideways to the anchor point, hold the band at the center of your chest, then press straight out without letting your torso twist. Hold for 1 to 2 breaths. Bring it back. The ribs stay stacked over the pelvis the whole time.
What Makes It Different
Unlike core moves that stay on the mat, this one asks your body to manage force while upright. That matters. Real life happens standing up. The load is also easy to scale with band tension, so you can keep it gentle or make it more demanding without changing the shape much.
Best Way To Use It
- 6 to 8 presses per side.
- Press on the exhale.
- Keep the knees soft.
- Stop if you feel the lower belly bulge or the ribs flare.
I like this one as a bridge between rehab and regular strength work. Use it after a few rounds of breathing, floor work, or bird dogs, when the trunk is warm and paying attention. That is where it tends to shine.
If your body still feels wobbly here, go back a step. There is no medal for rushing. A clean 15-minute session done three times a week will usually beat one heroic workout followed by three days of soreness and weird pressure in the midline.
The real win is not perfection. It is the moment you can move, breathe, and keep the belly quiet while your body does something useful. That is the version worth building.
