



Most people try to train the pelvic floor by clenching harder. That usually turns a small muscle group into a gripping contest you never asked for.
Pelvic floor muscle exercises work best when you treat them like coordination drills, not like a secret squeeze. The pelvic floor has to cooperate with the diaphragm, deep abs, glutes, and hips. If one piece is doing all the work, the whole system gets sloppy fast.
A strong pelvic floor does not live in a permanent contract. It needs to lift, soften, and respond on command. Some people need more strength. Some need more release. Plenty need both, which is why a good plan mixes lying-down work, standing control, and a little mobility instead of hammering out endless Kegels.
If a rep causes pain, heaviness, bulging, or sharp pressure, stop there. That is not a badge of honor. Start with the easiest options below, learn the feel of a clean lift and a clean release, and build from there.
1. Pelvic Floor Muscle Breathing on Your Back
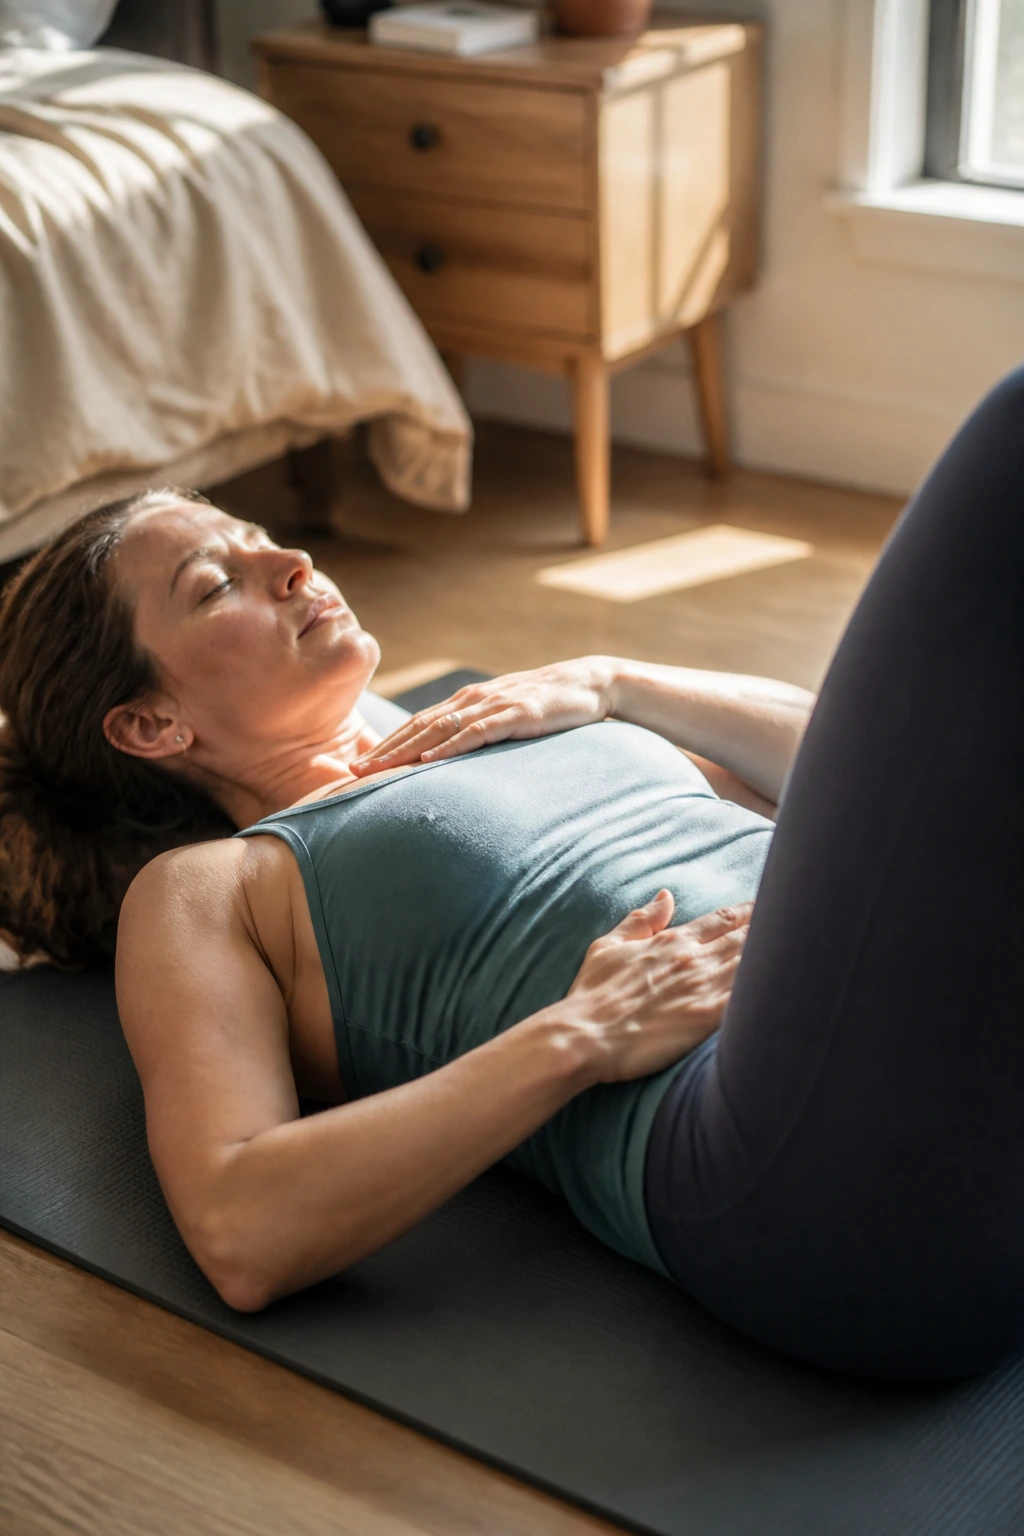
This is the move I would put at the top of the list every time. It teaches you what the pelvic floor is supposed to do before you start loading it up with more demanding work.
Lie on your back with your knees bent and your feet flat. One hand can rest on your lower ribs and the other on your belly. Inhale through your nose and let the ribs widen, then exhale slowly through your mouth and feel a gentle lift through the pelvic floor.
Do not force the lift. A clean rep feels small, almost subtle. If your butt tightens, your thighs grip, or your jaw clenches, you are making the task harder than it needs to be.
- Inhale for 3 to 4 seconds.
- Exhale for 4 to 6 seconds.
- Aim for 5 slow breaths.
- Keep the shoulders heavy on the floor.
Soft is the point. That is the part people skip.
2. Basic Kegel Holds for Pelvic Floor Muscle Strength
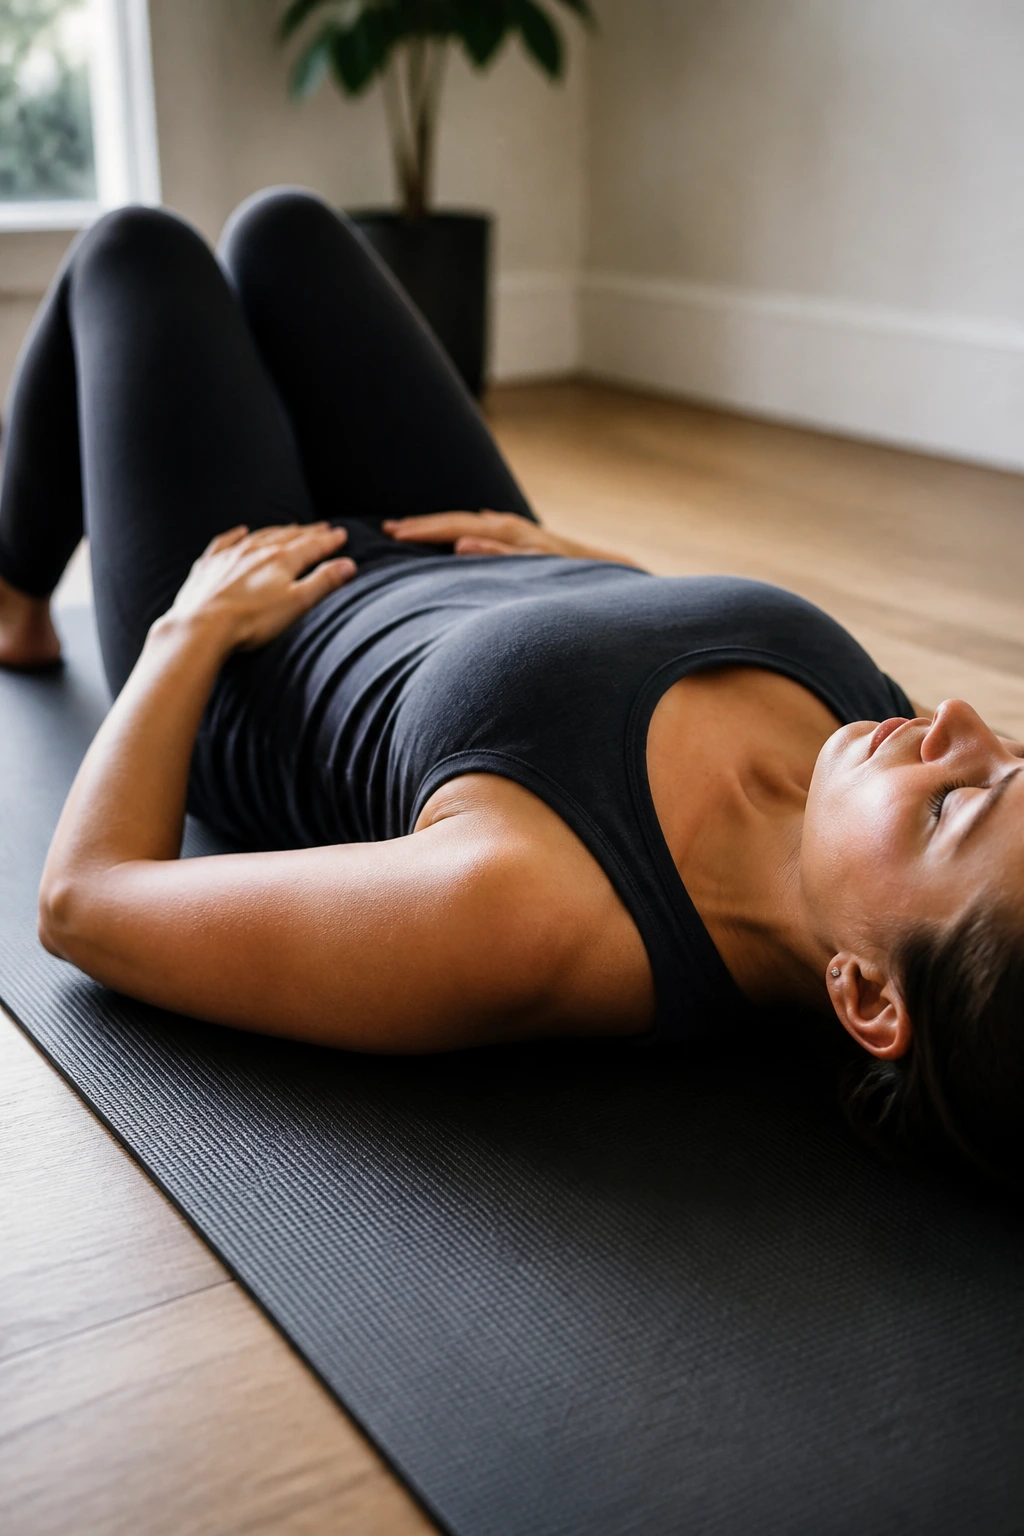
The classic Kegel still earns its spot if you do it gently. The whole idea is to lift and close, then fully let go again. Nothing heroic.
Think of the lift as about 30 to 50 percent effort at first. Hold for 3 seconds, then relax for 6 seconds. That longer release matters more than most people realize, because a pelvic floor that never lets go is not a strong one. It is an irritated one.
I like this version for beginners because it strips away the noise. No standing, no balancing, no leg work. You can feel whether the contraction is real or just a hard squeeze in the wrong places.
A clean hold feels internal. You should not need to brace your stomach like you are about to get punched.
3. Quick Flick Kegels for Sneezes and Coughs
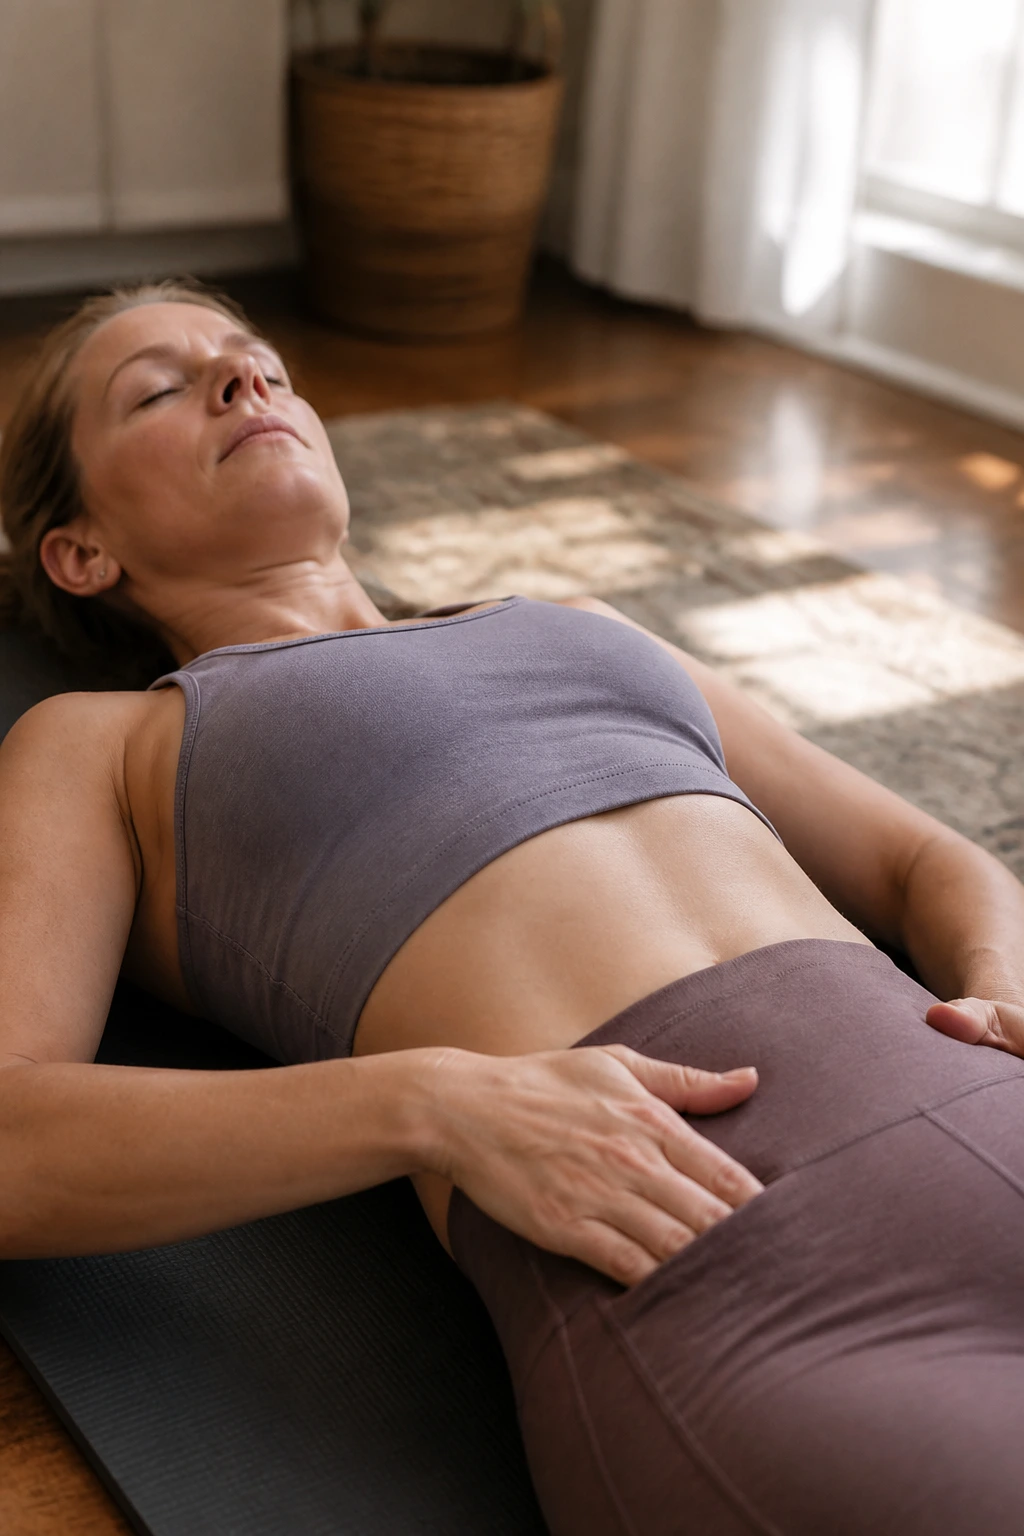
Why bother with fast reps? Because real life is fast. You cough, laugh, lift a bag, or miss the bathroom by ten seconds, and the pelvic floor has to answer right away.
Quick flicks train that reaction. Squeeze gently for 1 second, release fully for 1 second, and repeat for 8 to 10 reps. The release should feel immediate. If the muscle drags or you can barely find the opening and closing, the set is too long.
How to use it
Do these after you can find the basic hold without tensing your whole body. They work well before a brisk walk, before a set of squats, or when you know you will be doing a lot of lifting and moving.
If the release gets shorter as you fatigue, stop there. Fast work is supposed to sharpen control, not turn into a scrunched-up mess.
4. Elevator Contractions Up and Down
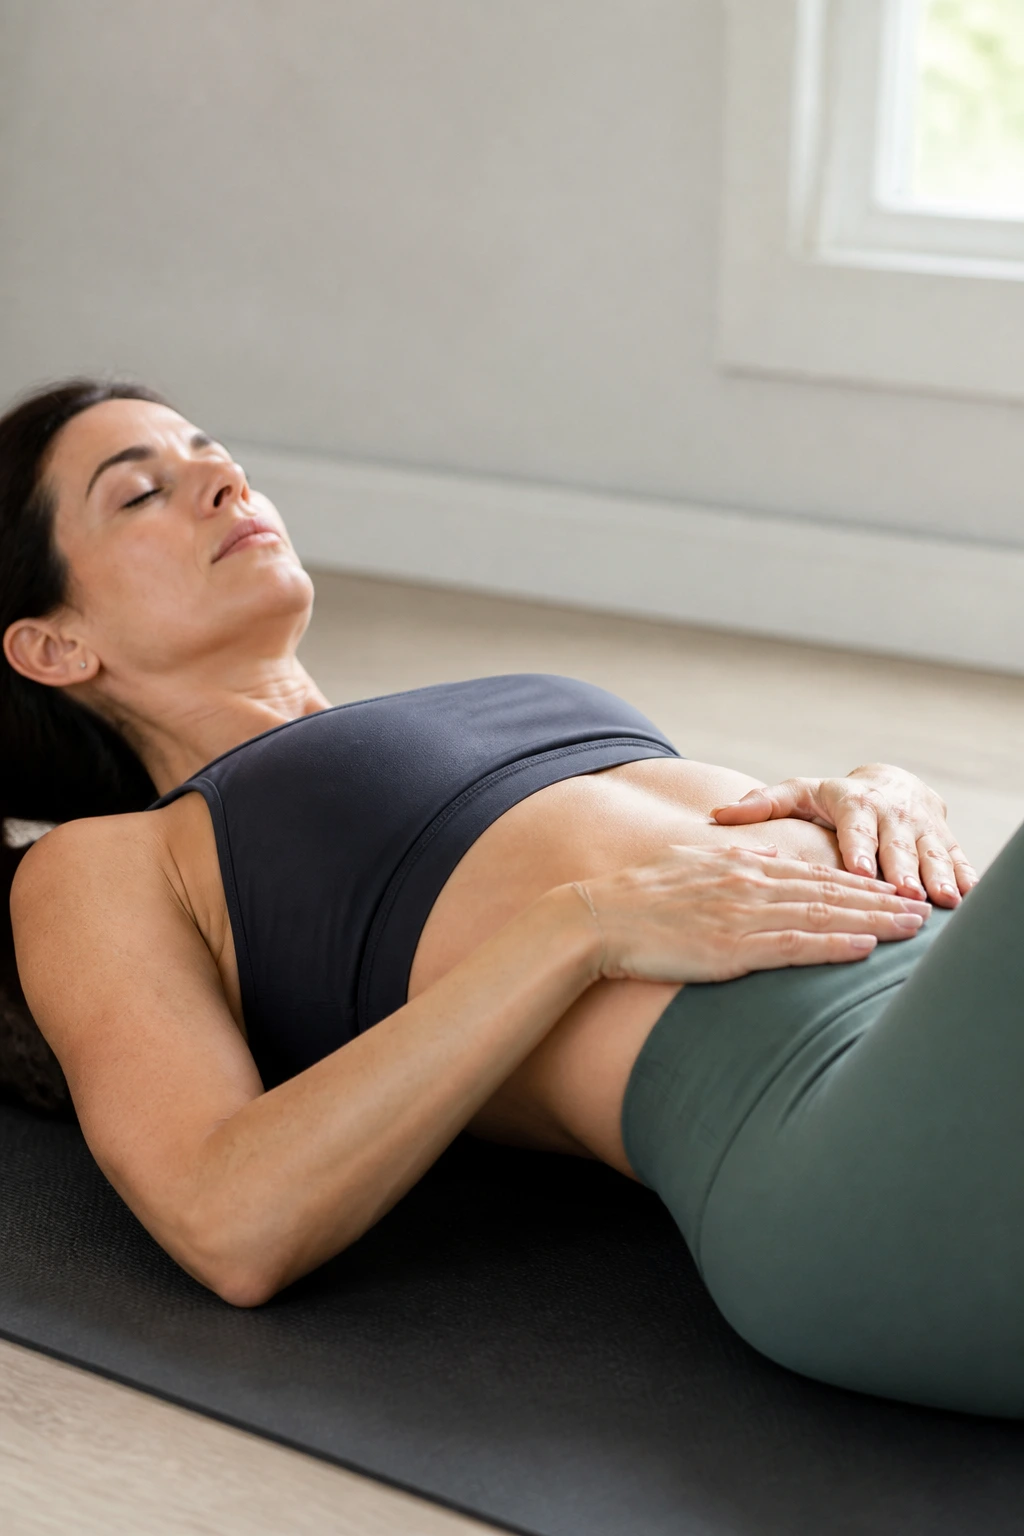
Picture an elevator moving up three floors. That image helps because a pelvic floor rep should have levels, not one giant on/off switch.
Start with a 25 percent lift, then 50 percent, then 75 percent. If that feels easy and clean, go to 100 percent for a moment. Then ride the elevator back down just as slowly. The down part is the part most people rush.
This drill is gold for learning gradation. It teaches you that a pelvic floor contraction does not have to be max effort to be useful. In fact, max effort is often the wrong choice.
- Floor 1: light lift
- Floor 2: medium lift
- Floor 3: strong but controlled lift
- Back down: release in the same order
Tiny control. Big payoff.
5. Heel Slides That Connect Pelvic Floor Muscles to the Core
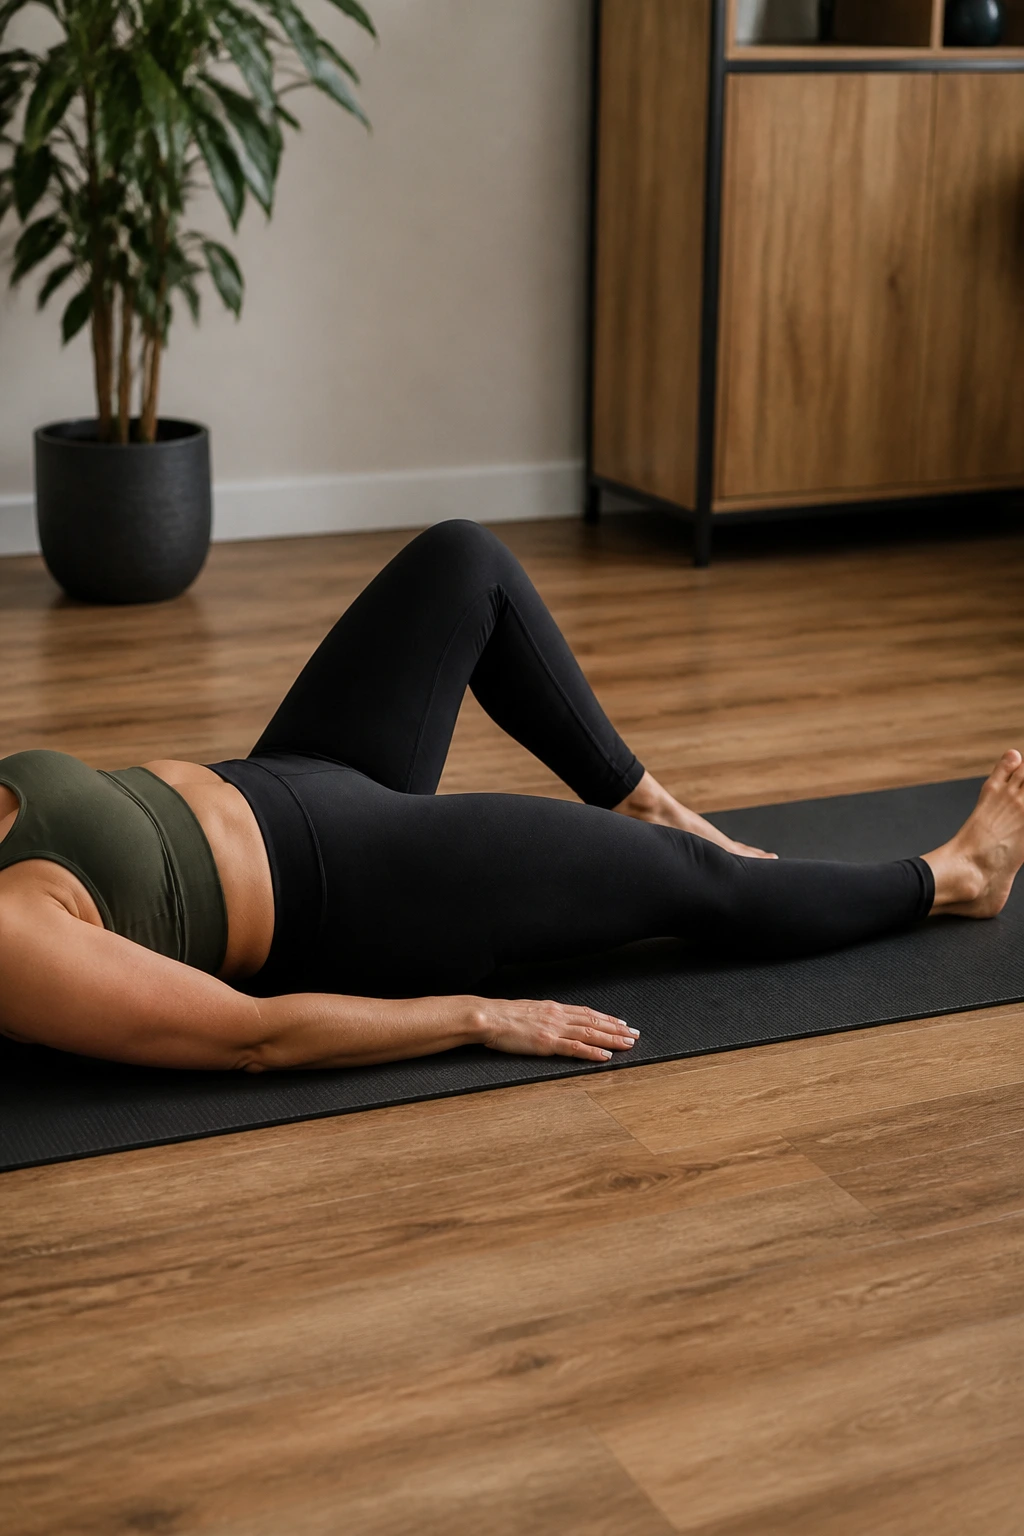
Lying on the floor removes a lot of guesswork. Heel slides are one of my favorite ways to connect breathing, core, and pelvic floor without making the move feel like a test.
Start on your back with both knees bent. Exhale and gently engage the pelvic floor as you slide one heel away until the leg is almost straight, then inhale and slide it back in. The pelvis should stay quiet. If your low back arches or your ribs pop up, shorten the range.
A lot of people make this harder by trying to keep everything tight. Don’t. The point is control, not stiffness. You want the belly and pelvic floor to cooperate while the hips move.
Do 6 to 8 slides per side. If that feels easy, slow the tempo before you add more reps.
6. Glute Bridges With a Gentle Pelvic Floor Lift
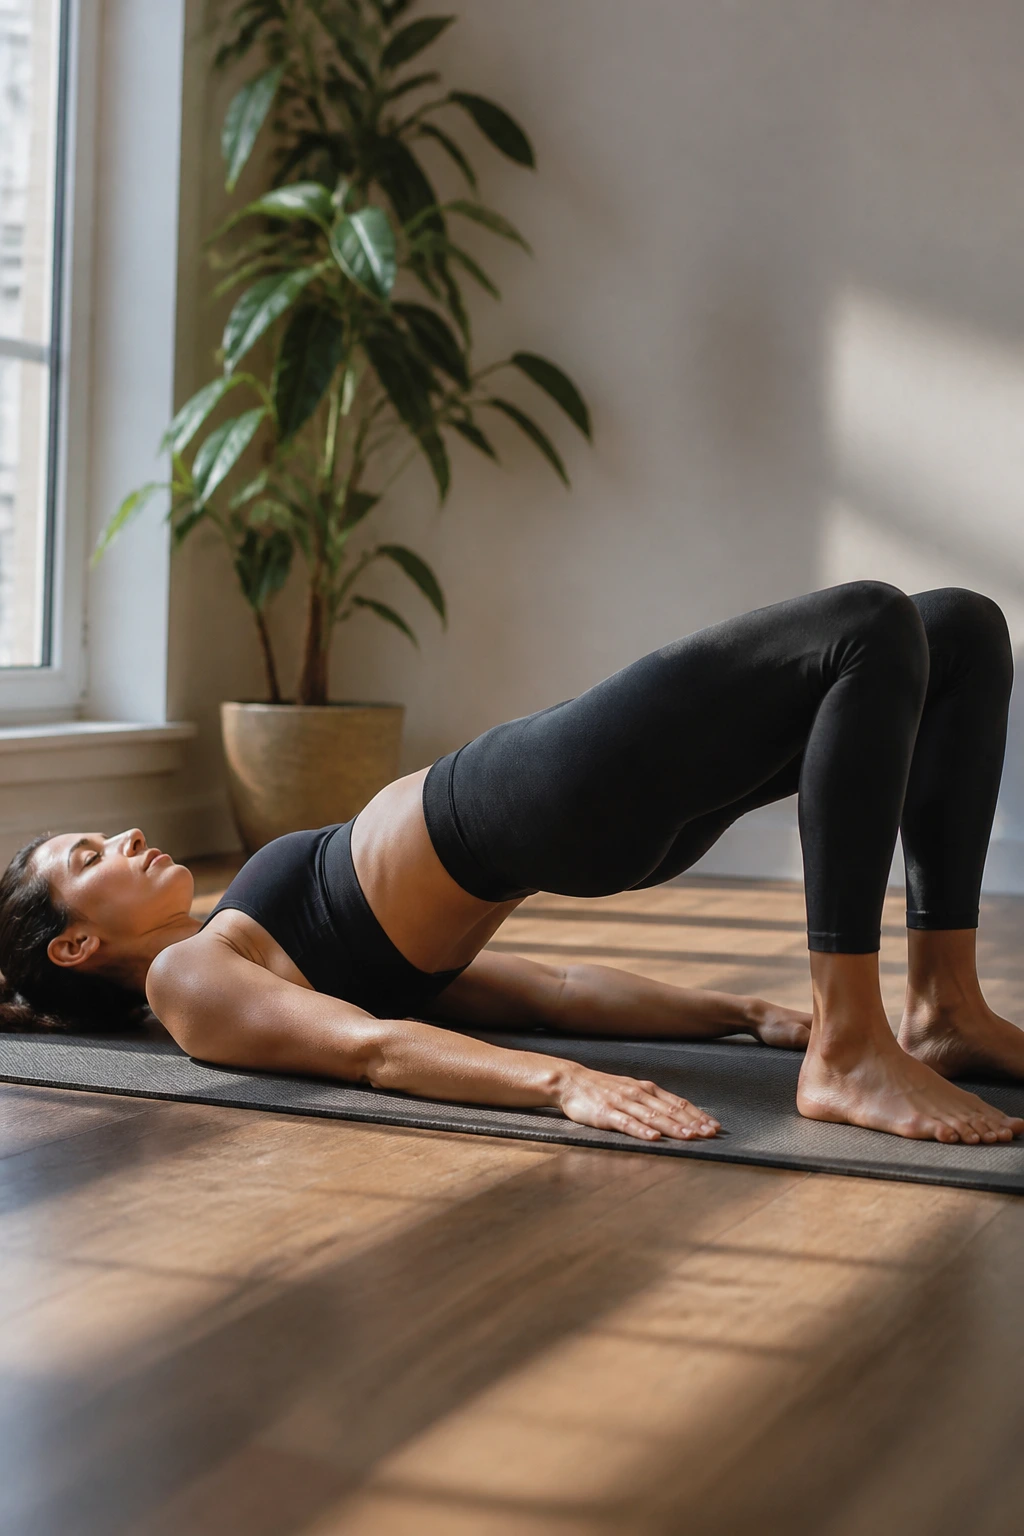
A bridge is not just a glute exercise. Done well, it also teaches the pelvic floor how to respond when the hips extend and the pressure in the torso changes.
Lie on your back with your feet hip-width apart. Exhale as you press through your feet and lift your hips. At the top, think about a small pelvic floor lift, not a hard crunch. Lower with control and let the floor relax on the way down.
This one is useful because it links the backside of the body to the deep core. The glutes help, the hamstrings help, and the pelvic floor learns to stay responsive instead of bracing like a shield.
Tiny hip drive, not a launch into the ceiling. If your ribs flare or your hamstrings cramp, lower the bridge height and keep the motion smaller.
7. Dead Bug Heel Taps for Pressure Control
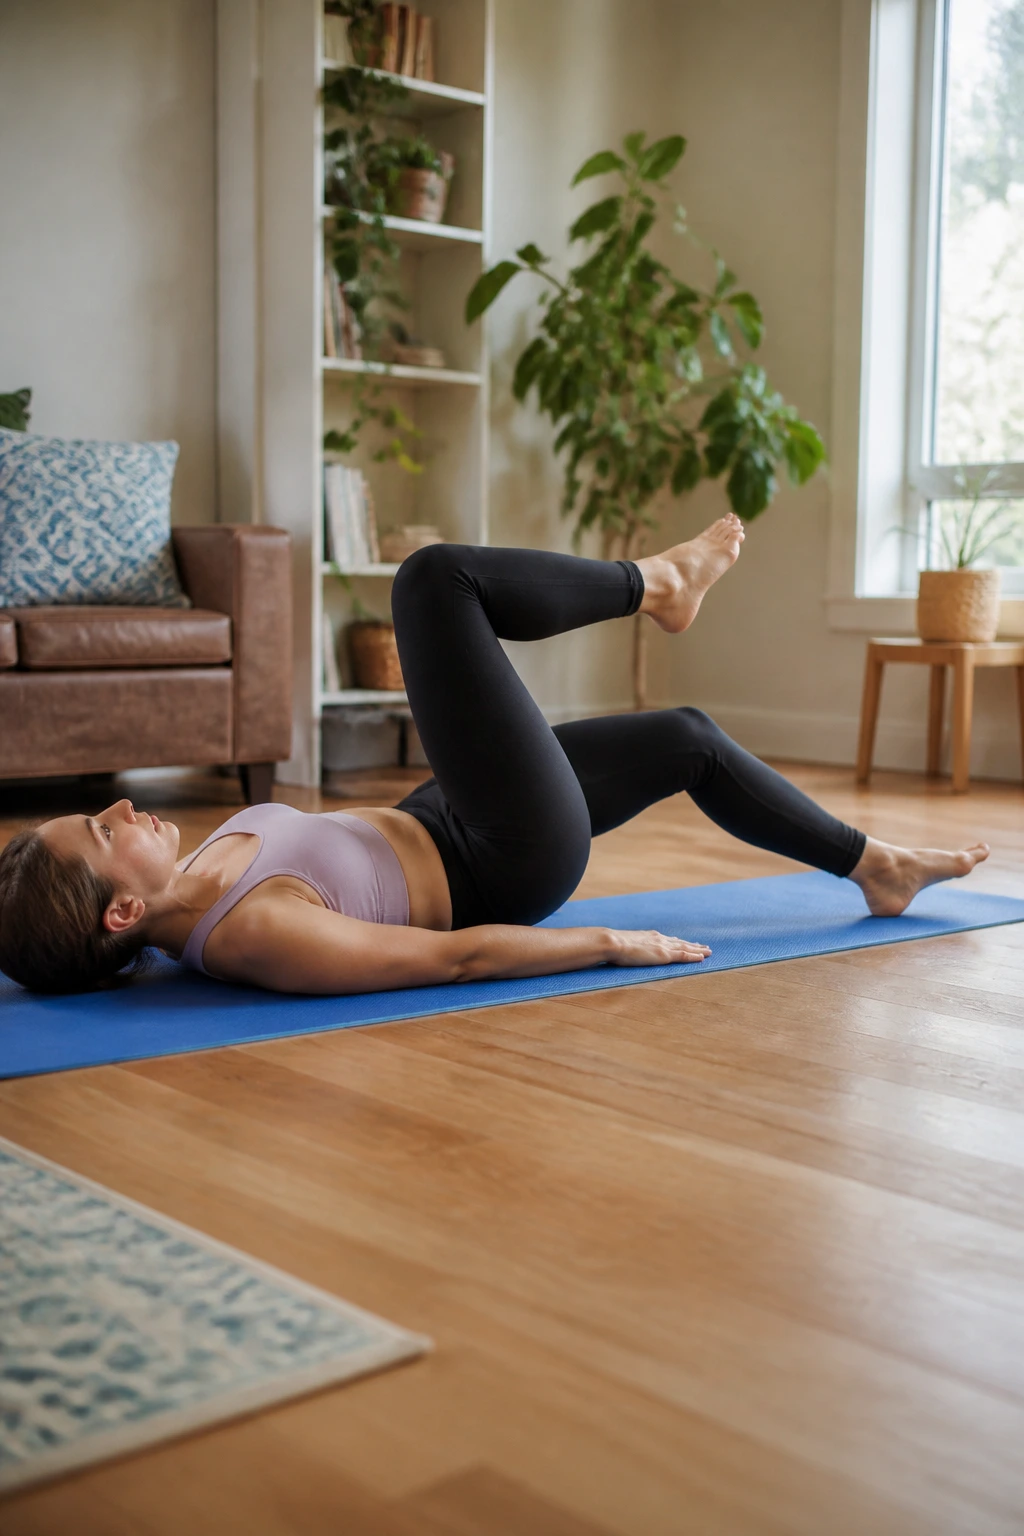
Can you keep the pelvic floor calm while your limbs move? That is the real test here.
Why It Works
The dead bug forces the torso to stay steady while the legs move away from center. That steady center is exactly what many people need when they leak a little under load or feel pressure during everyday movement. Keep the knees over the hips, lower one heel to tap the floor, then return without letting the back arch.
Common Mistakes
- Holding the breath.
- Pushing the low back hard into the floor.
- Lowering the heel so far that the rib cage pops open.
- Turning the tap into a leg workout instead of a control drill.
Use 6 taps per side. If you can keep the pelvis quiet, the rep is doing its job. If not, shorten the range and slow down.
8. Side-Lying Clamshells for Hip Support
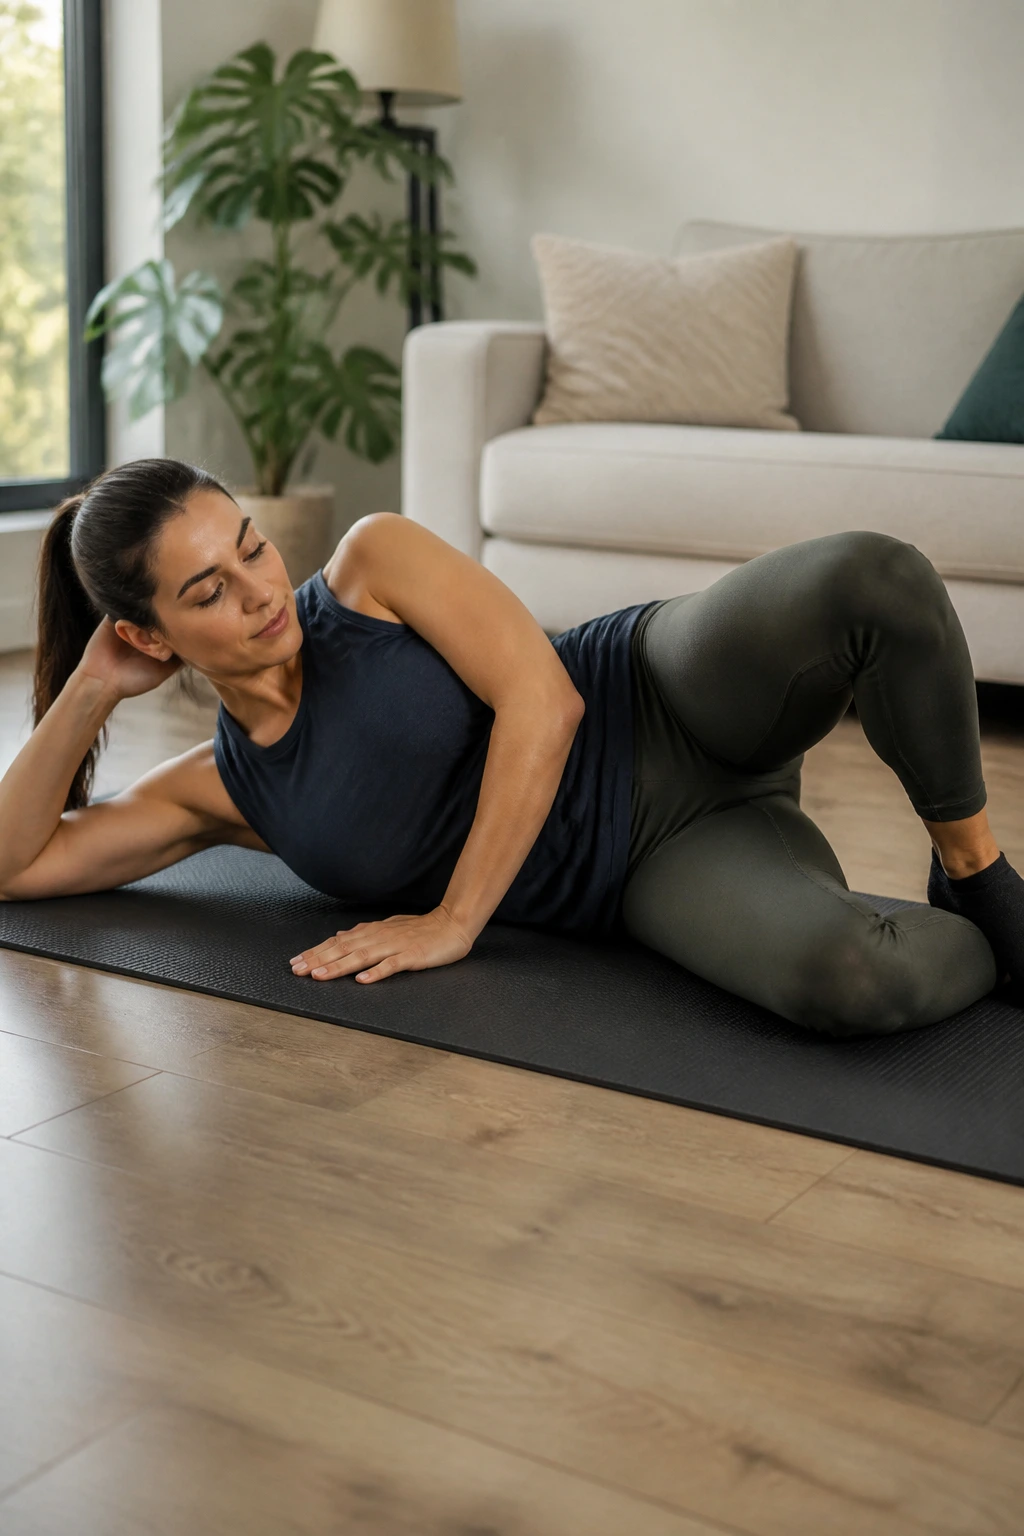
Weak hips make pelvic floor control harder. That is not a moral failing. It is just how the body is wired.
Lie on your side with knees bent and feet together. Exhale, lift the top knee a few inches, and keep the pelvis stacked so it does not roll backward. Lower with control. If you want, place a light loop band above the knees, but skip the band if it forces you to twist or shrug.
The outer hip muscles help manage pelvic position when you walk, climb stairs, and stand on one leg. That matters more than people think. A pelvic floor that is always trying to stabilize a sloppy hip joint gets tired fast.
- 8 to 12 reps per side.
- Slow down the lowering phase.
- Stop before the low back starts helping.
9. Bird Dog Reach for Cross-Body Stability
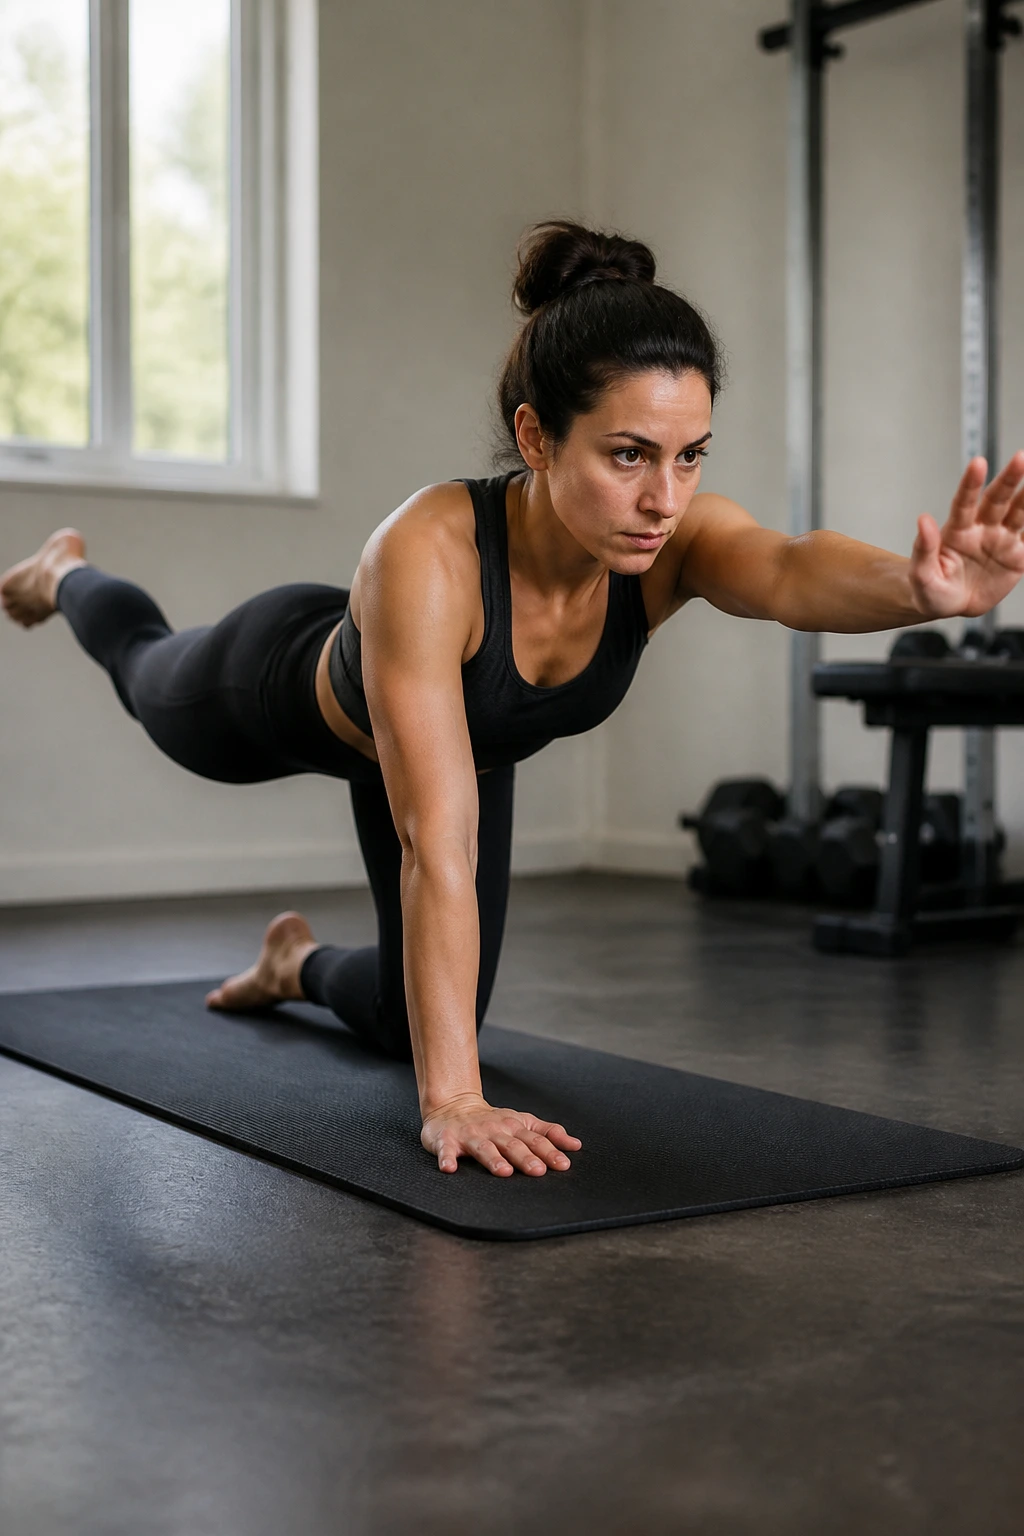
Why does a bird dog show up in pelvic floor work? Because the body does not separate itself into neat little boxes. One arm and the opposite leg moving together tell you a lot about trunk control.
Start on hands and knees. Exhale, gently lift the pelvic floor, and reach one leg back while the opposite arm moves forward. Keep the hips level and the ribs from flaring. Return with control and switch sides.
How to Scale It
If the floor version feels shaky, keep the toes on the ground and reach only the arm. If the wrists complain, drop to forearms for a while. If the core is solid, hold each reach for 2 to 3 seconds before switching.
The best bird dog is boring in a good way. No wobble. No strain. No breath-holding.
10. Sit-to-Stand From a Chair
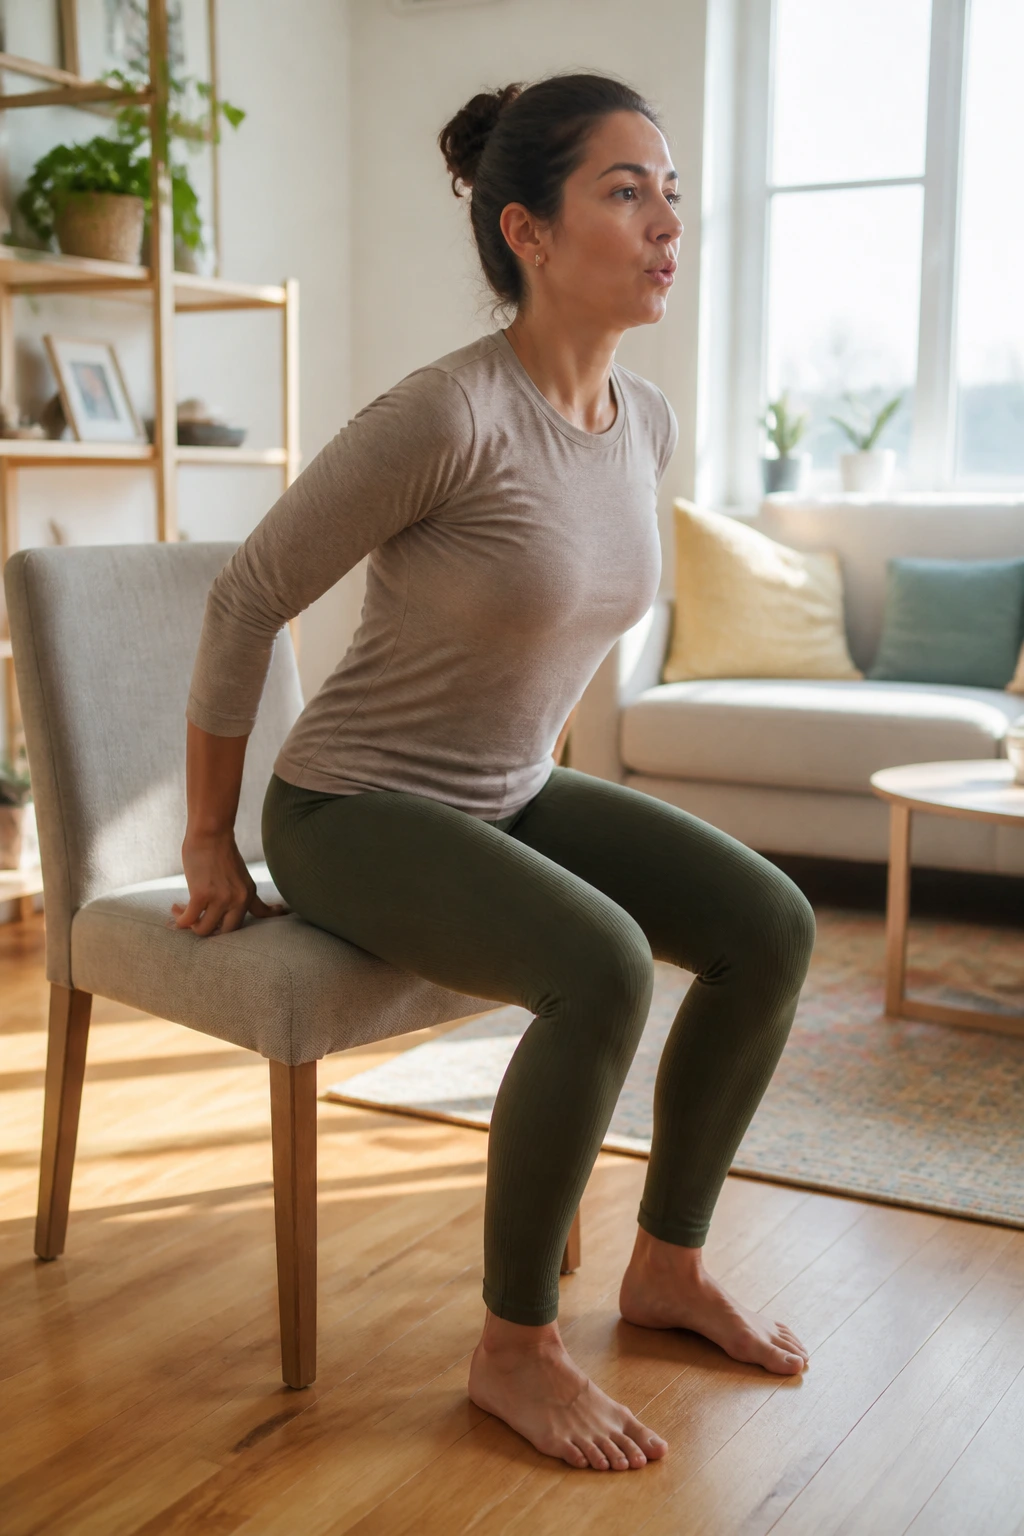
Getting off a chair is where a lot of pelvic floor training either proves itself or falls apart. Life is rude like that.
Sit on a firm chair with your feet flat and a little under your knees. Exhale as you stand, gently lifting through the pelvic floor as you press through your feet. Sit back down slowly and keep the descent controlled. The goal is not speed. The goal is clean pressure management.
A chair stand is useful because it looks like real life. You do not need special gear, and you can feel how the pelvic floor behaves when the body has to rise under load.
- Start with 5 reps.
- Use your hands if needed.
- Lower the chair height only when control is solid.
- Stop if you feel downward pressure.
Simple move. Not easy when done well.
11. Wall Sit With Breath Control
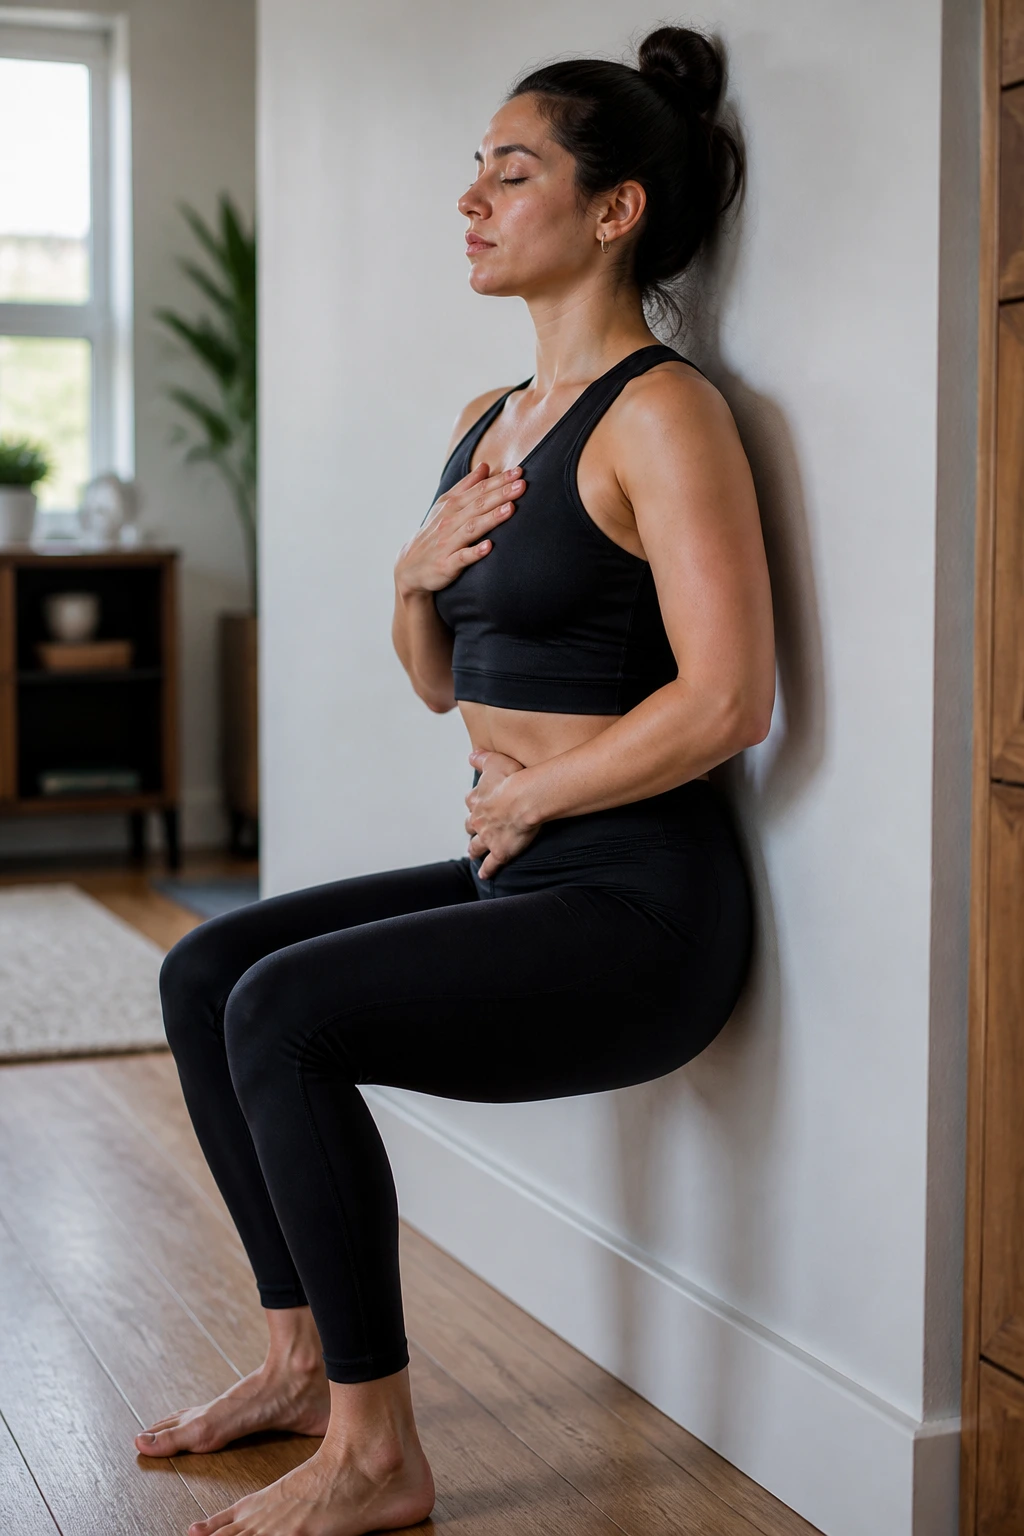
The wall does the hard part here. You get to practice pressure control while your legs do an honest amount of work.
Slide down a wall until your thighs are somewhere between shallow and parallel to the floor. Keep the ribs stacked over the pelvis, then take slow breaths while you lightly engage the pelvic floor on the exhale. Hold for 15 to 30 seconds, rest, and repeat once or twice.
No breath-holding. That ruins the drill.
A wall sit is a good bridge between lying-down control and upright effort. It gives you load without forcing you into balance challenges too soon, and it will tell you fast whether your pelvic floor can stay calm when the thighs light up.
12. Bodyweight Squats That Stay Pressure-Safe
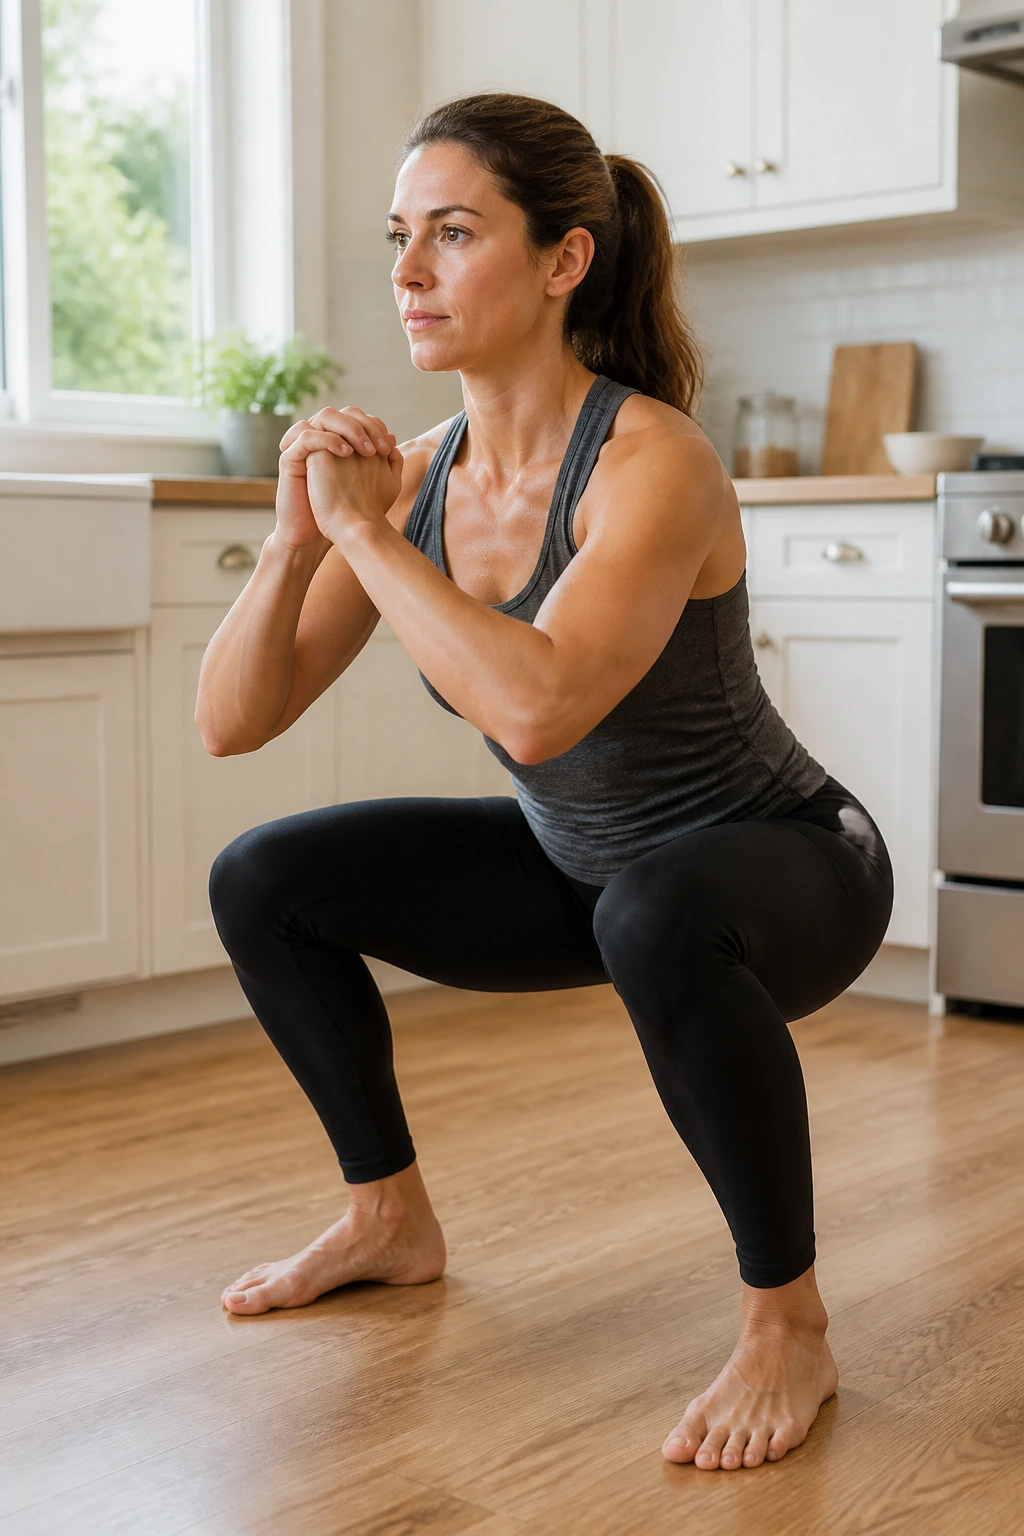
A squat is the standing version of a pelvic floor test. If you can squat without bearing down, you are learning useful real-world strength.
Stand with your feet about shoulder-width apart. Inhale on the way down, then exhale as you stand and let the pelvic floor respond with a gentle lift. Only go as low as you can keep the pressure calm. A box or chair behind you can help if depth makes you tense up.
I prefer this exercise for people who have already learned the basic floor work and want to carry that control into a more demanding pattern. It is also a good place to notice habits. Do the knees cave? Do the ribs fly up? Does the breath disappear? Those are all fixable.
Pressure stays inside. If you feel a bearing-down sensation, reduce the depth and try again.
13. Standing Marches for Everyday Control
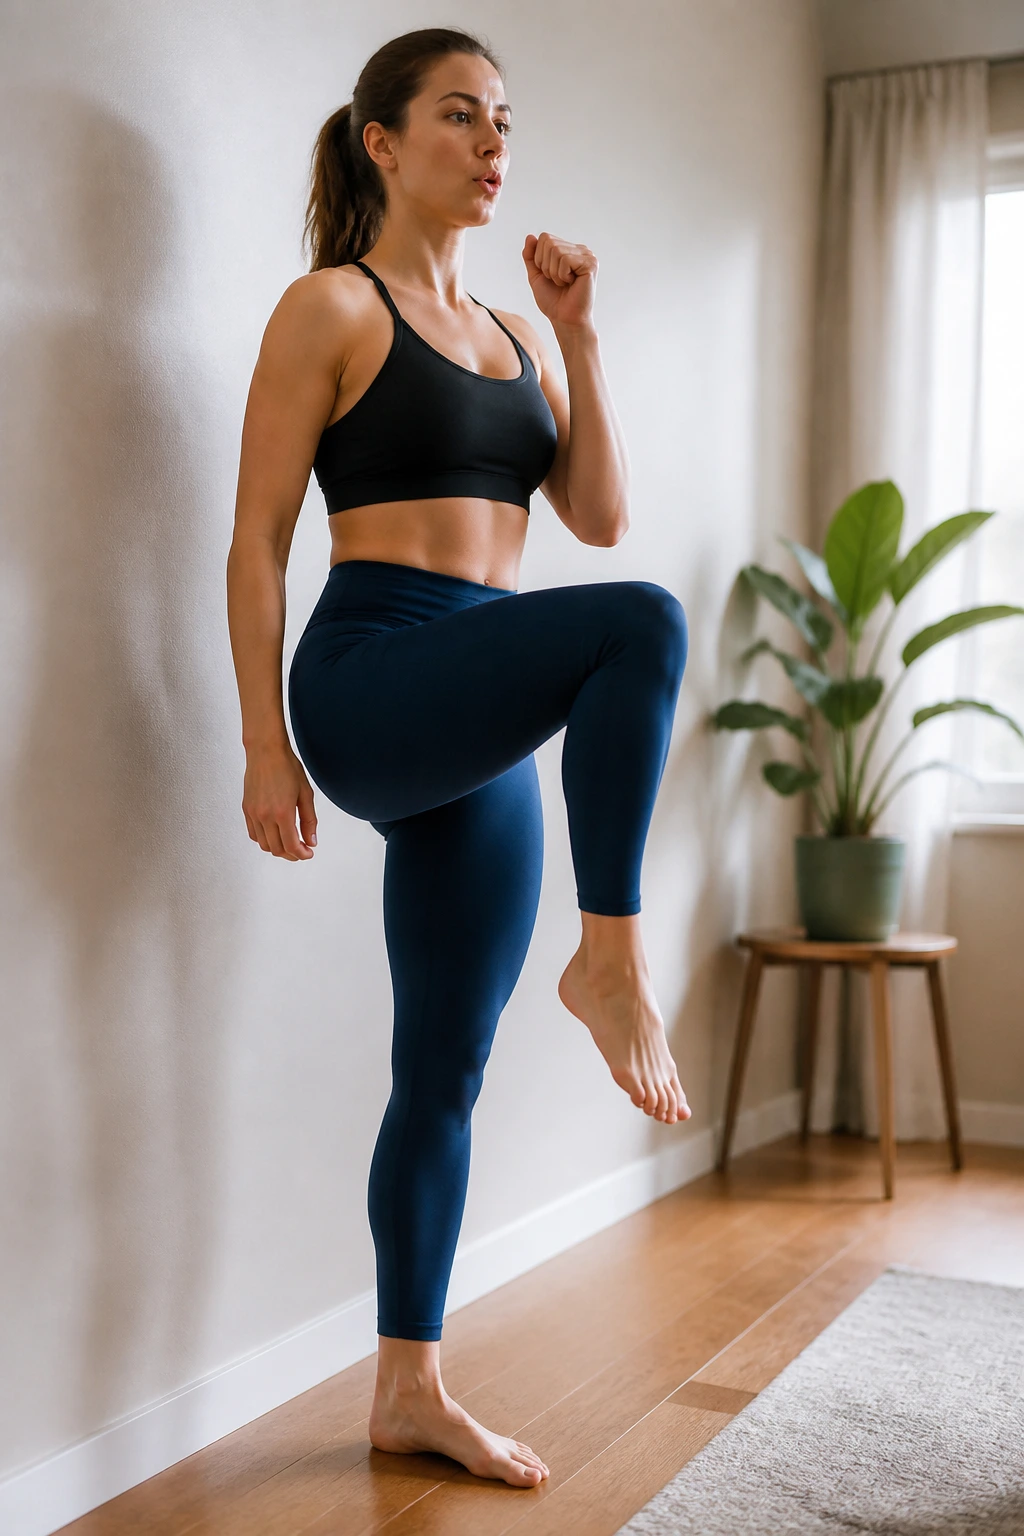
What happens when one leg leaves the floor? That is where a lot of leakage and wobble show up.
Stand tall near a wall or counter, then slowly lift one knee a few inches and lower it back down. Exhale as the knee rises, and keep the pelvis level. Alternate sides for 6 to 10 reps. The move should feel controlled, not jerky.
What to Feel
You want the standing leg to stay steady while the lifted side moves freely. The pelvic floor should respond without you gripping your butt or squeezing your inner thighs like a vise.
Marches are a nice step toward walking, stair climbing, and running mechanics. They teach the body to manage pressure while shifting weight from side to side, which is where a lot of life happens.
14. Single-Leg Balance With Pelvic Floor Engagement
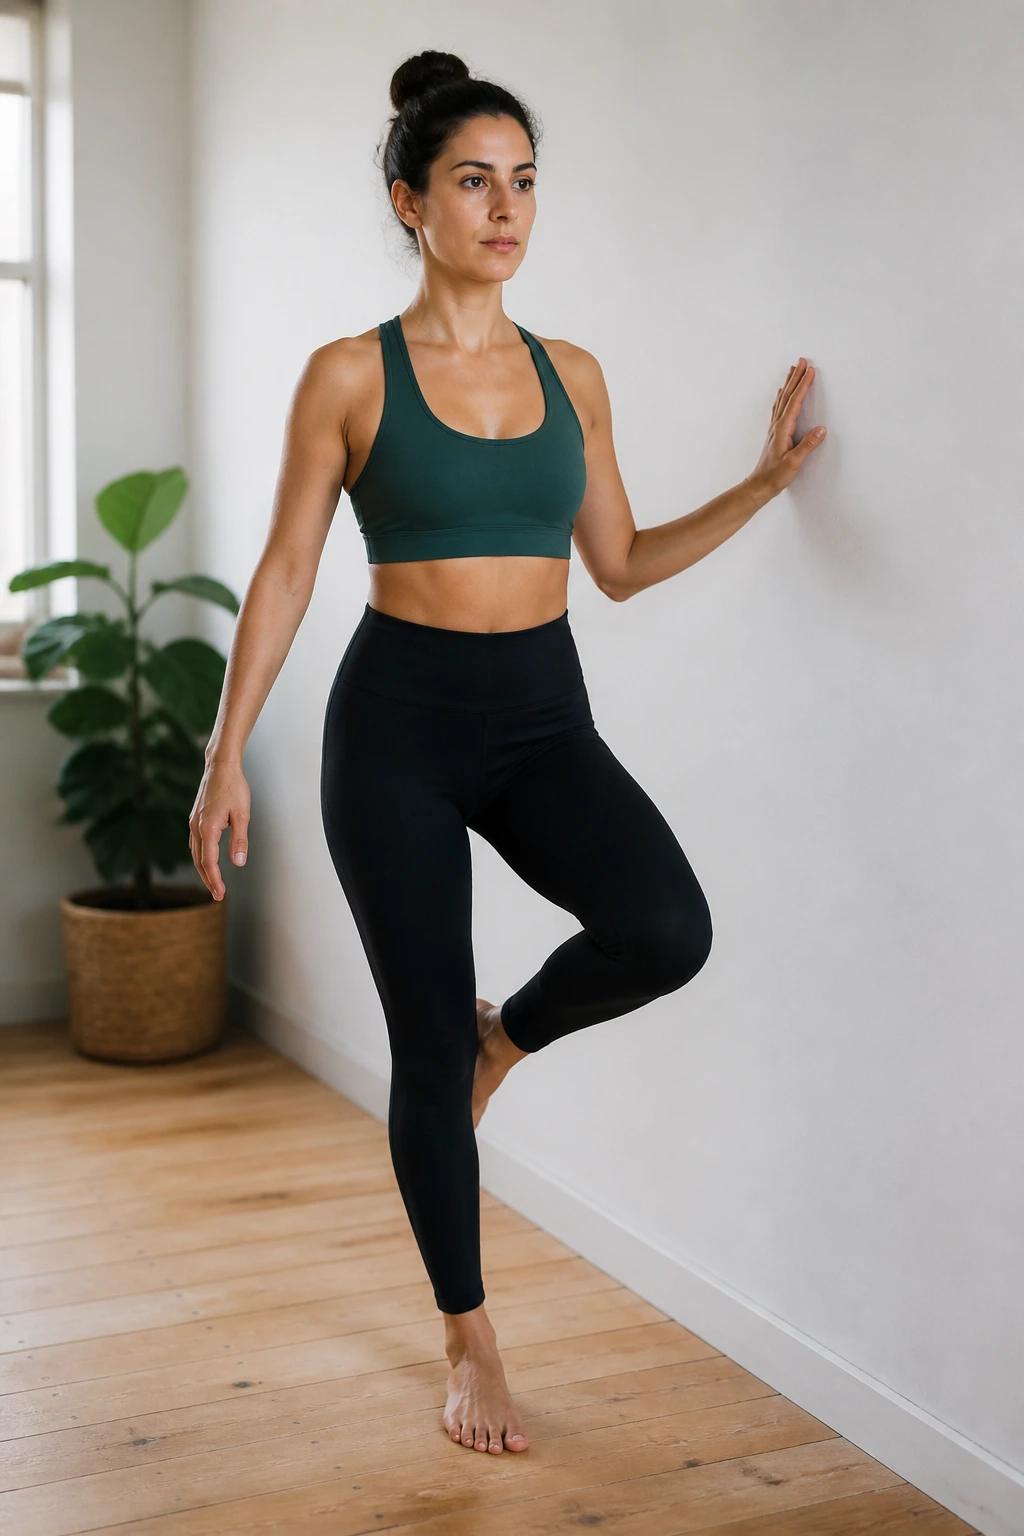
Balance work matters because pelvic floor control is not only about squeezing. It is about staying organized when the floor disappears under one foot.
Stand with one hand near a wall. Shift your weight onto one leg, lift the other foot an inch or two, and keep the standing foot grounded through the big toe, little toe, and heel. Exhale gently and feel the pelvic floor lift without clenching the whole abdomen.
A wobble is normal. A collapse is not. If the standing hip drops or the trunk sways hard, keep the toes down and use the wall for support.
Twenty seconds per side is plenty at first. Clean balance beats long ugly balance every single time.
15. Side Plank on the Knees
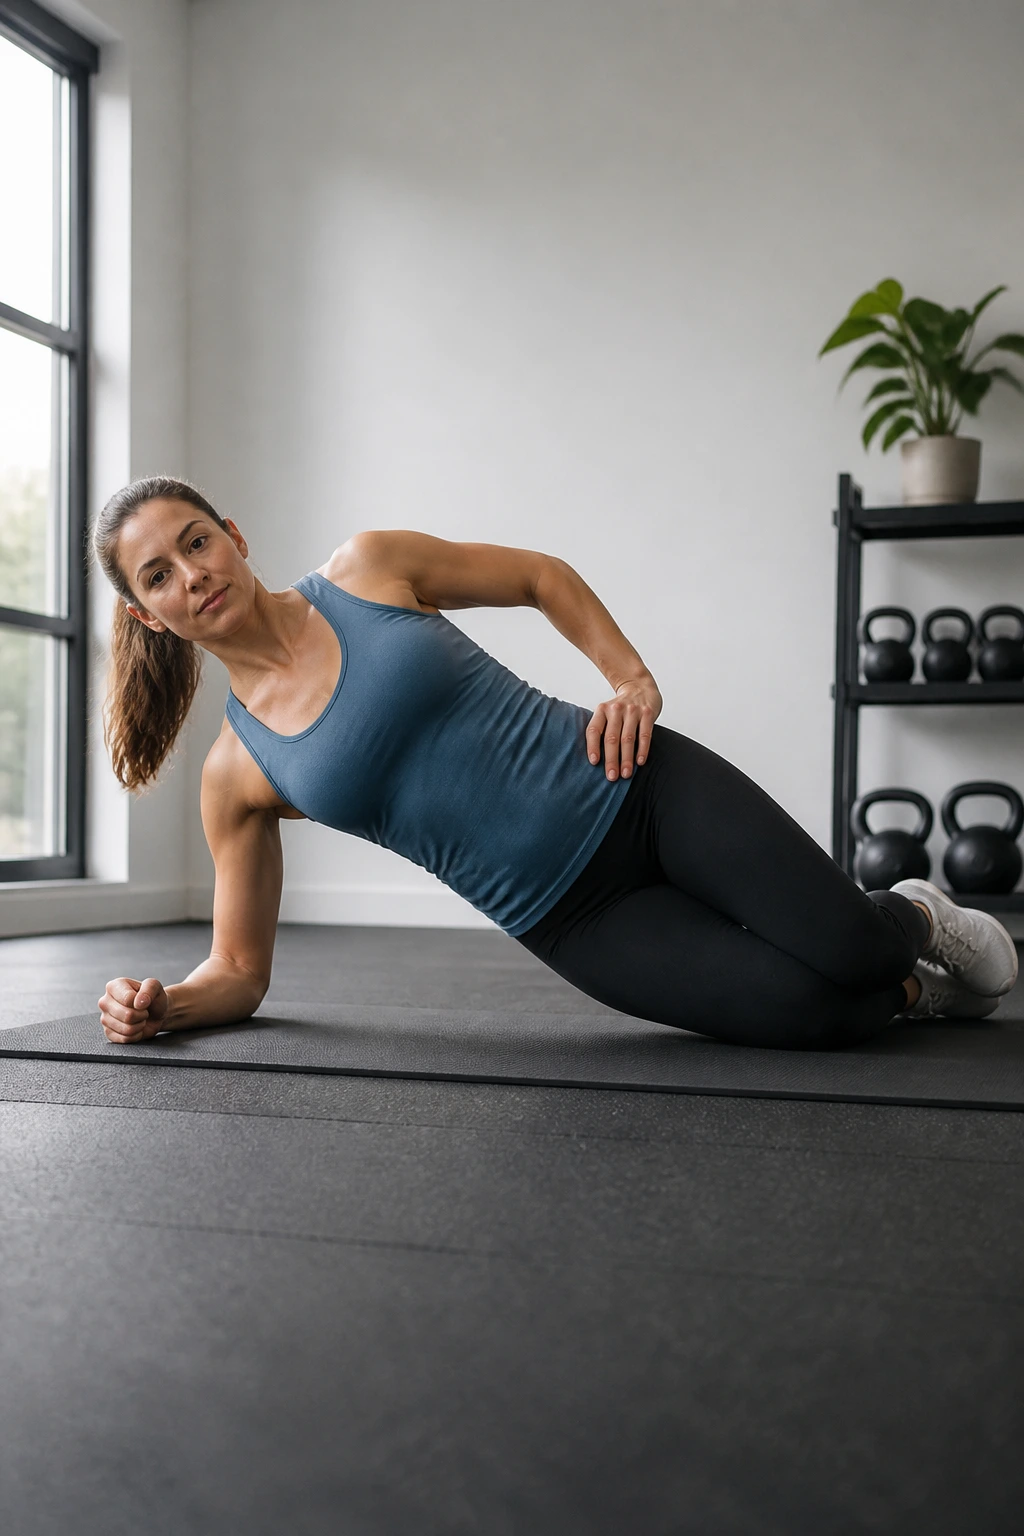
This is where people realize the pelvic floor is part of the side chain, not some isolated hidden muscle that does its own thing in the dark.
Set up on one forearm with your knees bent and stacked. Lift the hips, keep the ribs from spilling open, and hold for 10 to 20 seconds while breathing smoothly. The side body should work. The pelvic floor should help. The neck should not take over.
Tiny hold. Big job.
If a full side plank feels too aggressive, stay on the knees and shorten the hold. If your shoulder gets cranky, skip it for now and come back later. The point is to build side support, not to grind through a position that makes your form ugly.
16. Toe Taps in Table-Top Position
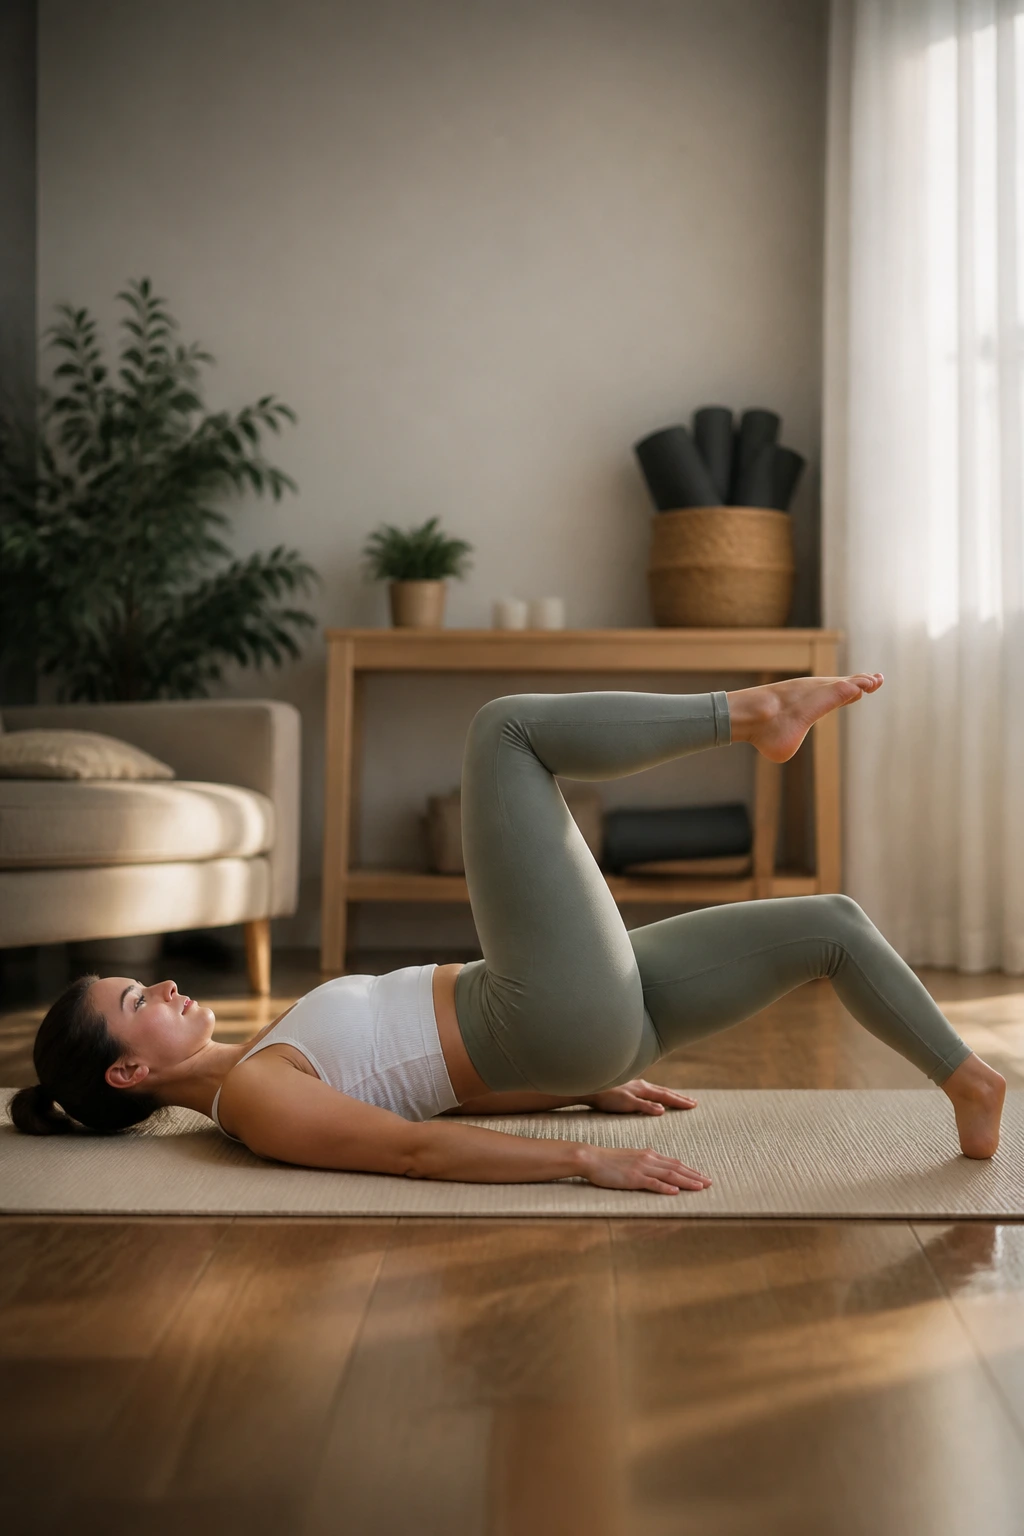
Toe taps are one of those sneaky exercises that looks simple and then quietly exposes every weak link in your control.
Lie on your back with your hips and knees in table-top. Exhale, let the pelvic floor lift gently, and tap one toe to the floor before bringing it back up. Alternate sides while keeping the low back from arching. If you cannot hold the torso steady, make the tap smaller.
- 6 to 10 taps per side.
- Keep the ribs heavy.
- Move the legs slowly.
- Stop before the pelvis rocks.
This drill is a bridge between breathing work and more athletic core training. It gives you load without needing a plank, and it tells you whether your pelvic floor can stay coordinated when the hips are moving.
17. Child’s Pose Release Breathing
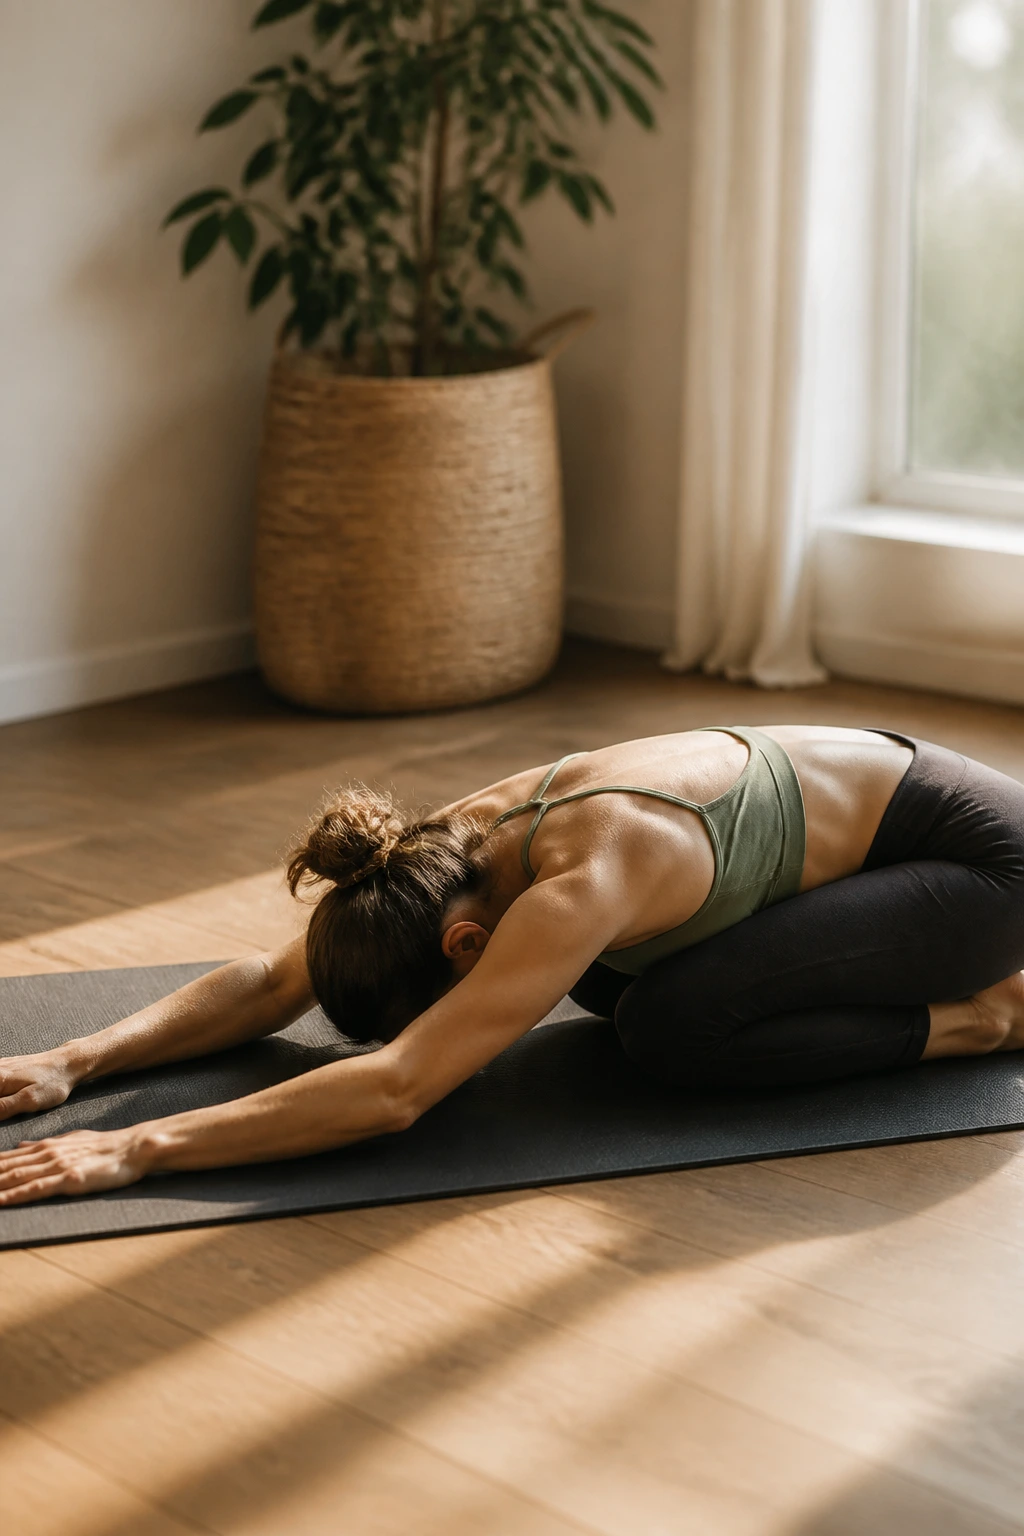
What if the right move is less squeezing? That question matters more than people think.
Child’s pose gives the pelvic floor a chance to soften. Knees can be wide, big toes touching, and hips sitting back toward the heels. Breathe into the low ribs and back body while you let the floor widen on the inhale and relax on the exhale.
If your knees complain, put a folded towel under them or skip the position and use a supported kneeling rest. This is not a stretch contest. It is a release drill.
Five to eight slow breaths are enough. You are looking for a feeling of downward ease, not a dramatic deep stretch.
18. Happy Baby With Gentle Relaxation
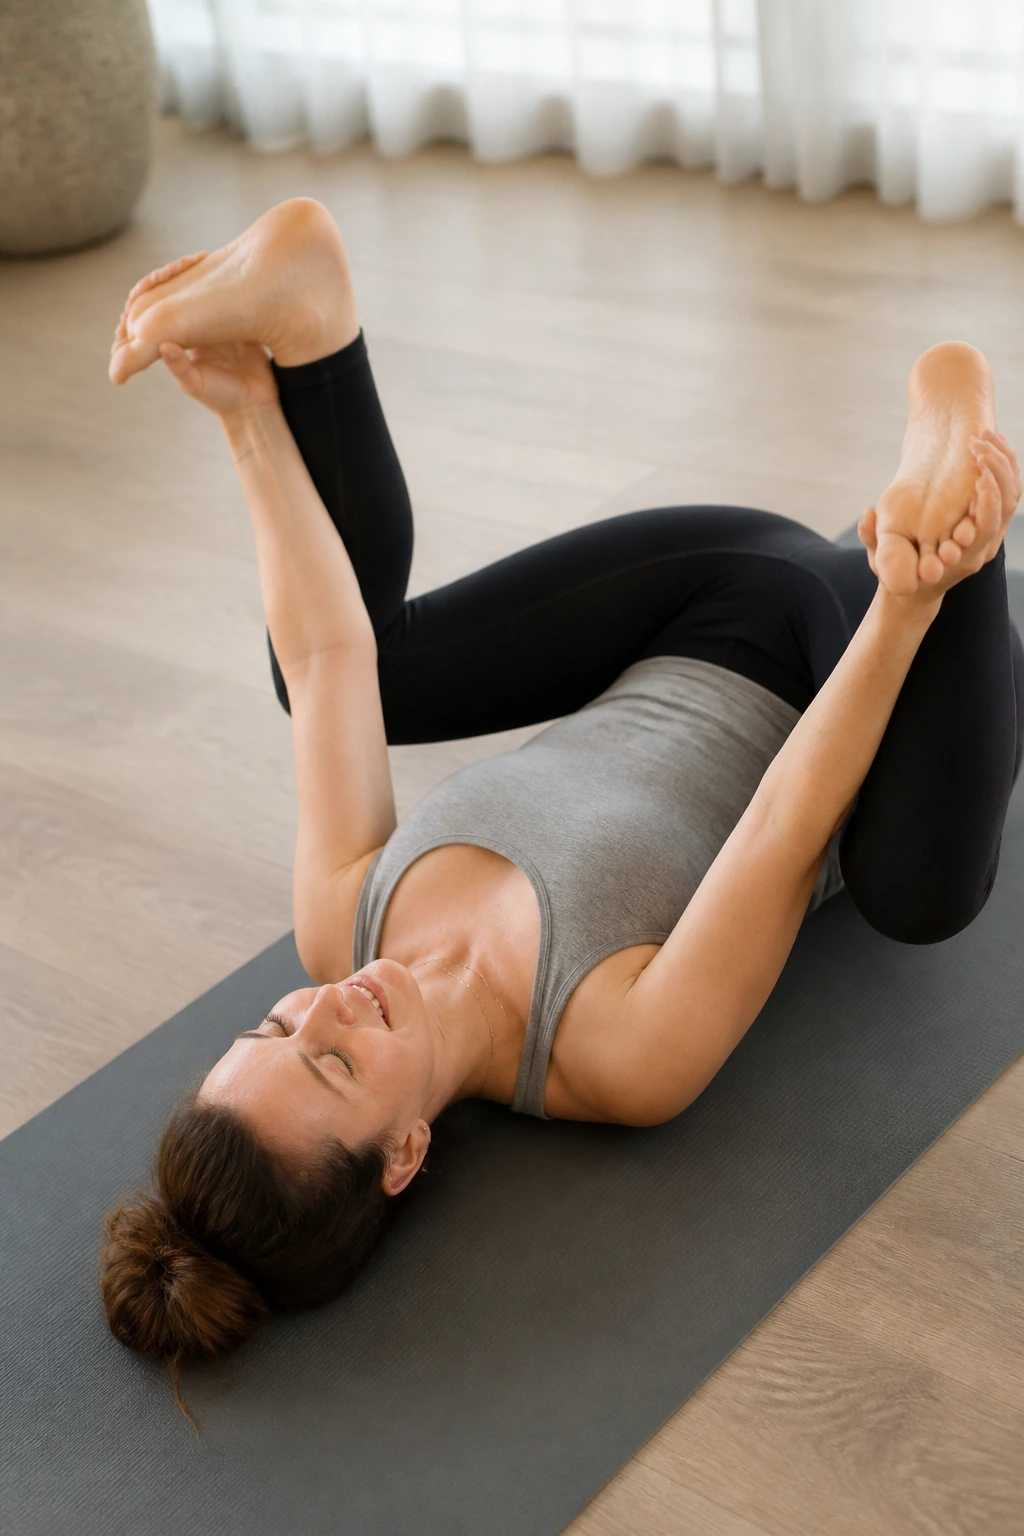
Happy baby can be awkward, and that is fine. Awkward does not mean useless.
Lie on your back, hold the outside of your feet or the backs of your thighs, and let the knees open toward the armpits. Keep the tailbone heavy and breathe slowly. The inner thighs, hips, and pelvic floor should all get the message that it is safe to soften.
Do not yank on the feet to force a bigger shape. That tends to turn the pose into a tug-of-war with the hips. A mild rock side to side is enough if it feels good.
I like this one for people who do too much clenching. It gives the body a different job for a minute, and sometimes that is the missing piece.
19. Deep Squat Hold and Release
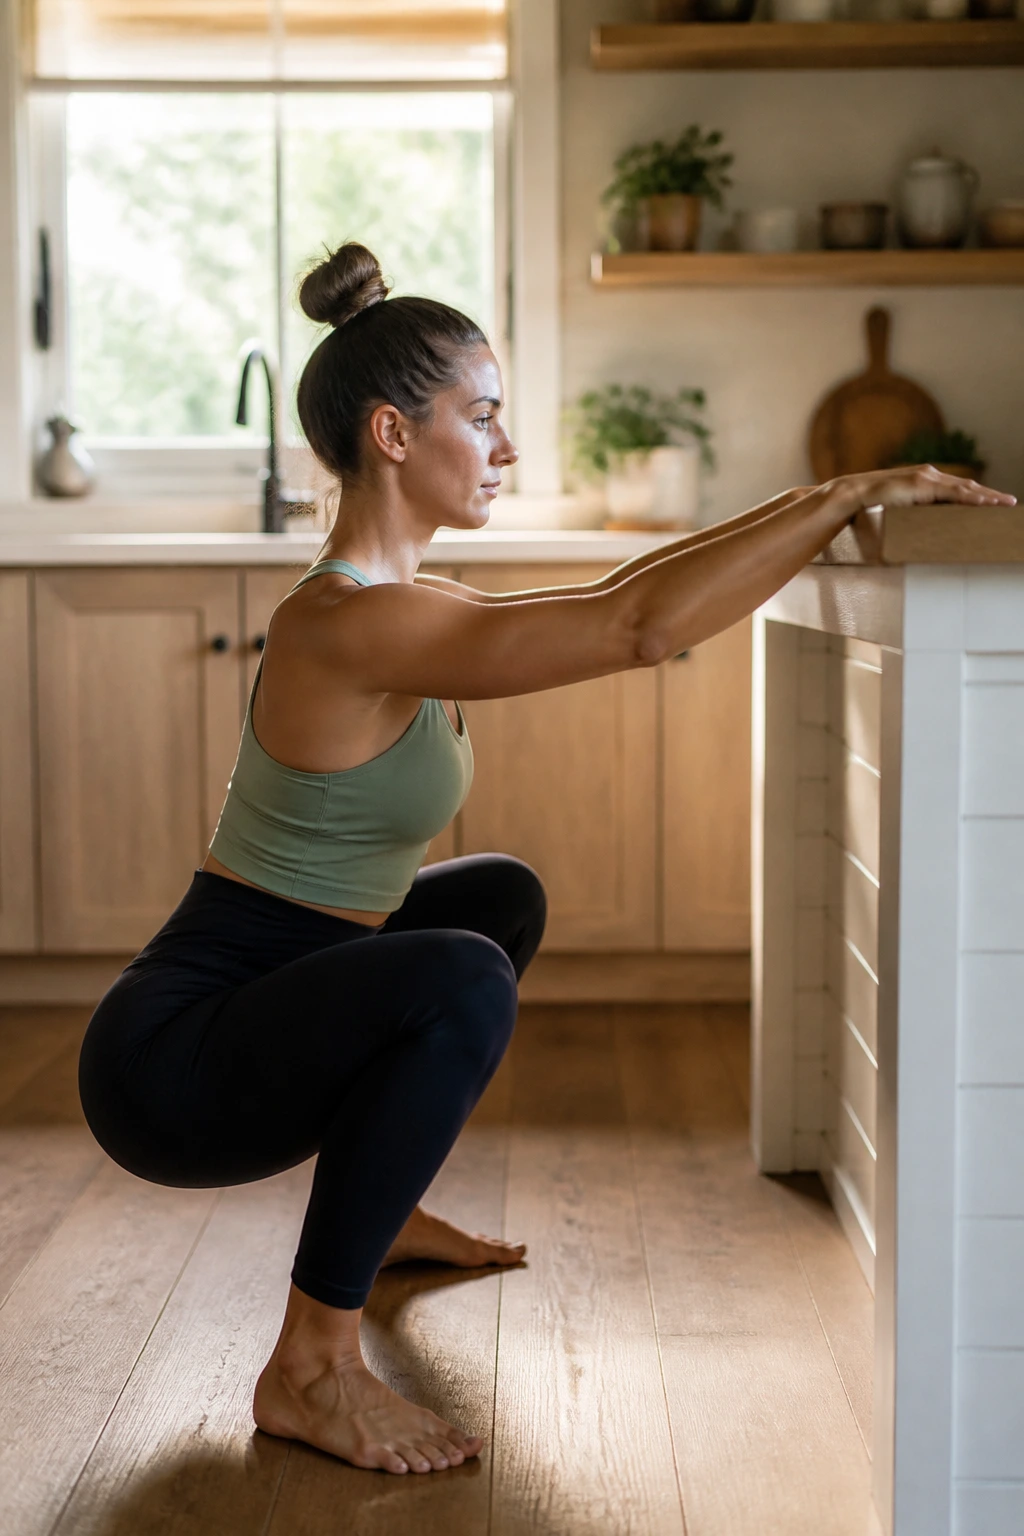
A supported deep squat is one of the cleanest ways to teach the pelvic floor to lengthen under load. It is the opposite of a hard brace.
Hold onto a counter, doorframe, or sturdy post and sink into a deep squat only as far as your heels can stay grounded and your back stays calm. Inhale and let the pelvic floor widen. Exhale and feel a light rebound, not a hard squeeze.
What to Watch For
- Heel lift.
- Low-back rounding that feels forced.
- Knee pain.
- Downward pressure in the pelvis.
If any of those show up, shorten the depth or place a small wedge under the heels. The goal is comfort plus control. You want the squat to feel open, not like you are grinding through a mobility video for the sake of it.
20. Resisted Exhale With a Band or Wall Press
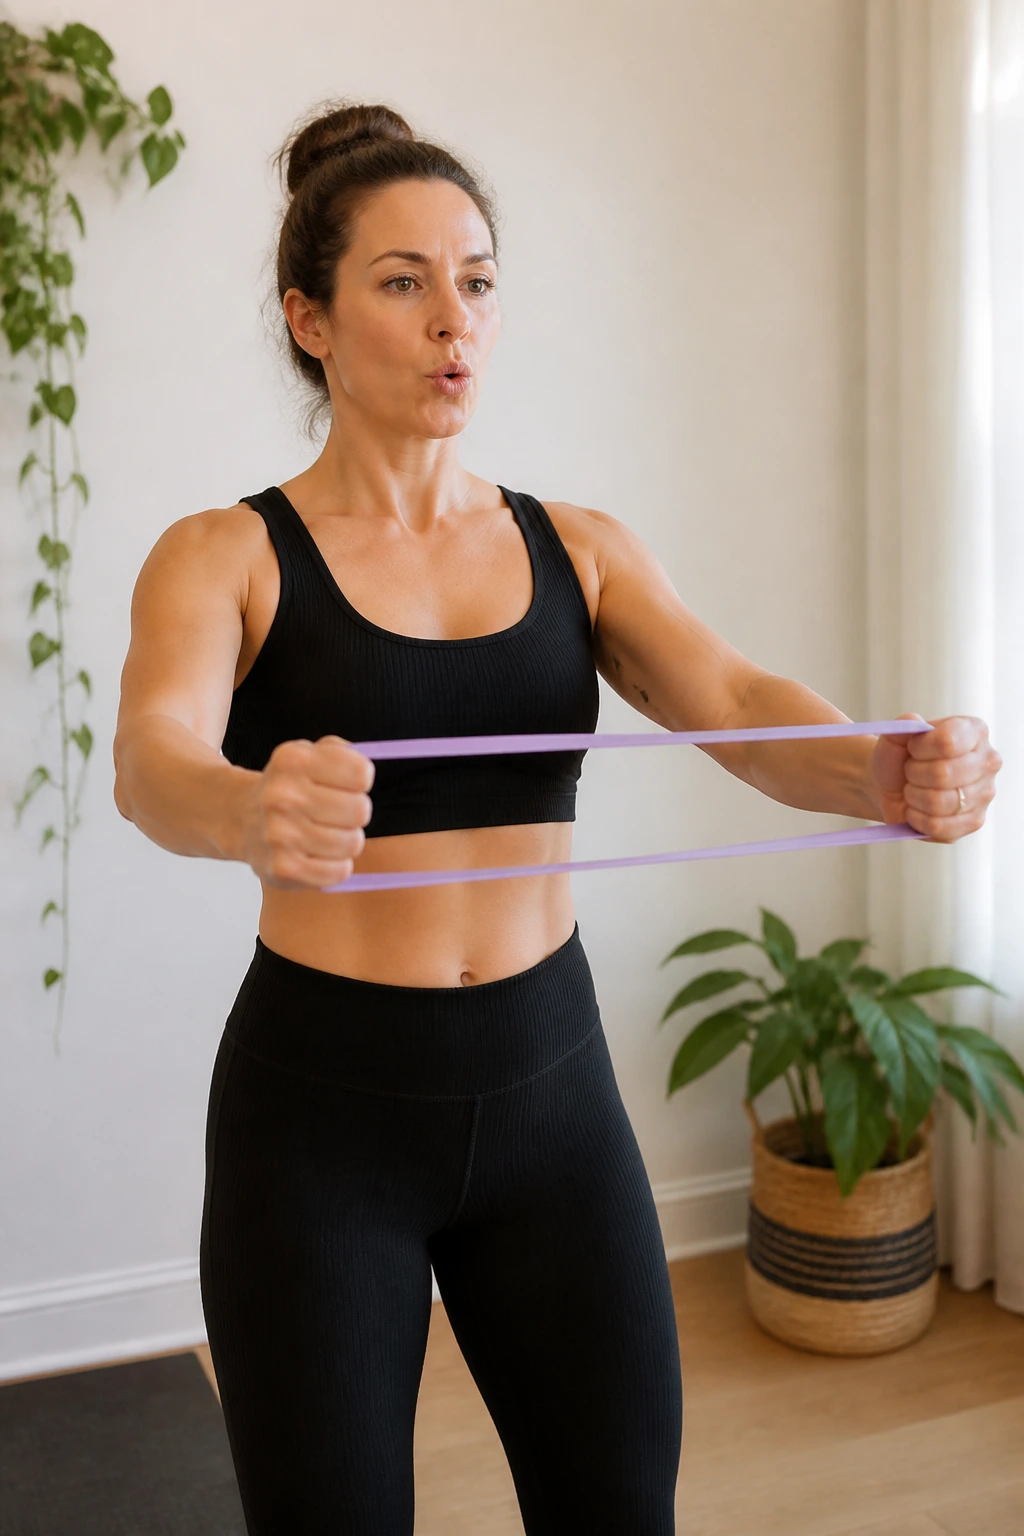
This is an advanced little trick, and I like it because it teaches pressure management instead of raw squeezing.
Hold a light band in front of you and gently pull it apart while you exhale through pursed lips. Or press both palms into a wall as you breathe out slowly. The key is that the exhale lasts 4 to 6 seconds and the pelvic floor responds without a hard clench.
How to Do It
Stand tall, inhale quietly, then start the slow exhale as the band opens or the palms press. Finish with a soft release before the next breath. If the neck tightens or the ribs pop up, use less force.
This is a good add-on after the basic breathing and Kegels feel familiar. It links breath and load in a way that carries over to lifting, pushing, and carrying.
21. Functional Lift-and-Carry Brace
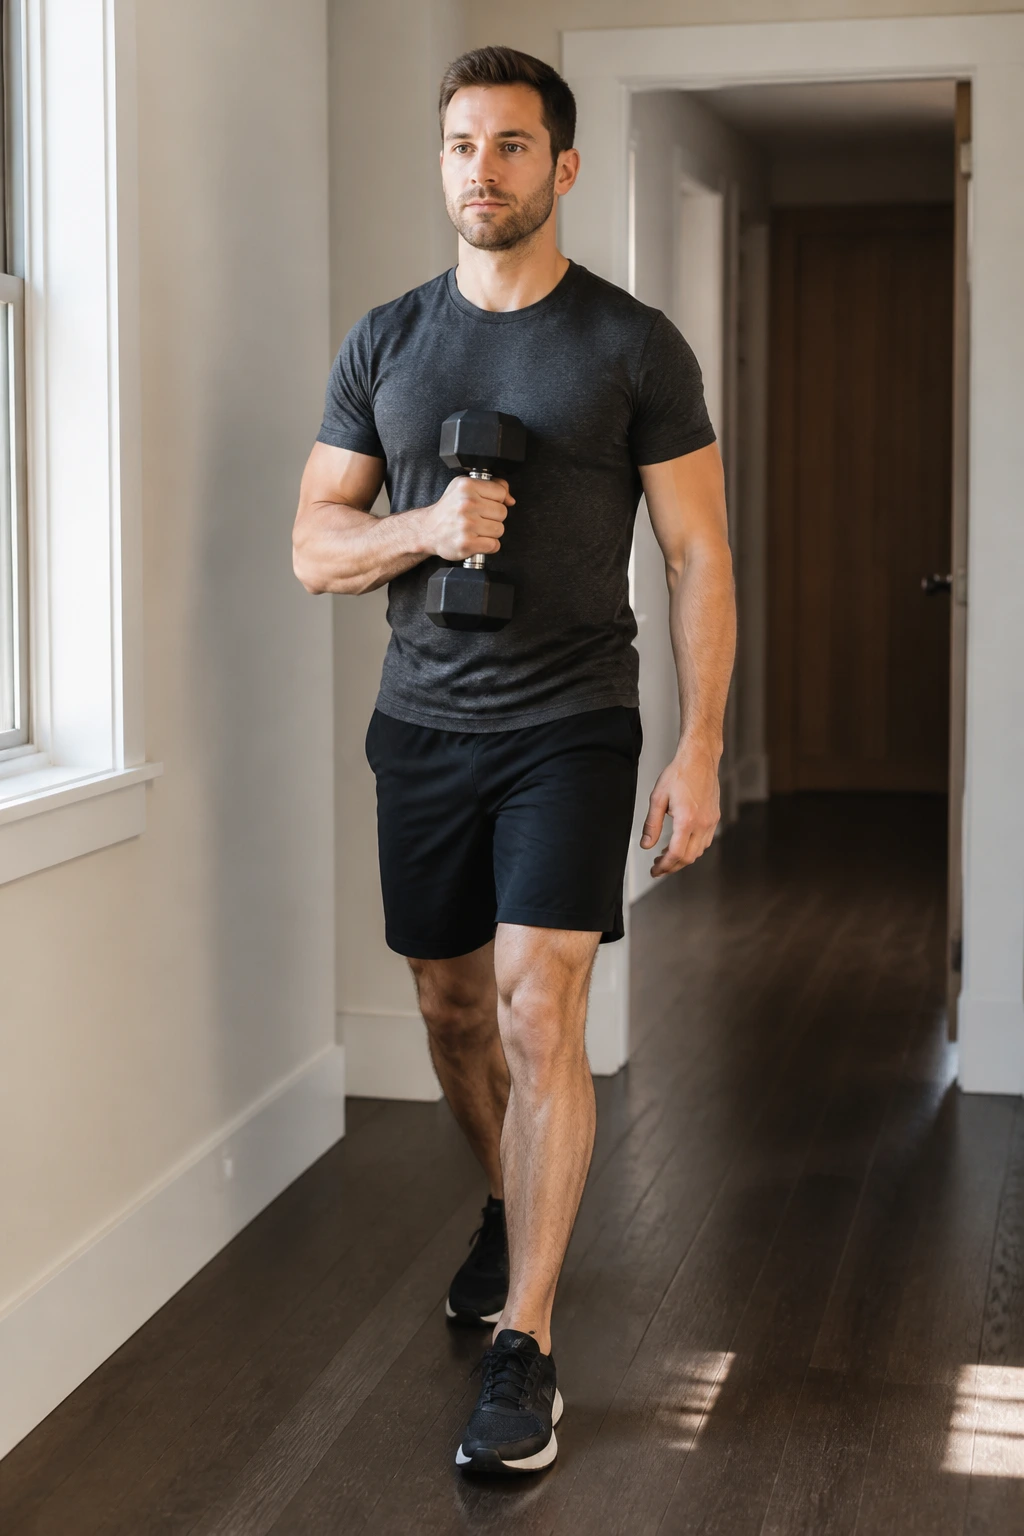
Unlike crunches, this one asks the whole system to work like it does in real life.
Pick up a light dumbbell, kettlebell, or even a grocery bag close to your body. Inhale first, then exhale as you stand and walk 10 to 20 steps with the weight held near your side or in front of your body. Keep the ribs stacked, the pelvis level, and the pelvic floor responsive.
One-sided carries are especially useful. They force the trunk to resist side bending, which is where a lot of daily control lives. A suitcase carry with one weight in one hand can teach more useful stability than a dozen random squeezes done with no load at all.
Start light. Very light. If you shrug, lean, or hold your breath, the weight is too heavy for the purpose.
22. A Two-Minute Pelvic Floor Muscle Reset
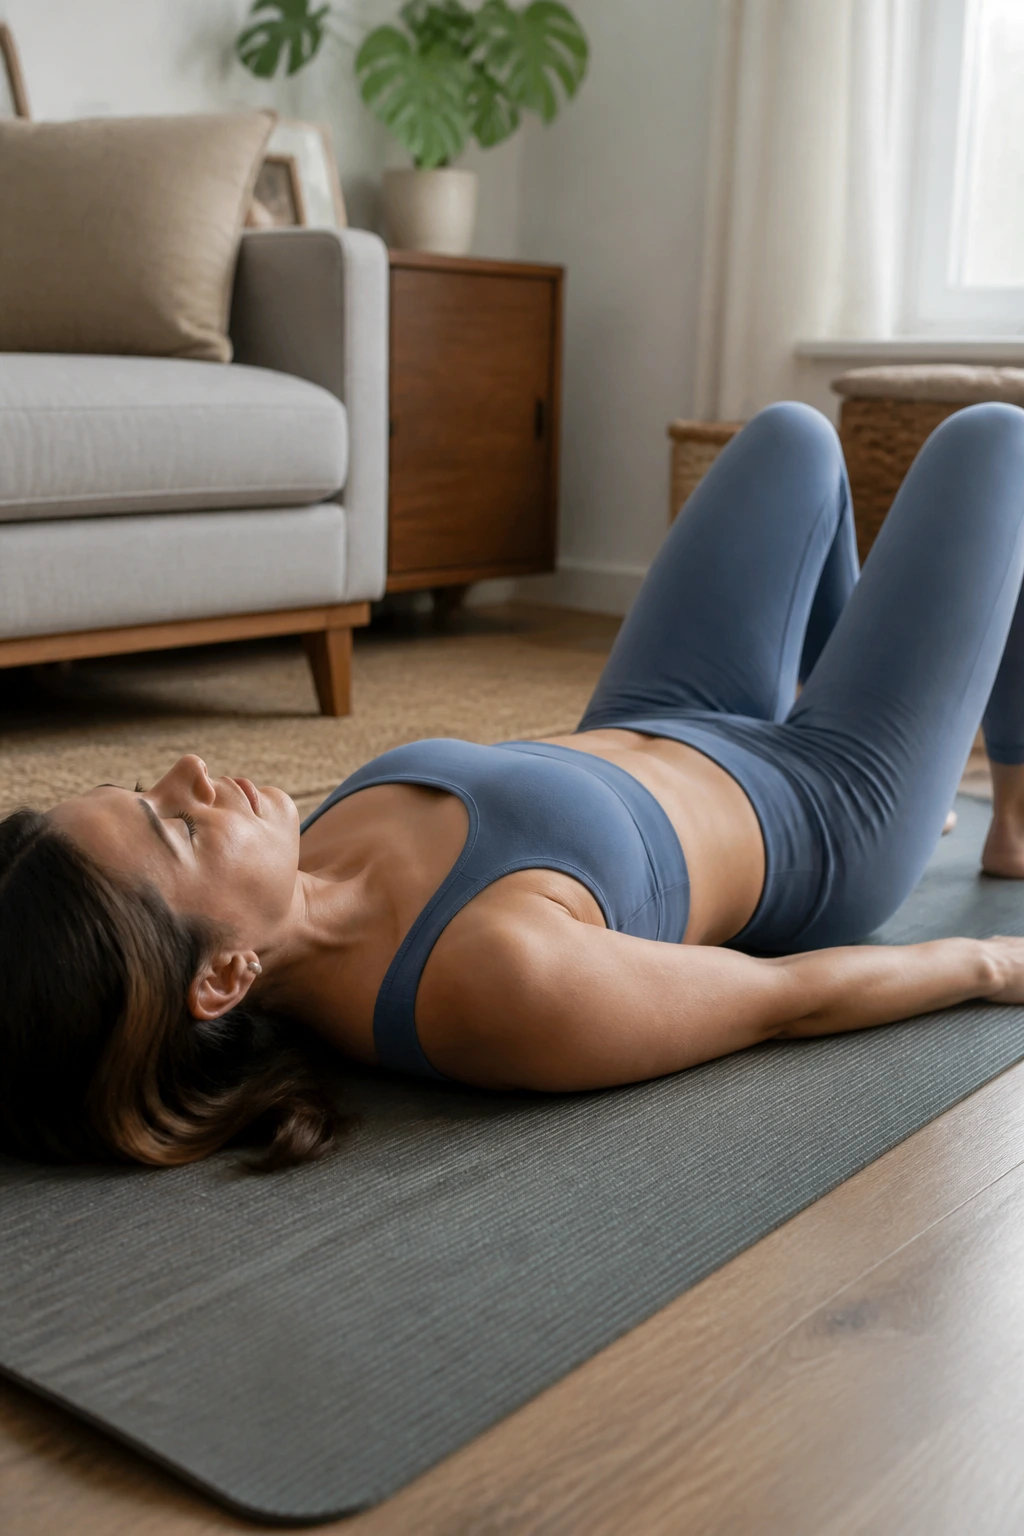
This is the piece I would hand to someone who wants a simple daily routine and does not want to overthink it.
Start with 3 slow breaths on your back, then do 5 basic Kegel holds, then 5 quick flicks, then 5 chair stands or 5 standing marches. That is enough for one short session. If you have more time, add a child’s pose release or a deep squat hold at the end.
The trick is not doing all 22 pelvic floor muscle exercises every day. The trick is matching the drill to the need. Some days call for control. Some days call for release. Some days call for a little of both because your body feels stiff, tired, or just a bit off.
Keep the reps clean. Keep the breath smooth. If a movement makes you brace, leak, or feel pressure downward, step back to the easier version and stay there for a while. That is not regression. That is good training.
