



A pelvic floor that only knows how to clench is a cranky pelvic floor. During pregnancy, that shows up as leaks when you cough, a heavy dragging feeling after a long walk, or the odd sense that your body has gone a little off-script. After birth, the same muscles may feel weak, tight, sleepy, or all three in the same afternoon. Messy? Yes. Common? Also yes.
That’s why pelvic floor exercises for pregnancy and beyond need more than endless squeezing. The best work usually mixes breathing, gentle lift, full release, and better movement patterns so the pelvic floor stops doing every job by itself. Think of it as teaching a team, not ordering one exhausted muscle to work harder.
There’s one detail many people miss: a pelvic floor that can relax well often functions better than one that can only contract hard. That matters if you feel tightness, constipation, pain with intimacy, pressure in the pelvis, or a sense that Kegels make you feel worse instead of better. In those cases, less force and more awareness usually win.
If any exercise causes sharp pain, bleeding, dizziness, a bulging sensation, or symptoms that worsen after you stop, pause and get checked by a clinician or pelvic health physiotherapist. The right exercise should feel controlled, not like a test you have to muscle through.
1. Diaphragmatic Breathing for Pelvic Floor Support
Breathing is the foundation. If you skip this and go straight to hard squeezes, you can end up bracing through your belly and jaw while the pelvic floor gets dragged along for the ride. That’s not helpful, and it’s usually not comfortable either.
Sit propped up, stand with a hand on your ribs, or lie on your side if that feels best. Breathe in through your nose for 3 to 4 counts and let the ribs widen, not just the belly. On the exhale, feel the ribs soften down and the pelvic floor respond with a light lift, almost like a trampoline settling after a small bounce.
What to Feel Under Your Hands
- The lower ribs widen to the sides on the inhale.
- The belly softens without pushing out hard.
- The pelvic floor lowers slightly on the inhale and lifts gently on the exhale.
- The shoulders stay quiet.
Tip: If your jaw is clenched, your pelvic floor often is too. Relax one, and the other usually follows.
2. Reverse Kegels for Pelvic Floor Release
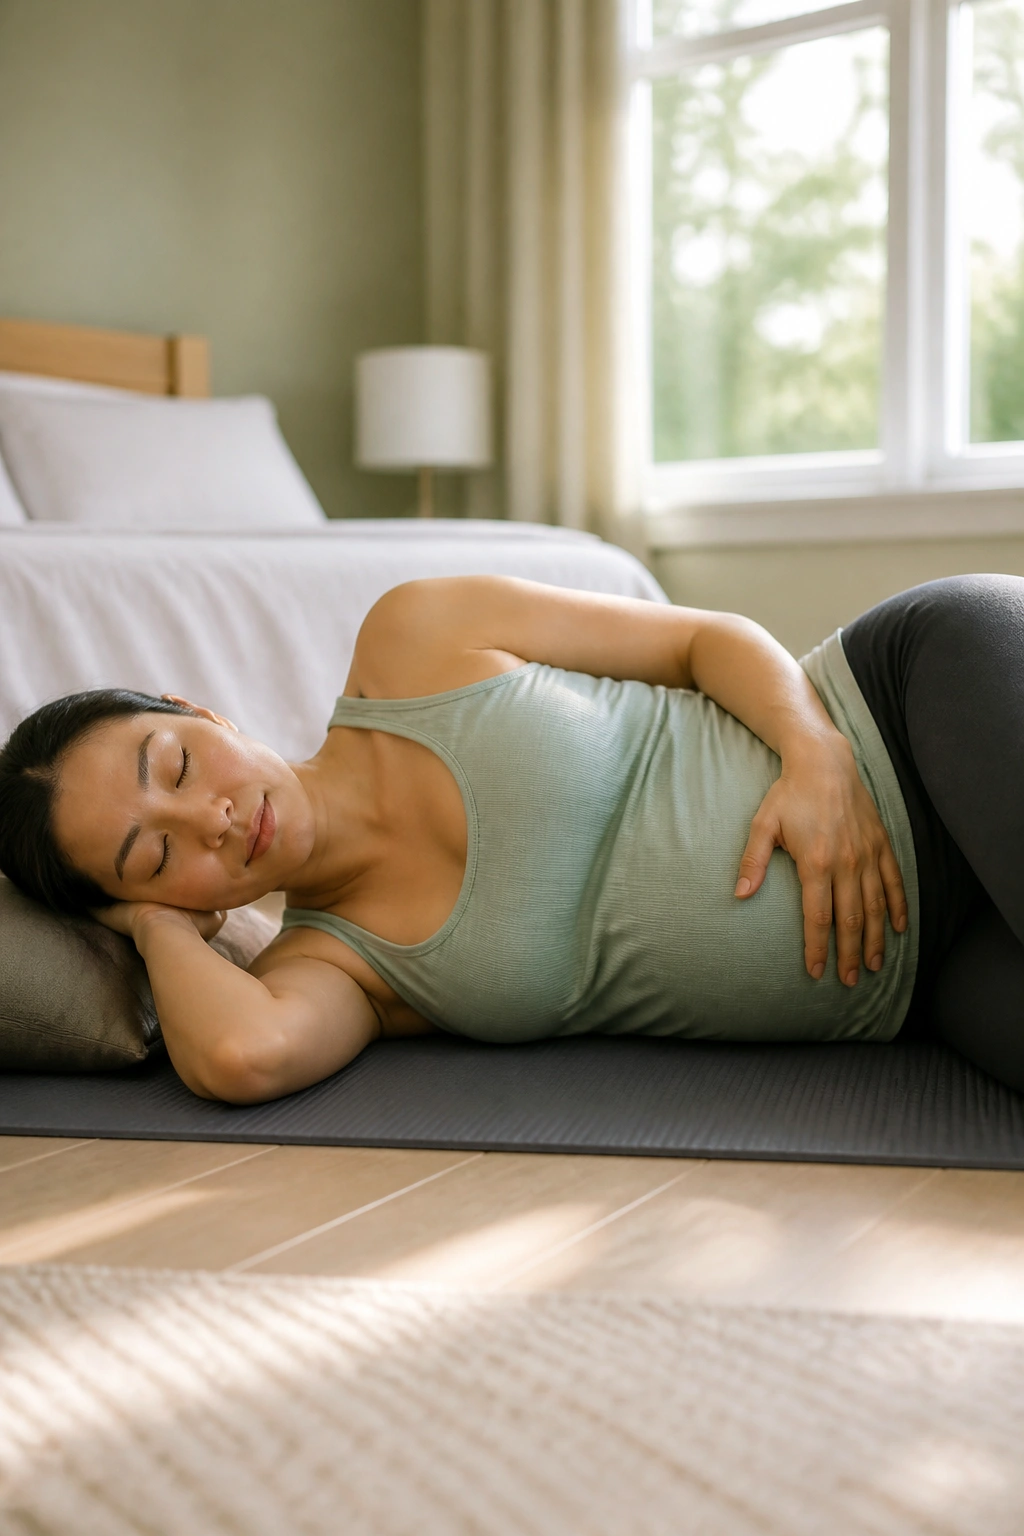
Can you train the pelvic floor by letting go? Absolutely. A lot of pregnant and postpartum bodies spend too much time in a guarded, half-squeezed state, which can make tightness, constipation, and pelvic pain feel worse.
A reverse Kegel is not a push and it is not a strain. Think of it as a soft widening at the base of the pelvis while you inhale slowly. You are aiming for a sense of space, not pressure. If you imagine the sit bones gently moving apart and the pelvic floor melting downward for a moment, you are on the right track.
Do 5 slow breaths to start. Some people feel a tiny drop and release right away; others need a few sessions before they can sense anything at all. Both are normal.
Skip it if it makes you bear down like you are trying to force something out. That’s the opposite of what you want.
3. Basic Kegel Hold
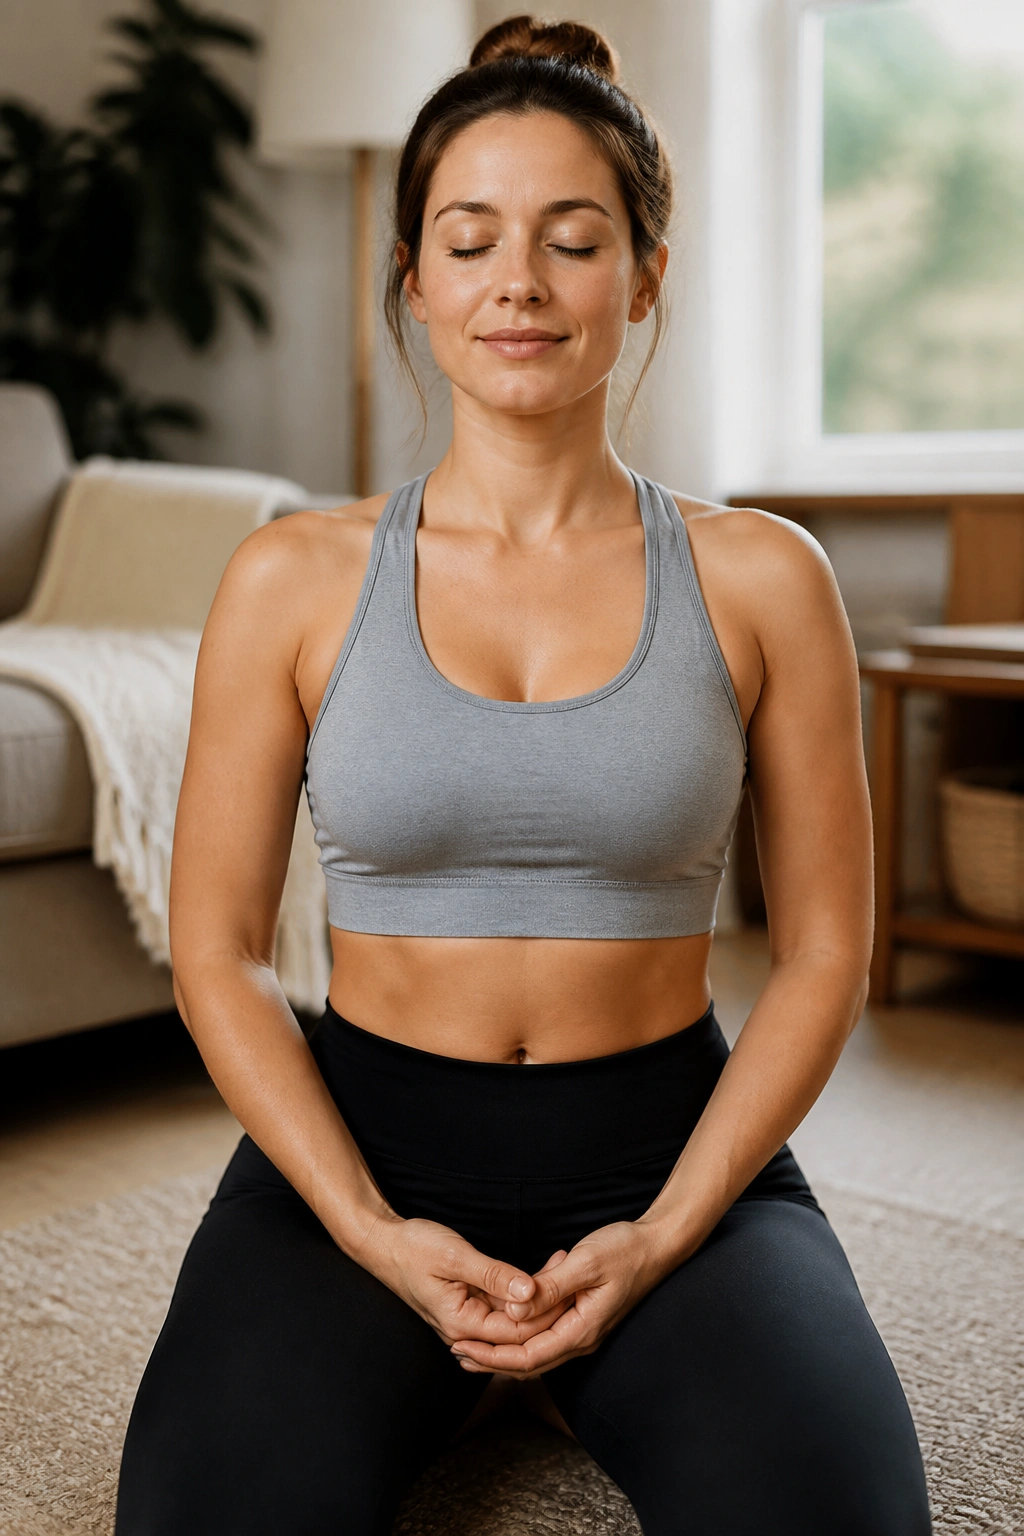
A basic Kegel is still useful, but only if you do it with moderation. I mean that. A lot of people squeeze too hard, hold too long, and forget the release part, which is where the real work lives.
Start with a gentle lift around the vaginal opening, urethra, and anus, as if you’re stopping gas and urine very lightly at the same time. Hold for 3 seconds, then fully let go for 6 to 8 seconds. Aim for about 30 to 50 percent effort, not a full-body brace. If your thighs or glutes are doing the job, the pelvic floor is getting the short end of the stick.
How to Set the Muscle
- Sit tall or lie on your side.
- Exhale before you lift.
- Keep the belly, butt, and inner thighs soft.
- Rest longer than you squeeze.
That longer rest matters. A muscle that never gets to drop usually gets tired, twitchy, and unhelpful.
4. Quick Flick Kegels
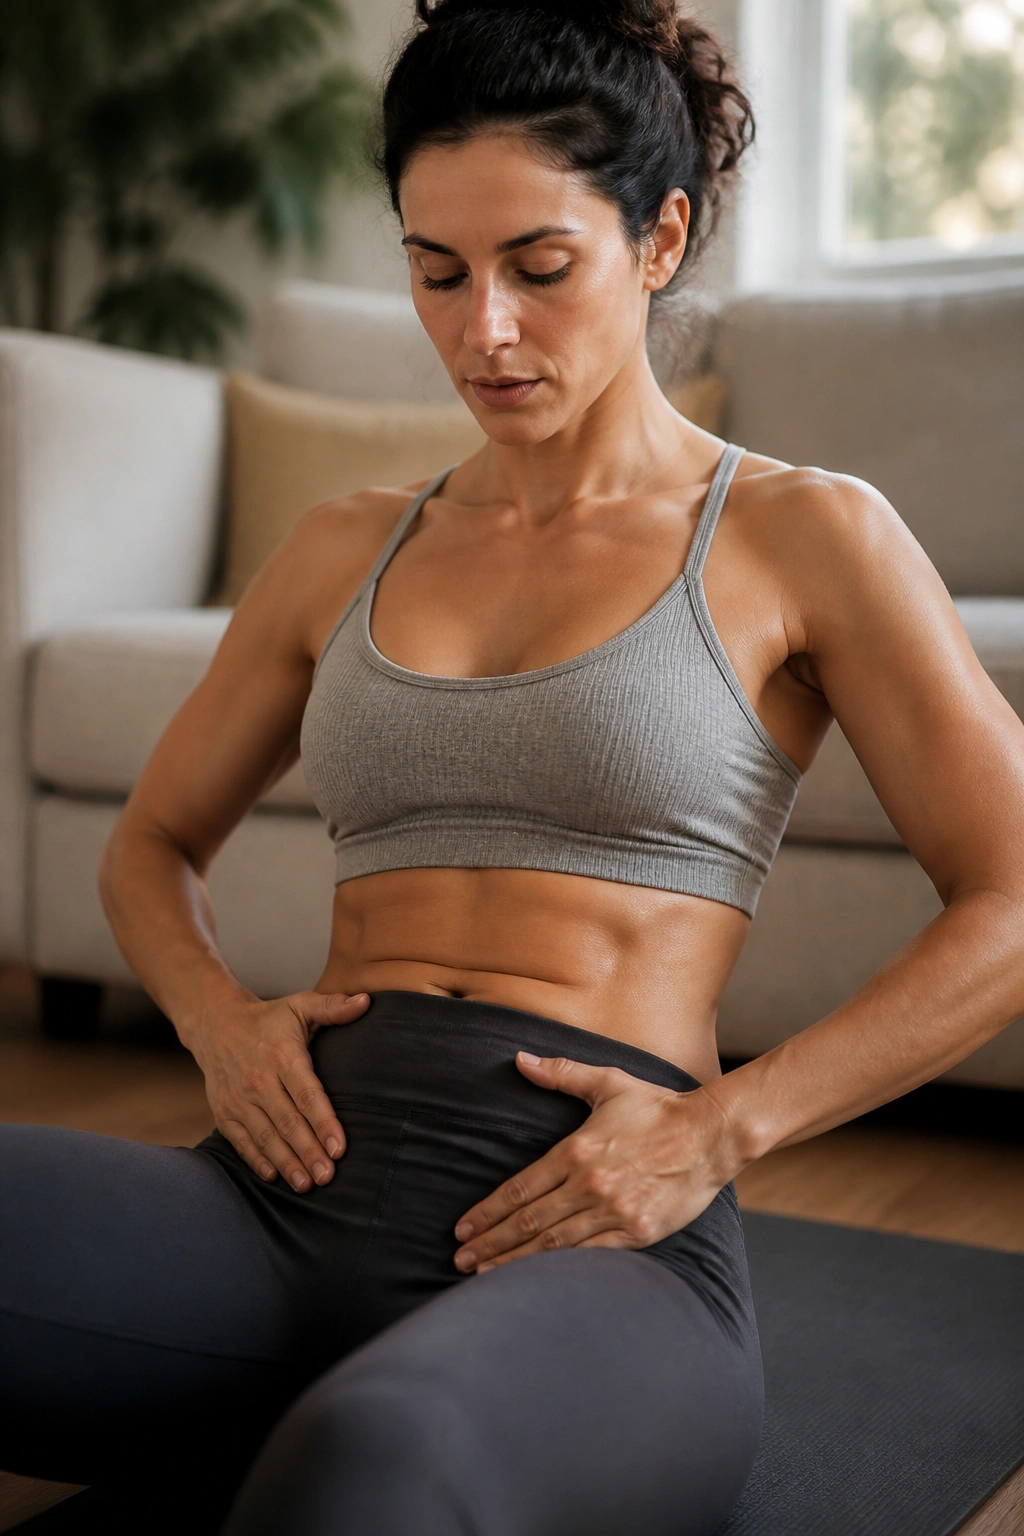
Quick flicks are the fast-twitch version of a hold. They’re handy for real life, which is nice because real life is full of sneezes, coughs, toddler grabs, and weird moments when you’re halfway out of a car seat.
Squeeze gently for 1 second, release for 1 second, and repeat 5 to 10 times. The release should be real. Not partial. Not the “I’m sort of still holding” version. Full release, then another quick lift.
These work well when you need timing and reflex, not brute strength. If you leak a little when you cough or laugh, quick flicks can help train the body to respond faster. They’re also a decent choice if longer holds feel exhausting or make you tighten your hips.
A tiny warning: if quick reps make you feel more tense instead of more responsive, cut the number in half and slow down.
5. Elevator Kegels
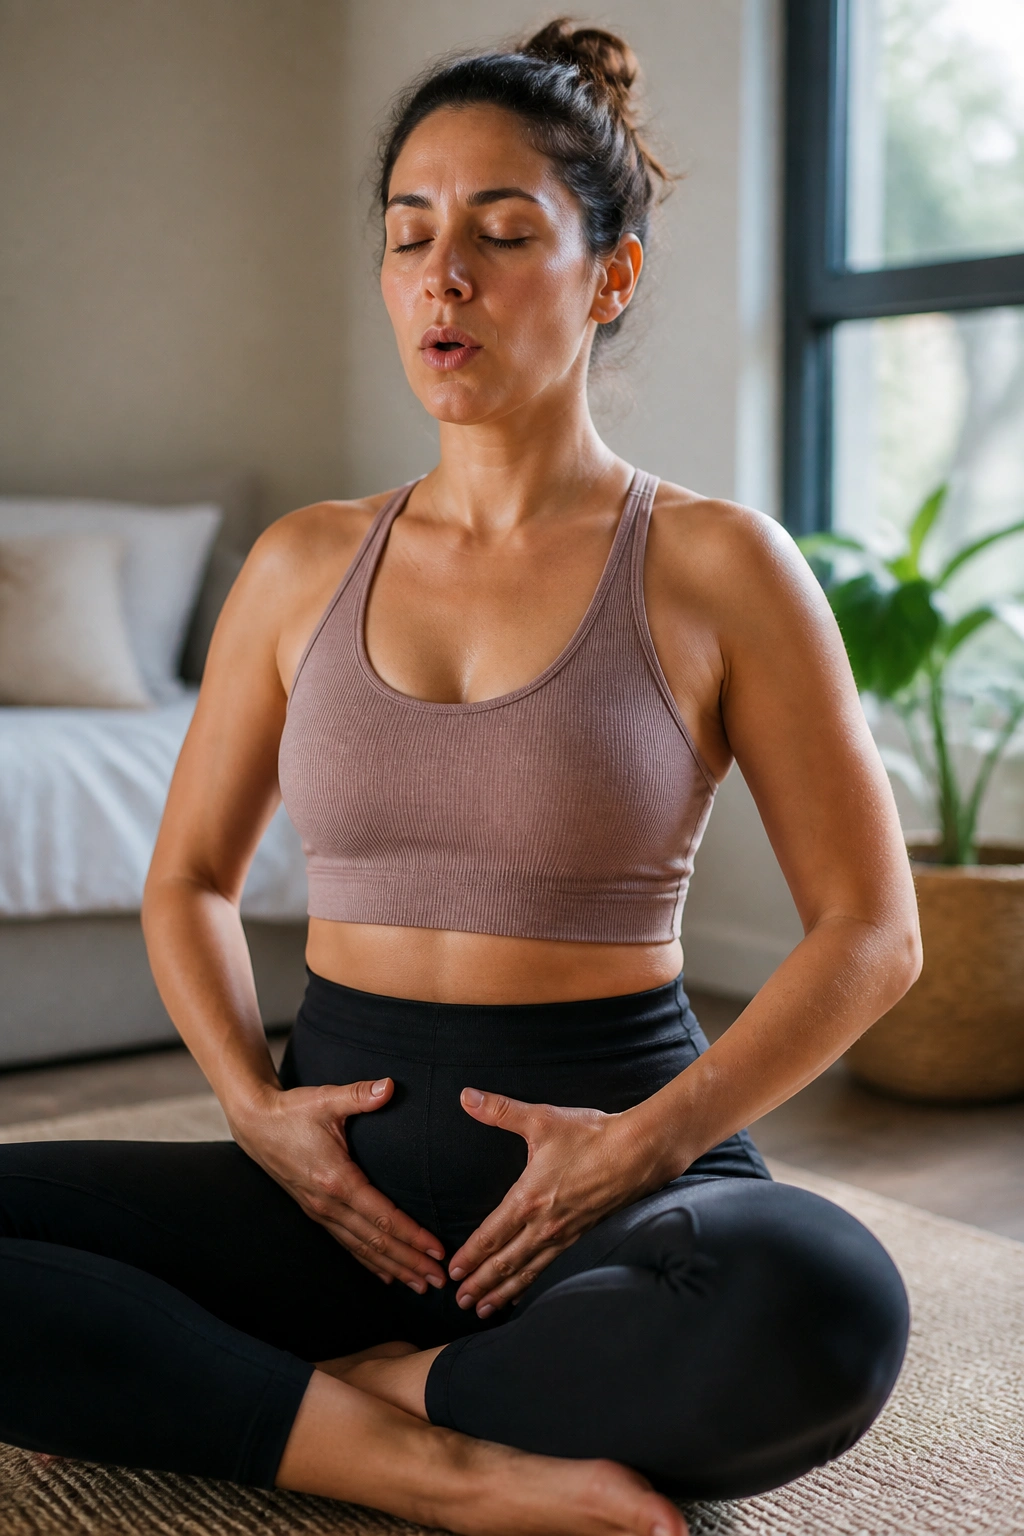
This is the exercise I wish more people learned first. It teaches control in layers, which is closer to how the pelvic floor actually works than one giant squeeze ever will be.
Picture an elevator rising floor by floor. Lift a little, pause. Lift a bit more, pause. Then lower it the same way, one floor at a time. That’s the whole idea. It helps you notice the difference between a tiny lift, a medium lift, and a full contraction, which can be strangely hard to feel at first.
Floor by Floor
- First floor: gentle lift at about 25 percent effort.
- Second floor: a little higher, still relaxed in the jaw and ribs.
- Third floor: a brief hold, no straining.
- Down floors: release in steps, not all at once.
This is especially useful during pregnancy, when you want coordination without a hard brace. It’s also smart after birth, when awareness matters more than force.
6. Heel Slides with Exhale
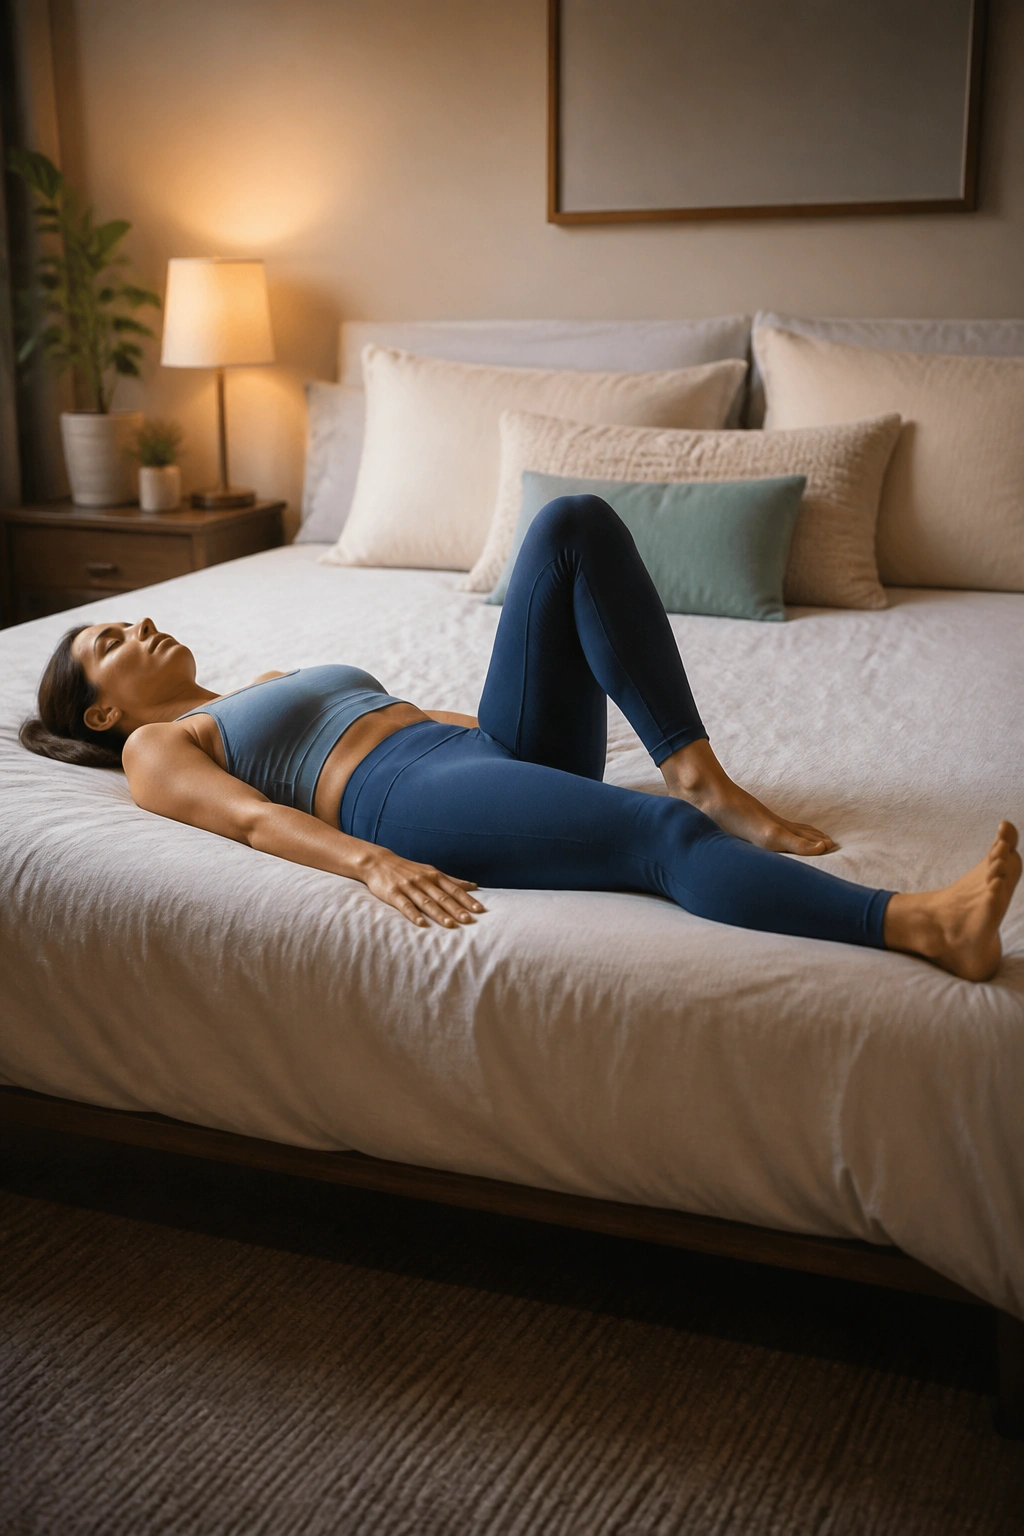
Heel slides look almost too simple to matter. They do matter. A lot. The reason is that they connect the pelvic floor to the deep core without asking for a crunch, a plank, or any theatrical suffering.
Lie on your side or on your back with knees bent if that feels comfortable and has been cleared for you. Exhale, gently lengthen one leg by sliding the heel away, and keep the pelvis steady. Inhale as you return. The movement should be smooth and quiet, like the floor is barely noticing you.
If your lower belly domes or your pelvis rocks hard from side to side, make the range smaller. Tiny slides are better than sloppy big ones. You’re trying to teach control, not show off.
This one is a good bridge between breath work and stronger core drills. It’s also a solid choice on days when your body feels sleepy and overworked at the same time.
7. Cat-Cow with Pelvic Floor Release
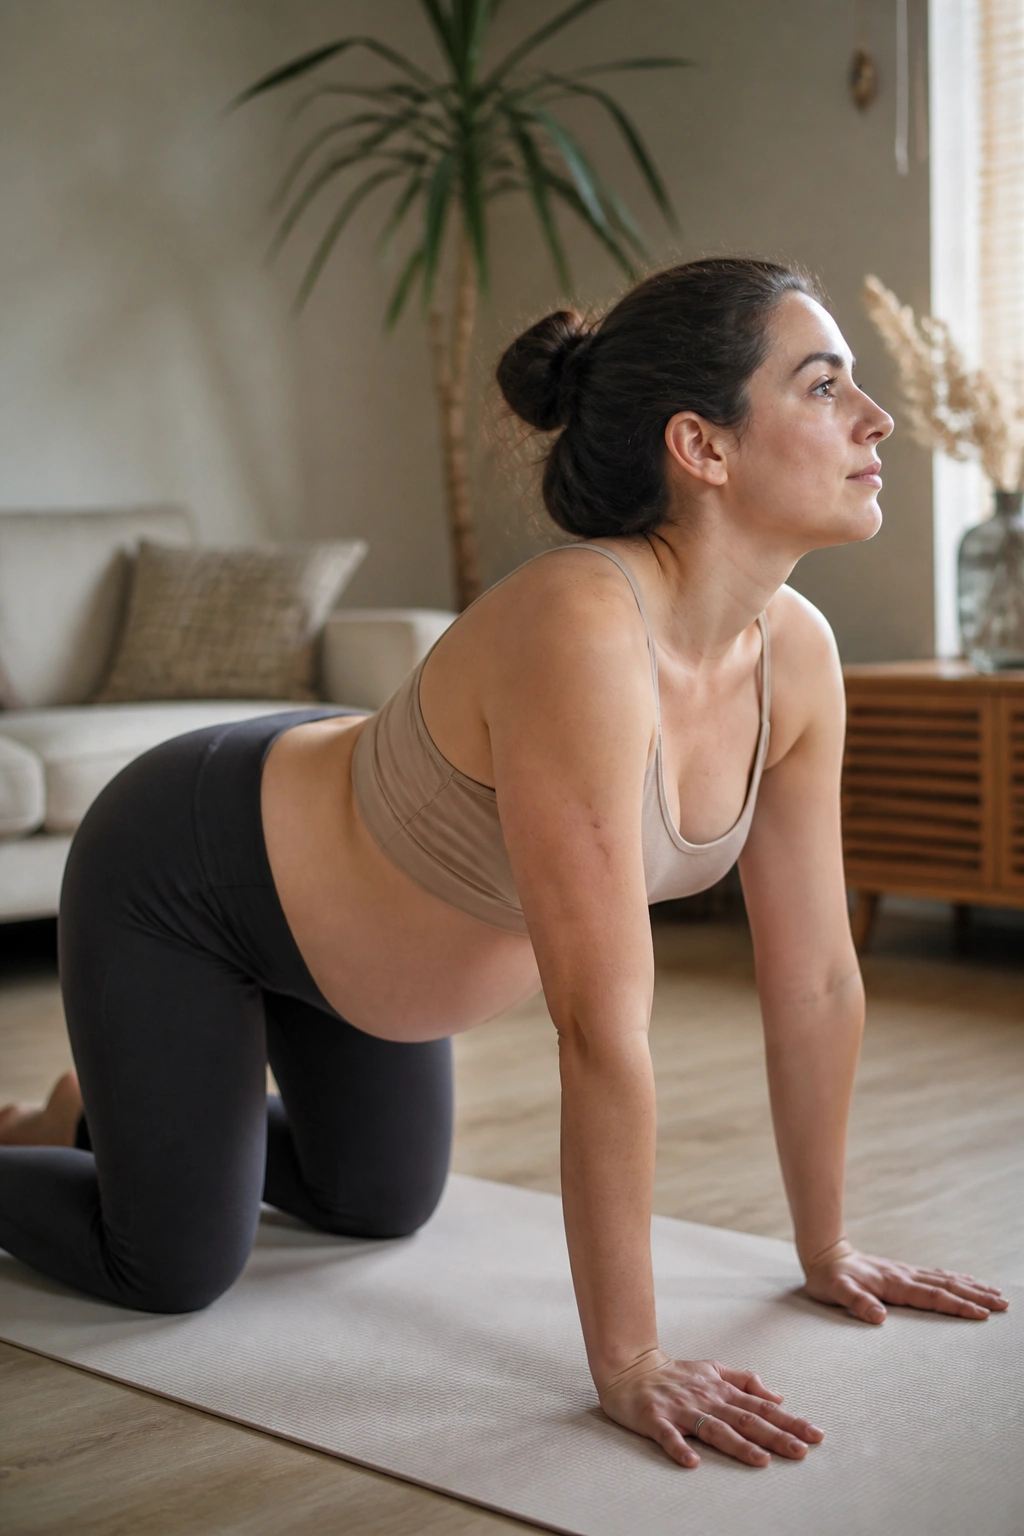
On hands and knees, the spine has a chance to move without a lot of drama. That alone can feel like relief.
On the inhale, drop the belly gently, widen the ribs, and let the pelvic floor soften in the “cow” shape. On the exhale, round the spine slightly into “cat” and feel a soft lift through the low belly and pelvic floor. The movement should stay small enough that your shoulders and wrists do not start complaining.
One Breath, Two Directions
- Inhale: ribs expand, belly softens, pelvic floor releases.
- Exhale: spine rounds lightly, pelvic floor lifts.
- Keep the neck long.
- Stop before you hit an extreme arch or a hard tuck.
I like this exercise because it teaches the body that pelvic floor work is not only about tightening. It’s also about timing, breath, and letting the tissues move.
8. Standing Pelvic Tilts
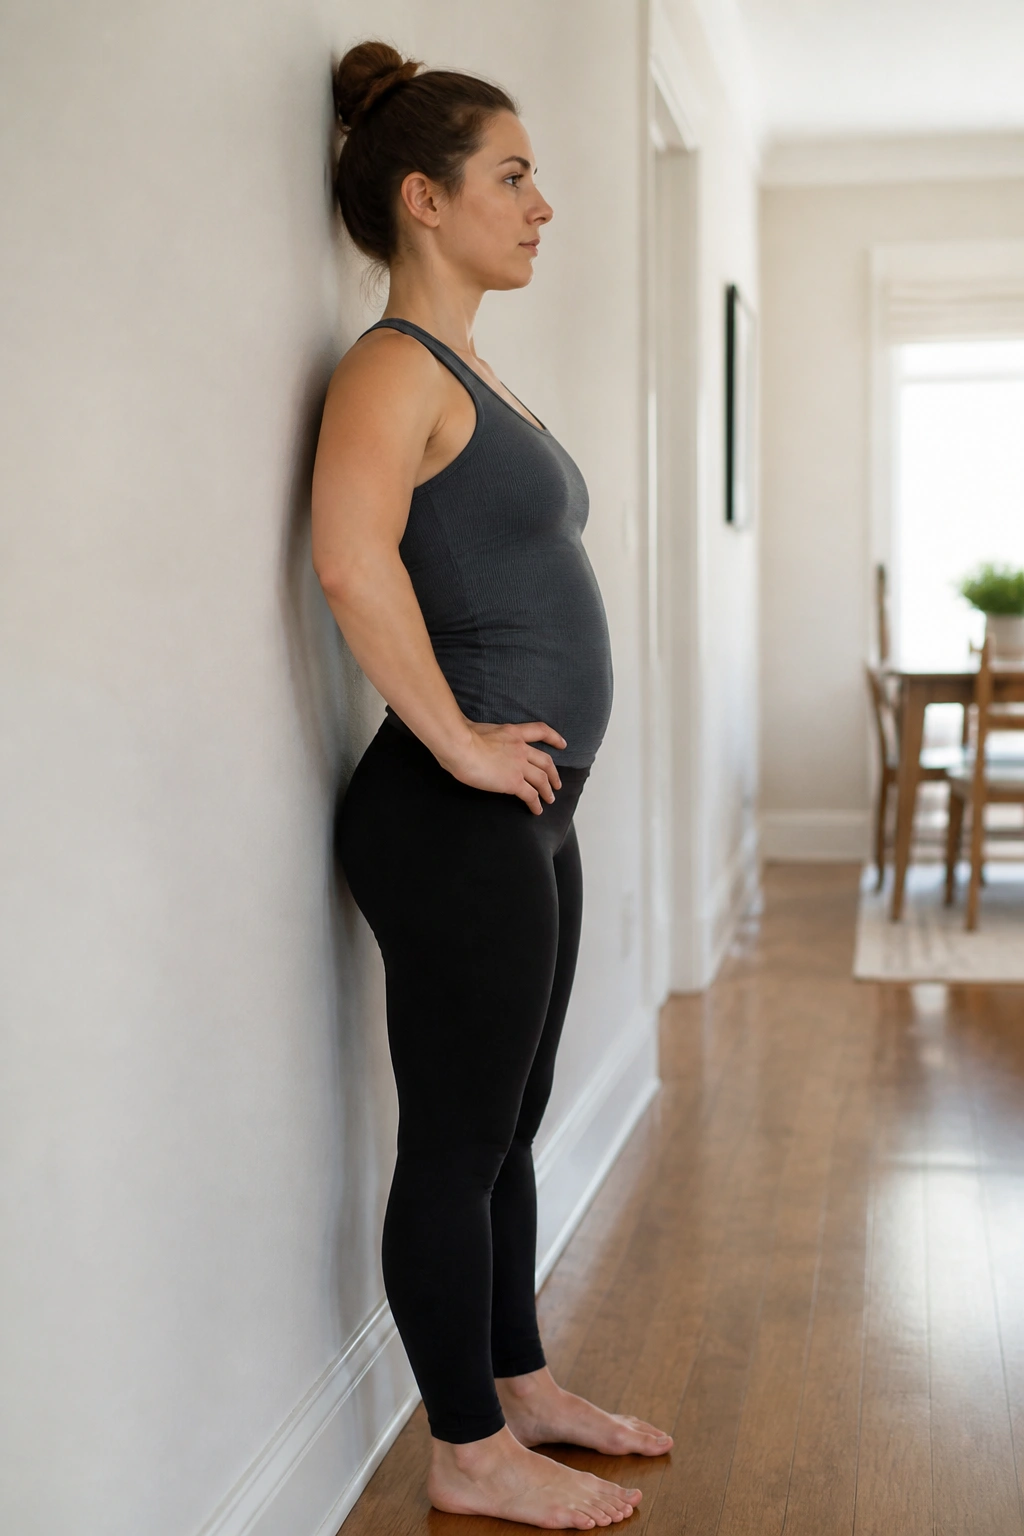
A standing pelvic tilt is underrated because it looks boring. Good. Boring is useful when your back feels tired and you’d rather not get on the floor.
Stand with your back near a wall, knees soft, feet hip-width apart. Exhale and flatten the low back just enough to feel the pelvis tip under you. Inhale and return to neutral. That’s it. The range should be small enough that your ribs stay stacked over your pelvis instead of flaring out.
This drill helps connect the pelvis, lower back, and pelvic floor without a lot of load. If you get a pulling feeling in the front of the hips, reduce the tilt. If you feel nothing, slow the breathing down and make the movement smaller, not bigger.
It’s a nice one for later pregnancy, when getting up and down from the floor can start to feel like a nuisance.
9. Supported Deep Squat Hold
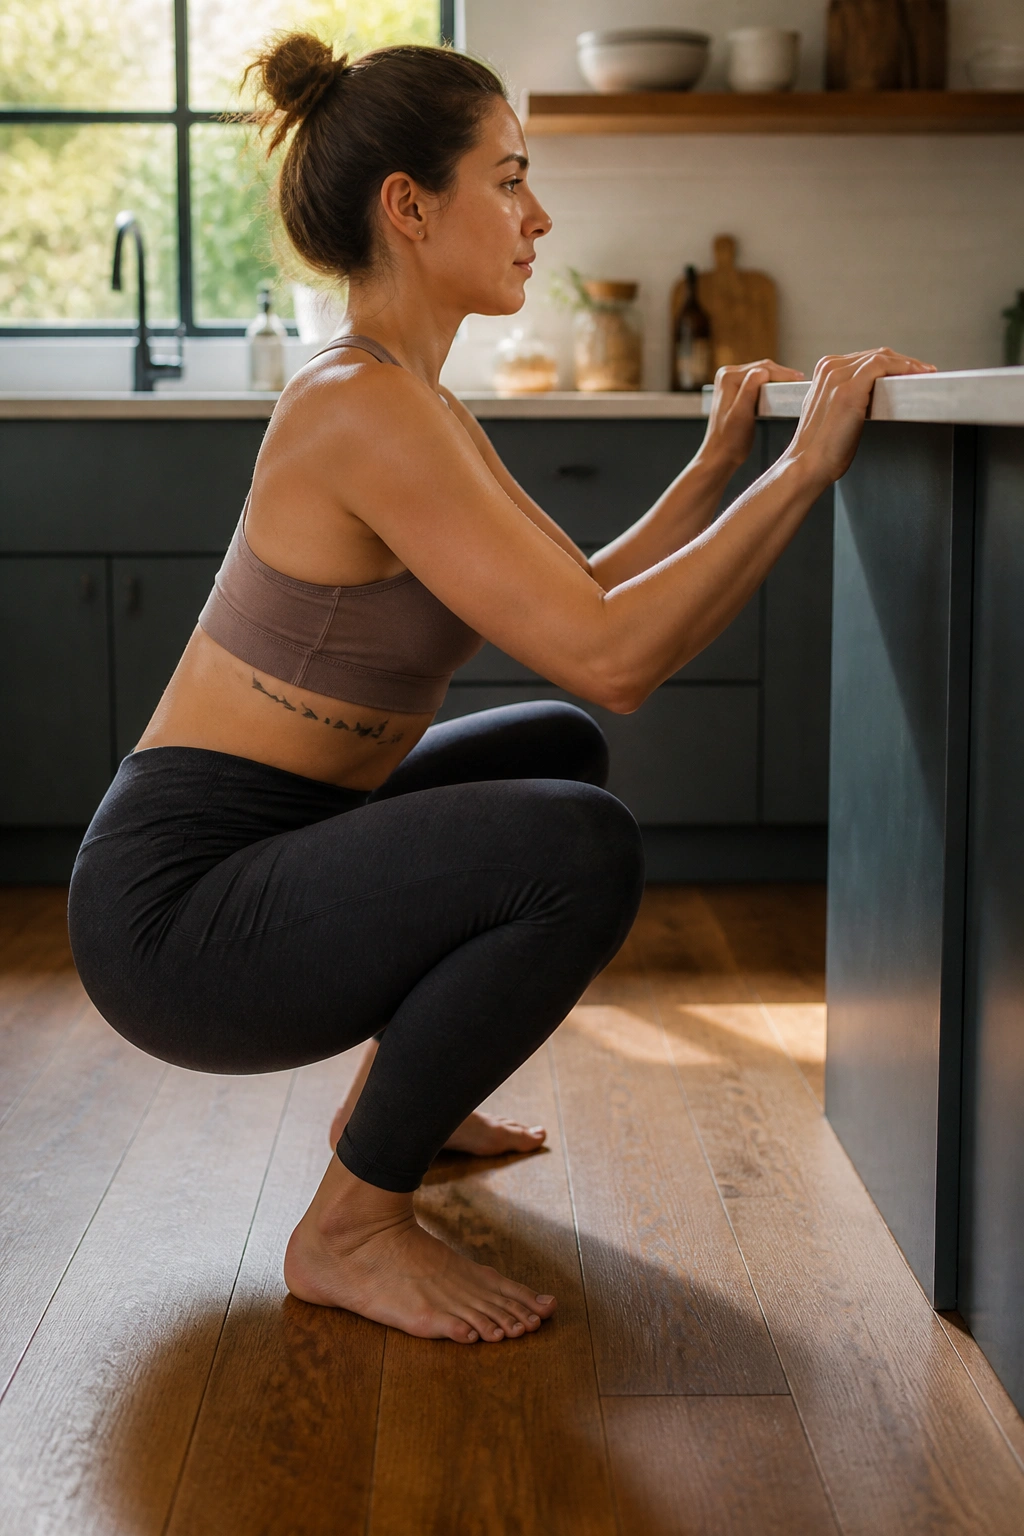
A squat can be gold for pelvic floor mobility, but only when it’s supported and comfortable. No medals for dropping as low as possible. That usually just makes people hold their breath and clench.
Hold onto a countertop, door frame, or sturdy post and sink into a deep squat or a high squat, whichever your body prefers. Keep the heels down if you can, breathe steadily, and let the pelvic floor lengthen on the inhale. On the exhale, keep a light lift, not a hard brace.
If your pubic bone aches, your knees hate the angle, or you feel pressure in the pelvis, come up a few inches. A higher squat can do plenty. You do not need a full deep squat to get benefit.
This one is especially useful for birth prep, toileting mechanics, and everyday hip comfort. It’s also one of those exercises that teaches you how to relax while loaded, which is a skill more people need than they realize.
10. Glute Bridge with Exhale
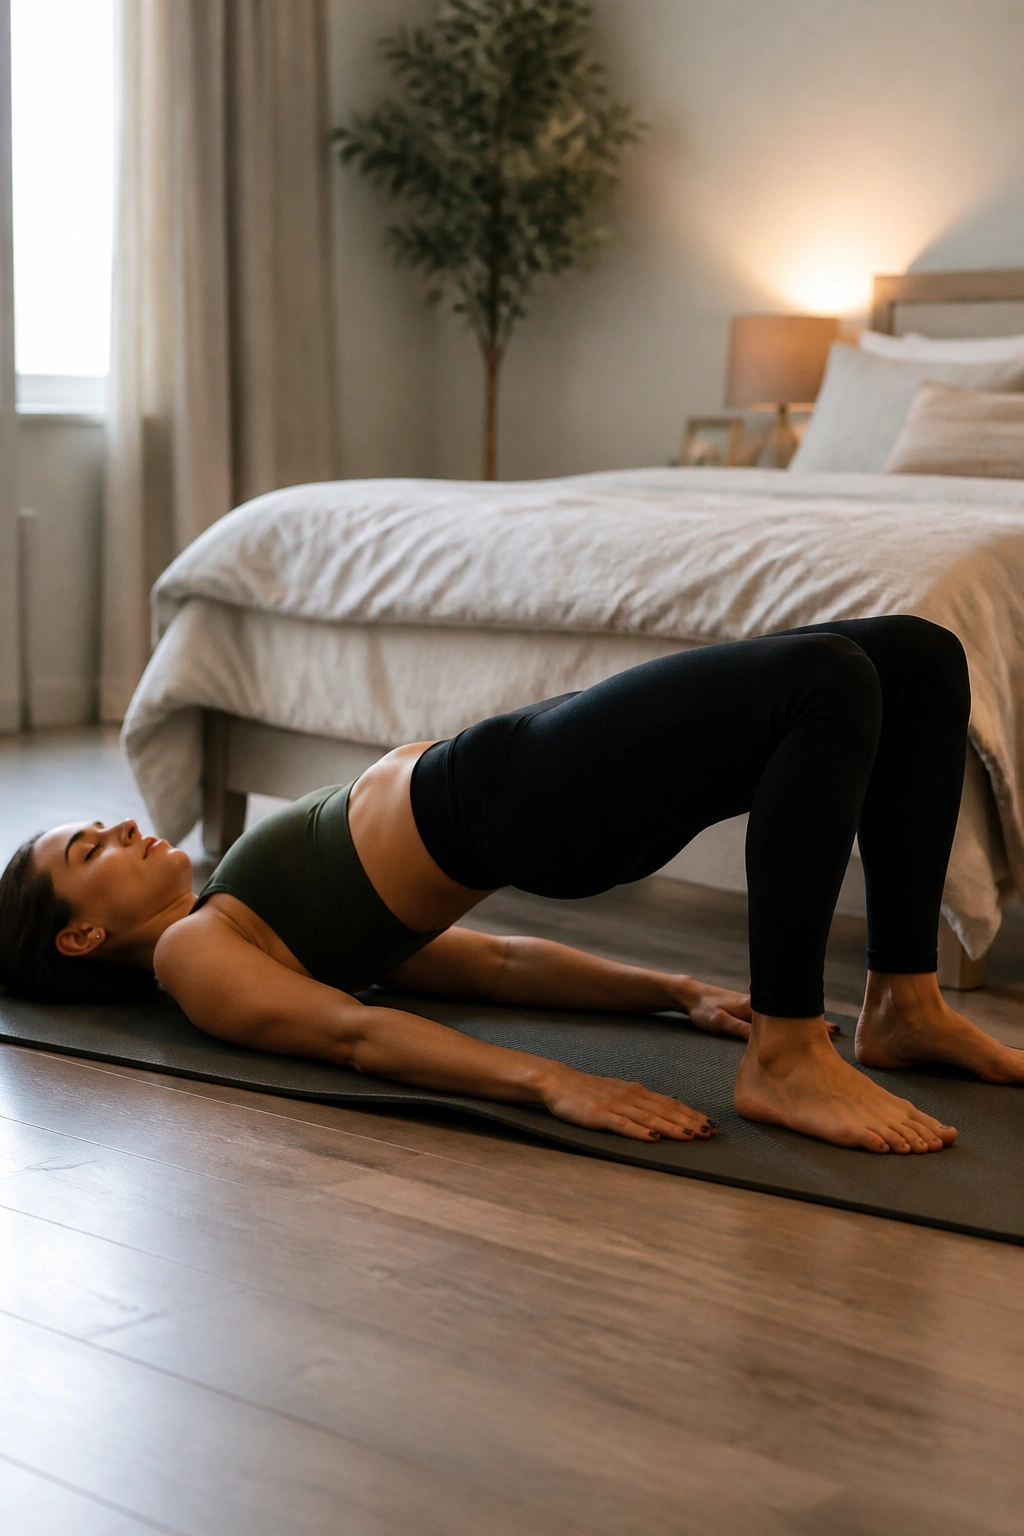
Why do bridges show up in pelvic floor work? Because the pelvic floor doesn’t like being the only stabilizer in the room. Your glutes matter. Your hips matter. A bridge helps spread the load around.
Lie on your back only if that feels fine for you and you’ve been told it’s okay. Knees bent, feet flat, exhale and lift the hips a few inches, just enough to feel the glutes turn on. Pause for 2 seconds. Lower slowly on an inhale. The bridge should feel controlled, not like a backbend.
If the lower back takes over, raise the hips less. If your belly domes or you feel pressure downward, stop and switch to a standing version. A small bridge done well beats a bigger one done badly.
This is one of the better strength moves for people who need pelvic support after birth, especially when paired with slow breathing.
11. Bird Dog with Quiet Core
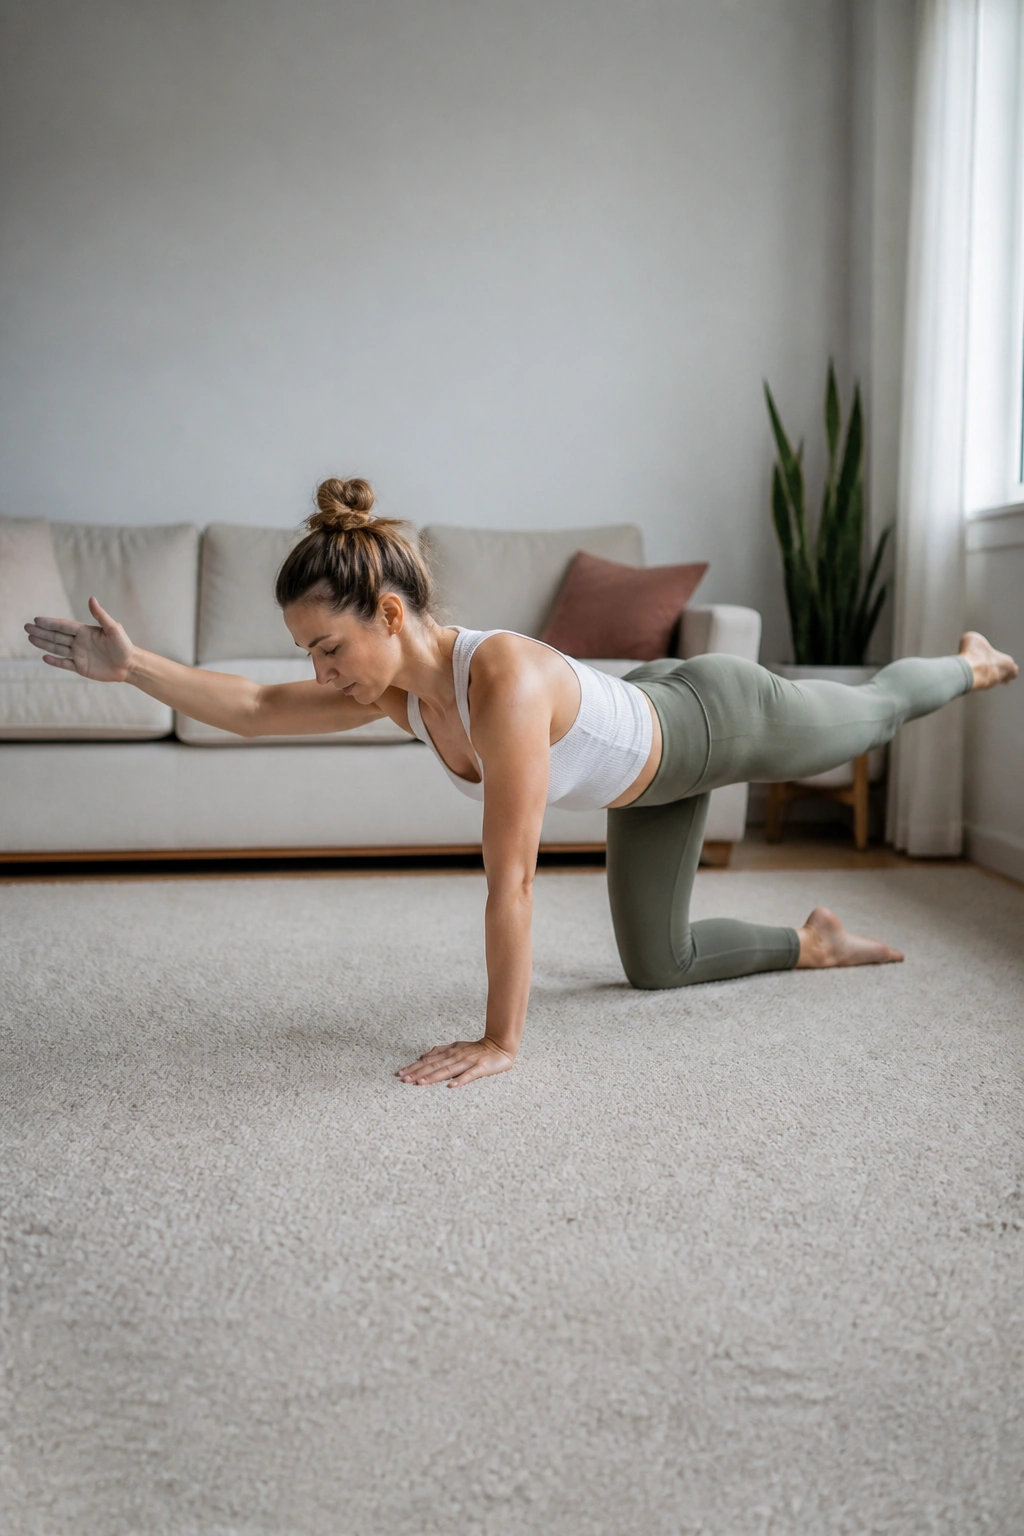
Bird dog looks a little awkward the first few times, which is fine. Awkward can still be useful.
Start on hands and knees. Exhale, reach one leg back and the opposite arm forward, and keep the hips level. Hold for 2 seconds, then return with control. The job is not to stretch as far as possible. The job is to stay steady while the limbs move.
What to Watch For
- The ribs flaring forward.
- The pelvis twisting to one side.
- The breath catching in the throat.
- The low back sagging.
If any of those show up, shorten the reach. A smaller bird dog with a clean line is much better than a dramatic one that wobbles everywhere. This exercise teaches the pelvic floor to work with the deep core under motion, which matters for carrying, walking, and lifting.
12. Sit-to-Stand From a Chair
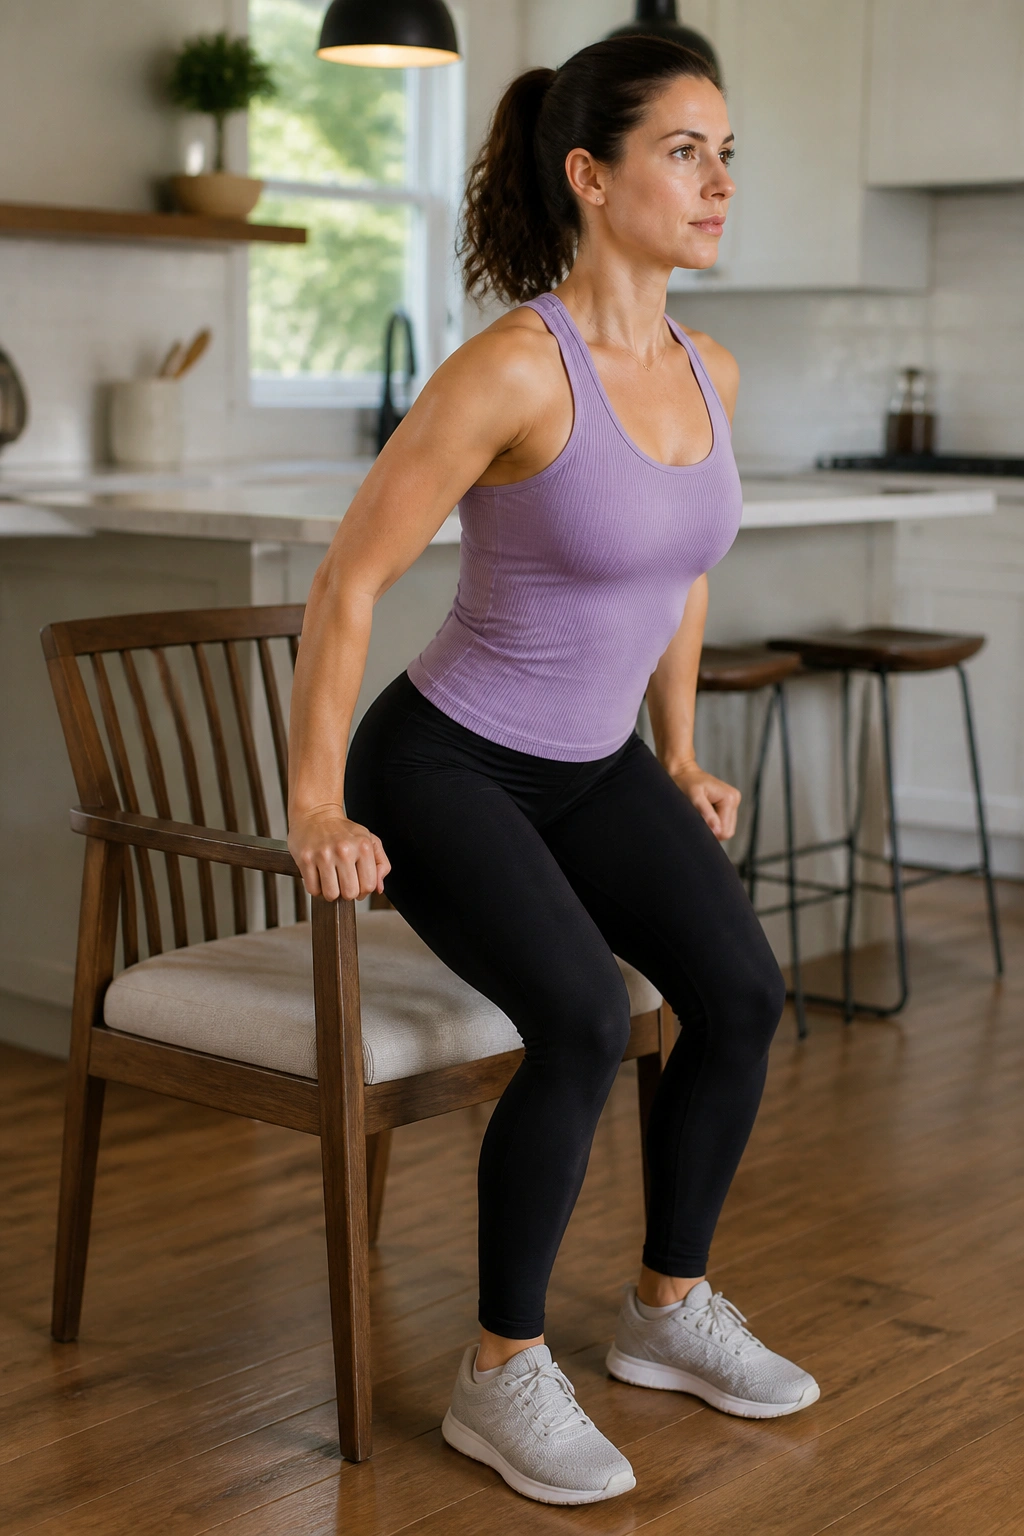
A sit-to-stand is the kind of exercise that looks like life because it is life. Getting up from a chair, a couch, or the toilet uses the same muscles you need all day long.
Sit near the front edge of a sturdy chair. Lean slightly forward, exhale, and stand while gently lifting through the pelvic floor and lower belly. Sit back down slowly on the inhale. If you need your hands on the armrests or a countertop, use them. That’s smart, not cheating.
This one teaches pressure management. You learn to avoid that sloppy breath-hold that sends force straight down through the pelvis. It also helps after birth when standing up feels weirdly hard and the body wants to protect itself by gripping.
If your knees complain, raise the seat with a cushion. If your pelvic floor feels heavy, slow the descent and keep the effort light.
13. Wall Sit with Breath
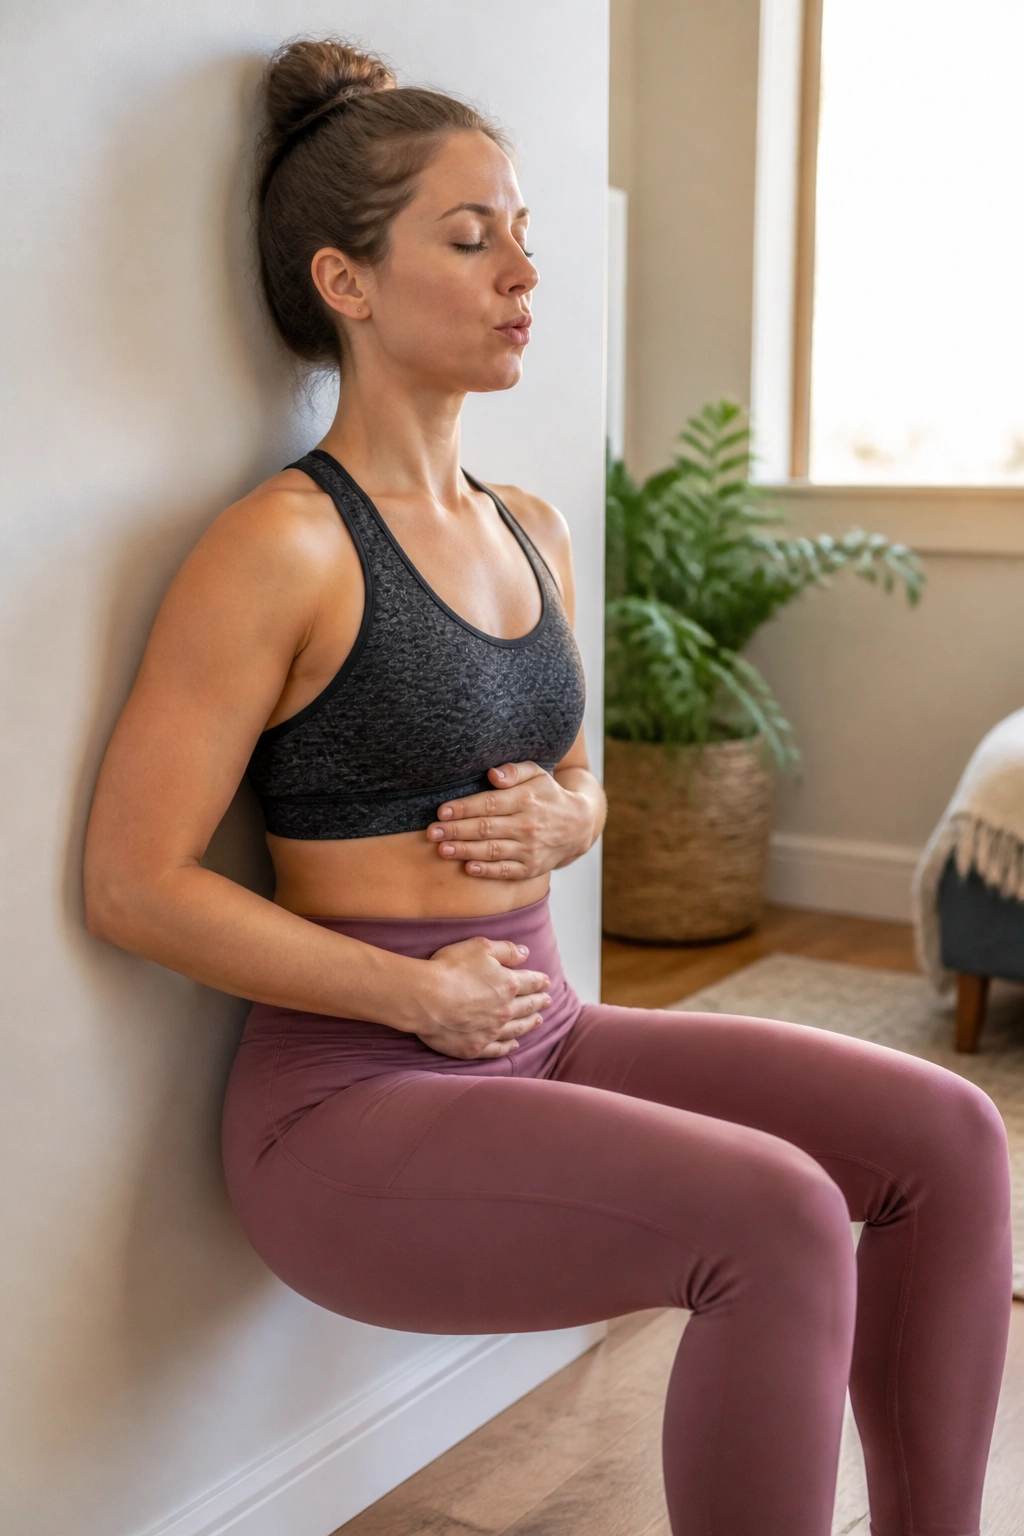
A wall sit gives your thighs a mild burn and your pelvic floor a chance to stay organized under load. It’s a neat little test of steadiness.
Slide down a wall until your knees are bent only as far as feels comfortable, maybe nowhere near 90 degrees. Exhale and feel a gentle lift through the pelvic floor. Inhale and let the body soften a notch without collapsing. Stay for 10 to 20 seconds to start, then stand up and rest.
Do not hold your breath here. People love to do that. It turns a calm support drill into a strain contest, and the pelvic floor usually loses that contest.
If wall sits feel too intense, stand with your back against the wall and do the breathing part only. You can build the load later. A little challenge goes a long way.
14. Side-Lying Clamshells
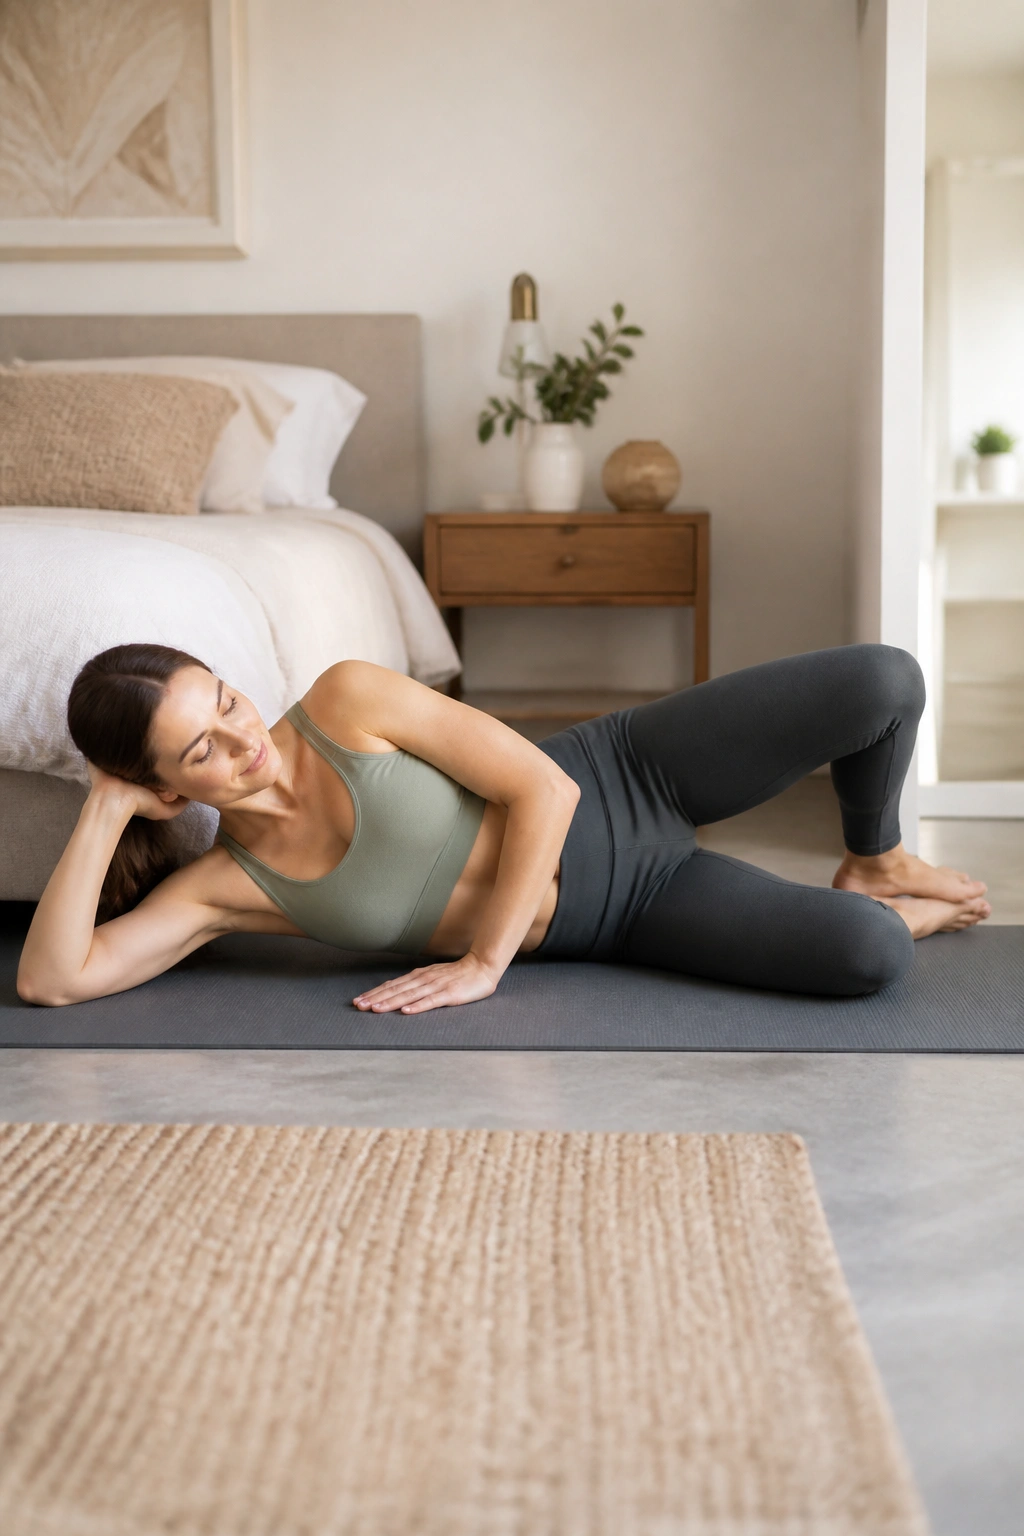
Side-lying clamshells are one of those moves that seem aimed at the hips, which they are, but the pelvic floor often likes them too. A steadier pelvis usually means less unnecessary gripping below.
Lie on your side with knees bent and feet together. Keep the pelvis stacked, then exhale as you open the top knee a few inches like a clam shell. Inhale as you close. The movement should stay small. If the pelvis rolls backward, the range is too big.
These are useful when one side of the pelvis feels loose, tired, or cranky during pregnancy. They can also help postpartum when the hips and pelvic floor feel disconnected from each other.
A light mini band can make the drill harder, but you do not need one. Bodyweight often gives enough feedback.
15. Marching in Place with Exhale
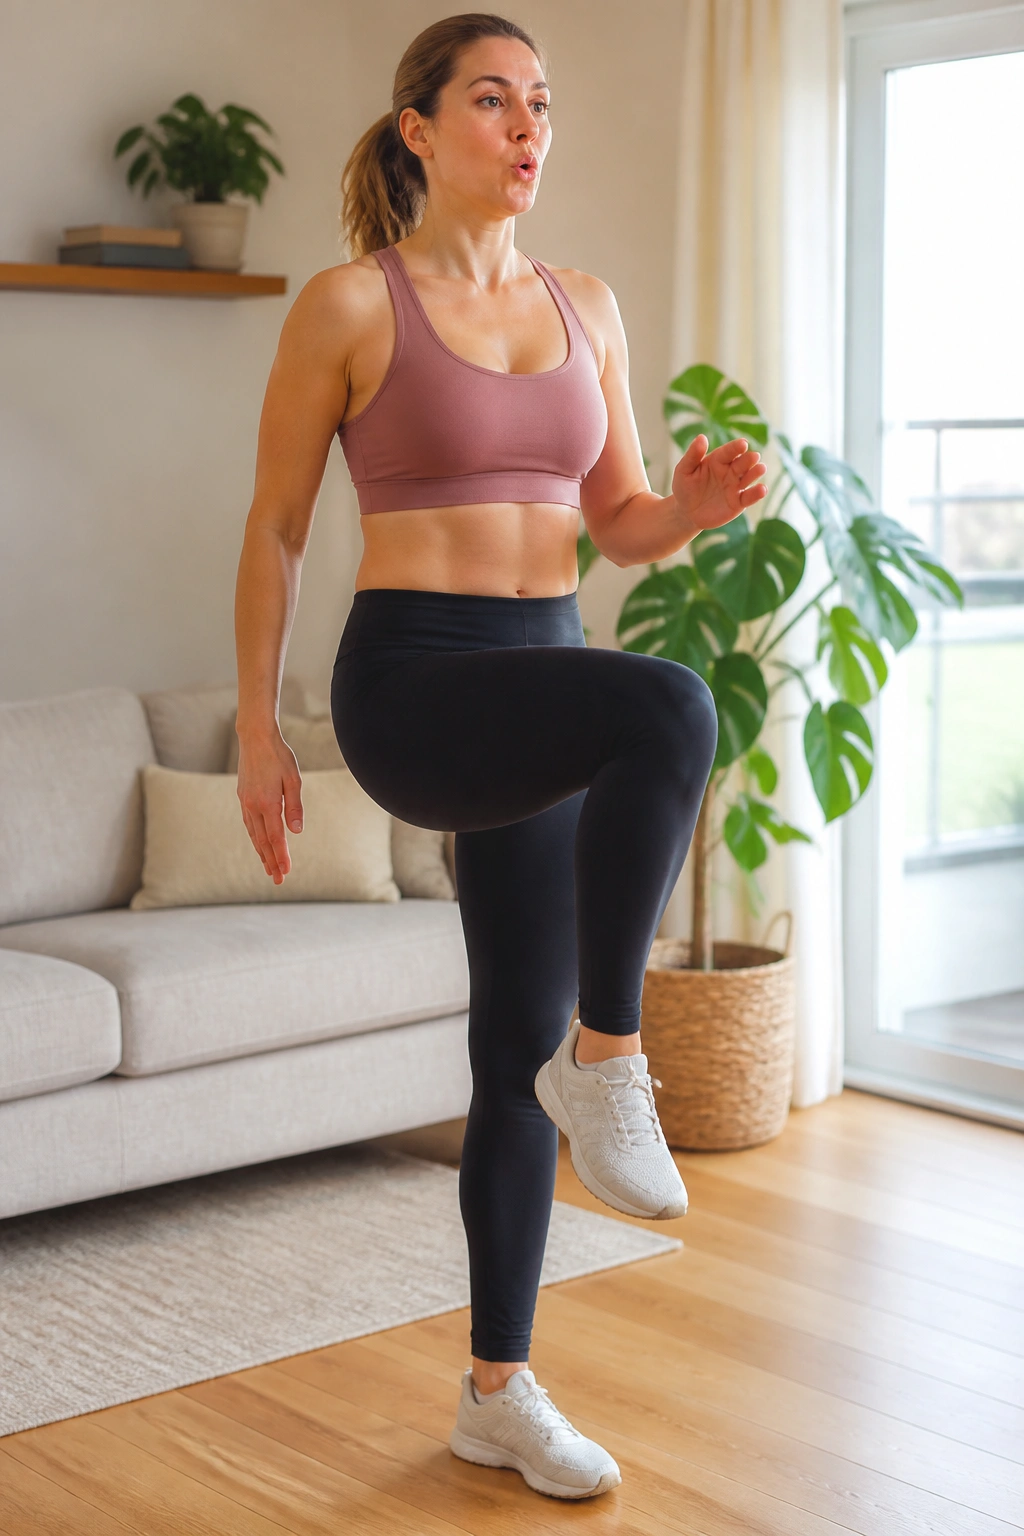
Can marching be pelvic floor work? Yes, because every step is a tiny balance challenge, and the pelvic floor has to answer the call.
Stand tall and hold a counter lightly if needed. Exhale as you lift one knee a few inches, then inhale as you lower it. Alternate sides at a slow pace. Keep the pelvis level and the ribs stacked over the hips. If the torso leans side to side, slow down and shorten the lift.
How to Use It
- Use it as a warm-up before walking.
- Do 10 to 20 steps per side.
- Keep the shoulders loose.
- Stop if the pelvis feels heavy or the movement starts bouncing.
I like this one because it feels practical. You can do it while waiting for water to boil. Or while your coffee cools. That counts for something.
16. Standing Hip Hinge
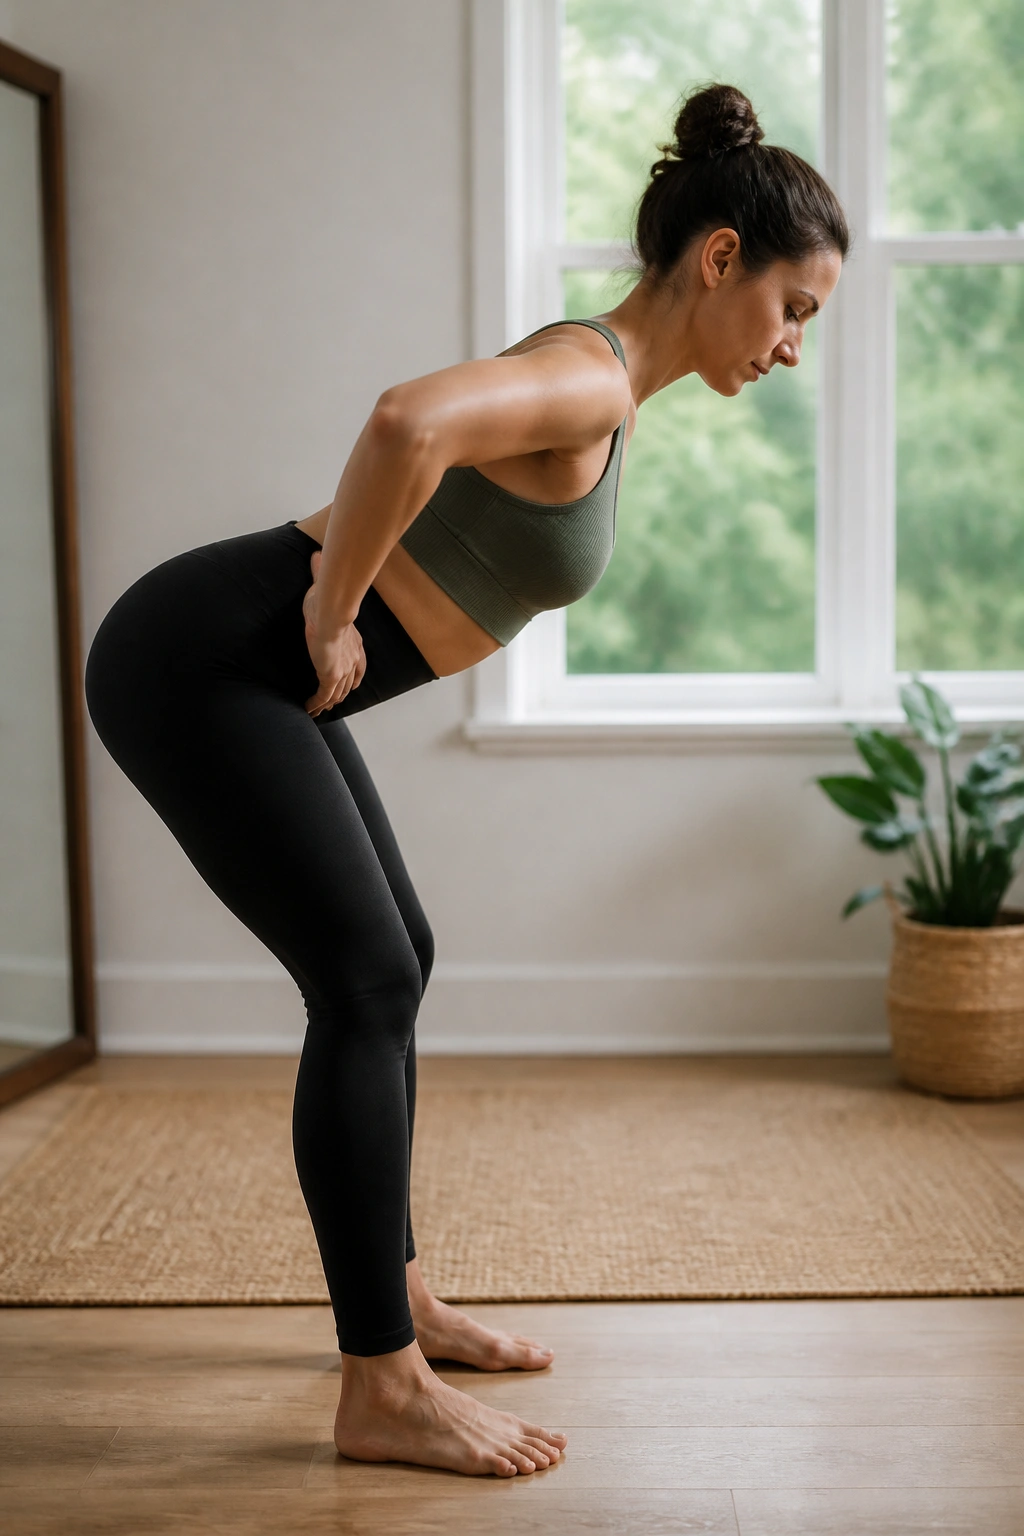
A hip hinge teaches you to fold from the hips instead of yanking the lower back into the job. For pregnancy and after, that’s a useful skill every single day.
Stand with feet hip-width apart and place your hands on your hip bones. Exhale as you send the hips back, keep the spine long, and bend the knees a little. Inhale as you stand back up. Imagine closing a car door with your backside. That image helps people more than abstract cues usually do.
If you bend through the waist and round hard, you’re not hinging. You’re folding. Small difference. Big payoff.
This pattern matters when you pick up toys, laundry, or a toddler who has decided gravity no longer applies. It gives the pelvic floor a chance to share the load rather than clamp down out of panic.
17. Side-Lunge Rockbacks
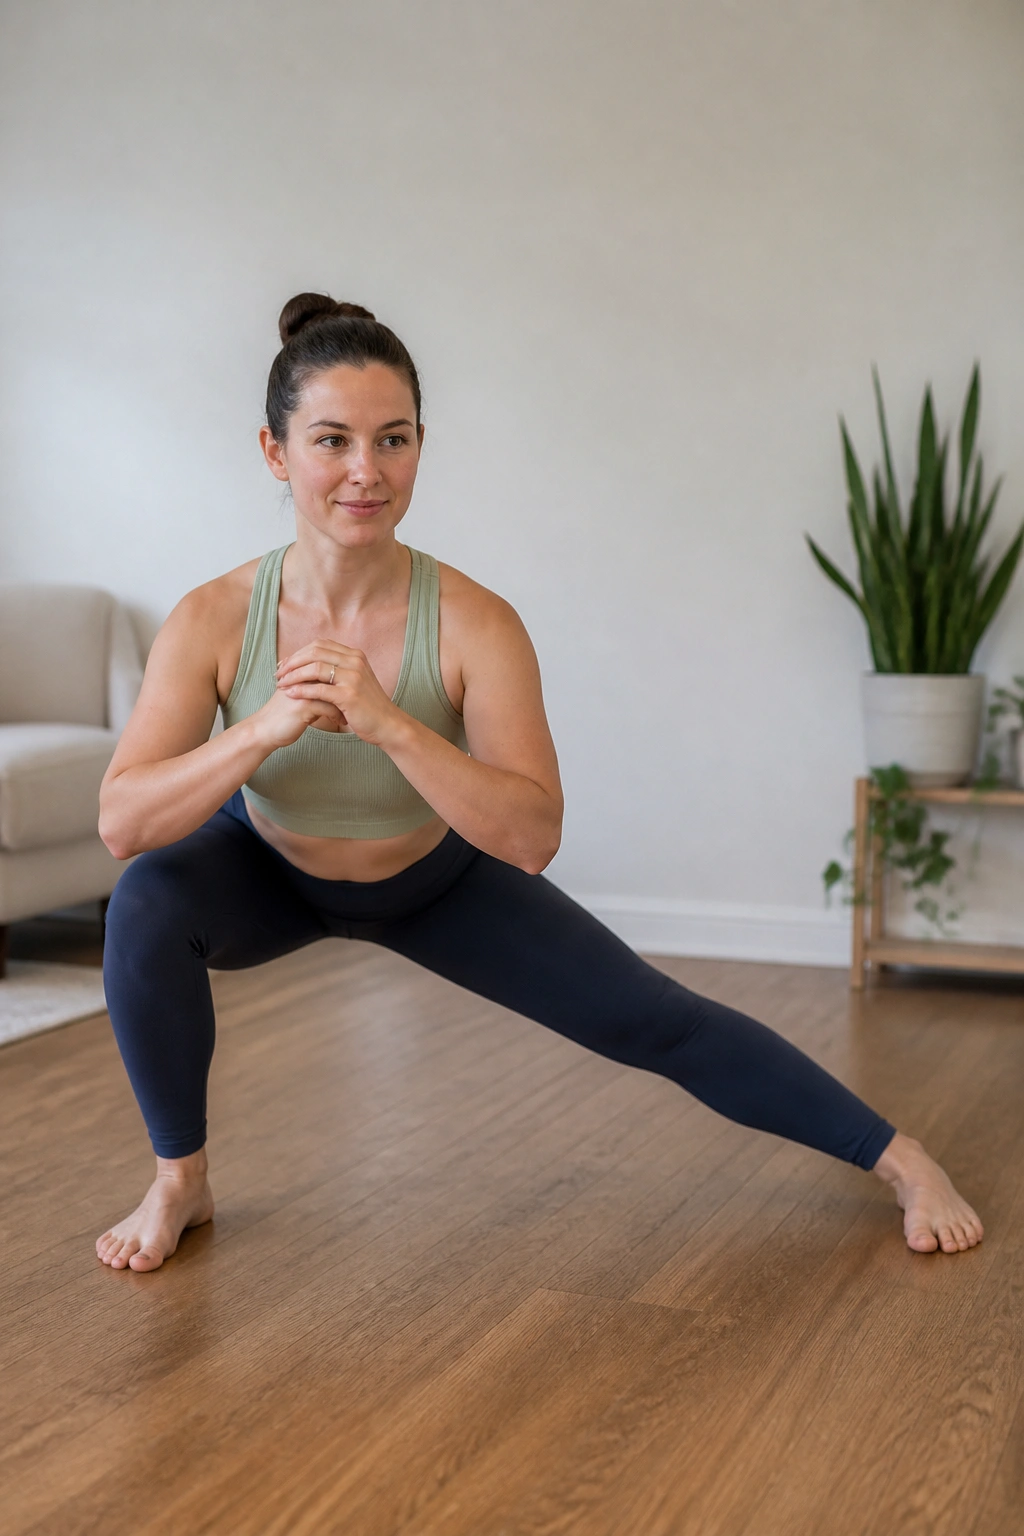
Side-lunge rockbacks open the inner thighs, which often get stiff and short during pregnancy. Tight adductors and a tight pelvic floor tend to travel together more than people think.
Step one foot out to the side, shift your weight into that leg, and rock the hips back a few inches while keeping the other leg straighter. Exhale as you move into the rockback. Inhale as you come forward. Keep the torso long and the support foot flat.
This is not a giant lunge. A small side shift is enough. If your groin feels pinchy, shorten the range. If balance is shaky, hold onto a counter.
The nice part is that this exercise often feels like relief instead of work. That matters. A body that relaxes well usually moves better, and the pelvic floor tends to appreciate that more than another endless squeeze set.
18. Heel Raises and Toe Taps
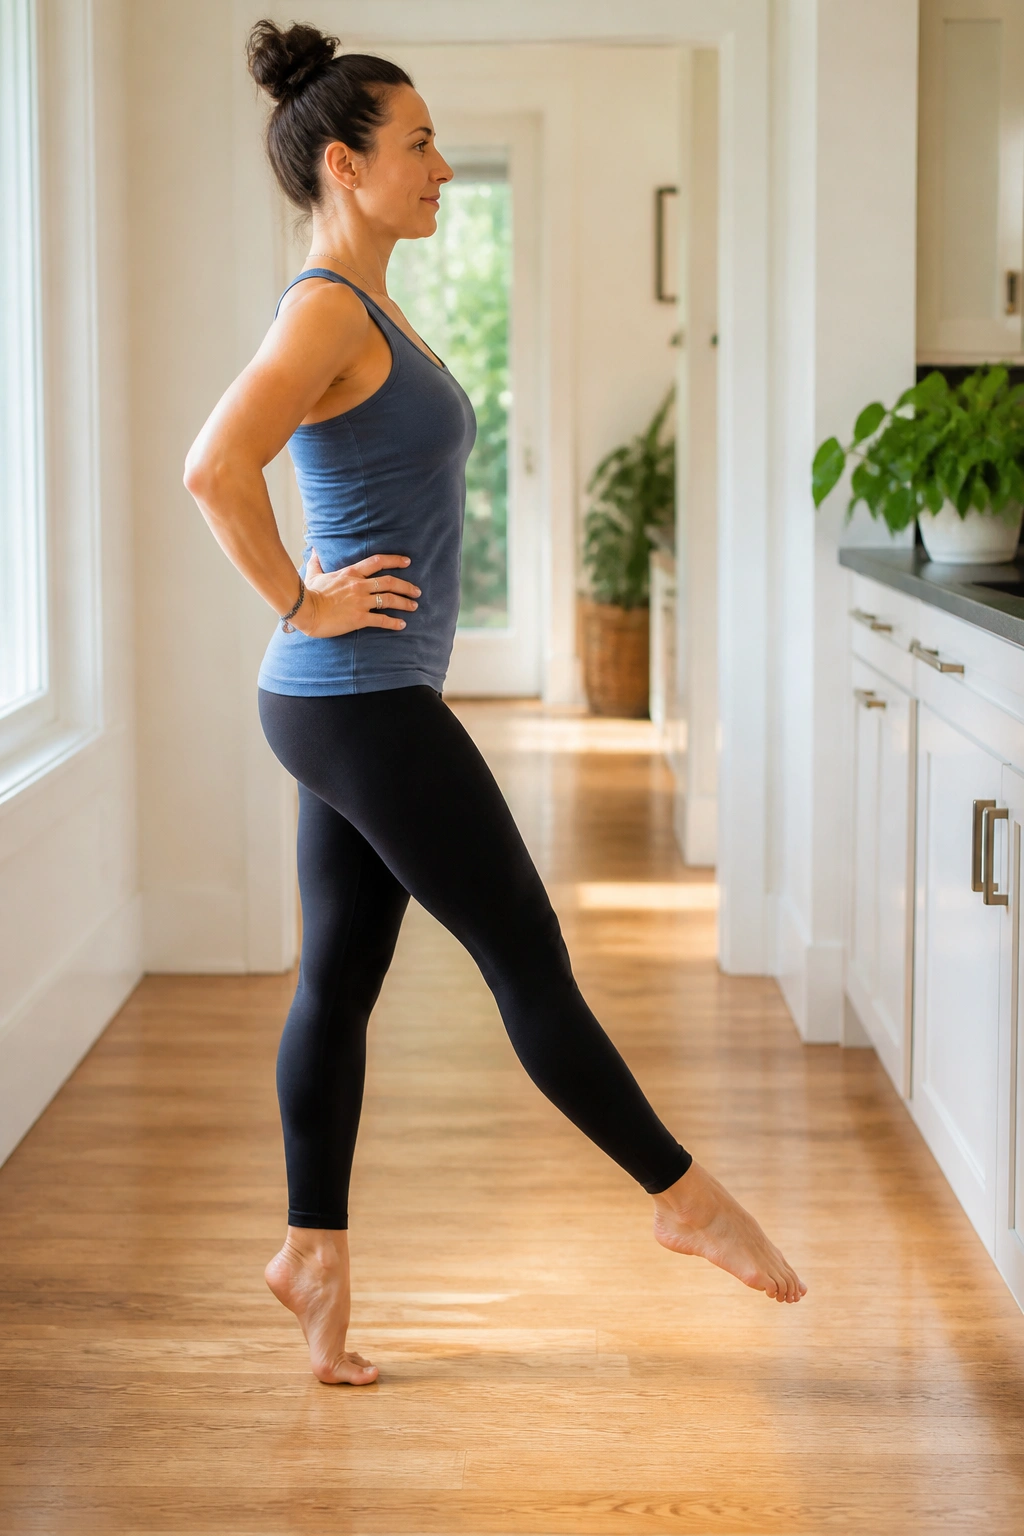
A lot of people ignore the feet when they think about pelvic floor strength. That’s a mistake. The body works as a chain, and feet that are awake often make the pelvis happier.
Stand with feet parallel. Rise onto your toes, pause for 1 second, and lower slowly. Then shift into gentle toe taps forward or to the side while keeping the torso still and the breath steady. On the exhale, notice a light lift through the pelvic floor. On the inhale, let it soften.
This drill is simple, but it gives you a lot of feedback. If your ankles wobble or your toes claw the floor, slow down. If you feel pressure dropping into the pelvis, make the range smaller and use a wall for support.
It’s a good standing option for days when floor work feels like too much and you still want something useful.
19. Single-Leg Balance with Reach
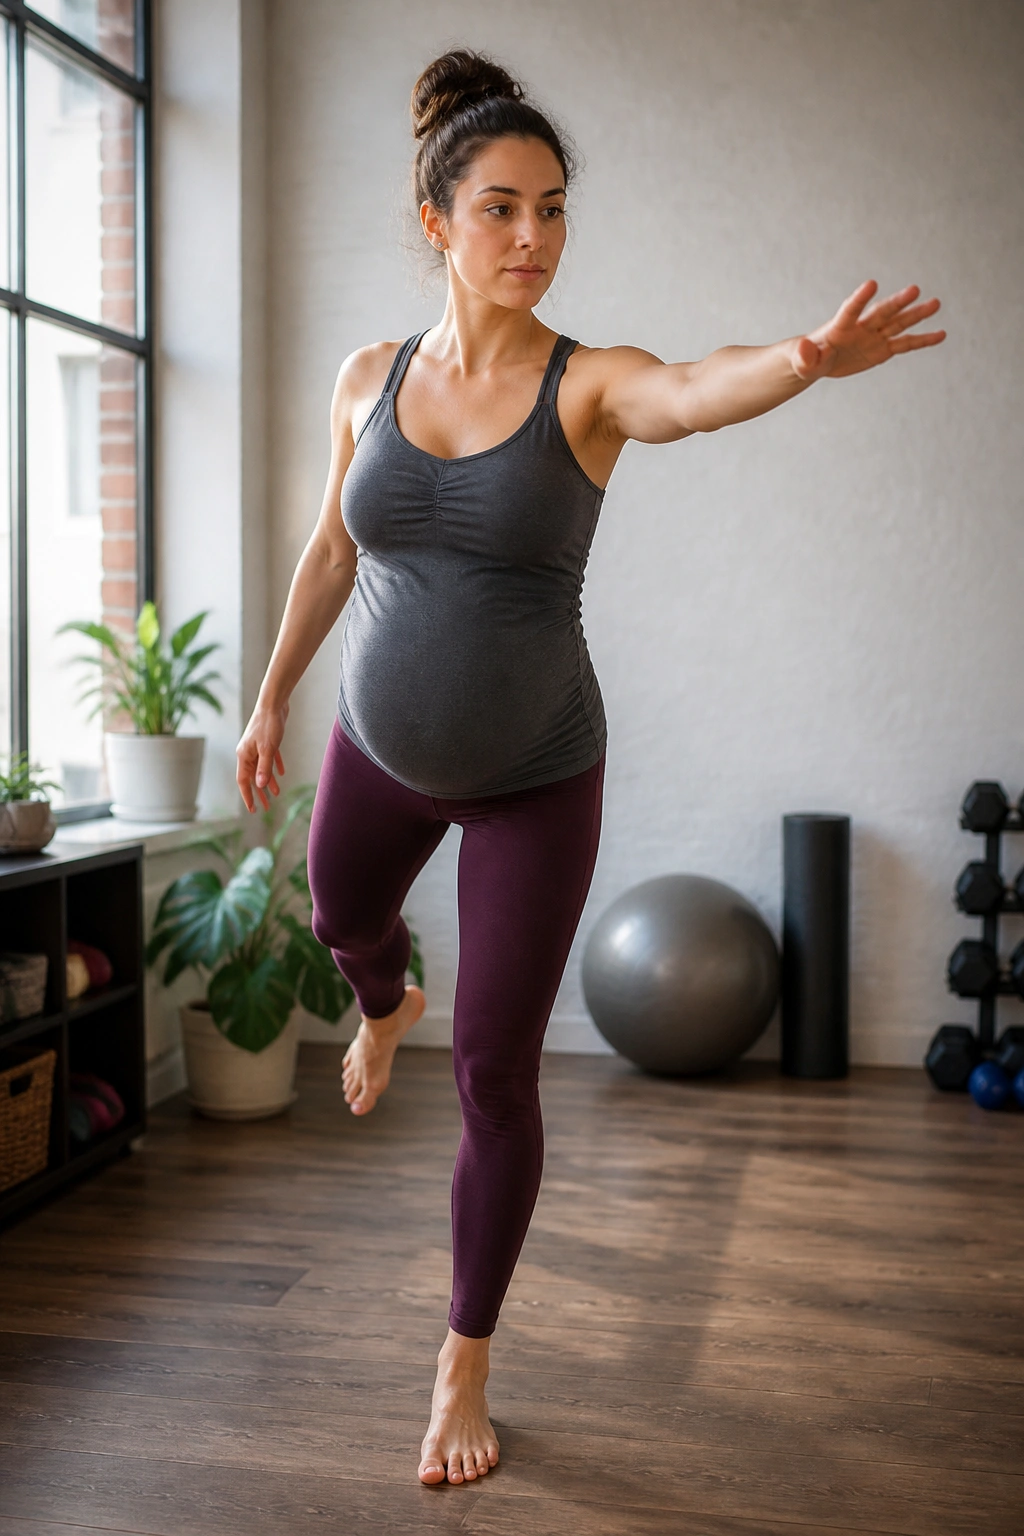
Balance work asks the pelvic floor to respond without gripping, which is a surprisingly useful skill. Walking up stairs, turning in the kitchen, and carrying a bag all demand it.
Stand near a wall or counter. Shift weight onto one leg and lift the other foot a few inches. Hold for 5 to 10 seconds, then add a small reach with the free hand if that feels steady. Keep the standing hip level and the ribs from flaring.
A lot of people rush balance drills and turn them into ankle wobble contests. Slow down. The goal is control, not drama. If you feel dizzy or unsteady, keep one fingertip on support and reduce the hold time.
I like this one postpartum because it shows you quickly whether one side is doing all the work. That kind of asymmetry matters.
20. Dead Bug with Breath
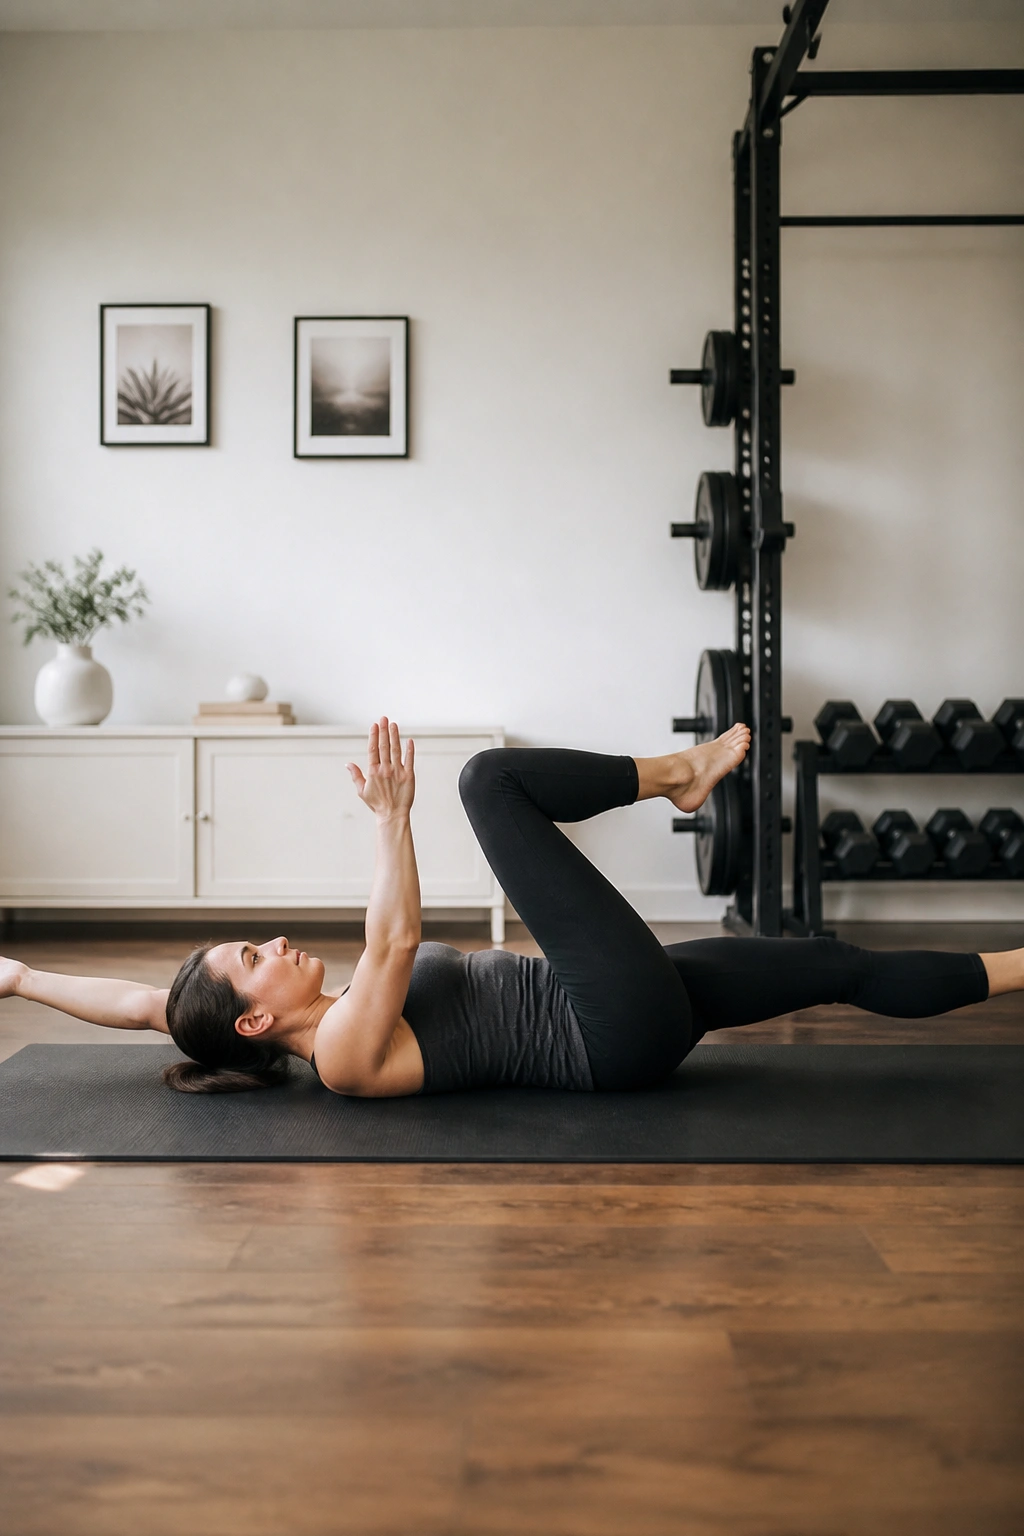
Is a dead bug safe during pregnancy? Sometimes, yes, sometimes not. If lying on your back feels bad, skip it and use a standing march instead. If it feels fine and you have been cleared for floor work, the exercise can be excellent.
Start on your back with knees bent or in tabletop if that is comfortable. Exhale as you lower one heel toward the floor or extend one arm, then inhale back to start. Keep the low back quiet and avoid pressing it into the floor with force. The movement should feel precise, not aggressive.
How to Get the Most From It
- Move one limb at a time.
- Keep the ribs from popping upward.
- Use a slow 3-second reach.
- Stop if the belly domes or the pelvis feels heavy.
That level of control teaches the pelvic floor to stay organized when the limbs move away from center, which is half the battle in real life.
21. Posture Reset Against the Wall
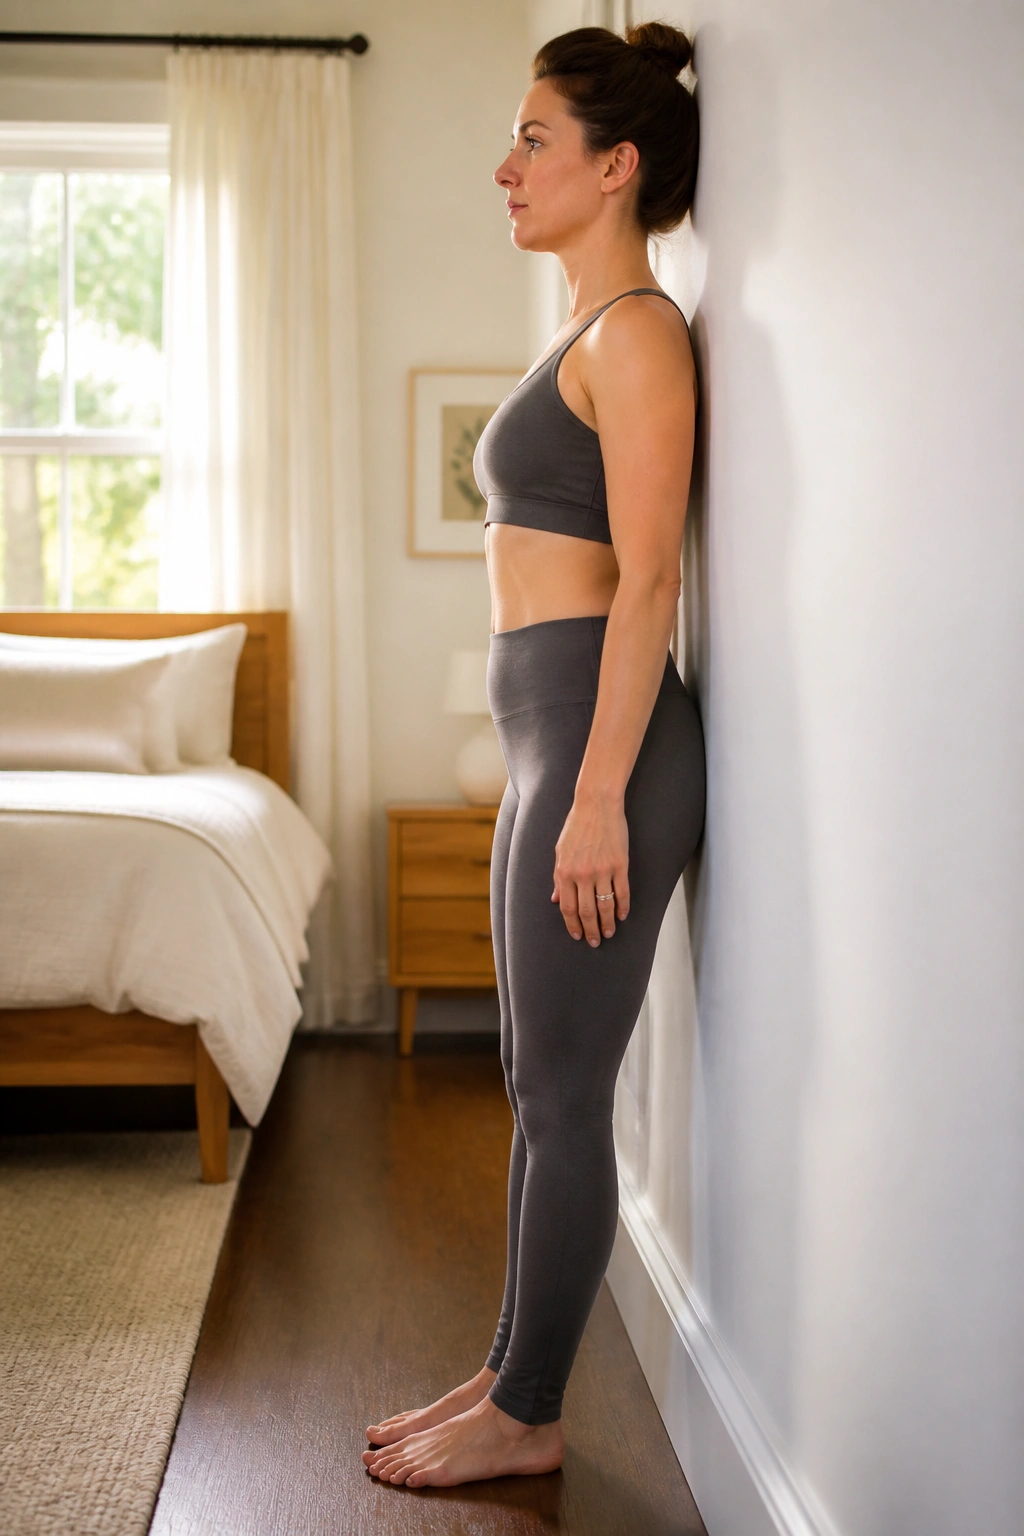
A lot of pelvic floor strain starts higher up, with ribs flared forward, chin jutting, and the pelvis tipped out of place. A wall reset can clean that up fast.
Stand with heels a few inches from the wall, let the sacrum and upper back touch if they can, and keep the chin level. Exhale gently and feel the ribs come down, the belly soften, and the pelvic floor lift a little. Inhale and keep the whole stack from drifting apart.
This is not fancy. It’s posture housekeeping. Still, it matters because a better ribcage-over-pelvis position makes breathing easier and reduces the urge to brace through the belly.
Use it before walking, after sitting at a desk, or between chores. Ten breaths is enough. More isn’t automatically better here.
22. Walking with Coordinated Exhale
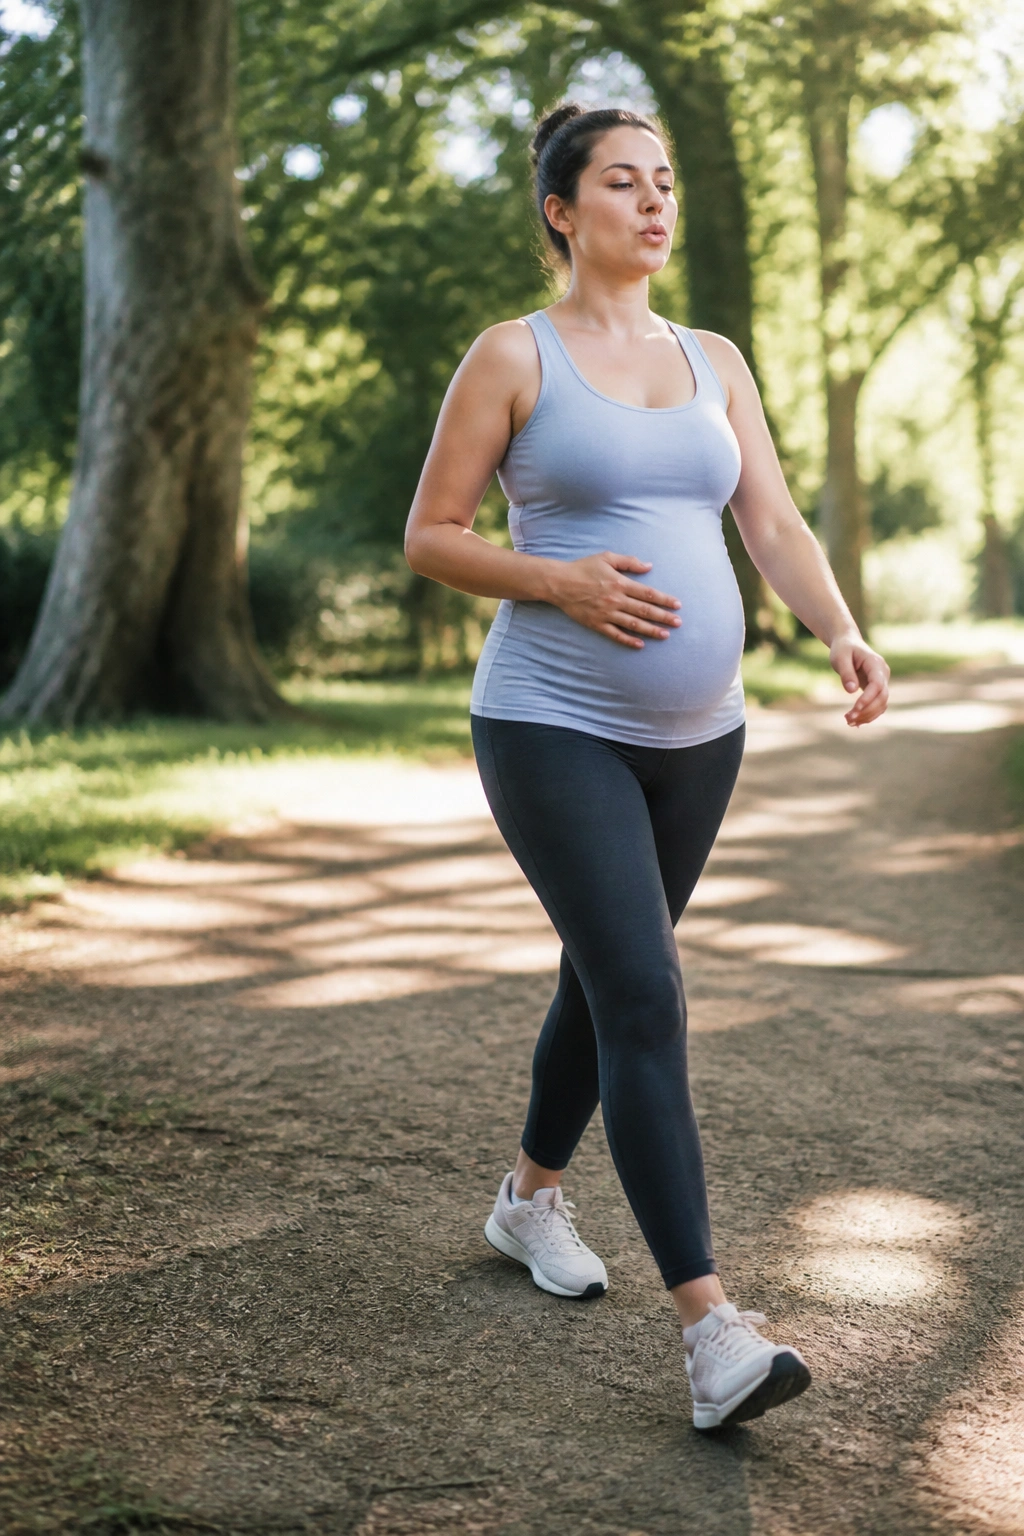
Walking is one of the most underrated pelvic floor exercises around. Not because it’s dramatic, but because it’s real. You can do it while living your life, which beats perfect plans that never happen.
Take a comfortable walk and match the exhale to a few steps at a time. For some people, that means exhaling for 3 steps and inhaling for 3. Others like a longer exhale on uphill sections or while pushing a stroller. The point is to avoid breath-holding and notice how the pelvic floor responds when the rhythm stays smooth.
If every step feels heavy, shorten the stride. If the belly braces hard, slow the pace. A relaxed walk with coordinated breathing often does more for pelvic floor function than another tense set of reps on a mat.
It’s also the easiest exercise to keep after pregnancy, because it does not require a special window, a mat, or a perfect mood.
Final Thoughts

The pelvic floor works best when it can do more than one thing. It should lift, yes, but it also needs to release, lengthen, and stay calm when the body moves. That’s why the breathing drills matter just as much as the squeezes.
If you want a simple place to start, pick one release exercise, one strengthening exercise, and one standing movement. Practice those for a couple of weeks before piling on more. The body tends to respond better to a small set done well than to a long menu done half-heartedly.
And if anything feels off — pain, pressure, heaviness, or a stronger leak pattern — that’s not a sign to push harder. It’s a sign to slow down and get a proper assessment. Strong and comfortable is the goal. Both matter.
