



Your pelvic floor does not need punishment after birth.
It needs coordination, breath, and patience. A lot of postpartum recovery advice still jumps straight to hard squeezing, then people wonder why they leak when they cough, feel a heavy drag when they stand up, or notice that their belly pushes outward during simple things like getting out of bed.
The honest truth is that the pelvic floor is not a solo act. It works with your diaphragm, deep abs, glutes, hips, and even the way you hold your breath when you are tired. If one part starts bracing too hard, the others usually get sloppy. That’s why the gentlest drills often pay off first.
These pelvic floor workouts are meant to meet a real postpartum body where it is. If you have sharp pain, increased bleeding, scar pain, a bulge that worsens with movement, or a dragging/heavy feeling in the pelvis, back off and get checked by a clinician who understands postpartum rehab. If you have not been cleared after a C-section, a significant tear, or a complicated delivery, keep things to breathing and light mobility until you are.
Start small. Tiny counts here.
1. Diaphragmatic Breathing With Pelvic Floor Release
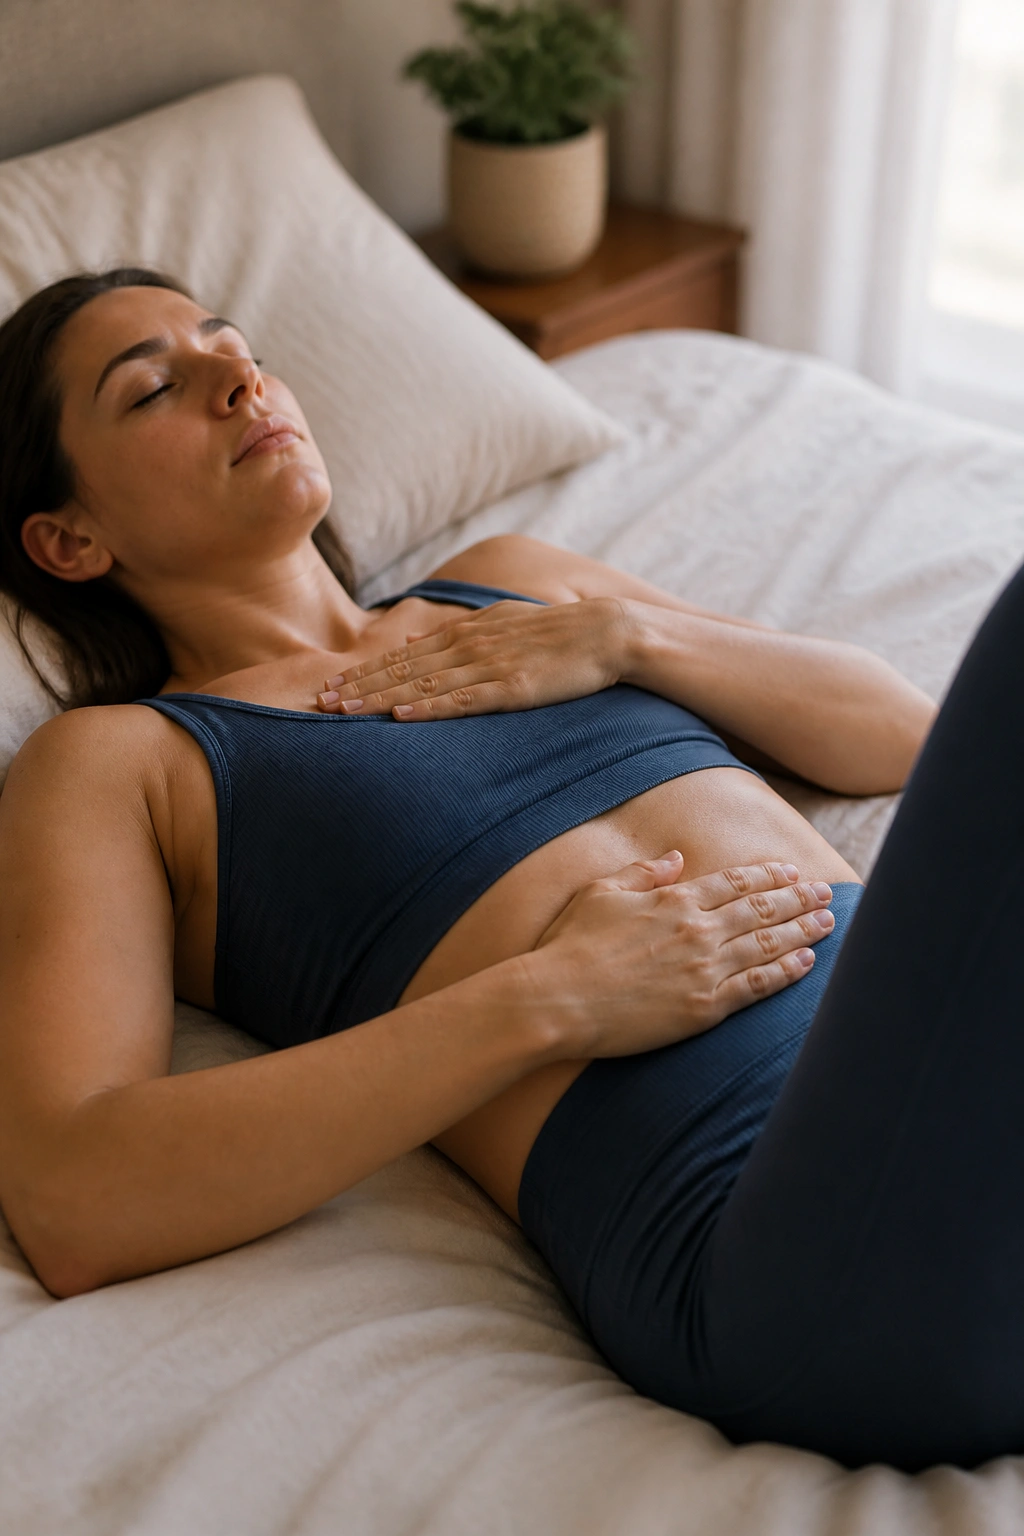
The best place to begin is the move that looks almost too easy to matter. Lie on your back with your knees bent, or turn onto your side if your back feels cranky, and put one hand on your ribs and the other on your low belly.
Breathe in through your nose for about 4 counts. Let the ribs widen side to side and let the pelvic floor soften on the inhale instead of gripping. On the exhale, let your ribs settle and gently draw the lower belly inward; think lift, not squeeze.
What you should feel
Your chest should stay quiet. Your shoulders should stay down.
The main sensation is a slow release through the lower abdomen, the sit bones, and the perineum. If you feel yourself bearing down, your exhale is probably too forceful. Make it softer. The point is to re-teach the body that pressure can move in and out without panic.
Try 5 breaths for 3 rounds. That’s enough. You can do them while nursing, while the baby naps on your chest, or before any other pelvic floor workout in this list. If breathing alone makes you feel more connected, that is not “too basic.” It’s the foundation.
2. Slow Kegels and Full Releases
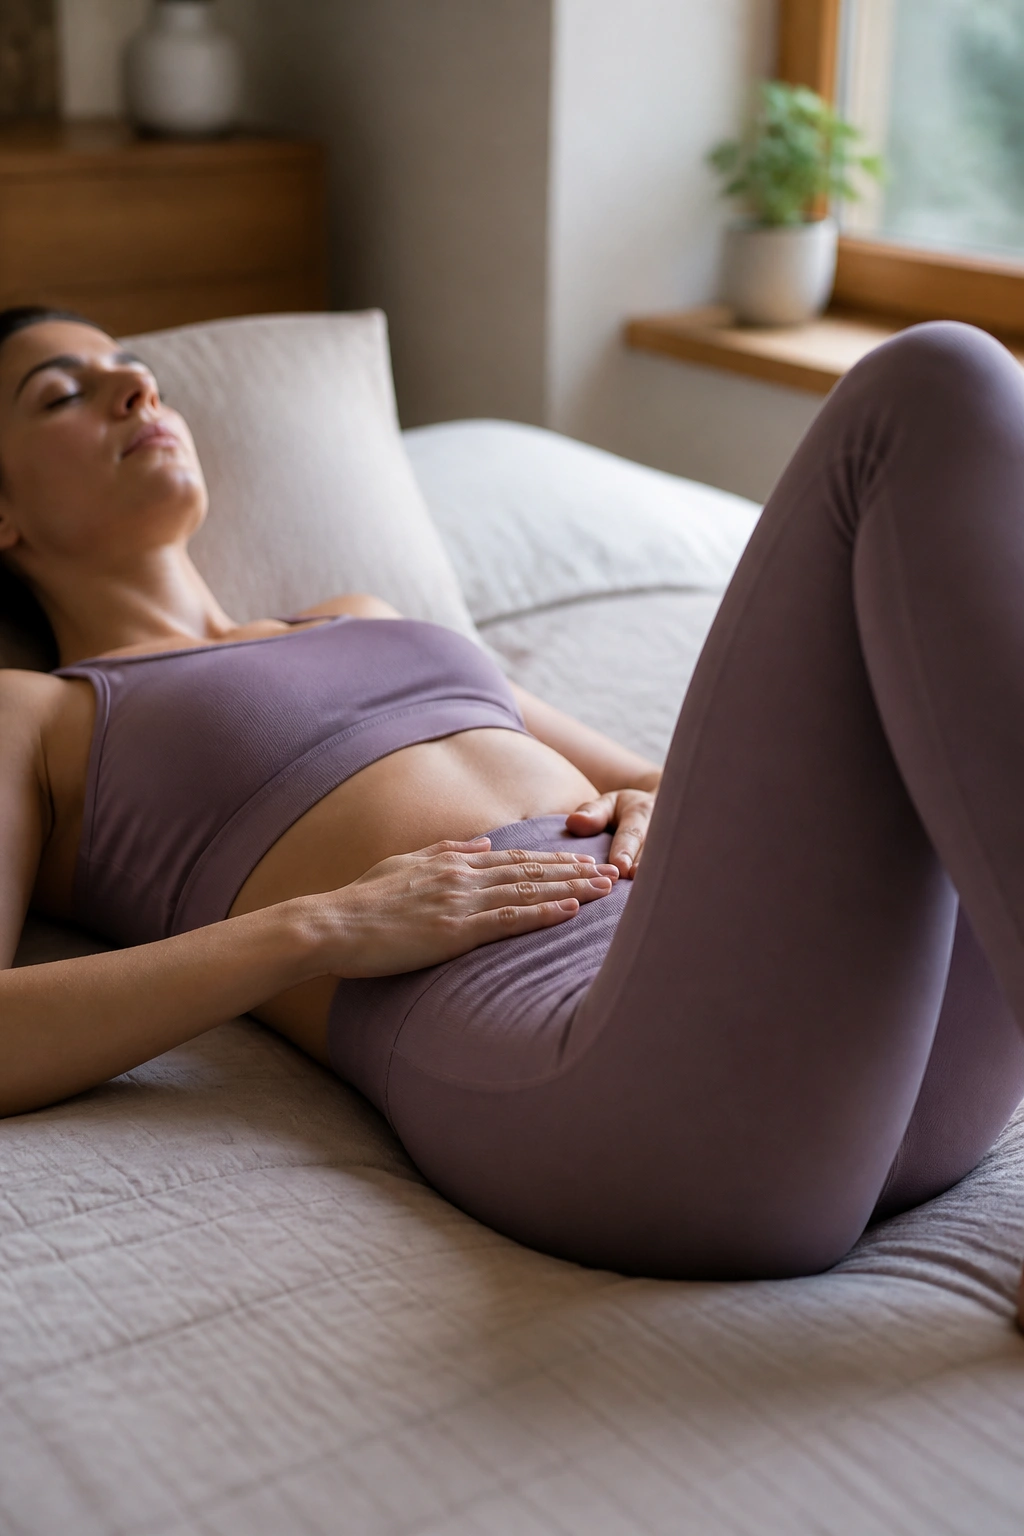
Can Kegels be too aggressive? Yes.
That surprises people, because postpartum advice often treats a pelvic floor contraction like a race to see who can squeeze hardest. A better version uses only about 30 to 50 percent effort. You want a lift, not a clamp.
On the exhale, imagine stopping gas and lifting the muscles gently up and in. Hold for 2 to 3 seconds, then release for 6 full seconds. The release matters as much as the squeeze. If the muscles never fully let go, you are training tension, not control.
How hard to squeeze
- Think “elevator going up one floor,” not “white-knuckle grip.”
- Keep your glutes quiet.
- Keep your jaw loose.
- Do not hold your breath.
- Stop if you feel pressure, pain, or a pulling sensation at the scar.
Do 5 to 8 reps, then rest. If that feels clean and easy, add a second set later in the day. Some bodies need this work. Others need more release than contraction at first. If Kegels make symptoms worse, skip them for now and return to breathing.
3. Heel Slides With Exhale
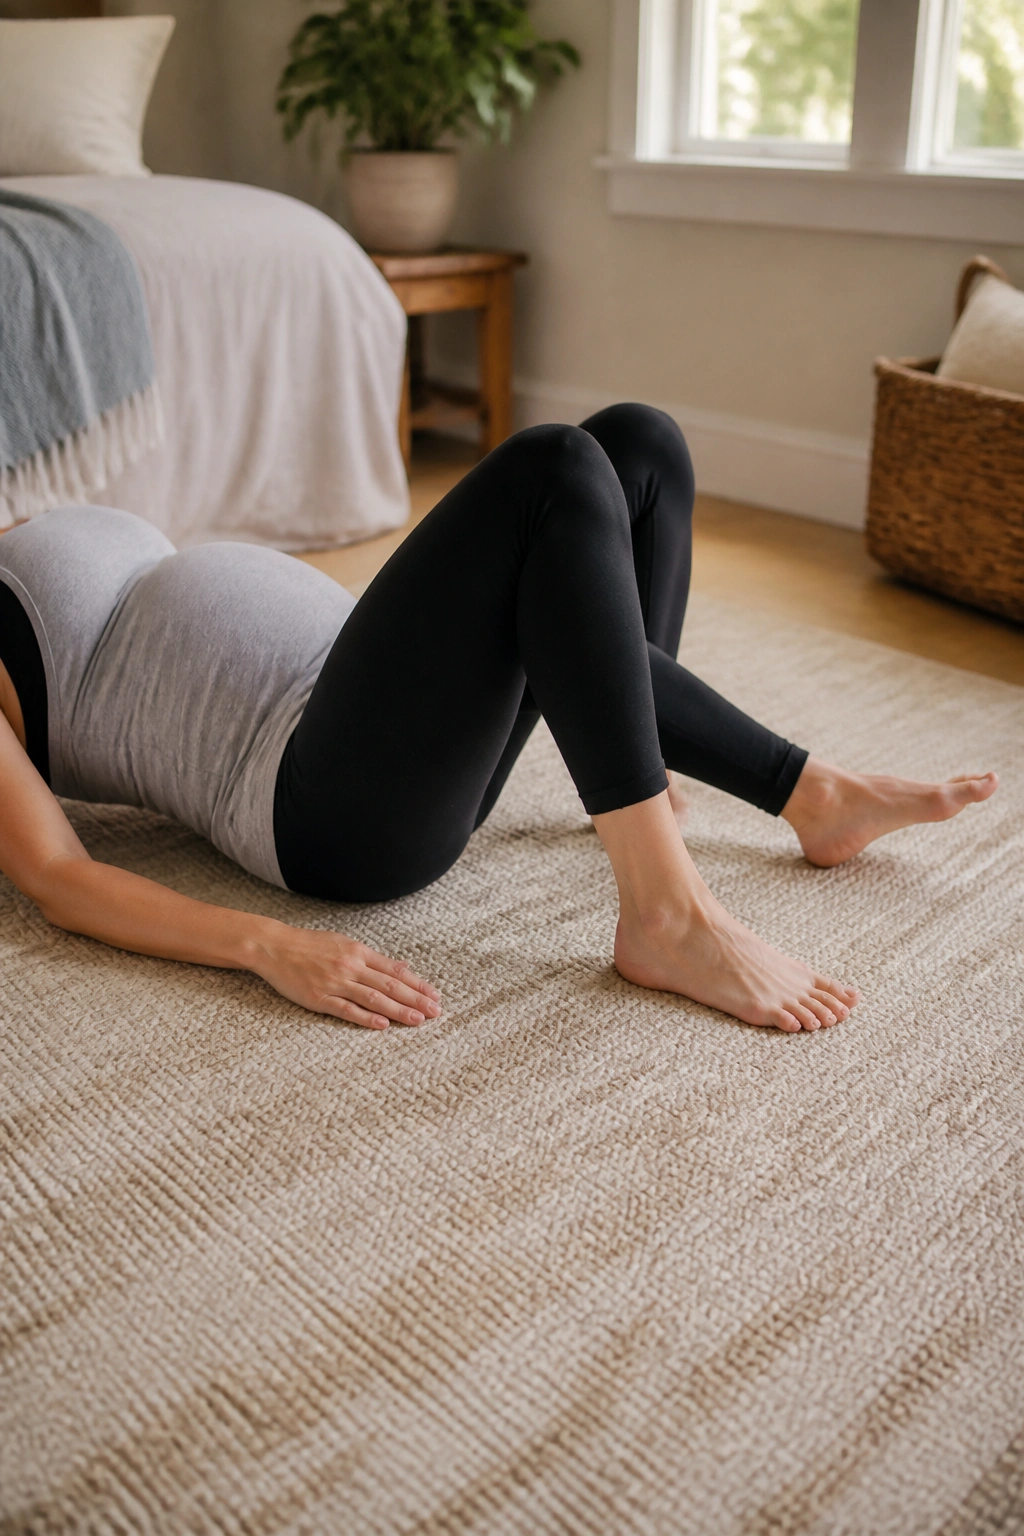
If getting out of bed feels awkward, heel slides are a good middle step between breathing and bigger core work. They teach your lower belly to stay quiet while one leg moves, which is exactly the sort of thing postpartum life demands.
Lie on your back with both knees bent and feet flat. Exhale as you slowly slide one heel away from your body about 4 to 8 inches. Keep the pelvis level and the low back gently settled; inhale as the heel returns.
Do 6 to 8 reps on each side. Slow matters more than many. If your belly domes or your back arches, shorten the slide. If the movement feels easy, pause for one second at the farthest point before returning.
A small detail makes a big difference here: keep your ribs heavy instead of flared. That cue helps the deep core and pelvic floor work together instead of fighting each other.
4. Pelvic Tilts on the Floor
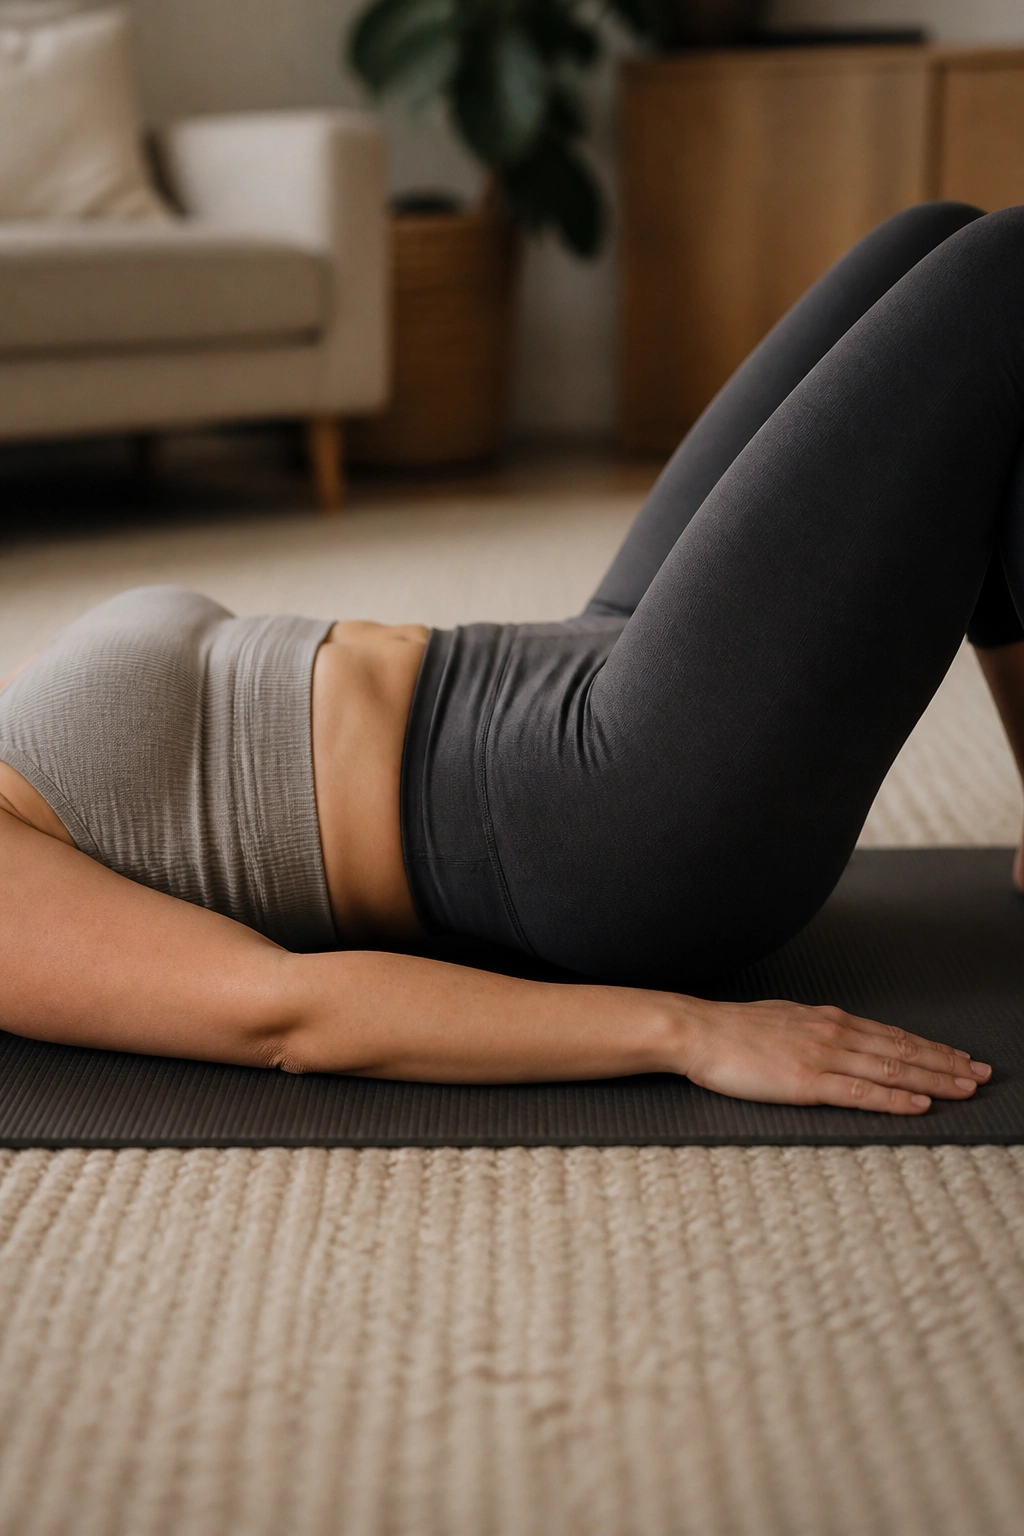
Small pelvic tilts can do more for postpartum control than a lot of fancy ab work.
Lying on your back with knees bent, gently tuck your tailbone so your low back presses a little closer to the floor. Then tip back to neutral. That is the whole drill. No heaving, no pushing, no crunching.
You should feel a mild engagement in the lower belly and perhaps a little release across the lower back. If the movement is so big that your ribs pop up or your butt lifts, it’s too much. Make it smaller.
A nice rhythm is 10 slow reps, with a one-second pause at each end. If you want a bit more, pair the tilt with an exhale on the tuck and an inhale on the release. It sounds tiny. It isn’t. These little shifts help the pelvis rediscover neutral position, which can feel strangely hard after pregnancy and birth.
5. Glute Bridges With Coordinated Breathing
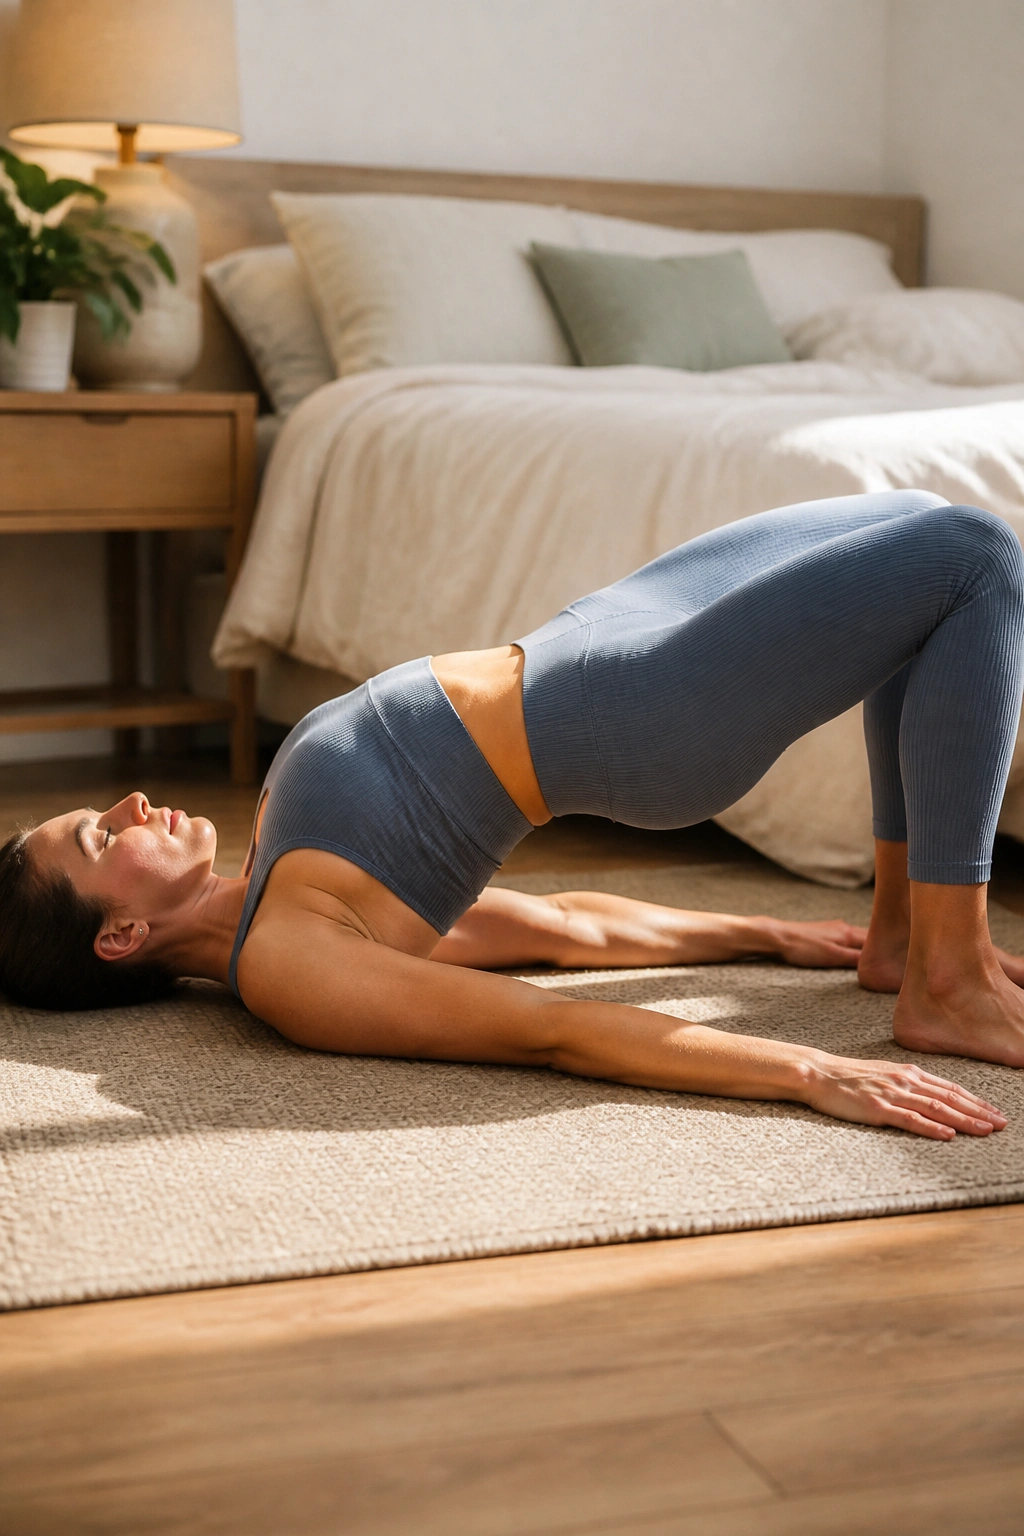
Your glutes matter here. A lot.
When the hips are weak, the pelvic floor often tries to help too much, and that is rarely a good trade. Bridges let the back side of the body do some of the work so the pelvic floor does not carry the whole load.
Lie on your back with your feet hip-width apart and close enough that you can touch your heels with your fingertips. Exhale as you press through your feet and lift your hips until your knees, hips, and ribs feel stacked. Inhale at the top or as you lower with control.
What a good bridge looks like
- The lift comes from the hips, not the low back.
- The ribs stay down.
- The neck stays relaxed.
- The motion stops before you feel rib flare or pressure.
Do 6 to 10 reps. If hamstrings cramp, move your feet a little closer to your hips. If you feel pelvic heaviness, cut the height in half and make the move smaller. A tiny bridge done well beats a big bridge done badly every time.
6. Bird Dog From Hands and Knees
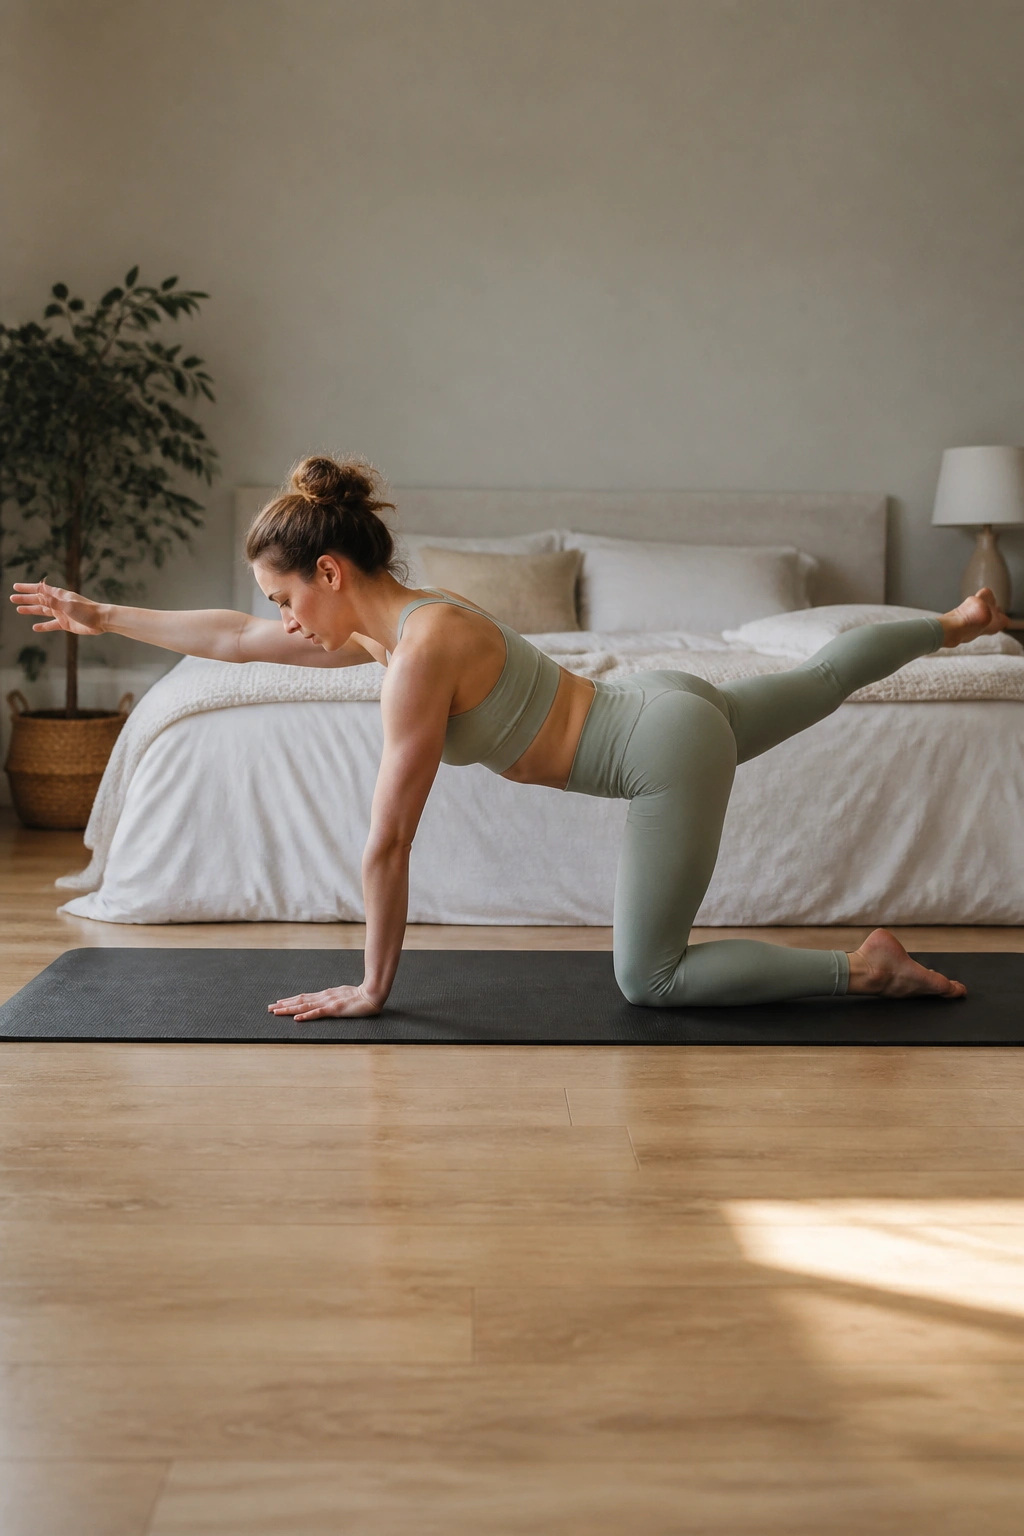
When standing still feels wobbly, bird dog teaches your trunk to stay quiet while your limbs move. It is one of those postpartum drills that looks simple but tells you a lot about how the core is actually behaving.
Start on hands and knees with hands under shoulders and knees under hips. Exhale and reach one leg straight back while the opposite arm reaches forward. Keep the pelvis square like a tray of water you do not want to spill.
Hold for 2 to 4 seconds, then return with control. Do 4 to 6 reps per side. If the full reach feels shaky, use the leg only or the arm only first. If your back arches, shorten the reach. If your wrists complain, drop to forearms.
This move should feel steady, not heroic. You are training anti-wobble control, which matters when you are carrying a baby, lifting a car seat, or twisting to grab a burp cloth from the couch.
7. Side-Lying Clamshells
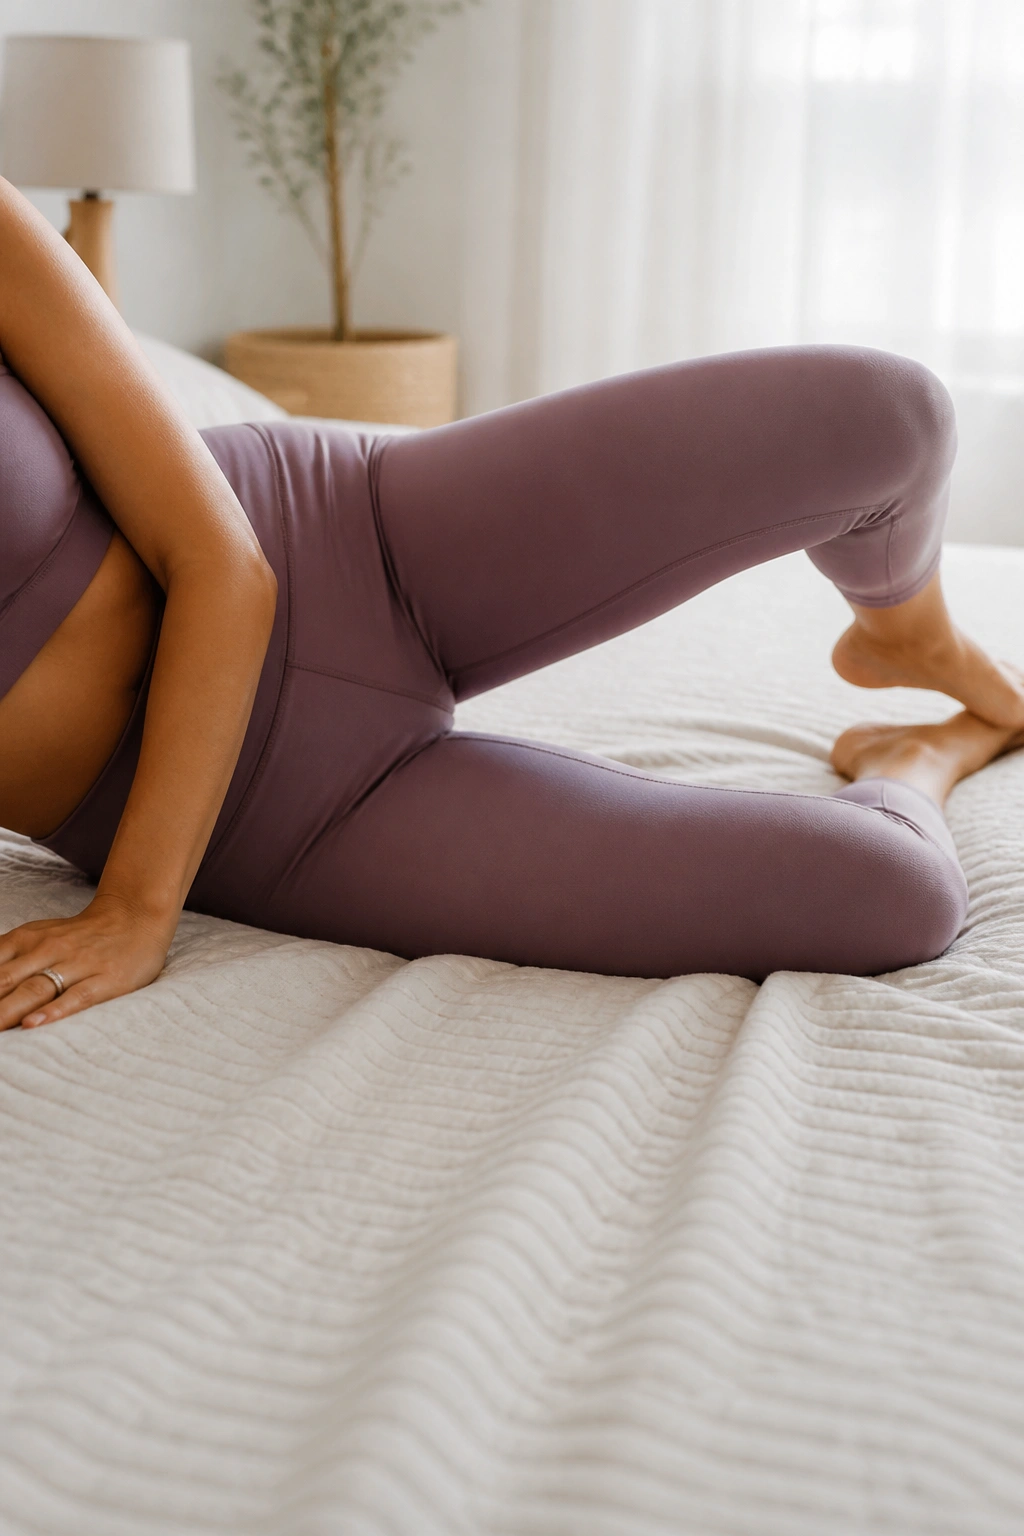
You should feel this in the side of the hip, not in your low back.
Lie on your side with hips and knees bent, feet together, and shoulders stacked. Keep the pelvis still while you open the top knee like a clamshell, then lower it slowly. The movement is small—about 20 to 30 degrees is enough.
Why does this matter for the pelvic floor? Because the side hip, especially the glute med, helps stabilize the pelvis during walking, stairs, and single-leg loading. When that area is sleepy, the pelvic floor often takes more strain than it should.
Do 10 to 15 reps per side. If you roll backward, the range is too big. If you feel the front of the hip grabbing, move your heels a little farther back. Slow wins here. Two clean sets are better than a fast burn that turns into hip flexor nonsense.
8. Sit-to-Stand From a Chair
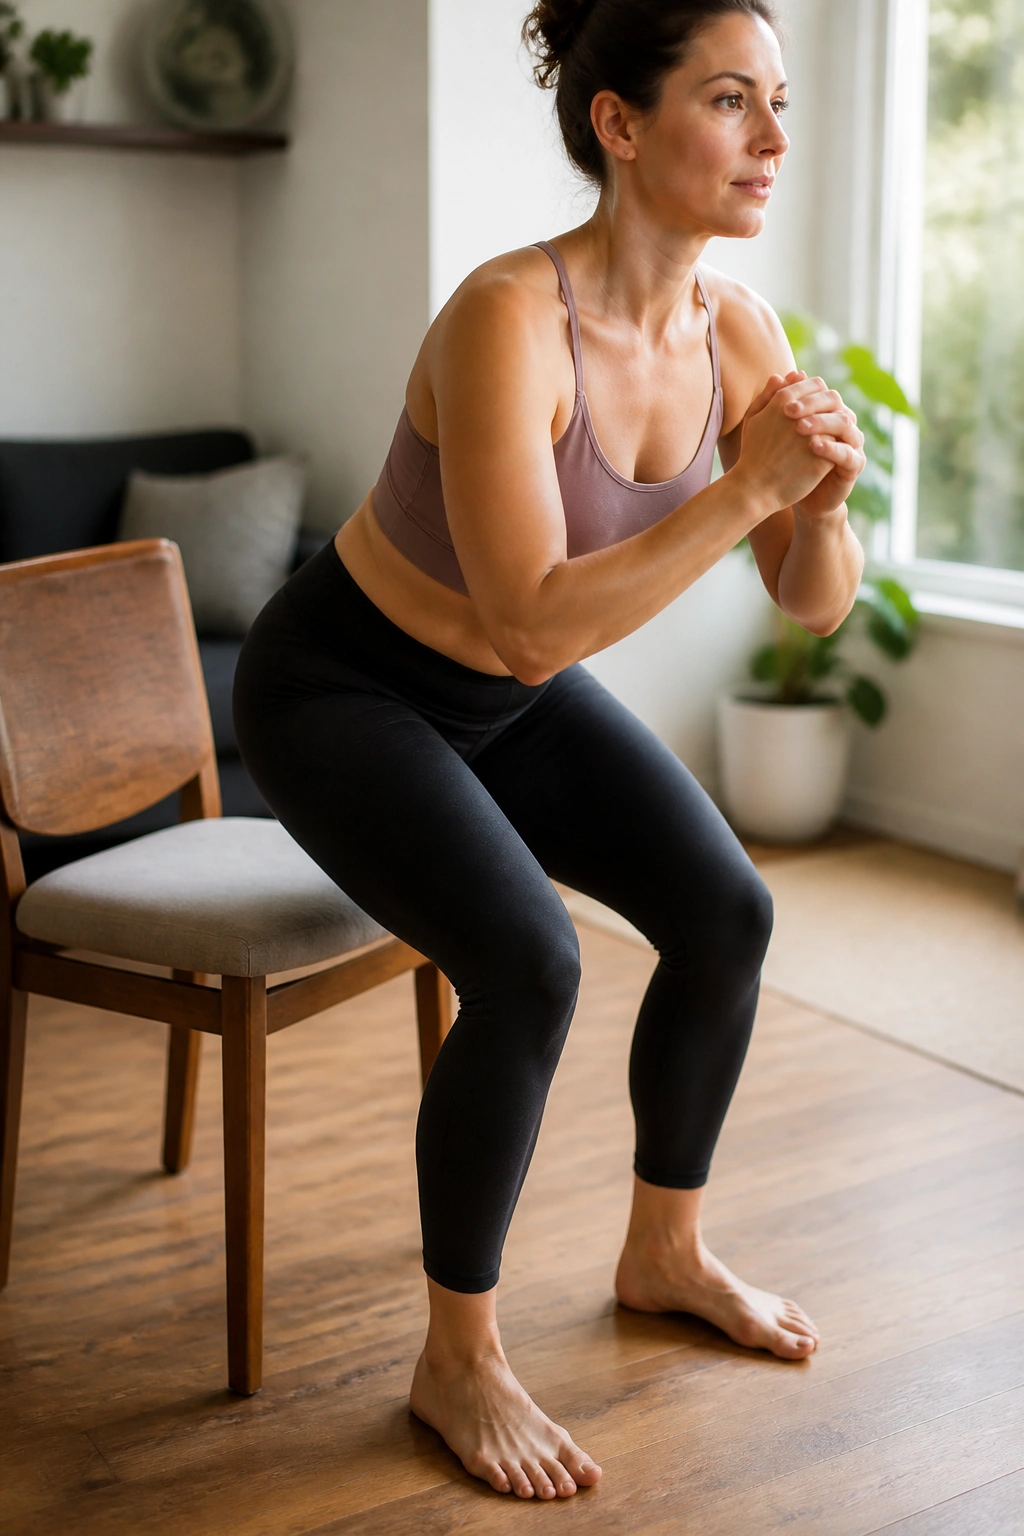
This is the squat you actually need in real life.
Pick a firm chair with a seat height that lets your feet stay flat. Sit near the front edge, feet under knees, and lean your torso slightly forward before standing. Exhale as you rise, then inhale as you sit back down with control.
The point is not speed. The point is to get up from a chair, a couch, or the edge of a bed without bracing so hard that your belly domes or your pelvic floor bears down. Keep the ribs soft, keep the knees tracking over the middle toes, and avoid flinging yourself up with momentum.
Try 8 reps to start. Use your hands lightly on the armrests if you need them. That is fine. If the lift feels heavy in the lower abdomen, make the chair a little higher or slow the lowering phase. The lowering phase teaches more than people think.
9. Wall-Supported Mini Squats
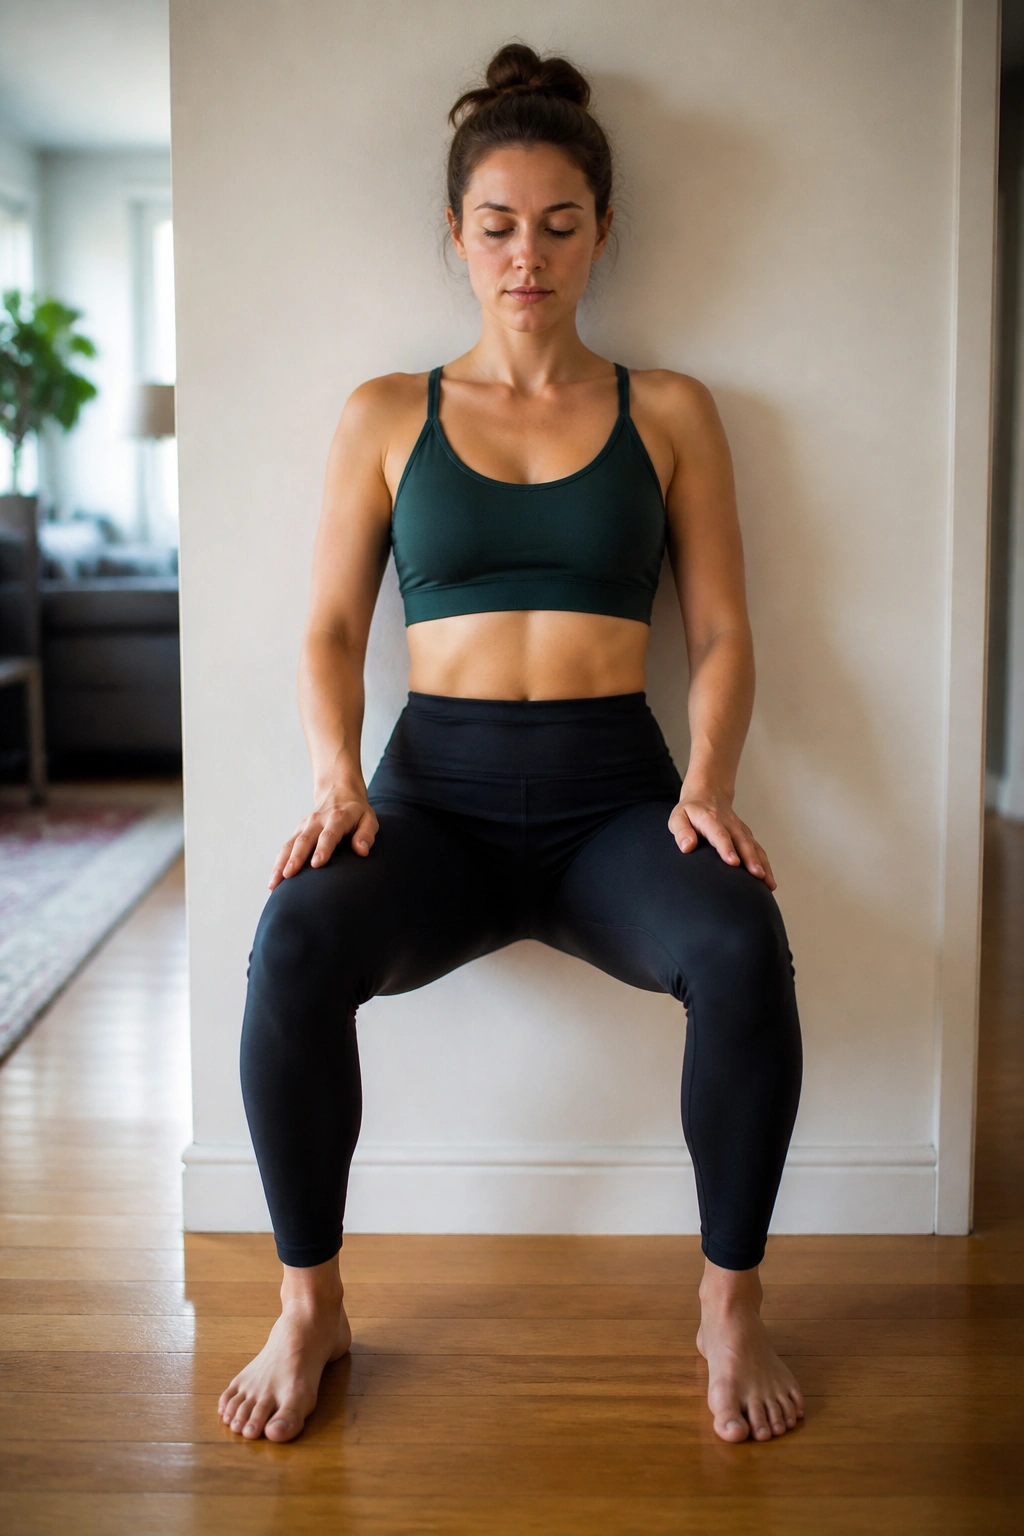
Why practice a half squat when a full one looks cooler? Because the half version keeps pressure lower and control higher.
Stand with your back near a wall or hold the back of a sturdy chair. Step your feet about hip-width apart. Exhale as you bend the knees and sit back a small amount, then inhale as you stand tall again. Think 25 to 45 degrees of knee bend, not a deep squat.
A few cues help:
- Keep the heels heavy.
- Let the knees track over the second toe.
- Keep the chest soft.
- Stop before the belly pushes forward.
Do 8 to 12 reps. If you notice pelvic heaviness, reduce the range and slow down. If the move feels easy, hold the bottom for one breath before coming up. This is a nice bridge toward later lifting and carrying, but there is no prize for going deeper before your body is ready.
10. Standing Weight Shifts and Marching
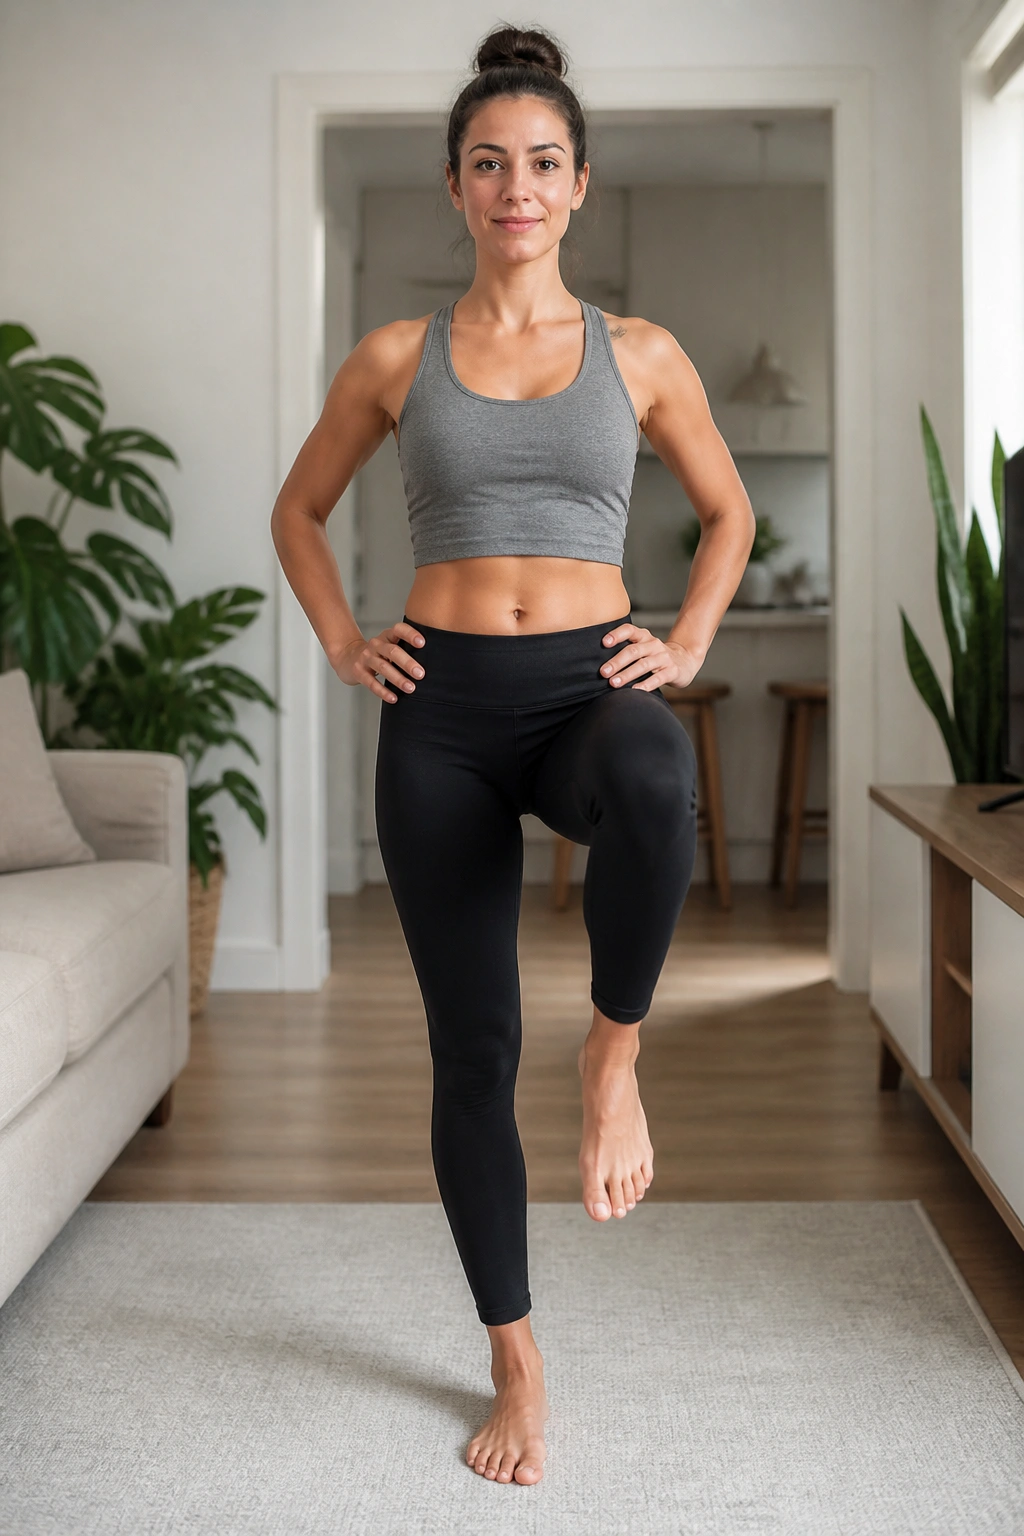
Getting the baby in and out of the car asks your body to balance before it asks it to lift. Standing weight shifts and marching prepare for that exact kind of mess.
Stand tall with feet under hips. Shift your weight slowly onto the right foot, then back to center, then onto the left. After that feels easy, lift one knee a few inches and set it down, alternating sides like a slow march.
Keep the pelvis level and the ribs stacked over the hips. You do not need a high knee. A tiny lift is enough to wake up the deep stabilizers and the pelvic floor. If you brace your belly hard enough to turn your face red, you’ve gone too far.
A practical way to use this drill: do it while waiting for the kettle, while brushing your teeth, or before picking up the stroller. That little bit of standing control pays off fast.
11. Bent-Knee Fallouts
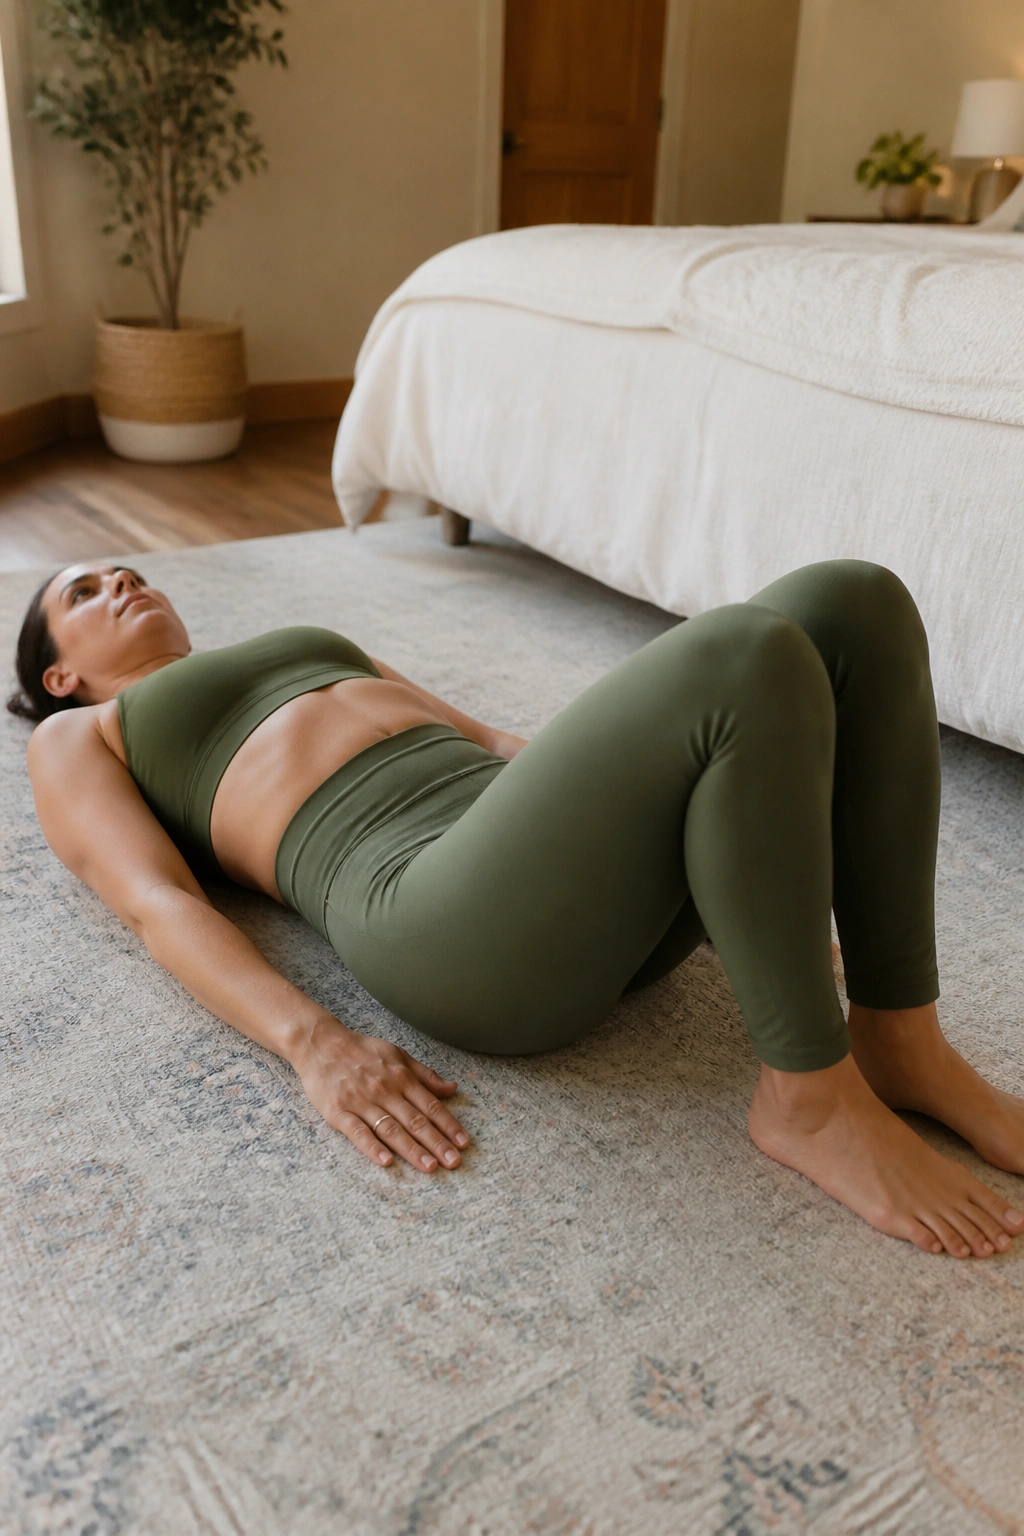
This one looks tiny and feels honest.
Lie on your back with both knees bent and feet flat. Exhale, then let one knee open out to the side a few inches while the pelvis stays level. Inhale and return to center. Switch sides and repeat.
The challenge is not the range; it is control. If the pelvis rocks, shorten the movement. If you feel your low back arching, press the exhale a little longer and keep the slide smaller. You should feel the lower abs and inner thighs work together without tension building in the neck or jaw.
Do 6 to 8 reps per side. A lot of postpartum bodies find this useful because it asks the pelvis to stay steady while one leg moves away from the midline. That is a real-life skill, not a gym trick.
12. Pillow Squeeze With Exhale
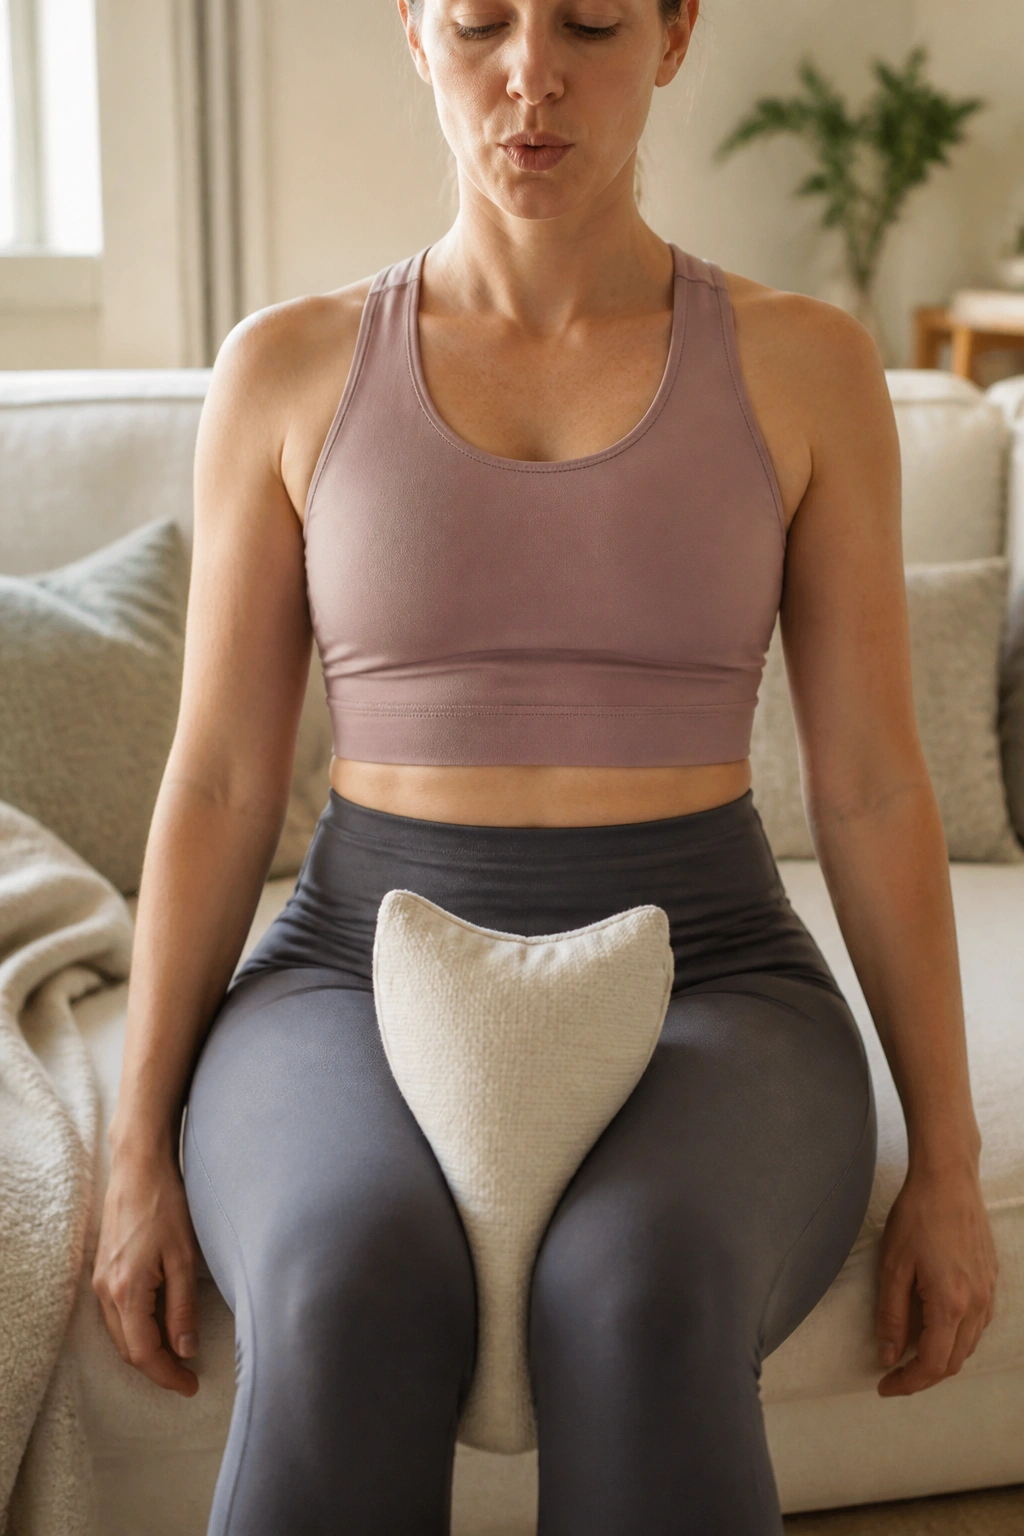
Inner-thigh work is not a pelvic floor trick, but it helps when the timing is clean.
Sit tall in a chair or lie on your back with knees bent and place a small pillow between your knees. On the exhale, squeeze the pillow lightly for 3 seconds, then fully release on the inhale. The key word there is lightly. A hard squeeze usually turns into butt gripping or breath-holding.
You can use this move on its own or pair it with a gentle Kegel. When the adductors and pelvic floor cooperate without strain, the body gets a cleaner signal about support and pressure.
Do 8 to 10 reps. If you notice your abs bulging, make the squeeze weaker. If your hips or groin feel sore, switch to a thinner pillow or a rolled towel. This should feel coordinated, not crampy. The minute it turns into a maximal effort, you’ve lost the point.
13. Cat-Cow With Pelvic Clock
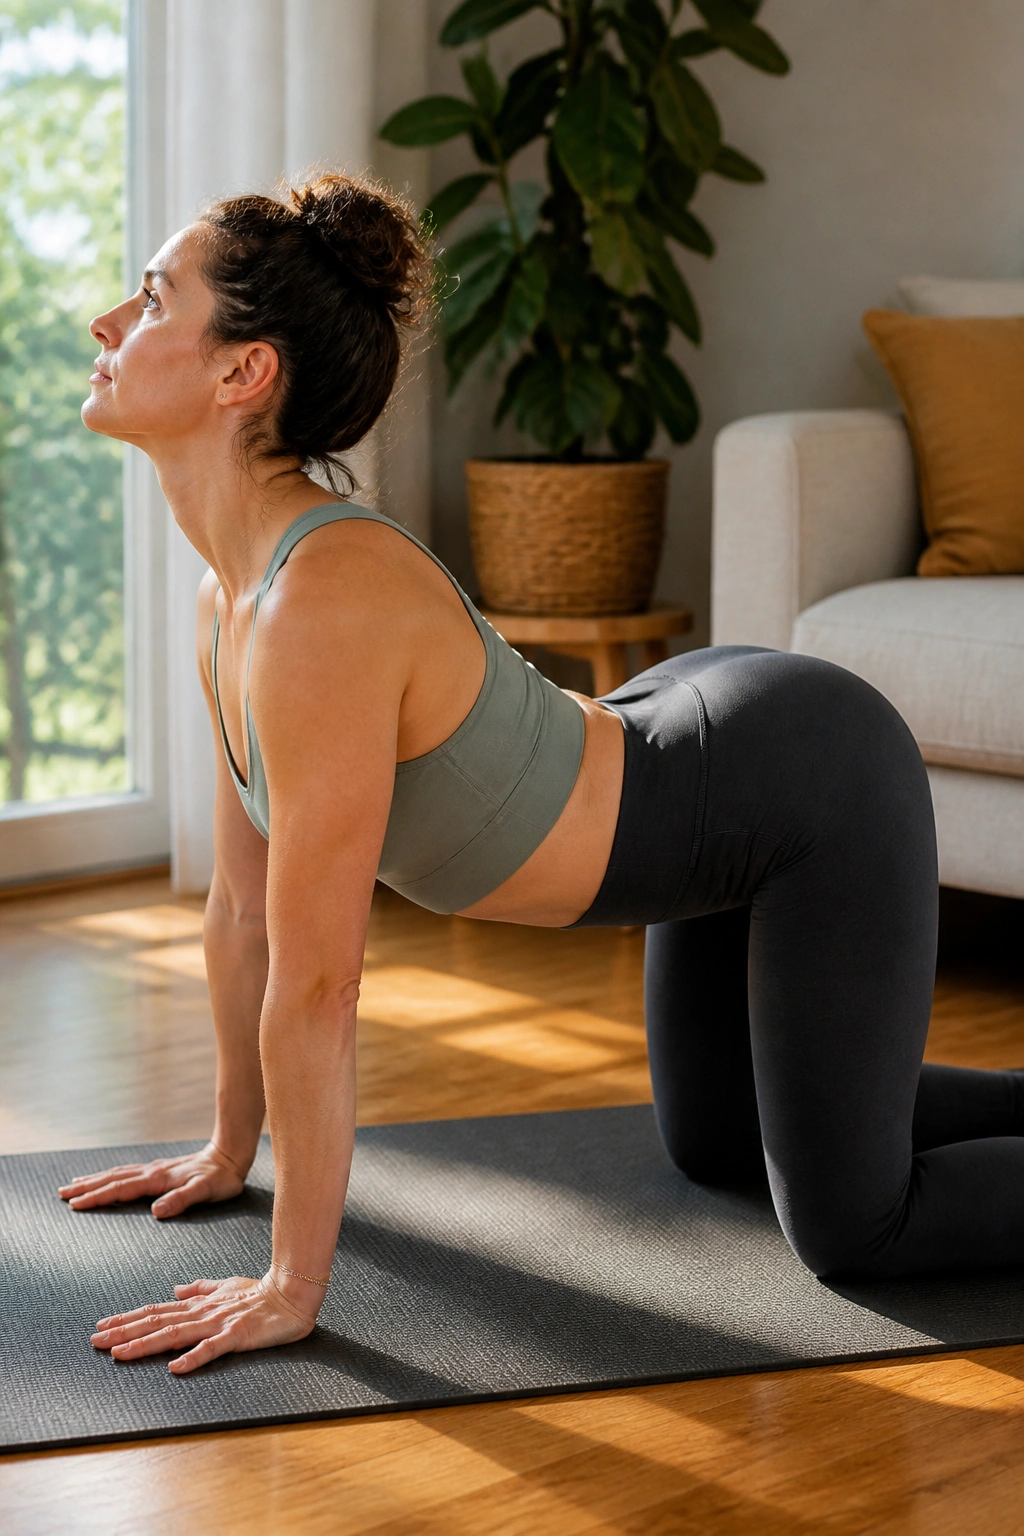
Stiff back after birth? The answer is not more crunches.
Cat-cow gives the spine motion while the breath stays in charge. Start on hands and knees. On the exhale, round the back gently into cat. On the inhale, let the chest open and the tailbone tip slightly up into cow. Keep the range smooth and modest.
After 6 to 8 rounds, imagine a clock resting under your pelvis. Tip the pelvis toward 12 o’clock, then 3, 6, and 9, making tiny circles without forcing anything. This helps people find pelvic motion again after months of guarding.
How to use it
Do this before bridges, bird dogs, or any standing work if your back feels stiff. If wrists are sore, prop yourself on forearms. If a deep hip flexor stretch feels too sharp, reduce the arch in cow and stay smaller. The goal is fluidity, not a stretch contest.
14. Child’s Pose With Wide-Knee Breathing
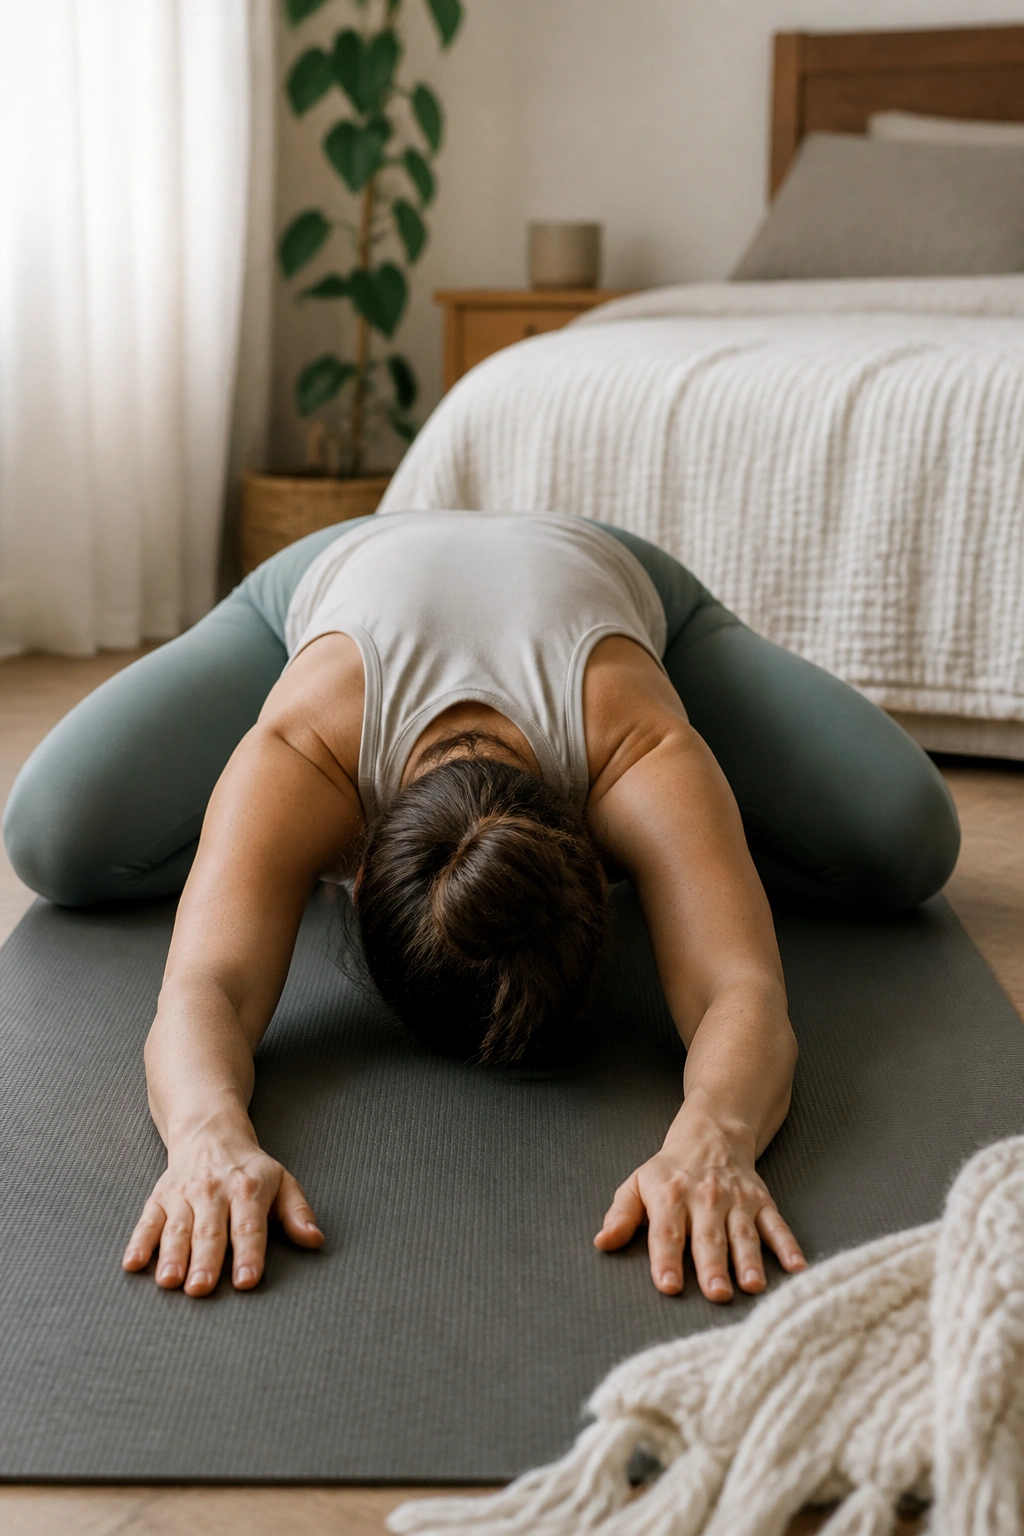
This should feel like your low back finally gets to unclench.
Kneel on the floor, open the knees wide, and let the big toes touch if that’s comfortable. Fold forward with your chest resting toward the floor or onto a stack of pillows. Breathe into the back ribs and the side waist for 4 to 6 slow breaths.
The wide-knee version gives the pelvic floor room to release, which matters when everything has been braced for months. If your belly or knees do not love the full fold, stay higher with pillows under the chest and forearms. That still counts.
I like this one after standing work or carrying work because it acts like a reset button. Not magic. Just useful. If the position brings on pressure, skip it and use a seated forward lean instead.
15. Step-Ups on a Low Stair
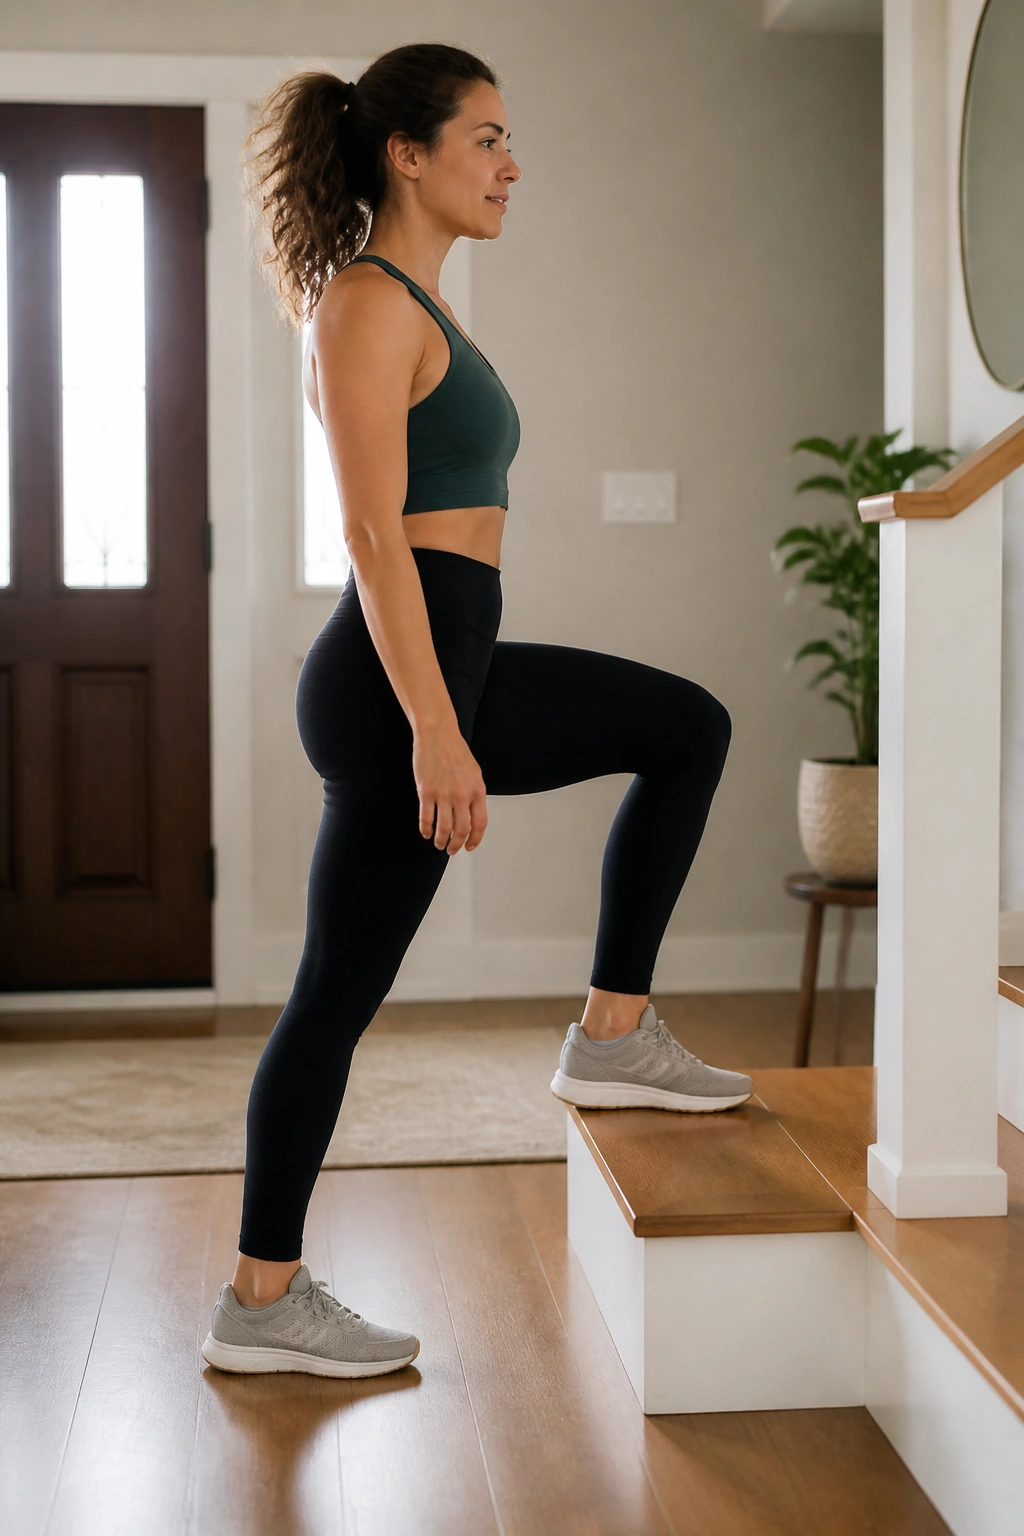
A 4-inch step is enough.
Use the bottom stair, a sturdy aerobic step, or even a very low platform. Place one whole foot on the step, exhale, and press through that foot to stand up. Lower with control, then switch sides. Keep the trailing leg quiet; do not give yourself a little hop to cheat the work.
You want the pelvis to stay level and the knee to track cleanly over the middle toes. If the step feels too high, choose something lower. If the move makes your pelvic floor feel heavy, slow down and reduce the height before you quit the exercise completely.
- Drive through the heel and midfoot.
- Keep the chest tall, not proud.
- Lower for a count of 2 to 3.
- Start with 6 reps per side.
This one helps with stairs, curbs, and the weird business of getting in and out of the car while holding a diaper bag.
16. Loaded Carry With Baby or Light Dumbbell
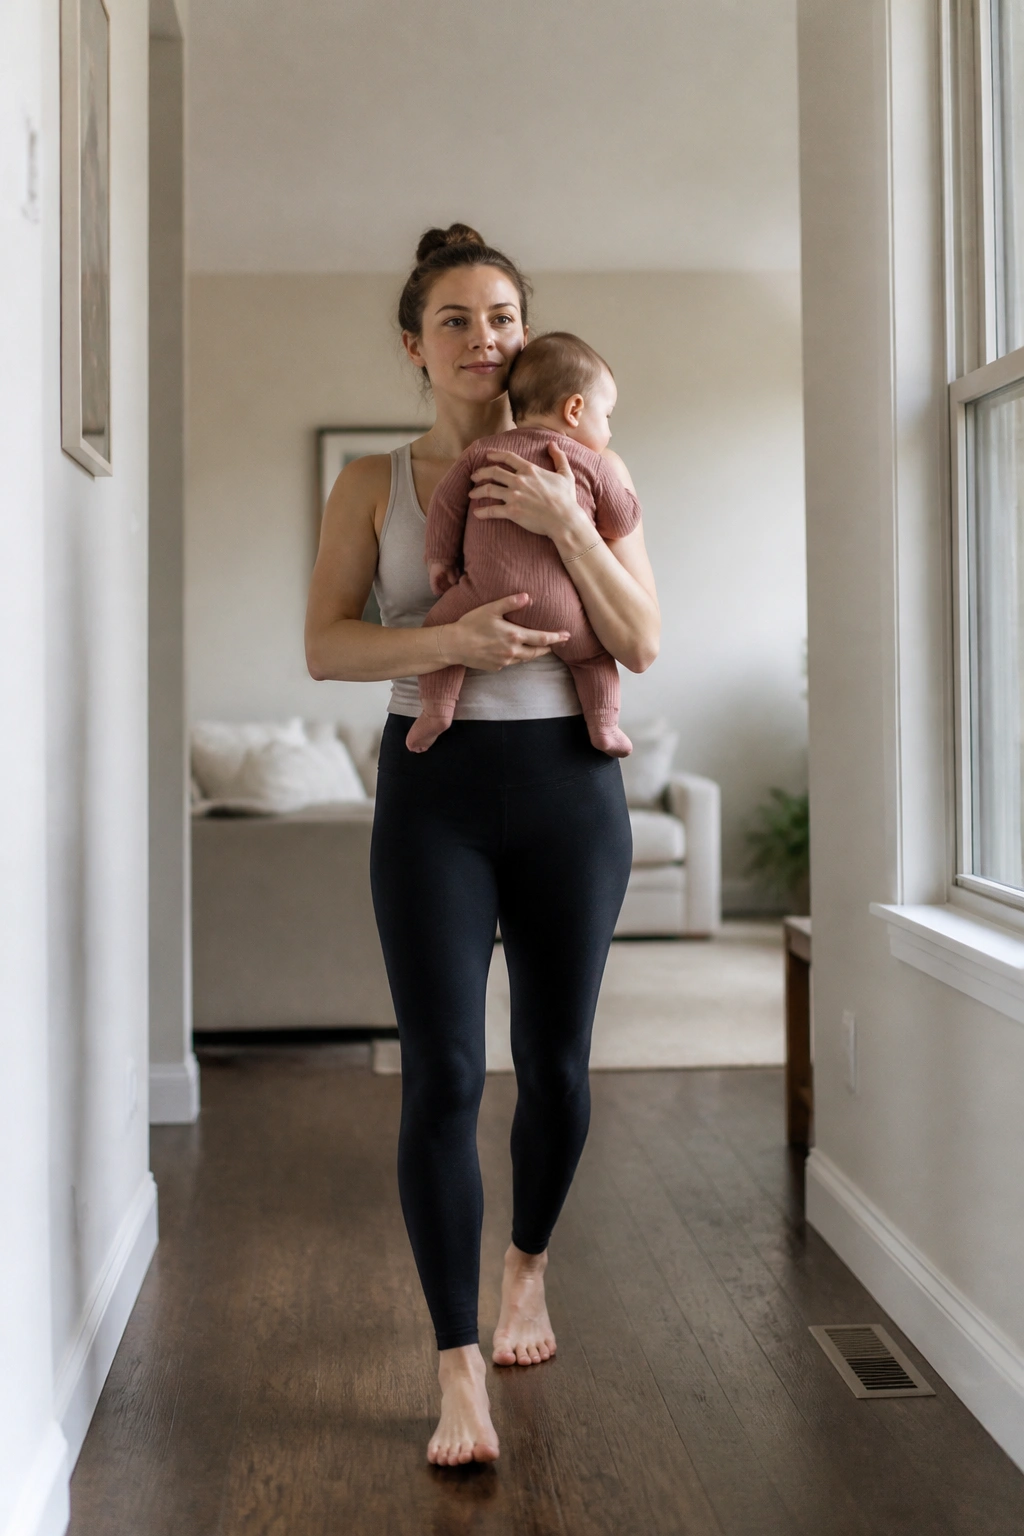
Unlike planks, carries train real life.
Hold your baby close to your chest, or pick up a light dumbbell or kettlebell if you want to keep the work separate from baby duty. Walk for 20 to 30 seconds with your ribs stacked over your hips and your shoulders relaxed. Do not lean back. Do not shift your weight to one side because it feels easier.
A suitcase carry, where you hold weight on one side only, can be useful later because it asks the core and pelvic floor to resist side bending. Start very light. Five to 15 pounds is plenty for most people who are still rebuilding.
If you are carrying a baby, exhale before you lift from the floor, then stand tall before you start walking. That little breath cue helps keep you from bearing down. This is the kind of work that sneaks into daily life, which is why it pays off. You are training the exact load pattern you repeat all day.
17. Single-Leg Balance at the Counter
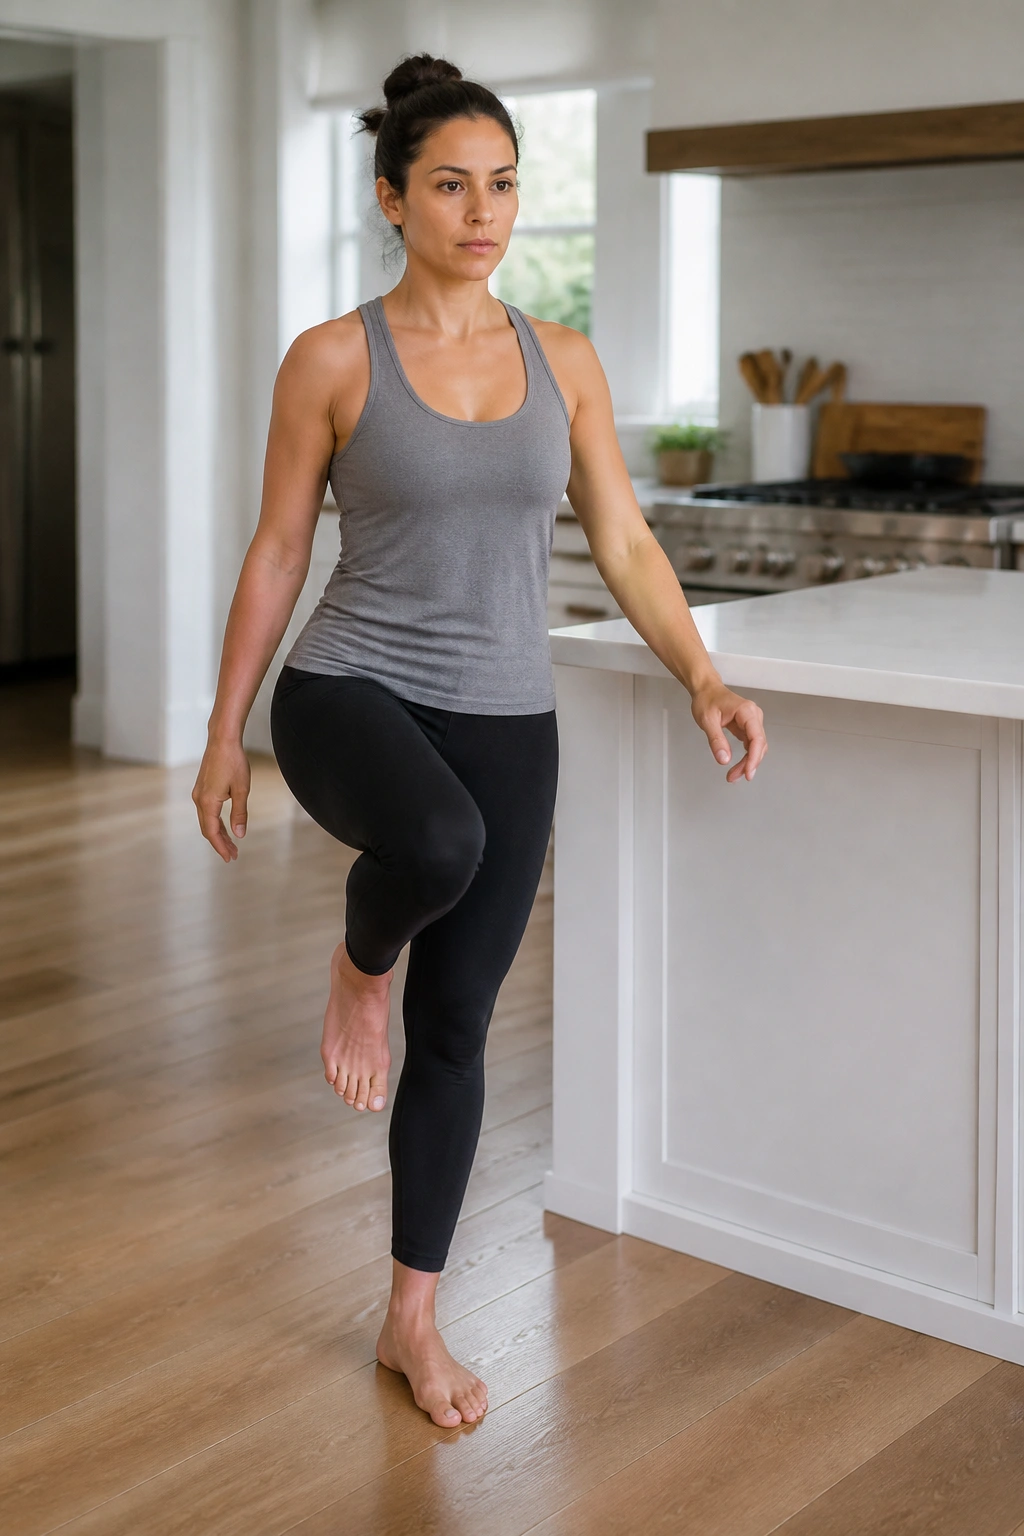
Why does standing on one foot matter to the pelvic floor? Because balance, hip control, and pelvic support all talk to each other.
Stand near a counter and place one or two fingertips on it for light support. Shift your weight onto one leg and lift the other foot a few inches off the floor. Hold for 10 to 20 seconds, then switch sides. Keep the standing knee soft, the toes relaxed, and the pelvis level.
If that feels easy, add a tiny knee bend on the standing leg or move the lifted leg slightly forward and back. Keep the effort small. This is not about wobbling until you collapse. It is about teaching the lower body to organize itself without a brace.
This drill helps in all the tiny moments that make up postpartum life: stepping over a toy, turning to set a baby down, or standing on one leg while pulling on leggings. Boring? A little. Useful? Very.
18. Final 10-Minute Recovery Circuit
Some days you do not need a full workout.
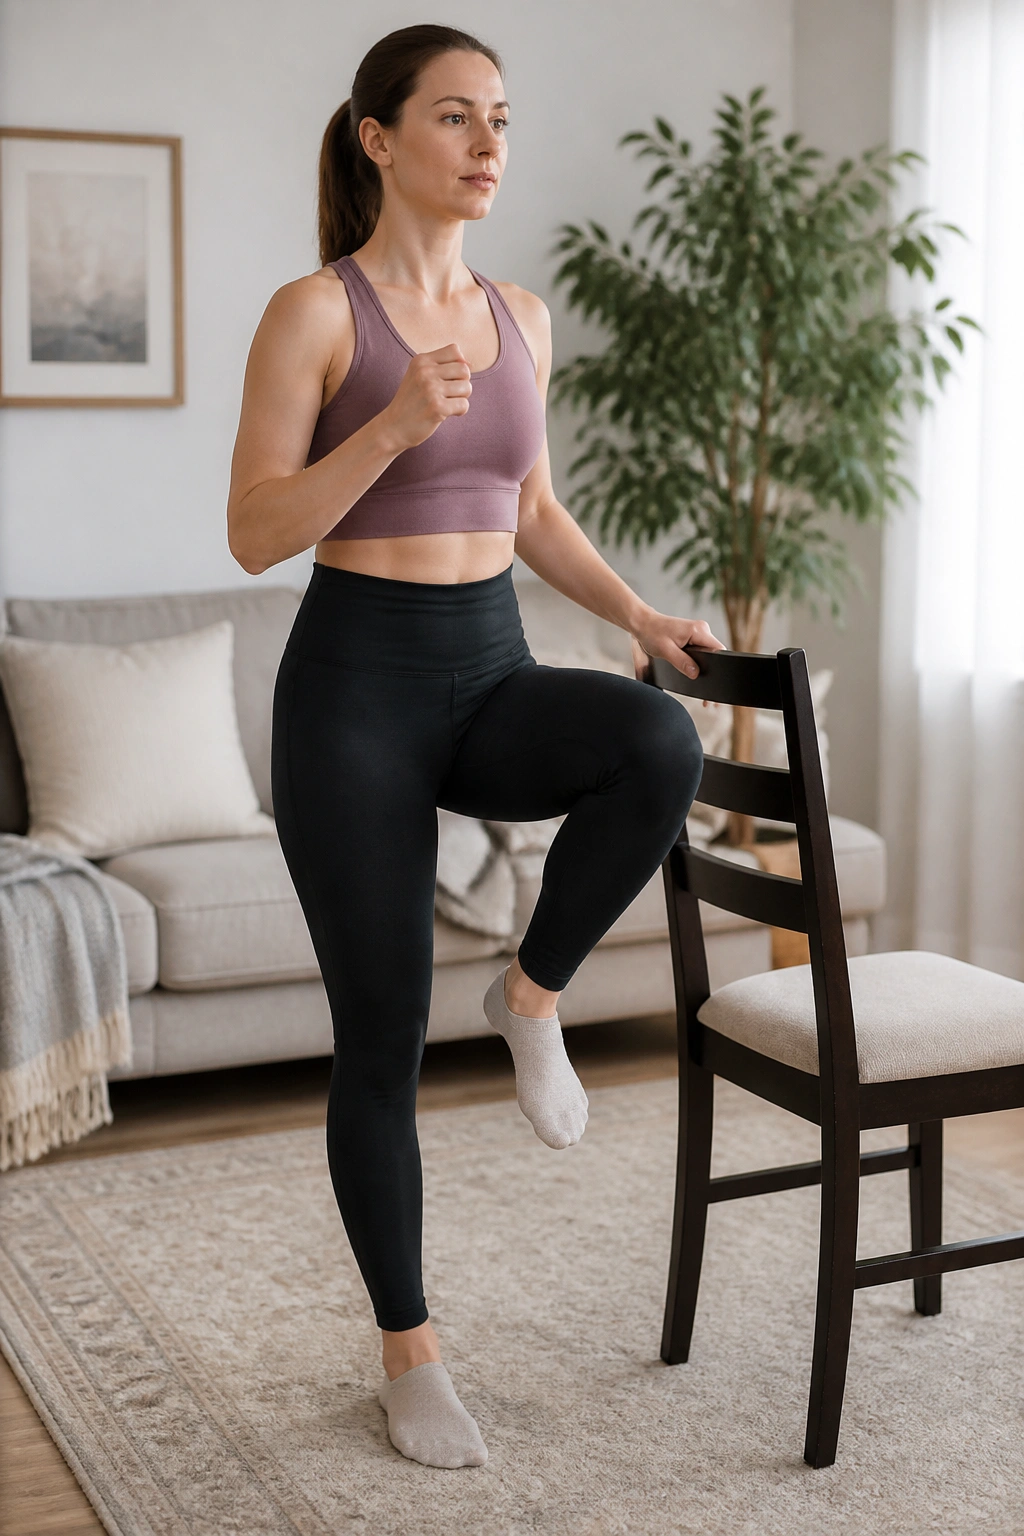
You need a small circuit that keeps the habit alive while sleep is broken and the house is loud. Try this sequence once through, or twice if your body feels settled: 5 diaphragmatic breaths, 5 slow Kegels with long releases, 6 heel slides per side, 8 sit-to-stands, and 20 seconds of marching or a light carry.
Keep the pace unhurried. If any move creates leaking, bulging, heaviness, or a sense that your belly is pushing outward, drop that move and return to breath plus one easy strength drill. Less is not failure. Less is often the smarter choice in postpartum recovery.
What matters most is that the pelvic floor workouts stay clean, repeatable, and calm. A ten-minute session done three times a week will usually help more than one huge, exhausting session that leaves you sorer and more guarded the next day. Build the pattern first. The harder stuff can wait.
