



Leg workouts at the gym are honest. They do not care how busy your week has been or how polished your upper-body split looks on paper.
A strong lower body changes the way everything feels. Stairs get easier, deadlifts stop wobbling, and even your posture improves a little because your hips are doing more of the work they were built for.
The best leg day is not one exercise done to death. It is a mix of heavy barbell work, one-leg training, hinge patterns, machine work, and a few finishing moves that find the weak spots your favorite lift keeps hiding.
A rack, a bench, a cable stack, and one machine that always seems a little greasy. That is enough. Use them well, keep the form clean, and the burn will take care of itself.
1. Back Squat for Heavy Quad and Glute Strength
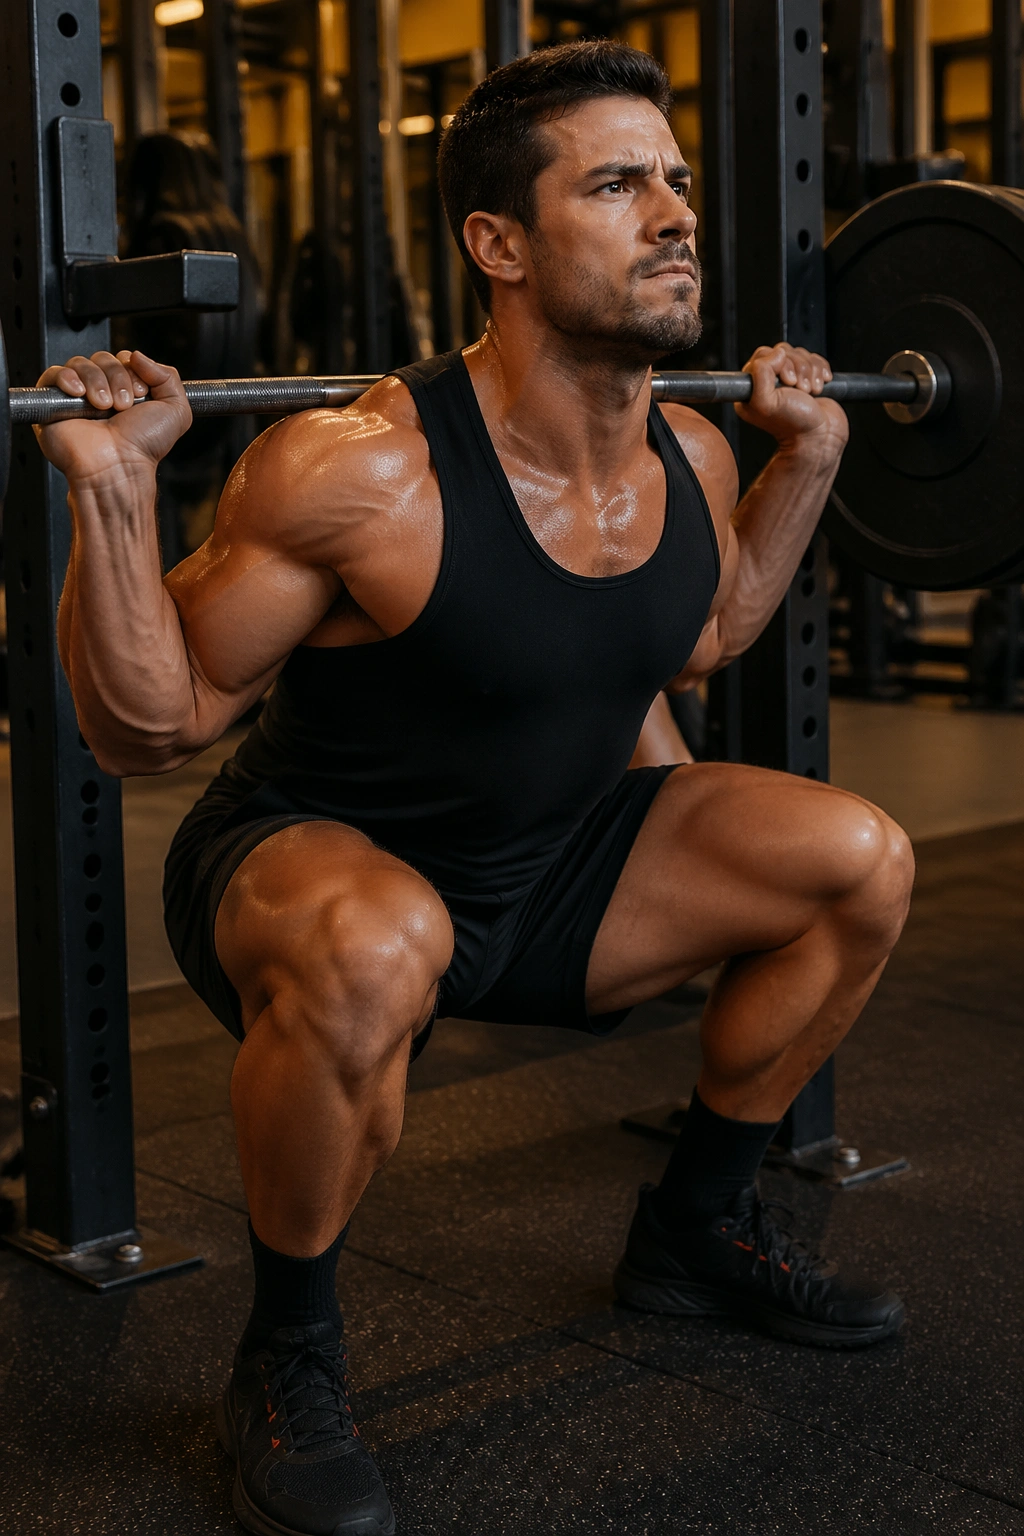
The back squat is still the anchor for a lot of serious lower-body training. There’s a reason for that. You can load it hard, measure progress easily, and build both quads and glutes without needing much more than a barbell and a rack.
Set the bar high on your traps or a little lower across the rear delts, then plant your feet about shoulder-width apart. Take a breath before you descend, brace like someone is about to poke your ribs, and keep the bar traveling over the middle of your foot. Clean reps matter more than heroic numbers.
Depth should be earned. If you can hit parallel or a bit below while keeping your spine steady, great. If your lower back starts turning into the weak link, shorten the range for a while and build back up.
What to Focus On
- Bar path: keep it stacked over midfoot from start to finish.
- Foot pressure: drive through the whole foot, not just the toes.
- Bracing: fill your belly with air before each rep.
Best use: 3 to 5 sets of 3 to 6 reps for strength, or 6 to 8 reps for size. Rest 2 to 3 minutes if the sets are heavy.
2. Front Squat for a More Upright Leg Day
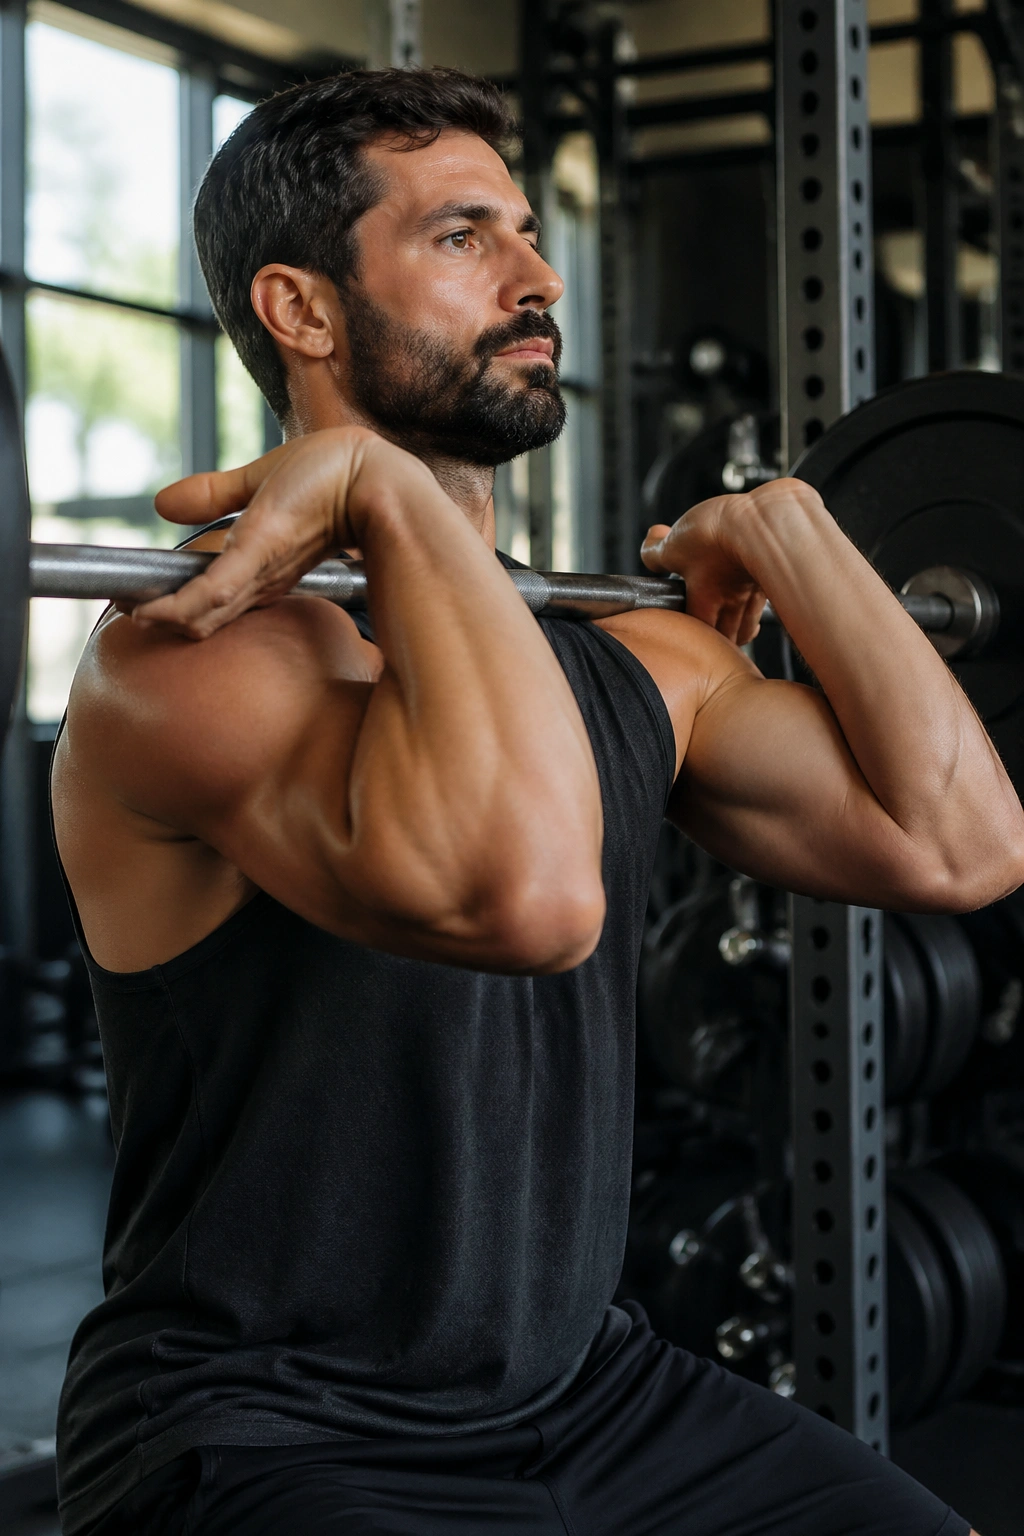
Front squats punish lazy torso control. That is the whole appeal. The bar sits on the front delts, not your back, so your upper back, core, and quads have to work harder just to keep the lift from folding in half.
The torso stays more upright than in a back squat, which shifts more of the load to the front of the thighs. Clean grip works if your wrists allow it. Cross-arm grip works too, and I’ve seen plenty of strong lifters use lifting straps around the bar when the rack position gets ugly.
Use lighter weight than your back squat and respect that fact. This is not the place to chase ego numbers. Four sets of 4 to 6 controlled reps is a solid starting point, with a pause at the bottom if you want to make the lift meaner.
A clean front squat also tells you a lot about mobility. If your elbows drop, your chest caves, or your heels lift, the lift is telling you something useful. Listen.
3. Romanian Deadlift for Hamstrings That Actually Work
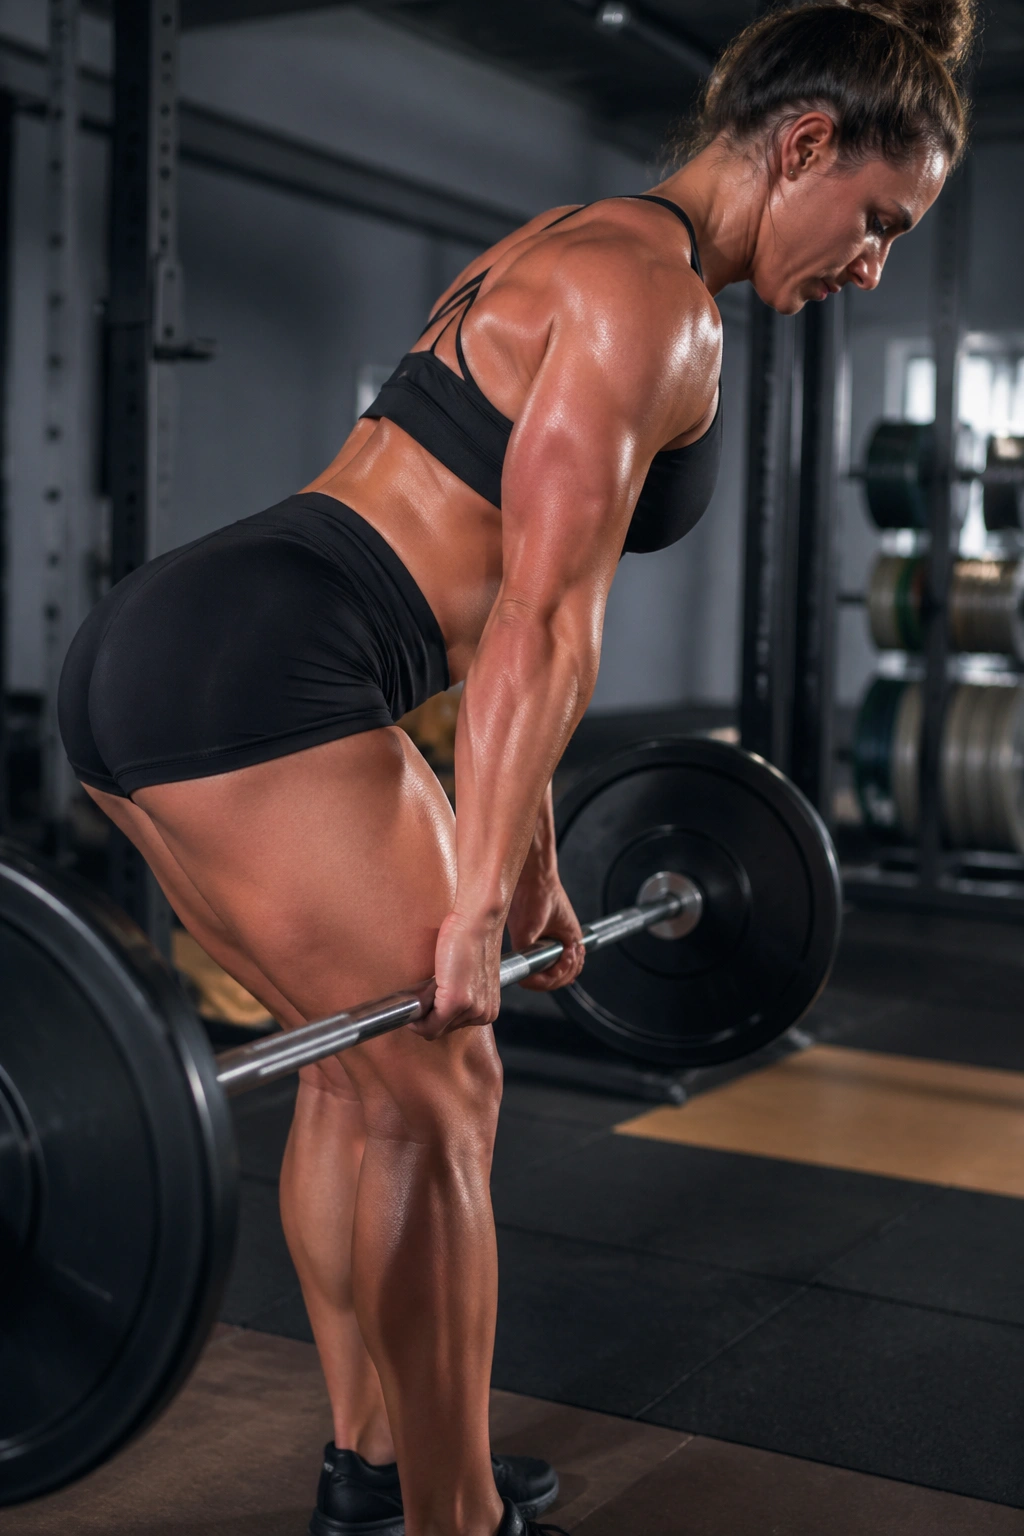
Why do Romanian deadlifts show up on so many serious leg days? Because they load the hamstrings in a stretched position without turning the movement into a back exercise. That stretch is the point.
Stand tall with the bar in your hands, soften the knees, and push your hips back as if you’re trying to close a car door behind you. The bar should glide close to your thighs and shins. If it drifts away from the body, your lower back starts paying rent for the movement.
Go down only as far as you can keep your spine neutral and your hamstrings under tension. For most people, that means stopping somewhere below the knees or mid-shin. Heavy RDLs work well in the 6 to 8 rep range; lighter sets of 8 to 10 are useful when you want more time under tension.
How to Use It
- Barbell: best for loading heavy and tracking progress.
- Dumbbells: useful if your hips feel crowded with a barbell.
- Tempo: lower for 2 to 3 seconds, then stand up with intent.
4. Trap Bar Deadlift for a Friendlier Heavy Pull
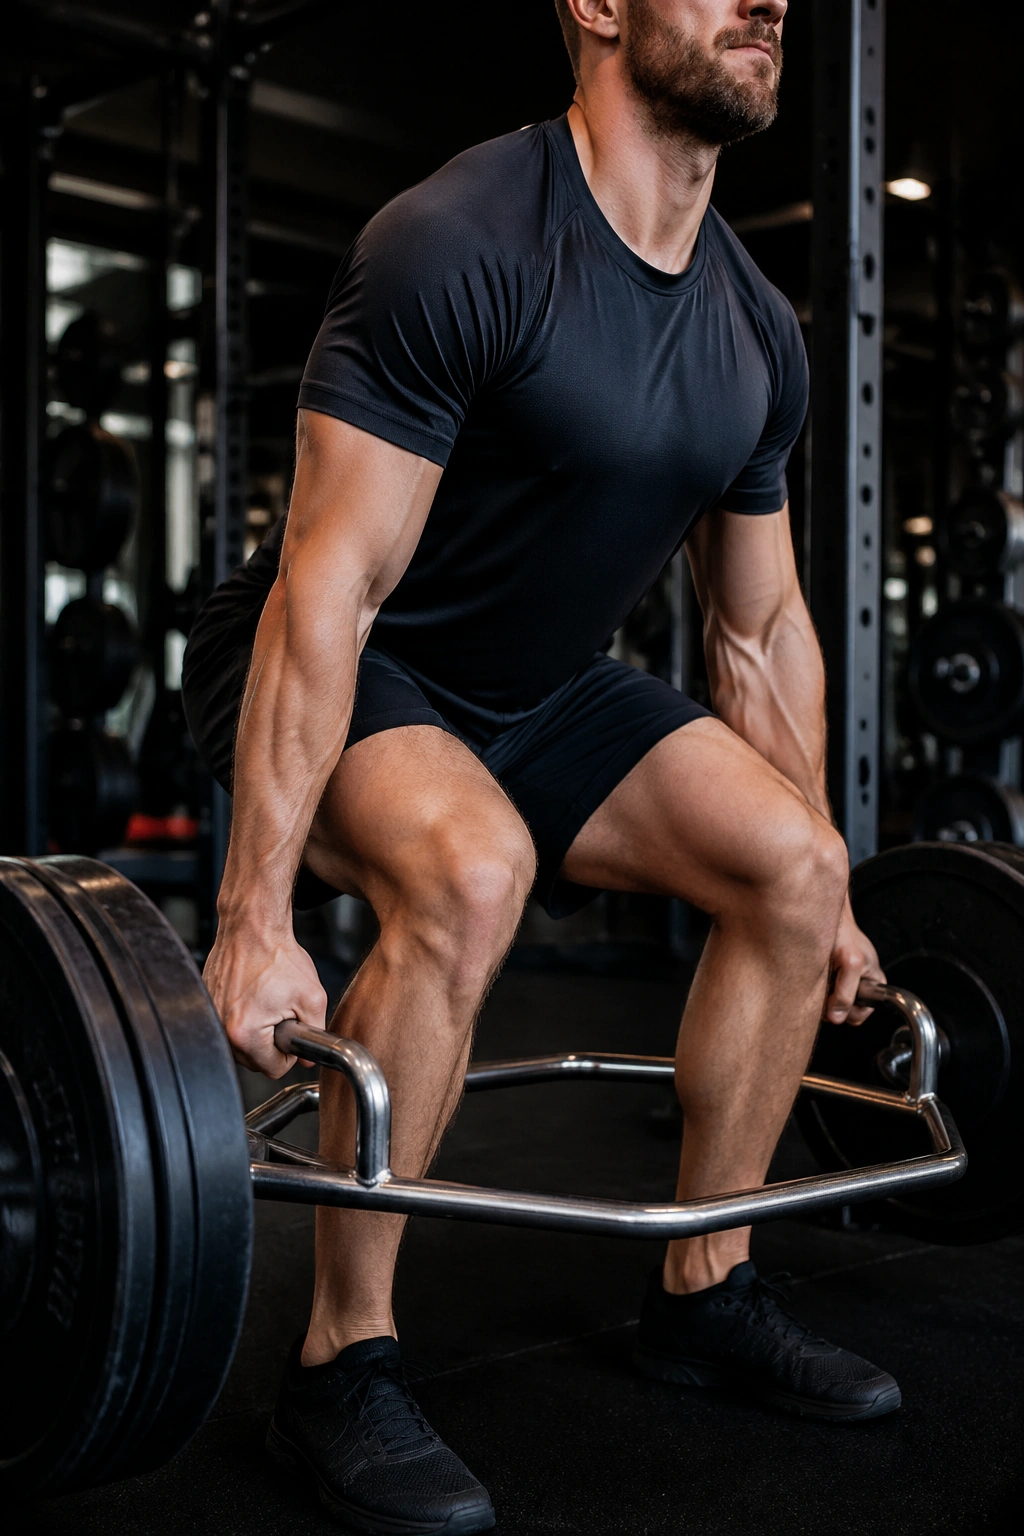
If straight-bar deadlifts leave your lower back tired before your legs do, the trap bar can feel like a relief. It still lets you move heavy weight, but the body position is usually a little more upright, with more knee bend and less tugging on the spine.
That makes it useful for leg strength without the same grindy feel some people get from conventional deadlifts. Use the low handles if you have the mobility and want a bigger range of motion. Use the high handles if your back is cranky or your setup keeps breaking down.
This lift works well for 3 to 5 reps when you want power, or 5 to 8 reps when you want size and control. The goal is a clean push through the floor, not a sloppy yank from the floor.
- Best for: newer lifters, athletes, or anyone who wants heavy leg work without a long technical learning curve.
- Watch for: hips shooting up too fast.
- Cue: drive the floor away instead of trying to stand up with your back.
5. Bulgarian Split Squat for One Leg at a Time
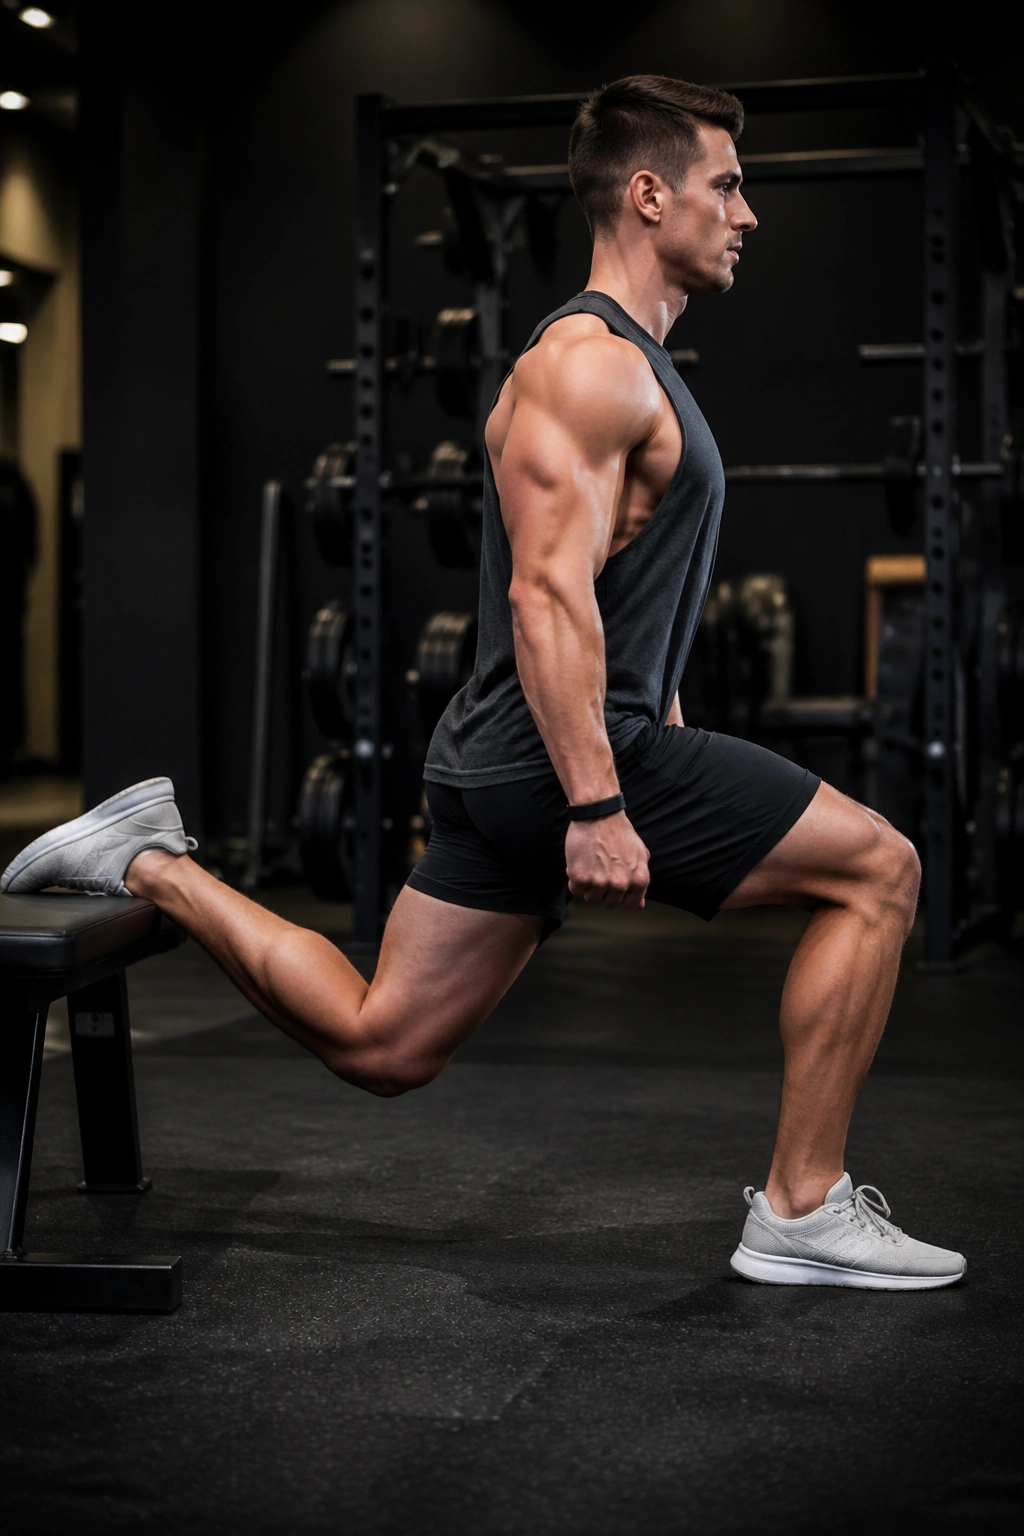
A pair of dumbbells and a bench can humble people faster than fancy machines. Bulgarian split squats do exactly that. They force each leg to earn its own rep, and they expose side-to-side differences fast.
Set the rear foot on a bench behind you, then step the front foot far enough forward that the front heel stays down and the knee has room to travel. A longer stride shifts more work into the glute. A slightly shorter stance hits the quads harder. Both are useful.
Your balance will complain before your muscles do. That’s normal. Keep most of your weight on the front leg, let the torso lean a little if you want more glute work, and lower under control for 8 to 12 reps per side.
I like this one after squats, not before. It can be a finisher or the main event, depending on how much attitude you want from your leg day.
6. Walking Lunge for Athletic Legs and Better Coordination
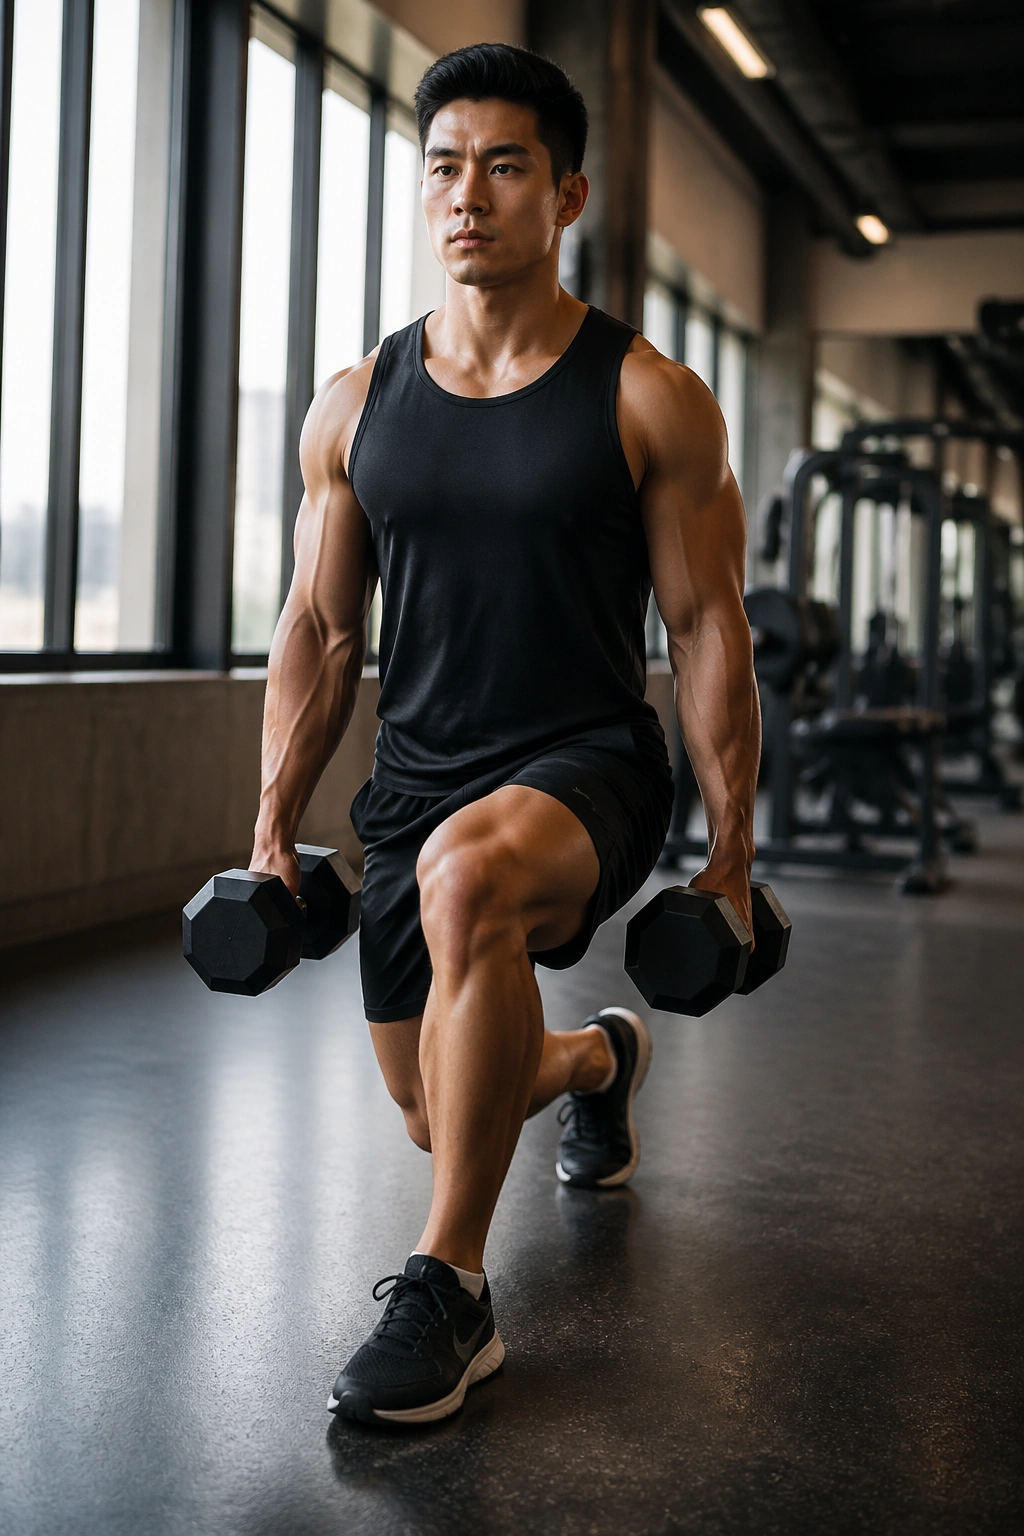
Walking lunges feel different from split squats because you never get to park and rest between reps. That moving pattern builds leg strength, but it also asks for coordination, rhythm, and a little patience with your own balance.
Take a long enough step that both knees can bend without you toppling forward. Keep the chest tall, step through with the front leg, and resist the urge to slam the back knee into the floor. Smooth steps beat rushed ones every time.
Use dumbbells at your sides or a goblet hold in front of the chest if you want to keep the torso honest. Twenty to forty total steps is enough to matter, and you’ll know it by the time you rack the weights.
One clean set can feel more demanding than three lazy sets of machine work. That’s not a flaw. It’s the point.
7. Reverse Lunge for Knee-Friendlier Quad Work
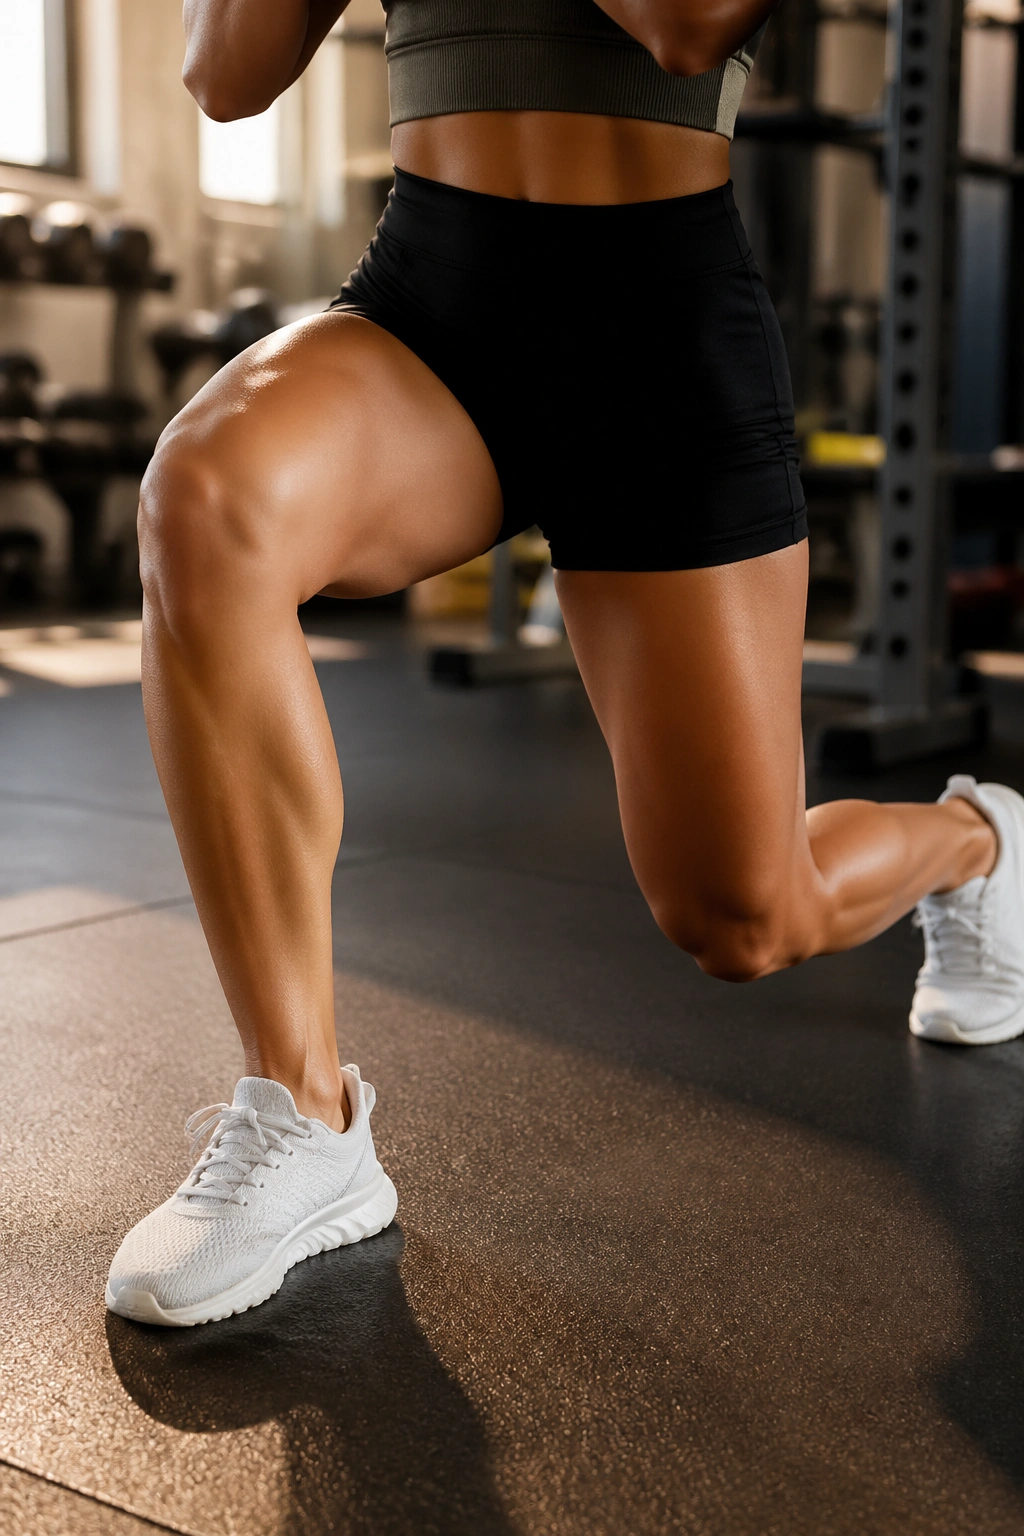
Need a leg move that feels a little kinder on cranky knees? Reverse lunges usually fit the bill. Stepping back shifts the motion away from that forward knee jab you get in some forward lunges, and the whole movement tends to feel more controlled.
Stand tall, step one leg back, and lower until both knees bend comfortably. The front foot stays planted. The back knee hovers close to the floor without crashing into it. Push back to standing through the front leg, not by bouncing off the rear toes.
This is one of those lifts that rewards calm reps. Don’t rush. The slower you lower, the more you’ll feel the quads and glutes doing actual work instead of just surviving the motion.
Small Tweaks That Help
- Shorter range: useful if your knee gets sore at the bottom.
- Dumbbells at your sides: easier to balance than a barbell.
- Soft forward torso lean: helps shift load into the glutes.
8. Leg Press When You Want Leg Workouts at the Gym Without Balance Limits
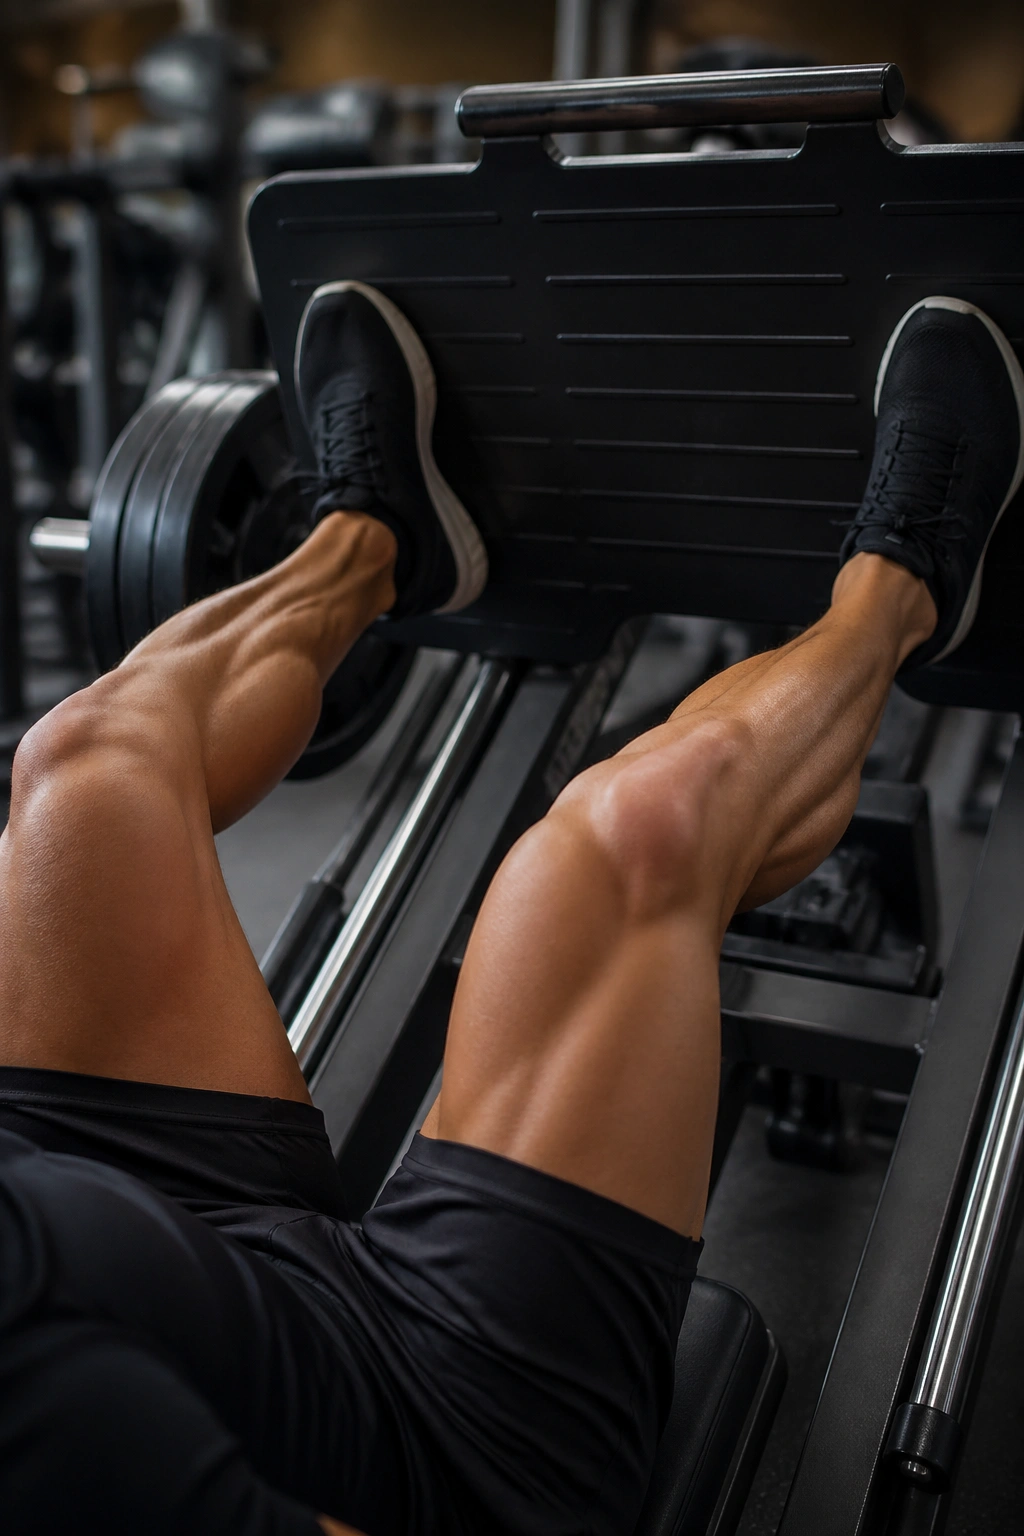
The leg press is not cheating. It is one of the easiest ways to pile on hard quad work after the big free-weight lifts are done, and it does it without balance becoming the main event.
Foot placement changes the whole feel. Lower and narrower usually lights up the quads. Higher and wider shifts more into the glutes and adductors. Whatever stance you choose, keep the knees tracking in the same line as the toes and stop short of rounding the lower back at the bottom.
The sled should move under control. If the weight stack is slamming, you are moving too fast. Two to three seconds down, then drive up hard without locking the knees with violence. That tiny detail saves a lot of wear and tear.
Quick Foot Placement Guide
- Low and narrow: quad-heavy.
- Mid-platform: balanced.
- High and wide: more glute and inner-thigh work.
9. Hack Squat for Deep Quad Burn
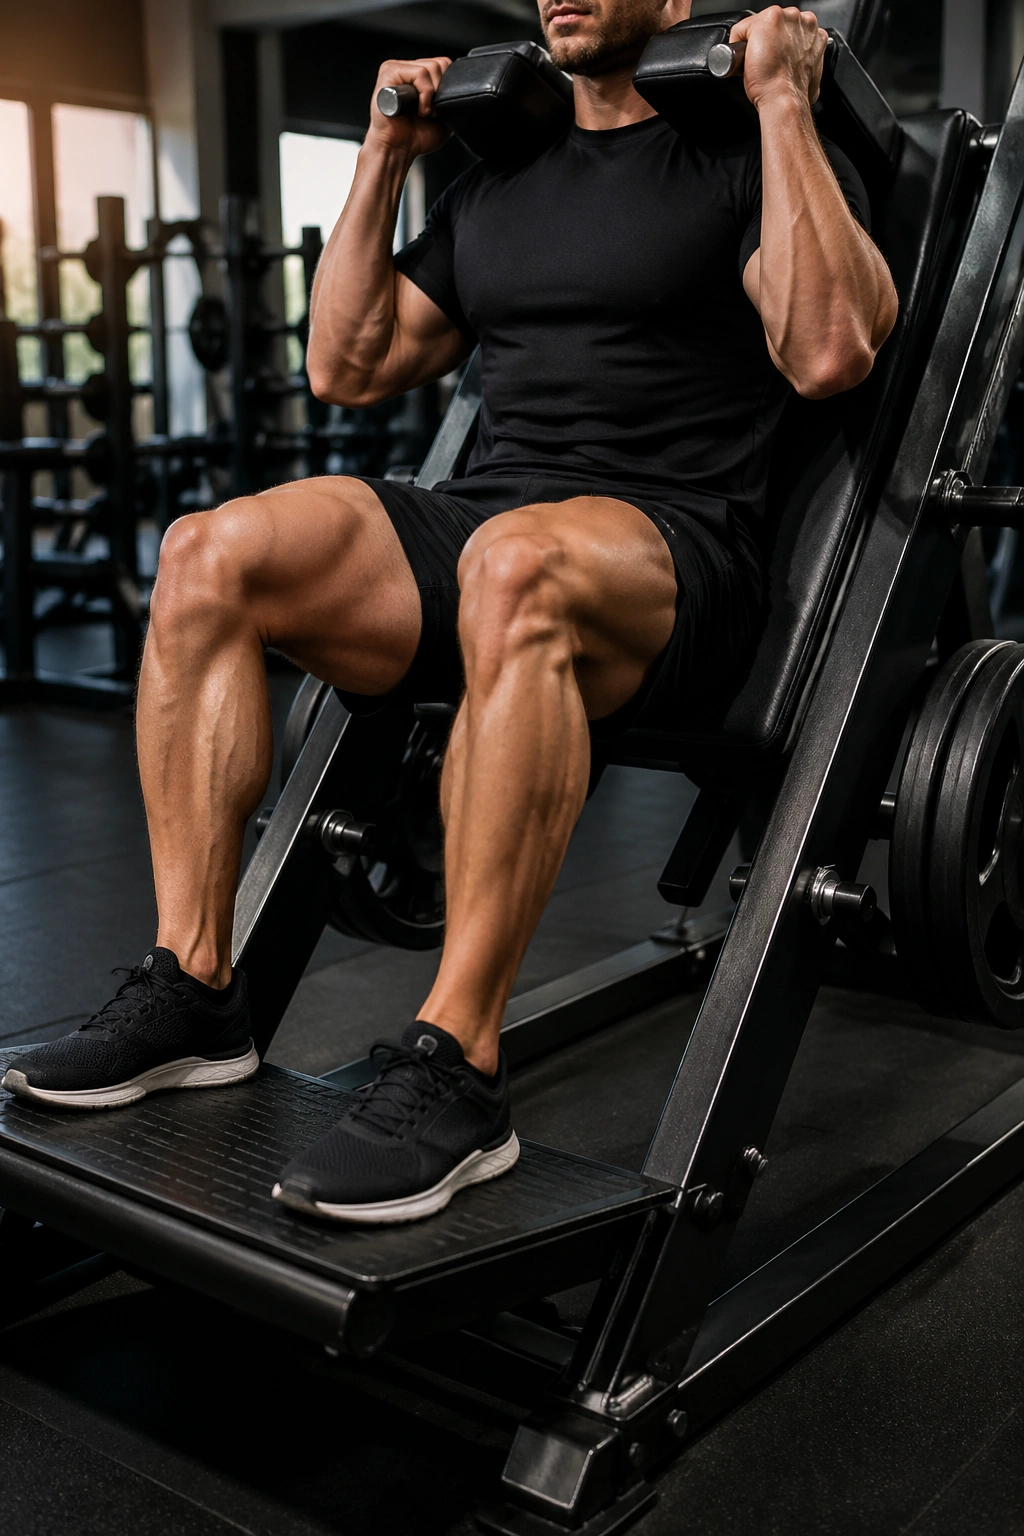
The first hard set on a hack squat tells you a lot. The quads start complaining early, the torso stays pinned, and there is nowhere to hide sloppy effort. That fixed machine path is exactly why people keep coming back to it.
Because the machine supports your upper body, you can push deeper knee bend without worrying about bar stability. Keep your feet planted flat on the platform, lower under control, and drive up without bouncing out of the bottom. If your heels keep lifting, widen the stance a touch or move your feet a little higher on the plate.
Hack squats are especially useful when you want hard quad work without much technique drama. Eight to twelve reps is a strong working range. If your machine feels smooth and your knees stay happy, you can go a little higher in reps and treat it like a brutal finishing block.
That machine is mean in a useful way.
10. Smith Machine Squat for Stable High-Volume Work
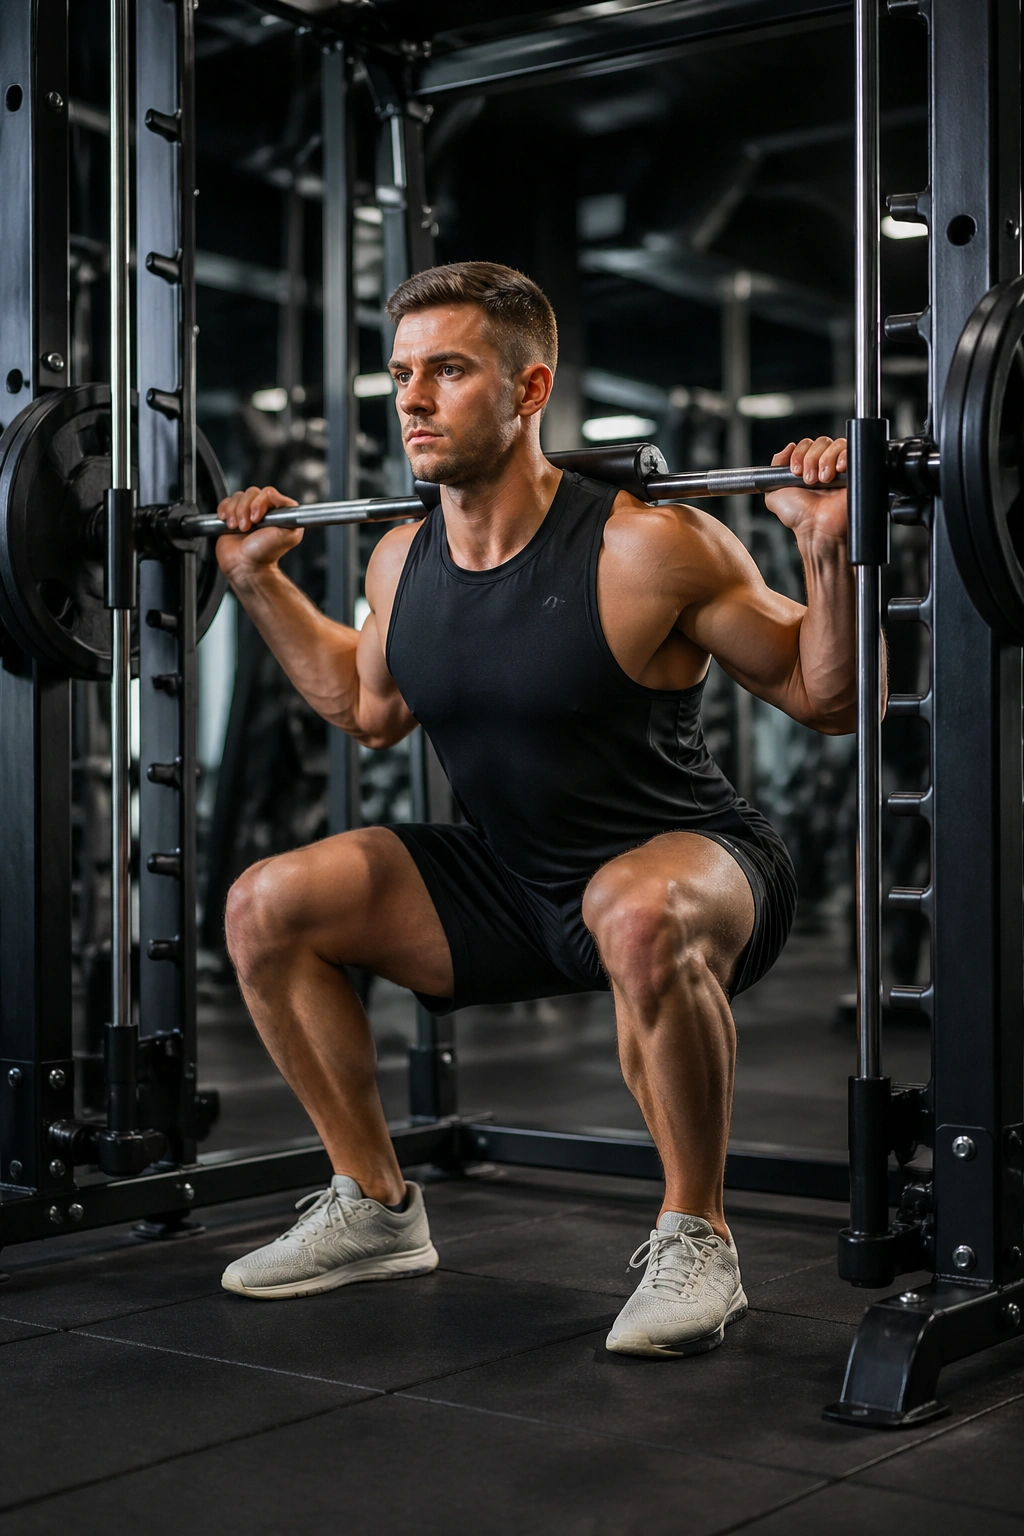
If you want to load legs without babysitting balance, the Smith machine earns its keep. The guided bar path makes it easier to focus on the actual muscles doing the work, especially when fatigue starts making barbell squats messy.
The setup matters. Most people need to place their feet a little forward so the bar path lines up with the body’s natural squat track. If you stand too far under the bar, the movement can feel forced and awkward. Test the path with an empty bar first. Some Smith machines travel at a slight angle, and that angle changes everything.
This is a solid choice for higher-rep squat variations, split squats, or even heel-elevated quad work. It is not a replacement for free-weight squats, but it is a smart tool when you want to keep tension on the legs and reduce balance noise.
11. Barbell Hip Thrust for Heavy Glute Strength
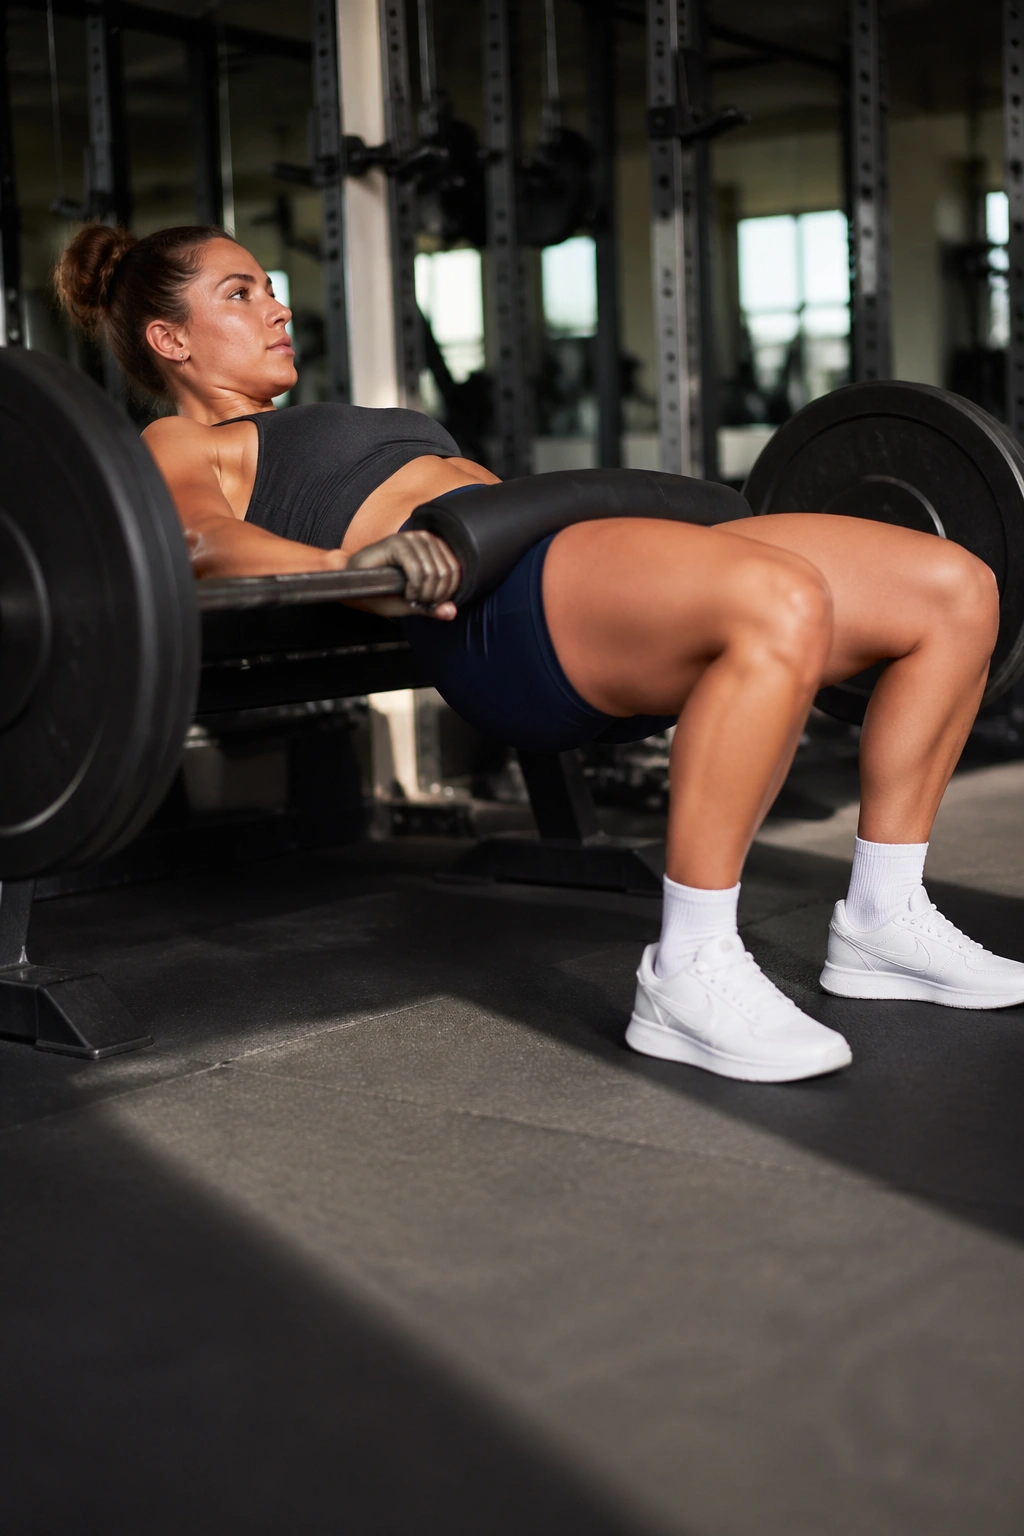
The top of a heavy hip thrust feels like your glutes are trying to cramp and cheer at the same time. That weird little squeeze is why the lift works so well for glute strength and size.
Set your upper back on a bench, roll the bar into the hip crease with a pad if you need one, and plant your feet so your shins are close to vertical at the top. Keep the ribs down. Tucking the chin helps stop the lower back from stealing the rep.
A one-second pause at lockout makes the movement much more honest. Six to twelve reps is the sweet spot for most people, with a smooth lowering phase and no bouncing off the bench.
Three Details That Matter
- Bench height: just below the shoulder blades.
- Chin position: tucked, not craned back.
- Top position: hips fully extended, not arched through the spine.
12. Glute Bridge for Simple, Solid Glute Work
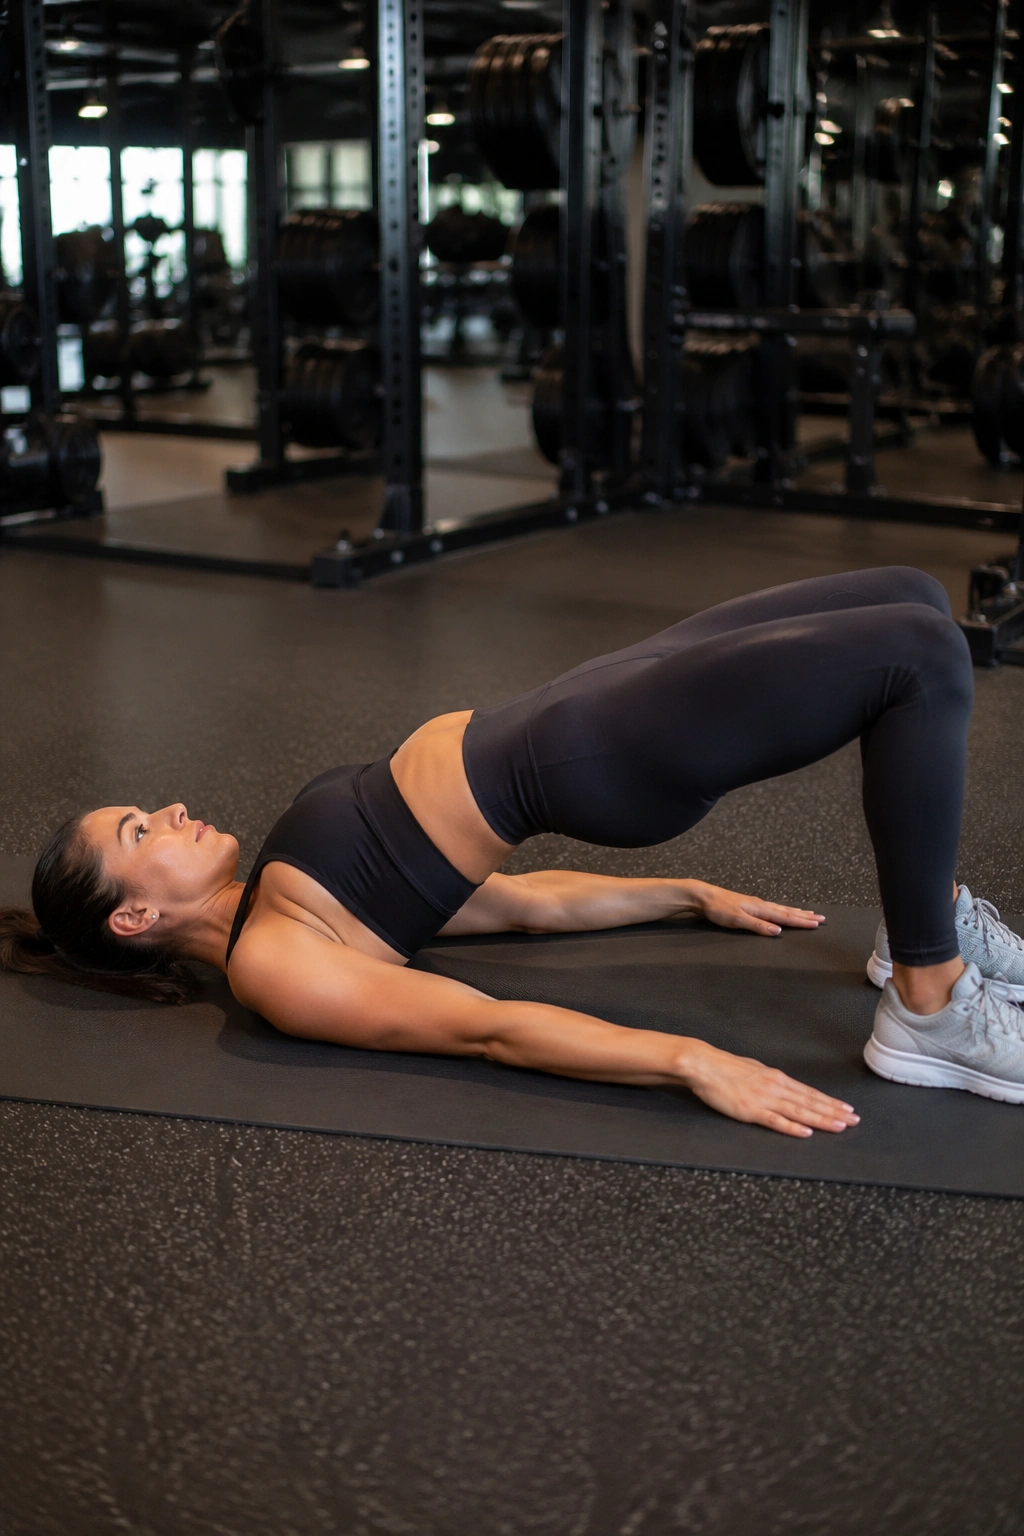
Why keep a floor version when hip thrusts exist? Because glute bridges are simpler, shorter in range, and easier to set up fast. That matters when you want glute activation without the hassle of bench alignment or big loading.
Lie on the floor, bend the knees, and drive the hips up by squeezing the glutes rather than throwing the pelvis into a low-back arch. The shoulders stay on the ground, which keeps the movement more compact and a little easier to control.
This is a useful warm-up before squats, deadlifts, or split squats. It also works well as a lighter main lift if you are just getting comfortable with glute training. Ten to fifteen reps with a pause at the top usually does the job.
Simple works here. Sometimes that is the whole story.
13. Step-Up for Unilateral Strength That Carries Over
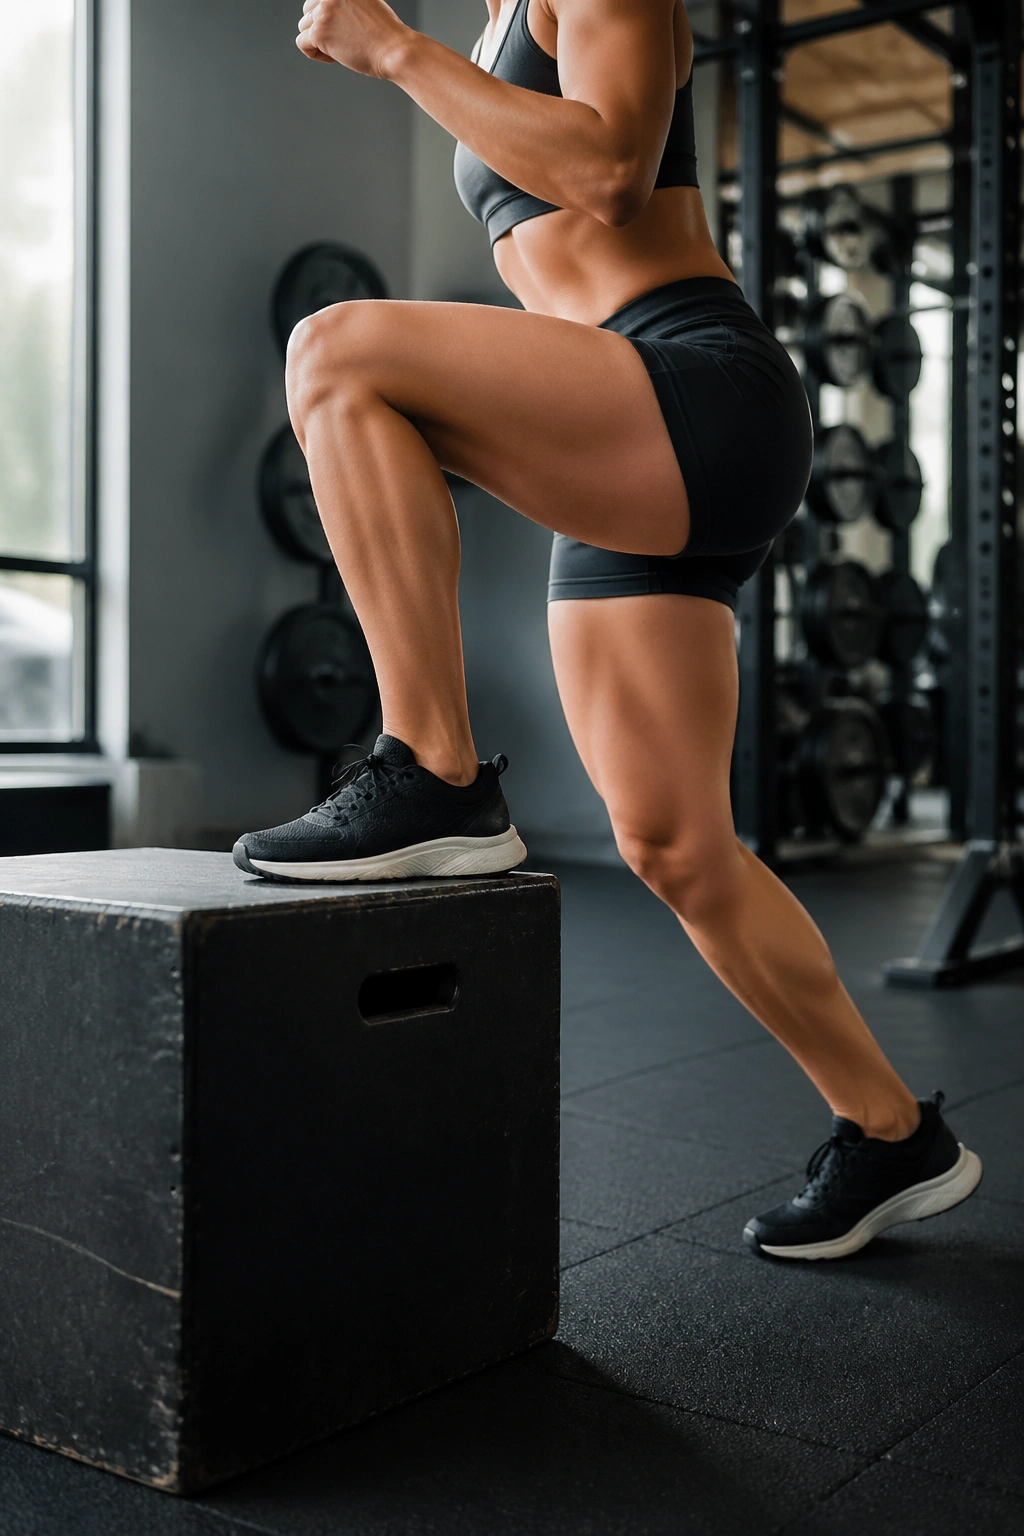
A box just above knee height and two dumbbells can expose a lazy left side fast. Step-ups look plain, but they teach force through one leg, which carries over to squats, lunges, and even running mechanics.
Pick a box height that lets your working leg do the job without the opposite foot giving you a giant push off the floor. Drive through the whole foot on the box, stand tall at the top, then lower with control. The slower the lowering phase, the more honest the rep.
This is a good place to use a moderate load and a steady tempo. Eight to ten reps per side is enough for most lifters, though higher reps can make the burn sneak up on you. Keep the torso stable and do not rush the descent.
What to Watch
- Box height: start lower than you think.
- Back-foot help: keep it minimal.
- Top finish: fully stand before stepping down.
14. Seated Leg Curl for Hamstrings in a Long Position
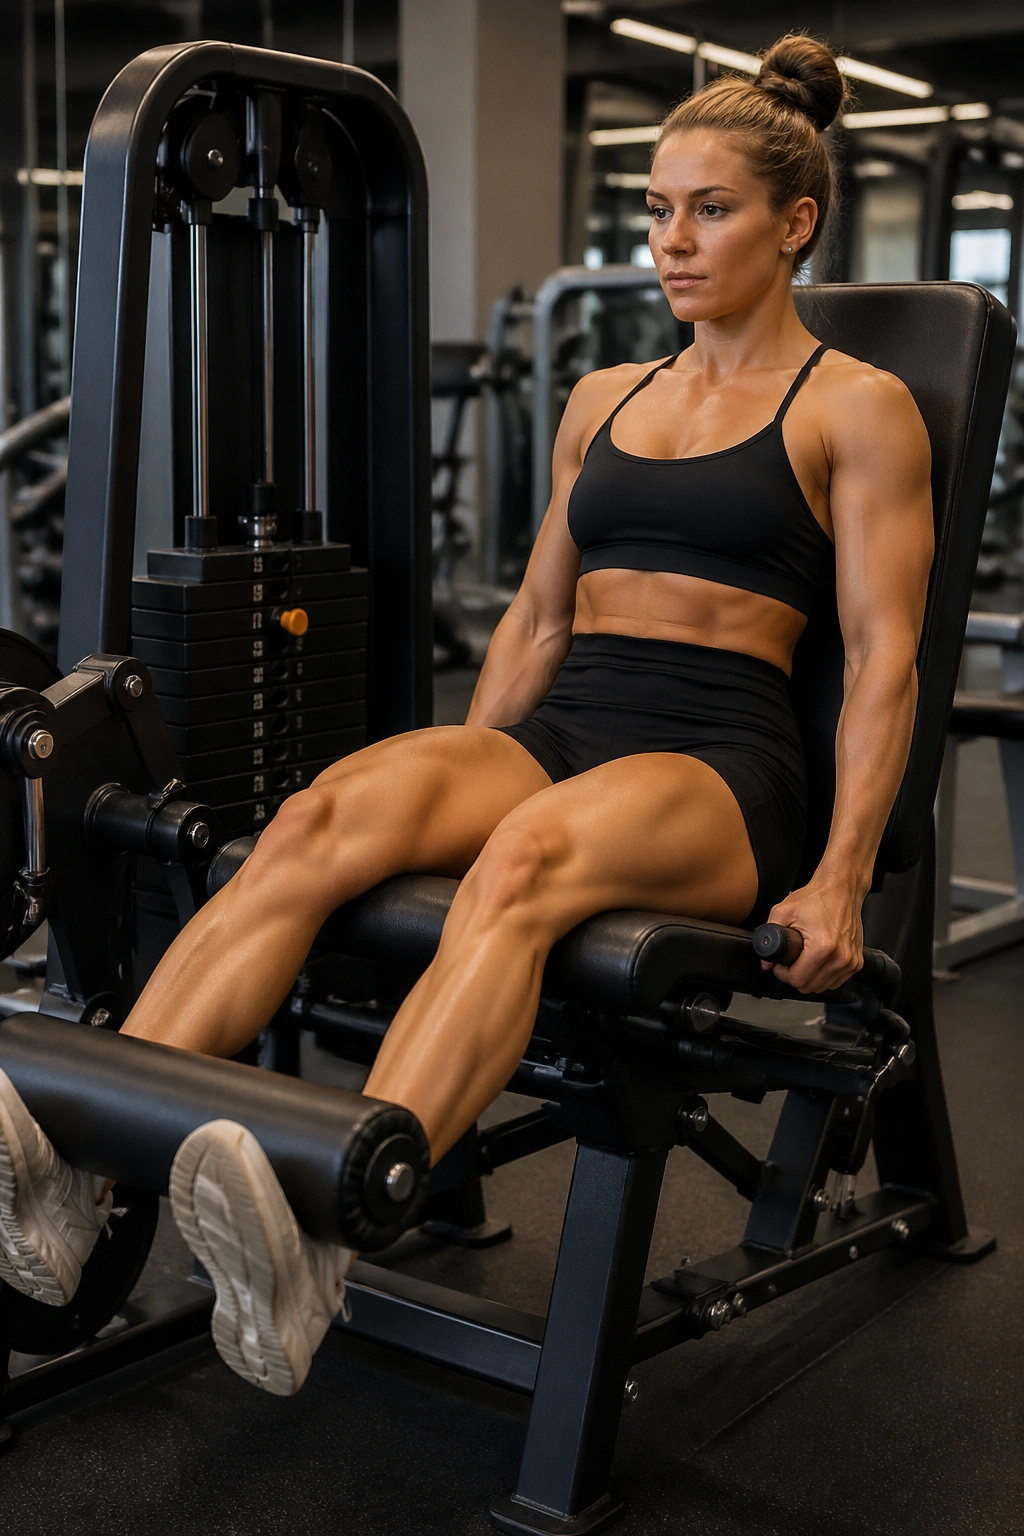
Seated leg curls deserve more credit than they usually get. Because the hips are bent, the hamstrings start the movement under stretch, and that stretched position can feel stronger and more useful than a curl done with the hips flat.
Line your knees up with the machine’s pivot point, pin your thighs down, and curl smoothly without jerking the stack. The controlled lowering matters just as much as the squeeze at the top. If the machine is set badly, the movement turns into a hip wiggle instead of a hamstring exercise.
Use ten to fifteen reps and let the last few be hard without turning them into a body English contest. That stretch matters more than the stack. It always does.
I like seated curls after a hinge or squat day when the hamstrings need direct work without more spinal loading.
15. Lying Leg Curl for Pure Hamstring Isolation
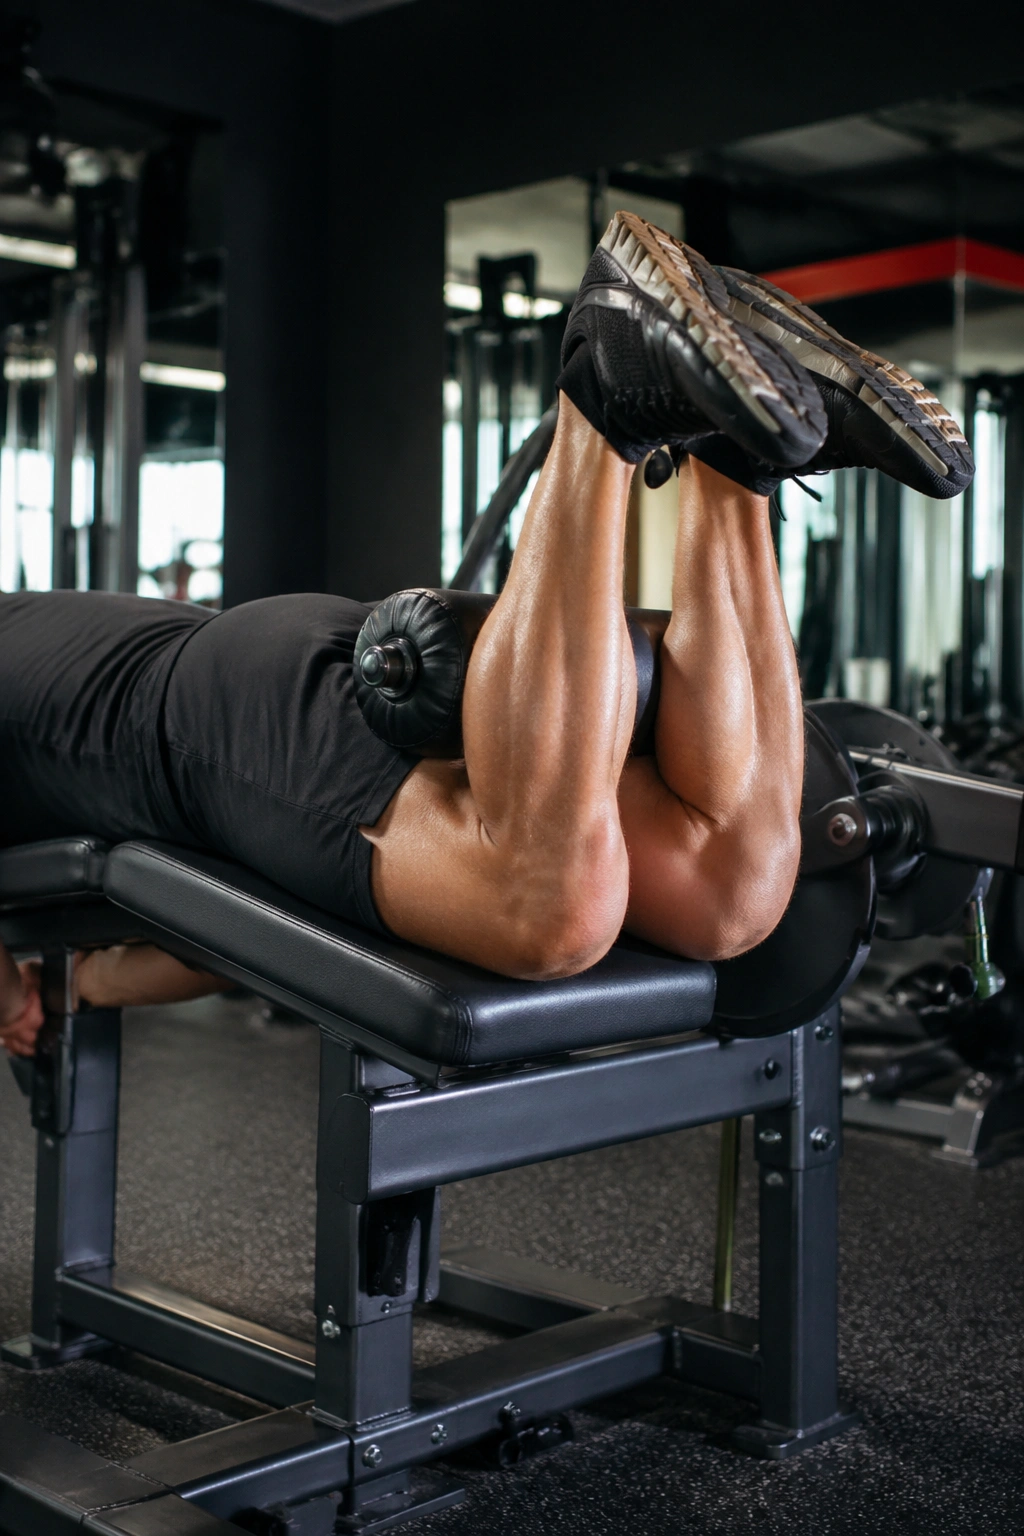
Lying leg curls are the blunt instrument of hamstring work. They strip away most of the extra moving parts and let you focus on knee flexion, which is exactly what some legs need.
Lie face down, set the pad just above the heels, and keep your hips glued to the bench. That last part matters. A lot of people lift their hips to fake the range, and all that does is turn the rep into a lower-back shrug.
Eight to twelve reps works well if you want a solid pump and clean control. Twelve to fifteen is fine too when you want more burn and less loading. If one side feels weaker, single-leg curls are worth the time.
Compared with seated curls, lying curls usually feel a little more isolated and a little less stretchy. I use them when the lower back is already tired and I still want the hamstrings to work hard.
16. Leg Extension for Direct Quad Finishers
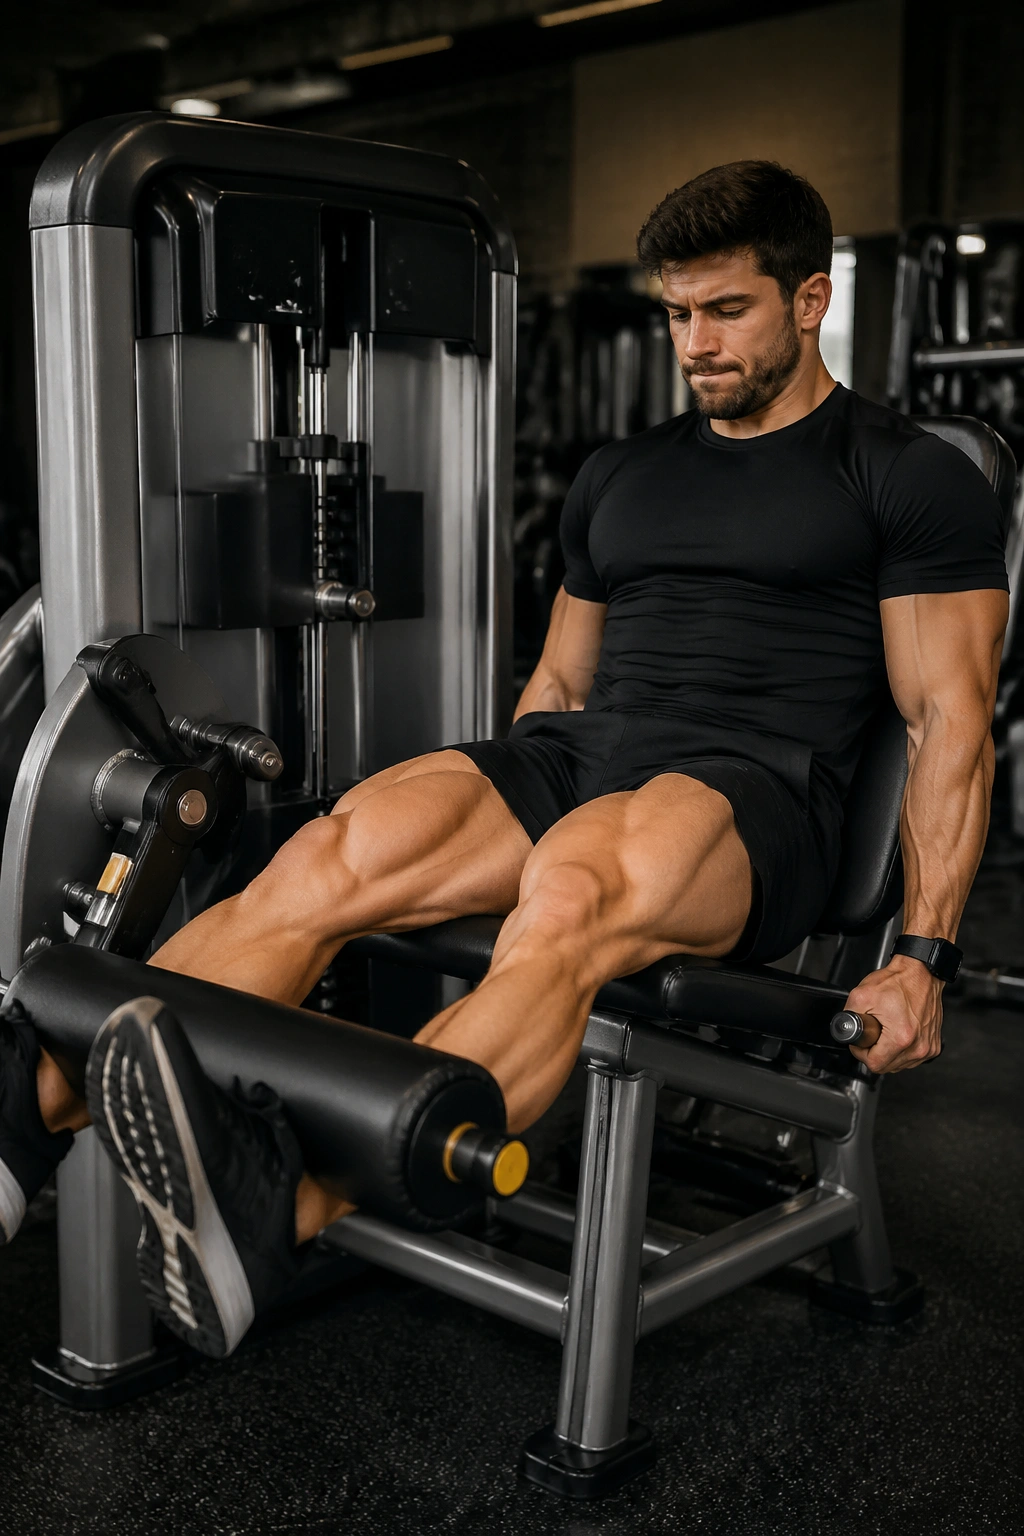
Isolated quad work has a place, and anyone who says otherwise probably hasn’t finished a hard squat session. Leg extensions let you load the front of the thighs directly, which is useful when the quads need more volume than the hips or back can give.
Set the machine so your knee lines up with the pivot. That part matters a lot. If the seat is wrong, the movement feels clunky and the knees complain. Once it’s set, extend the legs with control, squeeze at the top for a beat, and lower slowly instead of dropping the weight stack.
I like leg extensions at the end of a session or as a light pre-exhaust before squats. Twelve to twenty reps is a good range because the movement gets harsh fast, and the point is tension, not loading a giant plate tree.
When It Earns Its Place
- After compounds: for extra quad volume.
- Before squats: to make the quads wake up.
- Higher reps: when joints prefer a smoother finish.
17. Cable Pull-Through for a Clean Hip Hinge
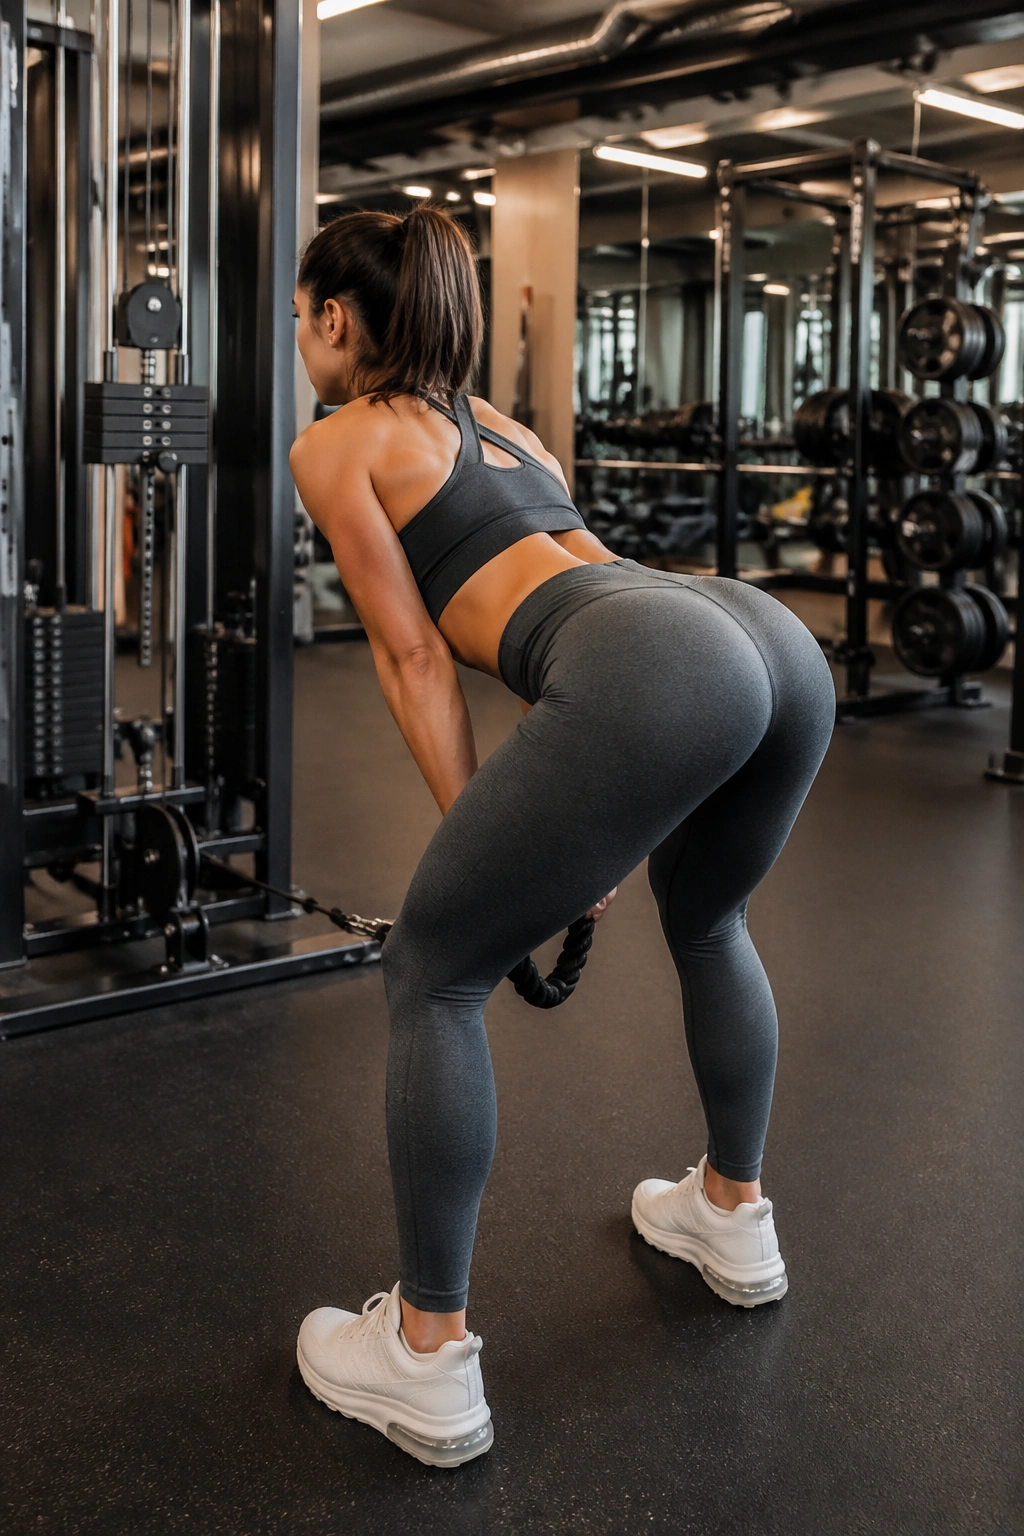
Why use a cable pull-through instead of yet another barbell lift? Because it teaches the hip hinge with less spinal compression and a lot of glute tension. That makes it useful for beginners, warm-ups, or hard conditioning blocks.
Face away from a low cable pulley, grab the rope between your legs, and walk forward until the cable has tension. Hinge the hips back, keep the spine neutral, then drive the hips through until the glutes finish the rep. The rope should move in a smooth arc, not jerk around like you’re starting a lawn mower.
Twelve to fifteen reps works well here. Keep the knees soft, not locked, and stop before the lower back starts to arch hard at the top.
What It Should Feel Like
- Hamstrings: loaded on the way back.
- Glutes: squeezed at the finish.
- Lower back: stable, not doing the work.
18. Cable Kickback for Glute Isolation
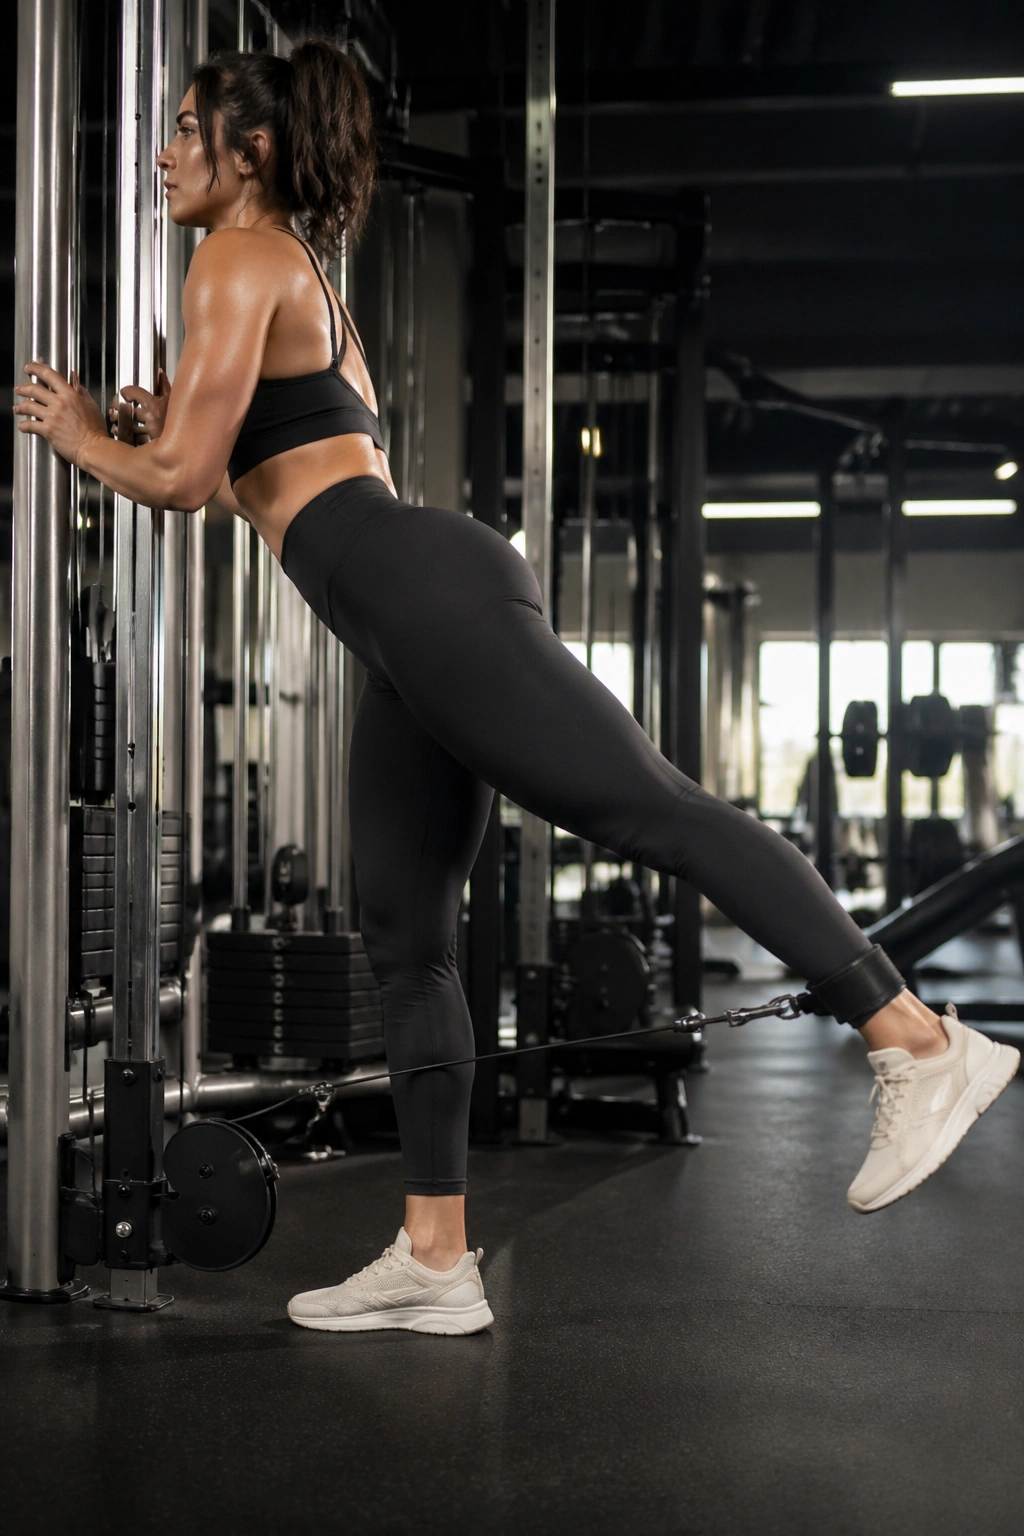
If your glutes disappear under bigger lifts, cable kickbacks bring them back into the picture. They are not a replacement for squats or hinges. They are an accessory move that helps the glutes finish the job.
Attach the ankle strap, keep the pelvis square, and move the leg back in a controlled arc. The goal is not to swing your foot as high as possible. A smaller, cleaner rep with a hard squeeze at the end usually beats a giant sloppy kick that turns into a low-back arch.
This is one of those exercises where the weight stack can fool people. Heavy weight often ruins the shape of the movement. Moderate resistance, twelve to twenty reps per side, and a short pause at the peak usually give a better result.
The burn is modest at first. Then it creeps in.
19. Sled Push for Leg Workouts at the Gym That Hit Hard Fast
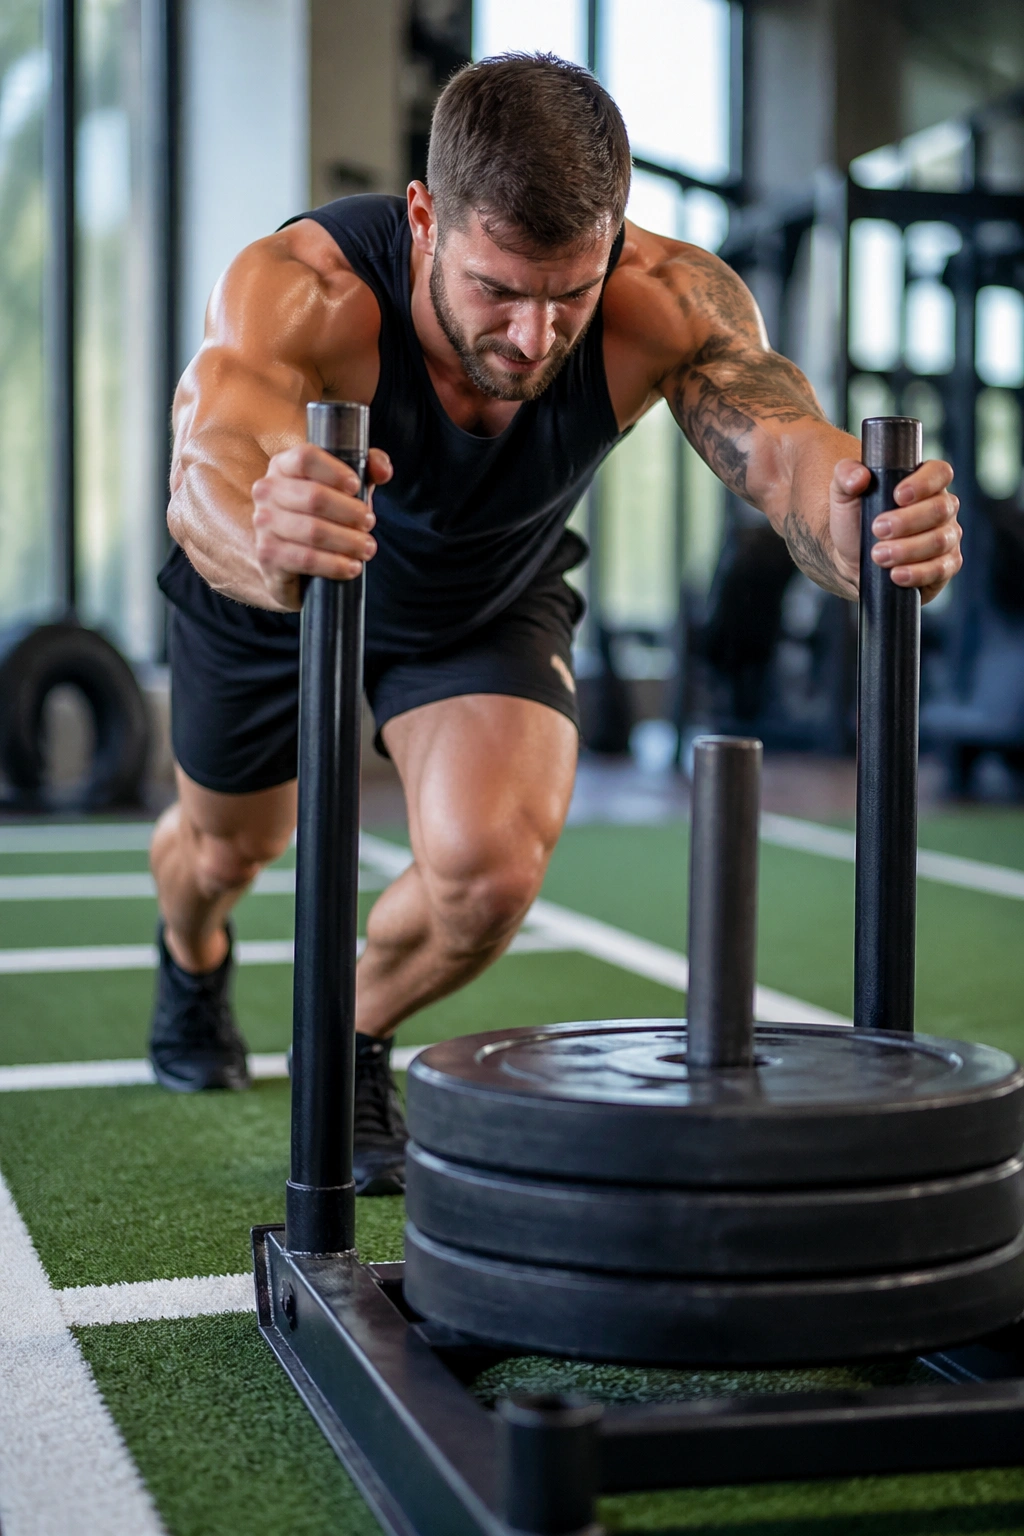
Sled pushes are brutally efficient. You get heavy leg drive, steady conditioning, and a lot of work without the same eccentric soreness you get from lowering a barbell for rep after rep.
Lean into the sled with a strong torso angle, keep short powerful steps, and push through the whole foot. The load should feel heavy enough that the sled moves slowly, but not so heavy that it stalls every few feet. If it shoots across the floor like it is empty, add weight. If you have to heave on it like a stuck car, back off.
Use 15 to 30 meters for a round, then rest long enough to breathe normally before the next one. That can mean one minute or three, depending on how hard you pushed. Turf lanes make this simple. Flat floors do not.
Sled pushes hit quads, glutes, and lungs in one shot. That combination is ugly in the best way.
20. Backward Sled Drag for Quads and Knee-Friendly Volume
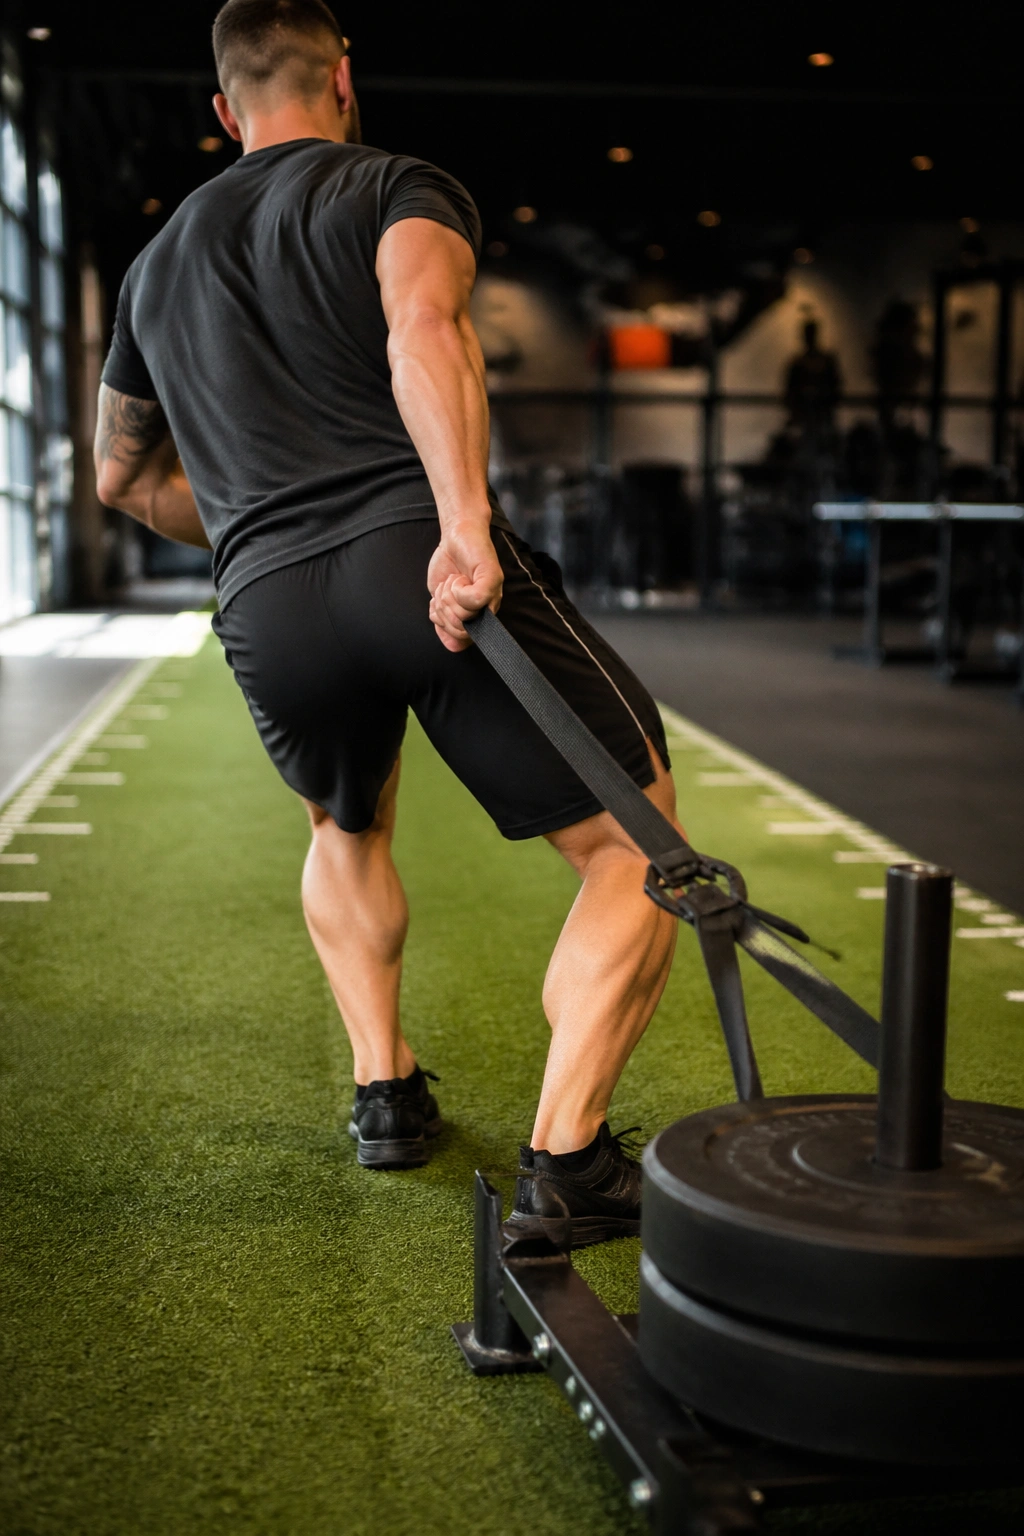
Why do so many lifters end up loving backward sled drags? Because the quads light up, the knees usually tolerate it well, and the movement feels like hard work without the same wear-and-tear vibe as another set of jumps or heavy squats.
Face the sled, grab the strap or handles, and walk backward in short, steady steps. Keep the torso upright and let the knees bend and extend rhythmically. The resistance never really leaves, so the quads stay under tension the whole time.
Twenty to forty meters per round is enough for most people. Three to five rounds can turn into a real finisher, especially after squats or leg presses. If you have turf, use it. If your gym has a sled but no lane, the movement gets awkward fast.
Quads hate it. That is why it works.
21. Standing Calf Raise for Lower-Leg Power
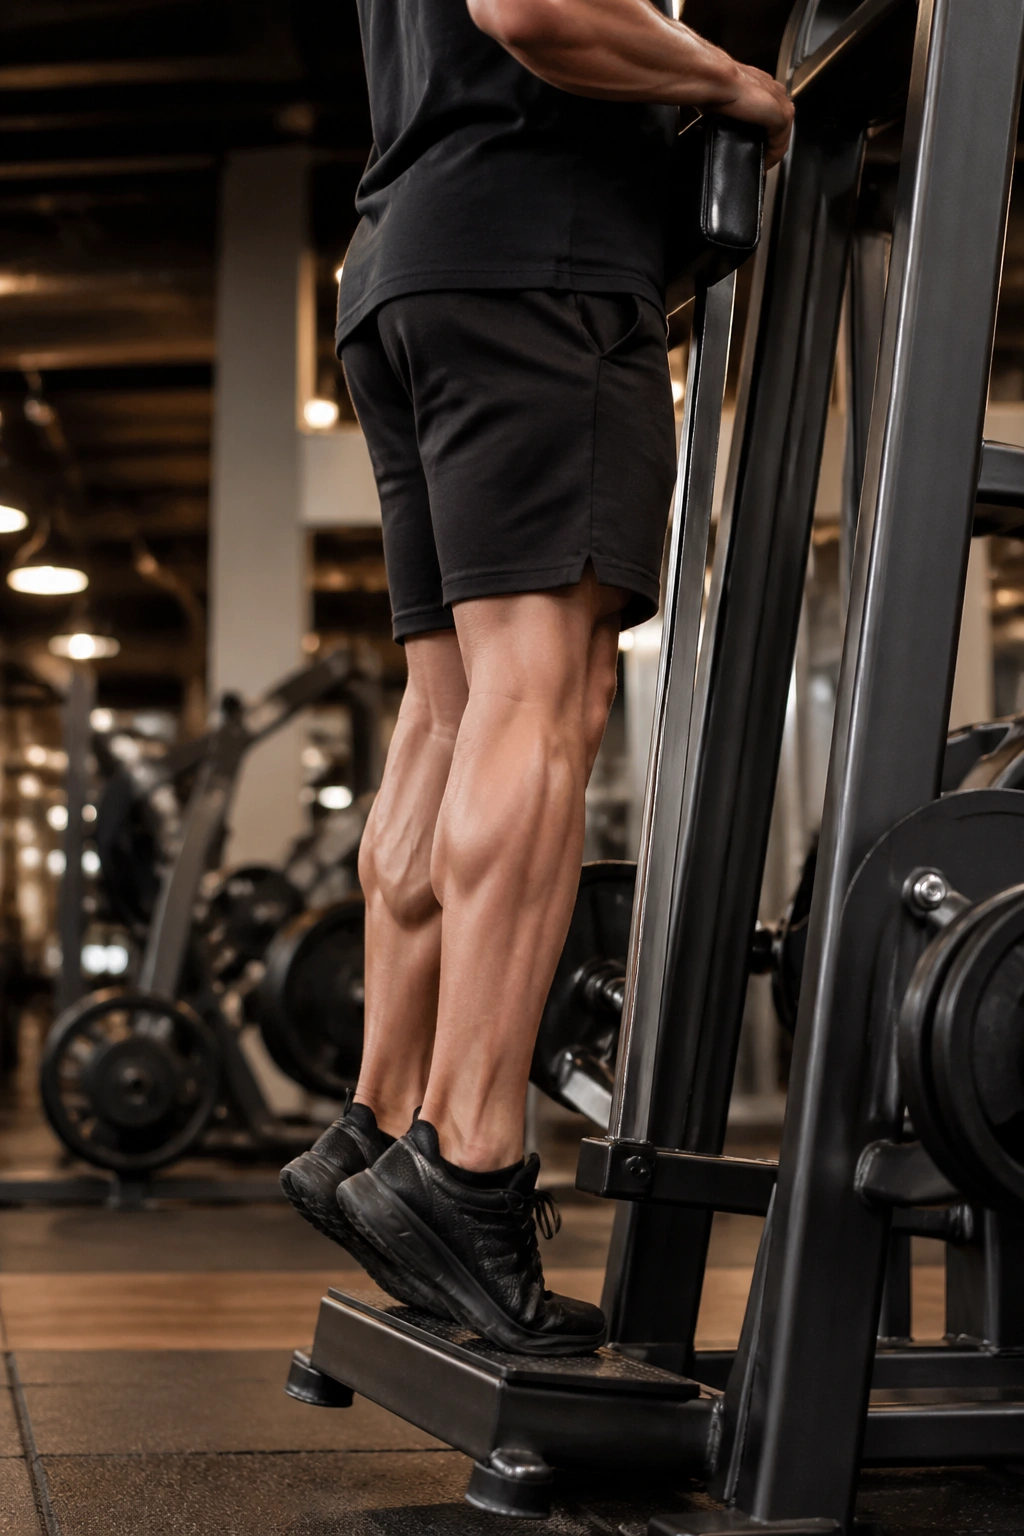
Standing calf raises target the gastrocnemius, the big calf muscle that shows up when the knee is straight. If you skip this piece, your lower body can look and feel unfinished, and ankle strength often lags behind everything else.
Use a calf raise machine, Smith machine, or the leg press setup if that is what your gym has. Drop into a full stretch at the bottom for a second, then rise all the way up and hold the top briefly. No bouncing. No half reps hidden behind momentum.
I like 8 to 15 reps when the load is meaningful and the tempo stays clean. Some people do better with a little more volume, especially if calves have always been stubborn. A stable shoe is fine, but a thick cushioned sole can blur the stretch and make the movement feel mushy.
Calves are small. They still demand patience.
22. Seated Calf Raise for the Soleus and the Finish
Bent knees change the whole game. Seated calf raises put more focus on the soleus, the deeper calf muscle that works hard when you walk, climb, squat, and stand around doing normal human things.
Set the pad securely over the thighs, let the heels drop into a full stretch, then drive up without bouncing. The lower part of the rep matters more here than people think. If you rush past the bottom, you miss a lot of the useful work.
Twelve to twenty reps is a good target. The burn tends to show up late, and when it does, it is stubborn. I like this movement after standing calf raises, or on its own when the rest of the leg session already took enough out of you.
If you want legs that feel solid from the ground up, do not treat calves like a bonus. They are part of the system, not a footnote.
