



Your hips act as the primary suspension system for your entire body. When they lack stability, the ripple effect is immediate—your lower back compensates, your knees track poorly, and your balance falters. Many people mistake hip strength for hip stability, but they are different animals. You can have strong glutes and still have shaky balance if your stabilizing muscles—the deep rotators and abductors—don’t fire in the right sequence.
Improving stability requires training your body to hold the pelvis in a neutral, controlled position while the legs move. It is about proprioception, muscular endurance, and the coordination of the pelvic girdle. When you stabilize from the hips, you reclaim your posture, reduce the load on your lumbar spine, and move with a newfound sense of confidence.
The following list prioritizes control over raw power. You do not need heavy iron to make these work. In fact, many of these are most effective using only your body weight or light resistance bands. Focus on the squeeze, the control, and the alignment.
1. The Glute Bridge
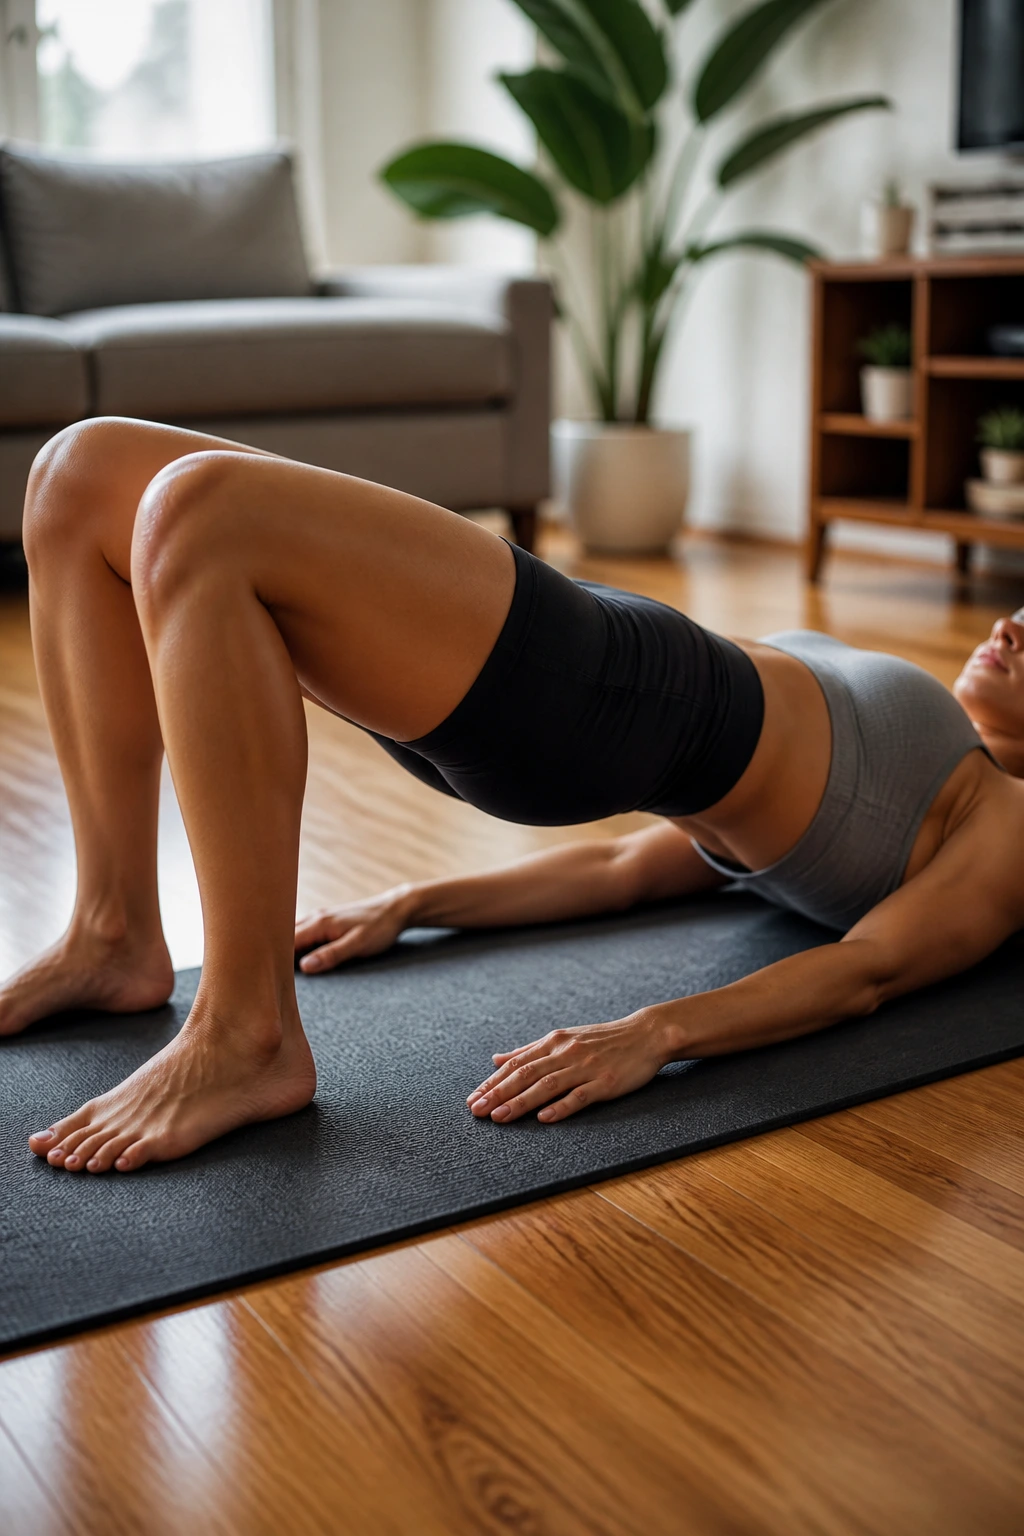
This is the foundational movement for hip stability. Most people treat the glute bridge as a “glute builder,” but it is really a masterclass in pelvic control. The goal is to lift your hips without letting your lower back take over the heavy lifting.
Why It Builds Stability
By isolating the glutes while the spine remains neutral, you teach the body to separate hip extension from spinal movement. If you feel this in your lower back, you are likely overextending.
How to Master the Form
- Lie on your back with your knees bent and feet flat on the floor, hip-width apart.
- Before you lift, exhale and tuck your tailbone slightly—this is the “posterior pelvic tilt” that protects your spine.
- Drive through your heels to lift your hips toward the ceiling.
- Squeeze your glutes at the top, but keep your ribs pulled down.
- Lower slowly, taking three seconds to touch the floor.
Pro tip: Imagine you are holding a penny between your glutes at the very top of the movement. If you lose the squeeze, the pelvis drops, and you lose the stability training effect.
2. Clamshells
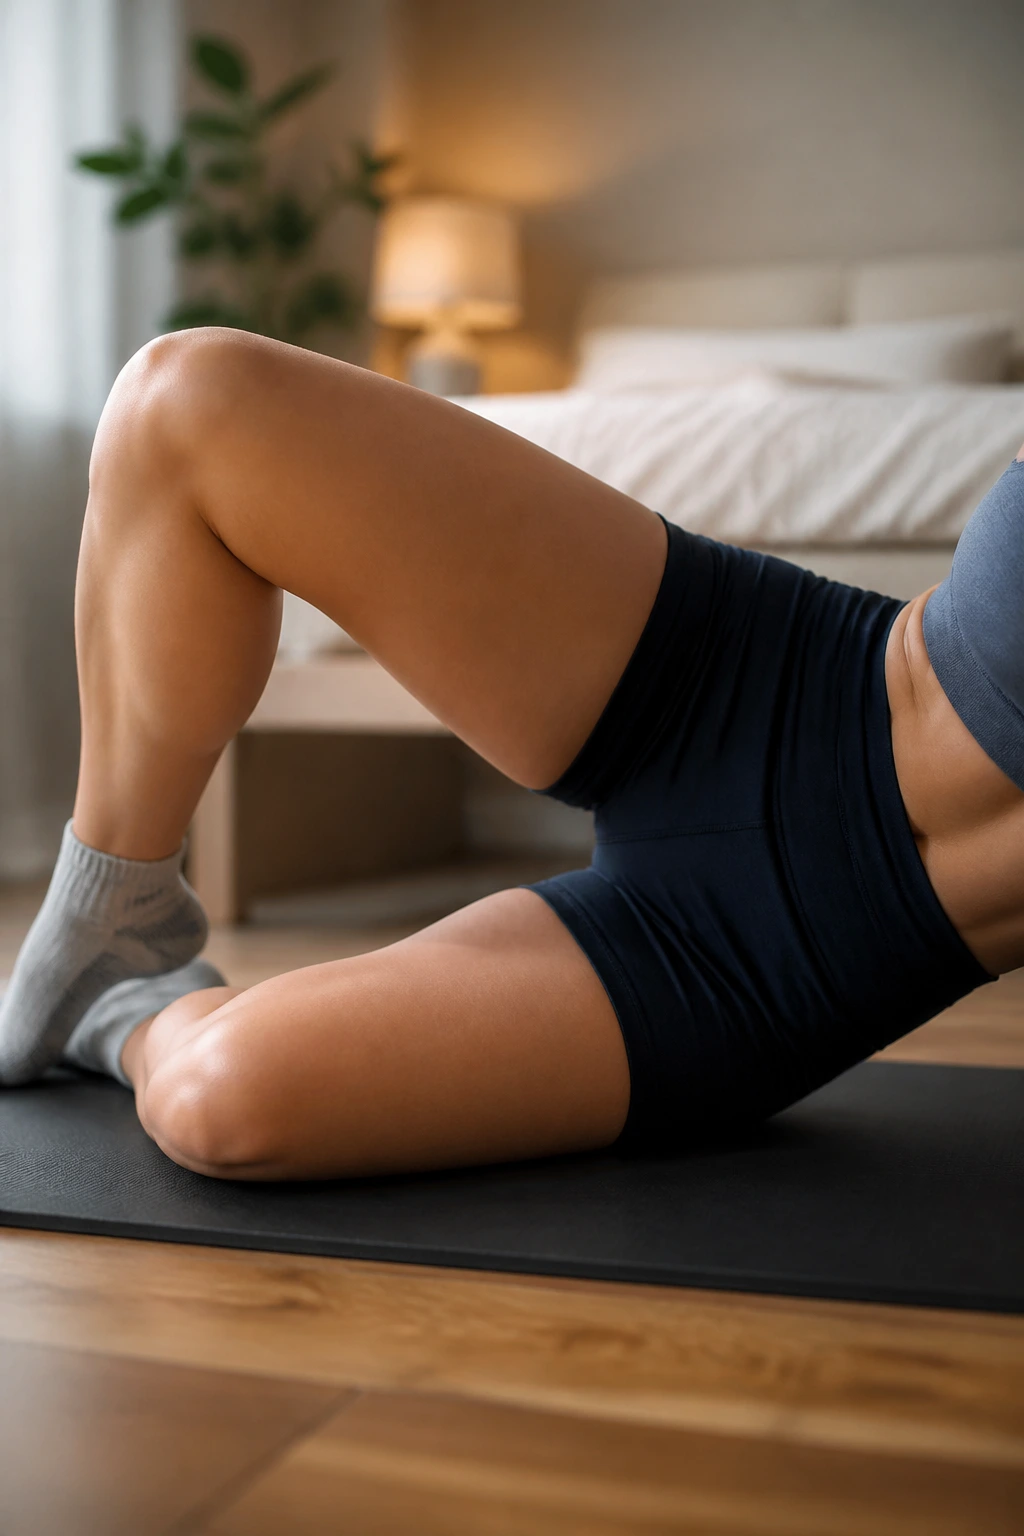
Targeting the gluteus medius is the secret to lateral hip stability. This muscle is responsible for keeping your pelvis level when you walk or stand on one leg. If it is weak, your knee tends to collapse inward, which is the primary cause of poor balance.
Focusing on the Deep Rotators
The clamshell might look simple, but if done with strict form, it is grueling. You are rotating the femur in the hip socket without moving the pelvis. Avoid the temptation to roll your hips backward as you lift your top knee.
- Lie on your side with legs stacked and knees bent at a 45-degree angle.
- Keep your feet touching throughout the entire movement.
- Lift your top knee as high as you can without allowing your hips to rock backward.
- Pause at the top for one second, feeling the burn in the side of your hip.
If you find yourself rolling your torso to get the knee higher, stop. Reduce the range of motion. It is better to move two inches with perfect control than six inches with compensating spinal rotation.
3. Fire Hydrants
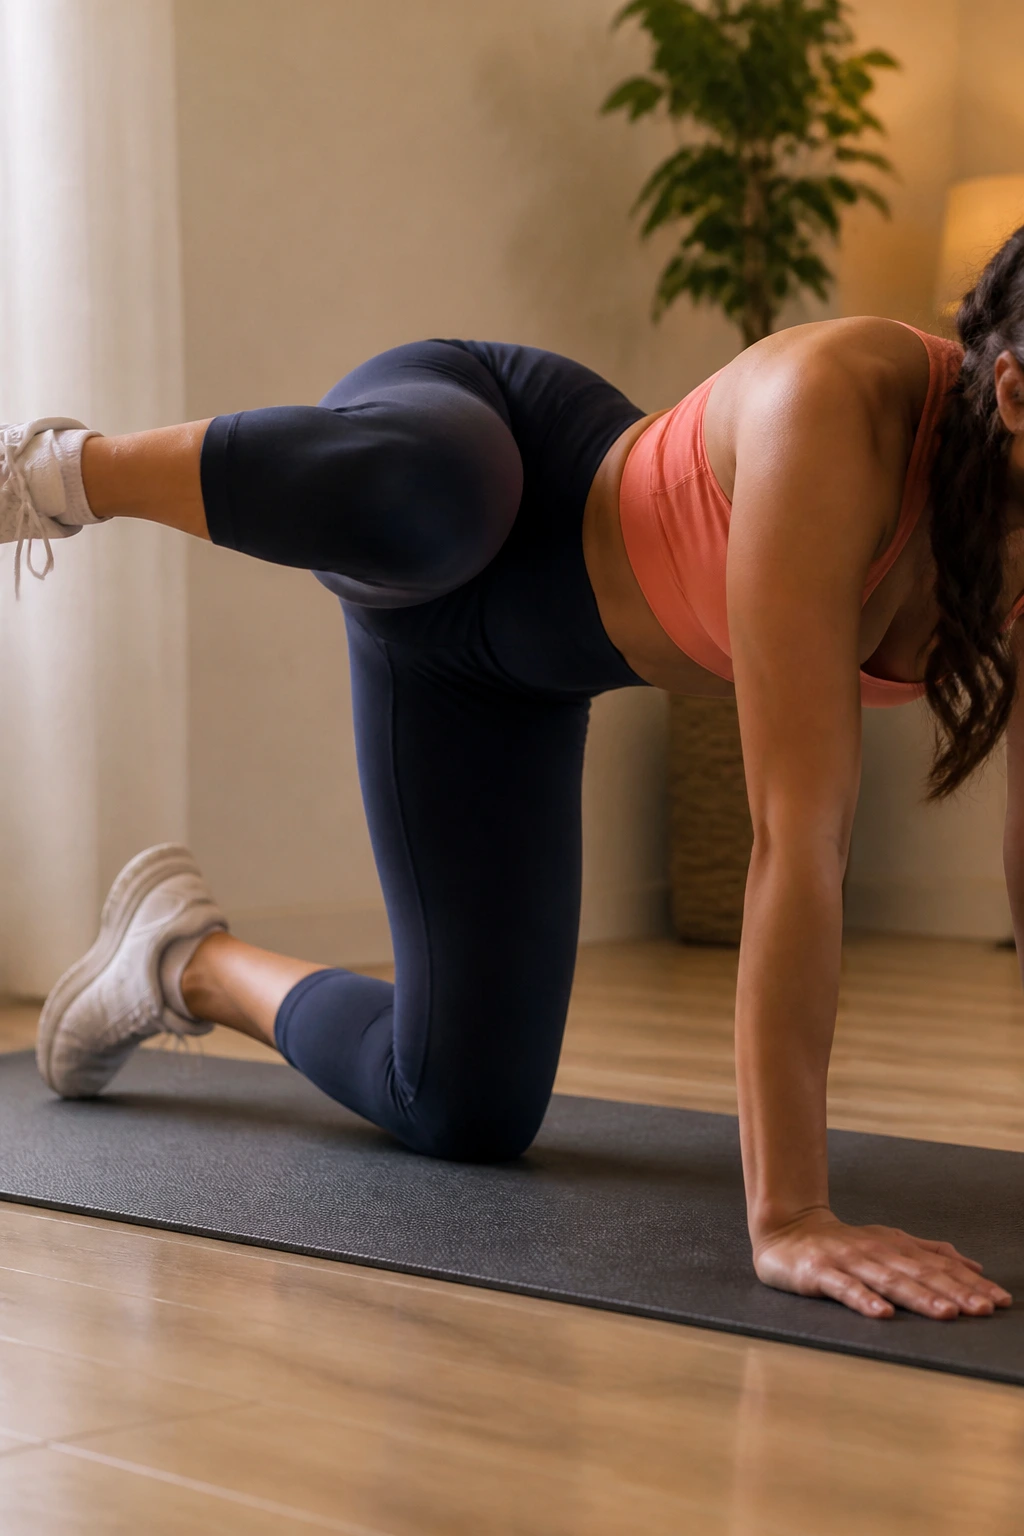
This movement challenges your stability in a quadruped (all fours) position. It forces your core and your hips to coordinate under tension. It is less about lifting the leg high and more about maintaining a perfectly flat back while the hip joint works through rotation.
How to Execute Properly
- Start on hands and knees, with hands directly under shoulders and knees under hips.
- Maintain a completely flat spine—imagine a glass of water resting on your lower back that you cannot spill.
- Keeping the knee bent at a 90-degree angle, lift one leg out to the side until the thigh is roughly parallel to the floor.
- Return to the starting position with control.
The “spill the water” visual is the most important cue here. If your torso tilts or your back sags as the leg lifts, your deep core stabilizers are not doing their job. Keep the torso rigid.
4. Bird-Dog
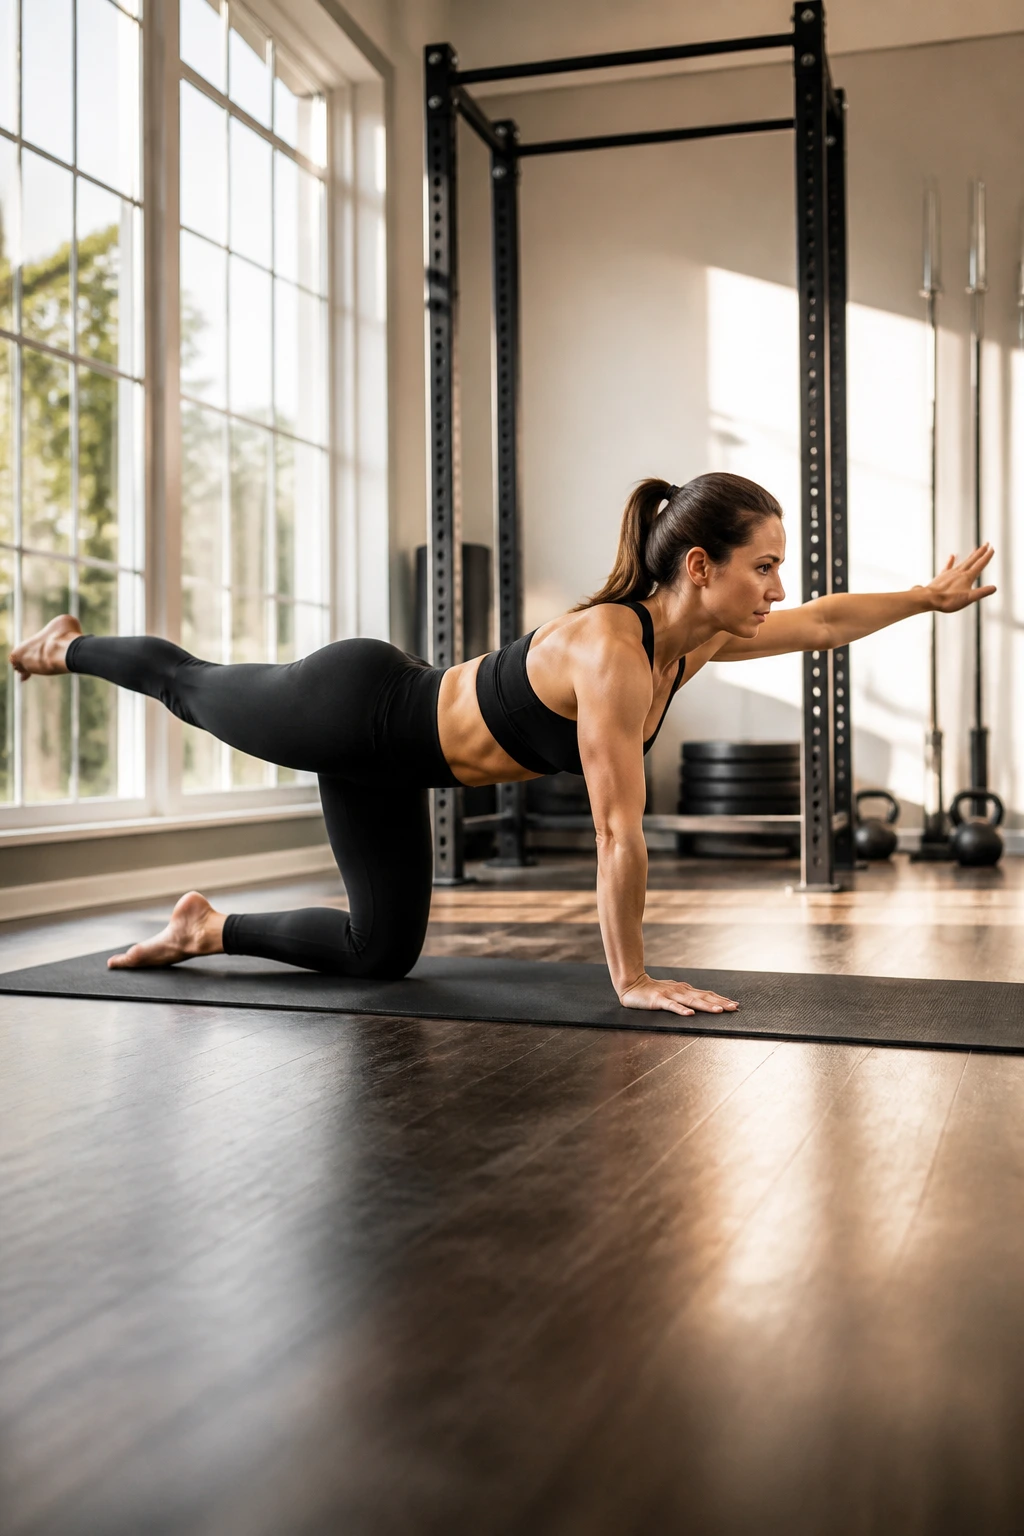
This is a classic physiotherapy staple, and for good reason. It forces a cross-body stabilization pattern. You are balancing your weight across diagonal points—right hand and left knee—while extending the opposite limbs.
Why It Matters
This exercise teaches the brain to stabilize the pelvis while the extremities move. It is dynamic, functional, and requires intense focus.
The Technique
- Begin on all fours.
- Simultaneously extend your right arm forward and your left leg backward.
- Keep your hips perfectly level. Do not let the hip of the moving leg open up or lift toward the ceiling.
- Hold for three seconds, reaching through your heel.
- Return to center and switch sides.
If you struggle to stay balanced, slow down. The goal is to eliminate any wiggling or shifting. Your pelvis should act like a stationary pedestal.
5. Lateral Band Walks
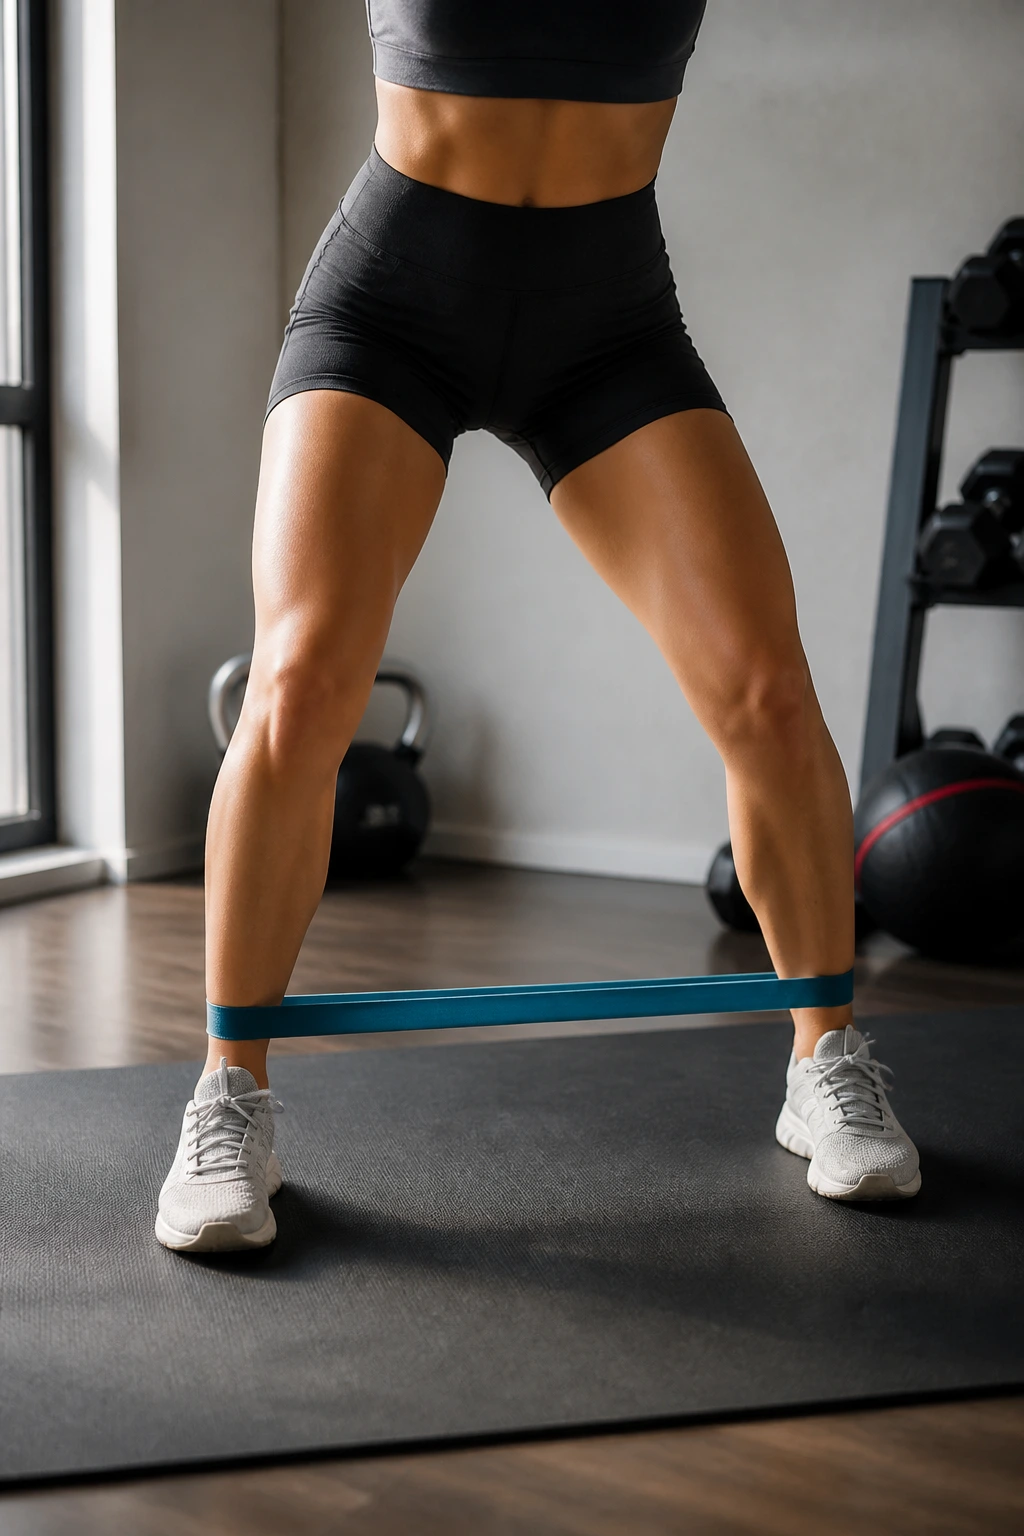
You have probably seen these in gyms—a resistance band looped around the ankles or knees while stepping sideways. It is the gold standard for activating the gluteus medius and keeping the hips stabilized during lateral movement.
Getting the Setup Right
- Place a resistance band around your ankles (for a harder challenge) or just above your knees (for more stability focus).
- Stand with feet hip-width apart and knees slightly bent.
- Step laterally, maintaining tension on the band the entire time.
- Do not let the knees cave inward when you step.
The tendency is to stand too upright. Stay in an athletic stance—half-squat position. This keeps the glutes under constant tension. If you feel this mostly in your quads, you are likely too upright or taking steps that are too large. Keep the steps small and controlled.
6. Single-Leg Deadlift
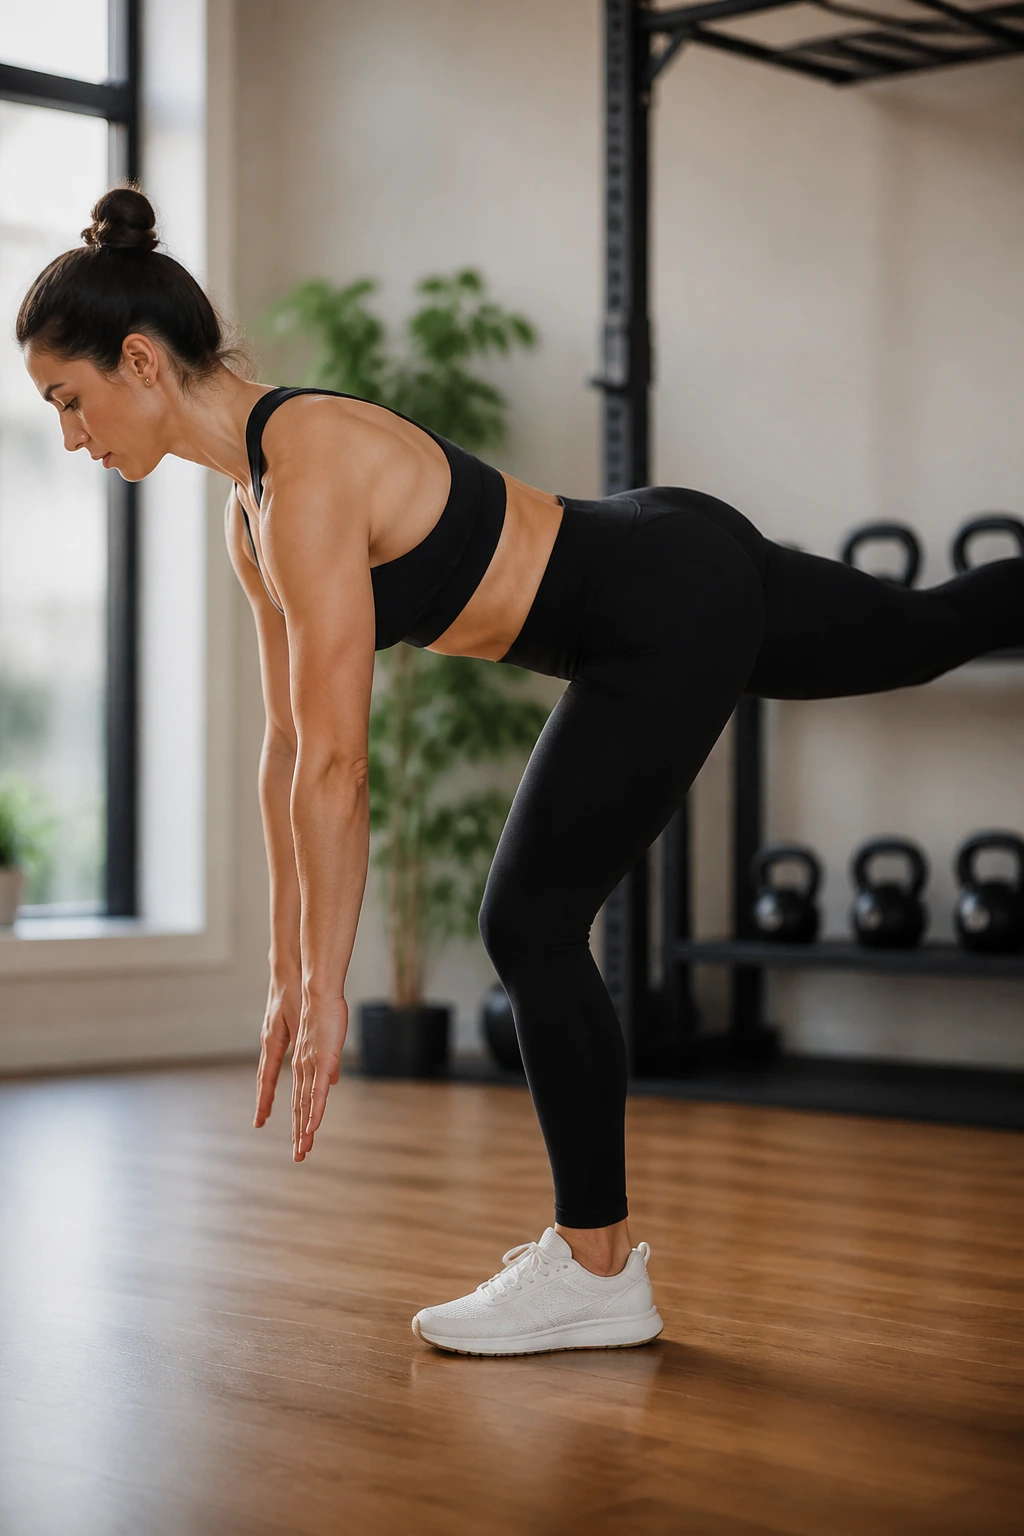
This is perhaps the most important exercise for functional balance on this list. It mimics real-world scenarios—picking something off the floor, stepping over an obstacle, or catching yourself before a fall.
The Mechanism
You are balancing on one leg and hinging at the hip, which forces the stabilizing muscles of the standing hip to work in overdrive to keep you upright.
- Stand on one leg with a slight bend in the knee.
- Hinge at your hips, sending your non-standing leg straight back behind you.
- Your torso and the back leg should form a straight line, like a seesaw.
- Only go as low as your flexibility allows while keeping your back flat and hips square to the floor.
- Return to standing, driving through the heel.
Use a chair or wall for light balance support initially if you need it. The focus is on hinging at the hip, not bending at the waist. Your spine stays neutral throughout.
7. Side-Lying Leg Lifts
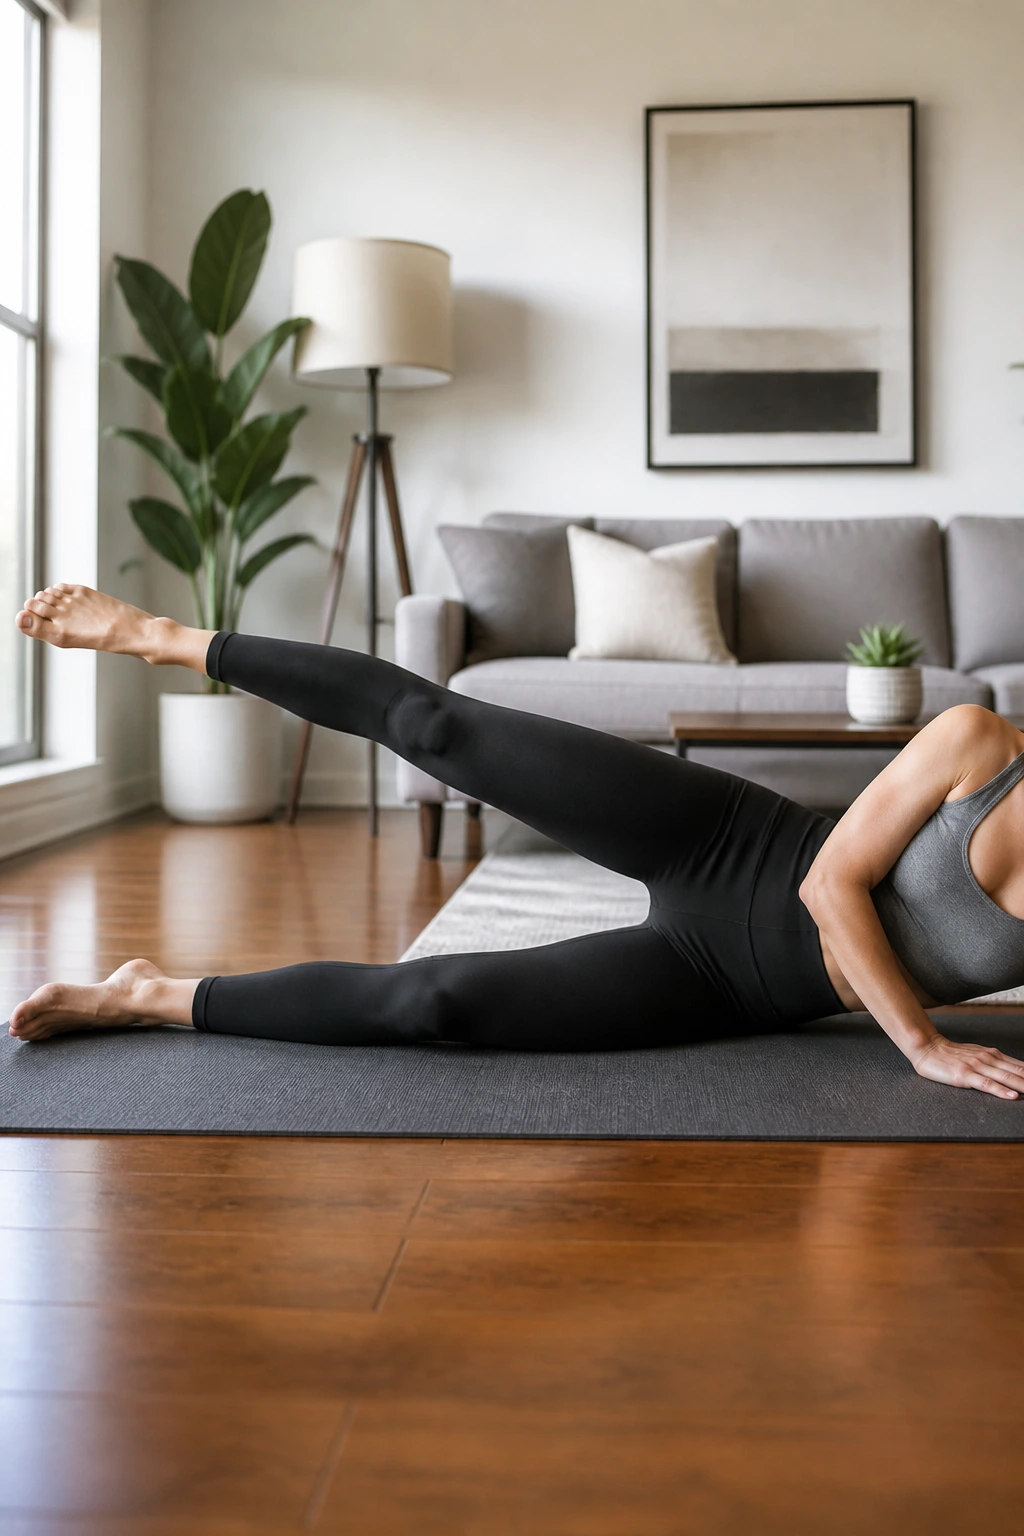
We often prioritize the glutes, but the abductors on the side of the hip are equally vital for stability. This exercise isolates the gluteus medius and minimus, providing a direct strengthening stimulus for the muscles that keep you steady when you stand on one leg.
Precision Over Height
- Lie on your side, legs fully extended and stacked.
- Flex your feet slightly.
- Lift the top leg straight up toward the ceiling.
- Keep the leg in line with your torso—do not let it drift forward or backward.
- Lower with control.
Many people lift the leg too high, which causes the pelvis to tilt. Stop at the point where you feel the side of the hip working. If you start feeling it in your lower back or hip flexors, your leg is probably drifting forward.
8. Standing Hip Abduction
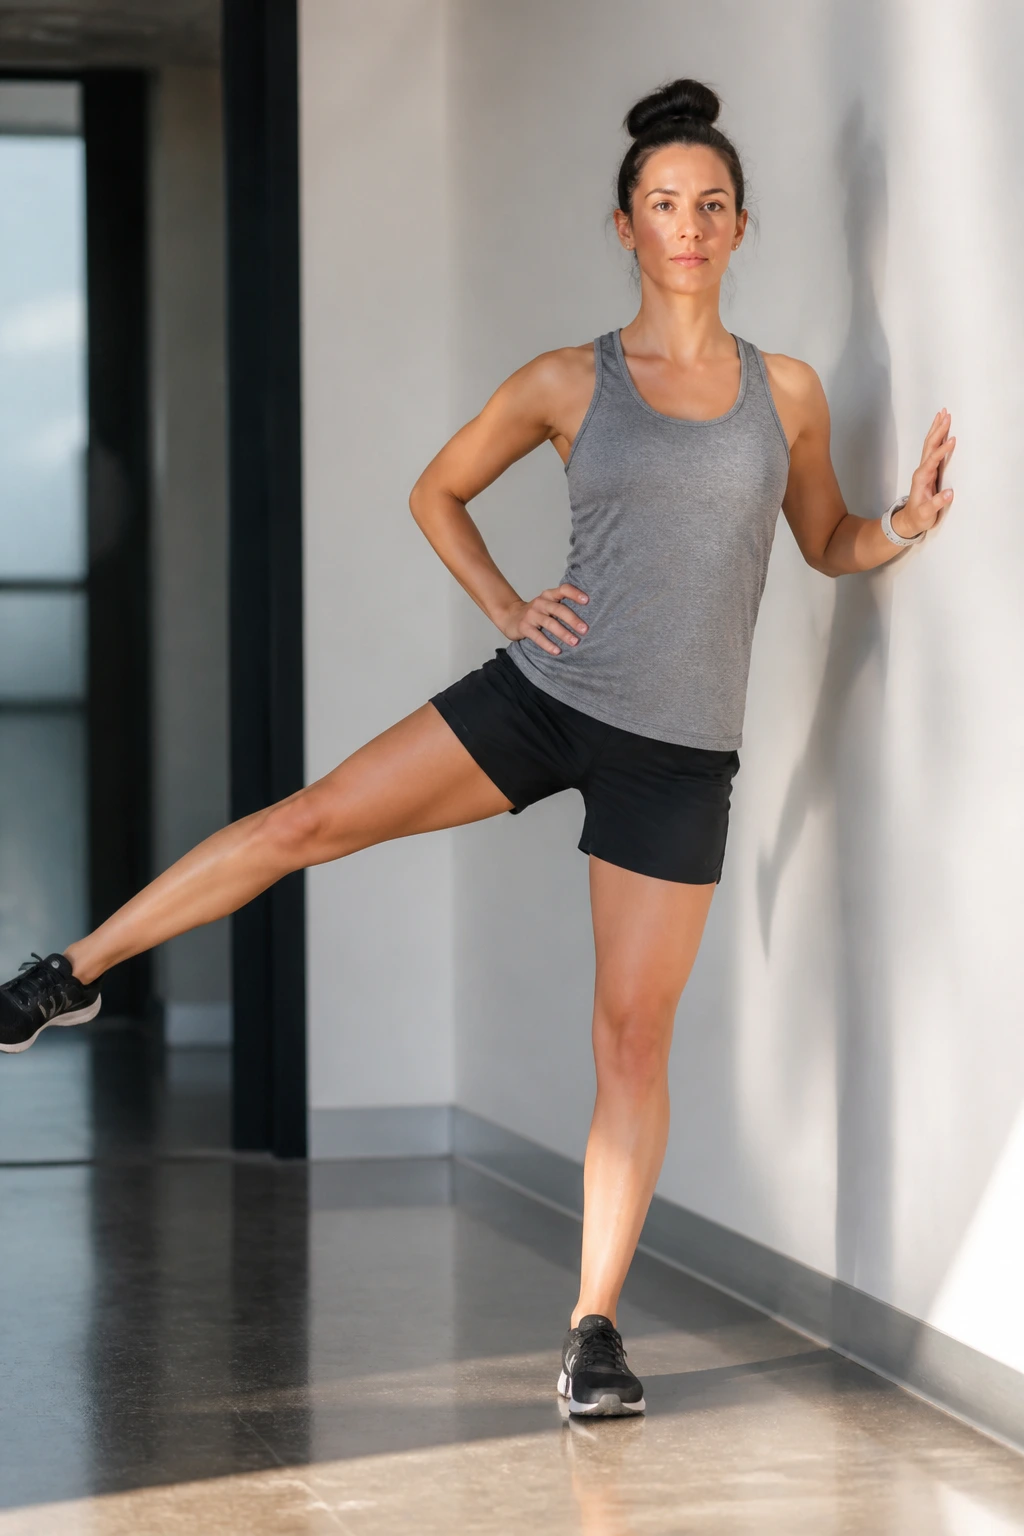
This is the standing version of the side-lying leg lift, and it is significantly harder because it incorporates a gravity-resisting element while forcing you to balance on the opposing leg.
Why This Is Different
Because you are standing, your “stabilizing hip”—the one you are standing on—is doing as much work as the moving leg. It builds endurance in the glute medius and improves proprioception.
- Stand next to a wall for support if needed.
- Keep the standing leg slightly soft (micro-bend in the knee).
- Lift the other leg out to the side, maintaining an upright torso.
- Do not lean your body to the side to “cheat” the height.
- Hold for two seconds at the peak of the movement.
Focus on the standing hip. Feel how it has to stabilize to keep you from falling over. That is the actual workout.
9. Hip Hike
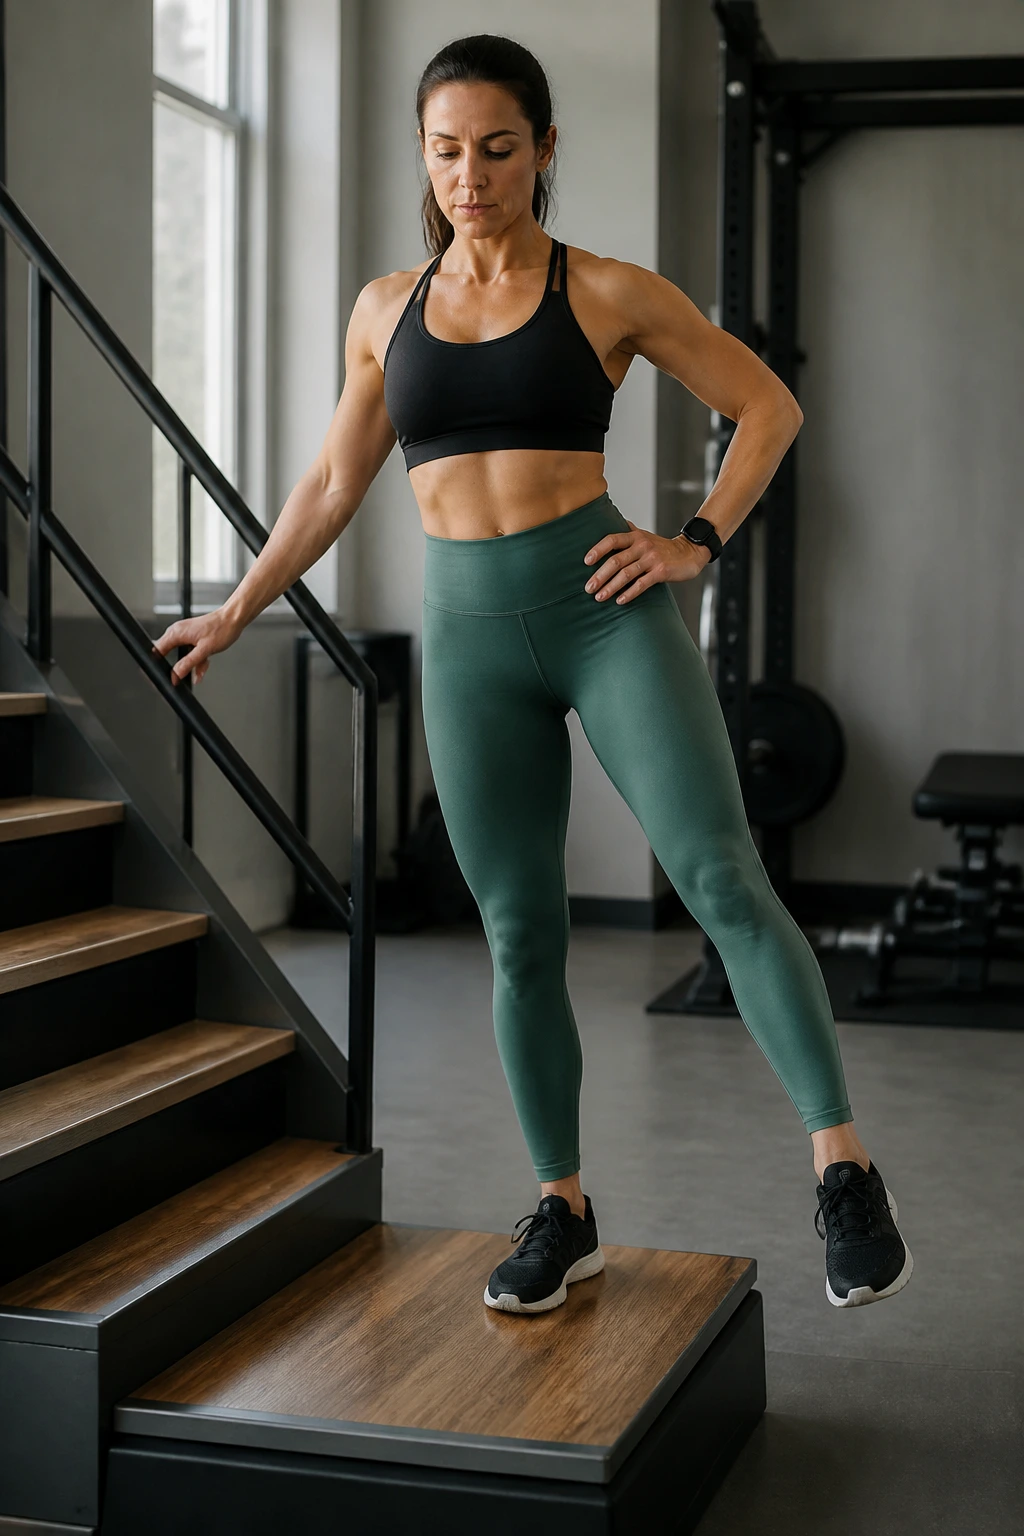
The hip hike is a subtle, almost invisible movement, but it is one of the most effective ways to train the pelvic girdle. It directly targets the quadratus lumborum and the gluteus medius on the standing side.
The Movement
- Stand on one leg on a step or a book.
- Let the non-standing leg hang off the edge of the step.
- Using only your standing hip, “hike” or pull the hanging hip up toward your ribs.
- Your standing leg should remain straight—do not bend the knee to lift the hip.
- Lower the hanging hip back down.
This exercise mimics the action of walking. When you walk, your pelvis must hike slightly to allow the swinging leg to clear the ground. If you cannot do this, you likely have a hip drop, which leads to instability.
10. Curtsy Lunge
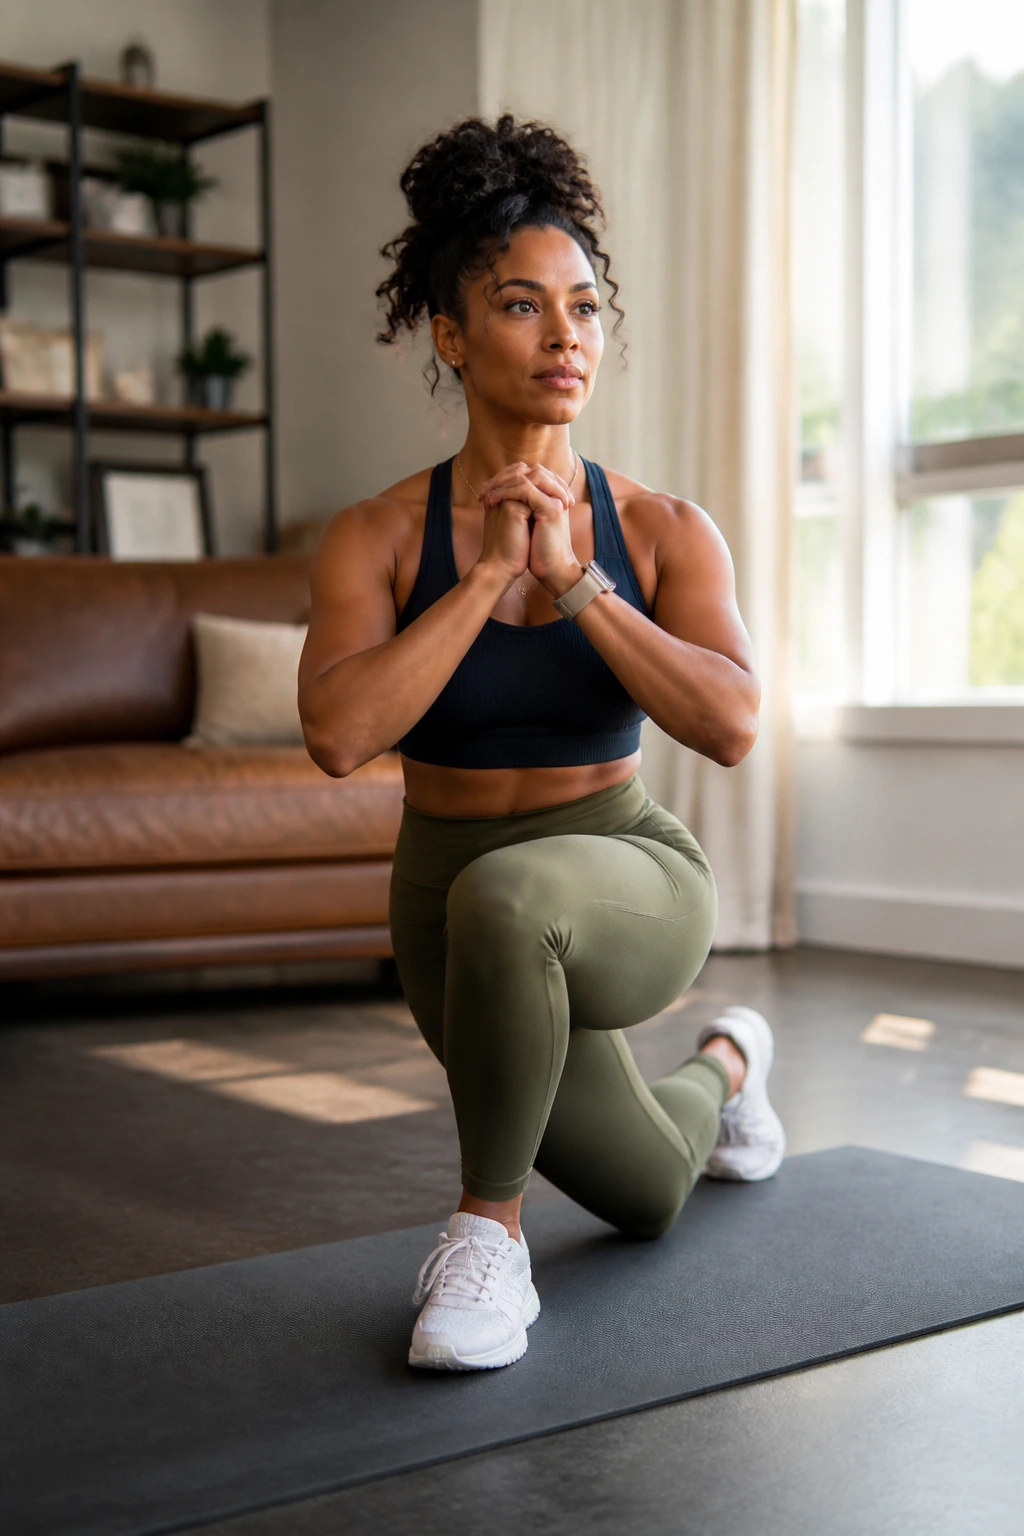
This lunge variation introduces a rotational component, which is crucial for real-world hip stability. We rarely move in a perfectly straight line; our hips need to be stable in multiple planes of motion.
Why It Works
By stepping behind and across the body, you force the hip to stabilize against an inward-pulling force. It challenges the glute medius and the external rotators of the standing leg.
- Stand with feet hip-width apart.
- Step one foot back and across behind your front leg, as if you are doing a polite bow.
- Lower your back knee toward the ground.
- Keep your front knee tracking over your toes—do not let it collapse inward.
- Push through the front heel to return to standing.
The goal is to keep the hips square to the front. You will feel this deep in the outer glute of the front leg.
11. Reverse Lunge
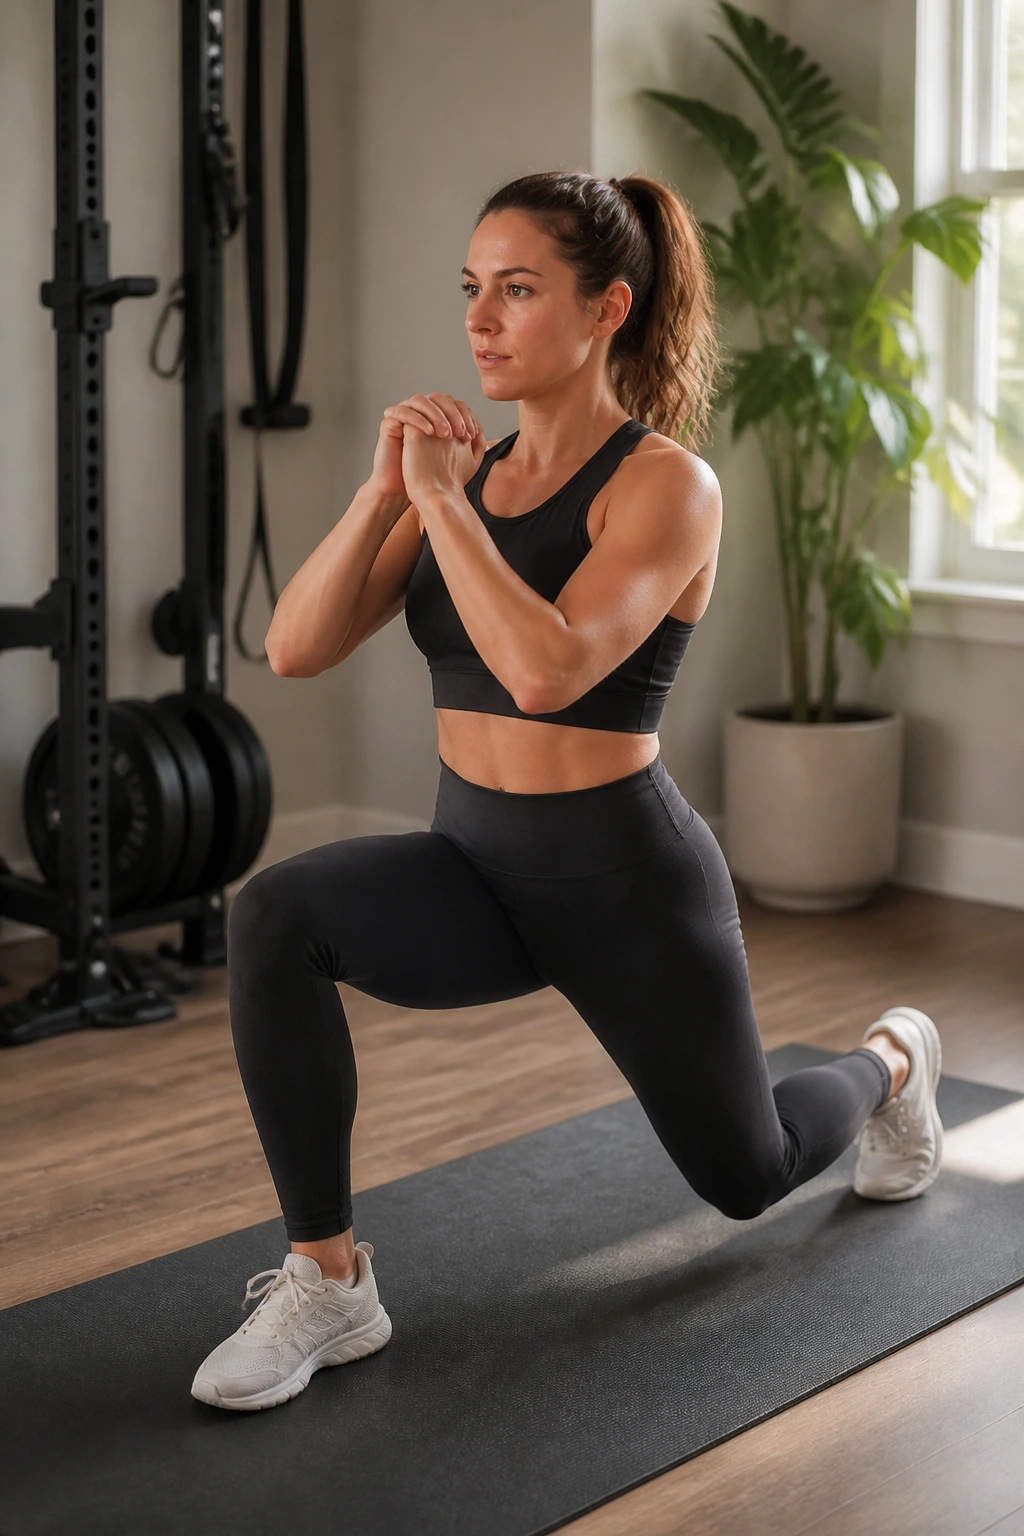
While forward lunges can be tough on the knees, reverse lunges are generally more hip-friendly and prioritize stability. You are stepping backward, which shifts your center of gravity and forces the front hip to stabilize the entire load.
Proper Mechanics
- Step backward with one foot and lower your hips until both knees form 90-degree angles.
- Keep your torso upright—do not lean forward.
- Drive through the front heel to return to the starting position.
If you wobble, it’s a sign your core and hip stabilizers are struggling. Keep your core tight and gaze forward. The upright torso is essential for shifting the load into the hip and away from the knee joint.
12. Single-Leg Stance with Head Turns
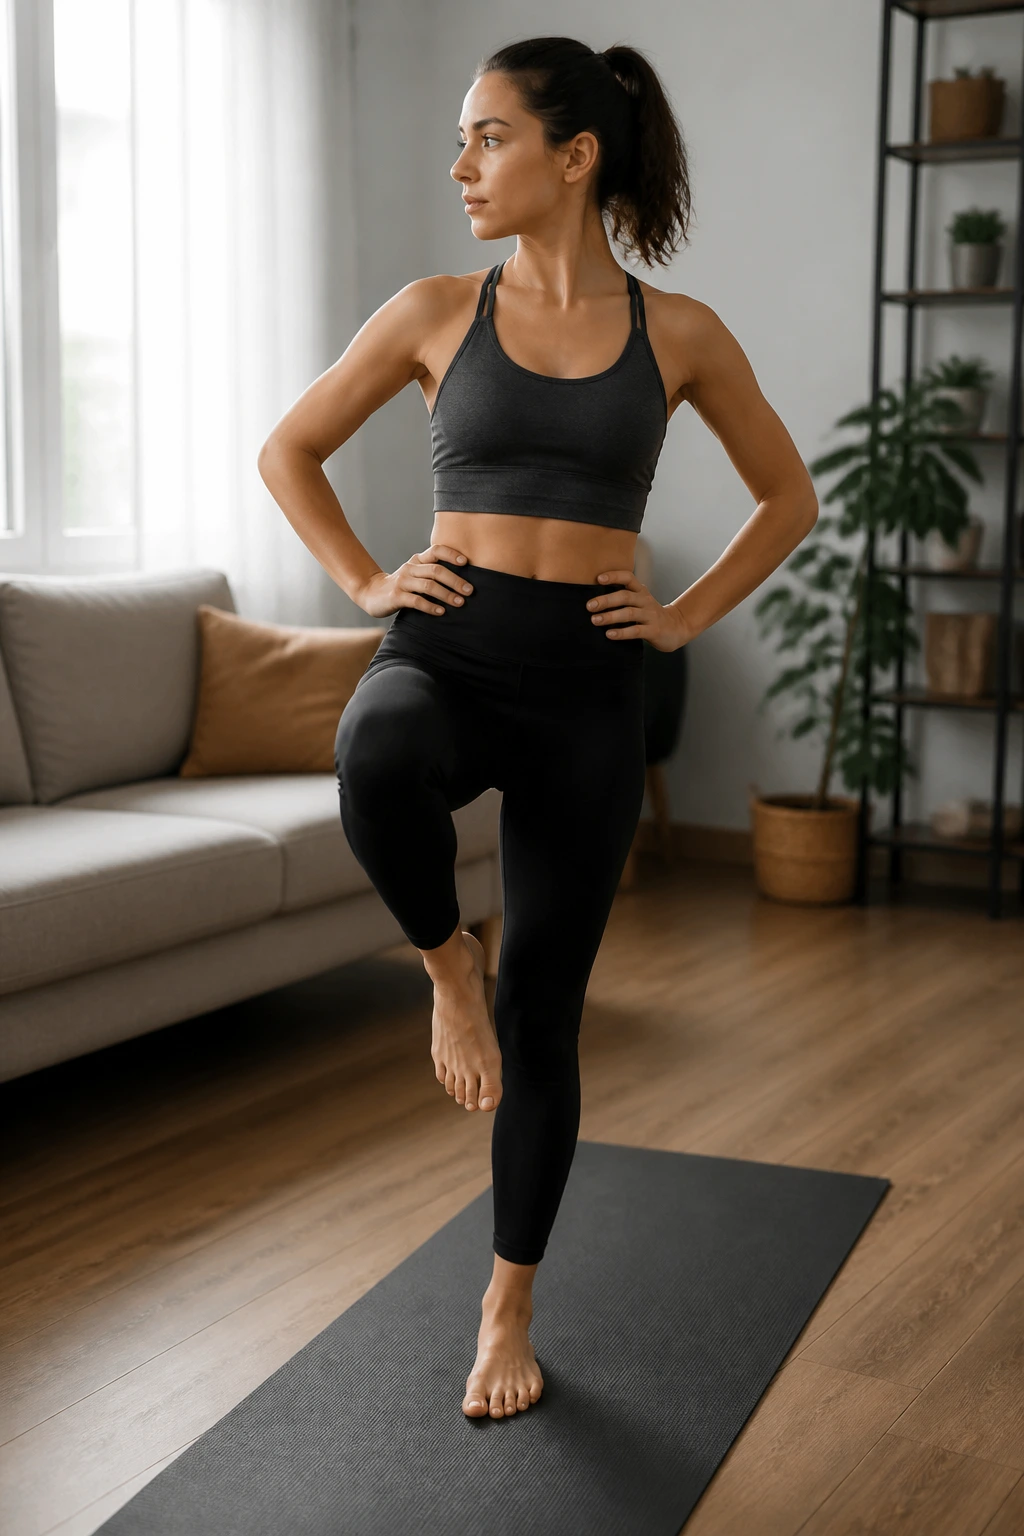
This is a proprioception drill. We often ignore the role of the inner ear and vision in balance. By adding head movement, you force your hips to stabilize based on feeling rather than visual cues.
The Drill
- Stand on one leg.
- Maintain your balance for 30 seconds.
- Once steady, slowly turn your head from side to side, as if saying “no.”
- Then, move your head up and down, as if saying “yes.”
- Try to keep your standing leg perfectly still.
You will immediately notice how much harder it is to keep your hip steady when your vision is shifting. This trains the nervous system to rely on the hip muscles for stability rather than just visual input.
13. Copenhagen Plank
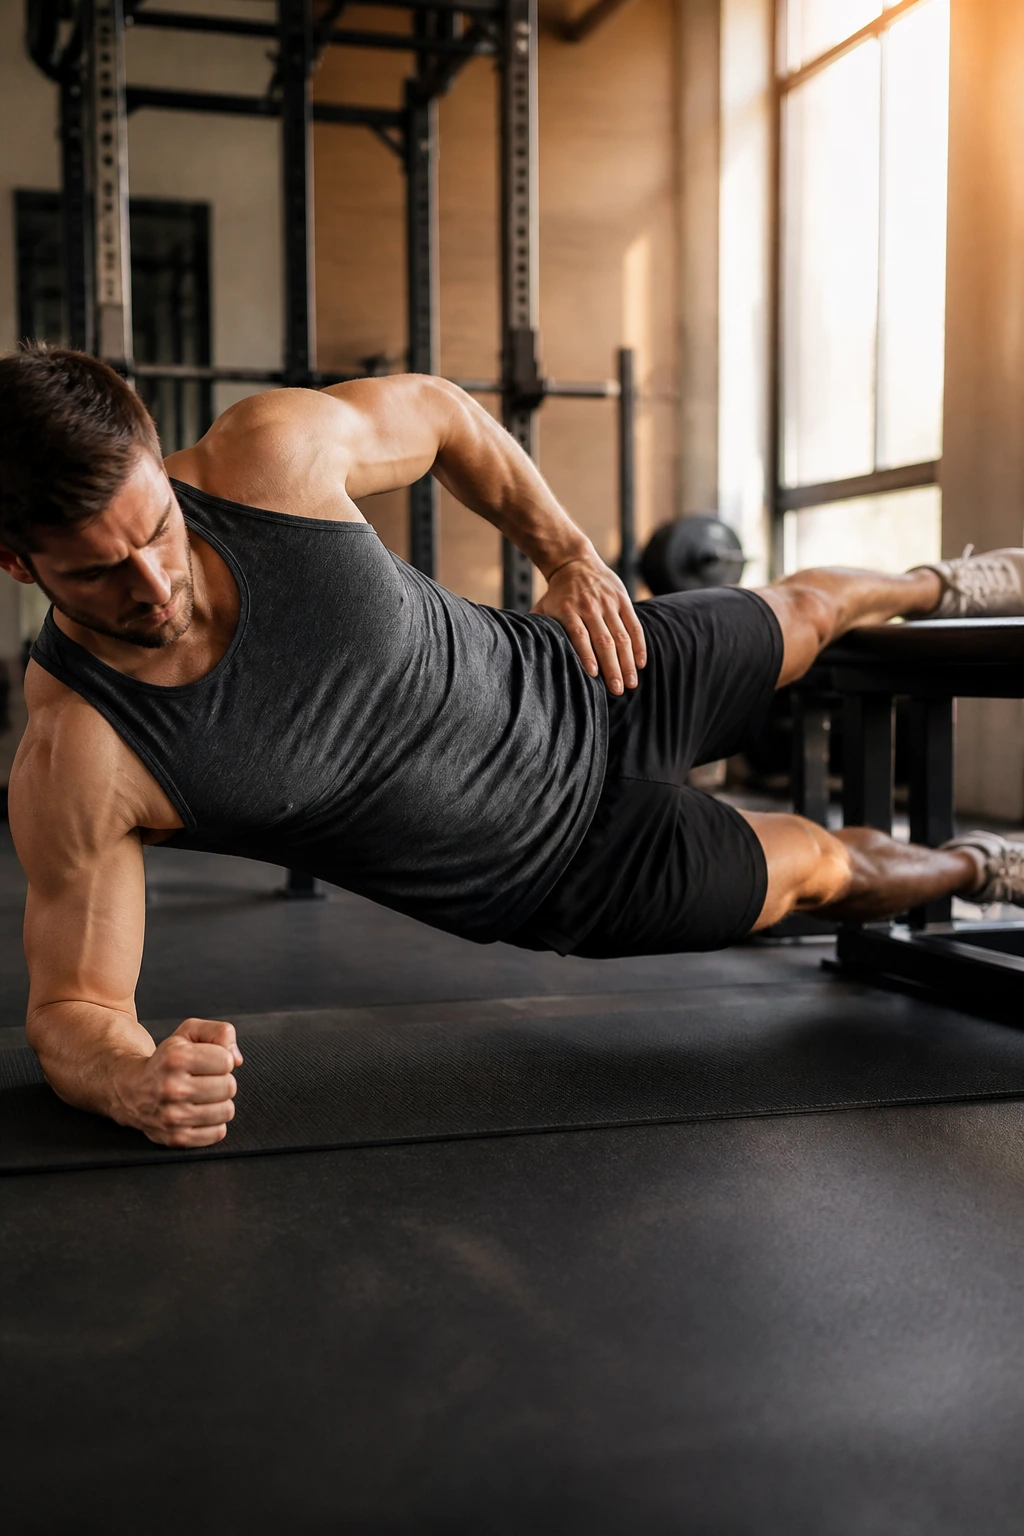
This is an advanced move, but it is incredible for hip adductor strength. A strong inner thigh is often overlooked in hip stability, but it is essential for pelvic alignment.
How to Scale It
- Lie on your side with your elbow under your shoulder.
- Place your top foot on a bench, chair, or stability ball.
- Lift your hips off the floor, supporting your weight with your forearm and your top leg.
- Hold the position, keeping your body in a straight line.
If this is too difficult, bend the bottom knee and place it on the bench instead of the top leg. You want to feel this in the inner thigh of the top leg.
14. Side Plank with Clamshell
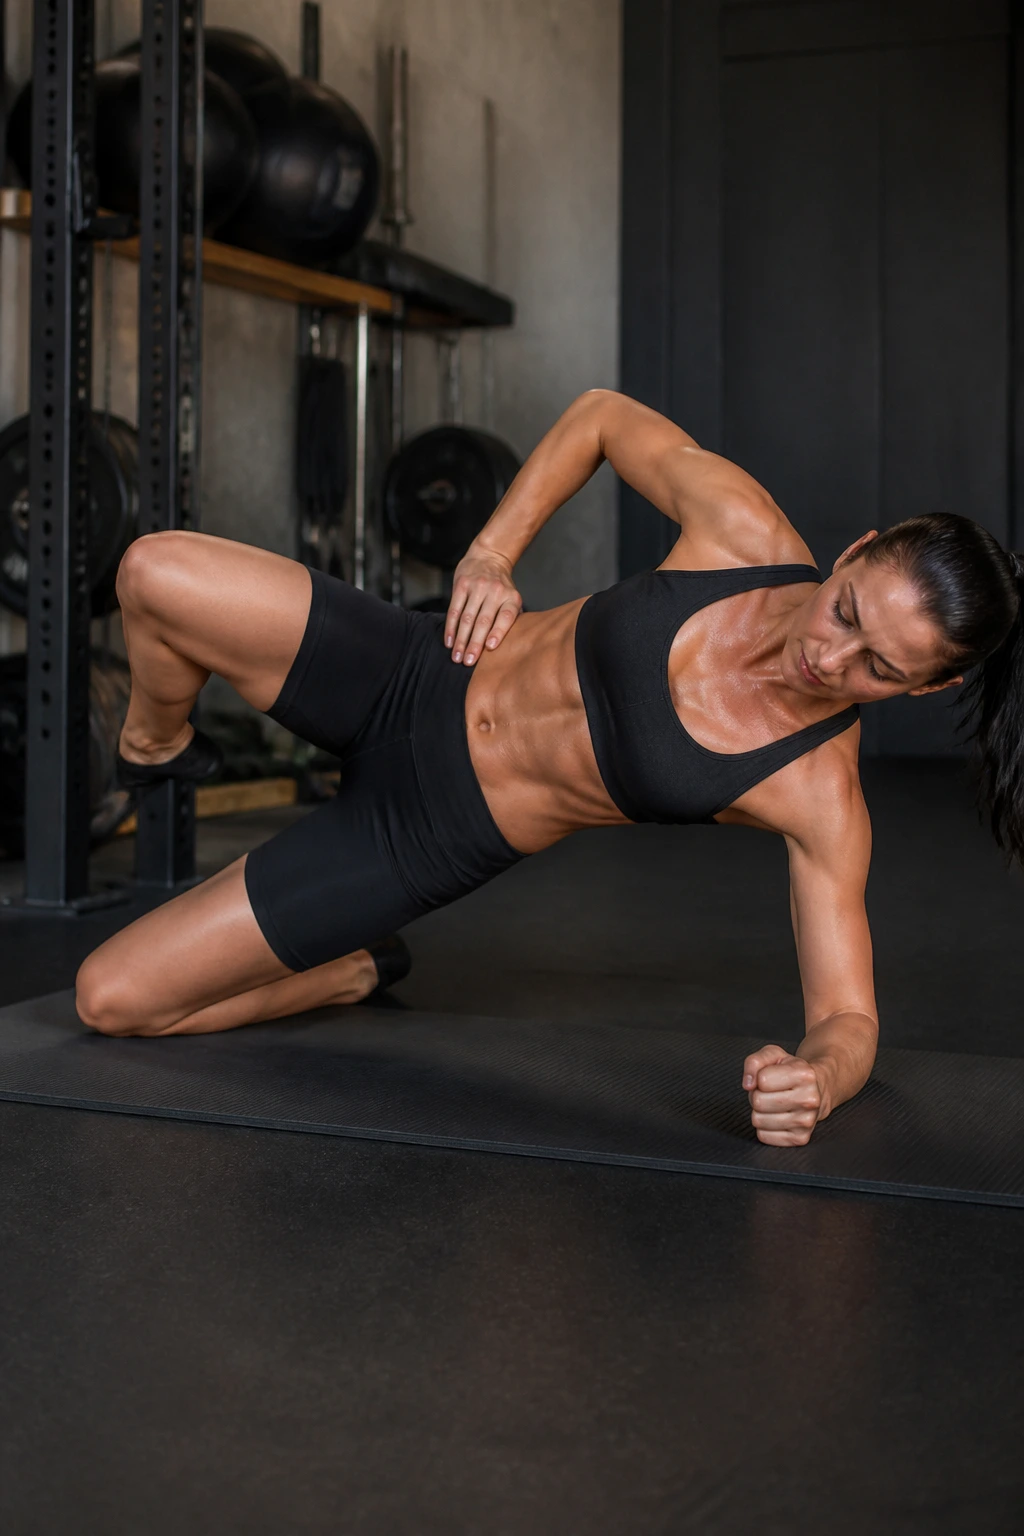
This combines core stability with hip mobility. By performing a clamshell while holding a side plank, you force the hips to stabilize the entire torso against gravity.
The Execution
- Get into a side plank position on your elbow.
- Keep your knees bent at 90 degrees.
- While holding the plank, open your top knee into a clamshell motion.
- Keep the hips high—do not let them sag toward the floor.
This is a multi-joint challenge. It hits the obliques, the core, and the gluteus medius all at once. If you sag, you lose the benefit. Keep the hips high and proud.
15. Glute Kickbacks
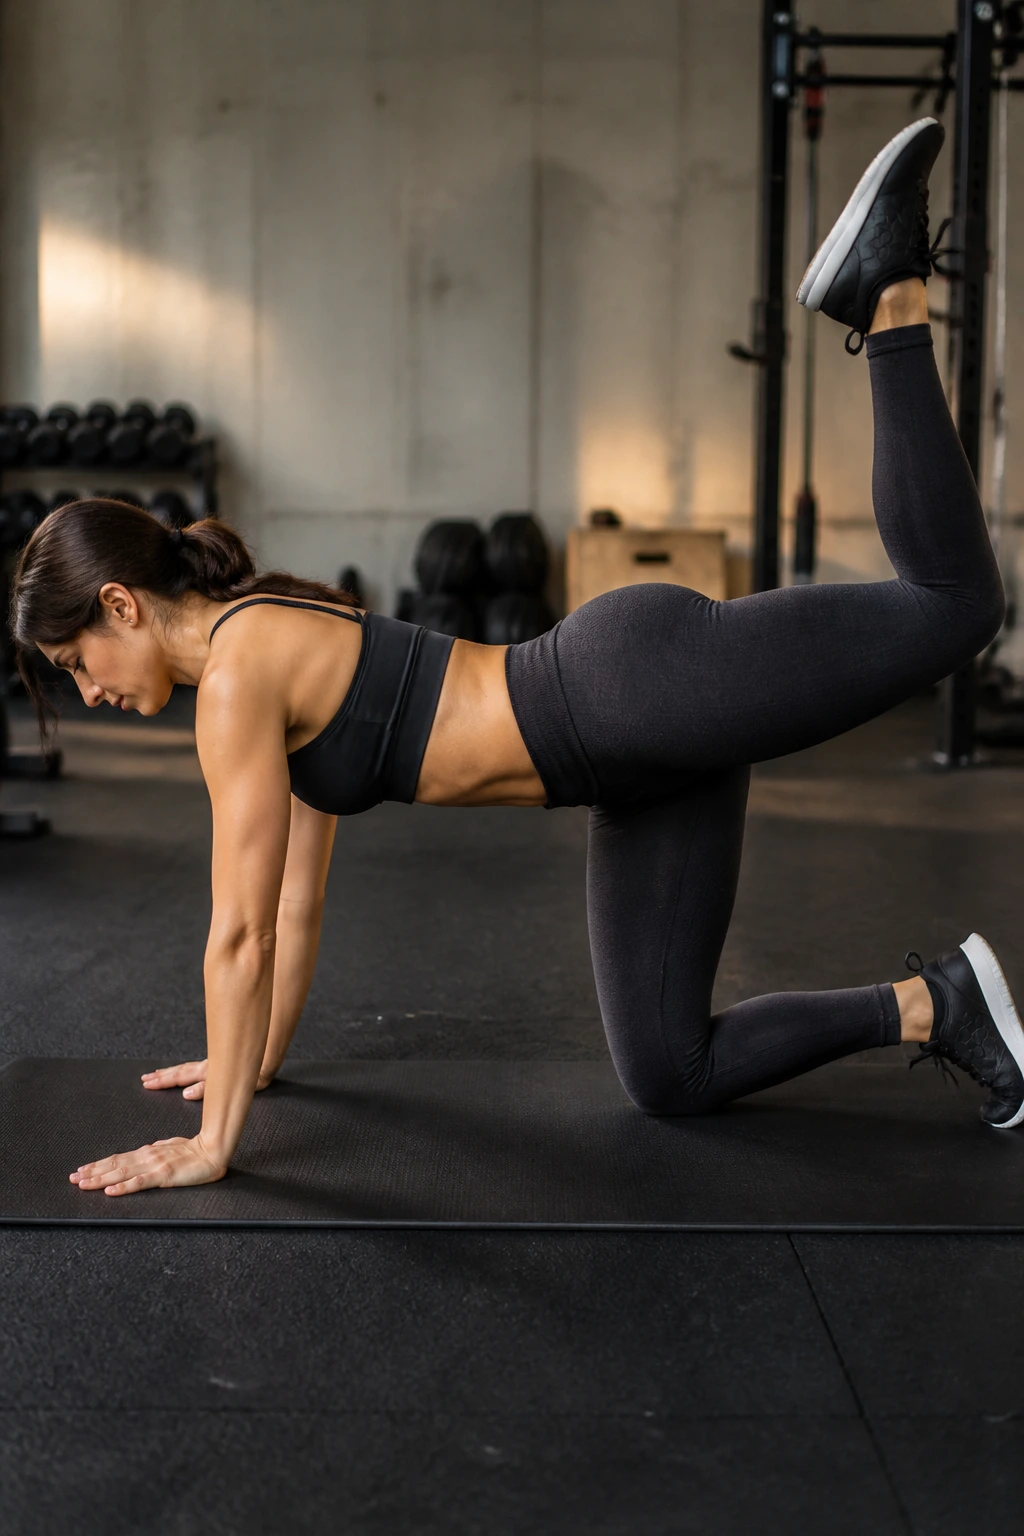
Glute kickbacks focus on hip extension. Weak hip extensors often lead to compensatory lower back movement. This exercise isolates the gluteus maximus, which acts as a powerful stabilizer for the pelvis.
Form Matters
- Start on all fours.
- Keep your knee bent at 90 degrees.
- Press your foot toward the ceiling as if pushing a weight.
- Squeeze the glute at the top of the movement.
- Do not arch your low back to get more height.
The moment you arch your back, you lose the glute engagement and put stress on your spine. Keep the pelvis locked. Imagine your leg is the only thing moving.
16. Cossack Squats
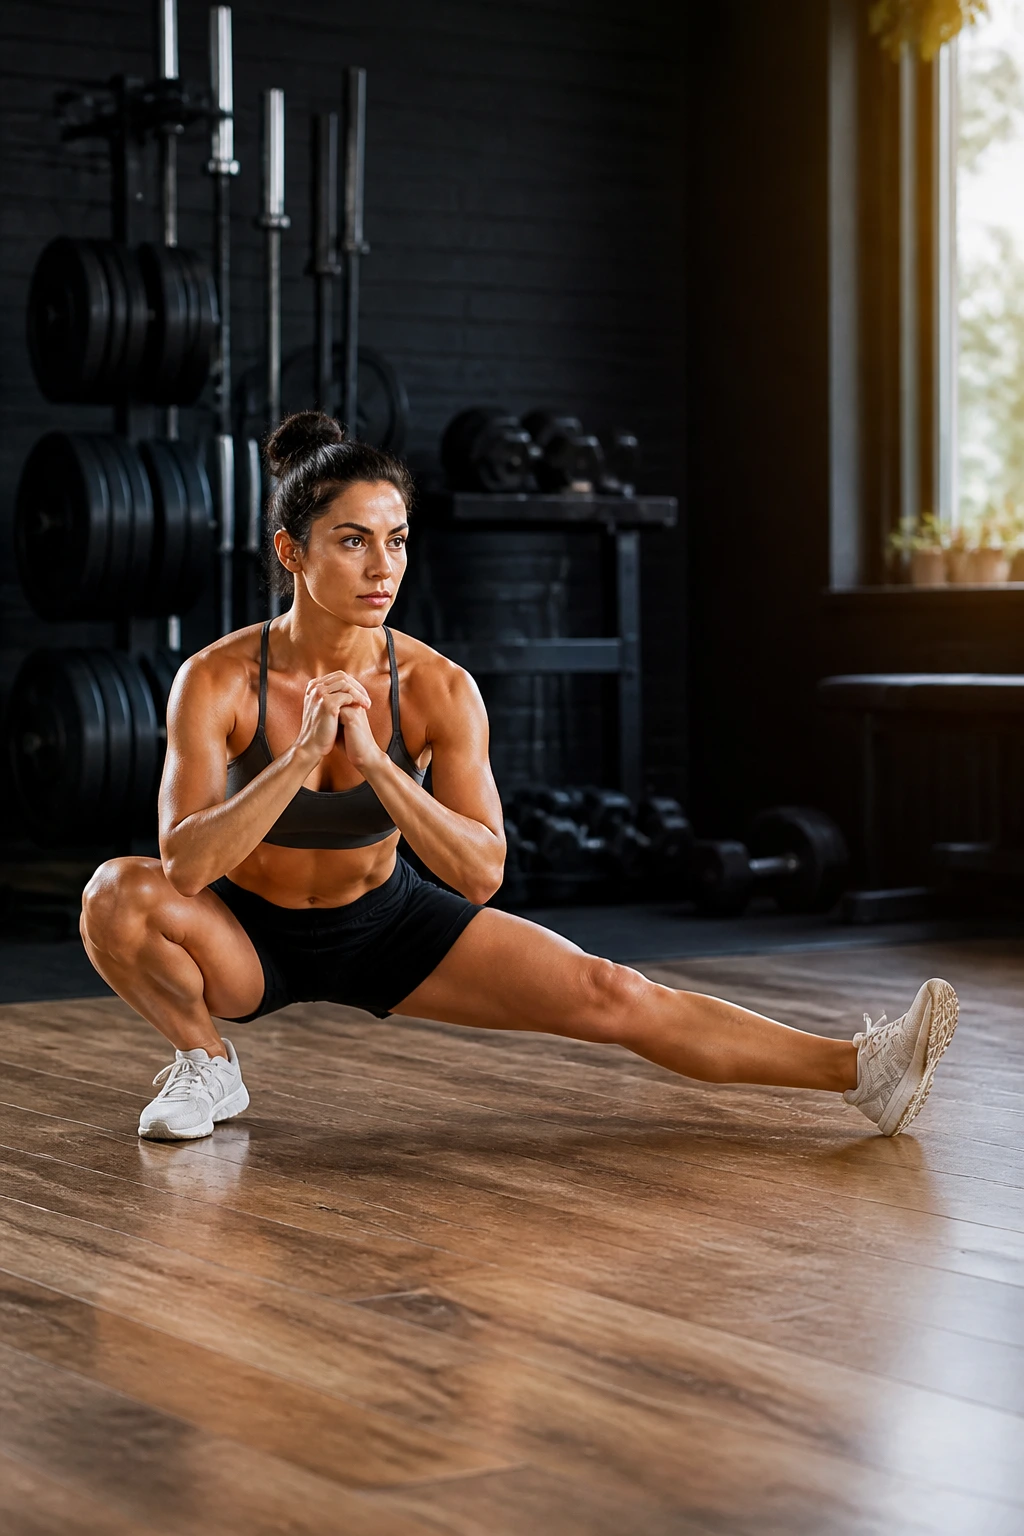
This lateral squat variation builds mobility and stability simultaneously. It forces your hip to control the load while moving through a side-to-side plane, which is where most balance issues manifest.
The Flow
- Take a very wide stance, toes pointed slightly out.
- Shift your weight to one side, squatting down as low as you can.
- The other leg stays straight, with the toes pointing toward the ceiling.
- Keep your chest up and your weight in the heel of the bent leg.
- Push back to the center and switch sides.
This requires significant hip mobility. If you cannot go low, stay higher. The goal is control, not depth. If your heel lifts off the floor, you need to widen your stance or shorten your range.
17. Split Squats
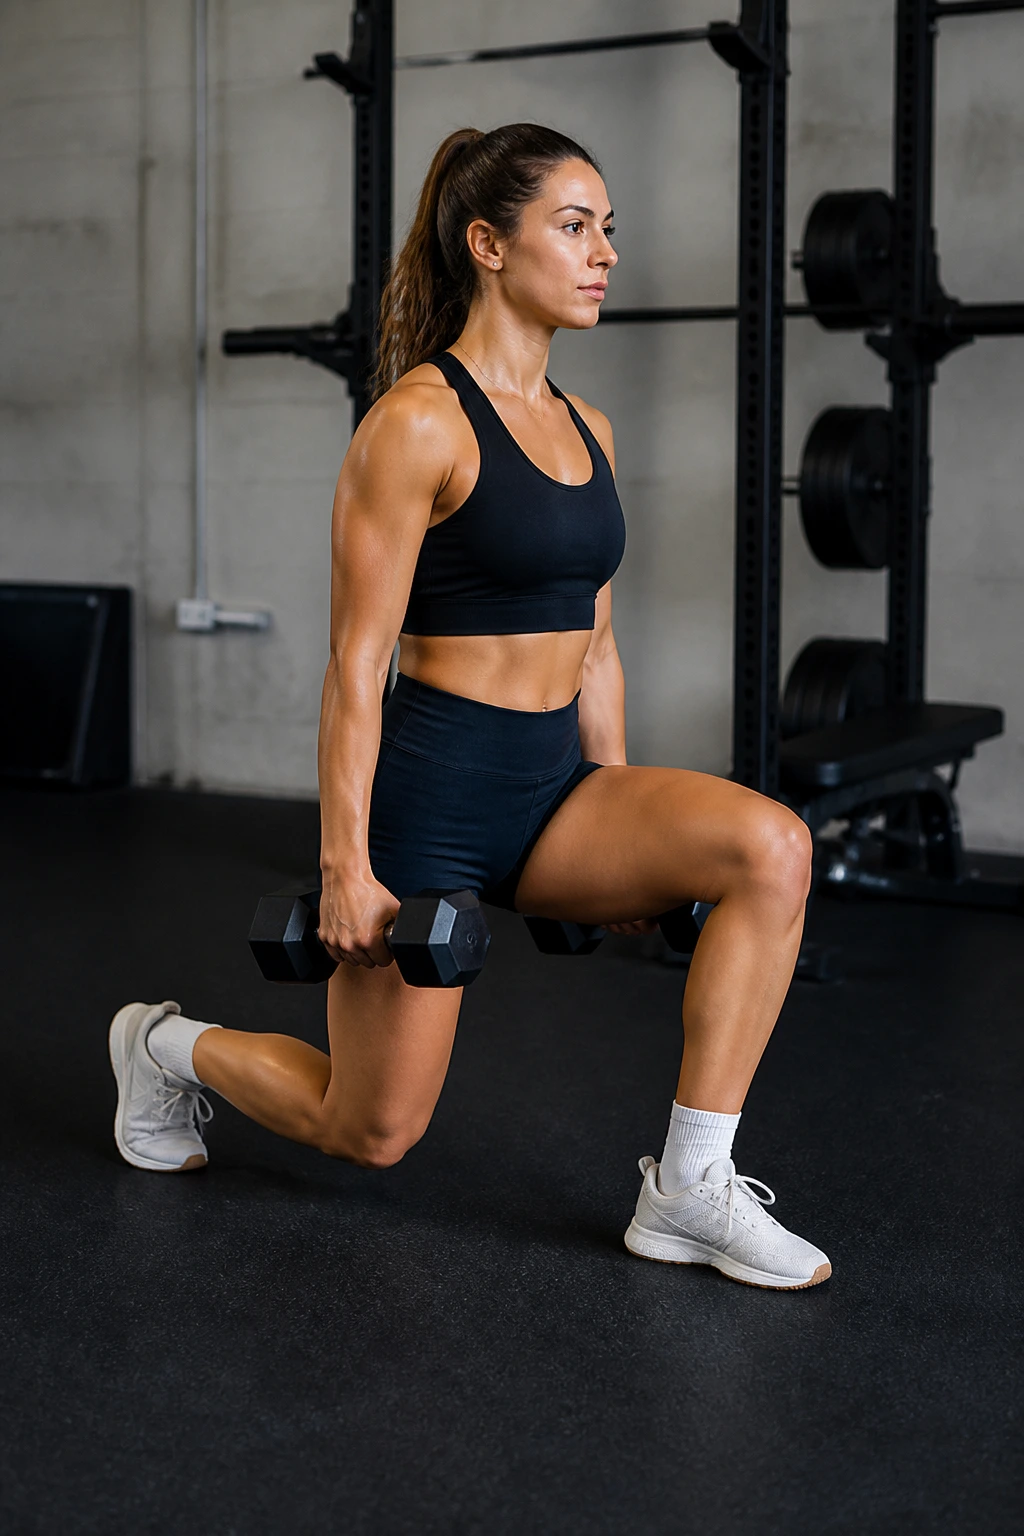
The split squat is similar to a lunge, but you remain in a fixed stance, which allows you to focus purely on the vertical stability of the front hip.
Why It’s Effective
By removing the movement of stepping back and forth, you eliminate the momentum factor. You are forced to stabilize the front leg purely through muscular engagement.
- Place one foot forward and the other back (on a mat or floor).
- Lower straight down, ensuring your front knee stays behind your toes.
- Your torso should remain vertical.
- Push through the front heel to rise.
Feel how your front hip has to work to keep you from falling inward or outward. That “wobble” is your body learning to stabilize.
18. Box Squats
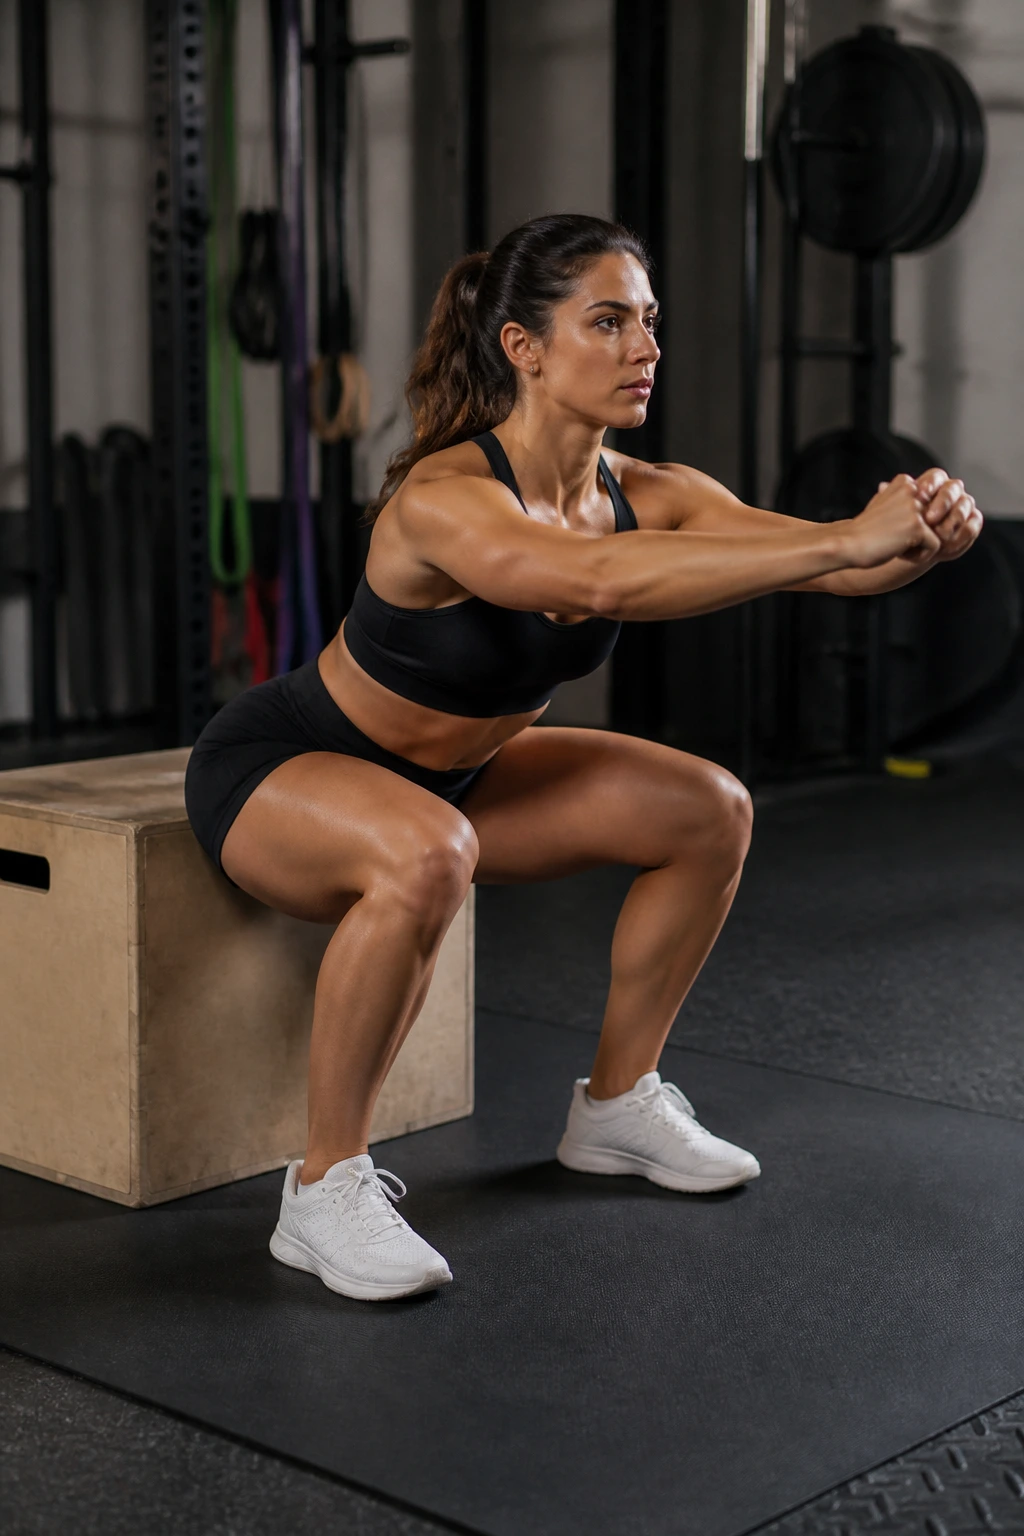
Many people do squats incorrectly, using their lower back or knees to compensate for weak hips. The box squat forces you to sit back into your hips rather than squatting down into your knees.
The Mechanics
- Position a box or chair behind you.
- Squat down until your glutes barely touch the surface.
- Pause for a second—do not sit and relax your muscles.
- Drive back up through your heels.
The pause at the bottom is key. It kills the momentum and forces your hips to initiate the upward movement. This is the ultimate tool for teaching your glutes to be the primary drivers.
19. Sumo Squats
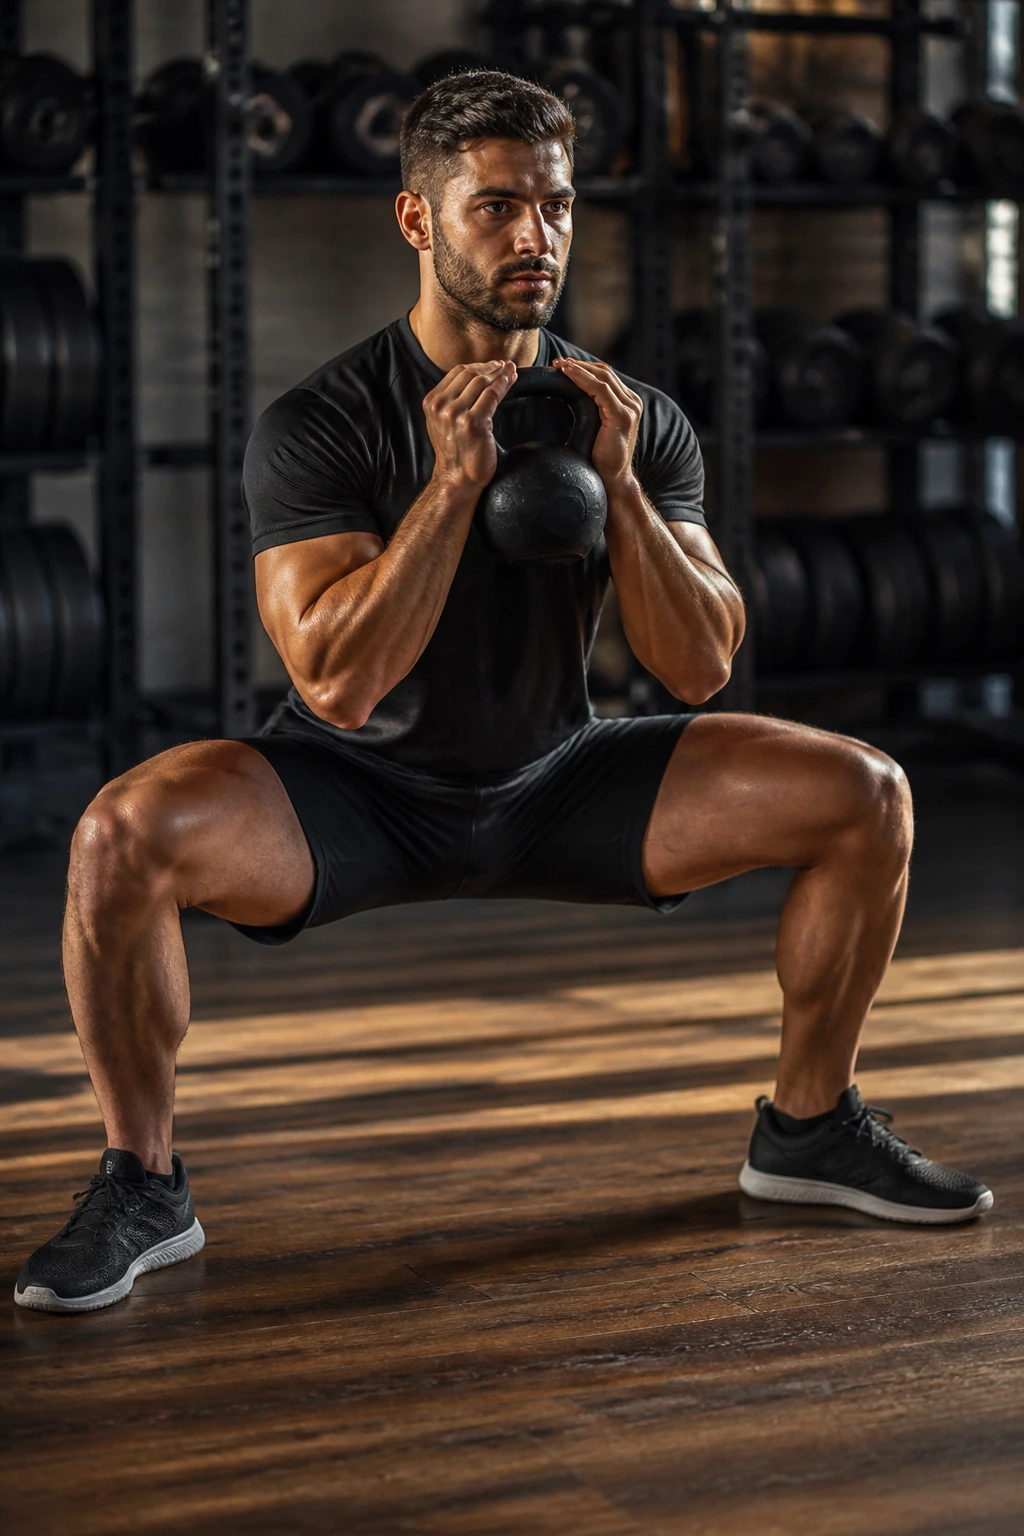
The wide stance of the sumo squat shifts the focus to the inner thighs (adductors) and the deeper hip rotators. This provides a different angle of stability than a standard narrow-stance squat.
Adjusting Your Stance
- Step your feet wider than shoulder-width.
- Point your toes outward at a 45-degree angle.
- Squat down, keeping your knees tracking directly over your toes.
- Squeeze your glutes to stand back up.
Because of the wider stance, your hips have to work harder to maintain stability. If your knees cave in, bring your feet in slightly. You want that “open hip” feeling.
20. Bulgarian Split Squats
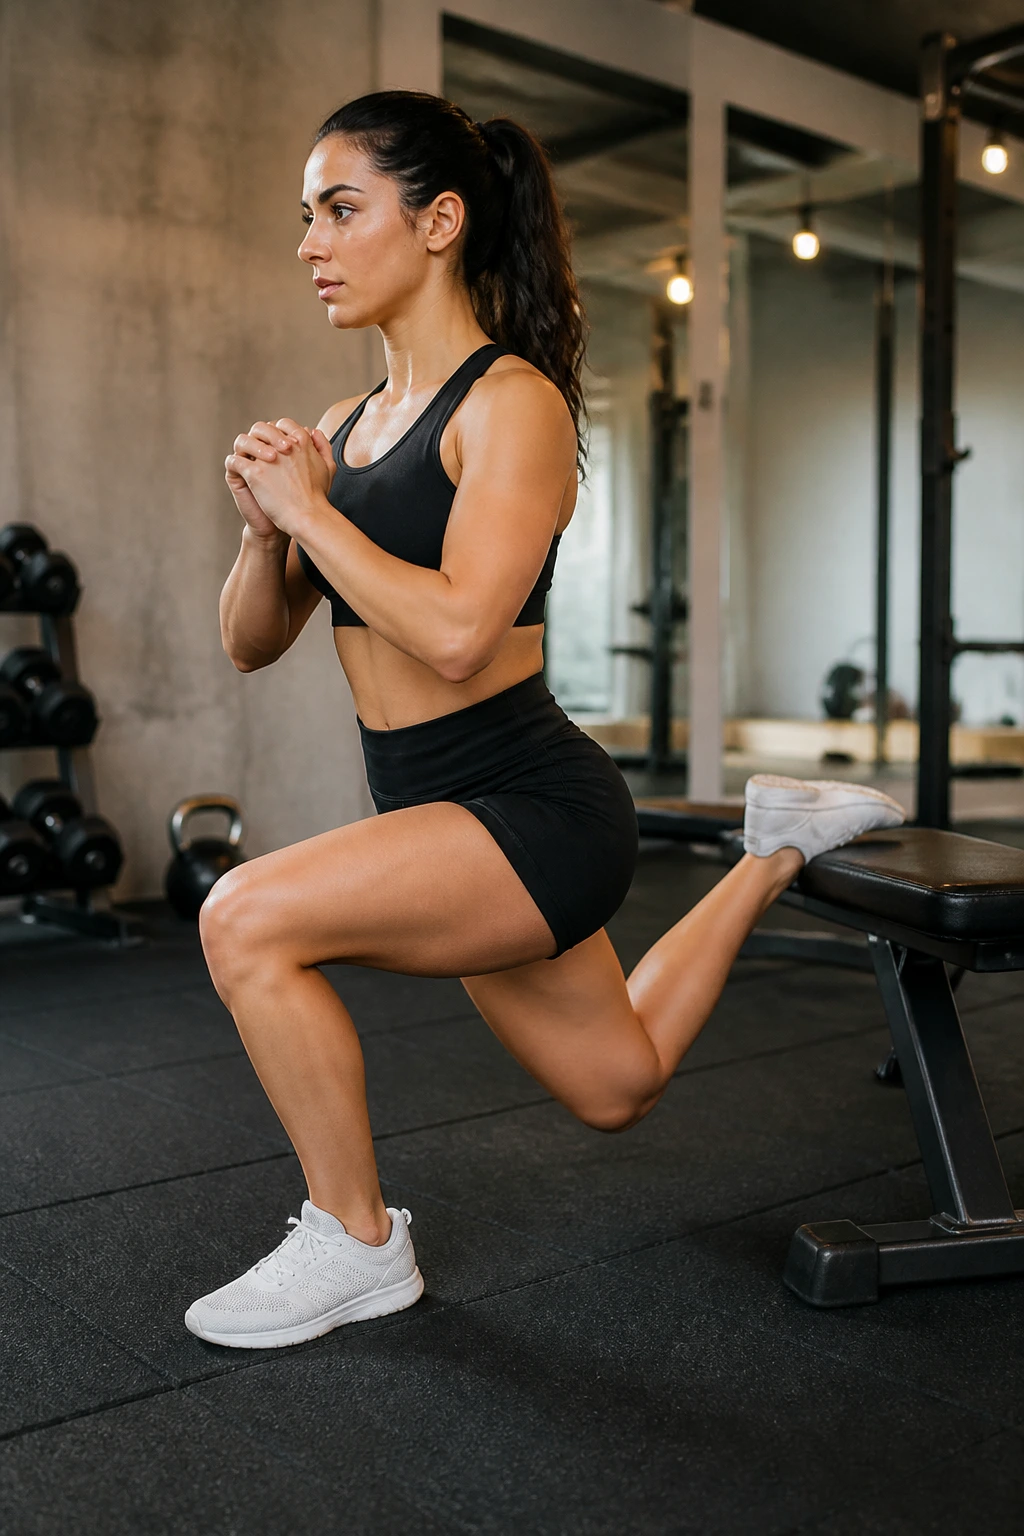
This is essentially a split squat with the back foot elevated. It is brutal but highly effective. Elevating the back foot forces the front hip to stabilize almost the entire body weight.
The Difficulty Factor
- Stand facing away from a bench or chair.
- Place one foot back onto the bench.
- Lower your hips until the front thigh is roughly parallel to the floor.
- Keep the front knee aligned.
If this feels like a balance nightmare, it’s because it is. You are isolating the hip stabilizers of the front leg entirely. Start with no weight—your body weight is more than enough to start.
21. Dead Bug
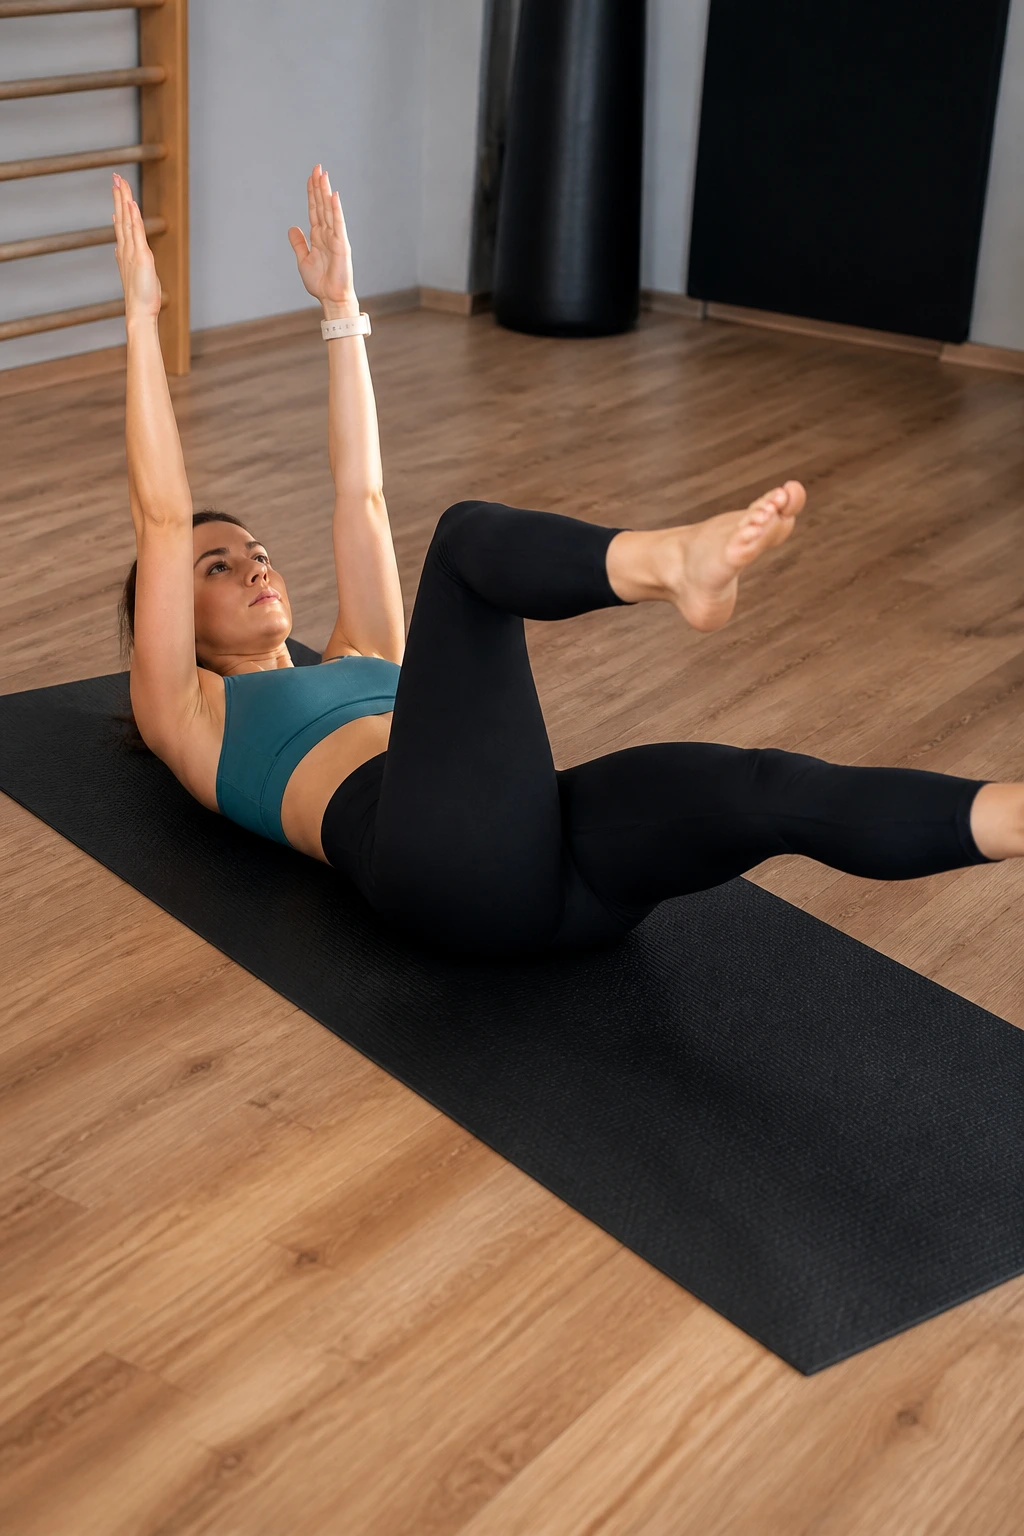
While this is a core exercise, it is a hip stability exercise in disguise. It trains you to keep your pelvis neutral while your legs move independently.
Controlling the Pelvis
- Lie on your back, arms extended toward the ceiling, knees bent at 90 degrees over your hips.
- Press your lower back firmly into the floor—if a piece of paper could slide under your back, you aren’t engaging enough.
- Lower the opposite arm and leg simultaneously while maintaining that back-to-floor contact.
- Return and switch.
The moment your back arches off the floor, your hip flexors have taken over and you have lost the core-pelvis connection. Move slowly.
22. Step-Ups with Knee Drive
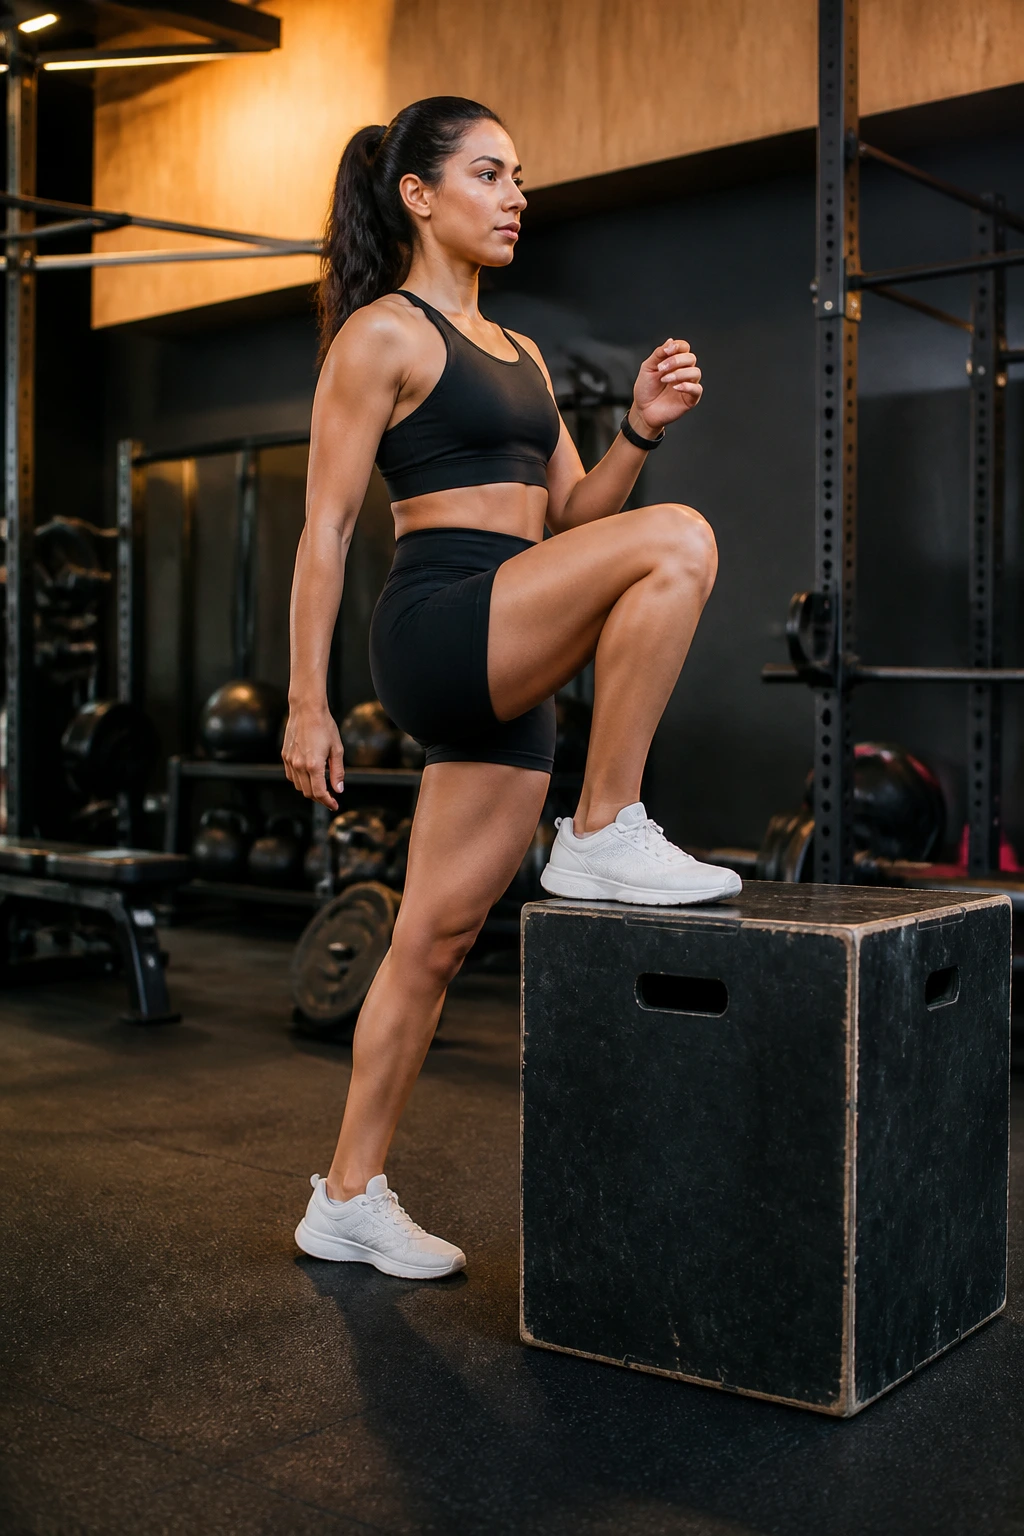
This exercise combines stability with a dynamic range of motion. It forces you to balance on one leg while driving the other through space.
The Movement
- Step onto a sturdy box or bench.
- Drive the opposite knee up toward your chest as you stand.
- Keep your torso perfectly still—don’t lean into the step.
- Step down with control.
The knee drive at the top is the stabilization phase. You are balancing on one hip while holding a static pose. It builds the kind of stability needed for hiking, running, or simply navigating uneven terrain.
Final Thoughts
Building hip stability is not about doing one “perfect” exercise; it is about consistent, controlled practice. You do not need to do all 22 of these in a single session. Pick three or four that challenge you the most, integrate them into your routine, and focus on the quality of the movement.
Remember, the goal is to feel the stabilizing muscles—the glutes, the deep rotators, and the core—doing the work. If you find yourself rushing through reps, you are missing the point. Slow down, prioritize your alignment, and listen to what your body tells you. Consistency here is the key to movement that feels effortless and grounded.
