



Everyone assumes the standard squat is the holy grail of posterior chain development, but if you spend eight hours a day sitting at a desk, your glutes have likely forgotten how to fire properly. It is a common frustration: you put in the work, you feel the burn in your quads, but your backside remains stubbornly unresponsive. This isn’t because you aren’t trying hard enough; it is because you are likely suffering from glute amnesia, a functional shutdown caused by prolonged inactivity.
Building muscle at home does not require an arsenal of heavy plates or a commercial gym membership. In fact, gravity and your own body weight are often enough to trigger serious growth if you manipulate tempo and range of motion correctly. The key is isolating the target muscles before moving into compound lifts. You need to wake those fibers up, challenge them with different planes of movement, and maintain tension throughout every single rep.
Forget the hype about quick fixes or overnight transformations. Real strength—the kind that supports your lower back and keeps your knees tracking correctly—takes time and deliberate practice. Below are twenty movements that, when performed with intention, will change the way your posterior chain functions. We are focusing on specific mechanics here: how to tilt your pelvis, where to drive your weight, and how to avoid the common errors that sabotage your progress.
1. Bodyweight Squats
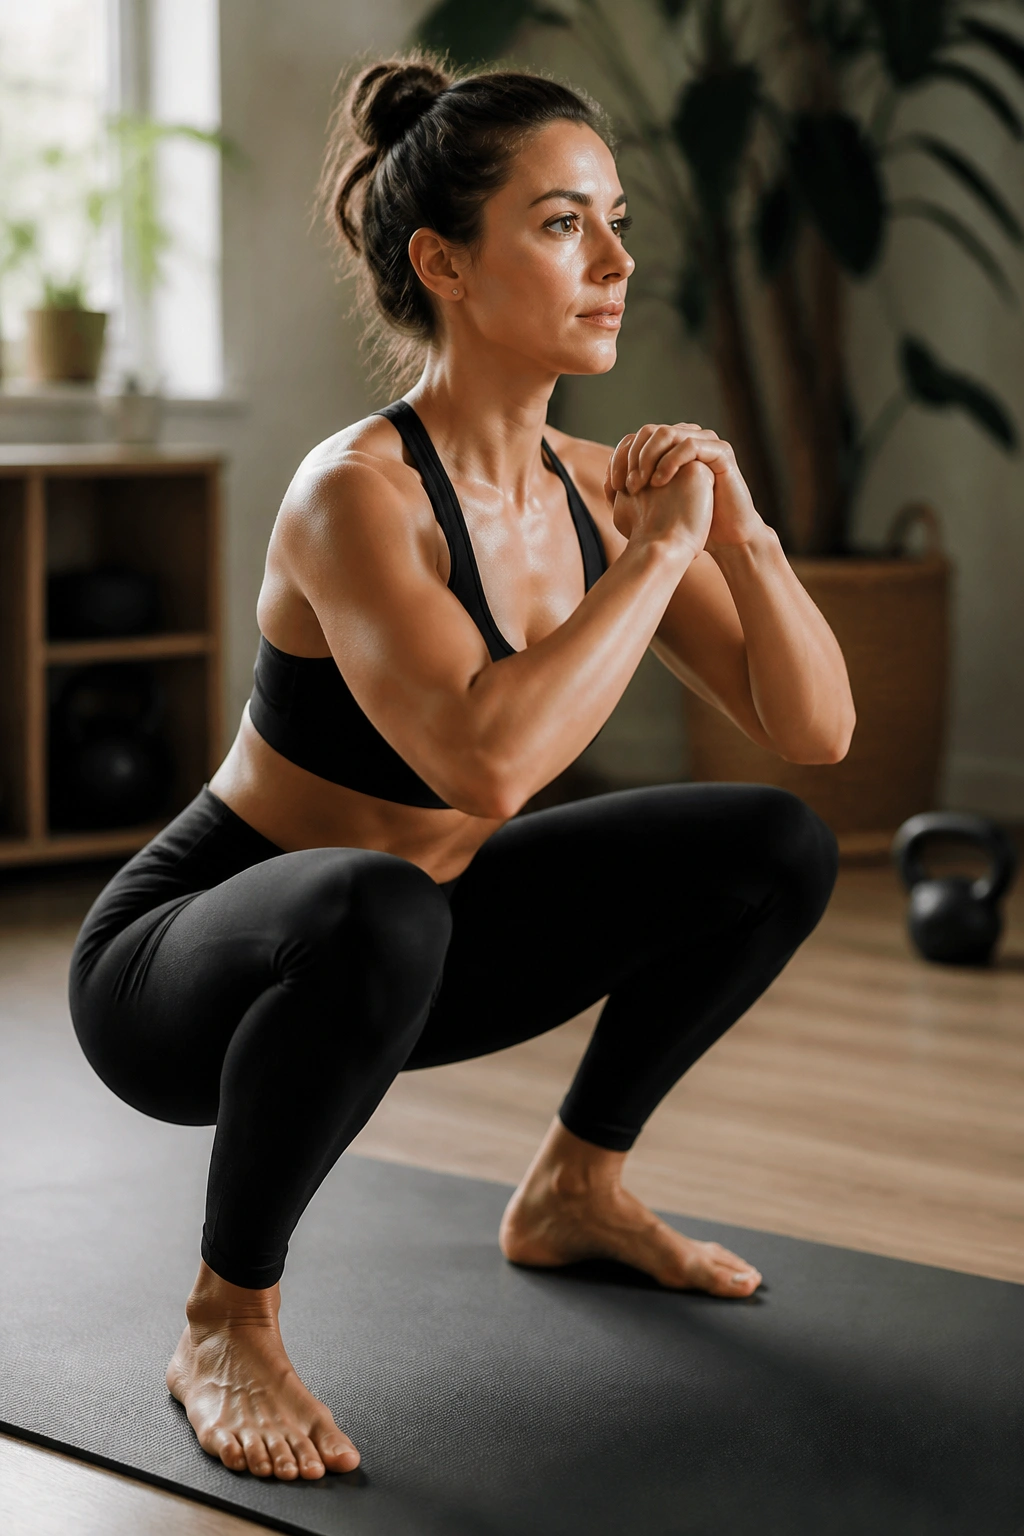
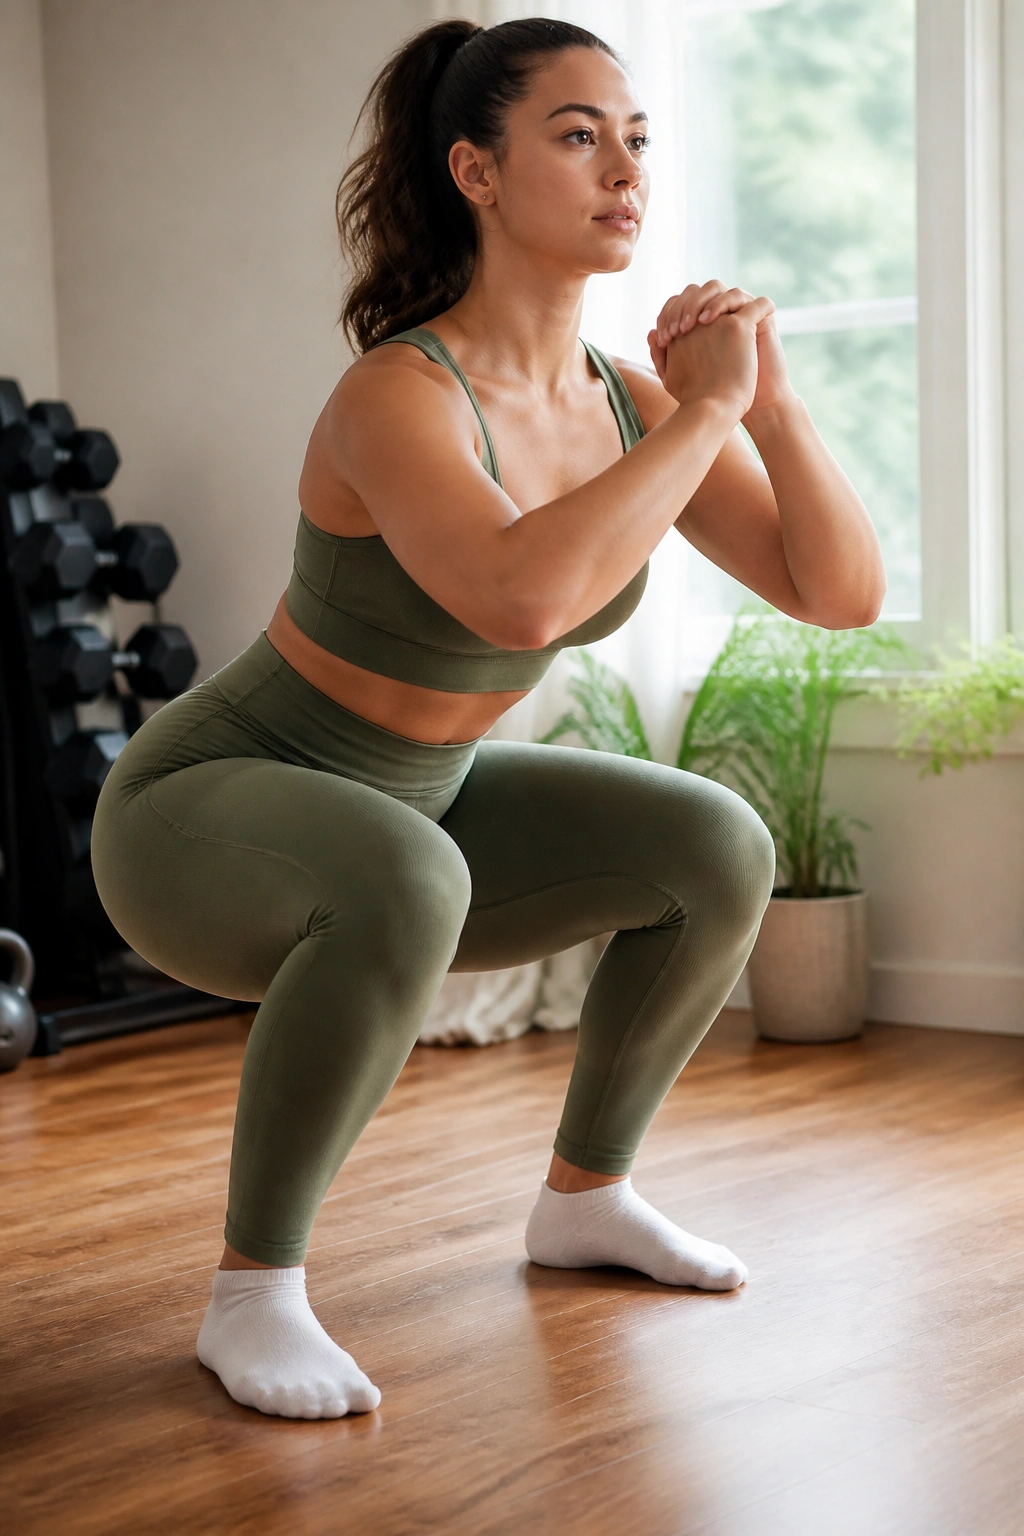
The foundation of every lower-body workout, yet most people perform it with zero intent. When you squat, stop thinking about just “going down and up.” Instead, focus on sitting back as if you are reaching for a chair positioned two inches behind your heels. Your weight must stay centered over your midfoot, not your toes. If your heels lift, your quads take over and your glutes check out.
Why It Works for Glute Activation
By keeping your chest upright and driving through your heels, you force the glutes to do the heavy lifting at the bottom of the movement. Most of the muscle recruitment happens during the ascent.
The Specific Cue to Use
Imagine you are trying to rip the floor apart with your feet. As you lower yourself, push your knees outward against an invisible resistance. This simple cue recruits the glute medius, the muscle responsible for hip stability and shape, preventing your knees from caving inward.
Pro tip: Do not rush. Take three full seconds to lower yourself, pause for one second at the bottom, and explode upward. That tempo alone will make your glutes feel twice as tired by the end of the set.
2. Glute Bridges
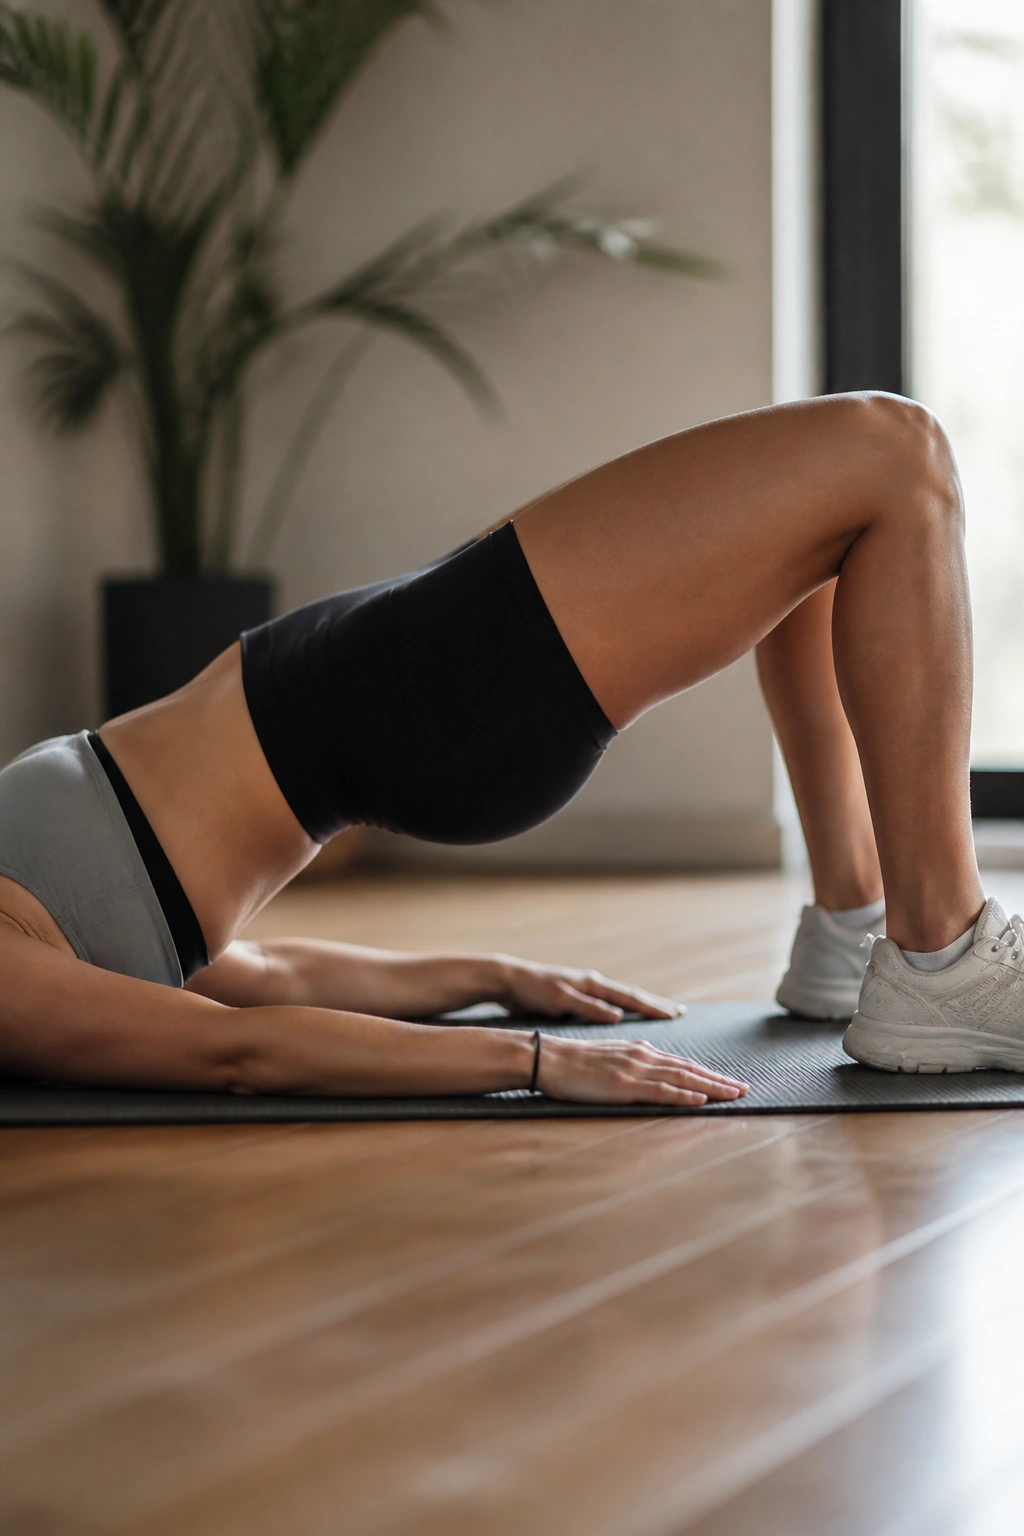
This is the king of isolation movements. If you cannot feel your glutes working during a squat, start here. Lie on your back, knees bent, feet flat on the floor. The most common mistake is pushing your hips toward the ceiling while arching your lower back. That is a back exercise, not a glute one.
To get it right, tuck your pelvis under—think about pulling your belly button toward your spine—before you even lift an inch. This locks your ribcage down and forces the glutes to handle the extension. Lift until your shoulders, hips, and knees form a straight, diagonal line. Squeeze at the top for a full two seconds.
If you do not feel a strong contraction, adjust your feet. Pulling them closer to your glutes will hit the hamstrings harder, while pushing them further away will target the glutes more intensely. Experiment with that inch of distance until you find the “sweet spot” where your backside is doing the work instead of your hamstrings.
3. Single-Leg Glute Bridges
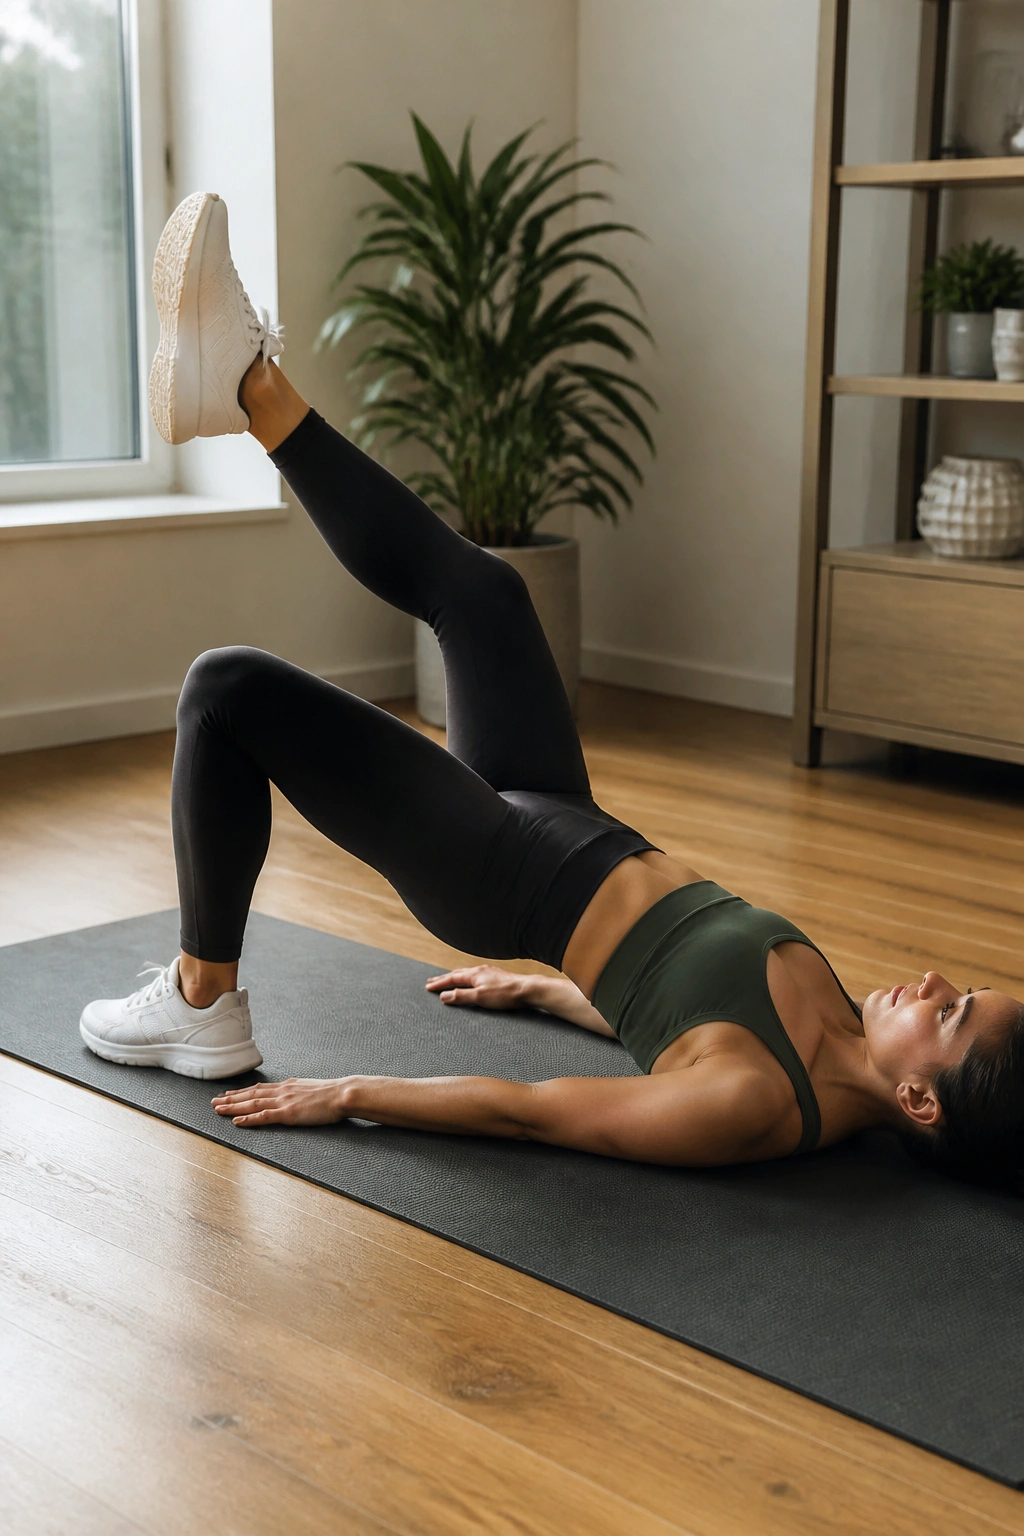
Once the standard bridge feels too easy, you must introduce asymmetry. By working one leg at a time, you double the load on the working glute and force your core to fight rotation. Lie down as you would for a regular bridge, but extend one leg straight out in front of you.
Keep your knees aligned. If the extended knee drifts, your hips will twist, and you lose the benefit of the movement. Drive through the heel of the planted foot and lift your hips. You will feel this immediately in the side of your hip—that is your glute medius working overtime to stabilize your pelvis.
Why People Fail This Move
Most people lift with their lower back because their core isn’t tight. Keep your ribs tucked. If you feel a pinch in your low back, reset, pull your navel to your spine, and try again. If you still feel it, stick to regular bridges for another week.
4. Curtsy Lunges
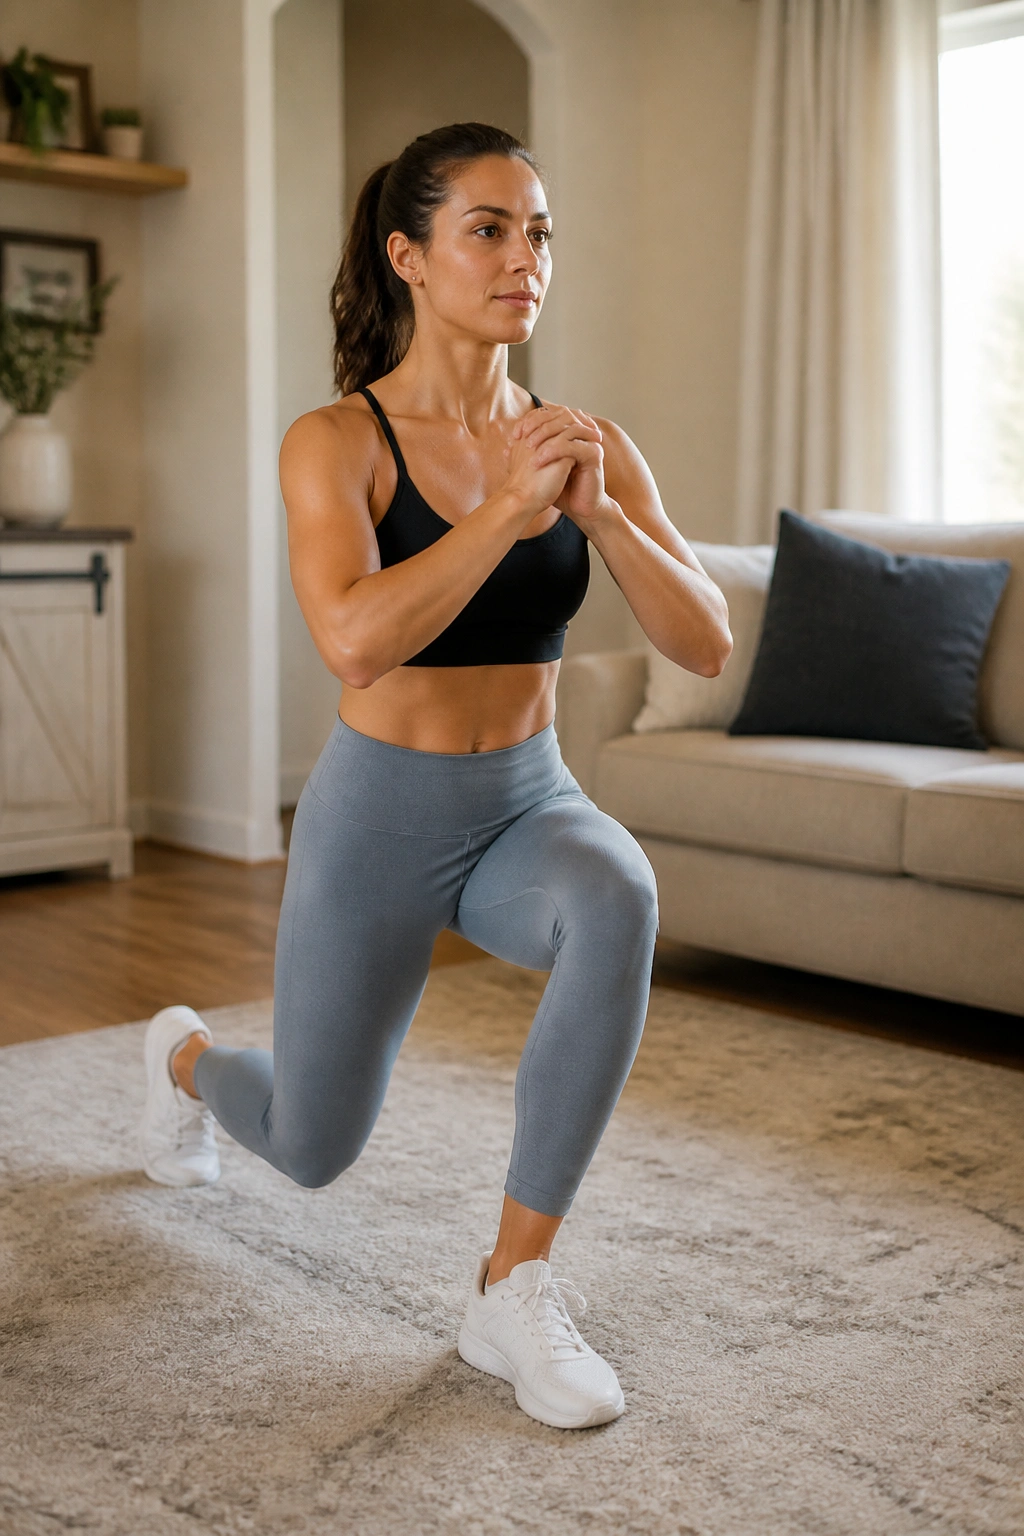
The curtsy lunge is an incredible movement for hitting the upper glutes and the side of the hip. Start standing with feet hip-width apart. Take a large step back, crossing your right leg behind your left. Keep your chest up and square to the front.
When you drop your hips, your left knee should stay tracking directly over your left toes. The magic happens in the shift of weight. You are moving in a slightly lateral direction, which changes the angle of stress on the gluteus medius.
Do not just step back and drop; sit into that front hip. You should feel a deep, intense stretch in the outer glute of your stationary leg as you reach the bottom. If you don’t feel the stretch, you are likely rushing the movement. Slow down.
5. Bulgarian Split Squats
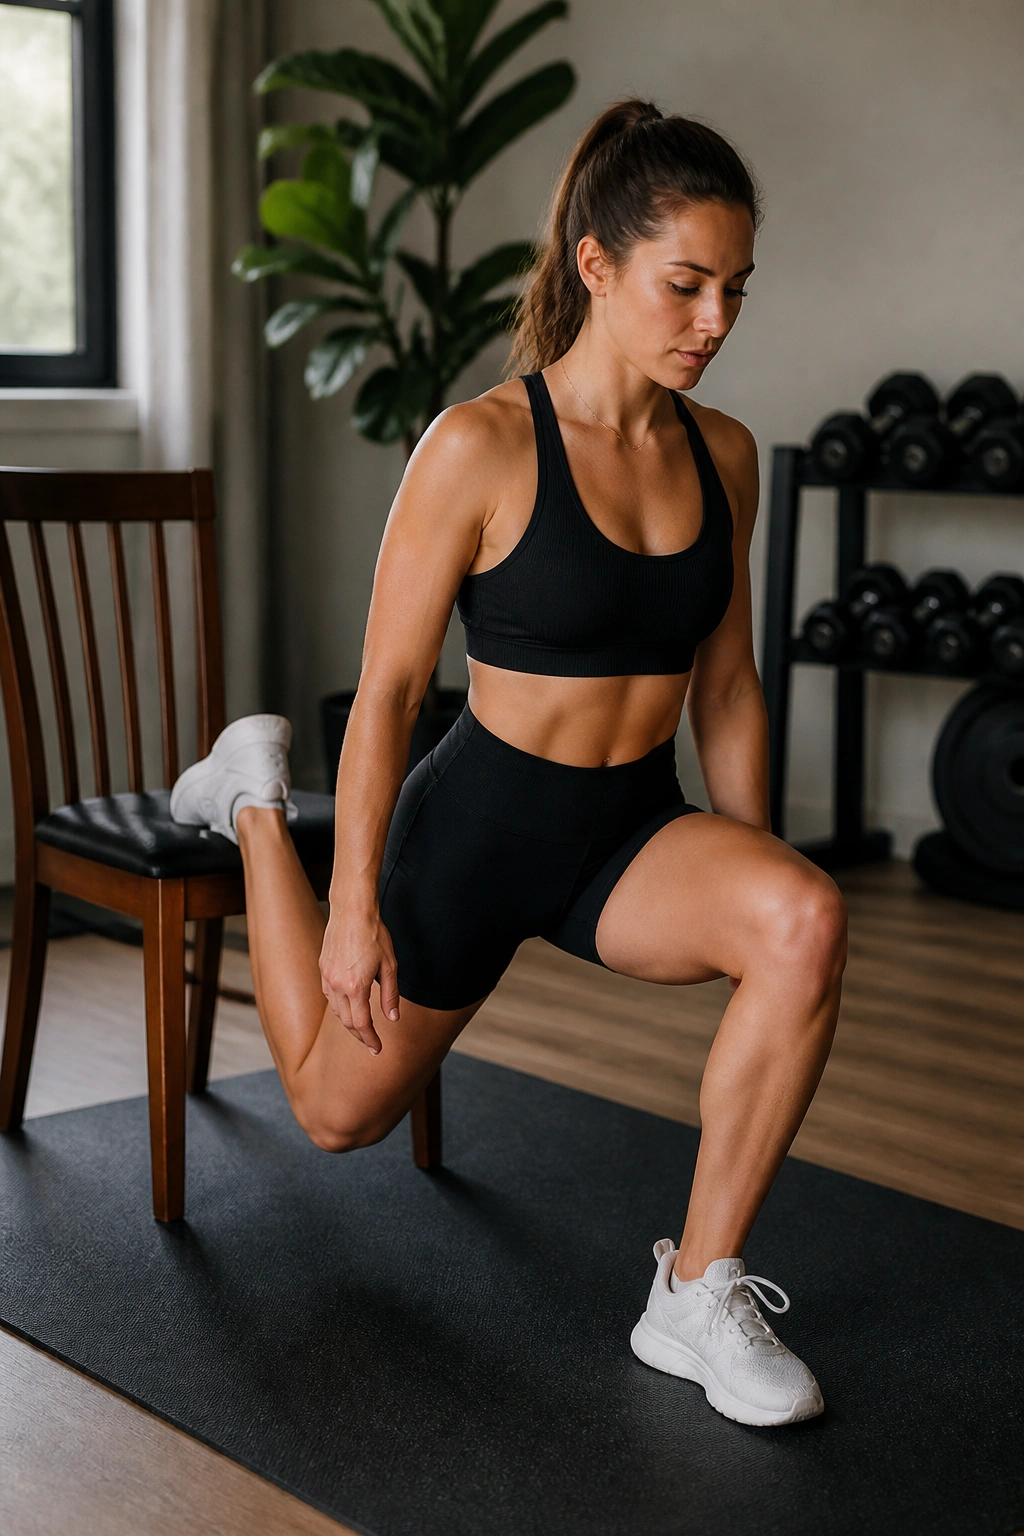
There is no way to sugarcoat it: this exercise is difficult. It requires balance, strength, and a high tolerance for discomfort. Place your back foot on a sturdy chair, sofa, or bench. Step your front foot forward enough so that when you lunge, your front knee does not shoot past your toes.
The Secret to Glute Focus
To bias the glutes over the quads, you must lean your torso slightly forward. Keep your back flat. If you stay completely upright, the quads do most of the work. By hinging at the hips, you lengthen the glutes, allowing them to contract from a deeper stretch.
This move is brutal because it’s unilateral—you have no help from the other leg. Aim for ten reps on each side. If you are shaking by the final rep, that is exactly where the growth happens.
6. Sumo Squats
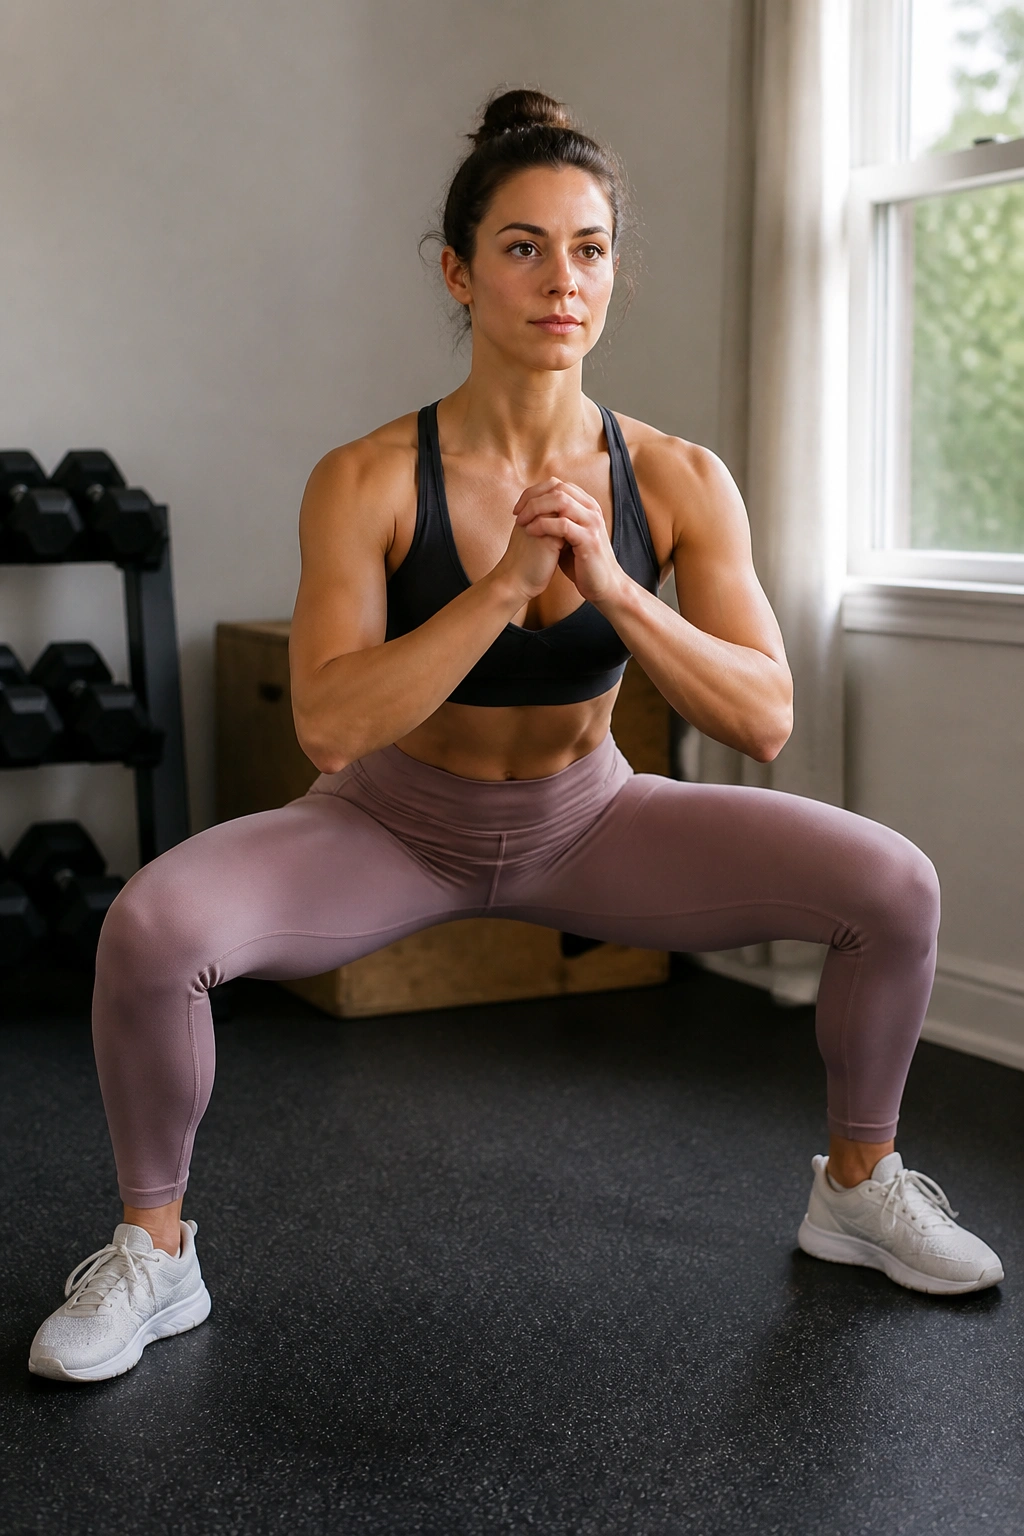
Take a stance wider than shoulder-width, with your toes pointed out at roughly a forty-five-degree angle. This stance drastically alters the recruitment pattern. Because of the wide base, you are forced to sit deeper into your hips.
As you lower, focus on driving your knees out in the direction of your toes. If your knees fall inward, you risk joint pain and lose the glute activation you are after. When you stand up, think about squeezing your glutes together like you are trying to crack a walnut between them.
Avoid the temptation to use heavy weight too early. Master the feeling of the outer glutes engaging at the bottom of the rep. This is not about how much weight you can move; it is about how much tension you can generate in the hips.
7. Reverse Lunges
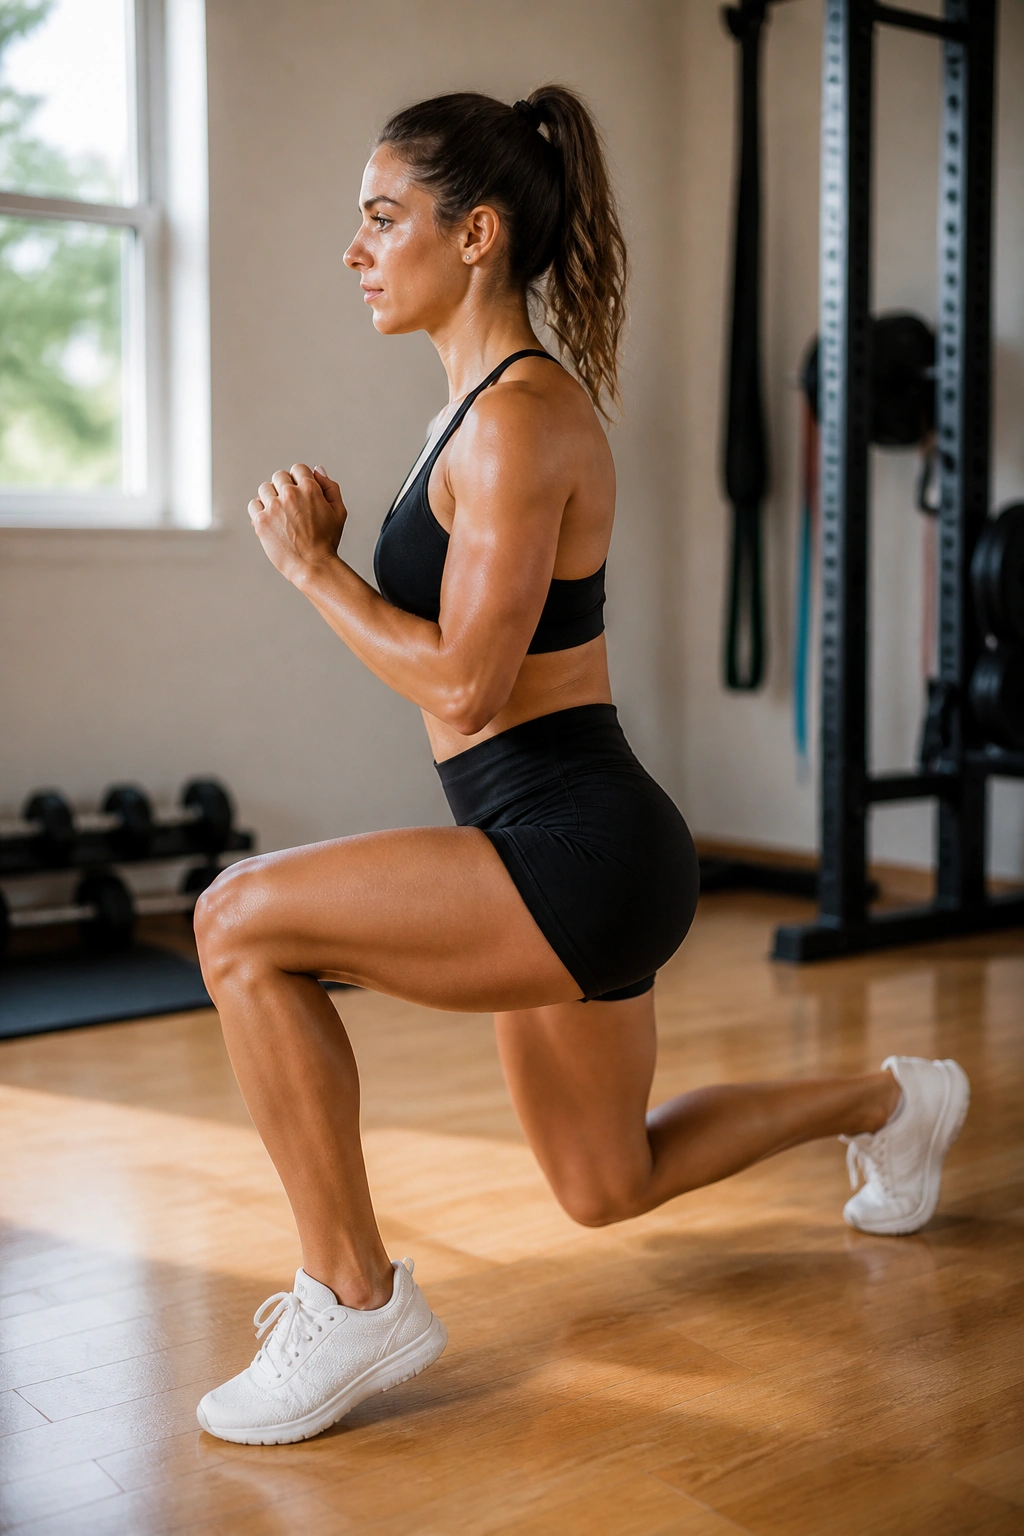
Reverse lunges are generally safer for the knees than forward lunges because the weight remains centered on the planted leg throughout the movement. Step backward, drop your back knee until it almost touches the floor, and push off the front heel to return to standing.
Why They Excel at Home
Because you aren’t fighting momentum like you do in a forward lunge, you can focus entirely on the glute drive. Keep your front shin vertical. If your front knee moves forward, you shift the load to your quads and take it away from your glutes.
Keep your torso slightly forward. This small adjustment shifts the stress into the glute. For extra intensity, perform these holding a laundry detergent bottle or a heavy book in the hand opposite the working leg—this forces your core to stabilize, adding an extra layer of challenge.
8. Fire Hydrants
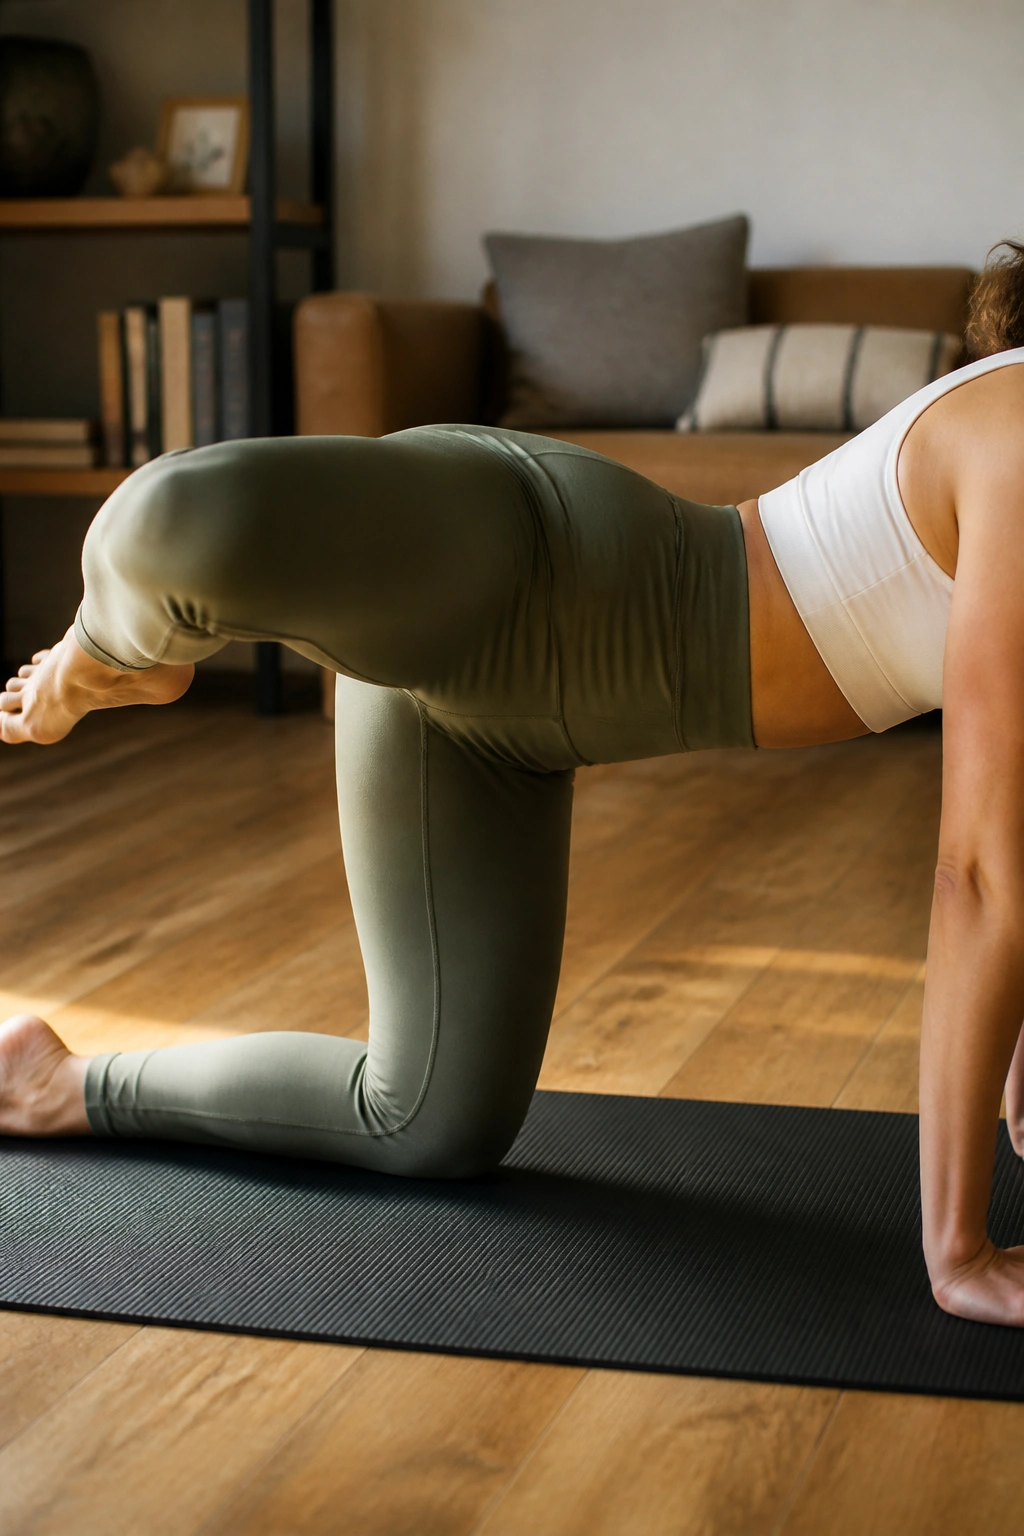
This is an isolation move designed for the glute medius and minimus. Get on all fours, hands under shoulders, knees under hips. Keep your knee bent at a ninety-degree angle. Without shifting your weight to the side, lift your left knee out to the side like a dog at a fire hydrant.
The goal is not height; it is control. Do not rotate your spine to get the leg higher. If you find yourself tipping over to the right to lift your left knee, you have gone too far.
Hold the contraction at the top for one second. You will feel a deep burn in the upper side of your hip. That is the exact spot responsible for the “shelf” look of the glutes. Three sets of fifteen on each side will have your hips screaming.
9. Donkey Kicks
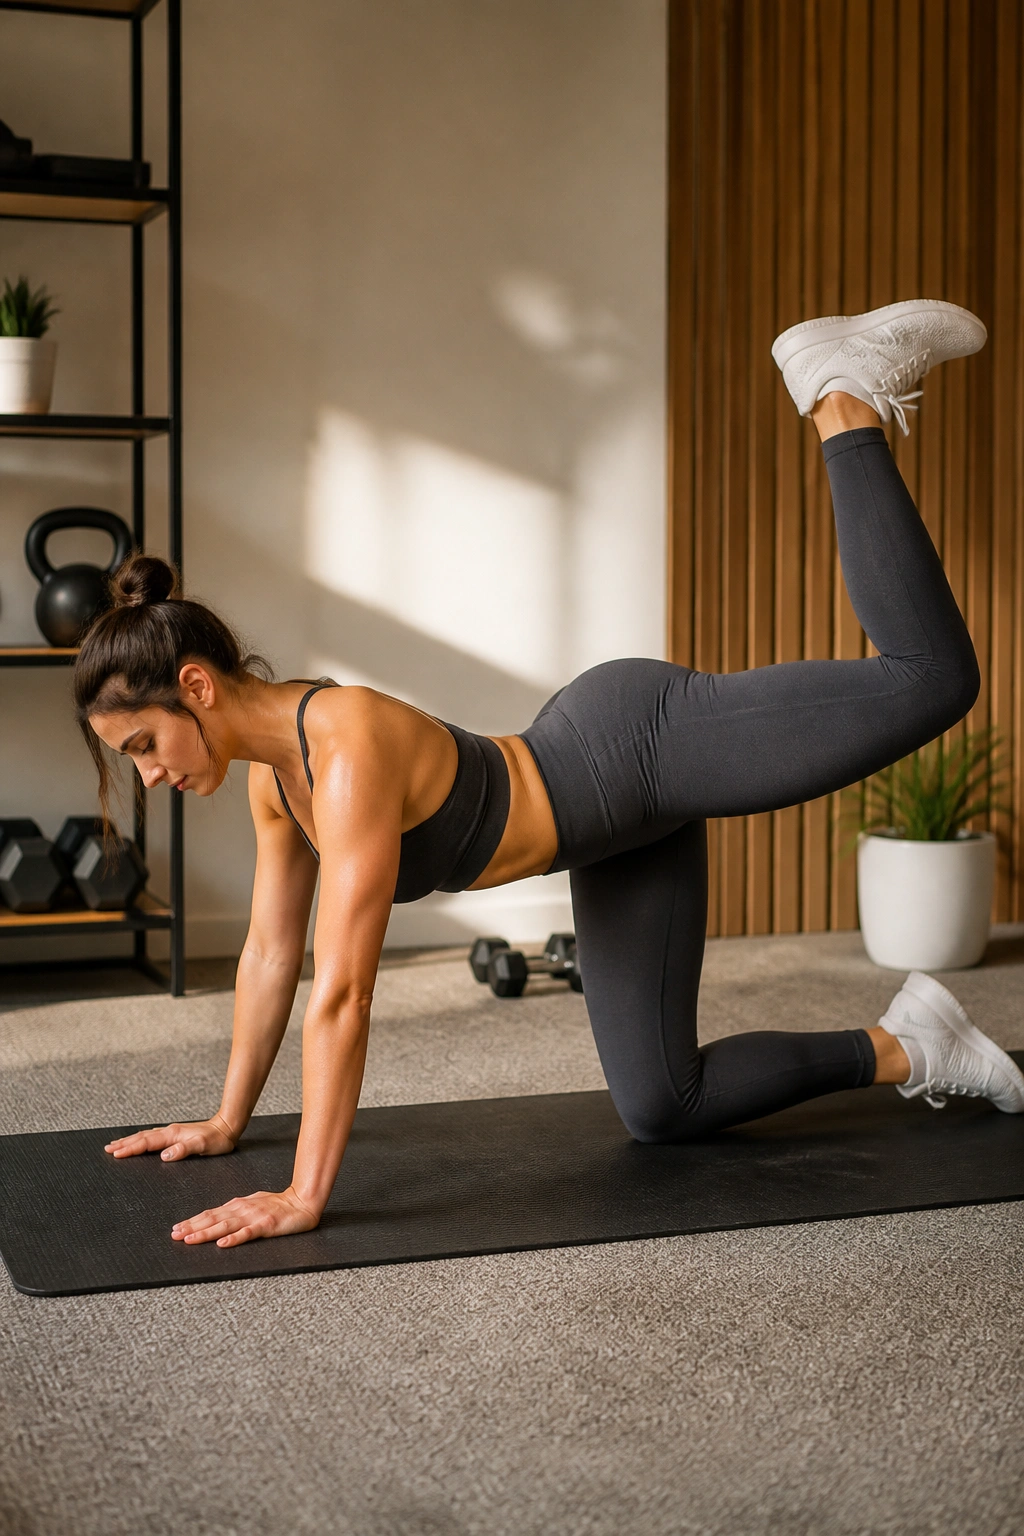
While fire hydrants hit the sides, donkey kicks target the gluteus maximus. Start in the same all-fours position. Keeping your knee bent at ninety degrees, drive your heel straight toward the ceiling.
Common Mistakes
- The Arch: Most people arch their back at the top of the movement. This is dangerous for your spine and ineffective for your glutes. Keep your core tight and your back neutral throughout the entire range of motion.
- The Swing: Avoid swinging your leg using momentum. The movement should be slow and deliberate. Imagine you are pushing a heavy weight with your foot.
Focus on squeezing the glute at the very top of the kick. Imagine trying to leave a footprint on the ceiling.
10. Side-Lying Leg Lifts
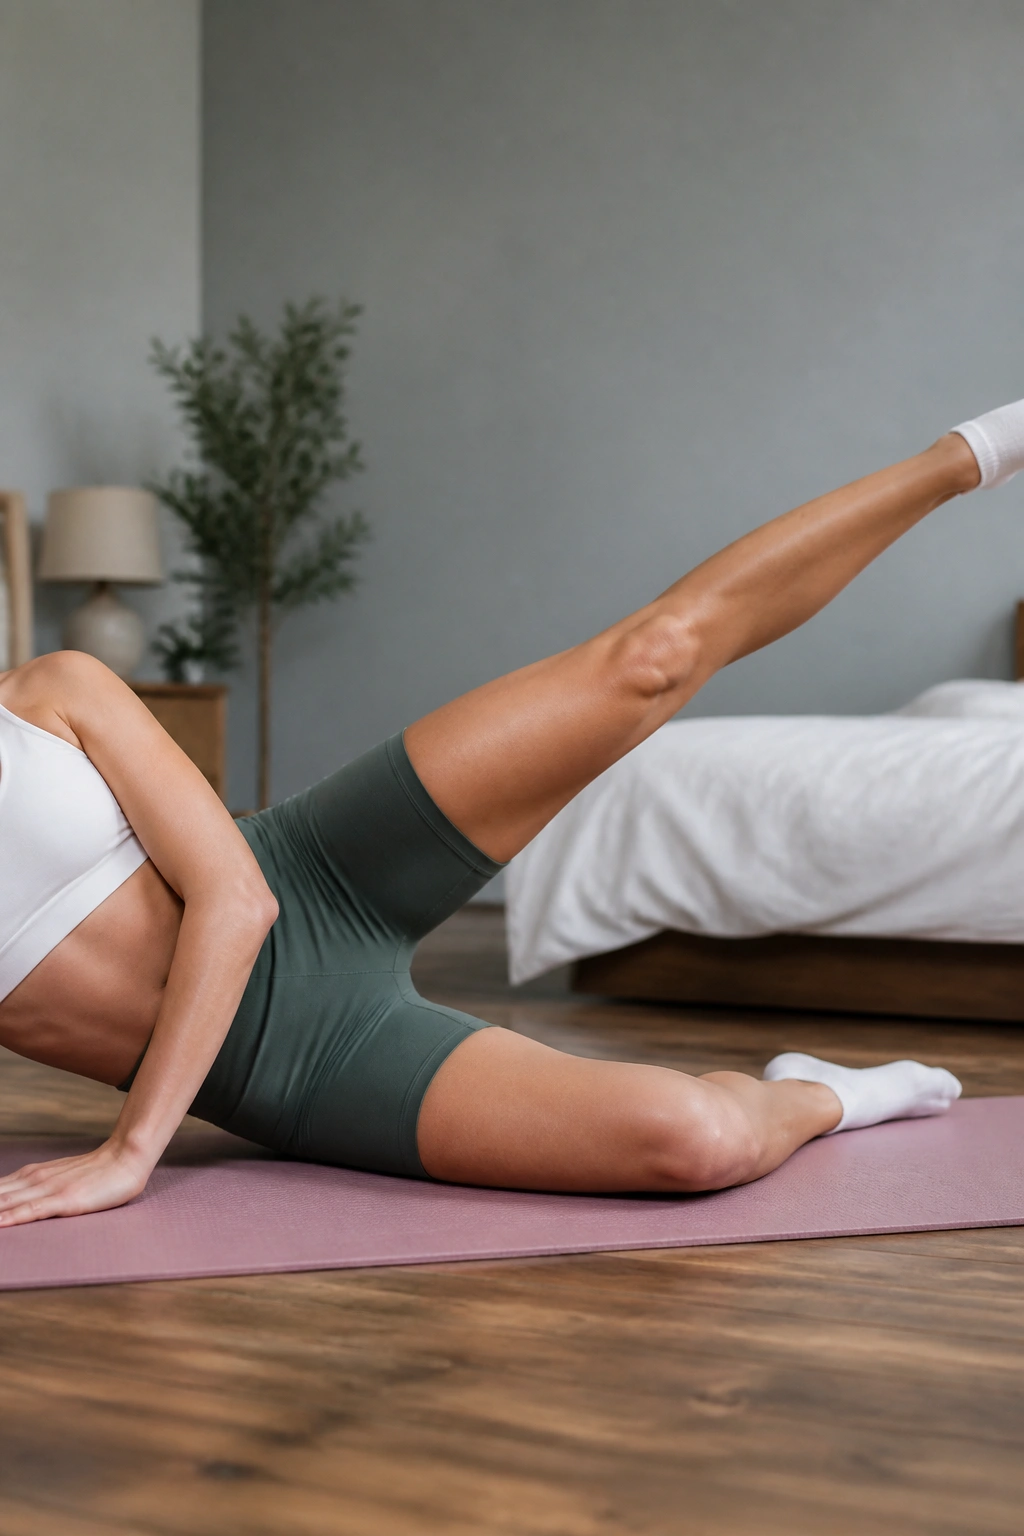
Lie on your side with your legs stacked perfectly on top of each other. Keep your bottom leg slightly bent for stability. Straighten your top leg and lift it toward the ceiling.
Here is the trick: point your toe slightly down, as if you are pouring out a cup of water. If your toe points toward the ceiling, you engage your hip flexors instead of your glute medius. Keep the leg straight and lead with your heel.
You should feel this in the side of your hip. Do not let your pelvis rock forward or backward. Keep your hips stacked. If you can perform twenty reps without the glute feeling like it’s on fire, you are moving too fast. Slow down the lowering phase.
11. Clamshells
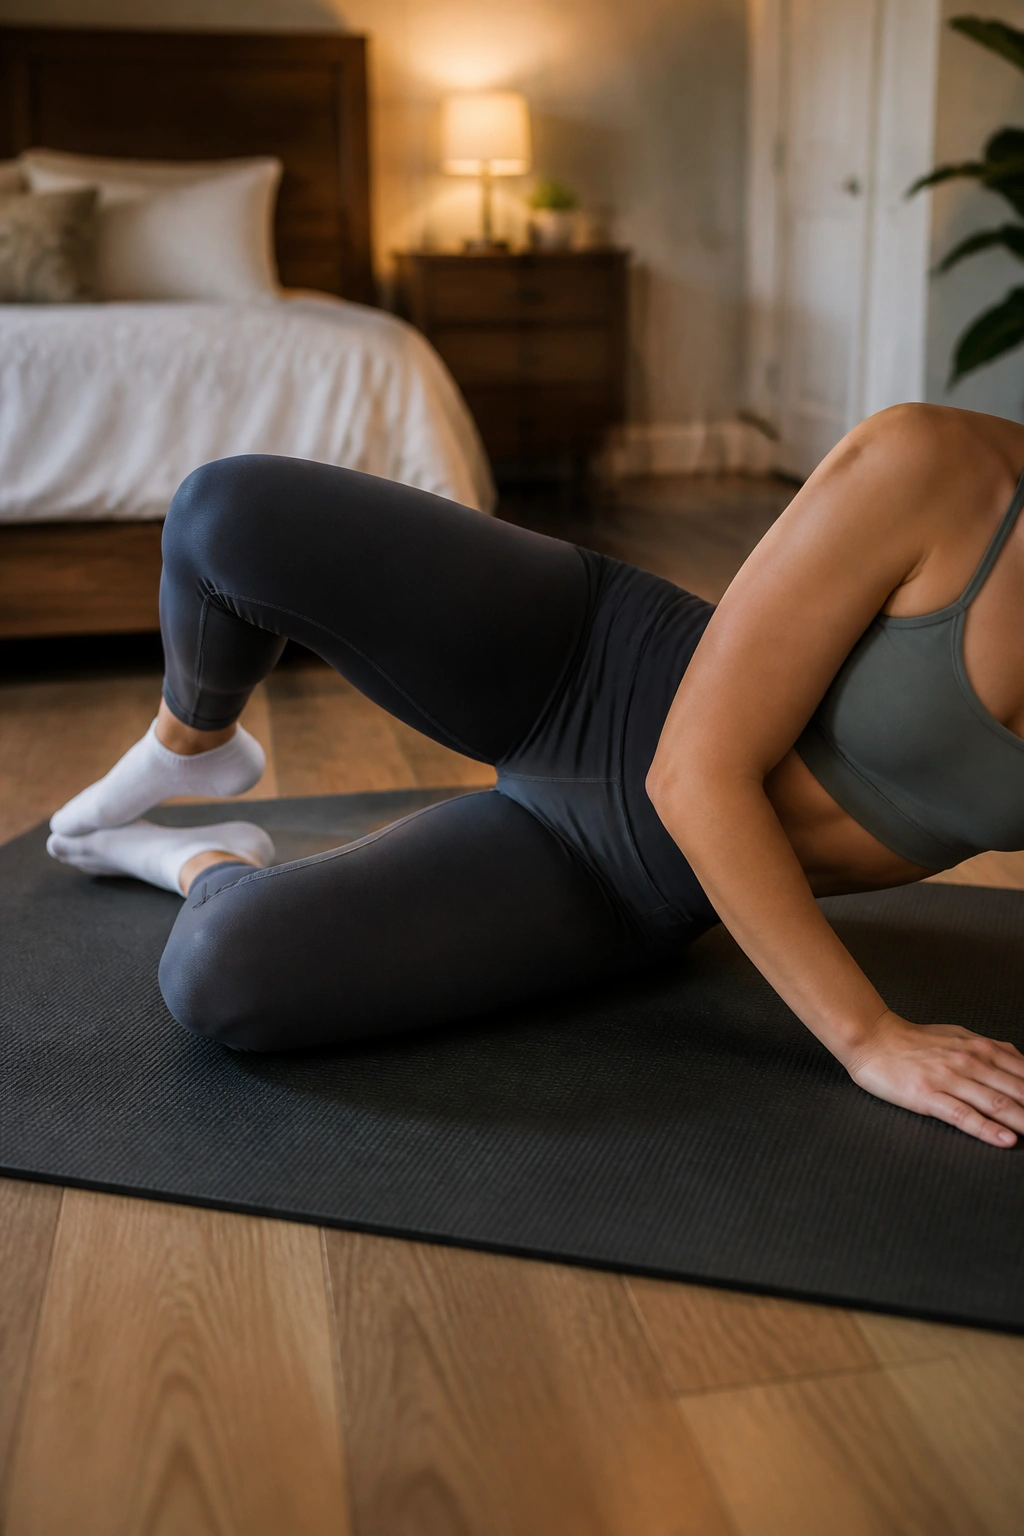
This is a classic physical therapy move that is surprisingly potent for glute hypertrophy when performed with intent. Lie on your side, knees bent at a forty-five-degree angle, feet touching. Keep your heels together and open your top knee like a clamshell.
Do not let your top hip roll backward. Keep your pelvis pinned in place. If you find your hip moving, it means your glute medius isn’t strong enough to control the rotation yet. Stick to a smaller range of motion until you can control the lift.
This movement is not about big, sweeping motions. It is about small, controlled pulses that isolate the hip. It is the perfect finisher for a lower-body session.
12. Glute Medius Kickbacks
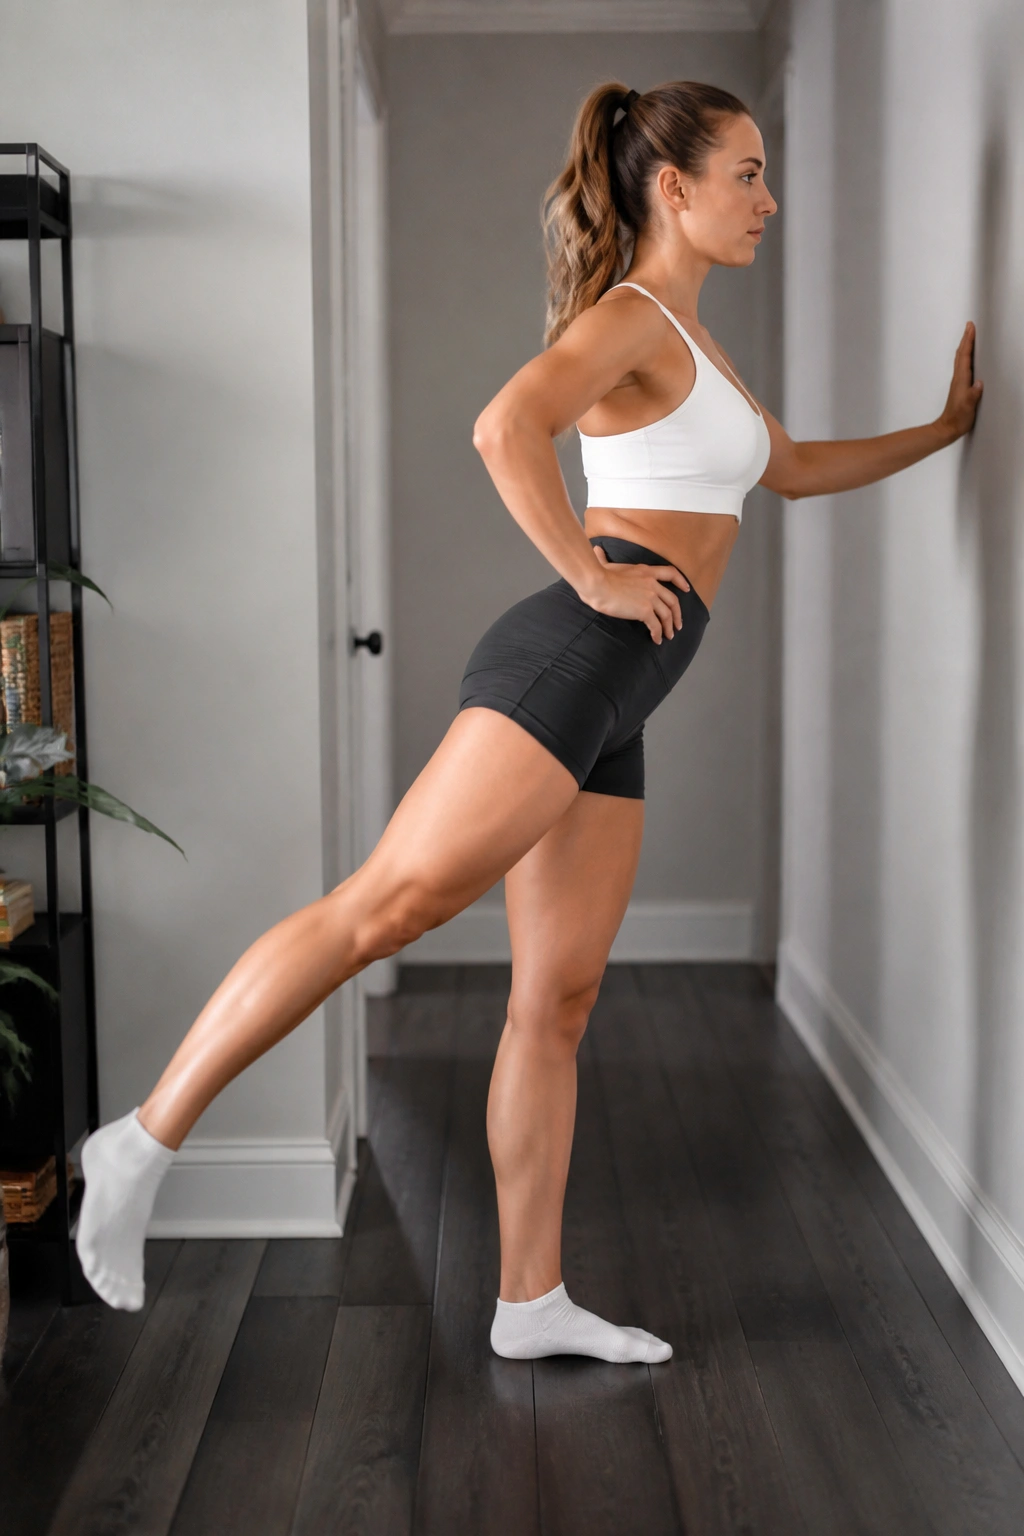
Stand upright near a wall for balance if you need it. Shift your weight onto your right leg. Instead of kicking straight back, kick your left leg back at a forty-five-degree angle—outward, rather than directly behind you.
This simple change in angle makes all the difference. It targets the upper-outer glute, which gives the hip a rounder, fuller look. Keep your torso upright. If you lean forward, you turn it into a regular kickback. Keep the leg straight and squeeze the glute as you reach the back of the movement.
This move is incredibly subtle. If you aren’t feeling it, stop and check your alignment. Your hips should be square to the wall in front of you.
13. Weighted Step-Ups
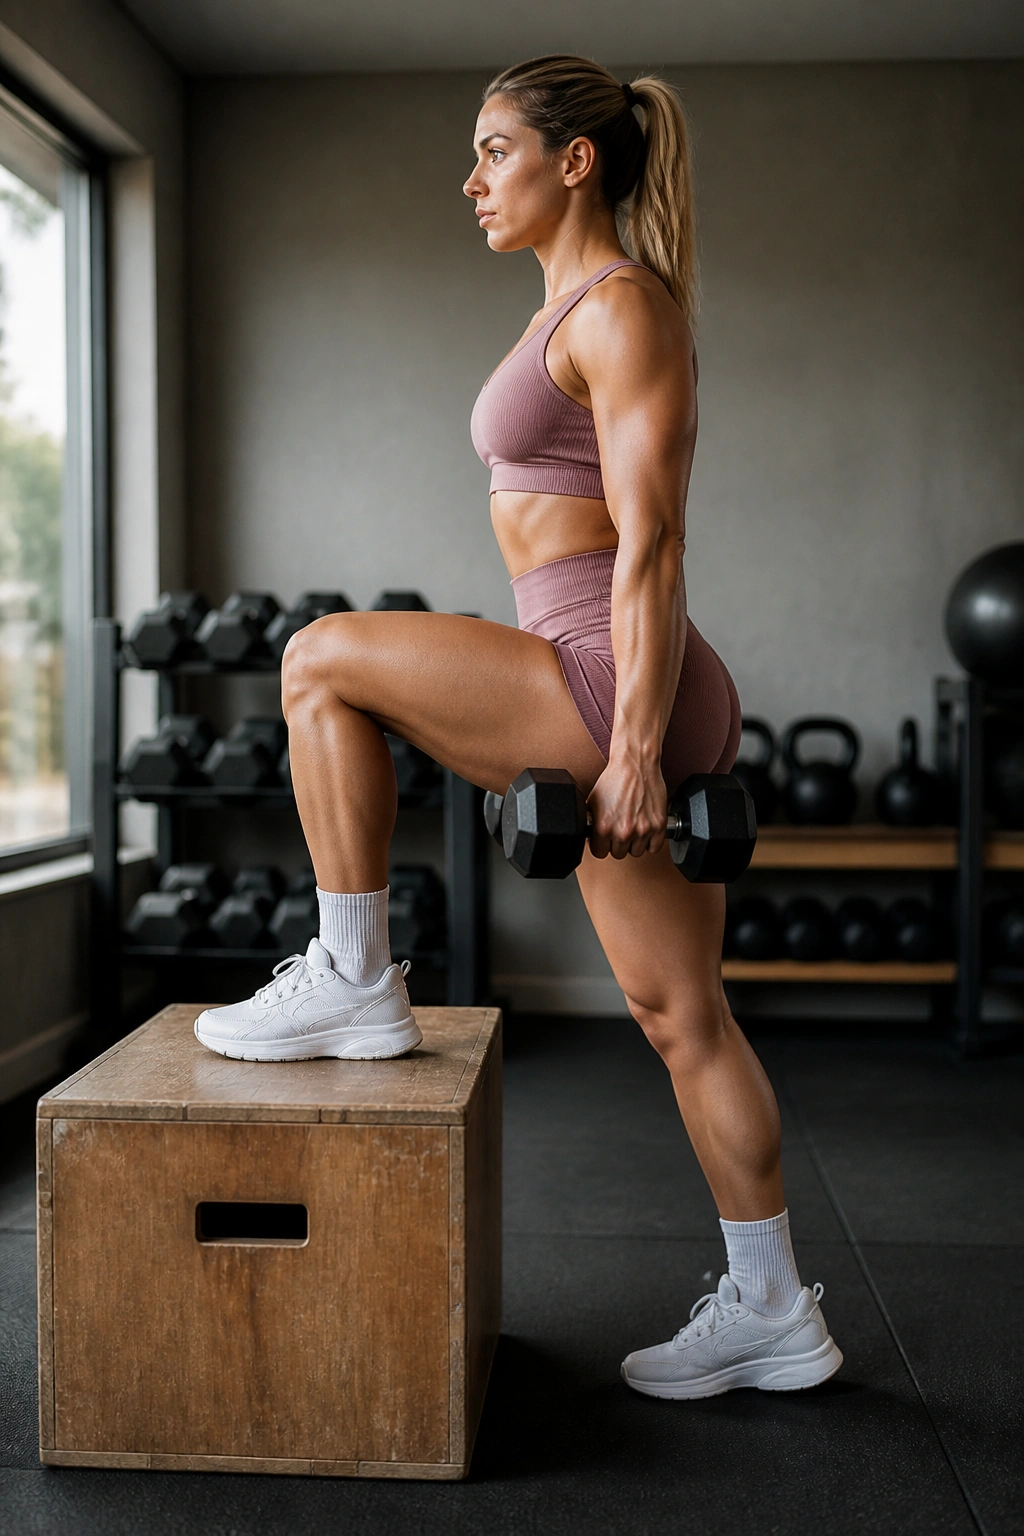
You need a sturdy surface—a chair, a sturdy box, or a low-profile step. Stand in front of it. Step up with one foot, driving through your entire foot, not just your toes.
The Key to Recruitment
Do not push off with the back foot. That’s cheating! The back foot should be dead weight. If you find yourself pushing off the floor with the back leg, lower the height of your step. The glute of the front leg must do 100 percent of the work to lift your body weight.
Control the descent. Lower yourself back to the floor in three seconds. That eccentric loading—the lowering part—is where the muscle fibers tear slightly and then repair, which leads to growth.
14. Plank-to-Leg-Lift
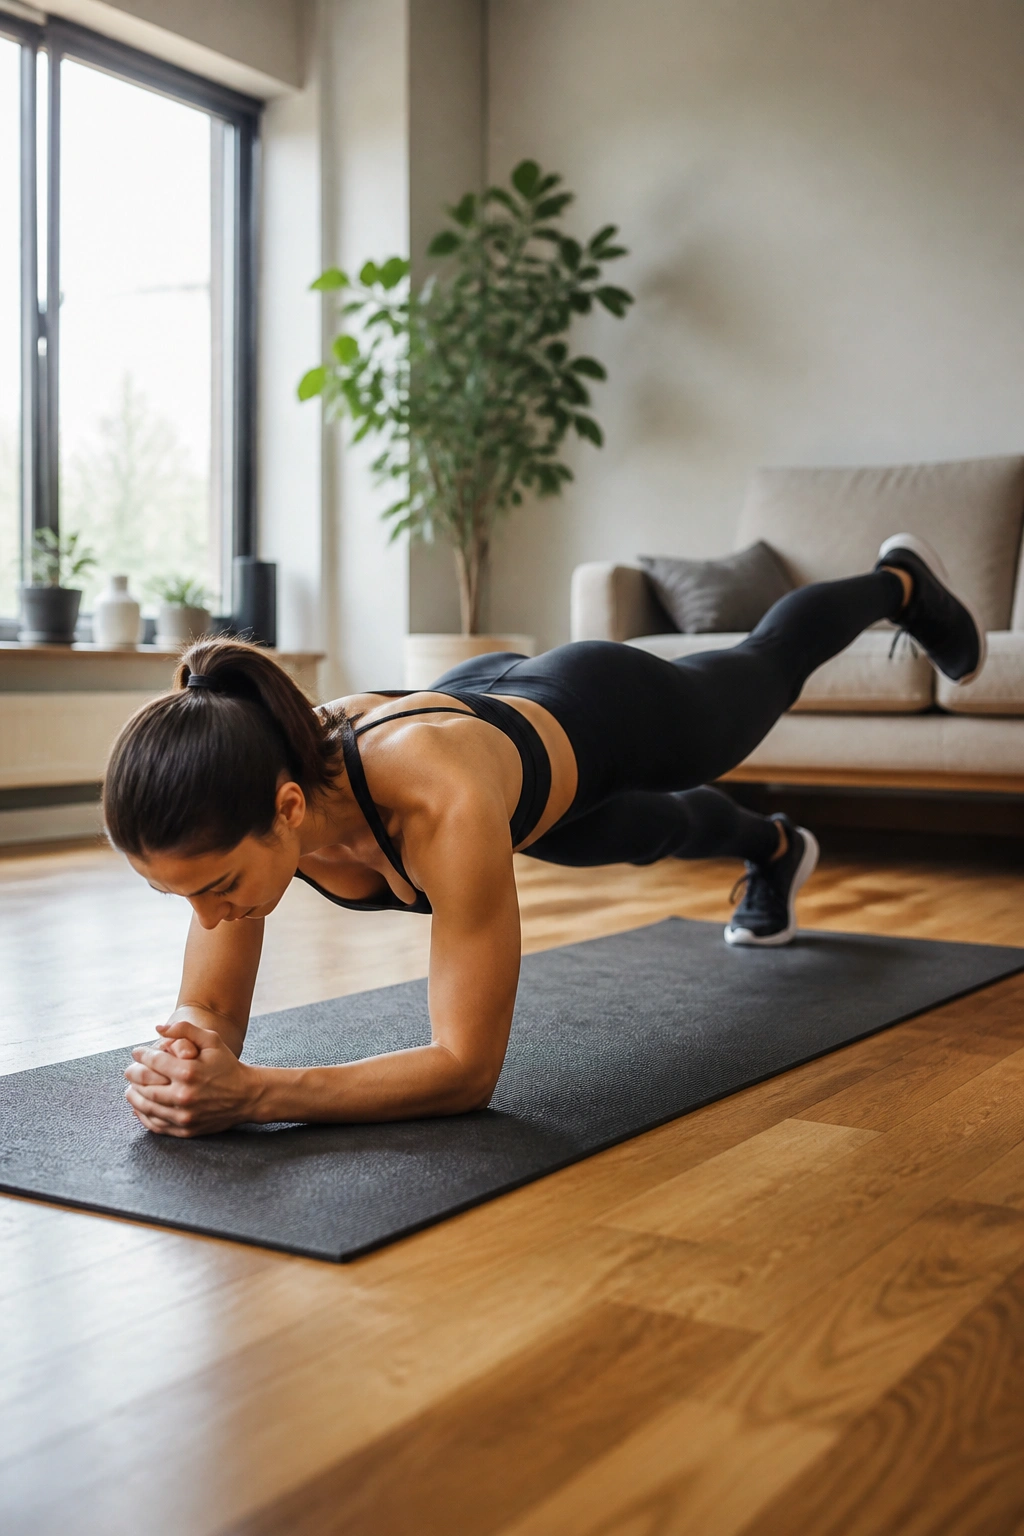
This is a full-body movement that doubles as a core exercise. Start in a forearm plank. Your body should form a straight line from your head to your heels. Squeeze your glutes tightly to keep your hips from sagging.
Without shifting your weight or arching your back, lift one leg a few inches off the floor. Keep it straight. Hold for two seconds, then lower. The instability of the plank forces your glutes to fire just to keep you from falling over.
If your hips dip when you lift your leg, widen your stance. The wider your feet, the more stable your base. As you get stronger, bring your feet closer together to make the movement harder.
15. Frog Pumps
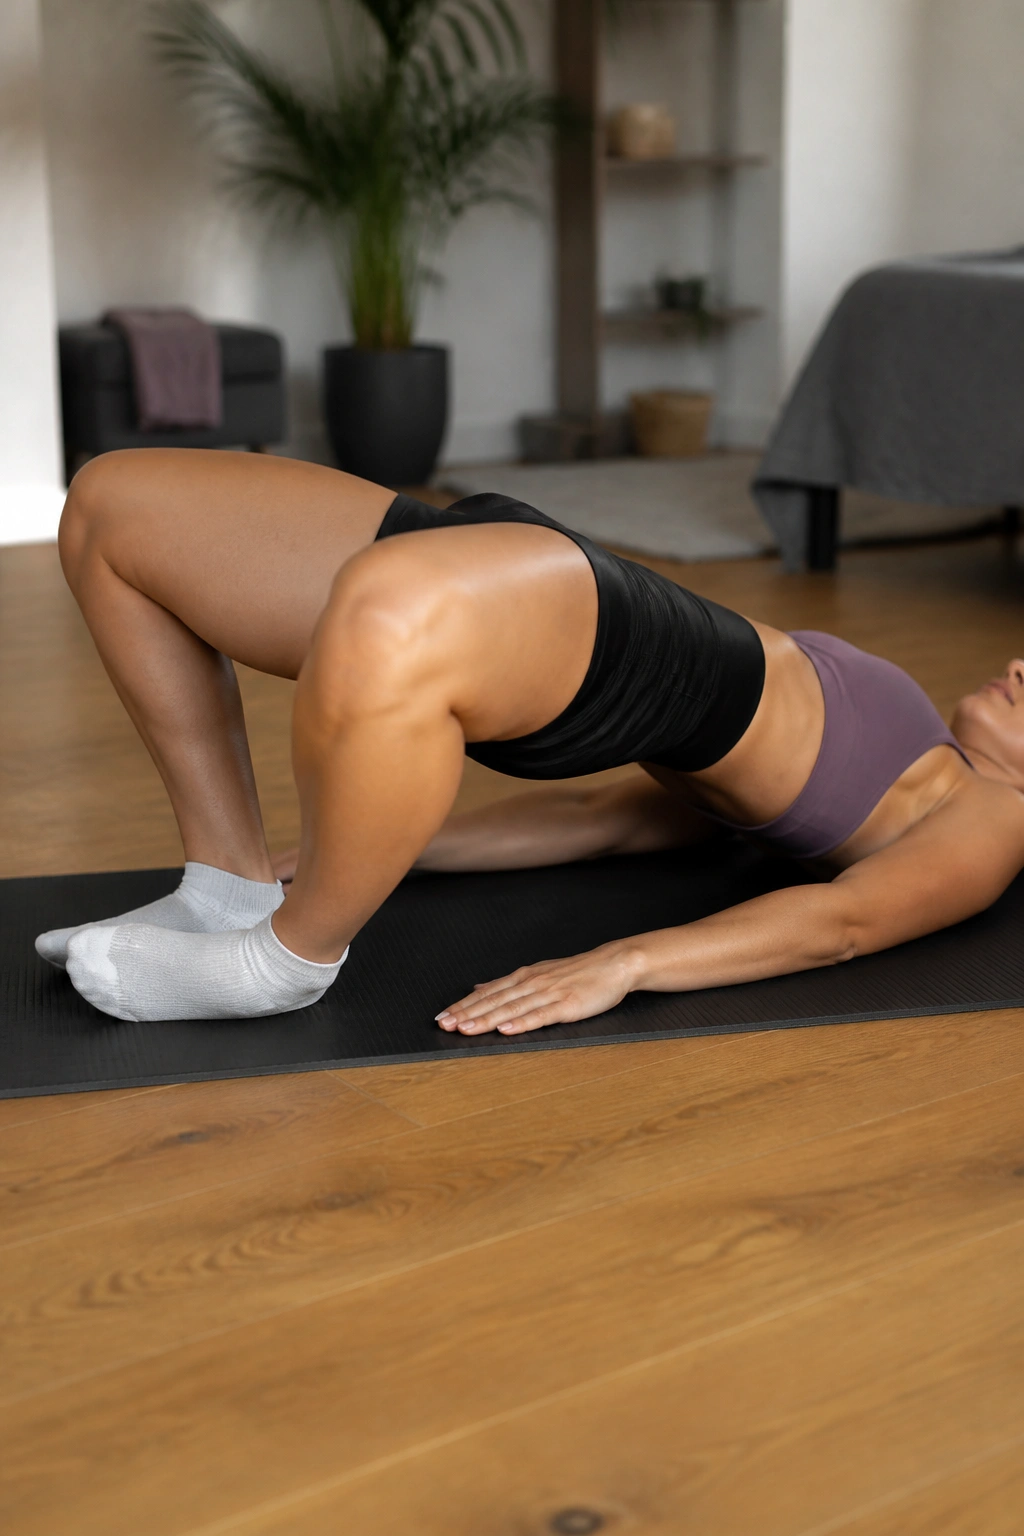
This is a variation of the glute bridge that keeps the glutes in a state of constant tension. Lie on your back, soles of your feet touching, knees falling open like a butterfly stretch. Bring your heels in close to your glutes.
Perform a bridge. Because your legs are in a wide, abducted position, you are essentially pre-fatiguing the glutes. This move makes regular bridges feel like child’s play.
You won’t get a huge range of motion, and that’s okay. The focus here is the squeeze at the top. Do sets of twenty or thirty. By the end, your glutes will feel like they are cramping—that’s the signal that you have successfully isolated them.
16. Hip Thrusts

The holy grail of glute training. If you have access to a heavy bag or a weighted backpack, this is the time to use it. Sit on the floor with your upper back against a couch or sturdy chair. Place your weight across your hips.
Roll your shoulders back and tuck your chin. Drive through your heels to lift the weight. The top position is the most critical: your shins should be vertical, and your body should be a straight line from knees to shoulders.
Most people make the mistake of looking up at the ceiling. Keep your eyes forward on your knees. This keeps your spine neutral and forces the glutes, not the lower back, to take the load. Pause at the top and squeeze harder than you think you need to.
17. Cossack Squats
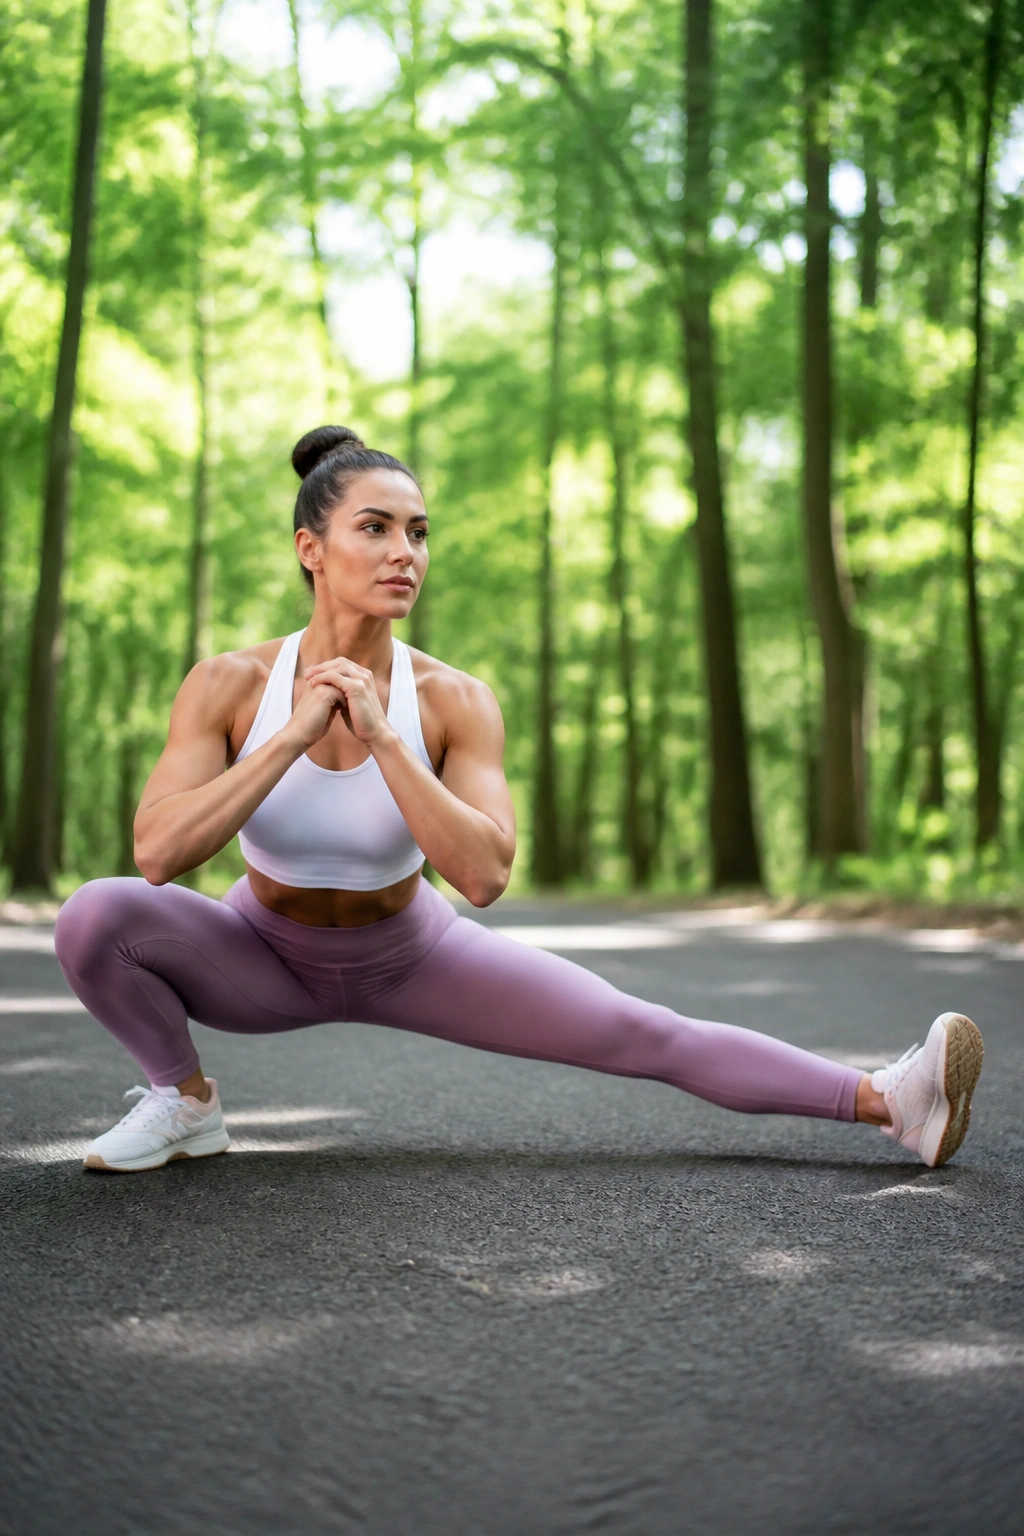
This movement forces you to move laterally, which is rare in most workout routines. Stand with a wide stance, toes pointed slightly out. Shift your weight entirely to one side, bending that knee while keeping the other leg completely straight.
Your chest should stay up. As you squat down on one side, you are essentially doing a one-legged squat with assistance. The straight leg provides stability, but the bent leg does the heavy lifting.
This move hits the glute medius and inner thighs simultaneously. It is exceptional for hip mobility, too. If you are struggling to get low, don’t worry—your range of motion will improve the more you practice.
18. Lateral Band Walks
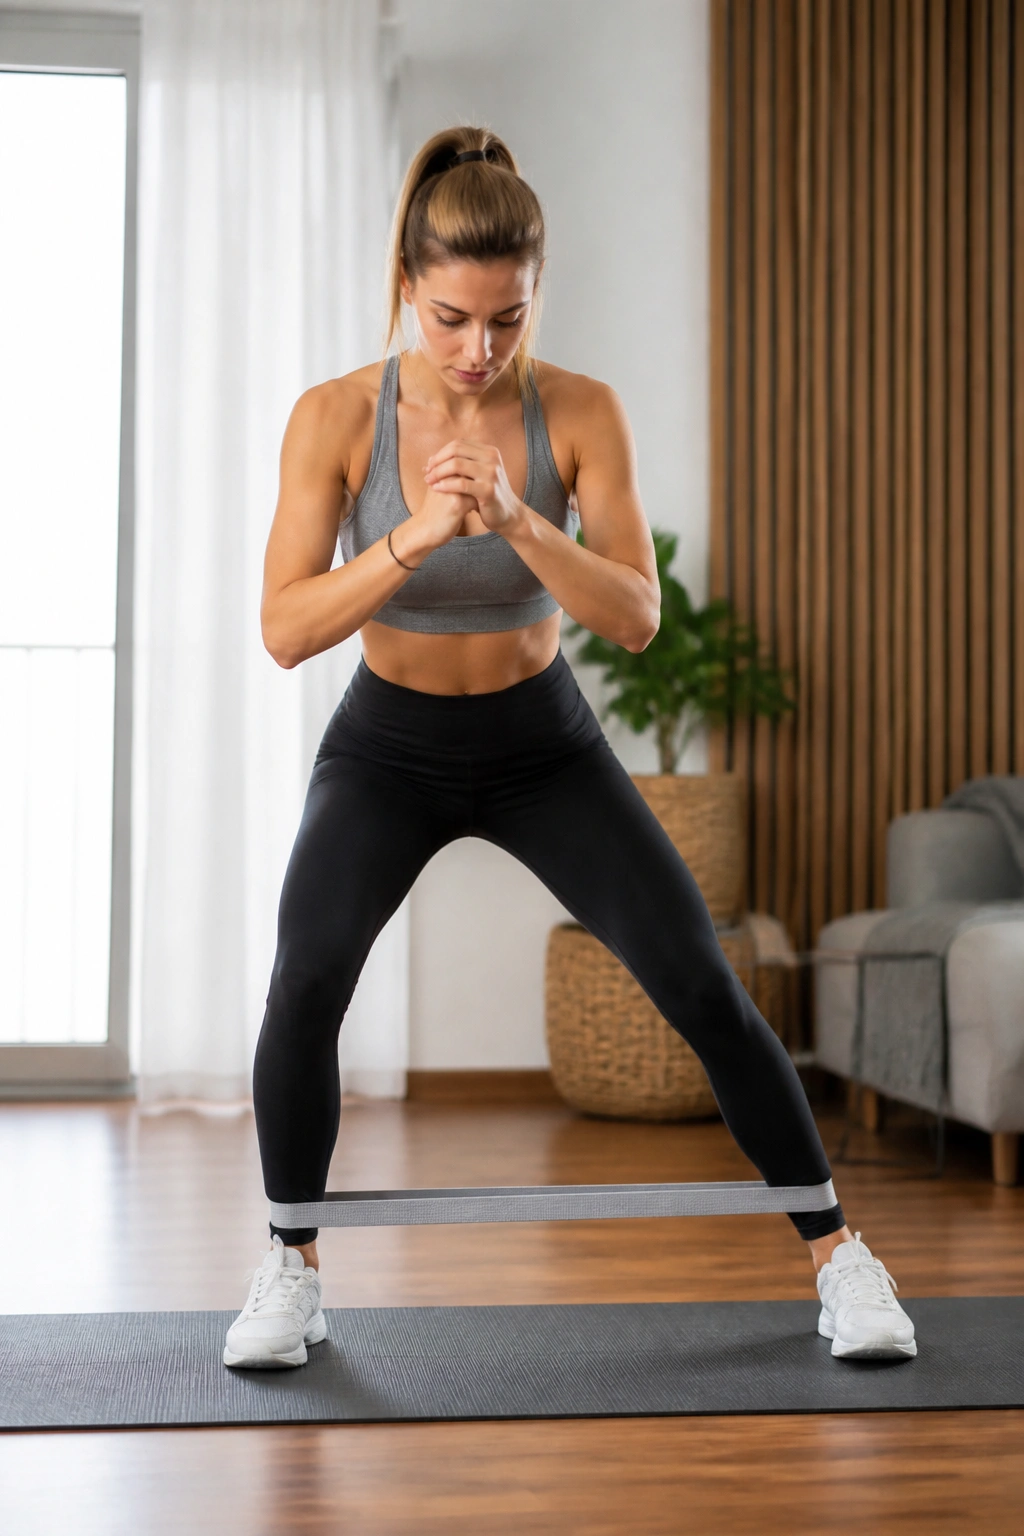
If you have a resistance band, this is non-negotiable. If you don’t, you can still do this with just your body weight, focusing on the squeeze. Place a band around your ankles or just above your knees.
Get into a quarter-squat position—hips back, chest forward. Take small, controlled steps to the side. Do not let your feet come all the way together; keep tension on the band at all times.
The moment you let your feet touch, the band goes slack, and the muscle relaxes. Keep the tension. You should feel the burn in your side glutes within fifteen seconds. That “burn” is the acid buildup in the muscles, which is a great indicator of metabolic stress.
19. Glute Bridges with Marching
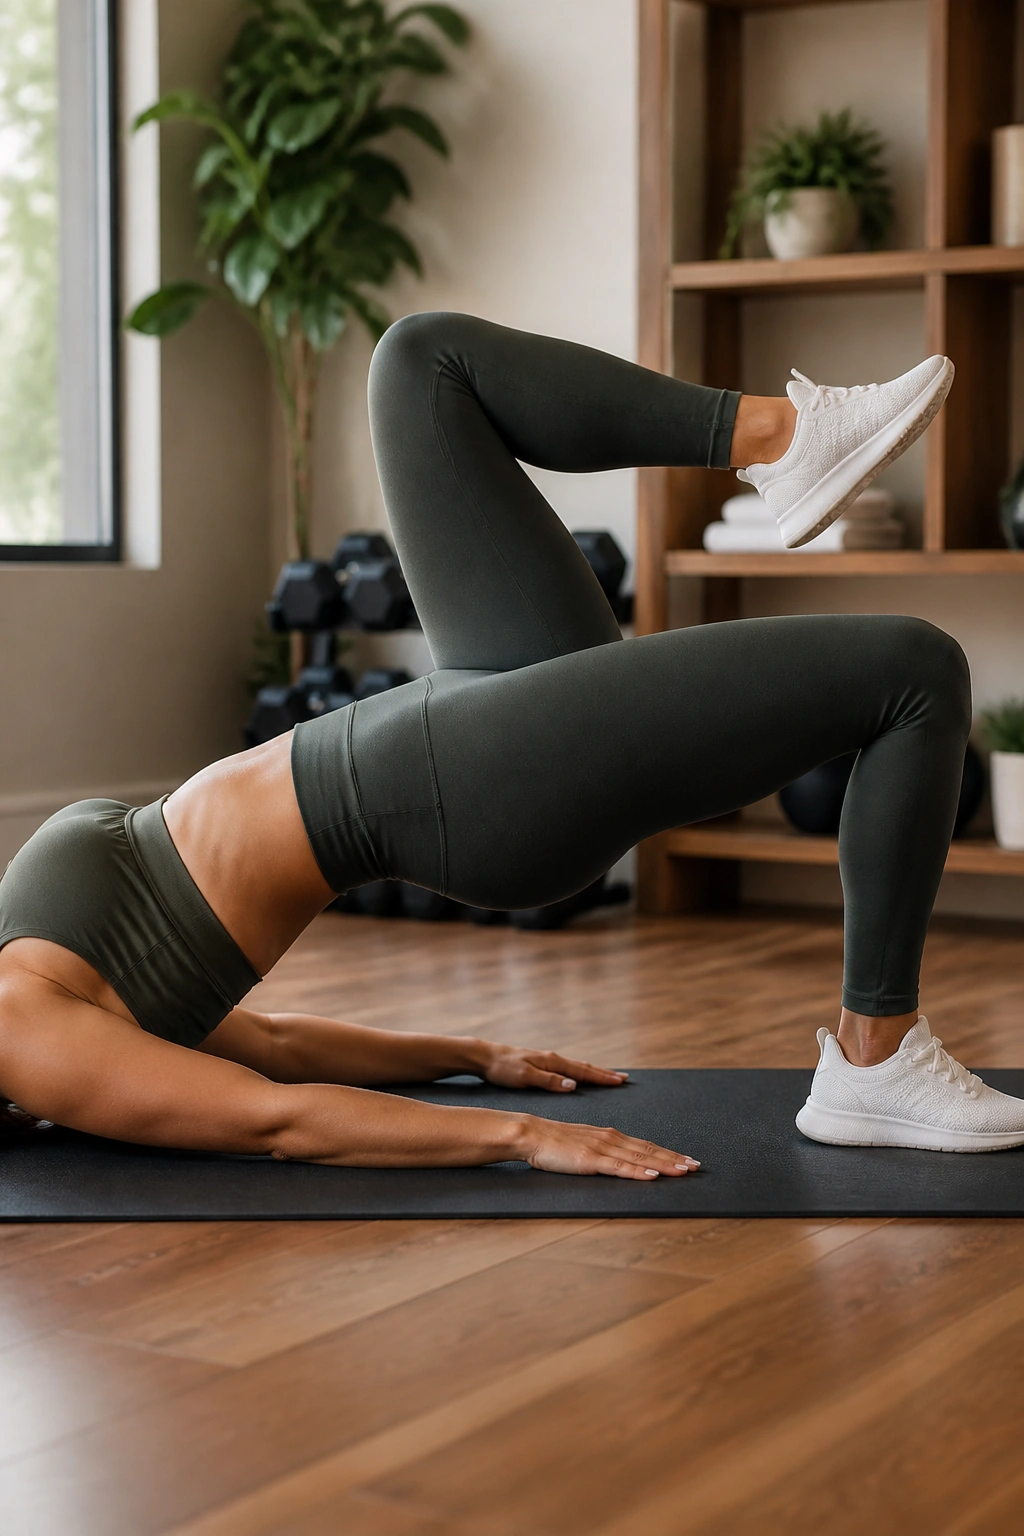
This is the bridge taken to a dynamic level. Set up a standard glute bridge. Once you are at the top and your hips are locked out, lift one foot off the floor. Bring your knee toward your chest, then place it back down.
Switch legs. The challenge is to keep your hips perfectly still while you move your legs. Most people’s hips will sag the moment they lift a foot. Your core and your supporting glute have to fight to keep you level.
This is a high-level stability move. It requires intense focus. If you find your hips dropping, reduce the speed of the march. The slower you move, the harder your glutes have to work.
20. Single-Leg Romanian Deadlifts
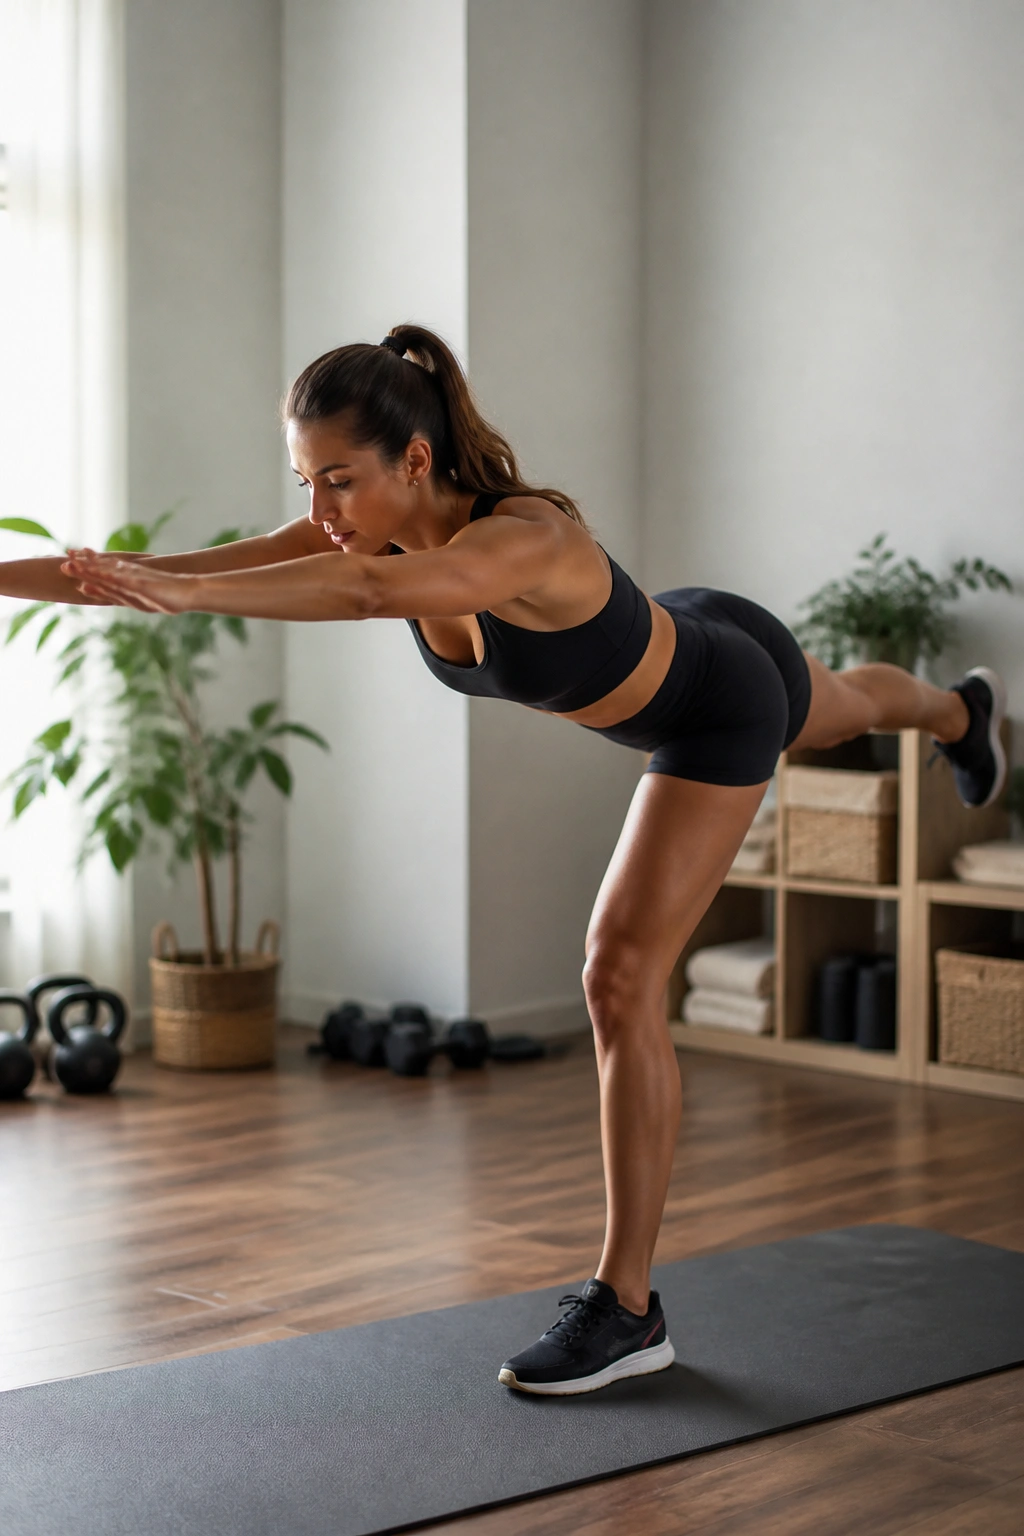
Stand on your right leg with a slight bend in your knee. Hinge at your hips, sending your left leg straight back as you lower your torso toward the floor. Keep your back flat.
You should feel a massive stretch in the right hamstring and glute. Return to standing by pulling through the heel. The goal is not to touch the floor; it is to hinge until you feel a deep stretch in the posterior chain.
How to Prevent Balance Issues
Pick a spot on the wall to stare at. Focusing on a fixed point helps significantly with balance. If you are struggling, reach your arms out to the sides like airplane wings. This move is essentially the final test of glute stability and posterior chain strength.
Structuring Your Home Routine for Growth
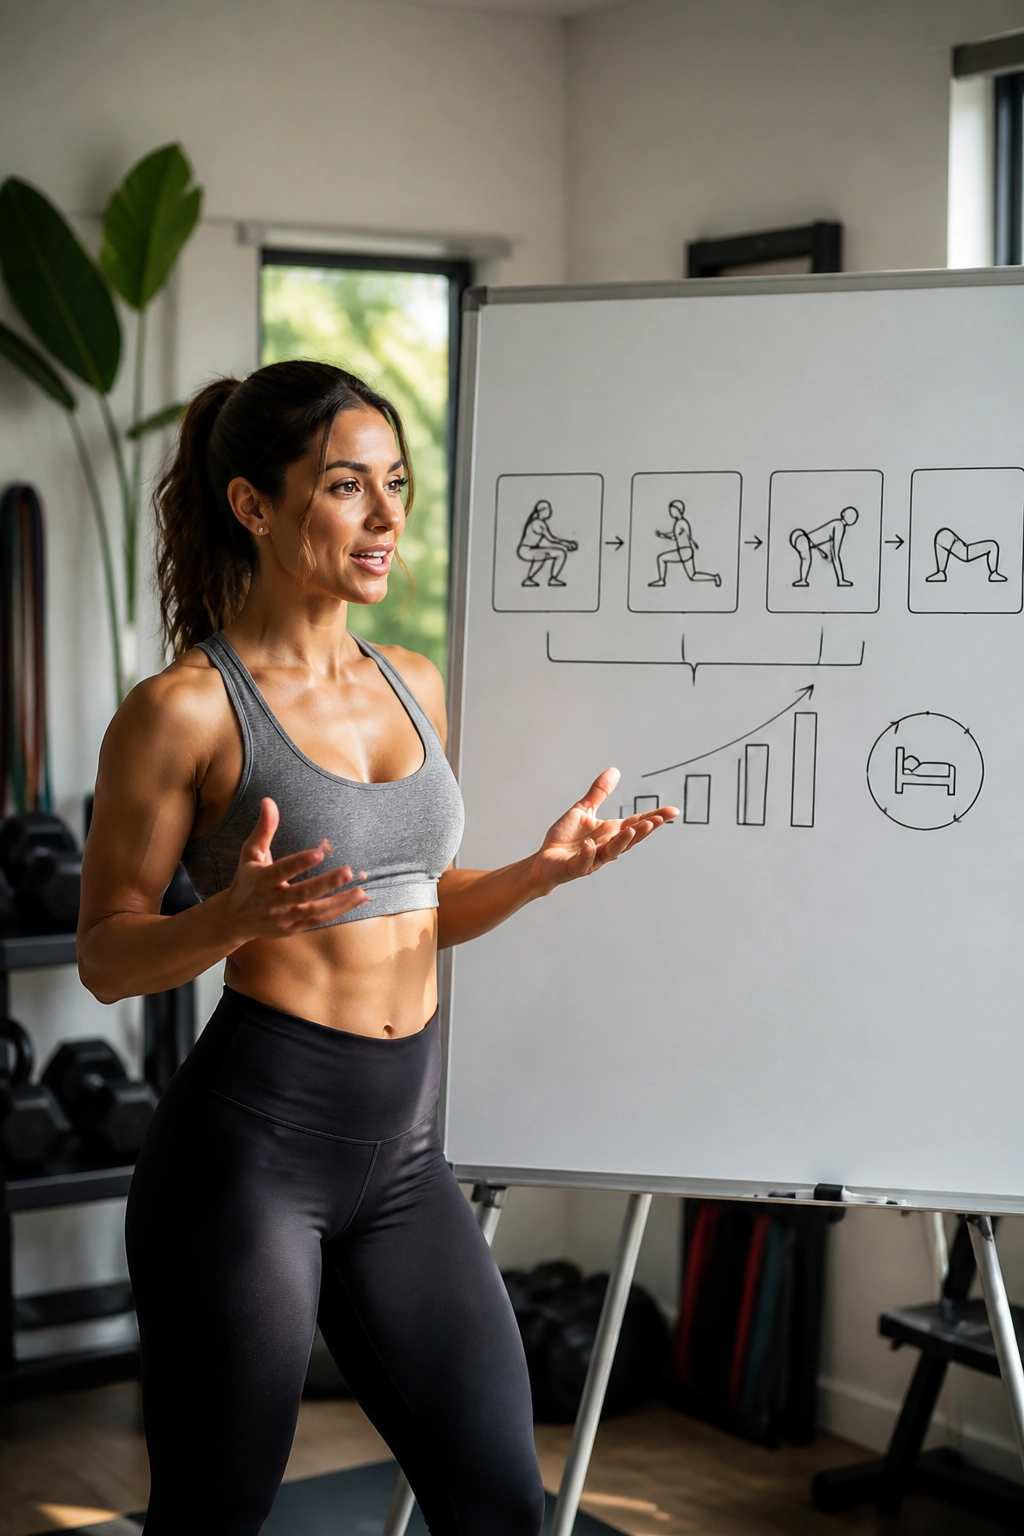
Now that you have twenty movements to choose from, you might be tempted to try them all in one go. That is a mistake. You need a structured approach that emphasizes progressive overload. If you do the same thing every single time, your muscles will adapt and stop growing.
Choose four to five exercises per session. Start with a compound move—like a squat or a hip thrust—to hit the glutes with heavy intensity. Follow that with two isolation moves—like fire hydrants or clamshells—to build the mind-muscle connection. Finish with a unilateral move, like a split squat or single-leg bridge, to fix imbalances.
Frequency is just as important as the exercises themselves. Glutes are large, powerful muscles, and they require recovery. Do not train them to failure every single day. Aim for three to four sessions per week. This gives your fibers the necessary 48 hours to repair and grow stronger.
How to Apply Progressive Overload at Home
Without a gym, progressive overload (gradually increasing the difficulty) requires creativity. You can’t just add five pounds to a barbell every week. Instead, you manipulate other variables.
First, increase the time under tension. If you are doing bodyweight squats, do them with a three-second descent and a one-second pause at the bottom. That simple change makes the exercise significantly harder.
Second, shorten your rest periods. If you usually rest for sixty seconds between sets, drop it to forty-five. Your muscles will have less time to recover, increasing the metabolic stress.
Third, increase the volume. If you did three sets of ten last week, do four sets of ten this week. Small, incremental additions of total work volume are just as effective as adding weight.
Lastly, use tempo variations. Try 1.5 reps: go all the way down, come halfway up, go back down, then stand all the way up. That counts as one rep. It effectively doubles the work in the most challenging part of the range of motion.
Final Thoughts
Building glute strength at home is not about finding the “magic” exercise; it is about the consistency of your effort and the precision of your form. You can do the best exercises in the world, but if your pelvis is tilted wrong or your core is loose, you will never see the results you want.
Listen to your body. If a movement causes sharp pain in your joints, stop. Discomfort from muscle fatigue is the goal, but sharp, shooting pain in the knees or lower back is a warning sign. Adjust your stance, lighten the load, or swap the exercise for something that feels more stable for your unique anatomy.
Treat your workouts like a practice. Every set is an opportunity to learn how your body moves and how to better engage the muscles you are trying to develop. Keep track of what works, notice which movements make you feel the strongest, and stay patient. Real change is the product of hundreds of small, focused sessions, not one perfect workout. The progress might be slow, but it is entirely within your control.
