



There is a moment in a barre class—usually about fifteen minutes in—where your legs start to tremble uncontrollably. It is not a subtle quiver; it is a full-body seismic event. Many beginners assume they are doing something wrong when this happens, or they try to power through by gripping the barre with white-knuckled intensity. The truth is, that shake is exactly where the work happens. It is the physiological result of your muscle fibers reaching momentary fatigue, and it is the fastest way to build the kind of endurance and definition that you simply cannot get from standard gym machines.
Barre is often misunderstood as a “light” workout, perhaps because it lacks the heavy iron plates of a weight room. Do not let the lack of equipment fool you. When you combine isometric holds with tiny, precise movements, you are taxing your slow-twitch muscle fibers in a way that creates incredible stability and strength. The goal is to reach that point of exhaustion where you are forced to recruit deeper stabilizer muscles to keep yourself upright. If you are standing at the barre, you are already engaging your core, but the real magic begins when you isolate the quads, hamstrings, and glutes through these specific, targeted movements.
You do not need a fancy studio to do this. You do not even need a wooden barre, though it certainly helps to have one. A sturdy chair back, a countertop, or even the back of a couch will suffice, provided it is stable enough to support your weight when you lean. The following exercises are designed to hit every angle of the lower body. We are going to move through the classic foundations and push into the deeper, more isolating movements that turn standard barre classes into high-endurance, high-result training sessions.
1. The Classic Plié Squat
This is the foundational movement of the entire barre method. It seems simple on the surface: heels together, toes turned out, drop the hips. However, most people get it wrong by sticking their tailbone out, which puts unnecessary strain on the lumbar spine. You want to maintain a “neutral pelvis,” which means your tailbone should point straight down toward the floor, not back at the wall behind you.
Why It Works for Your Quads
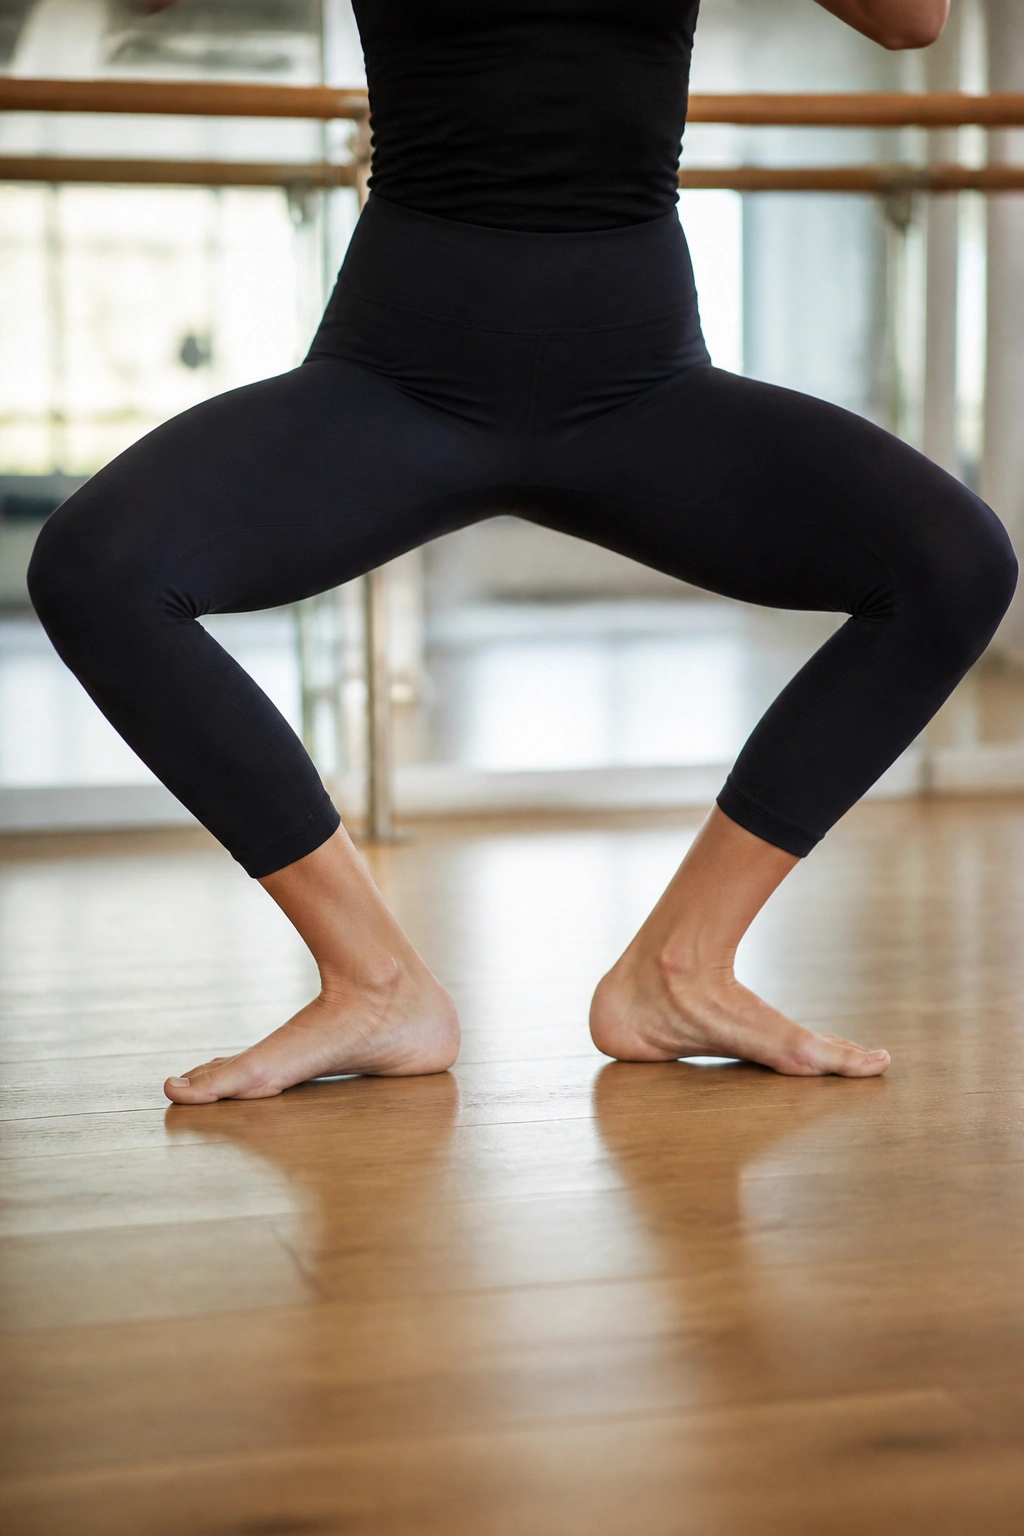
When you drop down with your heels touching, you force your knees to track directly over your toes. This forces the quadriceps to do the heavy lifting while simultaneously engaging the inner thighs. The wider the turnout, the more you hit the adductors. Keep your shoulders stacked directly over your hips—do not lean forward.
The Execution
- Stand with heels together, toes turned out about 45 degrees.
- Inhale as you bend your knees, sliding your back down an imaginary wall.
- Exhale as you press through the balls of your feet to straighten the legs.
- Focus on squeezing your inner thighs together at the very top of the movement.
Pro tip: Imagine you have a hundred-dollar bill tucked between your inner thighs. Don’t let it drop.
2. Parallel Thigh Work
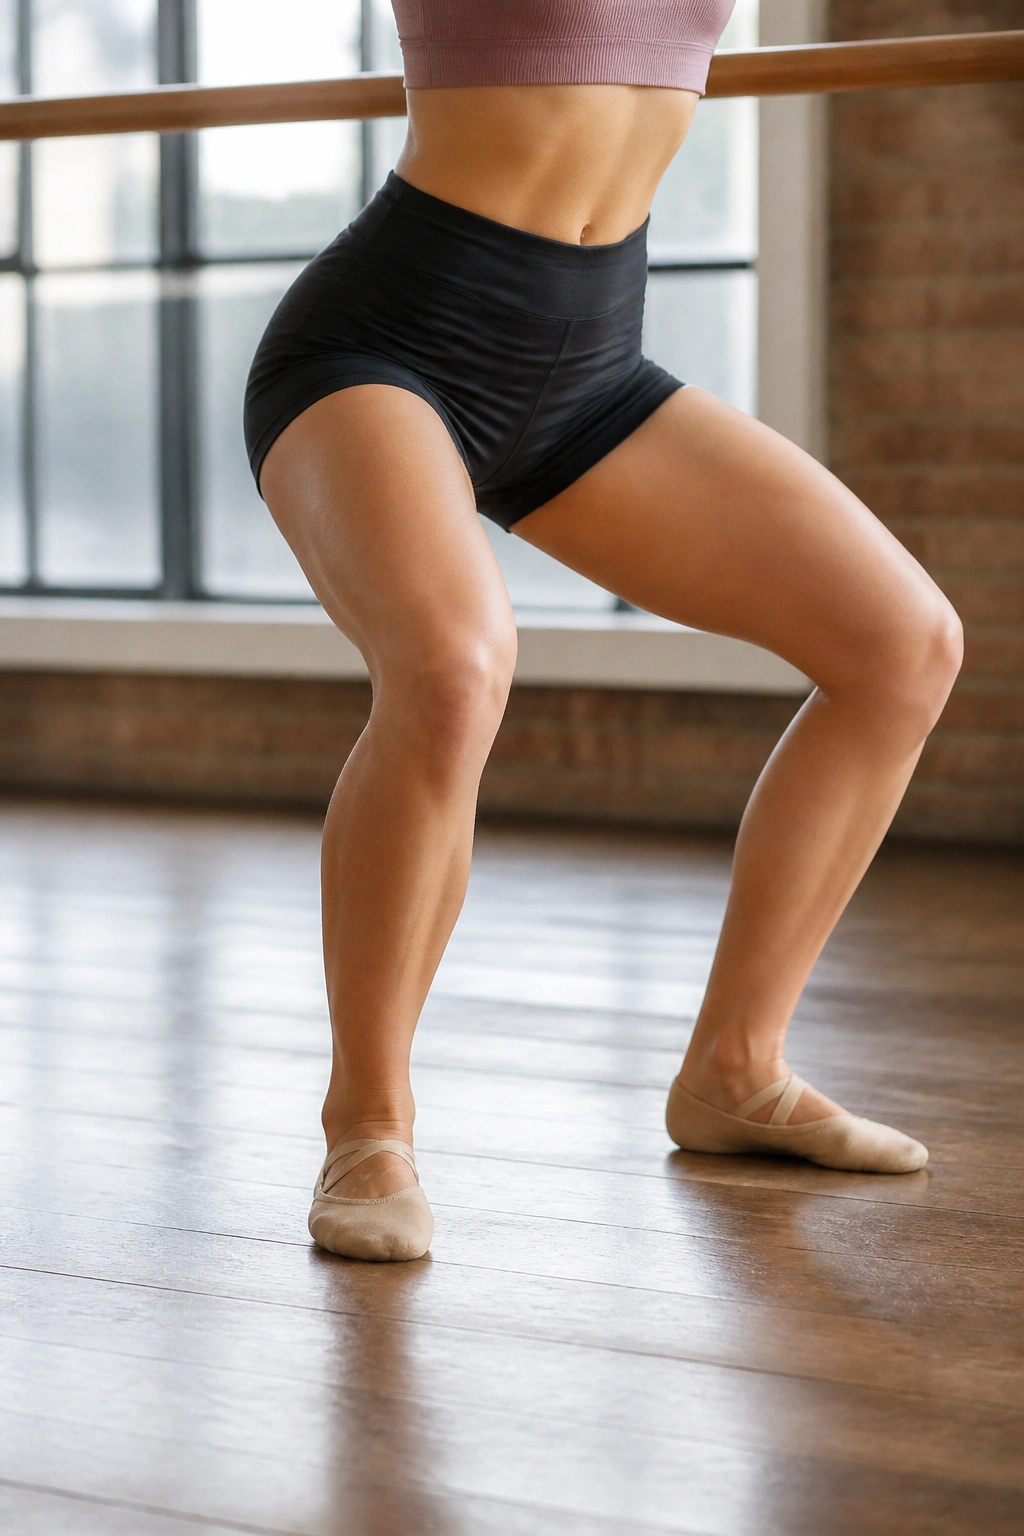
While the classic plié focuses on turnout, parallel work shifts the emphasis to the front of the quadriceps. This is where you will feel that deep, burning sensation that defines the “barre shake.” It forces the muscles to work in a slightly different plane, which is necessary for balanced leg strength.
How to Get the Most From It
The key here is the setup. Feet should be hip-width apart, parallel, and pointing forward. When you squat, do not let your knees cave inward toward each other. That is a common habit that puts stress on the ACL. Push your weight back into your heels, and keep your chest lifted high. You are not trying to get deep into a squat; you are staying in that “mid-range” zone where the muscle tension is constant.
The Mechanics of the Burn
- Start in a standing position, feet parallel.
- Lower your hips until you are about six inches down.
- Hold this position.
- Perform tiny, one-inch pulses up and down.
- Keep your knees aligned over your second and third toes.
3. The Pretzel
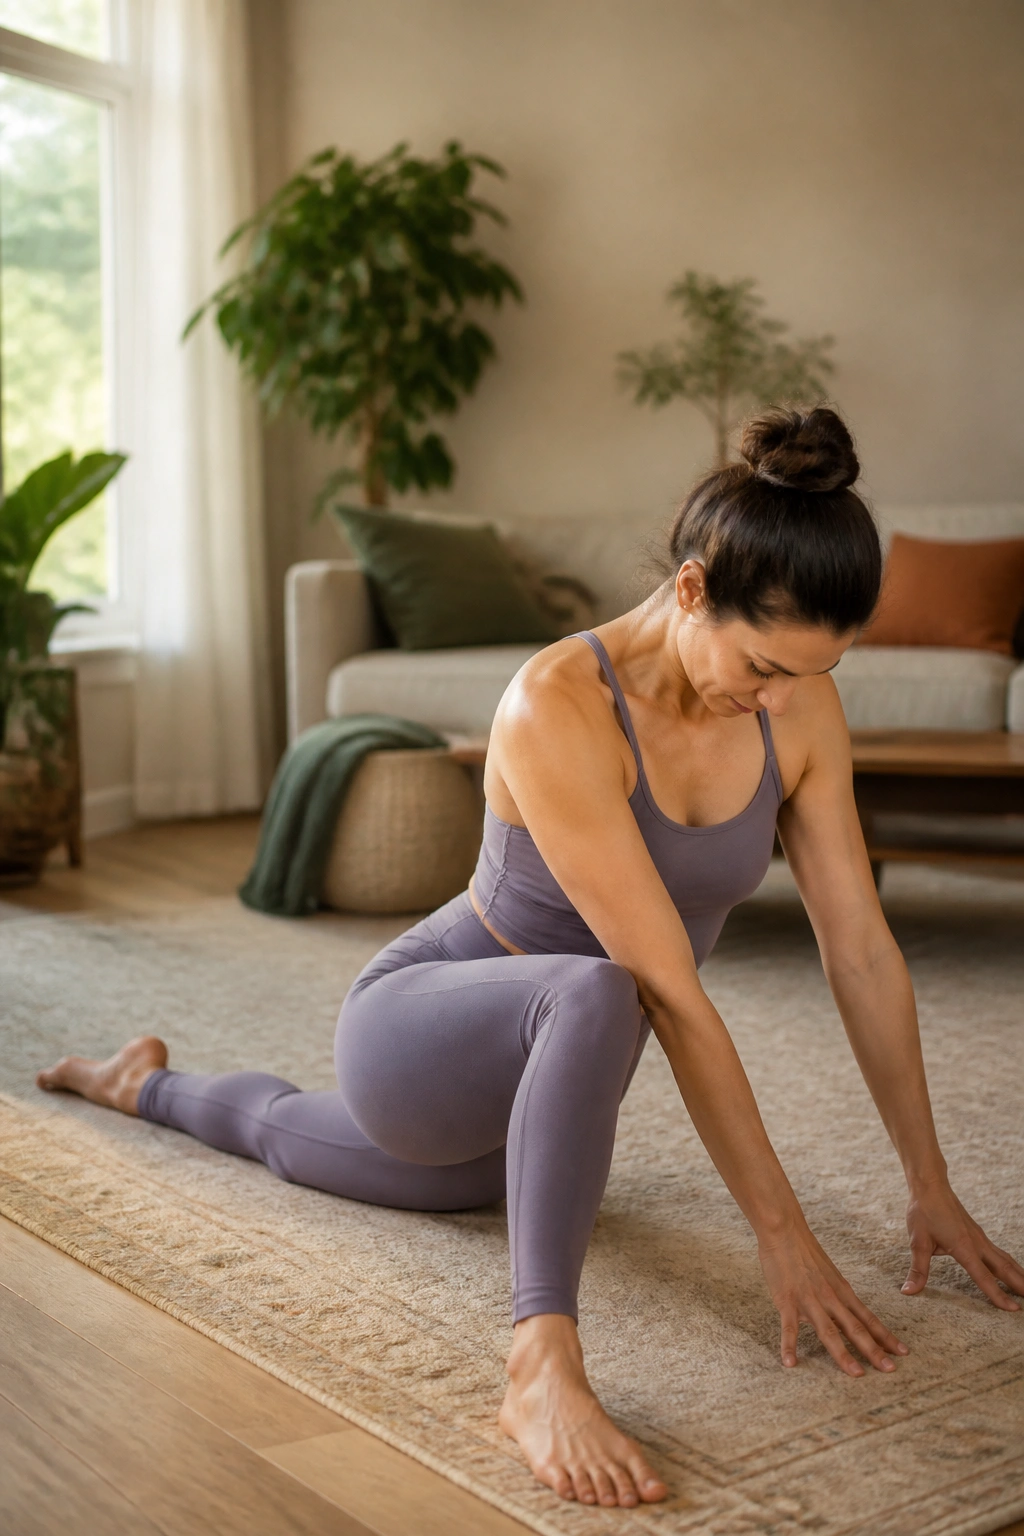
This move is the ultimate glute medius exercise. It looks strange and slightly uncomfortable, but it isolates the outer hip and glute like nothing else. If you spend most of your day sitting, this move will wake up muscles that have gone dormant.
The Setup
- Sit on the floor with your left leg bent in front of you at a 90-degree angle.
- Bend your right leg behind you at a 90-degree angle.
- Lean your torso over your left leg, hands on the floor.
- Lift your right foot off the ground while keeping your right knee on the floor.
Troubleshooting the Movement
The most common mistake is lifting the entire knee off the ground. That turns this into a different exercise. Keep the knee anchored. Think about lifting the foot only. You should feel a deep, localized pinch in the side of your right glute. If you feel it in your lower back, you are likely leaning too far back—try to shift your chest slightly more toward the front leg to realign your spine.
4. Arabesque Pulses
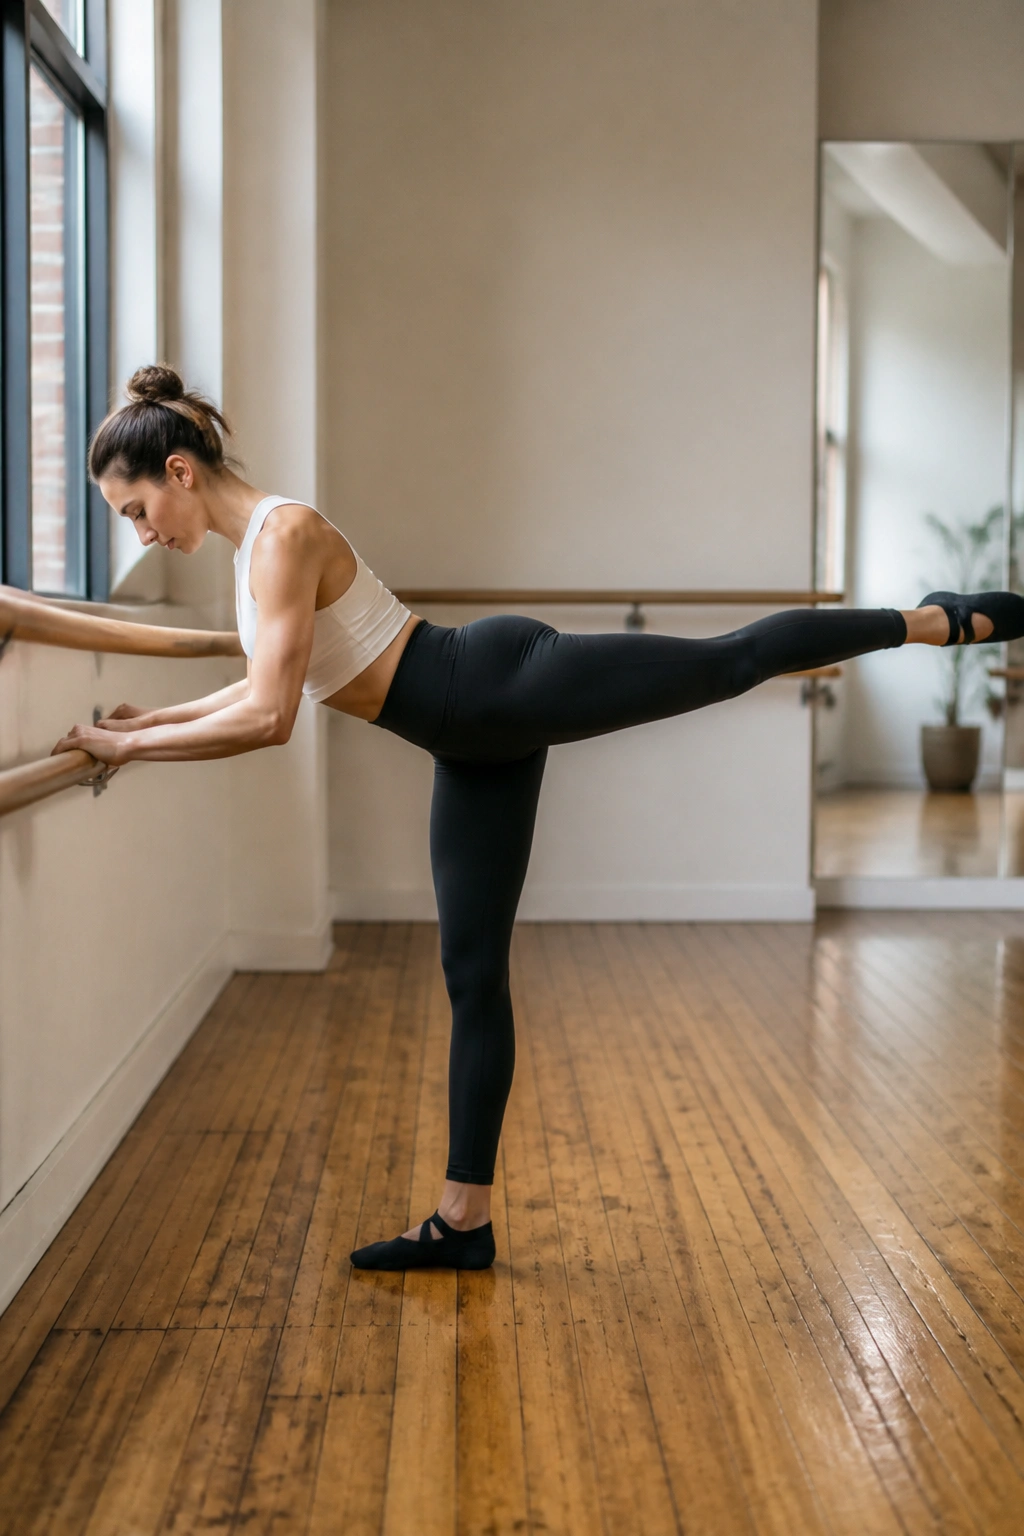
The arabesque is a dance-inspired move that targets the glute max—the largest muscle in your posterior chain. When done at the barre, it is a fantastic way to build strength in the hamstrings and the lower back simultaneously. It requires significant stability, which means your core will be working overtime to keep you from wobbling.
The Technique
- Stand facing the barre, hands resting lightly on the surface.
- Lean your torso forward about 45 degrees, keeping your back flat.
- Extend one leg behind you, keeping it straight but not locked.
- Lift that leg as high as you can without arching your lower back.
The “Squeeze”
The height of the leg does not matter as much as the isolation of the muscle. Even if your foot is only six inches off the ground, if you are squeezing your glute to lift it, you are doing it right. Avoid the temptation to swing the leg for momentum. Every single pulse needs to be slow, controlled, and intentional.
5. Chair Pose Variation
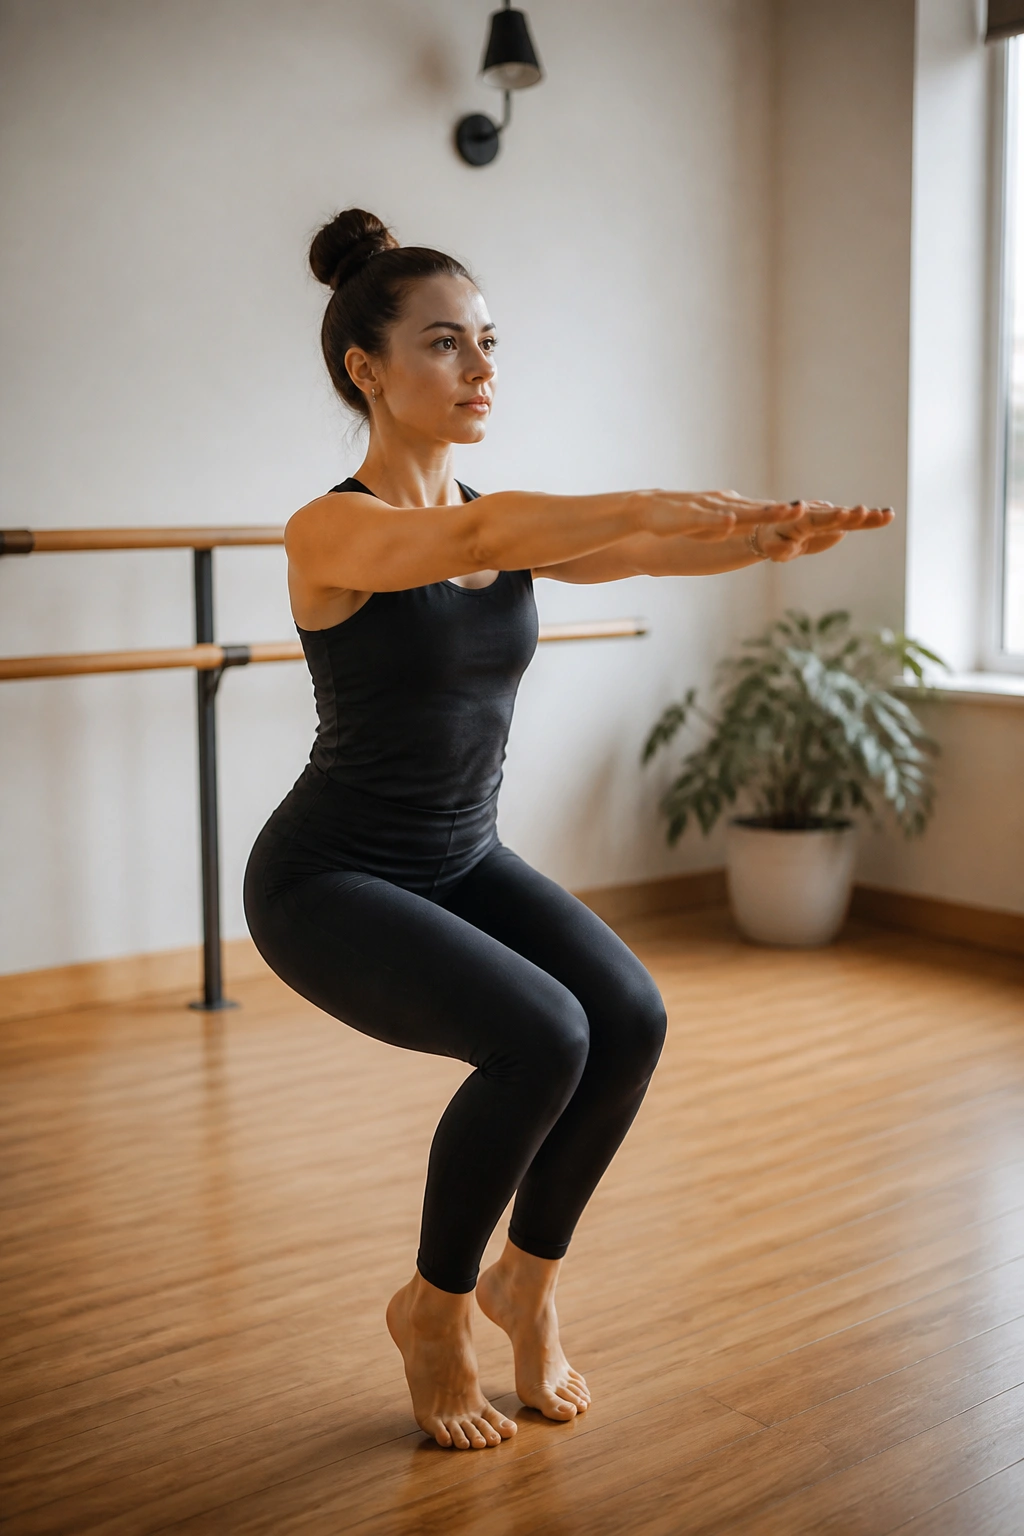
Yoga and barre collide here. The chair pose is a static hold that forces the quads and glutes to fire simultaneously. It is an endurance builder. By the time you hit the thirty-second mark, your legs will be begging to straighten, which is exactly why you need to stay in the hold for another ten seconds.
Adding Dynamic Movement
To make this more effective for barre, add a heel lift. Stand parallel, sit back into that imaginary chair, and then peel your heels off the floor. Now you are working your calves and stabilizers, too. If you feel yourself shaking, congratulate yourself. That is the goal.
Critical Form Cues
- Ensure your knees do not extend past your toes.
- Pull your abs toward your spine to support your lower back.
- Keep your neck long—don’t hunch your shoulders toward your ears.
6. Side Lying Leg Lifts
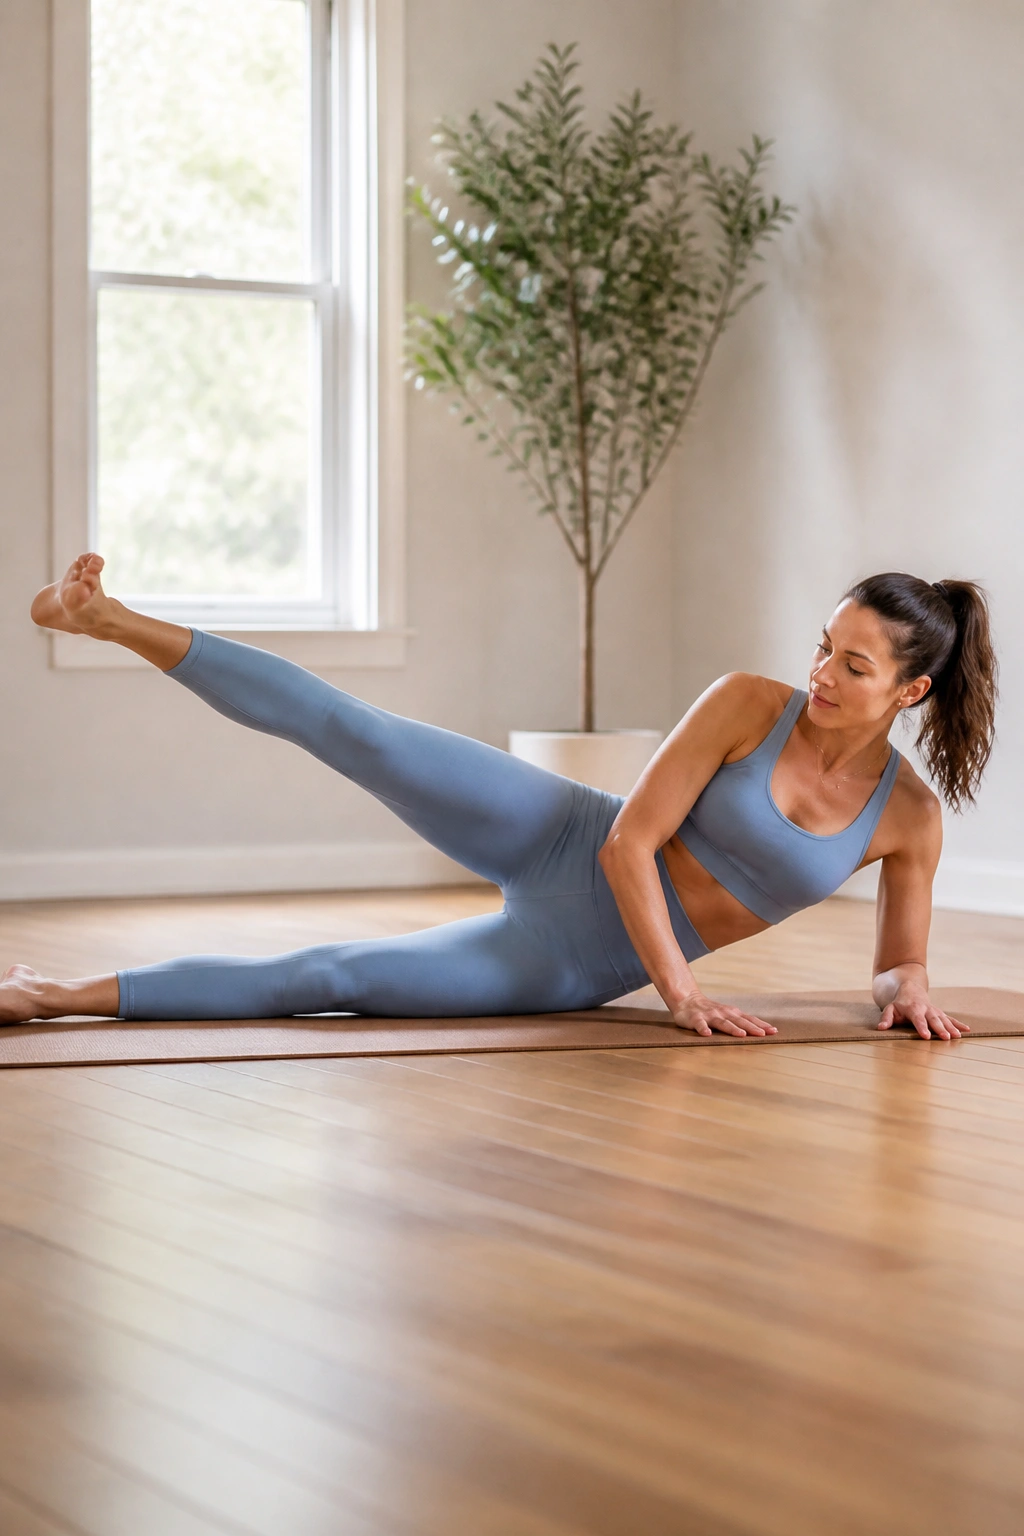
We are moving away from the barre for a moment to hit the floor. Side-lying leg lifts are vital for strengthening the hip abductors, which are often overlooked in favor of the larger quad and glute muscles. These muscles are essential for stabilizing your pelvis when you walk or run.
The Anatomy of the Move
Lie on your side with your legs stacked, either straight or with the bottom leg bent for stability. Lift the top leg, but do not just go through the motions. Imagine you are pushing a heavy weight away with your heel. Flexing your foot is crucial here because it engages the entire length of the leg, rather than just letting the foot flop around.
Precision Matters
- Point your toes slightly down, so your pinky toe leads the movement.
- Keep your hips stacked perfectly—do not roll back.
- If you feel this in your hip flexor (the front of your hip), adjust your leg angle slightly backward.
7. Clamshells
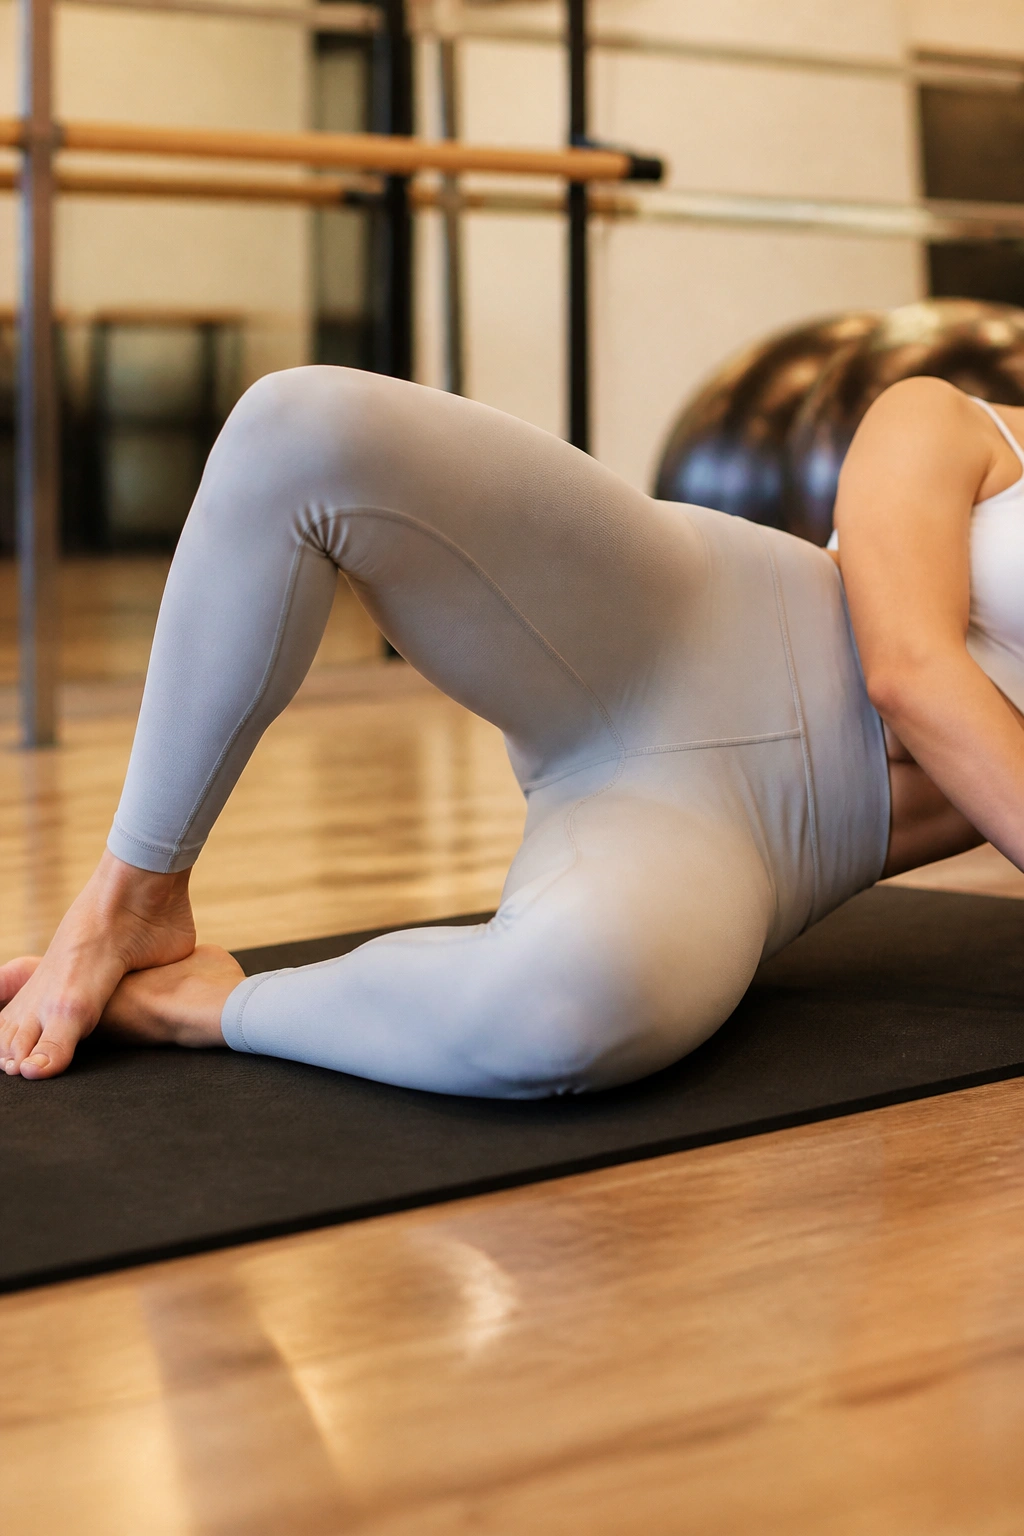
This is the gold standard for deep hip rotator strength. If you have ever felt like your knees cave inward during squats or lunges, your glute medius and deep rotators are likely weak. Clamshells fix this.
Proper Execution
- Lie on your side, knees bent at a 45-degree angle.
- Keep your feet touching.
- Lift the top knee while keeping the big toes together.
- Close the knee with control.
Pro tip: Do not use your hand to push your hip forward. Your core should be doing all the stabilizing work. If you find your whole body rocking back and forth, engage your abdominals more aggressively.
8. Curtsy Lunge Pulses
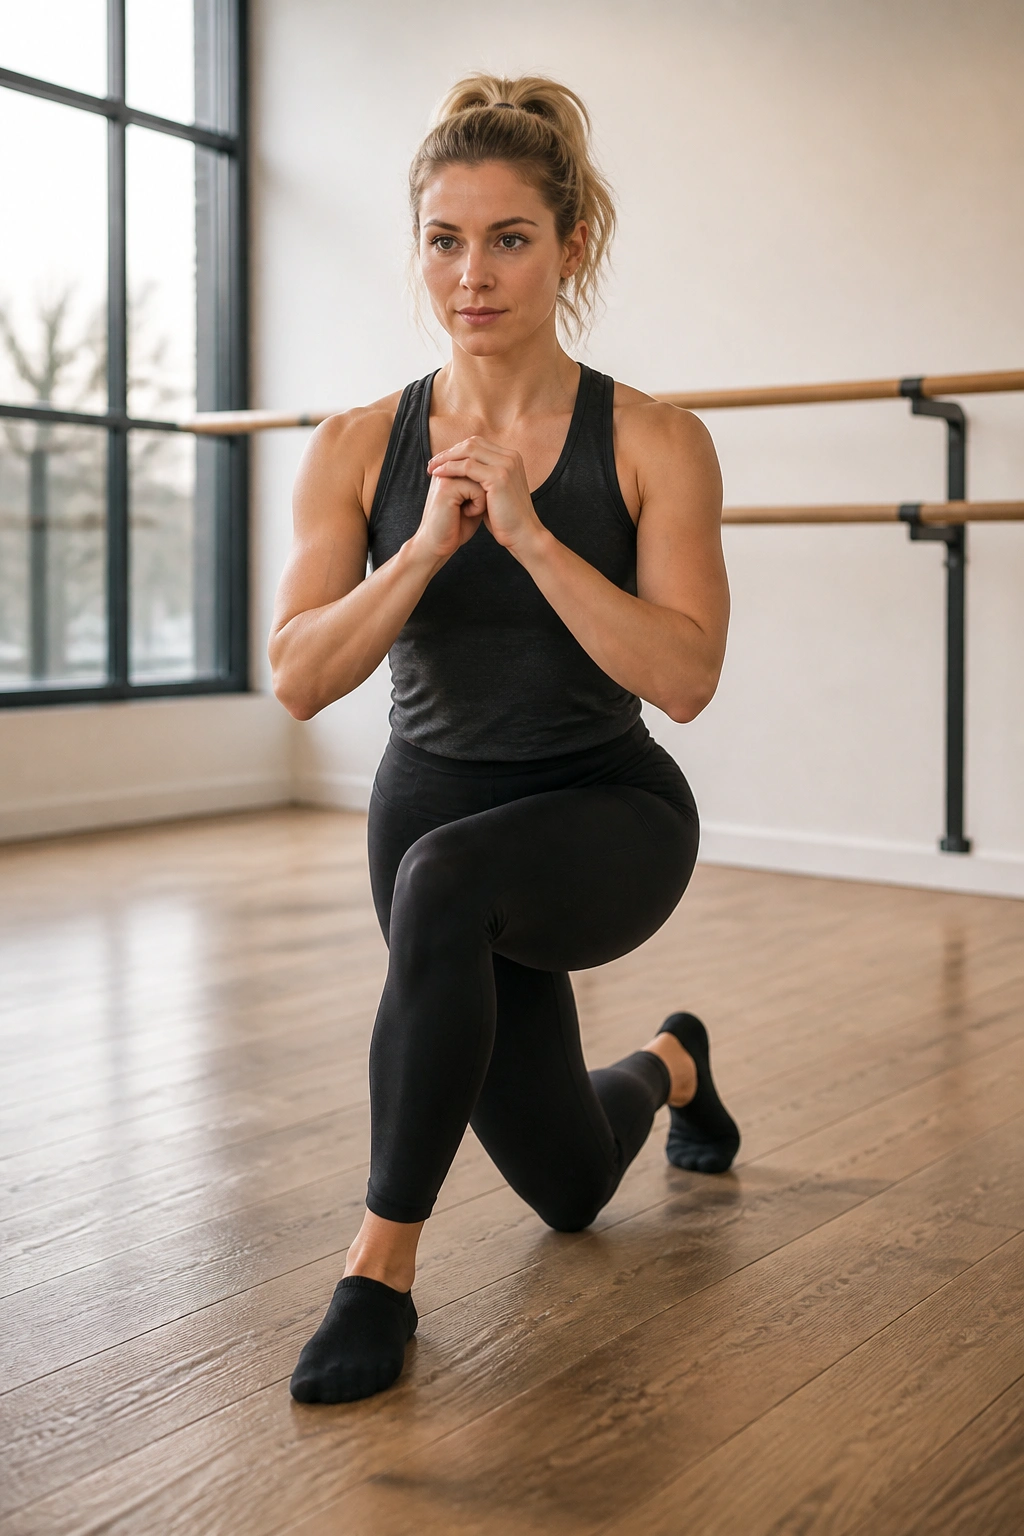
The curtsy lunge is essentially a squat that incorporates a lateral element, forcing the outer glute to work harder to stabilize the knee. By staying in a pulse rather than doing full reps, you keep the muscles under constant tension, which is the hallmark of effective barre training.
How to Sequence It
Start standing parallel, then cross your right leg behind your left. Drop your hips down. The secret is to keep your front knee (the left one) aligned over your left ankle. Do not let it drift inward. Pulse for 30 seconds on one side before switching. You will notice the difference immediately.
Why This Hurts (In a Good Way)
Because you are loading one side at a time, you are forcing the stabilizing muscles of the hip to work much harder than they would in a standard squat. It creates a burning sensation that is almost immediate.
9. Grand Battement
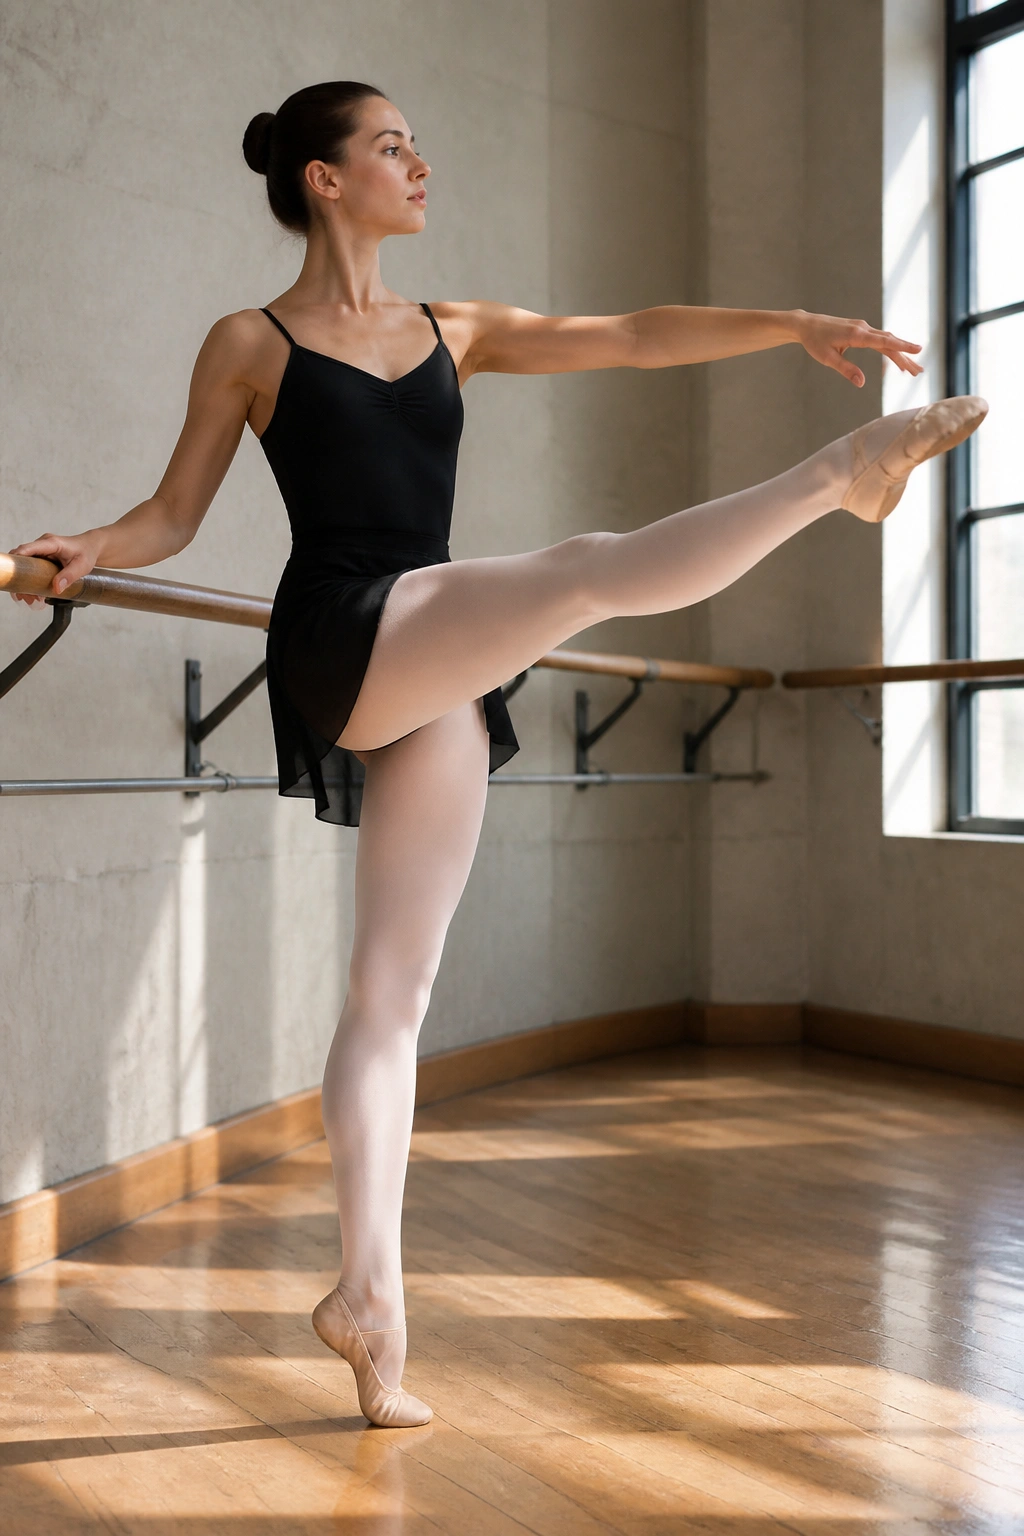
This is the dynamic movement that brings a bit of ballet athleticism into the mix. A grand battement is a powerful kick. It serves two purposes: it lengthens the hamstrings and aggressively engages the hip flexors and quads.
Controlling the Force
Do not swing your leg wildly. That is how you pull a muscle. You are controlling the leg on the way up and, more importantly, controlling it on the way down. Use your core to prevent your torso from shifting.
Building Strength
- Stand at the barre, one hand resting on it.
- Brush your leg along the floor and kick it up to hip height or higher.
- Bring it back down to the floor with control.
- Repeat 15 times on each leg.
10. Standing Leg Extensions
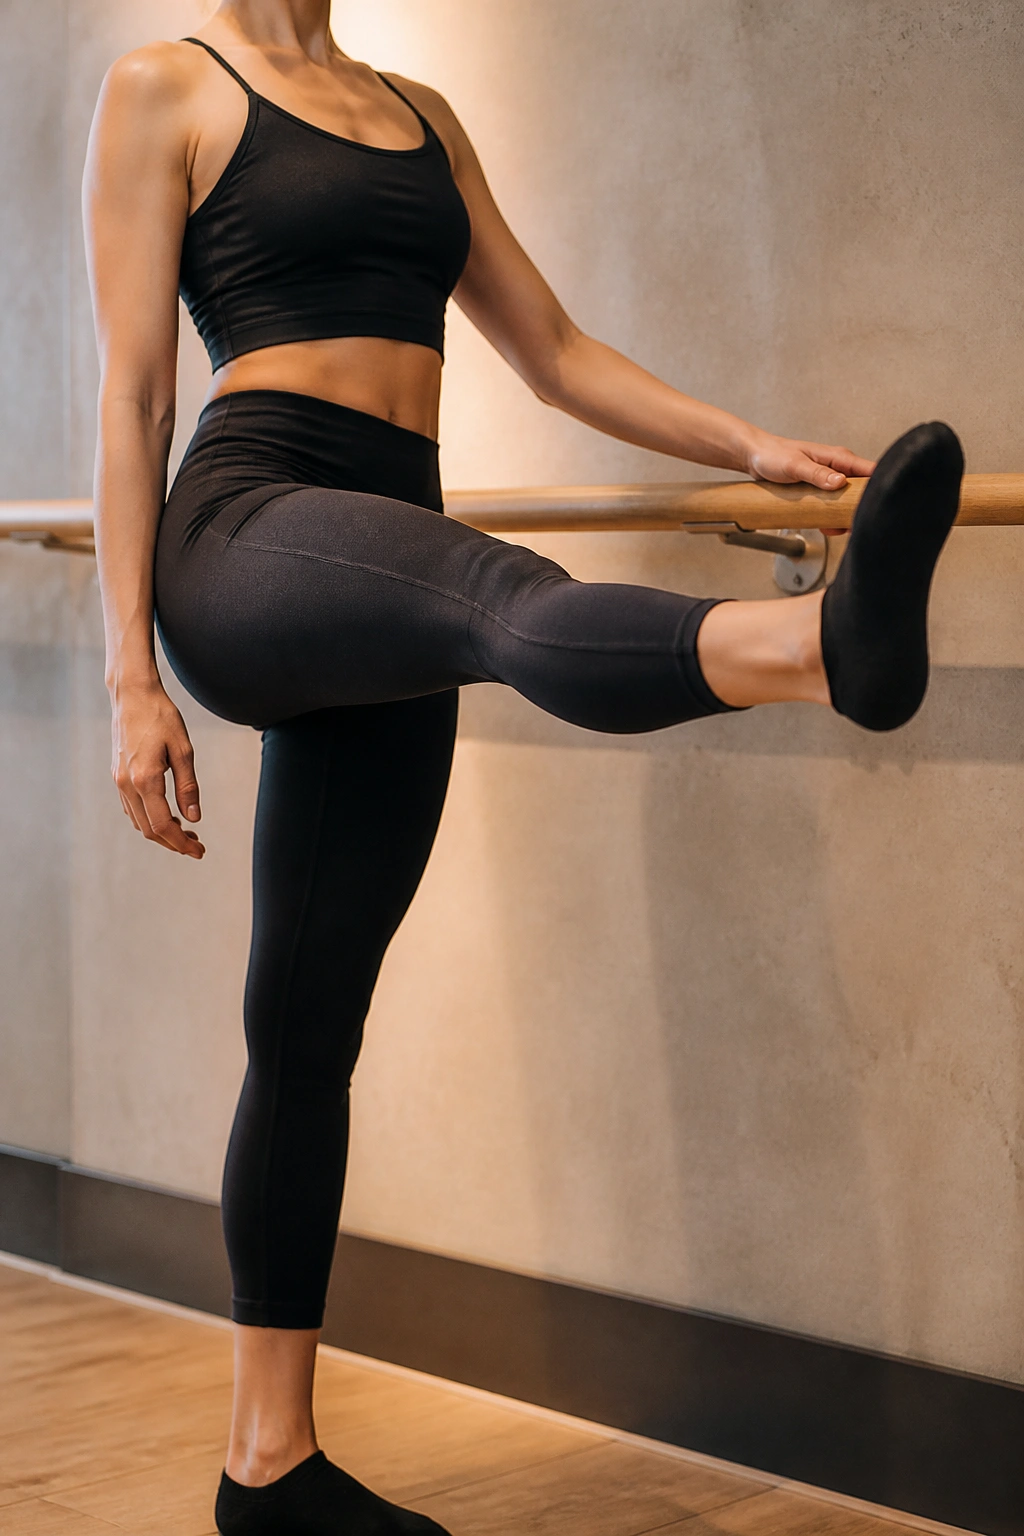
This move is deceptively simple. You stand at the barre, lift one knee to chest height, and extend the leg straight out, holding it there. It targets the quadriceps directly. By holding the leg extended, you are demanding that the quads stay fully engaged without the relief of bending the knee.
The Mental Game
The hardest part of this move is the mental aspect. You have to actively think about keeping the leg straight. The moment your focus drifts, your leg will drop an inch or two. Keep it locked, keep it strong, and keep it lifted.
Modifications
If you find your leg shaking too much to keep it extended, do not drop the leg. Bend the knee slightly, but keep the foot lifted. The goal is to keep the muscle under tension for the entire duration of the set.
11. Reverse Lunges
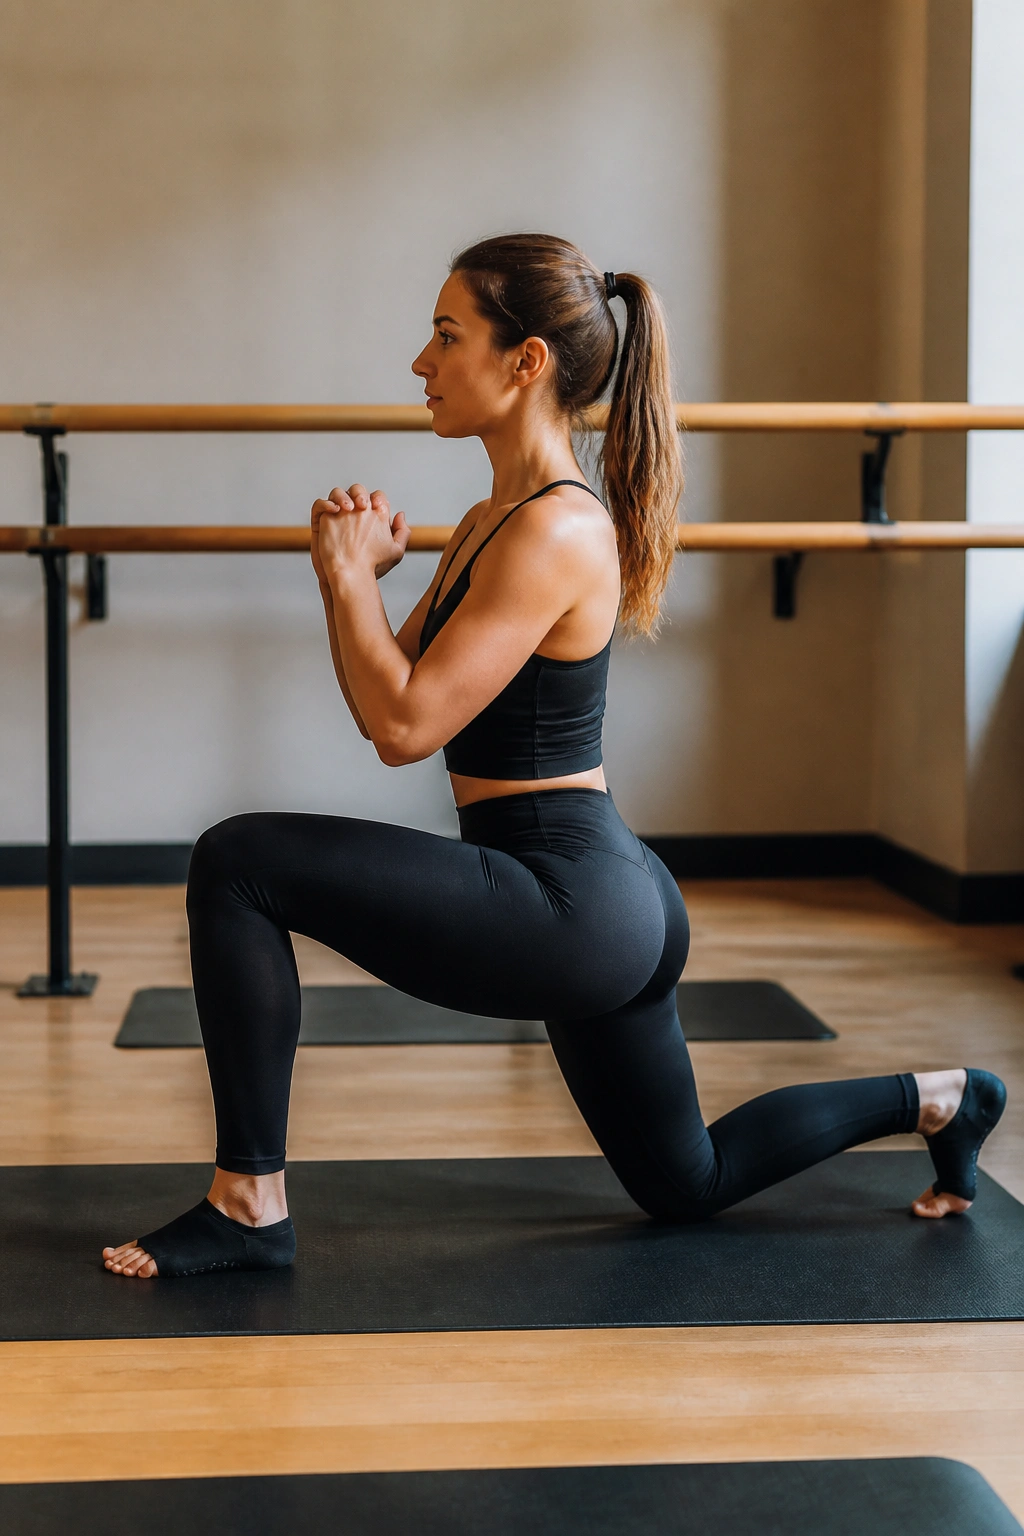
Unlike forward lunges, which put significant pressure on the knee joint, reverse lunges are much kinder to your joints while still providing all the glute-building benefits. In a barre setting, we often incorporate a pulse at the bottom of the lunge to really fry the glutes.
The Setup
- Step back with one foot, landing on the ball of your foot.
- Lower your back knee toward the floor.
- Ensure your front shin is vertical.
- Keep your weight centered between your two legs.
The “Barre” Element
To make this a barre-specific move, stay in the deep lunge and perform small pulses. Do not stand all the way back up between pulses. Stay low. The lower you stay, the more work your glutes have to do to hold you up.
12. Calf Raises in Second Position
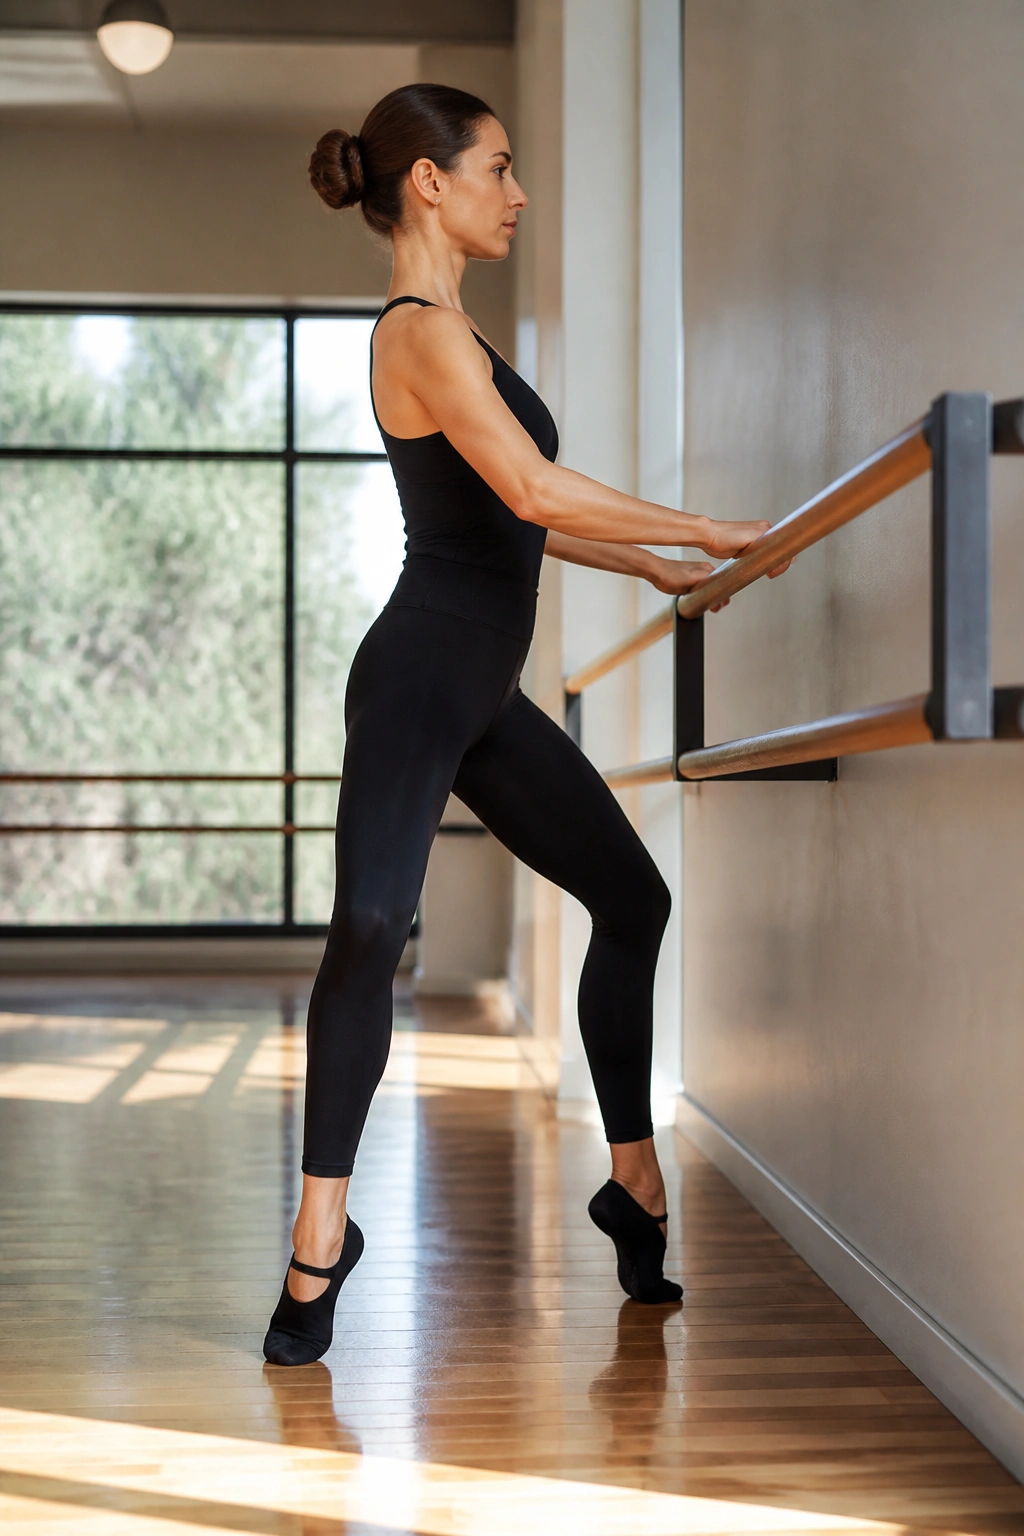
We cannot talk about lower body strength without addressing the lower leg. Your calves are responsible for explosive movement and stabilization. Calf raises in a wide, second-position turnout target not just the gastrocnemius (the big muscle) but also the soleus.
Why the Turnout Matters
Turning your toes out changes the angle of engagement. It forces the inner part of the calf to work alongside the outer part, leading to more balanced definition.
The Execution
- Stand with feet wider than hip-width, toes turned out.
- Sink into a shallow plié.
- Peel both heels off the floor.
- Lower the heels back down slowly.
Pro tip: Imagine you are balancing a heavy book on your head. Don’t let your torso dip forward as you rise onto your toes. Keep the spine long and vertical.
13. Seated Glute Stretch
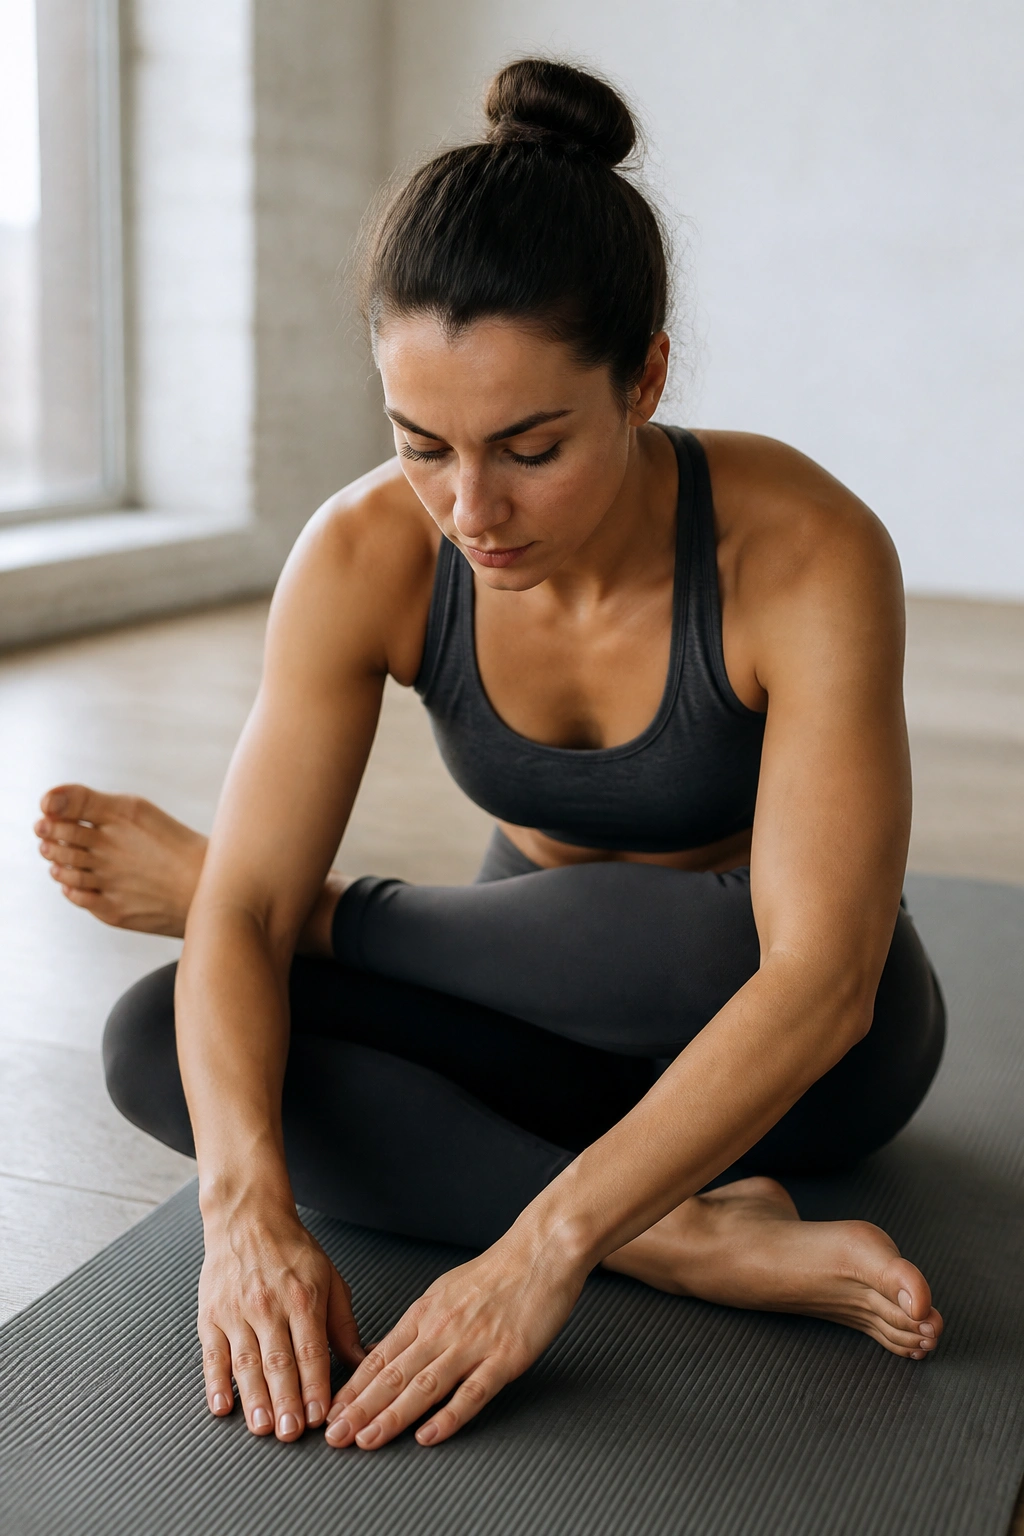
While this is technically a recovery movement, it is essential for lower body health. If your glutes are tight, they will pull on your lower back and knees, leading to pain. Using this move in a controlled way allows you to safely deepen the stretch.
The Technique
- Sit on the floor, legs out in front.
- Cross your right ankle over your left knee.
- Use your hands to gently push your chest forward toward your legs.
- Keep your back straight—don’t round your spine to “get lower.”
This is not a competition to see how far you can fold. It is a tool to open up the hip rotator complex. Hold this for at least 45 seconds on each side to actually see a release in tension.
14. Bridge Lifts
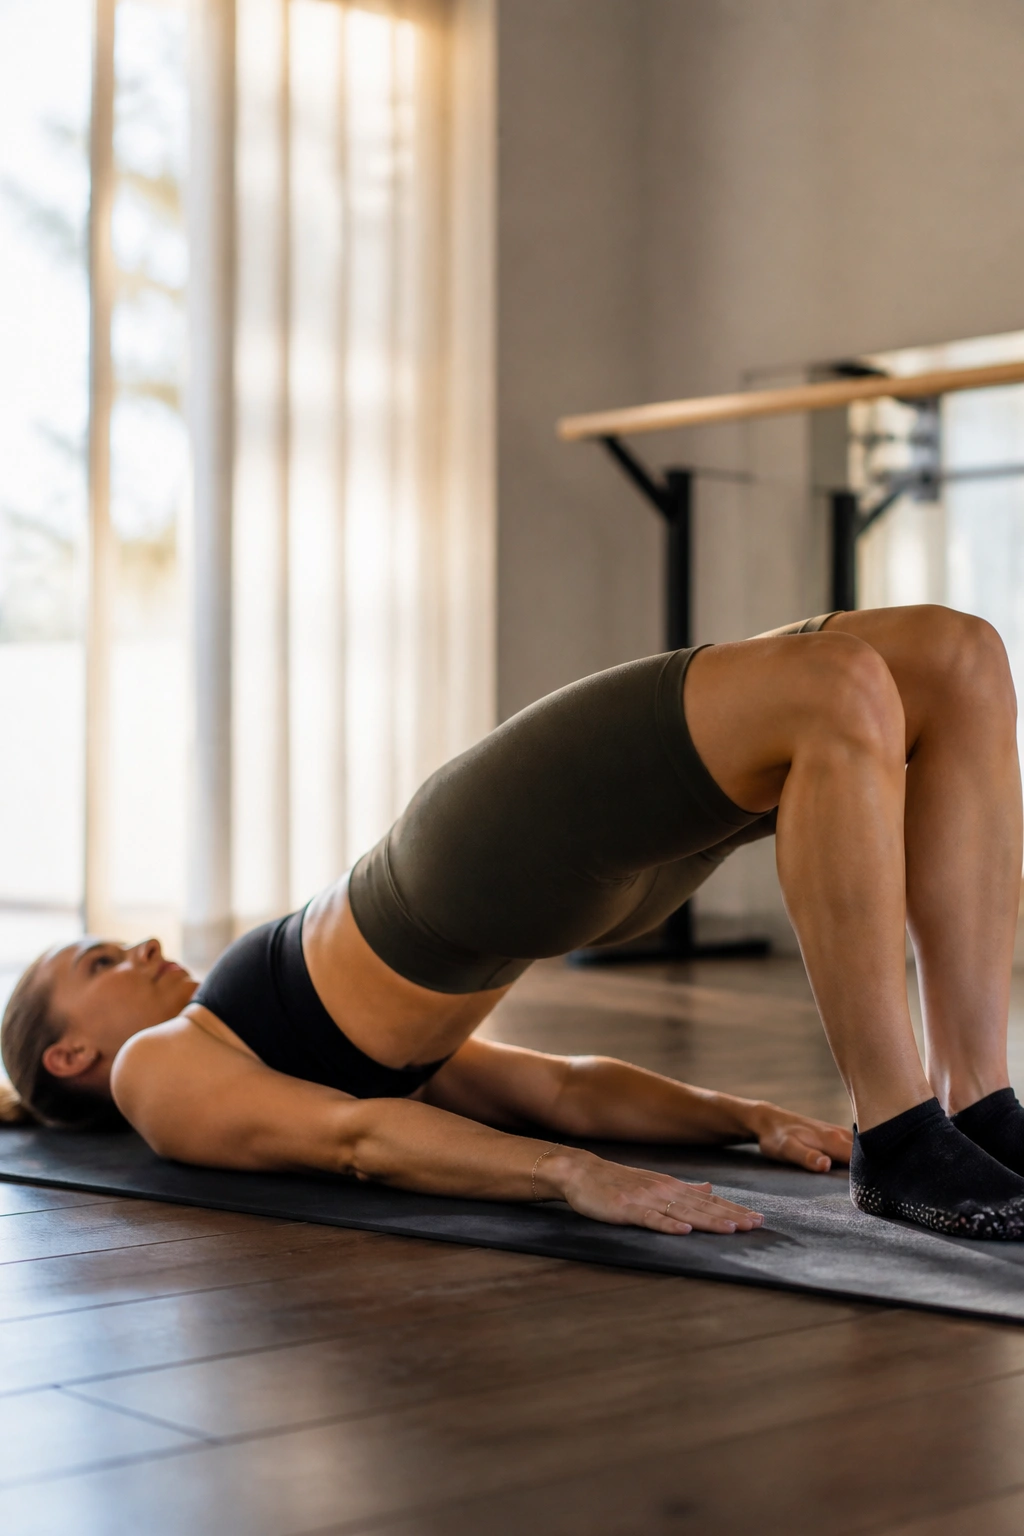
The bridge is a classic, but in barre, we elevate it. Start with your feet on the floor, hips lifted. Now, instead of just dropping and lifting, try to stay at the very top of the range of motion.
Tiny Pulses
- Lift your hips until your thighs are in line with your torso.
- Squeeze your glutes as hard as you can.
- Perform small, one-inch pulses at the very top.
- Do not let your hips touch the floor between pulses.
This forces the hamstrings and glutes to handle a constant load. If you feel a cramp, that is usually a sign that your hamstrings are weak and are being overworked. Stop, stretch, and try again.
15. Single-Leg RDL at the Barre
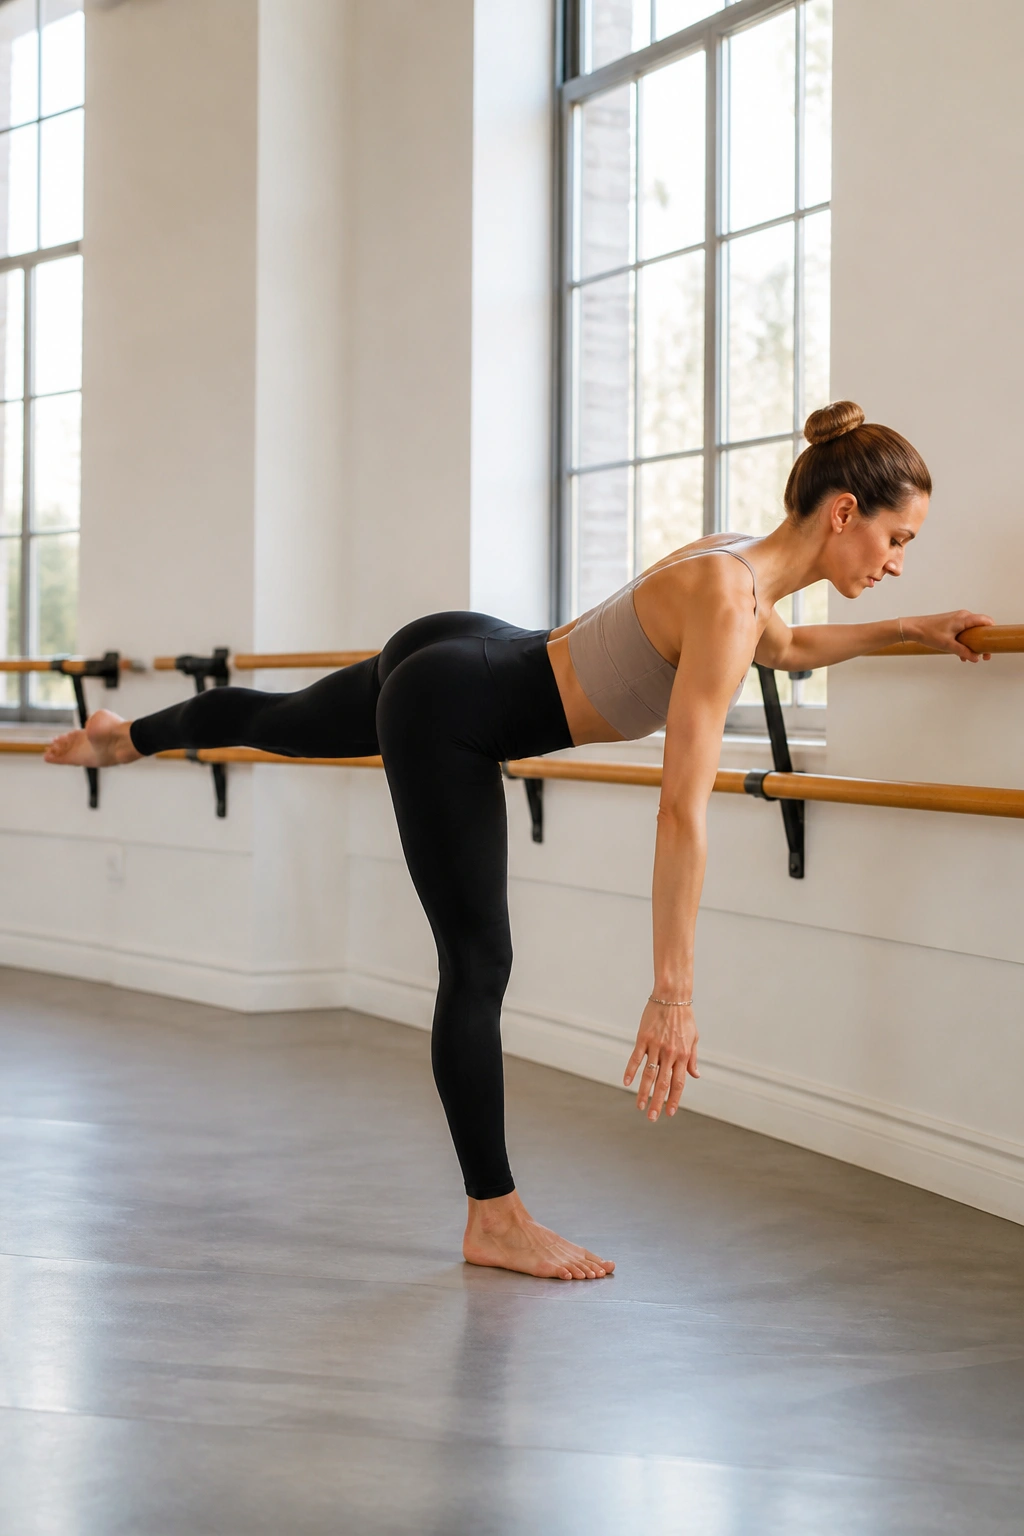
The Romanian Deadlift (RDL) is typically a gym move, but doing it at the barre allows you to use your hand for balance, which helps you focus entirely on the hinge. This targets the hamstrings and the glutes on the standing leg.
The Hinge
- Stand on your left leg, slight bend in the knee.
- Extend your right leg behind you while hinging your torso forward.
- Keep your back perfectly flat.
- Go only as far as you can while keeping your hips square to the floor.
Avoiding the Arch
Most people arch their back to get the leg higher. Don’t. Focus on the feeling of a stretch in the back of your left leg. That is your hamstring doing the work.
16. Wide Second Squat with Heel Raises
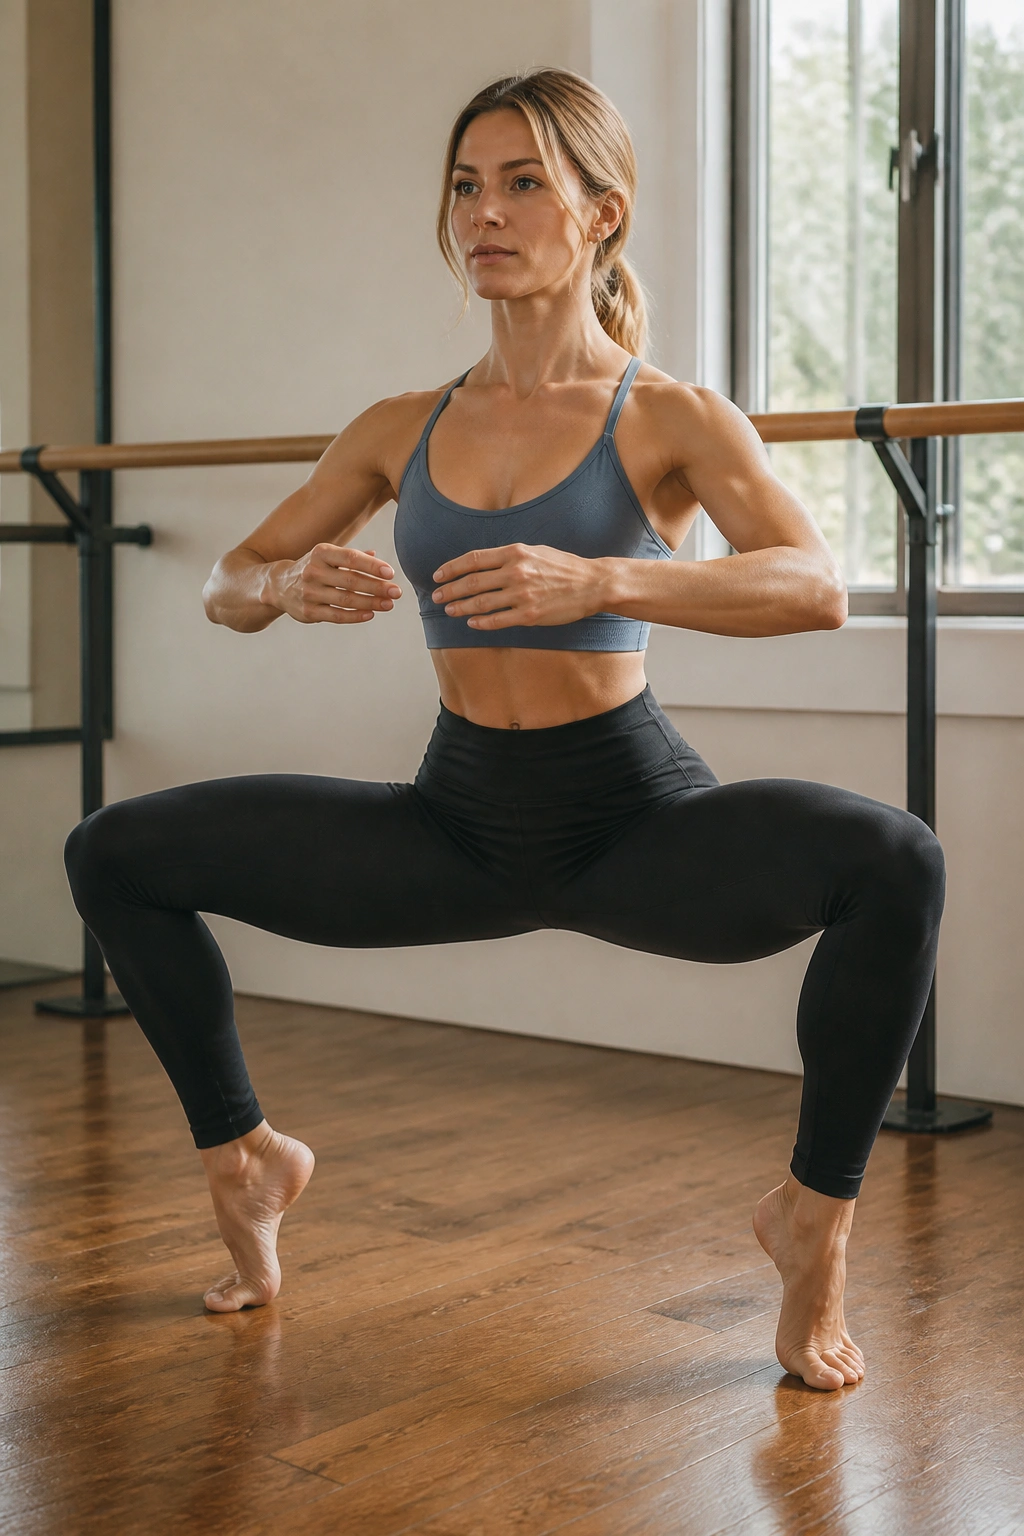
This combines the width of a second-position plie with the intensity of calf work. You will feel this in the inner thighs, quads, and calves simultaneously. It is a full-leg burner.
The Workflow
- Step into a wide second position.
- Squat down.
- Hold the squat.
- Lift one heel.
- Lower the heel.
- Lift the other heel.
- Lower the heel.
- Keep repeating this “prancing” motion while staying low in the squat.
This requires immense coordination. Your brain will want to stand up to make it easier. Resist that urge.
17. Parallel Lunge with Torso Lean
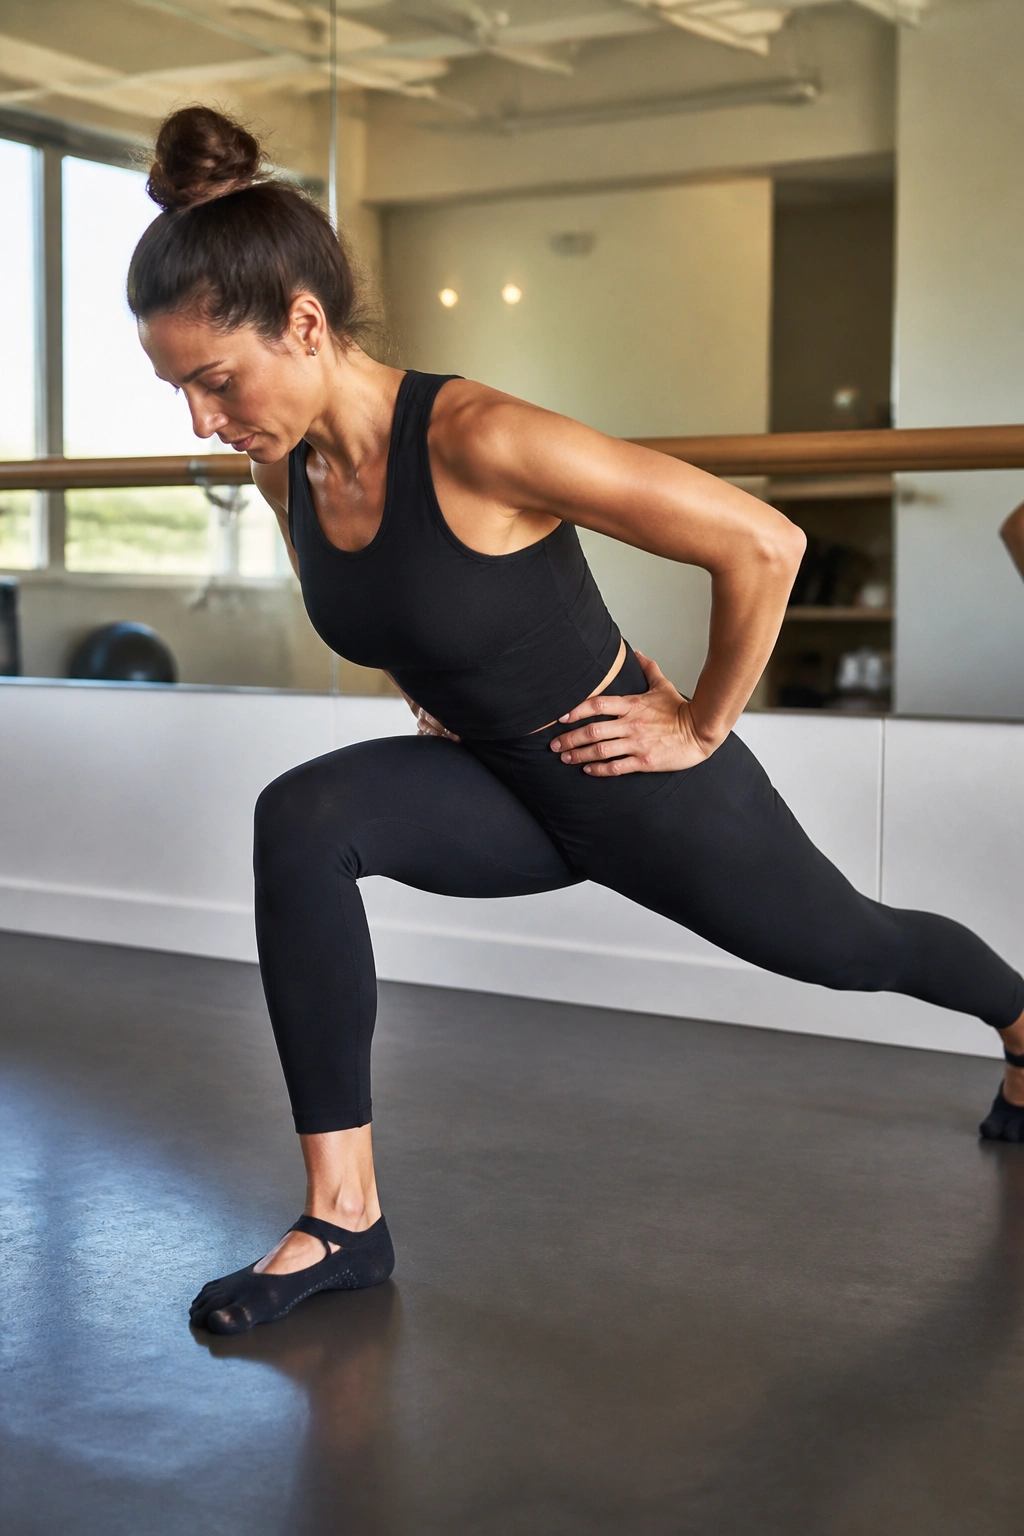
This is a variation of the standard lunge that specifically targets the glutes over the quads. By leaning your torso forward—keeping a flat back—you shift the center of gravity, which creates a longer lever arm for the glute muscles to overcome.
Why the Lean Changes Everything
In a standard upright lunge, your quads are the primary movers. When you hinge forward, you are essentially creating a hinge pattern at the hip. This requires the glutes to generate significantly more force to keep you stable and to pull you back up.
Precision Cues
- Keep your core braced.
- If you feel a strain in your lower back, your core is not tight enough.
- Push through the front heel to return to the starting position.
18. Passe Hold
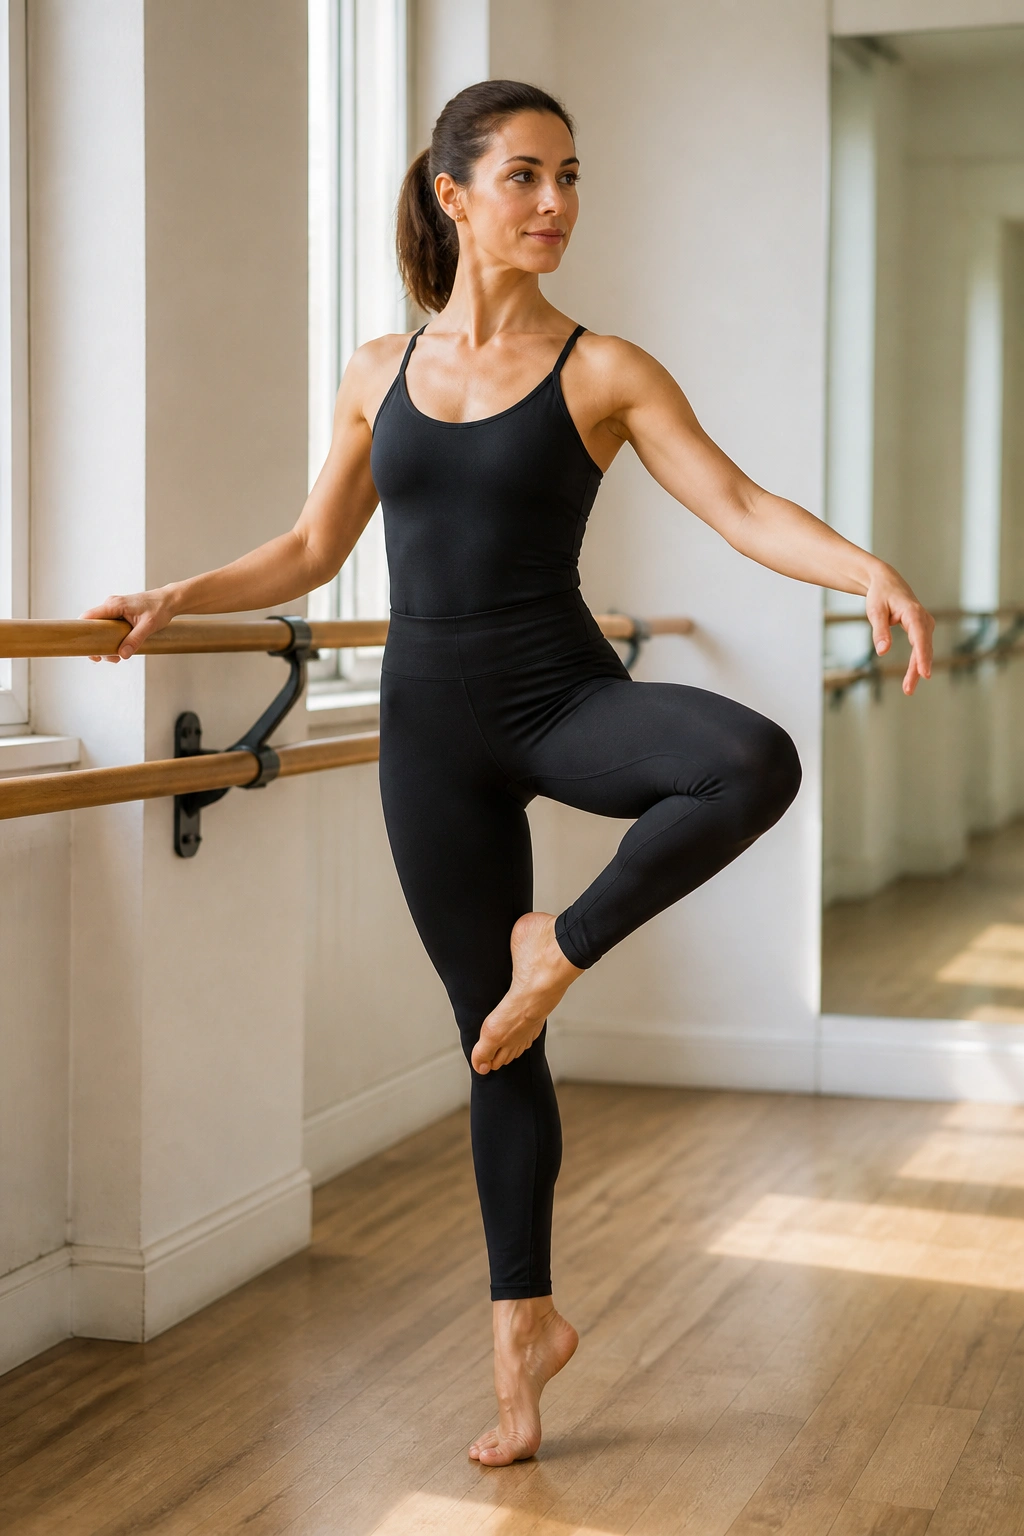
A passe hold requires you to stand on one leg with the other leg bent, toe touching the knee of the standing leg. It is a balance challenge that forces your standing leg to stabilize your entire body weight.
Using the Barre
Use the barre lightly—just for a touch of stability. Do not hang on it. If you are leaning on the barre, you are cheating your standing leg out of its stability workout.
Why It Builds Strength
Your stabilizing muscles (the small muscles around your ankle and knee) have to fire constantly to keep you from falling. This is “active” strength. It is the kind of strength that prevents ankle rolls and knee injuries in daily life.
19. Attitude Derrière
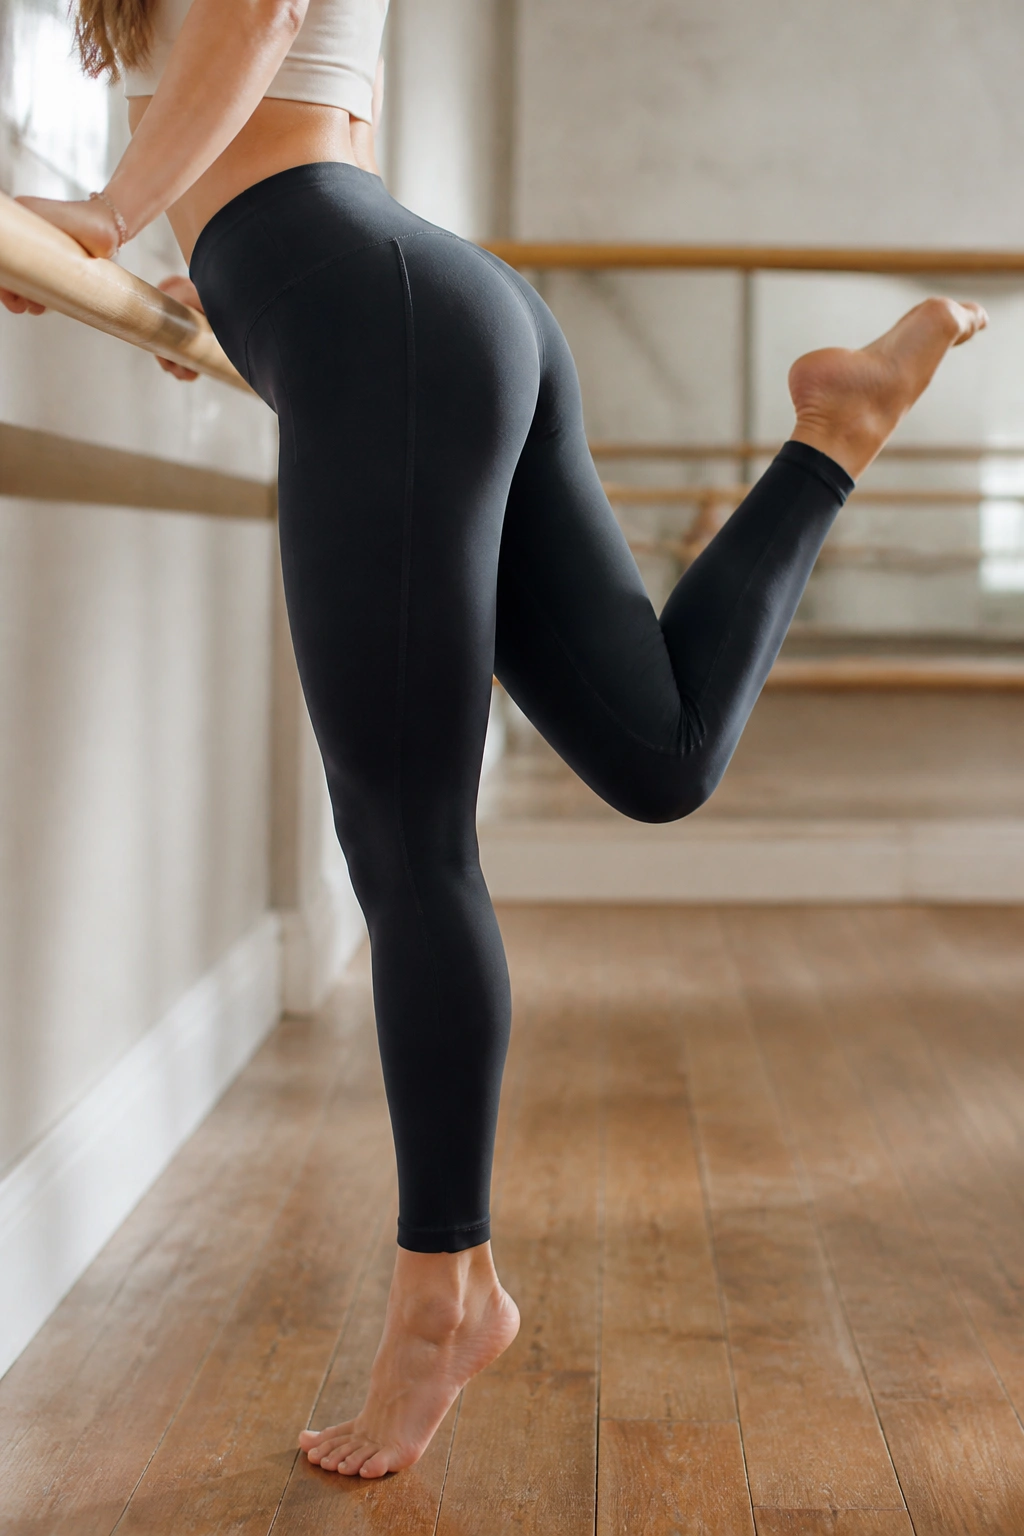
The “attitude” position involves lifting your leg behind you with the knee bent. This isolates the glute and hamstring without the full lever length of a straight leg, which can sometimes be easier on the lower back.
The Squeeze
- Stand at the barre.
- Lift your leg behind you, bending the knee.
- Squeeze your glute to lift the thigh higher.
- Keep the knee bent at a 90-degree angle.
You should feel a very intense activation in the glute. Because the lever is shorter, you can often pulse higher and faster, leading to a massive “burn” in the muscle belly.
20. Squat Jacks
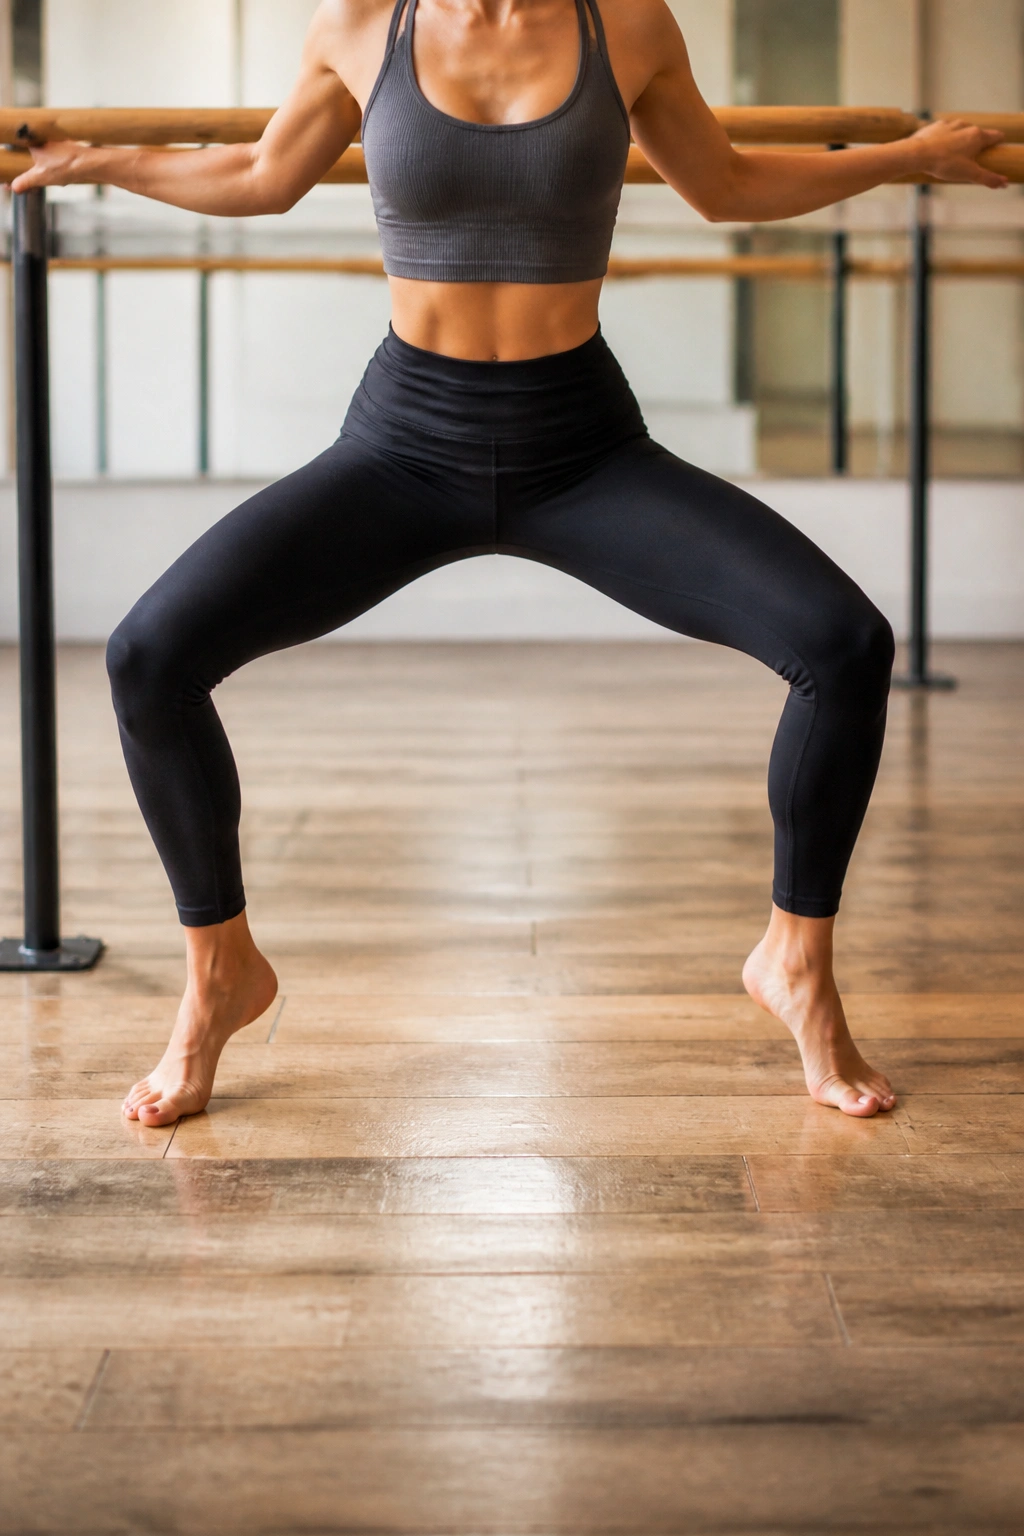
Barre is generally low-impact, but adding a touch of cardio can boost your endurance. Squat jacks at the barre involve staying in a low squat and jumping your feet out and in, or tapping them out and in.
The Focus
Keep your hips low. Do not let your hips rise as you move your feet. The goal is to keep the quads under tension the entire time. This adds a metabolic component to the workout, forcing your heart rate up while your legs continue to work.
Modifying for Low Impact
If jumping bothers your knees, just tap your toes out and in. You will get the exact same quad burn without the impact.
21. The “Water Ski” Lean
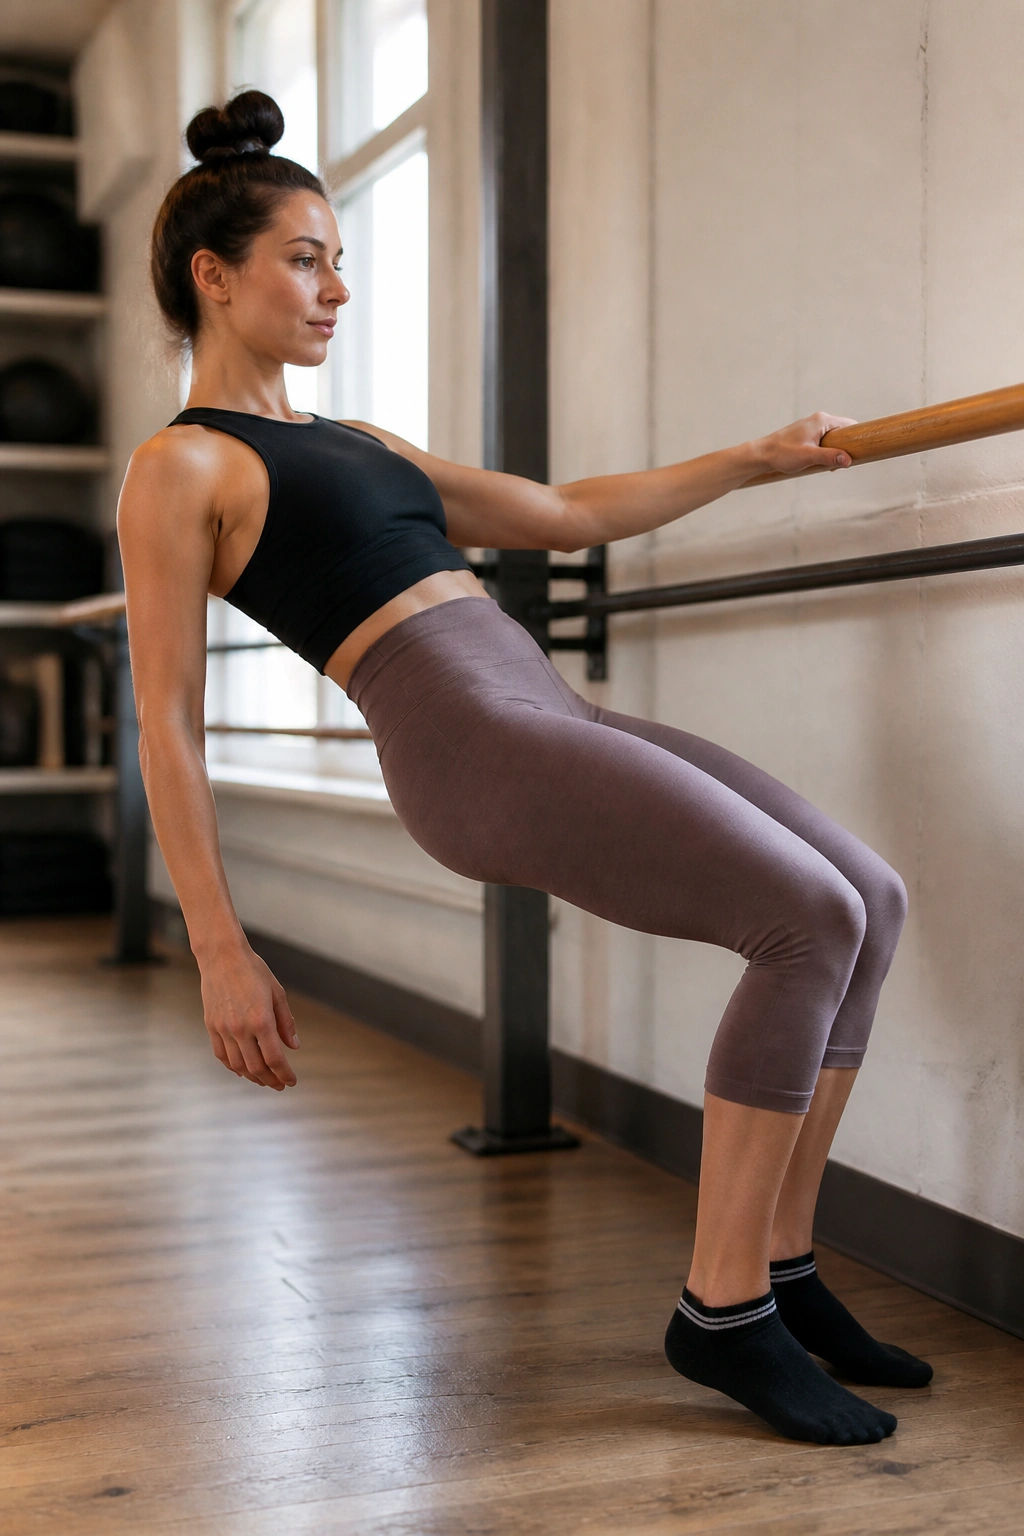
This is an old-school barre favorite for the quads. You lean your body back at a 45-degree angle, holding onto the barre for support, and do squats while keeping your body in that diagonal line.
The Mechanics
- Stand with feet parallel.
- Grip the barre firmly.
- Lean your entire body back until your arms are straight.
- Squat while keeping your torso and thighs in a straight diagonal line.
This creates an eccentric load on the quadriceps. You will feel like your quads are going to explode. Do not lean too far back, or you will lose your balance. Find that sweet spot where you can maintain the diagonal without tipping over.
22. Weighted Barre Squats
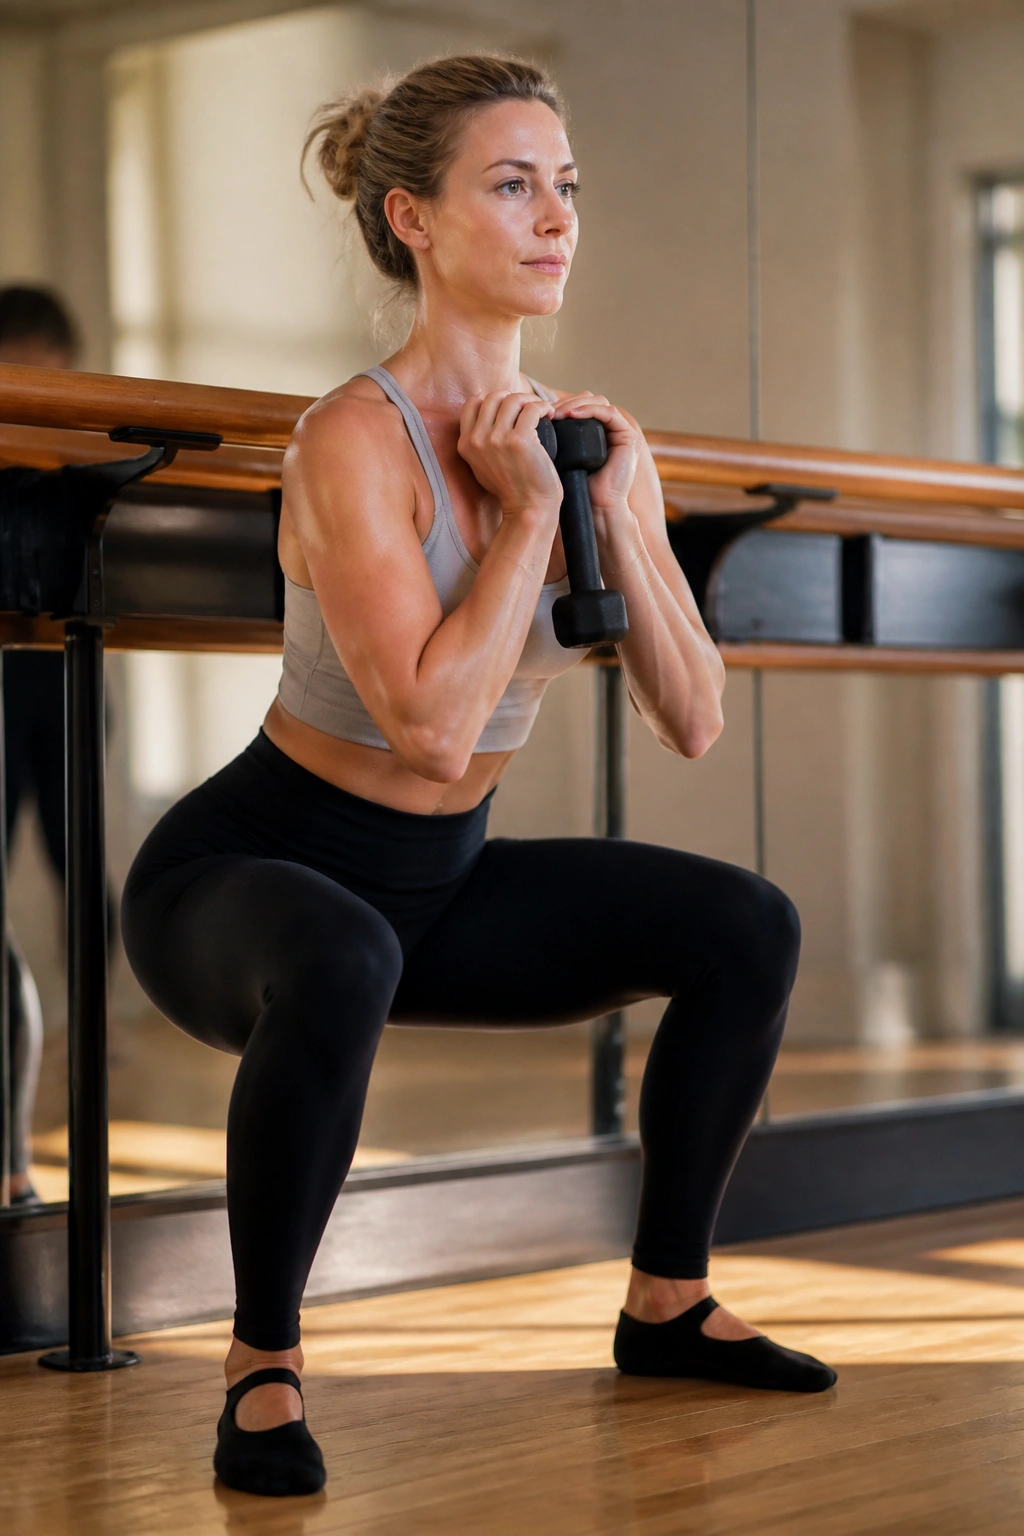
If you have been doing barre for a while, your body weight might stop being enough. It is time to add load. You can hold a small dumbbell or a water bottle in your hands during any of the standing movements.
The Shift in Intensity
Adding even two or three pounds changes the physics of the movement. Your core has to work harder to stabilize the weight, and your legs have to produce more force to move it.
A Warning
Do not sacrifice your form for the sake of the weight. If you start arching your back, dropping your chest, or losing your balance because the weight is too heavy, put it down. Strength is built through controlled movement, not through struggling to hold a heavy object.
Final Thoughts
Barre is not a shortcut. It is a slow, methodical burn that rewires how your legs handle load. You are not just building muscle; you are building the capacity to hold your body in alignment while under fatigue. That is what translates to “real” lower body strength—the kind that makes walking, running, and climbing stairs feel effortless.
If you find yourself struggling to finish a set, remember that the shake is just the beginning. The next time you find yourself at the barre and your legs start to tremble, do not back off. Stay in the movement. Breathe through the discomfort. That is where the change happens. Consistency with these movements, even if you only do a few of them three times a week, will transform your lower body stability in a way that heavy, explosive lifts simply cannot replicate. Treat your legs with respect, push them to the edge, and the definition will follow.
