



That familiar, trembling ache in your thighs is the hallmark of a good barre class. You know the feeling: you’re midway through a set of parallel relevés, your heels are lifted, your core is braced, and suddenly, your legs start to vibrate uncontrollably. That isn’t a sign to stop. In the world of barre, that tremor is the desired outcome. It means you’ve reached the point of muscle fatigue where real, structural change begins to happen. It’s the sweet spot between tension and surrender, where the small, isometric movements characteristic of this discipline begin to rewrite your muscular endurance.
Many people stumble into barre expecting a dance class and leave surprised by the intensity of the strength work. Unlike traditional weightlifting, which often focuses on large, sweeping range-of-motion movements, barre thrives in the margins. You are working in tiny, one-inch pulses, holding static positions, and concentrating on the mind-muscle connection. It is arguably one of the most efficient ways to fatigue a muscle group without needing a gym full of heavy plates or complex machinery. You just need a stable surface, a bit of floor space, and the discipline to maintain form when your body is begging you to drop an inch lower.
Finding the right video to follow along with is essentially about matching your current energy level and physiological goals to the instructor’s style. Some classes are relentless, focusing on constant movement and cardio spikes, while others are meticulously paced, demanding you hold a contraction until your muscles literally fail. The following selection of barre workout types spans the full spectrum of the discipline, from quick, targeted sessions to long, endurance-building marathons. Use these as your roadmap for building a balanced routine at home.
1. The 30-Minute Full-Body Sculpt
This is the workhorse of any effective home fitness routine. When you have a limited window of time, a 30-minute full-body session is designed to hit the major muscle groups efficiently—usually starting with a warm-up, moving into arm work, hitting the barre (or a sturdy chair) for legs, and finishing with core work on the mat.
Why It Works for Busy Days
The pacing here is usually frantic in a productive way. You don’t have time to rest between sets. Instructors who specialize in this length prioritize quick transitions, moving you from a plie sequence straight into an arm series without giving your heart rate a chance to plummet. It keeps your metabolism elevated and ensures that you leave the mat feeling like you’ve accomplished a full-session effort in half the time.
What to Look For
- Rapid transitions: A good 30-minute class shouldn’t have long explanations.
- Defined segments: Ensure the video splits the time roughly into 5 minutes warm-up, 10 minutes lower body, 7 minutes upper body, 5 minutes core, and 3 minutes cool-down.
- Intensity: If you aren’t sweating by the 15-minute mark, the class is too slow.
Pro tip: Keep your light weights (2 or 3 pounds) within arm’s reach. You won’t have time to go grab them once the arm section starts.
2. The Glute-Intensive 20-Minute Focus
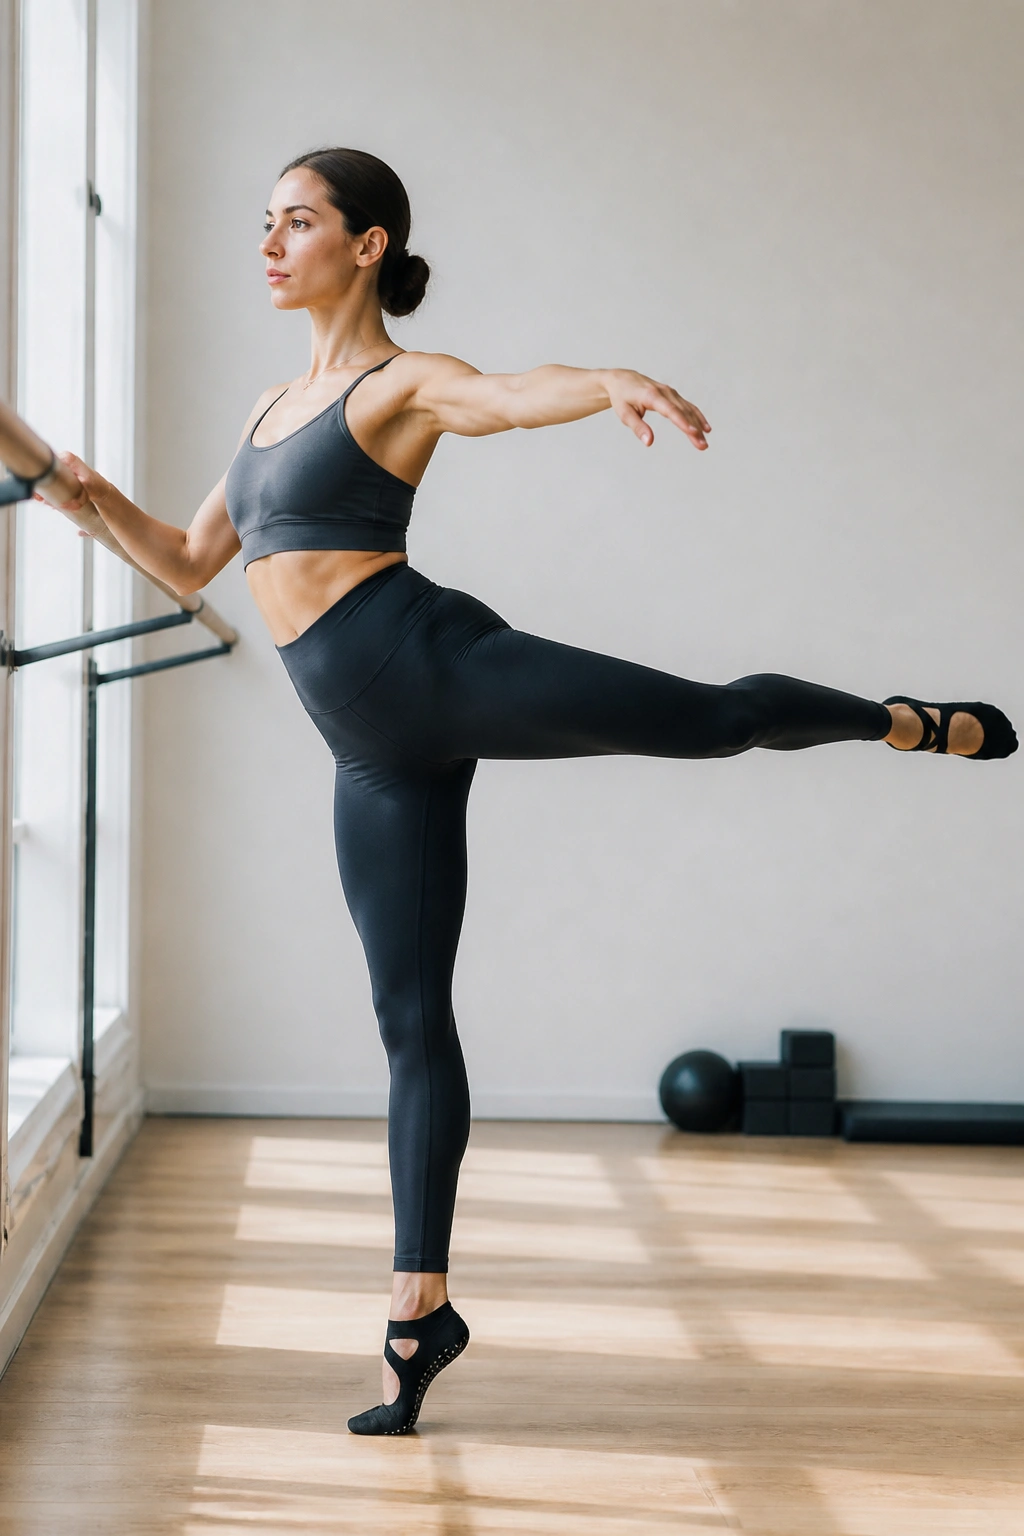
Sometimes you don’t need a full-body burn; you just want to target a specific area. This is where a glute-focused session becomes essential. These videos usually take place almost entirely standing, utilizing the barre for balance as you execute endless repetitions of leg lifts, arabesques, and lateral pulses.
Understanding the Mechanism
The key here is stabilization. By keeping your standing leg slightly bent, you force the muscles around the hip joint to work harder to maintain balance. This isn’t just about the gluteus maximus; it’s about the smaller, stabilizing muscles in the hip that rarely get attention in more conventional workouts.
How to Get the Most From It
- Don’t lean: Resist the urge to hang your weight on the barre or chair. Use it strictly for balance, keeping your torso upright and your spine long.
- The pelvic tilt: Keep your tailbone tucked slightly under to protect your lower back.
- Range of motion: Stay in the “pulse” zone—the bottom three inches of the movement.
Note: If your standing leg feels like it’s doing more work than the moving leg, that’s actually correct. Your standing leg is the anchor holding your entire structure together.
3. Arm and Shoulder Burnout Series
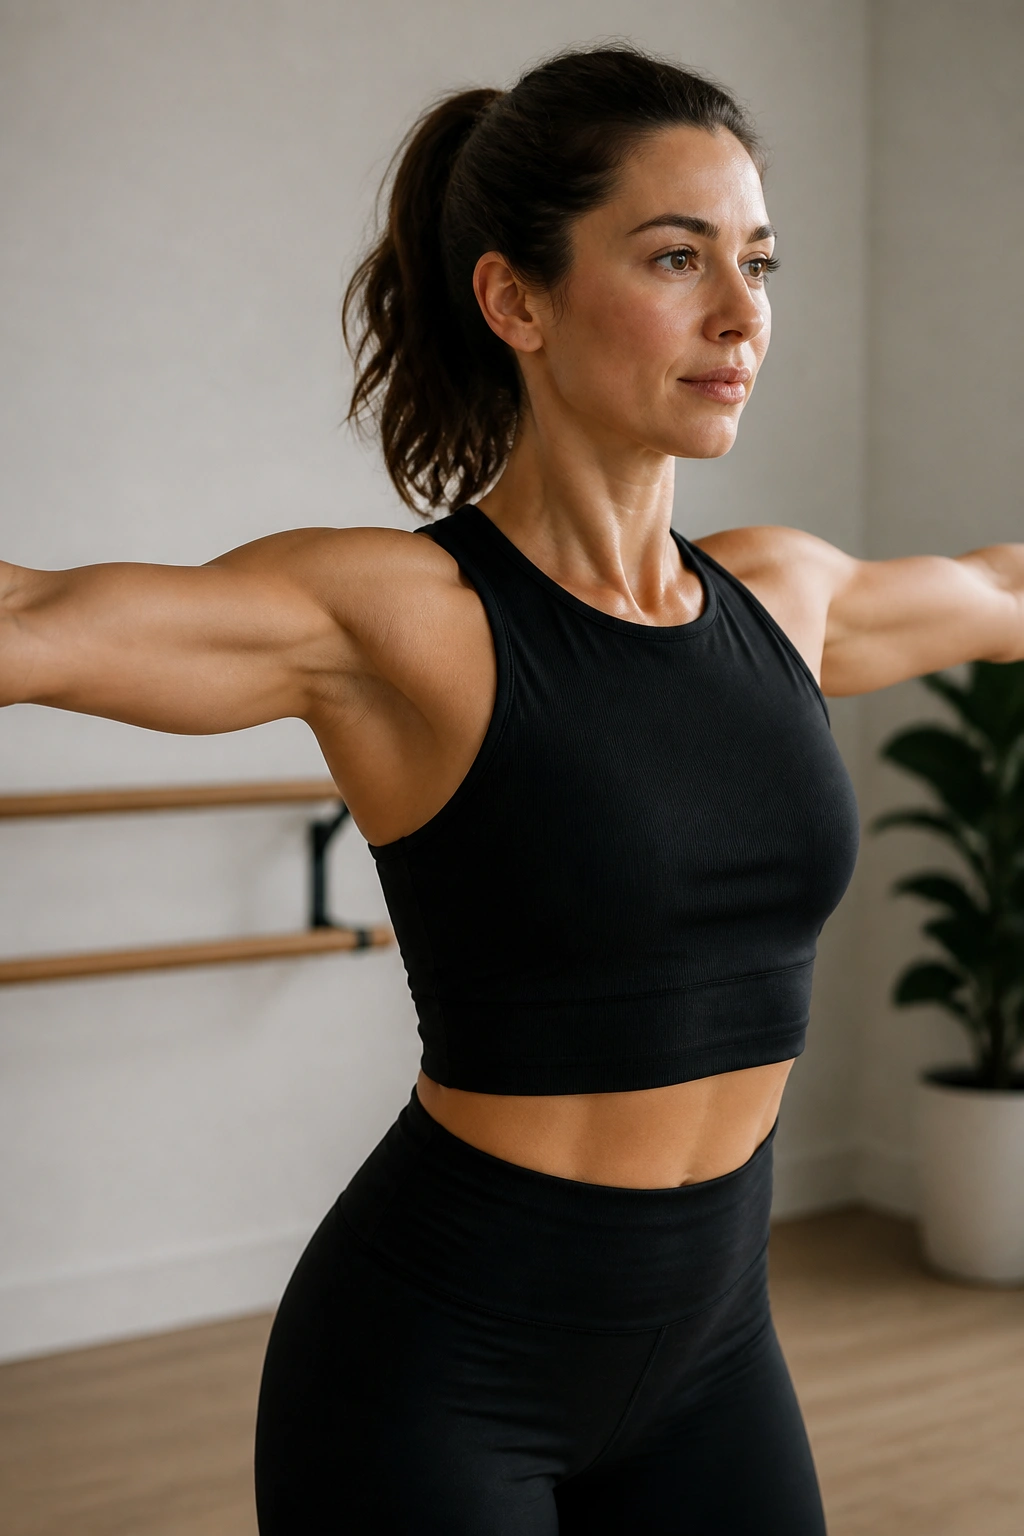
Barre arm work is deceptive. You start holding your arms out to the side for what feels like an eternity, and within three minutes, your shoulders feel like they are on fire. These videos focus on high-repetition, low-weight movements that target the deltoids, triceps, and biceps without adding bulk.
Why These Movements Matter
You are essentially performing isometric holds interspersed with tiny, pulsing movements. This type of training creates that long, lean, defined look because it recruits the slow-twitch muscle fibers, which are responsible for endurance and tone. You aren’t trying to lift heavy; you are trying to exhaust the muscle through repetition.
Common Pitfalls
- Dropping the elbows: Keep your elbows lifted, ideally in line with your shoulders.
- Tension in the neck: Keep your shoulders pulled down away from your ears, even when your arms feel heavy.
- Breath-holding: Breathe through the burn, or you will crash before the set ends.
Pro tip: If you don’t have weights, use two full water bottles. The slightly off-balance nature of the water adds an extra challenge to your stability.
4. Lower Abdominal and Core Connection
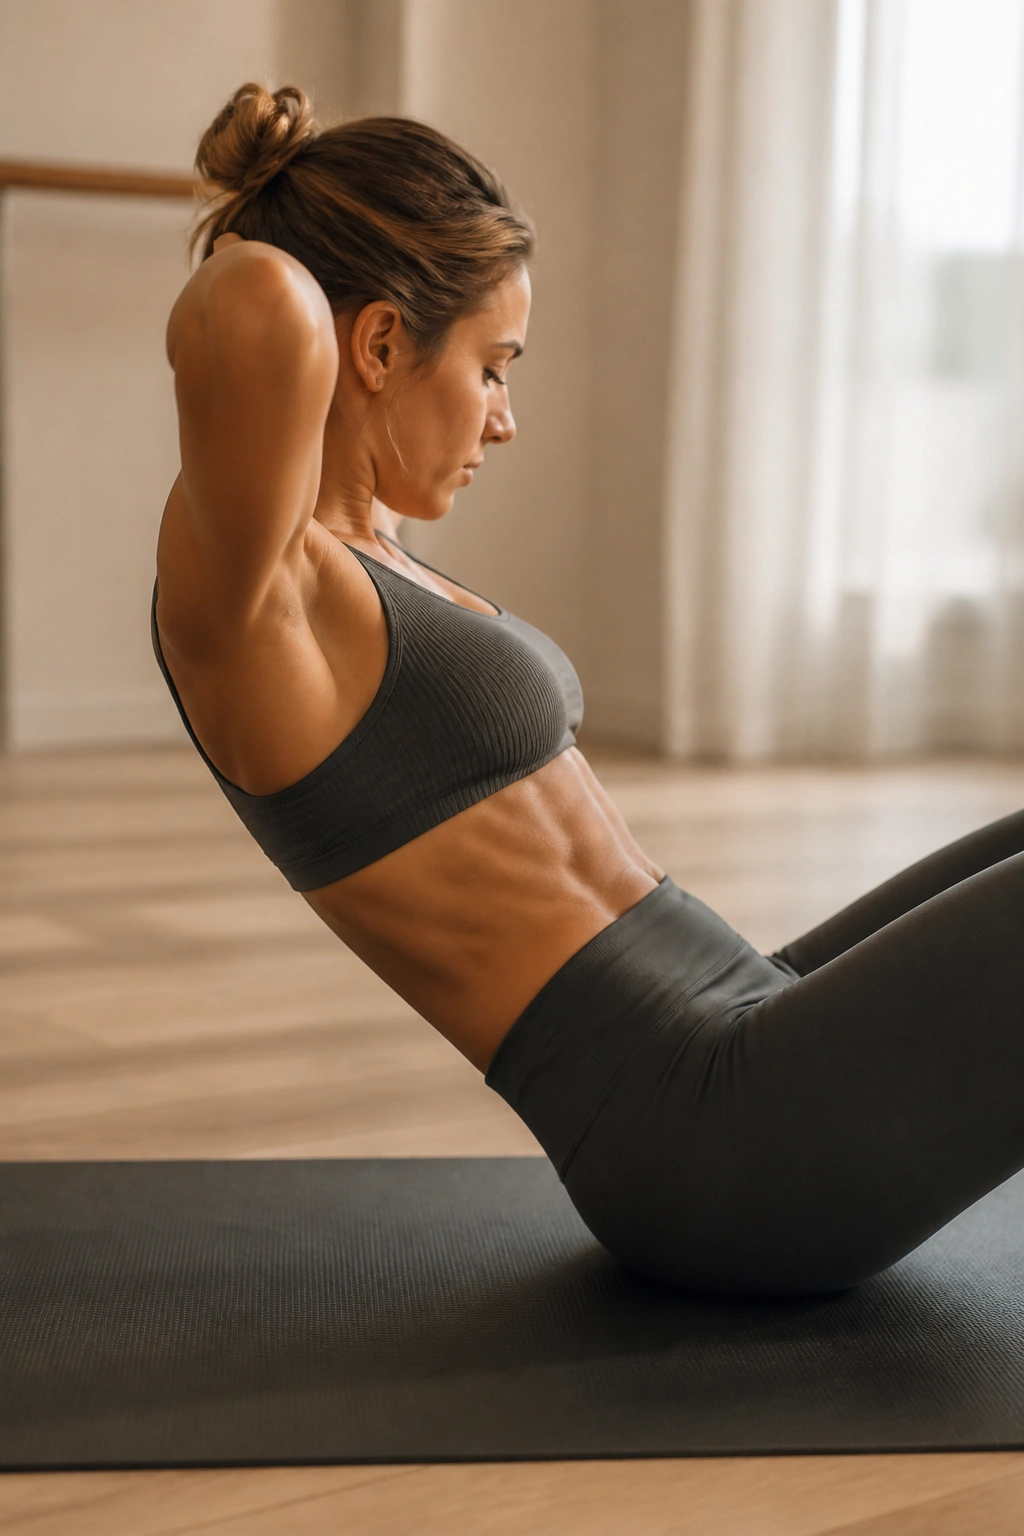
Barre-based core work is distinct from crunches. It often involves “C-curve” positions—a rounded spine posture that engages the deep abdominal muscles. These videos emphasize the mind-body connection, asking you to draw your navel toward your spine while moving through subtle tucks and releases.
The C-Curve Explained
Your spine should be rounded, mimicking a letter “C.” This prevents the hip flexors from taking over the movement, which is the most common reason people feel neck strain or lower back pain during abdominal work. You want to feel the work deep in your lower belly, not in your neck.
What to Focus On
- The scoop: Imagine scooping your belly inward and upward.
- Shoulder placement: Keep your shoulders square, not hunched toward your chin.
- Controlled breathing: Exhale on the hardest part of the movement—the tuck—to engage the deep transverse abdominis.
Observation: If you feel your lower back arching, you have gone too far back. Ease up on the angle and refocus on the tuck.
5. The “No Equipment” Traveler’s Class
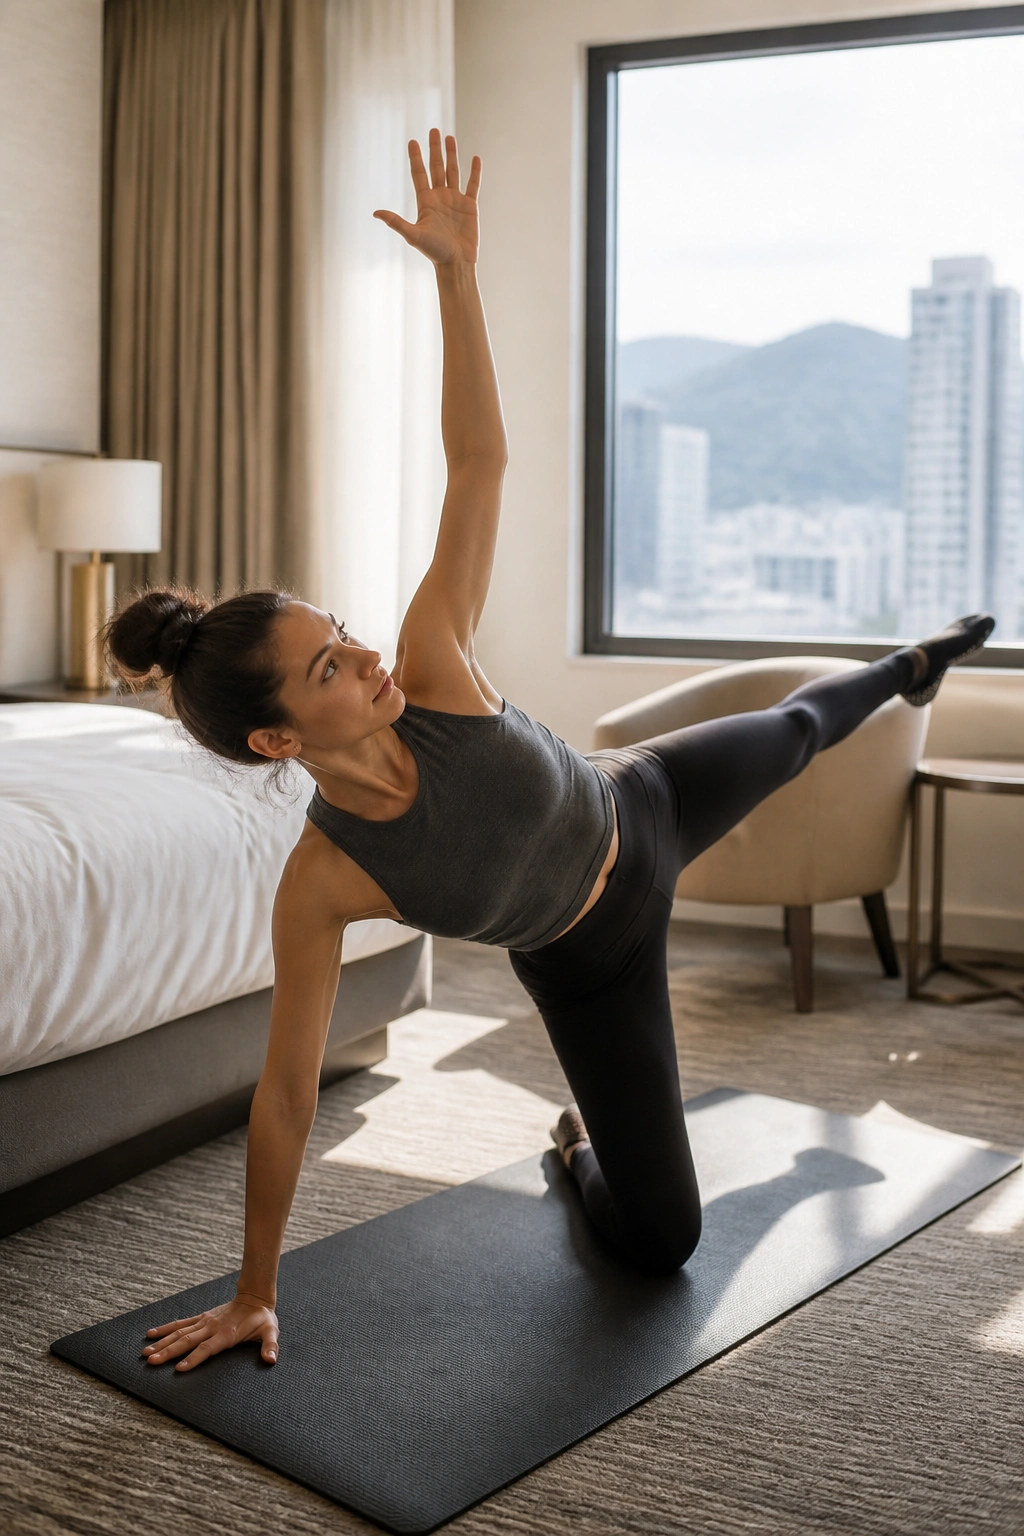
You don’t always have a barre or hand weights. These classes are engineered to be done in a hotel room or a small living space. They rely on bodyweight resistance and creative floor work, proving that you can achieve a massive burn with absolutely nothing but the floor beneath you.
How It Stays Challenging
Without the barre to hold onto, you lose the external stability. This means your core has to work double-time to keep you upright. These videos often incorporate balances, lunges, and floor-based leg work that mimic the movements you would usually do at a fixed point.
Benefits of the Travel Style
- Portability: Perfect for maintaining a routine when away from home.
- Balance training: Forces you to develop proprioception and stability on your own.
- Space efficiency: Requires no more than a yoga mat’s worth of space.
Strategy: Use a wall or a sturdy kitchen counter if you absolutely need support, but challenge yourself to do at least one set of balance work without touching anything.
6. Classical Ballet-Inspired Flow
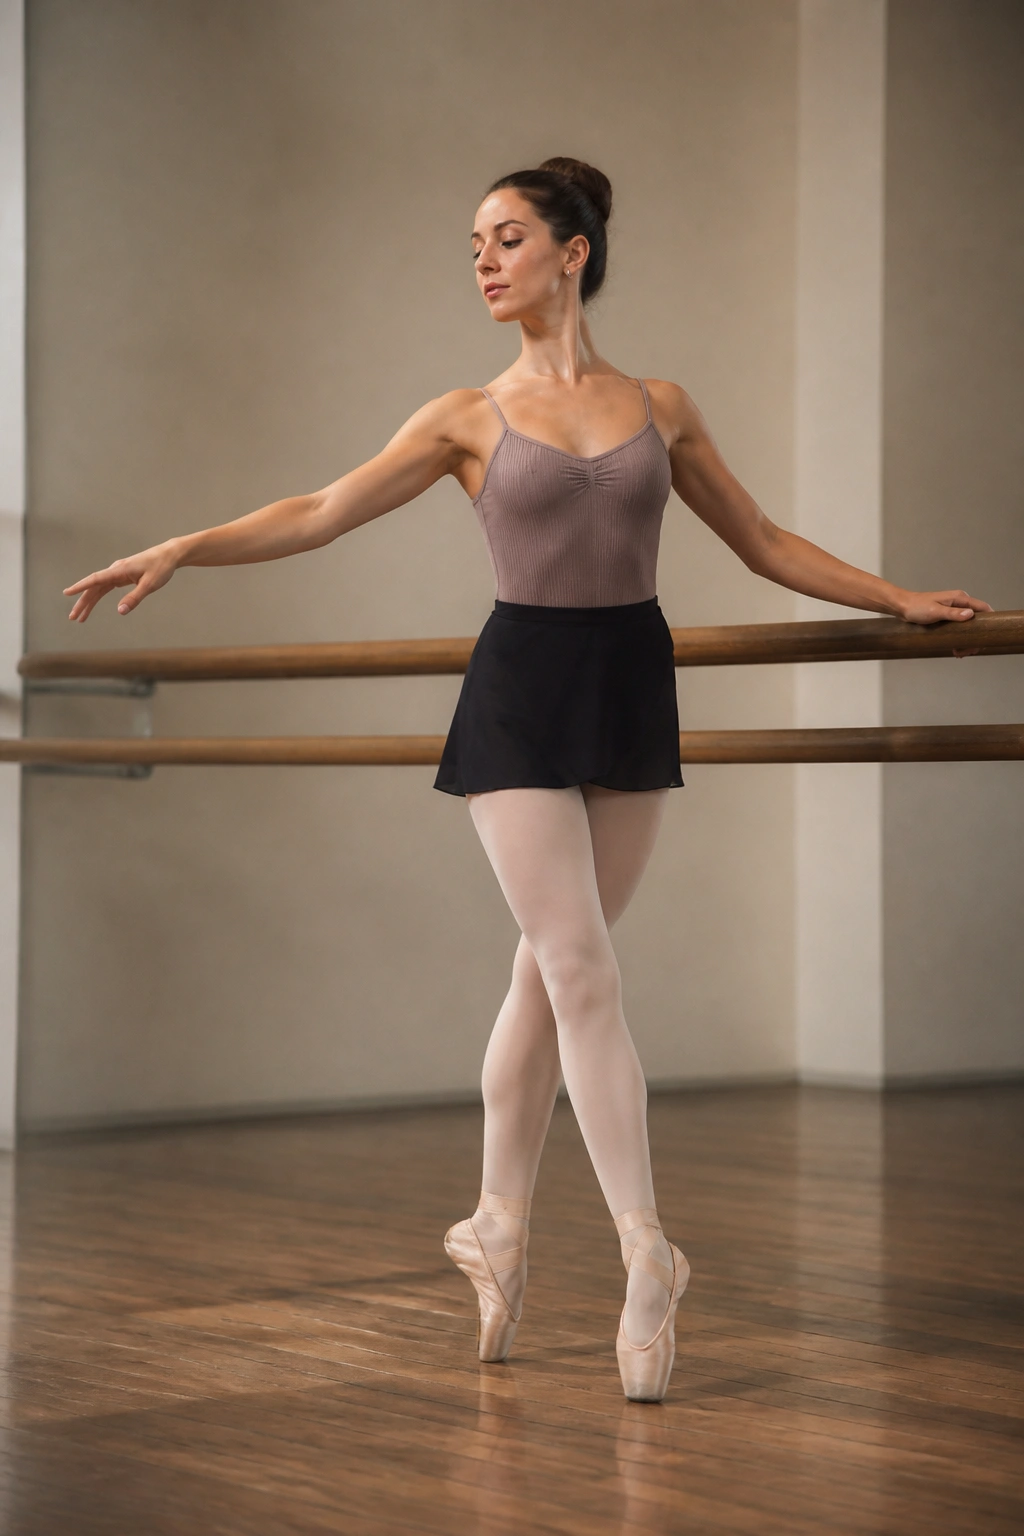
If you want to feel like a dancer, this is the genre for you. These videos incorporate terminology like plié, tendue, relevé, and arabesque. While you don’t need a dance background, you do need an appreciation for grace and precision.
Why This Style Is Unique
Classical barre focuses as much on form and aesthetics as it does on muscle fatigue. The movements are slower, more controlled, and often emphasize the extension of the limbs. It isn’t just about burning calories; it’s about lengthening and toning through focused muscle engagement.
Tips for Success
- Extend your energy: Reach through your fingertips and toes, even when the movement is small.
- Look at your hands: Keep your gaze soft but directed, similar to a dancer performing.
- Mind the turn-out: If a move requires a turned-out hip, make sure the rotation comes from the hip socket, not by twisting your knees.
Reality check: This is harder than it looks. Dancers make it look effortless, but the muscular control required to hold these positions is significant.
7. The Barre-Pilates Hybrid
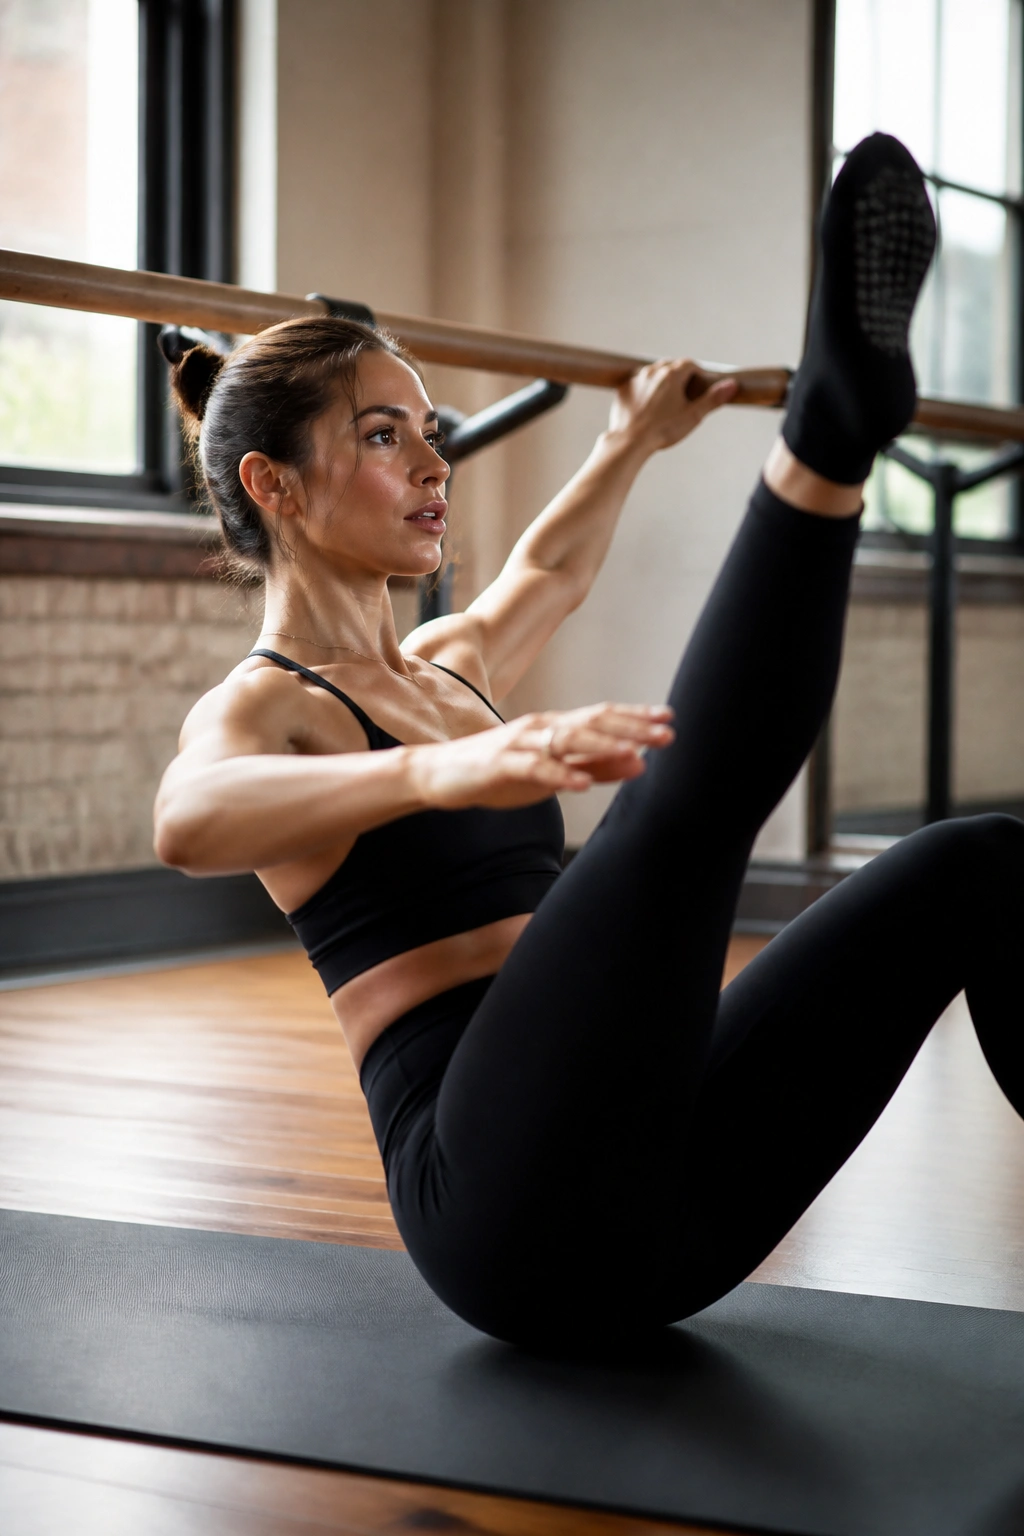
Merging the precision of Pilates with the endurance of barre creates a very specific kind of session. These videos usually feature more mat work than a traditional barre class, often incorporating elements of Pilates such as the “hundreds” or “leg circles” to warm up the deep core before hitting the legs.
The Synergy Effect
Pilates provides the foundation of spinal alignment and core engagement. Barre provides the intensity and stamina. By alternating between the two, you get the best of both worlds: a spine that feels long and supple, and muscles that feel toned and exhausted.
What to Expect
- Mat-to-standing transitions: You’ll frequently move from lying on the mat to standing at the barre.
- Focus on breath: Pilates-style diaphragmatic breathing is often integrated throughout.
- Precision over speed: Quality of movement is prioritized over the number of repetitions.
Pro tip: Use this type of workout when you feel stiff. The Pilates segments are excellent for waking up the spine before you demand power from the legs.
8. High-Intensity Interval Barre
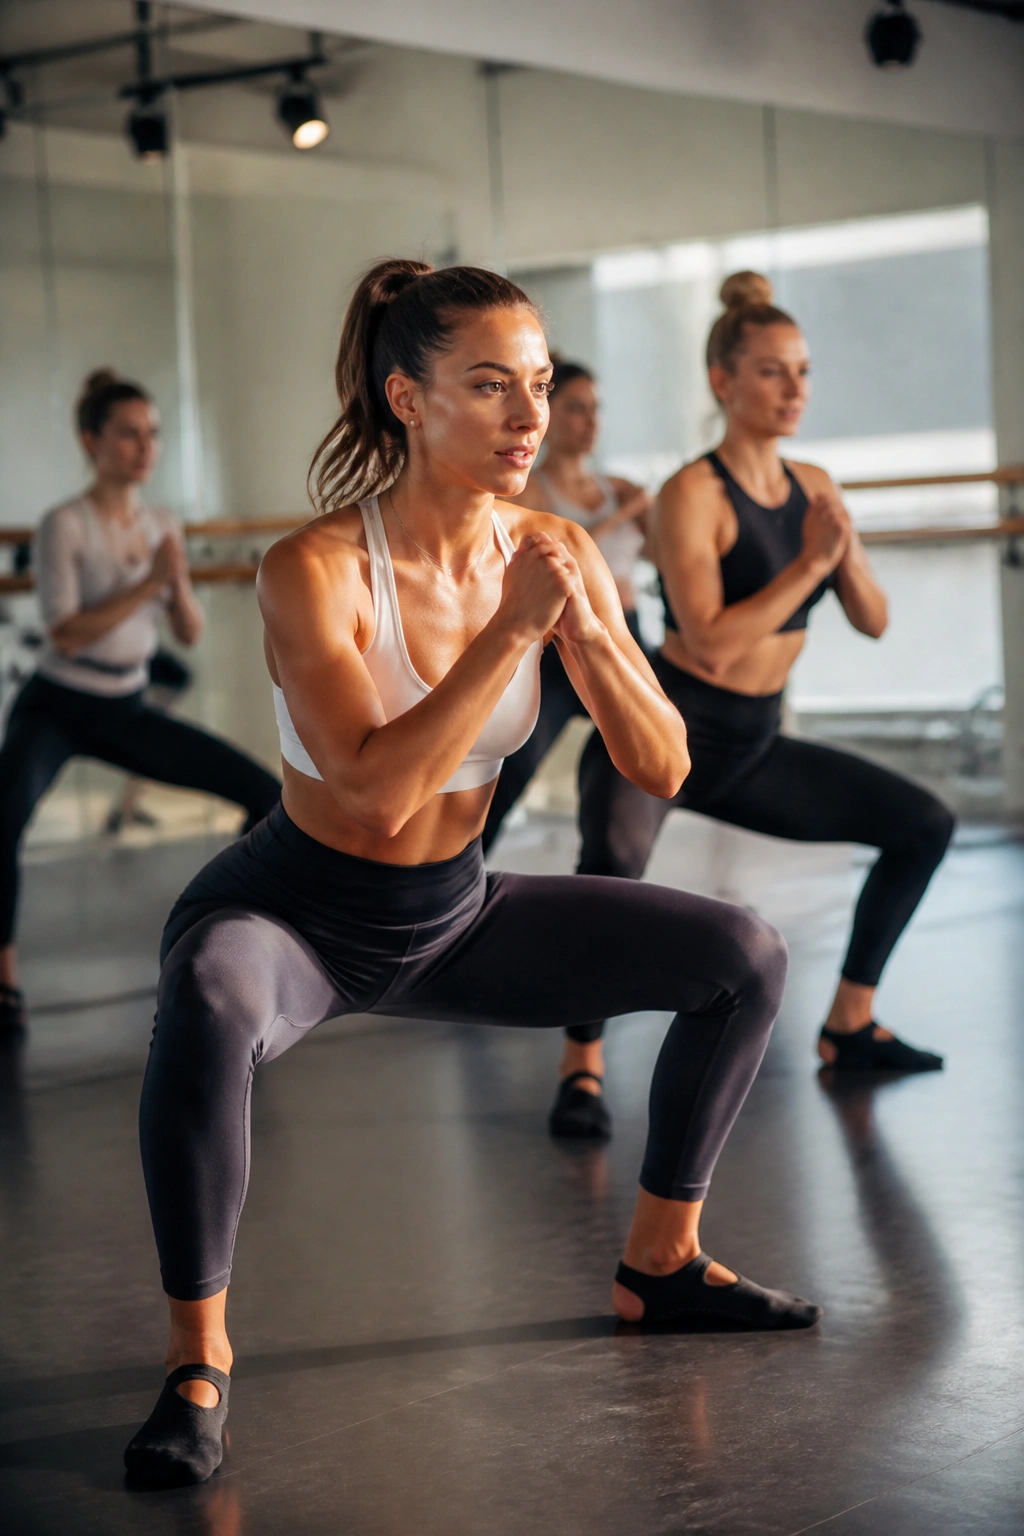
Not all barre is slow pulses. HIIT barre takes the isometric principles of the barre and injects bursts of high-intensity cardio. Think: 30 seconds of plie pulses followed by 30 seconds of mountain climbers or jump lunges.
Why It’s Effective
The cardio bursts keep your heart rate in the “fat burn” zone, while the barre sections ensure you are still working on muscle tone. It is a more demanding workout, both cardiovascularly and muscularly, than a standard barre class.
How to Manage the Intensity
- Modify as needed: If you need to low-impact the cardio, do it. You still get the heart rate benefit by moving faster, without the jarring impact of jumping.
- Listen to the cues: Since the transition speed is high, pay close attention to the instructor’s verbal cues.
- Hydrate: You will sweat more in this style than any other barre video on this list.
Warning: Do not compromise your form during the fast sections just to keep up. Speed is secondary to technique.
9. Posture and Upper Back Strength
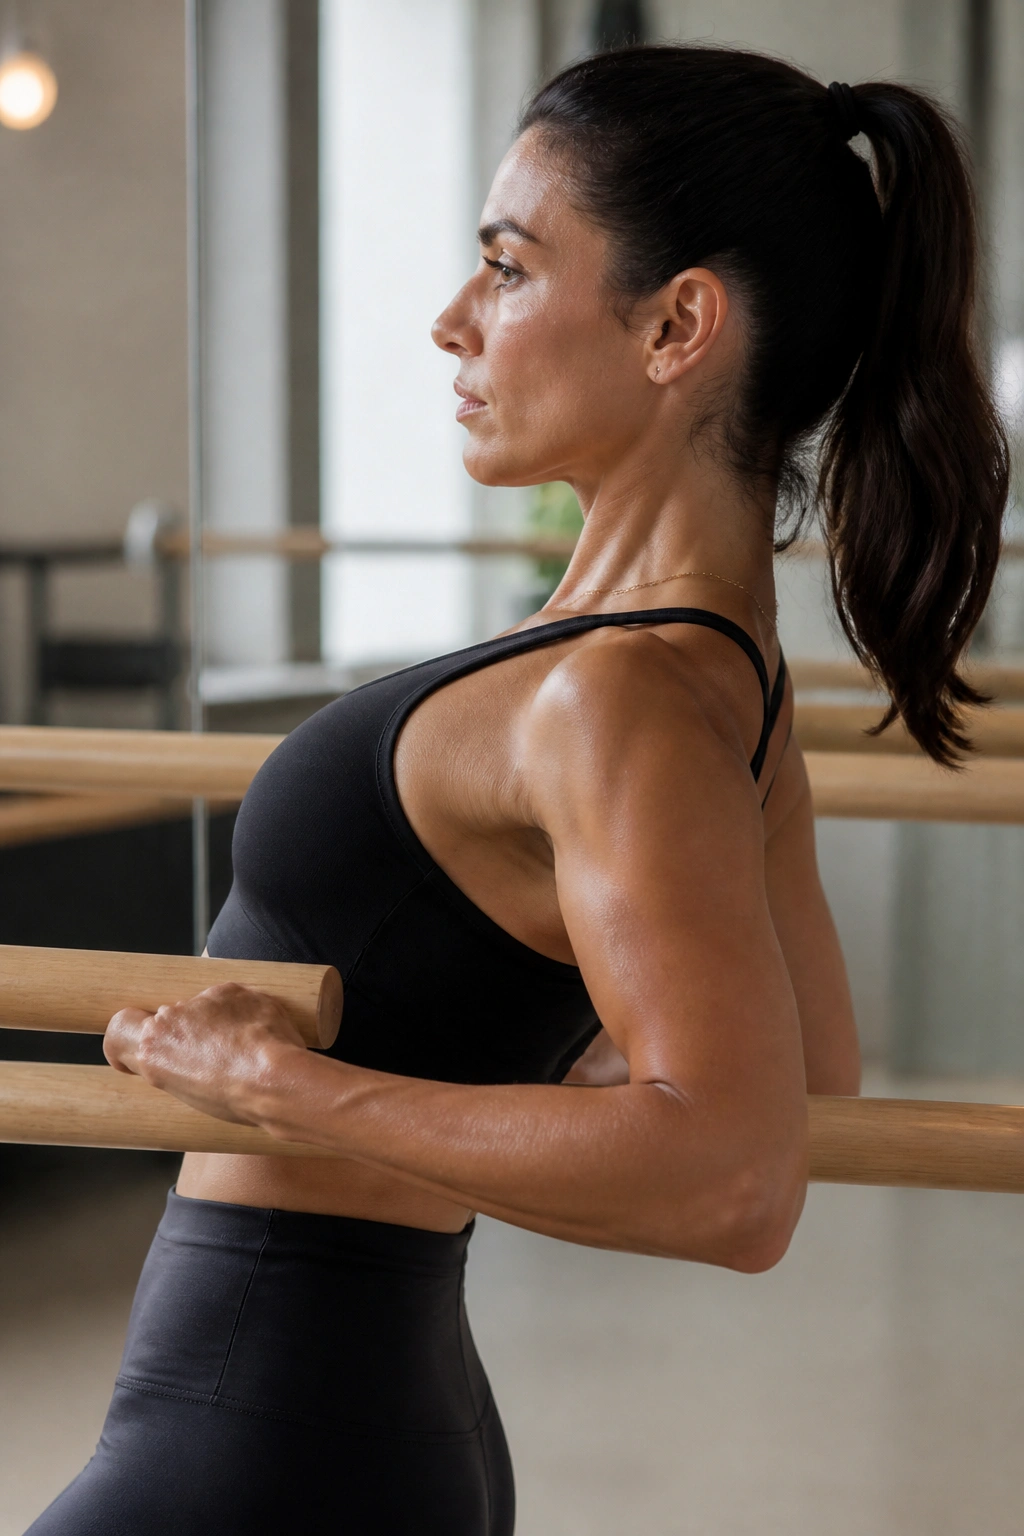
Slouching over a computer screen creates a specific type of postural fatigue. This class focuses on the posterior chain—the muscles in your upper back, rhomboids, and rear deltoids. By strengthening these, you naturally pull your shoulders back and open up your chest.
Why It’s Crucial
Weak back muscles are often the root cause of neck and shoulder pain. While the front of the body (abs, chest) gets a lot of attention, the back is what holds you upright. This class is essential for anyone who sits at a desk for long periods.
What to Focus On
- Shoulder blades: Think about squeezing your shoulder blades together in your back pockets.
- Neck length: Avoid shrugging up toward your ears. Keep the neck long.
- Stability: Keep your core tight to prevent your ribs from flaring out.
Pro tip: This is a great “corrective” workout to do on days when you feel tight and rounded in the shoulders.
10. Gentle Beginner Introduction
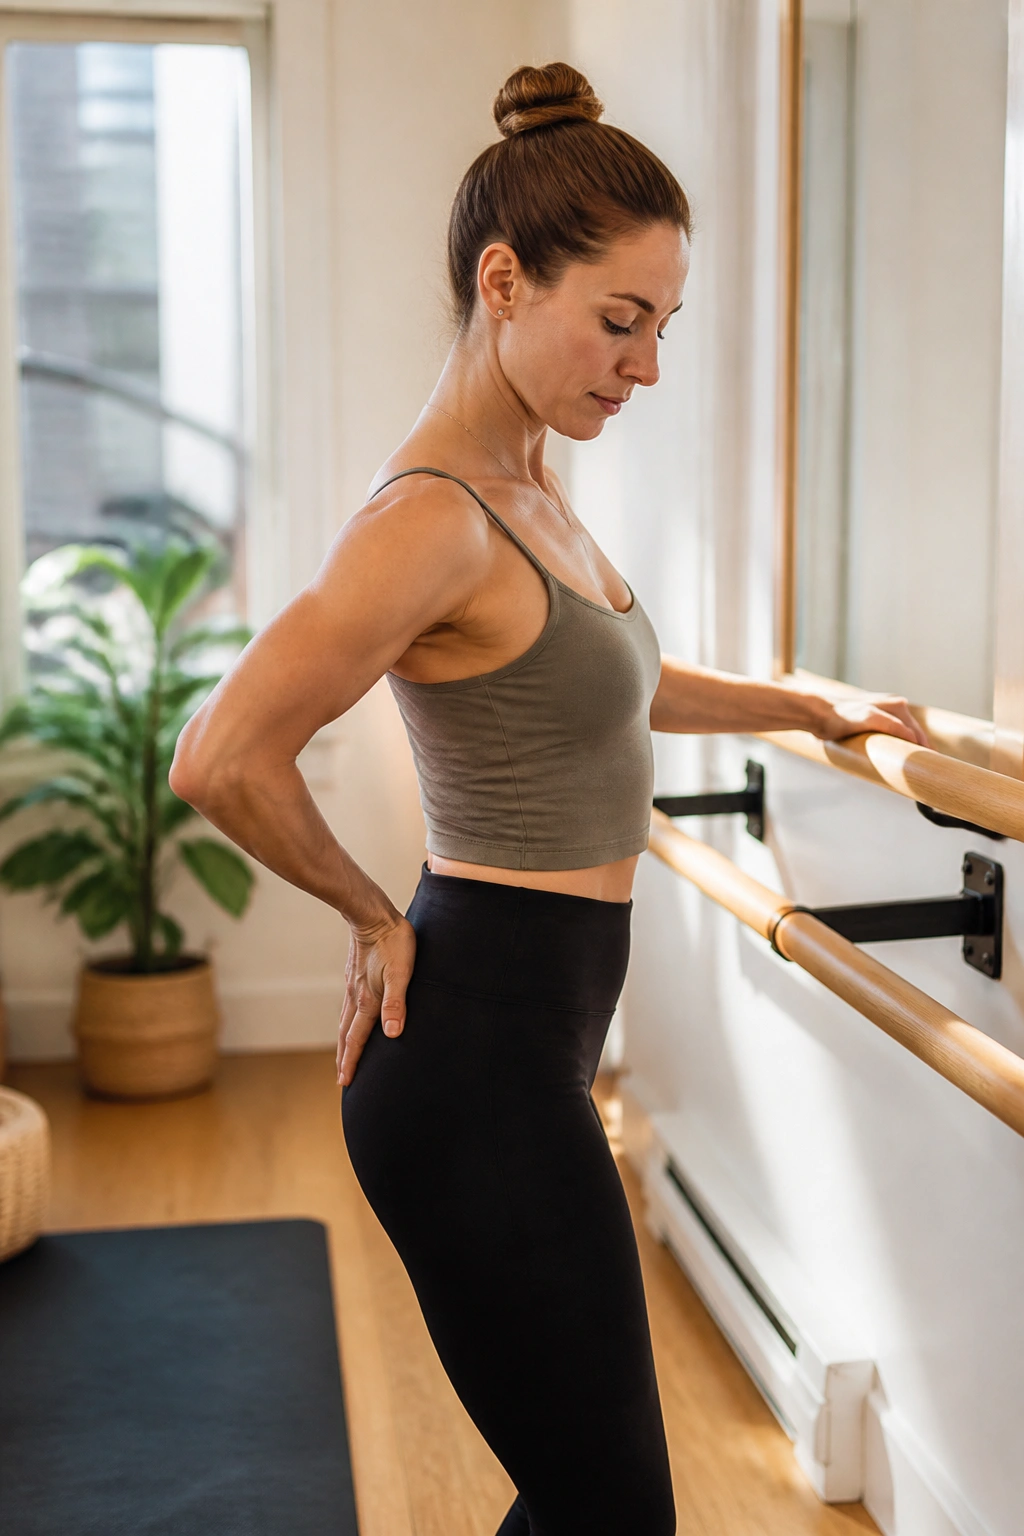
If you are new to the discipline, start here. A gentle beginner class focuses on teaching the terminology, the proper stance, and the essential concept of “tucking” the tailbone. You won’t find 100 pulses per set here; instead, you’ll find slow, methodical instruction.
Building the Foundation
The goal of a beginner video is to imprint the correct biomechanics so that when you move to more advanced classes, you aren’t doing damage to your joints. You learn how to stack your hips over your heels and how to engage your muscles without locking your knees.
What to Look For
- Slow pacing: The instructor should take the time to explain where your feet should be.
- Form cues: Look for videos that emphasize why you are doing a movement, not just what the movement is.
- Minimal props: You should be able to do this with a chair and a towel.
Encouragement: Do not worry if you aren’t feeling the “shake” immediately. Focus on the alignment first. The fatigue will come later.
11. The 10-Minute “Burnout” Finisher
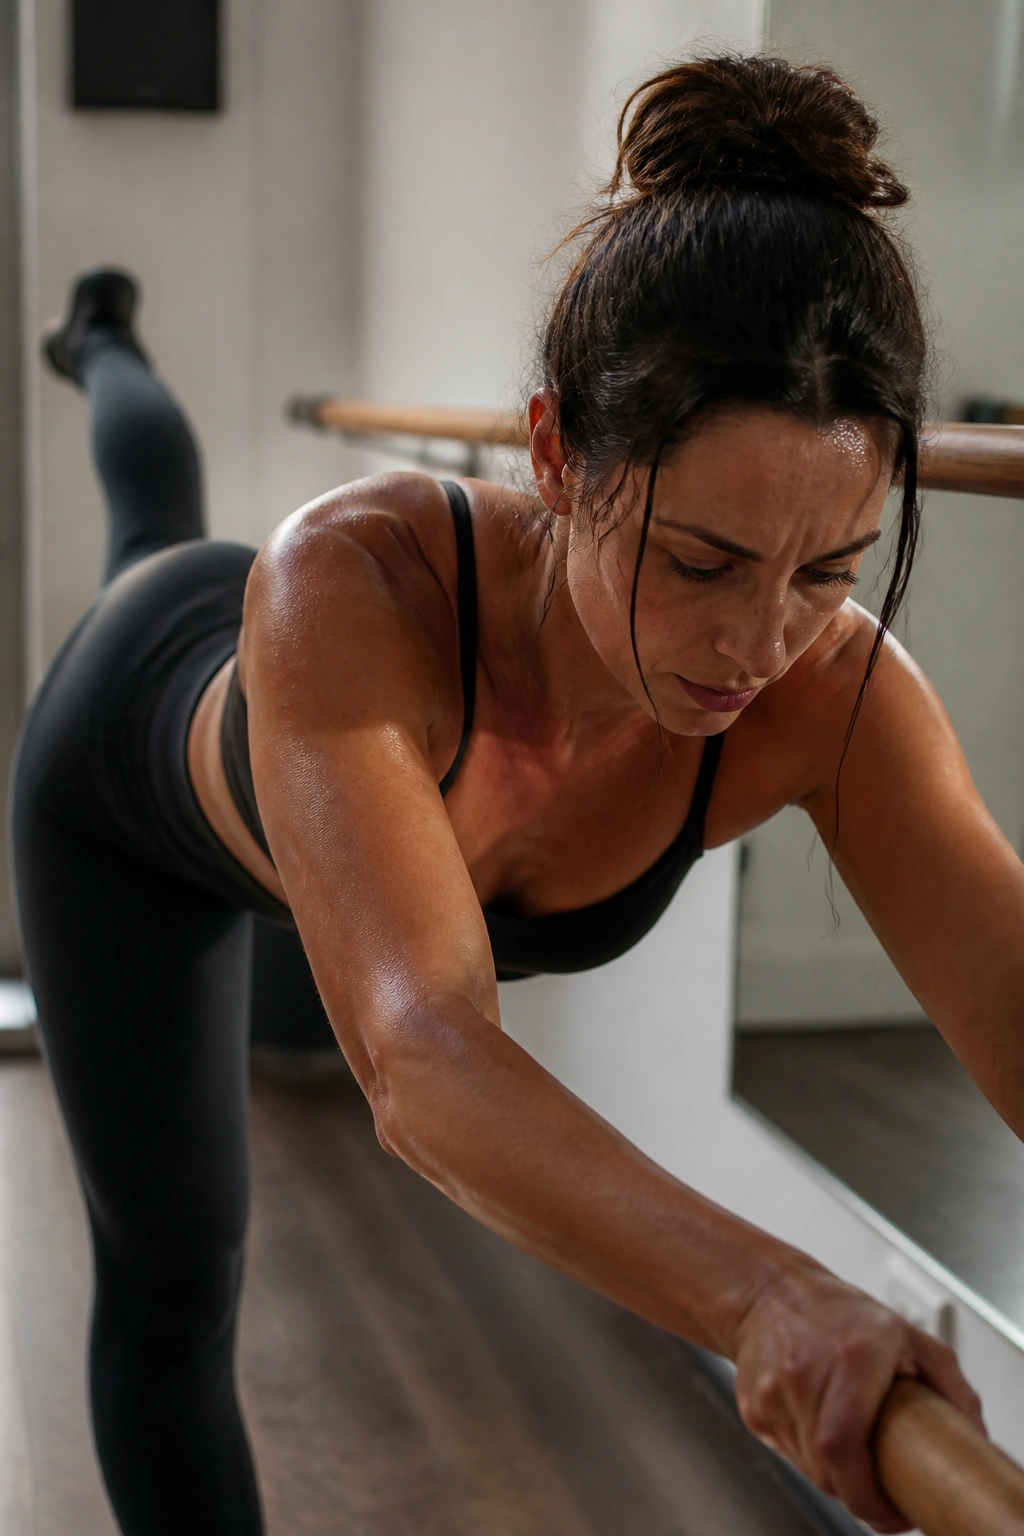
Sometimes, you finish your main workout and feel like you had more in the tank. Enter the 10-minute burnout. These are short, concentrated videos designed to completely exhaust one specific area—usually the glutes or the abs—at the end of your session.
The Strategy
These classes assume you are already warm. They skip the preamble and go straight to the hardest part of the workout. It’s an effective way to push past a plateau without committing to a full extra hour of exercise.
How to Use It
- Pick a target: Choose a video that focuses on the area you didn’t work hard enough in your main session.
- Maintain intensity: Since it’s only 10 minutes, you have no excuse not to give it 100% effort.
- Cool down afterward: Do not skip the final stretch just because the session was short.
Pro tip: This is the secret weapon for seeing results. Adding a targeted 10-minute burn to your existing routine can change the stimulus enough to spark new muscle growth.
12. Heavy Weight/Strength Focus
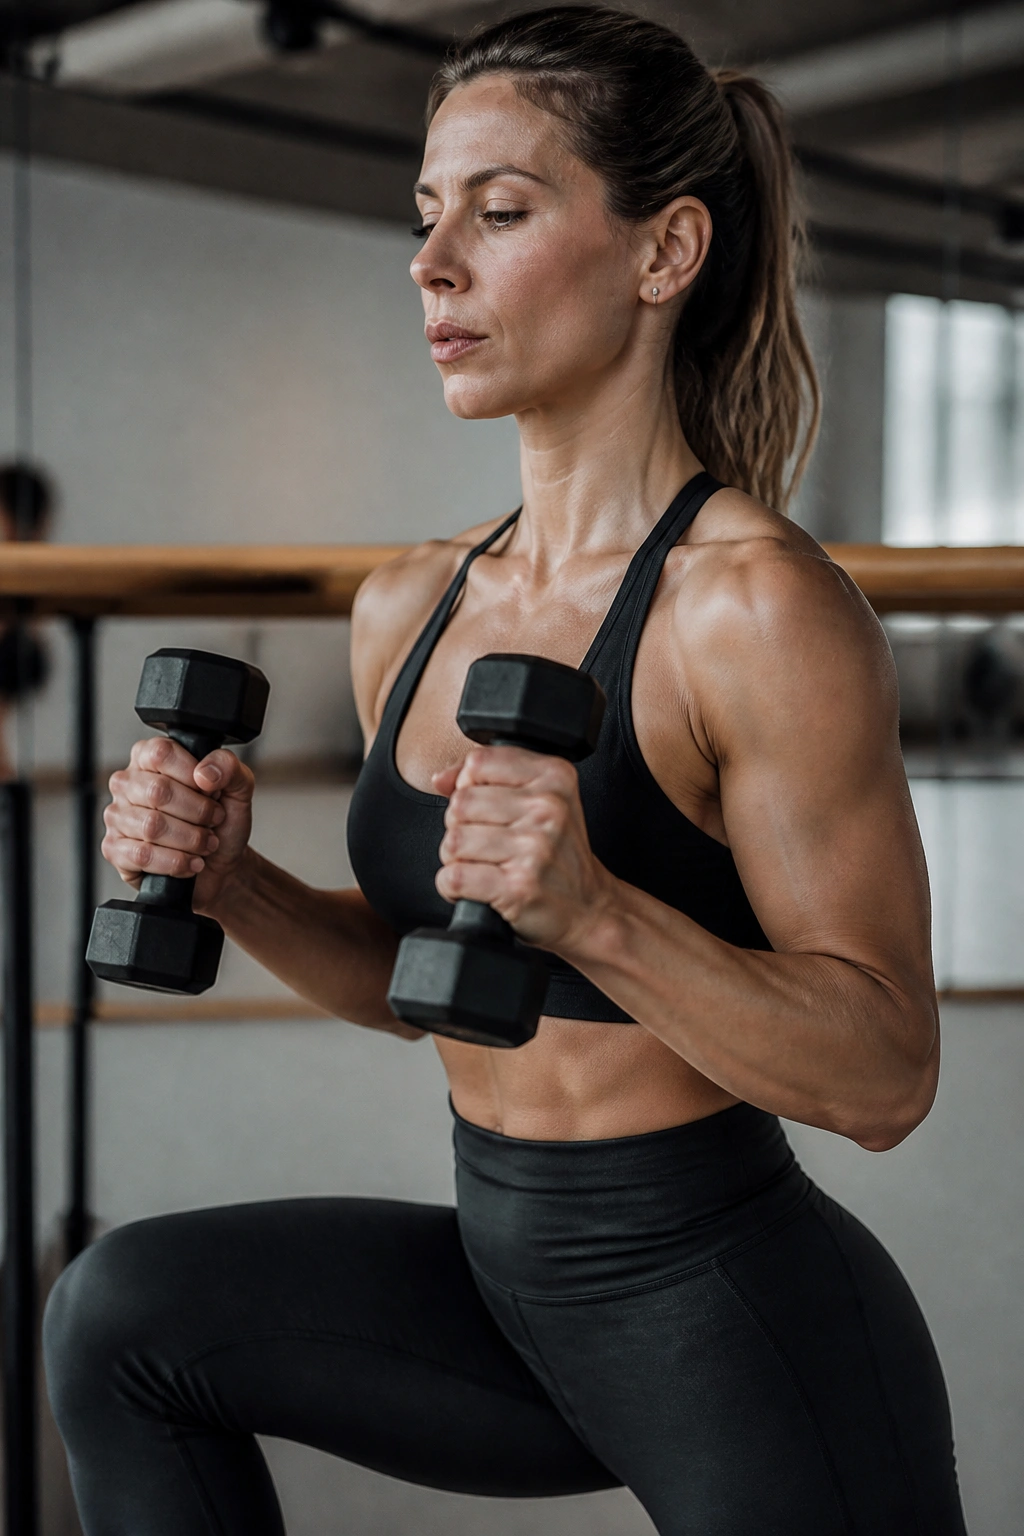
While most barre classes use 2-3 pound weights, some specialized classes incorporate slightly heavier dumbbells—think 5-8 pounds—to add an element of actual strength training. This is for when you want to combine the toning of barre with the muscle-building of a light lifting session.
The Difference
The movements are naturally slower because of the added weight. You have to be more deliberate. There is less pulsing and more controlled lifting, pushing, and pulling. It builds a different kind of strength—the kind that translates into functional stability for lifting heavier items in daily life.
Safety Precautions
- Check the form: Heavier weights mean more strain on joints. If your form breaks, drop the weights immediately.
- Watch the wrists: Keep your wrists straight and in line with your forearms.
- Don’t swing: No momentum. Every rep should be controlled and intentional.
Note: You might not be able to complete as many repetitions as you would with lighter weights. That is expected. Focus on hitting muscle fatigue, not a target number.
13. Floor-Based Barre (No Bar Needed)
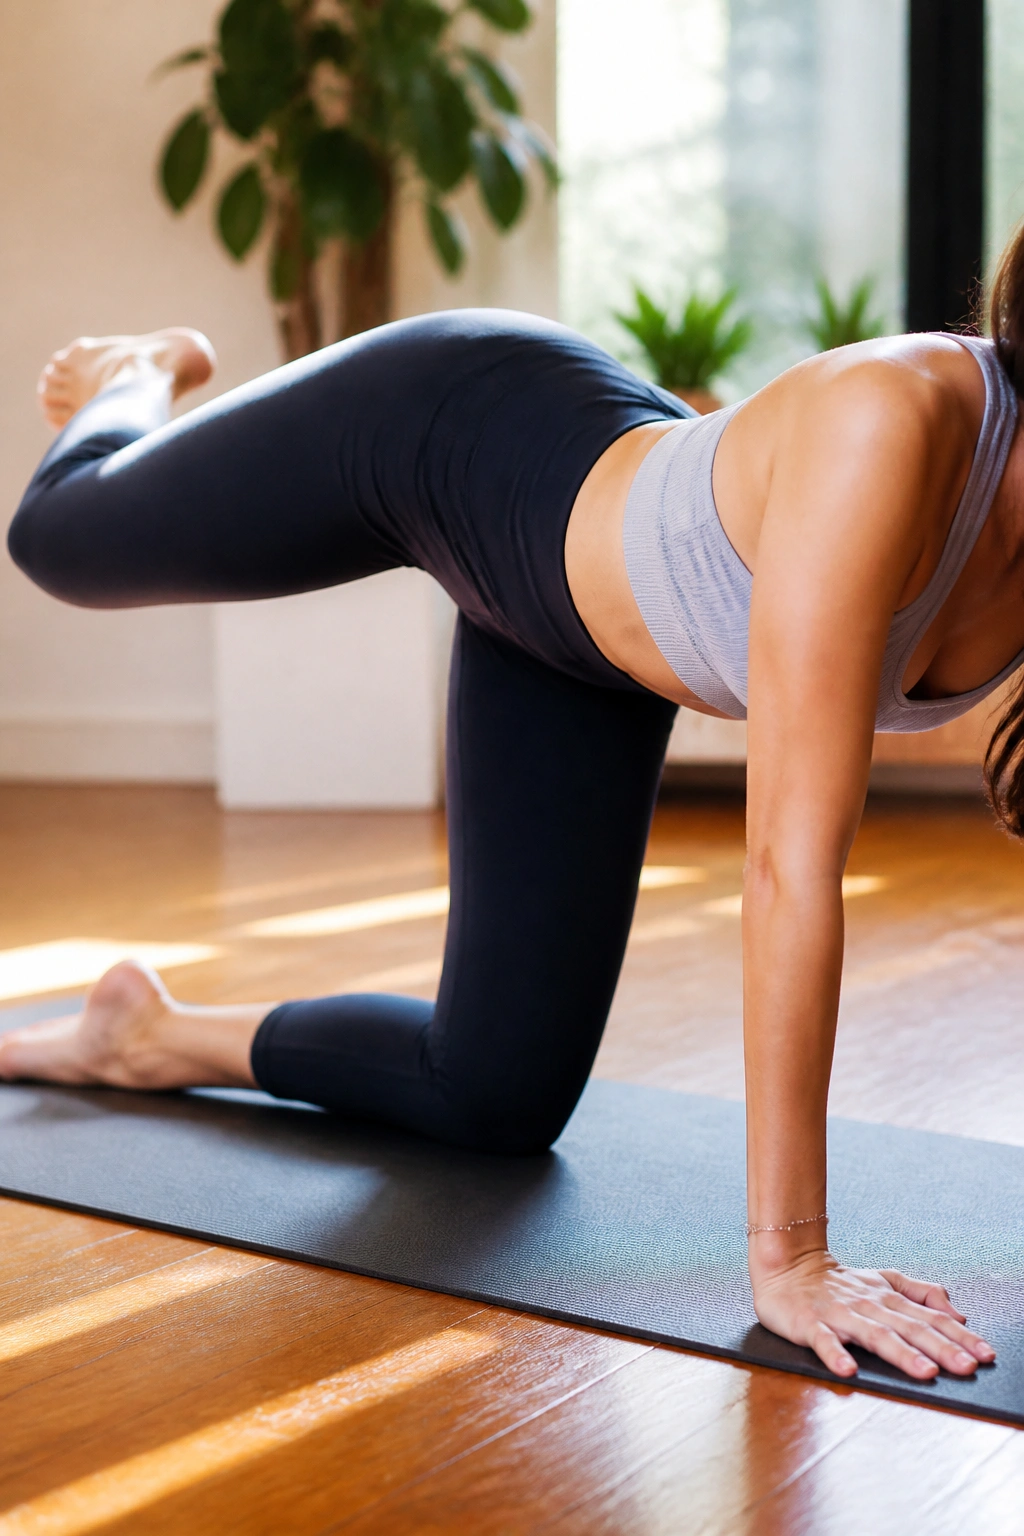
Many people mistakenly believe they need a ballet barre. This is false. Floor-based barre videos, often called “mat barre,” remove the standing equipment and move the entire session to the mat. You are still doing the same leg pulses and arabesques, just from a hands-and-knees or side-lying position.
Why It’s Excellent
It removes the balance requirement entirely, allowing you to focus 100% of your energy on the muscular contraction. When you are on your hands and knees, you can’t cheat by leaning. You have to use your glutes to move the leg, which creates a very intense, isolated burn.
Key Advantages
- Joint-friendly: Perfect if you have any issues with standing balance or knee stability.
- Deep isolation: Harder to “fudge” the reps when you are already on the ground.
- Full focus: Your brain doesn’t have to worry about not tipping over.
Observation: You will notice that the “burn” in this style feels deeper and more intense than in standing series because you cannot use momentum to assist you.
14. Post-Natal Friendly Barre
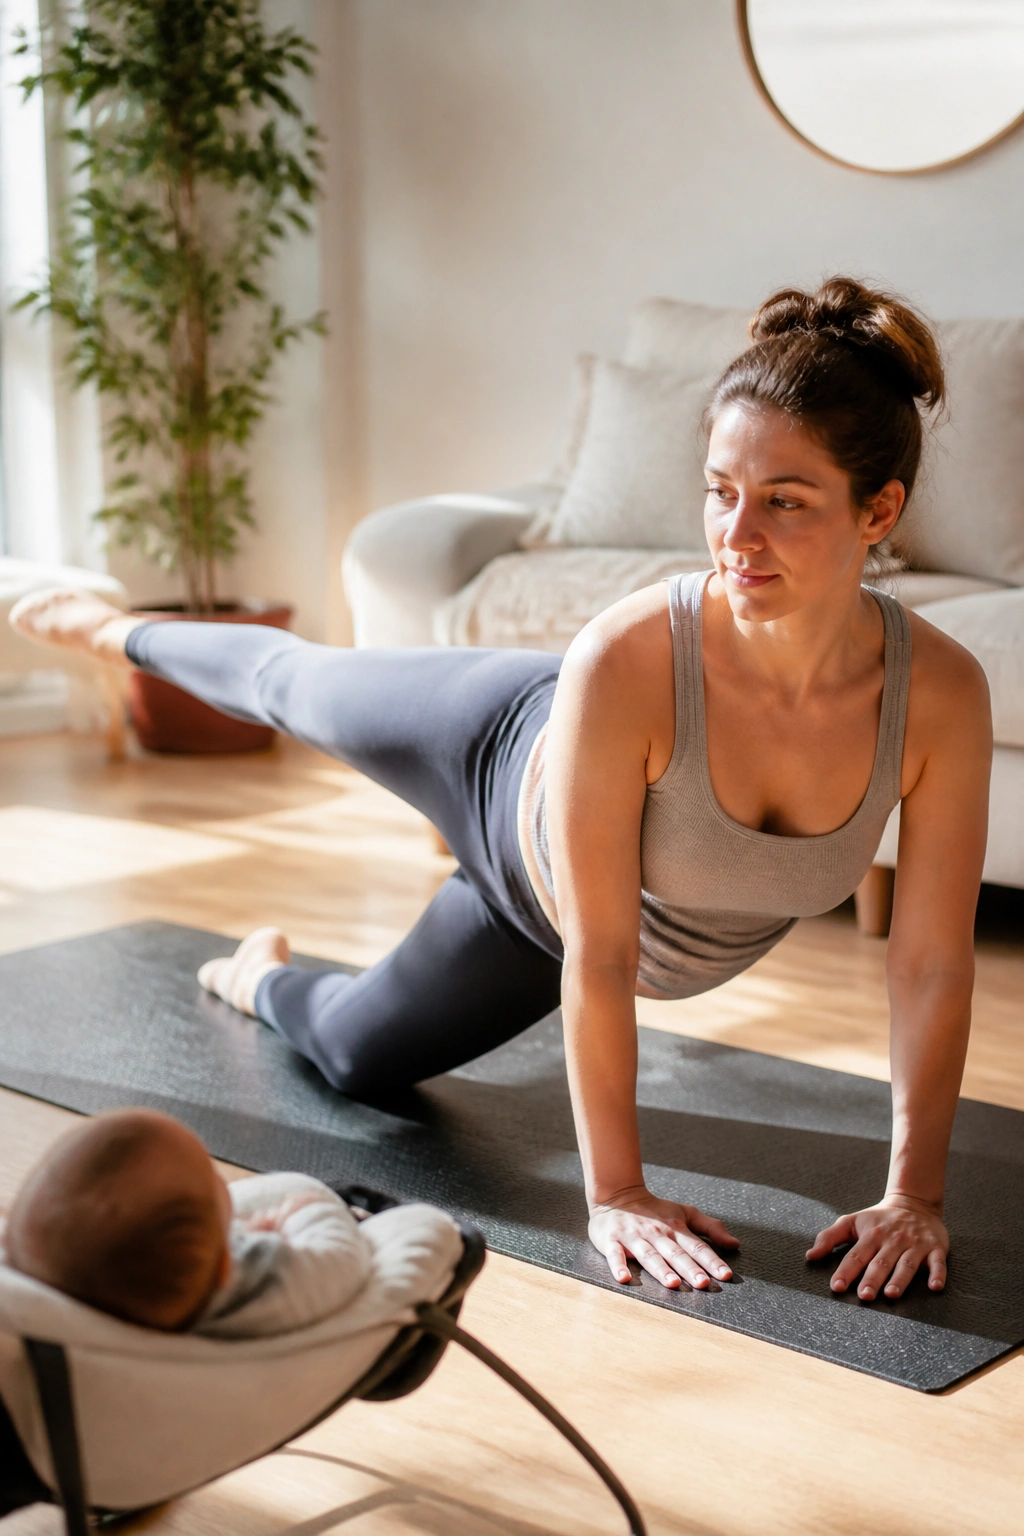
Barre is a favorite for post-natal recovery because it is low-impact and easily modified. These videos are specifically designed to address the unique needs of a postpartum body—rebuilding core strength, stabilizing the pelvis, and gently reintroducing movement.
Crucial Modifications
- Diastasis recti awareness: The moves are chosen to avoid putting excessive pressure on the abdominal wall until you are ready.
- Pelvic floor focus: Many movements incorporate gentle pelvic floor engagement.
- Patience: The tone is supportive, encouraging you to listen to your body rather than push through pain.
Advice: Always consult with a healthcare professional before starting any post-natal exercise regimen. Once cleared, these videos are fantastic for regaining strength at your own pace.
15. Cardio-Heavy Pulse Series
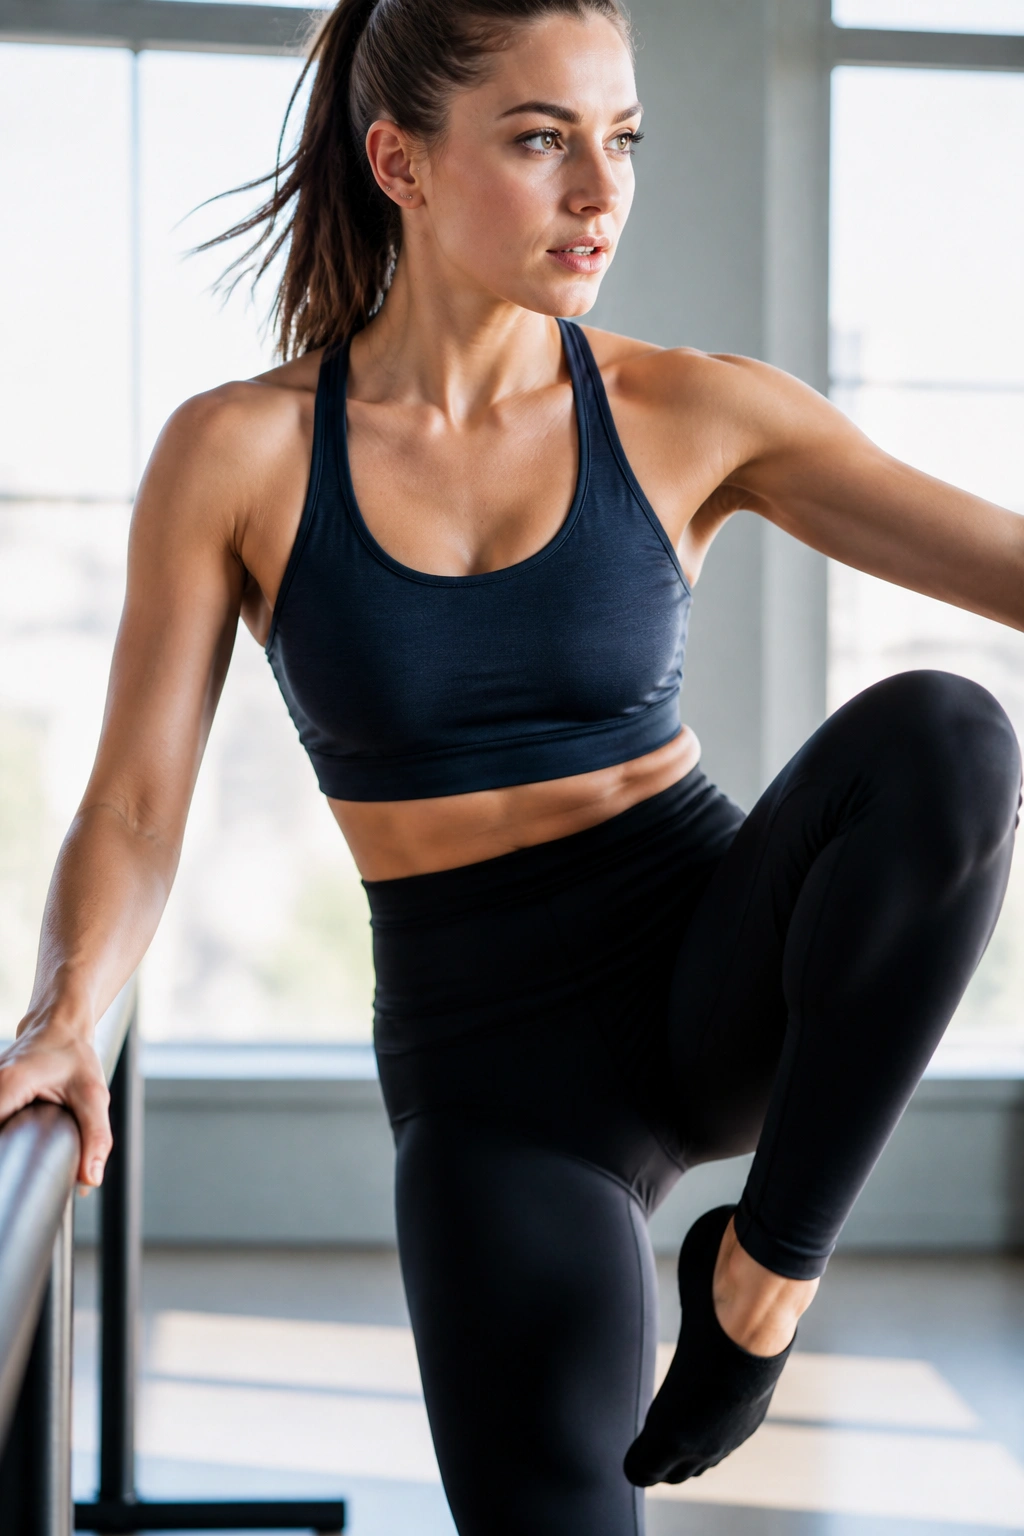
If you love the feeling of being breathless, look for “Cardio Barre” or “Pulse” series. These sessions lean heavily into repetitive motion to keep the heart rate up for the duration of the video. It’s less about static holds and more about rhythmic, fast-paced pulses that fatigue the muscle through sheer volume.
How It Feels
It feels like a combination of a dance class and a kickboxing session. The intensity comes from the speed. You are constantly moving, pulsing, and shifting. It builds incredible stamina in the thighs and calves.
Success Strategy
- Rhythmic breathing: Try to sync your pulse with your breath. It helps you stay in the flow.
- Stay light on your feet: Even when holding a position, stay ready to move.
- Engage the core: High-speed movement can make you lose your core bracing—don’t let that happen.
Warning: This style can be jarring if you have sensitive knees. Ensure you are wearing supportive sneakers if the class involves any jumping or hopping.
16. The “Barre-in-the-Kitchen” (Chair/Counter)
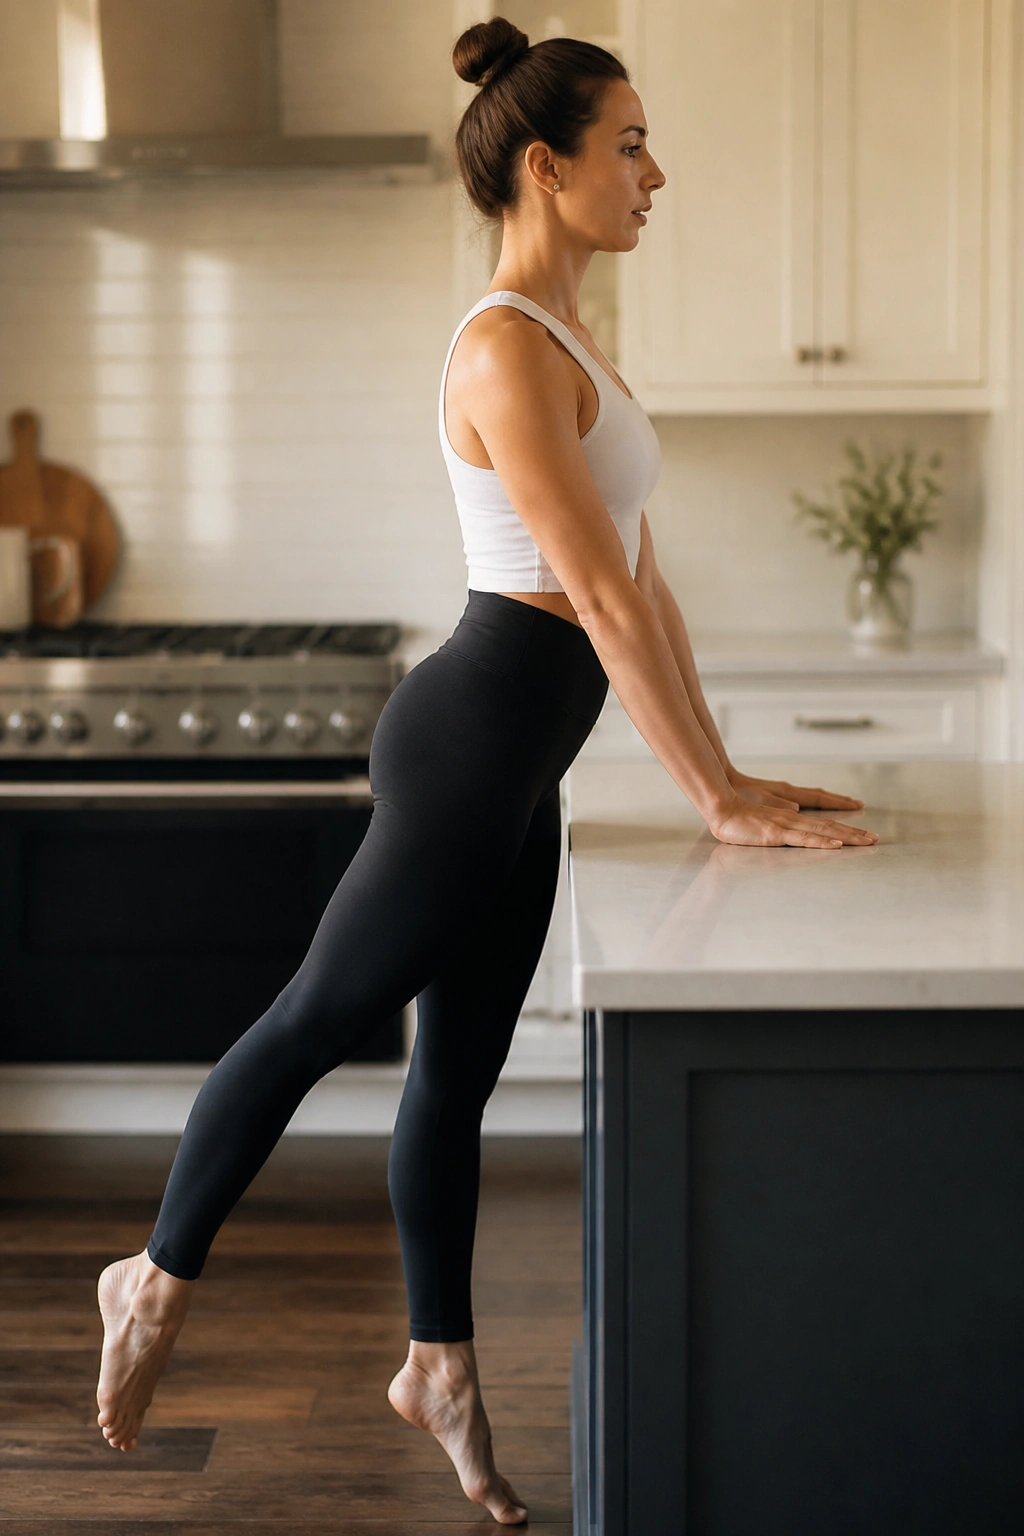
This isn’t a specific “type” of video, but a specific way to use a video. Look for classes that explicitly state they are designed for a kitchen counter, chair, or wall. These are the most accessible videos because you don’t need fancy equipment—just a sturdy, waist-height object in your home.
Why This is Practical
It lowers the barrier to entry. If you have to move furniture to set up a “home studio,” you won’t work out as often. If you can just walk to your kitchen counter, clear a small space, and start, you will exercise far more consistently.
Things to Remember
- Height matters: Ensure your chair or counter is at a height where your hand rests comfortably without you having to hunch or lean too far forward.
- Stability test: Always lean on your support before you start to ensure it won’t slide or tip.
- Safety first: If using a chair, make sure it’s against a wall so it cannot slide away.
Pro tip: A kitchen island is the ultimate home barre. It’s sturdy, the right height, and usually located in a spot where you have plenty of room to move.
17. Flexibility and Deep Stretch
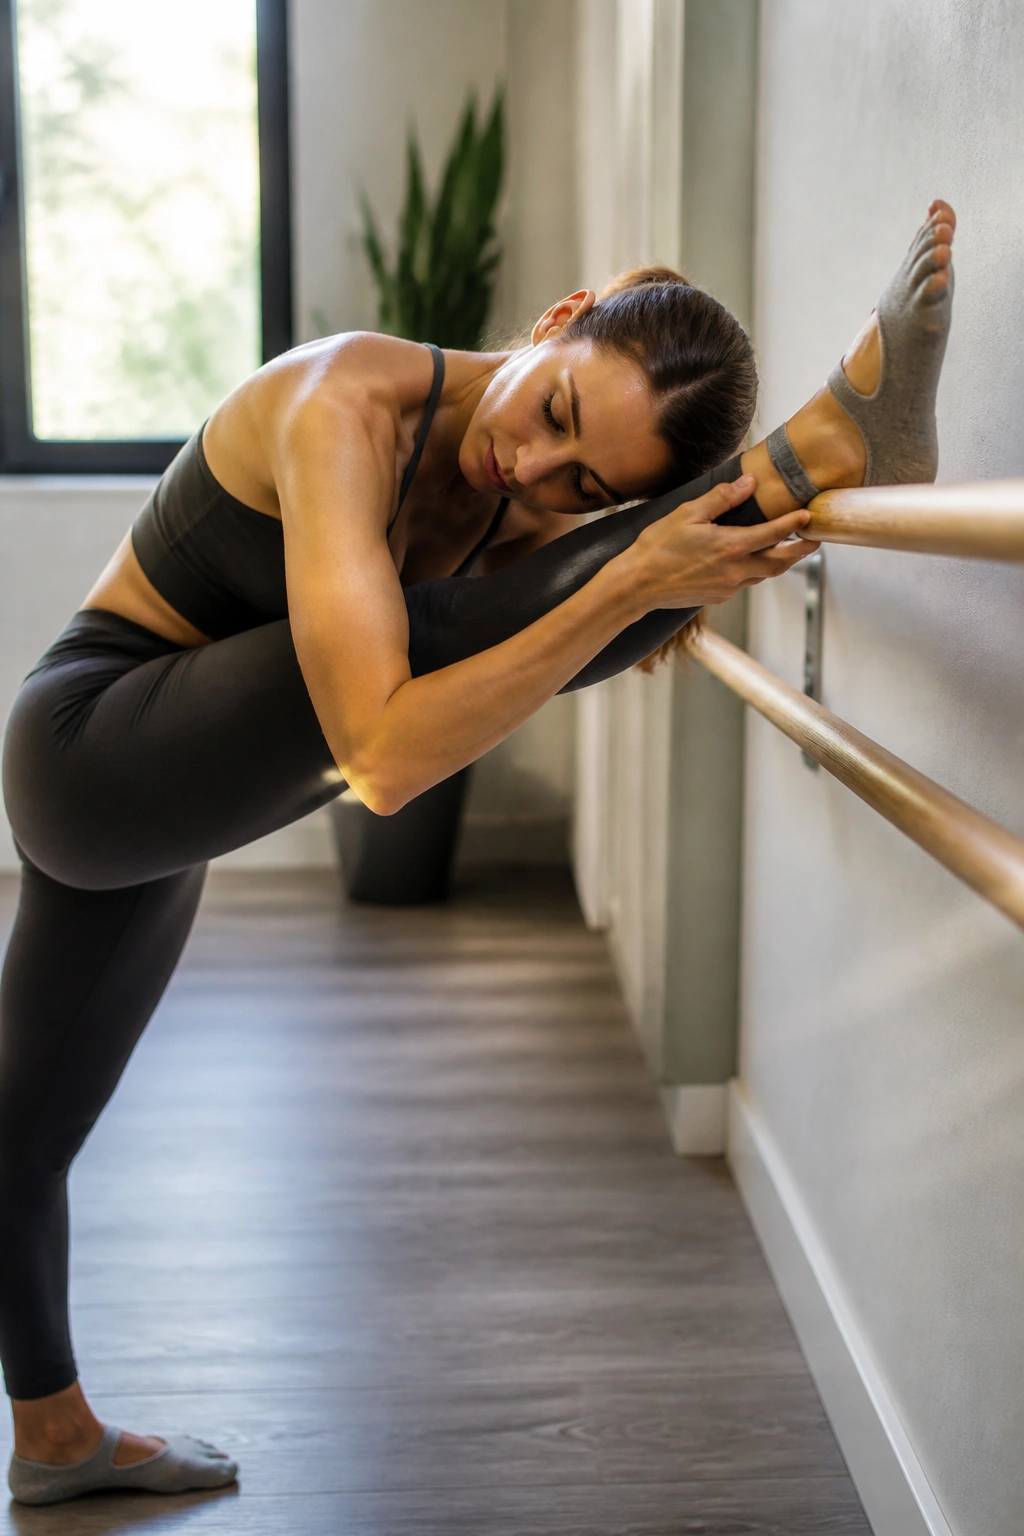
You shouldn’t just be tightening muscles; you need to lengthen them, too. These barre-stretch sessions are a vital part of the recovery process. They use barre-assisted stretches to get a deeper range of motion than you could achieve on the floor alone.
The Importance of Lengthening
After a week of intense barre classes, your muscles will be tight. Stretching them not only helps with recovery and reduces soreness, but it also improves your range of motion for the next workout. It’s a virtuous cycle: better flexibility leads to better form, which leads to a more effective workout.
How to Approach It
- Don’t force it: Stretch until you feel a “good” tension, not pain.
- Hold it: Spend at least 30-60 seconds in each position to allow the fascia to release.
- Deep breathing: Exhale as you sink deeper into the stretch.
Note: Think of this as the “cool down” portion of your week. Don’t skip it, even if you feel you have “better” things to do. Your muscles need the release.
18. Thigh-Focus (The “Thigh Burn”)
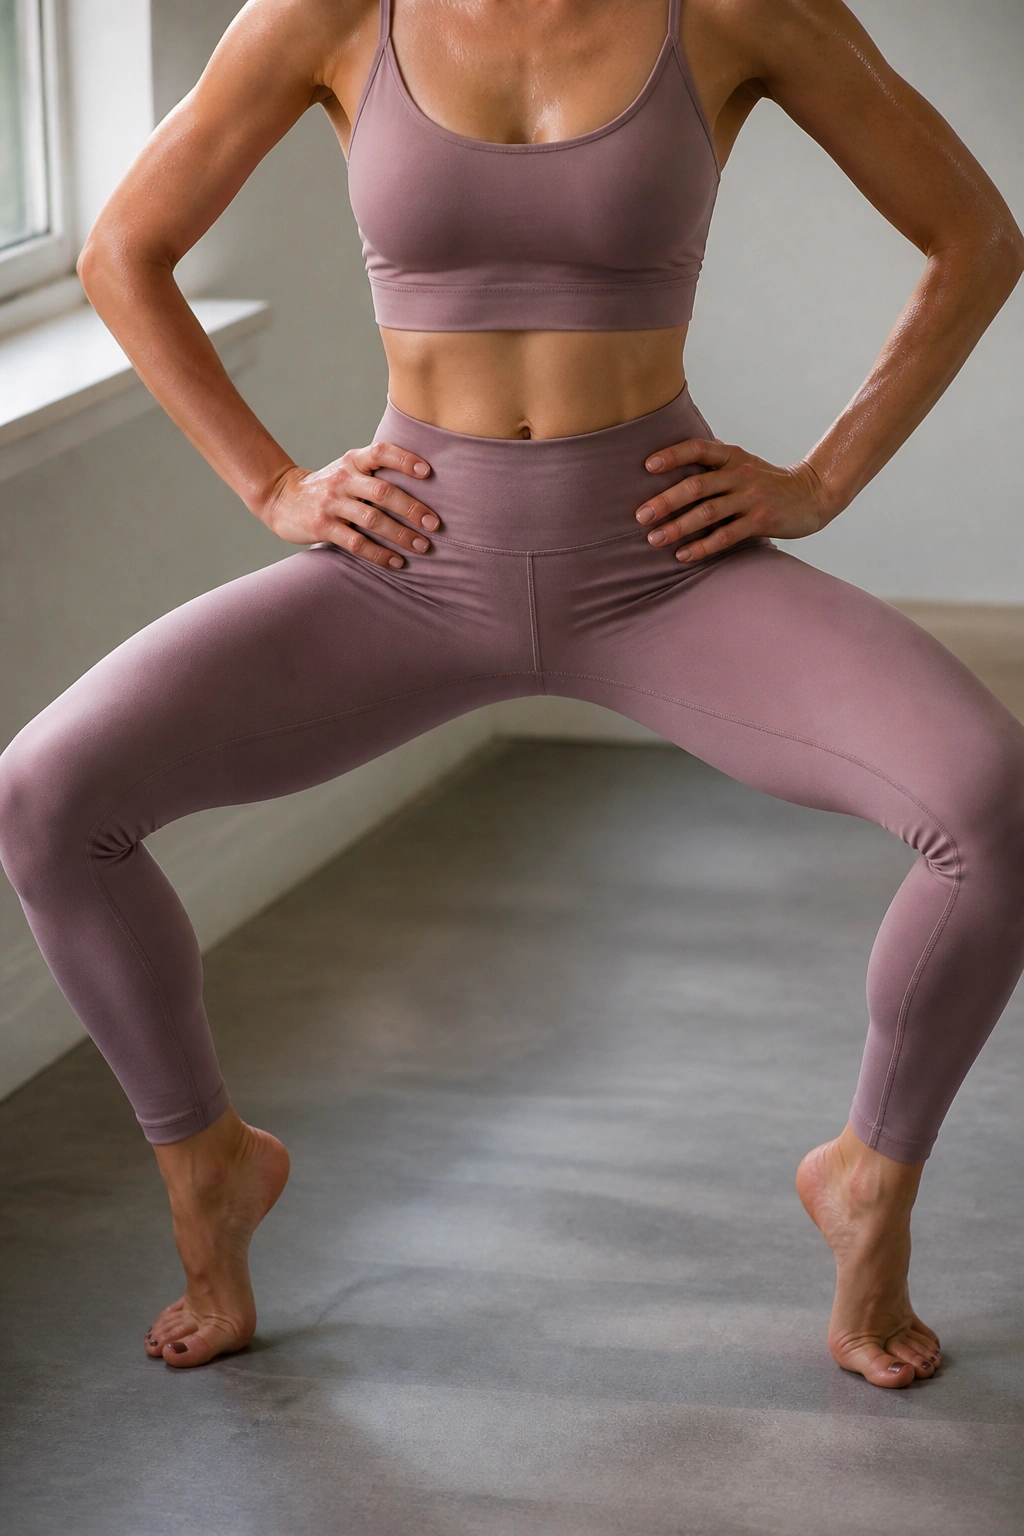
If you have a love-hate relationship with your thighs, this is the video for you. These sessions are designed to isolate the quadriceps through various plie, lunge, and wide-second positions. You will spend 90% of the class with your legs bent and shaking.
Why It Hurts (in a Good Way)
The quadriceps are large, strong muscles. To fatigue them, you need volume. These videos provide that volume by keeping you in a “loaded” position for long stretches of time. It’s a mental challenge as much as a physical one; you have to talk yourself into staying in the squat even when it feels like your legs might give out.
Keys to Survival
- The mantra: Have a mental phrase to repeat when the burn sets in. “I am getting stronger” or simply counting the pulses helps.
- Heels high: In many of these moves, lifting the heels targets the quads differently.
- Keep the spine tall: Don’t collapse forward. Keep your shoulders over your hips.
Observation: There is no “getting used” to the thigh burn. It will feel just as intense on your 50th class as it did on your first. You just get better at handling it.
19. Standing Abdominal Engagement
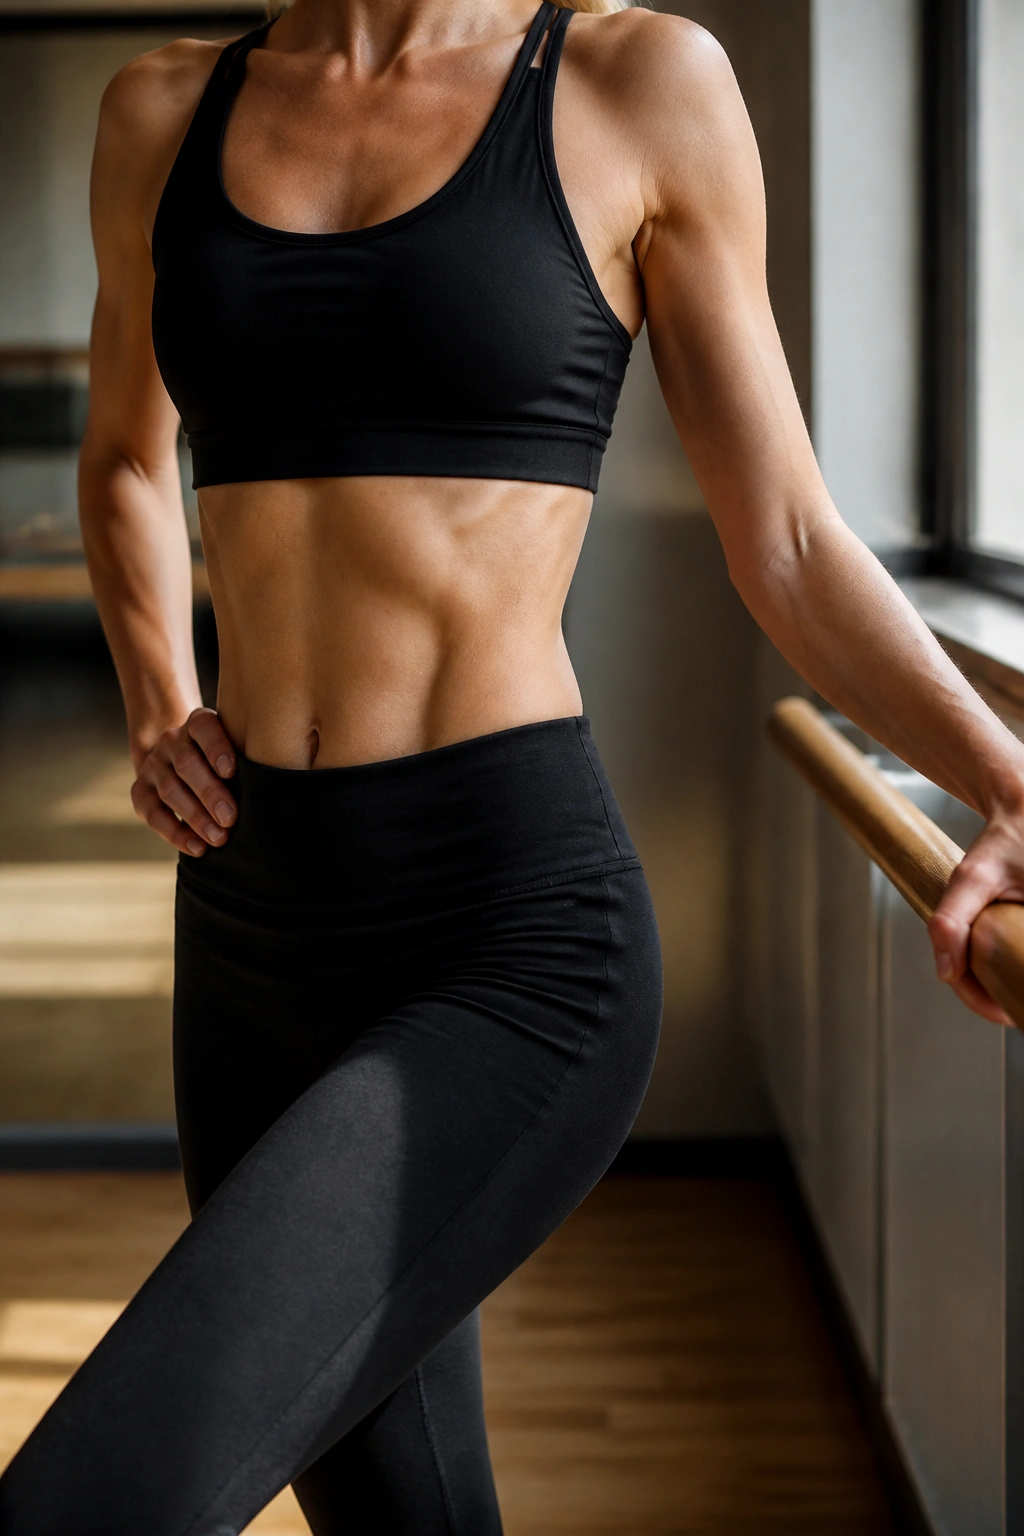
We touched on floor-based abs, but standing abs are a completely different animal. These videos teach you to engage your core while upright, using the barre for stability. This is “functional” core work because it mimics how you actually use your abs in daily life—to keep you upright and balanced.
Why You Need This
In daily life, you aren’t lying on your back doing crunches. You are standing, walking, and reaching. Standing abdominal work teaches you to brace your core while your limbs are moving, which is the definition of stability.
What to Look For
- Side-bends: Moving the torso laterally while keeping the hips square.
- Twists: Controlled rotations that work the obliques.
- Leg-ab combos: Lifting a leg while crunching the oblique—a classic barre move that requires immense coordination.
Pro tip: Imagine you are wearing a corset that is constantly being tightened. That constant engagement is what you are aiming for.
20. Stability and Balance Challenge
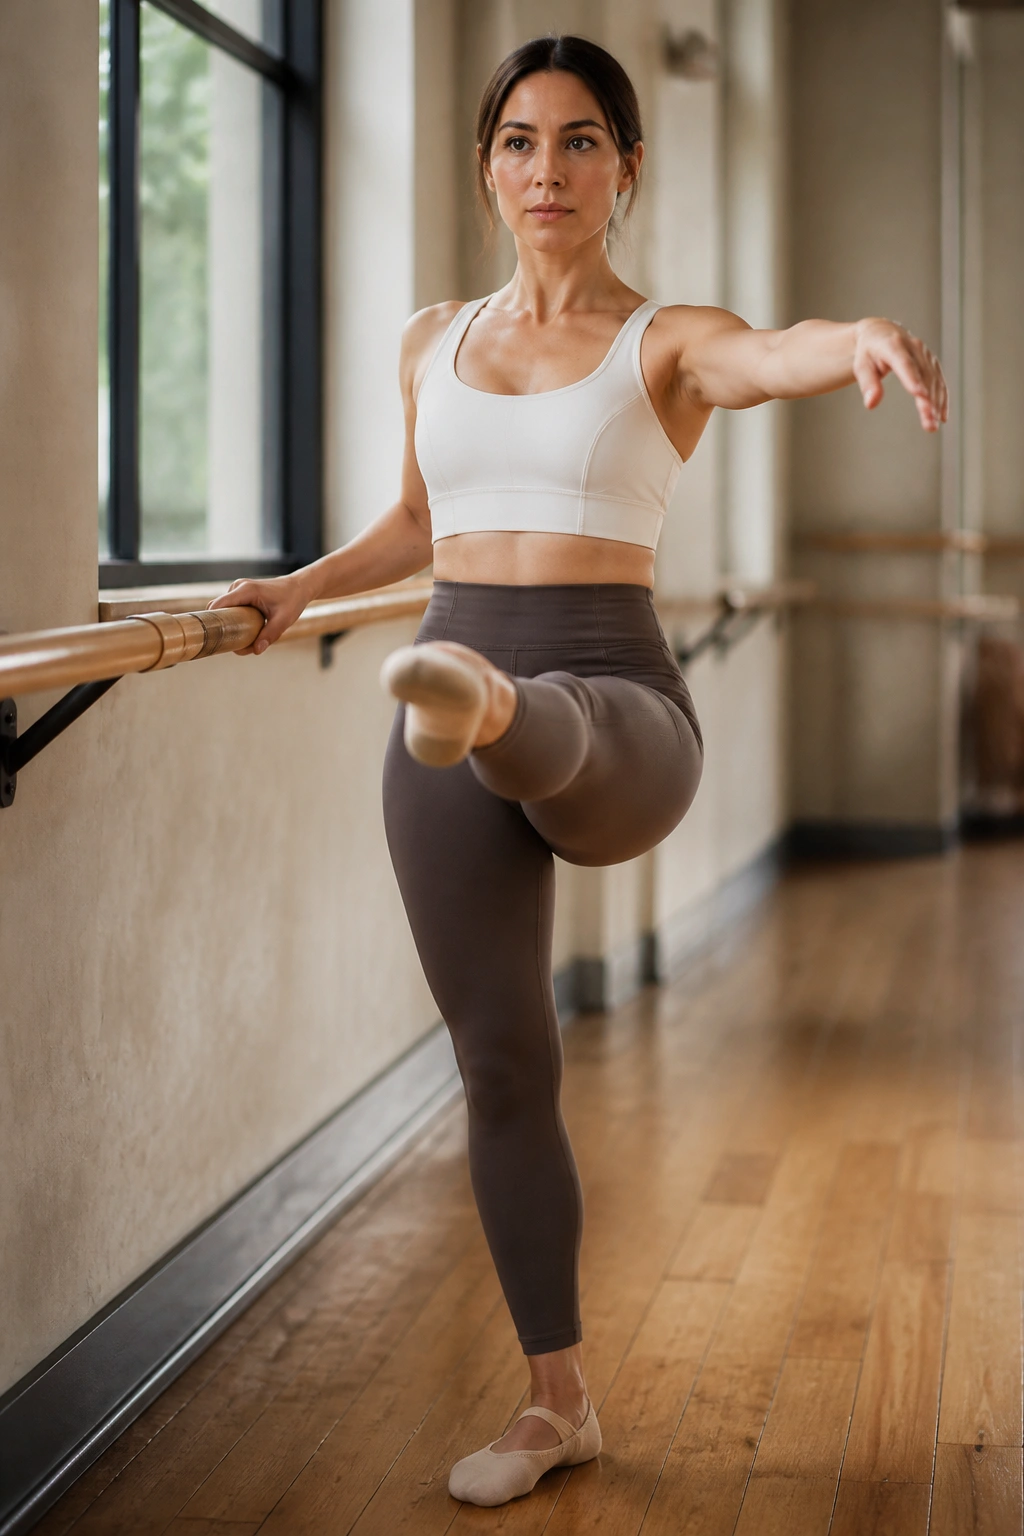
Balance is a perishable skill; if you don’t train it, you lose it. These videos are built around single-leg balances, slow-motion movements, and transitions that require absolute focus. They are essential for aging well and for general coordination.
The Brain-Body Connection
Balance training engages the nervous system. You aren’t just moving muscles; you are teaching your brain how to communicate with your body in real-time to prevent you from falling. It’s a very high-focus style of training.
How to Challenge Yourself
- Close your eyes: For the advanced practitioner, try doing a balance move with your eyes closed for a few seconds. The difference is staggering.
- Slow down: Speed makes balance easier. Slowing down the movement makes it exponentially harder.
- Release the grip: Gradually use less and less of your hand on the barre until you are barely touching it.
Reality check: You will fall out of balance. That’s not a failure; that’s the work. Every time you wobble and correct, you are strengthening the neural pathways responsible for balance.
21. Mindful/Slow-Paced Toning
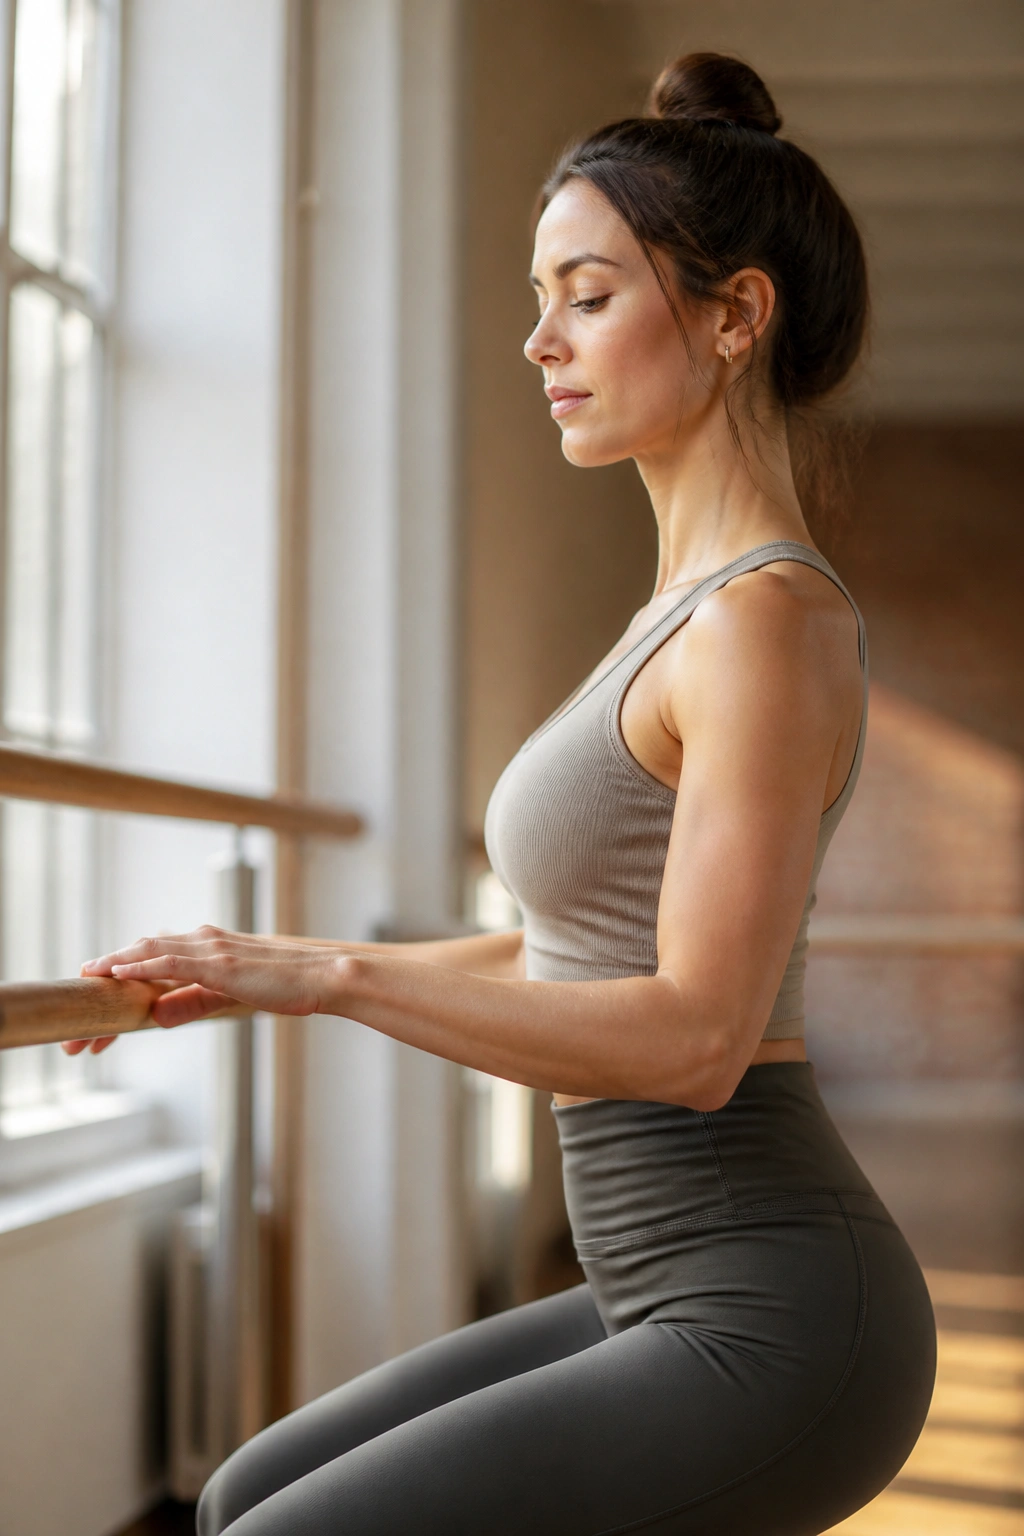
If high-intensity isn’t your speed, look for “mindful” or “slow-flow” barre. These classes emphasize the quality of the contraction over the quantity of the reps. You might do a move half as many times, but you will hold each one with perfect form and deep, deliberate focus.
The Benefit of Slowing Down
By removing the “rush,” you can identify “dead zones” in your muscles where you weren’t actually engaging. When you move slowly, you can feel the subtle shift in your muscles as they engage or relax. It’s an eye-opening way to refine your technique.
When to Choose This
- Recovery days: When you feel burnt out or sore.
- Form correction: When you realize you’ve been “cheating” on certain moves.
- Stress relief: When you need a workout that feels more like a meditative practice.
Insight: Slow movement is often harder than fast movement. It requires immense strength to control the descent or the hold without using momentum to help you.
22. The 60-Minute Deep Dive
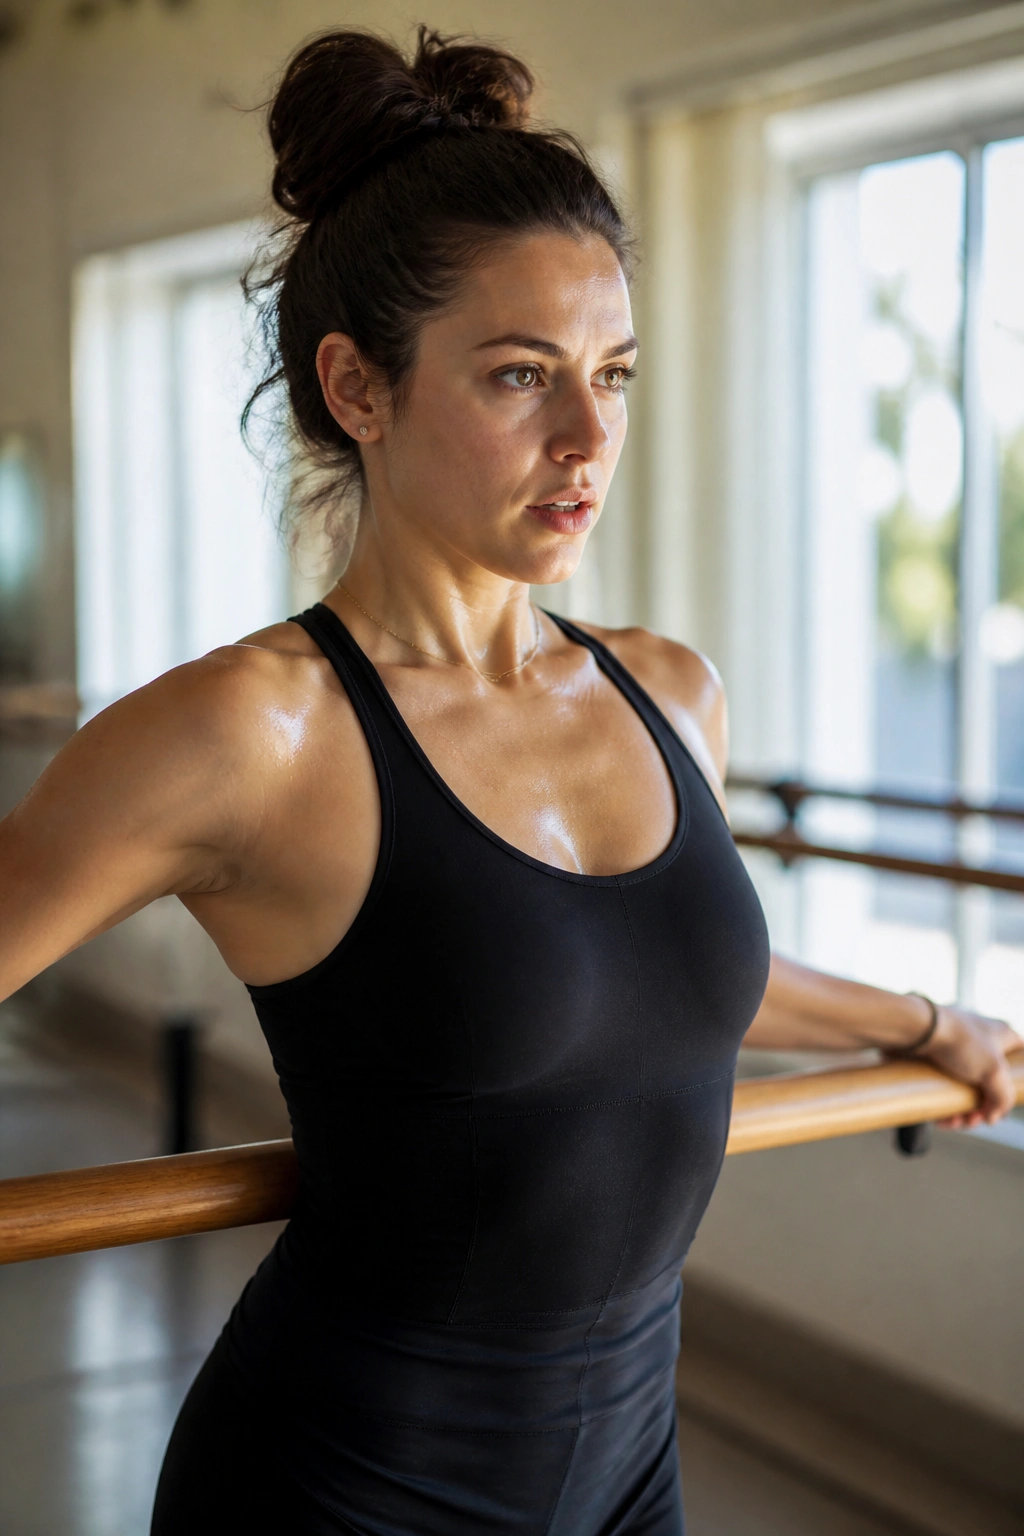
Finally, for the days when you have the time and the desire to go the distance, the 60-minute deep dive is the gold standard. These classes take their time. You get a full warm-up, a lengthy arm section, a thorough lower-body burn, a robust core series, and an extensive cool-down.
Why It’s the Gold Standard
It’s the complete package. You don’t feel rushed. You have time to exhaust every muscle group thoroughly. The structure usually builds from simple, foundational moves to complex, compound exercises, giving you the time to really settle into your practice.
Your Goal
- Consistency: Treat the hour as a sacred time for your body.
- Depth: Don’t skim through the movements. Get to the bottom of the pulse every single time.
- Endurance: Use the length of the class to test your stamina. Can you keep your form as clean at minute 55 as you had at minute 5?
Final advice: If you can dedicate one 60-minute session a week, it will do wonders for your overall fitness and muscle tone. The endurance you build in a full-length class carries over into every other aspect of your physical activity.
The Bottom Line
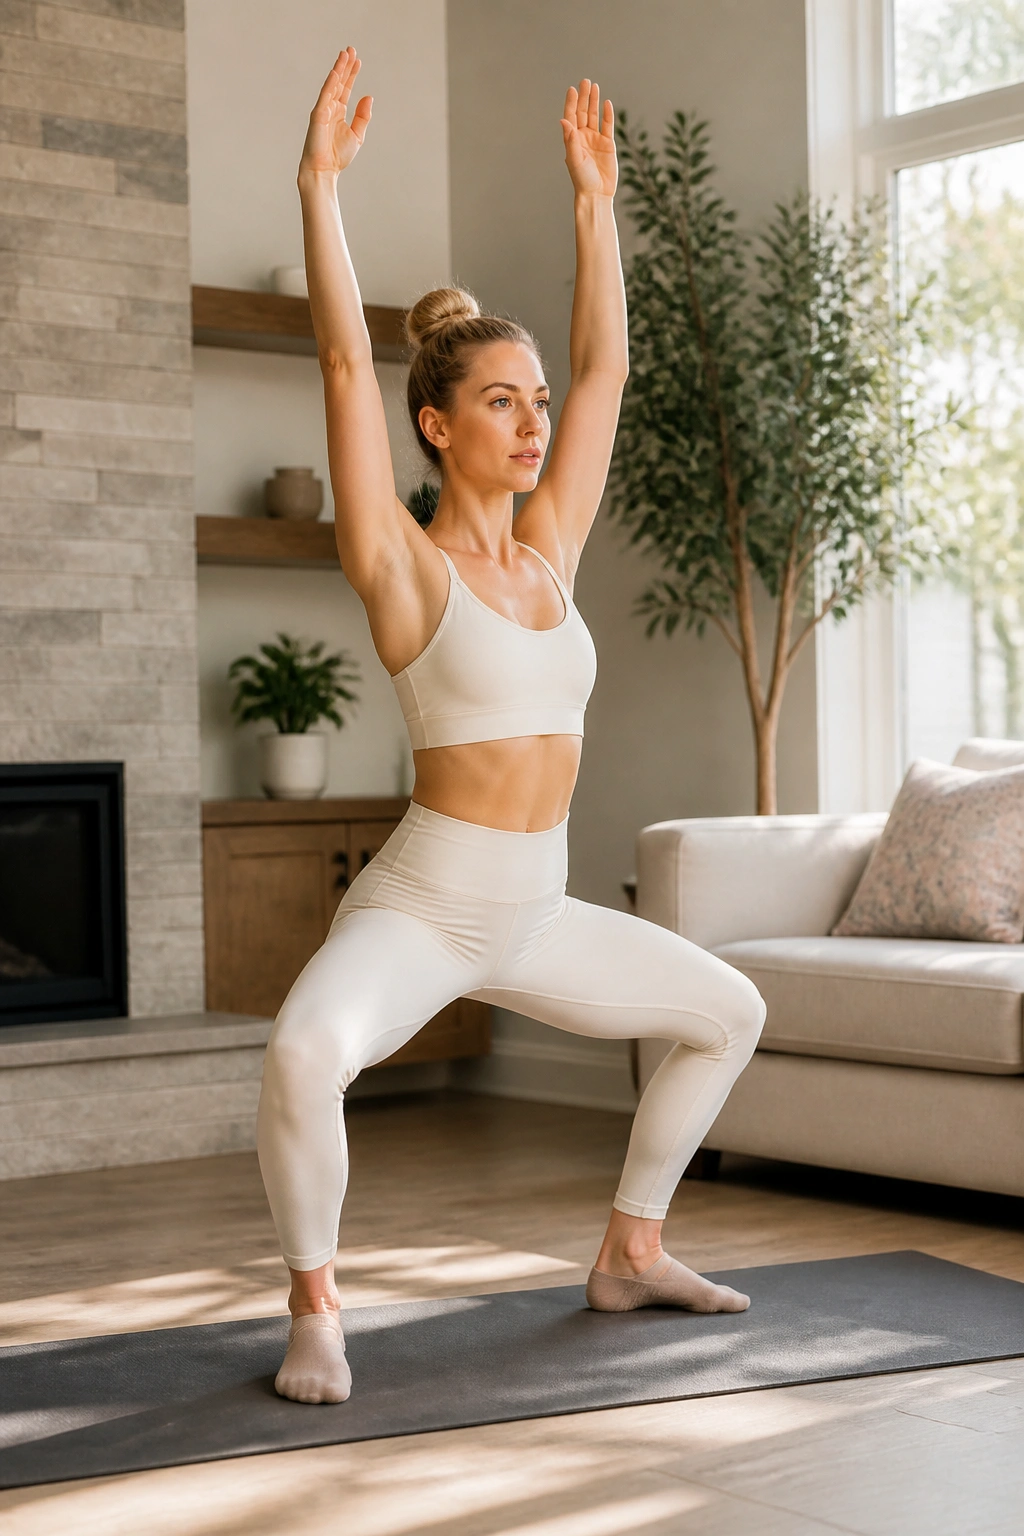
Finding the right barre workout is about listening to what your body needs at any given moment. Some days, you need the intensity of a HIIT session to clear your mind and spike your heart rate. Other days, you need the slow, meditative control of a posture-focused flow to realign your spine and find your center.
Do not feel pressured to stick to one specific style. The beauty of barre is its versatility. By rotating between these types of classes—short, long, high-intensity, and restorative—you keep your muscles guessing and your motivation high. You avoid the monotony that often plagues home exercise routines, and you keep the work fresh.
Remember that the “perfect” workout is the one you actually do. Whether it’s a quick 10-minute glute burnout or a full 60-minute endurance session, the consistency is what will ultimately dictate your progress. Don’t worry about being the most graceful person in the room; worry about finding that shake, keeping your form clean, and staying present with every single pulse. That is where the results are found.
