



Most people start looking for specific yoga poses when they are tired of feeling bloated, sluggish, or stuck with a stubborn layer of midsection weight that just won’t budge. You likely already know the drill: cardio helps, lifting heavy things helps, and what you eat matters more than anything. But yoga brings a different mechanism to the table. It isn’t just about burning calories in the moment; it is about retraining your body to hold itself differently.
When you spend your day slouched over a desk, your core muscles effectively go to sleep. They stop engaging, your posture rounds forward, and your stomach pushes out—not because of fat, but because your muscles have forgotten how to keep everything tucked in tight. Yoga changes the game by forcing you to engage the deep transverse abdominis, the muscle corset that actually holds your organs in place.
This isn’t about “spot reduction”—that is a fitness myth that refuses to die. You cannot tell your body exactly where to burn fat. Instead, you change your body composition by building muscle, reducing the stress hormones that signal your body to store fat around your midsection, and becoming more mindful of how you carry yourself. If you are ready to stop looking for shortcuts and start doing the actual work, these 20 poses are your baseline.
1. Cobra Pose
This is the ultimate counter-pose for anyone who spends eight hours a day hunched over a laptop. When you lie on your stomach and lift your chest, you are doing more than just stretching your back; you are actively engaging the abdominal muscles to support the lift.
Why It Matters for Your Core
The Cobra pose requires you to pull your belly button toward your spine as you lift. If you do not engage those deep muscles, you will crunch your lower back, which is exactly the opposite of what you want. Think of it as a vertical crunch where you are using your back strength to protect your abs while they work to hold your torso upright.
Quick Tip: Keep your glutes soft. If you squeeze your butt too hard, you shift the tension away from the core and into your hips. Keep the lower body relaxed while the upper body does the lifting.
2. Boat Pose
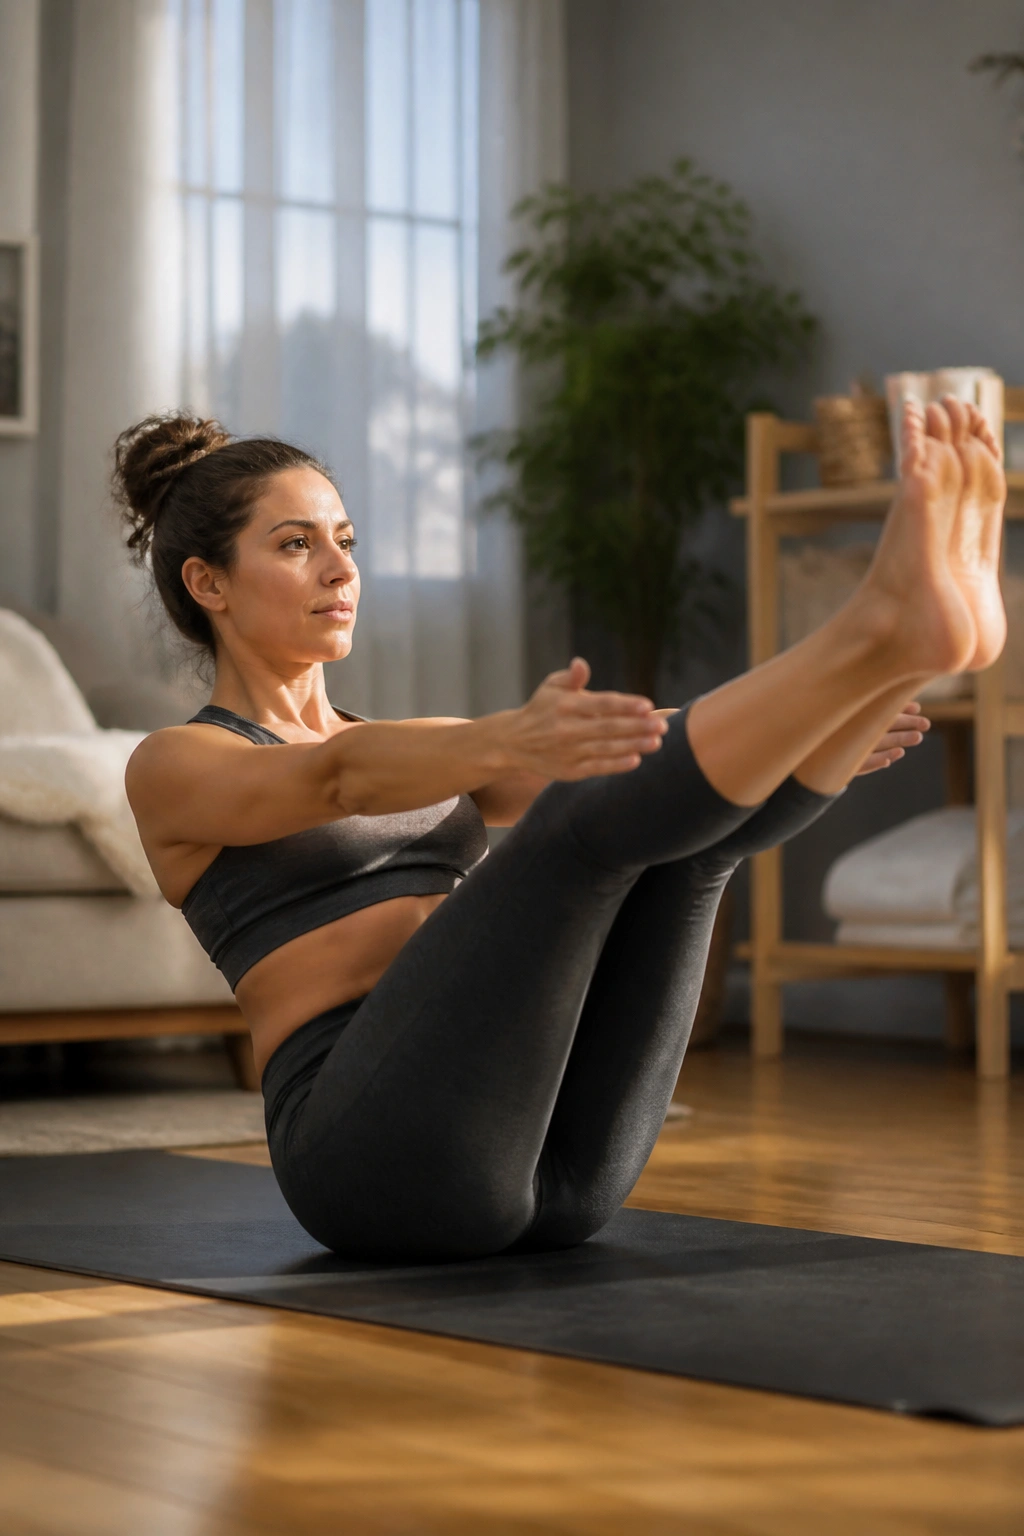
If there is one pose that targets the rectus abdominis—the “six-pack” muscle—it is Navasana. It is deceptively simple: you sit on your tailbone, lift your legs, and balance with your arms extended. Within ten seconds, you will feel exactly why this is a staple for core strength.
Anatomy of the Burn
You are essentially holding your own body weight in a V-shape. This requires an intense amount of stabilization. If you find your legs shaking, that is a good sign. It means your neuromuscular system is working overtime to maintain the position.
- Modification: If your lower back starts to ache, bend your knees and keep your shins parallel to the floor instead of straightening your legs.
- The Goal: Eventually, you want to straighten your legs while keeping your chest lifted high.
- Avoid: Don’t let your spine round like a C-shape. Keep that chest proud and the shoulders back.
3. Plank Pose
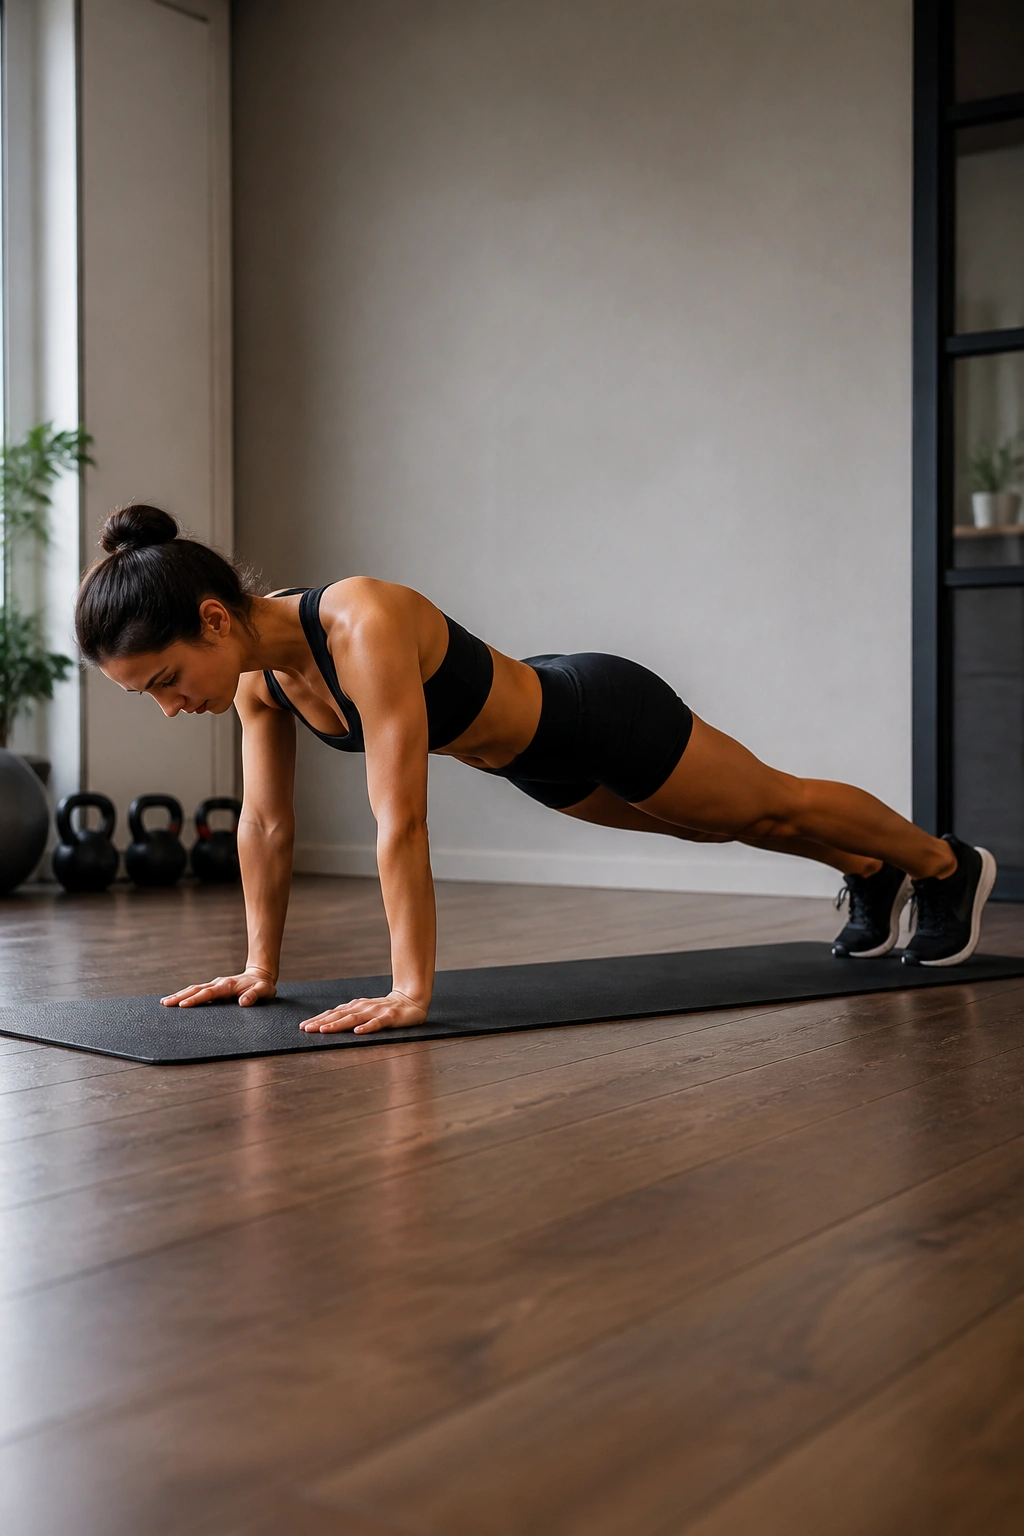
Forget the flashy yoga poses; Plank is the workhorse of core training. It seems easy until you have to hold it for a minute while keeping your hips level. The secret here isn’t just “holding” the pose, but actively pulling your navel in and pushing the floor away from you.
When you perform a proper Plank, you are recruiting your entire anterior chain. Your shoulders, chest, and deep abdominals are working in unison. If your hips sag, you are dumping all that weight into your lumbar spine, which can lead to injury. If your hips are too high, you are just cheating yourself out of the burn. Aim for a perfectly straight line from your heels to the crown of your head.
4. Sun Salutations
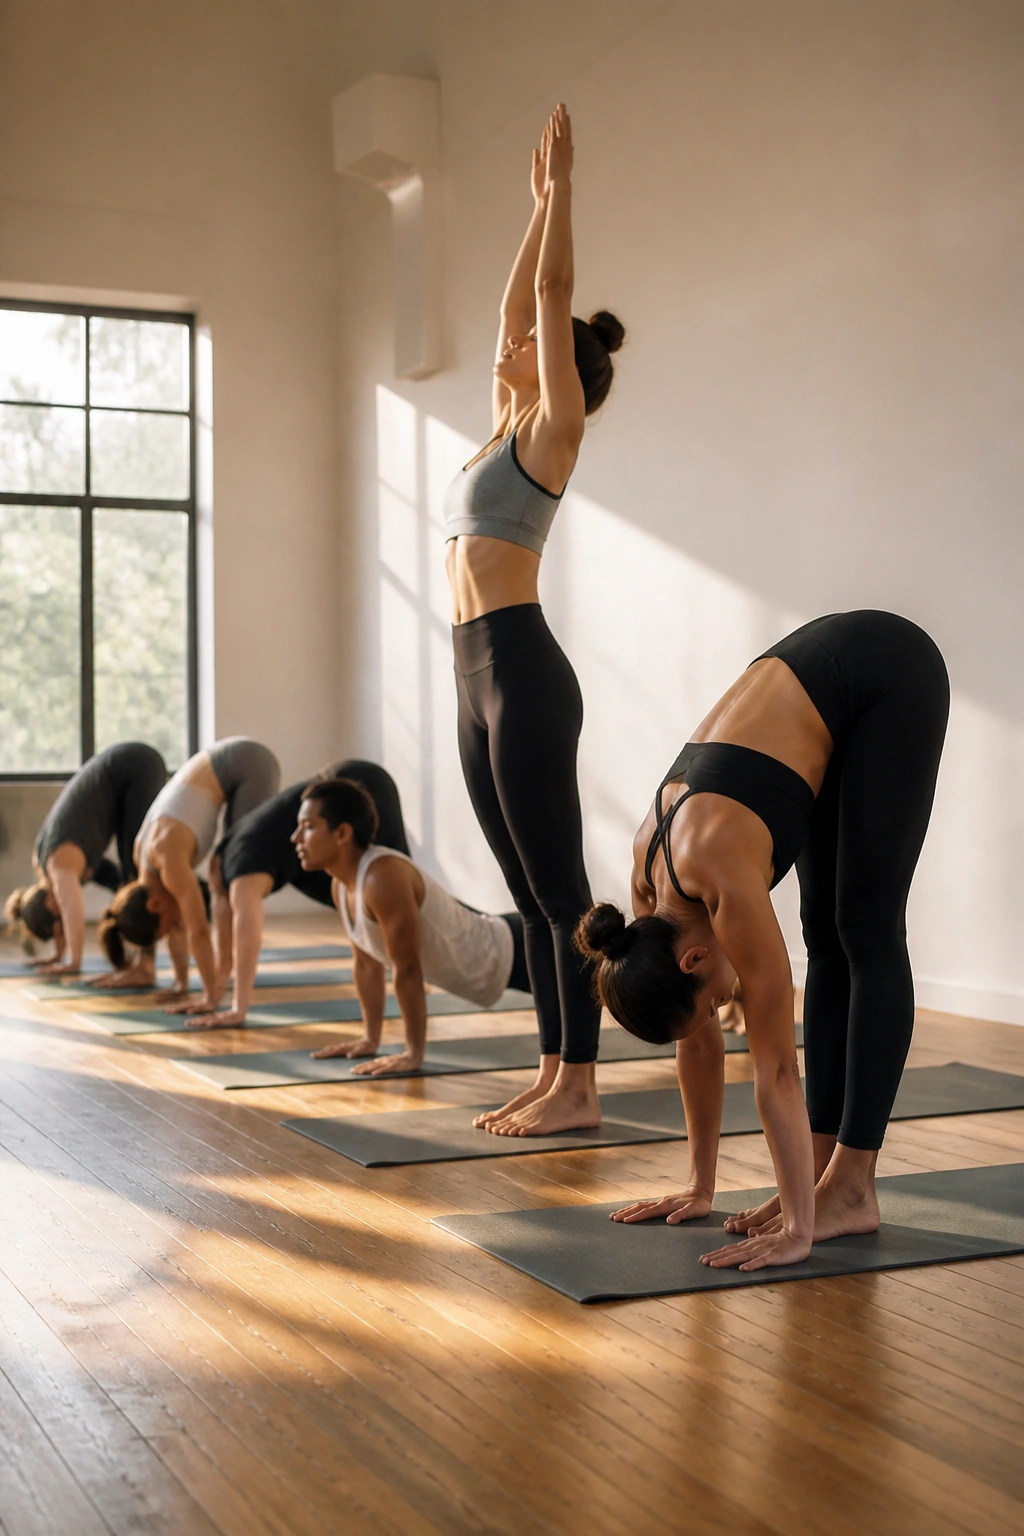
Think of this as your warm-up and your fat-burning engine. Surya Namaskar is a fluid sequence that moves through forward folds, planks, and backbends, forcing your heart rate up and keeping your muscles under tension.
Why Repetition Works
By stringing these movements together, you create a continuous loop of motion. This builds heat in the body. When your internal temperature rises, your body becomes more efficient at mobilizing fat stores. It is also an incredible test of endurance. If you can do ten rounds without breaking a sweat, you are ready for a faster pace.
Pro Tip: Don’t rush through the transition from Chaturanga to Upward-Facing Dog. Control that movement. That is where the real abdominal work happens.
5. Warrior II
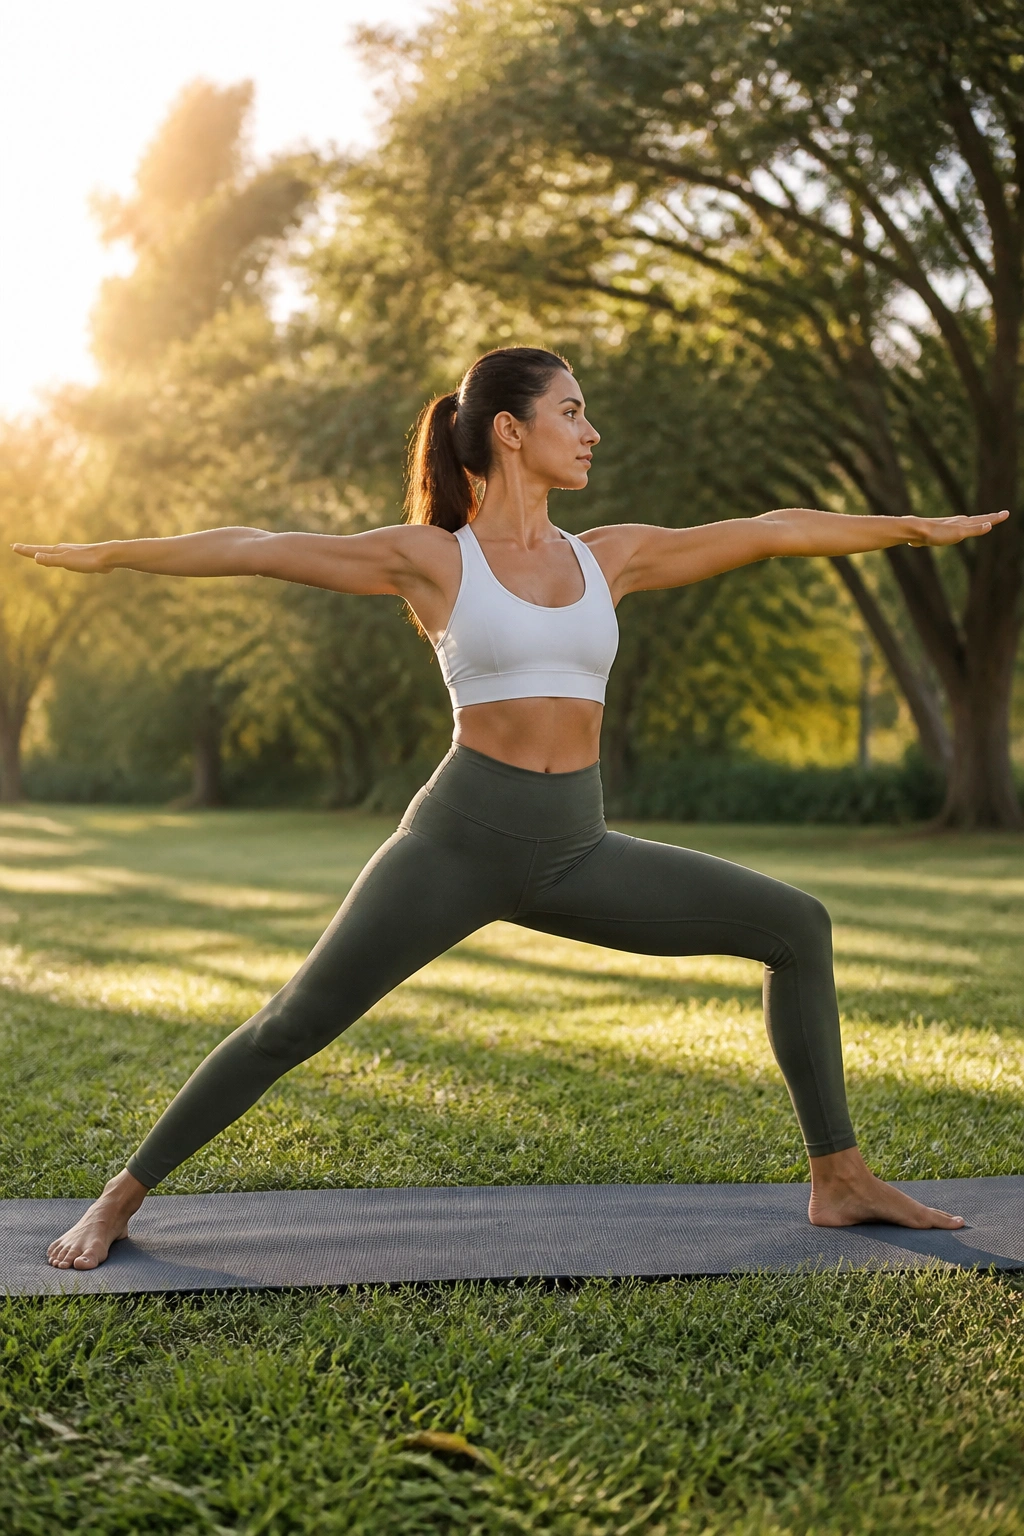
This pose looks like it is all about the legs, but your core is the anchor. Standing with your feet wide apart, one knee bent, and arms stretched out, you have to hold your torso perfectly upright. If you lean forward or backward, you lose the integrity of the pose.
The challenge here is static endurance. You are forcing your core to stay engaged against the pull of gravity while your legs burn. This teaches you how to maintain abdominal engagement even when your lower body is screaming for relief. Practice holding this for thirty seconds, then a minute, then two. You will quickly realize that the core work in Warrior II is far more grueling than it looks from the outside.
6. Chair Pose
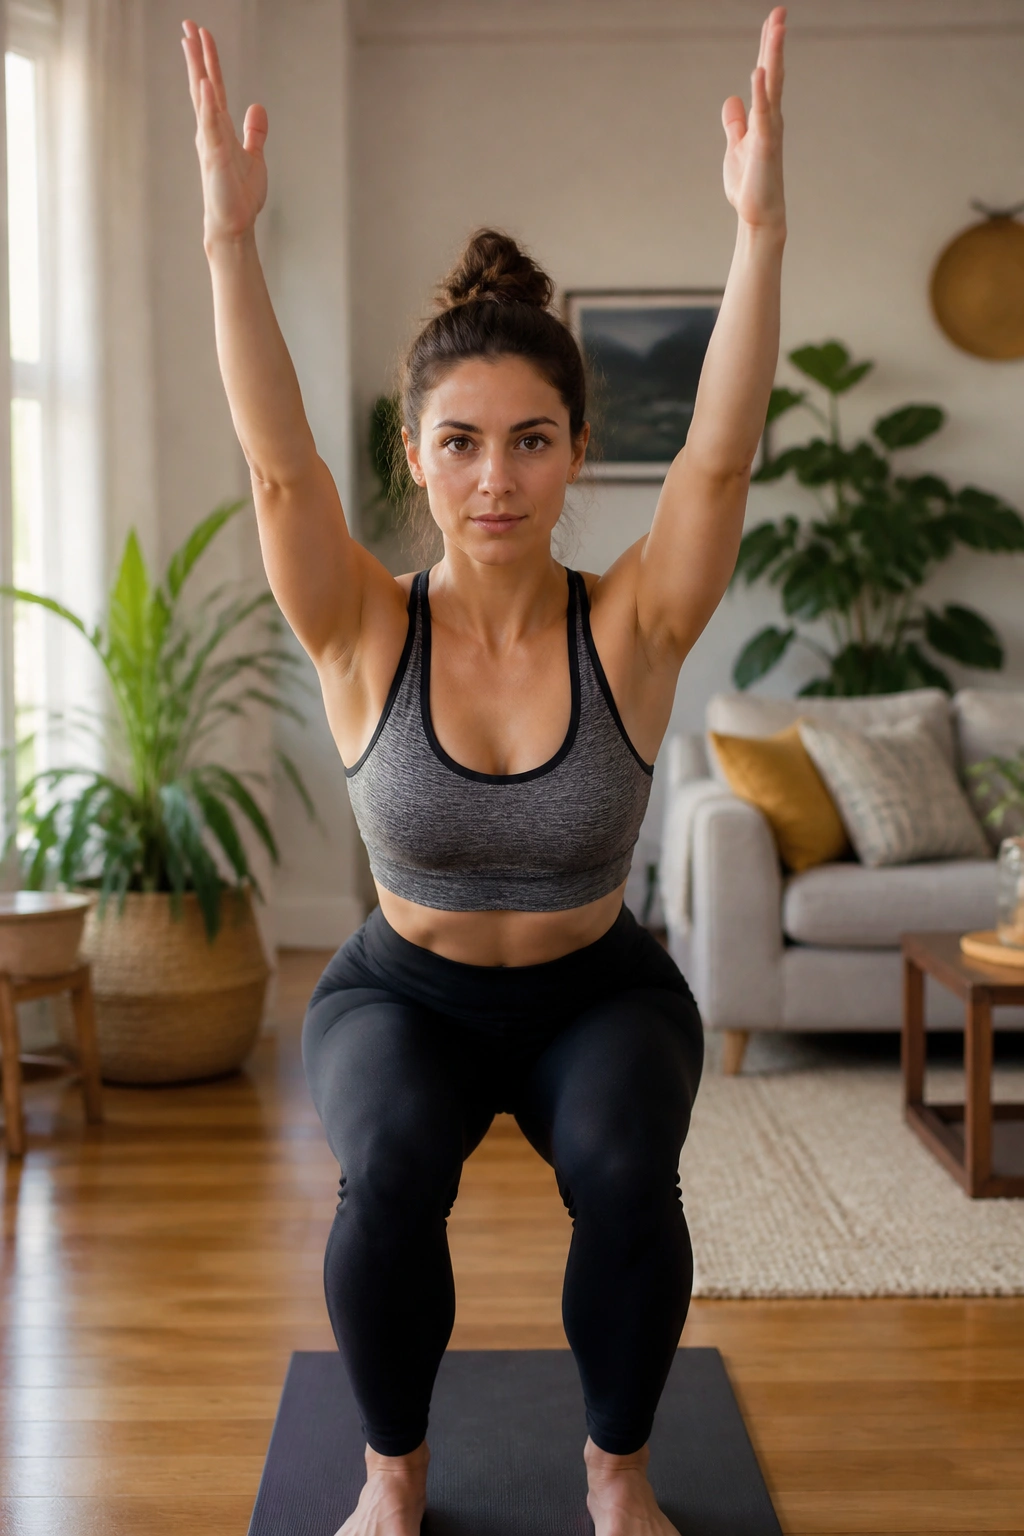
Utkatasana is basically a standing squat, but you keep your arms raised, which puts immense demand on your upper core and back. By sitting deep into an imaginary chair, you force the abdominal wall to brace against the weight of your upper body.
This pose is fantastic for building functional strength. It mimics the motion of sitting and standing, but requires you to hold that position of maximum tension. As you sink lower, try to lift your chest higher. This opposition—sinking down while lifting up—creates a massive amount of internal pressure that forces your abs to activate just to keep you upright.
7. Locust Pose
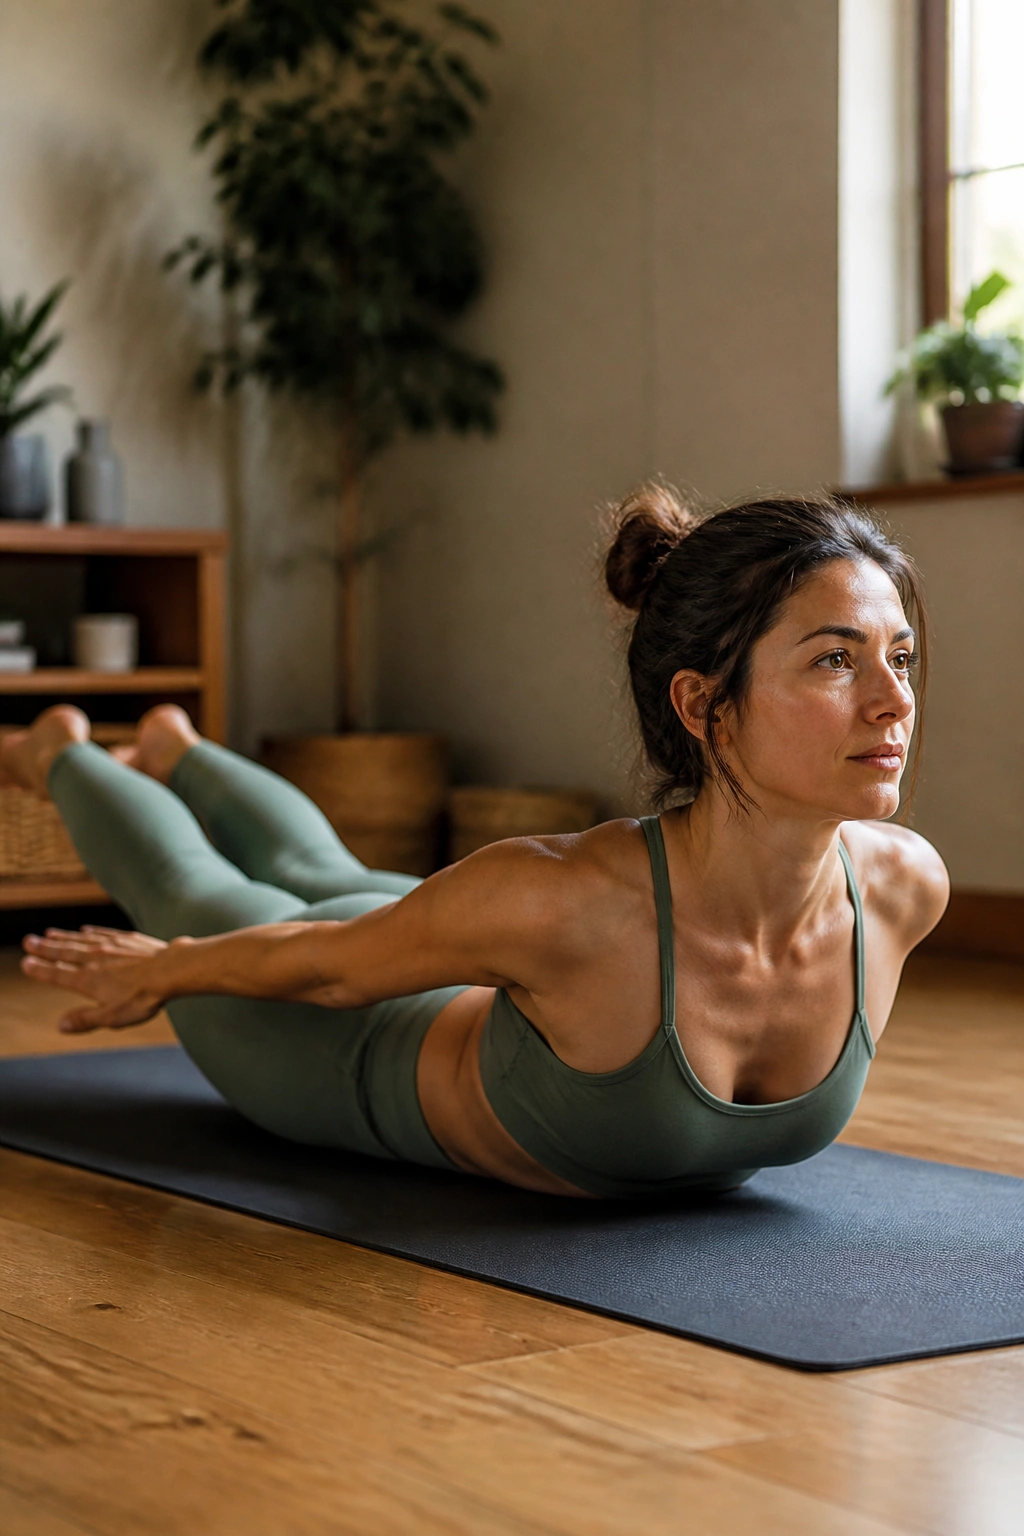
Lying on your stomach again, you lift your arms, chest, and legs off the mat. You are balancing entirely on your pelvis. It is a prone version of the Boat pose, and it targets the back muscles that act as the counterweight to your abs.
Why work the back for a flat stomach? Because you cannot have a strong, balanced core without a strong posterior chain. If your back muscles are weak, your belly will always protrude because the front of your body has to do all the work of holding you up. Locust pose corrects this imbalance, allowing your abs to hold tight rather than holding you upright.
8. Camel Pose
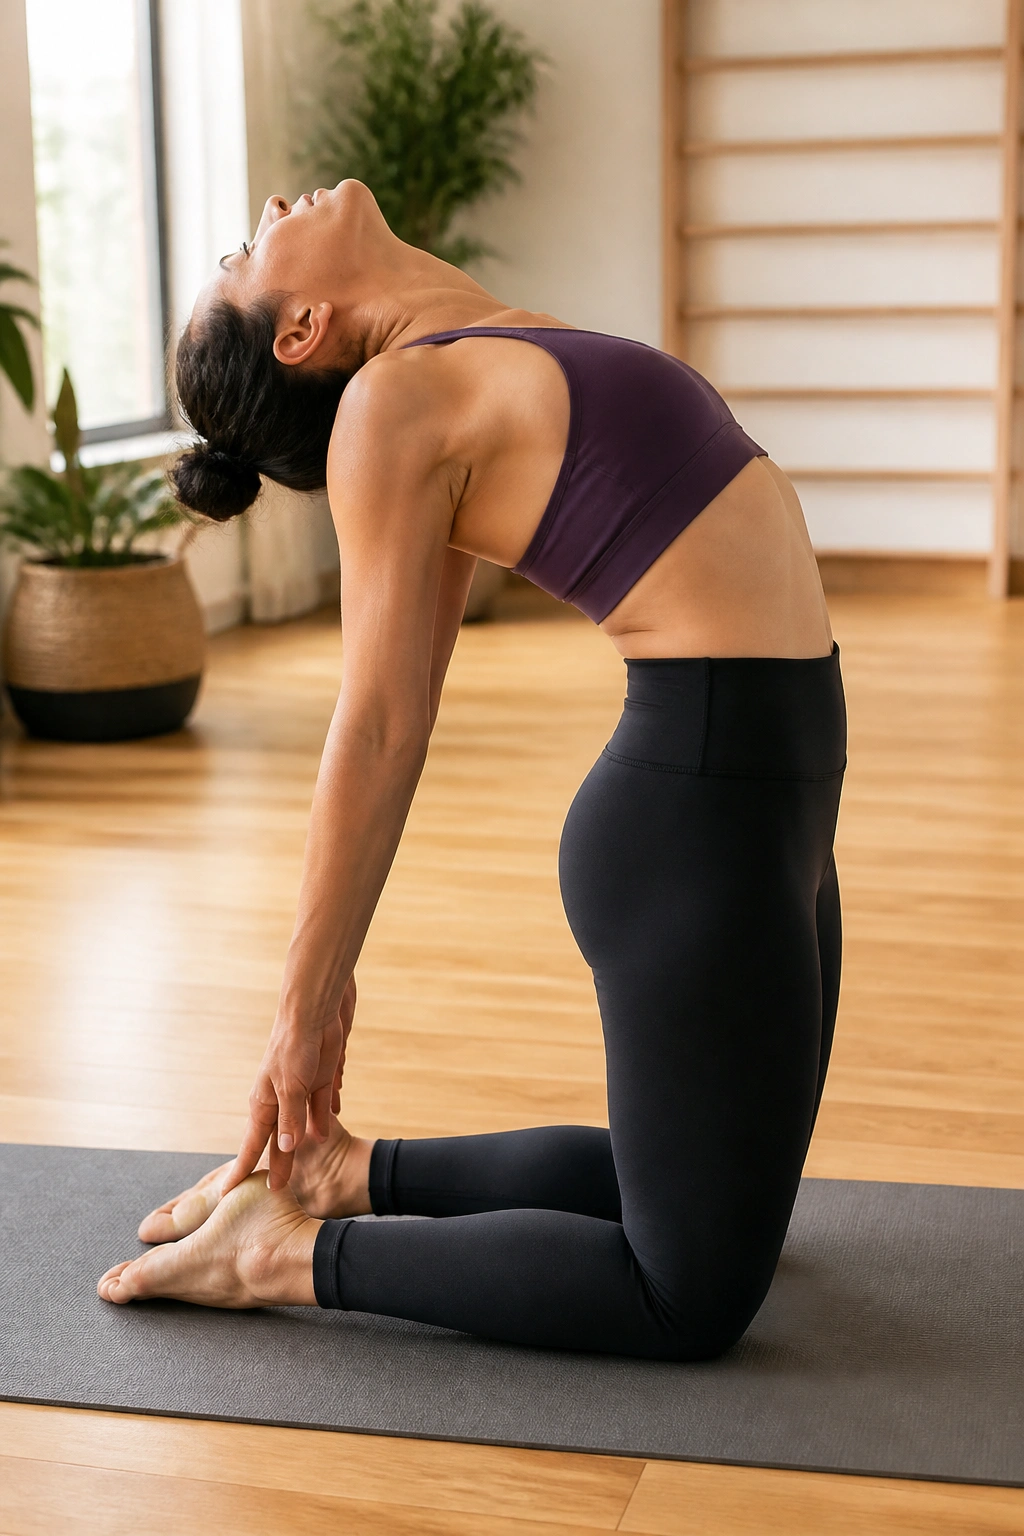
Camel is a deep backbend that opens up the front of the body. You reach back to touch your heels, creating a giant arch in your spine. It feels incredibly vulnerable and intense, but it is one of the best ways to stretch the abdominal muscles that are often chronically tight from sitting.
When you stretch these muscles, you allow them to engage more effectively later on. Think of it like this: if your abs are stuck in a shortened, tight position, they can’t contract fully. Camel pose helps reset that length, letting you get a better, deeper contraction when you do your core work.
9. Bridge Pose
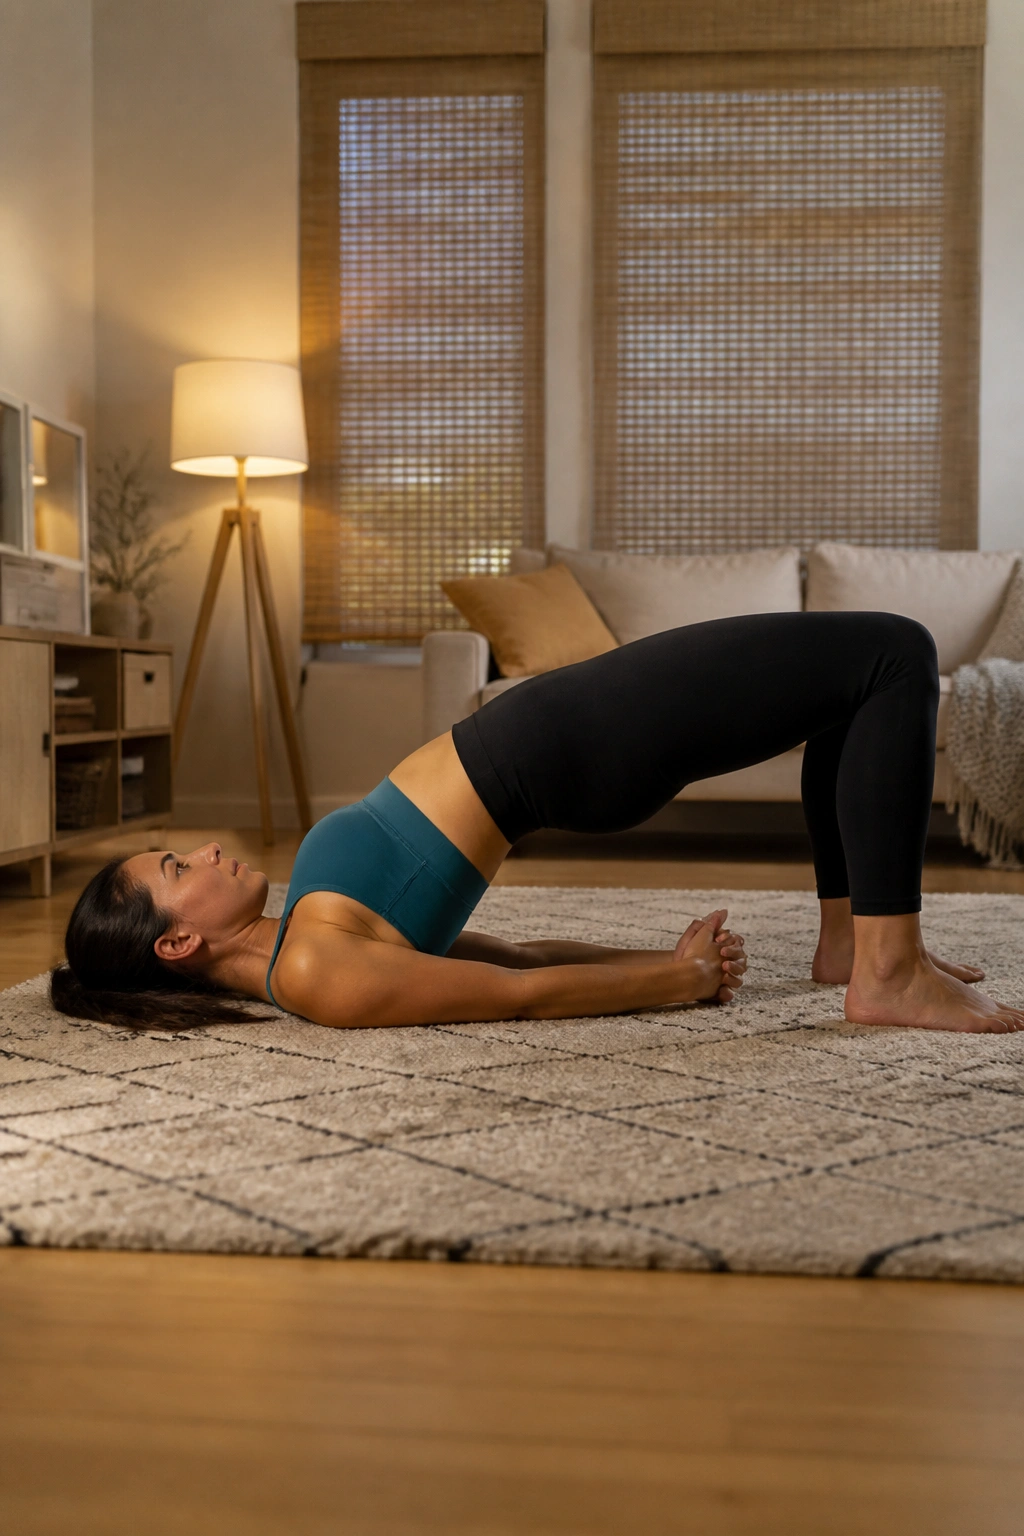
Lying on your back with knees bent and feet flat, you lift your hips toward the ceiling. It is a gentle inversion that engages the glutes, hamstrings, and—most importantly—the lower abdominal muscles to stabilize the pelvis.
To get the most out of Bridge, interlace your hands underneath you and press your arms into the floor. This provides leverage to lift your chest higher. As you rise, imagine you are squeezing a block between your knees. This action forces the inner thighs to engage, which has a direct neurological link to the lower abdominal muscles.
10. Bow Pose
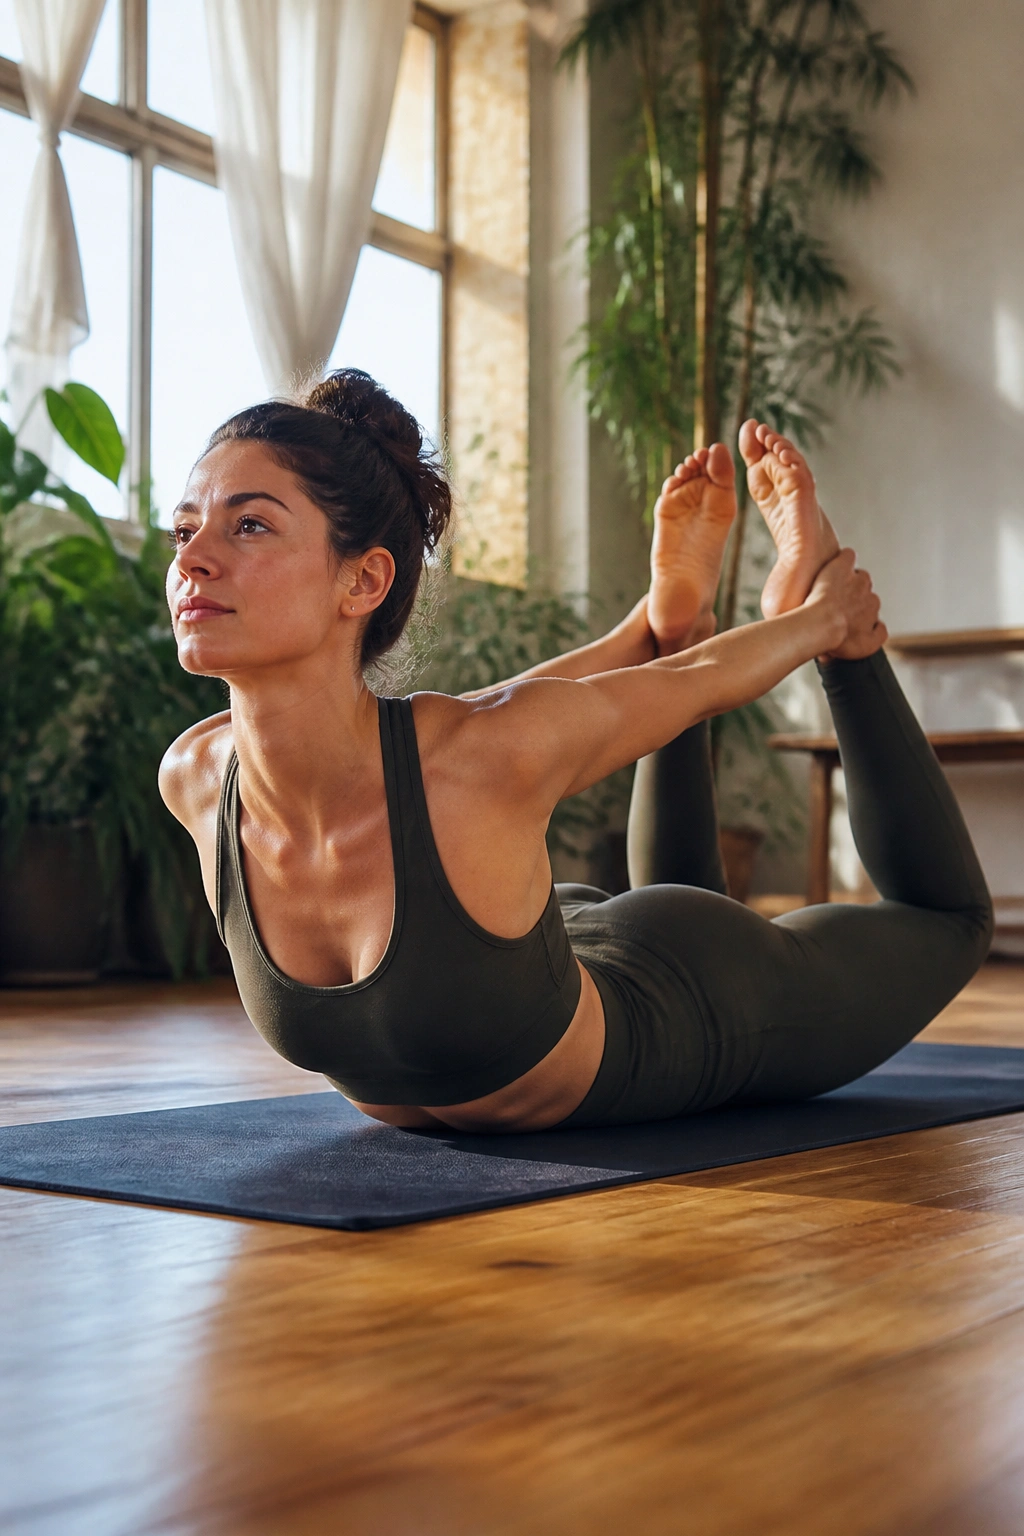
Bow pose is a more advanced version of Locust. You reach back, grab your ankles, and pull your chest and legs up simultaneously. It compresses the abdominal organs, which can help stimulate digestion and gut health.
This pose requires a lot of coordination. You have to kick your feet into your hands, not just pull with your arms. The kick provides the resistance, and your abdominal muscles have to work to keep you centered as you rock gently on your belly. It is an intense, active stretch that makes you feel energized almost immediately after you release the pose.
11. Triangle Pose
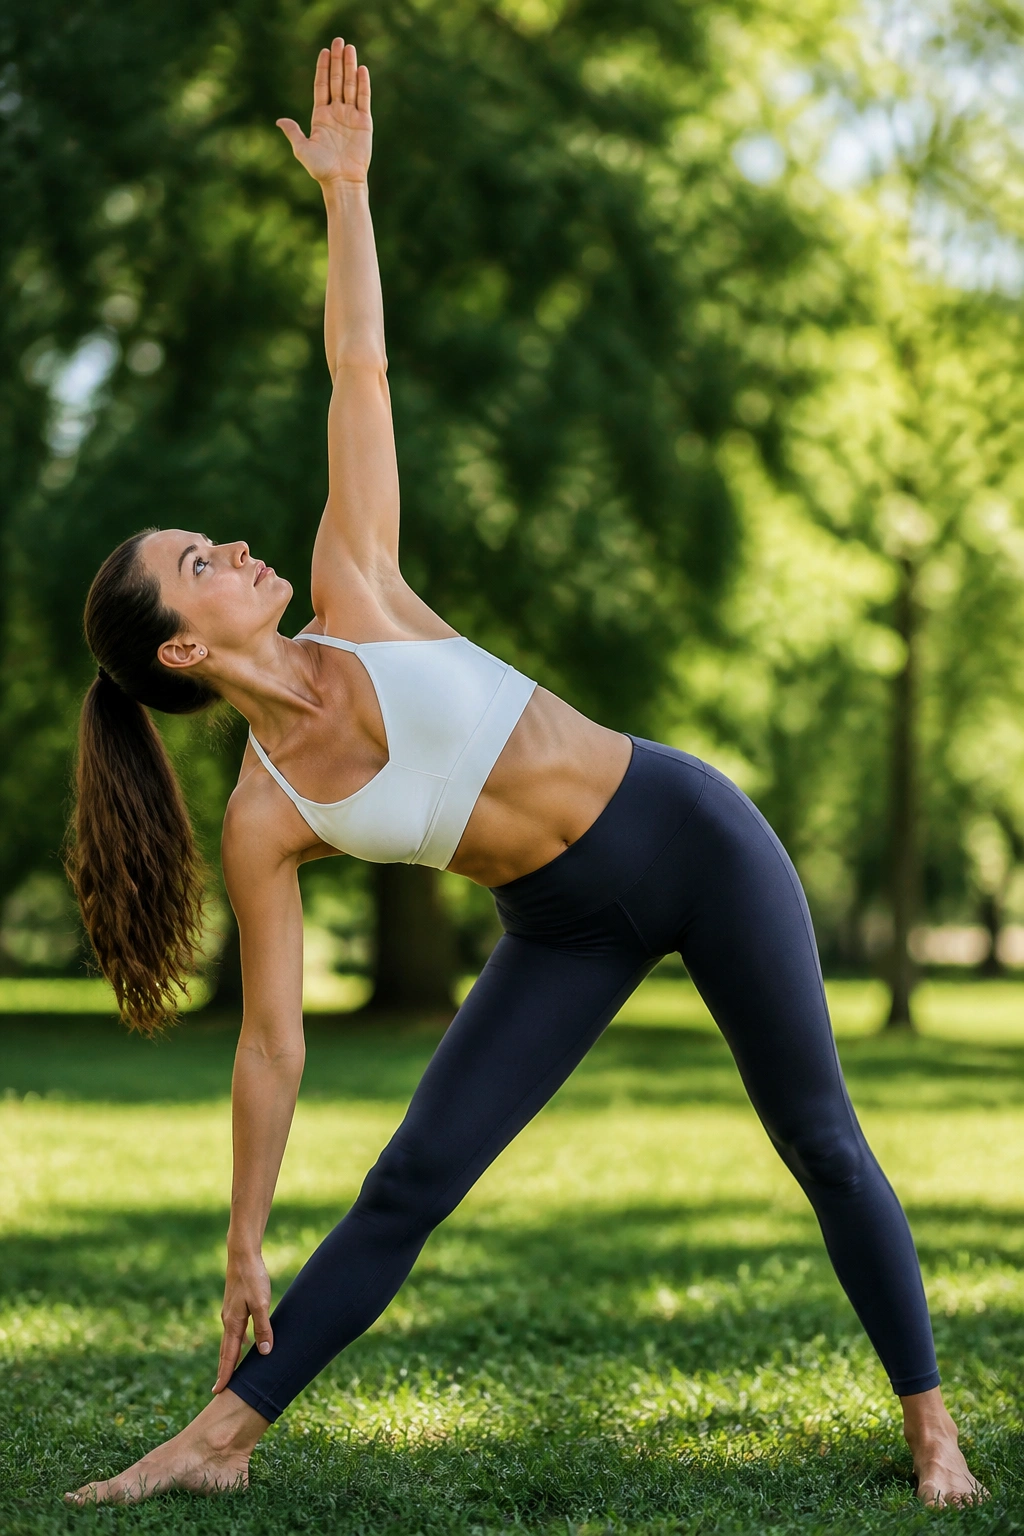
This is the ultimate oblique builder. Standing with your legs wide, you hinge at the hip and reach one hand down toward your shin or the floor. The other hand reaches for the sky. The weight of your torso is hanging to the side, and your obliques have to fight to keep you from collapsing.
You are effectively using your side-abs as a tether. To make this harder, don’t put all your weight on your bottom hand. Lightly touch your leg or hover your hand in the air. This forces the obliques to do the heavy lifting, sculpting the sides of your waist and creating that firm, cinched look.
12. Eagle Pose
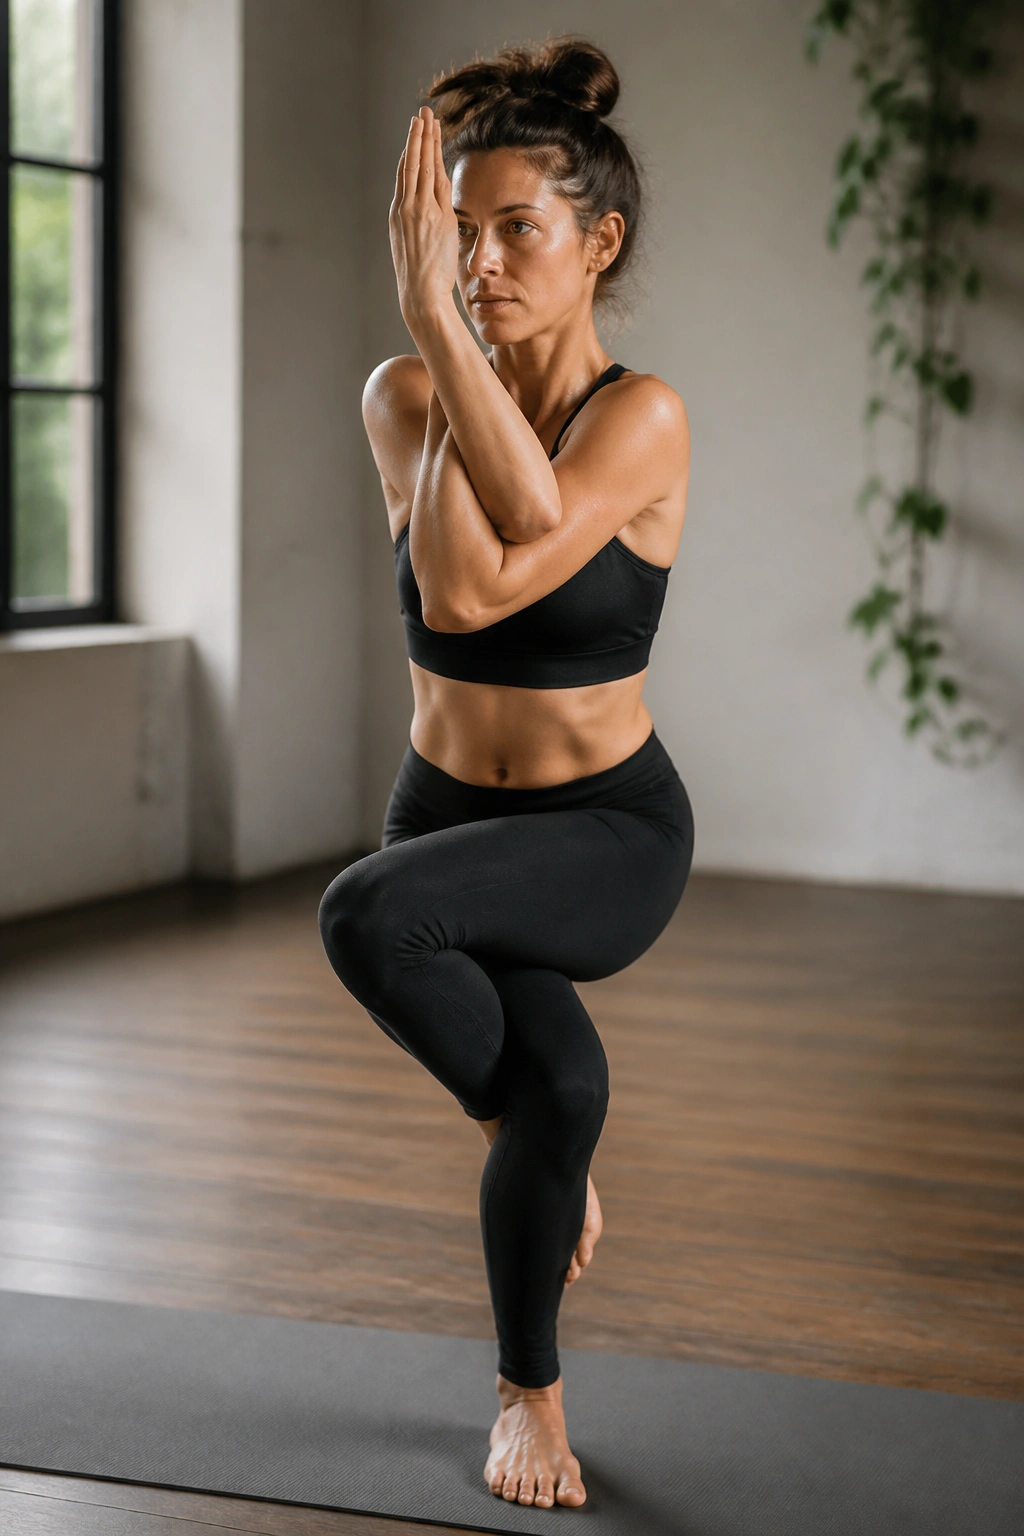
Eagle pose is a balance nightmare in the best way possible. You wrap one leg around the other and one arm under the other, sinking into a tight, twisted ball. It requires you to maintain a singular point of focus while your core works overtime to keep your center of gravity stable.
Because you are twisted, you are forcing the deep stabilizing muscles of your core to fire rapidly. If you lose focus, you fall. This makes it a mental exercise as much as a physical one. If you can keep your breathing steady while twisted like a pretzel, your body is learning to stay calm under intense physical load.
13. Downward-Facing Dog
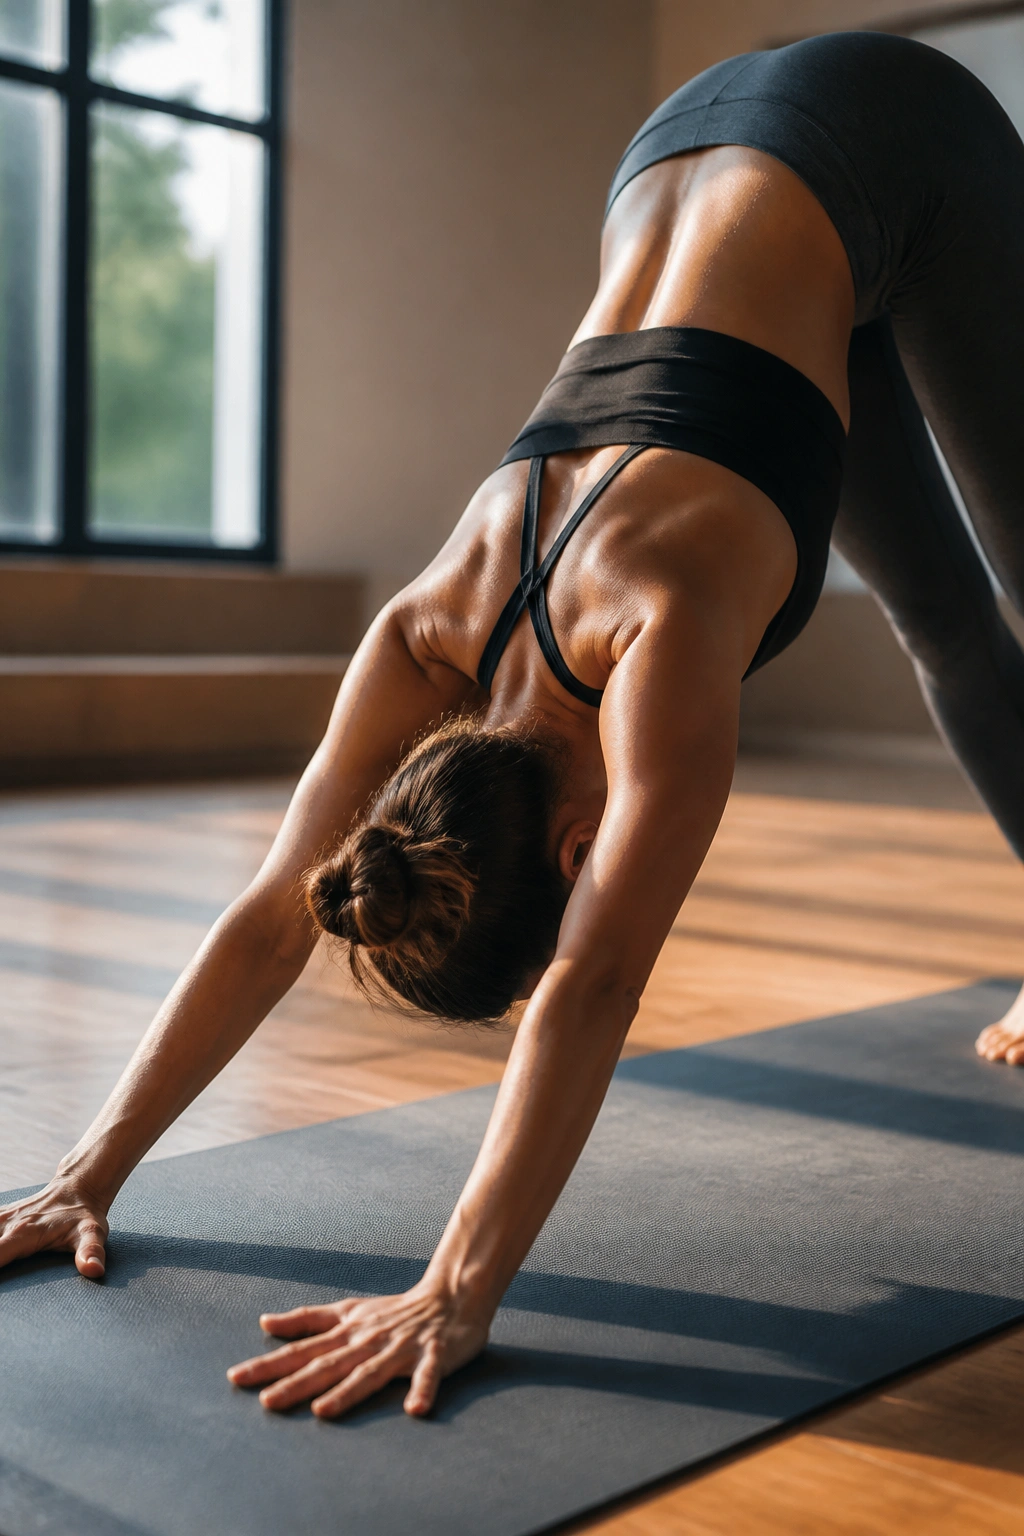
Most people think of this as a rest pose, but they are doing it wrong. If you are doing it with active intent, your core is constantly engaged. You are pushing your hips high, pressing the floor away with your hands, and drawing your navel in to create a hollow shape in the midsection.
When you hold a truly active Downward Dog, you are doing a constant pull-up with your own weight. Draw your ribs in toward your spine. If your ribs are flaring out, you are losing the core connection. This small adjustment turns a “stretching” pose into a full-body engagement drill that hits the entire abdominal wall.
14. Side Plank
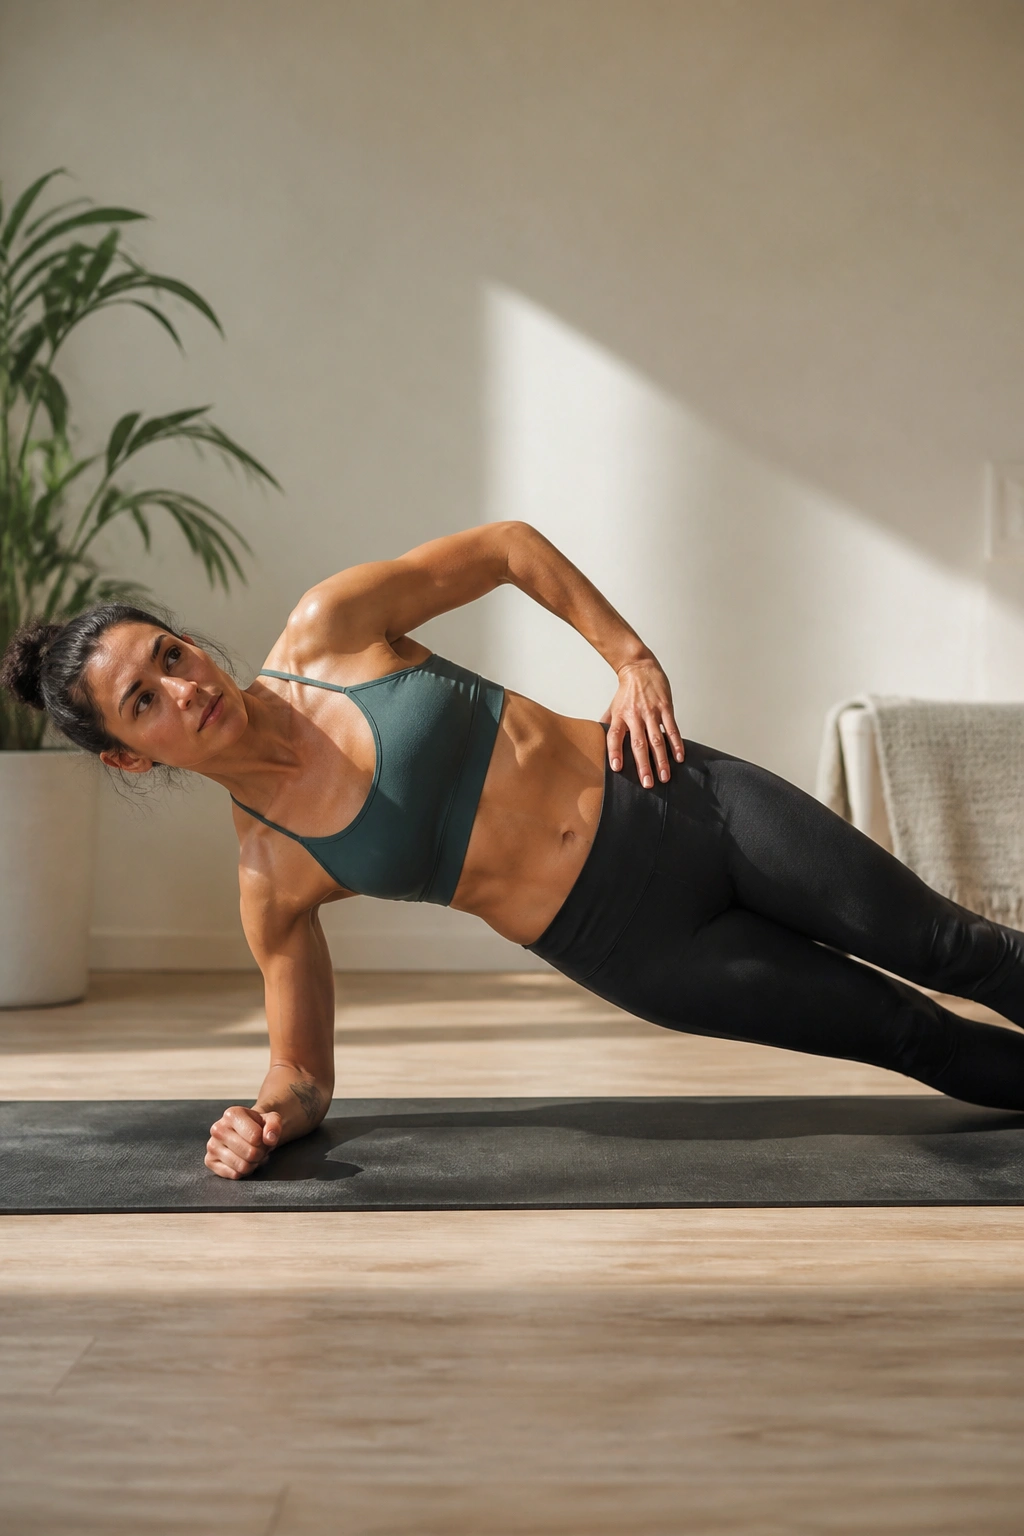
If you want to know if your obliques are strong, hold a Side Plank. You are balancing on one arm and the side of one foot, with your body in a straight line. Gravity is pulling your hips down, and your side-abs are the only thing keeping you off the floor.
How to Build Up to It
If this is too difficult, drop your bottom knee to the floor. You still get the oblique engagement without the same level of shoulder fatigue. Once that feels manageable, lift the knee and stack your feet. You can even lift the top leg to increase the lever arm and make it significantly harder.
Key Rule: Never let your top hip rotate forward. Keep your hips stacked perfectly, as if you are standing between two walls.
15. Cat-Cow Stretch
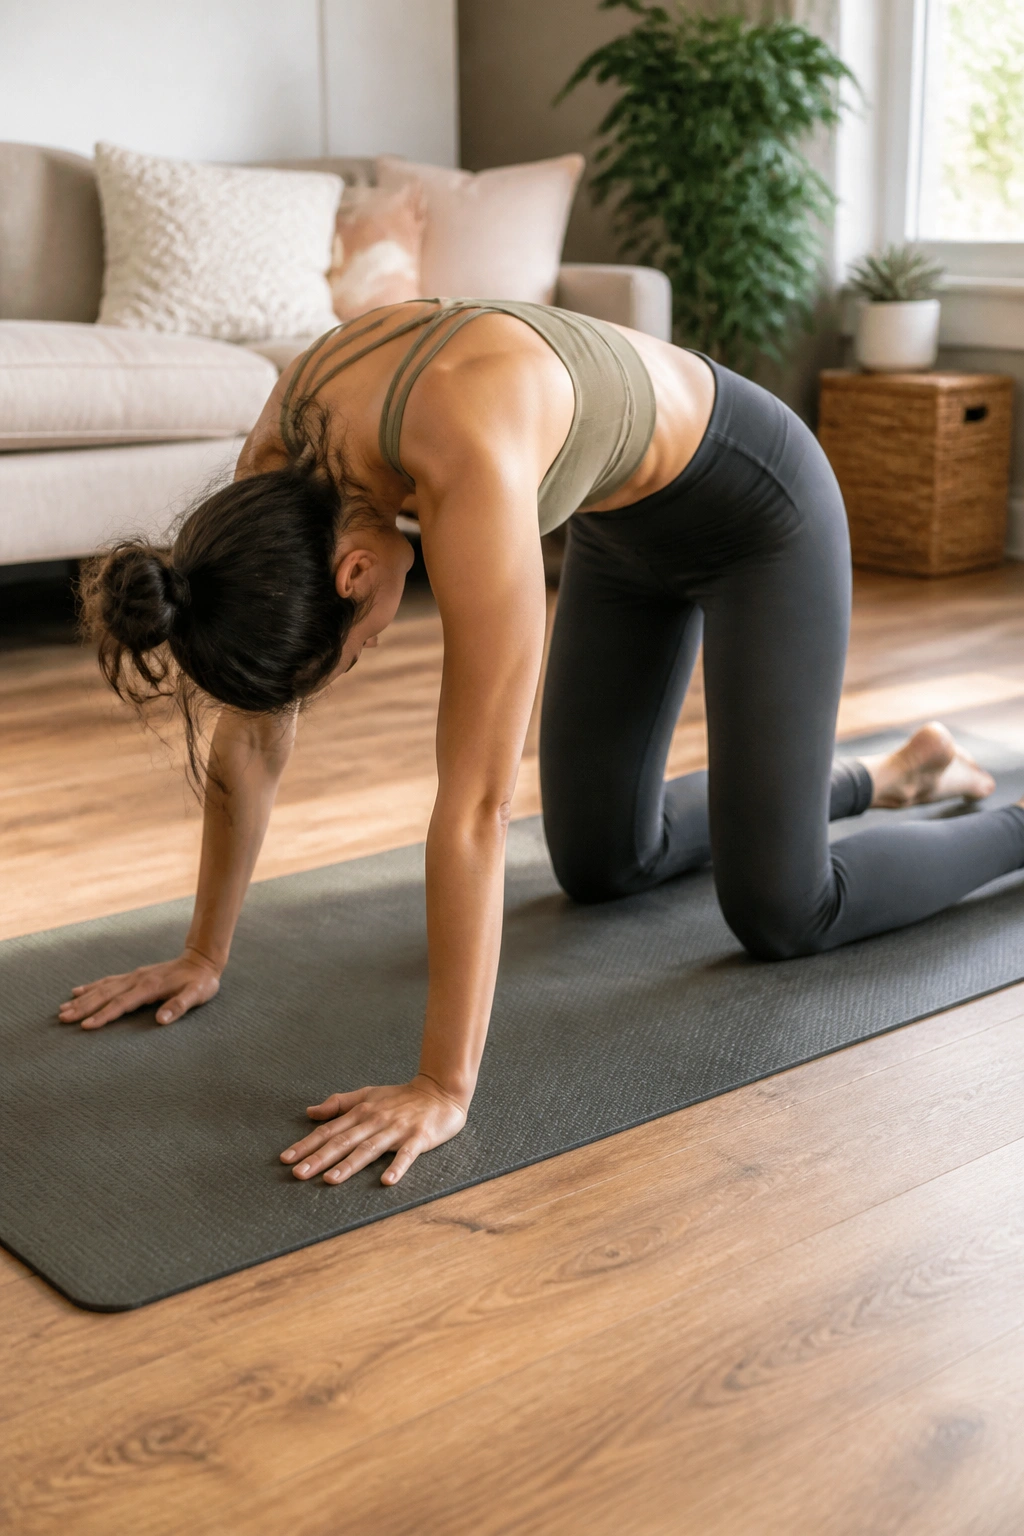
This is the reset button for your spine and your core. On all fours, you inhale to drop the belly and arch the back (Cow), then exhale to round the spine and tuck the chin (Cat). It looks simple, but the magic happens on the exhale.
When you round your back into Cat pose, push the floor away and pull your stomach all the way up toward the ceiling. Visualize your belly button touching your spine. This is a rhythmic, controlled activation of the transverse abdominis. Doing this repeatedly keeps the core supple and ensures you are training your muscles to move, not just stay static.
16. Wind-Relieving Pose
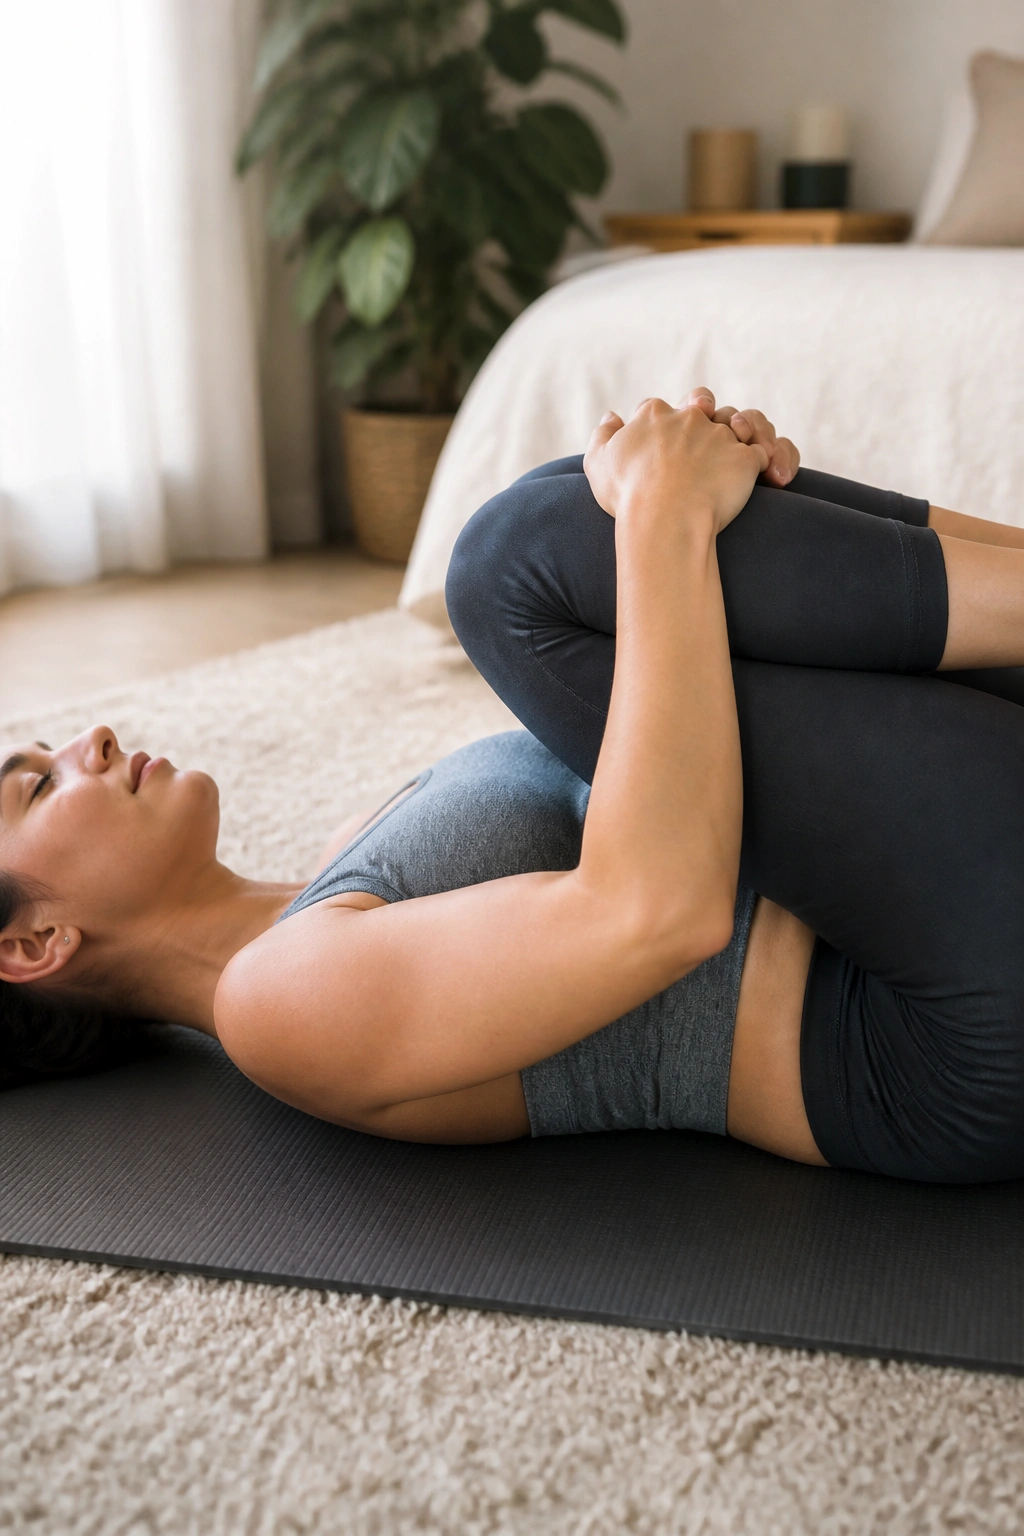
Sometimes, a “pooch” or bloated midsection is just trapped gas and slow digestion. Pavanamuktasana is designed to compress the abdomen and stimulate the digestive tract. You lie on your back and pull your knees into your chest, creating a gentle pressure against your belly.
It might feel slightly odd to include this in a fitness list, but gut health is directly linked to midsection appearance. If your digestion is sluggish, you will look and feel fuller, regardless of your body fat percentage. This pose helps move things along, reducing inflammation and bloating so your abdominal muscles can actually show through.
17. Child’s Pose
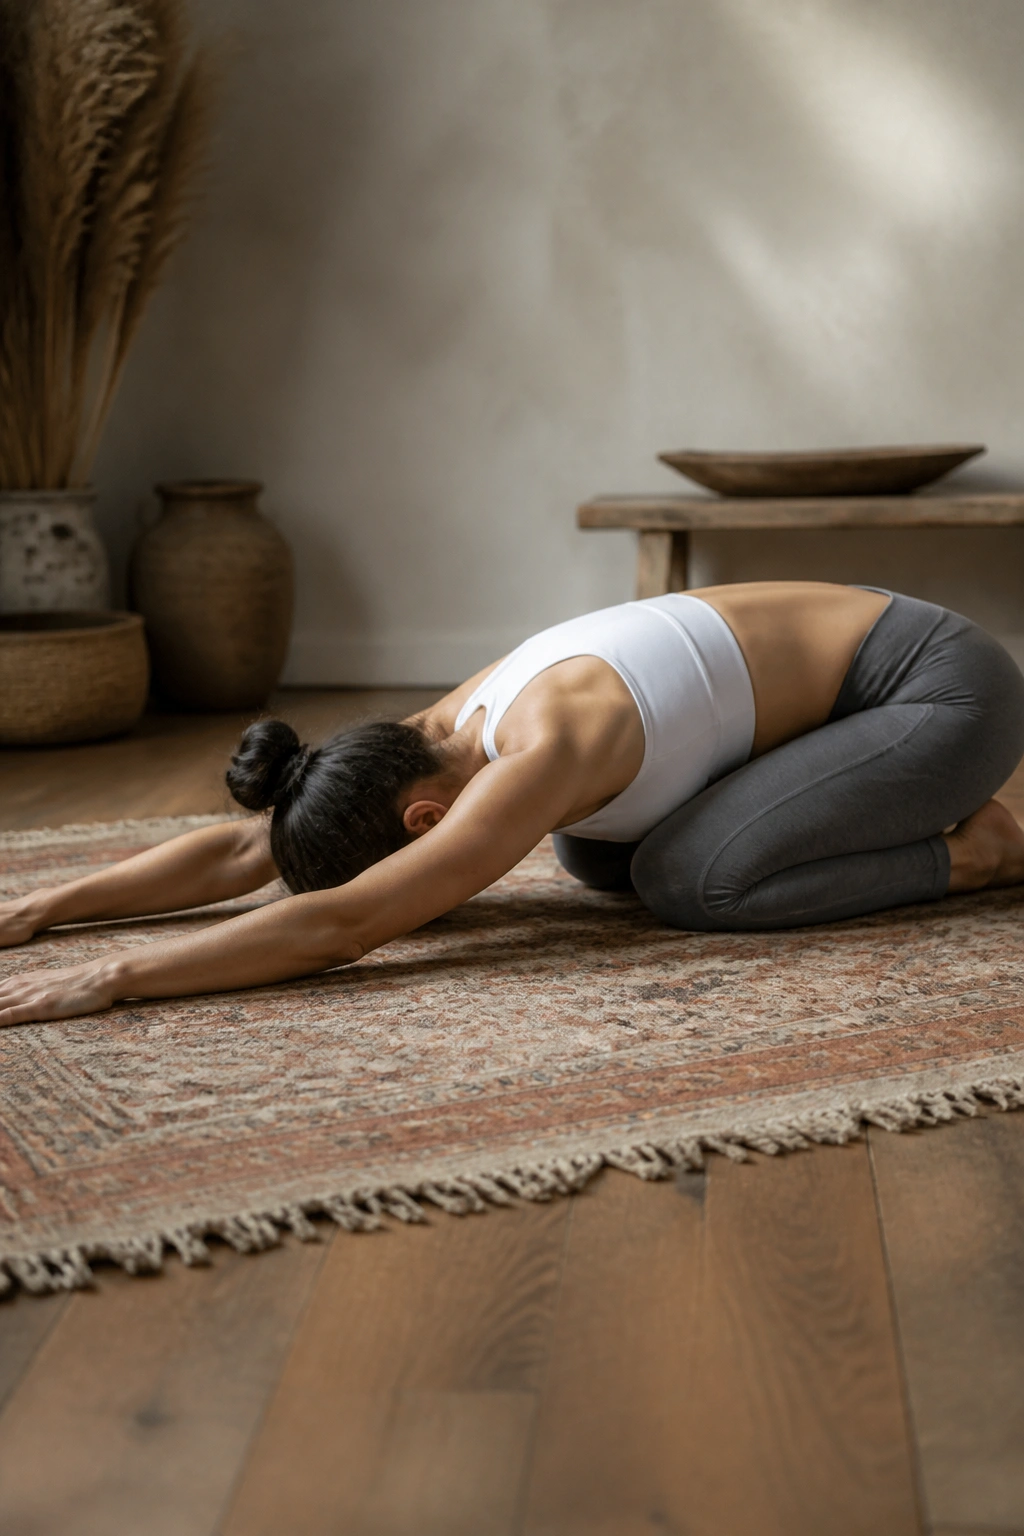
You might be thinking, “This is just resting.” But look closer. Child’s pose, when done actively, is a vital part of your core-building toolkit. When you sit back on your heels and extend your arms forward, you get a deep stretch through the lats and the sides of the torso.
This stretch allows for a fuller range of motion in your upper core. Furthermore, this pose is the primary way to regulate your nervous system. Remember that cortisol—the stress hormone—is a major contributor to stubborn belly fat. If you are constantly in a “fight or flight” mode, your body will cling to that weight. Child’s pose tells your body it is safe to relax, which can help lower those cortisol levels.
18. Extended Side Angle
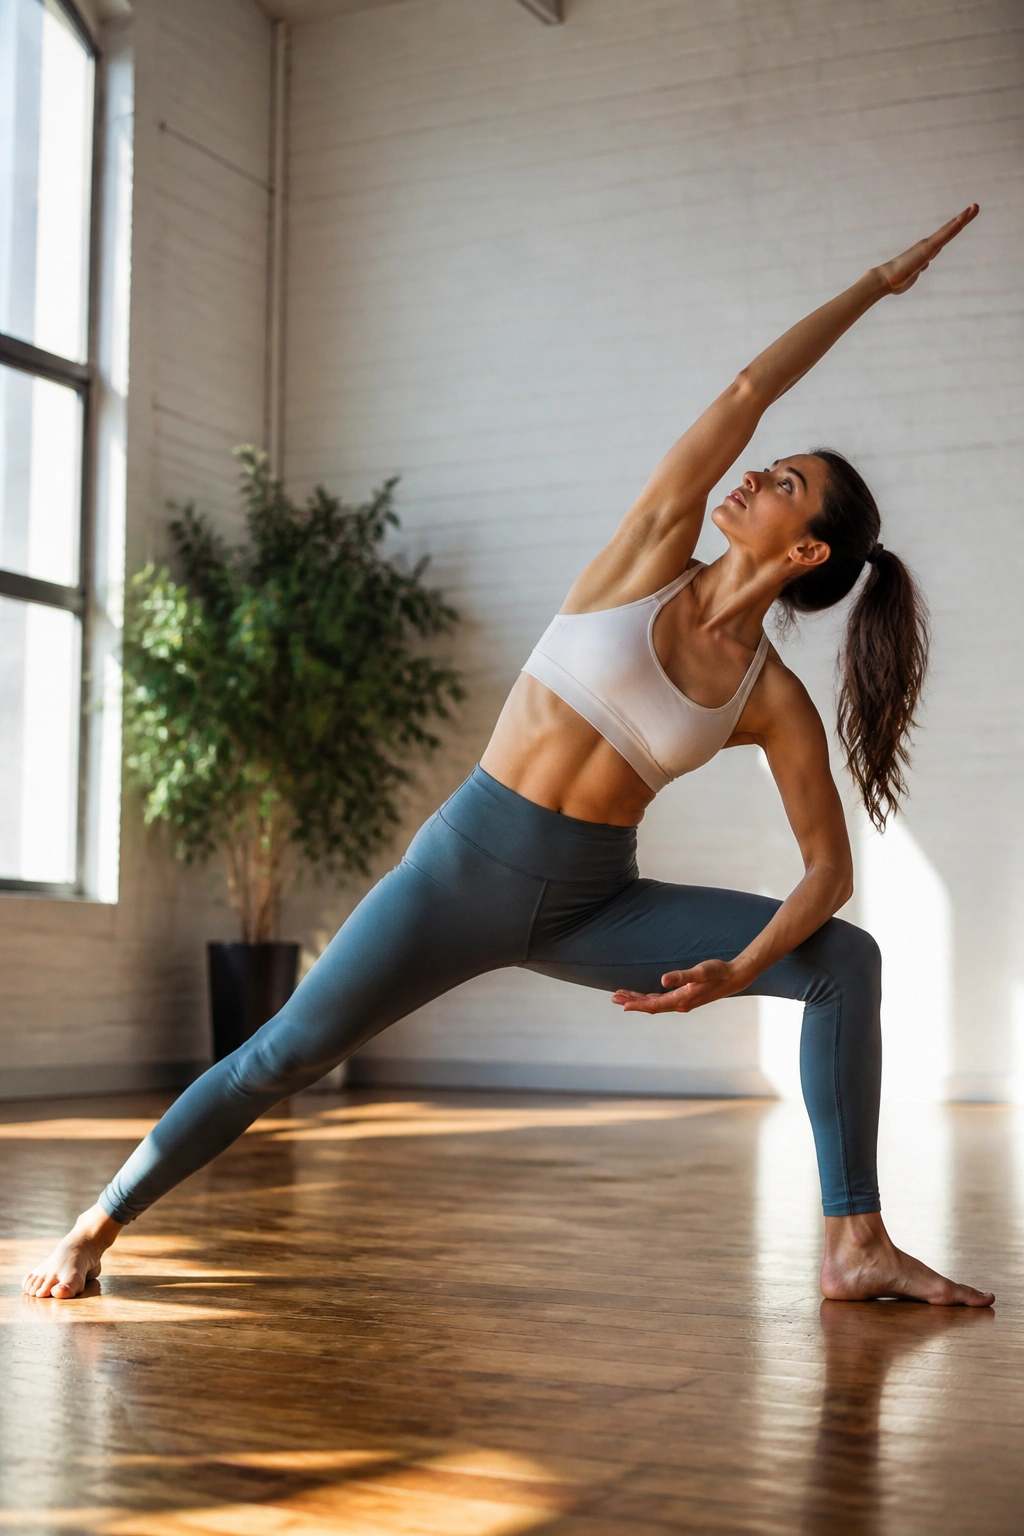
This pose is a powerhouse for the entire side of your body. Similar to Triangle pose, you lunge deep with one leg and extend your entire body over that bent knee, creating one long line from your heel to your fingertips.
Because of the depth of the lunge, your core has to work incredibly hard to prevent you from falling over. It demands balance, leg strength, and oblique stability all at once. If you feel like your torso is drooping, lift yourself up by pulling your ribcage away from your thigh. That resistance is what sculpts the waistline.
19. Chaturanga Dandasana
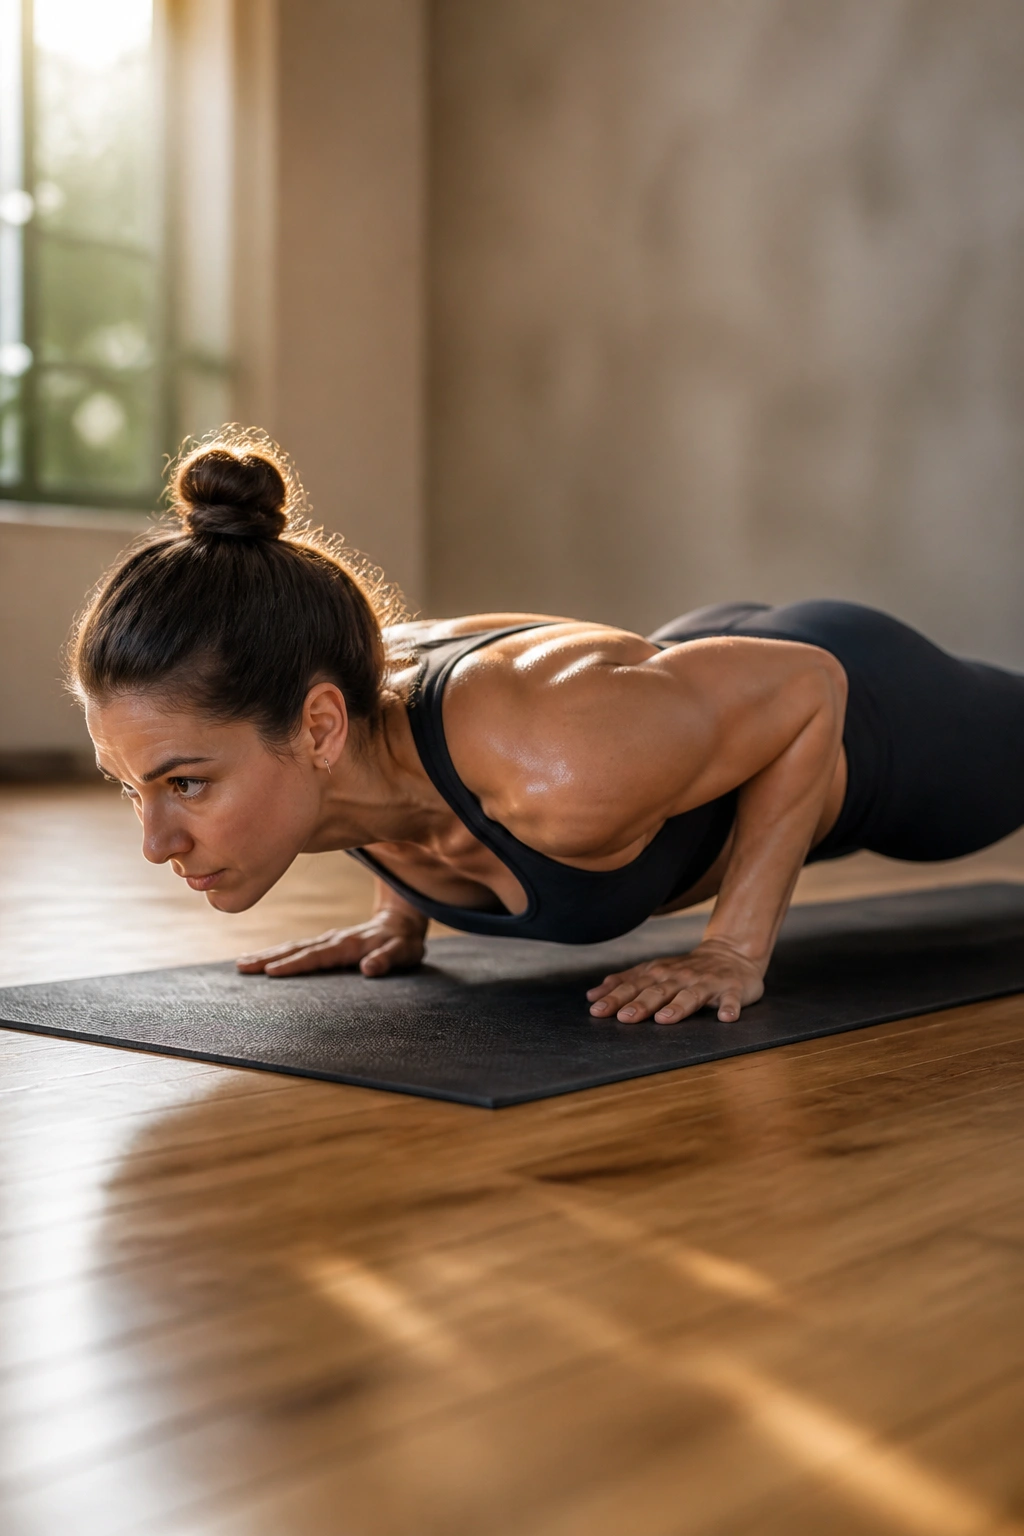
This is the yoga version of a low-pushup hold, and it is arguably the hardest move in a standard flow. You hover just an inch or two above the floor, with your elbows tucked tightly against your ribs. Your entire body is rigid.
Your core must be rock-solid here. If you relax your stomach, your lower back will sag, and your shoulders will take a beating. It forces your abs to brace like you are about to get punched in the stomach. This kind of tension builds density and strength in the midsection faster than any number of crunches ever could.
20. Corpse Pose
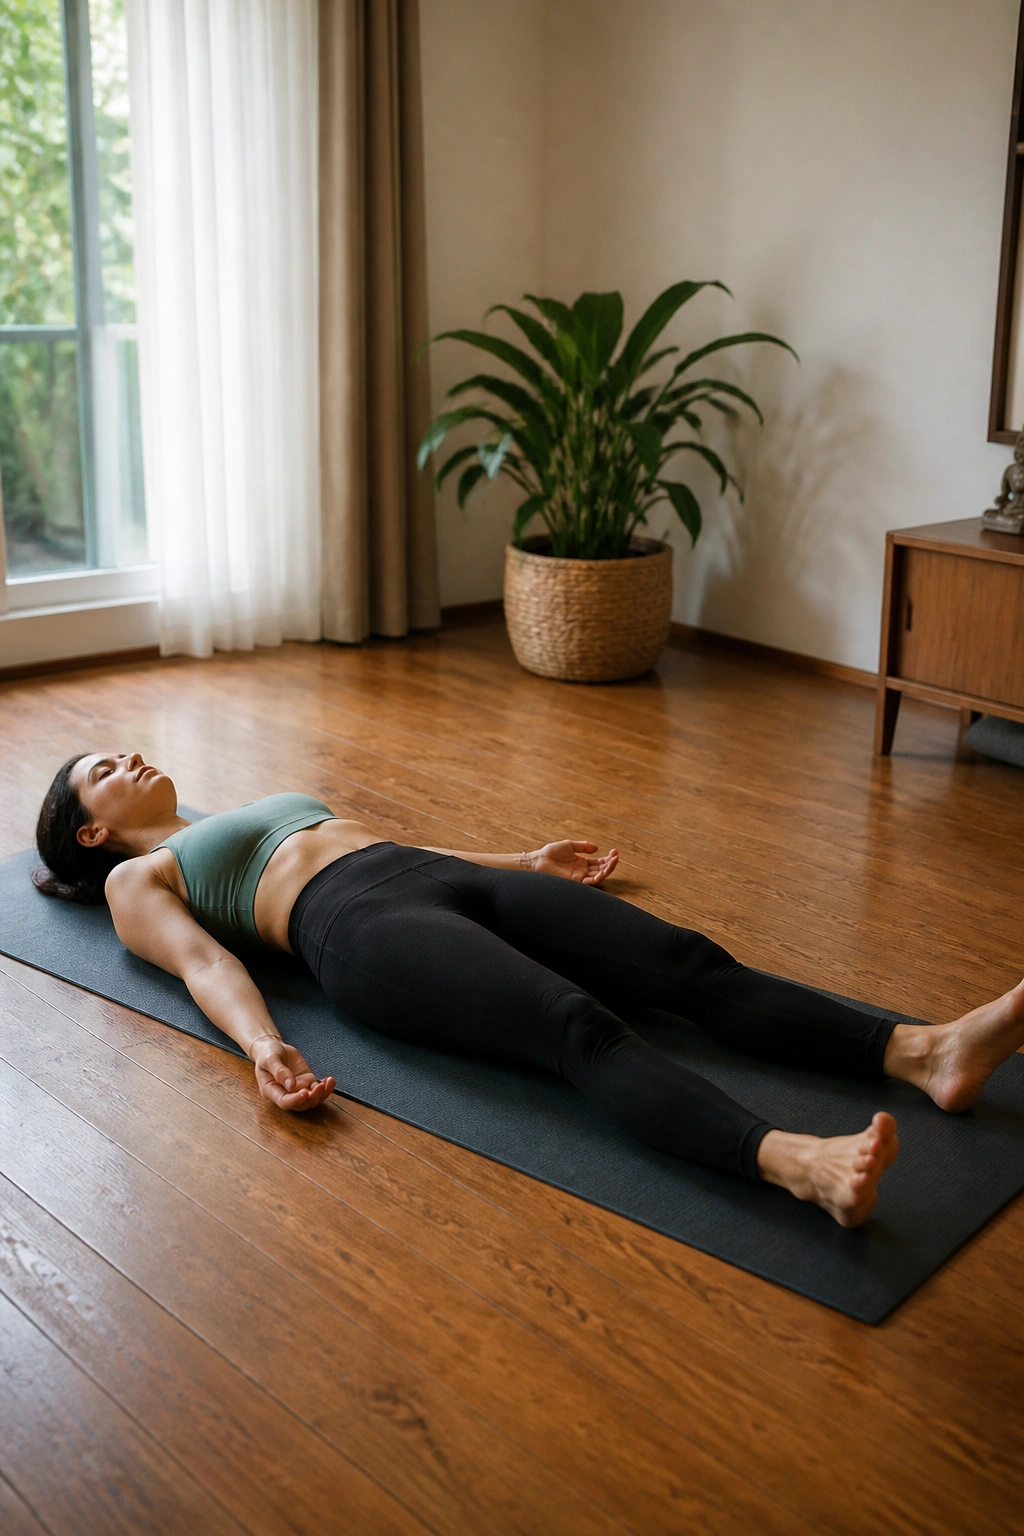
Yes, you have to do Savasana. After all the intense work of the previous 19 poses, your body needs to integrate the effort. Laying completely still for five to ten minutes is not just about relaxing; it is about bringing your heart rate down and signaling to your body that the work is finished.
Recovery is when the body actually changes. If you skip this, you remain in a stressed state. By allowing yourself to fully let go, you maximize the benefits of the entire session. It sounds counterintuitive, but the most productive thing you can do for your waistline after a hard yoga practice is to simply lie there and do nothing.
Final Thoughts
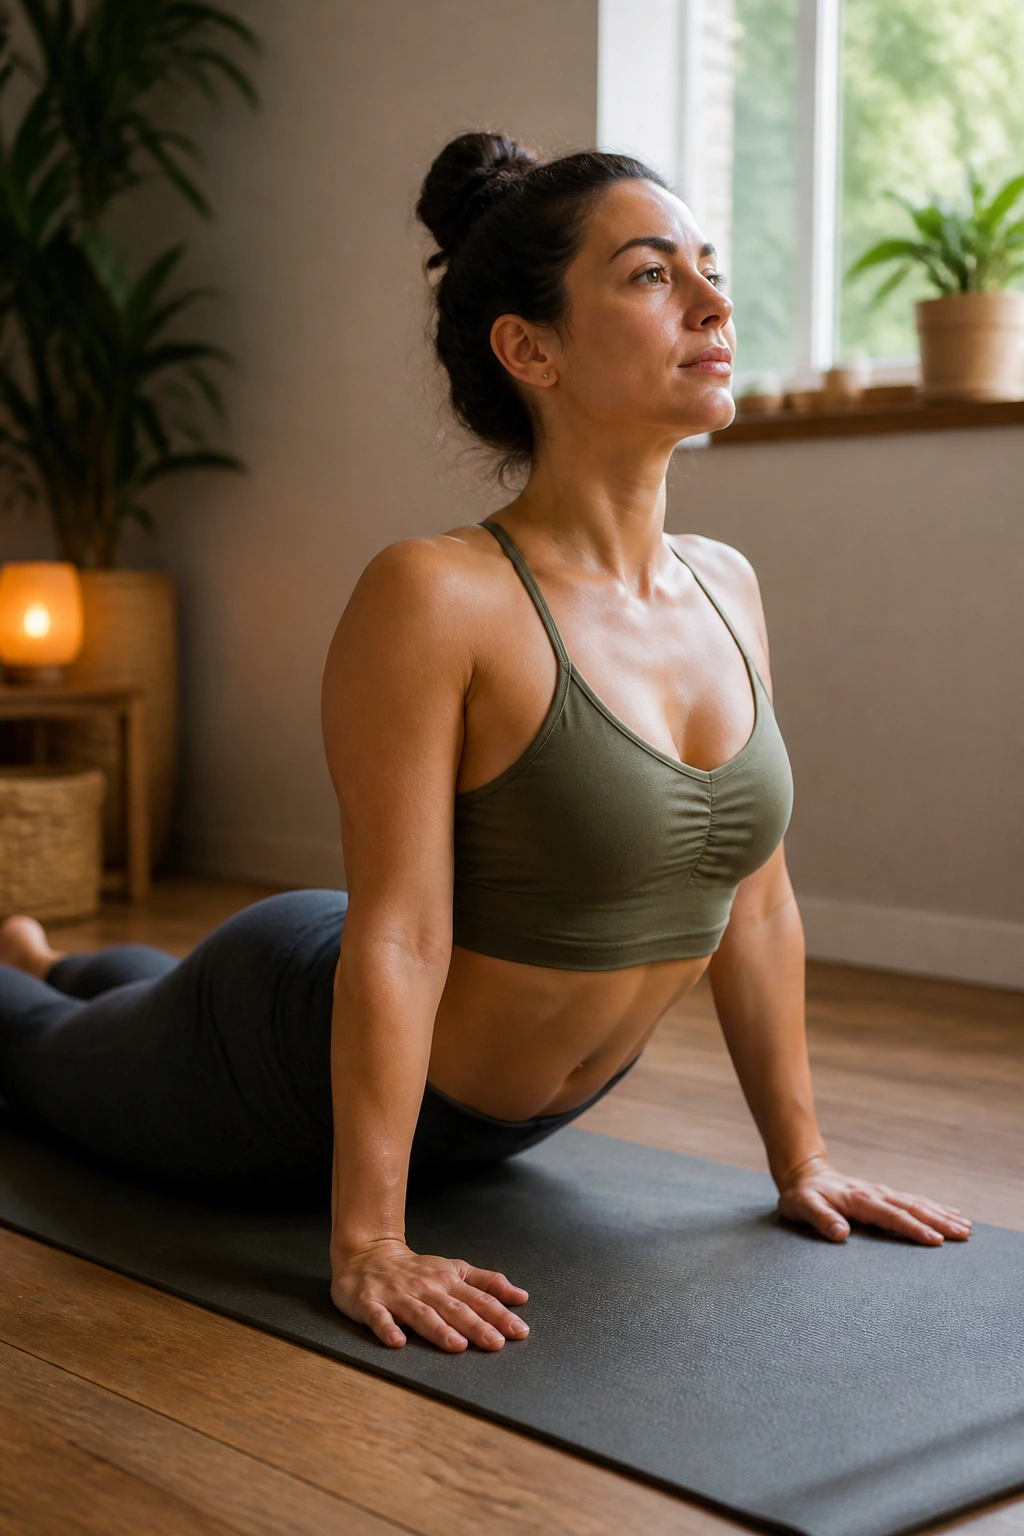
The real secret to losing belly fat isn’t finding the “perfect” pose, but rather maintaining the habit of showing up. Yoga works best when you are consistent, not when you try to do the hardest poses sporadically. If you only practice once a month, your muscles won’t get the stimulus they need to tighten up and burn energy efficiently.
Pick a handful of these poses that feel accessible and do them regularly. You don’t need to do all 20 every single day to see a change. Even committing to 15 minutes of dedicated core-focused movement will shift how your body feels, how you stand, and eventually, how you look. Listen to your body, breathe through the discomfort, and keep coming back to the mat. That is how the change happens.
