



Yoga and barre represent two sides of the same coin when it comes to long, lean muscle development. You have the ancient, flow-based mechanics of yoga that prioritize alignment, flexibility, and breath, and then you have the high-rep, low-impact intensity of barre that focuses on those tiny, microscopic pulses. Combining them is where the real work happens. When you blend the two, you stop relying on momentum and start forcing the deep stabilizer muscles to do the heavy lifting.
If you have ever felt like your standard routine has hit a plateau, this hybrid approach is your answer. It is not about lifting heavy; it is about exhausting the muscle until it has no choice but to change. You will find that these movements require a surprising amount of focus. You cannot just go through the motions—if your mind wanders, the engagement drops, and you lose the benefit. Let’s get into the sequences that will shift your perspective on what body-weight training can actually do.
1. Sun Salutation Isometric Flow
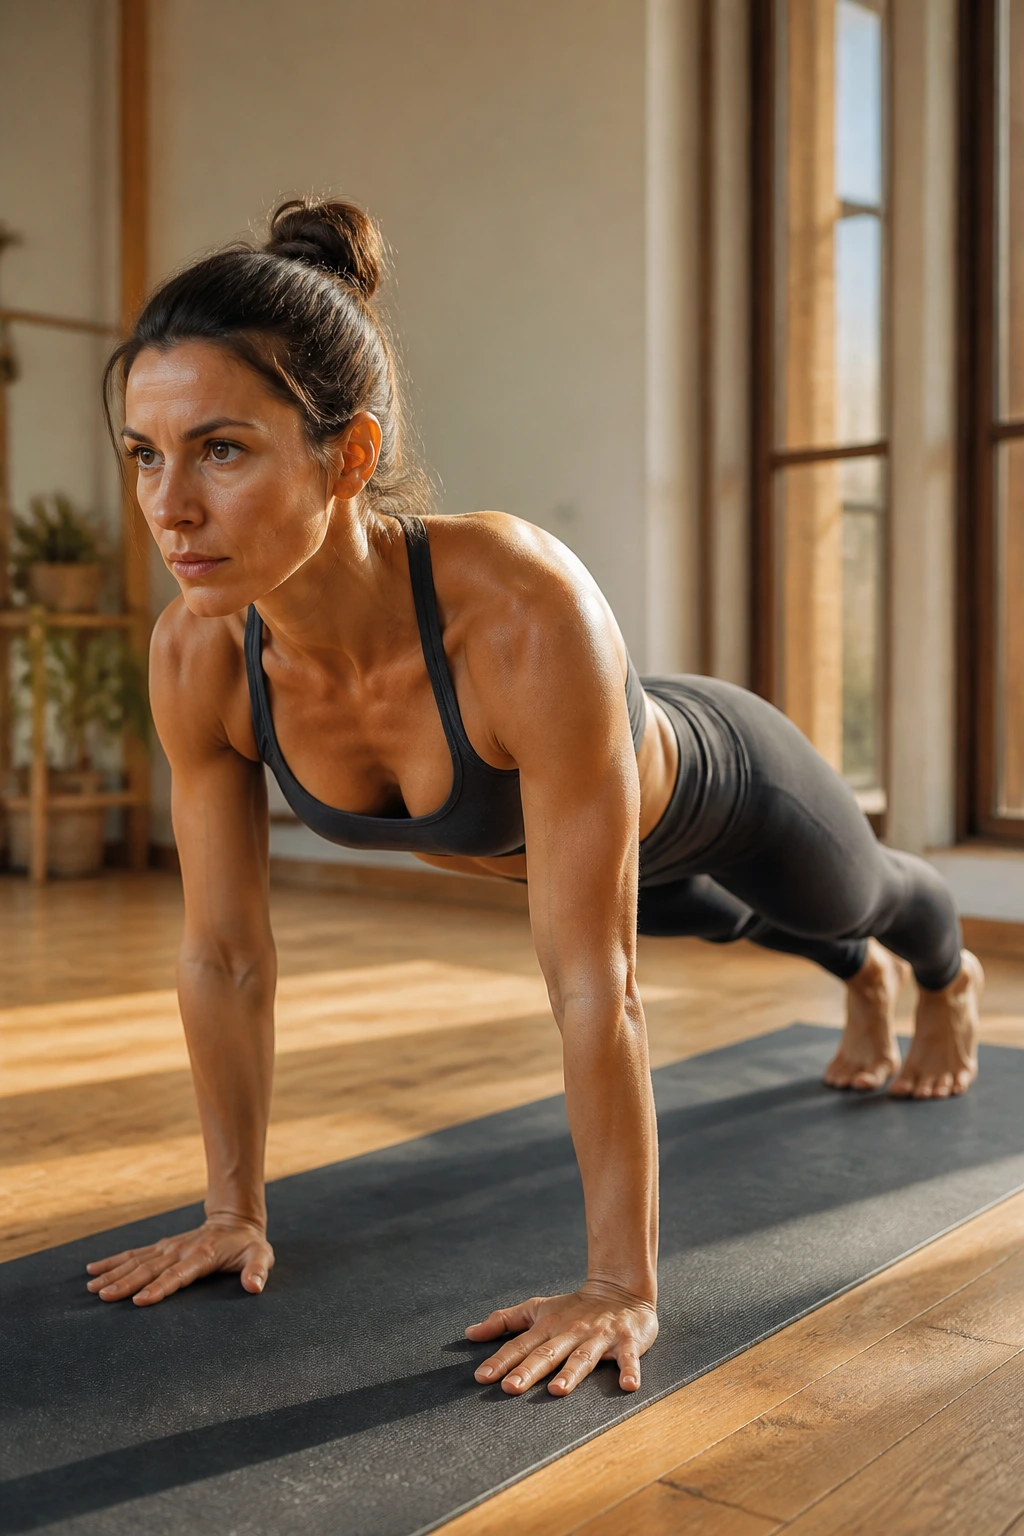
Most people rush through their sun salutations, treating them like a warm-up rather than a workout. Stop that. To turn this classic flow into a toning machine, you have to break the rhythm. Instead of moving fluidly, hold every transition for three seconds.
Why This Changes Everything
When you hold the transition, you remove the help of gravity. Your muscles are constantly under tension. When you step into your lunge or hover in your chaturanga, that static pause is where the trembling starts. That shake? That is the sound of your muscles waking up.
How to Execute the Flow
- Start in Tadasana, root your feet into the floor, and pull your kneecaps upward.
- Move into your forward fold and hold the bottom position for three full, deep breaths.
- Step back into a plank, but instead of moving through, hold the plank for five seconds with your core braced like you are about to take a punch.
- Lower halfway, pause for three seconds, then press back up.
Pro tip: Do not lock your elbows. Keep a micro-bend in the joint to ensure the work stays in your chest and triceps, not your ligaments.
2. Deep Plie and Warrior II Fusion
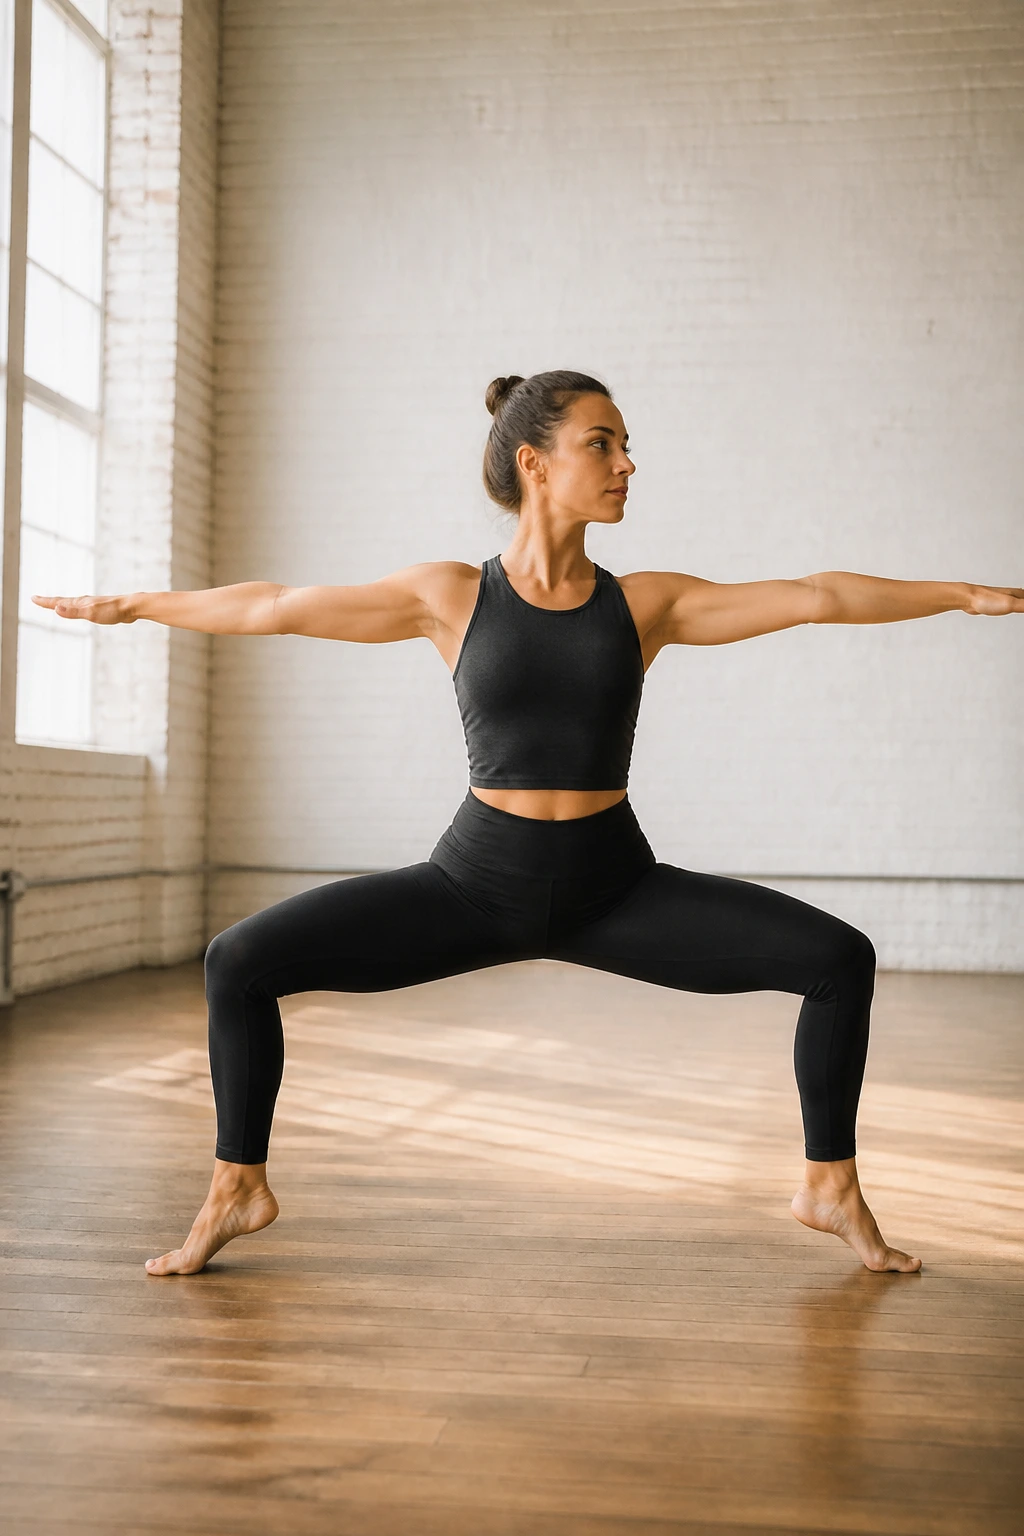
This sequence targets the inner thighs and the glutes simultaneously. It mimics the classic ballet second position, but we add the Warrior II gaze to keep your posture disciplined. You need to keep your spine perfectly vertical—no leaning forward.
The Mechanism of Action
Warrior II usually emphasizes external hip rotation. By adding the plie pulse, you force the adductors—the muscles inside your thigh—to stabilize the entire structure. If you feel your knees caving inward, you are losing the engagement. Keep your weight centered directly over your arches.
Refining Your Stance
- Step wide, turn your toes out, and sink into a deep plie.
- Bring your arms out to the side in the Warrior II position.
- Perform 15 tiny pulses at the bottom of the squat—think one inch down, one inch up.
- Transition into a standard Warrior II by turning one foot forward and the other perpendicular, then hold the lunge for 30 seconds before reversing the process.
Warning: Do not let your glutes stick out. Tuck your tailbone under. Imagine a string pulling the crown of your head to the ceiling.
3. Chair Pose and Calf Raise Burnout
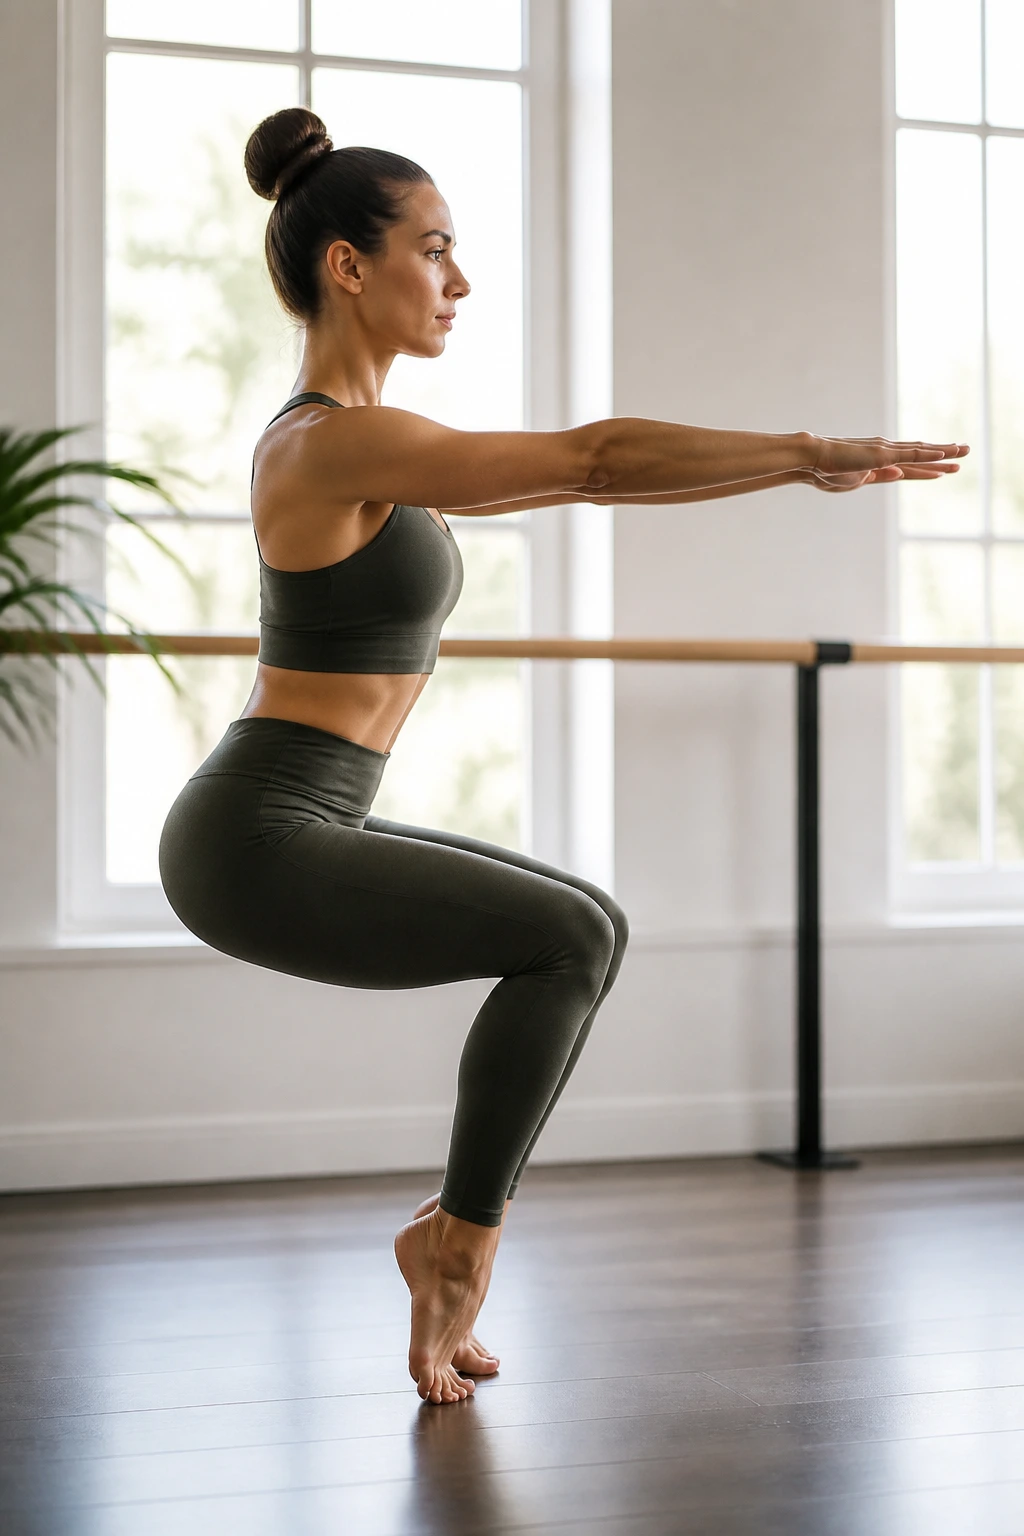
Chair pose is the ultimate glute builder, but it is often butchered by people who don’t engage their upper body. When you add calf raises, you introduce an instability that forces your core to work overtime just to keep you upright.
Why This Is Different
Usually, people hold chair pose statically. By lifting your heels, you shift the center of gravity. This makes the quads scream. It forces the tiny stabilizers in your ankles and feet to fire up, which creates a more sculpted, stable lower leg over time.
The Routine
- Sink into your chair pose, weight firmly in your heels, chest lifted.
- Sweep your arms up, keeping your shoulders away from your ears.
- Lift your heels off the ground, keeping your balance.
- Pulse for 20 counts, then lower your heels and stand up for a two-second reset. Repeat this five times.
Note: If your heels touch the ground during the pulses, you lose the engagement. Keep them hovering.
4. Barre-Supported Lunge Sequence
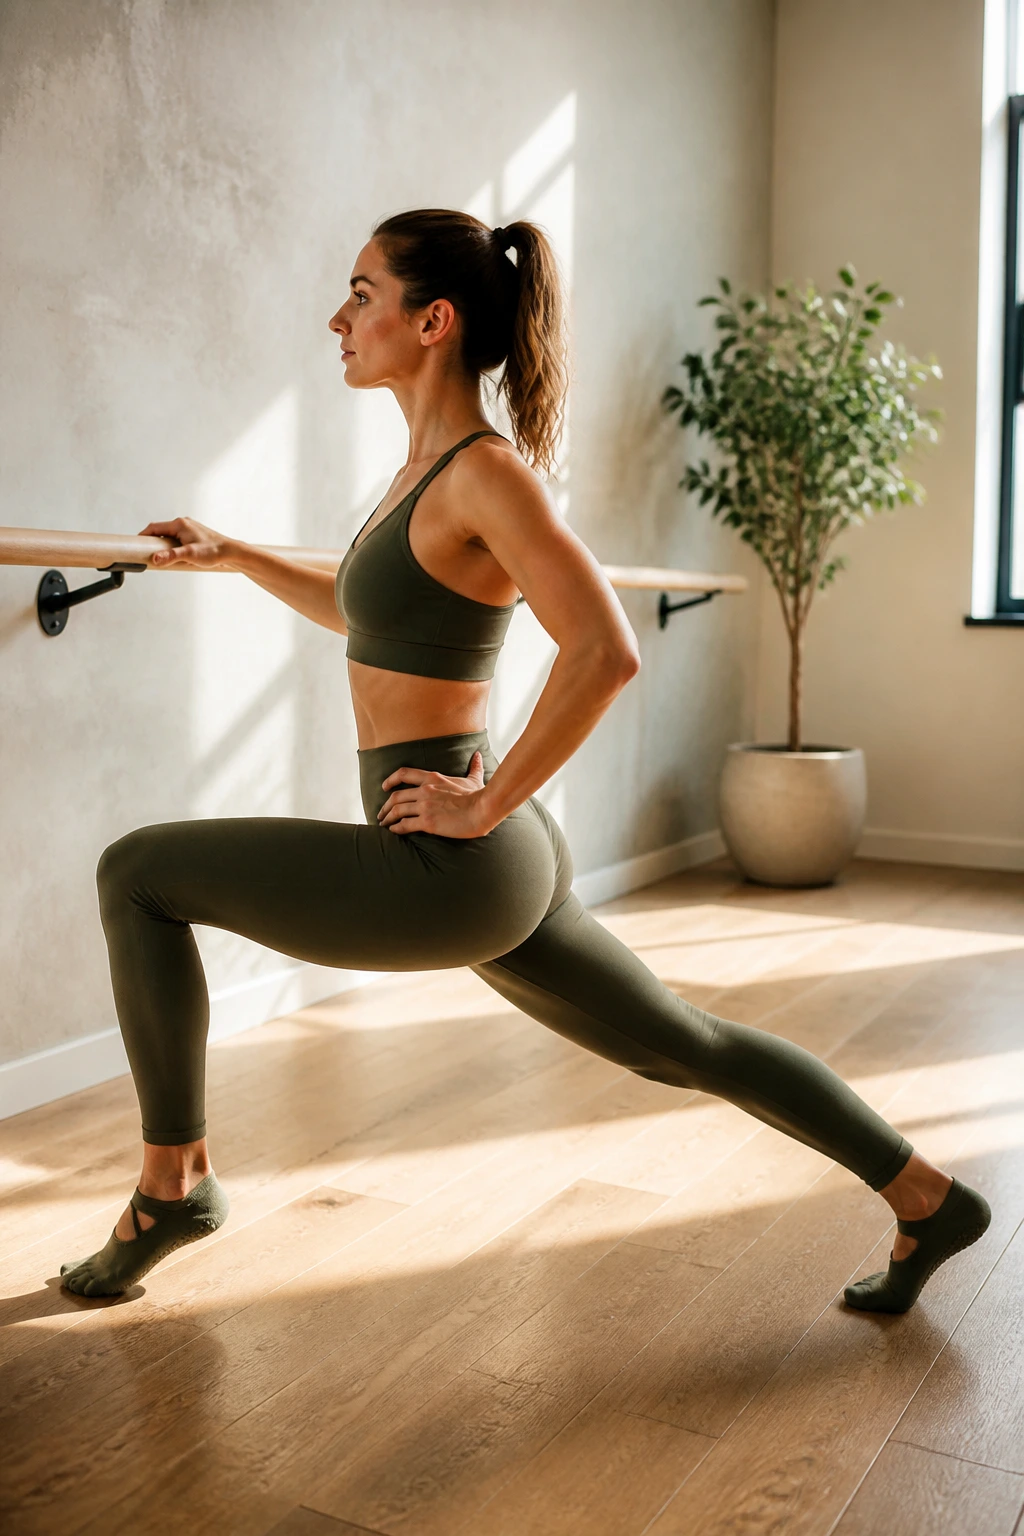
Using a chair or countertop as a makeshift barre gives you the confidence to get deeper into your lunges without worrying about tipping over. This allows you to focus 100% of your energy on the depth of the lunge.
The Anatomy of the Lunge
Most lunges are too shallow. In this sequence, we aim for the back knee to hover just a quarter-inch off the floor. The closer to the floor you get, the more your glute medius has to engage. This is the muscle responsible for that “lifted” look at the side of your hip.
Steps for Success
- Stand beside your support, holding on lightly.
- Step back into a deep lunge.
- Pulse the back knee down, focusing on squeezing the glute of the front leg.
- Lift the back leg into a runner’s lunge balance, holding for three seconds.
- Switch sides.
Critical cue: Keep your front knee aligned with your second toe. If it drifts inward, you risk hip strain.
5. Standing Glute and Hamstring Series
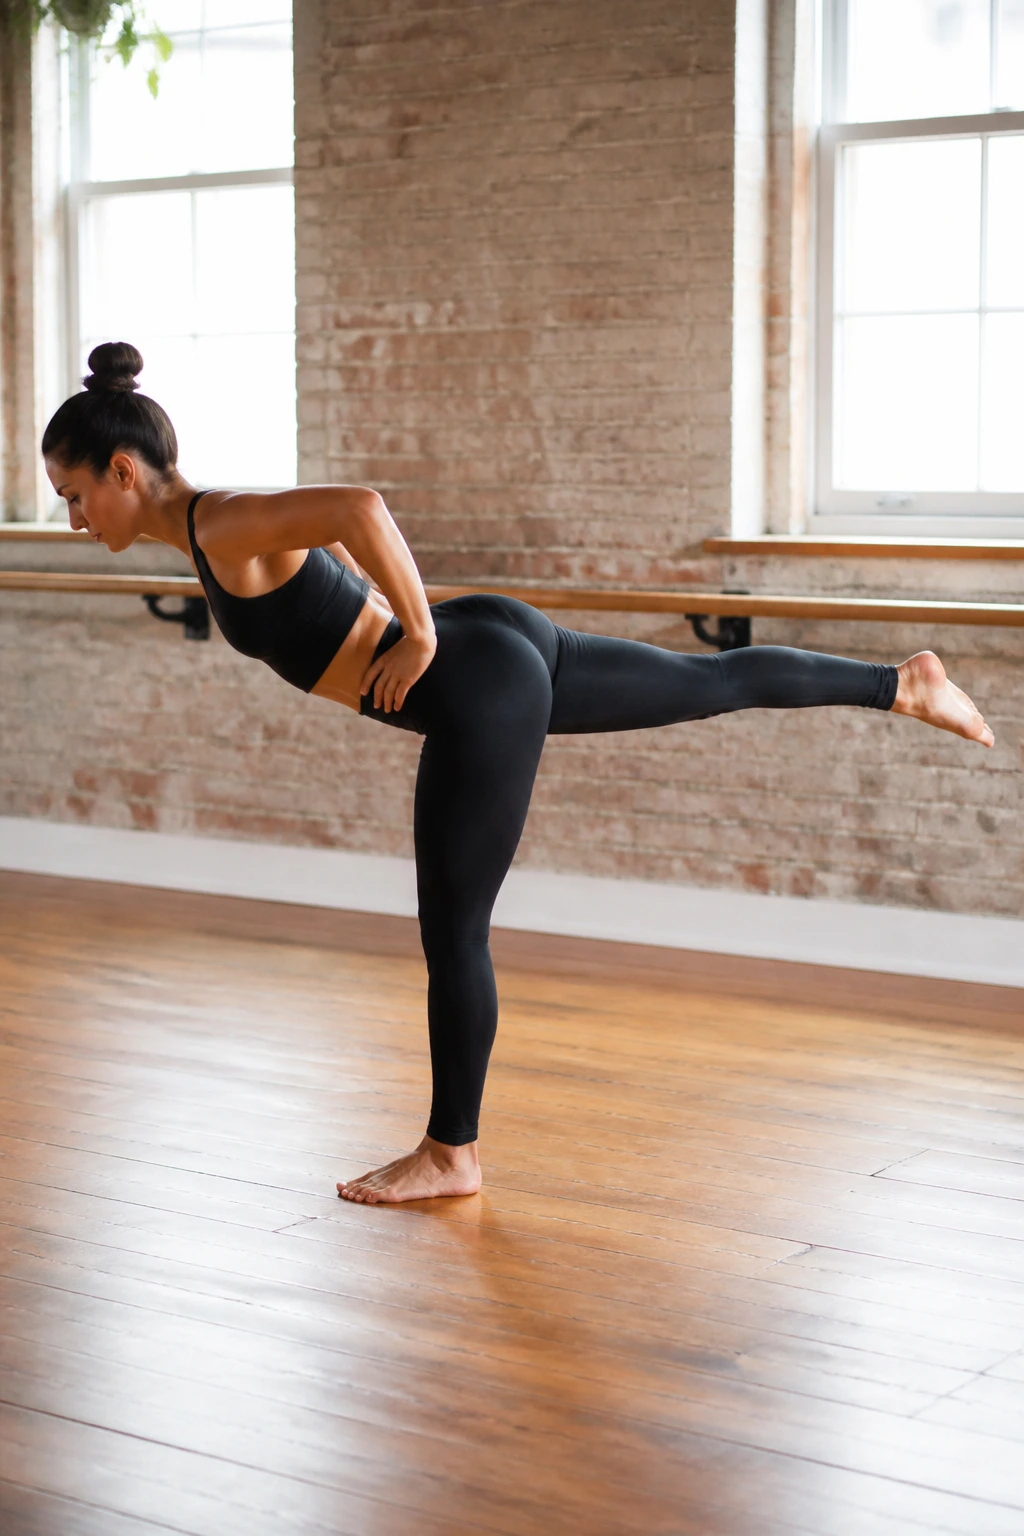
This is essentially barre work disguised as yoga. It targets the posterior chain—the back of the legs—which is often neglected in standard gym routines. You will stand in a modified mountain pose, hinging at the hips, to isolate the glutes.
Why Focus on the Posterior?
The hamstrings and glutes are the engines of your body. When they are strong, your lower back pain usually dissipates. This sequence requires you to keep your spine long. If you round your back, you lose the connection to your glute.
Routine Breakdown
- Hinge forward at the hips, keeping your back flat like a table.
- Extend one leg back behind you, toe pointed.
- Lift the leg using only your glute—no arching your lower back.
- Pulse the leg upward for 30 counts, maintaining a flexed foot.
Reality check: It should feel like you are cramping. That is the muscle reaching failure. Fight through those extra five pulses.
6. Core-Centric Plank and Tabletop Flow
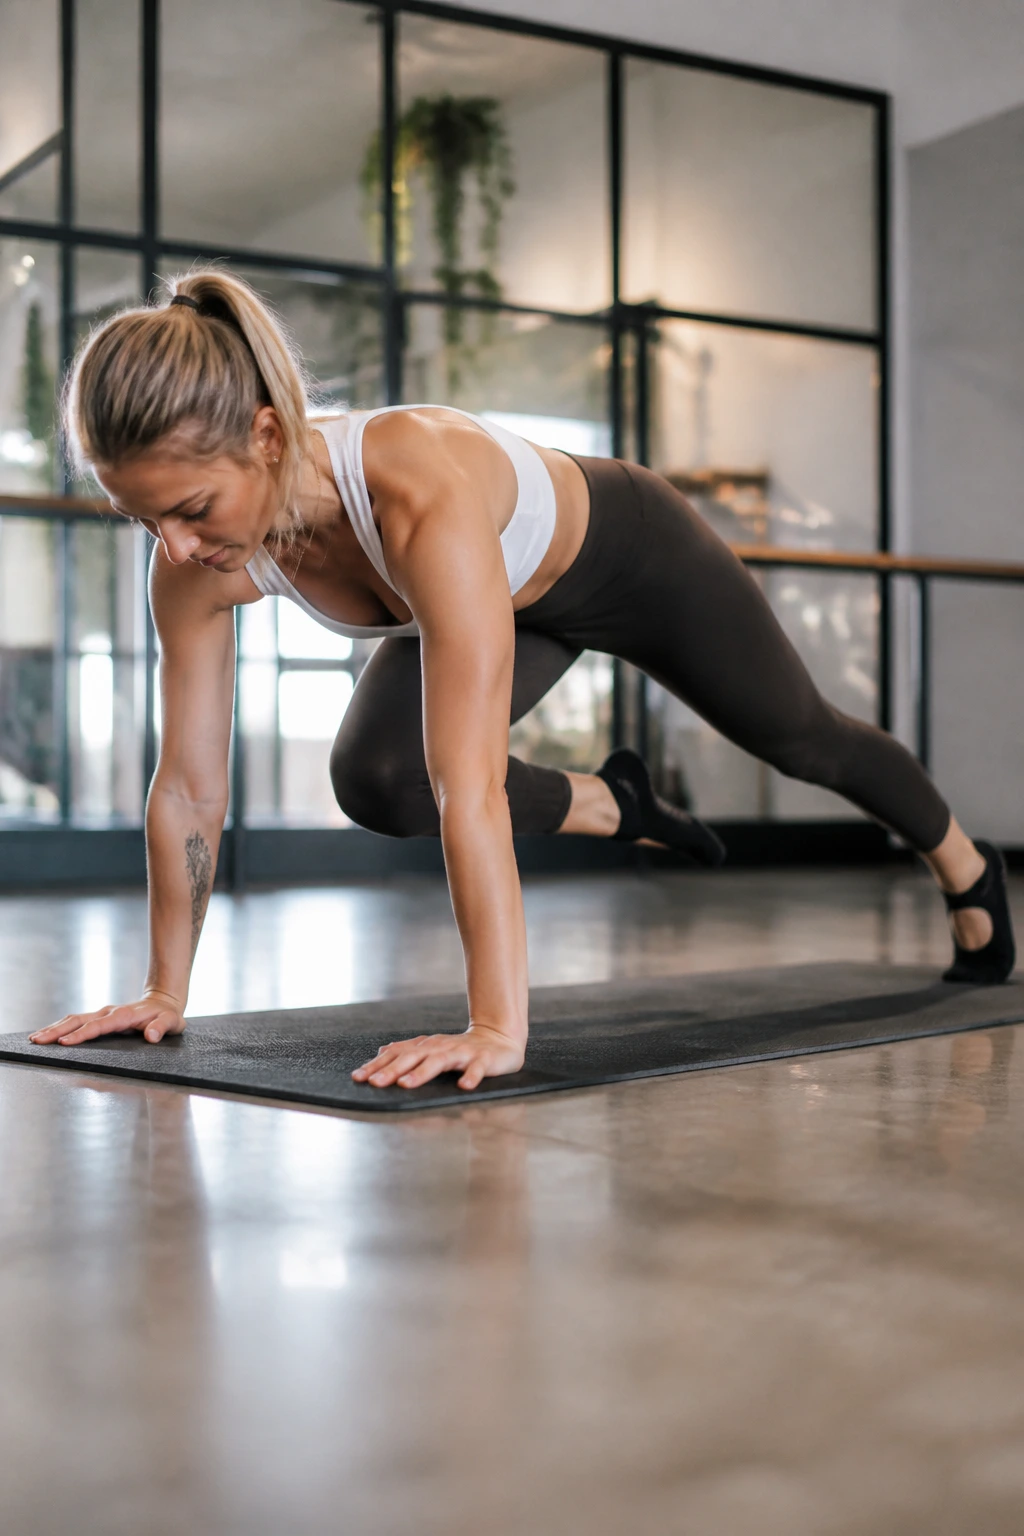
We take the standard yoga plank and combine it with the barre-style knee-to-nose tuck. This is not about speed; it is about compression.
How to Make It Effective
Speed is the enemy of toning. When you tuck your knee, you should be contracting your abdominal wall as if you are trying to squeeze the air out of your lungs. This is an isometric contraction followed by a dynamic movement.
The Sequence
- Begin in a high plank, fingers spread wide.
- Draw your right knee toward your right elbow, feeling the side oblique fire up.
- Shift back into a three-legged downward dog.
- Bring your knee to your nose and hold for three seconds, rounding your upper back.
- Do 10 reps on each side.
Don’t forget: Keep your hips square to the mat. It is tempting to rotate, but that takes the work out of the core and puts it into your hip flexors.
7. Dancer’s Pose Strength Sequence
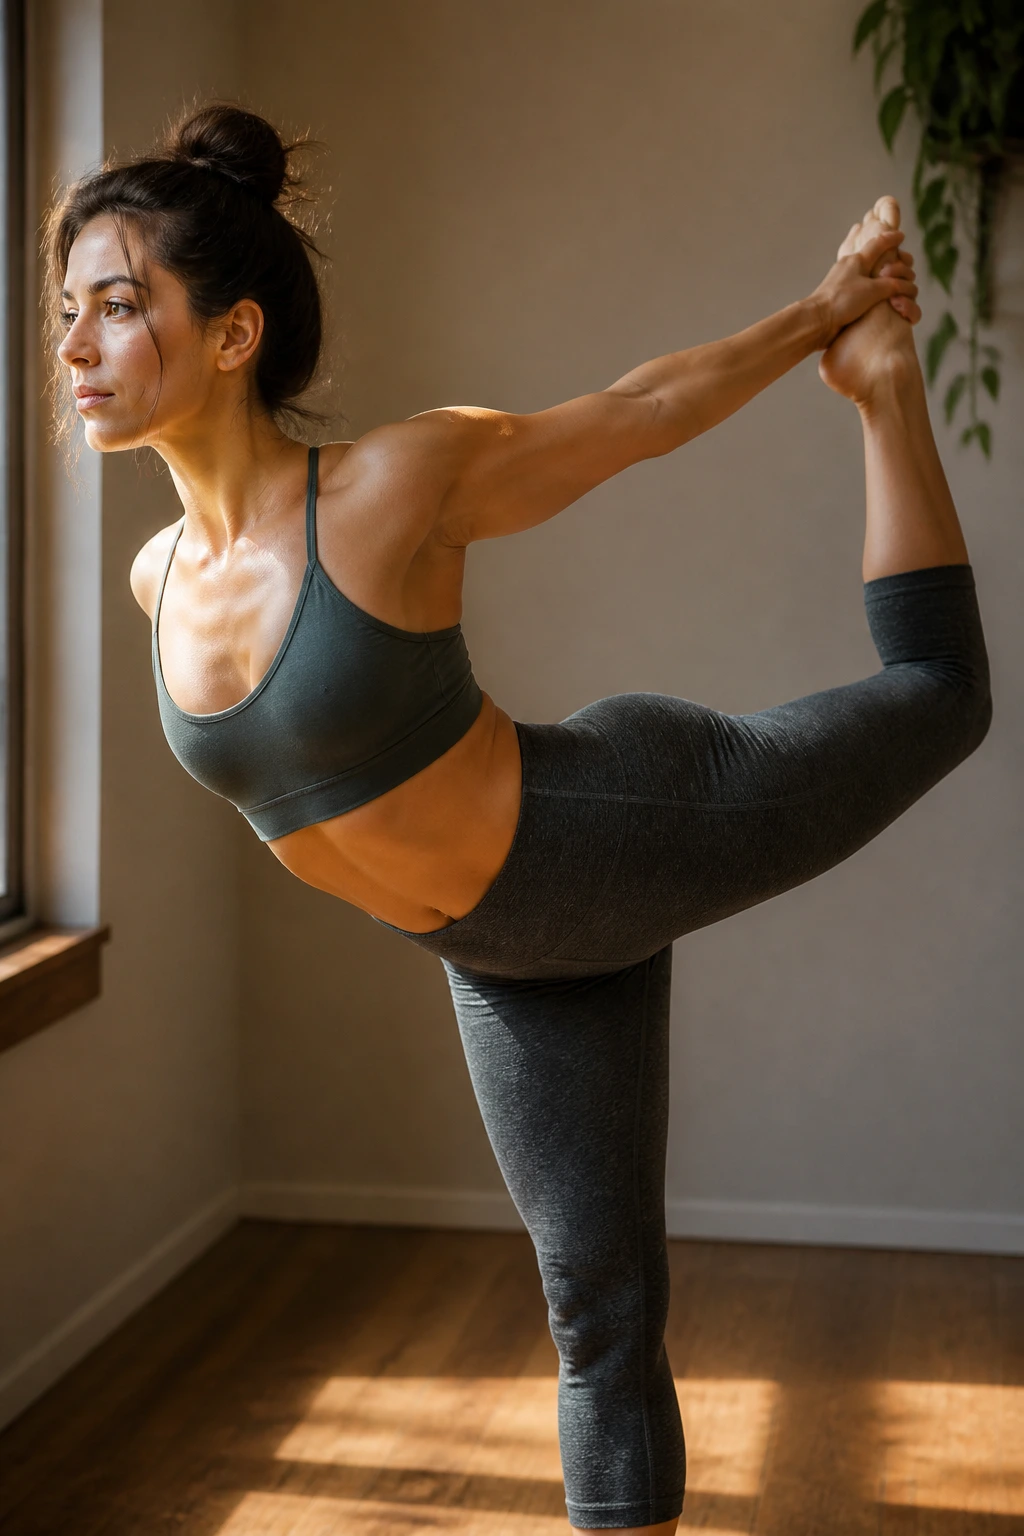
Dancer’s pose is usually a flexibility exercise. We are turning it into a strength sequence. By adding pulses to the back leg, you force the standing leg to become a pillar of stability.
Why This Matters
Flexibility without strength leads to injury. By using the strength of the glute to pull the leg up, you are active-stretching the hip flexor while strengthening the hamstring. It is a dual-purpose movement.
Execution Tips
- Grab your inside ankle with the corresponding hand.
- Kick into your hand, bringing the chest forward.
- Pulse the back leg up by engaging the glute—don’t just pull on your foot.
- Hold the static position for 10 seconds, then pulse again.
Look for: Your standing knee should be soft, not locked. Locking the joint shuts off the glute and puts all the pressure on your kneecap.
8. Side-Lying Oblique and Hip Series
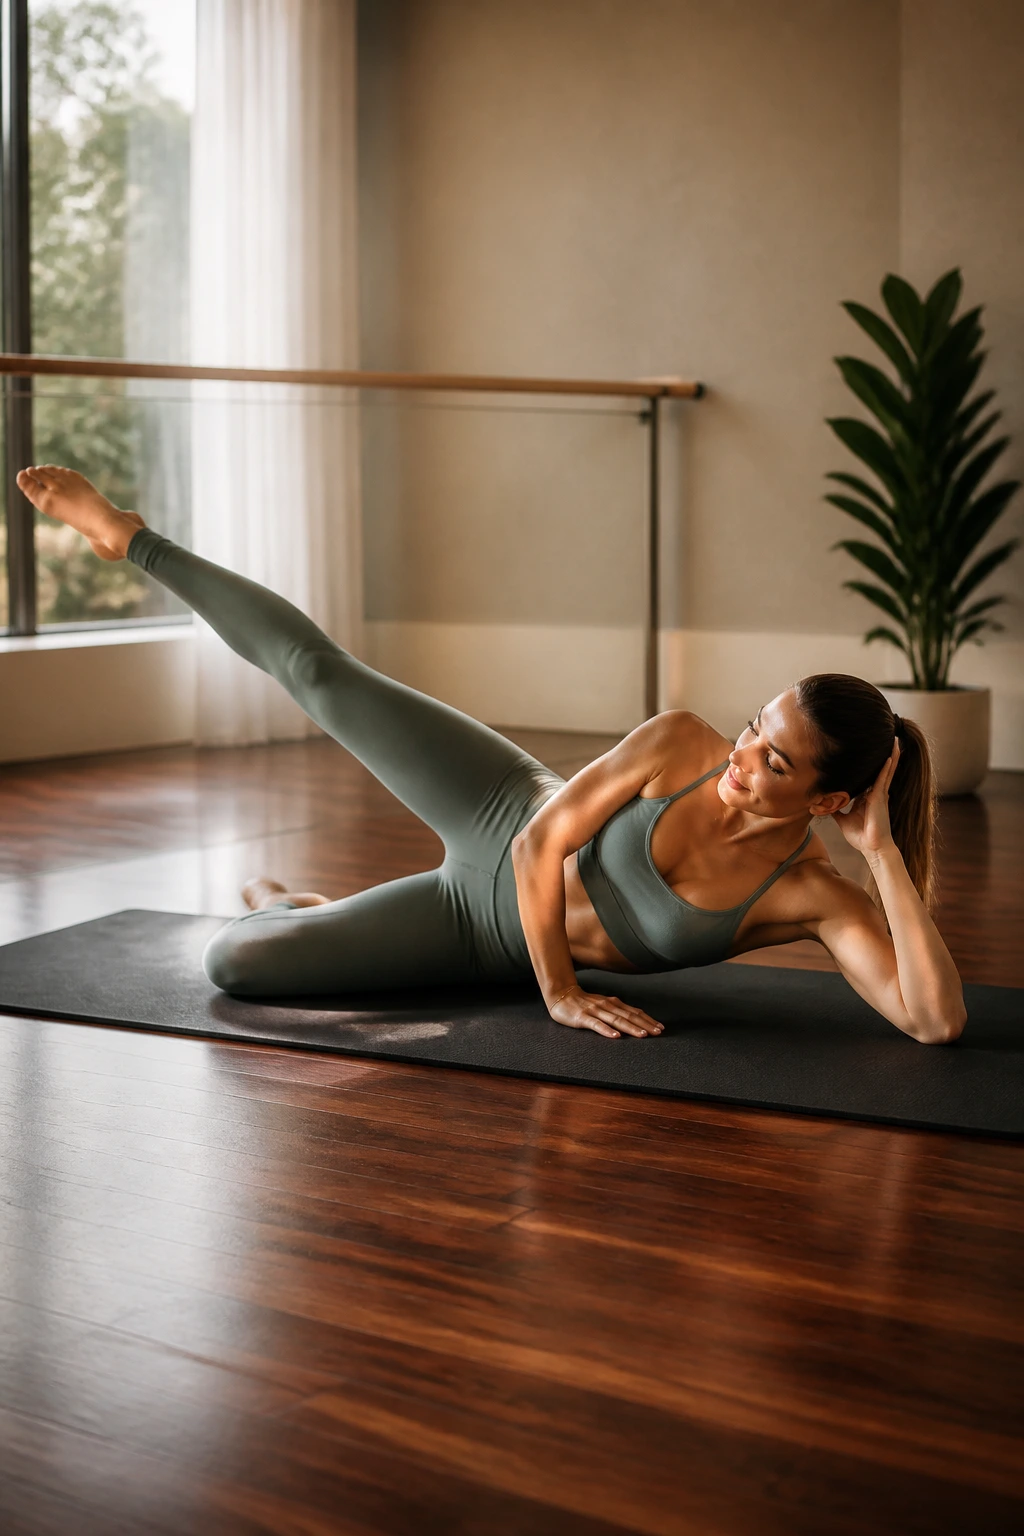
This takes you down to the mat, but it is pure barre logic. Side-lying work is unforgiving because there is nowhere to hide. You cannot use your momentum.
The Benefits
This specifically targets the obliques and the outer hip. These are the muscles that give you that “cinched” waist appearance and help with lateral stability. You will feel the burn within the first 10 reps.
The Workout
- Lie on your side, bottom leg bent for stability, top leg extended.
- Lift the top leg to hip height.
- Perform small, controlled circles—5 forward, 5 backward.
- Flex the foot and pulse the leg up toward the ceiling for 20 reps.
Pro tip: Keep your hips stacked vertically. If you roll back, you are using your hip flexor instead of your side glute.
9. Inner Thigh Sculpting Routines
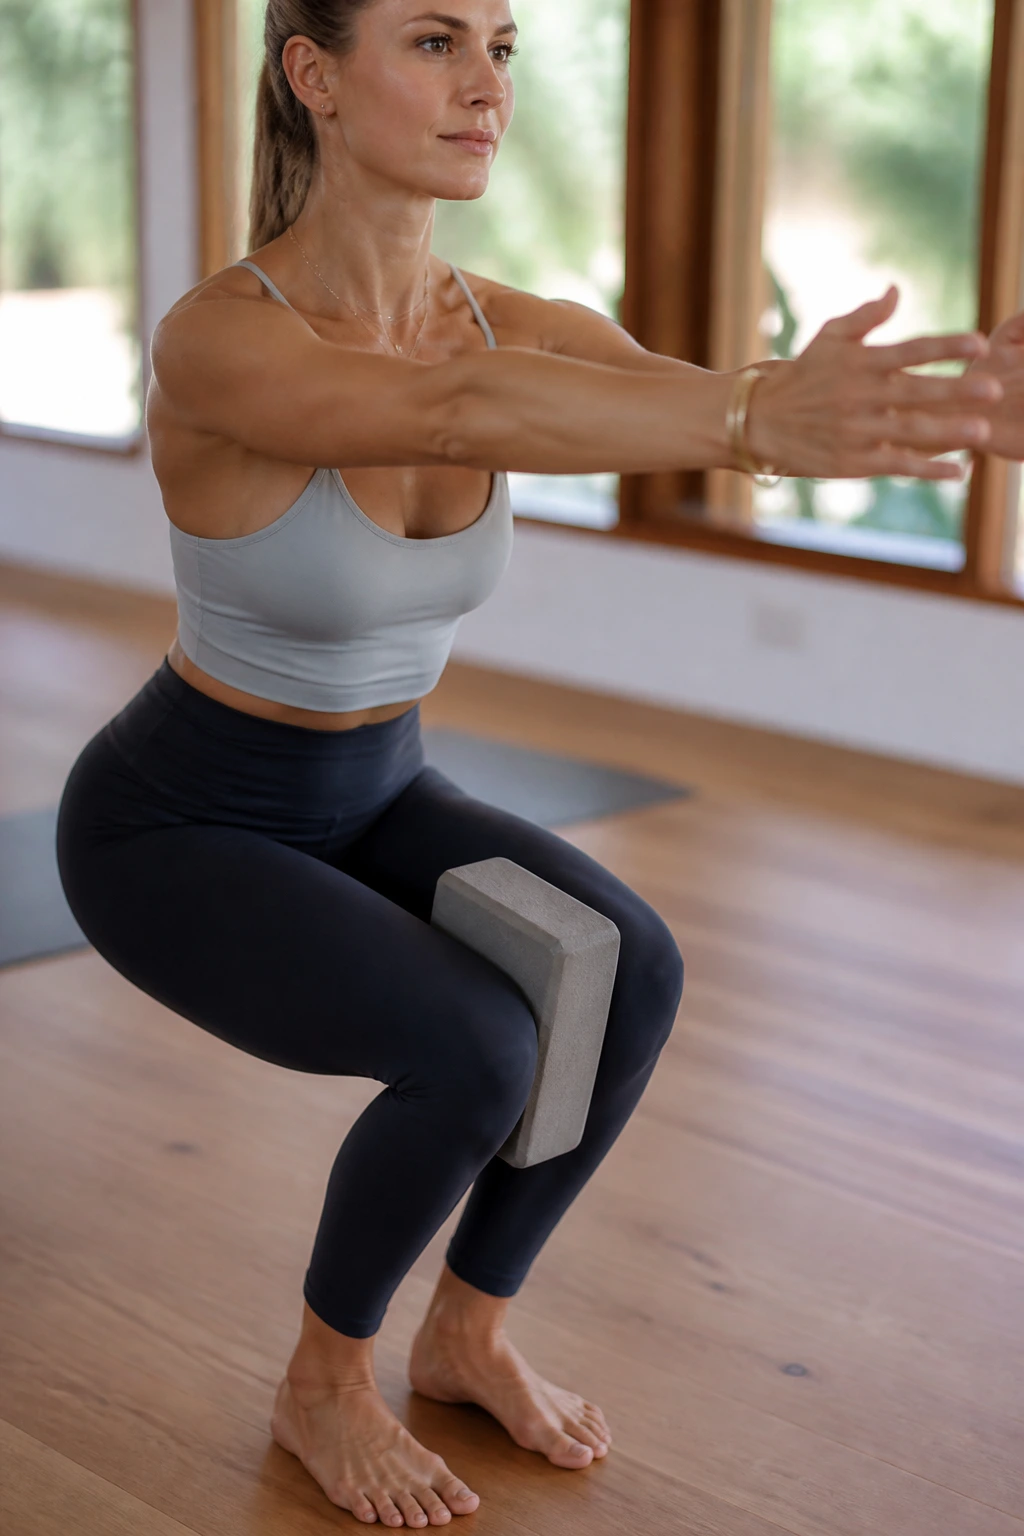
The inner thighs are notoriously difficult to target. Standard squats often emphasize the outer quads. By adding a yoga block or a small pillow between your knees, you force the adductors to engage.
Why It Works
Adductors are often weak, which causes the knees to drift inward during other exercises. Strengthening these muscles corrects your alignment from the ground up.
How to Do It
- Place a yoga block or firm pillow between your knees in chair pose.
- Squeeze the block as hard as you can.
- Maintain the squeeze while performing tiny pulses.
- You will notice your quads start to shake immediately.
Note: Do not let the block drop. That squeeze is the entire workout.
10. Upper Body Barre and Yoga Integration
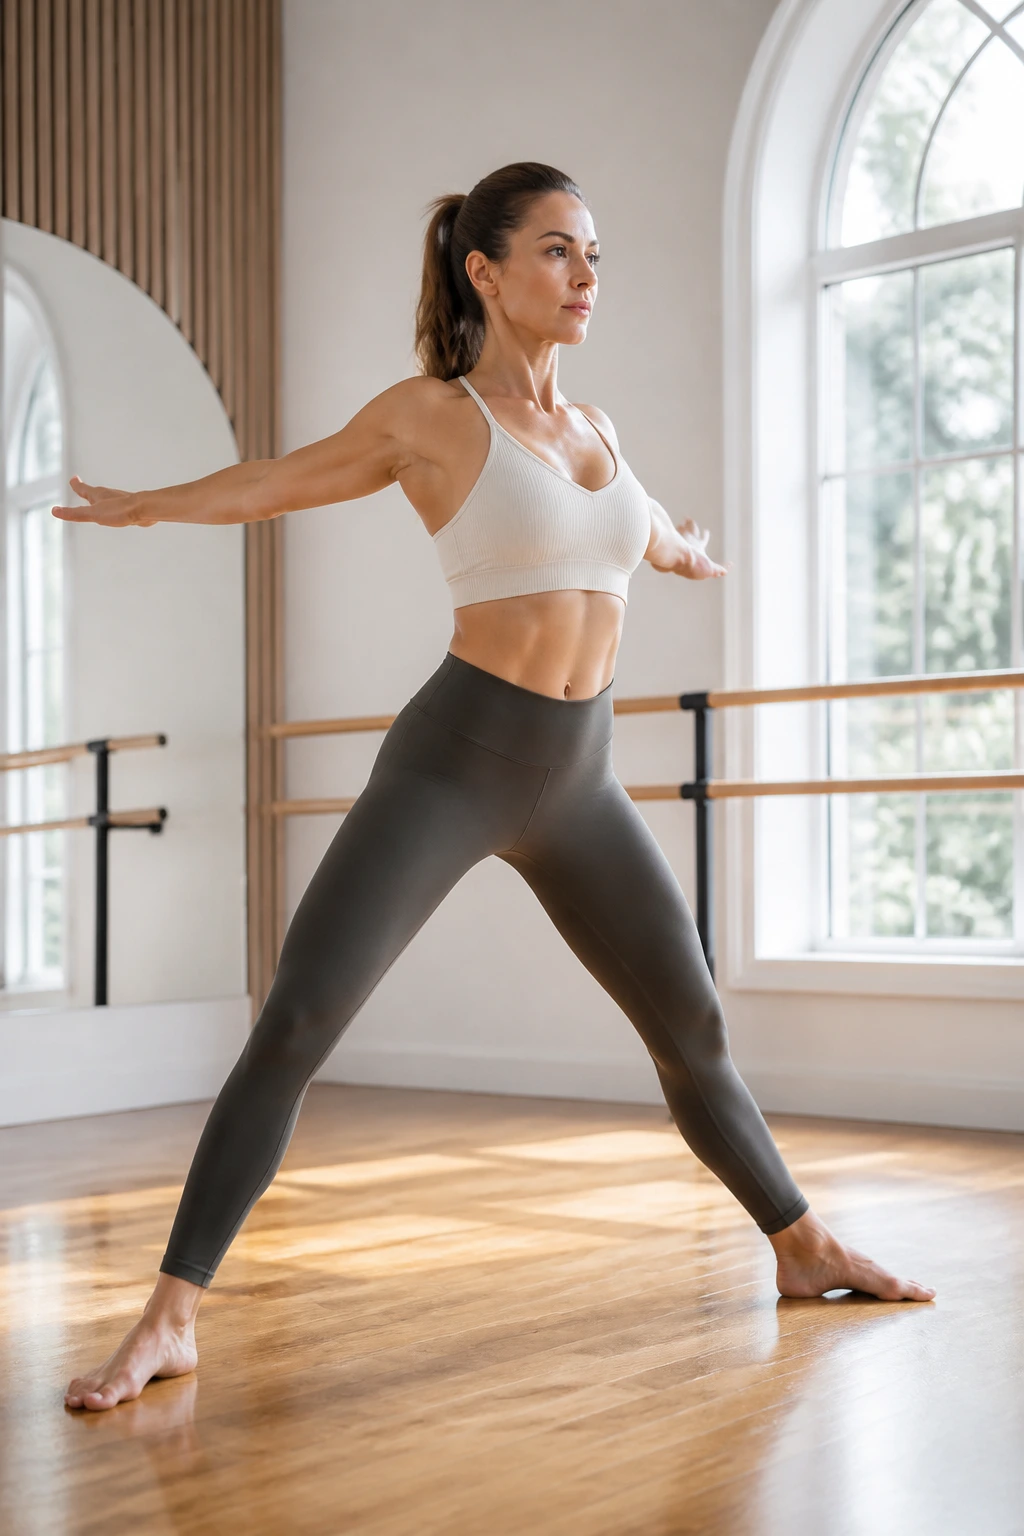
Many people think barre and yoga don’t do enough for the arms. They are wrong. When you use your own body weight and isometric resistance, you can create a lean, defined shoulder and tricep shape.
The Focus
The goal here is high repetitions and low weight. We are targeting the deltoids and the back of the arms. You don’t need a gym; you just need gravity.
The Moves
- Stand in a wide stance, arms extended to the sides.
- Turn your palms to face the back wall.
- Pulse your arms back in tiny, sharp movements—100 reps total.
- Transition into a downward dog, then shift into a plank, keeping your elbows tucked against your ribs.
Warning: Don’t let your shoulders creep up to your ears. Keep them pinned down your back.
11. Boat Pose and Core Endurance Work
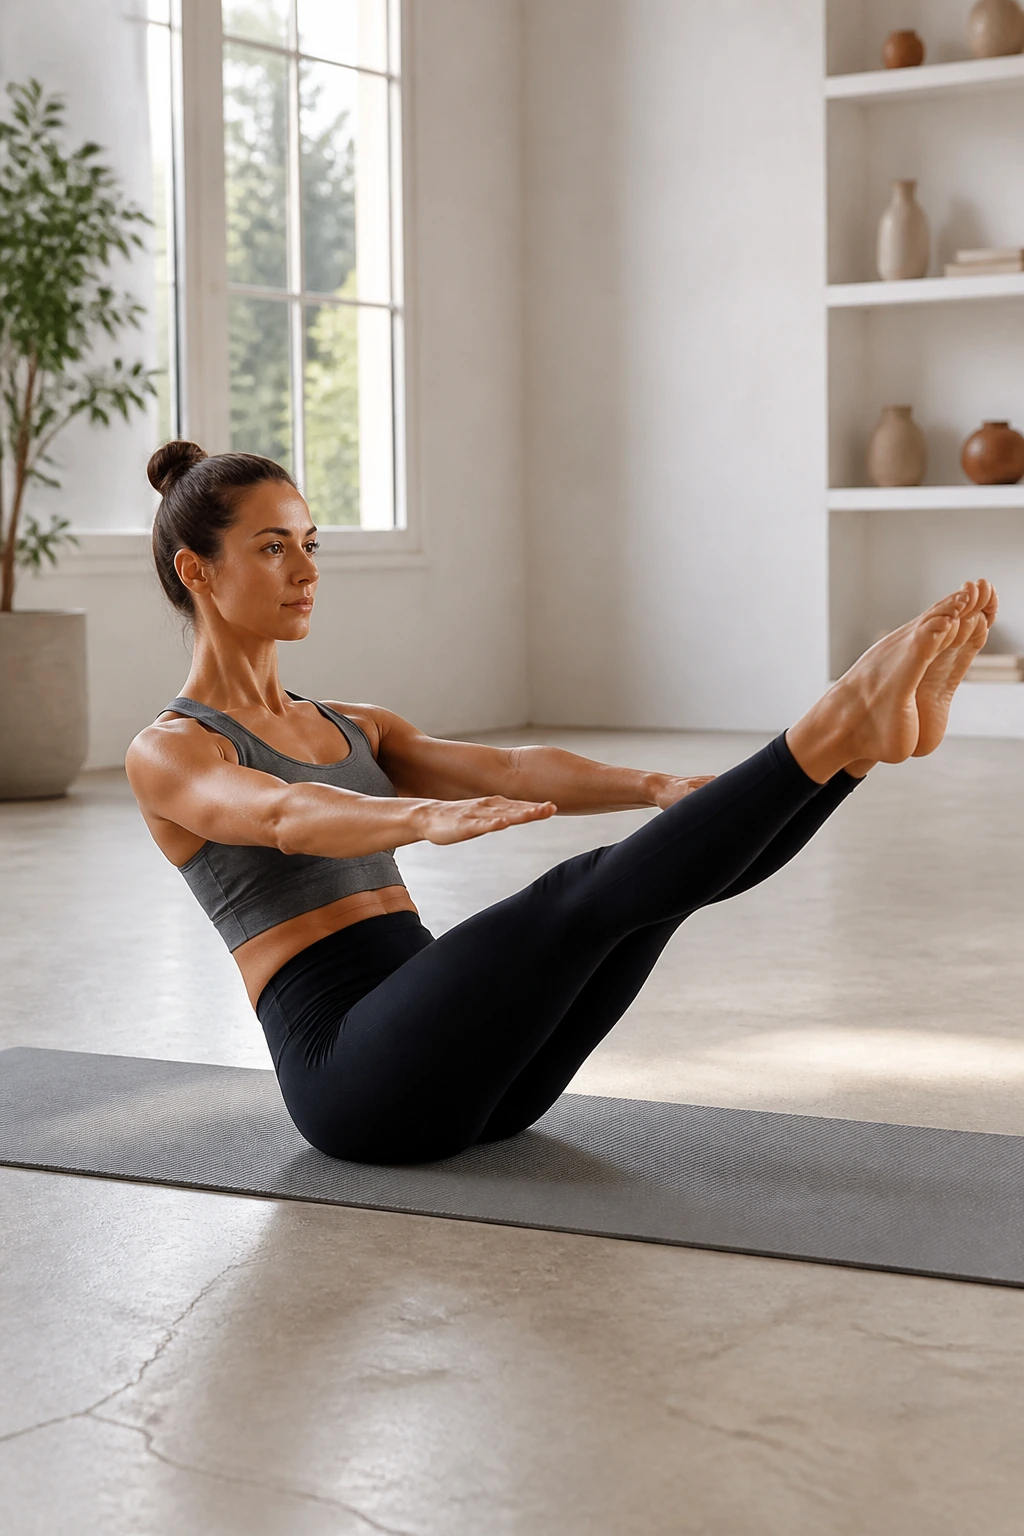
Boat pose is the classic yoga core burner. We make it better by adding barre-style leg extensions. Instead of just holding the pose, we keep the muscles moving.
The Core Connection
Your abdominal muscles are designed to protect your spine. By moving the legs while keeping the torso stable, you force the transverse abdominis—the deepest layer of your core—to stabilize your spine against the movement of your legs.
The Sequence
- Sit on your sit-bones, lift your legs to a 45-degree angle.
- Keep your chest open and spine straight.
- Extend one leg out, then the other, alternating slowly.
- Keep your arms reaching forward, parallel to the floor.
Remember: If your back starts to round, bend your knees more or bring your feet closer to the floor. A straight spine is more important than straight legs.
12. Bridge Pose Posterior Chain Toning
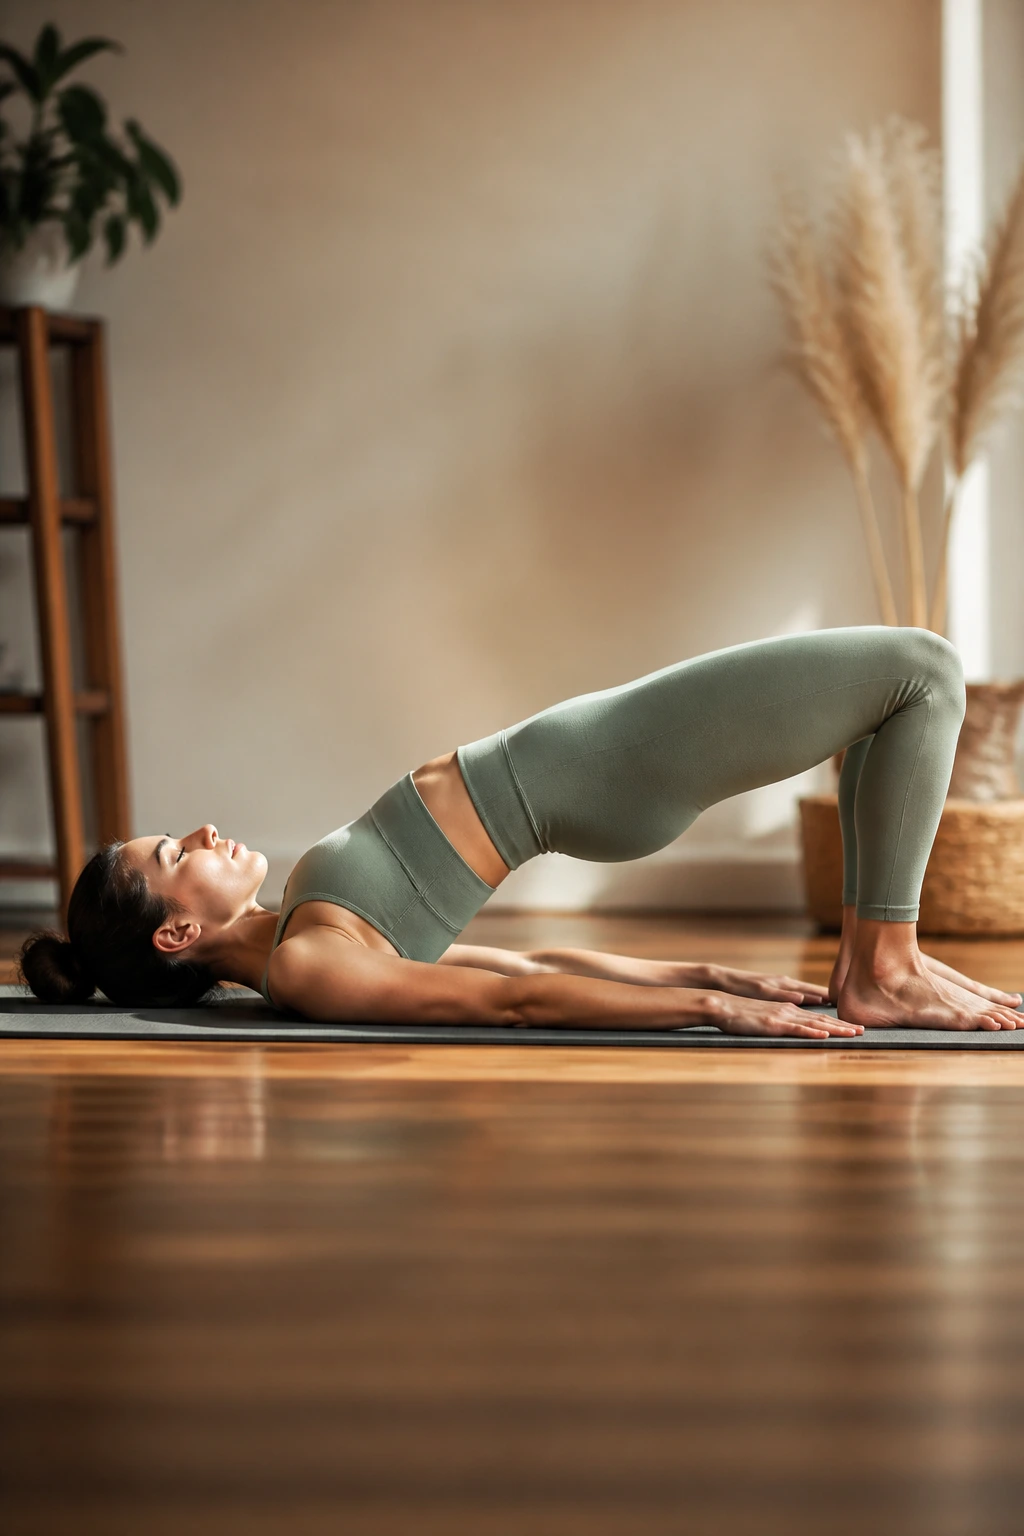
Bridge pose is the foundation of glute work in yoga. We are going to add an isometric pulse to the top of the bridge to maximize the contraction.
How to Get More Out of It
Most people use their lower back to push the hips up. You need to initiate this from the hamstrings and glutes. Imagine you are trying to drag your heels toward your shoulders—you won’t actually move, but the engagement will be immense.
Instructions
- Lie on your back, feet hip-width apart.
- Press through your heels to lift your hips.
- At the peak, pulse your hips up one inch, 20 times.
- Hold the final squeeze for 10 seconds.
Tip: Keep your chin tucked toward your chest to protect your neck.
13. Reverse Tabletop and Shoulder Mobility
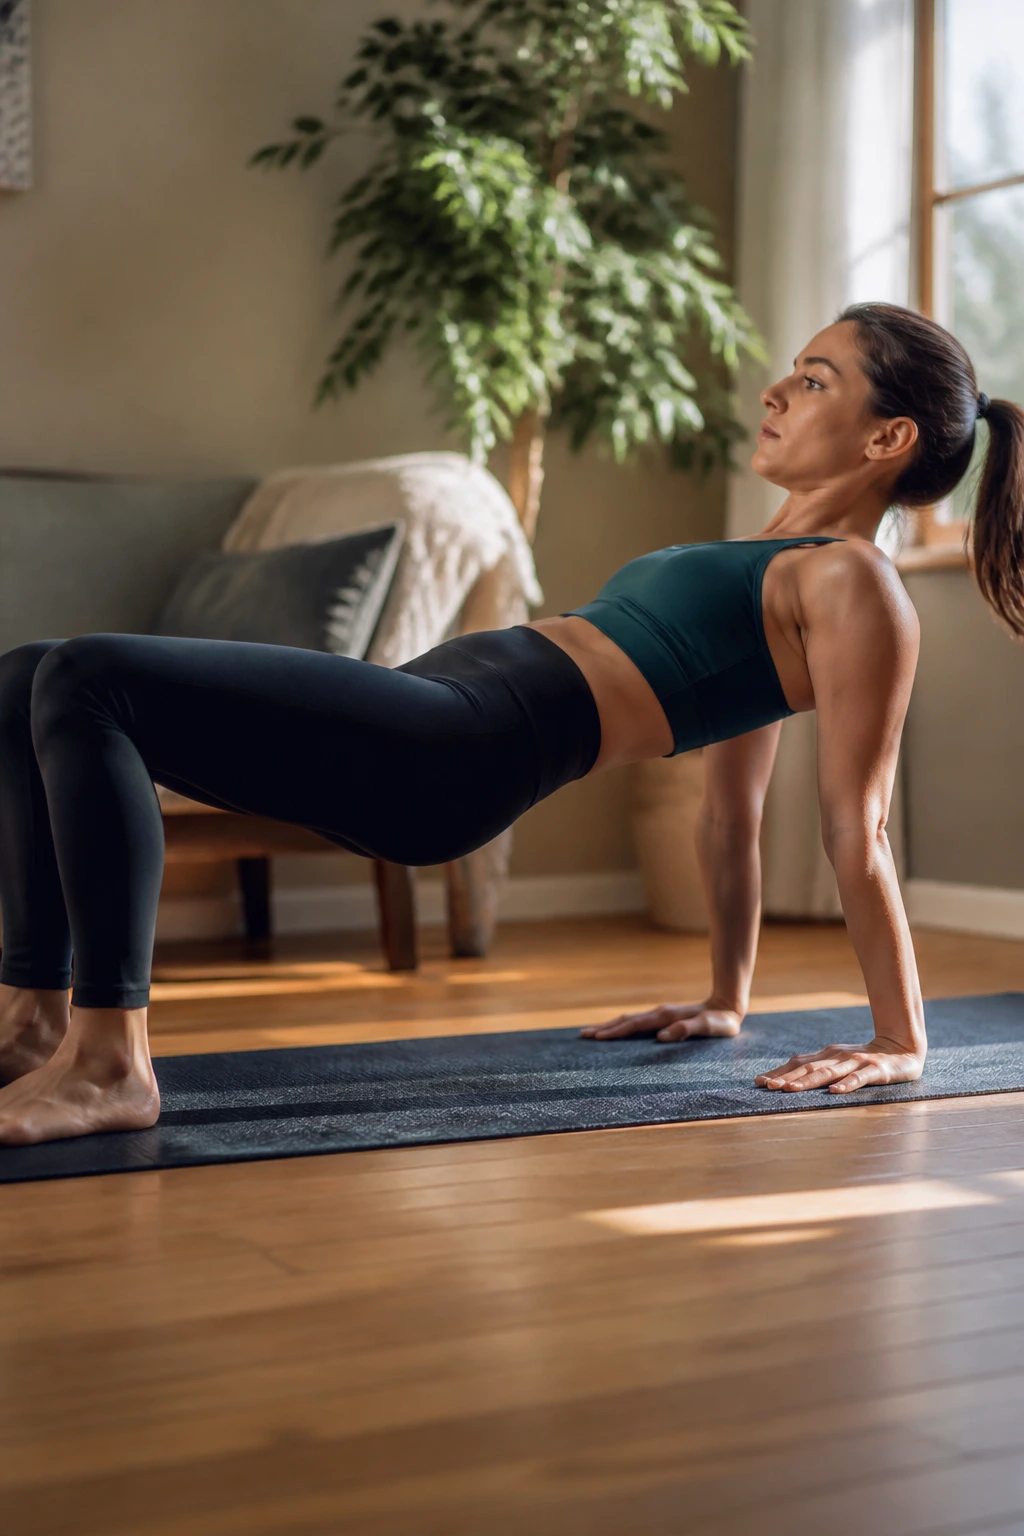
This movement opens the front of the body while strengthening the triceps and shoulders. It is a fantastic antidote to the “hunching” we do while sitting.
The Why
Modern life pulls us forward. This move pulls us back. By engaging the muscles between your shoulder blades, you improve your posture and create a more toned back.
The Routine
- Sit with your hands behind you, fingers facing your feet.
- Lift your hips into a tabletop position.
- Bend your elbows to lower your hips slightly—this is your dip.
- Press back up to the tabletop and squeeze your shoulder blades together.
Focus: Do not let your knees splay outward. Keep them parallel.
14. Balance and Stability Challenge
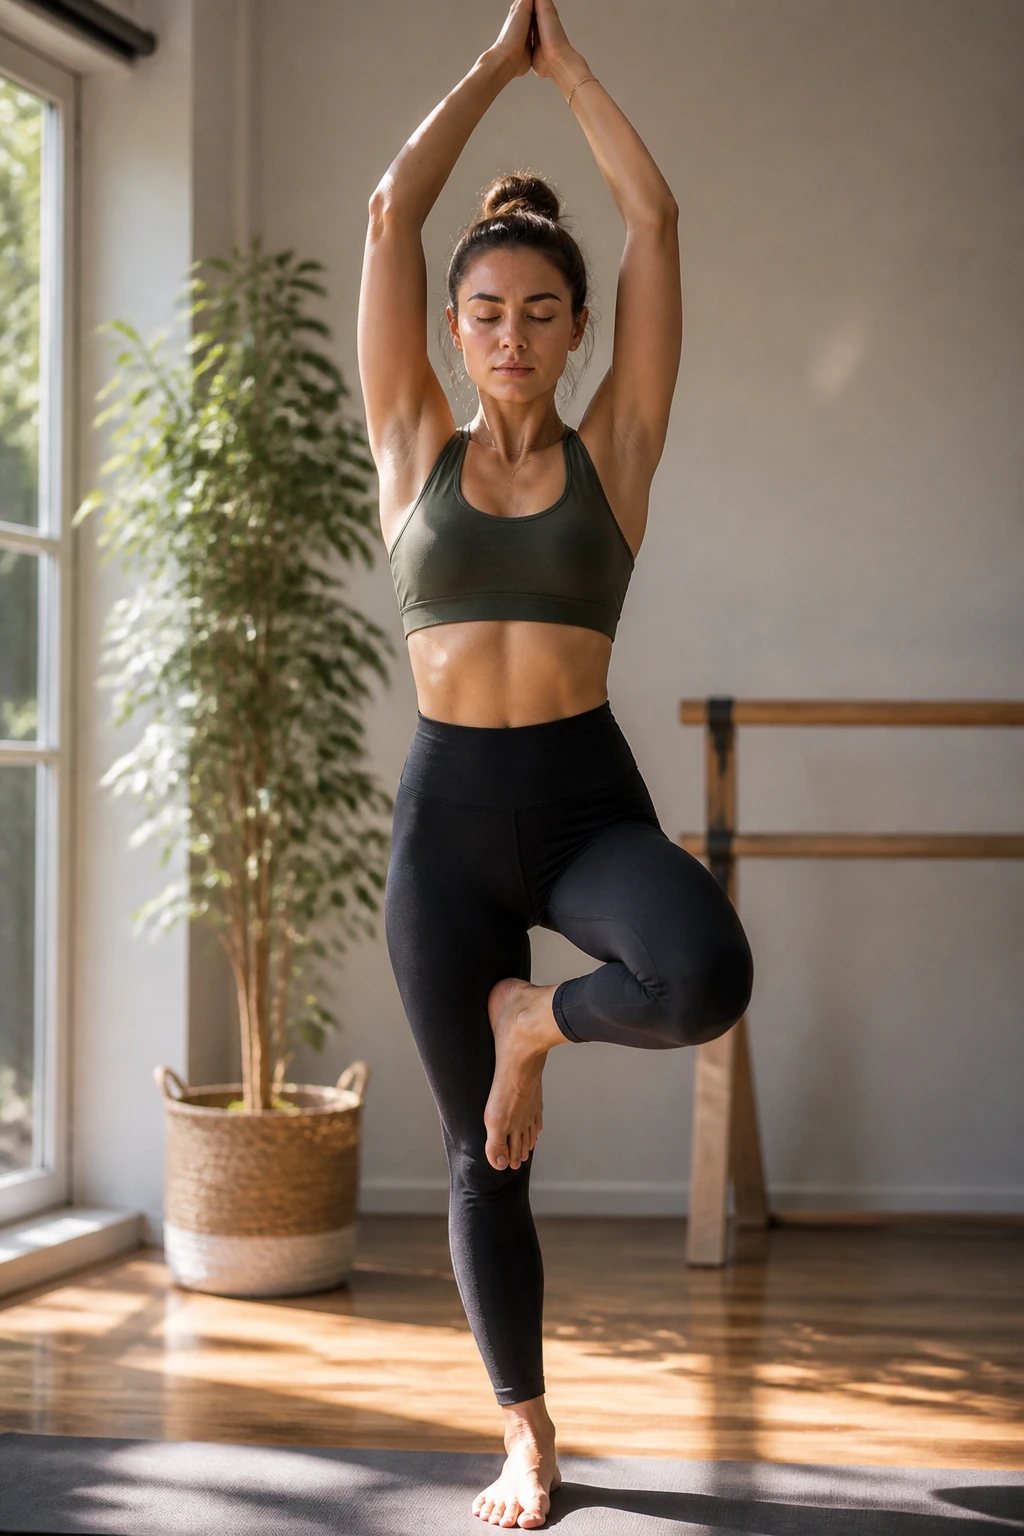
We combine tree pose with barre-style leg movements. Balancing requires more core activation than most people realize.
Why This Is Essential
Balance is not just about standing still; it is about micro-adjustments. Your muscles are constantly firing to keep you centered. That constant adjustment is pure toning.
The Method
- Come into tree pose, but bring the lifted foot to the calf, not the knee.
- Reach your arms up, then slowly lower them to heart center.
- Close your eyes for 10 seconds while maintaining the pose.
- Open your eyes and extend the lifted leg out to the side for 5 pulses.
Insight: If you fall, just reset. The process of resetting is actually more work for your core than just standing perfectly still.
15. High-Intensity Pulse Routines
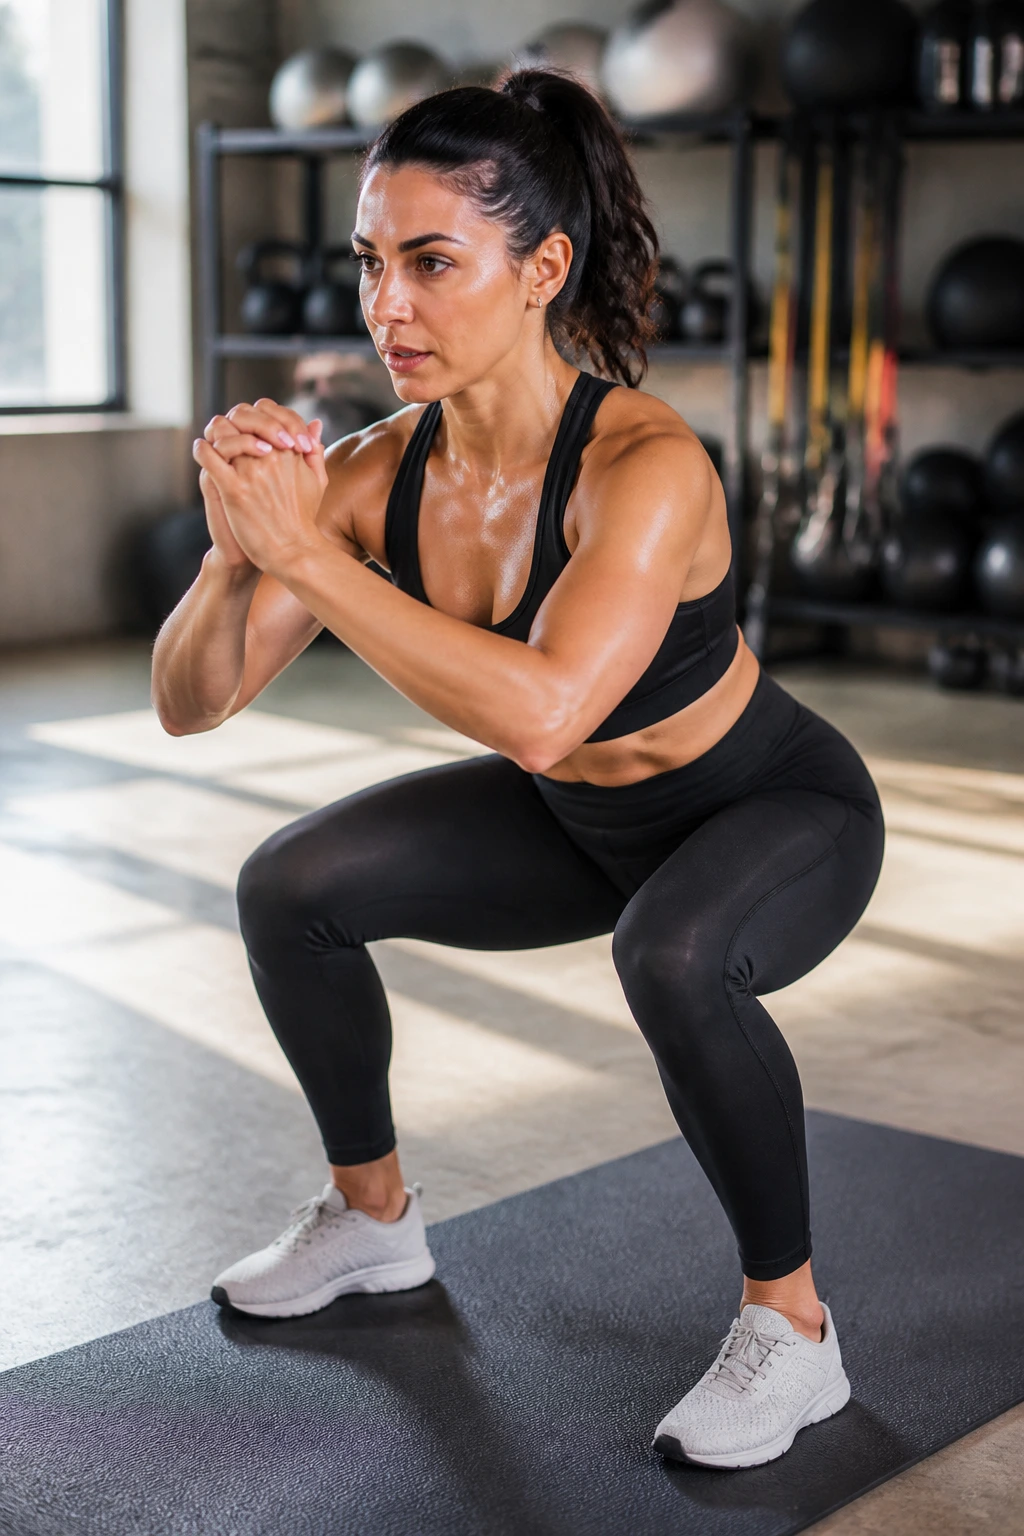
Sometimes, you just need to burn it out. These are rapid, repetitive movements that raise your heart rate and flush the muscles with blood.
The Physiology
High-rep work increases muscular endurance. It trains your body to handle lactic acid buildup, which is the “burn” you feel. This is essential for athletic performance and metabolic health.
The Pulse Sequence
- Pick a squat or a lunge.
- Pulse at double the tempo of a normal workout.
- Do 30 seconds of high-tempo pulses.
- Take a 10-second static hold.
- Repeat three times.
Takeaway: This is where you test your mental toughness. Don’t quit when it burns; that’s when the muscle fibers are actually being recruited.
16. Spinal Decompression and Core Activation
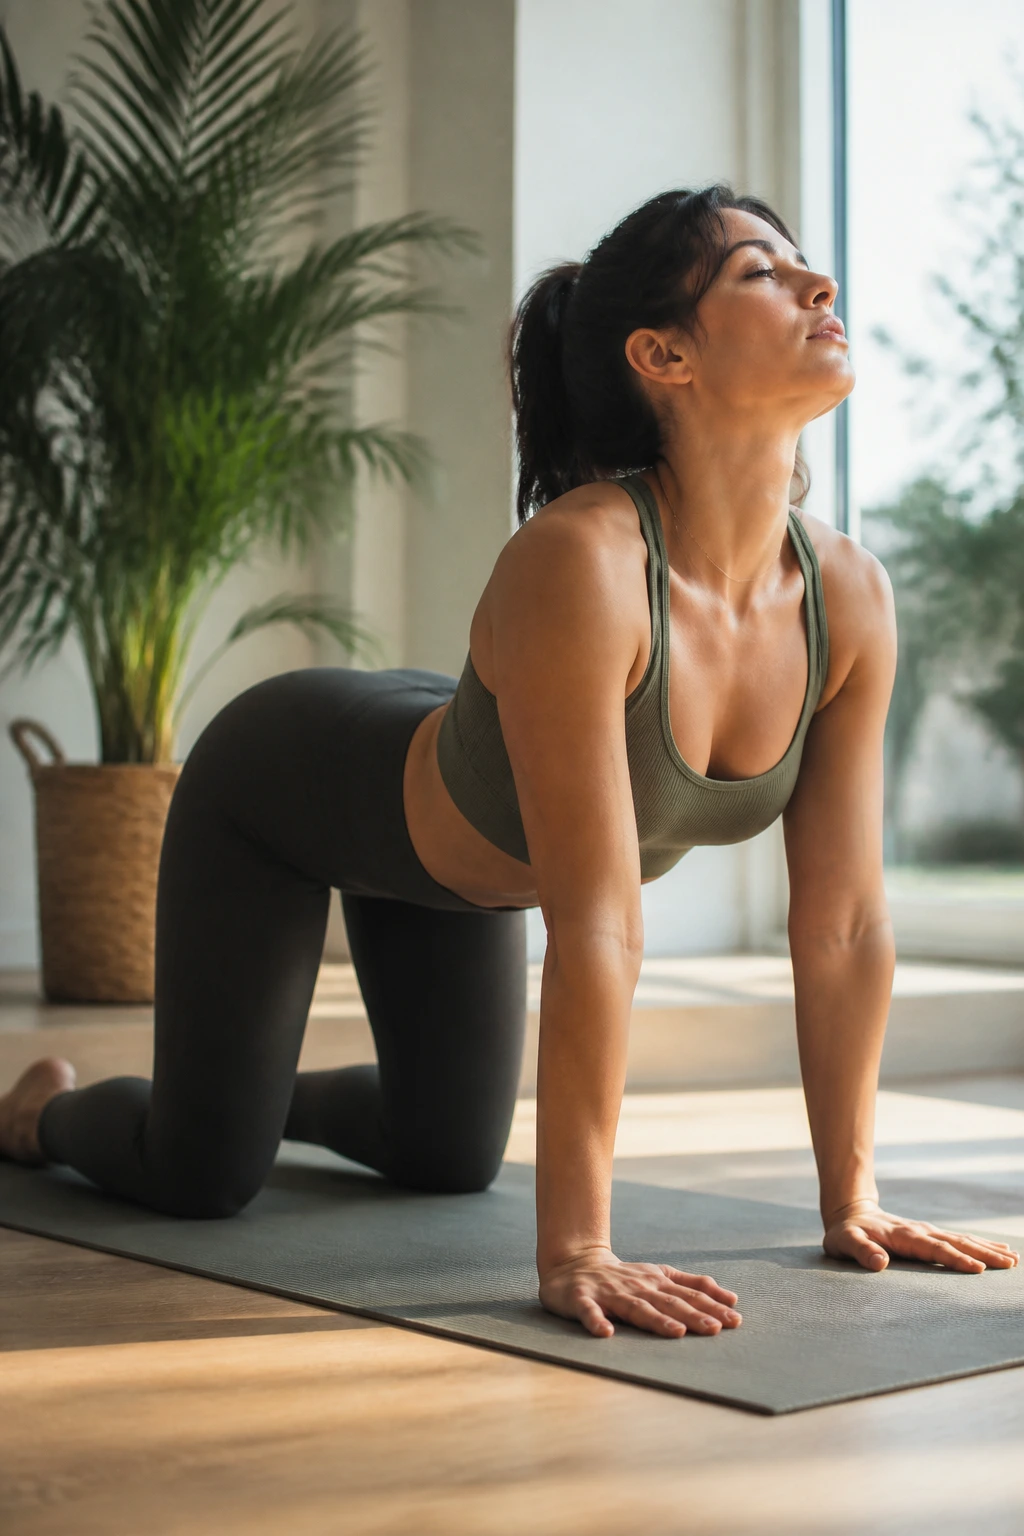
After all that intensity, you need to neutralize the spine. This sequence uses cat-cow variations to reset your core and stretch the back muscles.
Why This Reset Matters
You cannot tone muscles if you are constantly compressing them. By alternating between extension and flexion, you massage the intervertebral discs and ensure your posture stays long and lean.
How to Flow
- Start in an all-fours position.
- Inhale, drop the belly, look up.
- Exhale, tuck the tailbone, round the spine—actively pulling your belly button to your spine.
- Hold the rounded position for five seconds, pushing the floor away with your hands.
Note: This isn’t just a stretch. The harder you push the floor away, the more your serratus anterior—the muscles on the side of your ribs—will fire.
17. Rotational Power Flow
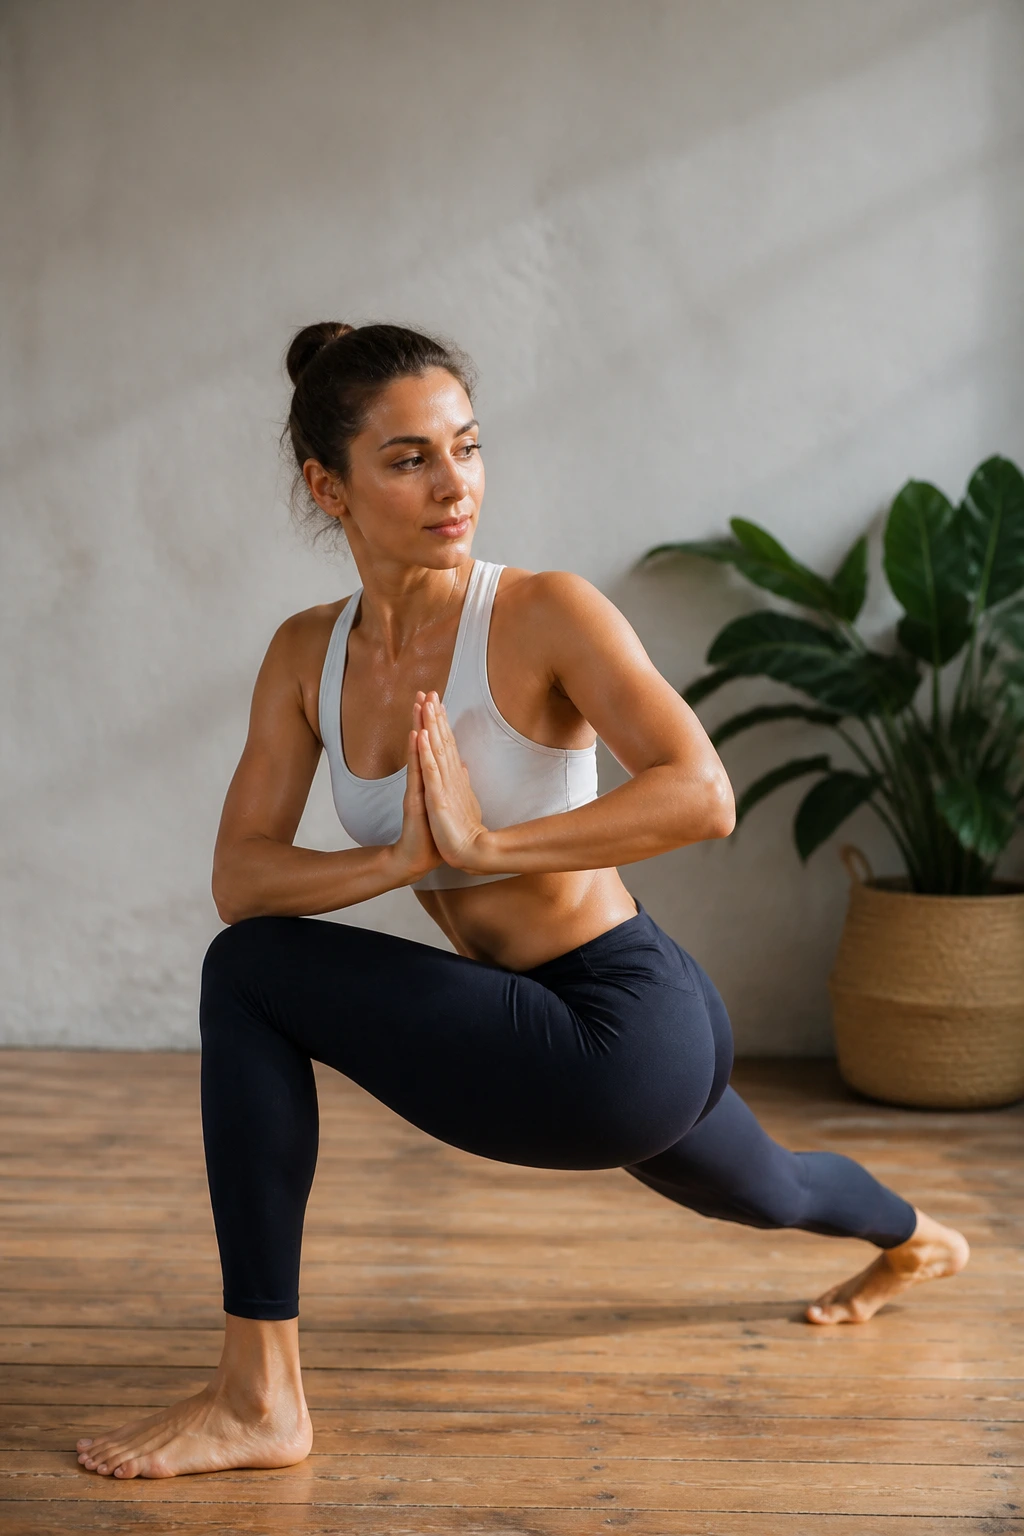
We often move in only one plane. Rotational work is vital for a toned waist and a healthy spine. We take a lunge and add a rotation to engage the obliques.
The Logic
Your obliques are designed to twist the torso. By adding a twist to a lunge, you are working the core and the legs simultaneously, which is the definition of efficiency.
Steps
- Step into a lunge.
- Bring hands to prayer at the center of your chest.
- Rotate your torso toward the front leg, keeping your hips stable.
- Hold the twist for three breaths, really wringing out the spine.
Warning: If you feel pain in your lower back, don’t twist as deep. Use your core to pull you around, not your spine.
18. Flexibility-Based Toning Routines
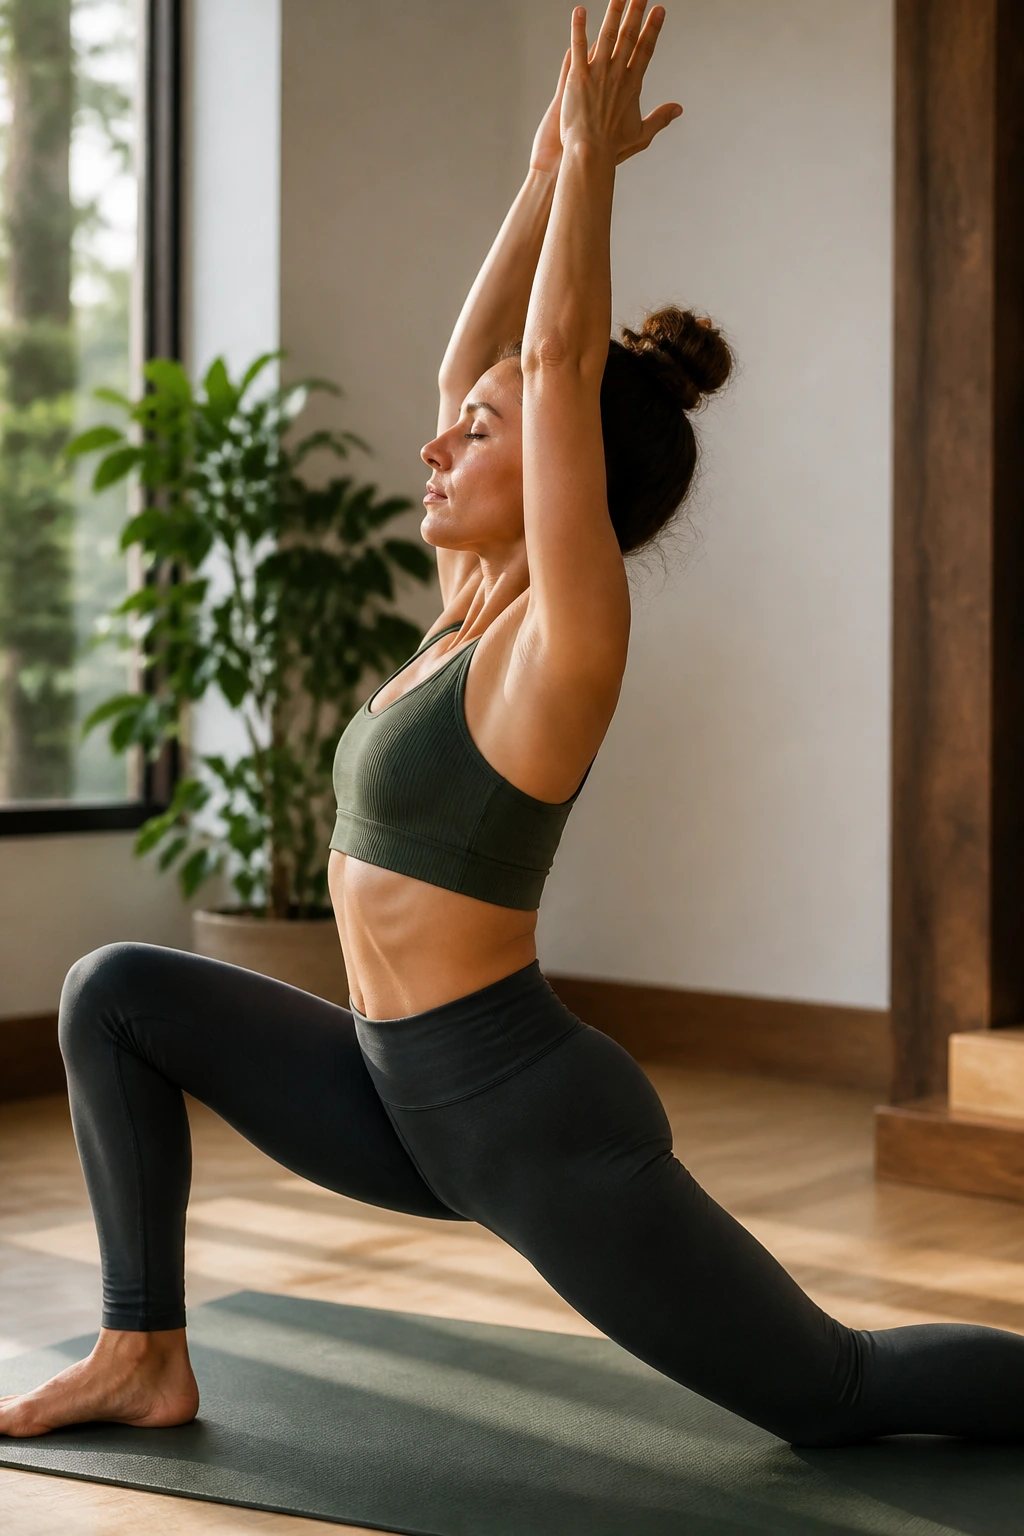
Flexibility is not the opposite of strength. A muscle that can move through a full range of motion is a muscle that can be fully engaged. This routine focuses on deep lunges and extensions.
The Philosophy
When you hold a deep stretch, your body eventually releases the tension. If you combine that stretch with a light engagement, you can actually change the resting length of the muscle.
The Flow
- Step into a wide warrior lunge.
- Drop the back knee and reach your arms overhead.
- Pulse the hips toward the floor—the goal is to open the front of the hip.
- Shift back into a half-split to stretch the hamstring.
Pro tip: Don’t bounce. Use controlled, rhythmic pulses to guide your body deeper into the stretch.
19. Full Body Endurance Circuit
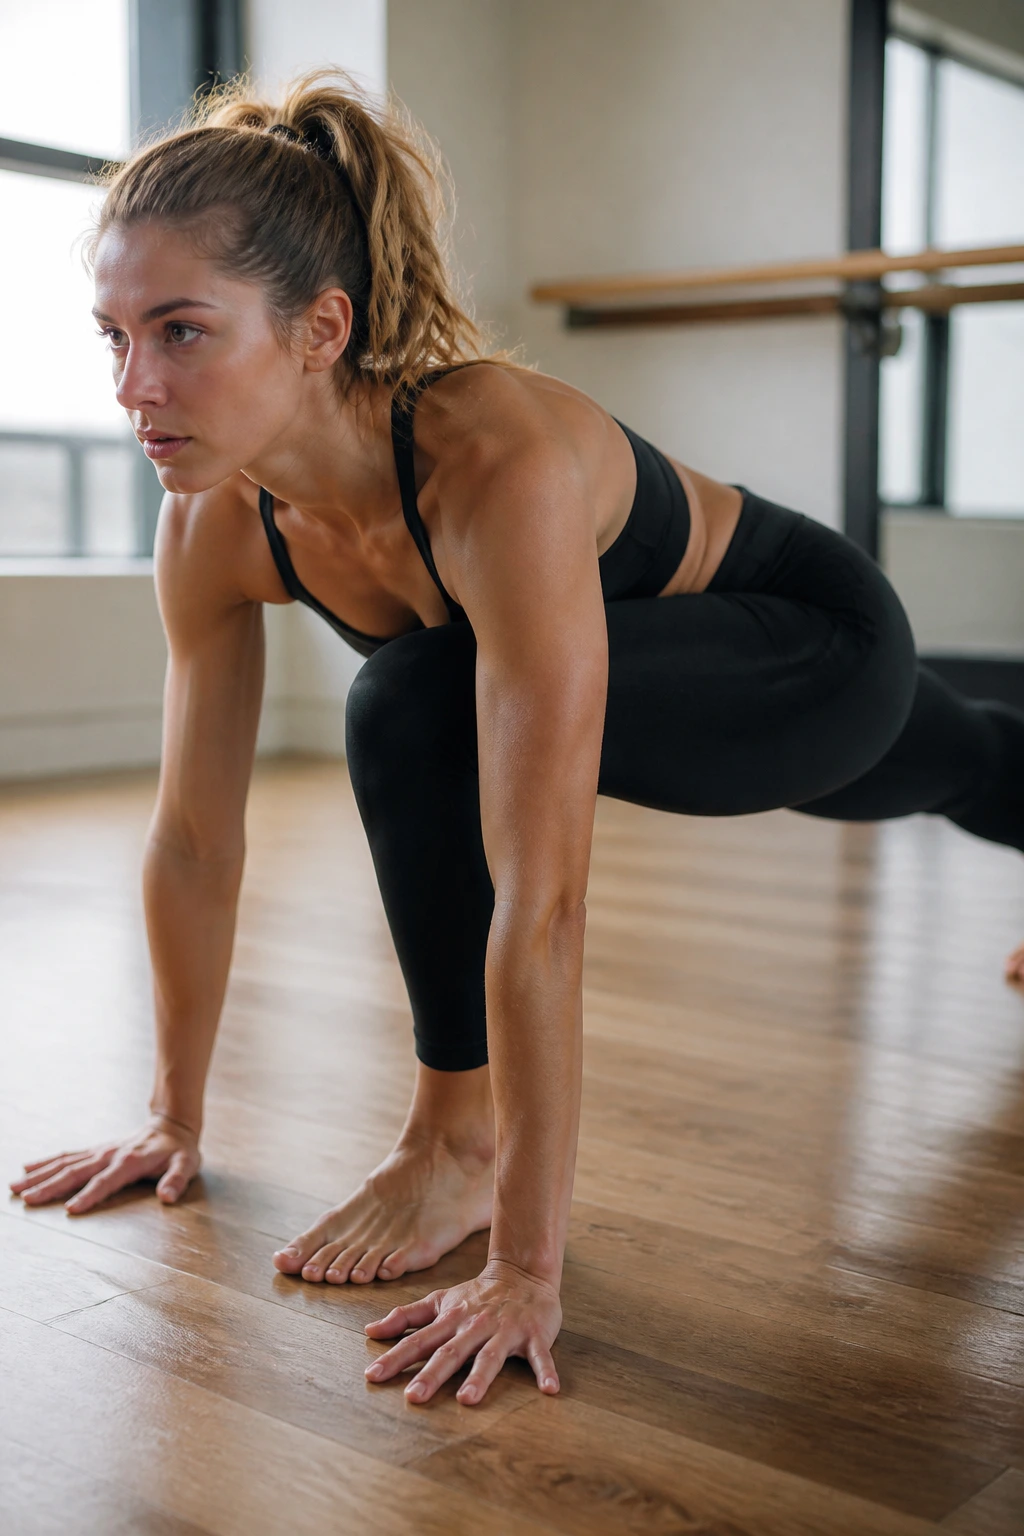
This is the finale. We combine the best elements from the previous 18 moves into one flowing circuit. There is no rest between moves here.
Why This Works
The lack of rest creates metabolic stress. Your heart rate will climb, your muscles will feel heavy, and your core will be fighting to hold everything together. This is the ultimate test of your combined yoga and barre skills.
The Circuit
- 10 squats.
- 10 planks with knee tucks.
- 10 lunges per side.
- 10 pulses in boat pose.
- Repeat the whole circuit three times.
Remember: Stay focused. When the body gets tired, the form breaks first. Keep your movements precise, even when you are exhausted.
20. Restorative Toning and Mobility
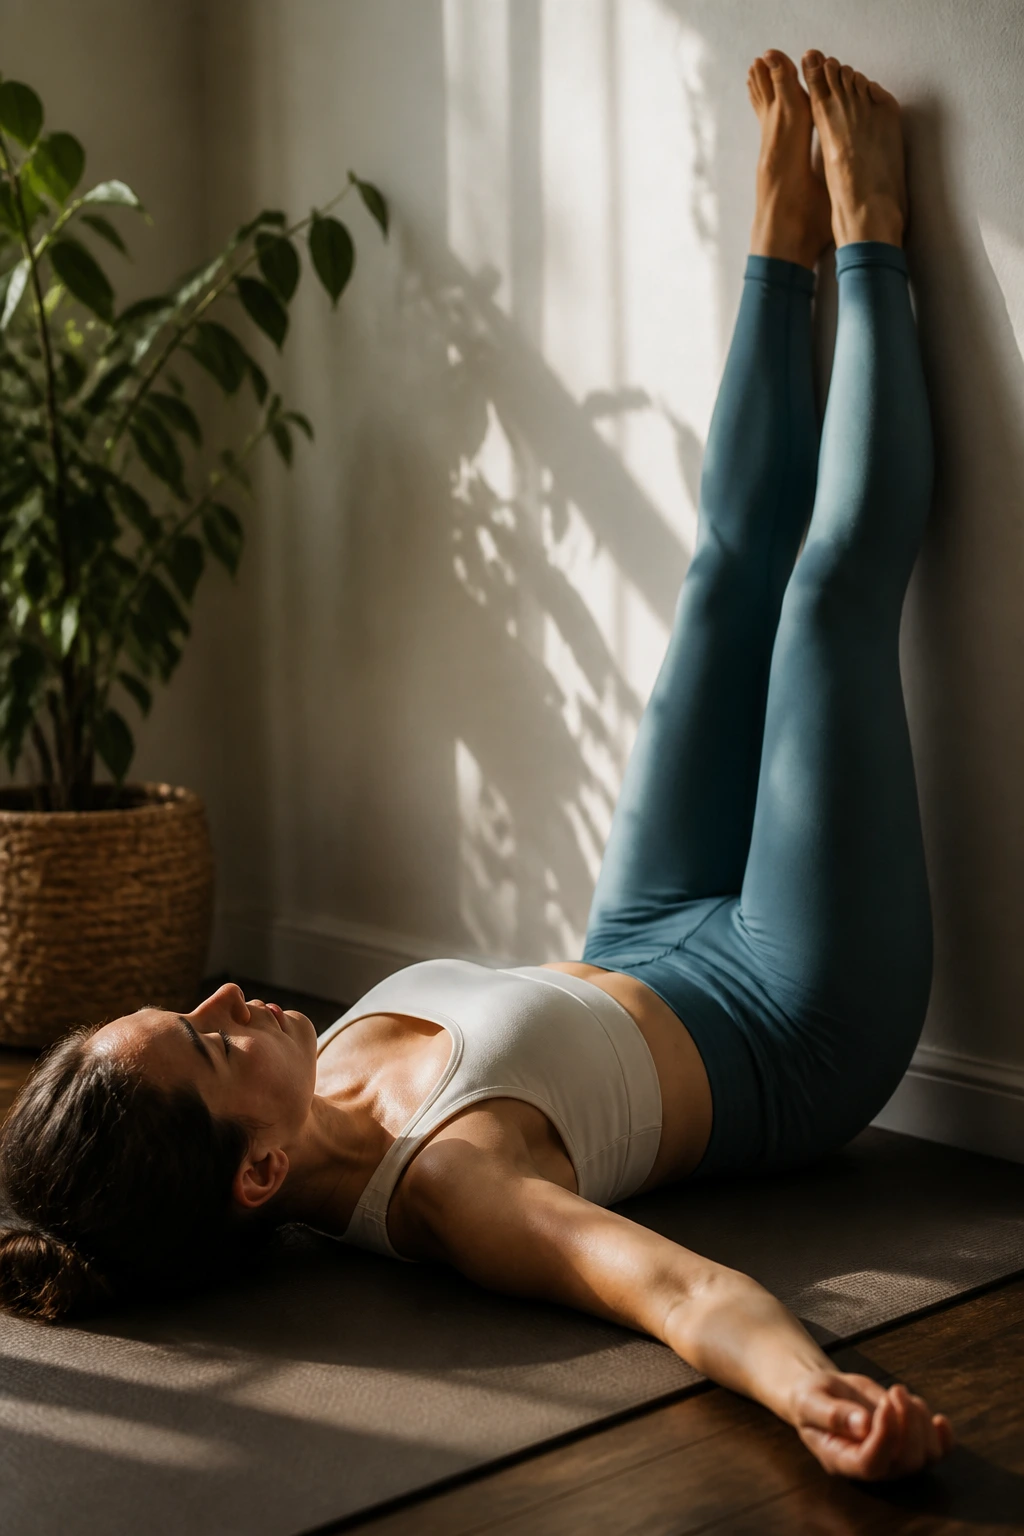
Never skip the cool-down. This is where your nervous system shifts from “fight or flight” to “rest and digest.” Without this, your muscles stay tight and chronically inflamed.
The Role of Recovery
Toning happens when the muscle repairs itself. If you are constantly stressing the body, you never get the chance to repair. This sequence is about elongating the muscles you just worked.
The Closing
- Lie on your back, legs up the wall. This helps drain lactic acid from the legs.
- Perform a gentle supine twist to neutralize the spine.
- Finish in Savasana, focusing on deep, slow belly breaths.
Final thought: Your muscles are literally lengthening as you lie there. Do not rush this part—it is just as important as the squats and lunges.
The Bottom Line
Consistency is the only thing that actually changes your body. You do not need to do every one of these workouts every single day. Pick three or four that you enjoy, or that target the areas you want to focus on, and stick with them for at least a month. You will feel the difference in how you stand, how you move, and how your clothes fit.
Remember that these movements are intense. Listen to your joints. If something feels sharp or stabbing, stop immediately. A dull, burning ache in the belly of the muscle is exactly what you are looking for, but joint pain is a warning signal you should never ignore. Be patient with yourself, keep breathing through the discomfort, and let the results follow.
