



Tower Pilates exercises at home look gentle until the springs start talking back. A roll-down bar or a pair of leg springs can make a tiny mistake obvious in half a second, which is exactly why this work is so useful.
A safe setup matters more than clever choreography. Check every clip, look at the anchor points, and give yourself enough clear floor space that a moving bar won’t clip a lamp, a wall, or your shin. If the springs feel frayed or the hardware shifts when you test it with one hand, stop and fix that first.
No shortcuts.
What makes the tower different from mat Pilates is feedback. The springs tell you when you’re using momentum, when your ribs flare, and when your shoulders steal the job from your back or hips. That kind of honesty is annoying for about five minutes, then it becomes the reason people keep coming back to it.
Start light. If the spring tension feels too heavy, the exercise usually gets worse, not better. The goal is clean control, a long spine, and a body that can move without bracing like it’s about to get hit. The first move below is the one I like for waking up that idea without turning the room into a circus.
1. Roll Down with the Push-Through Bar
The roll-down bar is the cleanest way to teach your spine what articulation actually feels like. You stand tall, hold the bar with straight arms, and let the bar help you peel the spine down one segment at a time. Done well, it feels calm and almost boring. That’s a good sign.
I like starting with this one because it exposes cheating fast. If you yank with the arms, the bar swings. If you dump into the hips, the lower back complains. The movement should feel like your ribs are folding away from your pelvis while your heels stay planted and your jaw stays loose.
Slow is the point.
Aim for 4 to 6 slow roll-downs. On the way down, soften the knees only if your hamstrings are tugging hard; on the way up, rebuild the spine from the tailbone to the crown, not the other way around. If the spring tension feels heavy enough to drag your shoulders forward, it’s too much for a first pass.
A good roll-down leaves your back warm, not cranked. If you finish taller than when you started, you’re doing it right.
2. Cat Stretch on Hands and Knees
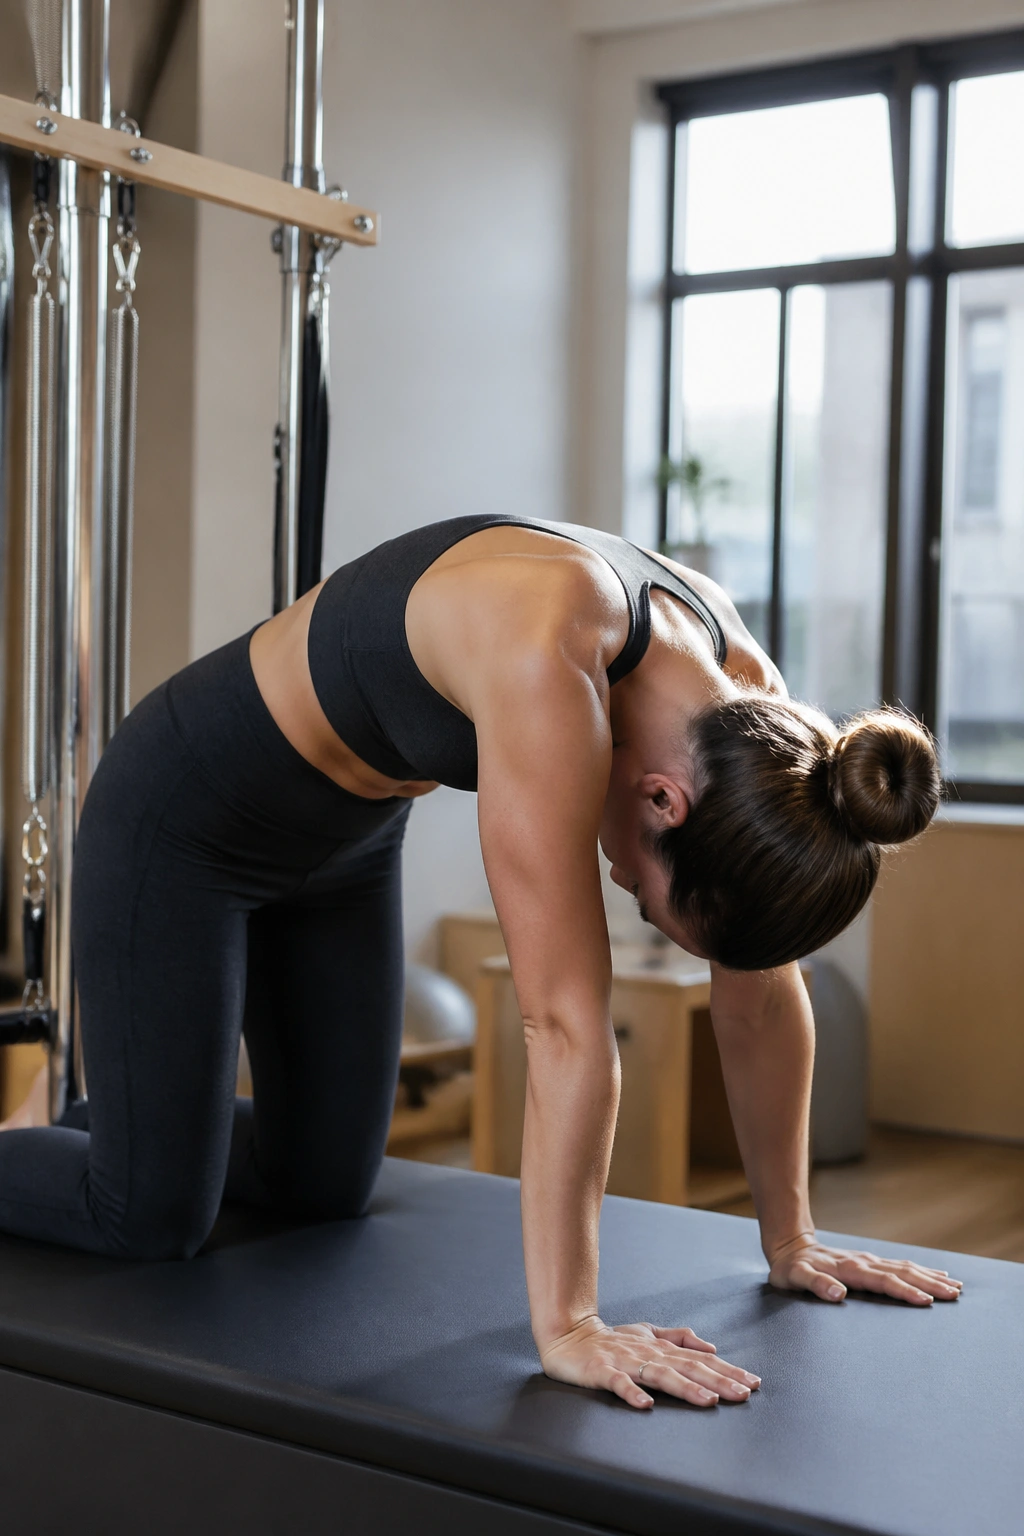
Why does cat stretch feel different on the tower? Because the bar gives you a clear line to push into, and that little bit of resistance changes everything in the ribs and shoulders. Instead of just rounding and arching aimlessly, you get a real sense of where your shoulder blades are sliding and how much your spine can move without the neck taking over.
Set your hands on the bar or on the tower frame, depending on your setup, then come to hands and knees with your knees under your hips. Exhale as you round your back, draw the belly in, and let the tailbone tuck under. Inhale as you lengthen again, keeping the neck in line with the spine instead of flinging the head up.
What to feel in the middle of your back
- Your shoulder blades should spread apart on the round shape.
- Your ribs should lift and lower without a big sway in the lower back.
- Your elbows stay soft, not locked.
- Your breath should be easy enough that you could count it.
A small range is better than a dramatic one. Six to eight slow repetitions are plenty, and they’re plenty hard if you keep the movement honest. Keep the bar quiet. If it bounces, you’re using speed to fake control.
3. Chest Expansion in Kneeling
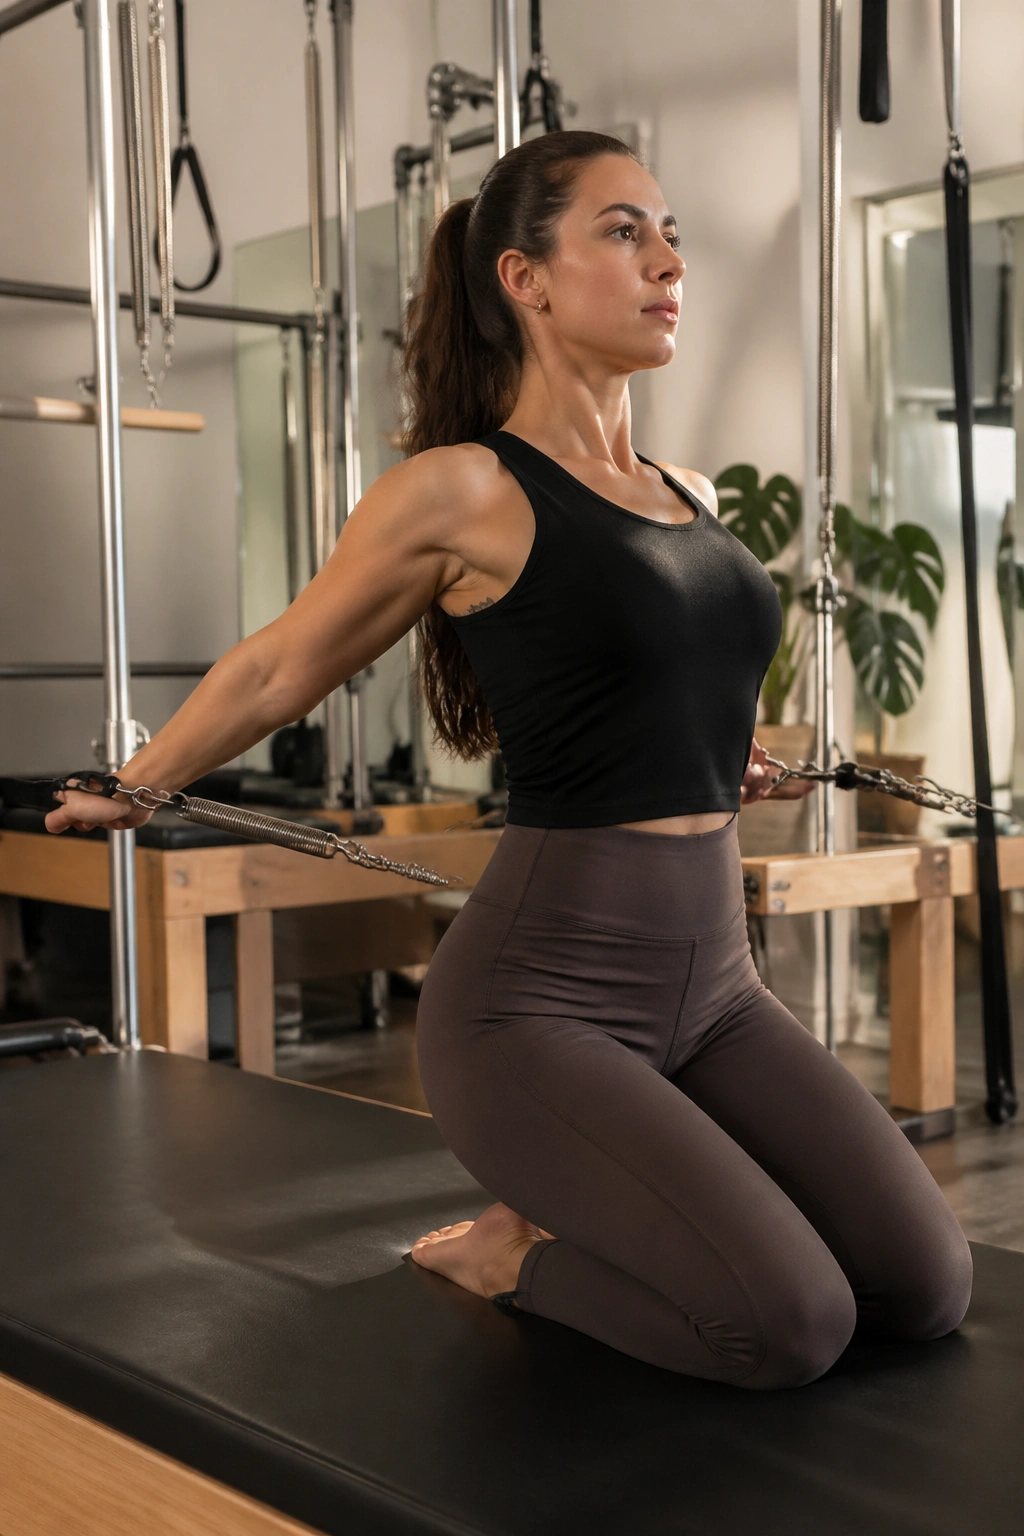
Chest expansion is where your posture gets honest. Kneel tall, hold the springs beside your hips, and press the arms back without puffing the ribs forward. It looks simple from across the room. It isn’t.
The work lives in the back of the shoulders and the space between the shoulder blades. Your arms move, yes, but the trunk has to stay steady while the springs try to pull your hands away from your body. That little tug is the whole point. If your torso starts leaning back to make the movement easier, you’ve already lost the shape.
The arm path matters
- Start with the palms facing in and the arms long.
- Press the hands a few inches behind the hips on the exhale.
- Pause for a beat with the chest wide and the neck long.
- Return with control instead of letting the springs snap you forward.
Five to eight reps is enough. I prefer a slightly lighter spring here because heavy resistance turns the movement into a shoulder shrug contest, and nobody needs that. You should feel organized, not crushed.
4. Arm Circles with the Springs
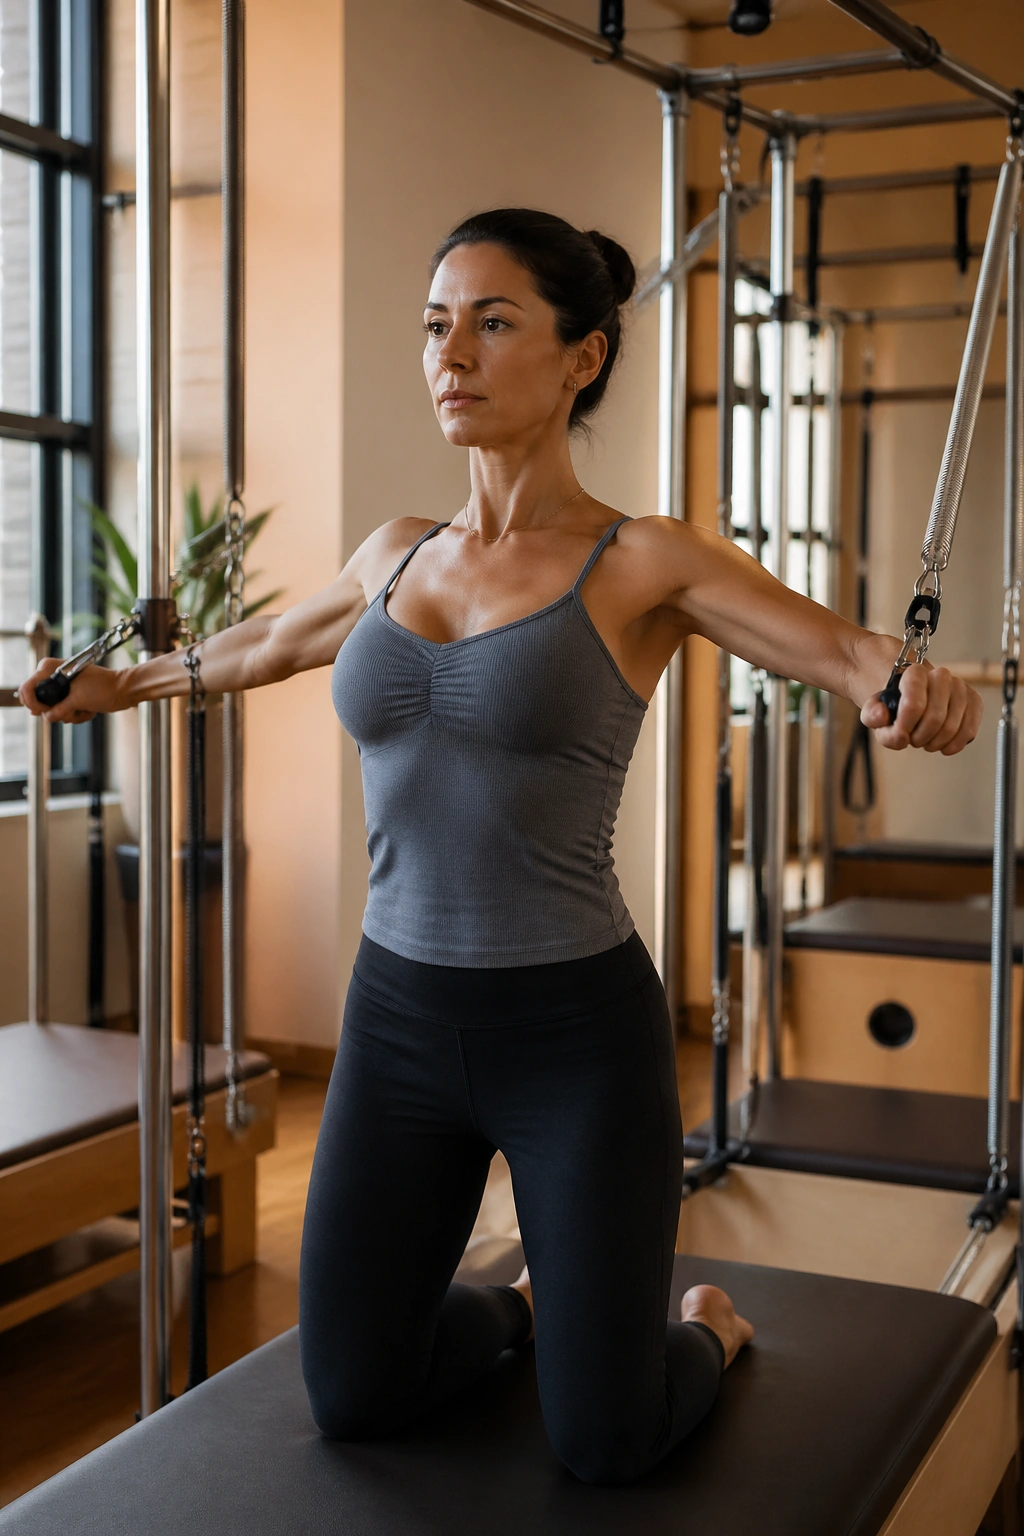
Arm circles look delicate until the shoulders try to creep upward and the ribs decide to flare. Then the exercise gets loud. The goal is a quiet trunk and smooth circles that come from the shoulder joint, not from a whole-body sway that tries to sneak in extra range.
Stand or kneel in a stable position, hold the springs, and trace small circles with the arms. Keep the ribs stacked over the pelvis, and imagine the shoulder blades sliding down the back pockets instead of climbing toward the ears. If the neck tightens, the circles are too large or the tension is too much.
A tiny circle can be harder than a huge one. That’s not a joke. Small circles force you to stay inside the springs instead of muscling through them, and that’s where the work gets useful for posture and upper-back control.
Try 6 circles in each direction, then pause and notice whether one shoulder feels busier than the other. Most people have a favorite side. It’s annoying, and also useful information.
5. The Hundred with Arm Springs
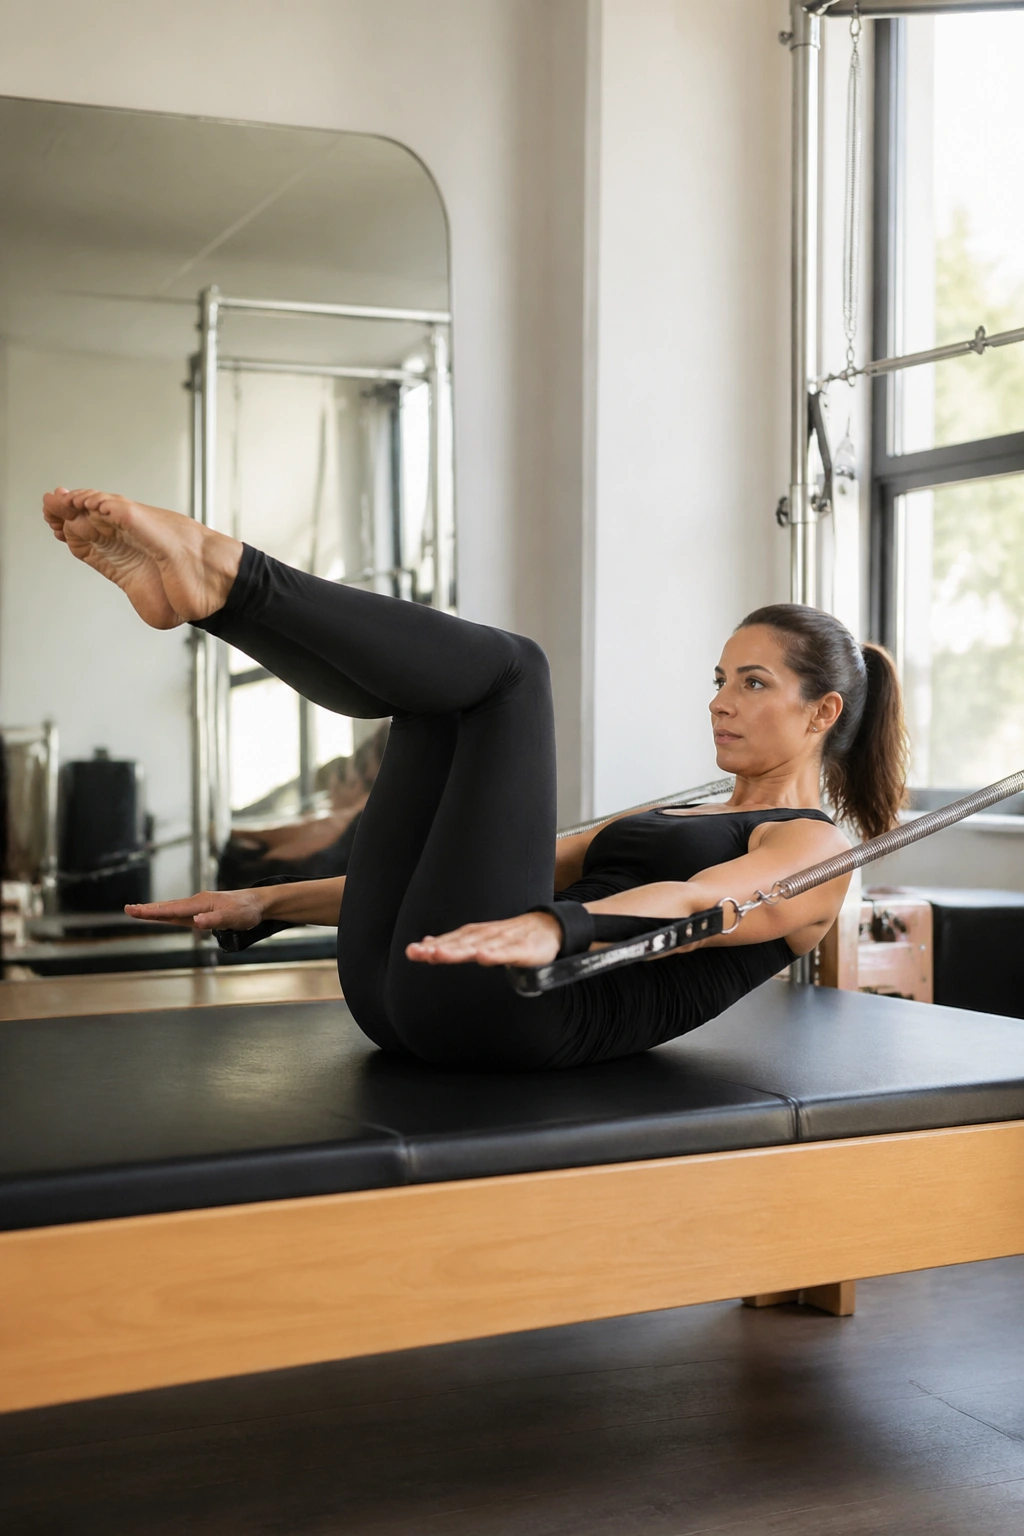
Do you need springs for the Hundred? No. Do they make the exercise more honest? Yes, especially when your arms tend to wander or your shoulders want to take over. The straps give your arms a clear path, which lets the breath and trunk work stay at the center of the exercise.
Set up in tabletop or with the legs extended if that’s already comfortable for you. The head and shoulders lift only as high as you can manage without neck strain, and the arms pump in a small, brisk range. Five counts in, five counts out is the classic rhythm. If that rhythm feels awkward, slow it down and keep it smooth before you speed up.
What the Hundred should not become
- Not a neck exercise.
- Not a shoulder burn contest.
- Not a race to the end of the breath.
The lower ribs should feel contained, and the low back should stay heavy enough that you’re not peeling off the mat like a shell. Ten breath cycles is a solid target. If your form starts to wobble at six, stop at six. Clean work beats heroic mess every time.
6. Frogs with Leg Springs
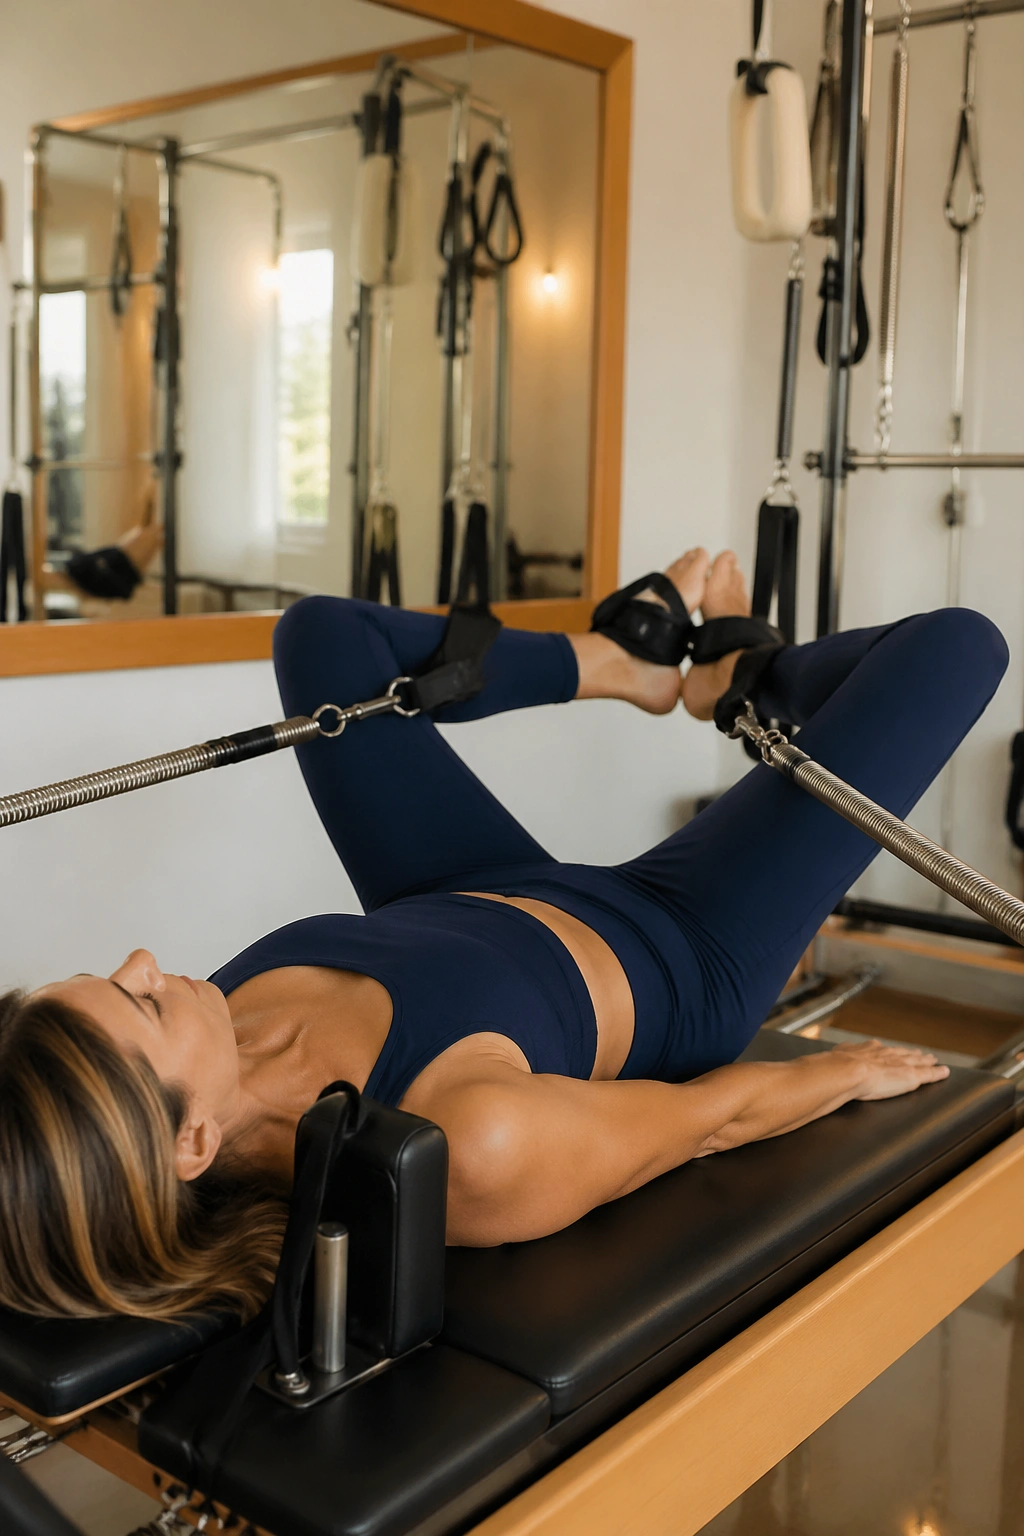
If your hip flexors grab in almost everything, frogs are the move that tells the truth fast. Lie on your back with the feet in straps, heels together, knees open, and press the legs out to a long line before drawing them back in. The motion should feel smooth, not like you’re kicking a door open.
The best frogs are small enough to stay tidy. When people overreach, the pelvis tips and the lower back starts fishing for support it should not need. Keep the ribs heavy, keep the tailbone quiet, and let the spring return the legs instead of yanking them home.
This is one of those exercises that looks almost peaceful. It isn’t. It asks for control in the hips, awareness in the inner thighs, and enough abdominal support that the legs can move without the whole torso wobbling.
Try 8 to 10 reps. If your hamstrings feel like they’re getting yanked, reduce the range and soften the knees a touch on the return. Clean lines matter more than big lines here.
7. Small Leg Circles in the Straps
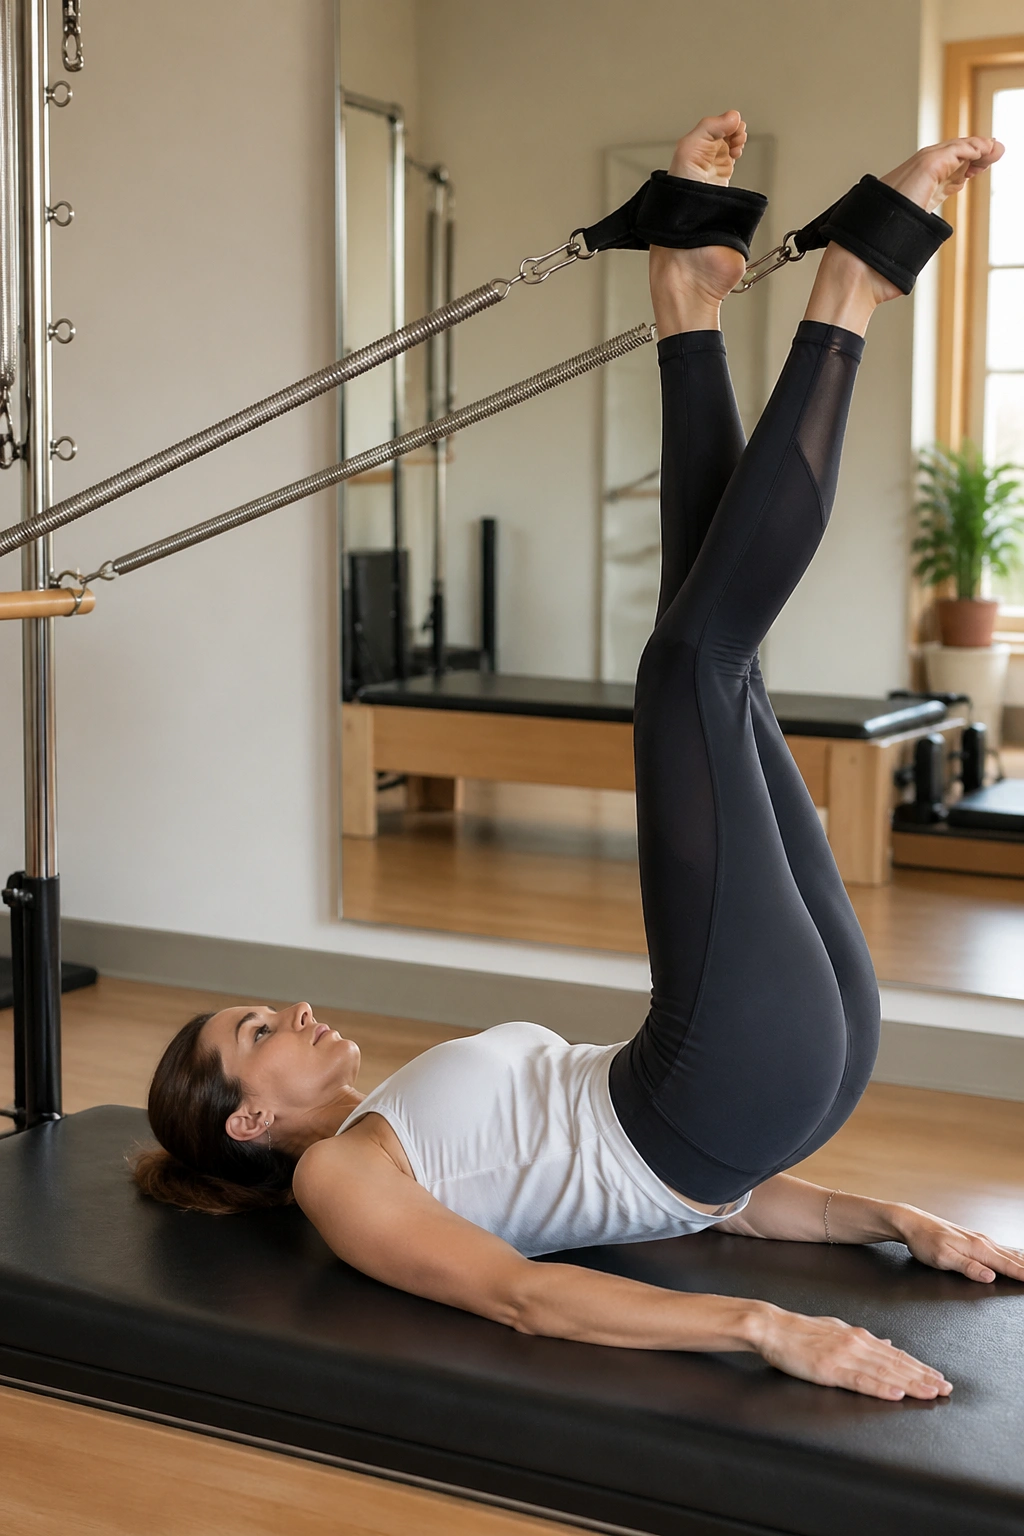
Leg circles are not supposed to be giant. Giant circles usually mean the pelvis is chasing the feet, and once that happens the exercise stops training control and starts training chaos. I prefer a smaller arc that keeps the lower back calm and the leg work precise.
Lie down with one or both legs in the straps and let the leg trace a controlled circle across the ceiling. The goal is to keep the pelvis heavy and level while the leg moves freely at the hip. If the opposite hip hikes or the rib cage shifts, shrink the circle until the body can stay honest again.
A good leg circle feels like the leg is gliding in a clean loop, not swinging from a rope. The foot can stay softly pointed or flexed depending on the variation, but the movement should stay smooth in both directions.
Four or five circles each way is enough to start. If you rush, the spring will hand that mistake back to you immediately.
8. Scissors with Leg Springs
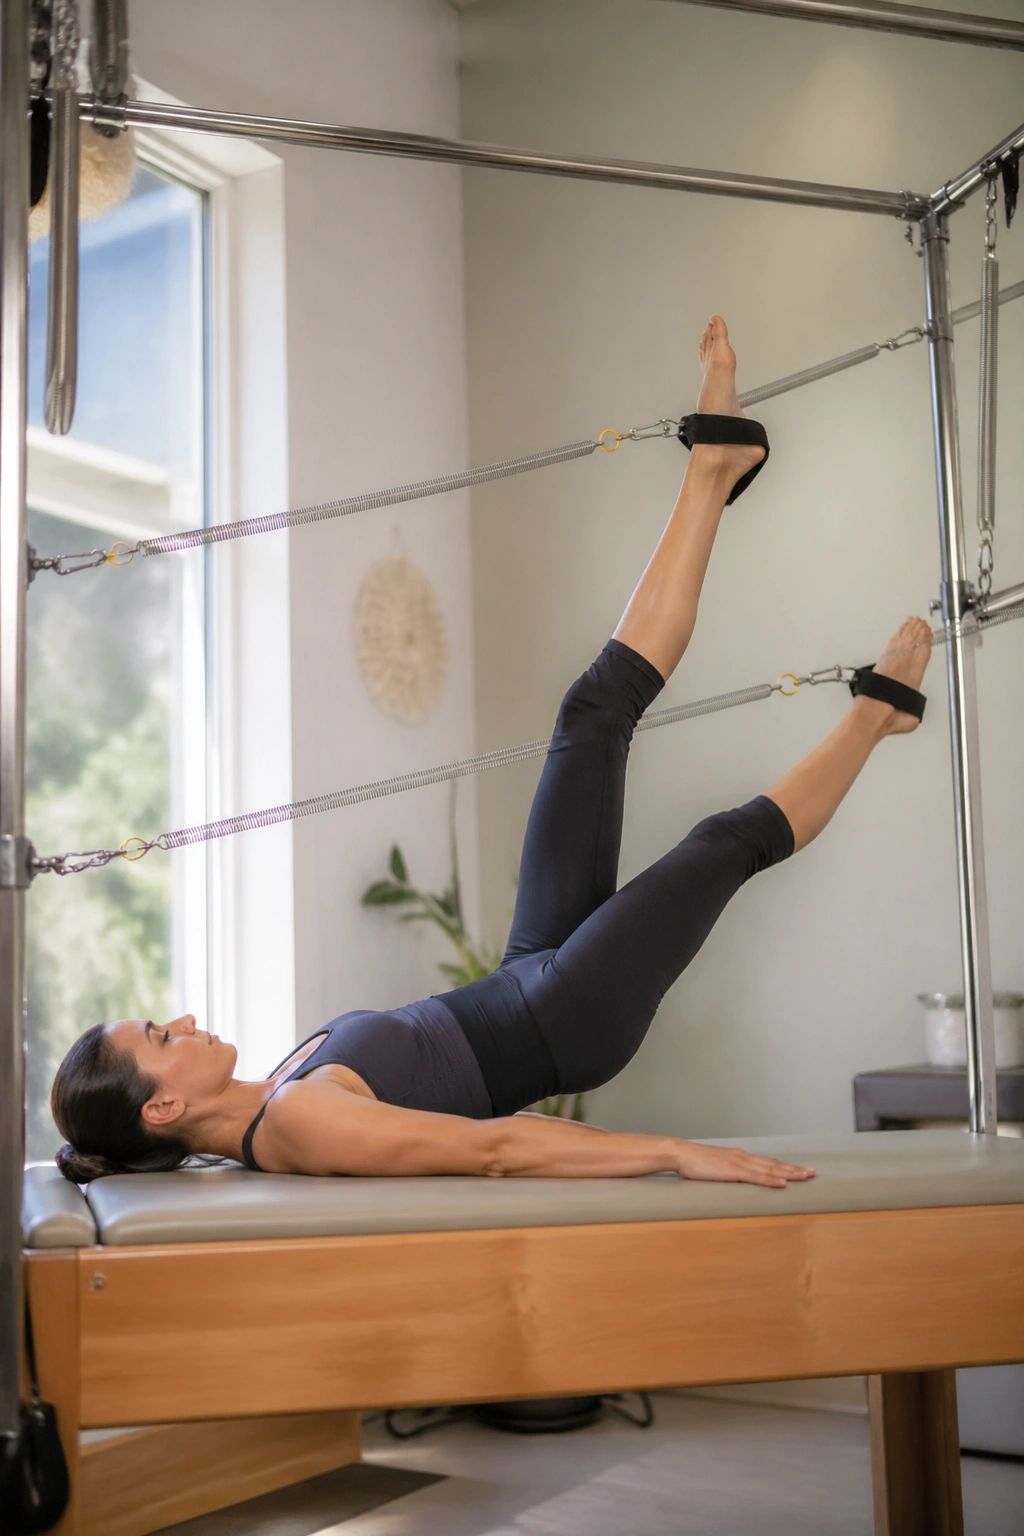
Scissors are cleaner than they look. One leg reaches up while the other floats down, and the springs make you pay attention to the difference between control and momentum. The temptation is to pull the higher leg with the hands or haul the lower leg downward. Don’t.
Start from a stable pelvis, then split the legs with enough range to feel the hamstrings and the front of the hip working. The center of the body should stay quiet while the legs switch places in a smooth, rhythmic pattern. If the lower back arches, the line is too big.
What to watch for
- One hip hiking higher than the other.
- The neck reaching forward to chase the legs.
- The springs snapping the legs instead of guiding them.
- A jerky switch between sides.
I like scissors because they teach timing. The legs are moving, but the trunk has to look almost boring. Six to eight switches each side is plenty for a home session, and it’s usually enough to tell you whether your hips are willing to cooperate that day.
9. Bicycle with Leg Springs
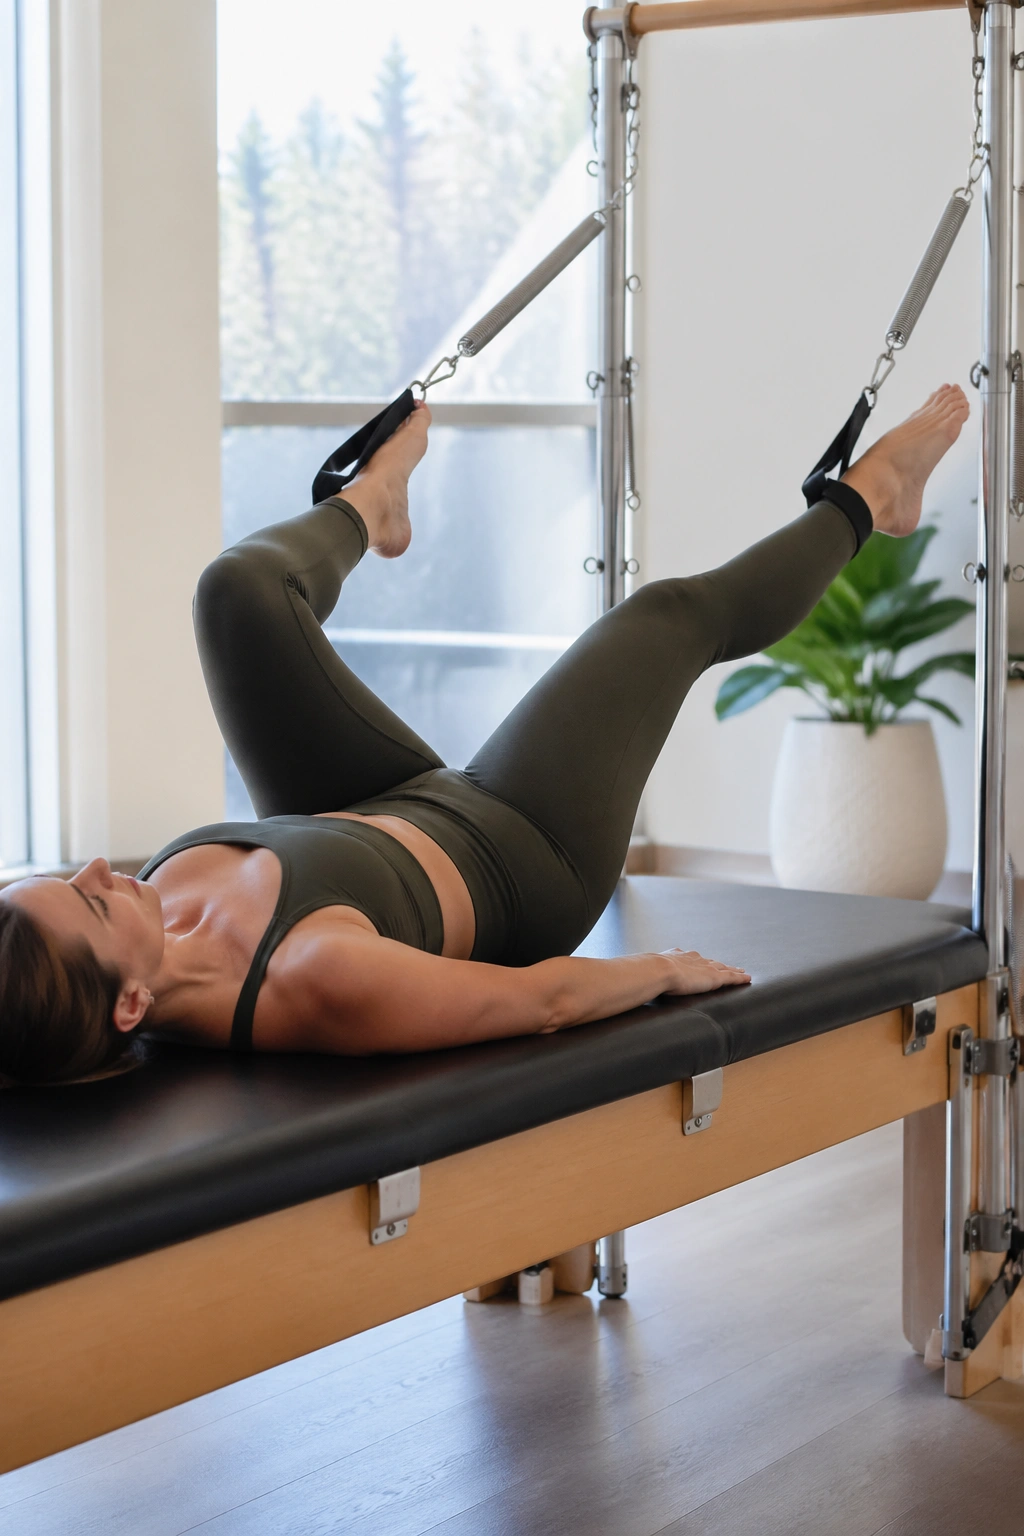
The bicycle often turns theatrical. People start pedaling with the whole lower body, the springs whip around, and the shape disappears. Keep it smaller than your ego wants, and the exercise stays useful.
From the scissor position, bend one knee and sweep the leg through a circular path as if you were tracing the pedals of a very small bike. The opposite leg extends with control, not force. The movement should stay smooth through the hip sockets while the ribs and shoulders remain settled on the mat.
I like this one after scissors because it links hip flexion, extension, and rotation in one pattern. It also exposes side-to-side differences fast. One direction may feel silky, the other clunky. That’s normal. Don’t fix it by throwing in extra speed.
Four to six cycles each way is enough. If you feel the pelvis tipping or the low back gripping, make the circles smaller and slow the pace until the motion stops looking like a circus act.
10. Short Spine Massage
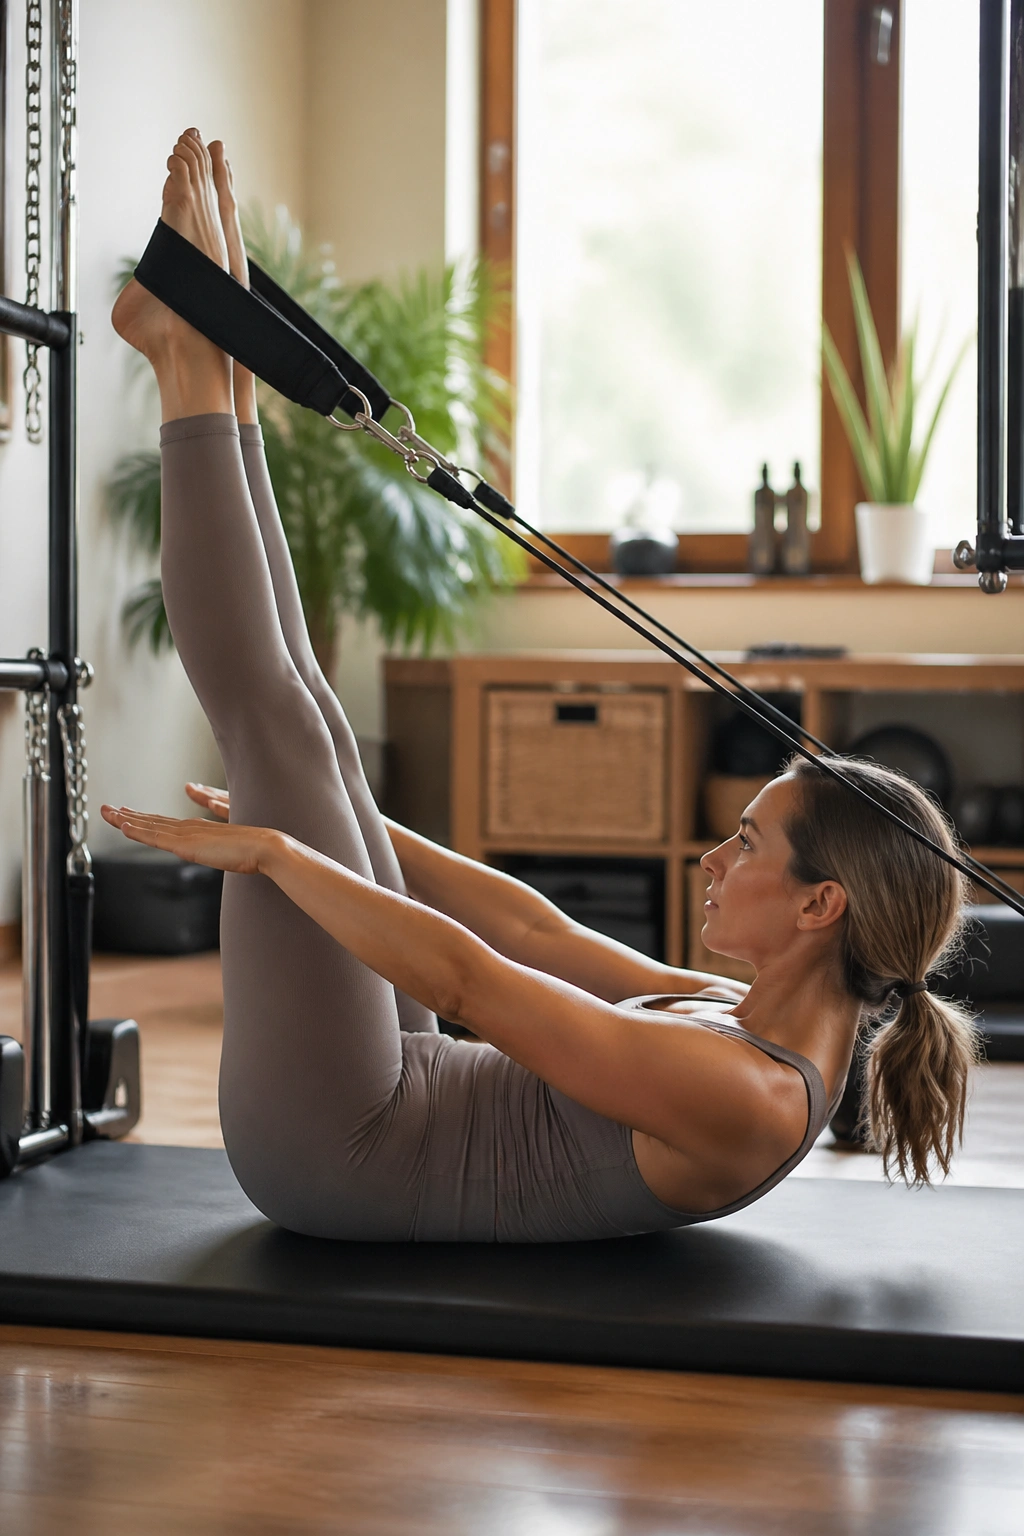
Short spine massage is gorgeous when it’s small and controlled; it turns ugly when the legs swing like a gate. The tower gives you enough support to make the shape, but it will not save you from rushing through the roll-up. Start with the lightest spring tension that still gives you a clear line.
Lie on your back with the legs in the straps, then fold the legs overhead only as far as your neck and shoulders can stay calm. Roll the spine up and over with the abs, then lower with control until the tailbone meets the mat again. The body should move like a ribbon, not like a hinge.
Shoulders first, then back
The upper back needs to stay broad, and the back of the neck needs space. If the shoulders bunch toward the ears, stop and reset before taking another rep. This move asks a lot from the hamstrings and the trunk, but it punishes force fast.
Three to five slow repetitions are enough. If you finish feeling long and arranged instead of jammed together, that’s the win.
11. Swan with the Push-Through Bar
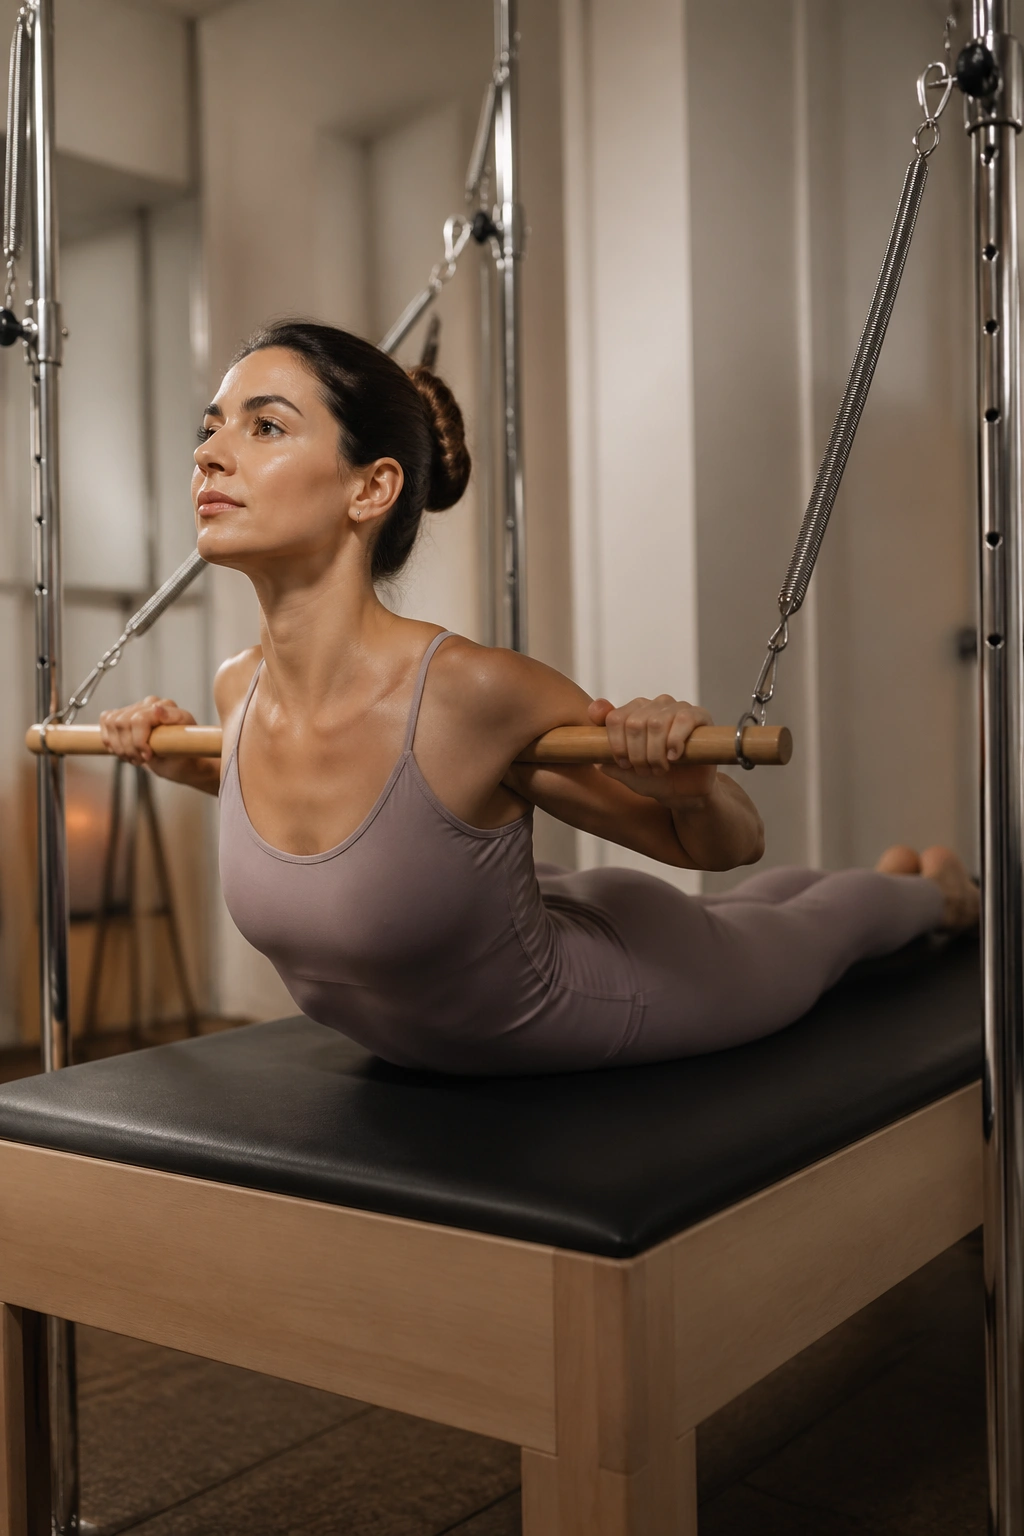
Your chest should feel like it is sliding forward and up while the lower ribs stay quiet. That is the version of swan I trust. If the lower back is doing all the work, the shape gets pinched and the shoulders usually creep upward to help, which is a bad trade.
Set yourself prone under the push-through bar, and start with the lightest spring that gives you a smooth return. Press the bar as you extend the spine, then lower with control until the chest and sternum soften back toward the mat. The arms are there to support the lift, not yank it into place.
Never let the bar snap back. That one matters. The return should be as smooth as the lift, and your elbows should stay soft enough that the shoulders don’t lock up.
Three to six repetitions are enough. If your neck starts pinching, make the lift smaller and lengthen through the back of the head instead of looking up to force range.
12. Mermaid with the Push-Through Bar
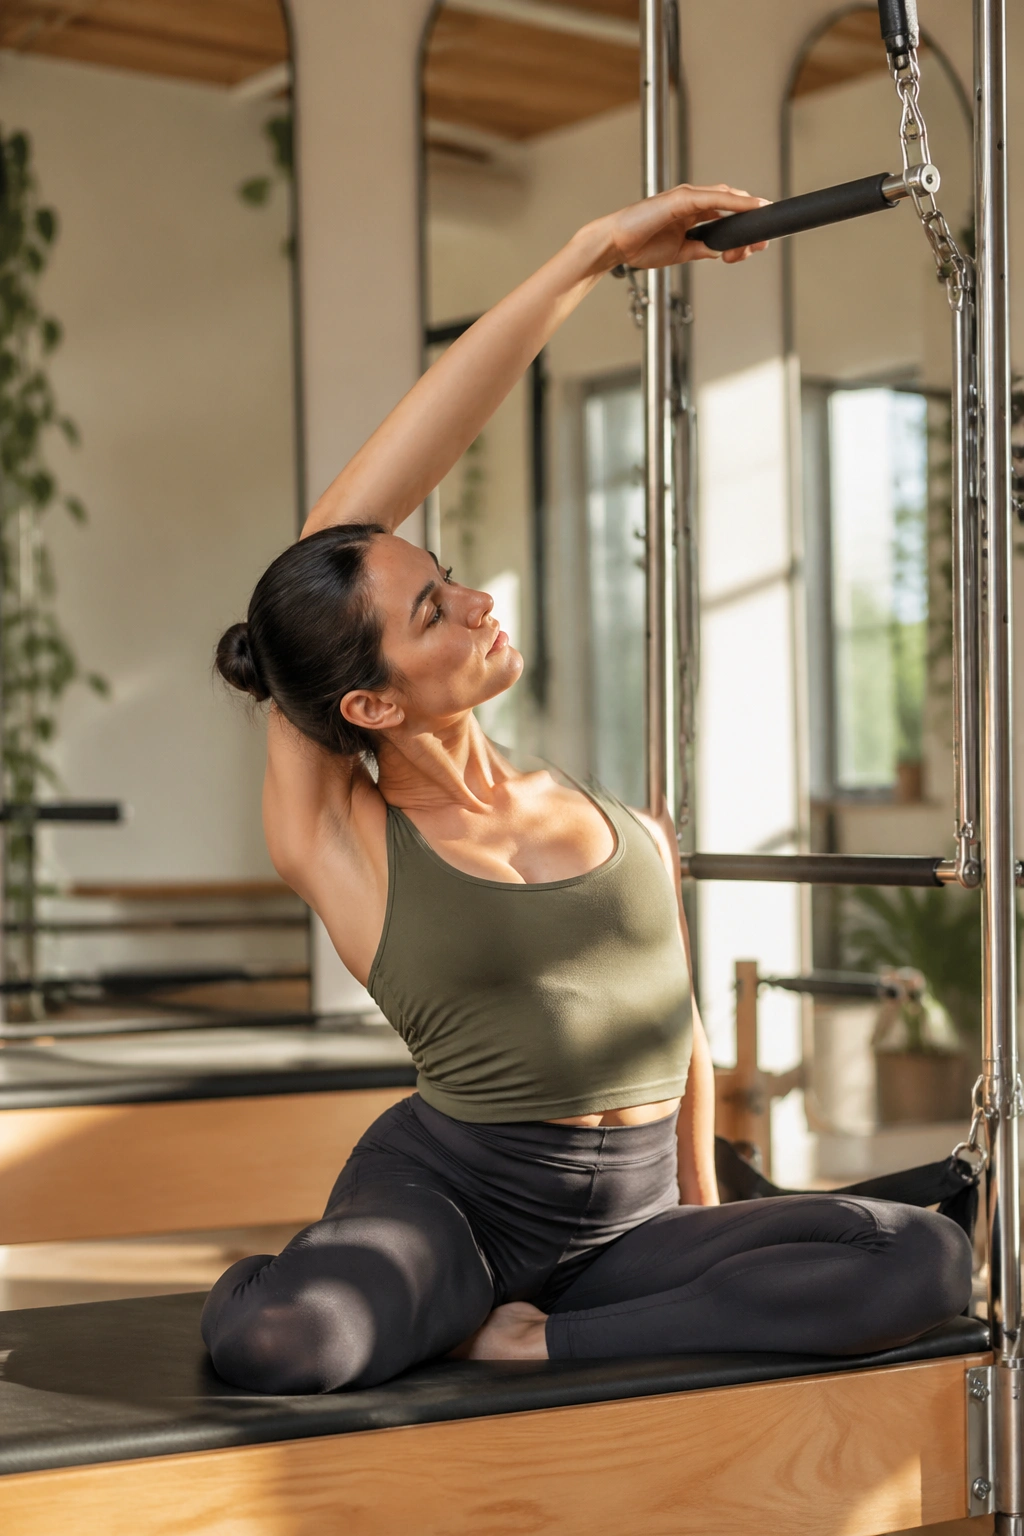
Why does mermaid feel better on the tower than on the mat? Because the bar gives you traction and a clearer sense of side bend. You’re not just folding sideways; you’re creating space between the ribs on one side and the hip on the other.
Sit to one side of the tower, hold the bar, and let the opposite arm guide you into a long arc. The sitting bones stay grounded while the ribs reach upward and over. On the way back, stack the spine one piece at a time instead of snapping upright with the shoulders.
The breath helps more than people expect. Inhale into the open side of the ribs, then exhale as you deepen the stretch a fraction more. That tiny shift makes the side body feel less blocked, which is half the reason mermaid keeps getting used in Pilates sessions.
Three slow repetitions per side are enough. If one side feels much tighter, don’t force the same shape on both sides. That only teaches compensation.
13. Teaser with Bar Support
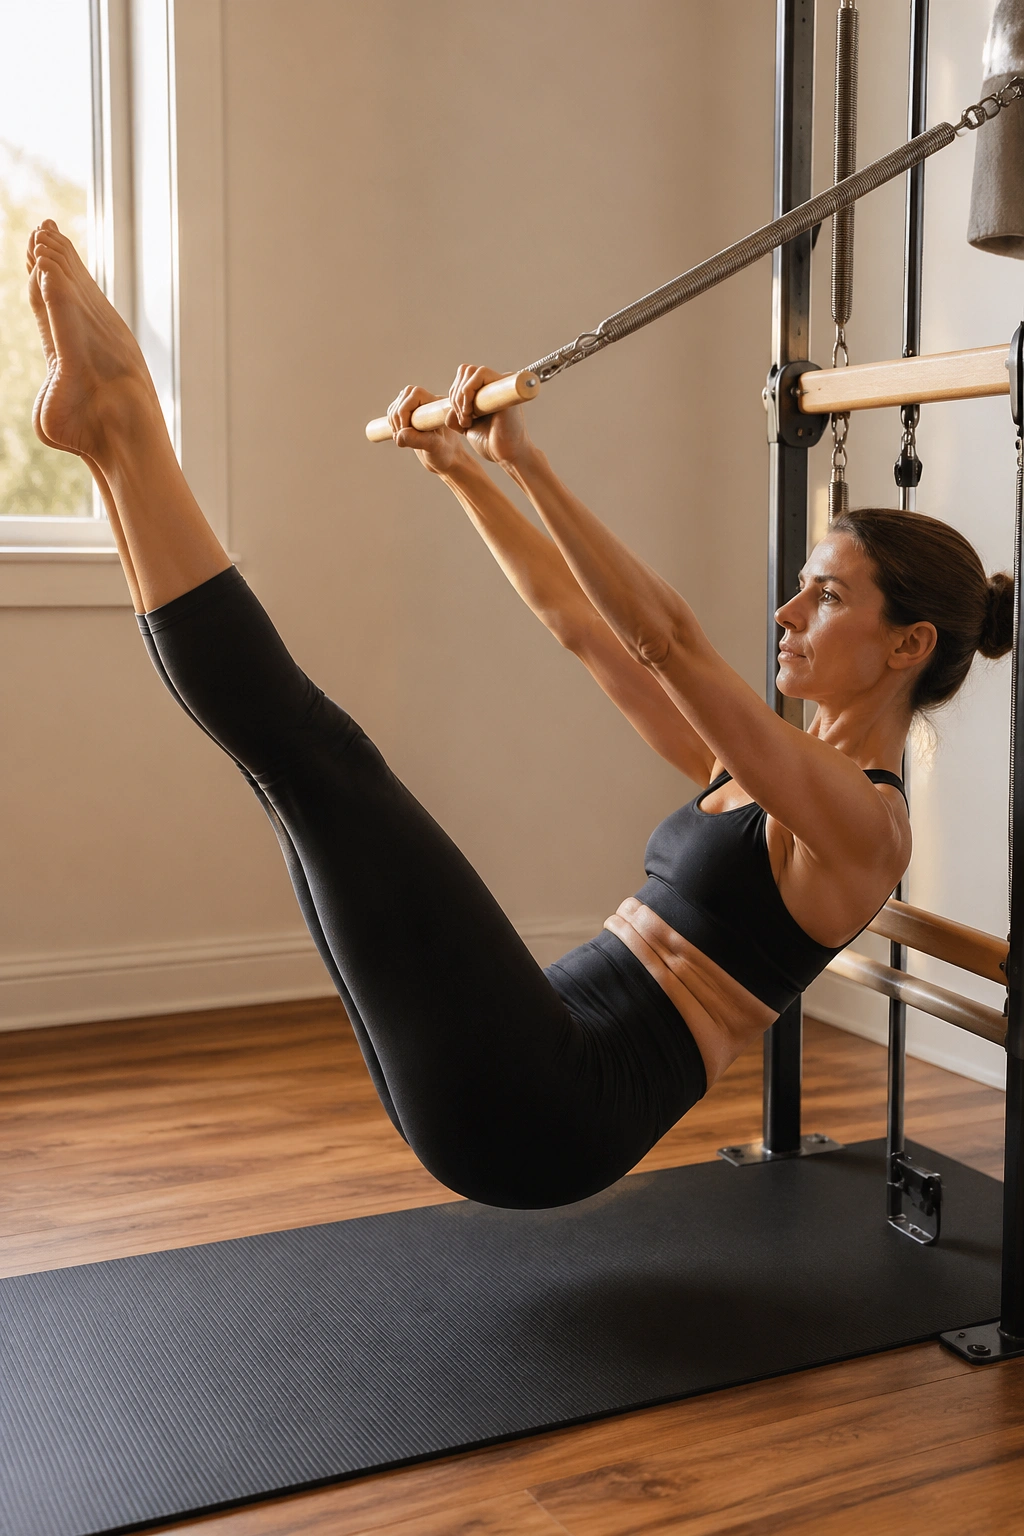
Teaser is a balance test and a patience test. The tower can make it feel more available, but it still asks for control in the hip flexors, abs, and back line all at once. If you chase height too early, the shape falls apart.
Use the bar as a light assist, not a crutch. Roll down and back with control, then curl up through the spine until the torso and legs form a long V shape or a close version of it. The shoulders stay down, the neck stays long, and the legs do not fling upward to rescue the pose.
Use the bar like a guide
- Let the springs help you find the balance point.
- Keep the ribs tucked enough that the lower back doesn’t steal the work.
- Hold the shape for one breath before lowering.
- Stop before the neck starts gripping.
A shaky teaser is still a teaser if the control is there. Two to four reps are enough for most home sessions, and honestly, that is plenty. It’s a hard exercise. No need to pretend otherwise.
14. Tree with Leg Springs
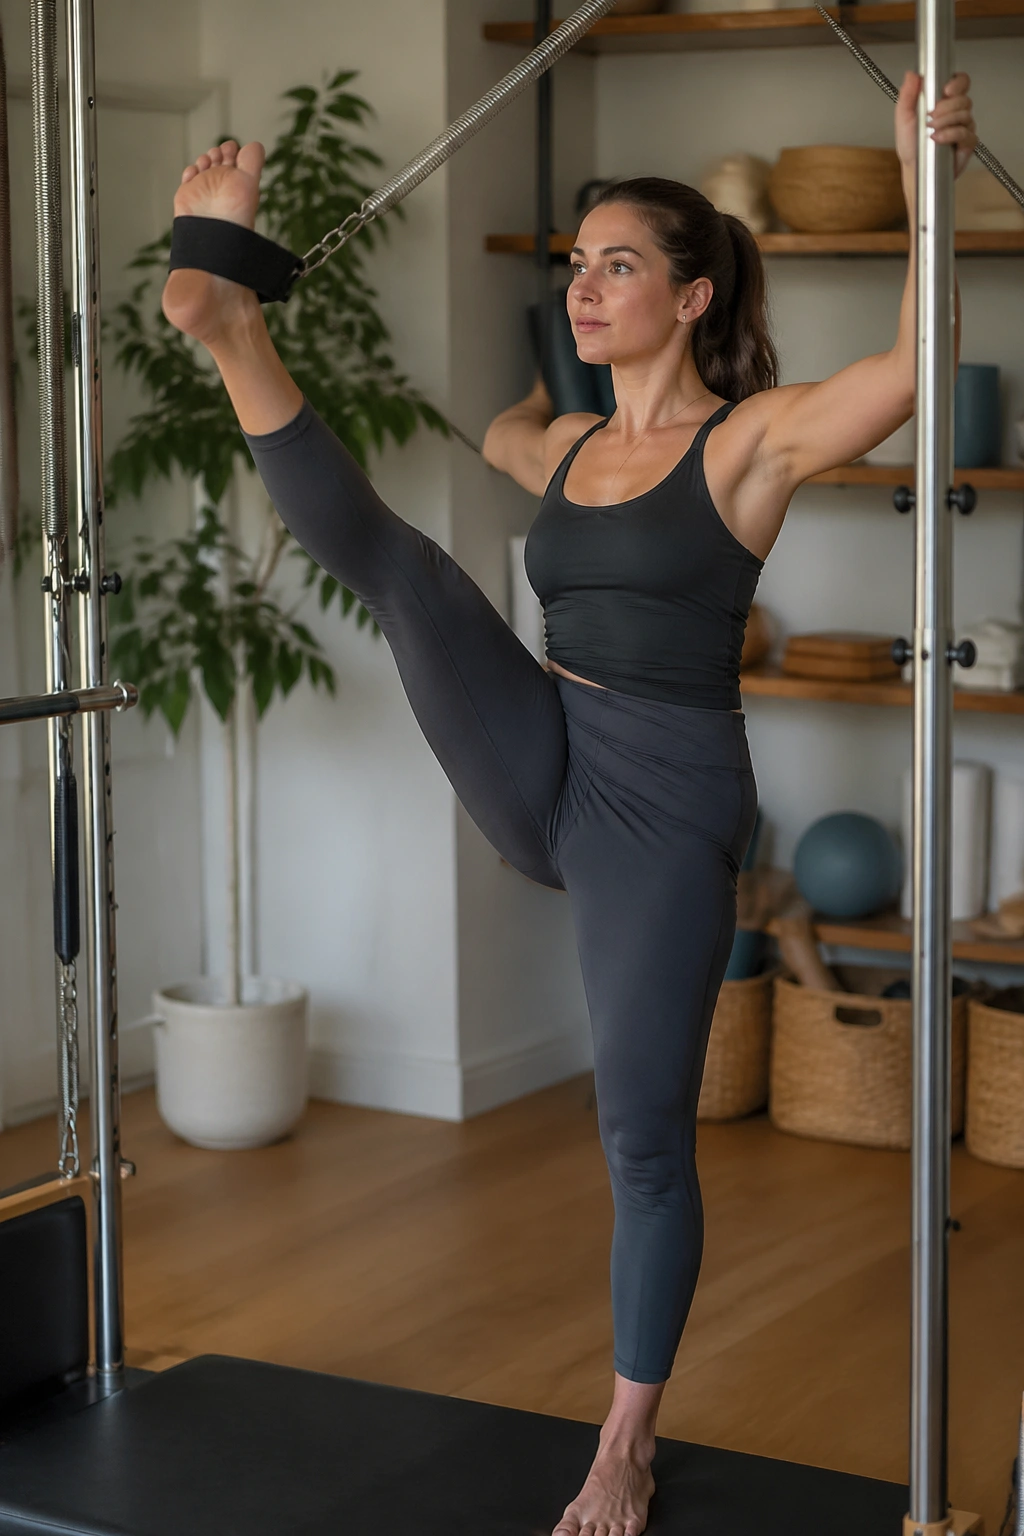
Tree looks like a hamstring stretch, then it quietly turns into a spine exercise. That shift is why I keep it on the list. The leg in the strap lifts, the spine curves down, then you roll back up and repeat. It feels simple until the transitions start asking questions.
Keep one leg in the strap and the other leg grounded with the knee softly bent or straight, depending on your setup. Lift and lower the trunk with the breath, and keep the lifted leg stable instead of letting it wander around. The goal is control through the whole chain, not a big dramatic fold.
One leg will probably feel easier than the other. That’s normal. Don’t chase symmetry by forcing the harder side into the same shape. Give it a clean range and let the hamstrings open over a few slow reps.
Three to five repetitions per side work well. Keep the movement fluid, and stop before the lower back starts to pinch.
15. Hamstring Stretch with the Strap
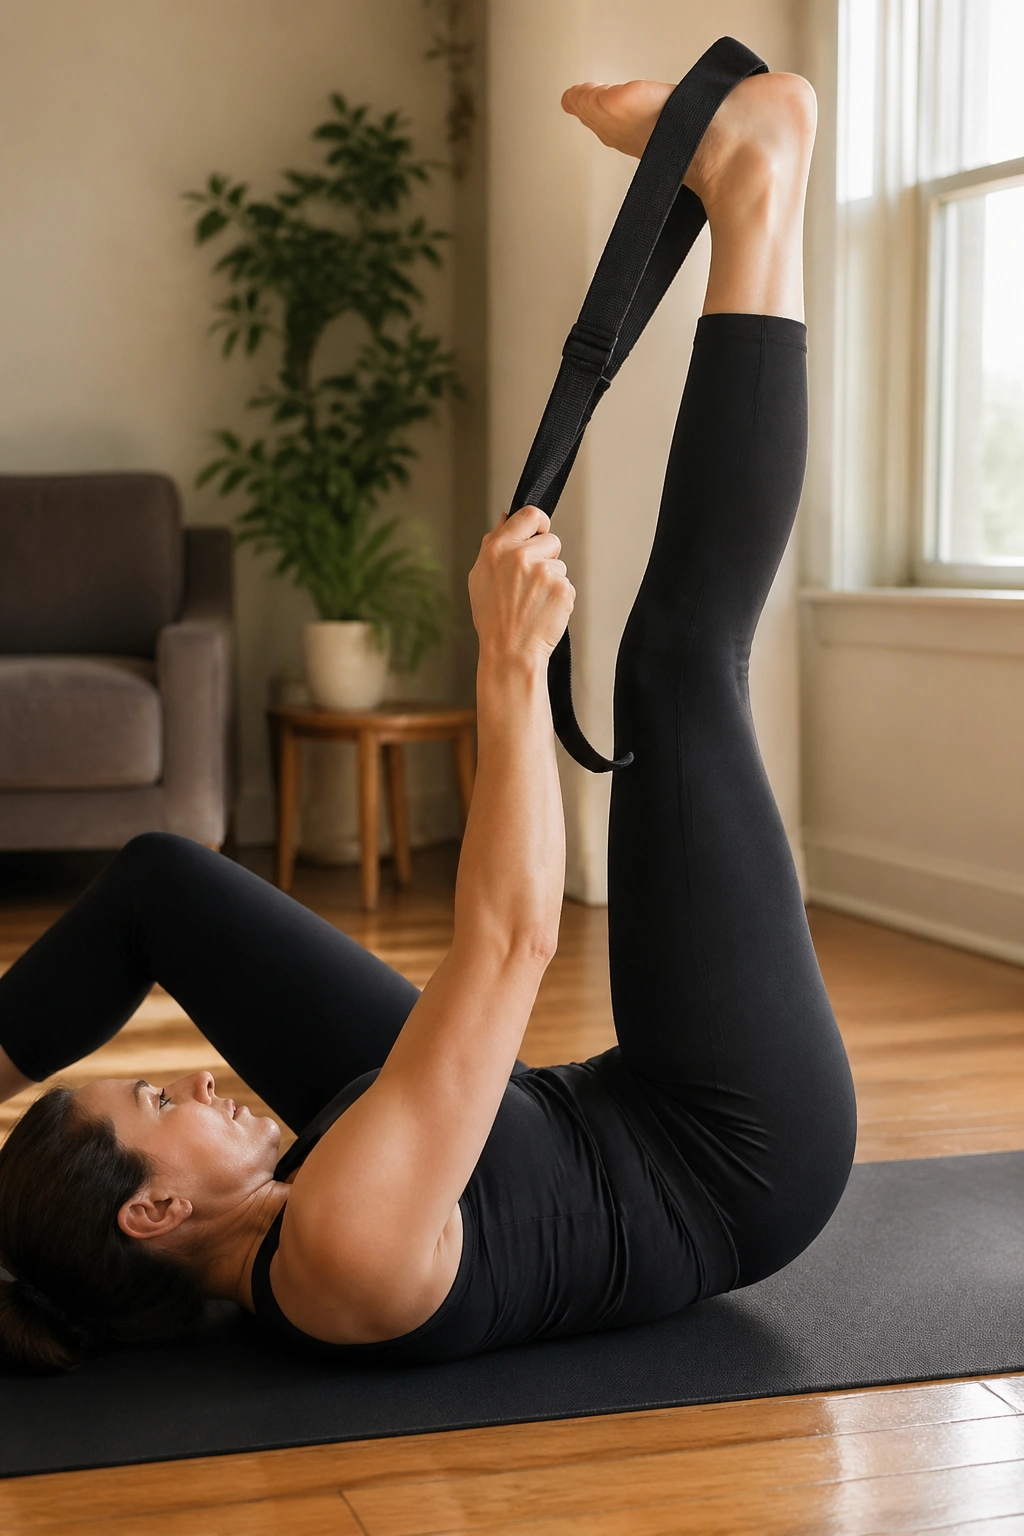
Is this just a stretch? Not if you do it well. A clean hamstring stretch in the strap teaches the leg to lengthen without dragging the pelvis with it, and that matters more than people think. Tight hamstrings often hide a lot of lower-back compensation.
Lie down, loop one foot in the strap, and extend that leg toward the ceiling. The other leg can stay bent or long on the mat, whatever keeps the pelvis steady. Flex and point the foot gently, or hold the shape and breathe into the back of the thigh for three to five breaths.
Where people overdo it
- They pull the leg so high that the pelvis tips.
- They lock the knee and complain about the back of the knee.
- They hold their breath and call it a stretch.
A small bend in the knee is fine if the back of the leg feels threatened. I’d rather see a slightly bent, relaxed hamstring stretch than a straight leg with the pelvis twisted sideways. That’s not a better stretch. It’s just a mess with better manners.
16. Pelvic Curl with Feet in Straps
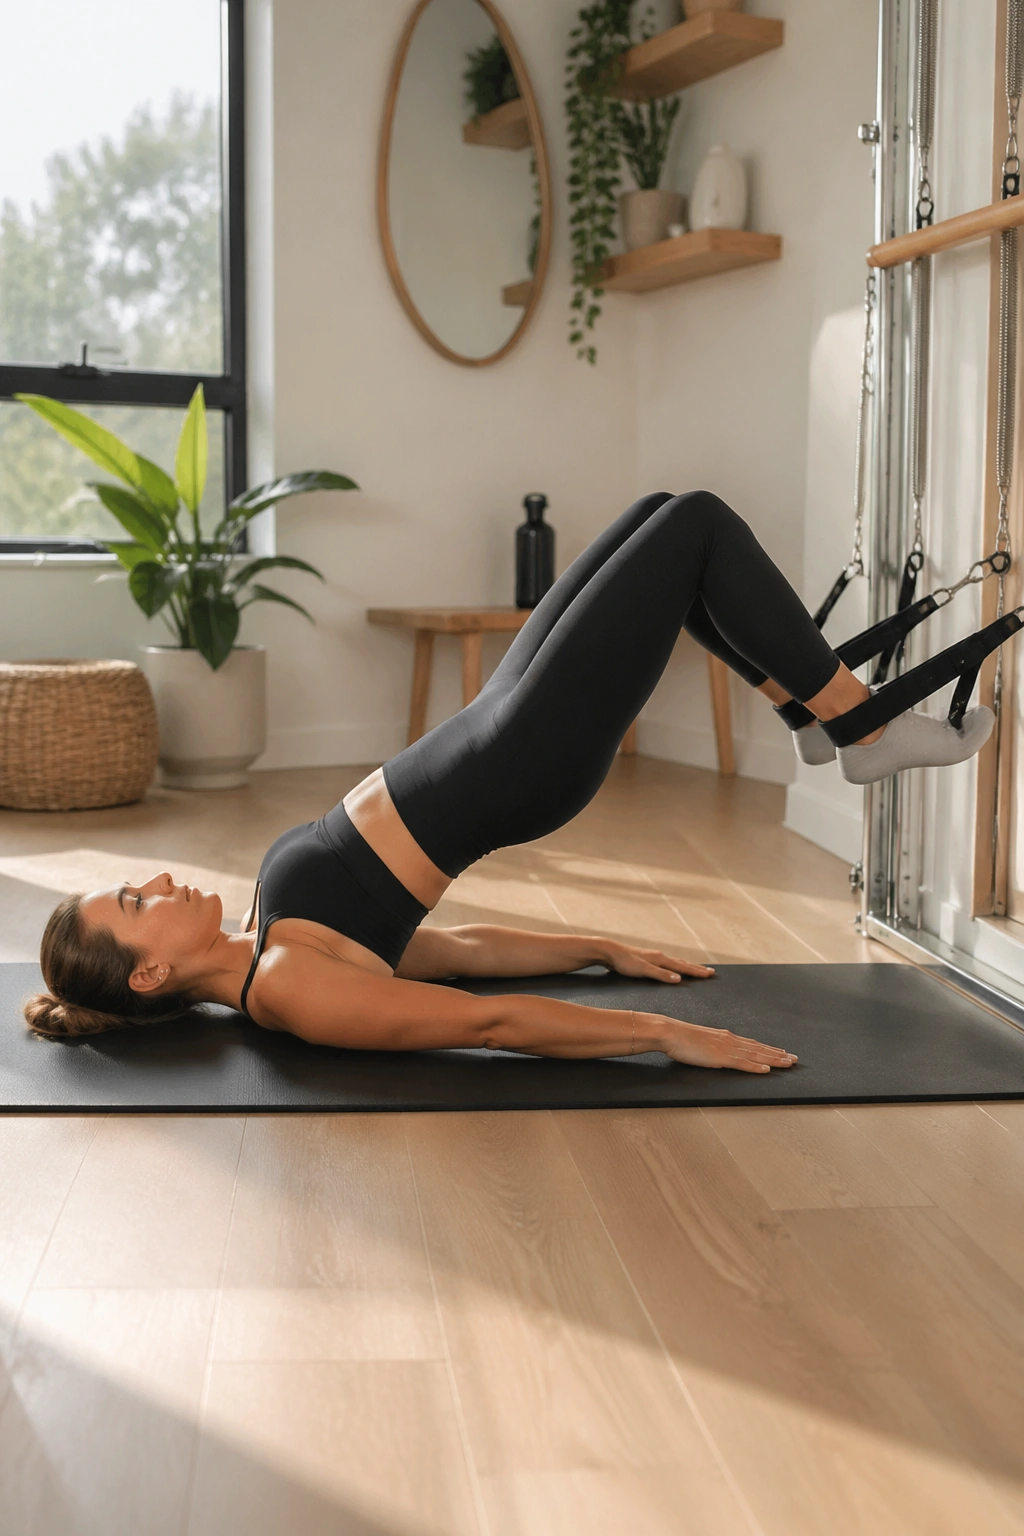
This one can feel fiddly the first time, and that’s normal. The springs are asking your pelvis to stay organized while your legs float in space, which is not a setup many bodies are used to. Take your time getting into it.
From a supine position, place the feet in the straps and bend the knees. Press through the feet as you articulate the pelvis into a bridge, then roll back down one vertebra at a time. The shape should look smooth and even, not like the hips are shooting up ahead of the rest of you.
The nice part is the feedback. If one side of the pelvis moves faster, you’ll know right away. If the ribs pop, the springs will usually make that obvious too. That’s useful. Annoying, but useful.
Start with 4 to 6 slow curls. If the hamstrings cramp, bring the feet slightly closer to the body and reduce the lift. There’s no prize for the biggest bridge.
17. Side Kick Series with Springs
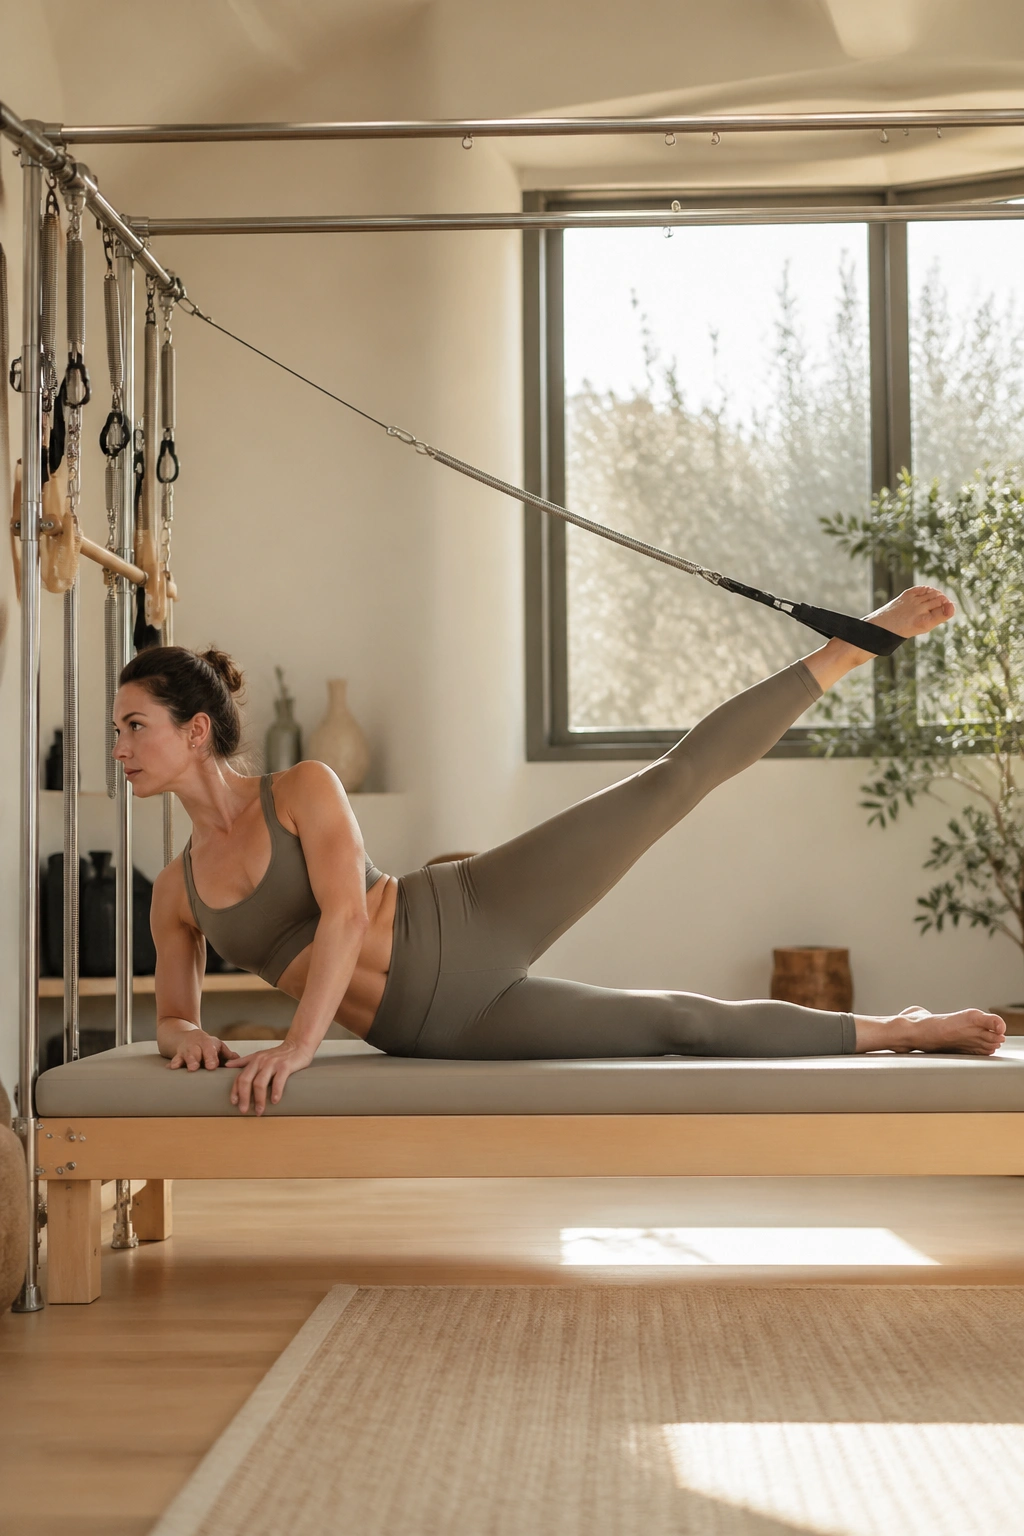
Unlike the mat side kick series, the springs keep the working leg honest. There’s nowhere to hide when the strap is guiding the leg through front-and-back or up-and-down motion, and that’s why I like it. The trunk has to stay steady while the hip works through a pretty normal range.
Set up on your side with the lower body arranged so the top leg can move freely in the strap. Kick the leg forward with control, then sweep it back without tipping the pelvis. Keep the waist long and the rib cage stacked, even when the leg wants to grab your attention and wander off.
Quick setup notes
- Keep the top hip from rolling backward.
- Make the kick smaller if the low back feels busy.
- Use a slow return so the spring doesn’t yank the leg home.
- Stop if the neck starts cranking toward the floor.
Six to eight kicks each direction is enough. This is one of those exercises where precision matters more than fire. Burn is fine. Shape matters more.
18. Spine Twist with the Bar
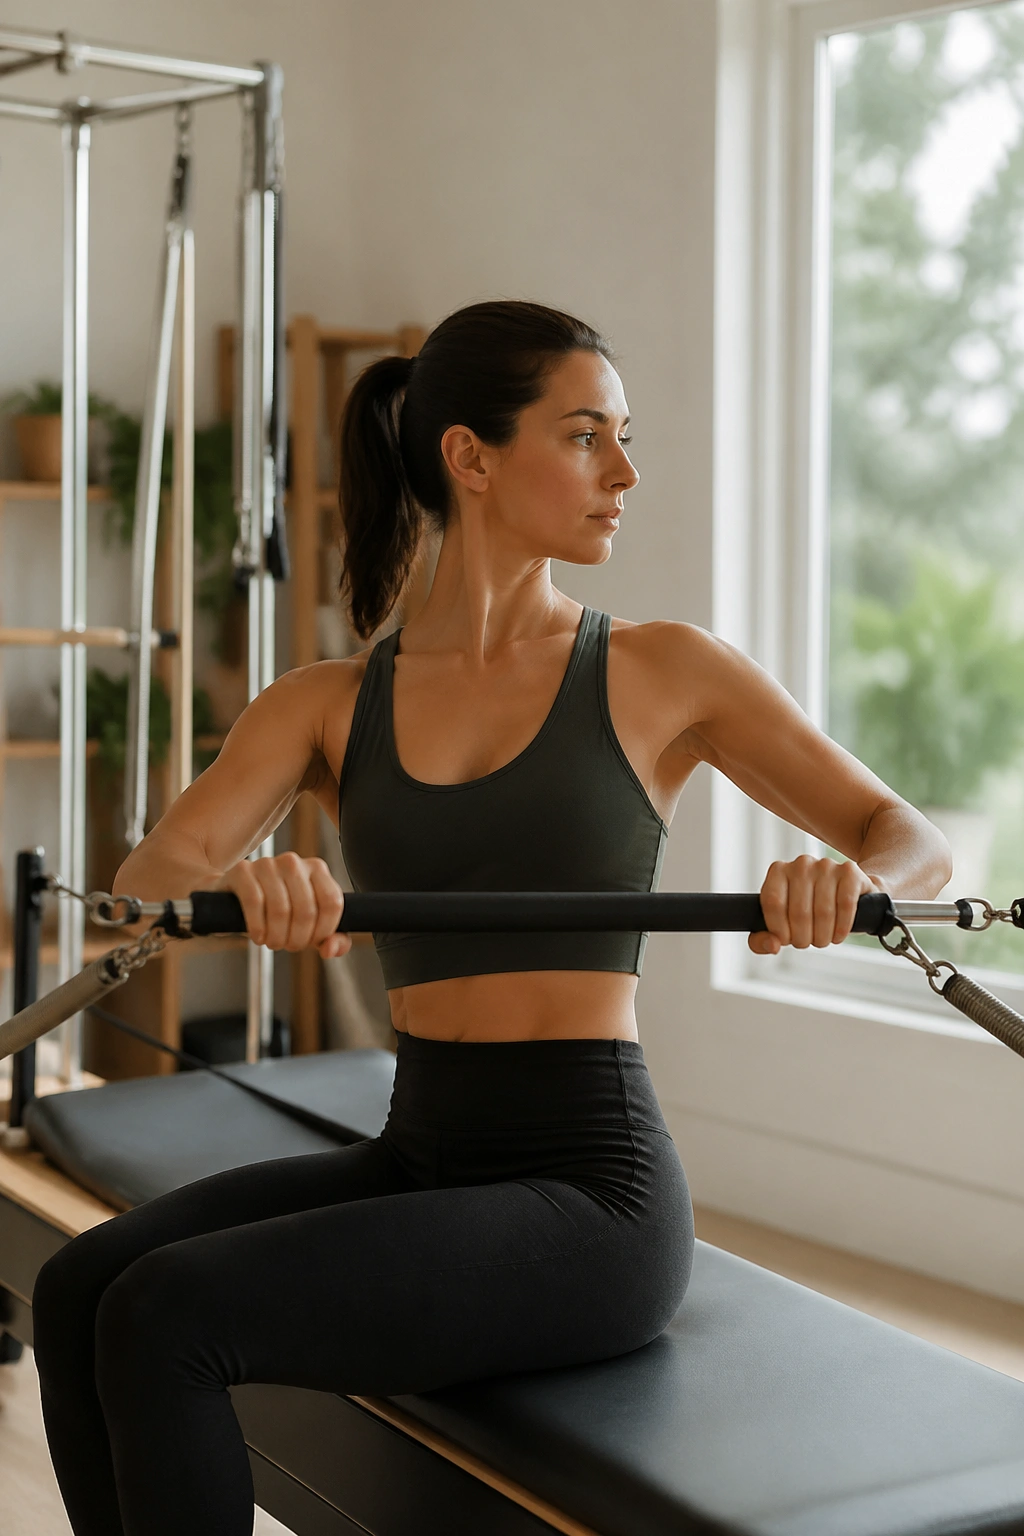
If your rotation lives only in your shoulders, spine twist will expose it. The tower makes that obvious because the bar gives you resistance without letting you cheat with a full-body swing. The torso has to rotate from the ribs while the pelvis stays planted.
Sit tall, hold the bar, and turn the spine to one side, then the other, keeping the hips quiet. The motion is small at first. That’s fine. I’d rather see a real rotation of the upper trunk than a big lurch that drags the knees around with it.
Some people try to force twist by pulling harder with the arms. That’s a waste of effort. The arms are only there to frame the movement, not create it. If the shoulders bunch up, lighten the spring or reduce the range.
Four to six turns each side is enough. Take one breath in the center, then exhale as you rotate. You should come out feeling taller, not wrung out.
19. Kneeling Arm Presses
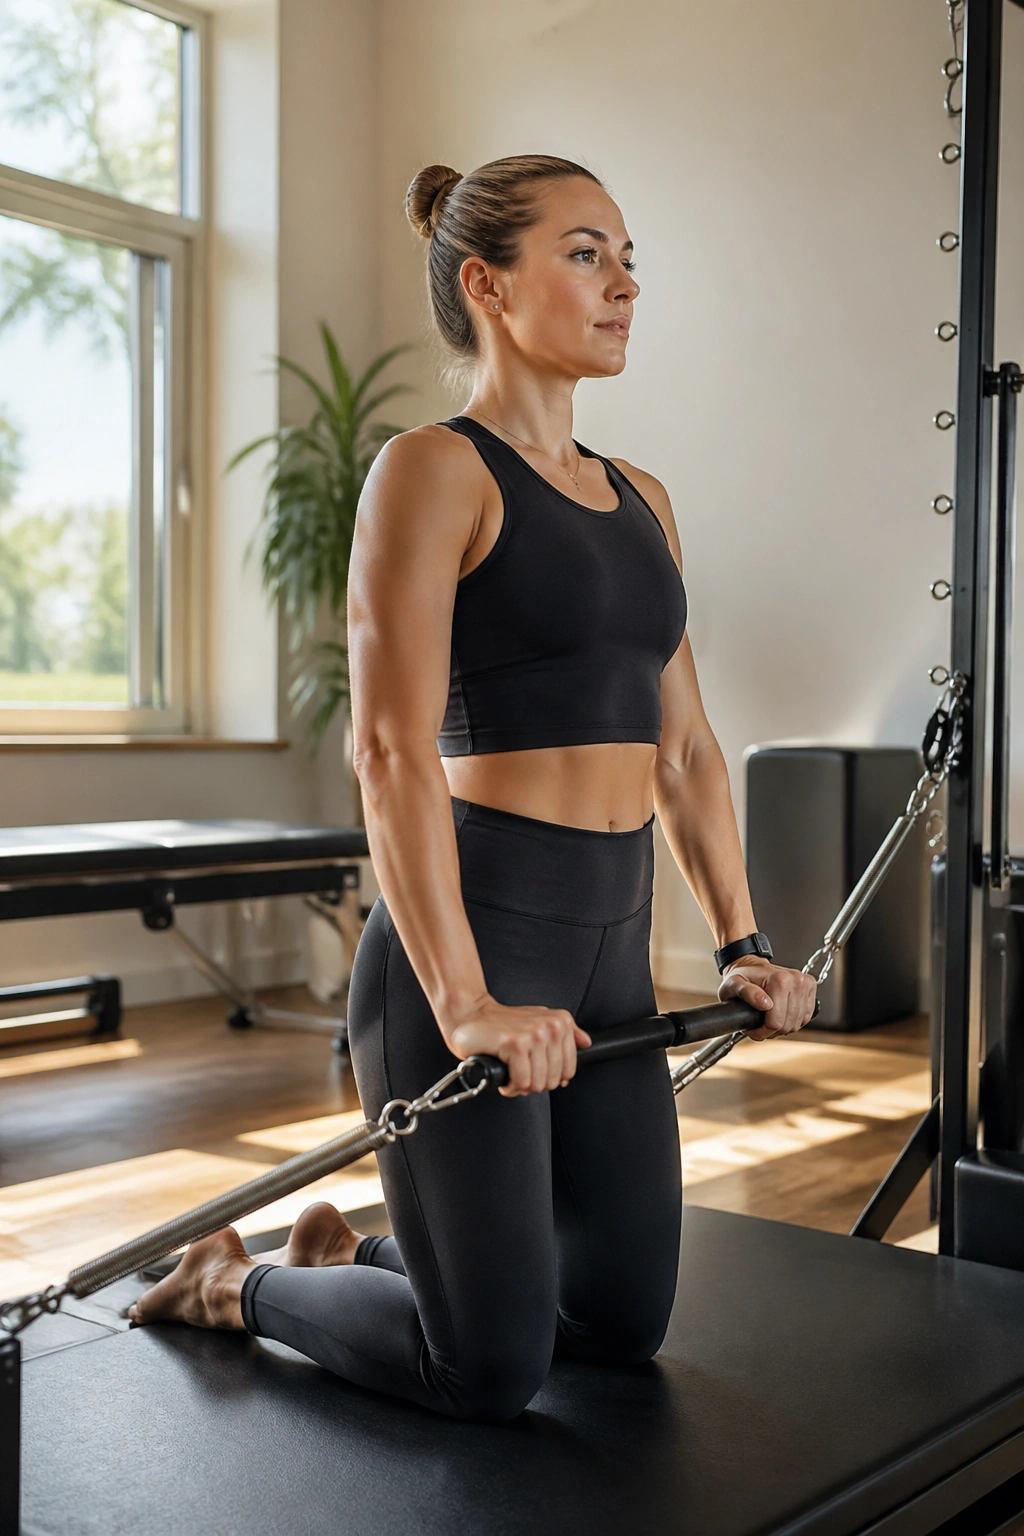
This is the move that finds slop in the trunk fast. Tall kneeling reduces your options, which sounds rude until you realize that’s exactly why it works. The glutes, abs, and back all have to pitch in while the arms press down or back against the springs.
Get into a stable kneeling position and hold the arm springs with a long spine. Press the arms with control, then return without letting the torso sway or the ribs explode forward. If your hips drift back to cheat, bring them over the knees again and start smaller.
Wobble is part of it.
Simple cues that help
- Keep the crown of the head lifted.
- Squeeze the glutes lightly, not hard.
- Press through the heels of the hands.
- Let the shoulder blades move, but not shrug.
I like 6 to 8 controlled presses here. The position feels upright and a little stern, and that is kind of the point. It teaches the arms to work without turning the spine into a brace.
20. Elephant with the Roll-Down Bar
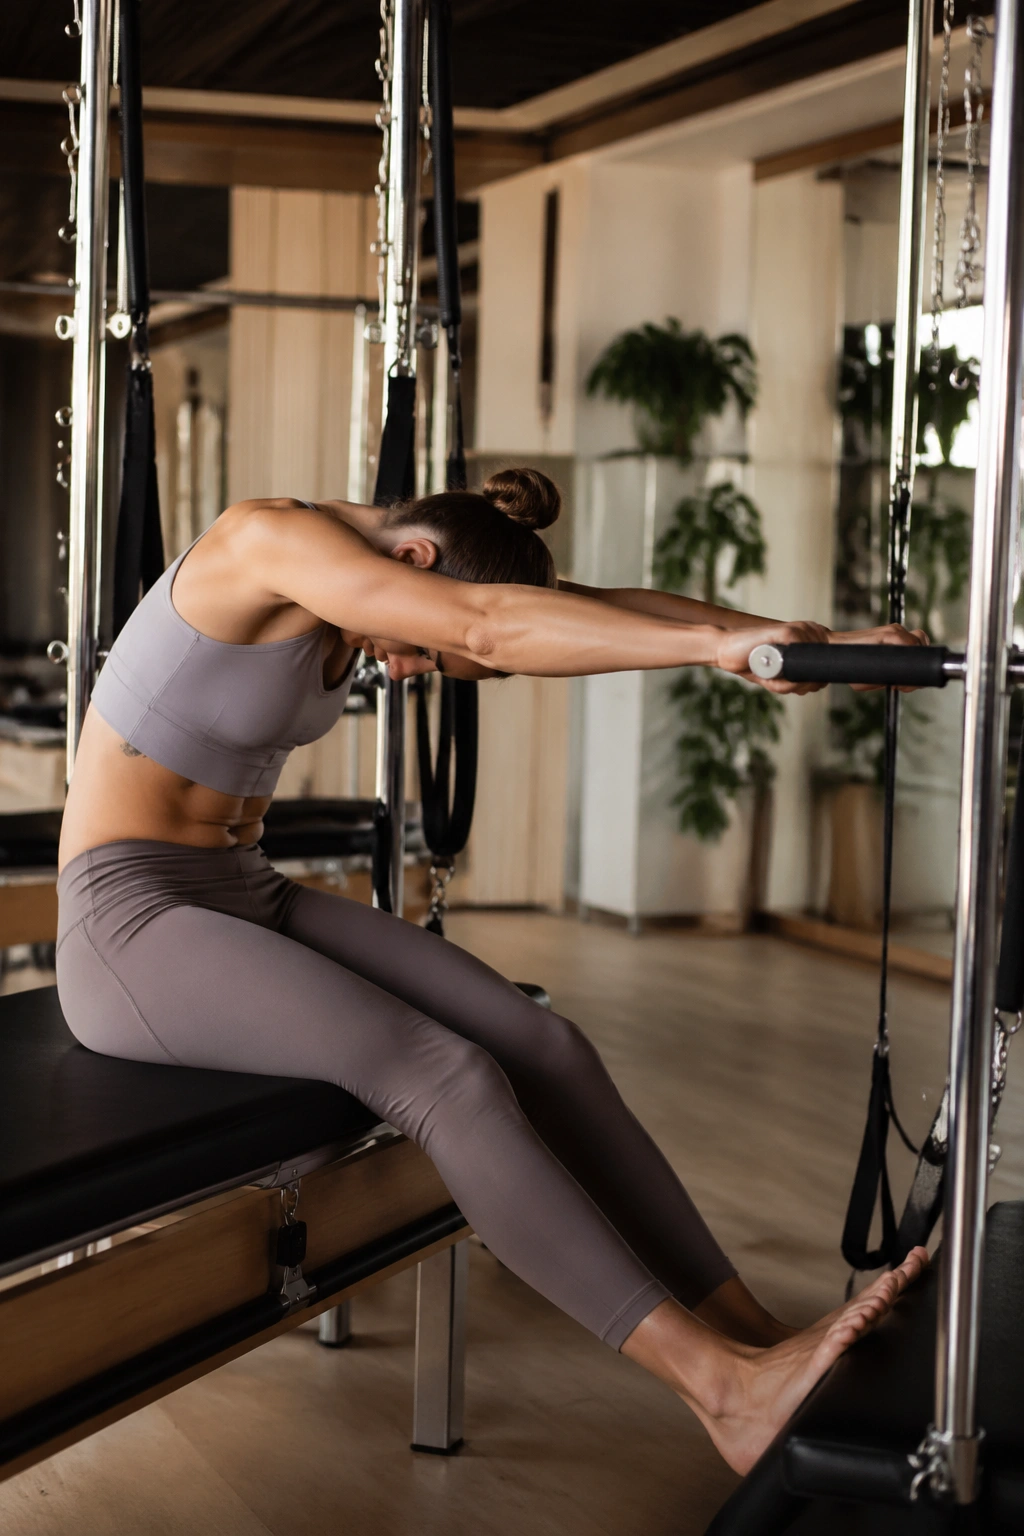
Elephant is a cleaner finish than people expect. The hamstrings lengthen, the shoulders organize, and the whole back line gets to do some work without a lot of drama. On a tower, the bar makes the hinge more obvious because you can feel exactly when the spine stays long and when the lower back tries to collapse.
Stand with your feet grounded, hold the bar, and hinge the hips back while keeping the spine long. The knees stay soft, the ribs stay contained, and the head stays in line with the back instead of dropping like a weight. If the bar gets yanked toward you, you’ve gone too far or too fast.
A good elephant feels like a strong stretch through the back of the legs with a stable upper body. That’s the sweet spot. Not a toe-touch. Not a deep fold. Just a controlled hinge that teaches the body how to send the hips back without losing the trunk.
Three to five slow reps are enough. If your shoulders tighten, lower the bar tension and shorten the hinge. Clean shape first. Range later.
A home tower session does not need to be long to be useful. Put four or five of these together, keep the springs light enough that you can stay precise, and the work gets interesting fast.
I usually like a mix of one spinal exercise, one upper-body spring exercise, and one leg-spring drill in the same session. That balance keeps the work from feeling lopsided, and it also gives you a better read on what your body actually needs that day.
