



That feeling of looking in the mirror and not recognizing your own abdomen is something most people rarely talk about with honesty. You might have been told that the “baby weight” will just fall off, or that a few crunches will fix everything in a matter of weeks. The reality is usually far more complex, especially when you are dealing with the physical aftermath of growing and delivering a human being. Your body has gone through a massive structural shift, not just a cosmetic one. The abdominal muscles have stretched, the pelvic floor has been under significant load, and the deep core stabilizers have essentially taken a leave of absence to make room for your pregnancy.
Getting back to a place where you feel strong and capable is not about punishing your body for what it looks like. It is about reconnecting the mind and the muscles that have become disconnected. When the deep core—specifically the transverse abdominis—is not engaging properly, it creates a lack of tension through the midline, which often manifests as that stubborn, lingering belly pooch. This is often linked to diastasis recti, a separation of the abdominal wall, which makes traditional ab exercises like sit-ups or planks potentially harmful rather than helpful. You need movements that prioritize stability, breath, and reconnection before you ever think about heavy lifting or intense circuits.
1. Diaphragmatic Breathing
This is not just sitting still; this is the absolute foundation of everything else on this list. Most people breathe into their upper chest, especially when stressed, which actually increases pressure in the abdominal cavity and can worsen a belly pooch or pelvic floor issues. You need to learn how to breathe down into your ribs and pelvic floor.
How to Execute Properly
Lie on your back with your knees bent and feet flat on the floor. Place one hand on your upper chest and the other on your belly. Inhale slowly through your nose, trying to keep your chest hand completely still while your belly hand rises. As you exhale, imagine your rib cage knitting together and your belly button gently drawing toward your spine.
- Goal: Focus on lateral rib expansion. You should feel your ribs flare out to the sides.
- The Connection: This is your primary core engagement. If you cannot do this, do not progress to more difficult movements.
- Pro Tip: Try this lying down first, then progress to sitting, and eventually standing. It is significantly harder to maintain in an upright position.
2. Pelvic Tilts
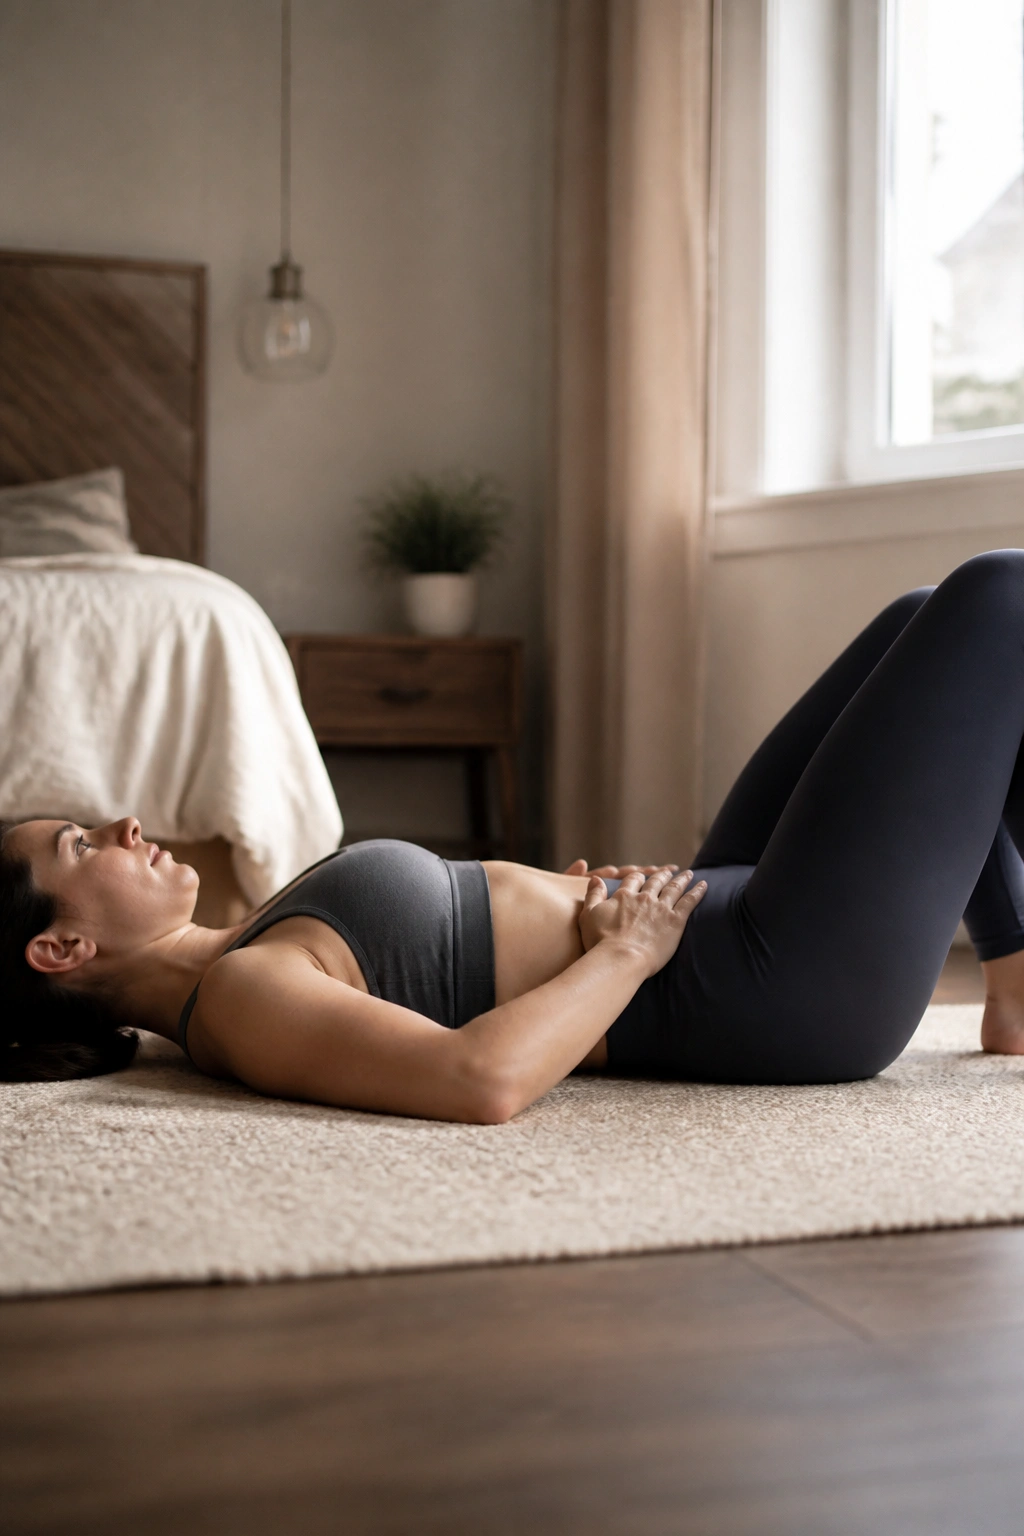
Your pelvis serves as the base of your spine and the anchor for your core. After pregnancy, the pelvis often tilts forward, creating an exaggerated curve in the lower back. This posture naturally pushes the abdominal contents forward. Pelvic tilts teach you how to control that position and bring the pelvis back to neutral.
It is easy to overdo this movement by squeezing your glutes as hard as you can, but that is not the goal here. You want to focus on the deep abdominal muscles doing the work to tuck the tailbone just slightly. Think of it as a microscopic movement rather than a grand gesture.
- Technique: Lie on your back, knees bent. Gently press your lower back into the floor by engaging your core, not by gripping your butt. Imagine your pubic bone moving slightly toward your belly button.
- Common Mistake: Using the legs to push the hips up or using the glutes to force the tilt. Let the stomach do the work.
- Integration: Do these while lying in bed before you get up in the morning to “wake up” your core muscles before they have to support your entire body weight.
3. Transverse Abdominis Activation
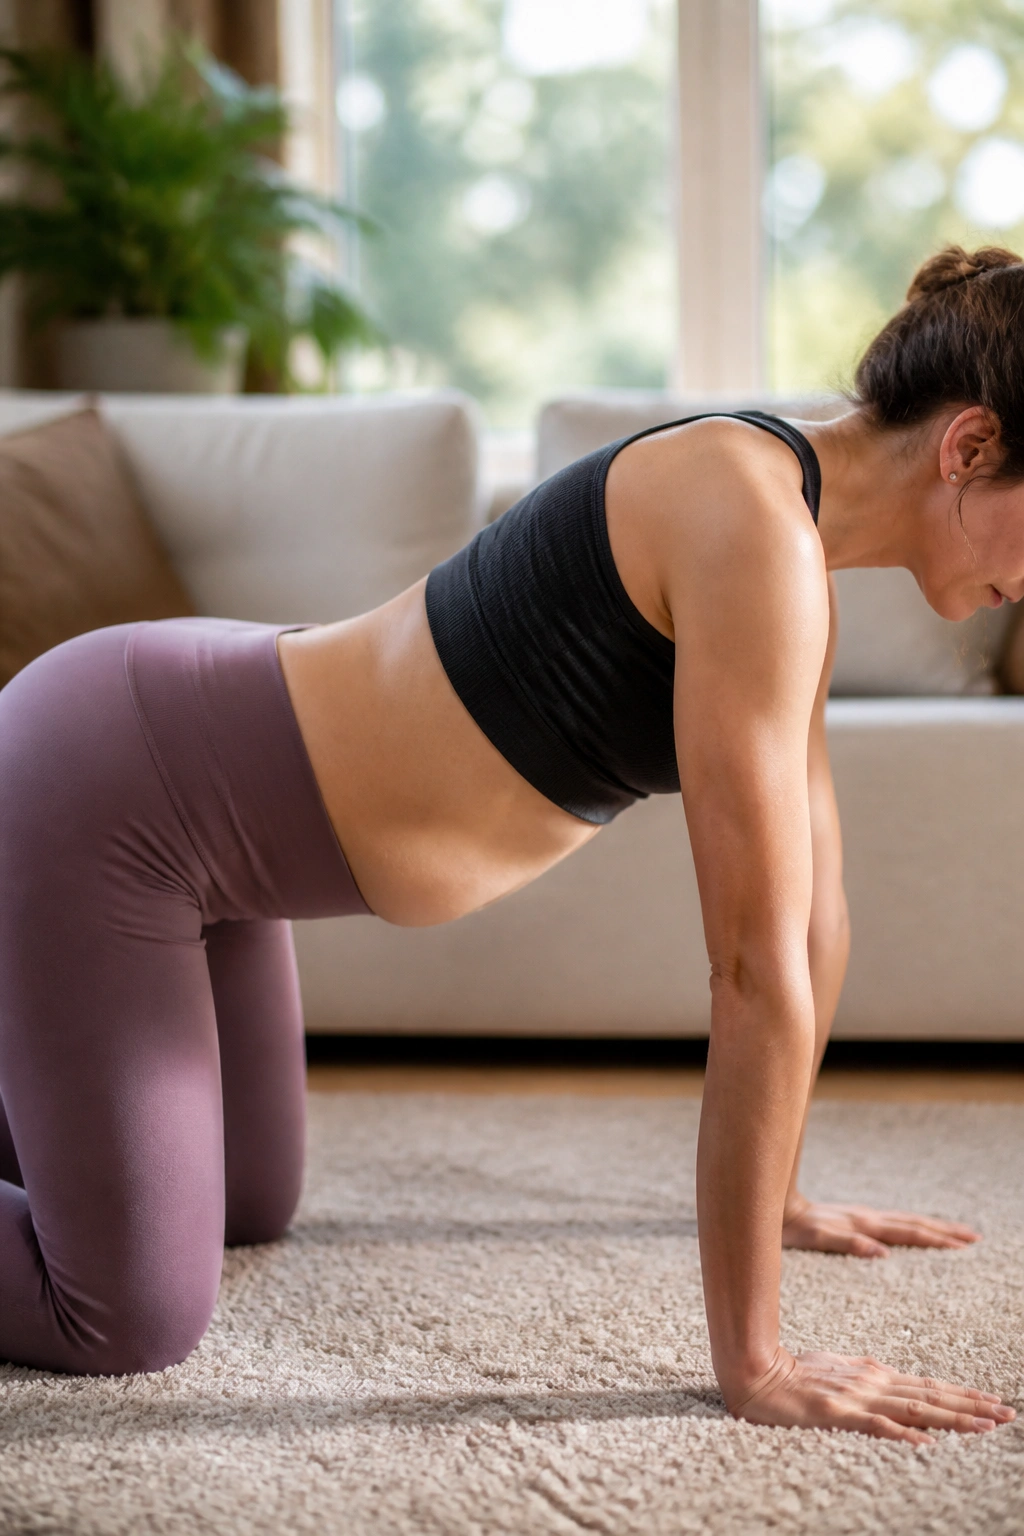
The transverse abdominis is your body’s natural corset. It wraps around your torso like a weightlifting belt. When this muscle is weak, nothing else in your core can function effectively. This specific activation exercise is designed to wake up this layer without straining the outer “six-pack” muscles, which is vital if you have a diastasis separation.
The Gentle Engagement Method
Get onto your hands and knees in a tabletop position, keeping your spine neutral—not arched or rounded. Relax your belly and let it hang completely toward the floor. Now, exhale deeply and draw your belly button up toward your spine, as if you are trying to tighten a belt that is two notches too small.
- Hold: Sustain the contraction for 5 to 10 seconds while continuing to breathe normally. Do not hold your breath.
- Repeat: Perform 10 repetitions.
- Visualization: Imagine your abdominal walls moving toward each other, effectively closing the gap between your muscles.
4. Heel Slides
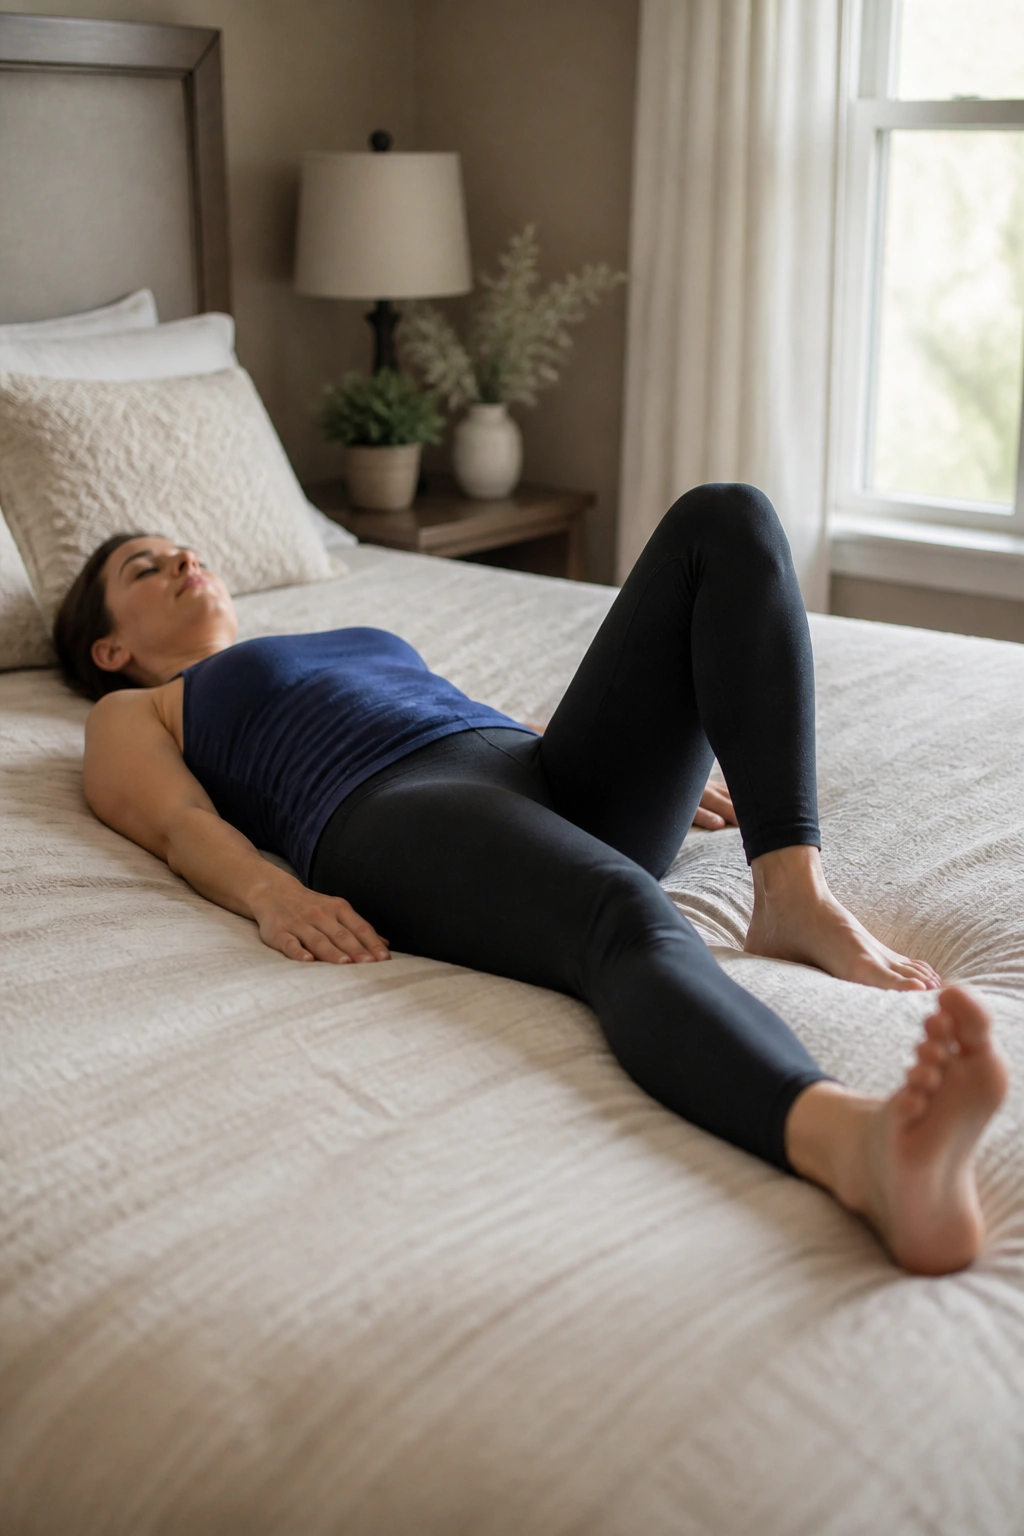
Once you have mastered the art of keeping your back flat against the floor, heel slides introduce the challenge of moving your limbs without losing that core tension. If your back arches the moment your heel slides away, your core has lost the battle. This exercise is safer than crunches because it keeps the spine supported while forcing the deep abs to stabilize the torso.
Start lying on your back with your knees bent. Engage your core (the “corset” you practiced in the previous section). Slowly extend one leg along the floor, keeping the heel in contact with the ground, until the leg is fully straight. Pause, then slowly slide it back to the starting position.
- Safety Warning: If you feel your lower back lift off the floor at any point, stop the movement. You do not have the core strength to extend the leg fully yet. Shorten your range of motion until you can keep your back glued down.
- Pacing: Move slowly. The speed should be controlled by your core muscles, not by gravity.
5. Bird-Dog
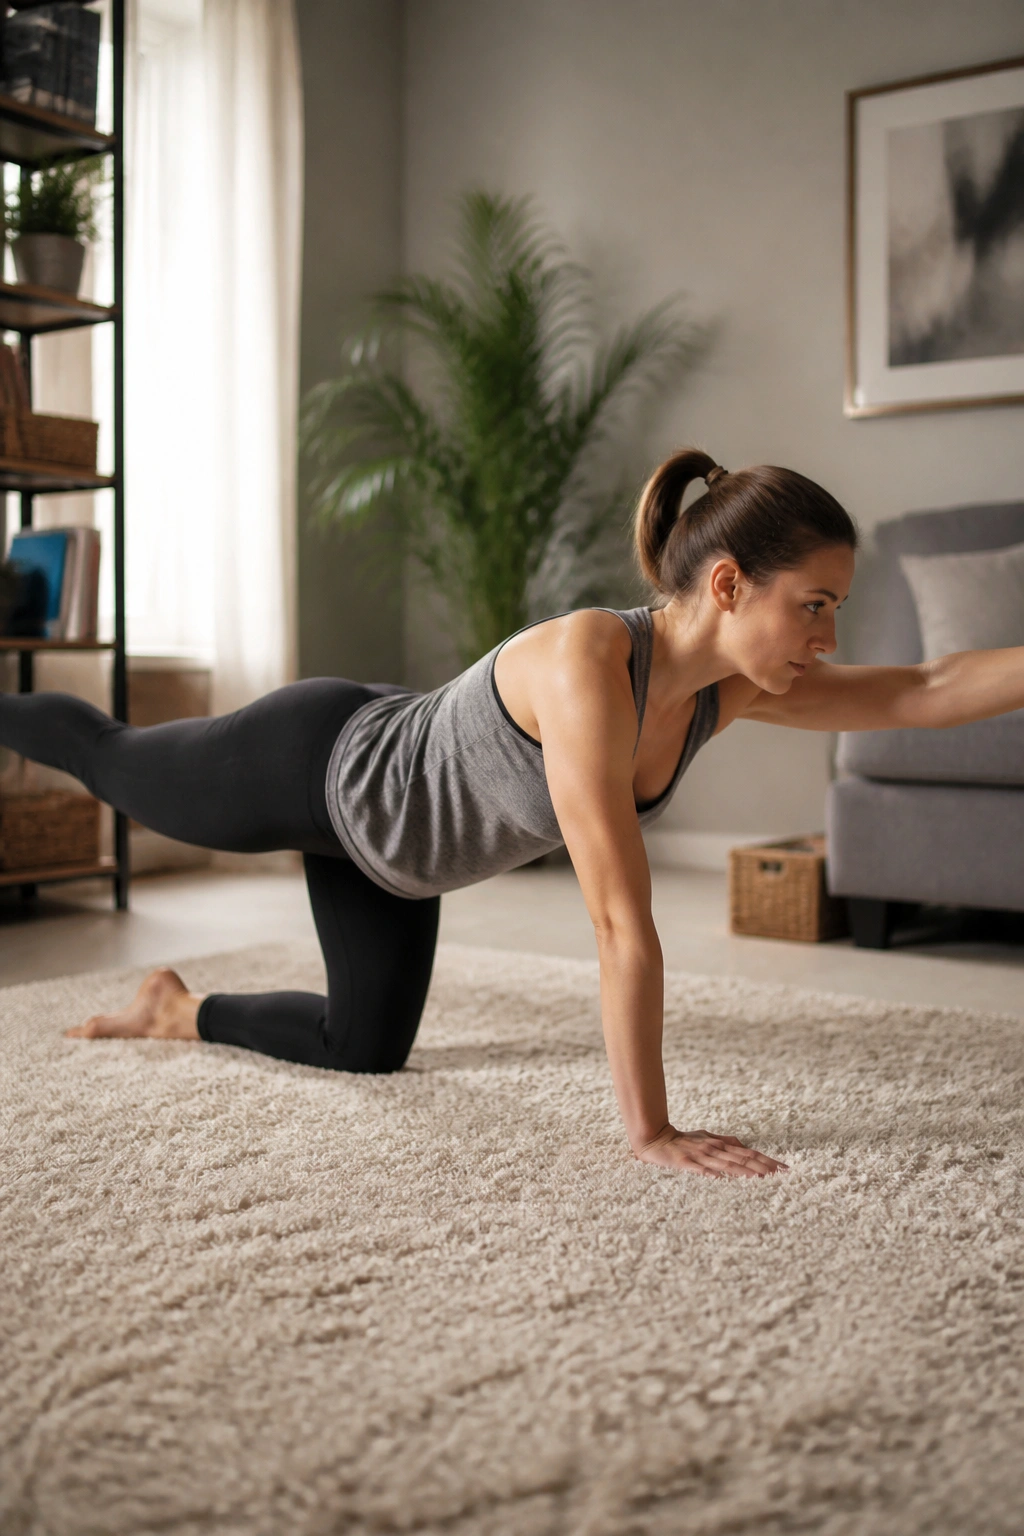
This movement is a classic for a reason—it is one of the best ways to train spinal stability and cross-body coordination. It forces the core to keep the torso completely still while the extremities move. It is an “anti-rotation” exercise, meaning the goal is to prevent your torso from twisting or dipping while you lift your arms and legs.
Get into a tabletop position with hands under shoulders and knees under hips. Extend your right arm forward and your left leg backward simultaneously. Do not lift them too high; you want a straight line from fingertip to heel. Focus on keeping your hips level.
- Common Error: Arching the back or dropping the shoulder. If you feel like a teeter-totter, go slower.
- Alternative: If full extension is too hard, start by just sliding the hand forward and the foot backward without lifting them off the floor. Build up to the lift.
6. Modified Planks
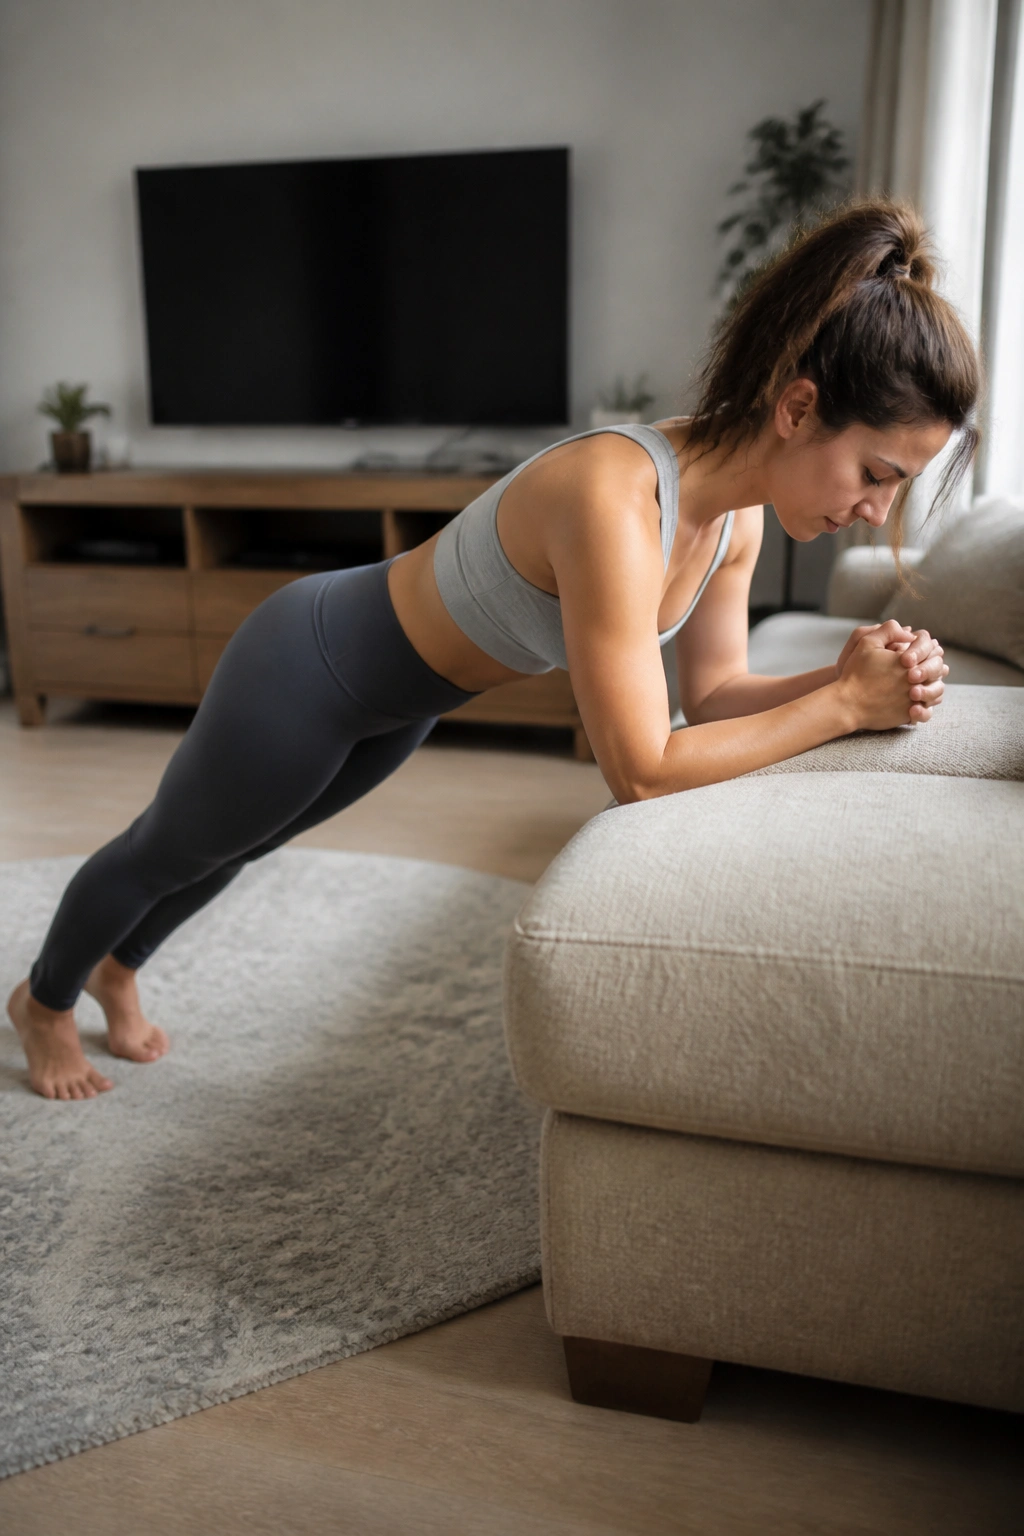
Traditional planks are often recommended for postpartum moms, but they are frequently done incorrectly, putting massive pressure on the weakened abdominal wall and pushing the belly out instead of pulling it in. Modified planks on an incline are a much safer entry point. Use a sturdy couch, a heavy table, or a kitchen counter.
Place your forearms on the surface and step your feet back until your body forms a straight line. Do not let your hips sag toward the floor. Tuck your tailbone slightly under and engage your glutes. This setup creates a gravity-assisted way to strengthen your core without overwhelming the tissues that are trying to heal.
- Why it works: It forces the core to fight against gravity, but the incline makes the leverage manageable.
- Test: If your belly “domes” or sticks out while you are in this position, you are not ready for this level of intensity. Go back to the floor-based exercises until your core can handle the pressure.
7. Glute Bridges
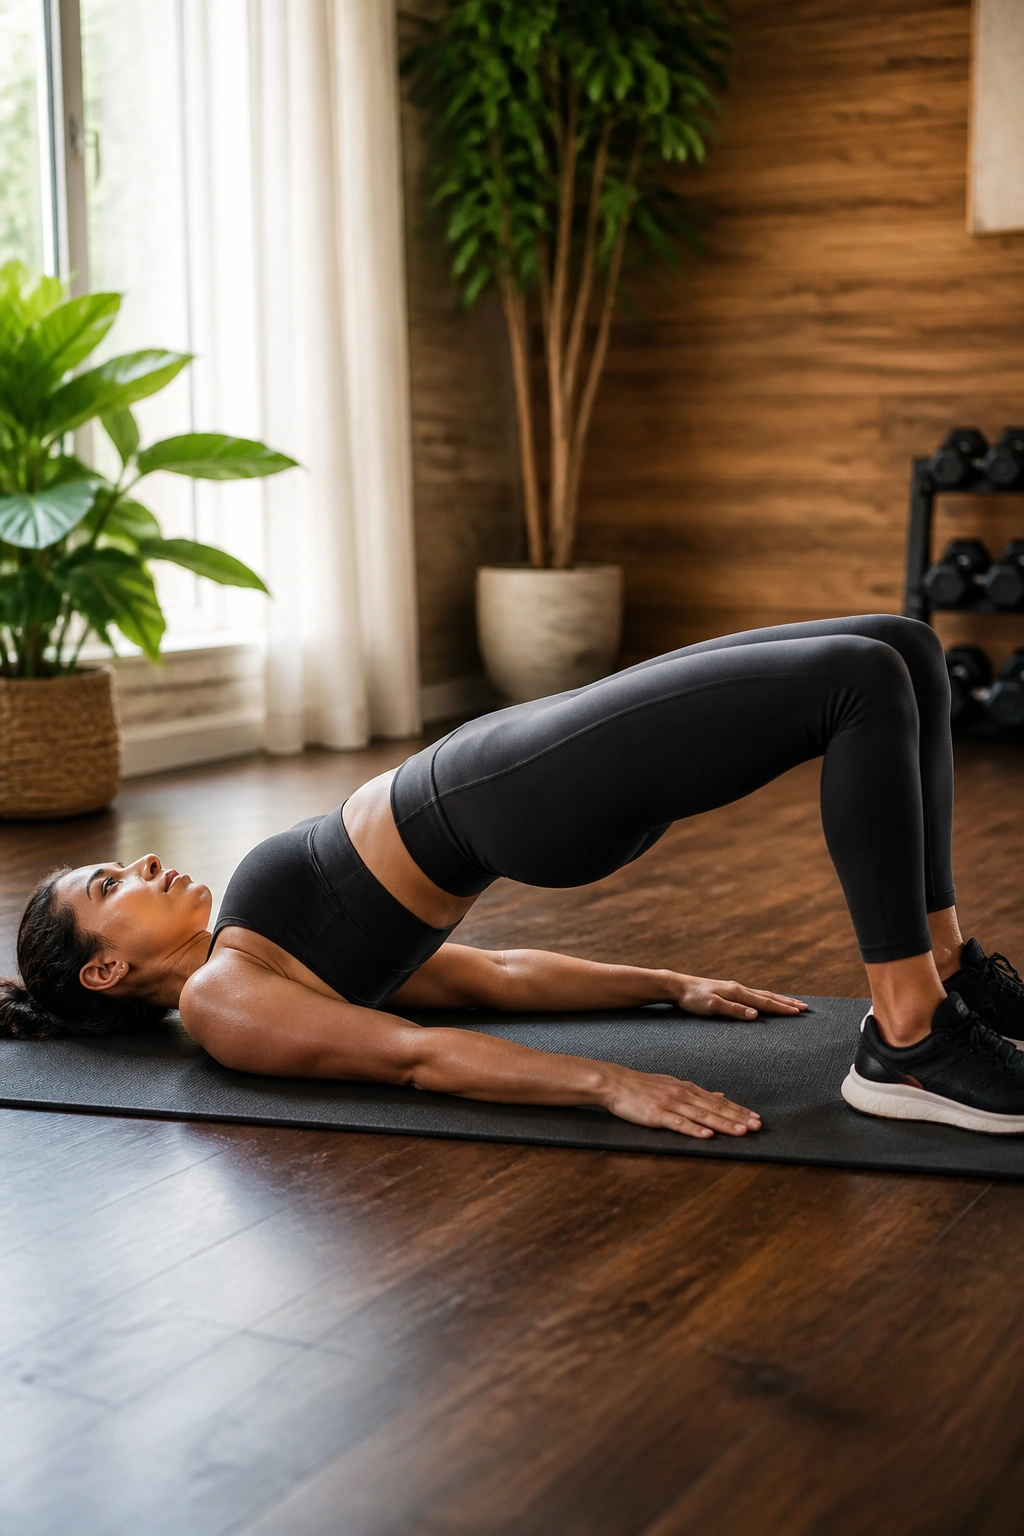
Your glutes and your core work as a team. If your glutes are inactive, your pelvis tilts, and your lower back takes the brunt of the load. Glute bridges are phenomenal because they strengthen the posterior chain, which helps counteract the posture many moms develop from hunching over to feed or carry babies.
Performing the Bridge
Lie on your back with knees bent and feet hip-width apart. Push through your heels to lift your hips toward the ceiling. At the top, your body should form a straight line from shoulders to knees. Squeeze your glutes at the top, but do not hyperextend your lower back.
- Refinement: Think about pulling your rib cage down toward your hips before you even lift your pelvis.
- Variation: Place a yoga block or a small pillow between your knees and squeeze it while you lift. This engages the inner thighs, which are directly connected to your pelvic floor.
8. Cat-Cow Stretch
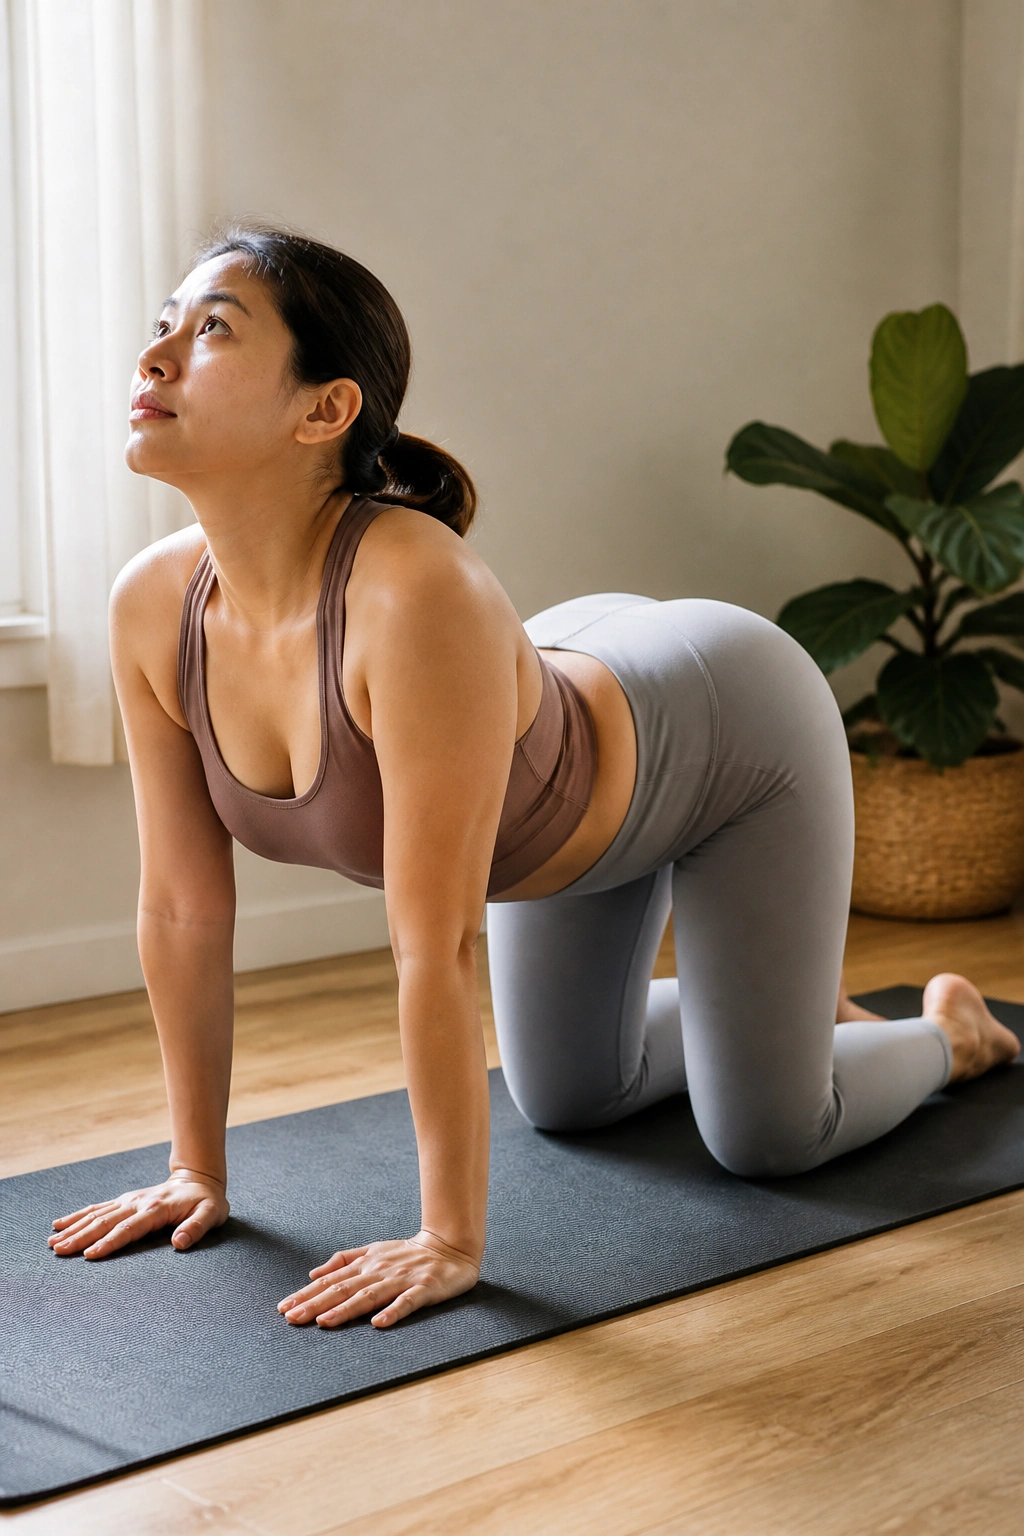
While this is technically a mobility exercise, it is crucial for resetting the tension in your spine and core. Pregnancy shifts your center of gravity, often leaving the mid-back and lower back feeling stiff and locked. You cannot effectively engage your abs if your spine is locked in a rigid position.
Get into your tabletop position. Inhale as you drop your belly toward the floor, lift your chin, and look up, gently arching your back—this is the Cow. Exhale, round your spine toward the ceiling, tuck your chin, and look at your knees—this is the Cat.
- Focus: Move with your breath. The movement should be fluid, not jerky.
- The Benefit: This helps release the tension in the diaphragm, allowing for better breathing mechanics, which is the precursor to better core activation.
9. Dead Bugs
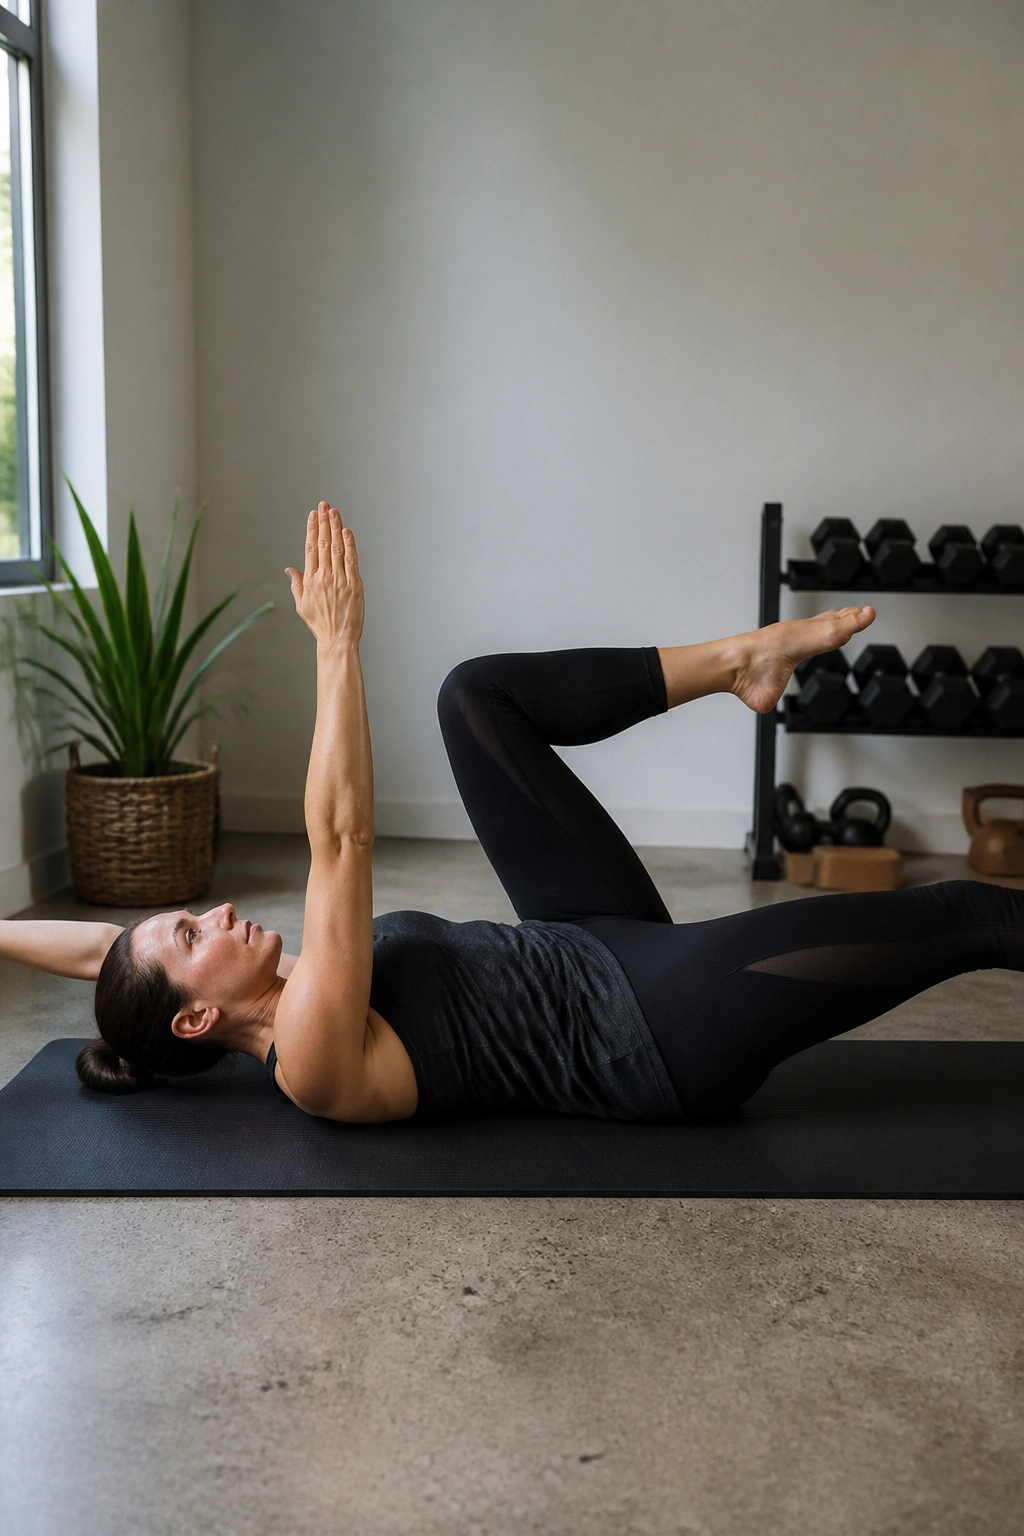
Dead bugs are arguably the gold standard for postpartum core rehabilitation. They teach your brain to keep your core engaged while your limbs move independently. It is essentially a coordination test that doubles as a strength exercise.
Lie on your back with your arms extended toward the ceiling and your legs in the air, knees bent at 90 degrees (the “tabletop” position). Slowly lower your right arm behind your head and extend your left leg out straight, hovering just above the floor. Keep your back pressed firmly into the ground the entire time. Return to the start and switch sides.
- Why this wins: You are supported by the floor, so you don’t have to worry about balance, allowing you to focus entirely on maintaining the abdominal connection.
- Progression: If this feels easy, do not speed up. Instead, move your limbs closer to the floor (but only if your back stays flat).
10. Side-Lying Leg Lifts
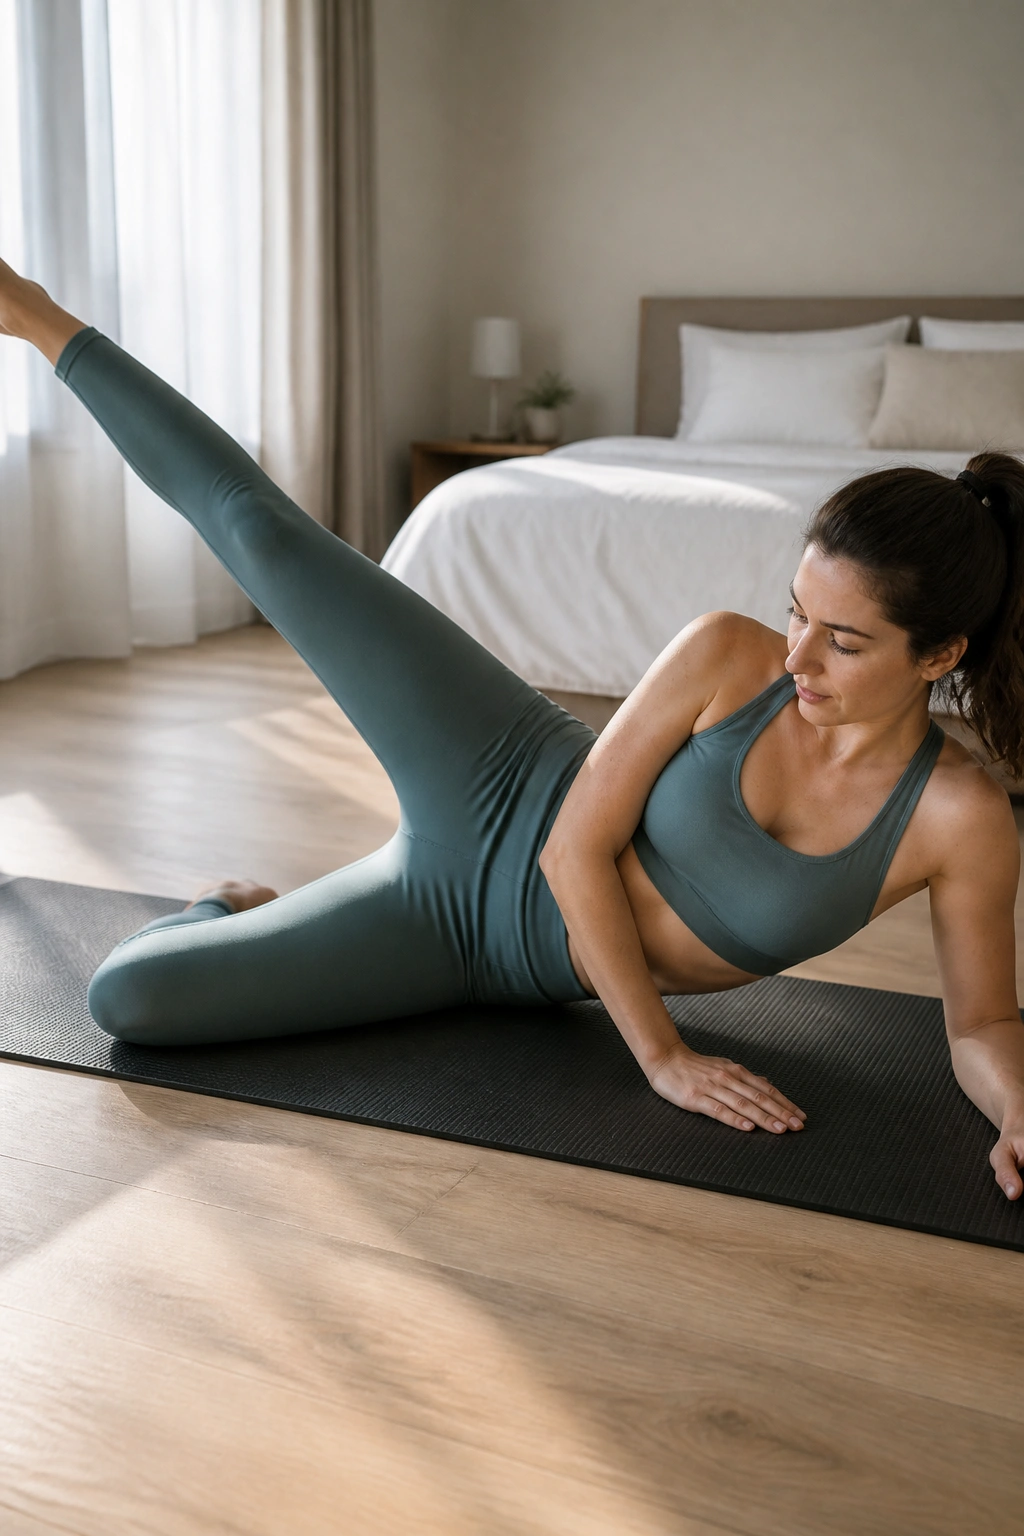
The obliques are the side muscles of your core, and they are often neglected in favor of the front abdominals. These muscles are essential for stabilizing the torso and shaping the waistline. Because they are on the side, they are much easier to work without putting pressure on the abdominal wall separation.
Lie on your side with your legs stacked, bottom leg slightly bent for stability. Keep your top leg straight and lift it toward the ceiling, keeping your foot flexed. The key is to keep your hip from rolling backward. You should feel the side of your hip and your oblique muscles working.
- Common Trap: Letting the top hip rock back. Keep your hips stacked directly on top of one another.
- Feel: You will feel a burn in the side of your hip (glute medius) and the side of your waist. That is exactly where you want it.
11. Clamshells
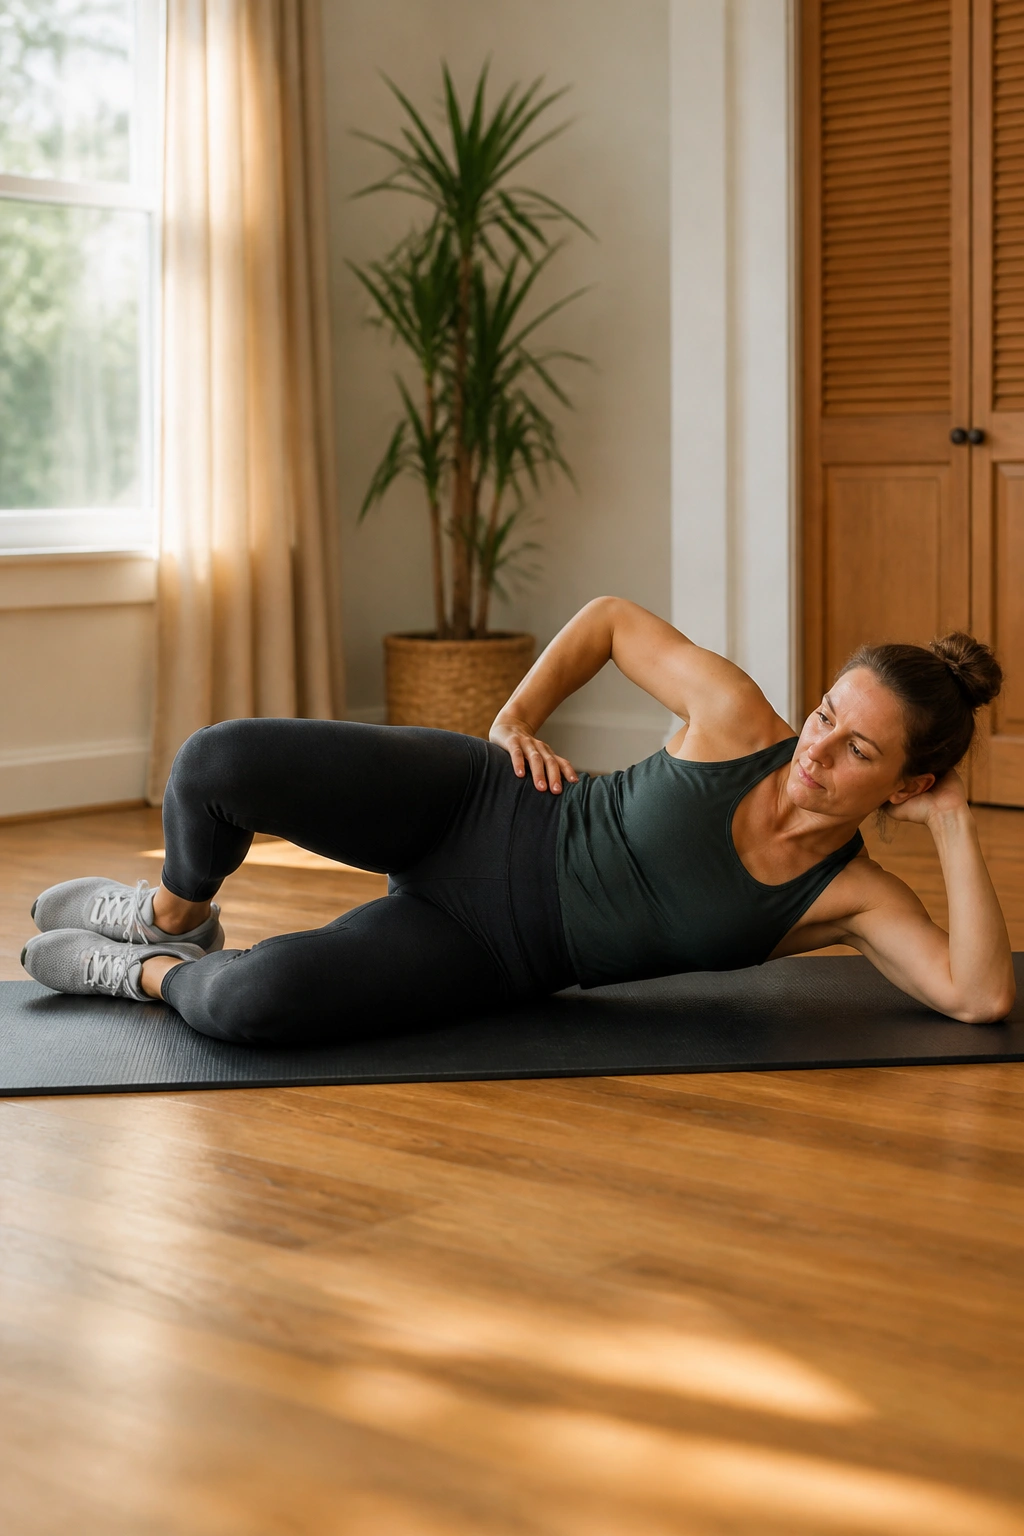
Pelvic stability is non-negotiable for a strong core. If your hips are weak, your pelvis will shift constantly, making it impossible to keep your core tight. Clamshells target the deep hip stabilizers.
Lie on your side with your knees bent at a 45-degree angle, feet together. Keep your feet touching while you lift your top knee as high as you can, like a clamshell opening. Pause for a second at the top, then slowly lower it back down.
- Technique Tip: Place your hand on your top hip to ensure it is not rocking backward. The movement should be clean and isolated to the hip joint.
- Why it’s necessary: Strong hips prevent the compensation patterns that lead to the lower back pain so common after delivery.
12. Standing Pelvic Circles
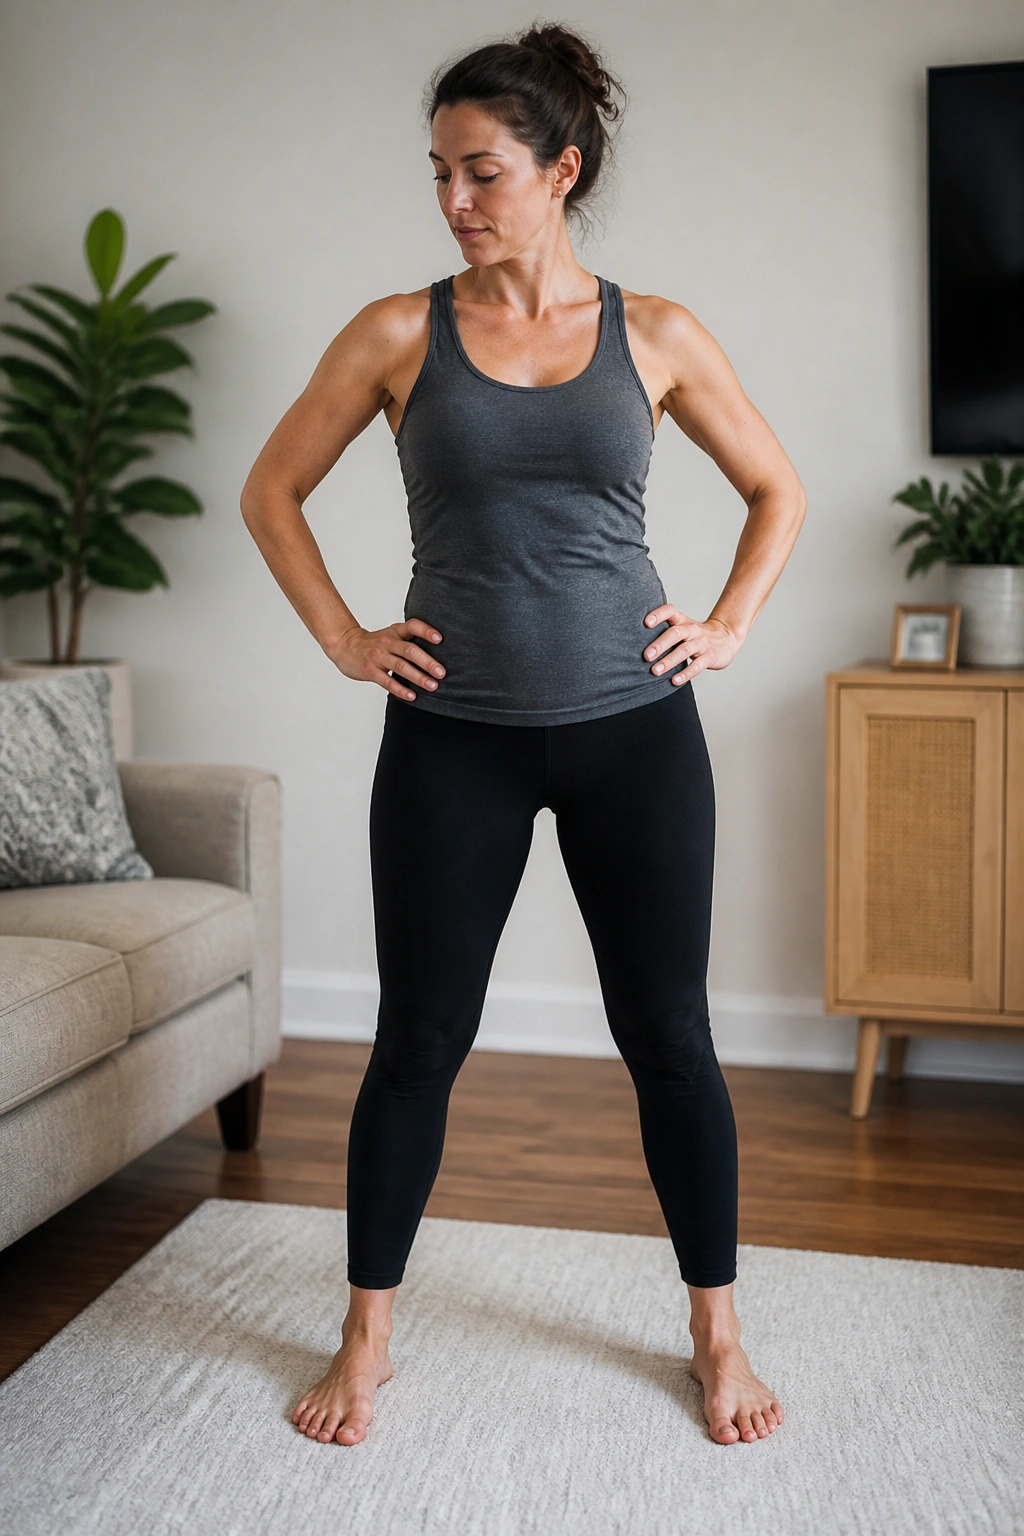
Sometimes you need to move out of the “exercise” mindset and into a mobility mindset. Standing pelvic circles help restore natural movement patterns to the pelvis, which often gets “stuck” after months of pregnancy and the subsequent recovery period.
Stand with feet hip-width apart and soft knees. Place your hands on your hips. Slowly rotate your pelvis in a circle, like you are using a hula hoop. Do five circles to the right, then five to the left.
- Focus: This is not a workout for muscle fatigue; it is a workout for motor control. You are teaching your brain to “find” the range of motion in your pelvis again.
- When to do this: These are perfect to do while holding your baby or waiting for the kettle to boil.
13. Wall Sits
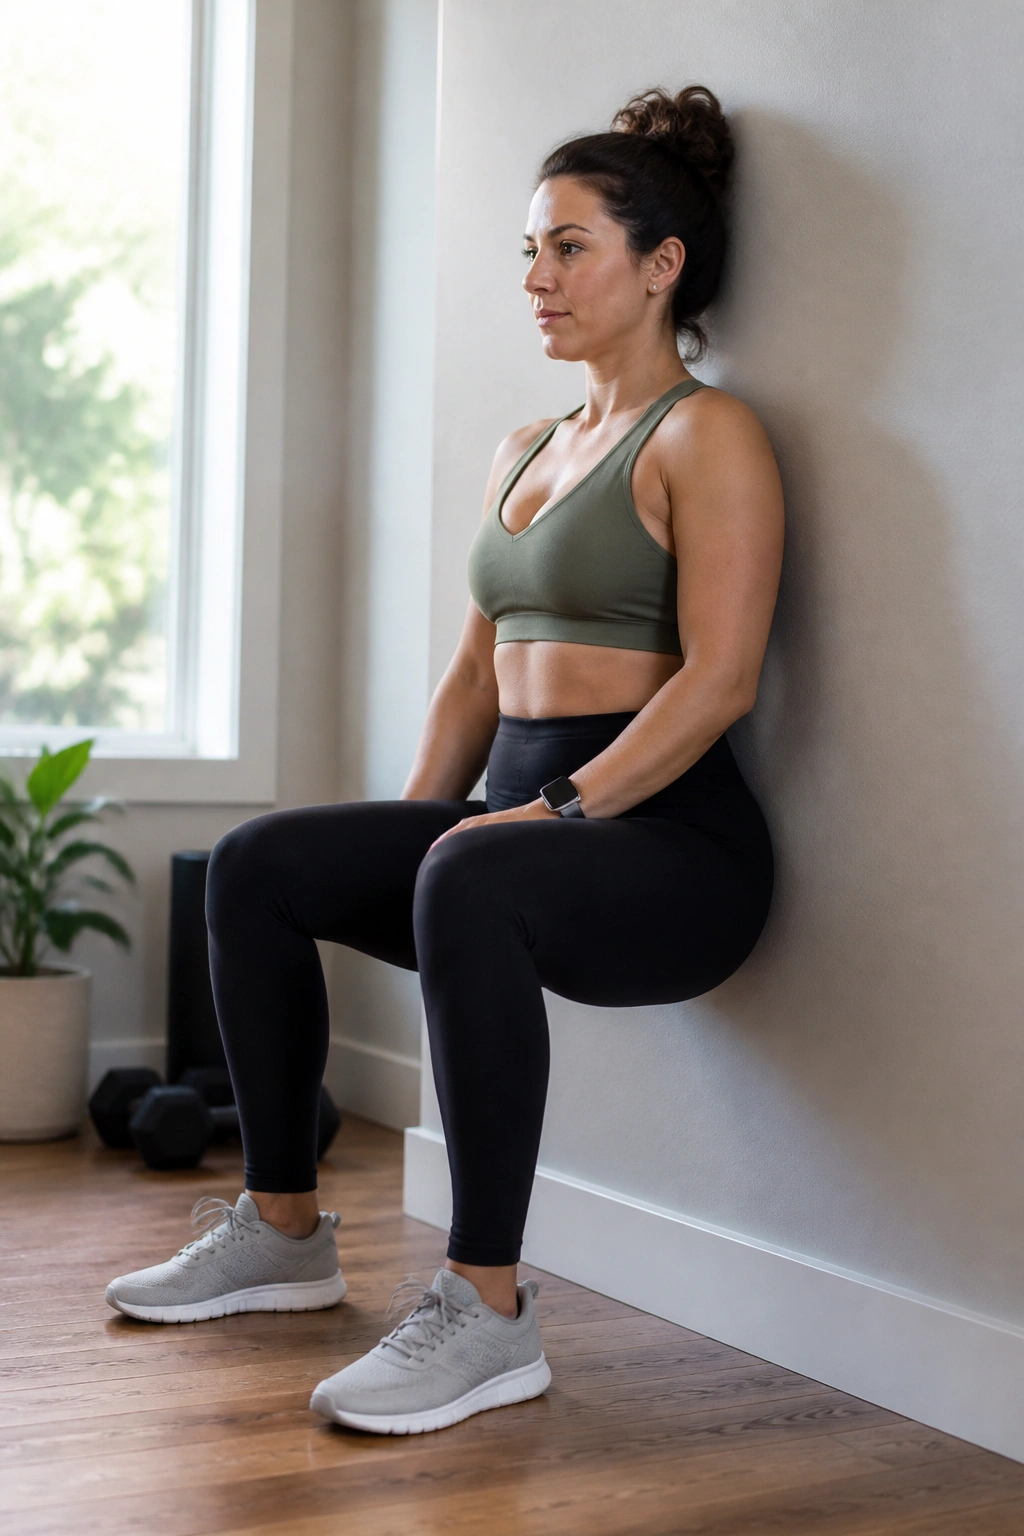
Wall sits are an isometric exercise, meaning your muscles are working while holding a static position. These are excellent because they are low-impact and allow you to focus on your core alignment rather than worrying about form during movement.
Stand with your back against a wall. Slide down until your knees are bent at a 90-degree angle, or as far as you can comfortably go. Make sure your feet are flat. While holding this, focus on pressing your lower back into the wall.
- Engage: Once your back is against the wall, actively draw your navel toward your spine. You will feel your quads burning, but your core will be doing the heavy lifting to keep your back pressed flat.
- Duration: Start with 20 seconds and work your way up to 60.
14. Quadruped Rocking
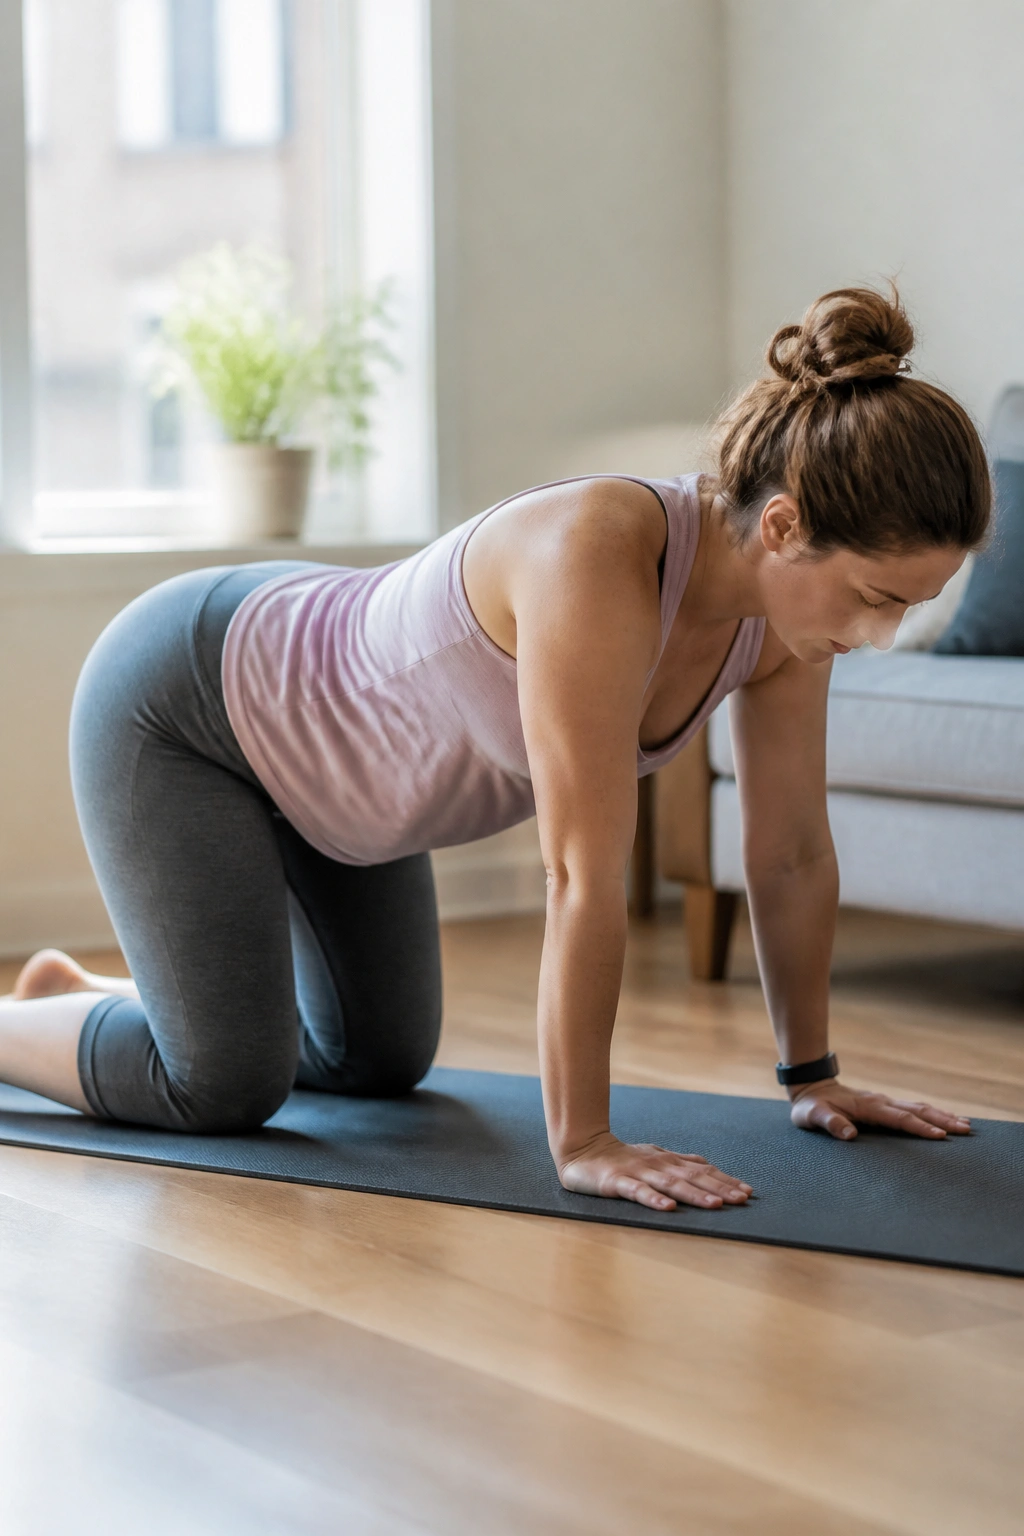
This is a gentle way to test your core’s ability to remain stable during a rocking motion. It is a precursor to more advanced exercises like crawling.
Get into the tabletop position. Keep your spine neutral. Slowly push your hips backward toward your heels, maintaining that flat back. Do not let your back round or arch as you move back. Only go as far as you can while keeping your spine straight. Then, shift your weight forward again.
- Pro Tip: If you have trouble keeping your back flat, put a light book or a small object on your lower back. If it falls off, your back moved. This provides immediate biofeedback.
- Benefit: This re-trains the deep stabilizers to work in a rhythmic, functional way.
15. Glute Bridges with Marching
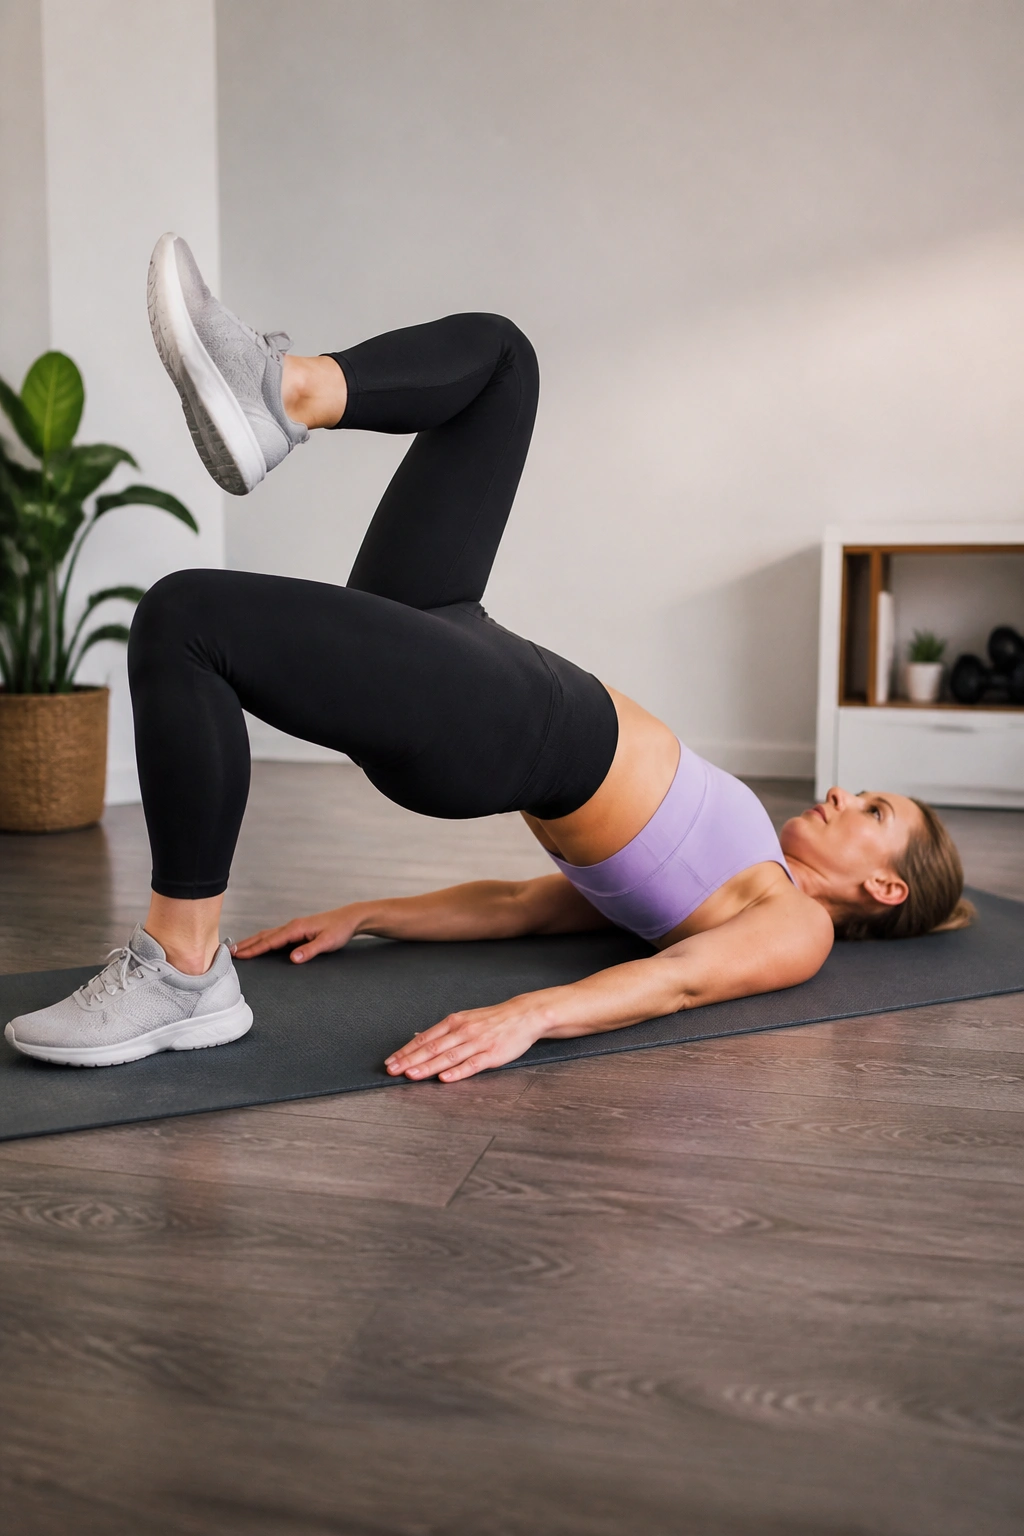
This takes the standard glute bridge and adds an element of instability. By lifting one foot at a time, you force your core to stop the hips from twisting or dropping. It is much harder than a standard bridge.
Start in a normal glute bridge position, with hips lifted. Without letting your hips drop, slowly lift your right foot off the floor, bringing your knee toward your chest. Place it back down. Repeat with the left foot.
- The Challenge: Your body will naturally want to tilt toward the side of the planted foot. Your job is to engage your obliques and deep abs to fight that urge and keep the pelvis perfectly level.
- Intensity: This is an advanced movement. Only do this if you can perform 20 steady, standard bridges without any fatigue or form break.
16. Standing Side Bends
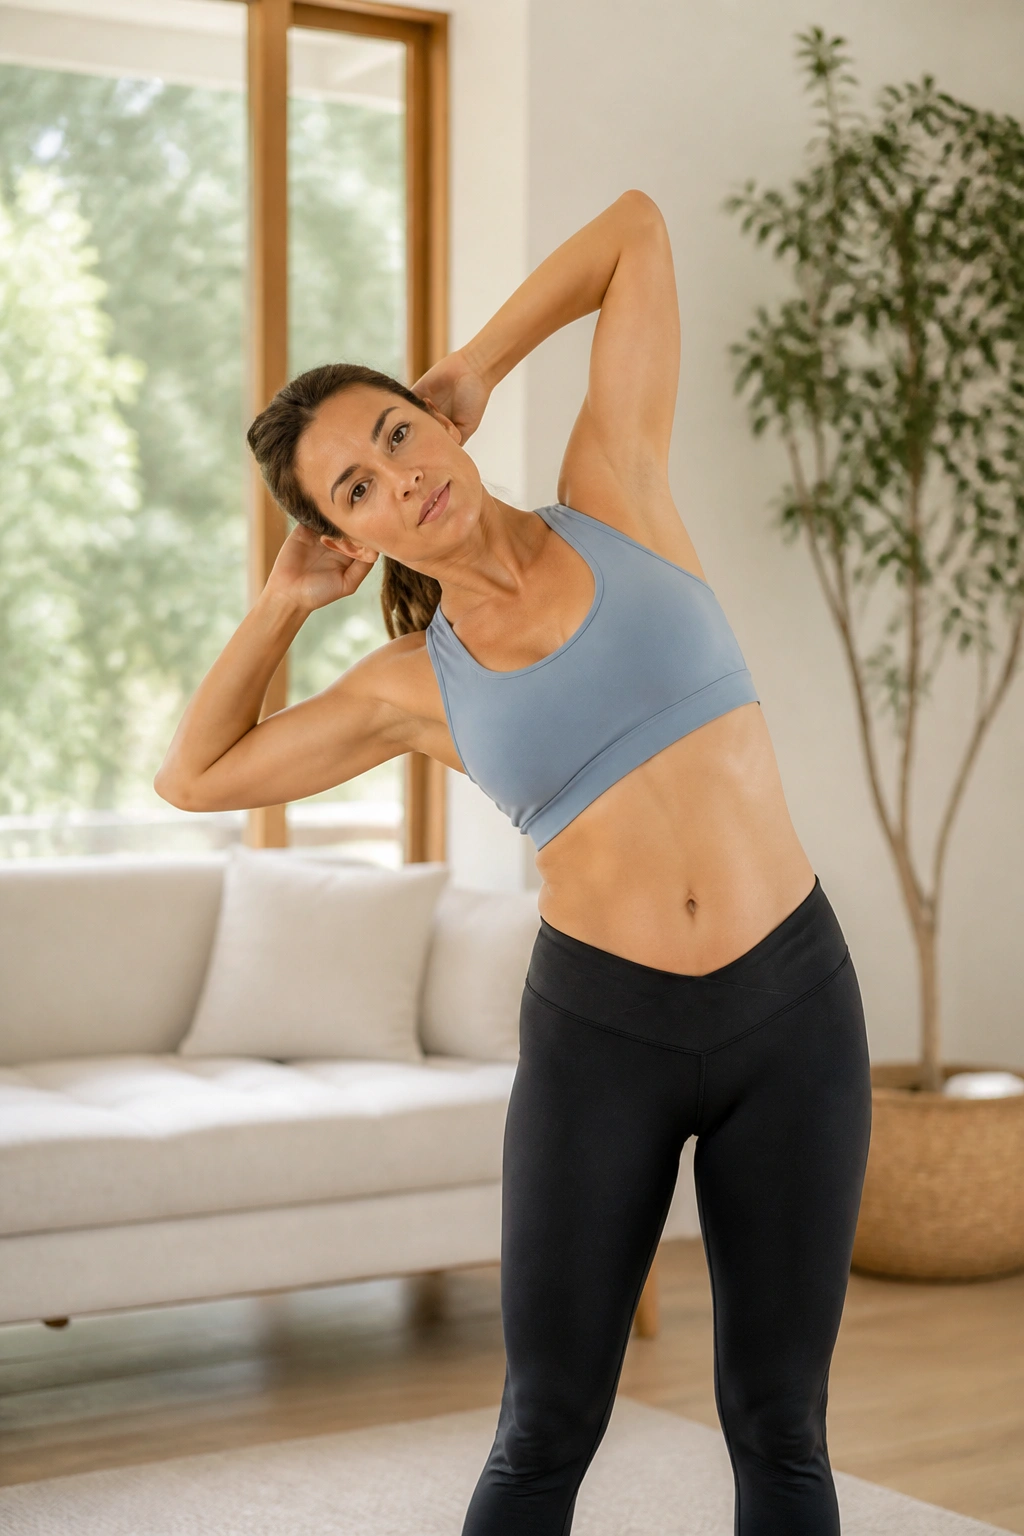
You do not need to be on the floor to work your core. Standing exercises are functional and easy to fit into a busy day. Standing side bends target the obliques and help restore the natural “waist” shape that often disappears postpartum.
Stand tall, feet hip-width apart, and place your hands behind your head or on your hips. Keeping your chest up, slowly lean to the right. Use your left side (the side being stretched) to pull you back to the center. Do not twist; keep your shoulders square to the front.
- Safety Check: Do not use weights for this yet. Using your own body weight is plenty to start.
- Mental Cue: Imagine you are sliding your body between two panes of glass. If you lean forward or backward, you hit the glass.
17. Bear Crawl Holds
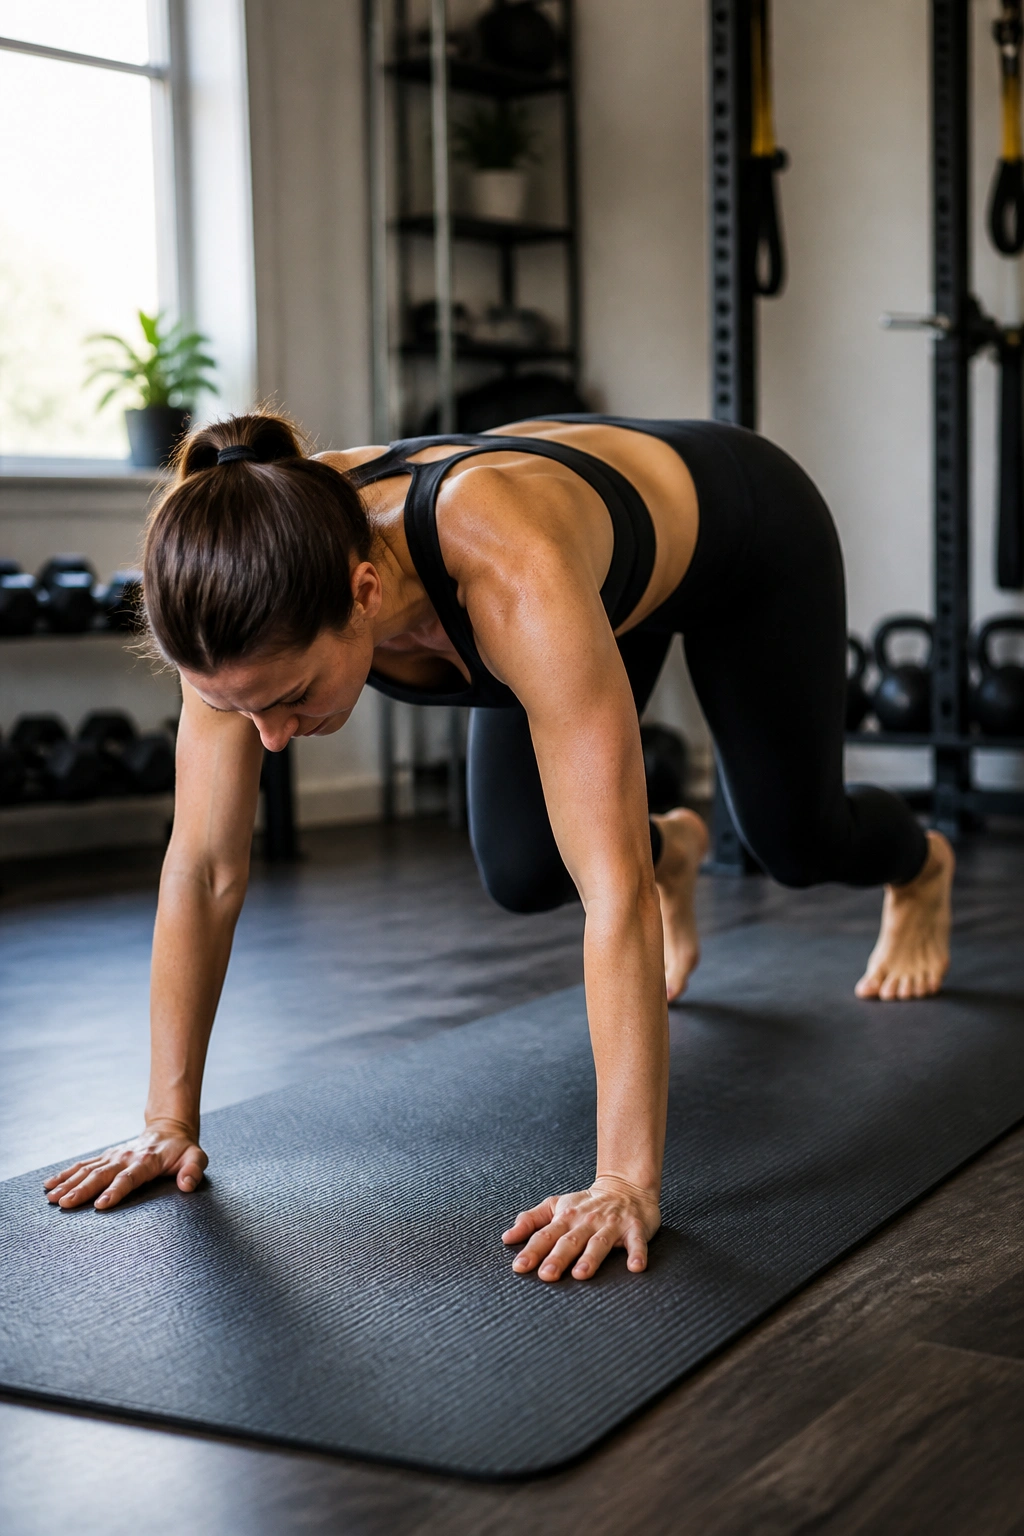
The bear crawl is essentially a plank, but much more demanding because your knees are off the ground and your hips are higher. It is a fantastic way to build “bracing” strength—the ability to stiffen your core on command.
Get into your tabletop position. Curl your toes under and lift your knees just one or two inches off the floor. Keep your back flat. Hold this position for 10-15 seconds. You will feel your entire core “turn on.”
- Why it’s tough: This position requires immense coordination. Your body will want to dump the weight into your shoulders or arch your back.
- Scaling: If you can only hold it for 3 seconds, that is fine. Do 3 seconds, rest, and repeat. Build up the time gradually.
18. Incline Push-ups
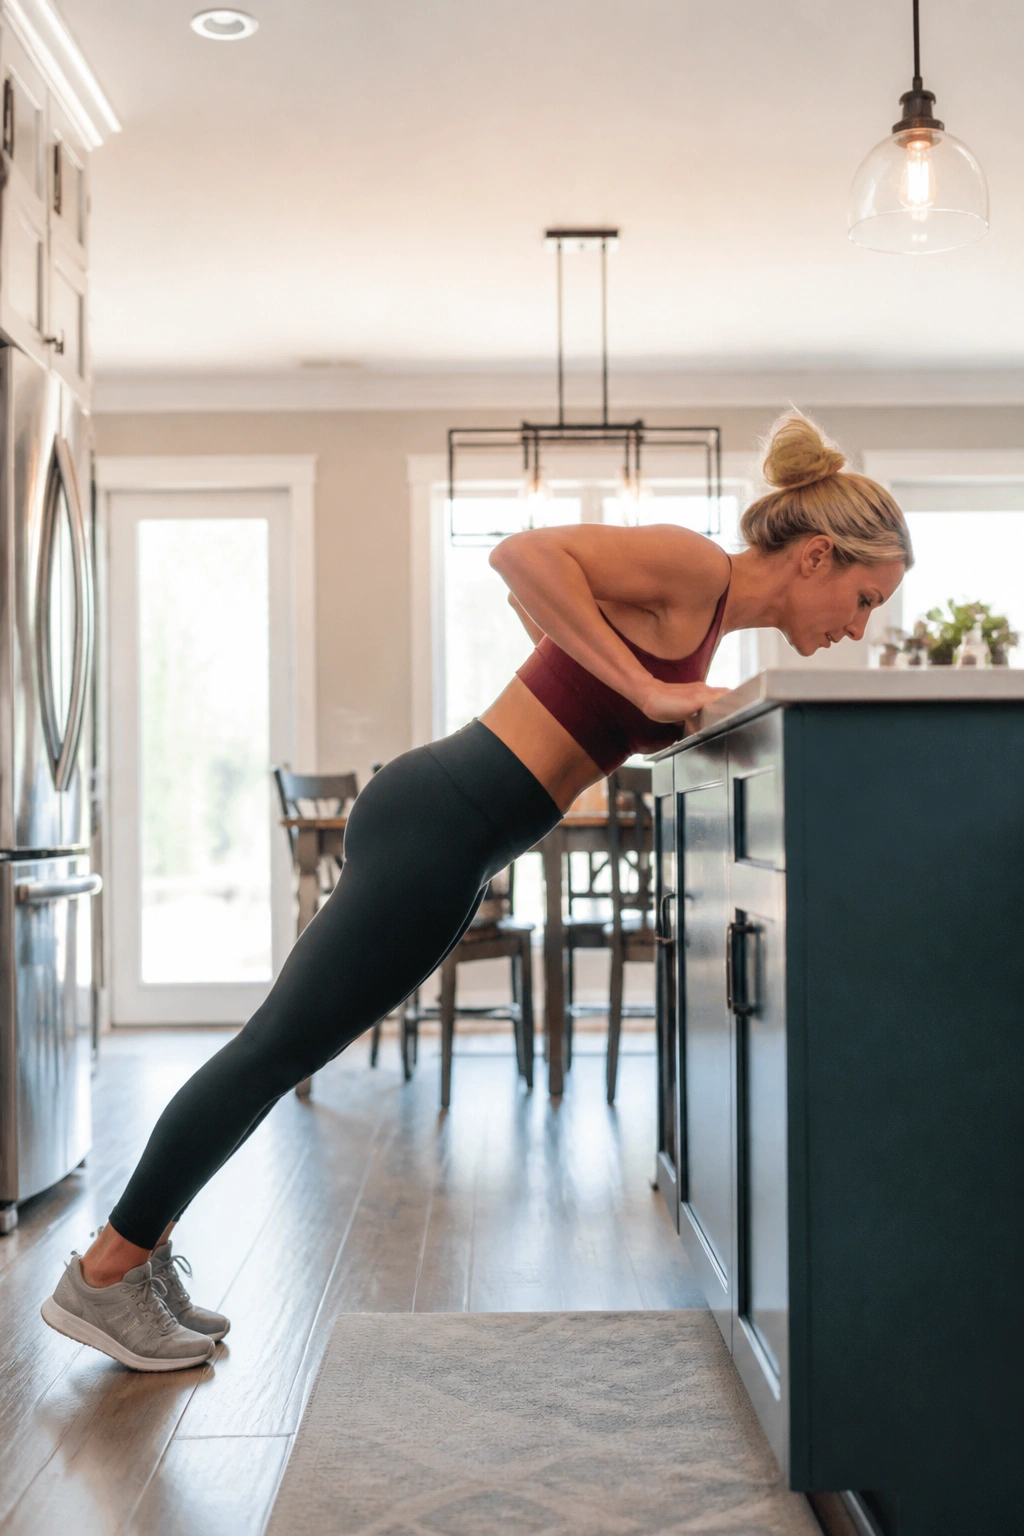
Push-ups are not just for the chest and arms. When done correctly, they are a moving plank. They require you to maintain a rigid, braced core while your body moves. By doing them on an incline (hands on a counter or table), you make them accessible and core-focused.
Place your hands on a sturdy surface, step your feet back, and perform a push-up. The lower your hands, the harder the exercise. Because you are at an incline, you can focus on keeping your tailbone tucked and your abs tight, preventing the sway-back that often happens with floor push-ups.
- Connection: Every time you push up, exhale. That exhale is when you should be bracing your abs.
- Muscle Focus: This builds functional strength, which helps with the daily physical demands of picking up a child, carrying car seats, and general household tasks.
19. Heel Taps
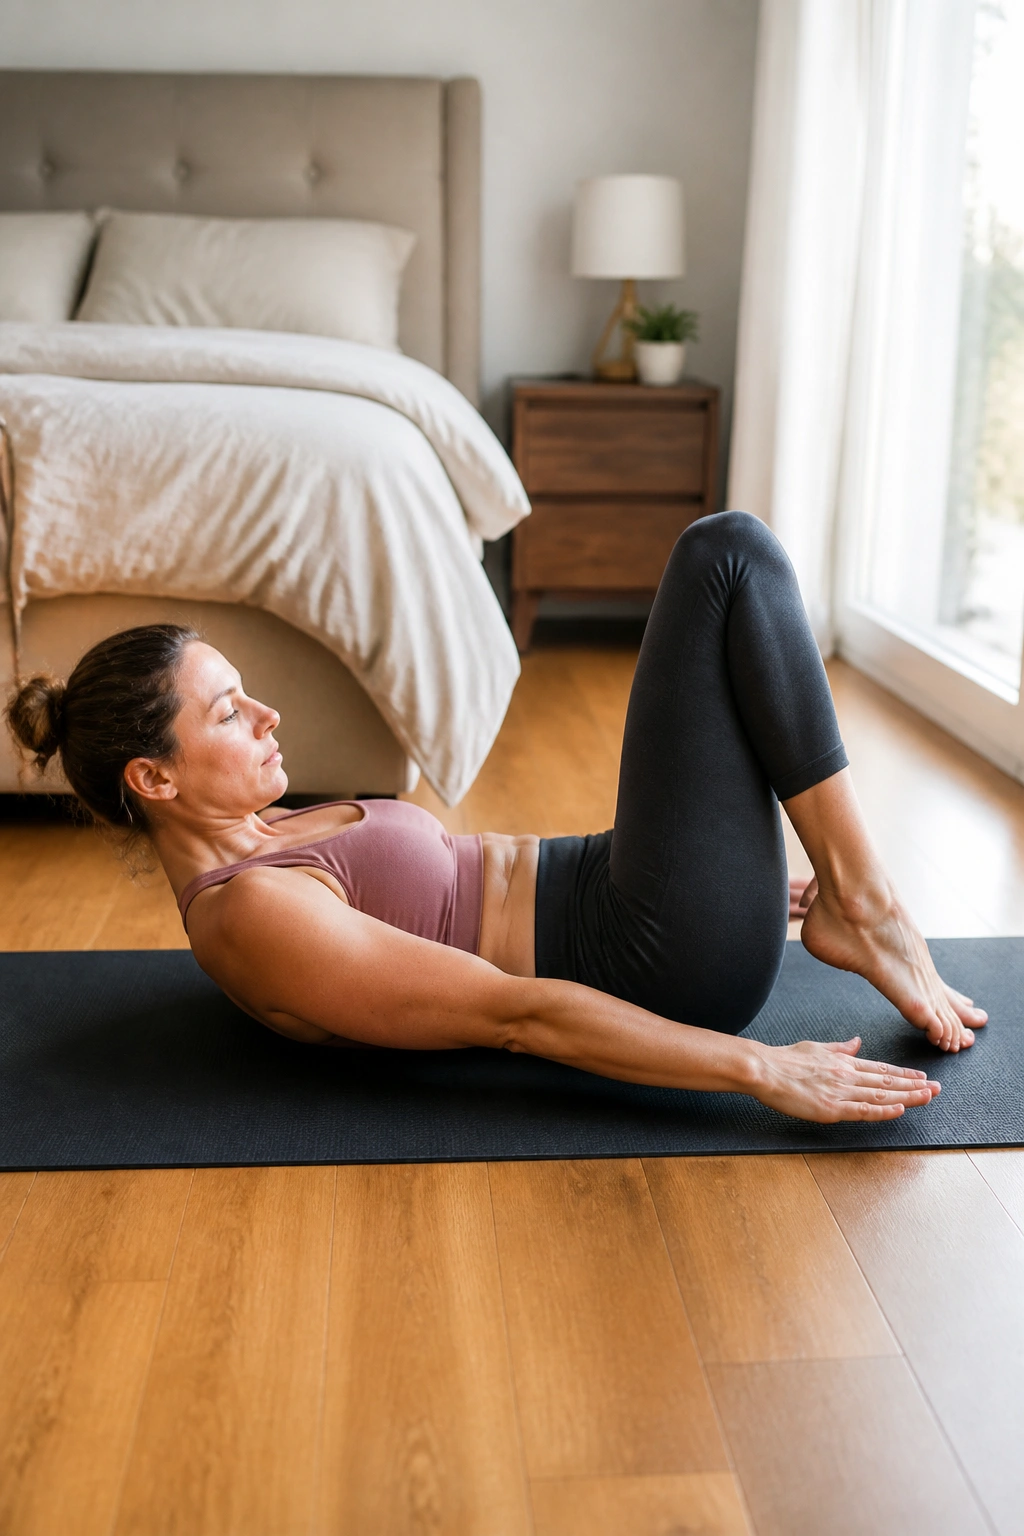
This movement is a variation of the leg lowering exercises, but by keeping the knees bent, you significantly reduce the leverage and make it safer for the lower back. It targets the lower portion of the abdominal wall, which is often the area of greatest concern for new mothers.
Lie on your back, knees in the tabletop position (90 degrees). Keep your back pressed into the floor. Slowly tap your right heel to the floor and return to the start. Then, tap your left heel.
- Refinement: Do not let the knees straighten. Keep the angle locked at 90 degrees.
- The “Why”: This isolates the lower abs without needing to lift the upper body, avoiding the neck and back strain that comes with traditional crunches.
20. Modified Squats
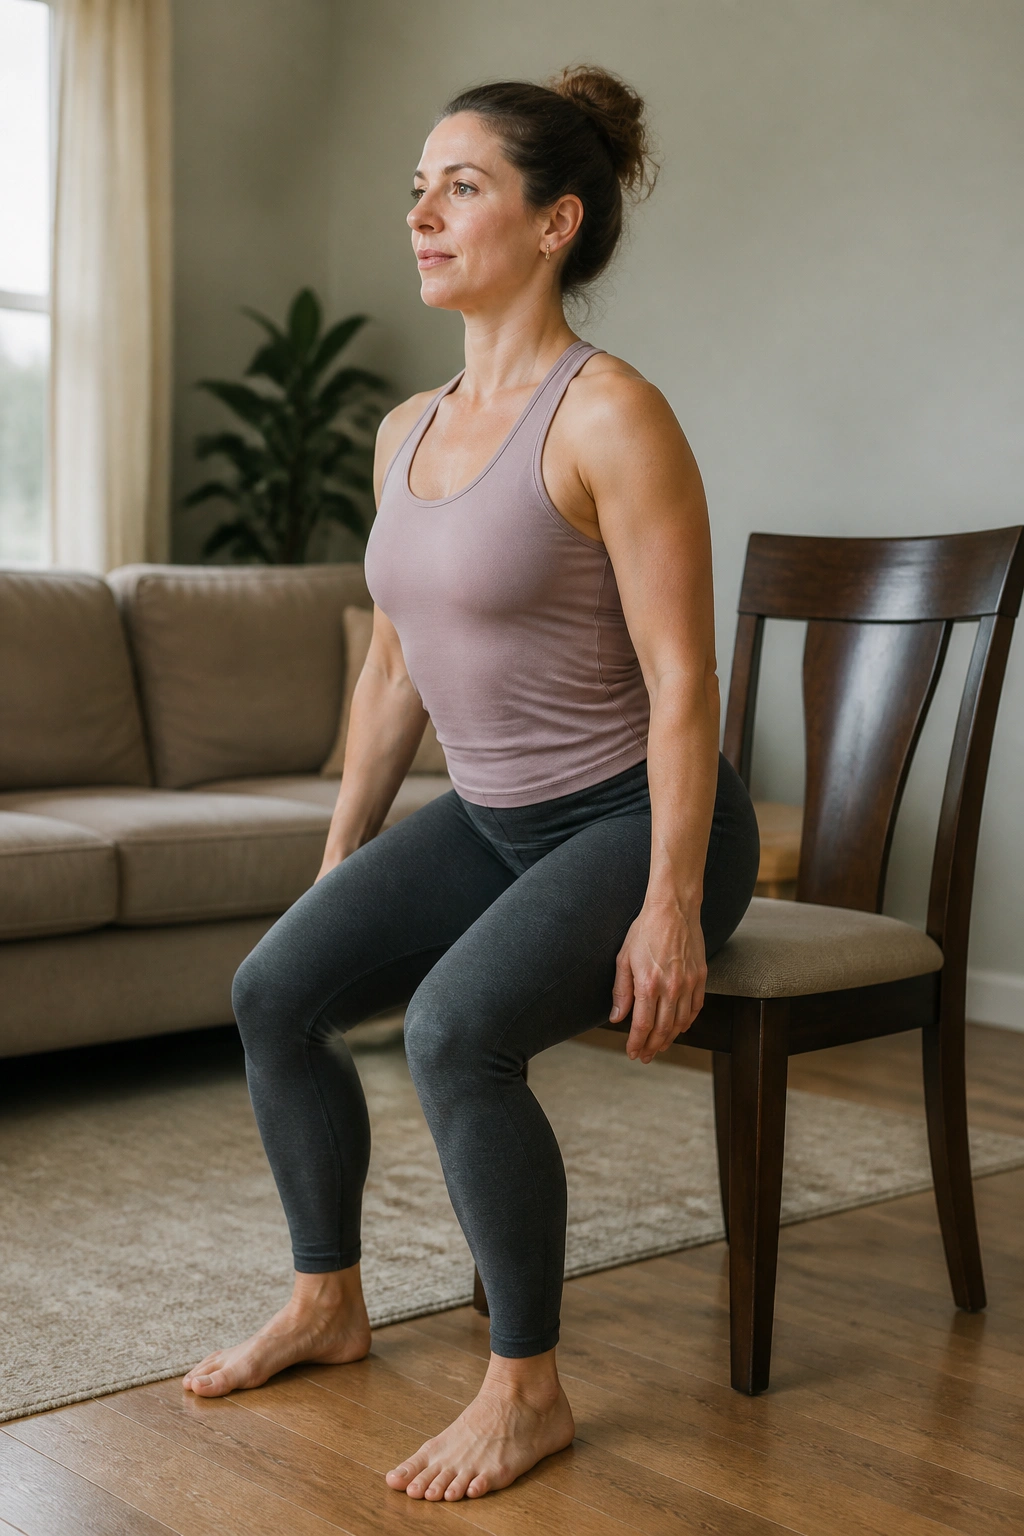
Squats are the ultimate functional move, but they are also a core move. If you squat with a rounded back or a weak core, you put excessive strain on your lumbar spine. Modified squats, using a chair for support, ensure you use the right muscles.
Stand in front of a chair. Lower your hips as if you are going to sit down, but stop just before you touch the seat. Keep your chest up and your core engaged throughout the movement. Press through your heels to stand back up.
- Pro Tip: Hold your baby (if they are small) or a light object against your chest. This naturally forces you to keep your chest up and engages your core to balance the weight.
- Functionality: This strengthens the legs and glutes, which reduces the load on your core, allowing it to recover faster.
The Reality of Consistency
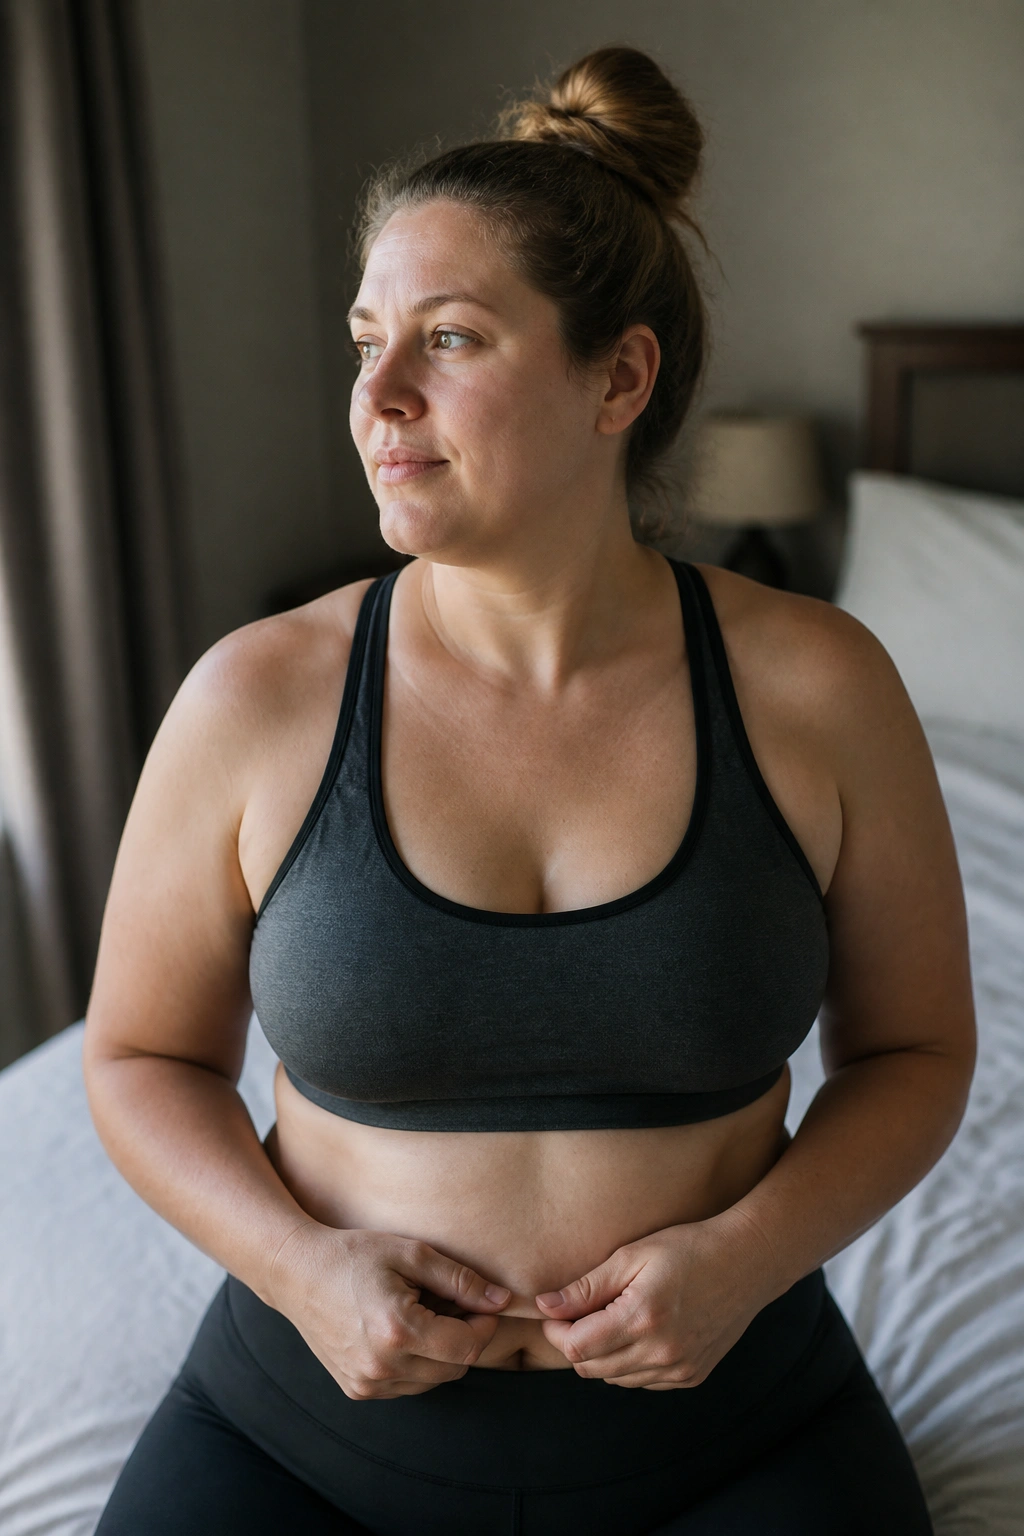
The most important element of any recovery plan is not the difficulty of the exercise, but the consistency of the effort. You will not see results in two days. Your body took nine months to stretch and adapt, and it will take time for the tissues to recover their tone and strength.
Listen to your body. If a movement causes pain, pressure, or a pulling sensation in your abdomen, stop immediately. You are not meant to power through discomfort when it comes to postpartum core healing. That is your body telling you that you are not ready for that specific exercise yet.
Listening to Your Body

Recovery is not linear. There will be weeks where you feel strong and capable, and other weeks where you feel exhausted and loose. That is completely normal. The goal is to keep showing up, even if all you have time for is five minutes of diaphragmatic breathing and a few pelvic tilts.
Do not compare your progress to others. Your pregnancy, your delivery, and your genetics are unique. Focus on what you can do, and celebrate the fact that you are taking the time to invest in your physical health. Your strength will return, but it happens one small, deliberate breath at a time.
