



A plank looks harmless right up until your breathing gets loud and your lower abs start arguing with your shoulders. Good plank workouts do that fast. They train you to hold a rigid torso without cheating through your back, your hips, or a clenched jaw, and that matters far more than chasing some heroic timer.
Most people treat planks like a punishment. I get it; a sloppy 60-second hold is boring, and a clean 20-second hold can feel mean in the best way. The difference is tension. When the ribs flare, the hips sag, or the neck cranes forward, the move stops training your core and starts rewarding bad posture.
The smarter move is to rotate through variations that hit the same job from different angles: front-to-back stability, side-to-side control, anti-rotation, and a little shoulder grit. You can build a short core session from three or four of these and get more from 10 minutes than from one messy long hold.
1. Forearm Plank Basics for Plank Workouts
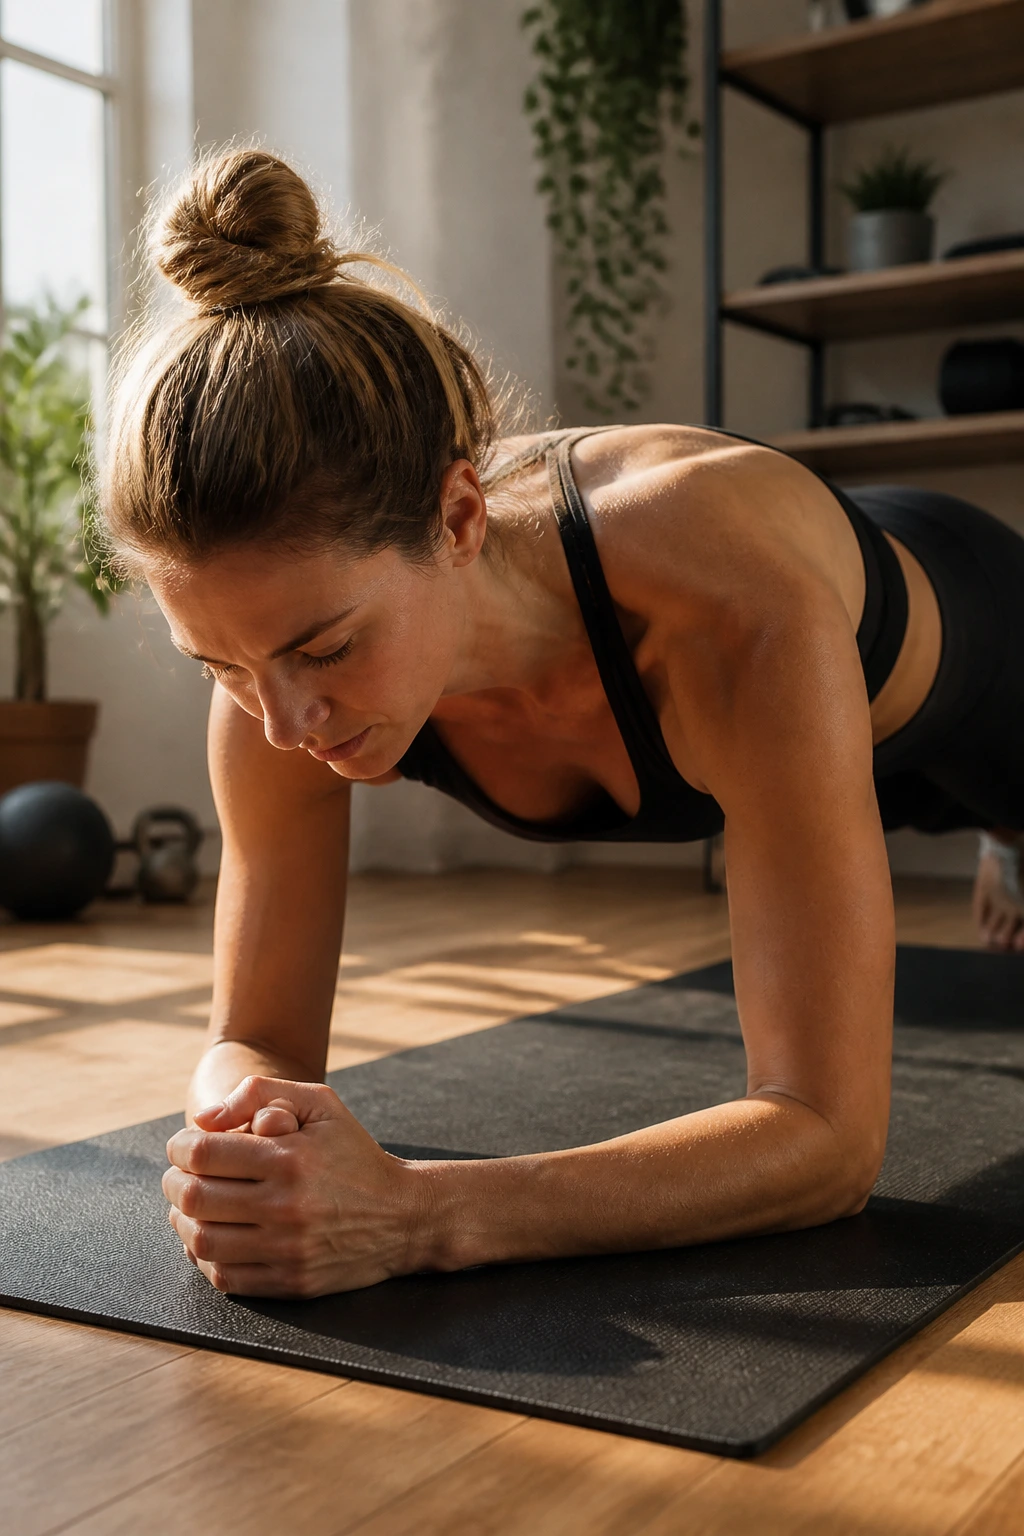
If you only learn one plank, learn this one first. The forearm plank is the cleanest way to feel what real core tension is supposed to feel like: ribs stacked over pelvis, glutes on, neck long, and no dramatic arch in the low back.
Set your elbows under your shoulders and make your forearms parallel. Press the floor away a little, squeeze your thighs, and tuck your tailbone just enough to stop the lower back from taking over. That tiny posterior pelvic tilt matters more than people think.
What to Watch For
- Your hips should stay level with your shoulders, not drift up and down.
- Your head should stay in line with your spine, not poke forward like a turtle.
- Your belly should stay firm when you exhale, not puff out when you get tired.
- Your shoulders should feel active, not collapsed into your ears.
Start with 15 to 30 seconds if you’re new to planks. A short hold with clean form beats a long hold that turns into a backbend. Honestly, that rule saves a lot of people from months of doing the same thing badly.
2. High Plank on Straight Arms
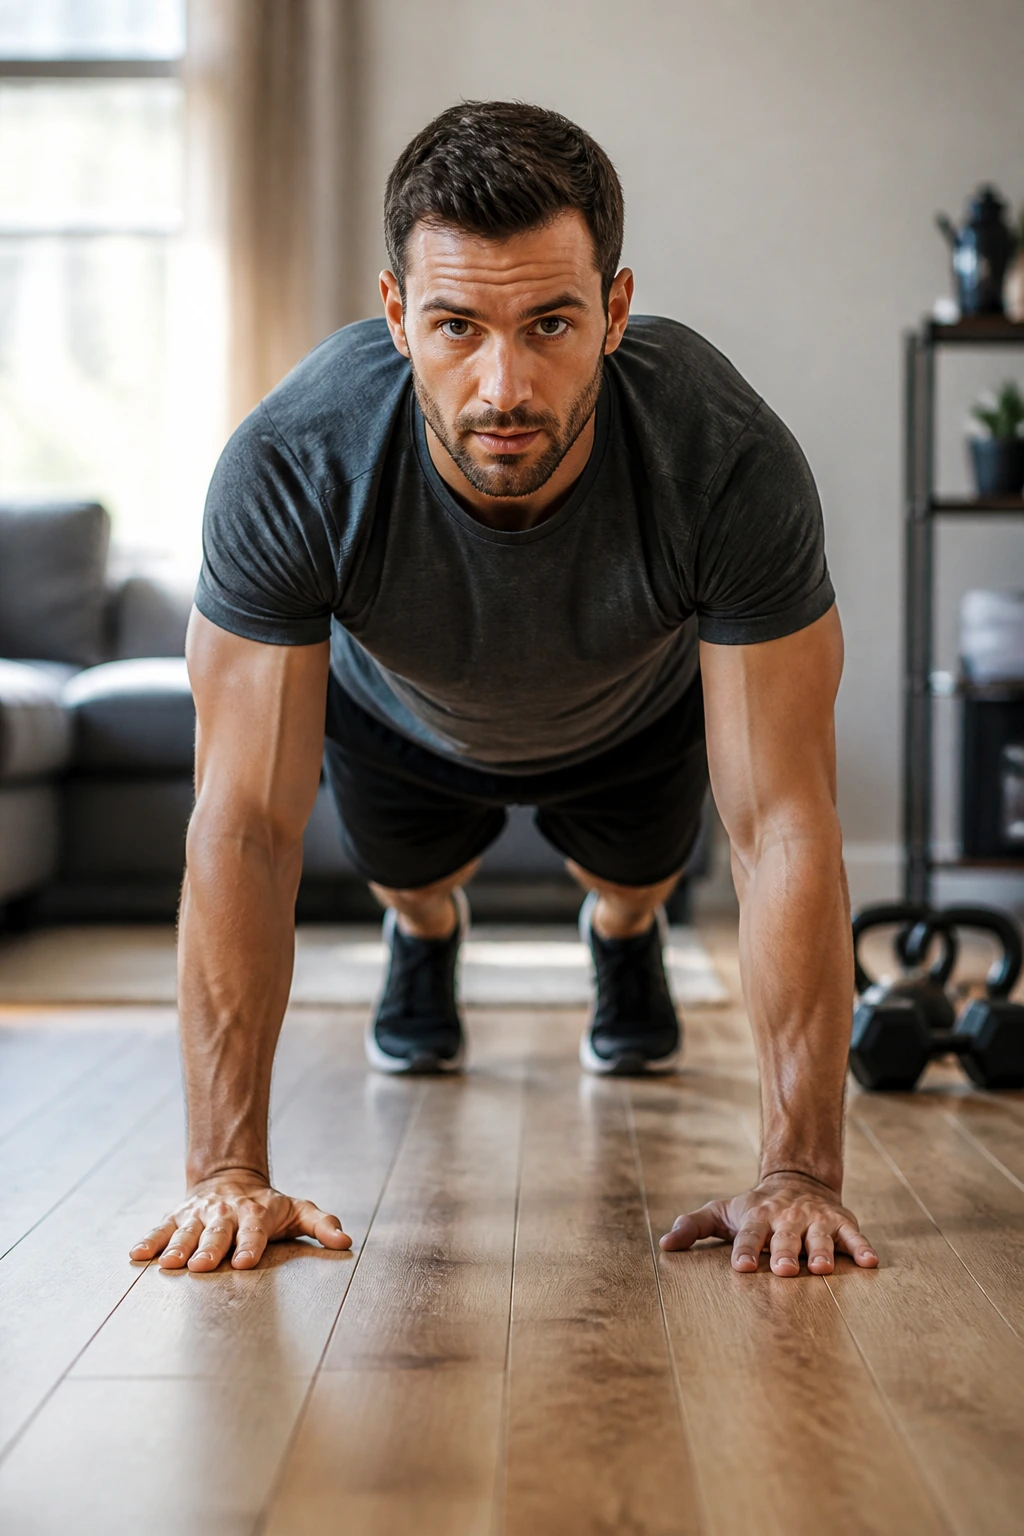
Straight-arm planks feel friendlier on paper and meaner in practice. The extra demand on your shoulders, wrists, and upper back makes this one a strong choice if you want your core work to spill over into push-ups, crawling, or any kind of bodyweight pressing.
Hands go under the shoulders, fingers spread wide, with a gentle bend in the elbows so you’re not dumping into the joints. Push the floor away until your shoulder blades feel broad across your upper back. That little cue changes everything.
What I like here is how fast bad form shows up. If your ribs flare or your hips sag, you know almost immediately. No guessing. No pretending.
Use this version for 10 to 25 seconds at a time, especially if your wrists are still getting used to floor work. If the wrists complain, turn your hands slightly out or hold onto dumbbells so your wrists stay neutral. That tiny adjustment can make the difference between a useful session and a dumb one.
3. Side Plank on One Elbow
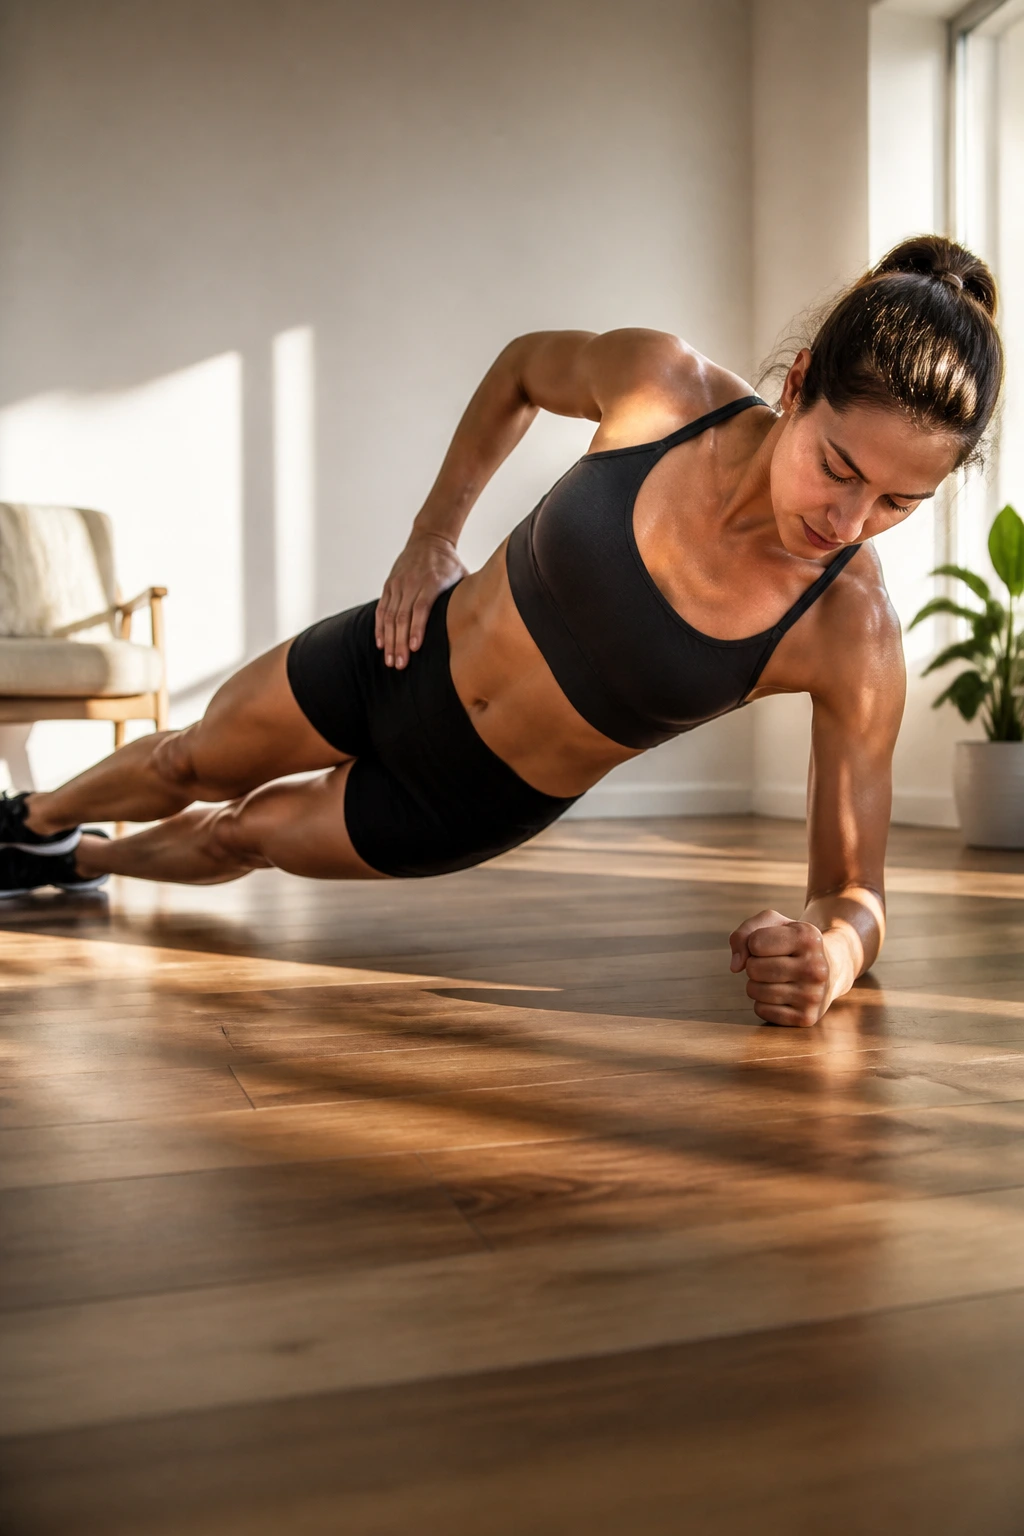
Why does a side plank light up the waist so fast? Because it asks one side of your body to stop collapsing under load. Your obliques work hard, sure, but the side glute and the shoulder on the floor do a lot of quiet work too.
Stack the elbow under the shoulder, then lift the hips until your body forms one straight line from head to heels. The top shoulder should stay over the bottom one, not roll open toward the ceiling. If you twist open too much, you lose the job the exercise is supposed to do.
How to Scale It
Start with the bottom knee bent if a full side plank feels too spicy. That short lever takes some of the load off the waist while still teaching you to hold your trunk steady.
You can also add a top-leg lift once the basic hold feels easy. That small change makes the side glute work harder, and the shake comes on fast. Good. That shake is telling you the line from ribs to hips needs to stay clean.
4. Side Plank Reach-Through
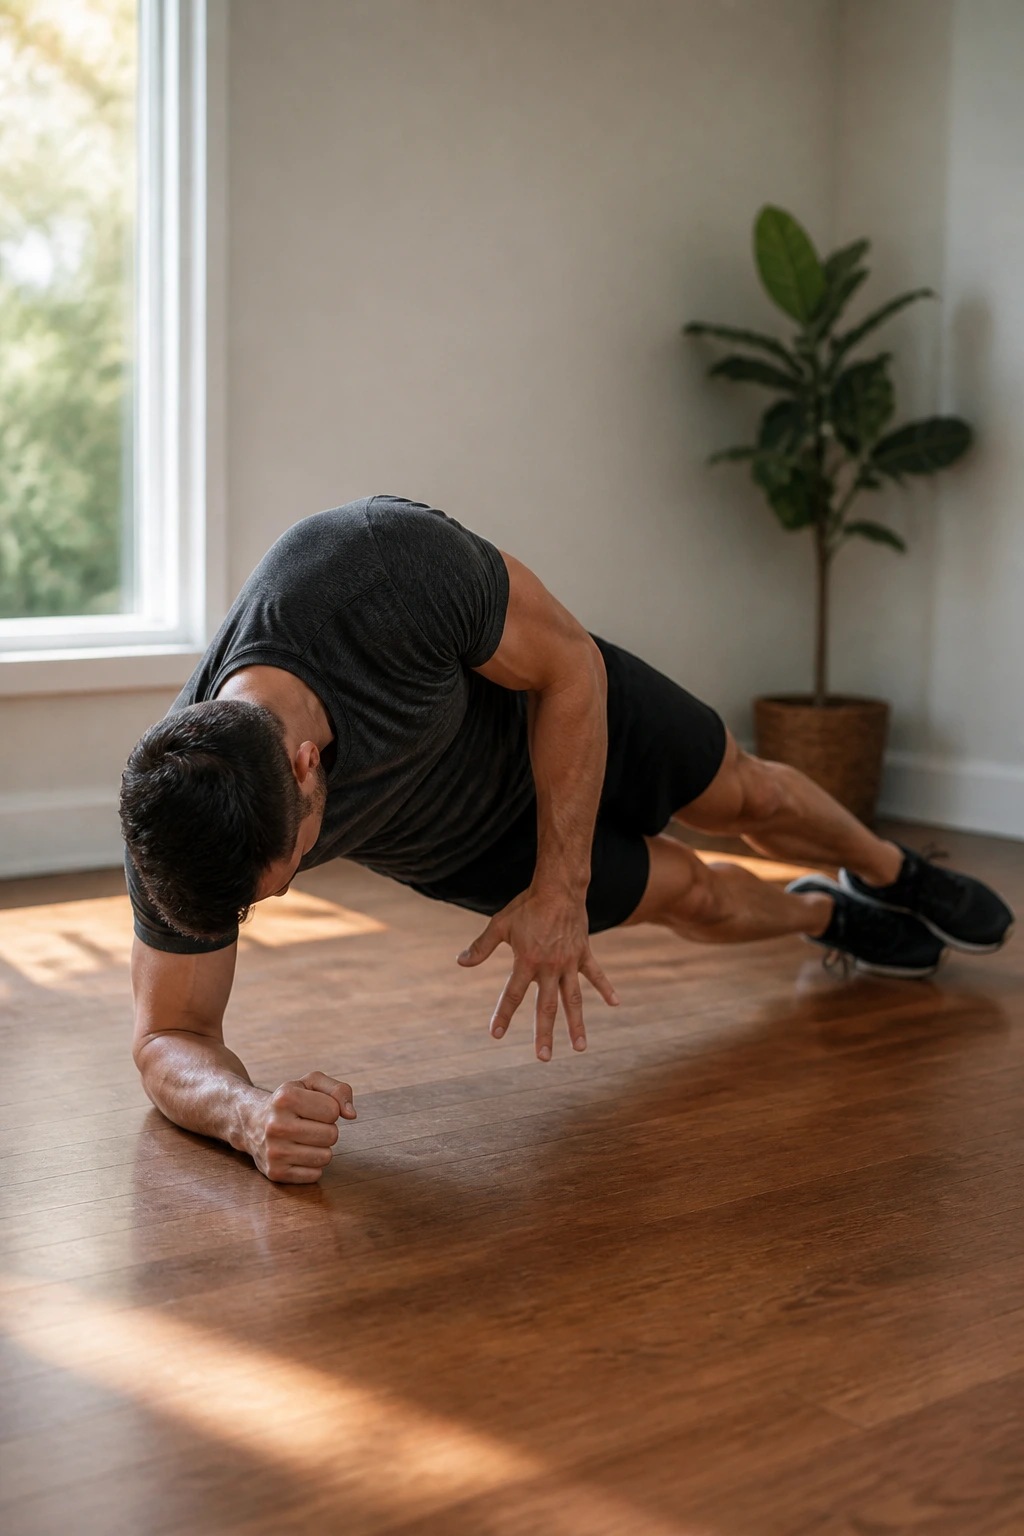
If a side plank feels too easy after 20 seconds, this is the version that makes it honest. The reach-through adds controlled rotation, which means your obliques have to resist movement while still guiding it.
From a side plank, thread the top arm under your torso, then open back up. The move should look smooth, not rushed. If you yank your body around, all you do is swing through a loose shoulder and twist at the wrong spots.
The Details That Matter
- Move with your breath, not against it.
- Keep the hips as high as you can without collapsing.
- Let the hand travel under the torso, not behind you.
- Stop the rotation before your shoulder starts feeling pinchy.
This one works best for 6 to 10 slow reps per side. I prefer it after a basic side plank because the base position teaches you the line first. Once you have that, the reach-through becomes a clean challenge instead of a sloppy twist.
5. Plank Shoulder Taps
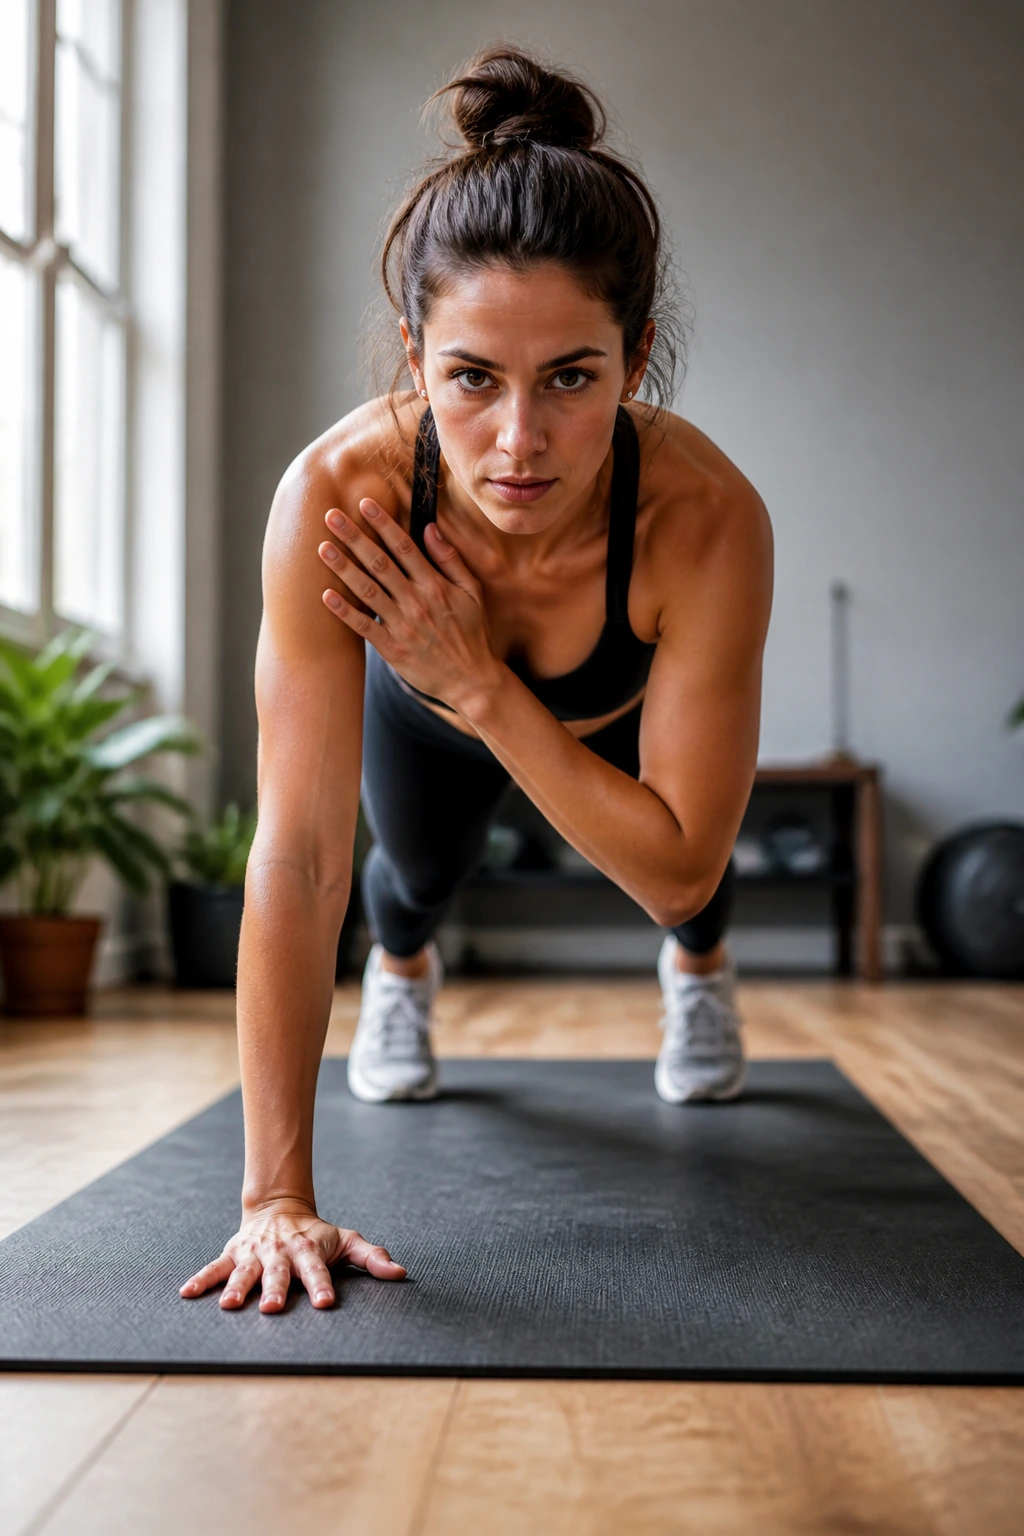
Hands on the floor, feet a little wider than you think, and no swinging. That’s the whole game here. Plank shoulder taps train anti-rotation in a way that feels simple until the hips start drifting side to side.
Tap one shoulder with the opposite hand, then set it down quietly and repeat. The quieter the tap, the better the rep. If your pelvis rocks every time your hand leaves the floor, widen your stance and slow down.
This is one of those moves where speed ruins the point. Fast taps turn into a balance party. Slow taps turn into a core workout.
I like it for 10 to 20 total taps, or 20 to 30 seconds if you’re working on time. Keep your eyes a few inches ahead of your hands so your neck stays long. And if you feel the low back starting to pinch, stop right there — your body is telling you the plank is losing shape.
6. Plank Walkouts
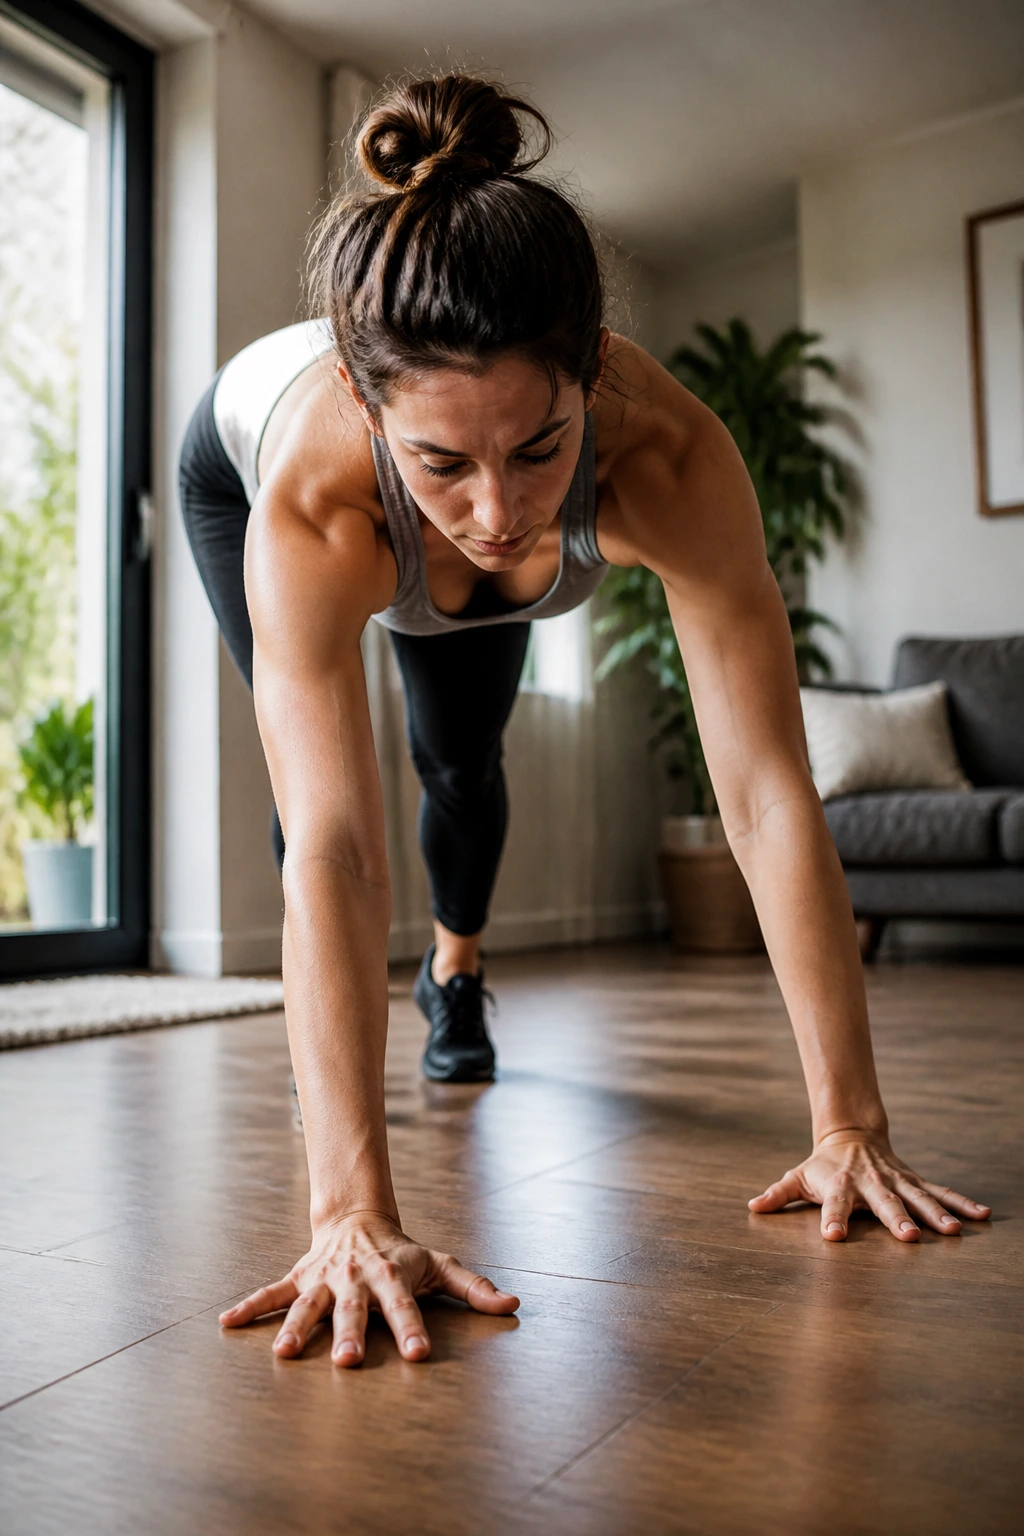
Crunches flex the spine. Plank walkouts ask the spine to stay steady while the whole body gets longer, and that difference matters more than most people realize.
Start standing, hinge at the hips, and walk your hands out until you’re in a strong plank. Then walk them back. That’s it. Simple, yes. Easy, no.
What makes this one so useful is the transition. Your hamstrings lengthen, your shoulders wake up, and your core has to keep your ribs from flaring as you travel. It’s a nice bridge between a warm-up and a real core session.
Use 5 to 8 walkouts before an upper-body day, or keep the pace slow and do 6 reps as a standalone drill. If your hamstrings are tight, bend the knees a little on the way down. No prize is given for straight legs if your back rounds like a question mark.
7. Reverse Plank
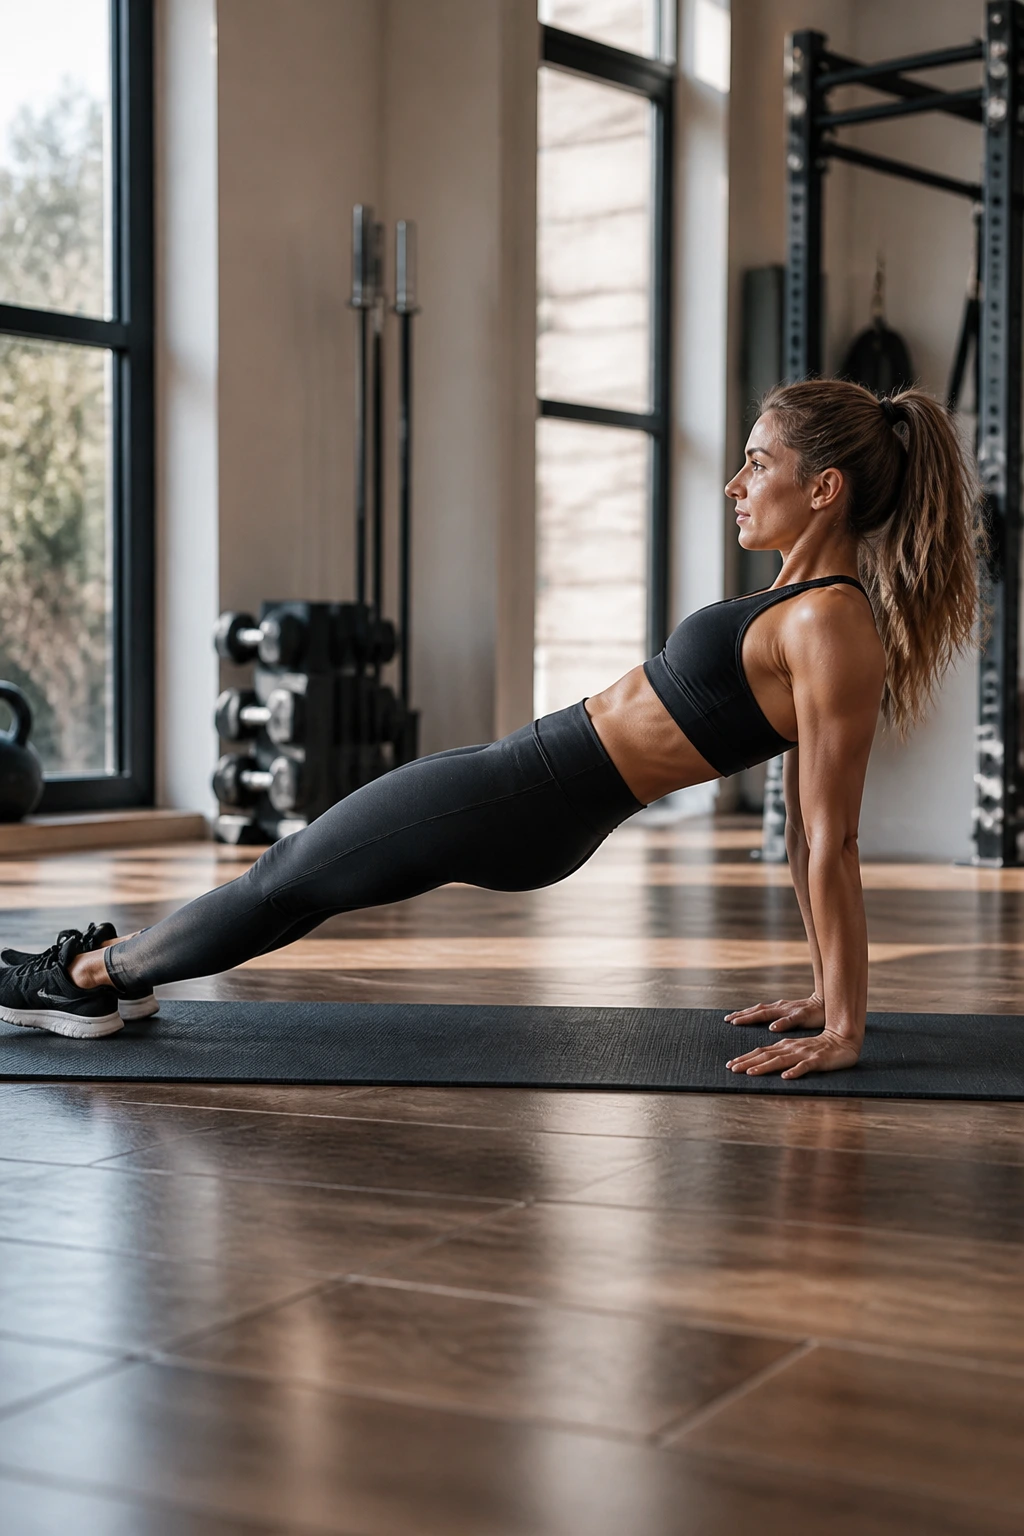
Most core routines forget the back side of the body. Reverse planks fix that, and they do it without any drama. You’ll feel glutes, hamstrings, rear delts, and the muscles between your shoulder blades doing work that sitting tends to turn off.
Sit on the floor, place your hands slightly behind your hips, and lift into a straight line from shoulders to heels. The chest opens, the hips rise, and the neck stays relaxed. If the shoulders hate that hand position, place the hands on a bench or step.
Why Your Back Will Care
This move asks you to keep the front of the body long while the back of the body carries the load. That can be a nice change if your routine is heavy on push-ups, crunches, or long hours at a desk.
Hold it for 15 to 40 seconds and keep the glutes engaged the whole time. If the knees bend and the hips sag, lower down, reset, and try again. The clean version is the one worth doing.
8. Plank to Down Dog
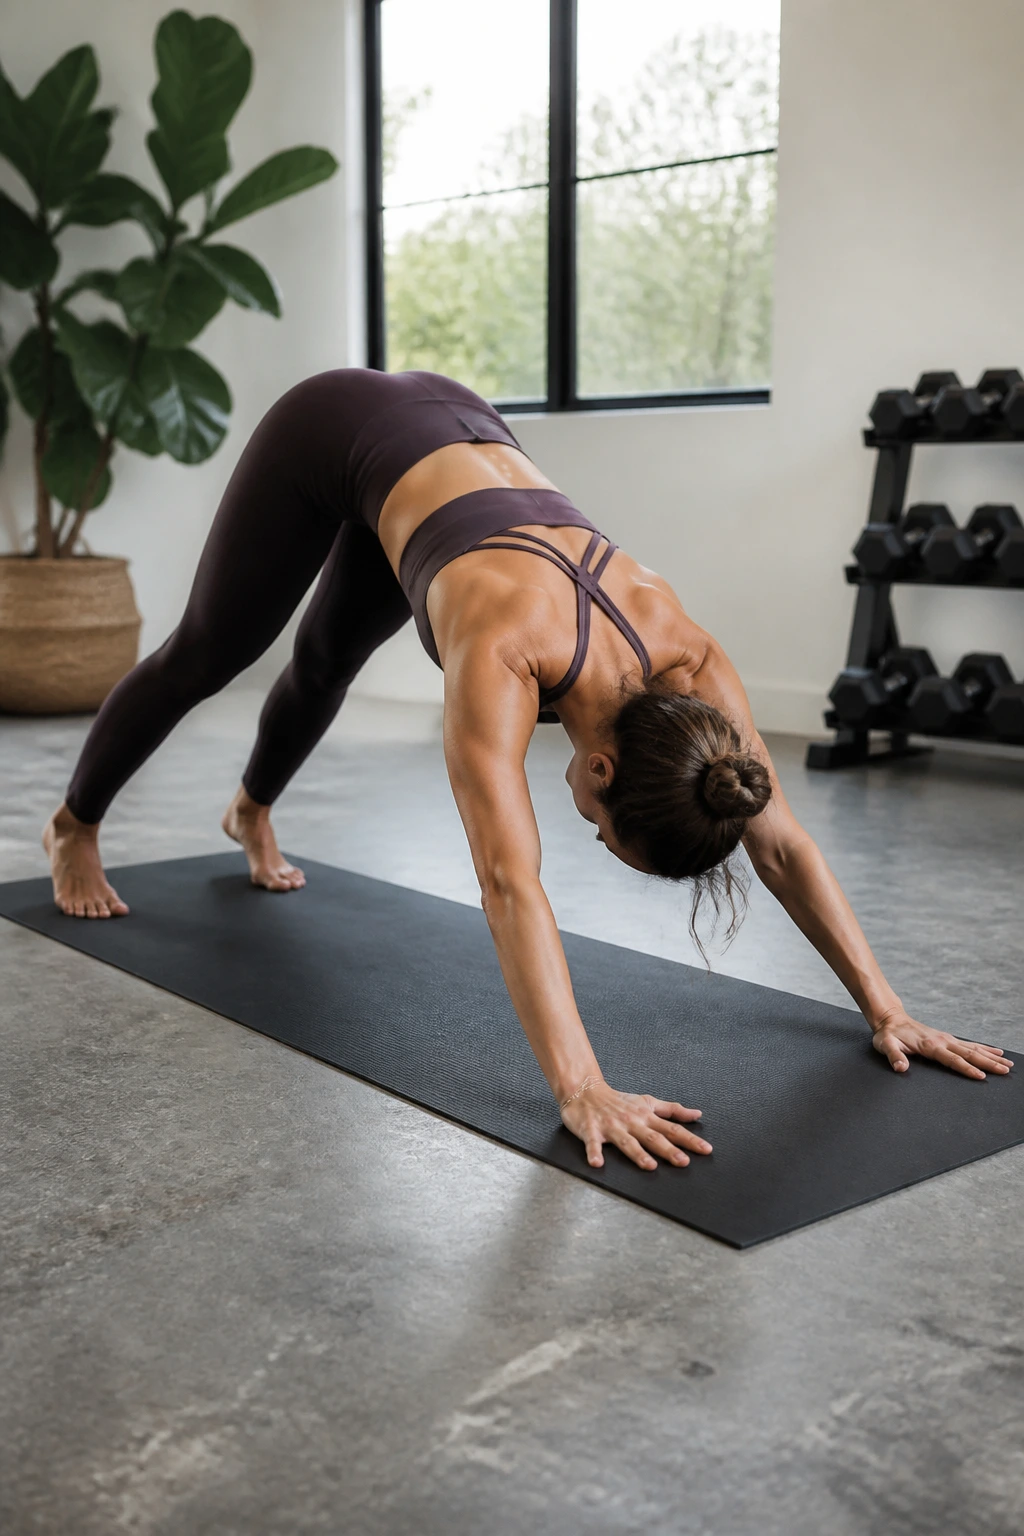
Want a plank that gives your shoulders a little movement without letting your core off the hook? Plank to Down Dog does that well, and it feels better than a lot of still holds when you’re stiff.
From a high plank, press the hips up and back into Down Dog, then return to plank with control. The goal isn’t to race between positions. The goal is to keep the ribs tucked as the body changes shape.
How to Keep It Clean
- Keep the hands planted where they are.
- Shift weight through the shoulders, not the lower back.
- Exhale as you move back so the belly stays firm.
- Avoid dumping all your weight into the wrists at the bottom.
This works nicely for 6 to 8 slow reps, especially as part of a warm-up. The hamstrings usually get a say too, which is one reason this variation feels so useful on tight days. It’s half core drill, half mobility drill, and that mix is hard to beat.
9. Spiderman Plank
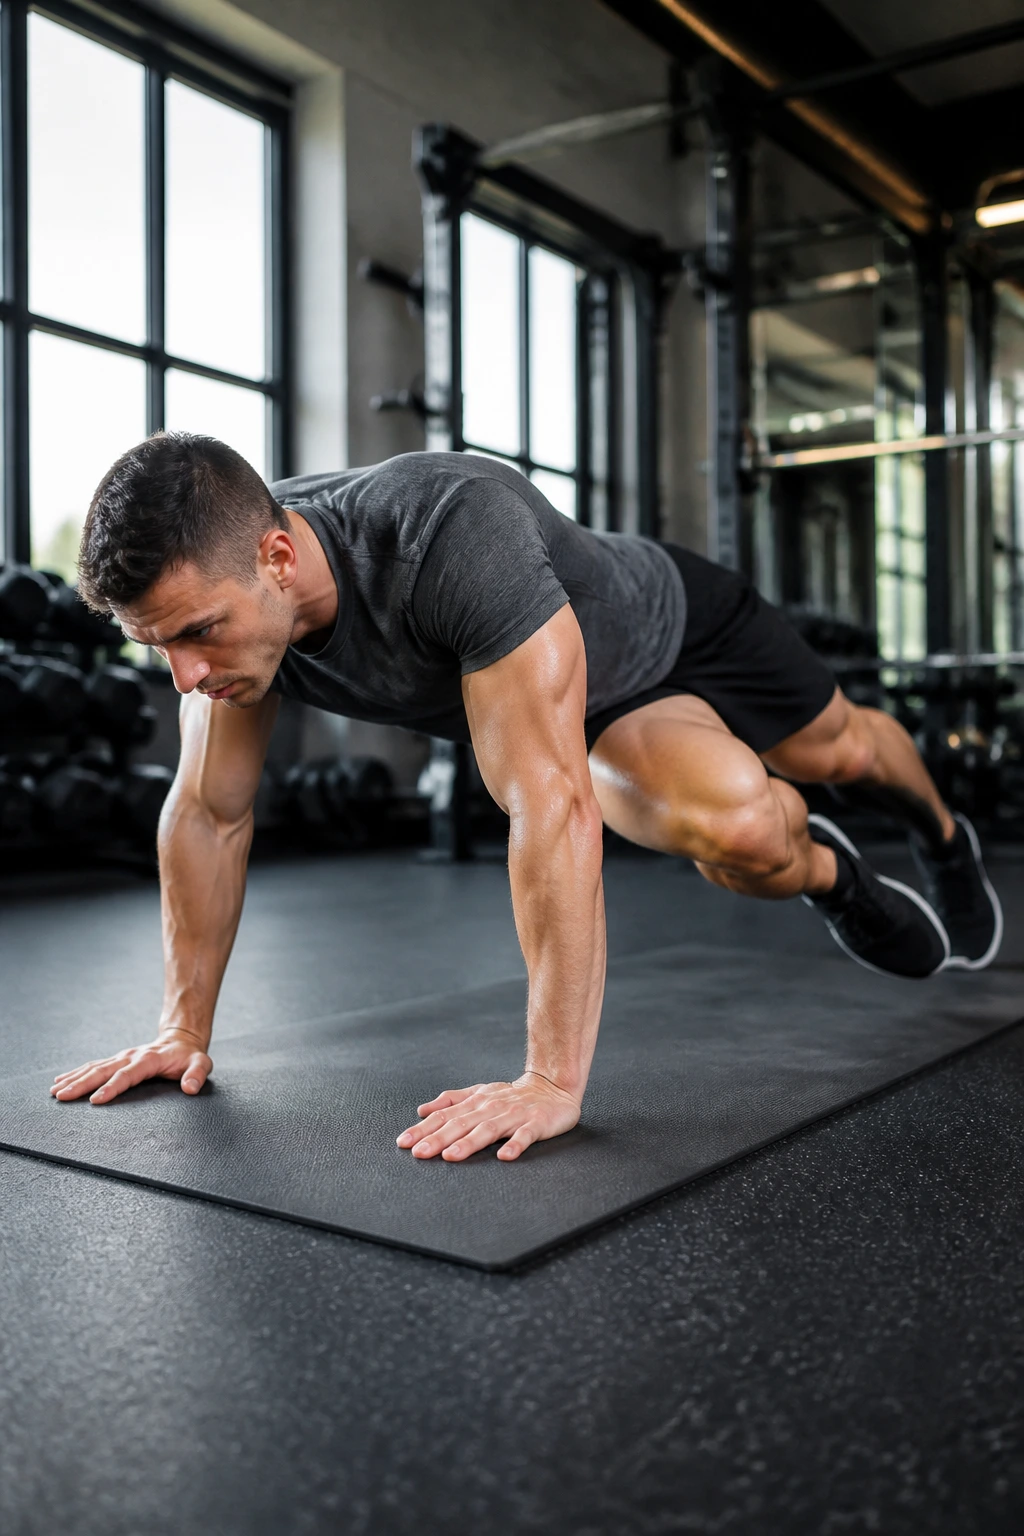
Watch someone rush a Spiderman plank and the hips start surfing side to side. That is the mistake. The knee-to-elbow movement should be controlled, almost stingy, as if you’re trying not to spill anything.
From a high plank, drive one knee toward the outside of the same elbow, then return it to start. Alternate sides. You’ll feel the obliques, hip flexors, and shoulders all working at once, especially if you keep the torso quiet.
A few details make the difference:
- Keep the shoulders stacked over the hands.
- Let the knee travel outside the elbow, not just under the chest.
- Keep the foot light on the floor when it returns.
- Slow down before the low back starts to arch.
I like 6 to 10 reps per side with a very steady rhythm. If your form gets ragged, widen your feet and shorten the range. Cleaner reps will give you more out of this than any amount of frantic mountain-climber energy.
10. Plank Jacks for Cardio-Style Plank Workouts
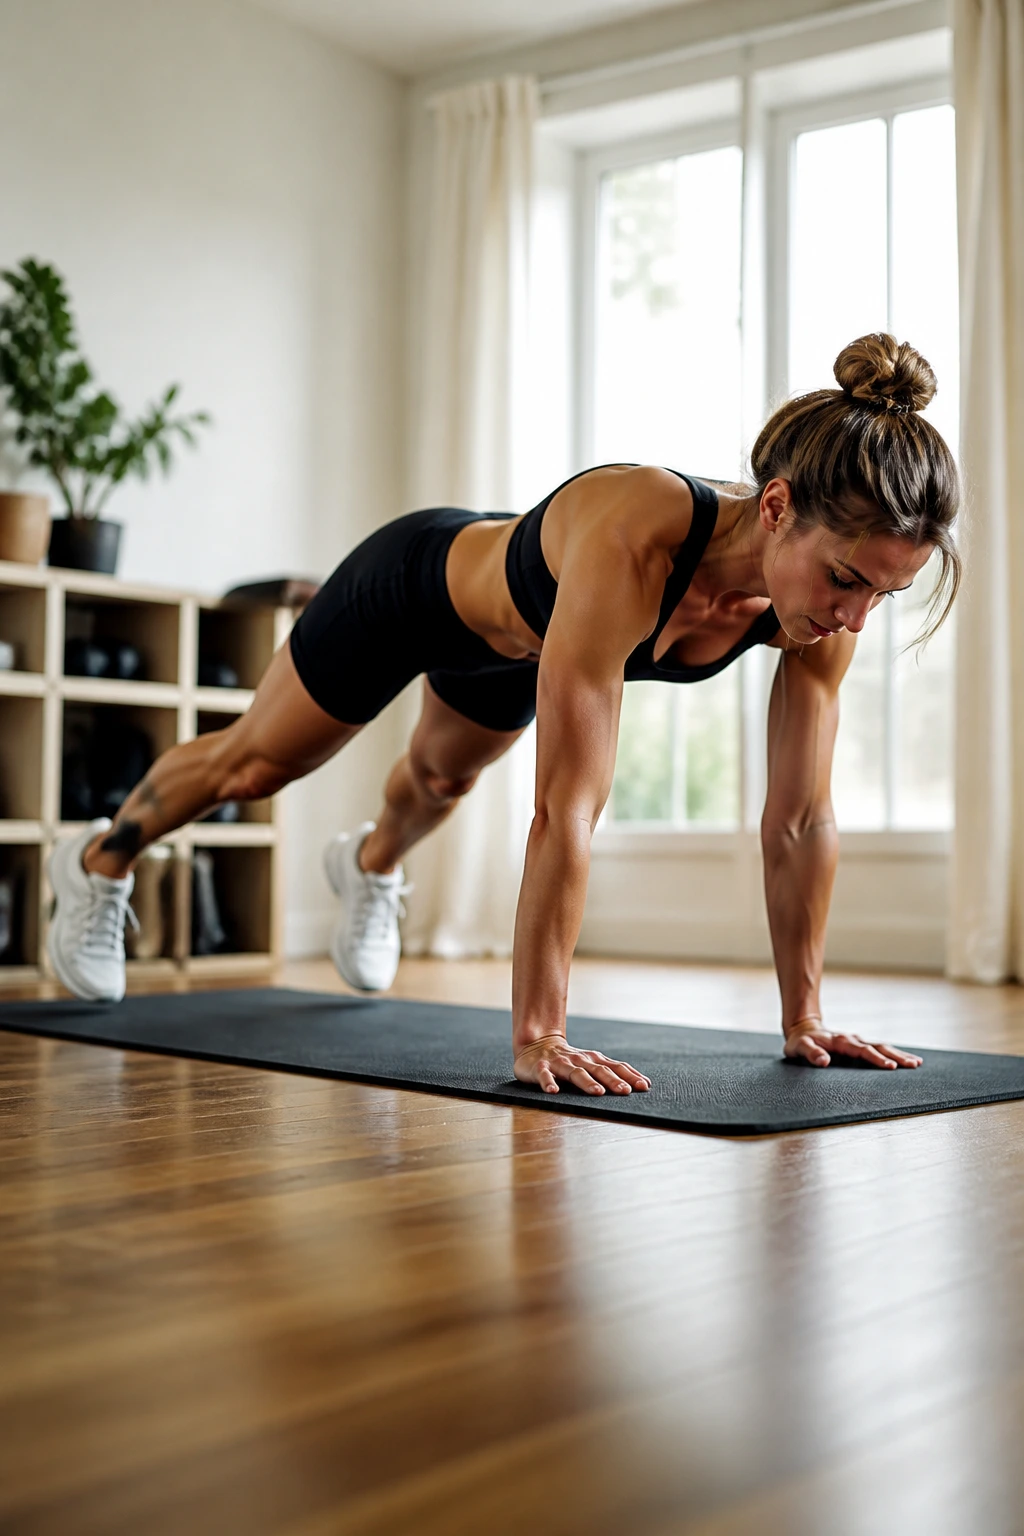
These are the noisy cousins of the plank family. Plank jacks add a small cardio hit while the torso still has to stay braced, which is a nice change if your core work tends to feel too calm.
Start in a high plank, then hop the feet out and back in. Keep the hips level and the hands rooted. If the jump makes your lower back wobble, step one foot out at a time instead. That slower version still works.
The trick is not turning this into a full-body bounce. Small jumps are enough. Big jumps usually just make the midsection sloppy.
Try 20 seconds on, 20 seconds off for 4 to 6 rounds. If your wrists get cranky, shorten the session and keep the shoulders active. This is one of those plank workouts that can sneak a little conditioning into the same ten minutes, which is handy when you want more than a static hold.
11. RKC Plank
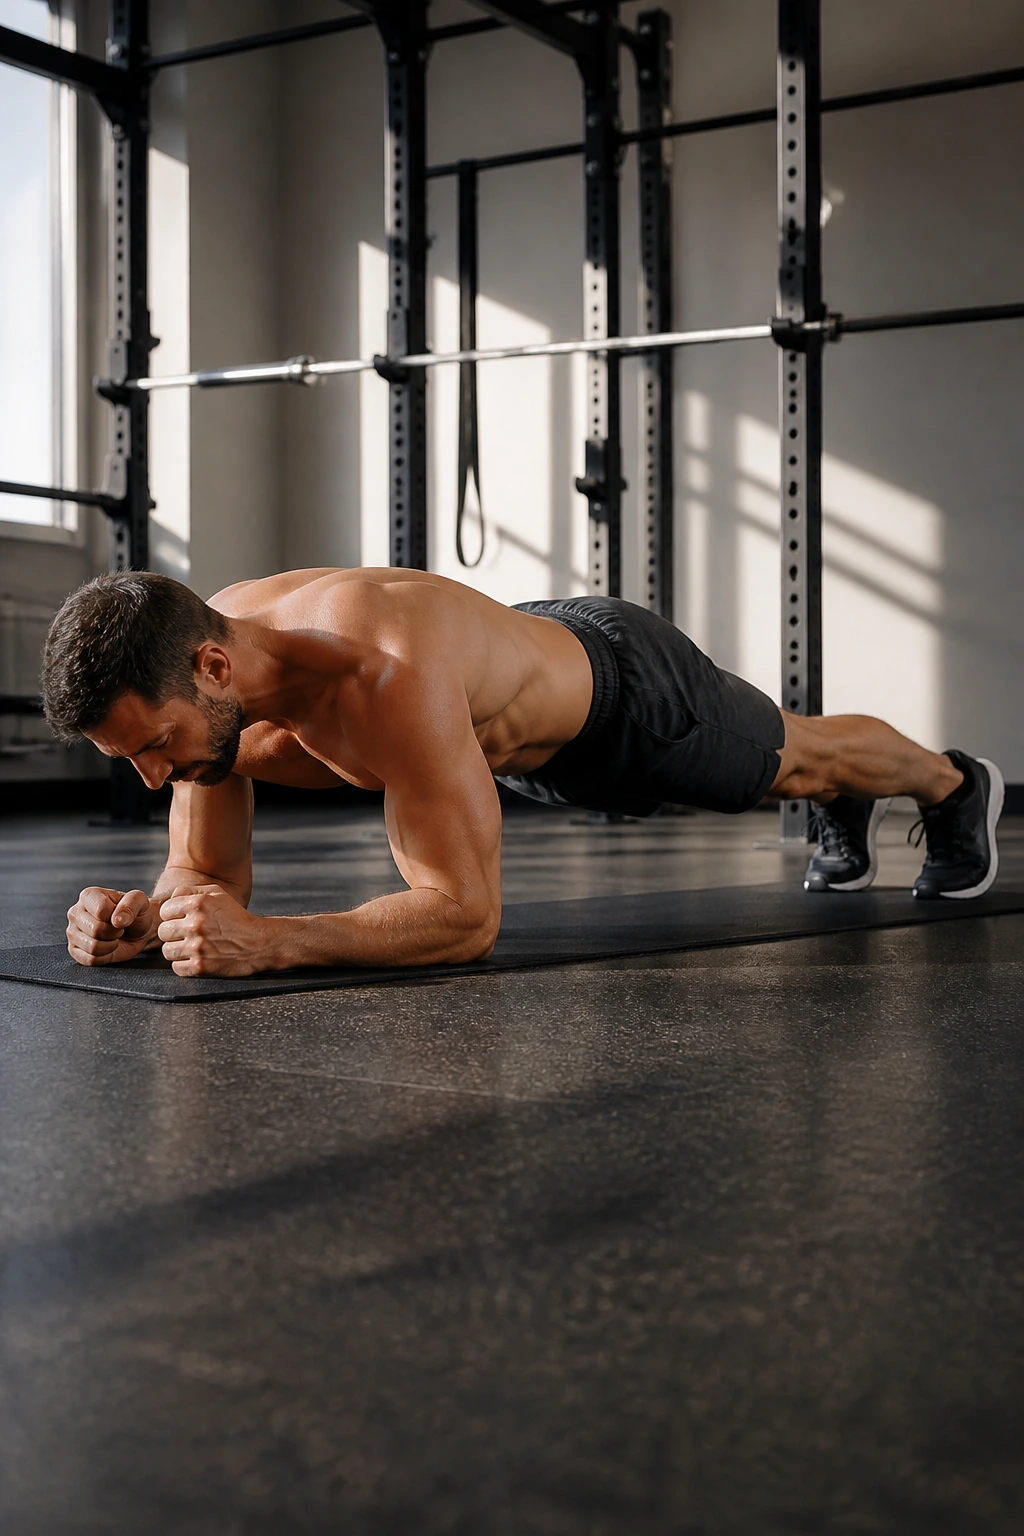
A 20-second RKC plank can beat a sloppy 60-second standard hold. That’s not a brag. It’s a reminder that tension matters more than time once you already know the basics.
This hardstyle version asks for full-body squeeze. Pull the elbows toward the toes without moving them, squeeze the glutes hard, press the forearms into the floor, and keep the breath short and controlled. The body should feel like one tense block.
What Makes It Different
The RKC plank is short on purpose. You’re not hanging out. You’re firing every muscle that can help the torso stay still, and that includes the legs, not just the abs.
Use 10 to 20 seconds per set and rest well between rounds. Three to five sets is plenty. If you can hold it longer than 20 seconds without shaking or losing breath control, you probably aren’t squeezing hard enough.
This is best for people who already have a clean forearm plank and want something sharper. It’s a finisher, not a warm-up. And yes, it feels a little rude. That’s the point.
12. Single-Leg Plank
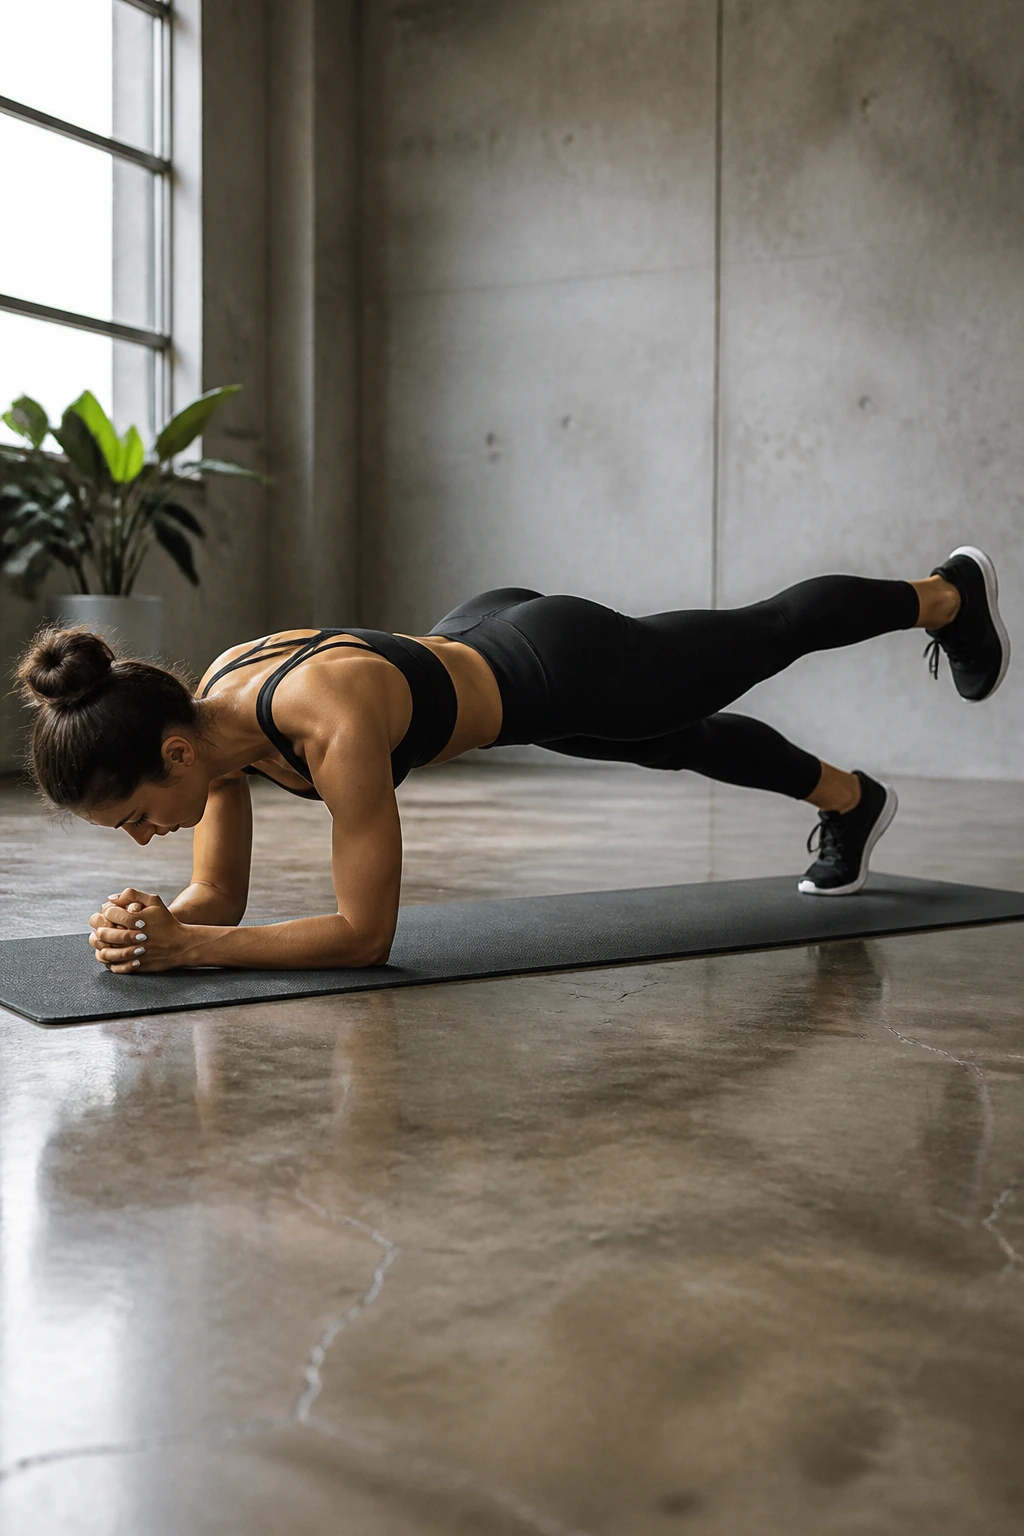
What happens when you lift one foot? The plank gets a lot less polite. The body has to fight rotation and hip drop at the same time, which makes the single-leg version sneaky and useful.
Start in a forearm or high plank, then lift one foot just an inch or two off the floor. Keep the hips square and the lifted leg long. If one side of the pelvis dips, set the foot down and shorten the hold.
Easy Mistake to Avoid
People often lift the leg too high. That turns the move into a back-arch contest. A small lift is enough. The goal is not height; it’s staying level.
Hold each side for 8 to 15 seconds, or use slow switches if that feels better. This one works well when you want glutes, abs, and deep stabilizers all working at once. It’s a clean bridge between a normal plank and the more advanced anti-rotation stuff.
13. Plank Saw
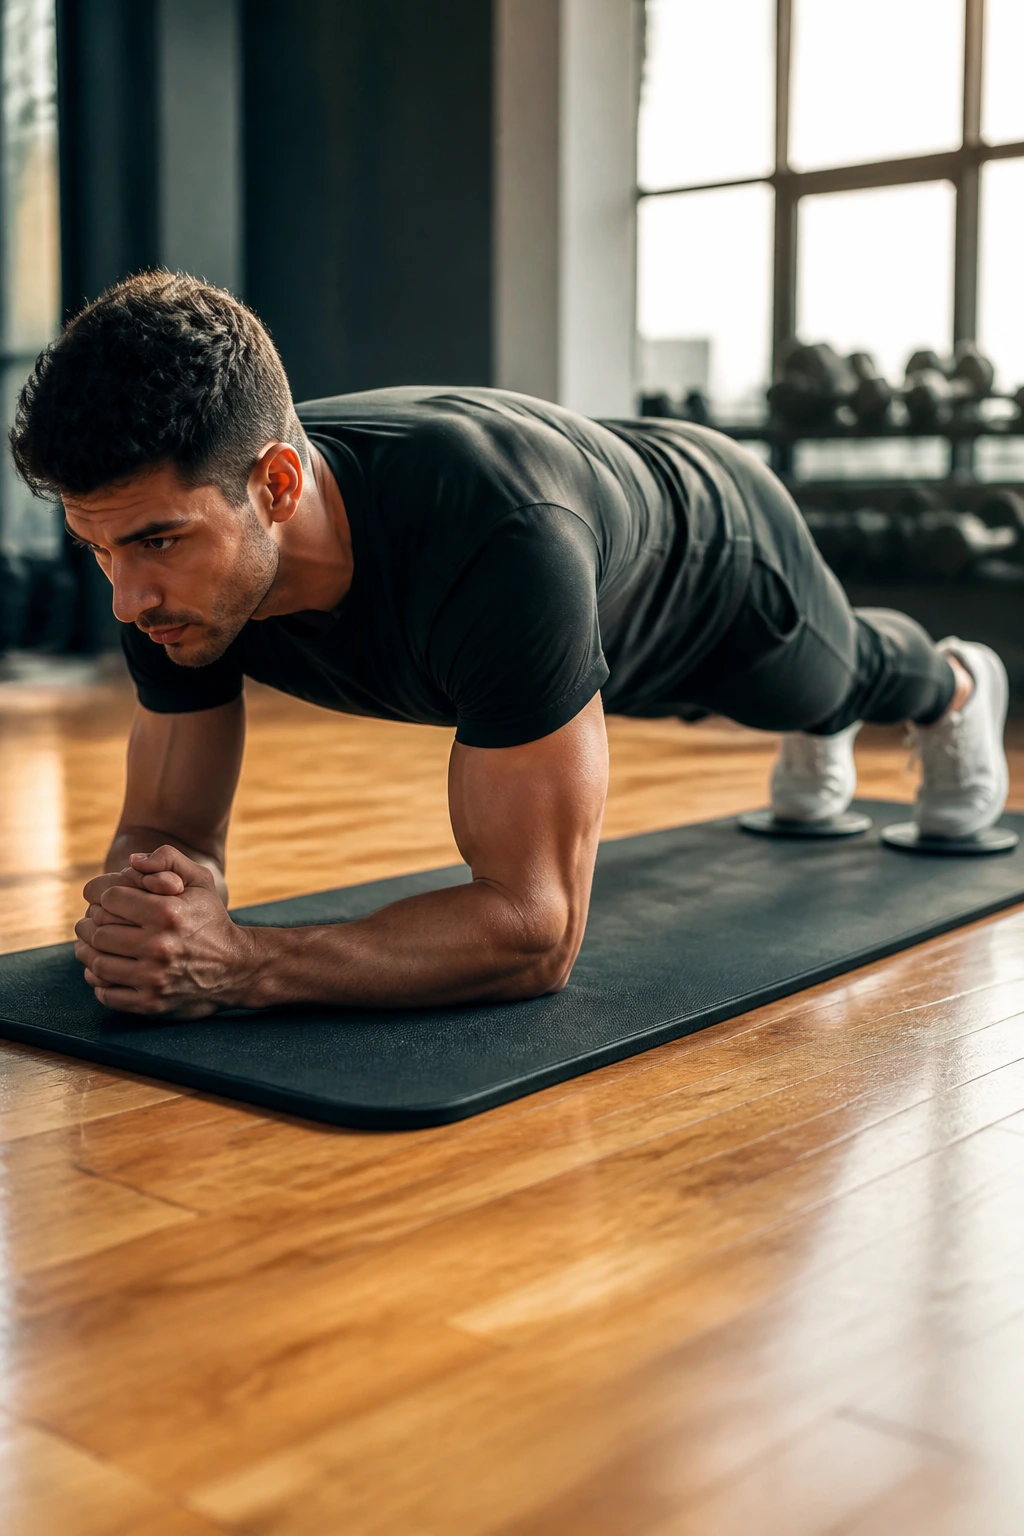
The first time you rock forward in a plank saw, the abs light up in a different place. It feels less like holding and more like resisting motion, which is exactly why so many people feel this one so fast.
Set up on forearms with towels or sliders under the feet, then glide the body forward and back a few inches. Keep the shoulders, hips, and heels moving as one unit. If the hips lead the motion, the core loses the job.
The range should stay small. Two to four inches is enough for most people. Big slides usually wreck the line and make the low back do what the abs were hired to handle.
Use 6 to 10 controlled reps. If you don’t have sliders, a smooth floor and socks can work. If that still feels too unstable, keep the movement tiny. Tiny is not cheating here. Tiny is honest.
14. Bird Dog Plank
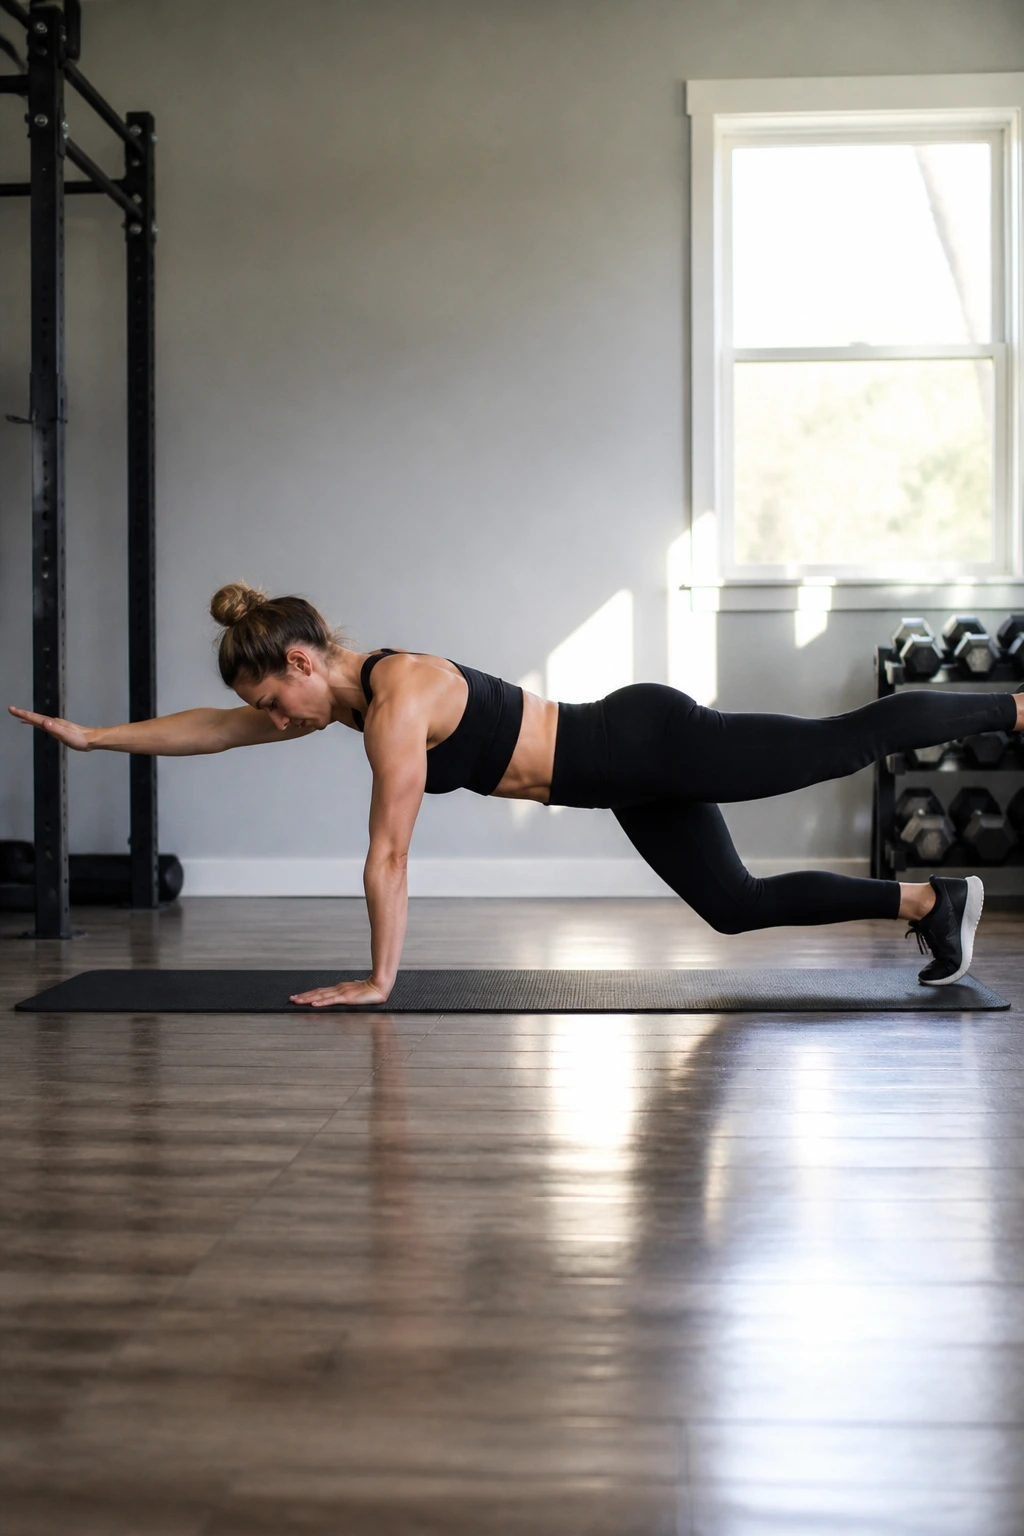
This one looks calm until you try to keep the pelvis level. Then the whole thing gets serious. Bird dog plank asks one arm and the opposite leg to leave the floor while the trunk refuses to twist.
Set up in a high plank, then reach one arm forward as the opposite leg extends back. Pause for a second, set both down, and switch sides. The real work is not the reach itself. It’s stopping the ribs from flaring and the hips from spinning open.
How to Use It
Start with short holds of 2 to 3 seconds per rep. You can also keep one toe lightly on the floor for a softer version if balance is still shaky.
I like this move for people who want a cleaner connection between core and glutes. It teaches body control without needing any equipment, which is useful on days when the gym setup is crowded and annoying. Keep the neck long and the reach modest, and the move will do what it’s supposed to do.
15. Renegade Row Plank
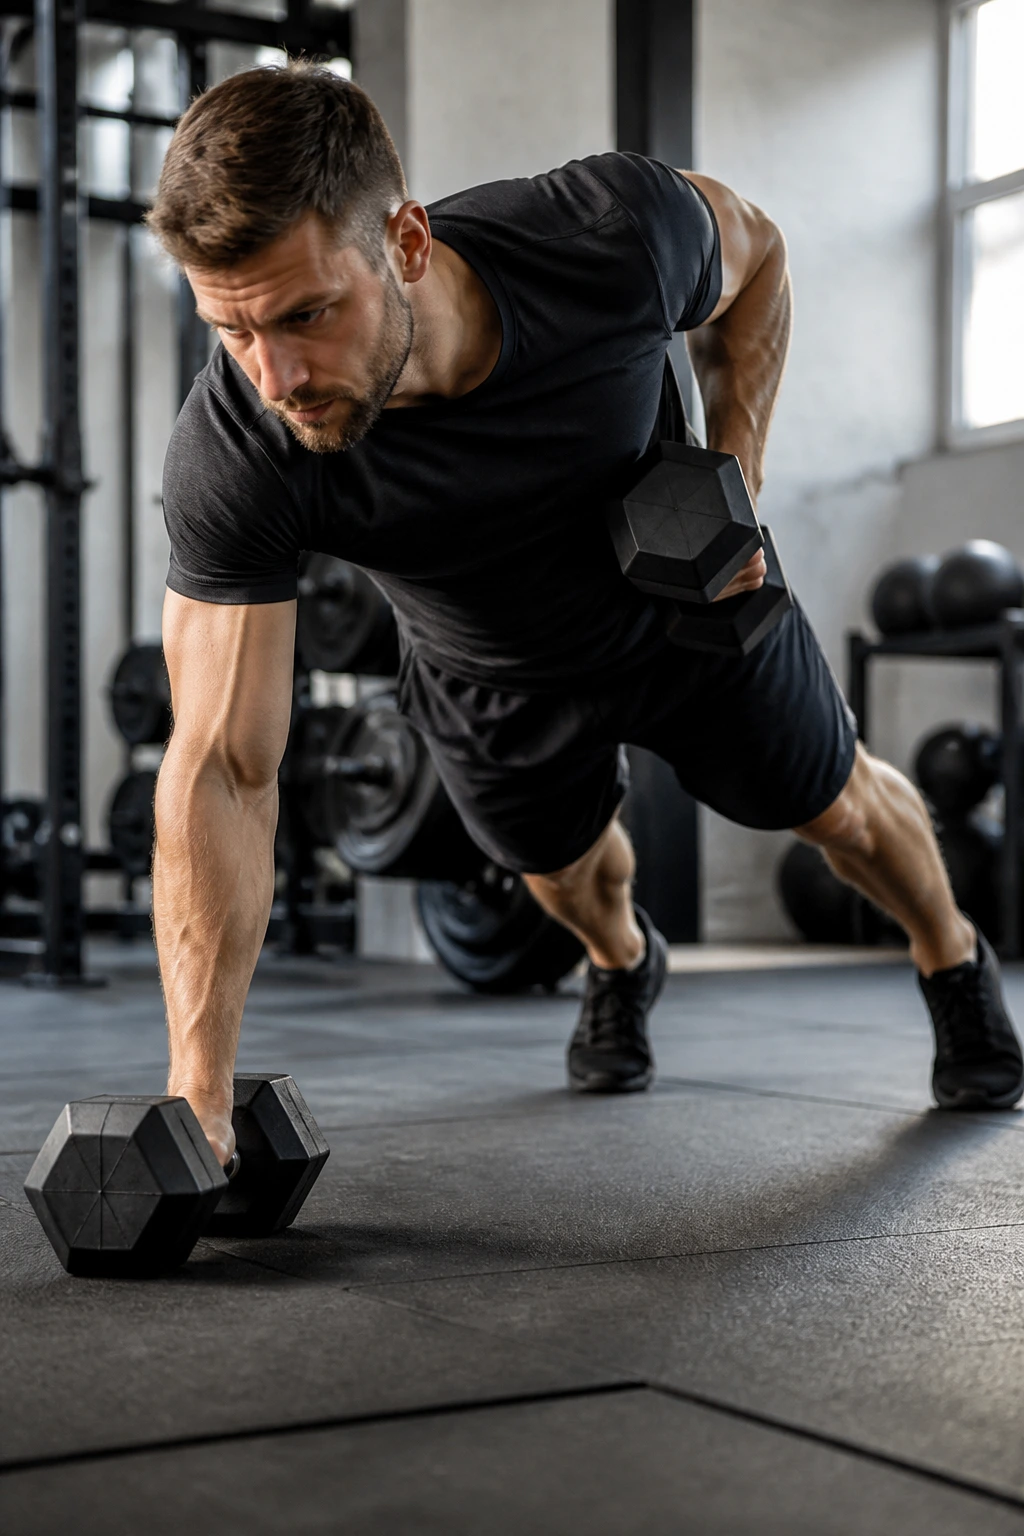
If your plank never makes your upper back work, you’re missing half the picture. The renegade row plank adds a pull on top of the hold, and that extra demand shows you quickly whether your core can resist twisting.
Set two dumbbells on the floor, grab them from a high plank, and row one weight toward your ribs without letting the torso turn. Feet should stay wider than hip-width to help with balance. Light weights are fine. Heavy weights with sloppy form are not.
The key is keeping the hips square while the arm moves. If the body rolls every time you row, the load is too heavy or the stance is too narrow. Fix one, then test again.
Use 6 to 8 reps per side and move slowly. This is one of the most useful plank workouts for people who want core strength that carries into rows, presses, and carries. It’s a little messy, sure, but in a useful way.
16. Stability Ball Plank
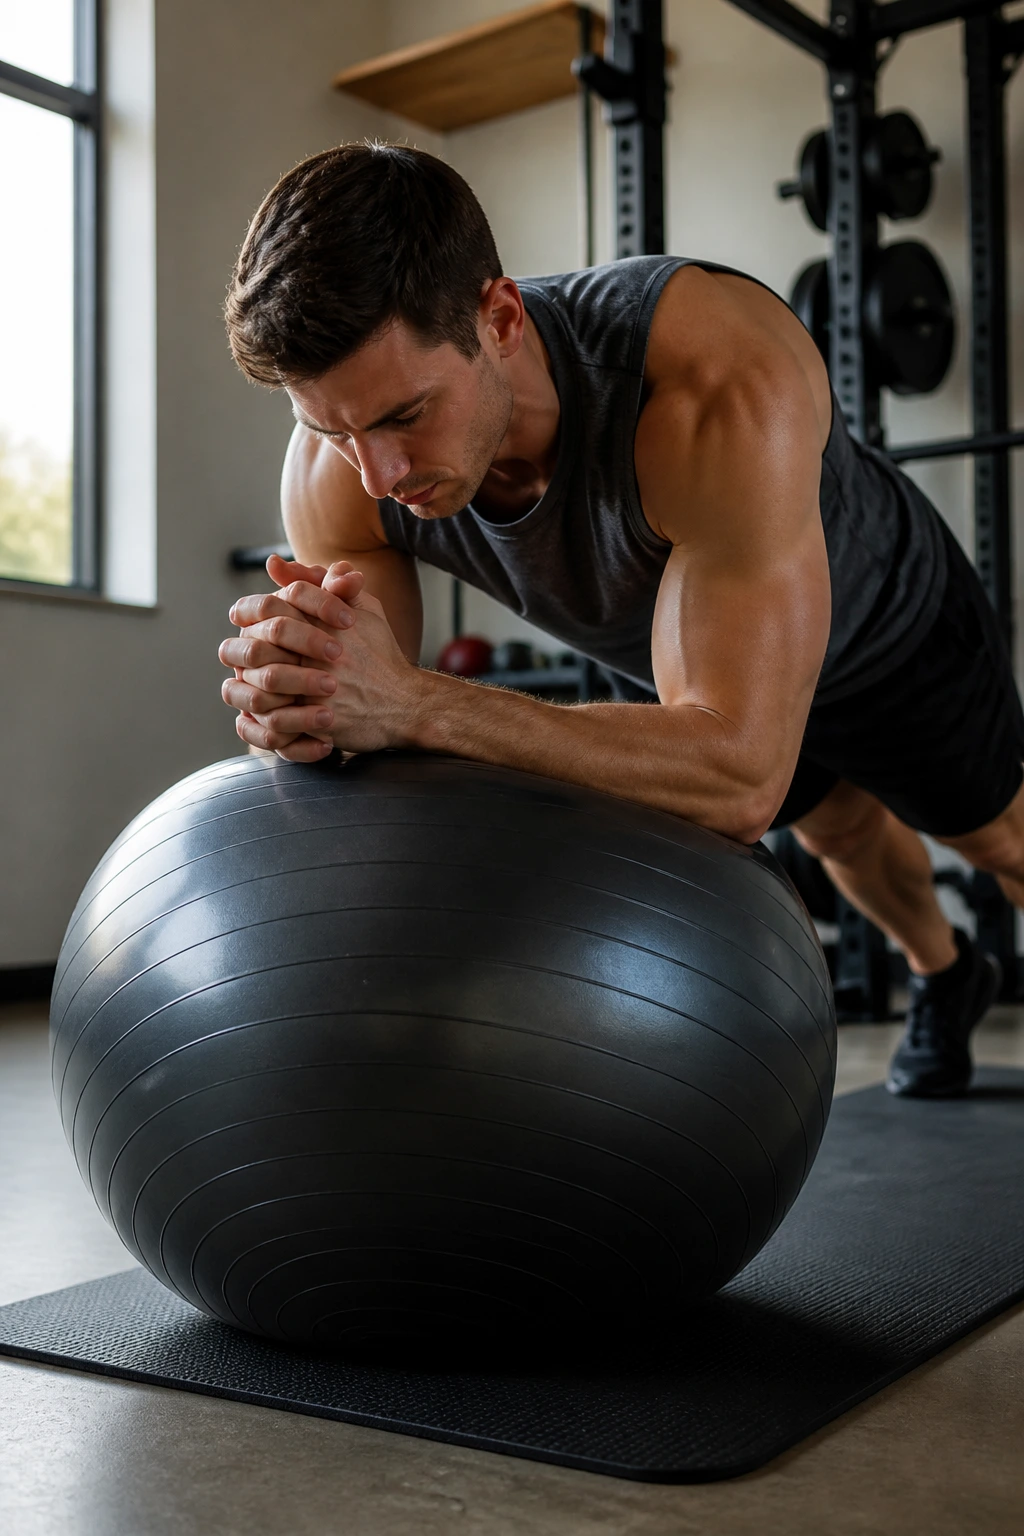
Why does a simple ball make this so hard? Because the floor disappears a little. Your body has to keep itself from wobbling while the ball shifts under you, and that tiny instability wakes up everything from the shoulders to the deep trunk muscles.
You can do this with forearms on the ball or hands on the ball, depending on your level. The forearm version is usually the friendlier place to start. Keep the elbows close together, ribs tucked, and glutes on. If the ball rolls away, the hold gets sloppy fast.
Start With These Rules
- Use a firm ball, not one that feels mushy.
- Keep the feet a touch wider for balance.
- Hold shorter than you think you need to.
- Stop if your lower back starts to take over.
Ten to 20 seconds is enough when the ball is doing its job. I don’t love long holds here, because fatigue turns control into wobble. This is a precision tool, not a time-trial move.
17. Slider Body Saw
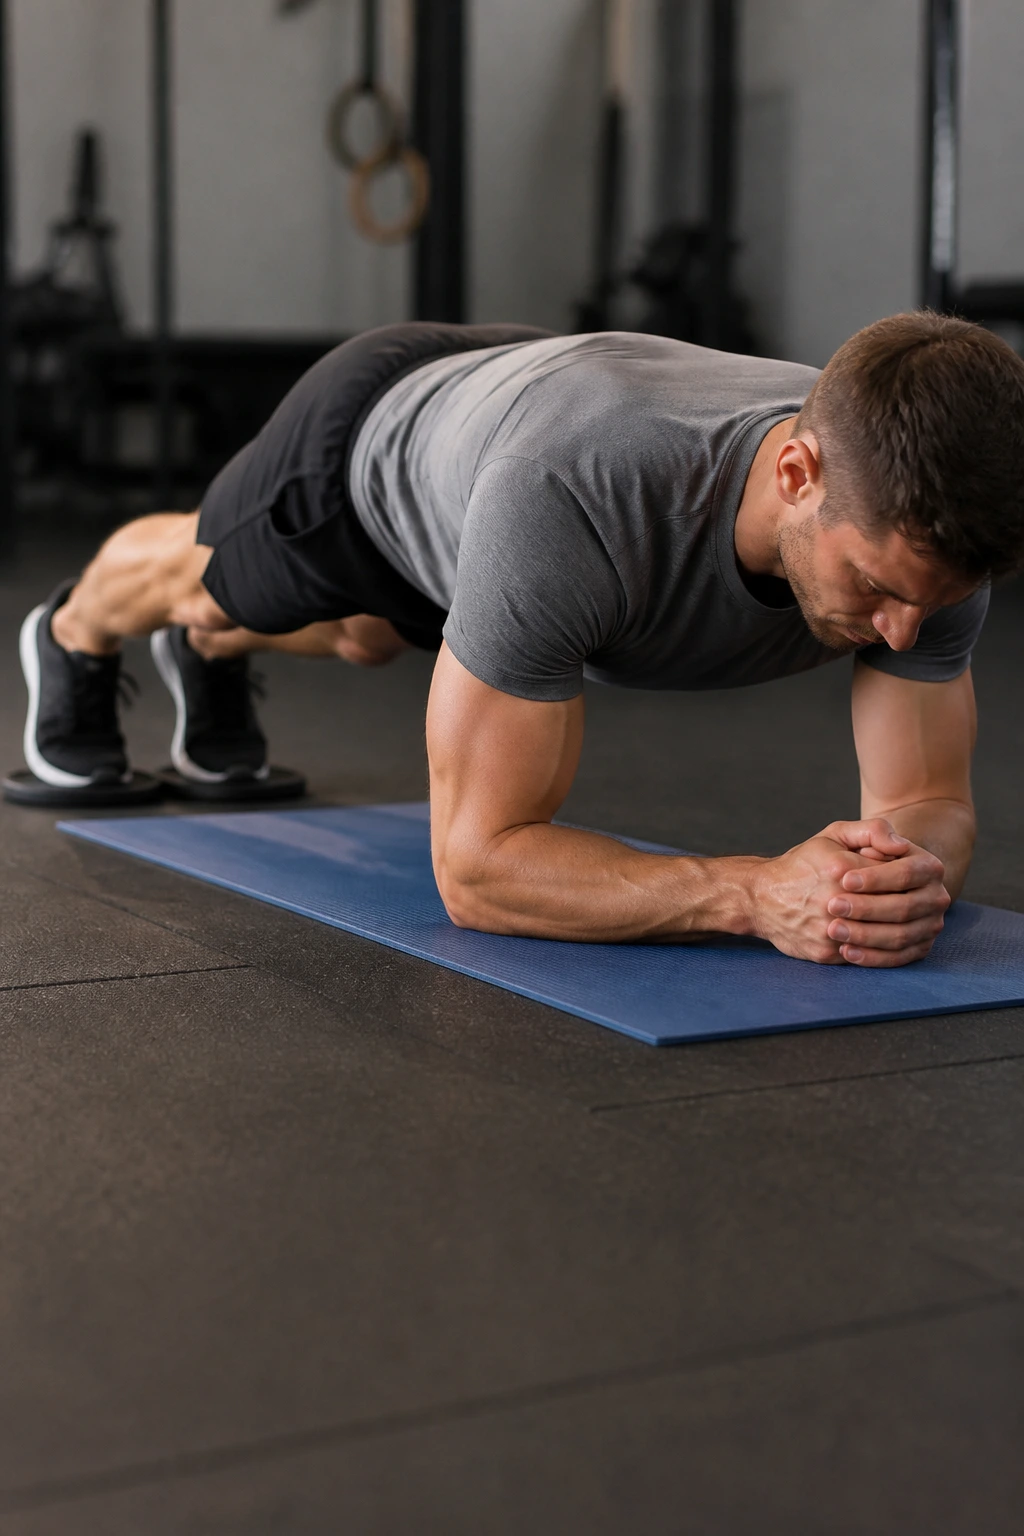
A body saw is a plank that never lets the core settle. You brace, you shift, and then you brace again. That constant tiny movement is what makes it such a grind.
Use sliders, towels, or socks under the feet from a forearm plank position. Rock the body backward and forward a few inches while keeping the shoulders fixed over the elbows as much as possible. The hips should move with the torso, not lag behind.
This variation is tougher than it looks because the body has to control both position and motion. If the low back starts arching, shorten the range immediately. You do not need much distance for this to work.
Try 6 to 8 reps or a 15 to 20 second set. It suits people who already own the basic plank and want something more demanding without adding equipment. The movement feels small. The challenge is not.
18. Slider Knee Tuck Plank
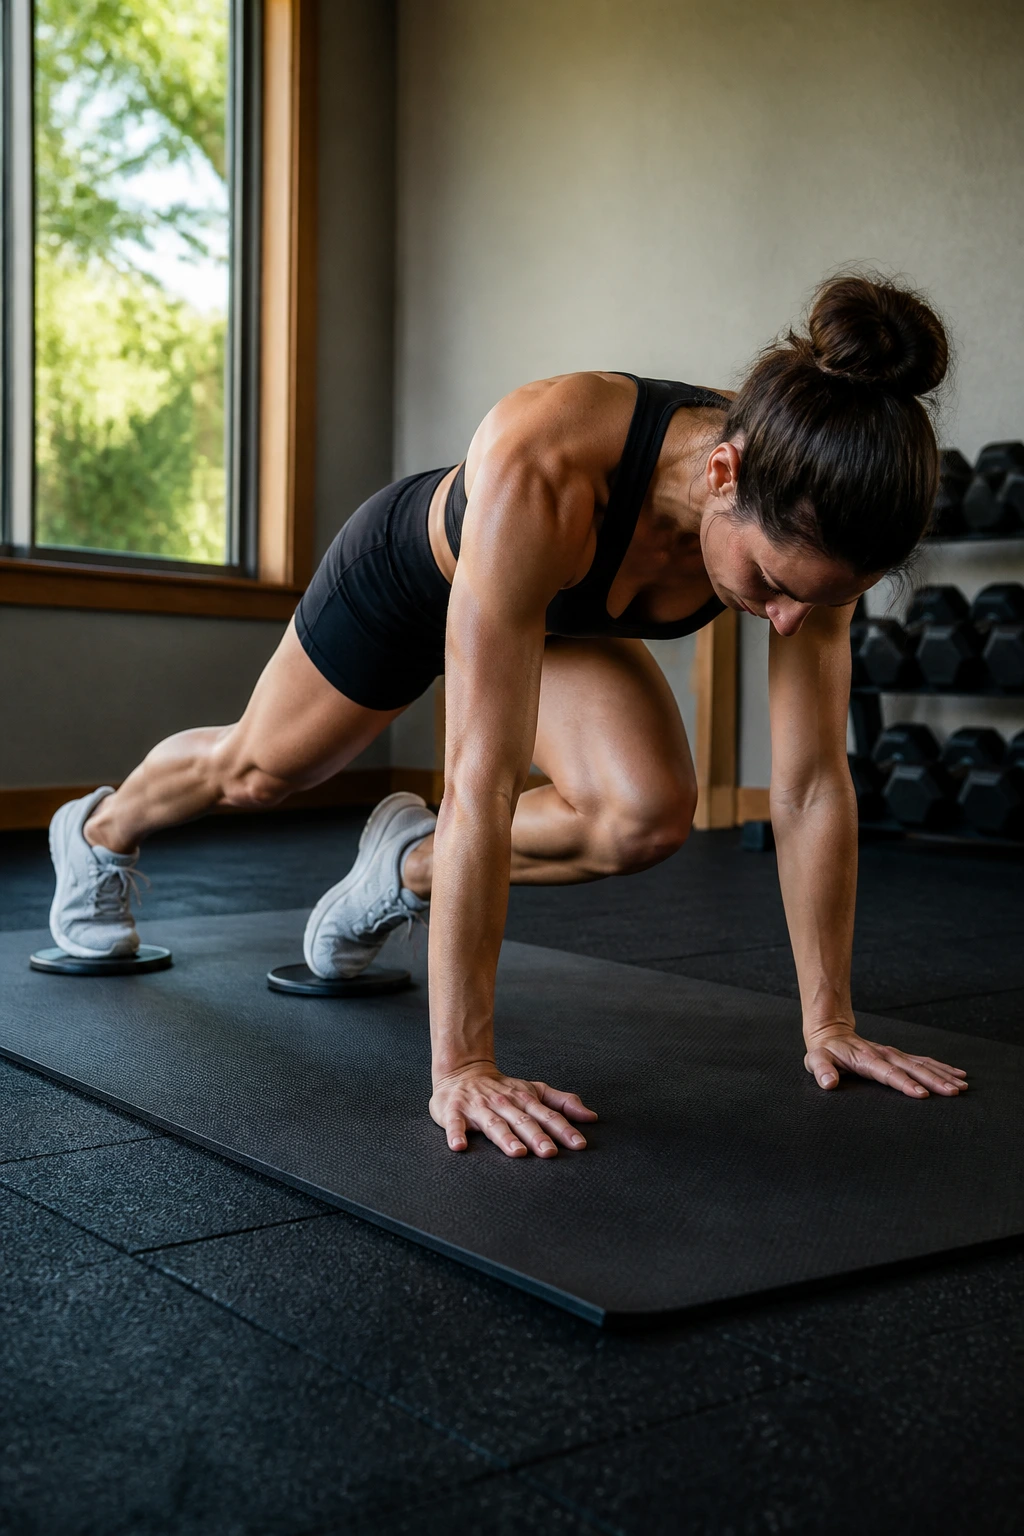
On slick floors, this one gets ugly fast. That’s why it works. The knee tuck plank asks the lower abs and hip flexors to pull the legs in while the shoulders keep the upper body from collapsing.
Set up in a high plank with sliders under the toes. Pull both knees toward the chest, then extend back out with control. Keep the shoulders over the wrists and the pelvis tucked as much as you can manage.
A few details matter a lot:
- Move one inch at a time if needed.
- Keep the chin tucked and the neck relaxed.
- Stop the tuck before the low back rounds hard.
- Use socks on a smooth floor only if the surface is safe and predictable.
I like this for 8 to 12 reps or short timed sets. It’s harder than a standard plank, yes, but it also feels more athletic. If you want a move that makes your abs work while your breathing gets louder, this is a sharp one.
19. Kneeling Plank
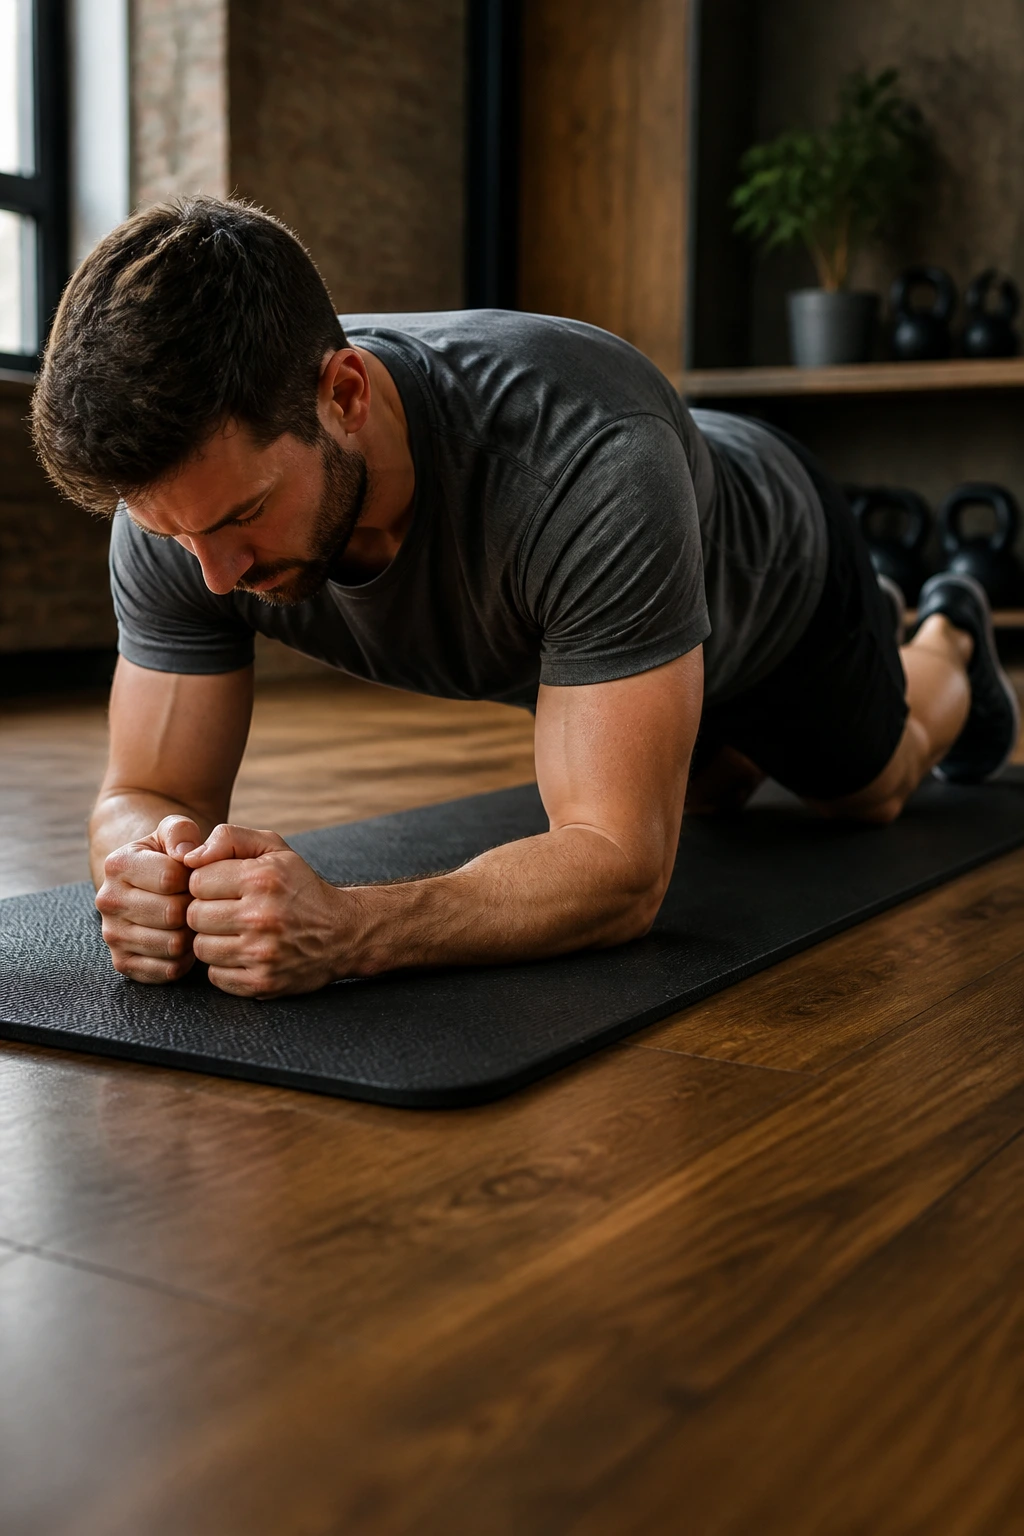
The kneeling plank gets ignored because it looks too easy. That’s a mistake. This is one of the best ways to learn how bracing feels without the lower back or hips stealing the show.
Set the hands or forearms on the floor and keep the knees down on a pad or mat. Hold a straight line from head through knees, squeeze the glutes, and pull the ribs down. If you can’t keep that shape on the floor, the full plank is probably too much for the moment.
This is also a smart reset set during a workout. If your form starts breaking on a harder variation, drop to the knees, hold it clean, then go back to the full version later. That is not a step backward. It is good training.
Hold for 20 to 45 seconds and keep the movement quiet. Beginners can use it as the main event. More experienced lifters can use it as a warm-up or recovery drill between harder plank workouts.
20. Feet-Elevated Forearm Plank for Harder Plank Workouts
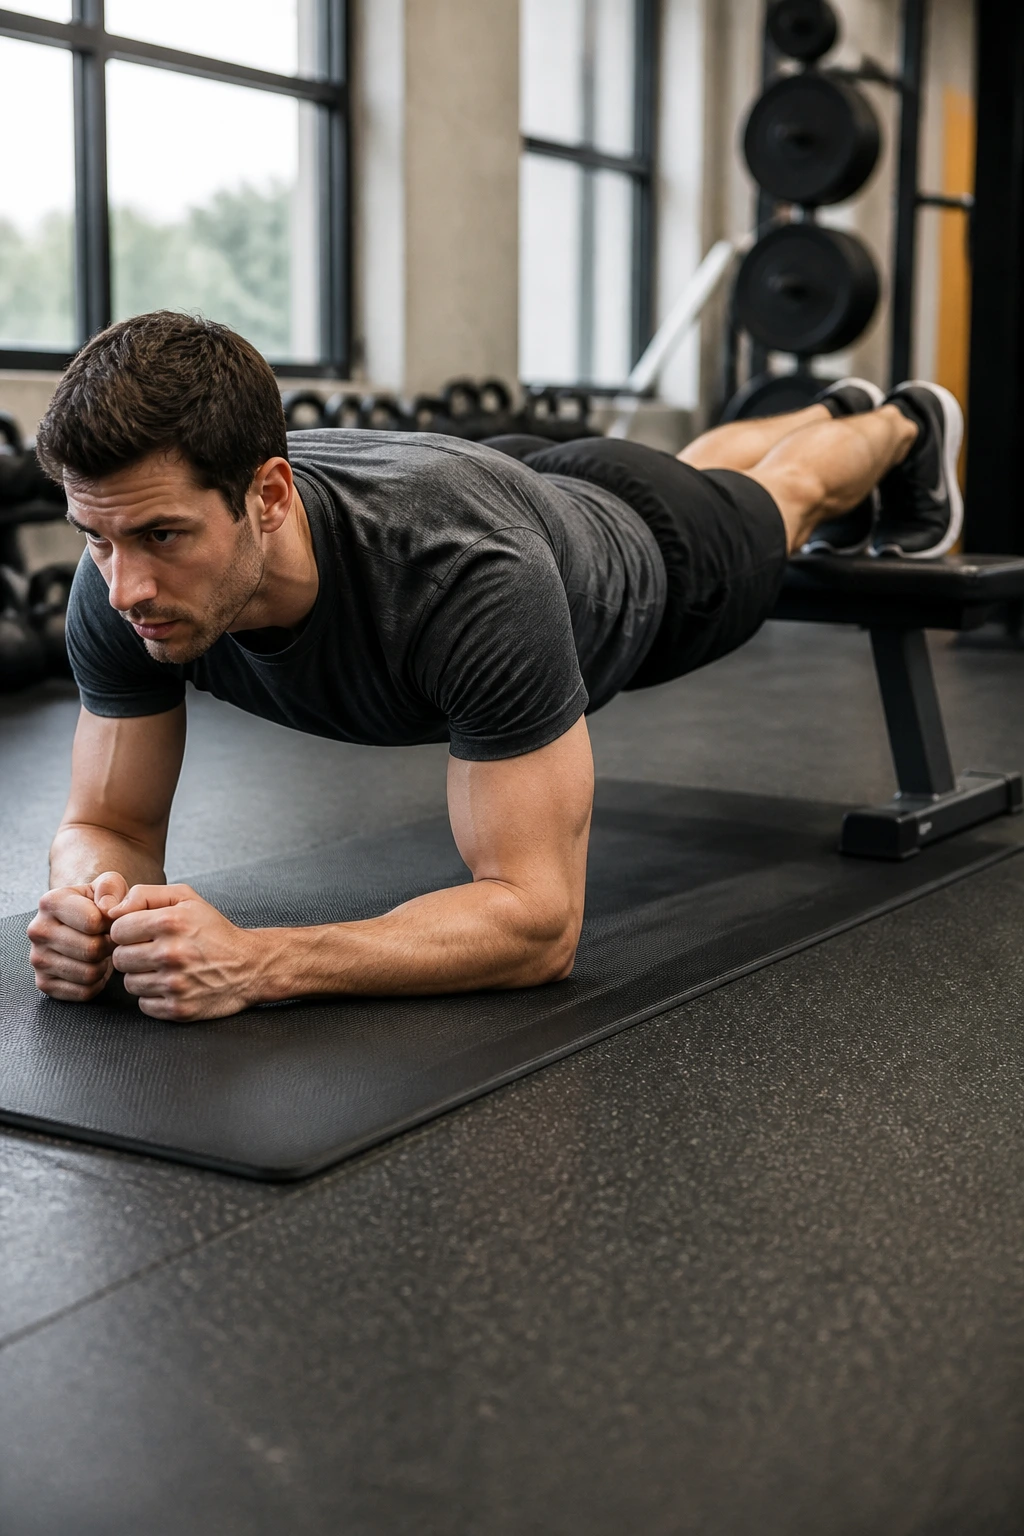
Raise the feet and the same old plank turns serious fast. Even a small elevation shifts more load toward the shoulders and upper abs, and the whole body has to work harder to stay in one line.
Set the feet on a bench, step, or low box and place the forearms on the floor. The higher the feet, the tougher the angle, but don’t get greedy. A low box is enough for most people. If the hips pike up to survive the hold, the height is too much.
The form rules stay the same, only stricter. Keep the glutes tight, ribs down, and gaze a few inches ahead of the fists. Breathe through the brace instead of holding your breath like you’re trying to lift a car.
Use 10 to 25 seconds and treat this as a finisher. It is not the place to start. It is the place to earn. When the standard forearm plank feels automatic, this is the version that still has teeth.
