



A 30 day plank challenge looks harmless on paper. Thirty days. One exercise. No equipment, no gym drama, no fancy plan.
Then day six shows up, your shoulders start whining, your low back gets involved, and suddenly the whole thing feels less like a neat little fitness project and more like a private argument with gravity.
That’s usually where people go wrong. They treat plank challenges like a time trial, so they keep adding seconds even after their ribs flare, their hips sag, and their neck cranes forward. I’m not interested in that version. A plank only earns its keep when the body stays in position, and that means the hold has to stay honest.
The good news is that a smart plank challenge can do a lot in a short window. It can teach you to brace better, stand a little taller, keep your pelvis from dumping forward, and carry tension into pushups, squats, and even simple things like picking up a grocery bag without folding at the waist. Small stuff. Big payoff.
What a 30-Day Plank Challenge Really Trains
A good plank challenge is not really about abs in the mirror. It’s about what the middle of your body can do when the rest of you wants to collapse.
The main job is anti-extension. That means your trunk has to resist arching, especially when fatigue creeps in and your lower back tries to take over. The abs matter, sure, but so do the obliques, the deep transverse abdominis, the glutes, the front of the shoulders, and even the muscles around the shoulder blades. A clean plank is a full-body position, not a crunch held in place.
The muscles you actually feel
People often notice their shoulders first. That makes sense. The plank is loaded through the hands or forearms, so the upper body has to stay active. If you’re doing it well, the glutes kick in too, because a lazy rear end usually means the pelvis is tilting the wrong way. The abs should feel tight, not crunched up and pinched.
The weird part is that the best plank isn’t always the one that burns the most. A short, precise hold can be more useful than a long, sloppy one. That is one of those fitness truths that sounds boring until you stop chasing the burn and start chasing position.
Why the plank is not a sit-up replacement
Sit-ups and crunches train spinal flexion. Planks train control. Different tools, different jobs. If your core work has always been about folding and unfolding your spine, planks fill in a missing piece.
I like that part of the plank more than the trendy “six-pack” talk, because the plank challenge is really teaching your body to stay organized under tension. That matters when you press overhead, hold a deadlift setup, or even carry a child on one hip and a grocery bag in the other.
That is the real win. A stronger brace shows up in daily life before it shows up in a shirtless selfie.
Why Longer Holds Stop Helping So Fast

Longer isn’t magic.
Once a plank gets sloppy, extra time mostly teaches compensation. Your hips drift lower, your ribs pop up, your chin juts forward, and your body starts finding ways to survive the hold instead of owning it. That may still feel hard, but hard is not the same as useful.
A lot of 30 day plank challenges are built around the wrong idea: if 30 seconds is good, 60 must be better, and 90 must be better still. Not really. Strength and endurance only improve when the position stays worth repeating. Once your form falls apart, you’re rehearsing the collapse.
Time under tension has a ceiling
There’s a point where a plank stops being a core exercise and becomes a test of discomfort. That ceiling arrives earlier than most people expect, especially if they start with a position that’s too advanced. A crisp 20-second plank with a hard brace can beat a 45-second hold that looks like a hammock.
That’s why coaches care so much about quality. The body learns the shape it repeats. If the shape is bad, the habit is bad too.
Progression should change more than the clock
If you want a challenge that actually builds something, you need more than a stopwatch. You can progress by changing the hold itself: longer lever, smaller base, less rest, a harder variation, or cleaner breathing under the same time. Those changes force the core to work in a new way.
And yes, longer time can still matter. It just should not be the only lever you pull. The minute your plank turns into a backbend with a timer, you’ve drifted away from the point.
The Setup That Keeps Your Low Back Out of Trouble
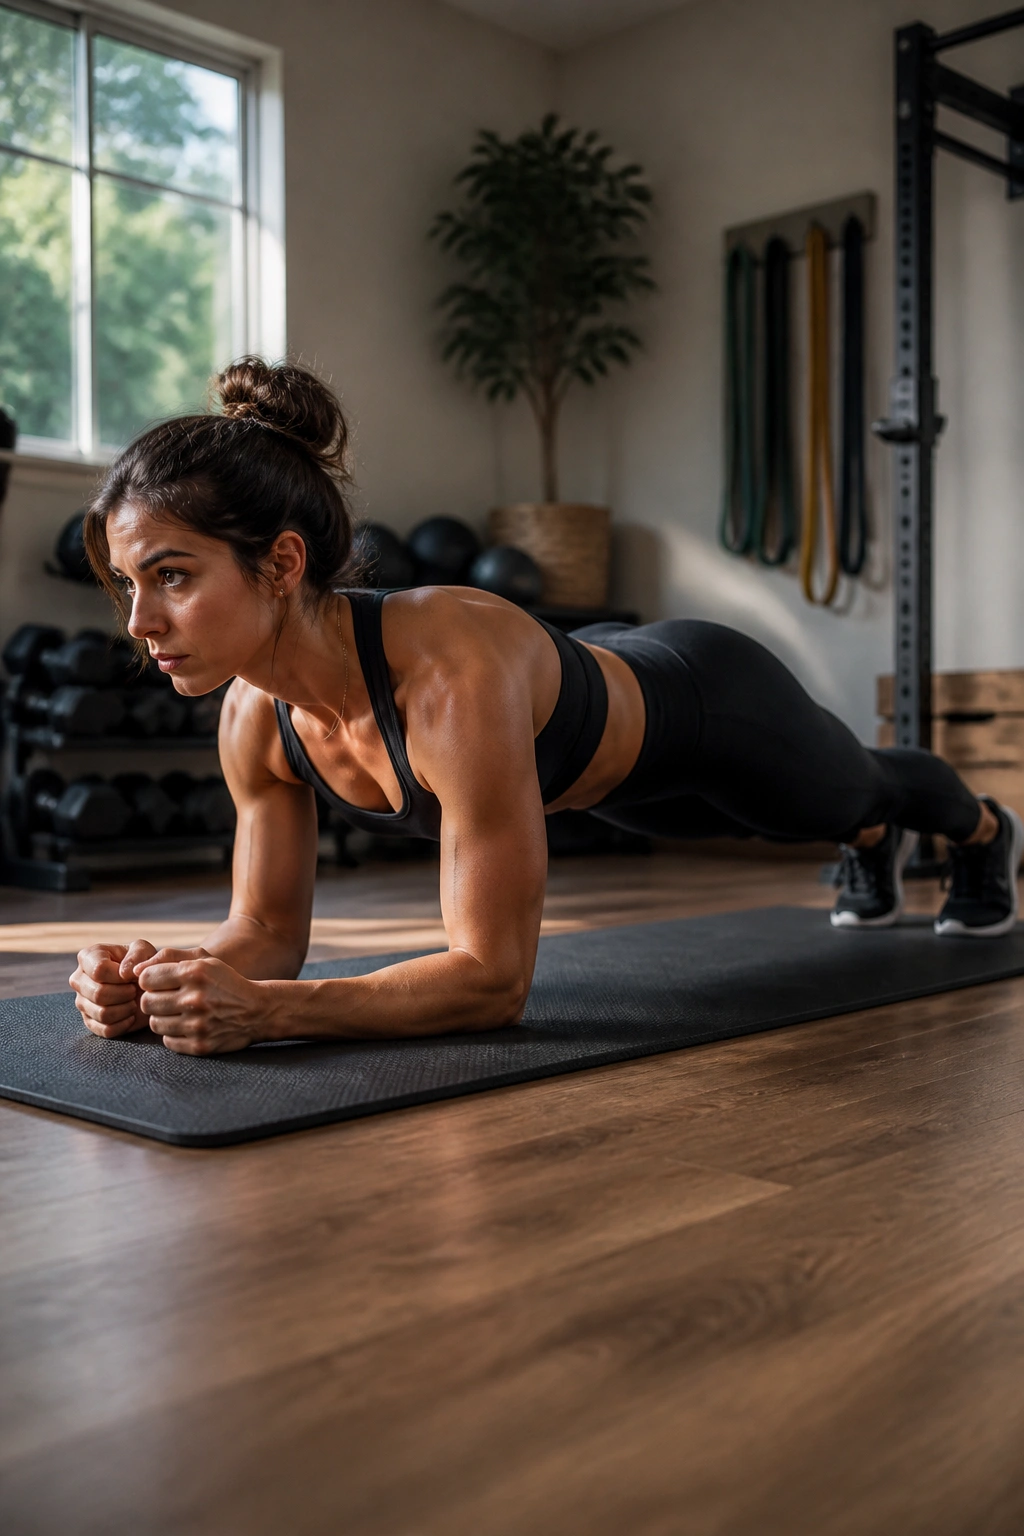
A plank lives or dies in the first five seconds. Get the setup wrong and the rest of the hold is just a long correction you never quite make.
Start by thinking in lines. Elbows under shoulders for a forearm plank. Wrists under shoulders for a high plank. Then pull the body into one long shape without turning it rigid in a bad way. The ribs should come down, the pelvis should stay neutral or slightly tucked, and the glutes should help hold that position.
A clean plank checklist
- Elbows or wrists stacked under the shoulders. If the arms drift too far forward, the shoulders take a beating and the midsection gets lazy.
- Forearms or hands press into the floor. Don’t just rest there. Push down and create tension.
- Glutes lightly squeezed. Not clenched like a panic response, but active enough to keep the pelvis from dumping.
- Ribs pulled in. If your chest flares up like a pigeon chest, your lower back usually pays for it.
- Neck long, eyes a few inches ahead on the floor. Looking straight up or straight forward tends to crank the cervical spine.
- Breathing kept steady. A frozen face and held breath often mean the plank is becoming a survival contest.
That list sounds simple, and it is. Simple does not mean easy.
What bad setup feels like
A bad plank usually announces itself fast. Your low back starts pinching. Your shoulders creep toward your ears. Your belly drops. Sometimes your glutes are asleep, and sometimes your head is the first thing to give up.
If any of that happens, shorten the hold or change the variation. A harder version is useless if it forces ugly mechanics. That’s not discipline. That’s guesswork.
Forearm Plank, High Plank, and Side Plank: Which Version Fits Best
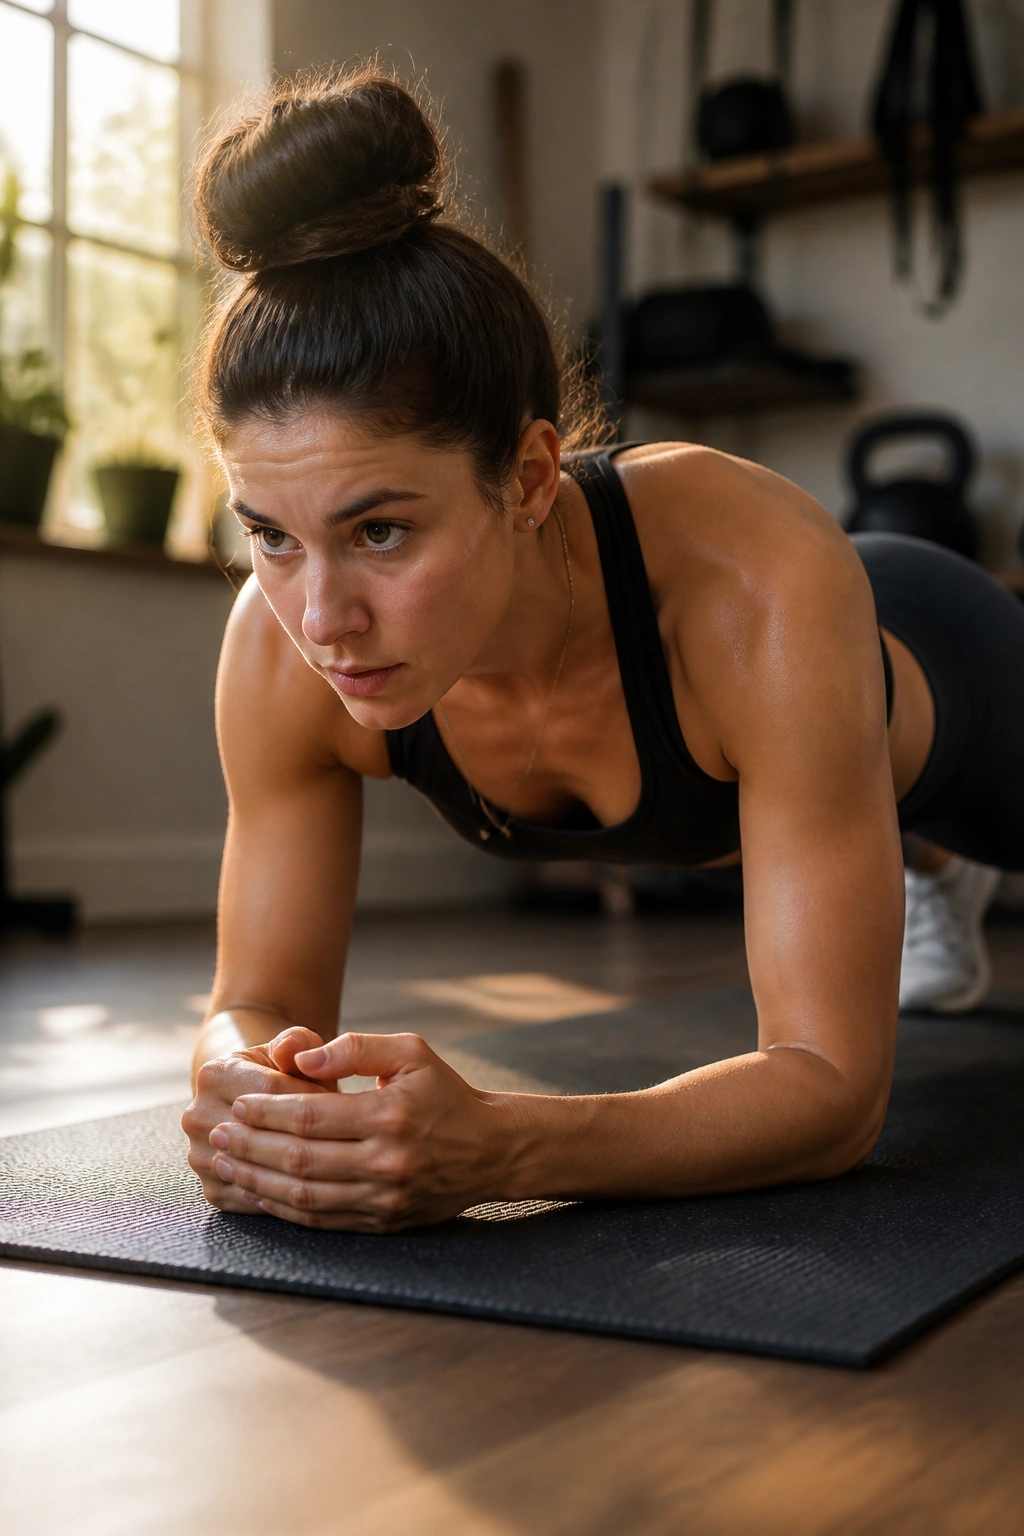
Not every plank works for every body. That’s not a cop-out. It’s the whole game.
The forearm plank usually gives people the cleanest core challenge because it reduces wrist stress and makes it a little harder to hide behind the arms. The high plank brings more shoulder demand and carries over well to pushups. The side plank changes the angle completely and lights up the obliques and side glutes in a way the straight-ahead version never will.
Forearm plank
This is the most common choice for plank challenges because it’s easy to scale and easy to cue. If your wrists get cranky, start here. If your lower back tends to arch, start here too. You’ll usually feel the abs sooner, and the position is easier to standardize across 30 days.
It’s also the version most people butcher by letting the hips sag. So if you choose it, pay attention. Forearms on the floor do not mean passive arms.
High plank
The high plank is useful when you want more shoulder stability and a little more carryover to pressing and pushups. It’s also a nice option if forearms bother your elbows. The downside is that people often turn it into a shrug fest, with the shoulders jammed toward the ears and the neck doing extra work.
A good high plank feels active through the hands, upper back, and core at the same time. A bad one feels like a long hold above a bad pushup.
Side plank
This one deserves more respect than it gets. The side plank trains lateral core control, which is a fancy way of saying it helps keep your torso from bending sideways when one side gets tired. That matters in walking, carrying, running, and any lift where you have to resist tipping.
If you only ever do front planks, you miss half the story. The side plank fixes that.
A 30-Day Plank Challenge Template That Builds, Not Breaks You
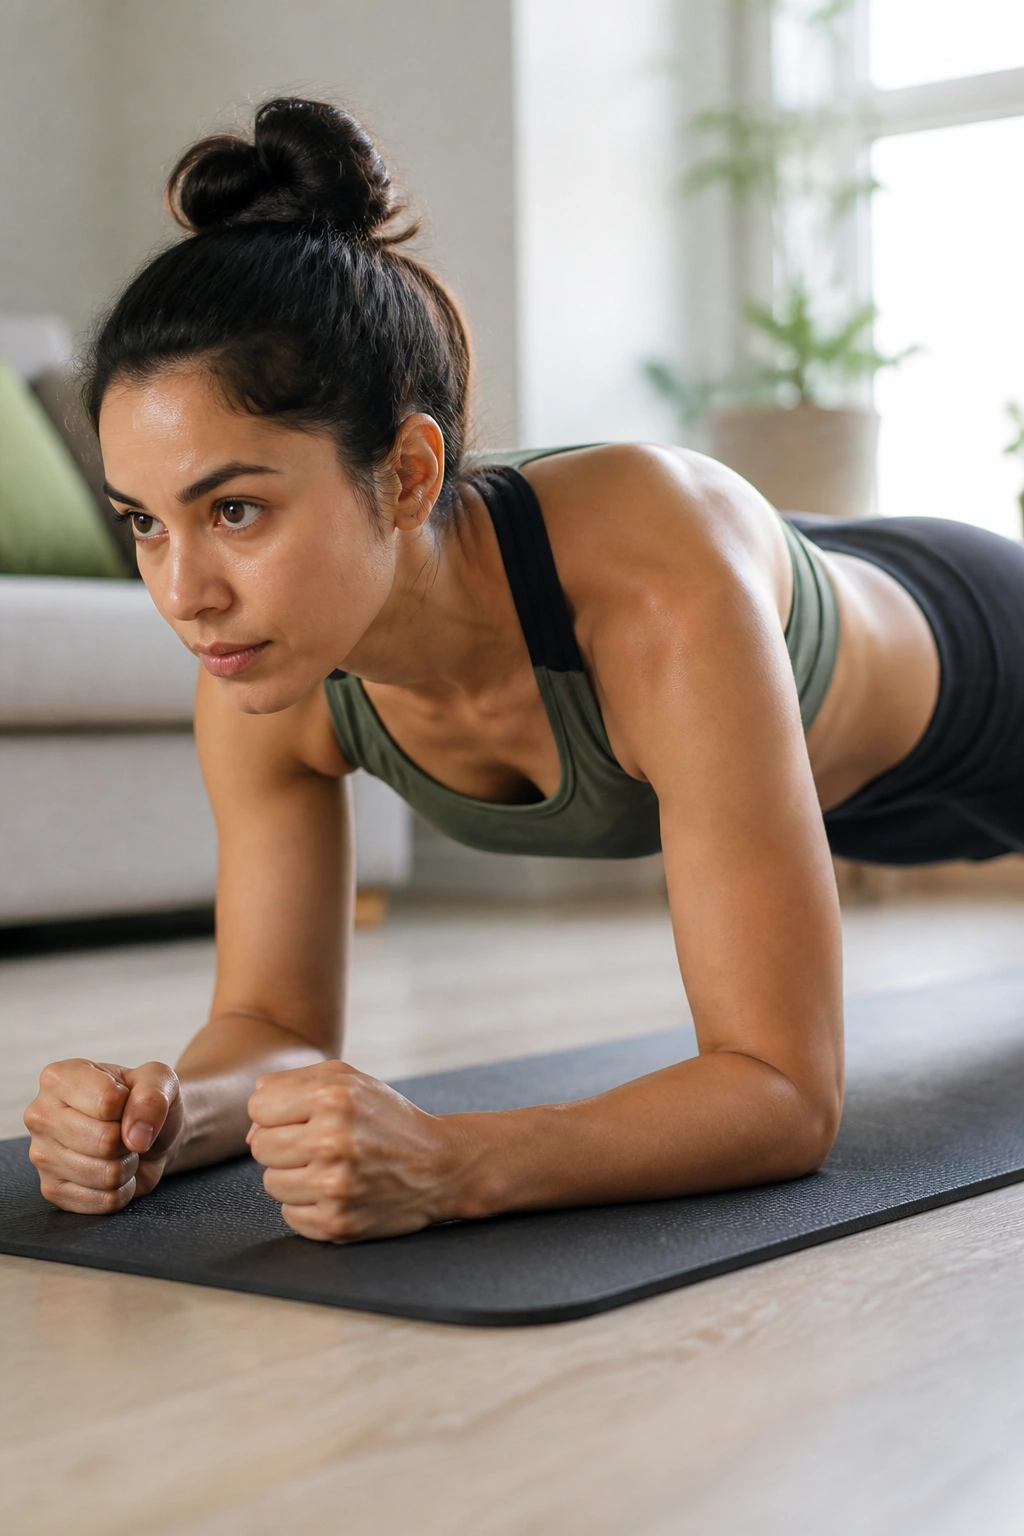
The best 30 day plank challenge is not thirty days of max effort. It’s thirty days of smart repetition with enough variation to keep the body adapting.
Here’s the structure I like for most people: a mix of short holds, a few longer holds, and deliberate easier days. That keeps form cleaner and reduces the temptation to grind through ugly reps just to say you lasted longer.
Days 1–7: learn the position
- 3 sets of 15–20 seconds in a forearm plank.
- Rest 30–45 seconds between sets.
- Add 1 side plank hold per side for 10–15 seconds on two of those days.
- Use this first week to film one set from the side if you can. You’ll catch rib flare and hip sag faster on camera than in the mirror.
During this week, the goal is not toughness. The goal is shape. If your body cannot hold a clean 20 seconds, a 40-second target is just a bigger mistake.
Days 8–14: build control
- Move to 3–4 sets of 20–30 seconds.
- Keep one or two days as lighter technique days with 10–15 second holds.
- Add high planks on one day if your wrists and shoulders tolerate them.
- Include side planks again, this time for 15–20 seconds each side.
This is where people get greedy. They feel a little stronger and suddenly want to jump time fast. Resist that urge. Small jumps keep the quality high.
Days 15–21: introduce harder shapes
- Hold 25–35 seconds for 3 sets in a harder variation, such as a long-lever plank or a forearm plank with a slightly longer reach.
- Keep at least one day easy.
- Use 2–3 side plank sets on alternating days.
This week should feel more demanding without feeling stupid. If your form starts falling apart halfway through, the variation is too hard. Step back one notch and own the hold.
Days 22–30: test, don’t wreck yourself
- Do 2 moderate sets early in the week.
- Pick one day for a single clean “best hold” attempt.
- Leave the final few days for crisp sets of 20–30 seconds rather than one huge grind.
That last part matters. The point of the challenge is to end better, not to limp across the finish line with a cranky back and swollen shoulders.
If you want a daily challenge, fine, but keep some days tiny. Ten perfect seconds still count. I’d rather have someone practice a crisp brace every day than survive a sloppy minute every other day.
What To Do When Your Core Starts Shaking on Day Four
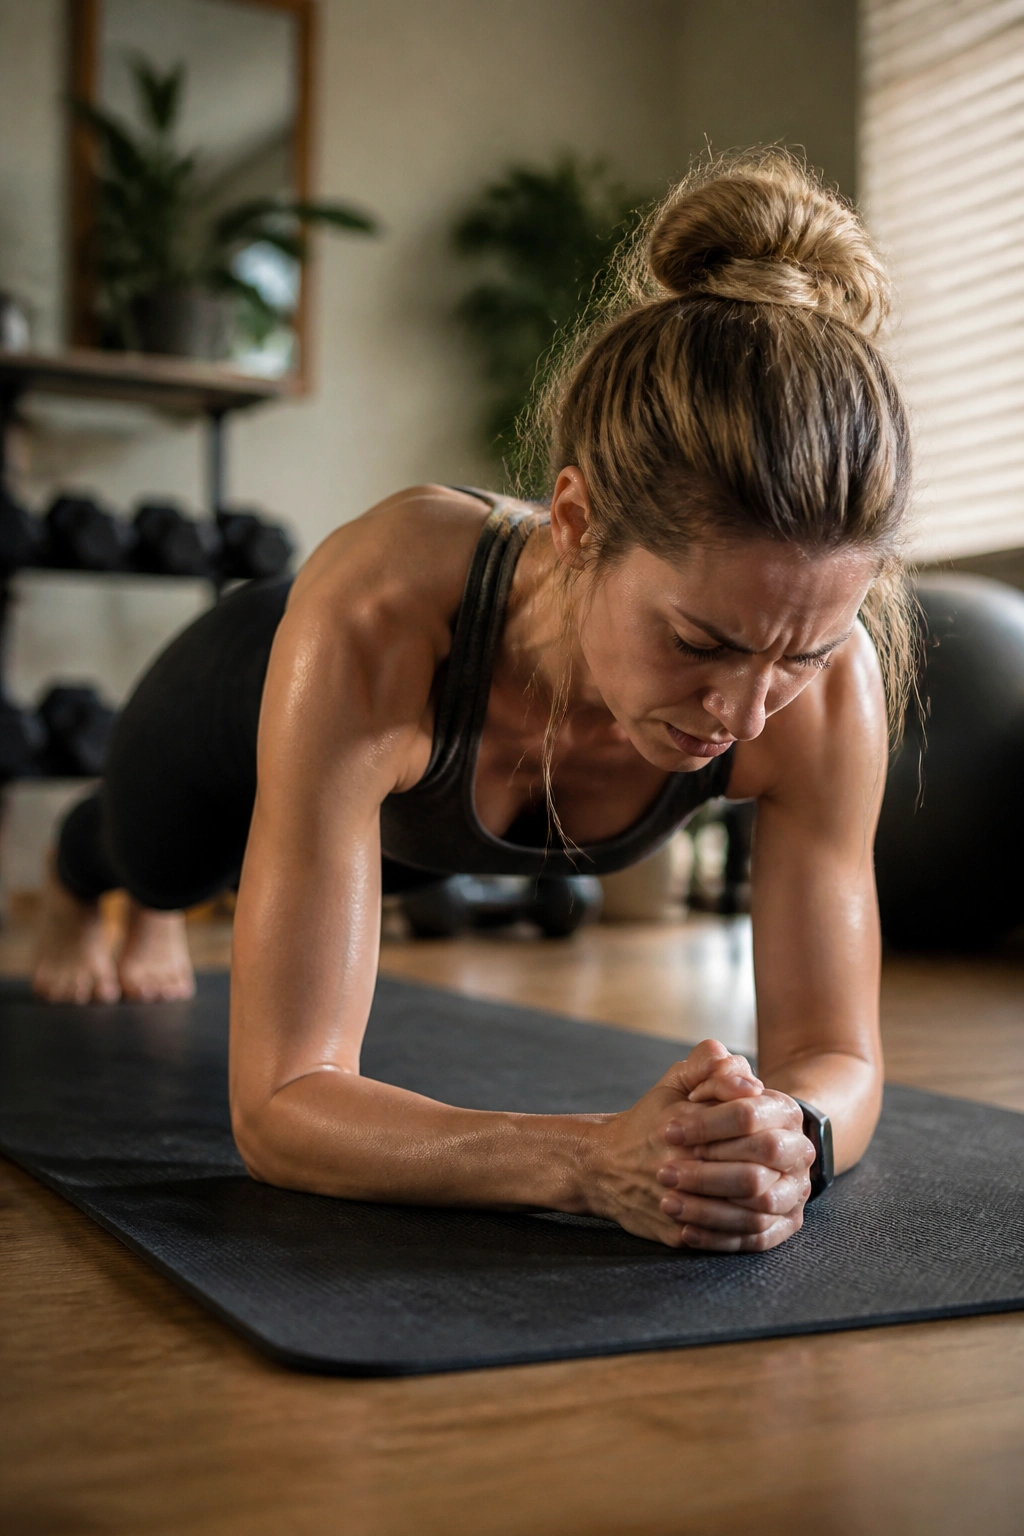
Shaking is not failure. It’s usually fatigue, and sometimes it’s just your body learning a position it has ignored for a while.
The problem is when people mistake trembling for permission to keep going until the whole shape breaks. That’s where the low back and shoulders start stealing the work. A little shake is normal. A sag is not.
Shorten the set before the form disappears
If the shake starts early, stop the set a few seconds before your position collapses. That feels conservative, and maybe it is. It also gives you a cleaner training signal. Two good 18-second holds beat one ugly 45-second hold every single time.
Split the work
Instead of chasing one long plank, use clusters. Try 3 x 15 seconds with 20 to 30 seconds of rest. Then add one more round later in the day if you want extra volume. The body often learns better from repeated, high-quality exposures than from one ugly marathon.
Change the lever
If you’re shaking because the variation is too hard, raise the hands on a bench or do the forearm version instead of the high plank. If the side plank is the issue, drop the bottom knee or keep the top foot in front of the lower foot for extra stability. That is not cheating. It is smart scaling.
Pain is the line. Fatigue is fair game. Sharp pain, pinching, or a pulling sensation in the low back is a reason to stop and reassess.
Breathing and Bracing Without Turning the Hold Into a Statue
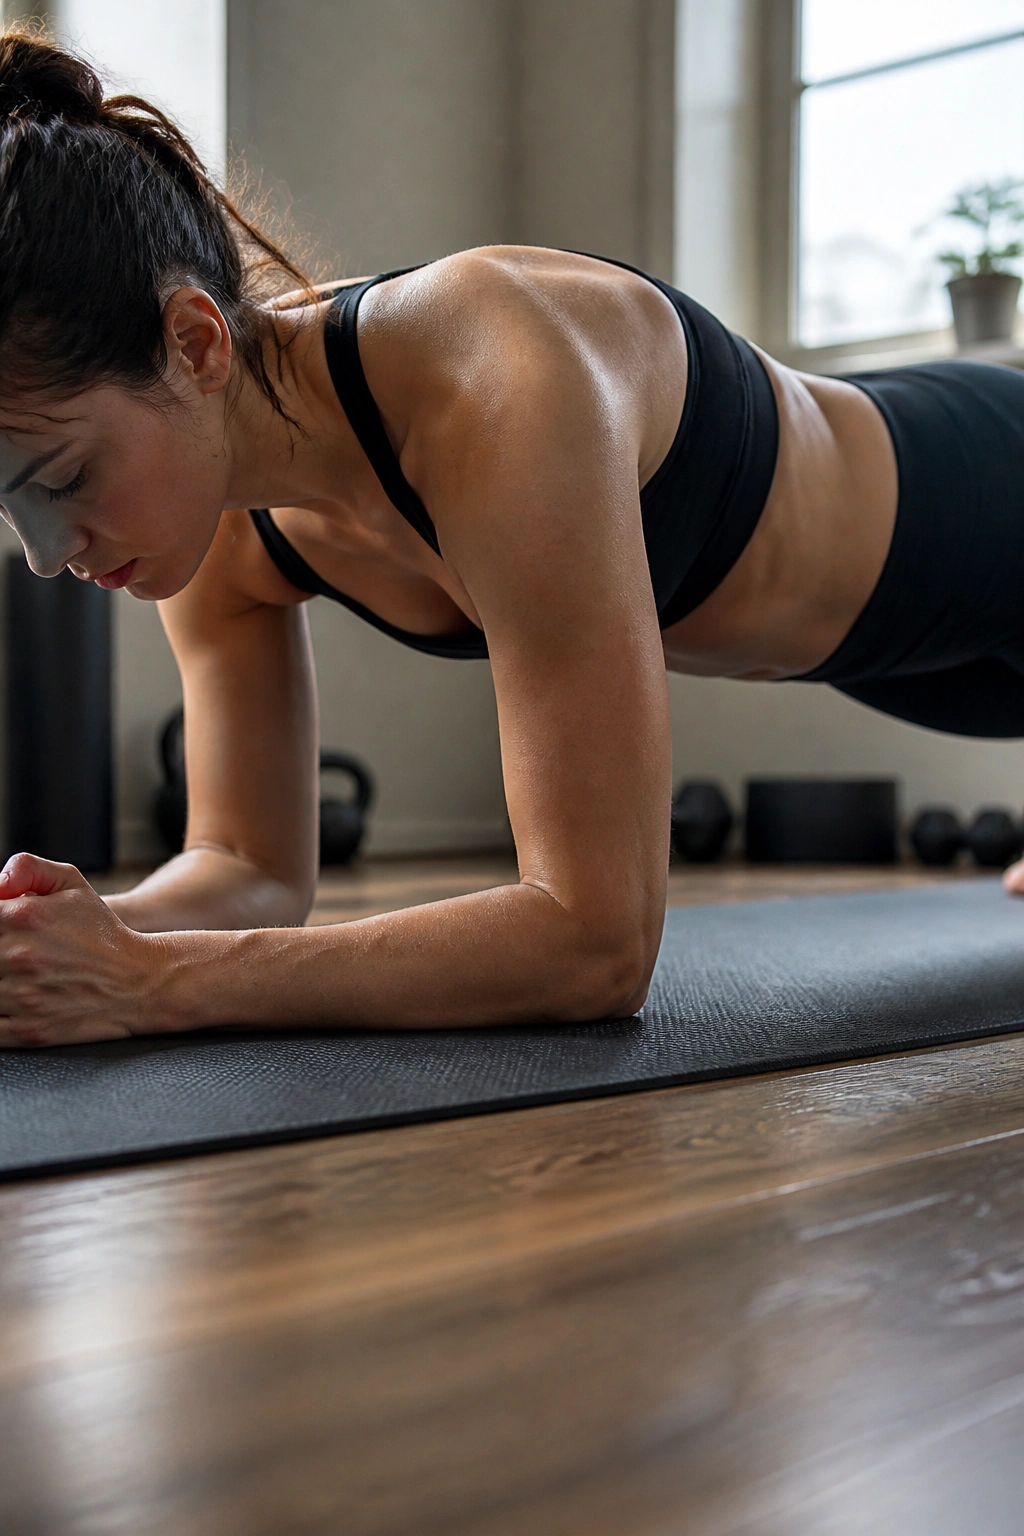
A lot of people turn planks into breath-holding contests. Terrible idea.
The best brace is active, not frozen. You want tension through the trunk, but you still need to breathe. If you lock up every muscle and forget to exhale, the plank becomes less stable, not more. The ribs flare. The neck tightens. The whole thing gets weird.
What a good breath feels like
Try breathing into the sides of your ribs instead of puffing the chest up. A quiet inhale through the nose, then a controlled exhale that keeps the ribs from splaying. You’re not trying to relax out of the plank. You’re trying to keep the brace while the lungs do their work.
A useful cue is to imagine someone about to poke you in the sides of the waist. You brace against that imaginary tap, then breathe behind the tension. It sounds odd. It works.
The exhale matters more than people think
A long, steady exhale can keep the pelvis and ribs connected. That’s one of the easiest ways to stop the lower back from arching during the hold. If you notice your breathing gets choppy by the middle of a set, shorten the hold and practice the breath before you push the time up again.
Nope, you do not need to hold your breath for the whole plank.
If anything, that usually makes the hold worse.
Common Plank Mistakes That Show Up in the First Week
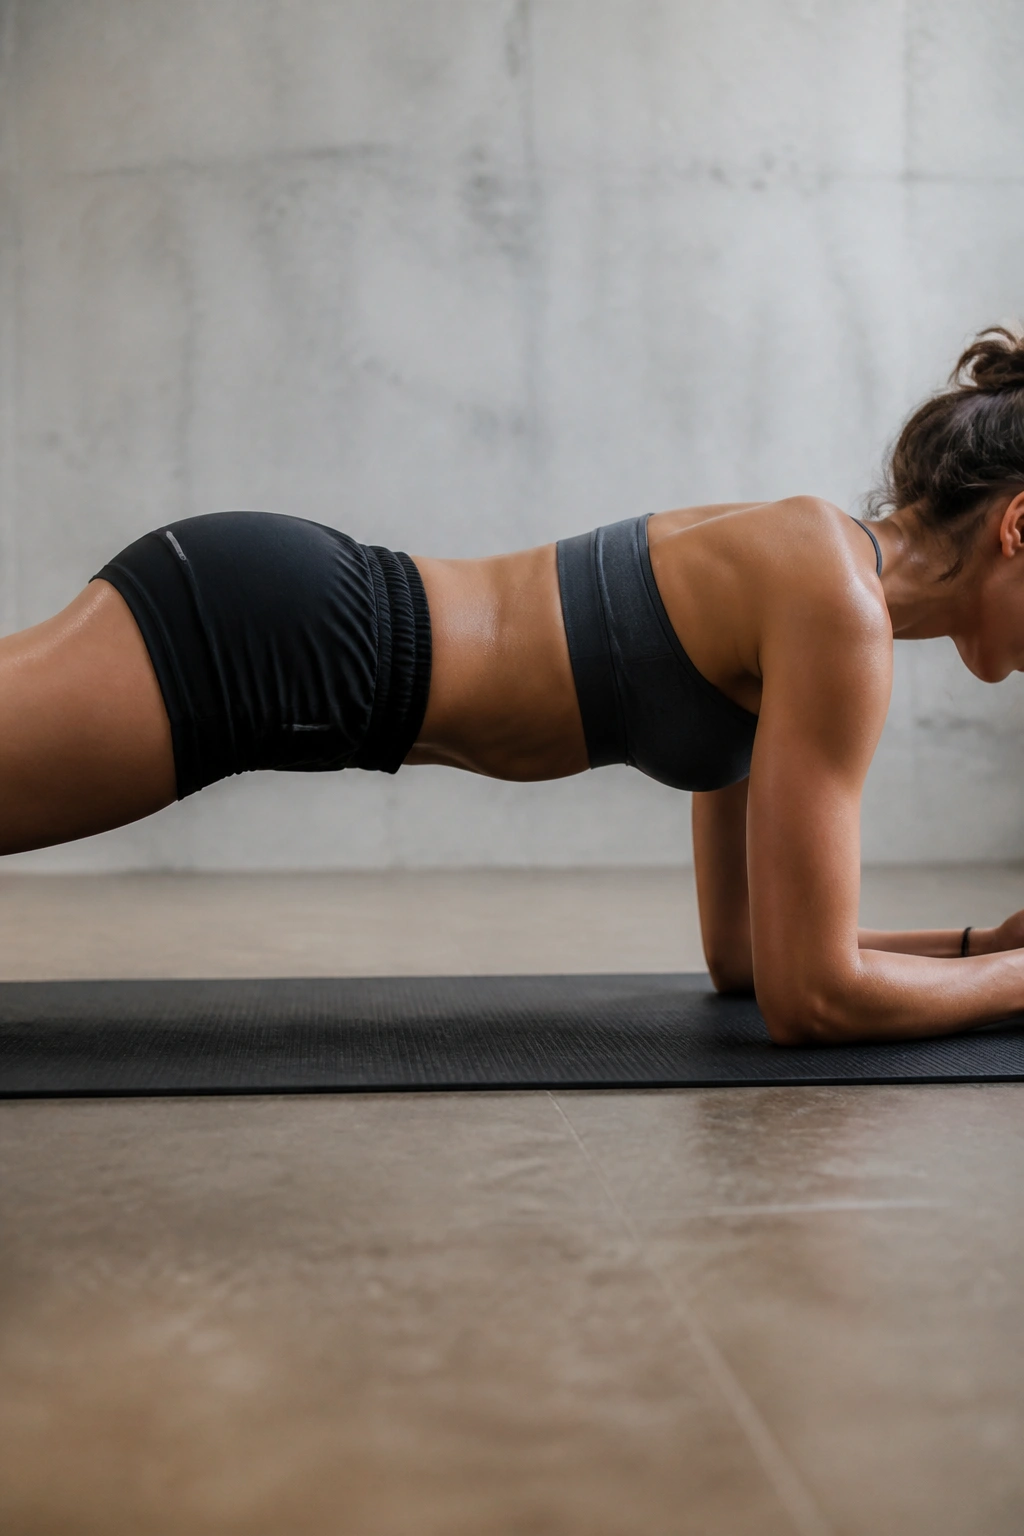
Most plank mistakes are not dramatic. They’re sneaky. A small shift in the ribs, a tiny shrug, a little extra arch in the back—those add up fast.
The first week is when these problems show up because the body is still honest. By week two, people start bargaining with themselves. That’s where bad habits get comfortable.
- Hips too low. This is the classic low-back overload. Fix it by squeezing the glutes, pulling the ribs down, and shortening the hold.
- Hips too high. Now the plank becomes a weird upside-down triangle and the abs don’t get much of a job. Lower the hips until the body forms a straight line.
- Shoulders shrugged up. The neck gets tense and the upper traps take over. Push the floor away and keep the shoulders active but down.
- Elbows too far ahead. This turns the hold into an ugly shoulder reach. Bring the elbows back under the shoulders.
- Head hanging or craning. Pick a spot on the floor and keep the neck long.
- Rushing the timer. More seconds are not a reward if the last half of the hold is garbage.
One more mistake deserves its own line: doing the same plank every day forever. That gets stale fast. The body adapts, then stalls. Change the angle, change the lever, or change the timing.
How to Make the Challenge Harder Without Chasing Giant Timers
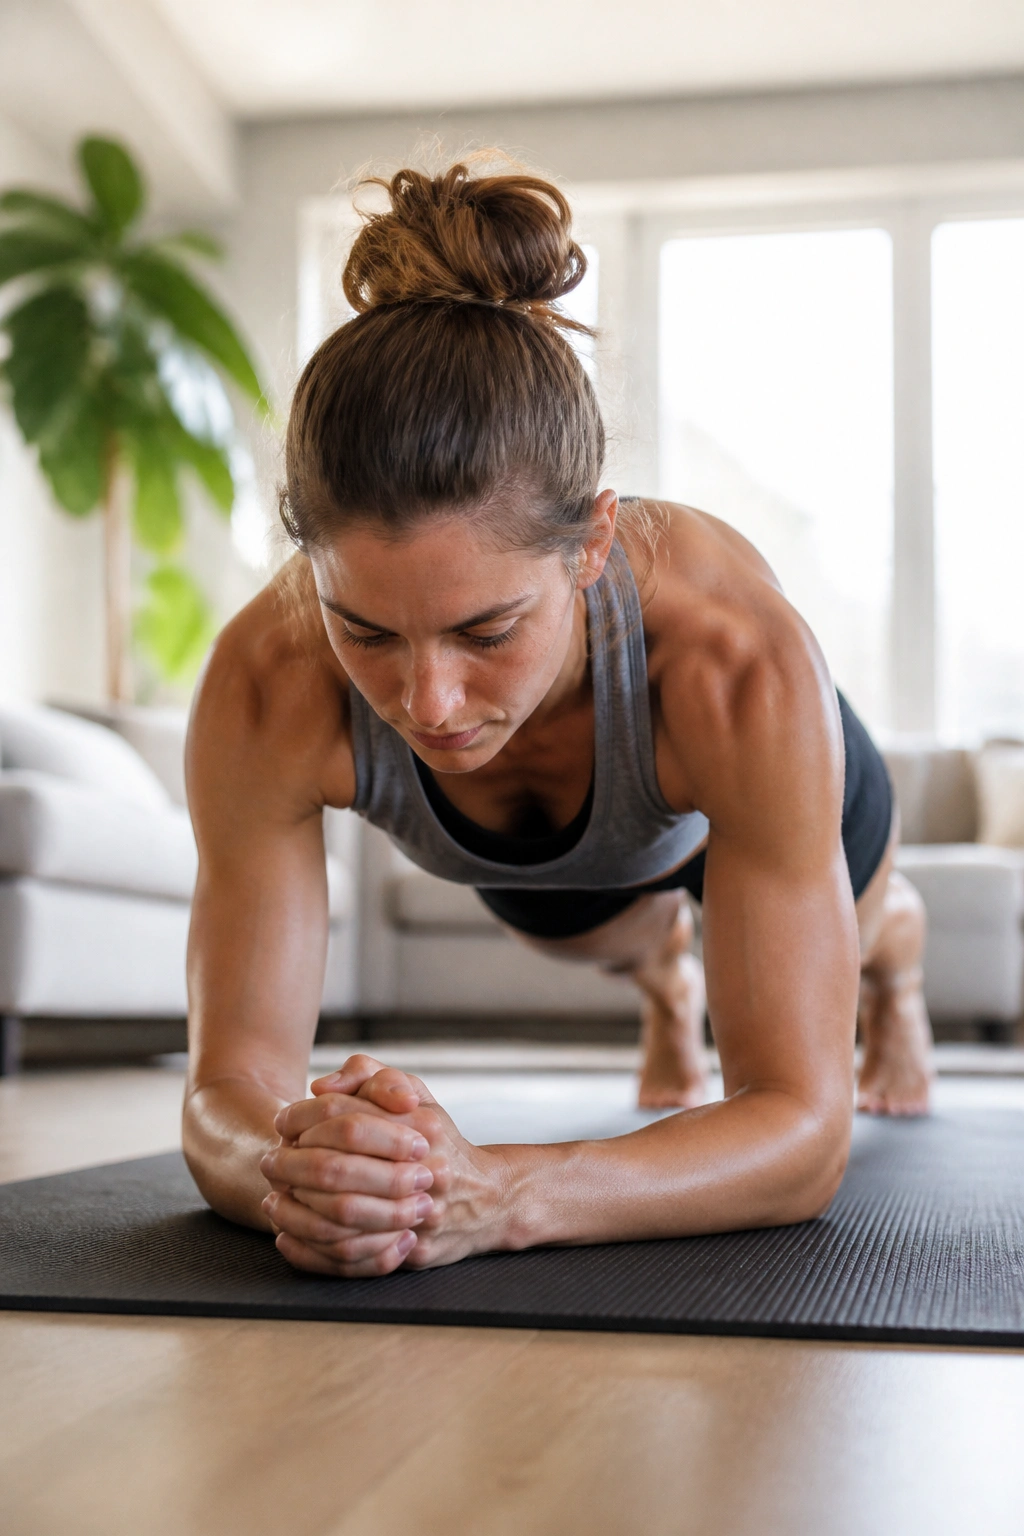
If a plank starts feeling easy, do not immediately add 30 more seconds. That’s the lazy way to progress.
A smarter move is to make the shape more demanding. That can mean a longer lever, a different stability demand, a slower breath, or less rest between sets. You can also keep the same hold time and make the brace much cleaner, which is a bigger upgrade than it sounds like.
Better ways to progress
- Long-lever plank: move the elbows or hands slightly farther forward so the core has to resist more extension.
- Shoulder taps in high plank: slow, controlled taps with hips staying square.
- Plank walkouts: from standing, walk the hands out and hold briefly before walking back in.
- Side plank reach-throughs: add a little rotation control once the base side plank is solid.
- Hard-style plank: a full-body tension version where glutes, quads, abs, and upper back all stay active at once.
- Shorter rest: keep the same hold but reduce rest from 45 seconds to 20 seconds.
One change at a time
That rule saves a lot of bad training. If you make the plank longer, harder, and less stable all at once, you won’t know which change helped or hurt. Pick one variable. Let it settle. Then move again.
I’m also not a fan of unstable surfaces for most people. A wobble board looks clever. A bench or floor plank done well is usually more useful.
Rest Days, Sore Abs, and When to Back Off
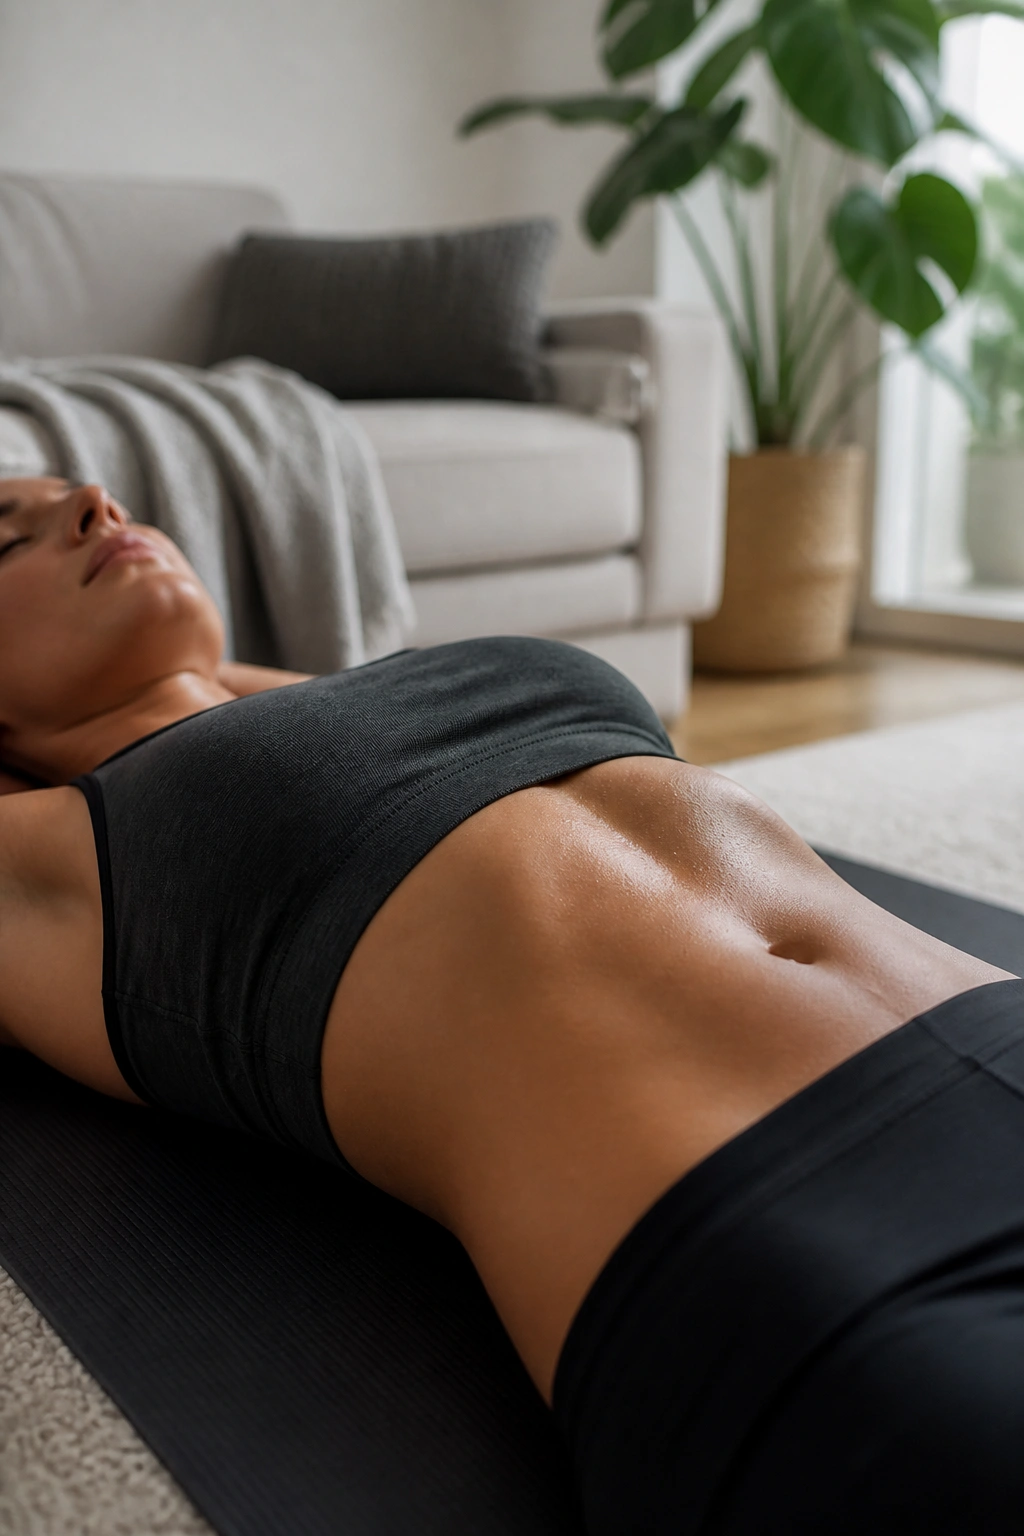
Sore abs are normal. A sore low back is a warning sign.
Those two things are not the same, and people blur them all the time. A little abdominal soreness after a new plank challenge means the tissue got a signal. A pinching back, cranky wrist, or shoulder pain means the mechanics need work before the next round.
What good recovery looks like
Walk. Sleep. Drink water. Do a few gentle cat-cow reps or a dead bug set if that helps you feel looser. Don’t turn every day into a punishment session just because the challenge calendar says “plank.”
That is a bad habit. And it usually backfires.
When to cut the session short
Stop or scale back if you notice:
- sharp low-back pain
- wrist pain that keeps building
- shoulder pinching
- your ribs flaring so far up you can’t correct it
- your breath turning into a panic pattern
A short break is better than a week off because you pushed through a dumb version of the exercise.
If your body likes daily practice, keep it light on the easier days. If it doesn’t, use rest days with no guilt attached. The challenge is meant to improve control, not to turn your torso into a sore joke.
What Results to Expect from a 30-Day Plank Challenge
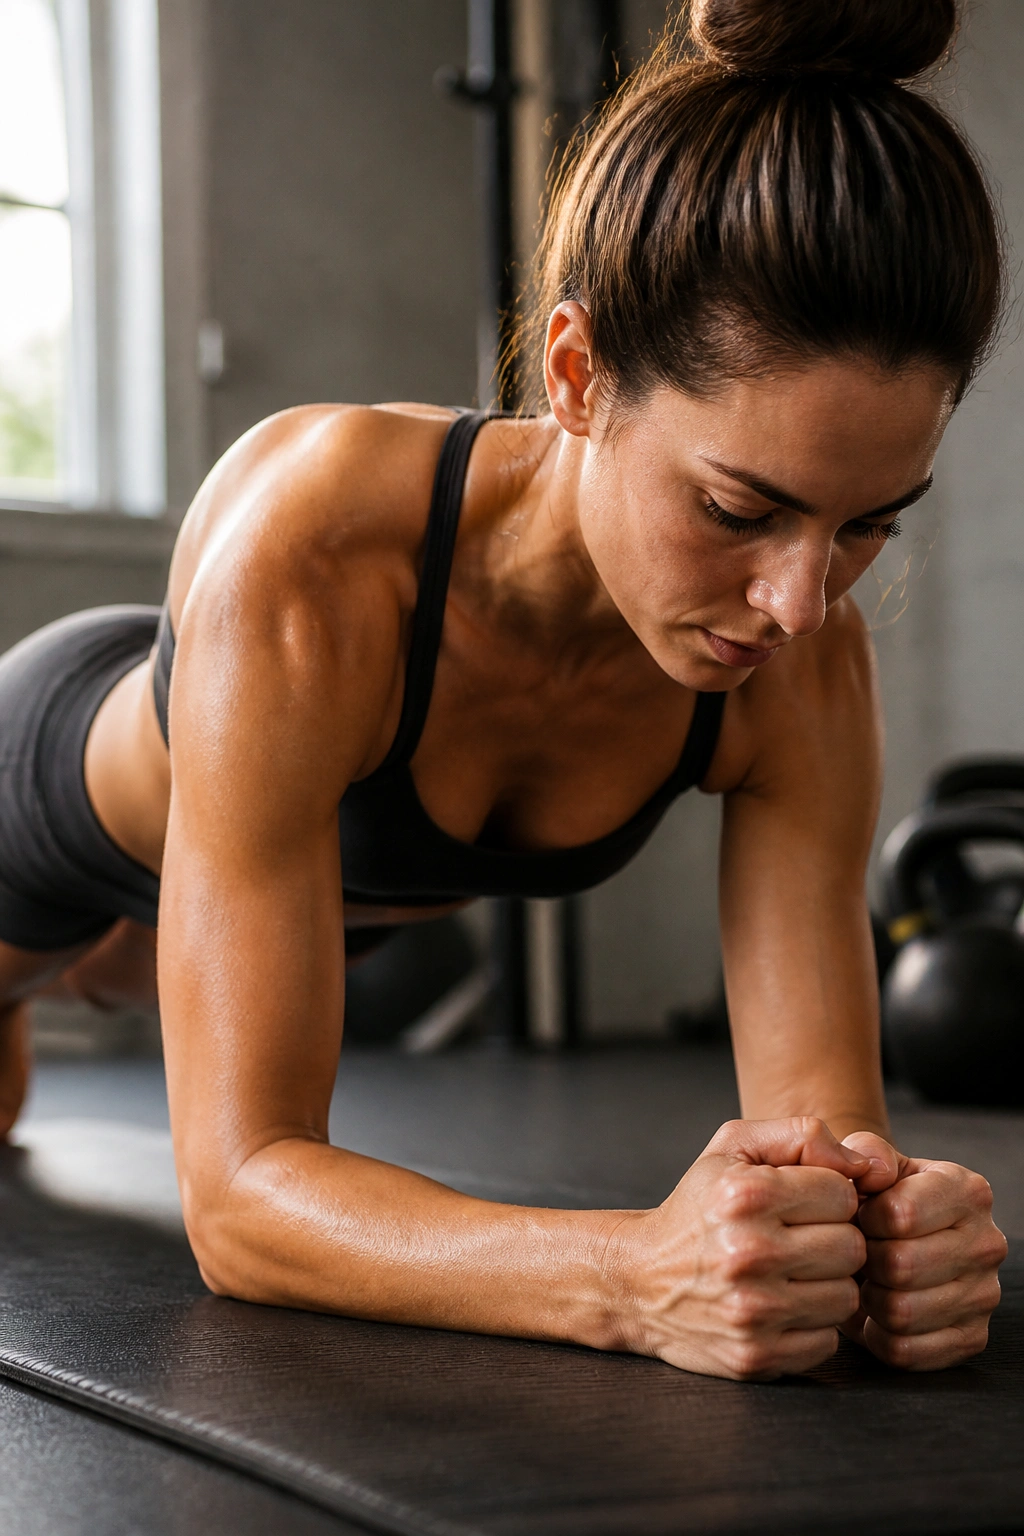
You probably will not walk out of a month of planks with a new body. That’s not how this works.
What you can get is tighter control, better endurance, and a cleaner brace. That shows up fast in other movements. Pushups feel steadier. Squats feel less wobbly. Carries feel more organized. Even sitting and standing can start to feel a bit less slumped if your torso has been doing real work instead of pretending.
Signs the challenge is working
- You can hold the same plank with less shaking.
- Your low back stops taking over first.
- Side planks feel less lopsided from one side to the other.
- You can breathe without losing position.
- Pushups and mountain climbers feel more stable.
One thing the plank challenge does not do is spot-reduce belly fat. That idea refuses to die, but it still isn’t true. If body fat changes, it comes from overall energy balance, food choices, and broader training—not from a minute of bracing on the floor.
That does not make planks useless. It just keeps them in their lane. They are a strength-and-control tool, not a magic eraser.
Who Should Modify a 30-Day Plank Challenge or Skip It
Not everybody should jump into the same version of a plank challenge.
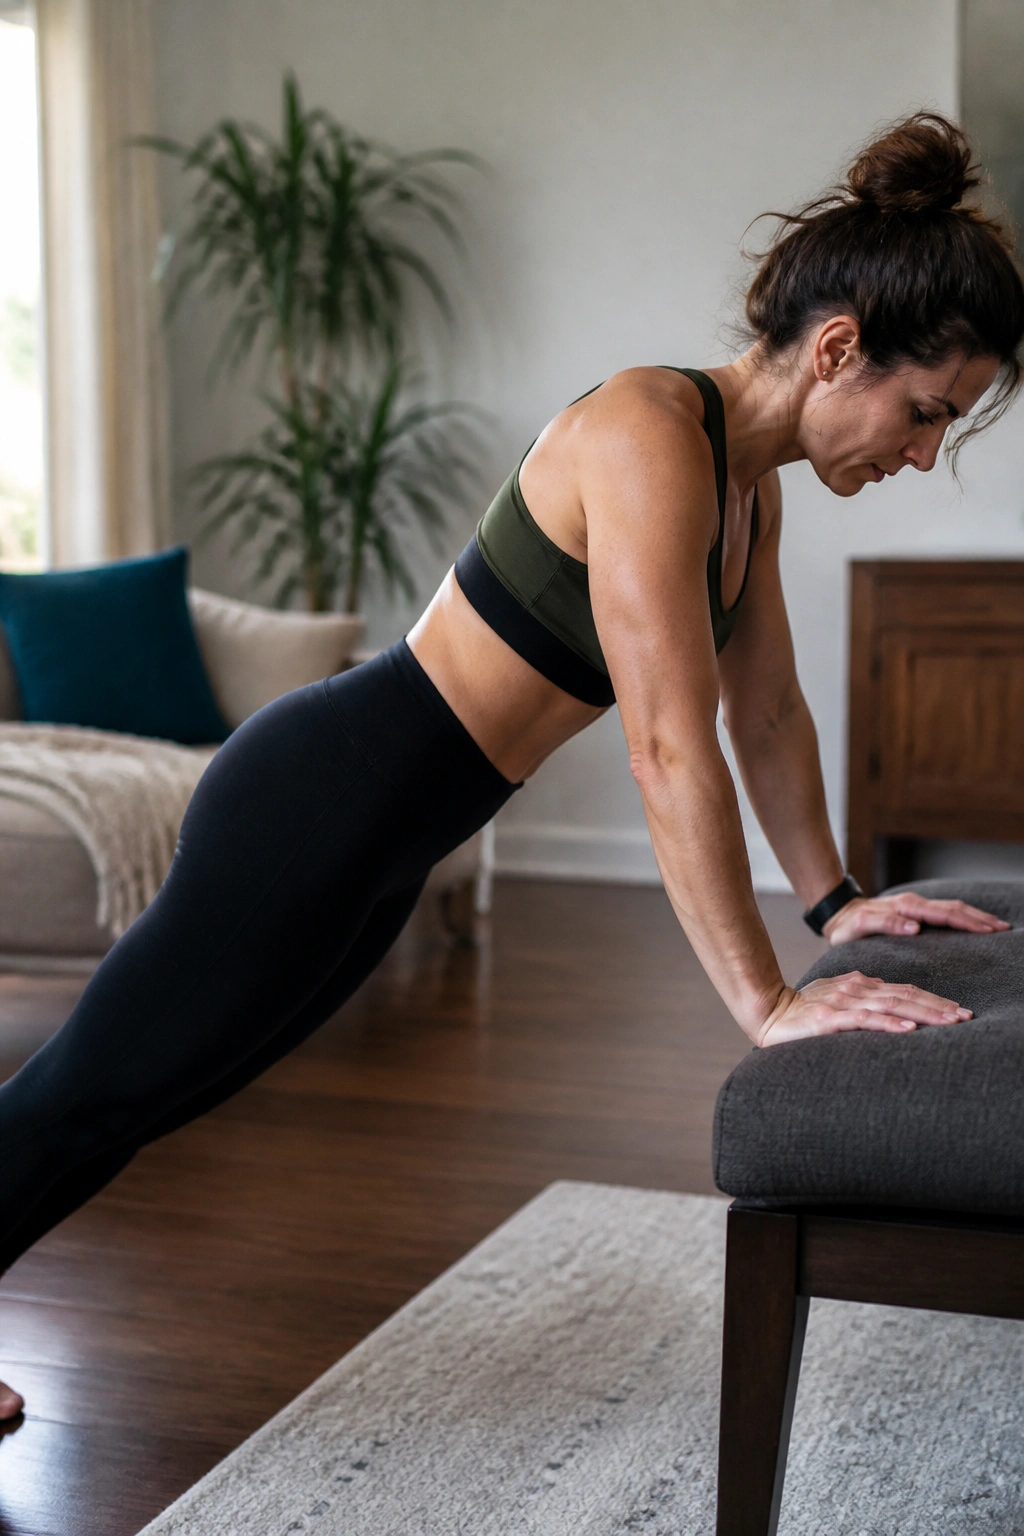
If you have wrist pain, forearm planks or elevated planks may be more comfortable. If your shoulders are irritated, a dead bug or bird dog might be a better place to start. If your low back has a history of disc issues or the plank creates sharp pain, get a qualified coach or clinician involved before you keep pushing.
Safer swaps that still train the core
- Dead bug: great for anti-extension with less spinal loading.
- Bird dog: teaches trunk control and hip stability.
- Pallof press: trains anti-rotation with a cable or band.
- Suitcase carry: excellent for side-to-side core control.
- Incline plank: hands on a bench or wall to reduce load.
Pregnancy, postpartum recovery, and certain back or pelvic floor issues can call for extra caution too. That doesn’t mean no core work. It means the right core work. Raising the hands, shortening the holds, or picking a less aggressive drill can keep training useful without making the body complain later.
If a plank feels fine one day and painful the next, trust the pain signal. That is not weakness. That is information.
Final Thoughts
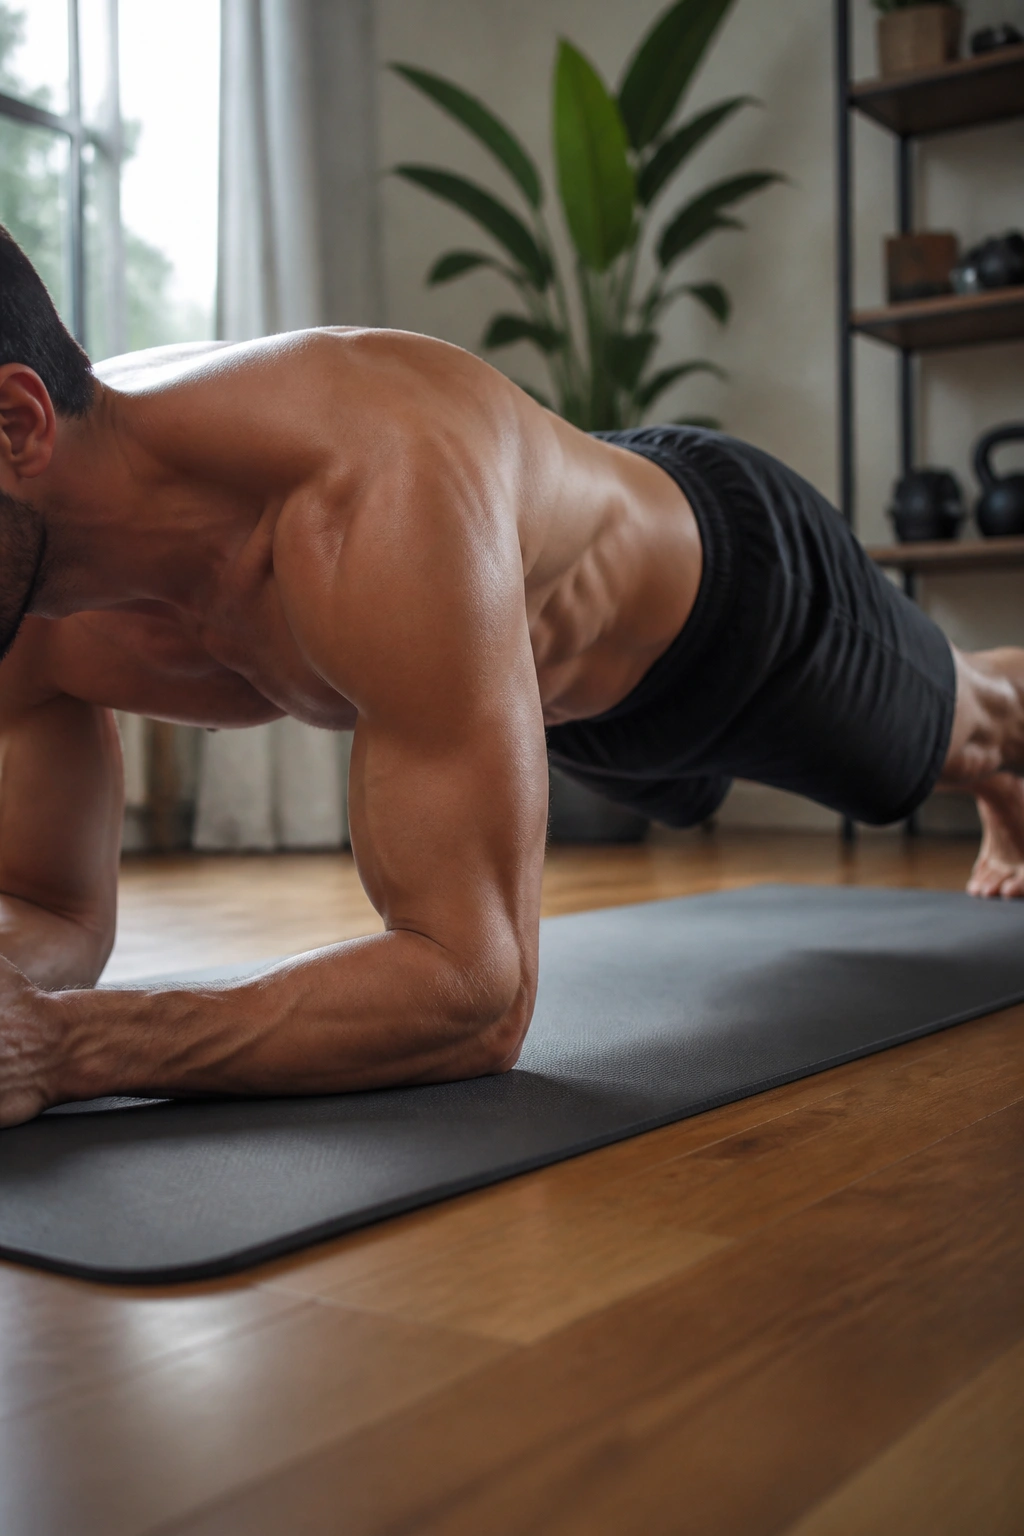
The smartest 30 day plank challenges are boring in the best way. They build the position first, then the time, then the harder variation. They do not ask you to grind through ugly holds and call that grit.
What I like most about a good plank challenge is how fast the feedback arrives. You know within seconds whether the brace is there. You know within a week whether your ribs and pelvis are learning to stay connected. And if you keep the reps clean, the change tends to show up in other lifts, not just on the stopwatch.
Film one side-view set each week. That little habit catches rib flare and low-back sag faster than your memory will. Small adjustment. Big difference.
