



A sudden bolt from the low back into one leg changes everything. Sitting gets weird. Standing feels crooked. Even tying a shoe can turn into a little negotiation with your own body.
Pilates exercises for sciatica relief work best when they calm the system instead of bullying it. That matters, because sciatica is not one neat problem with one neat fix. Sometimes the nerve is irritated higher up in the lumbar spine. Sometimes the glutes and deep hip muscles are part of the mess. Sometimes the whole area has gone a little too stiff and protective, and every movement feels louder than it should.
Tiny movements matter here.
The smart play is to start with breathing, pelvis control, and gentle hip work, then build toward stronger mat exercises only if your symptoms stay quiet or ease up. If pain shoots farther down the leg, tingling gets stronger, or you notice weakness, numbness, bladder changes, or saddle numbness, skip the mat and get medical help. That part is not optional.
1. 360-Degree Breathing for Sciatica Relief
Breathing sounds too basic until your low back is braced like a board. Then it starts to matter a lot.
Lie on your back with your knees bent, or sit upright if lying flat feels better, and try to let the breath expand into the ribs, the back of the ribs, and the belly at the same time. That wide, 360-degree breath helps the trunk stop gripping so hard. When people with sciatica brace all day, they often hold tension through the abdomen, hip flexors, and low back without noticing it.
Why it helps
The diaphragm and pelvic floor work as a team. When the inhale is shallow and the exhale is rushed, the whole torso tends to stiffen. A slower breath gives the spine a little more room and can make the next exercise feel less threatening.
Keep the shoulders quiet. Keep the jaw loose. And do not chase a huge breath just for the sake of it. A smaller, smoother breath that reaches the lower ribs is better than a giant inhale that lifts the chest and flares the ribs.
- Inhale for 3 to 4 counts.
- Exhale for 4 to 6 counts.
- Let the lower ribs soften on the exhale.
- Repeat for 6 to 8 breath cycles.
Pro tip: If breathing makes you tense, put one hand on the lower ribs and one hand on the belly. That tactile cue usually does more than a long explanation ever will.
2. Pelvic Tilts to Calm a Tight Low Back
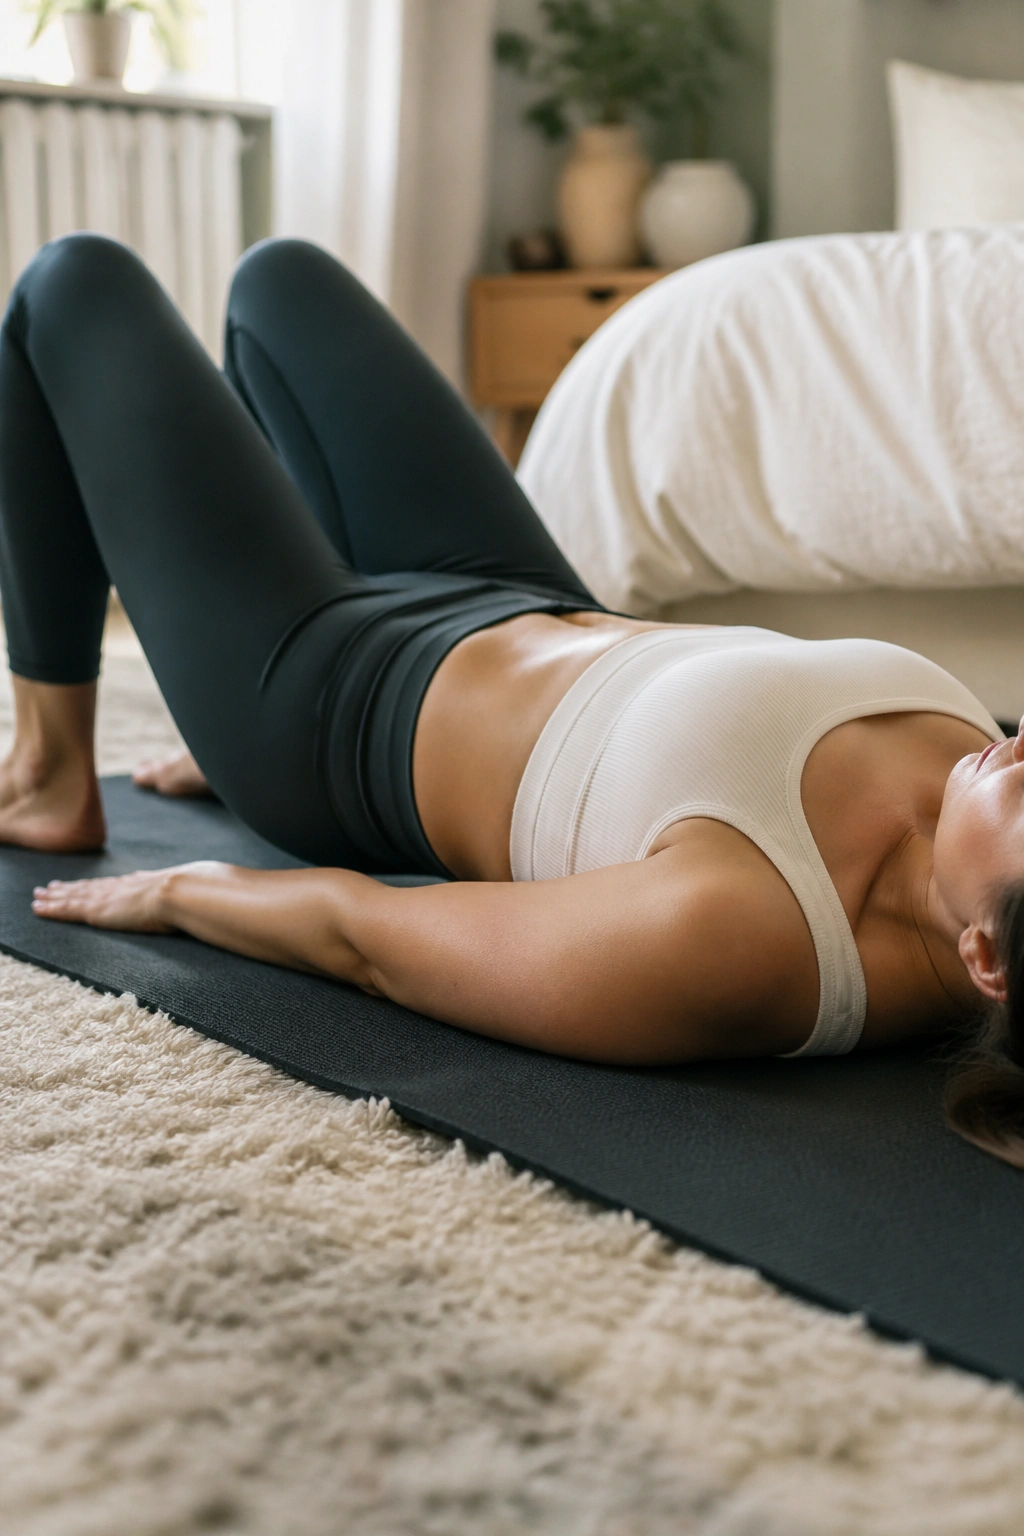
Smaller is better.
A pelvic tilt is one of those exercises people rush through because it looks simple. That is exactly why it gets sloppy. Lie on your back with your knees bent, then gently tip the pelvis so the low back flattens a little into the mat, and release back to neutral. The motion should feel like a tiny rocking, not a hard crunch.
For sciatica, that little motion can be useful because it teaches the lumbar spine to move without drama. If the back is locked in one position all day, the nerves and surrounding tissues often complain when you ask for anything bigger. A clean tilt says, we are moving, but we are not panicking.
Do 8 to 10 reps. Pause for a second at each end. That pause helps you notice whether the movement stays smooth or starts to grab in the hips and hamstrings. If you feel a hamstring cramp, bring your feet a bit closer to your hips and reduce the size of the tilt.
Less range. Better result.
3. Knee Folds to Find Neutral Spine
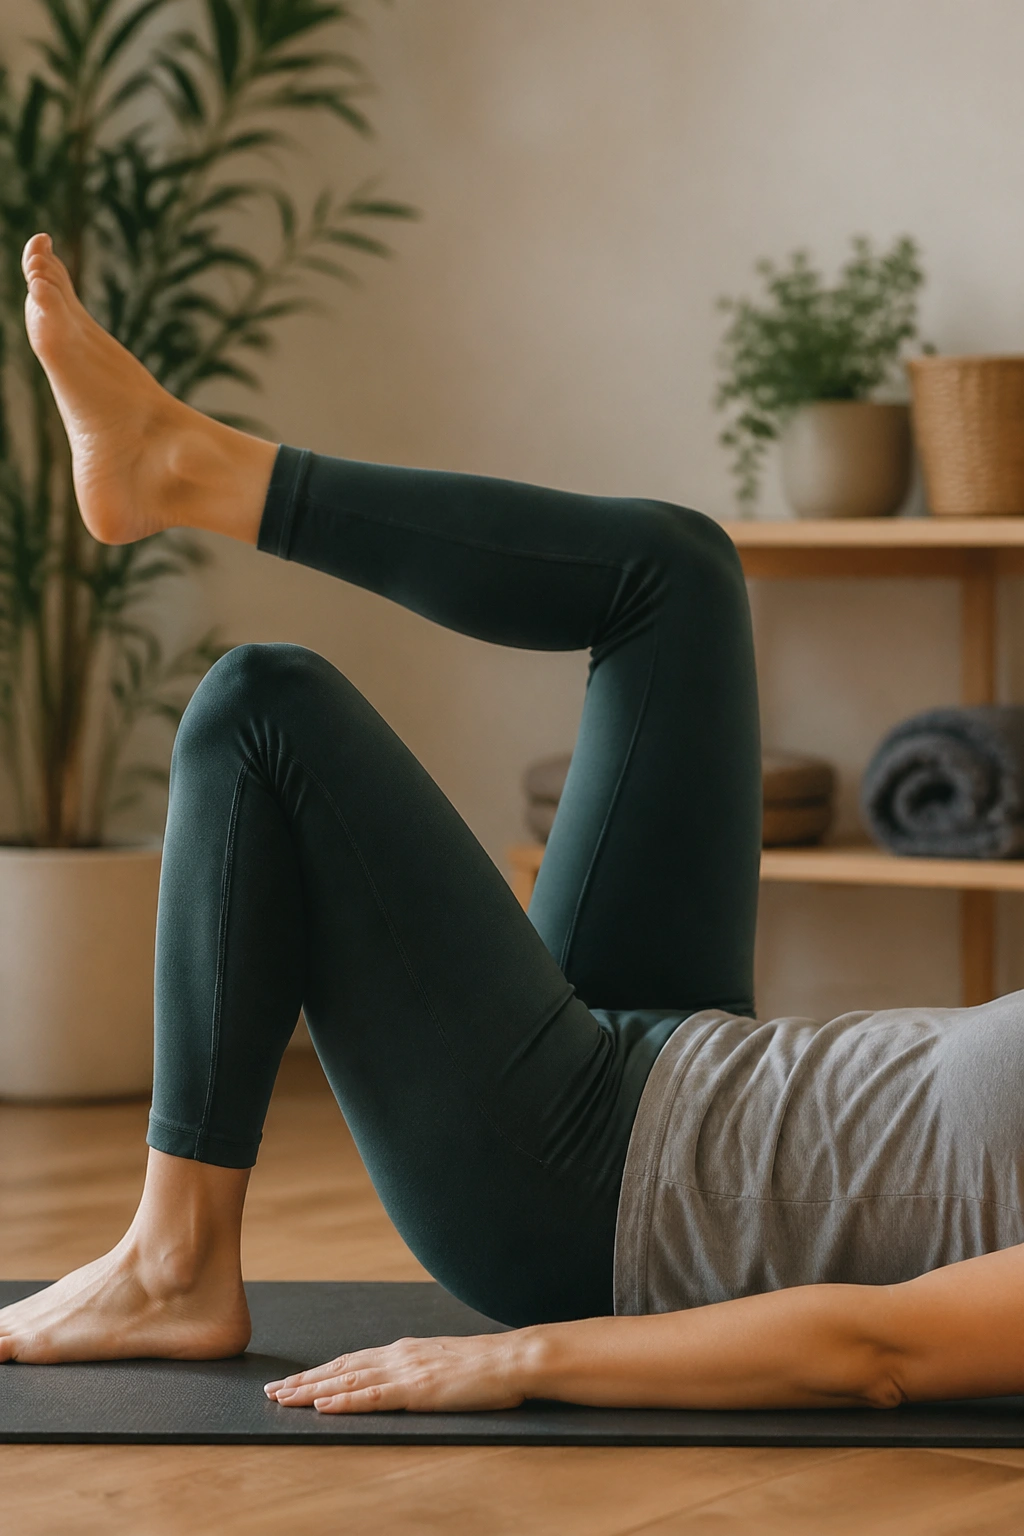
Why start with knee folds instead of something more “core”?
Because you need to know whether one leg can move without the pelvis tipping, the ribs flaring, or the low back doing all the work. Lie on your back with your knees bent, then lift one foot a few inches at a time until the hip and knee make roughly a tabletop shape. Lower it with control. Switch sides.
This is a sneaky little test of control. If your back arches the second the foot leaves the mat, the movement is too big. If your hip flexors grip and your breath disappears, the range is too much too soon. The goal is to keep the pelvis steady while the leg moves.
How to keep it honest
One hand on the front of each hip can help. So can a long exhale as the knee lifts. If your low back feels safer with a smaller range, stay there.
- Lift only as high as you can without rocking the pelvis.
- Keep the ribs heavy.
- Move one leg at a time.
- Do 5 to 8 reps per side.
This is not flashy. It works because it is honest.
4. Heel Slides for Low-Load Core Control
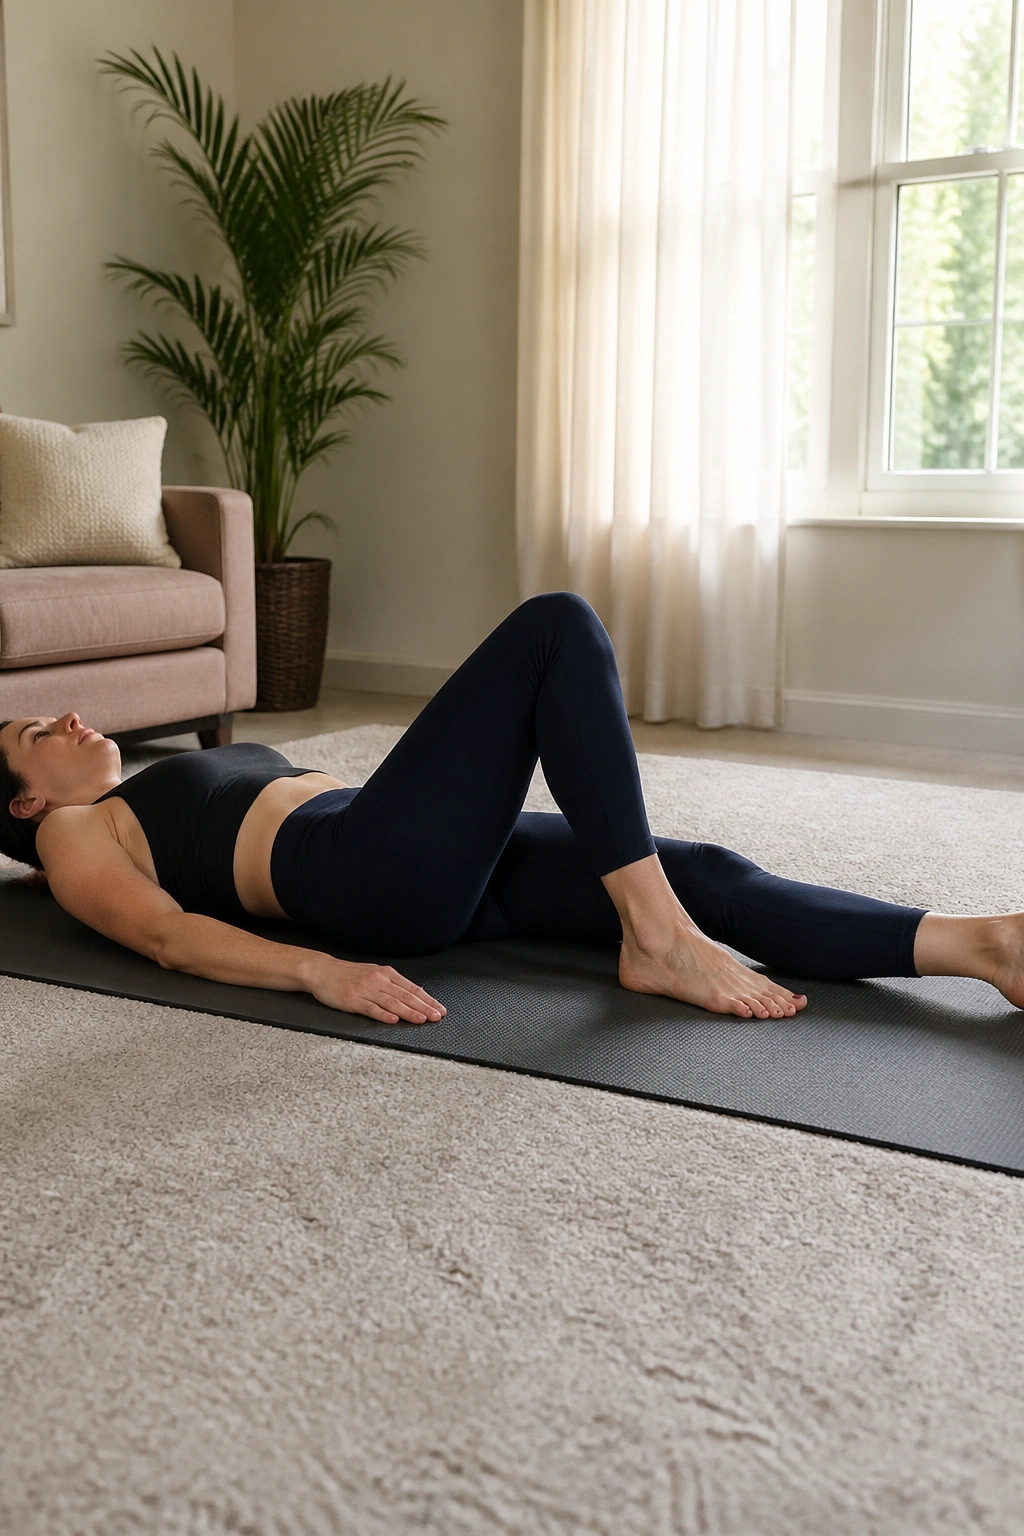
You can walk without much drama, then the second you sit down, the pain runs from your butt into the back of the thigh. Heel slides are made for that sort of grumpy, low-load day.
Start on your back with one knee bent and the other leg long. Slowly slide the heel away from you until the leg is almost straight, then bend it back in. The heel should stay in light contact with the mat the whole time. That contact gives feedback, which makes it easier to keep the pelvis from twisting.
This is one of the cleanest Pilates choices for sciatica because it asks the body to control the leg without lifting it into space. No wrestling. No big range. Just a quiet slide.
- Slide the heel 6 to 8 inches at first.
- Keep the pelvis level.
- Exhale as the leg lengthens.
- Stop if the low back arches or the hamstrings seize.
If the slide causes nerve-y pulling down the leg, shorten the range. If it feels smooth, you can gradually extend farther. The point is not to impress anyone. The point is to move without poking the nerve.
5. Glute Bridges That Do Not Feed the Low Back
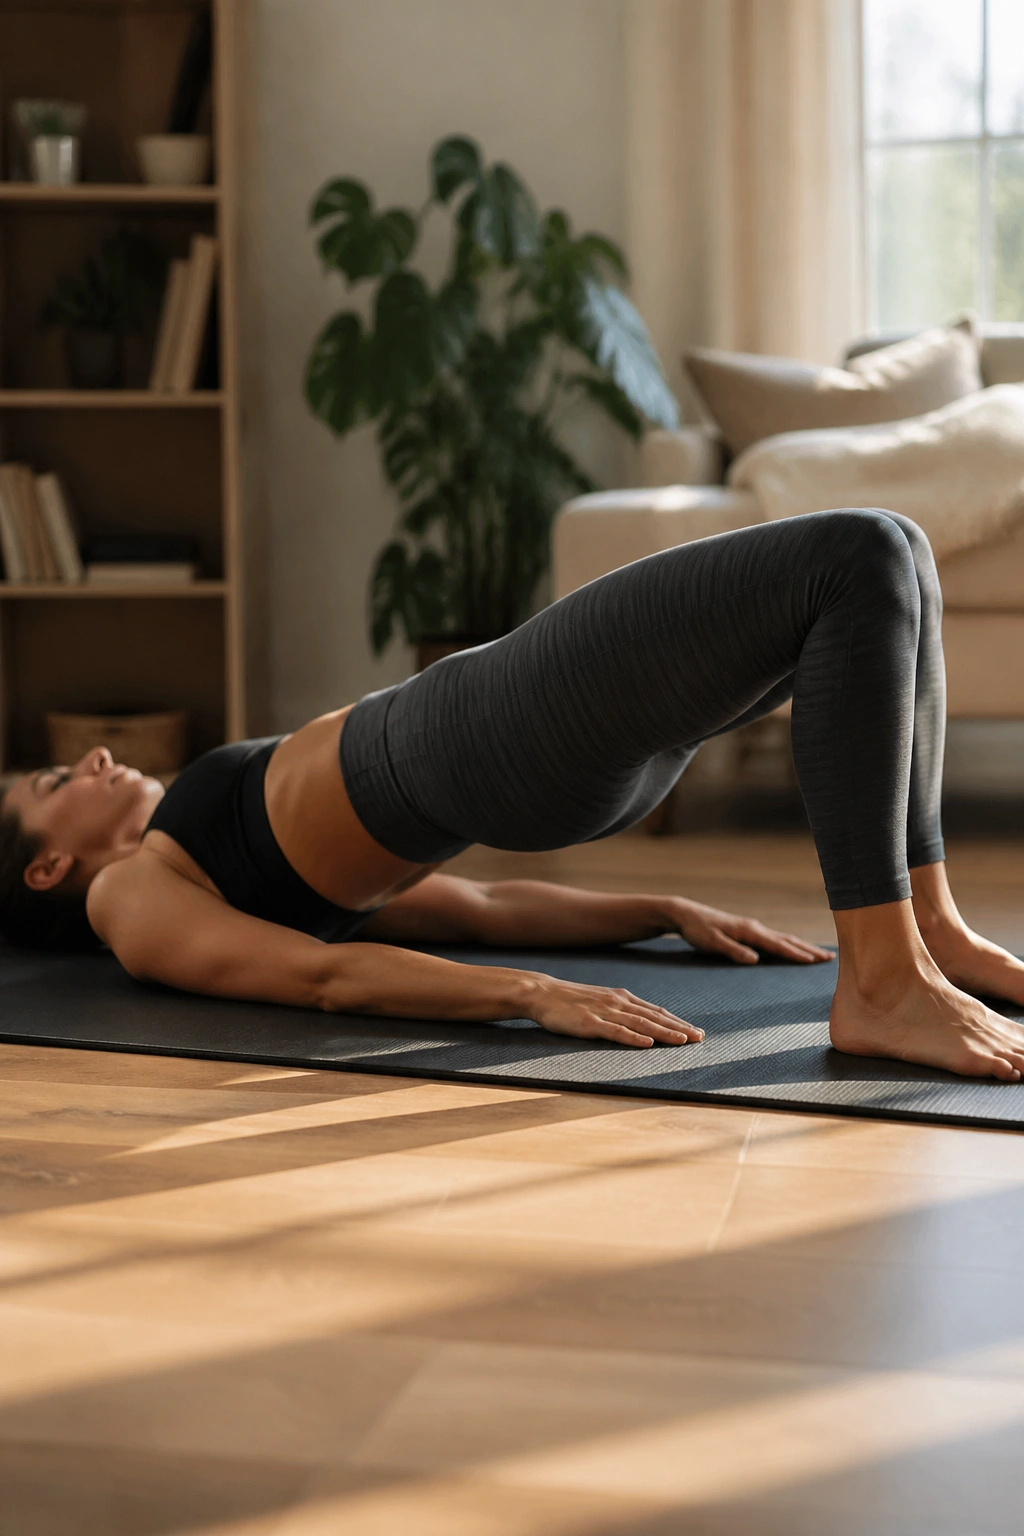
A bridge can help a lot, but only if the movement comes from the glutes and not from a frantic arch in the spine.
Lie on your back with your knees bent and feet about hip-width apart. On an exhale, press through the heels and lift the pelvis until the shoulders, hips, and knees form one long line. Hold for a beat or two, then roll down slowly, one vertebra at a time if you can manage it. If your low back feels pinched at the top, you have gone too high.
That top position gets abused constantly. People throw the ribs up, squeeze the glutes too hard, and turn the whole thing into a backbend. Don’t. A bridge for sciatica relief should feel like the back of the hips is doing the work, with the front of the torso staying quiet.
I like a small pause at the top. It makes the glutes honest.
Do 6 to 10 bridges, resting for a breath between reps if needed. If one side of the pelvis wants to twist, lower a little sooner and focus on keeping both hip bones level. That tiny correction matters more than adding height.
And if bridges make the pain travel farther down the leg, skip them for a while. There are other ways to build support.
6. Clamshells for Side-Hip Stability
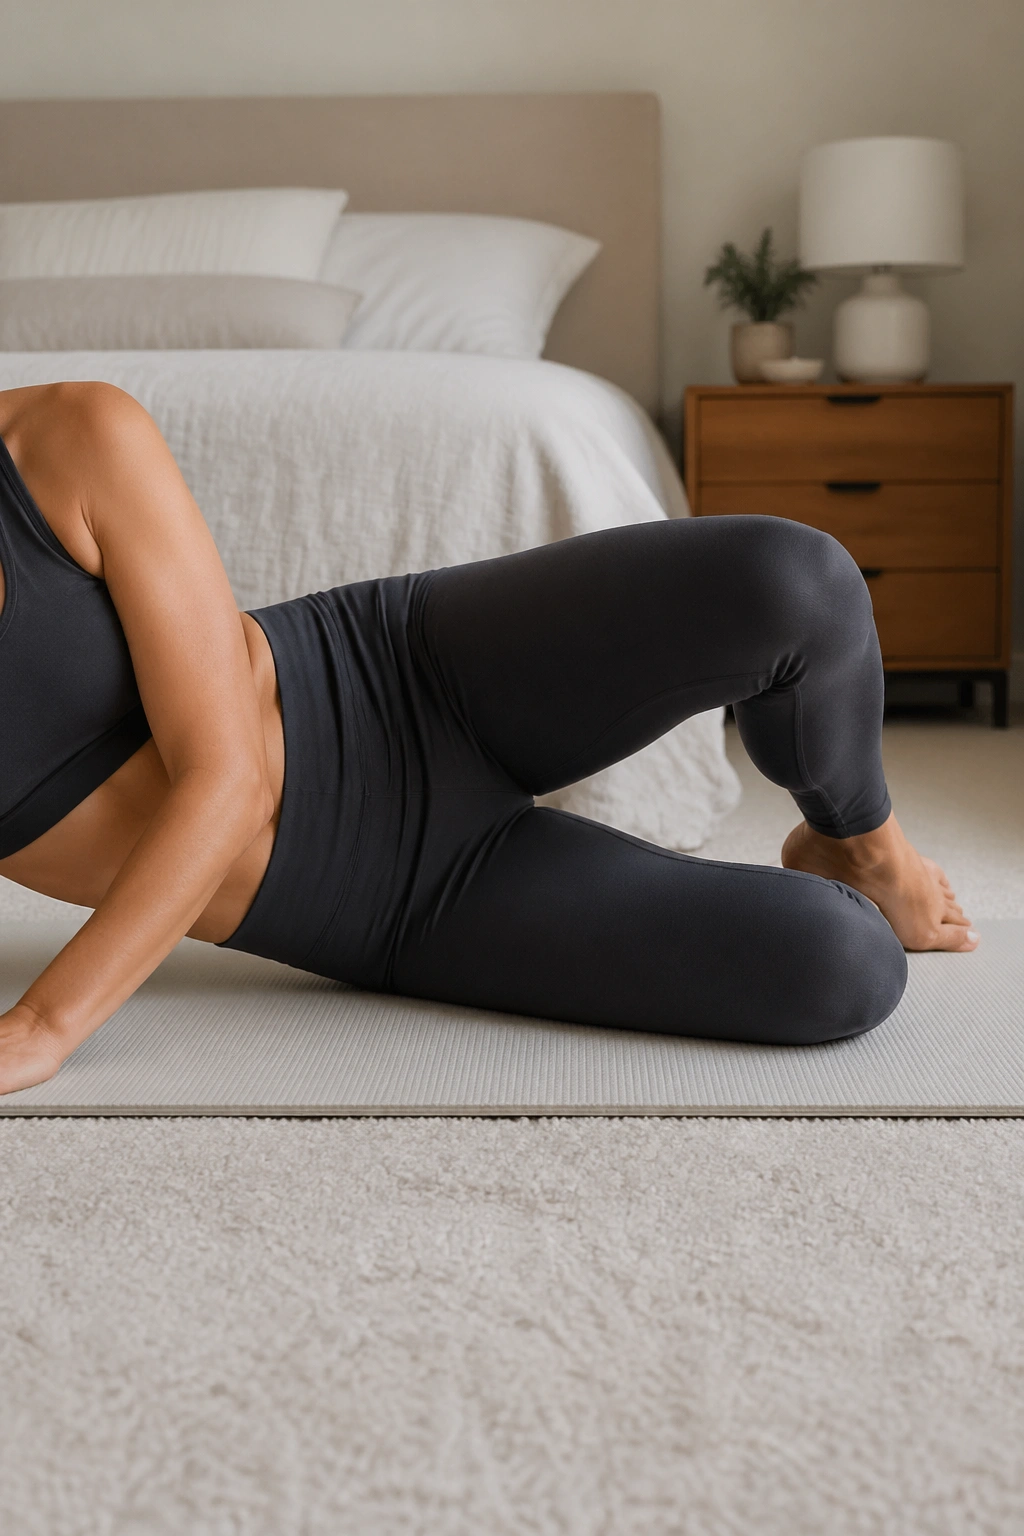
Unlike squats or lunges, clamshells let you train the glute medius without asking the spine to carry a load.
Lie on your side with your knees bent and your feet stacked. Keep the pelvis stacked too; that part matters more than people think. As you open the top knee, the feet stay together and the movement stays small. You are not trying to fling the knee toward the ceiling. You are trying to wake up the side of the hip.
That side hip muscle is a big deal for people with sciatica who also have a sloppy, collapsing pelvis when they walk or stand on one leg. It helps keep the pelvis from dropping and reduces the ugly tug-of-war between the lower back and the hip.
If the top glute does not show up right away, slow down. If the front of the hip burns, the knee has opened too far. That is the usual mistake.
A light miniband can help later, but I would not start there unless bodyweight clamshells feel easy and clean. The movement should feel almost too small. That is the point.
7. Side-Lying Leg Lifts Without Hip Pinching
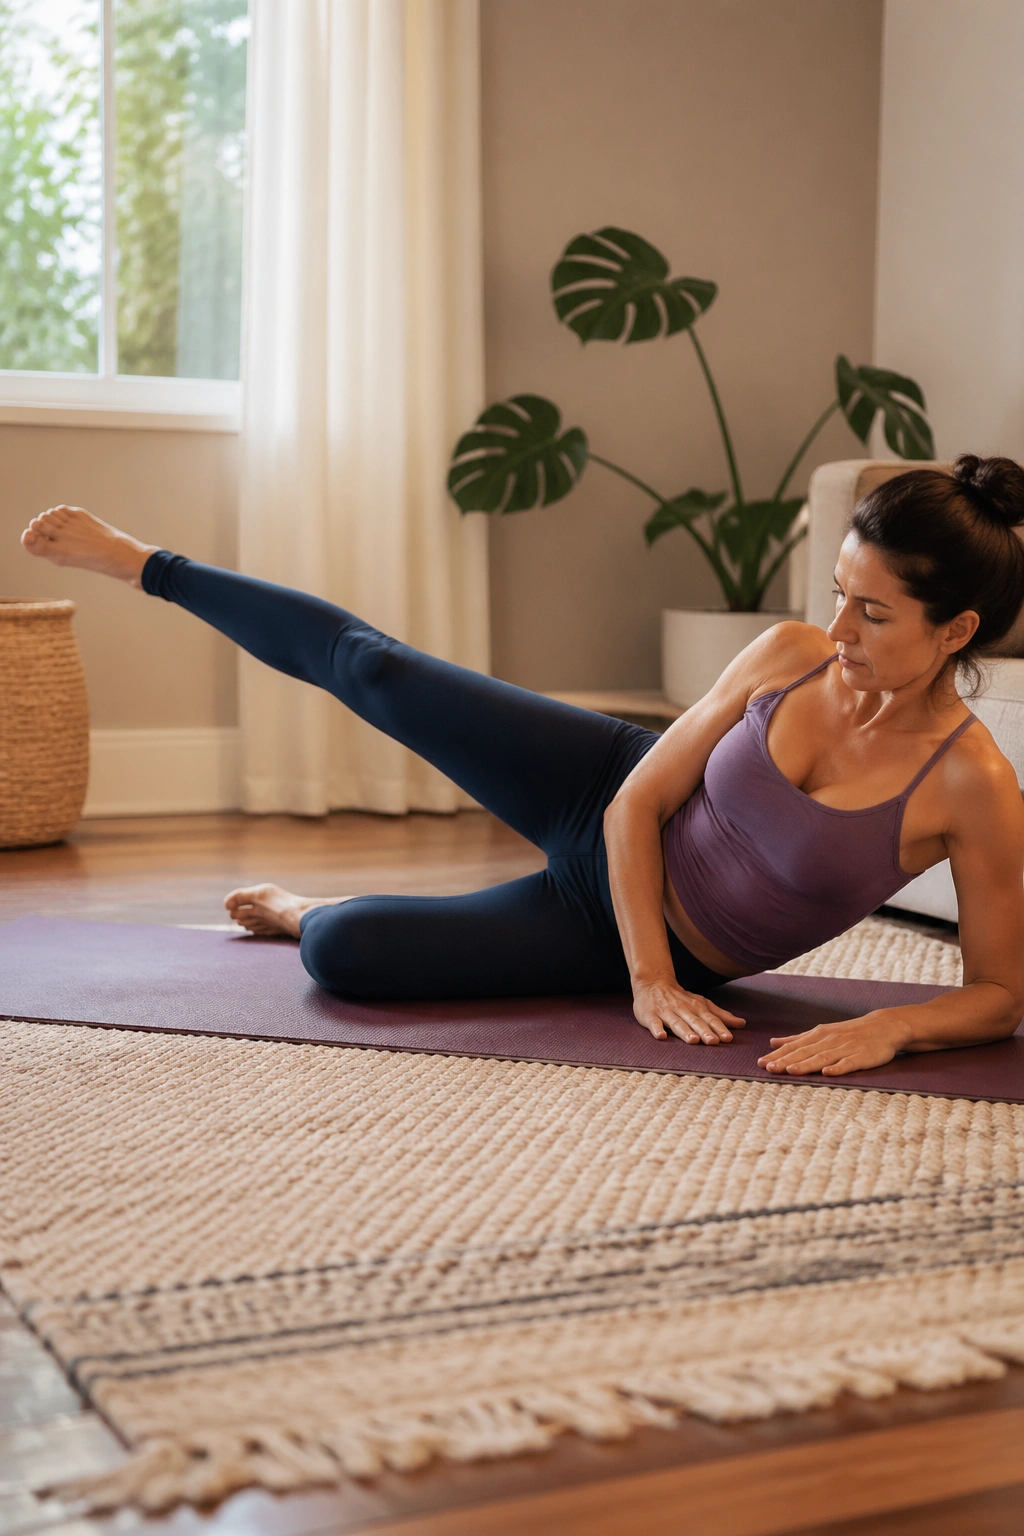
The trick is not height. It’s control.
Side-lying leg lifts build lateral hip strength, which can take some pressure off the pelvis and low back when you walk, climb stairs, or stand on one leg. Lie on your side, bottom knee bent for balance if needed, and lift the top leg only to the point where the waist stays long and the hip doesn’t pinch. Then lower it with the same control.
How to set up the leg path
Turn the top toes slightly down, not up. That small turn keeps the front of the hip from taking over and makes the outer hip work more honestly. Keep the pelvis stacked and imagine the heel moving long, not high.
- Lift 6 to 10 inches.
- Keep the foot flexed or neutral.
- Exhale on the lift.
- Lower for a full count of 2.
If you feel the movement in the front pocket of the hip, shrink the range. If the lower back arches, place a pillow under your waist or stop the set. This one should feel like careful work, not a battle.
A clean side-lying lift can teach the pelvis to stay quiet while the leg moves, and that is useful in real life.
8. Marching Bridge for Sciatica Relief
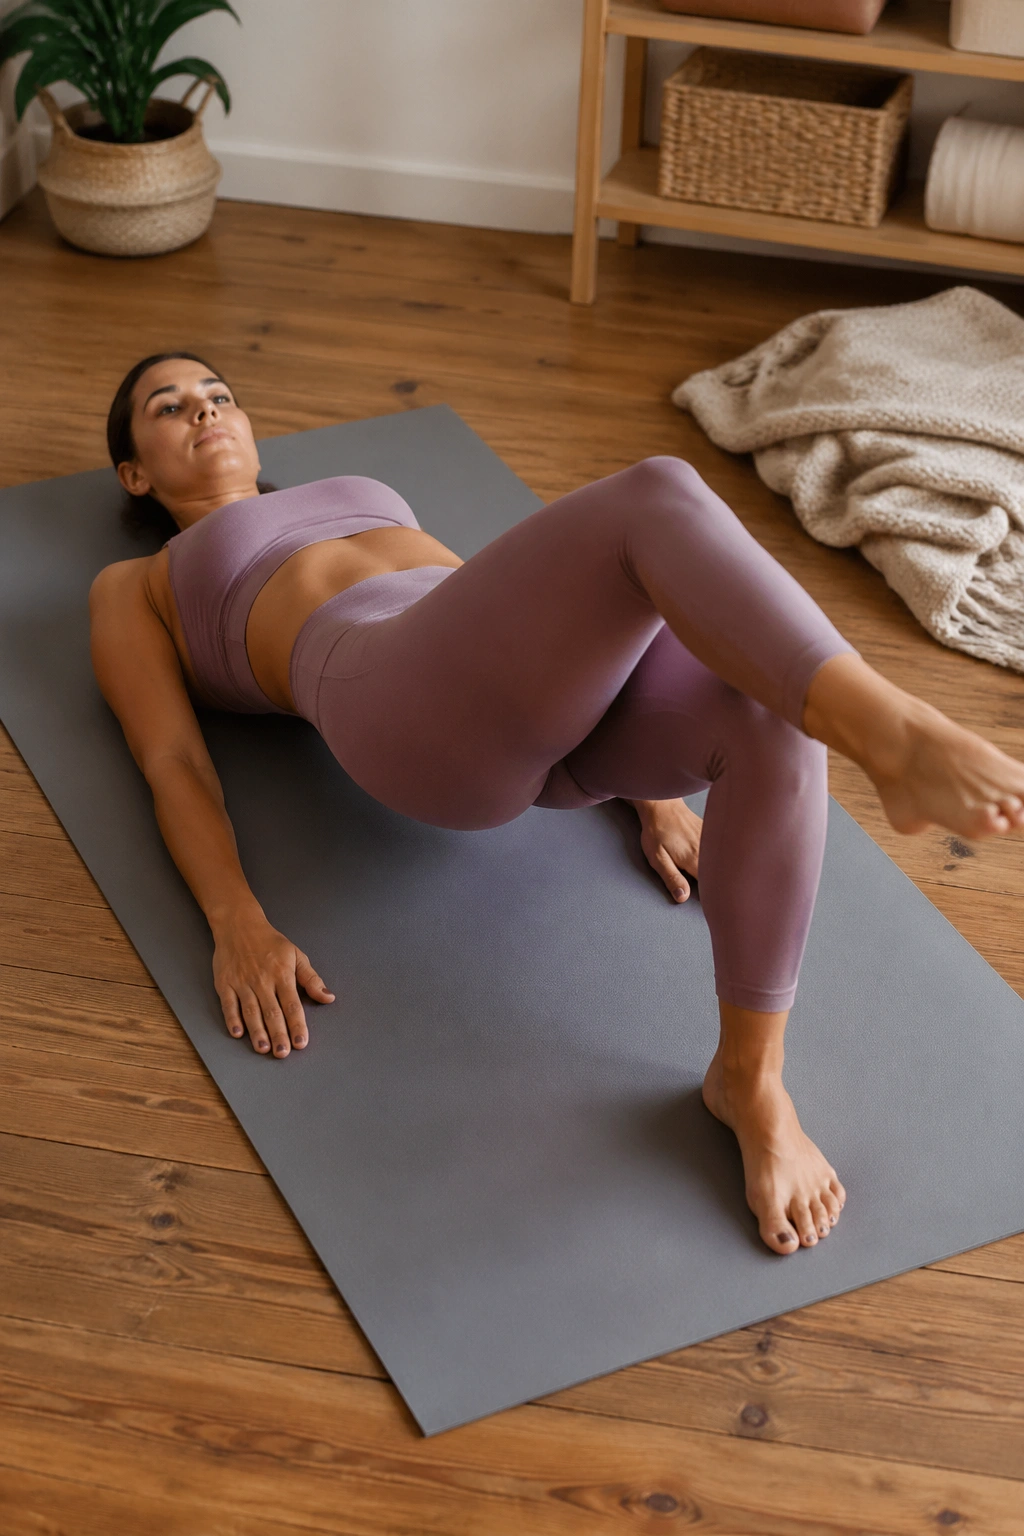
Once a regular bridge feels smooth, marching bridge is the next honest test.
Lift into a small, steady bridge, then keep the pelvis level while you float one foot an inch or two off the mat. Set it down, then lift the other foot. The trunk should stay calm. The hips should not sway. If they do, the range is too ambitious for that day.
This exercise is one of the clearest ways to see whether the deep core and glutes are doing their jobs together. It also exposes imbalances fast. If one side of the pelvis drops the moment a foot lifts, that side needs more bridge work before it gets a marching assignment.
What should stay still
- The ribs stay down.
- The pelvis stays level.
- The bridge height stays modest.
- The neck and jaw stay soft.
Do 4 to 6 marches per side, not 20. More is not better when the form starts to wobble. A short set done cleanly will teach the body more than a long set done while hanging on for dear life.
If this version stirs up low-back pain, stay with the basic bridge for now. There is no prize for skipping straight to the harder variation.
9. Bird Dog for Anti-Rotation Strength
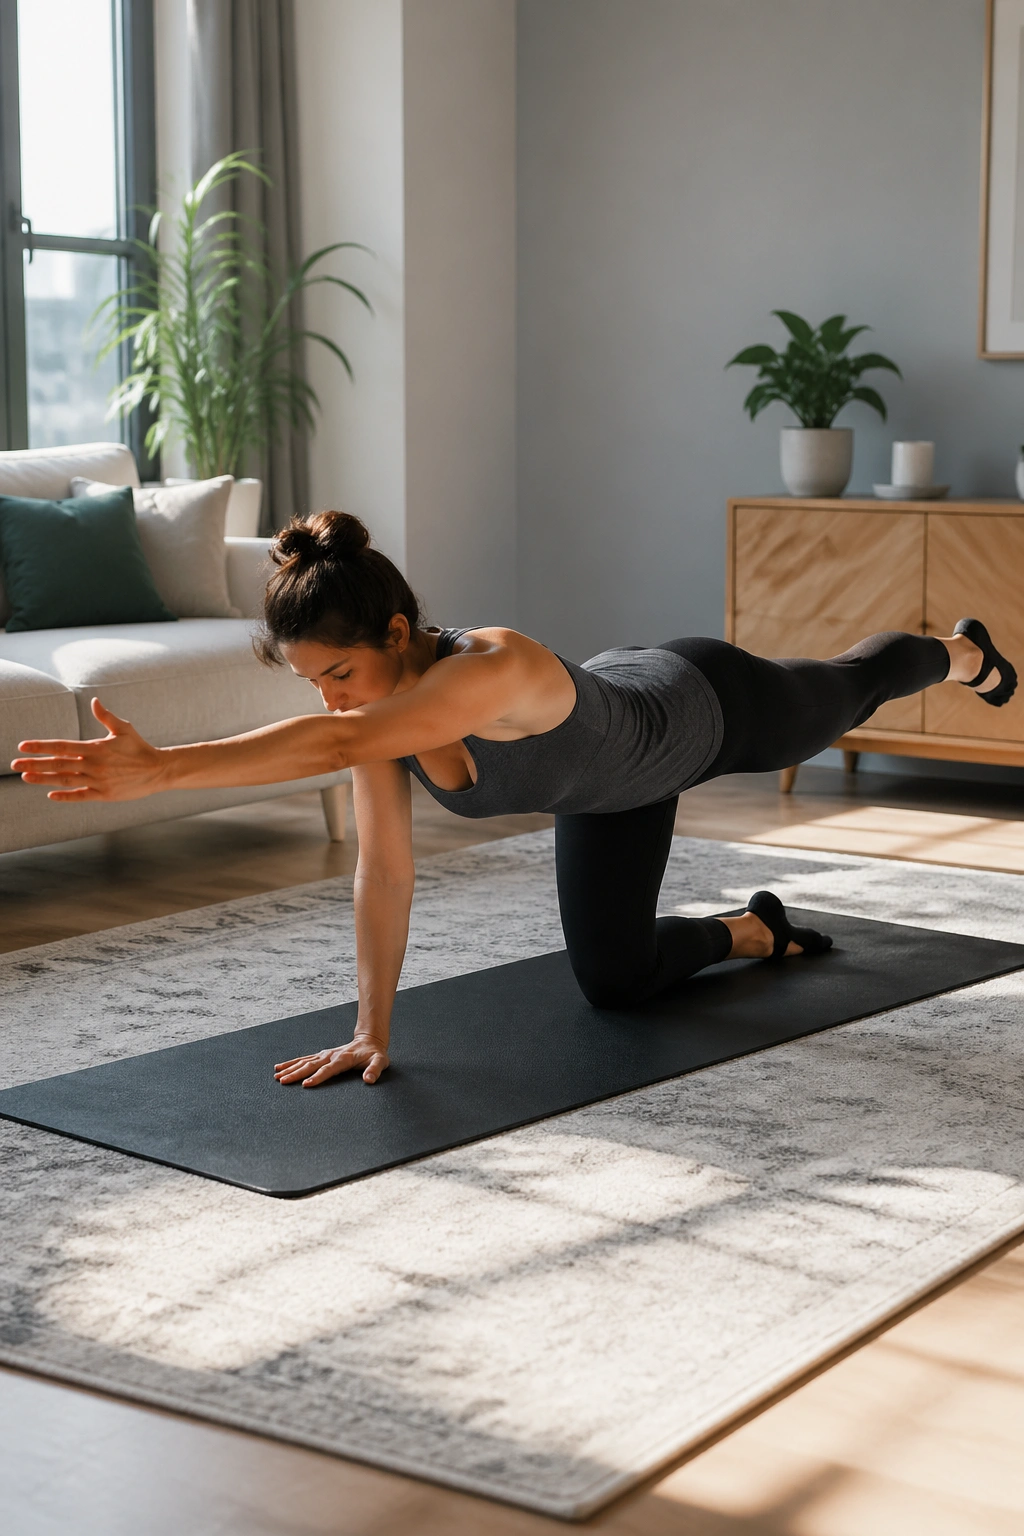
What if your back hates twisting?
Bird dog is one of the best answers. Start on hands and knees, then reach one leg back and the opposite arm forward without letting the spine sink or rotate. Reach long first. Height comes later, if at all.
People often make bird dog look bigger than it should be. They kick the leg high, flare the ribs, and lose all control. I prefer a smaller reach with a pause. The pause tells you whether the pelvis can stay level while the limbs move in opposite directions.
The mistake to avoid
Do not throw the foot up just to feel something dramatic. That usually shifts the work into the low back. Keep the reach long and low instead.
A good bird dog can feel almost boring for the first few reps. Then the deep trunk muscles show up, and you realize the boring version was the point.
If kneeling bothers your knees, put a folded towel or pad under them. If the wrist position is rough, come down onto forearms for a moment or do a standing wall version with one arm and the opposite leg reaching back. The principle stays the same: move one side while the trunk stays quiet.
10. Cat-Cow to Unstick the Spine
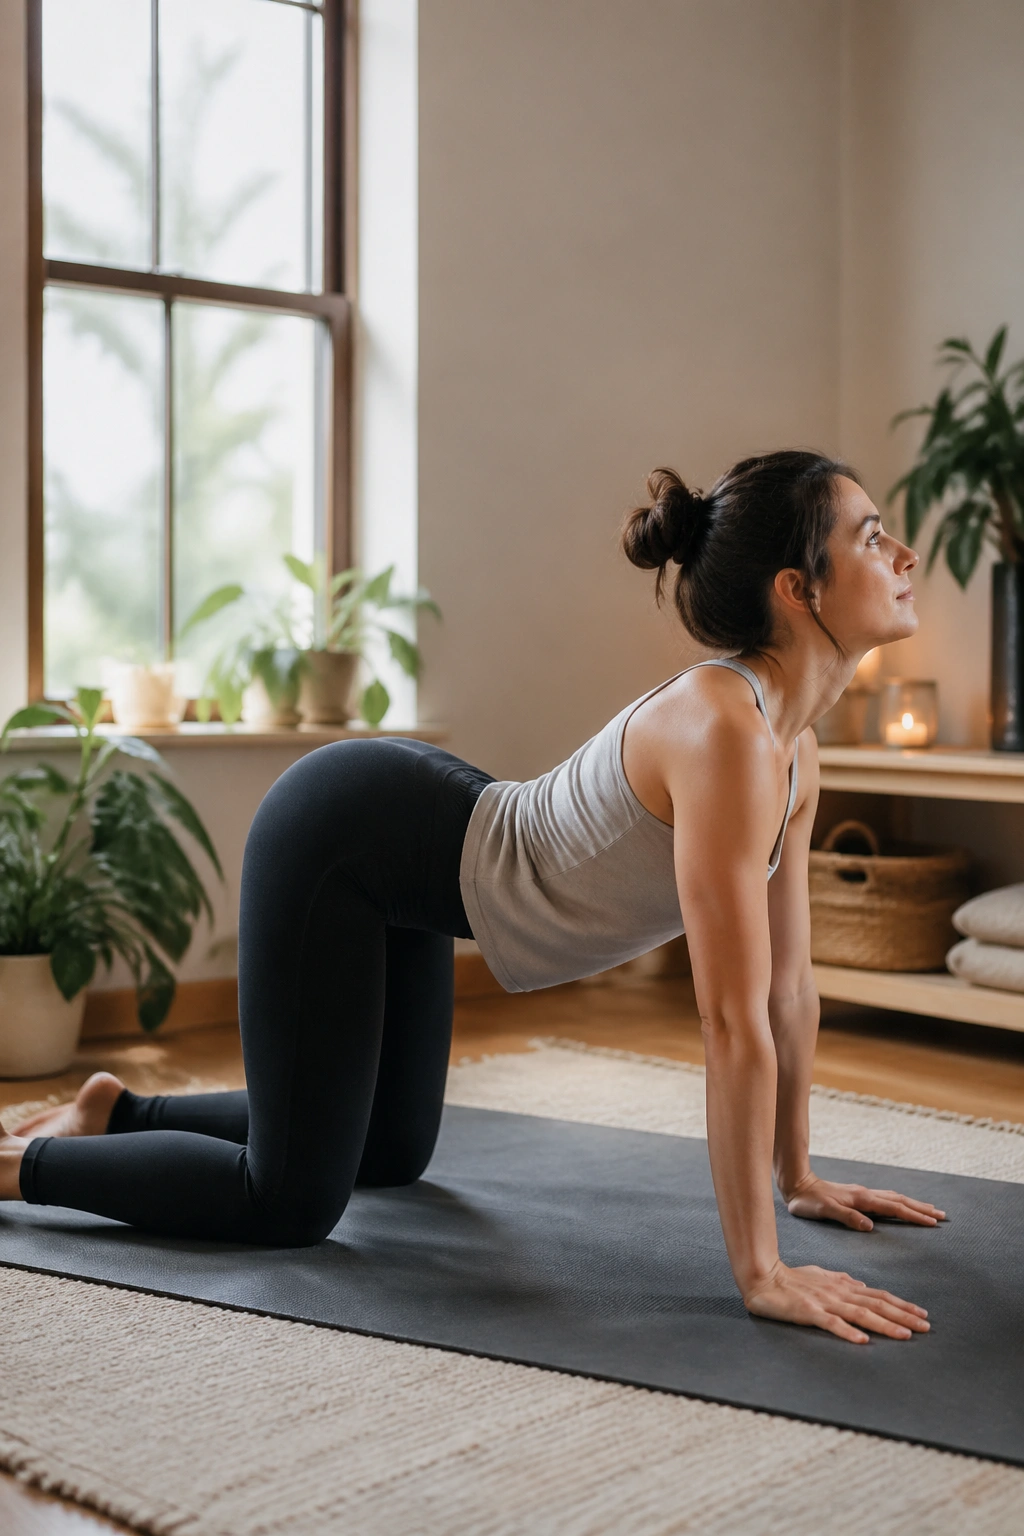
Morning stiffness is where cat-cow earns its place on the mat.
From hands and knees, round the spine gently as you exhale, then let the belly soften and the chest broaden as you inhale into a mild arch. The movement should flow through the whole spine, not just the neck or low back. Small range. Smooth pace. No yanking.
This exercise is useful because it gives the nervous system a low-stakes way to explore motion. If you sit a lot, the spine can get sticky in flexion or extension. Cat-cow reminds it that both directions exist, and that neither one has to be forced.
- Do 6 to 8 slow rounds.
- Move with the breath.
- Keep the elbows soft.
- Stop if the movement sends a sharp line of pain down the leg.
A lot of people rush cat-cow and turn it into a shrugging motion. That misses the good part. Let the movement start low in the pelvis and travel upward. Then reverse it. The whole thing should feel like a wave, not a fitness test.
11. Open Book Rotation for a Stiff Upper Back
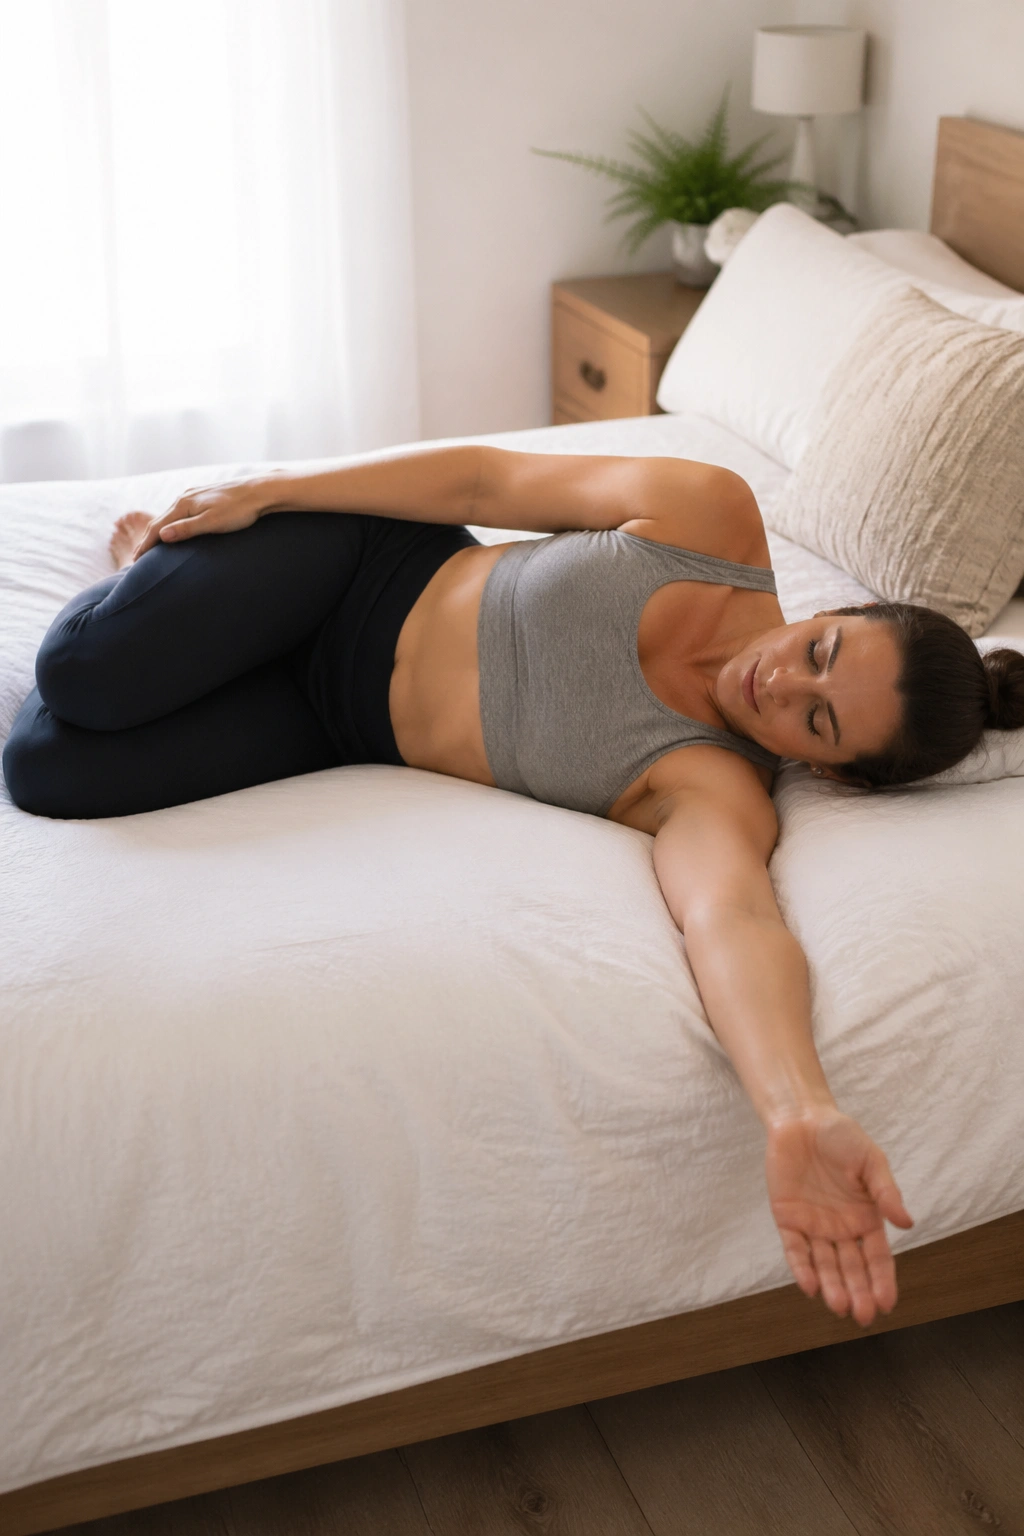
I keep coming back to this one because stiff ribs can make the low back do extra work it never signed up for.
Lie on your side with your hips and knees bent, arms stacked in front of you. Open the top arm across the body and rotate through the upper back until the chest feels open, then return slowly. Keep the knees together. That little detail stops the low back from twisting too far and steals some strain away from the lumbar spine.
This is not the place to force a huge range. If the arm keeps going but the ribs stop moving, the motion is done. Stop there. The goal is to let the upper back share the work so the low back does not have to carry every ounce of rotation.
I like pairing this with a breath at the open position. It makes the rib cage feel less welded shut. If the shoulder is cranky, place a pillow under the top arm or keep the hand on the ribs instead of reaching all the way across.
Some days this feels like a small stretch. Other days it feels like a release that was overdue.
12. Modified Single-Leg Stretch for Deep Core Control
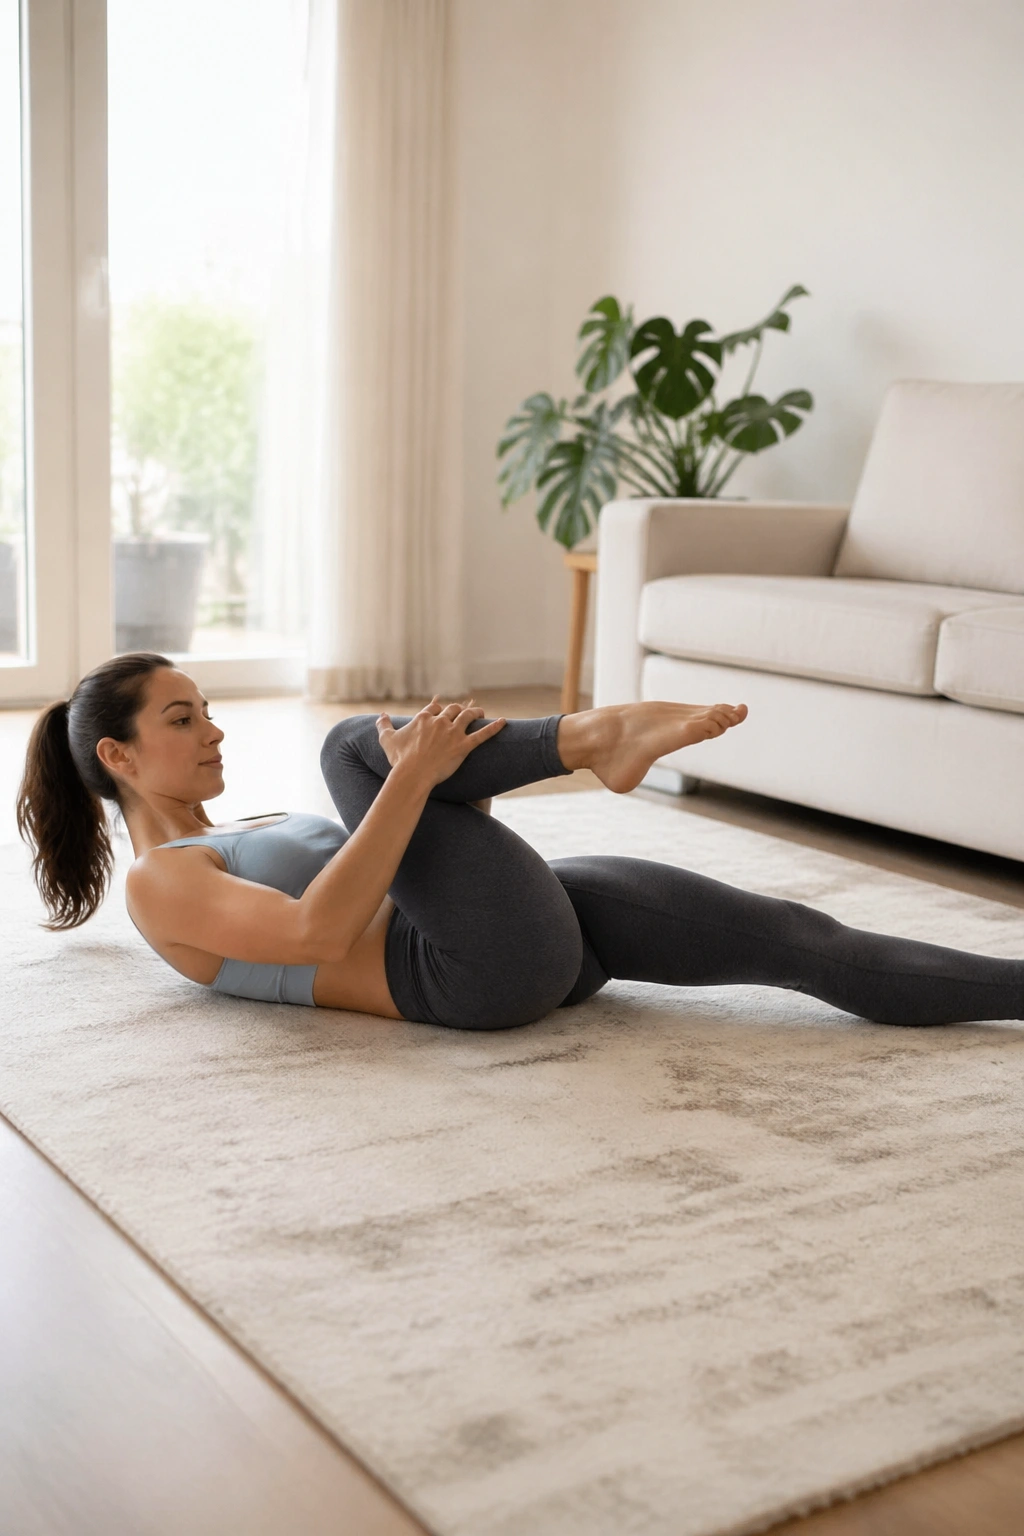
Full ab work is often too much too soon; this version keeps the load lower.
Lie on your back and bring one knee toward the chest while the other leg reaches long but not low. If your neck is fine, lift the head and shoulders a little. If not, keep the head down and work one leg at a time. Switch legs slowly, matching the movement to the exhale.
The standard Pilates version can be too aggressive for irritated sciatic nerves, especially if the long leg straightens hard and the hamstrings tug on the back of the pelvis. That is why I like a modified version first. Bend the long leg more. Keep it higher. Keep the movement slow.
How to scale the range
- Shorten the leg extension.
- Leave the head down if the neck braces.
- Exhale as each leg changes.
- Stop before the low back lifts off the mat.
If you feel a pulling line down the leg that gets stronger with the stretch, don’t chase it. Keep the leg bent and higher. The real win here is not a prettier shape. It’s the ability to move the legs while the trunk stays calm.
13. Figure-Four Stretch for the Deep Glutes
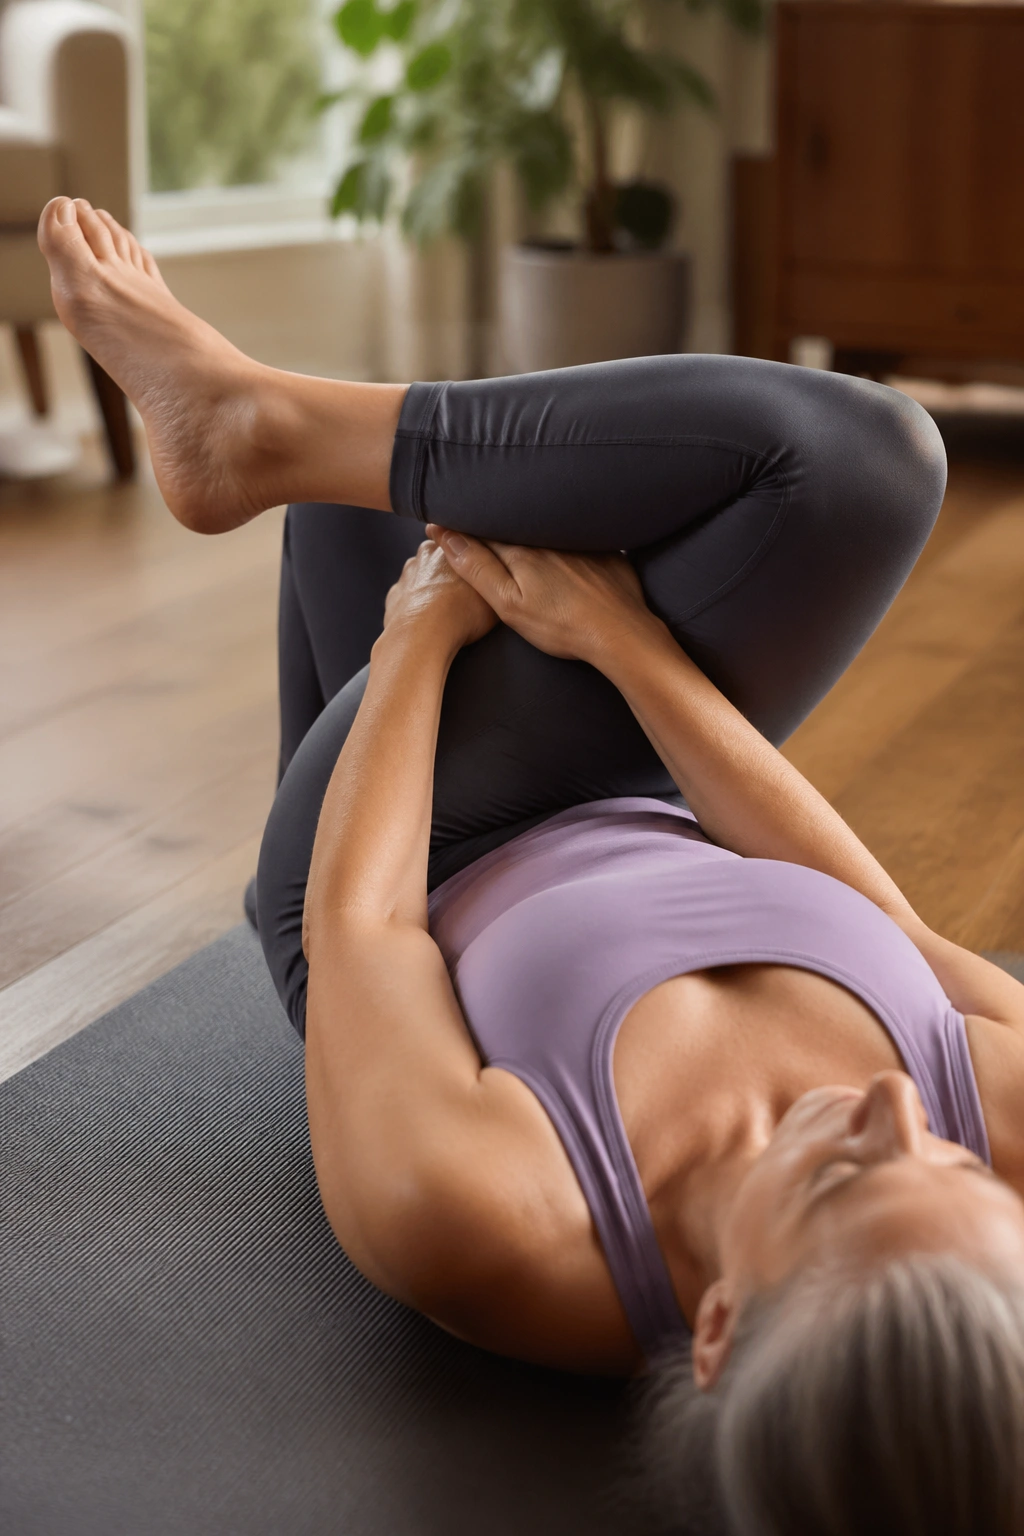
Why does this one feel like it lands in the right spot?
Because the figure-four stretch often reaches the piriformis and nearby glute muscles that can get cranky when the pelvis is stiff or one side is doing too much work. Lie on your back, cross one ankle over the opposite knee, then draw the uncrossed thigh toward you until you feel a firm but manageable stretch in the buttock. The stretch should stay in the hip, not scream through the knee.
The temptation is to yank harder than you need to. Don’t. A gentle hold for 20 to 30 seconds, repeated 2 or 3 times per side, is enough for most people. If the stretch feels better with the supporting foot on the mat instead of lifted, keep it there.
When to stop
If the pain shifts from the buttock and starts running farther down the leg, back off. If the knee complains, support the lower leg or skip this one for the day.
This is one of those stretches that can be lovely in the right dose and annoying in the wrong one. Small adjustments matter more than people expect.
14. Hamstring Floss With a Strap
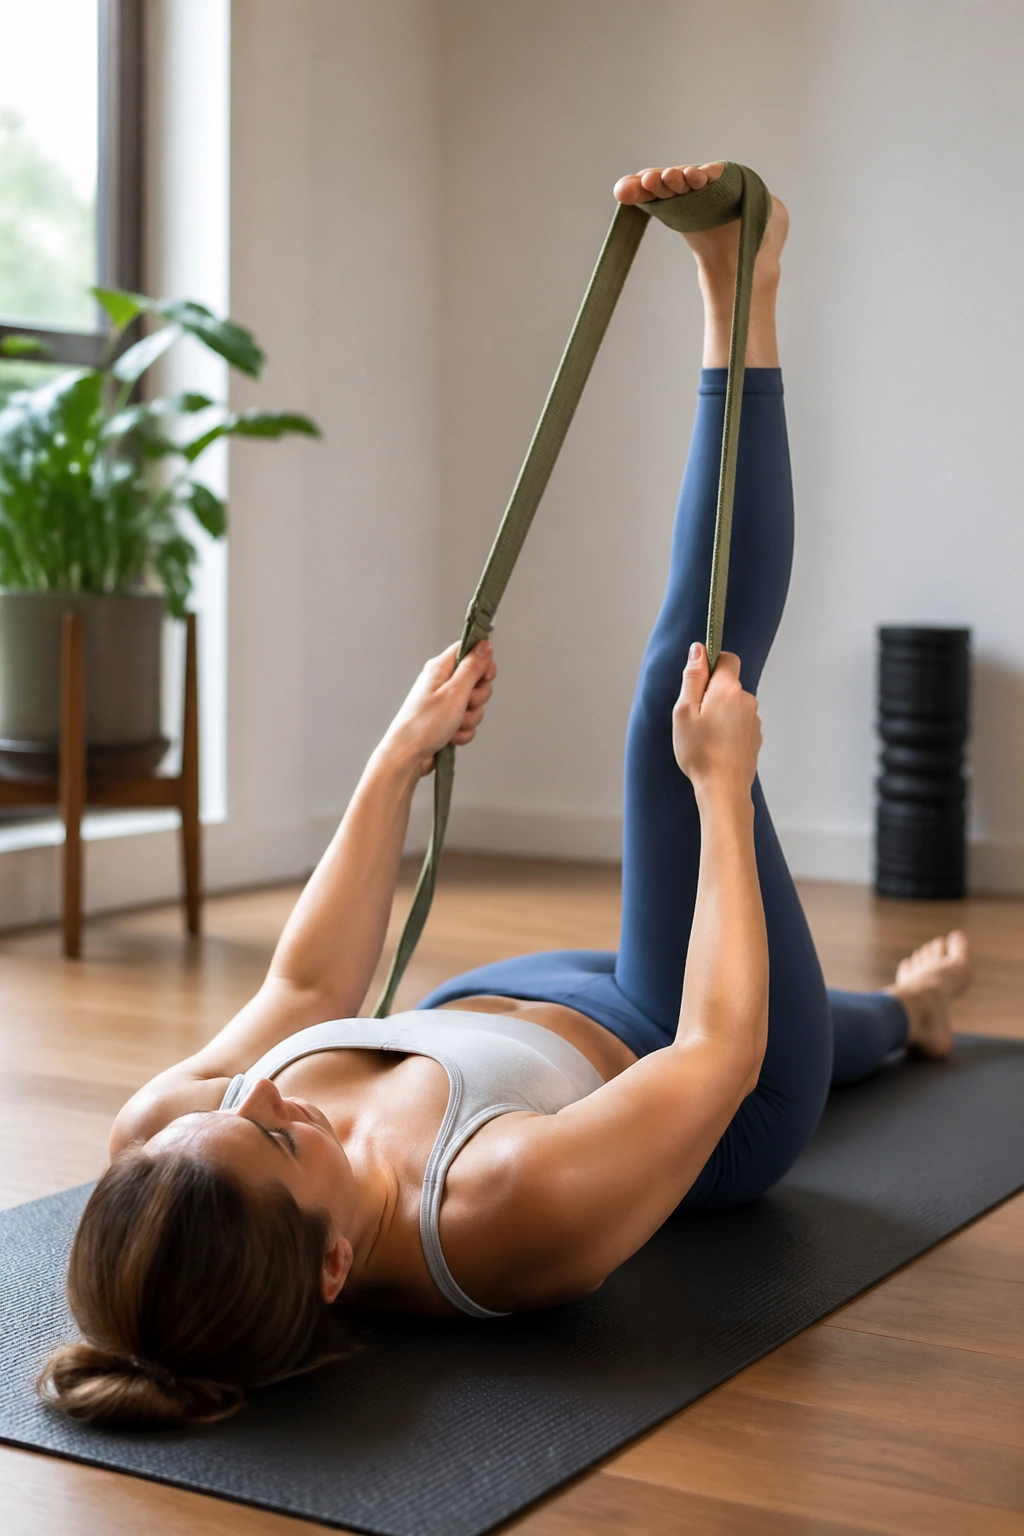
A hard hamstring stretch can light up the nerve. Flossing is kinder.
Lie on your back, loop a strap around one foot, and raise the leg until you feel a mild stretch. Then gently bend and straighten the knee a few inches, almost like you are polishing the same narrow range of motion. The idea is to move the hamstring and the sciatic nerve interface together without pulling on either one too hard.
That is the difference between flossing and forcing. A long static hold can be too much if your sciatic nerve is sensitive. A tiny back-and-forth motion is often better because it keeps the tissue moving without asking for a dramatic stretch.
- Use a strap, belt, or towel.
- Keep the leg somewhere around a 60 to 90 degree hip angle.
- Move through 8 to 10 small repetitions.
- Keep the ankle neutral if dorsiflexing the foot makes symptoms worse.
If the leg shakes or the back arches, lower the angle. If tingling gets louder, stop. This one should feel like controlled movement, not a tug-of-war with your hamstring.
15. Supported Mermaid Stretch for Sciatica Relief
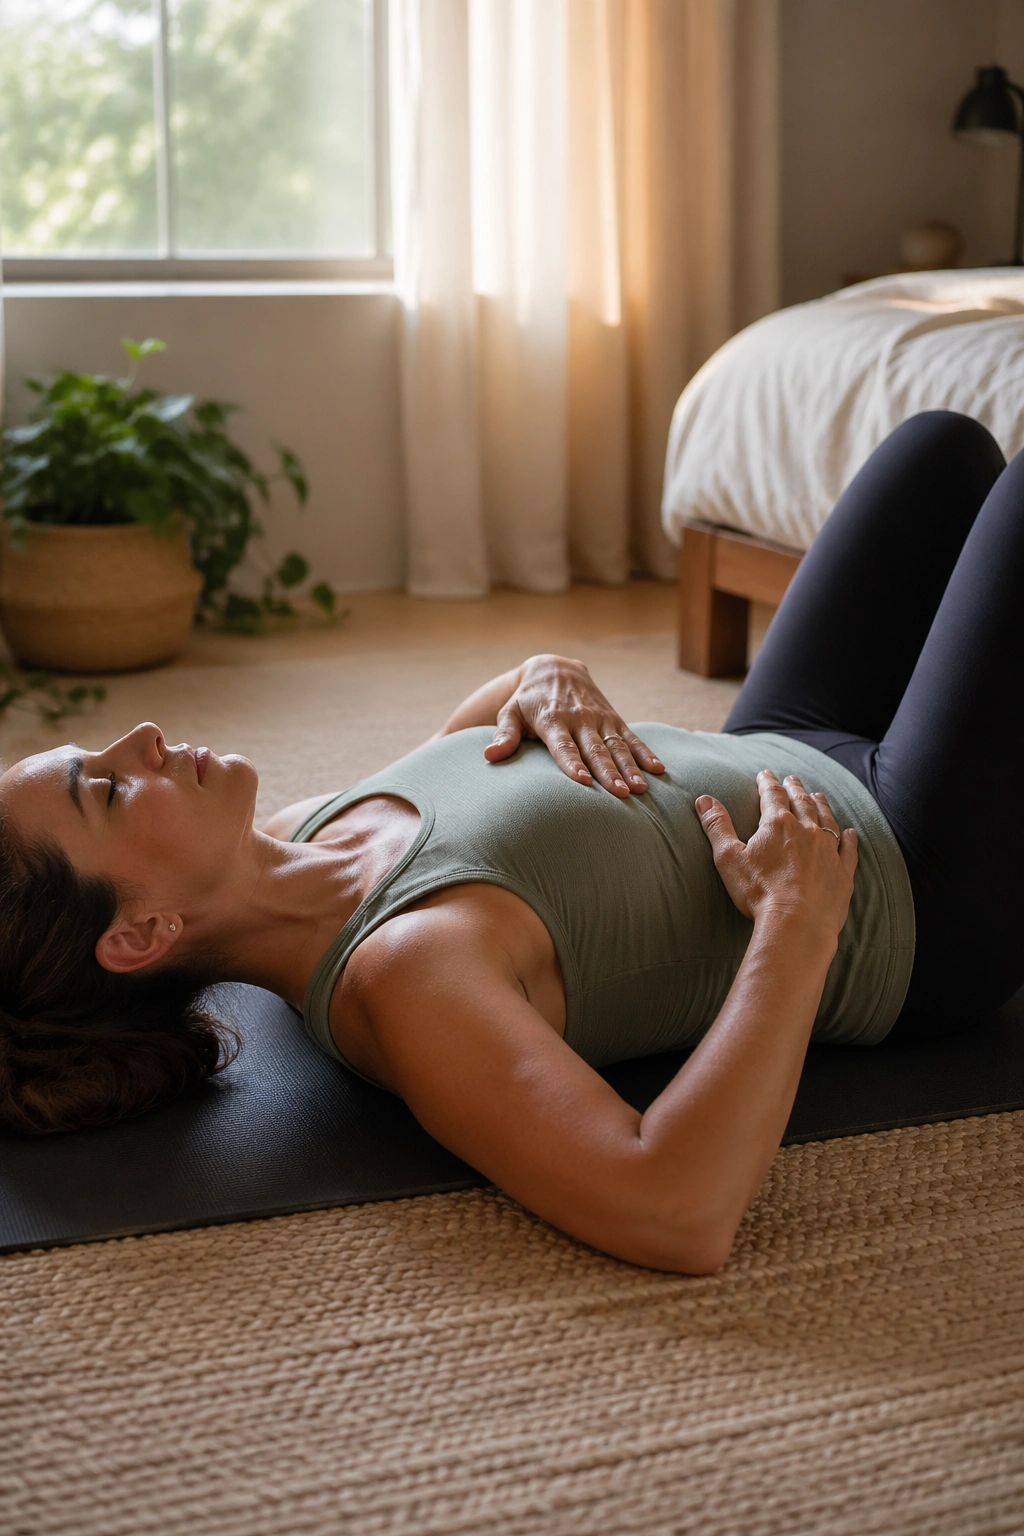
Unlike deep twists or aggressive forward folds, mermaid gives the ribs and side waist room to breathe.
Sit with both knees bent to one side, or take a comfortable kneeling side-bend setup if the hips prefer that. One hand stays grounded while the other arm reaches overhead and arcs gently to the side. Keep the sit bones heavy. Keep the chest open enough that the breath can still move into the side ribs.
This is a good ending movement because it shifts the body out of brute strength and into length. If your low back feels compressed, the side reach can create a little space along the flank and outer trunk. It is subtle. That is fine. Subtle often beats dramatic when a nerve is involved.
If the stretch pulls at the low back, reduce the side bend and make the arm reach smaller. If the neck tightens, look straight ahead instead of up. The goal is to feel a clean line from the hip to the fingertips, not a wrestling match.
A simple order works well: breath, pelvic tilts, heel slides, bridges, then one gentle stretch at the end. If your symptoms settle with that, you have a workable starting point. If one movement consistently makes the pain travel farther down the leg, leave it out for now and keep the rest.
