



The Pilates chair looks almost harmless until the pedal starts moving and your body realizes it cannot fake control. That small platform and spring-loaded pedal ask for leg strength, trunk stability, shoulder support, balance, and timing all at once. A lot of home equipment promises a toned body; Pilates chair exercises are one of the few tools that make you earn it with clean, honest work.
What I like about the chair—especially the classic Wunda Chair and its close cousins—is that it exposes sloppy movement fast. If you dump into your lower back, the springs tell on you. If your knees drift, your foot pressure gives it away. And when you press the pedal down, the hard part is not only the push. It’s the return. That slow return is where your abs, glutes, inner thighs, and upper back start doing the kind of work that changes how your body looks and feels.
There’s another reason the chair gets such loyalty from instructors: it can build shape without endless high-rep flailing. You can train your legs, waist, chest, arms, back, and hips in a space no bigger than a bedside table. Done well, chair work gives you that firmer look people usually mean when they say “toned”—more muscle definition, better posture, less wobble where you do not want wobble.
One catch, though. The chair rewards patience and punishes ego. Start with the moves that teach pedal control, then stack on the flashier stuff.
Why the Pedal and Springs Build More Than Core Fatigue
A Pilates chair is resistance training, even if it does not look like a rack of dumbbells. The spring fights you both ways: on the press down and on the controlled rise back up. That second part matters. Eccentric work—muscles lengthening while still under tension—is a big reason chair sessions leave your legs and abs feeling worked in a deep, clean way rather than beat up.
You also get unilateral work without making it a whole production. Standing on one leg while one foot controls the pedal lights up the glute medius, the side hip muscle that keeps your pelvis level when you walk, climb stairs, or run. If that muscle is asleep, your knees and lower back often end up doing extra labor they did not ask for.
Posture changes here too. The chair asks for organized ribs, long spine, and shoulder blades that stay wide on your back. That sounds technical. It feels more basic than that: chest open, neck easy, waist active, no hanging off the joints.
And unlike mat work, the chair gives immediate feedback. Pedal slamming? You lost control. Heel lifting? You shifted load forward. Hips twisting? One side is taking over. The machine is blunt, which I appreciate.
How to Set Your Pilates Chair Before the First Rep
Chairs differ, so copying someone else’s spring chart word for word is a bad bet. One brand’s “light” can feel like another brand’s medium-heavy. Think in categories first—light, medium, heavy—then test the movement with one clean rehearsal rep.
Here’s the setup checklist I use before any Pilates chair workout:
- Choose a spring that lets you move with control for 6 to 12 reps. If the pedal drops like a trapdoor, the spring is too light for that exercise.
- Lock the split pedal unless the move calls for each side to work on its own.
- Place the chair on a non-slip surface. A chair that shifts under you has no business in your workout.
- Use handles when balance is the challenge, not your goal. There is no prize for wobbling through bad reps.
- Check your standing foot. Tripod pressure—big toe mound, little toe mound, heel—keeps knees happier than rolling inward.
One more thing. Test the top of the pedal return with care. On many moves, that final inch is where people either grip the hip flexors or let the spring yank them out of shape. Slow it down there.
A Smart Way to Use These 20 Chair Moves
You do not need all 20 exercises in one session. In fact, that usually turns into tired, messy work by the middle of the list. Eight to ten moves is enough for one solid chair workout if you keep the reps honest and the transitions tight.
A simple split works well:
Lower body and balance day
Pick 5 to 6 moves from the standing and seated leg sections. Aim for 2 to 3 sets of 8 reps per side on unilateral work.
Upper body and trunk day
Choose 3 to 4 pushing or extension moves, then add 2 to 3 deep core exercises. Holds of 3 to 5 breaths count.
Full-body circuit
Run through 8 moves total. Lower body, upper body, core, back, then repeat with different patterns.
If you are new to the chair, start with the first eight exercises on this list before you flirt with Pike, Teaser, or Side Sit-Up. I love those advanced moves. I do not love watching them done before the basics are there.
1. Seated Footwork Press
If you only do one chair move for your legs at the start, make it this one. Seated Footwork Press teaches how to organize the pelvis, feet, and pedal without the balance demand getting in the way. Sit near the front edge of the chair, spine tall, both feet on the pedal in parallel, knees bent.
Press the pedal down on an exhale until your legs are long but not locked. Then return with control, keeping your sit bones heavy and your waist lifted. You should feel quads, calves, inner thighs, and lower abdominals working together—not your neck, not your hip flexors trying to take over.
What to watch for
- Knees tracking over the second and third toes
- Even pressure through both feet
- No collapsing backward as the pedal rises
- A smooth top range with no bounce
How many reps
Try 10 slow reps, then hold the pedal halfway for 10 seconds on the last one. That mid-range hold wakes up your thighs fast.
Best use: early in the workout, especially if your knees need a gentler way to warm up before standing work.
2. Single-Leg Seated Press
One foot changes everything. The minute you take one leg off the pedal, you find out which hip hikes, which knee drifts, and which side of your waist likes to go on break.
Set up the same way as the seated footwork press, then place one foot on the pedal and the other foot lightly on the floor or hovering, depending on your control. Press down and return without shifting your pelvis to one side. The chair will tempt you to lean toward the working leg. Do not.
This is one of my favorite chair exercises for building cleaner leg symmetry. People often think their legs are equally strong until they hit rep five on the weaker side and the pedal starts talking back. Keep the range smaller if you need to. A short, controlled rep beats a big ugly one.
Use 6 to 8 reps per leg. If your hip flexors grab, sit a touch taller and think of pressing from the back of the thigh rather than jamming the knee straight.
3. Standing Front Pump
Why does this move feel harder than it looks? Because Standing Front Pump asks your standing leg to stabilize while the moving leg works the pedal, and that double job is where shape and control start showing up.
Stand behind the chair facing the pedal, one foot on the floor and the other on the pedal. Hands can rest lightly on the chair top or handles. Bend the standing knee a little, square the hips, and pump the pedal through a small range. The motion is not huge. Think 3 to 5 inches, smooth and quiet.
Your glute on the standing side should be on fire by the end. That is the point. The standing leg is what keeps the pelvis level and the knee from wobbling inward. The moving leg adds hip and quad work, but the support side is doing half the magic here.
How to use it
Use a light to medium spring and start with 12 pumps per side. If balance feels sketchy, keep both hands on the chair and shorten the range. If the shoulders creep toward the ears, back off and reset.
4. Side Standing Pump
I still think this move deserves more attention than it gets. Side Standing Pump targets the outer hip and inner thigh in a way mat clamshells cannot quite match, because you have to control the pedal and your standing leg at the same time.
Stand sideways to the chair with the inside foot on the pedal and the outside foot on the floor. Hips face forward. One or both hands can hold the handle or chair top. Press the pedal down from the side hip, then let it rise with control. Keep the ribs stacked over the pelvis; leaning sideways turns the move into a shruggy mess.
The burn often lands in the standing leg first. Good. That leg is stopping your pelvis from dropping. The pedal leg works the adductors and abductors, depending on setup and range, while your obliques stop you from listing like a boat.
A smaller range works better than people expect. Ten clean reps per side with a one-second pause at the bottom will do more than 20 sloppy bounces.
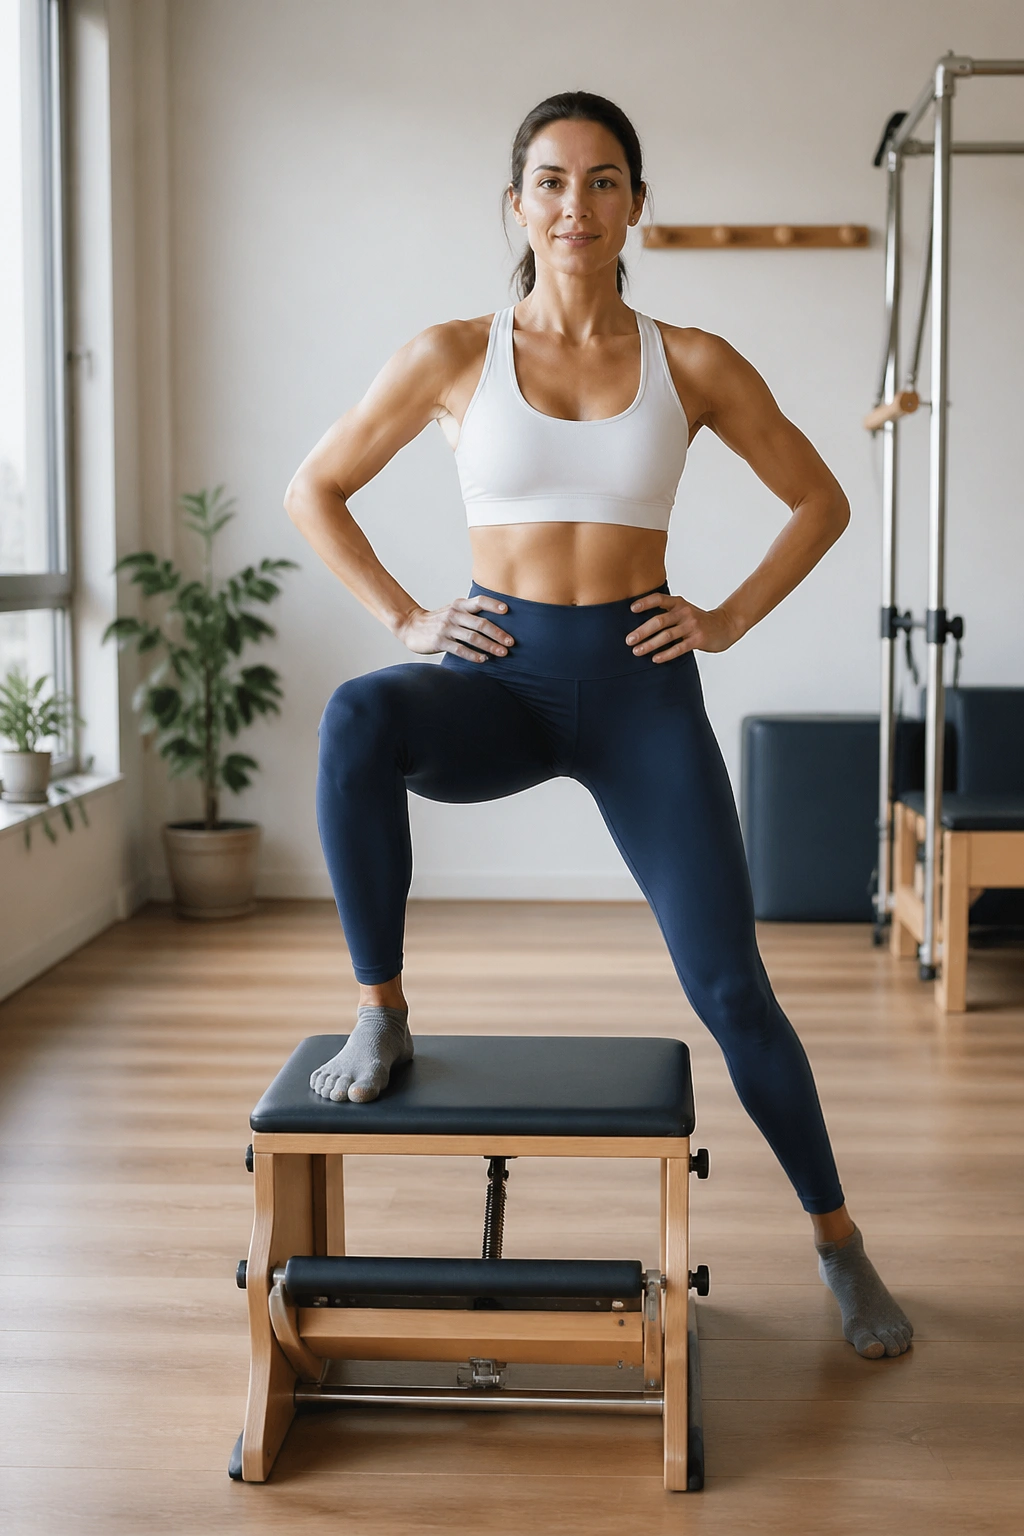
5. Step-Up to Balance
The chair version of a step-up has teeth. Step-Up to Balance builds glutes, quads, calves, and deep core support without the impact of jumping or sprint work. Stand facing the chair with one foot planted on top, the other on the floor.
Drive through the whole foot on the chair and rise to standing, bringing the free knee to hip height if balance allows. Lower back down with control, taking 3 seconds on the descent. That slow lowering is the part most people rush, which is why they miss half the benefit.
Do not push off the floor like you are sneaking help from the back leg. Keep the load in the front heel and midfoot. If your knee caves in, lower the height by using a lower chair model or holding the handle for support. You want the glute to extend the hip, not the knee to twist its way through the rep.
Use 6 to 10 reps per side. Fewer reps, done well, build more shape than a sloppy set you survive by momentum.
6. Side Step-Up
Unlike the front step-up, this variation puts the side hip under a brighter spotlight. Side Step-Up is a strong pick if you want more work in the glute medius and outer thigh, which help create steadier hips and cleaner leg lines.
Stand sideways with the inside foot on the chair top and the outside foot on the floor. Press through the chair foot to stand up, letting the outside leg float or tap lightly. Lower with patience. Keep your pelvis level; one hip should not hike toward your ribs as you rise.
Who feels this most? Usually runners, dancers, and anyone whose knees drift inward on squats. The side hip has to keep the femur lined up while the trunk stays tall. If you wobble, hold a wall or the handle. Support is not cheating here. It lets you keep the load where you want it.
I like two sets of 8 per side with a brief balance at the top. Skip the balance if your standing ankle rolls around.
7. Split Lunge Press
A chair can turn an ordinary split squat into something sharper. Put one foot on the pedal and the other on the floor in a split stance, then lower and lift while the pedal moves under controlled spring resistance. Split Lunge Press trains hip stability front to back, which matters if you want toned thighs without dumping load into the knees.
There are a few setup options, and the best one depends on chair height and your hip mobility. I prefer the front foot on the floor and the back foot on the pedal for most people. That lets the front glute and quad do the heavy lifting while the back leg gets an active stretch and some press work.
Cues that clean it up
- Front shin stays close to vertical
- Back heel reaches away, even if it is lifted
- Torso leans slightly forward from the hips, not from a rounded spine
- Pedal returns slowly, with no snap
Rep idea
Use 8 reps each side, then hold the bottom for 2 breaths on the last rep. That pause tells you fast whether your hips are square or drifting open.
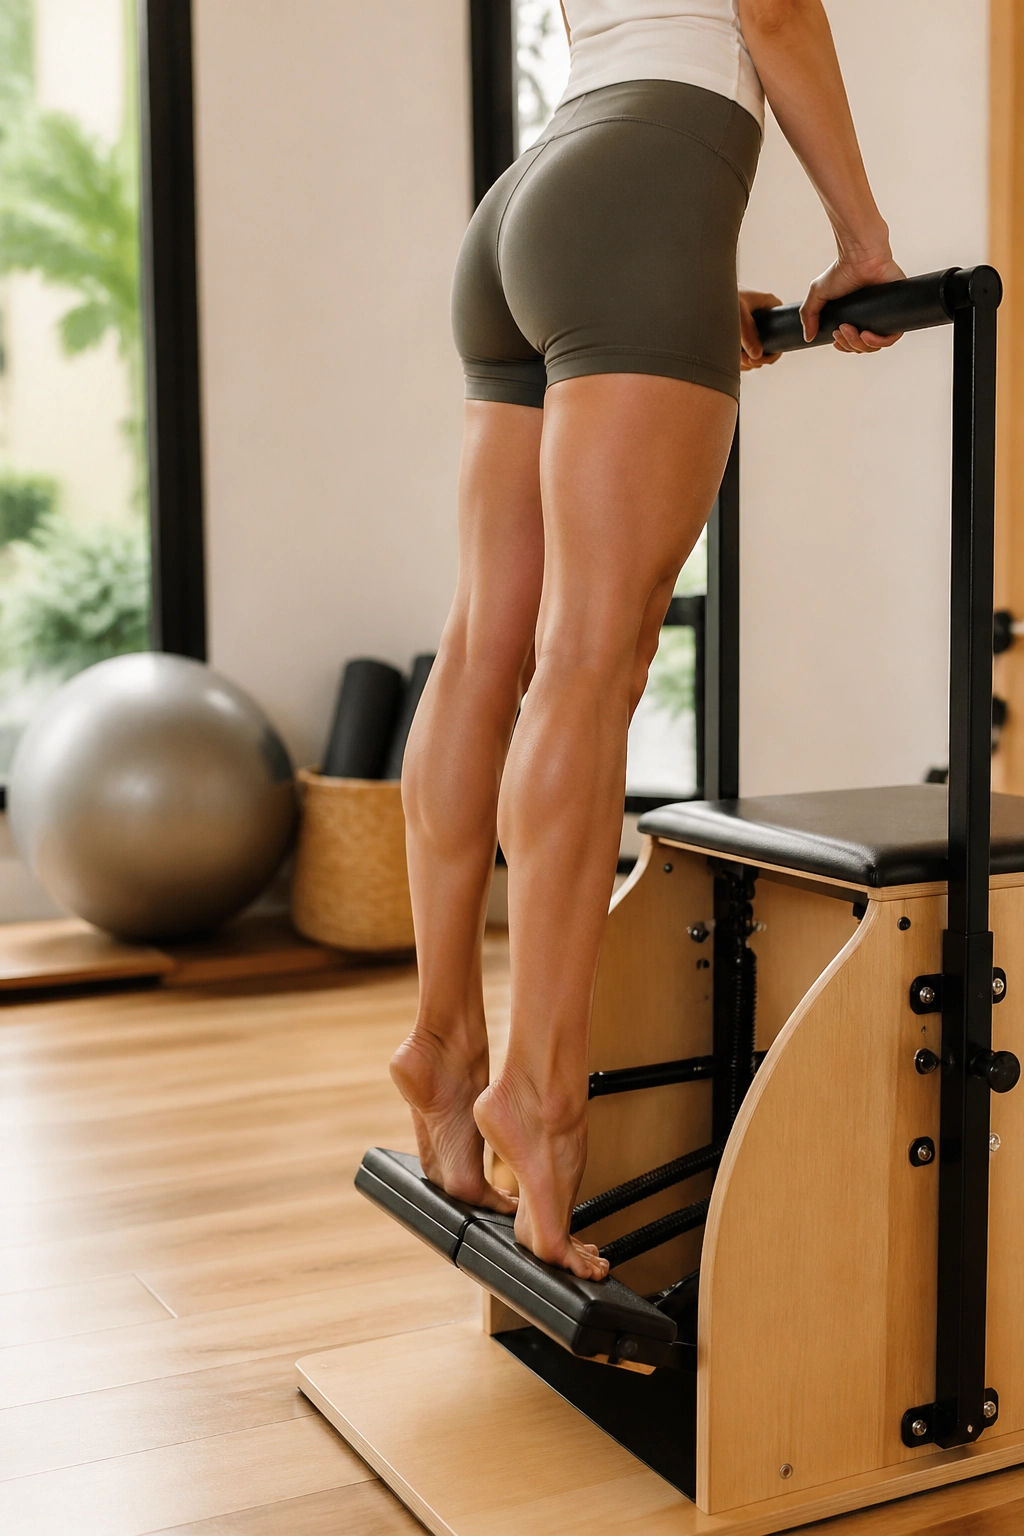
8. Standing Calf Raise Press
Small move. Sharp payoff.
Stand with the balls of both feet on the pedal and heels lifted, holding the chair or handles for balance. Rise higher through the heels, then lower the pedal and return under control. Standing Calf Raise Press hits the calves, arches, and ankle stabilizers, which matter more than people think for the look of the lower leg and for balance on every other standing chair move.
This is not a bounce. Think of lifting the crown of your head as the heels rise, then lowering the pedal with the same control you would use carrying a full cup of coffee upstairs. If the toes claw, spread them and soften the front of the ankle.
A useful progression is 12 reps with both feet, then 6 per side. If single-leg work makes the ankle wobble like a loose shopping cart wheel, stay with two feet until the foot tripod feels steady.
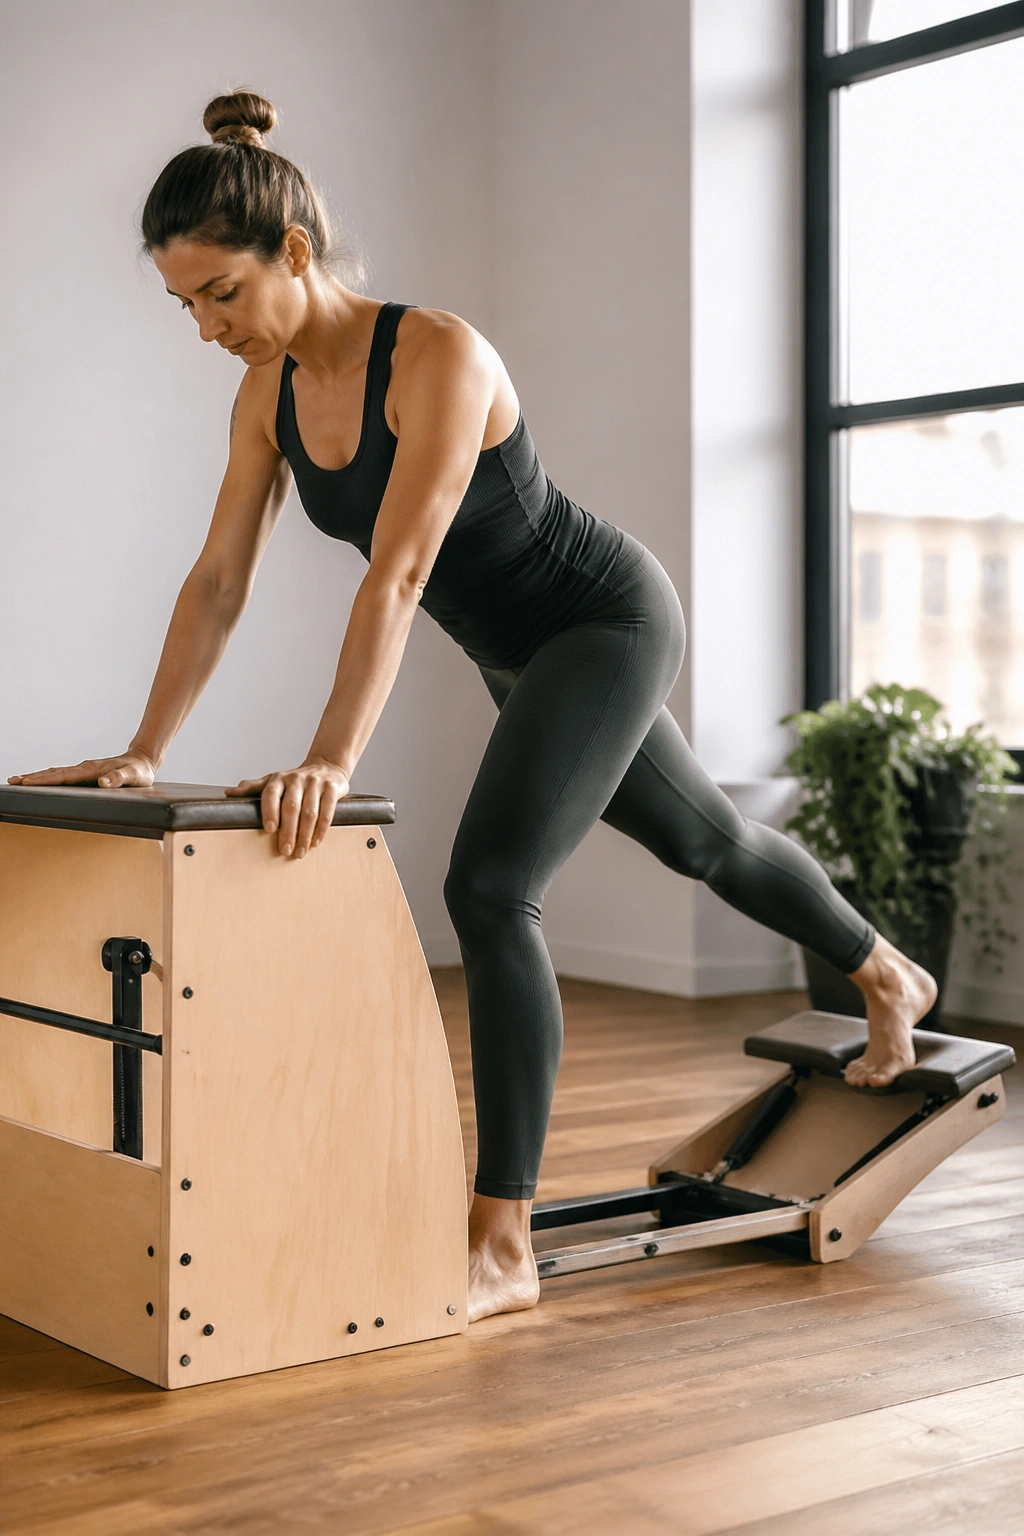
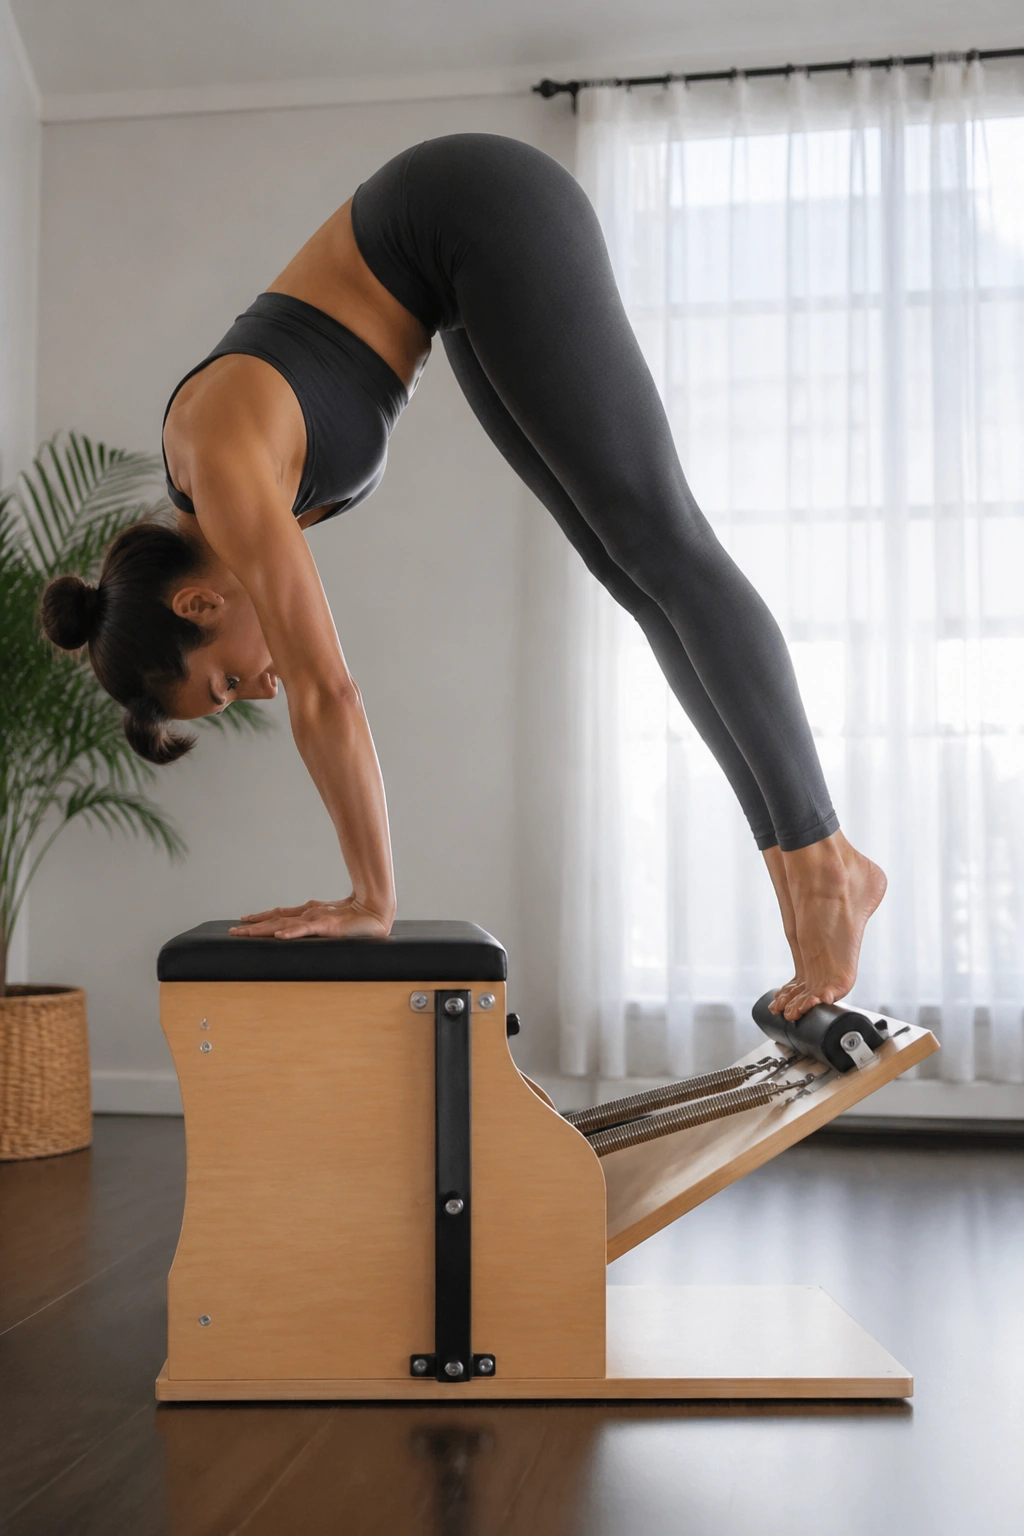
9. Pike
The Pike is where the chair stops feeling cute. This move can carve strength into the shoulders, waist, lower abs, and hip flexors fast, but only if the setup is honest.
Stand on the pedal with both feet, hands on the chair top or handles, hips piked, spine long. Without letting the shoulders sink, draw the pedal up by lifting your waist and hips higher, then lower it with control. On some chairs, the feet stay on the pedal and the pedal rises as the body lifts. The exact shape changes by model, yet the rule stays the same: the movement comes from your center, not a frantic shove from the quads.
People often turn Pike into a shoulder jam. If you feel pinching at the front of the shoulders or your neck gets tight, stop. Rebuild with footwork, standing pumps, and cat press first. You need serratus support—those muscles that help the shoulder blades wrap and glide—before Pike feels like strength instead of strain.
Six good reps beat twelve ragged ones. Every time.
10. Pull-Up
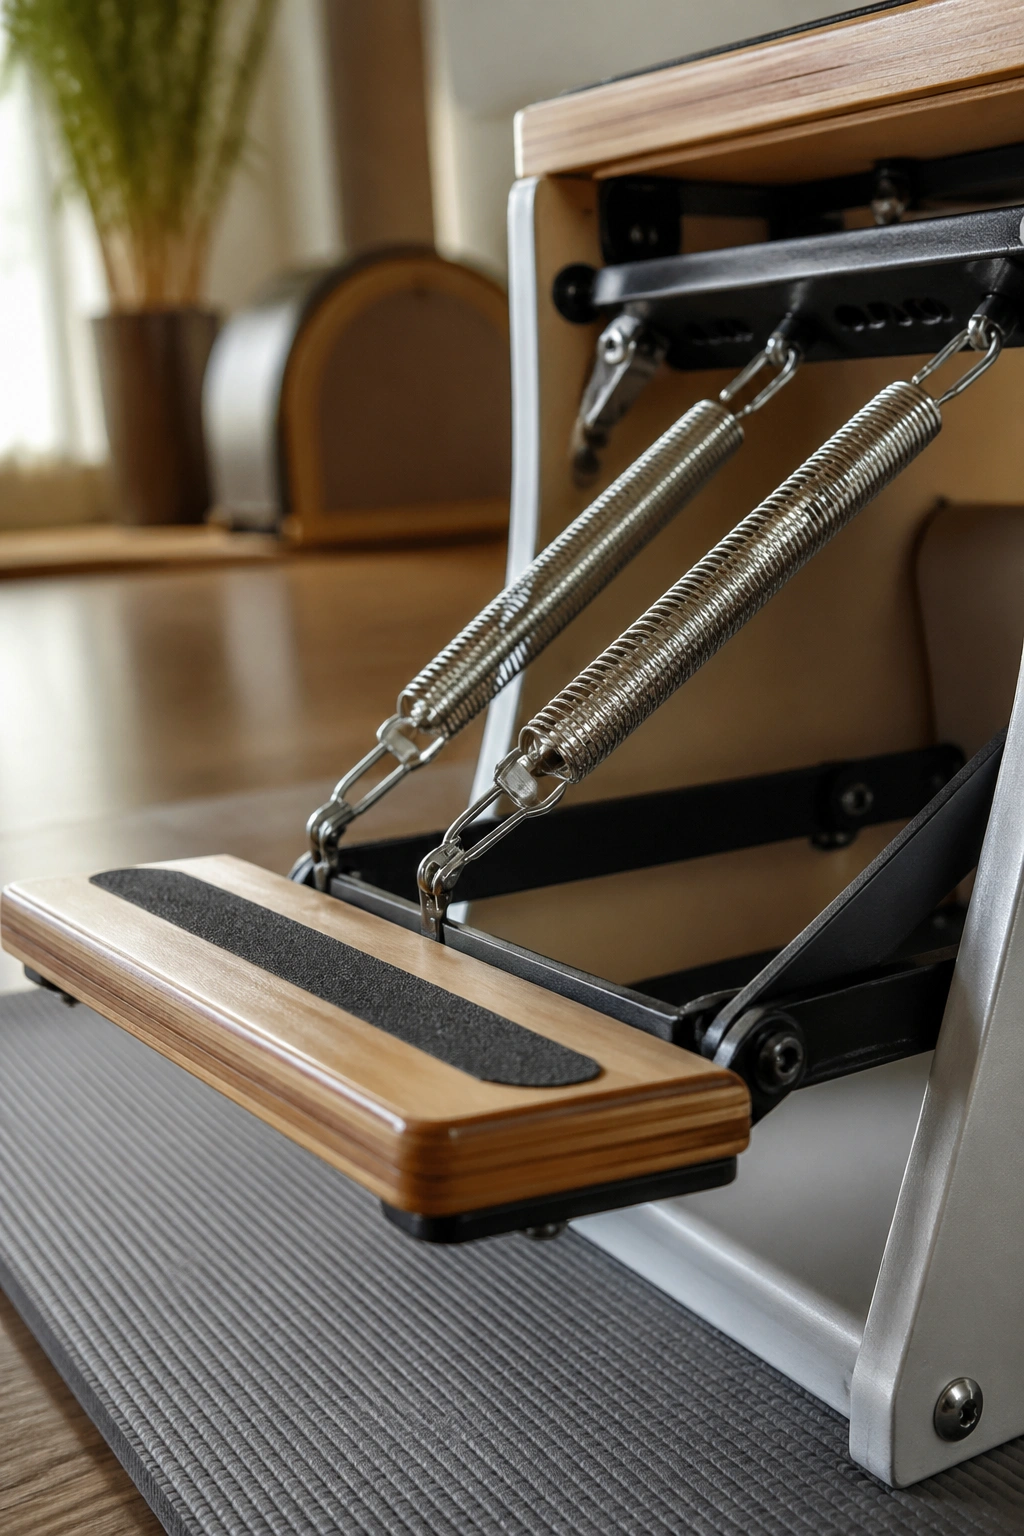
No, not that kind of pull-up. On the Pilates chair, Pull-Up usually means standing on the pedal in a rounded shape and lifting it by scooping the abdominals up rather than pressing down harder. It is a fierce trunk exercise when taught well.
Start standing on the pedal with toes near the front edge, hands on the chair. Round the spine into deep flexion, lift through the low belly, and let the pedal rise a few inches without losing the curve. Lower with control. The abs should feel like they are drawing the front of the body inward and upward, while the legs stay active enough to support the shape.
A few details matter:
- Keep weight spread through the feet, not dumped into the toes
- Do not let the shoulders collapse
- Think “lift the waist” more than “pull the pedal”
- Stop before the spring yanks you out of the shape
This one does not need high reps. 4 to 6 controlled lifts are plenty, especially if you hold the top for one breath.
11. Mountain Climber on the Chair
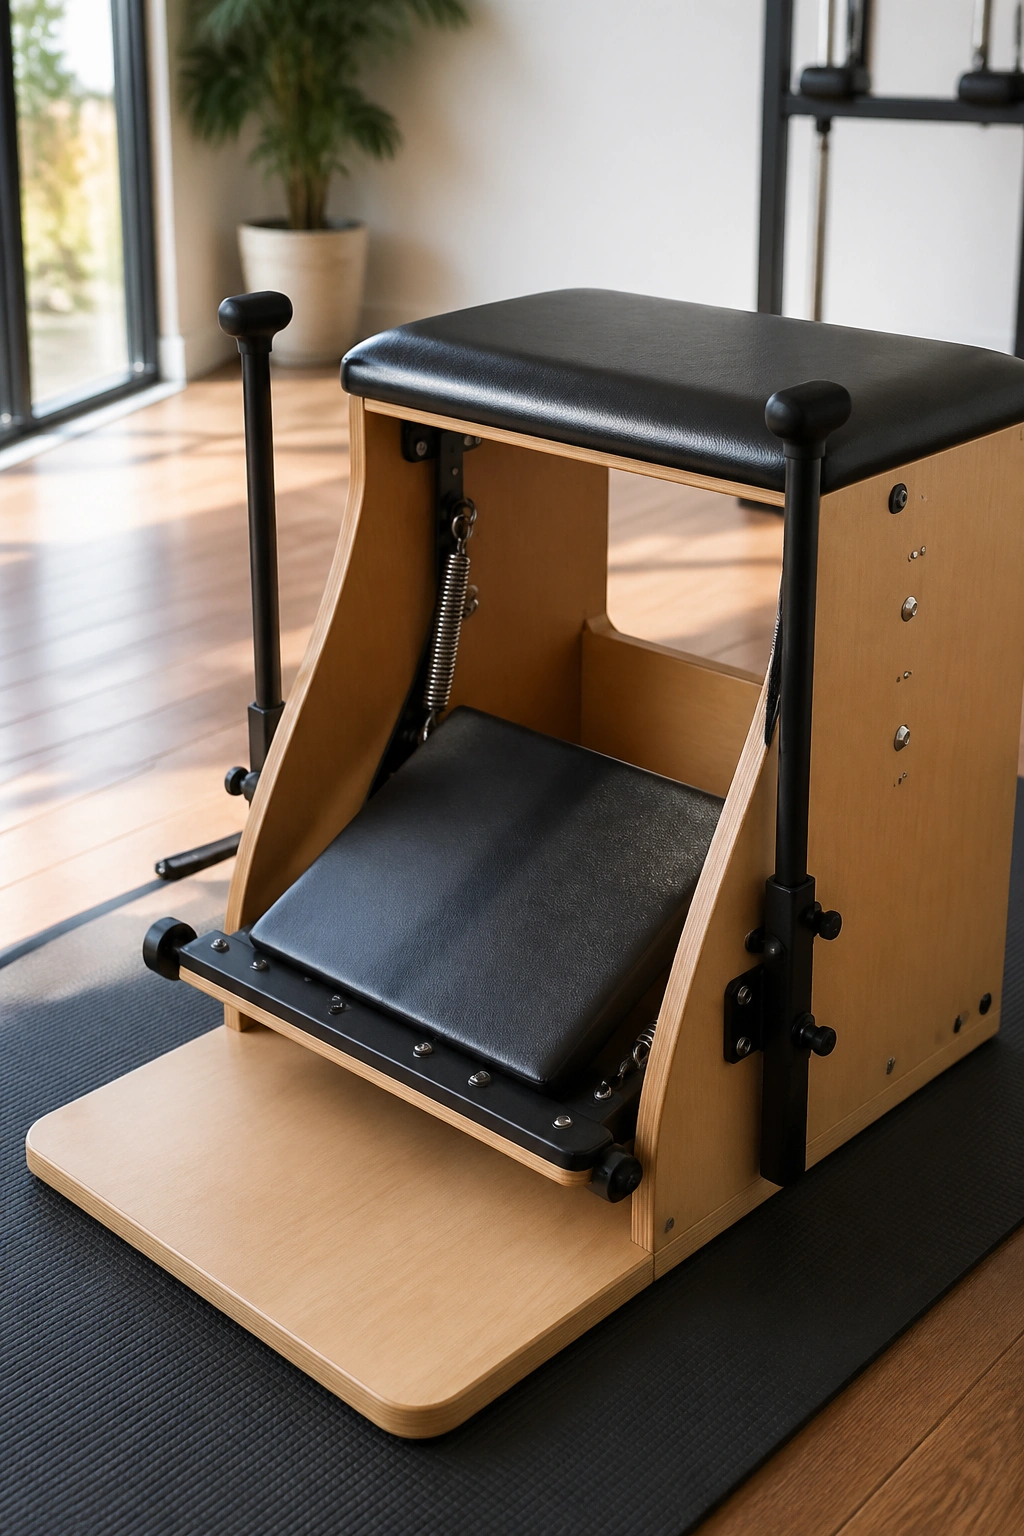
This exercise looks athletic because it is. Stand with hands on the chair and one foot on the pedal, then alternate a running-style action while keeping the torso stable. Mountain Climber on the chair trains hip drive and trunk control at the same time, which is one reason it firms the waist without endless crunching.
The trap is speed. Most people rush this move and lose the whole point. Start slow. One knee comes in as the other leg extends back, then switch without bouncing the pedal or rocking the pelvis side to side. Your shoulders stay broad. Your ribs do not spill forward. The spring should sound quiet.
When done cleanly, you feel lower abs, obliques, chest support, and front-of-hip work. When done badly, you feel wrists and chaos. If wrists complain, elevate the hands on handles or cut the set short before form goes sideways.
Try 20 alternating reps as one set. If that falls apart after 8, do 8. There is no medal for ugly reps.
12. Swan Press
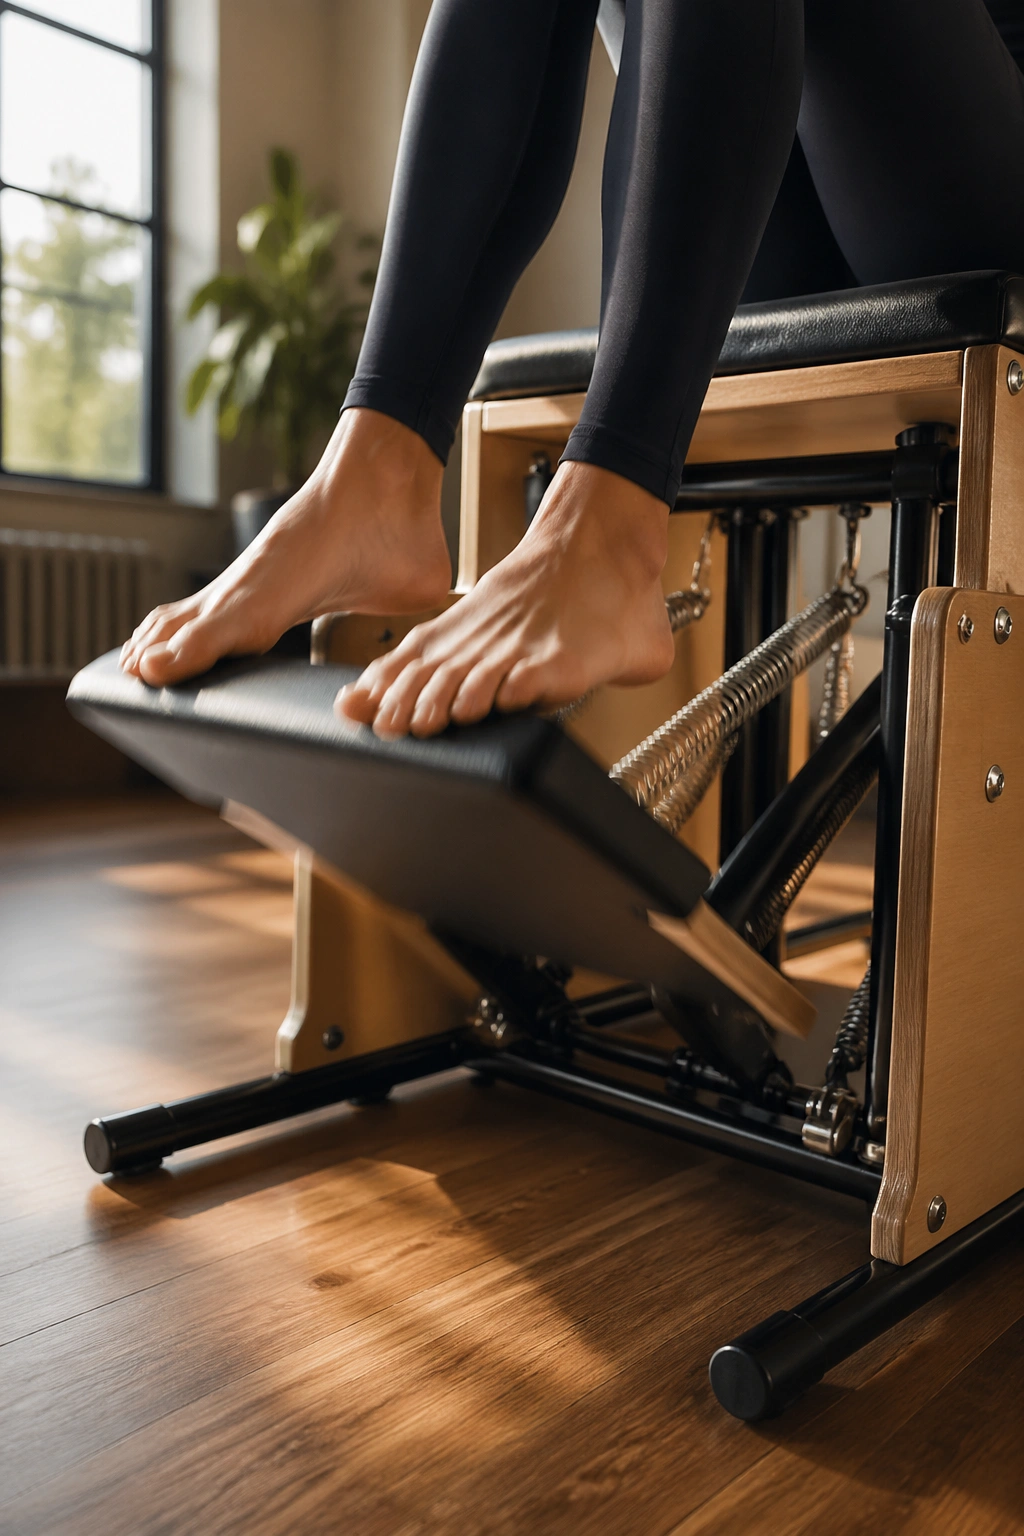
Here’s the move I wish more desk-bound bodies would practice. Swan Press strengthens the upper back, back body of the shoulders, glutes, and spinal extensors, all the stuff that helps you stand taller and look less folded in on yourself.
Lie prone over the chair or place the hands on the pedal in a supported variation, depending on your setup and training level. As the pedal moves, lengthen the spine into extension from the upper back first, then the middle back, keeping the back of the neck long. Think breastbone forward, shoulder blades sliding down and wide, legs active.
What makes Swan work
A good Swan does not crank the lower back. The extension should spread through the spine. If the low back bites first, reduce the range and wake up the glutes more.
Rep scheme
Use 5 to 8 slow reps, pausing at the top for one breath. You want length and support, not a giant backbend.
The feeling after a good set is unmistakable: chest open, upper back alive, waist long.
13. Kneeling Cat Press
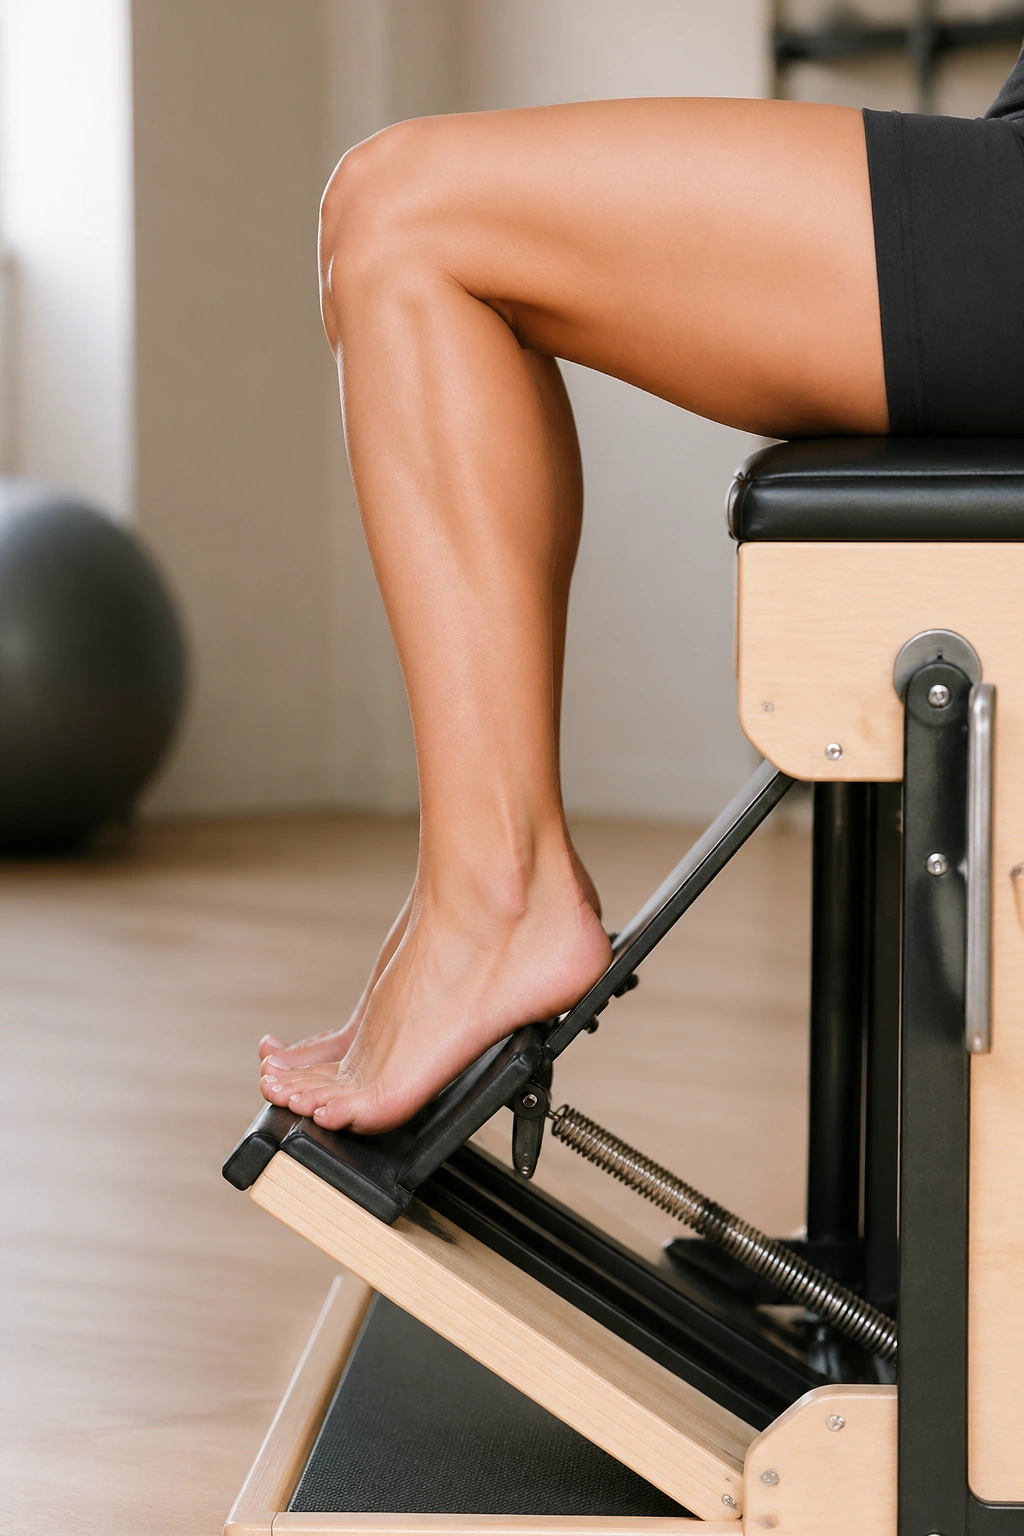
This one looks tame. It is not. Kneeling Cat Press builds abdominal control, shoulder support, and spinal articulation in a way that teaches the body how to move the pedal without losing shape.
Kneel facing the chair with hands on the pedal, spine rounded like an angry cat, pelvis gently tucked. Press the pedal down a short distance and bring it back by deepening the scoop of the abdominals. The spring should not pull you flat. If it does, you went too far or chose too little support.
What I like here is the feedback. You can feel the difference between moving from the arms and moving from the trunk within one rep. The arms guide the pedal. The waist does the real work. If your elbows bend and your neck strains, you turned a clean ab exercise into a push-down with panic attached.
Use 8 slow reps. Then sit back for a breath and notice whether your mid-back feels broader. It usually does.
14. Triceps Press Facing Away
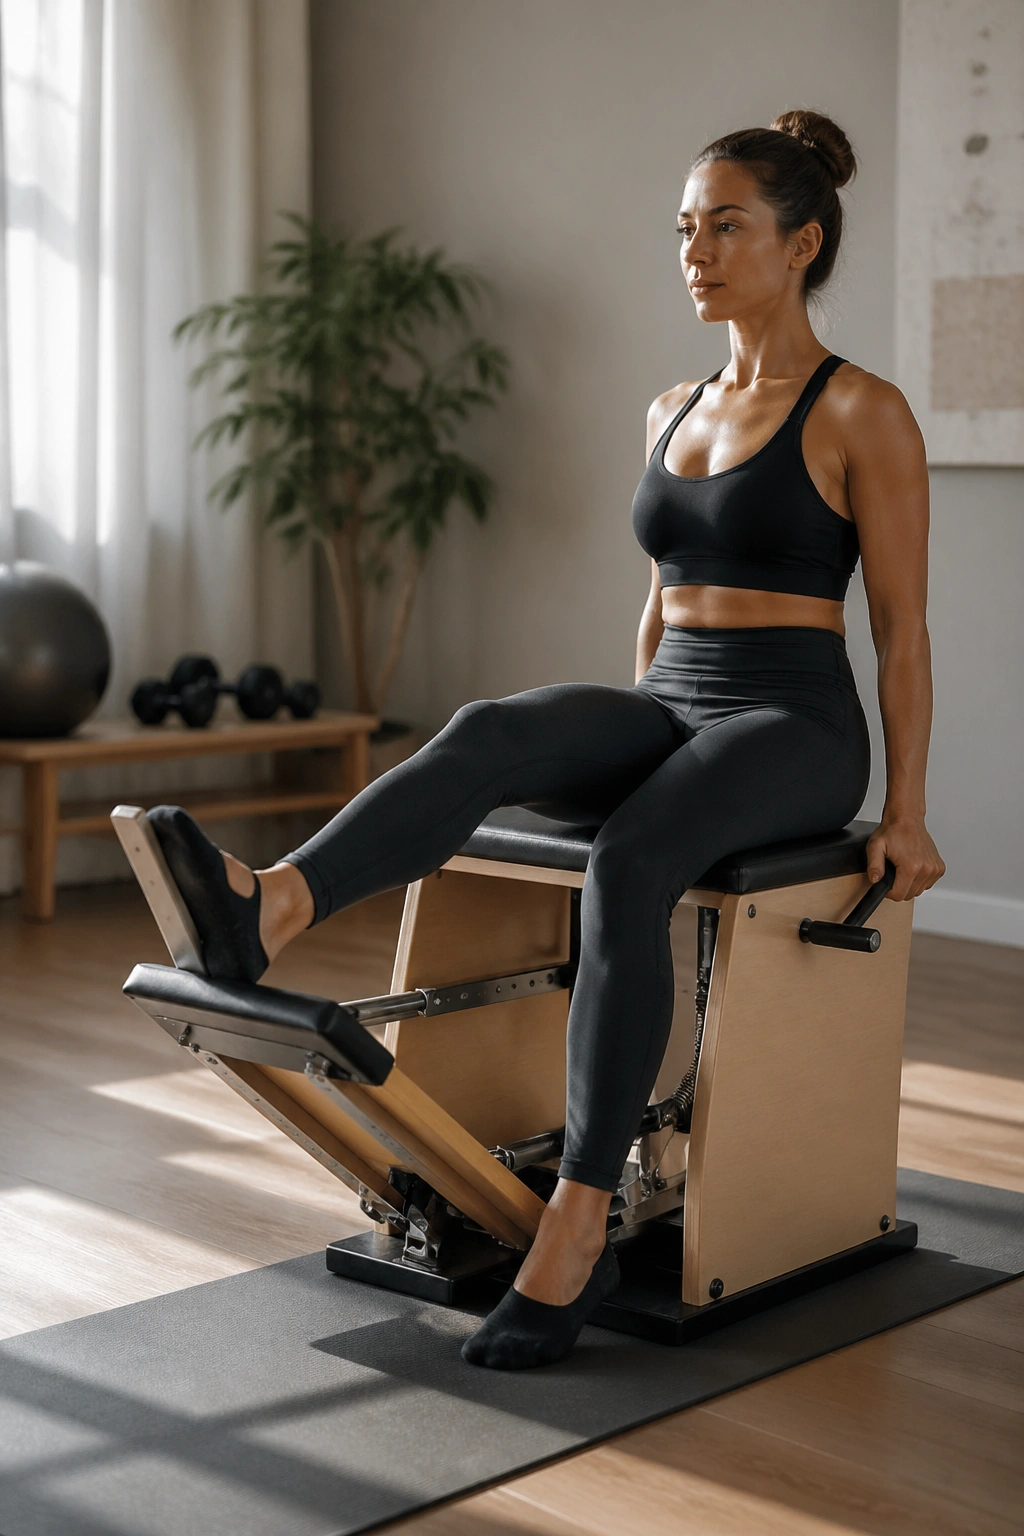
Sit on the chair facing away from the pedal with hands on the pedal edge behind you, fingers forward or slightly turned out if your wrists need room. Bend and straighten the elbows while keeping the chest open and shoulders down. Triceps Press Facing Away tightens the back of the arms and teaches shoulder extension under control, which is a gift if push-ups feel rough.
Unlike a bench dip at the gym, you do not need to sink low enough to grind the front of the shoulder. A modest elbow bend is plenty. Keep the shoulder heads from rolling forward. Lift the breastbone. Let the elbows point back, not flare wide.
If your shoulders dislike this angle, place the feet farther away and reduce the range, or skip it and use push-ups on the chair instead. Good triceps work should feel muscular, not pinchy.
A clean set looks almost boring. That’s fine. 10 to 12 reps with a one-second squeeze at the top will humble most people.
15. Push-Up with Pedal
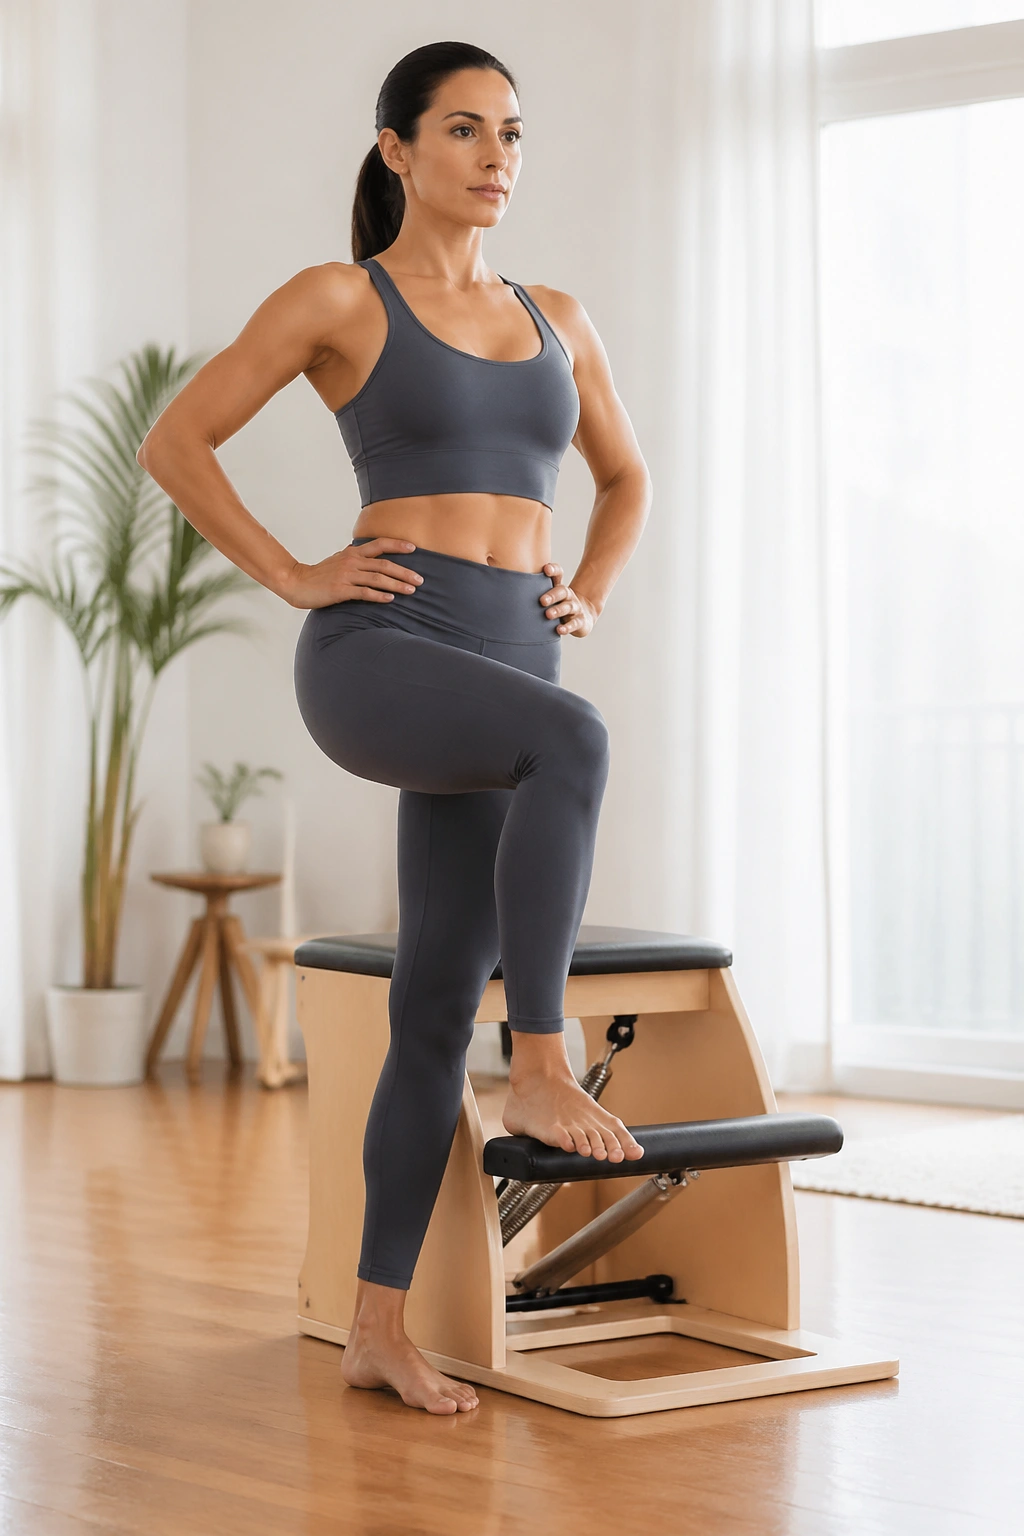
The moving pedal changes the push-up in a useful way: it forces your trunk to resist motion while your chest, shoulders, and triceps press. Set your hands on the pedal and feet on the floor behind you in a plank, or reverse it if your chair setup suits that version better. Lower and press with the body in one long line.
Why this is different from floor push-ups
The spring creates an unstable resistance curve. You have to manage the descent and the return, which means your abs and serratus have to stay awake the whole time.
A few blunt cues
- Squeeze the glutes
- Keep the back of the neck long
- Lower the chest between the hands, not the forehead
- Stop a rep early if the hips sag
Use 6 to 10 reps. If full plank is too much, kneel on a pad and keep the same trunk shape. Half-range with control beats a floor scrape with crossed fingers.
16. Mermaid Side Bend
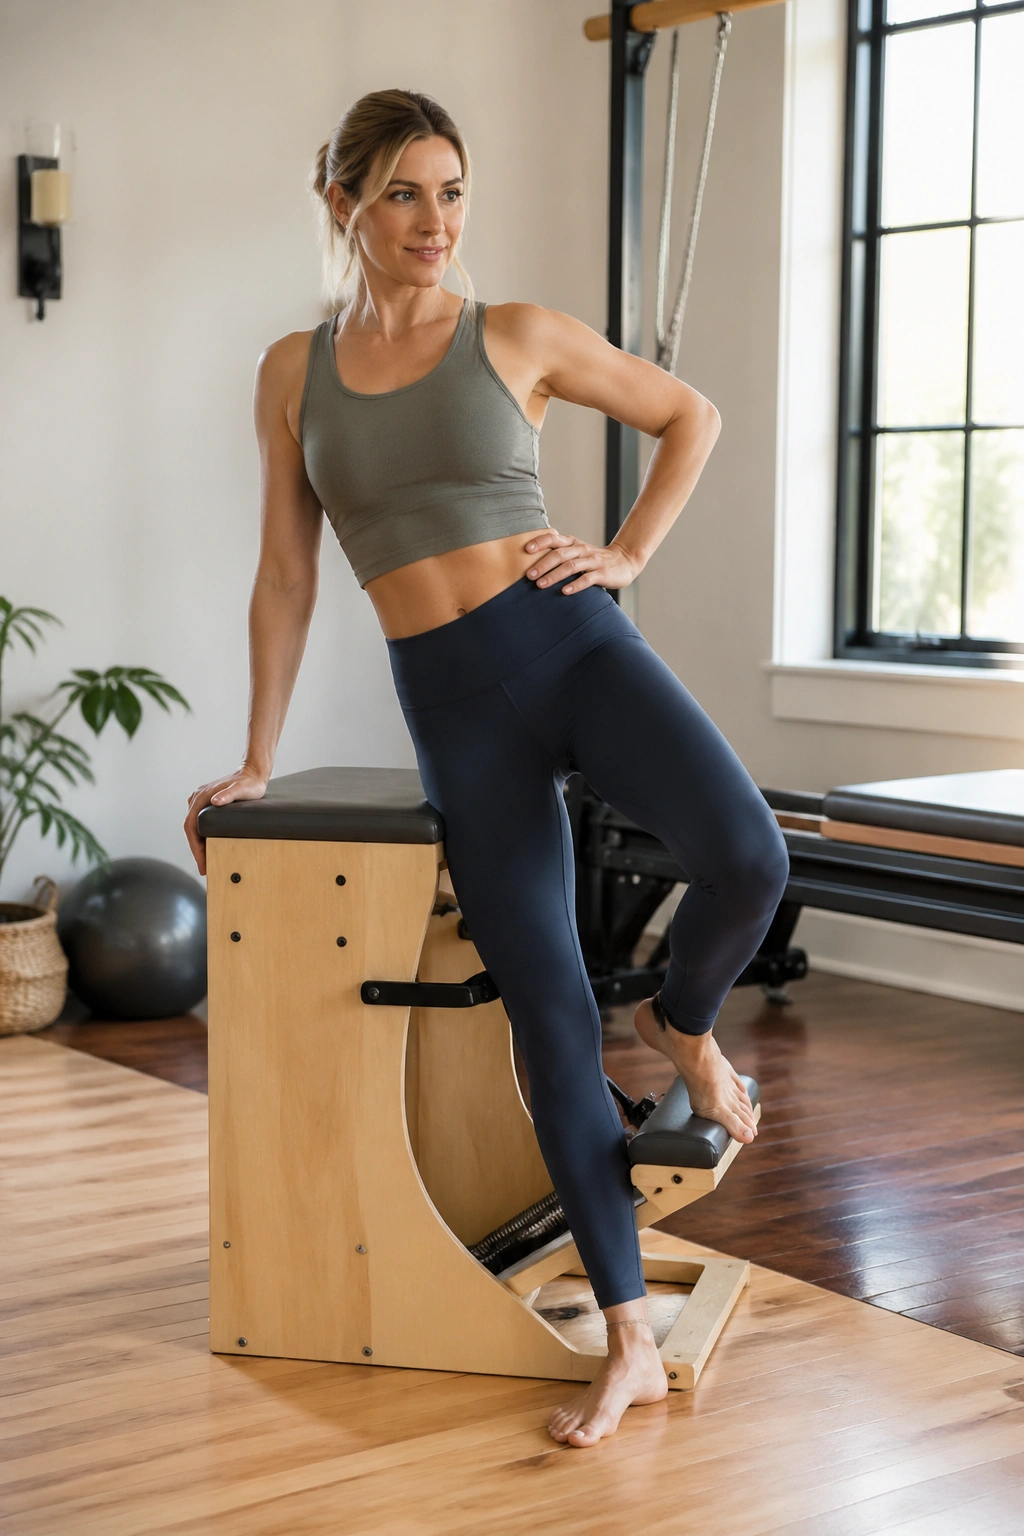
Not every toning move has to feel like a fistfight. Mermaid gives you side-body strength, shoulder mobility, rib movement, and a cleaner waistline shape through the obliques and lats. Sit sideways on the chair with one hand on the pedal and the other arm reaching overhead.
Press the pedal as you side bend, then return by lifting through the underside waist. Think of creating an arc, not collapsing sideways. The bottom rib cage should not crunch into the pelvis. Keep length on both sides, even while one side shortens a bit.
This is one of those exercises that can look decorative when it is taught badly. Done well, it is serious lateral trunk work. You feel the underside waist and the shoulder stabilizers right away, especially if you pause at the deepest part of the bend for one breath.
I like 5 to 6 reps each side, slow enough that the ribs have time to move.
17. Seated Twist Press
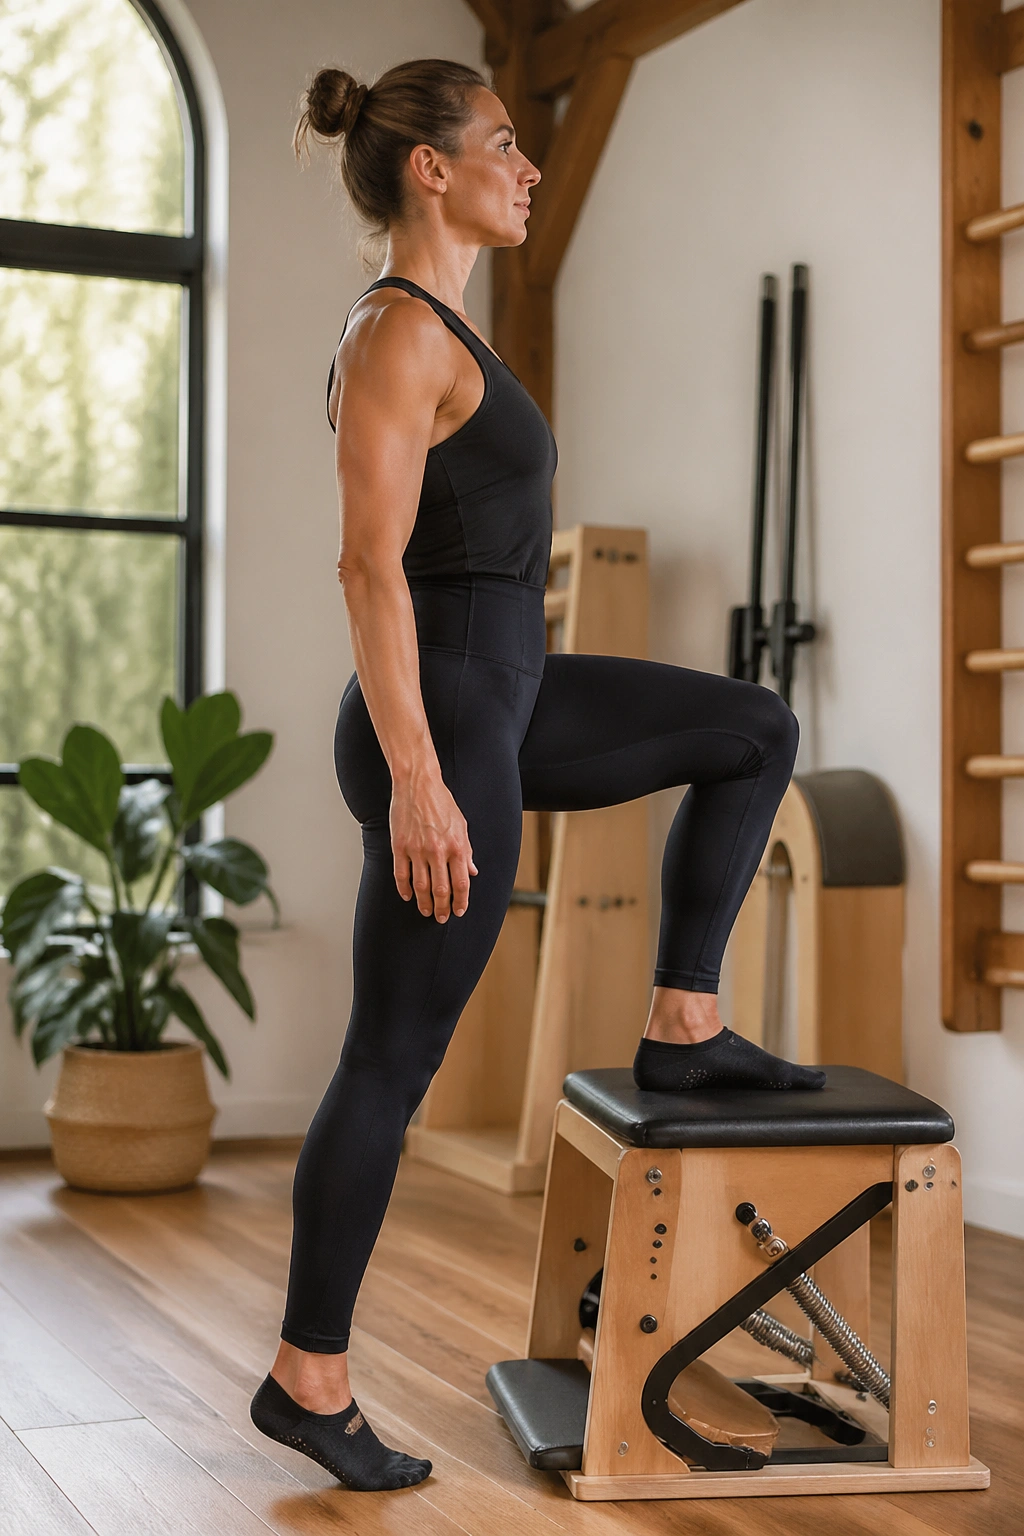
A chair is useful for rotation because the pedal gives your arms something to organize against while the trunk does the turning. Sit tall on the chair with one hand or both hands on the pedal, depending on variation, and rotate from the ribs without yanking the shoulders around.
Why bother with twist work for a toned body? Because rotation wakes up the obliques and deep spinal muscles that give the waist a tighter, more held-together look. It also teaches the difference between turning through the torso and wrenching from the hips or neck.
How to keep it honest
Start the twist on the exhale. Keep both sit bones grounded as long as the variation asks for it. The press into the pedal is light; the trunk rotation is the star.
If the shoulder on the pedal side creeps up, ease off the pressure. If the pelvis turns with you, shorten the range. This should feel wrung out through the midsection, not jammed in the low back.
Go with 6 to 8 reps per side and a 2-second pause in the rotated position.
18. Teaser on the Chair
The Teaser is a show-off move when people chase the shape and skip the setup. On the chair, it can be one of the sharpest deep-core exercises you own—if you build it from the pelvis and waist instead of flinging the legs.
Sit near the front edge with hands on the sides or lightly on the pedal variation you are using. Roll back a few inches, lift one leg or both, and come into the V-shape without collapsing the chest. Then lower with control. The hard part is not getting up. It is lowering one vertebra at a time while the legs stay light.
You should feel the lower abs and deep front body doing the work, with hip flexors helping but not hijacking. If your thighs grip first, bend the knees. If your neck tightens, lower the arms or hold behind the thighs for a regression. There is no shame in a bent-knee teaser. There is plenty of wisdom in it.
Three to five clean reps are enough. More than that and most people start bargaining with momentum.
19. Side Sit-Up
This move is sneaky. It looks like a side bend. It feels like your whole lateral chain has been asked to clock in at once. Set yourself sideways on the chair with the legs anchored according to your chair design and your training level, then lift and lower the trunk through a side-bending path.
Side Sit-Up trains the obliques, quadratus lumborum, glute medius, and even the underside lats, which is why it shapes the waist and hip area so well. But it needs clean alignment. Stack the ribs over the pelvis at the top. Do not swing the torso up. And keep the neck long rather than leading with the head.
A little range goes far here. If you drop too low, the return turns into a heave. Better to work in the top two-thirds of the motion and own it. You can add an overhead arm reach later if the base stays strong.
I would rather see 4 slow reps each side done with control than 12 that look like someone escaping a beanbag chair.
20. Tabletop Press-Up
Finish with a move that ties the whole back body together. Sit on the chair with hands beside the hips, feet planted or legs extended based on your level. Press through the arms and feet to lift the pelvis into a tabletop or reverse plank shape, then lower with control. On some chair setups, the pedal can add resistance or support under the hands or feet.
The appeal here is obvious once you do it: glutes, hamstrings, triceps, rear shoulders, chest opening, and trunk support all show up in one rep. If you spend most of your day folded over a screen, this move feels like the body remembering what extension and hip lift are supposed to be.
A few details make it better:
- Press the floor or pedal away
- Think knees forward as the hips lift
- Keep the collarbones wide
- Do not throw the head back; look up with the chest, not the neck
Hold the top for 2 breaths or do 6 lift-lower reps. If wrists object, adjust the hand angle or use push blocks.
Final Thoughts
The chair rewards patience. If you respect the spring, control the return, and stop one rep before your shape falls apart, these Pilates chair exercises can build stronger legs, a firmer waist, steadier shoulders, and better posture without endless workout sprawl.
If I had to pick a short starter sequence, I’d use Seated Footwork Press, Standing Front Pump, Side Standing Pump, Split Lunge Press, Swan Press, Kneeling Cat Press, Mermaid, and Tabletop Press-Up. That lineup covers a lot of body in not much time.
And when the advanced moves start calling your name—as they do—earn them the old-fashioned way. Clean basics first, flashy shapes second. The chair respects that order.
