



A park bench, a rail, and ten steady minutes can do more for an older body than a lot of people expect. Outdoor gym workouts for seniors work best when they look almost boring: a brisk walk, a few controlled pushes, a set of steps, then a calm stretch before you head home. No circus tricks. No gym ego.
The appeal is not glamour; it’s practicality. Outdoor stations let you train legs, balance, chest, back, and grip without complicated setup, and the fresh-air part matters more than brochures usually admit. On flat ground with decent shoes, many of these moves feel kinder to stiff knees and cranky hips than machine circuits tucked inside a crowded room.
A good session should leave you warmer, steadier, and less creaky, not flattened. That usually means short sets, clean form, and enough rest that your breathing settles before the next round. If a surface is slick or a station wobbles, skip it. There is always another way to get the same job done.
Start with the simplest movement in the park, then build from there.
1. Outdoor Gym Workouts for Seniors Start with Brisk Walking Laps
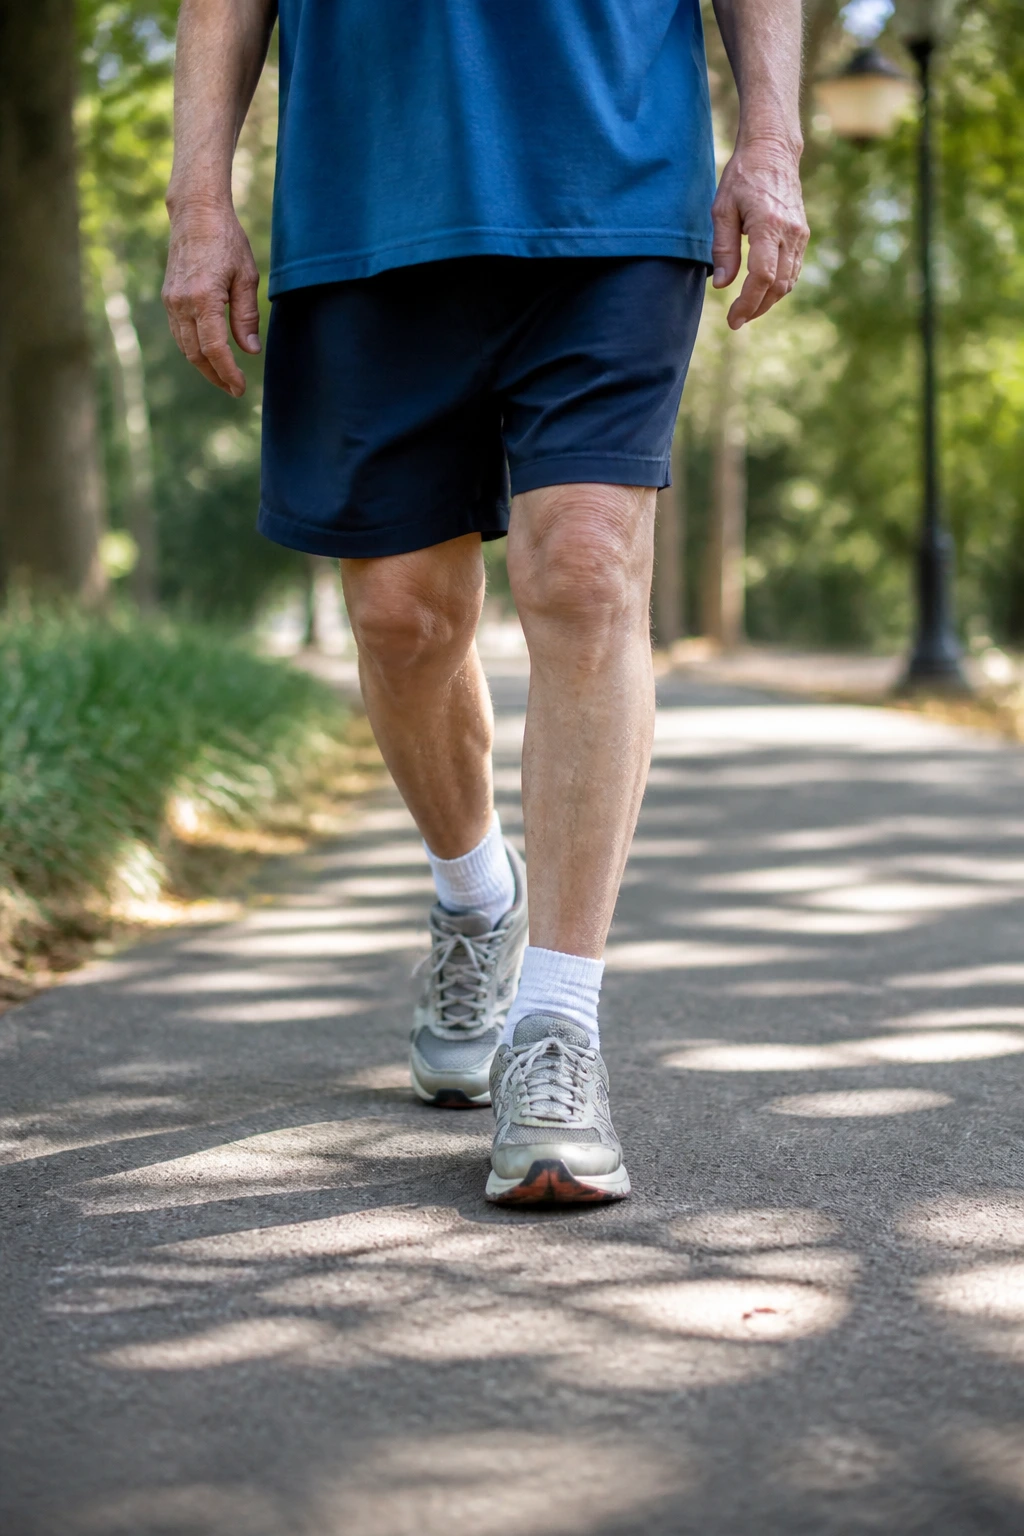
The quietest workout in the park is often the one people skip.
That’s a mistake. A 5- to 10-minute walk at the start of a session wakes up the ankles, loosens the knees, and gives you a real read on how your body feels that day. If your first lap feels stiff, you know to keep the rest of the workout lighter. If you settle in quickly, great — you have a green light to move on.
How to Set the Pace
- Walk fast enough to breathe a little harder, but still speak in short sentences.
- Keep your shoulders loose and your hands unclenched.
- Aim for 5 to 10 minutes before the first strength station.
- If the path is uneven, shorten your stride and look a few steps ahead.
- On hot or windy days, use shade and bring water even if the walk feels easy.
Tip: A walking warm-up is not a wasted workout. It is the thing that makes the rest of the workout work.
2. Bench Sit-to-Stand Reps for Stronger Legs
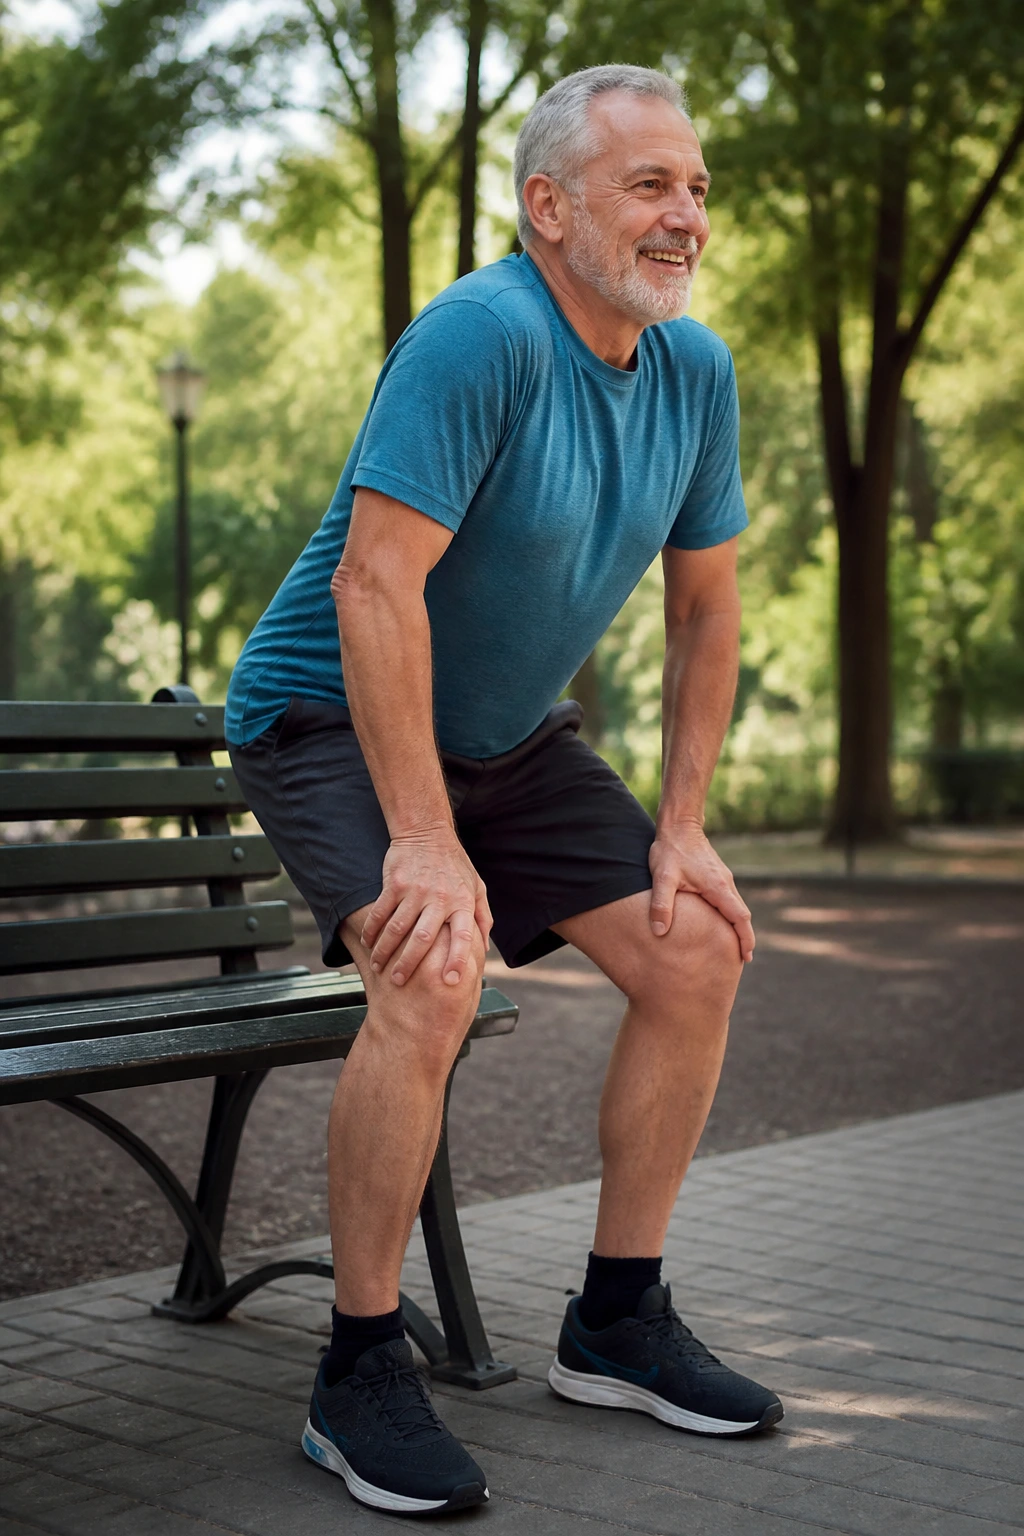
If you can sit down and stand up without using your hands, you have trained one of the most useful movements in the body.
That matters more than it sounds. Sit-to-stands hit the thighs, hips, and glutes in a way that carries over to chairs, car seats, toilets, and stairs. A park bench gives you a clear target, and the backrest is handy if you need to check your depth without guessing.
Use a bench that lets you stand up without rocking forward. If it feels too low, choose a higher seat or place a firm pad on top. Start with 2 sets of 6 to 10 repetitions, and sit down slowly for a count of three. Stand with your chest tall, feet flat, and knees tracking over your toes. Do not collapse onto the bench like the bench owes you money.
One clean rep beats five sloppy ones. Every time.
3. Incline Push-Ups on a Park Bench
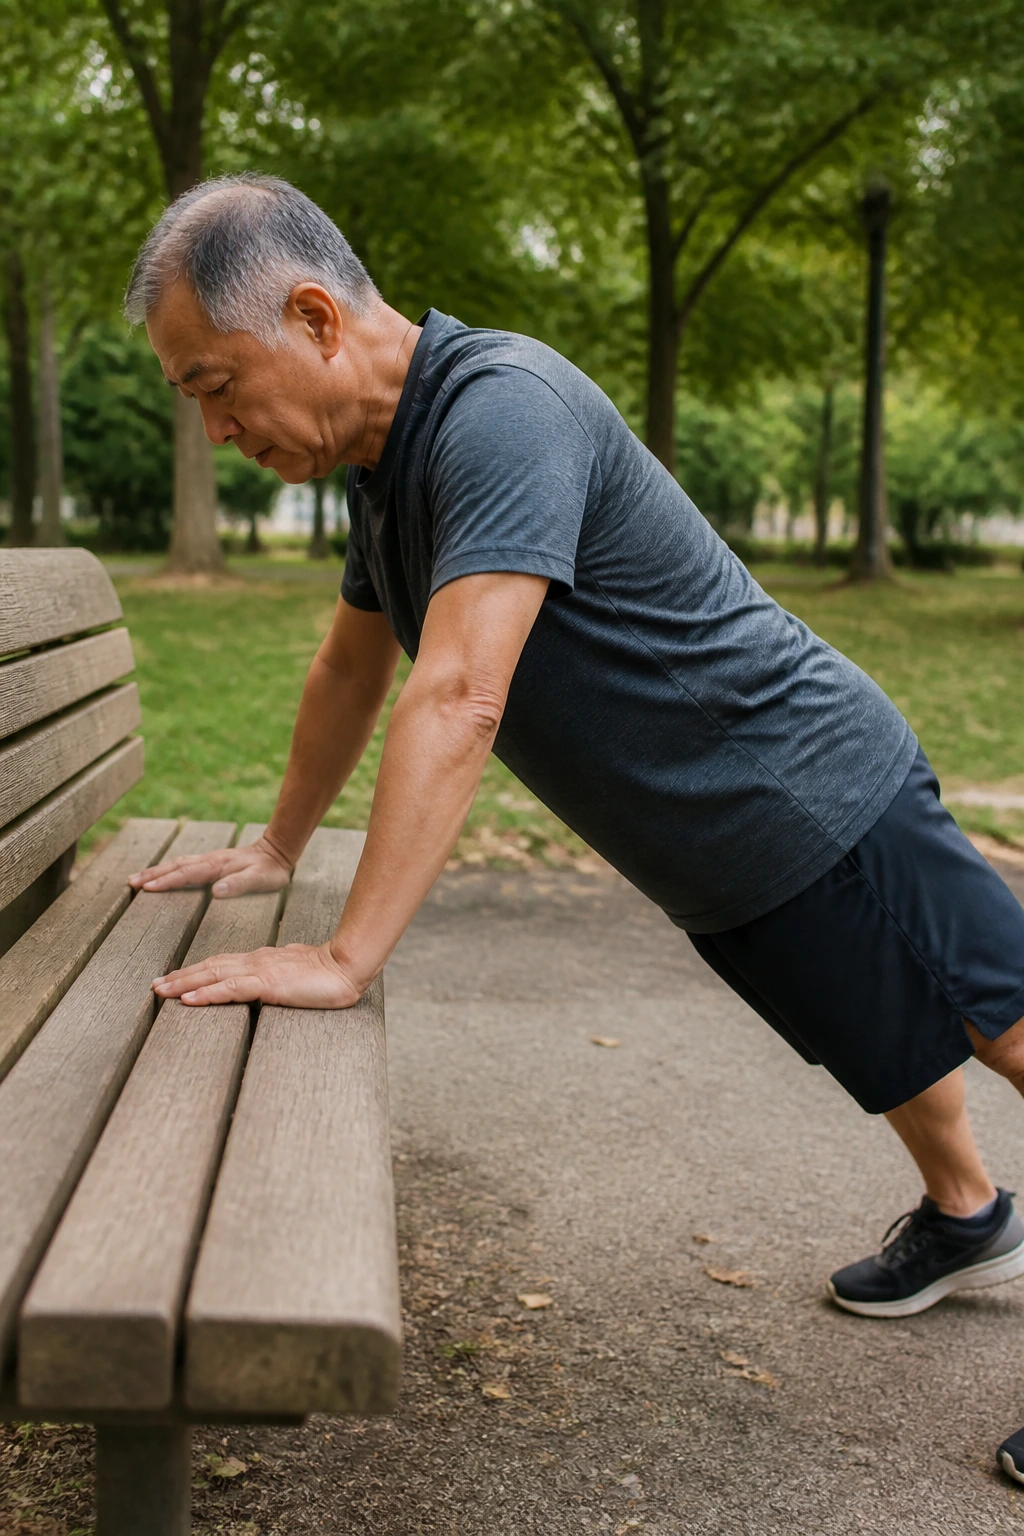
Why do push-ups still belong in senior fitness when the floor feels miles away?
Because the bench version keeps the joint angle friendlier while still asking your chest, shoulders, triceps, and core to do real work. An incline push-up also teaches body control, which is a fancy way of saying you learn how to hold yourself together while your arms move. That carries over to getting up from the floor, bracing for a stumble, and even pushing open a stubborn door.
What Makes the Bench Version Friendly
- Place your hands a little wider than shoulder width.
- Keep your body in a straight line from head to heels.
- Lower until your chest is a few inches from the bench.
- Press up while keeping your ribs from flaring outward.
- Stop if the shoulders pinch or the wrists feel jammed.
Try 2 sets of 6 to 12 reps. If that feels too easy, use a lower bench or a sturdy rail. If it feels too hard, switch to a wall and build from there. No shame in that.
4. Low Step-Ups for Everyday Climbing Power
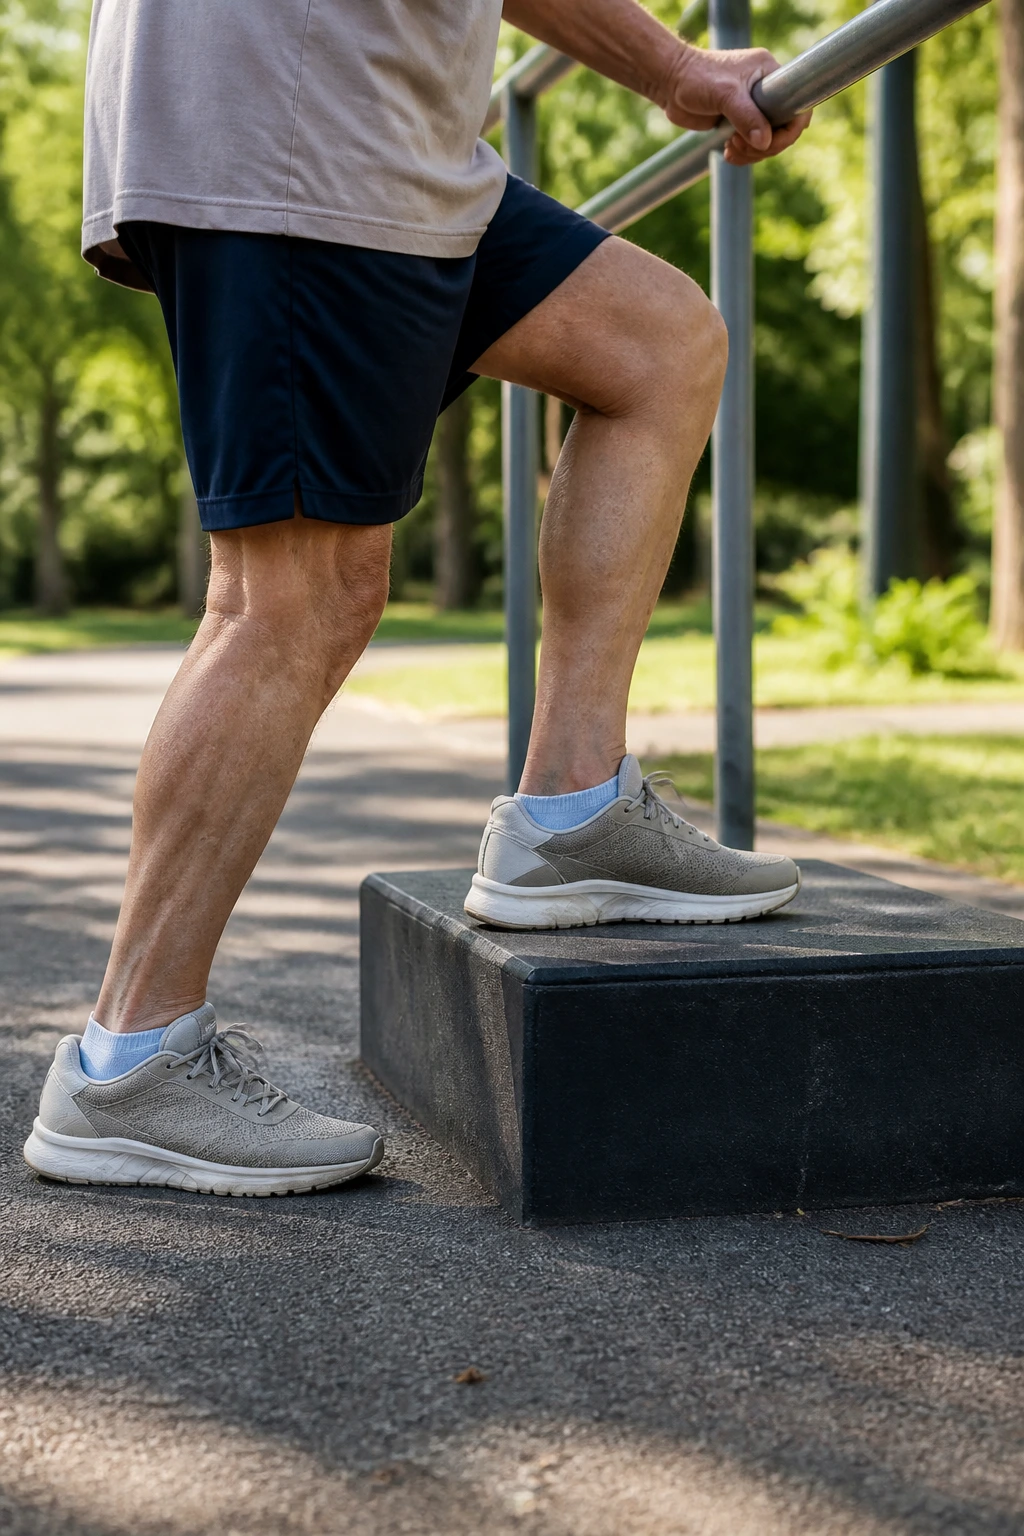
Picture the short flight of steps beside the path. It looks harmless until your thighs start complaining halfway up.
That is exactly why step-ups matter. They train the muscles you use for stairs, curbs, and bus steps, but they also ask your standing leg to hold steady while the other leg moves. That little bit of balance work is gold for older adults. Keep the step low — 4 to 8 inches is plenty — and hold a rail or post if you need one.
- Step fully onto the platform with your whole foot.
- Drive through the standing leg instead of pushing hard with the back leg.
- Stand tall at the top for a second.
- Lower under control, not with a drop.
- Start with 6 repetitions on each side.
This is not the place to race. A smooth climb tells you more than a fast one ever will.
5. Supported Calf Raises at a Rail
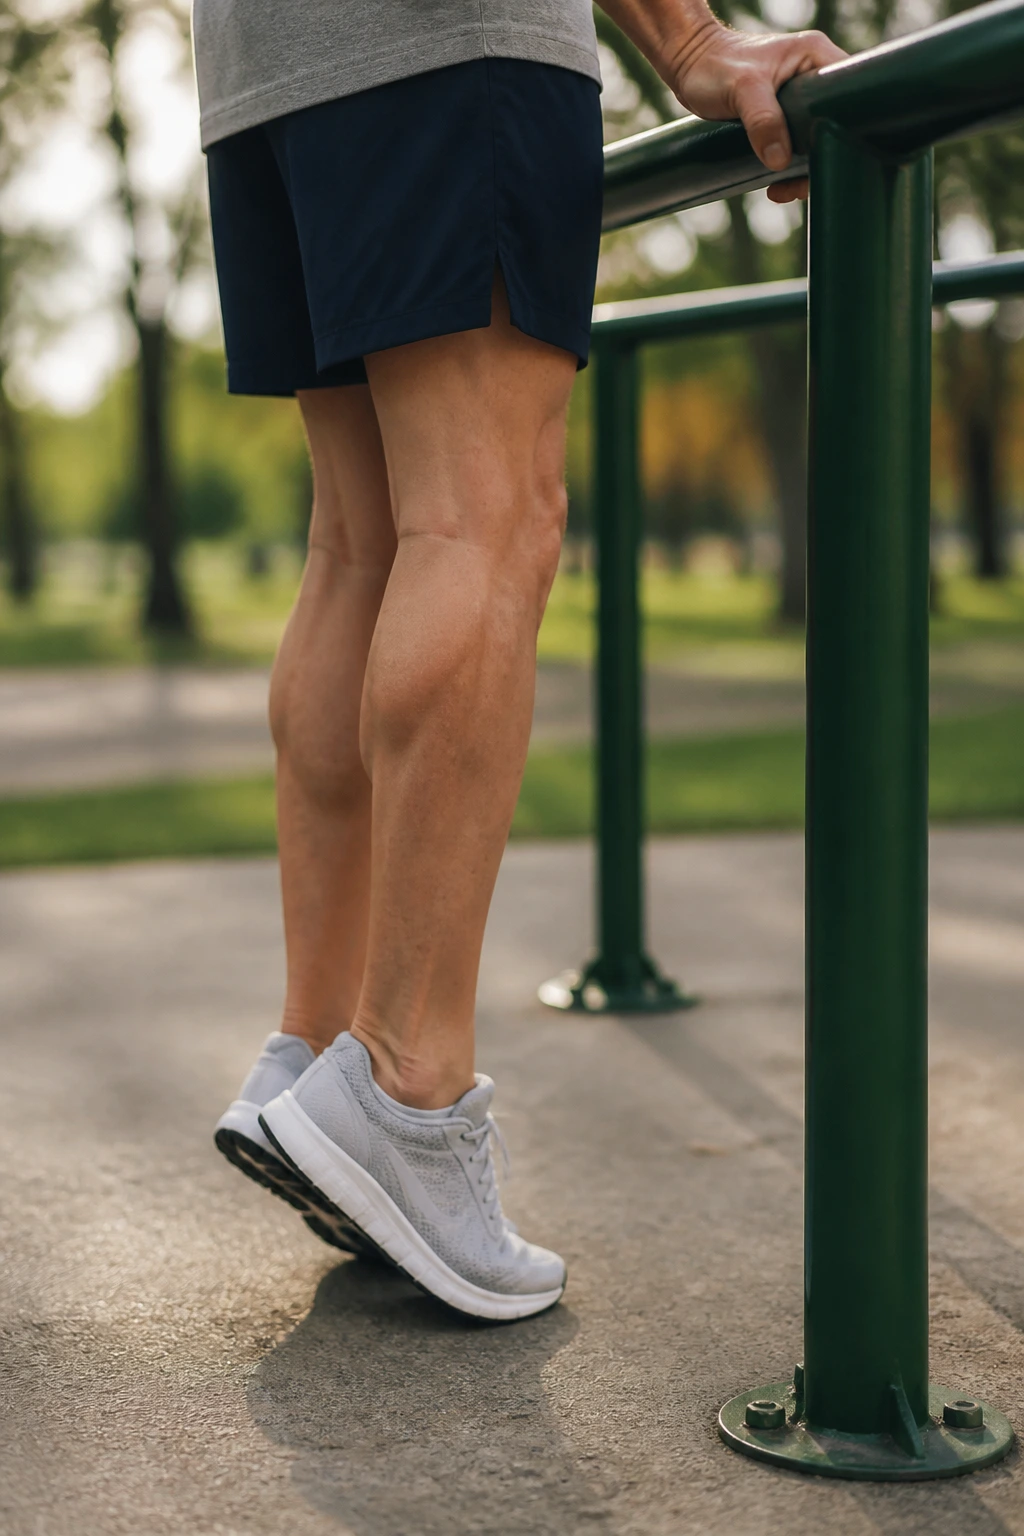
Calf raises are small, and that is exactly why they matter.
Most people notice them only after an ankle feels weak or a hill suddenly looks rude. Done well, calf raises help with walking speed, balance, and the push-off phase of each step. They also wake up the feet and lower legs, which can feel surprisingly good after a long period of sitting. Grab a rail, stand with feet hip-width apart, and rise onto the balls of your feet until your heels are as high as they’ll go without wobbling.
Slow is the point.
Pause for one second at the top, then lower for a count of three. That slow lowering phase builds control and keeps the motion honest. Try 2 sets of 10 to 15 reps. If your calves cramp, shorten the range and drink some water. If your shoes feel mushy, change them. A soft sole can make the movement feel messy fast.
6. Resistance Band Rows Around a Post
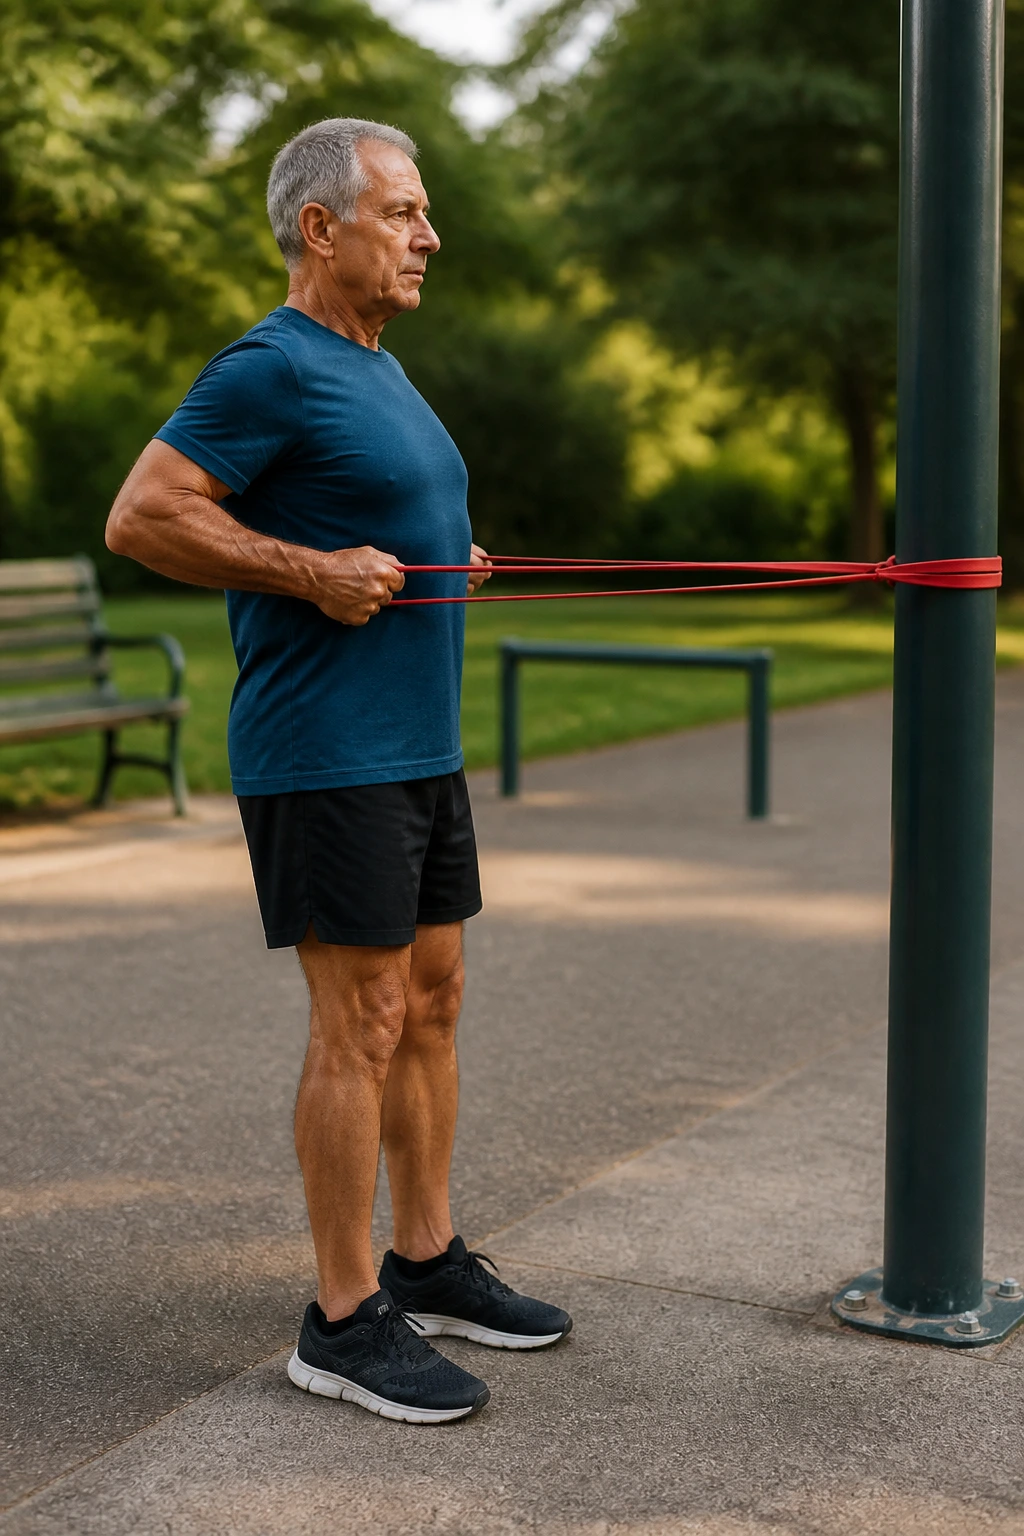
Band rows are the anti-slouch move.
A machine row locks you into one path. A band row asks you to stand, brace, and pull with control while your feet and trunk stay awake. That makes it a strong choice for outdoor gym workouts for seniors, especially if you want better posture without crawling onto a complicated piece of equipment. Loop a resistance band around a sturdy post or rail at about chest height, then step back until the band has light tension.
Anchor Check Before You Pull
- Use a smooth, stable post that will not shift.
- Keep the band at chest level or a little lower.
- Pull elbows back toward your back pockets.
- Squeeze your shoulder blades gently, not violently.
- Stop the pull when your hands reach the side of your ribs.
Aim for 2 sets of 8 to 12 reps. If your neck starts to tighten, lighten the band and relax your shoulders. You want a firm pull, not a shrug contest.
7. Rail Marches for Balance and Hip Control
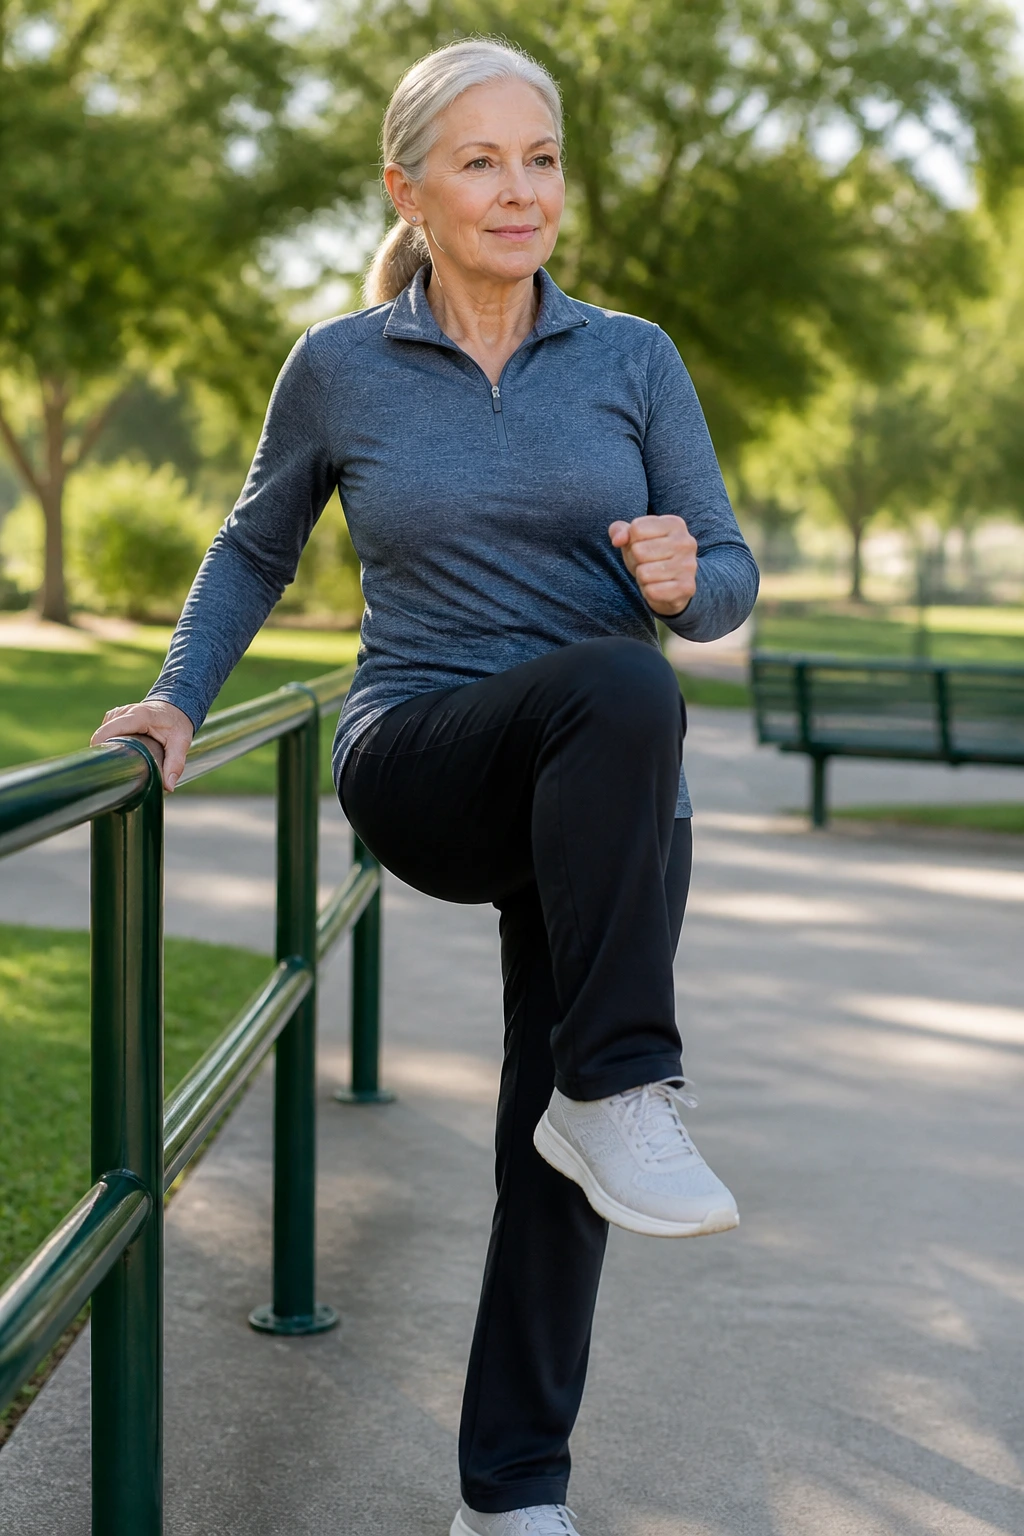
One hand on the rail, one knee up, then the other. Simple.
Rail marches look almost too easy, which is why they work well for people who are nervous about balance drills. The support gives you confidence, but the marching action still wakes up the hip flexors, the lower abs, and the standing leg. That standing leg is doing more than it seems. It keeps you from wobbling every time the other foot leaves the ground.
Start with 20 to 30 seconds of marching, then rest for 30 seconds. Keep your chest lifted and your eyes forward. If the knees feel cranky, lift them only as high as feels smooth. If the drill feels stable, try briefly hovering one hand above the rail instead of gripping it. Tiny changes. Big difference.
This is a good bridge between walking and full balance work.
8. Side Steps with a Mini Band
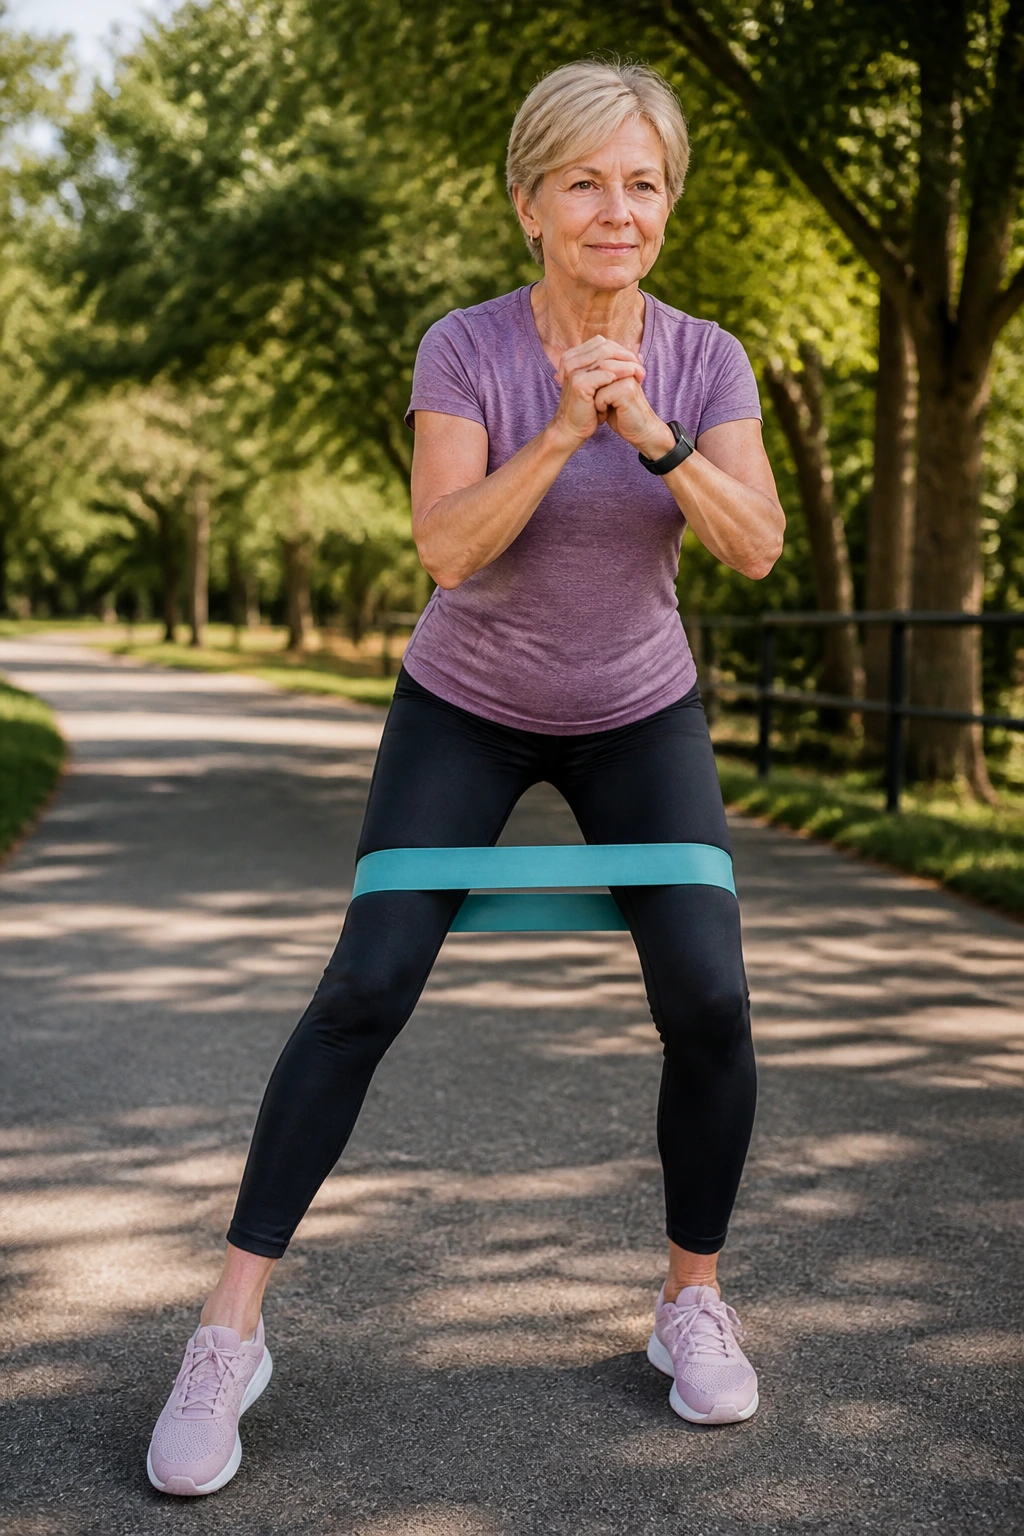
Why spend time stepping sideways when most people already walk forward all day?
Because the muscles that control side-to-side movement are often lazy, and lazy hips can mean sloppy knees. A mini band above the knees or around the ankles wakes up the outer glutes, which help keep the knees from caving inward when you stand, climb, or turn. That makes side steps one of the more useful small drills in senior fitness.
How to Use the Band Without Fighting It
- Stand with feet hip-width apart and a soft bend in the knees.
- Step sideways 6 to 10 inches at a time.
- Keep your toes pointing mostly forward.
- Hold tension in the band the whole time.
- Do 8 to 12 steps in each direction.
If the band feels like a wrestling match, move it above the knees or use no band at all for the first round. The motion should feel controlled, not frantic. You are training the hips to stay awake, not proving anything to the grass.
9. Hip Hinge Good Mornings Beside a Bench
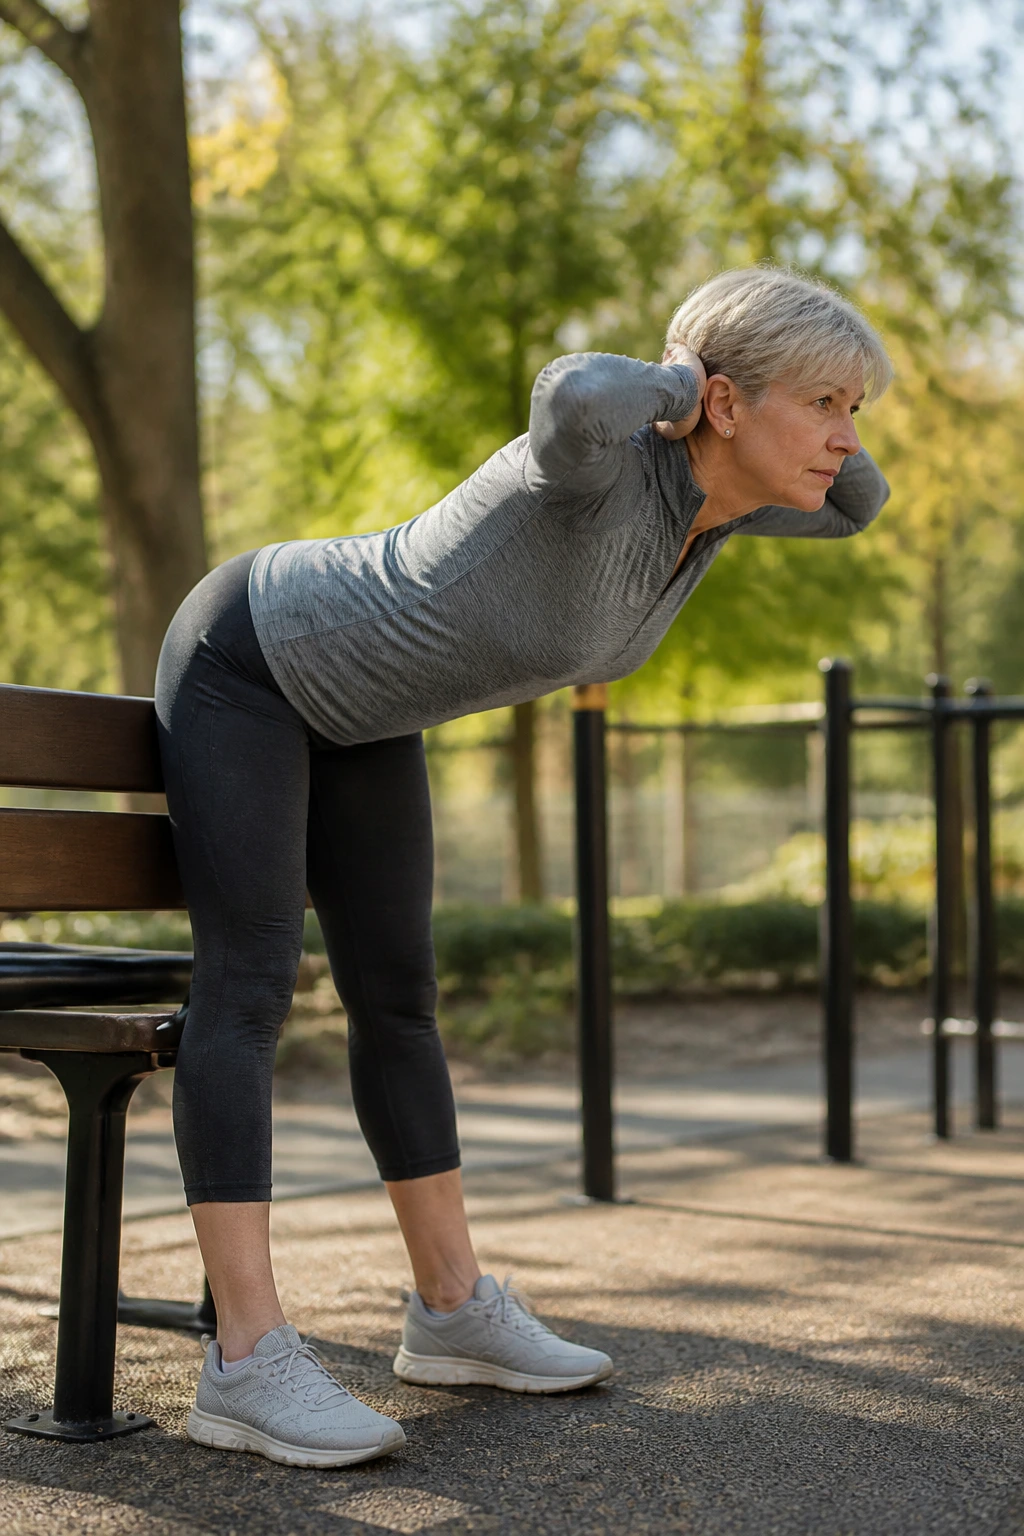
Hip hinges are one of the safest ways to teach the body to bend.
The movement looks simple because it is simple: push the hips back, keep a soft bend in the knees, and let the torso tip forward from the hips instead of rounding through the lower back. A bench behind you helps. It gives you a target and keeps the motion from getting too deep too quickly. That’s useful when hamstrings are tight or the back needs a gentler day.
Do not round your back.
That is the whole game. Place your hands on your hips or lightly on the bench, send the hips back until you feel a stretch in the back of the legs, then stand tall again by squeezing the glutes. Try 2 sets of 8 slow reps. If you feel this mostly in your low back, shorten the range and slow down. The hinge should feel like a tidy fold, not a collapse.
10. Outdoor Gym Workouts for Seniors: Seated Knee Extensions
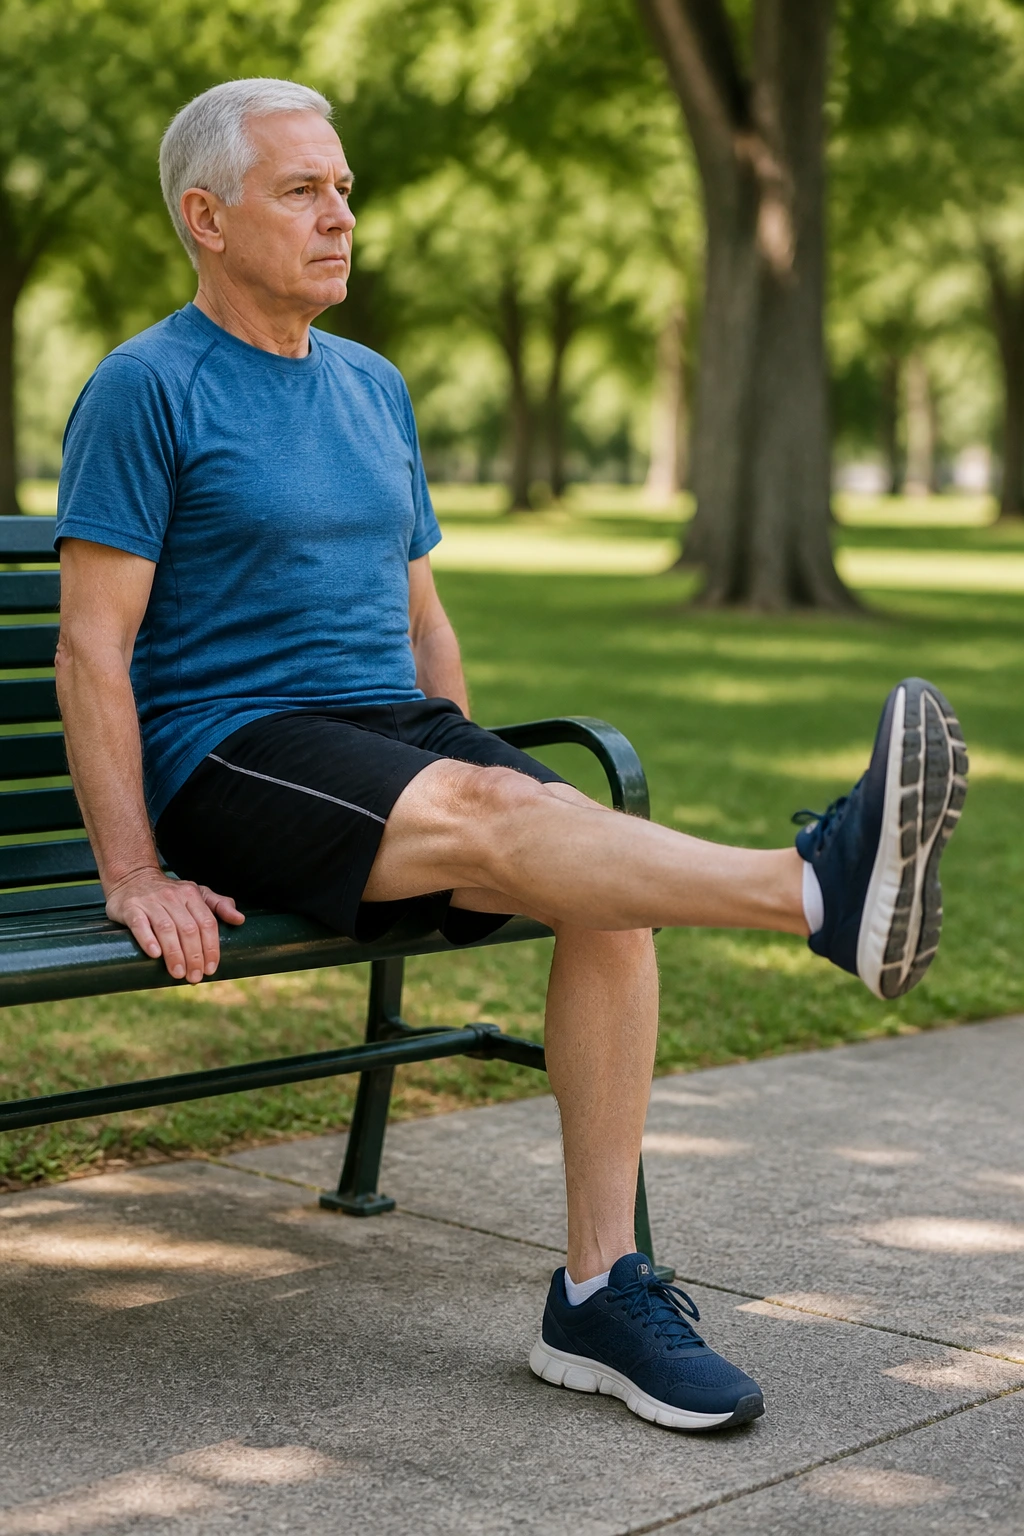
Knee extensions look plain. They are not flashy. They are useful.
This move strengthens the quadriceps, which help stabilize the knee when you stand, walk, and climb. Sit on a park bench with your back tall and feet flat on the ground. Straighten one leg until the knee is almost locked, hold for a second, then lower it slowly. If the bench edge cuts into the back of your legs, slide forward a little or place a folded towel under you.
What to Watch For
- Keep the torso still instead of leaning back.
- Stop just short of locking the knee hard.
- Lower with control for 2 to 3 seconds.
- Use a light ankle weight only if bodyweight reps feel easy.
- Stop if you get sharp pain at the front of the knee.
Do 8 to 12 reps on each leg. If one side is much weaker, start there and match the other side to it. The motion should feel precise, almost tidy.
11. Standing Hamstring Curls with Light Support
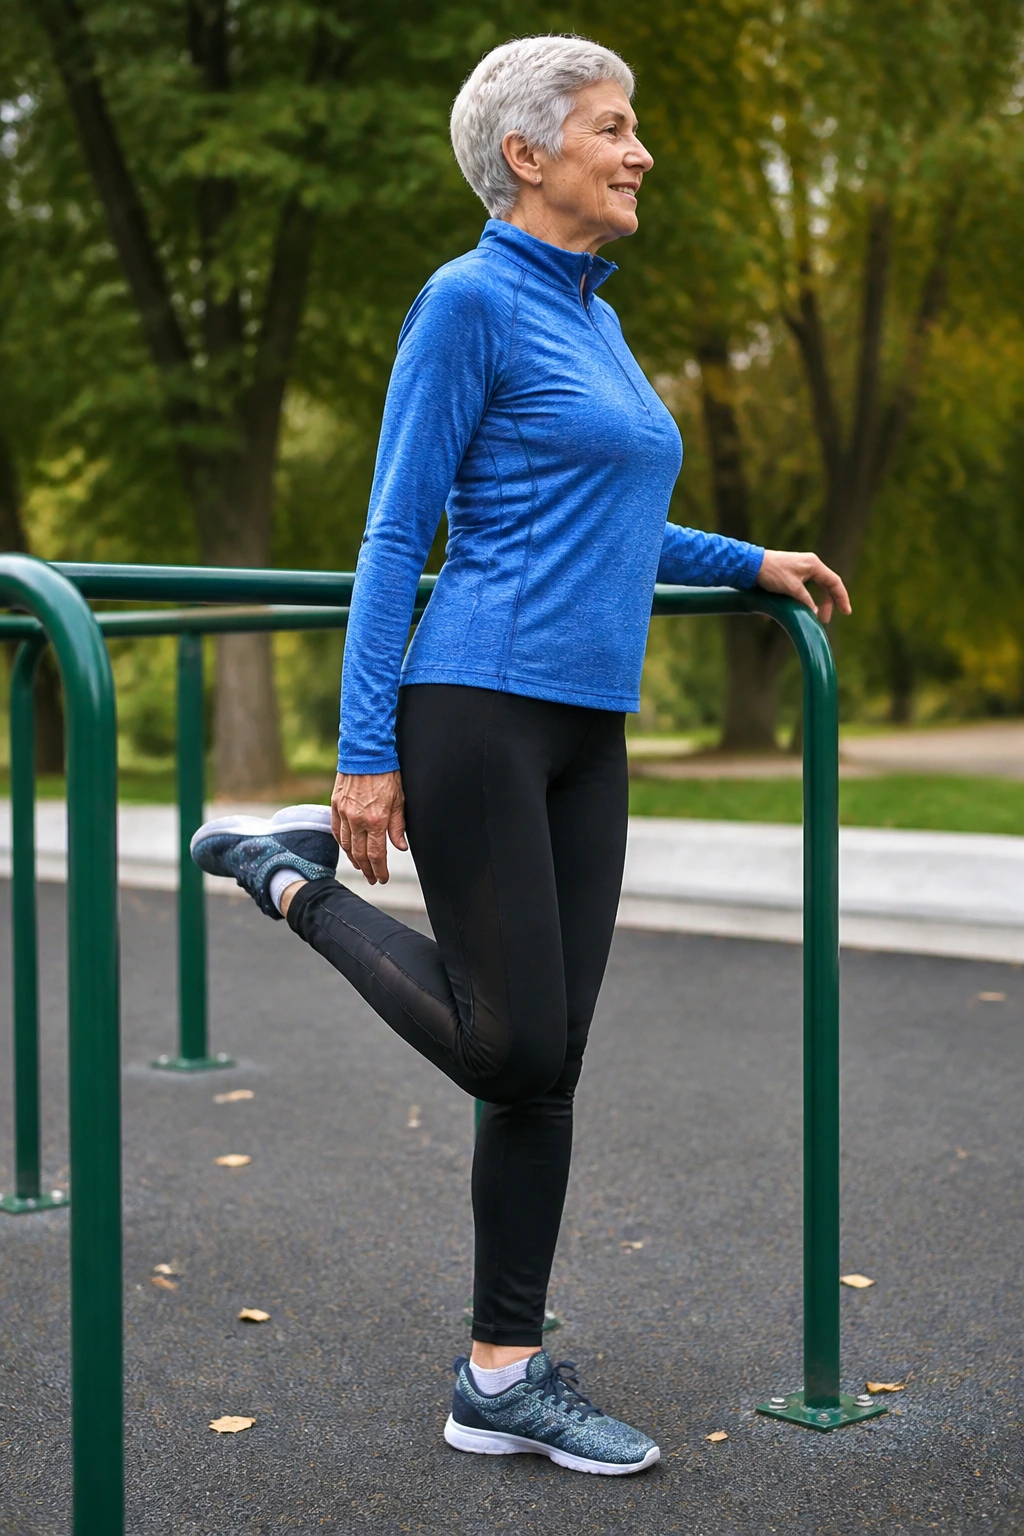
Standing hamstring curls are the mirror image of knee extensions.
This time, the goal is to bend the knee and bring the heel toward the seat without leaning forward or swinging the leg. A rail or post for one hand makes the drill stable enough for older adults who want the work in the back of the thigh without fuss. The hamstrings help with walking, rising from chairs, and keeping the pelvis steady when you move.
Keep the thigh still and move only the lower leg. That is the bit many people rush through, and it’s where the exercise gets sloppy. Try 8 to 12 curls on each leg, then switch. If cramping shows up, reduce the range and give yourself a longer rest. If you want more challenge, add a very light ankle weight — 1 to 2 pounds is plenty. More is not always better.
12. Waist-Twister Rotations You Can Actually Control
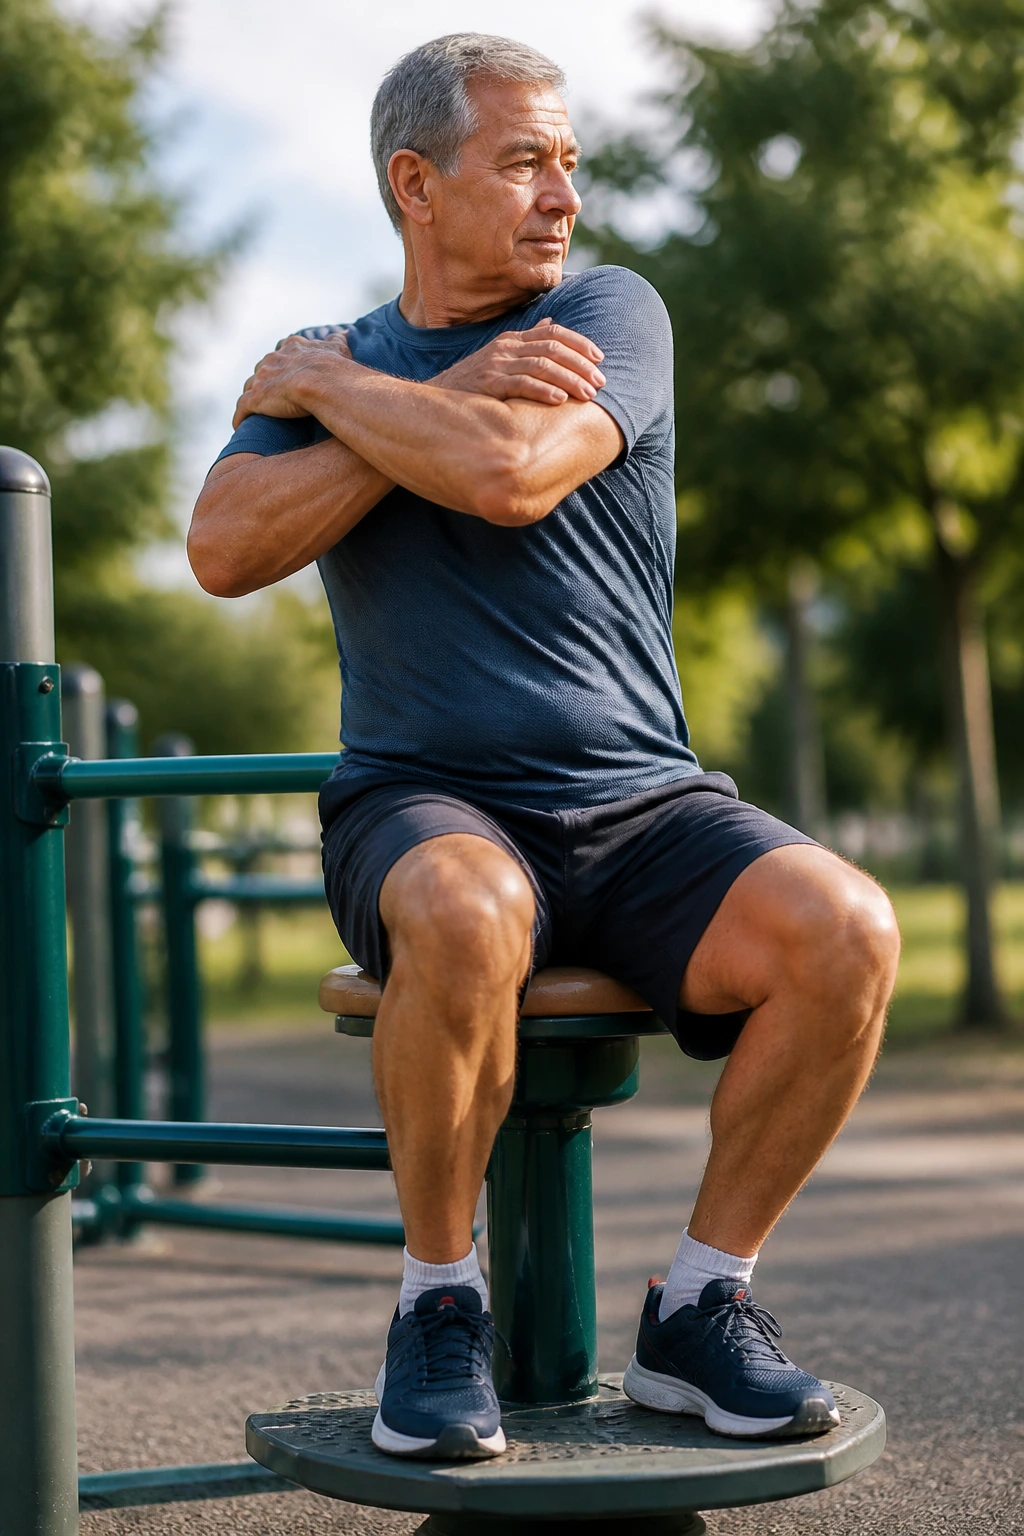
The waist-twister station can be helpful, but only if you treat it like a control drill instead of a speed test.
Some outdoor stations are built to spin freely, and that’s where older adults get into trouble. Fast twisting can tug on the lower back and make the knees feel loose. Slow rotation is the safer play. Keep your hips mostly facing forward, turn through a comfortable range, and stop well before anything feels pinchy.
Use a light touch on the handles. You are guiding the movement, not yanking it. If the machine feels jerky, shorten the twist to 20 or 30 degrees each way. If your back is sensitive, skip the station and do standing trunk turns with your arms crossed over your chest. Same idea. Less drama.
A little rotation helps the torso stay mobile. Too much, too fast, and the whole thing turns into a bad idea with a shiny paint job.
13. Farmer Carries with Water Bottles or Dumbbells
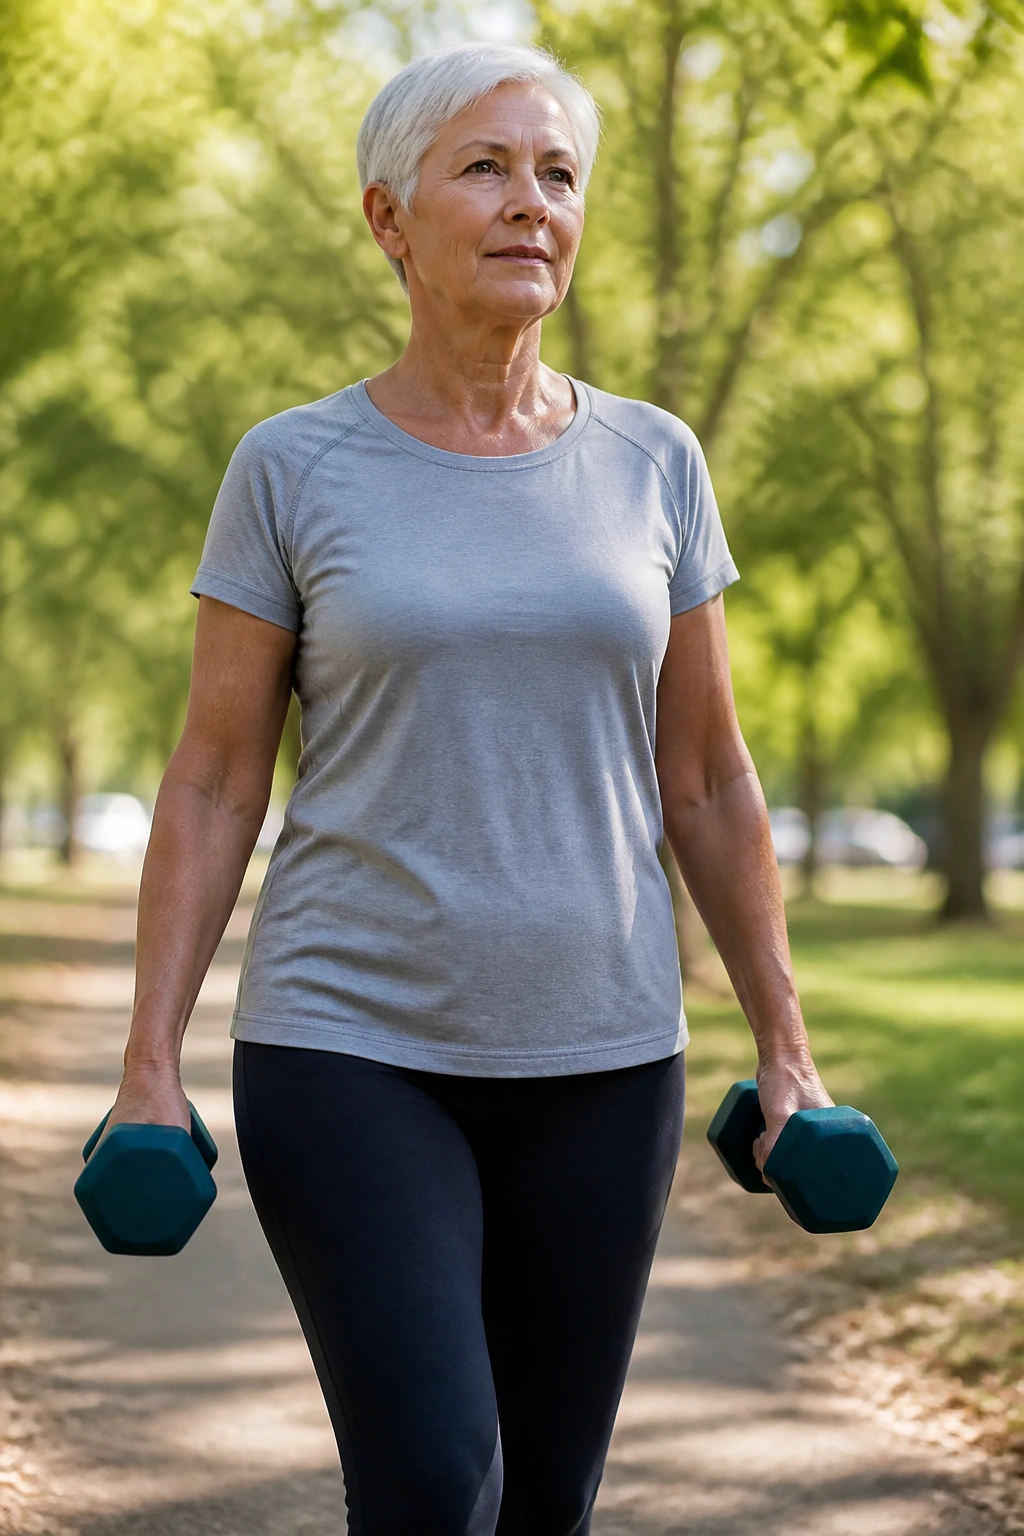
Carrying something while you walk is brutally practical.
Farmer carries build grip strength, posture, and core control in a way that feels close to real life. You are holding load, keeping the shoulders down, and walking without leaning side to side. That sounds simple because it is simple, but simple does not mean easy. Start with two light dumbbells, two filled water bottles, or one weighted bag in each hand if the park has no equipment.
- Walk 20 to 40 feet, then turn and walk back.
- Keep the ribs stacked over the hips.
- Avoid shrugging the shoulders up toward the ears.
- Take small, steady steps.
- Rest for 30 to 60 seconds between carries.
If gripping both hands is too much, try a one-sided carry with one weight at a time. That creates a little side-to-side challenge without needing heavy weight. No leaning. No rushing. Clean walking is the whole point.
14. Balance-Line Walks on a Path Edge
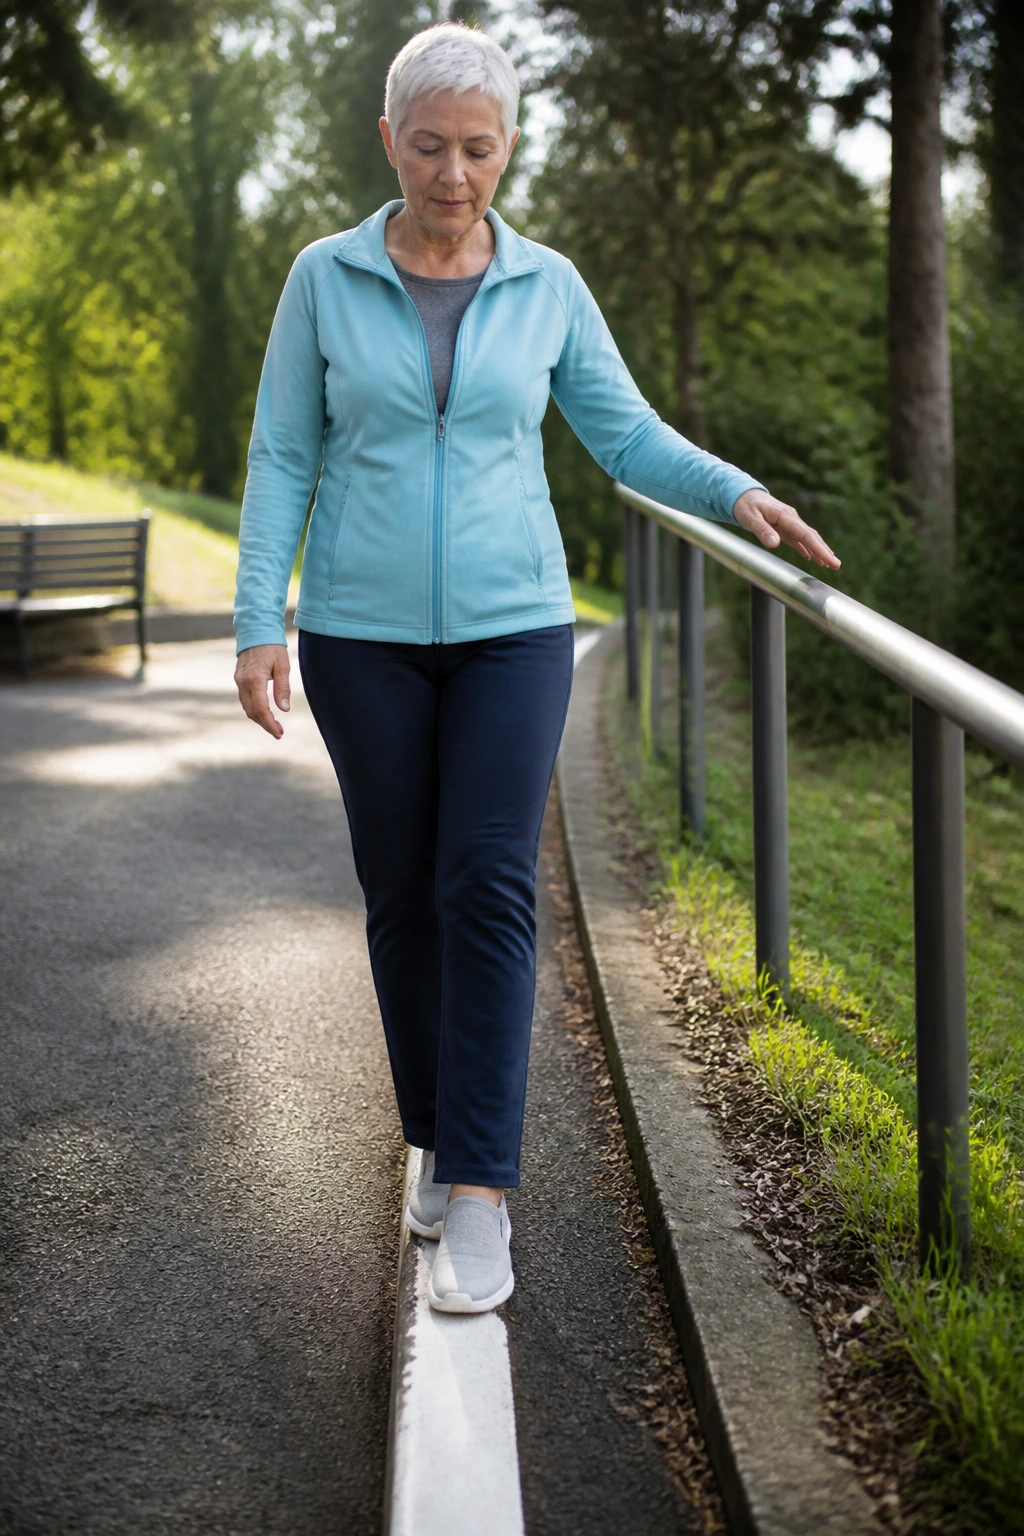
Unlike standing on one foot, this drill lets you keep moving, which many beginners find less nerve-racking.
Find a straight painted line, a curb, or the edge of a smooth path. Walk heel-to-toe as if you’re following a narrow rail, with one foot landing right in front of the other. Keep a hand hovering near a rail or bench if you need backup. The point is to train the brain and feet to cooperate under a bit of pressure.
What Makes It Worth Doing
- It teaches foot placement.
- It challenges the ankles in a gentle way.
- It improves confidence on narrow or crowded paths.
- It reveals balance issues fast, which is useful information.
Take 10 to 20 steps, turn carefully, and walk back. If heel-to-toe is too tricky, use a wider stance and narrow it over time. A lot of balance training gets made unnecessarily dramatic. This one doesn’t need drama. It needs attention.
15. Glute Bridges on a Mat or Grass
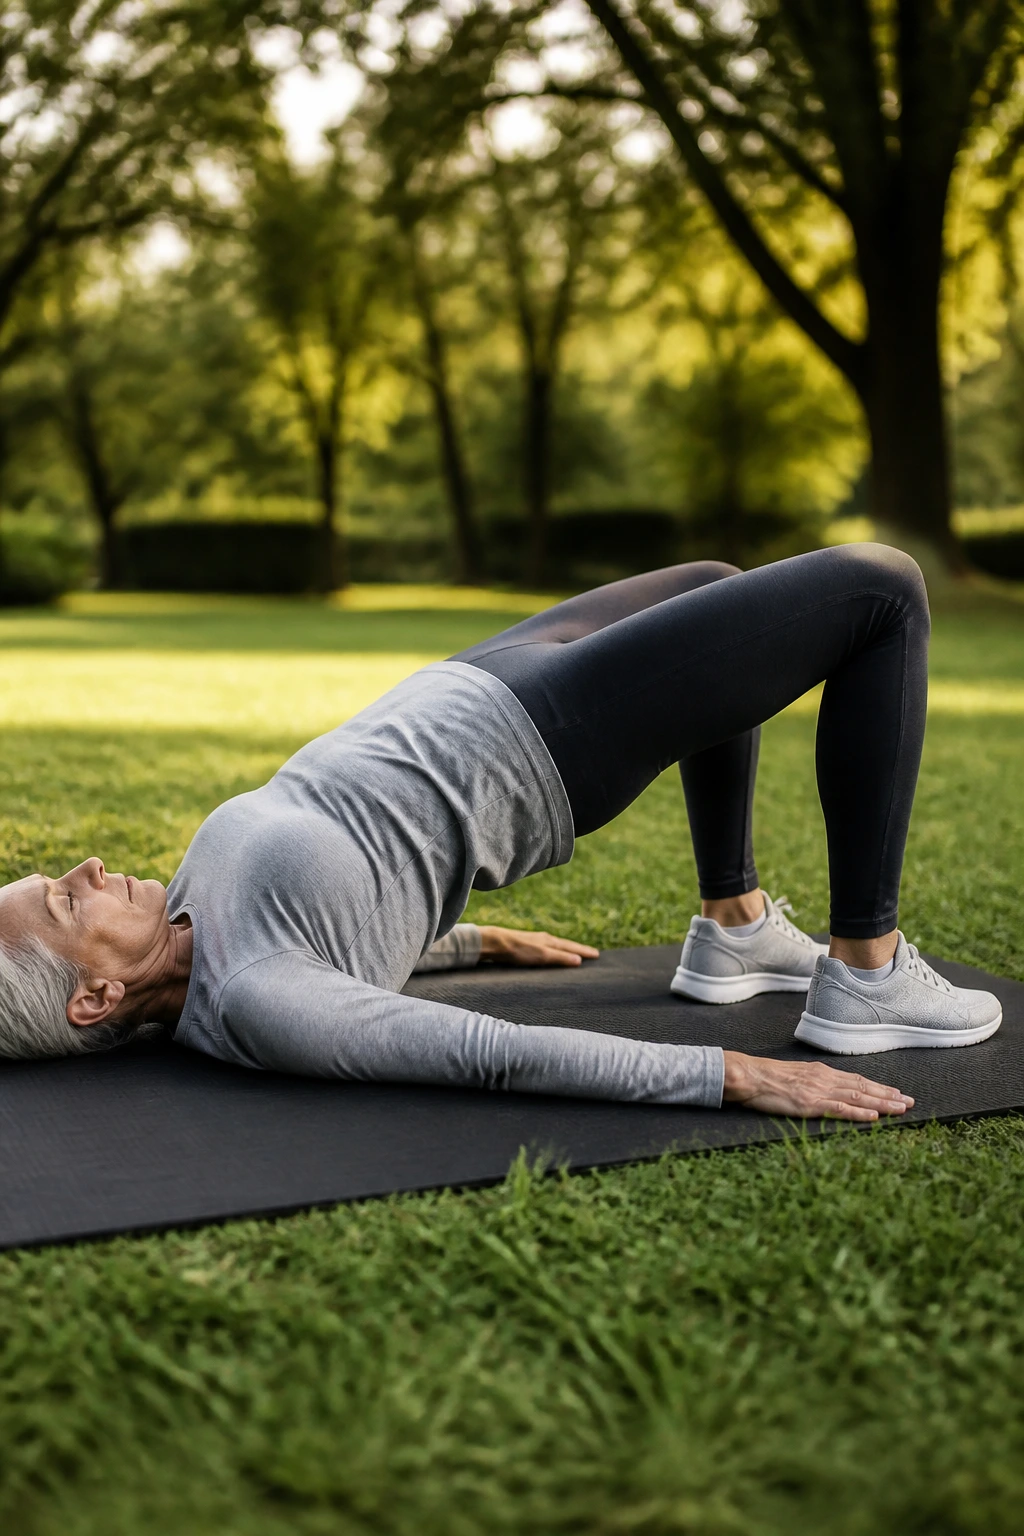
Lie back, plant your feet, and squeeze your hips up.
Glute bridges strengthen the backside of the body — glutes, hamstrings, and the lower back support muscles that often go quiet after years of sitting. On grass or a mat, the movement feels gentle on the spine if you set it up right. Knees stay bent, feet stay flat, and the lift comes from the hips. Not from a sudden arching of the lower back.
Pause for one second at the top, then lower slowly. Try 8 to 12 reps for 2 sets. If the ground is damp or the surface feels uneven, use a thicker mat or skip the floor version and do a hip bridge with your shoulders on a low bench. That variation is easier for some people to get into and out of. The bridge should feel like a glute squeeze, not a neck exercise. If your neck tightens, tuck the chin a little and reset.
16. Bird-Dogs with a Bench for Support
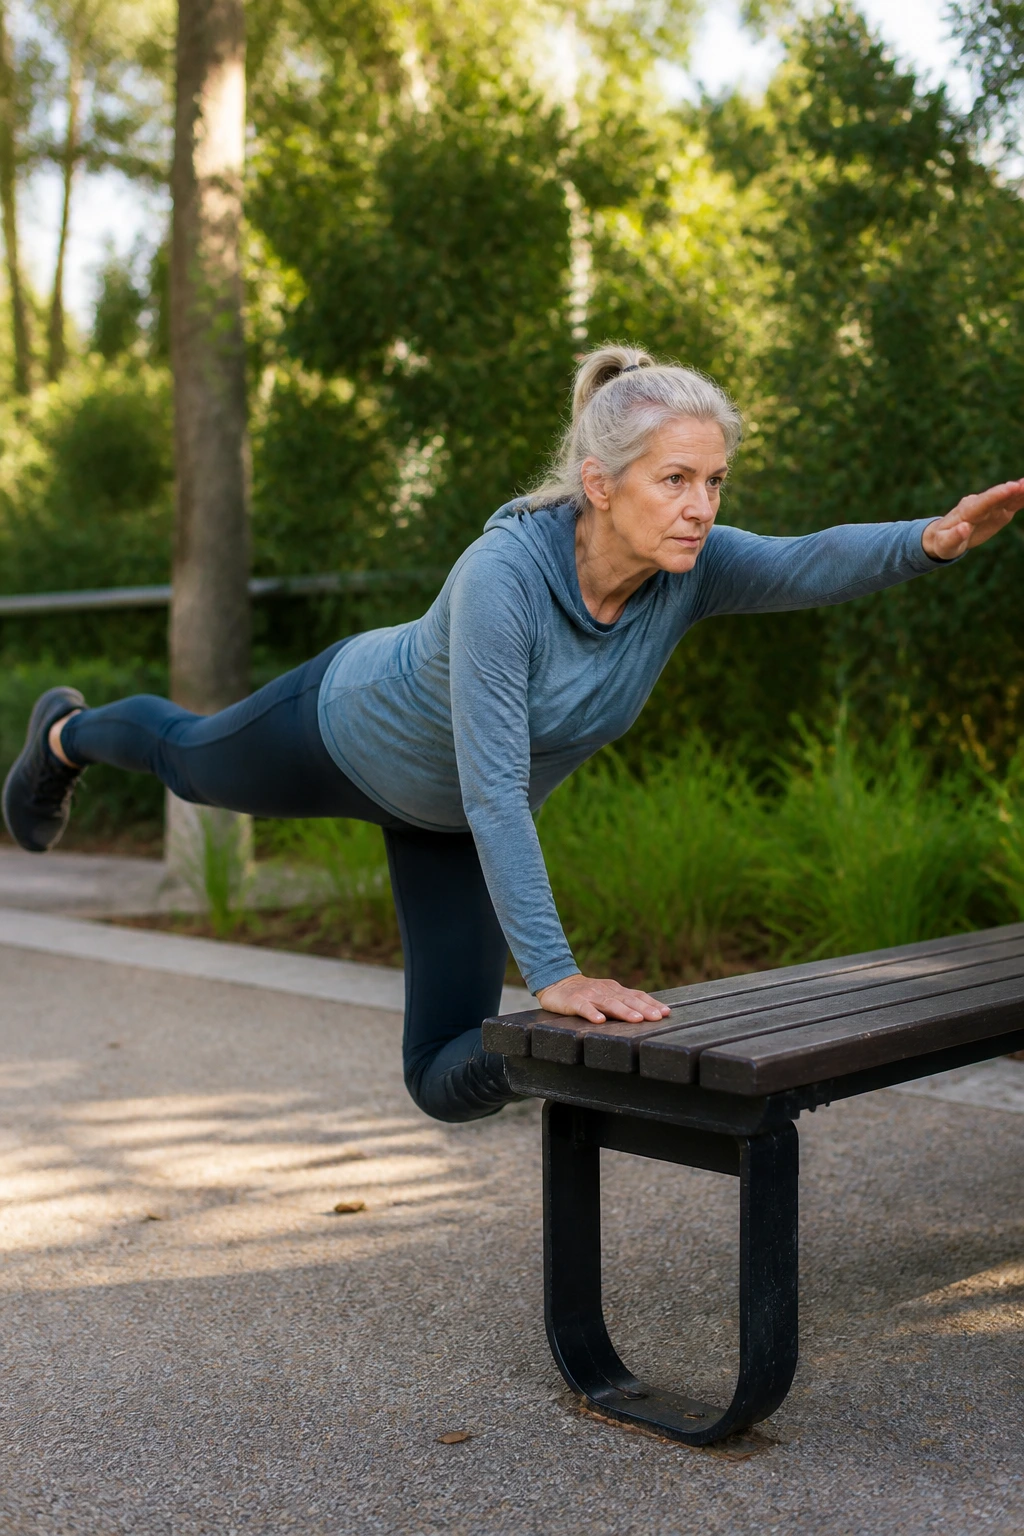
Bird-dogs are awkward for about ten seconds, then they start to make sense.
Using a bench instead of the floor makes the move friendlier on wrists, knees, and hips. Place both hands on the bench, step your feet back a bit, and reach one leg long behind you while the opposite arm reaches forward. The goal is not height. The goal is stillness. Your hips should stay level, and your torso should look boring in the best possible way.
A Clean Bird-Dog Setup
- Hands under shoulders.
- Knees or toes on the ground, depending on comfort.
- Reach opposite arm and leg in one smooth line.
- Hold for 3 to 5 seconds.
- Do 6 reps per side.
If balance feels shaky, keep one toe planted lightly on the floor while you reach the arm. That tiny support can make a big difference. Bird-dogs are one of those exercises that reward patience. Push them, and they turn messy. Slow them down, and they get useful fast.
17. Light Overhead Presses with a Band
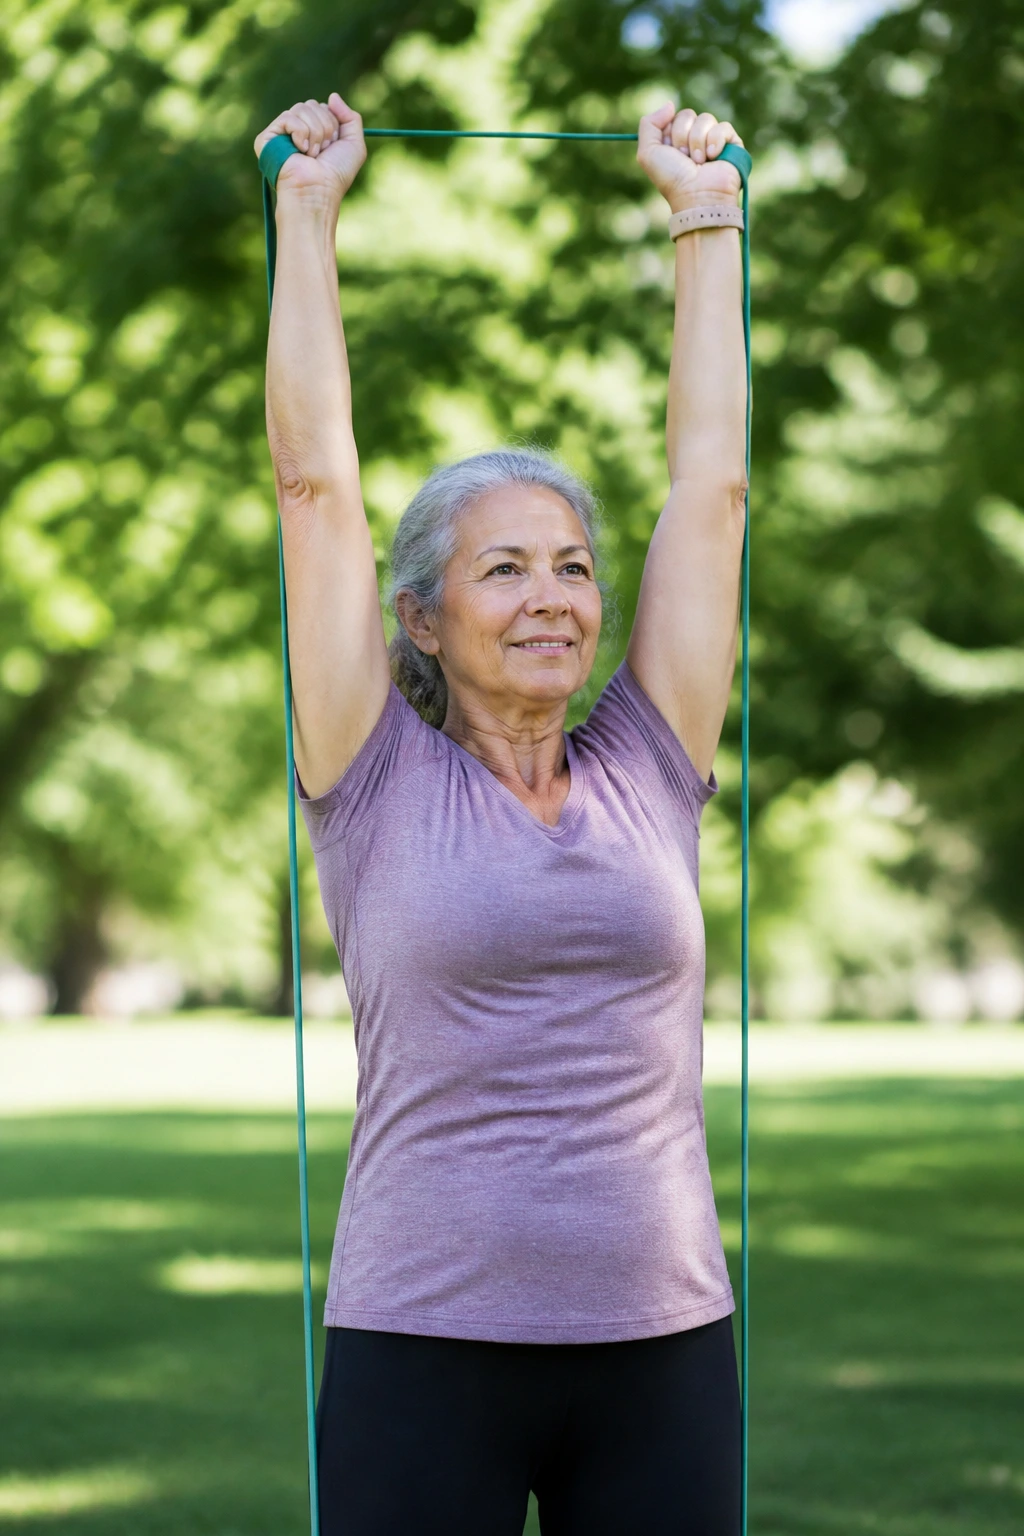
Shoulders need overhead work, but not in a way that pinches.
A light resistance band lets you press upward without the hard stop of a machine. Stand on the band with feet hip-width apart, hold the ends at shoulder height, and press overhead until your arms are straight but not locked hard. Lower with control. If a shoulder has a history of irritation, keep the range smaller and press only to eye level. That still counts.
If Lifting Overhead Feels Too Much
- Switch to a front raise.
- Press one arm at a time.
- Keep elbows slightly in front of the body.
- Use a lighter band than you think you need.
- Stop if you feel sharp pain or catching.
Two sets of 8 to 10 reps is enough for most older adults. The movement should feel smooth, not cranky. If you have to arch your back to get the band overhead, the band is too heavy. Simple fix. Lighter band. Better form.
18. Shadow Boxing for Cardio and Coordination
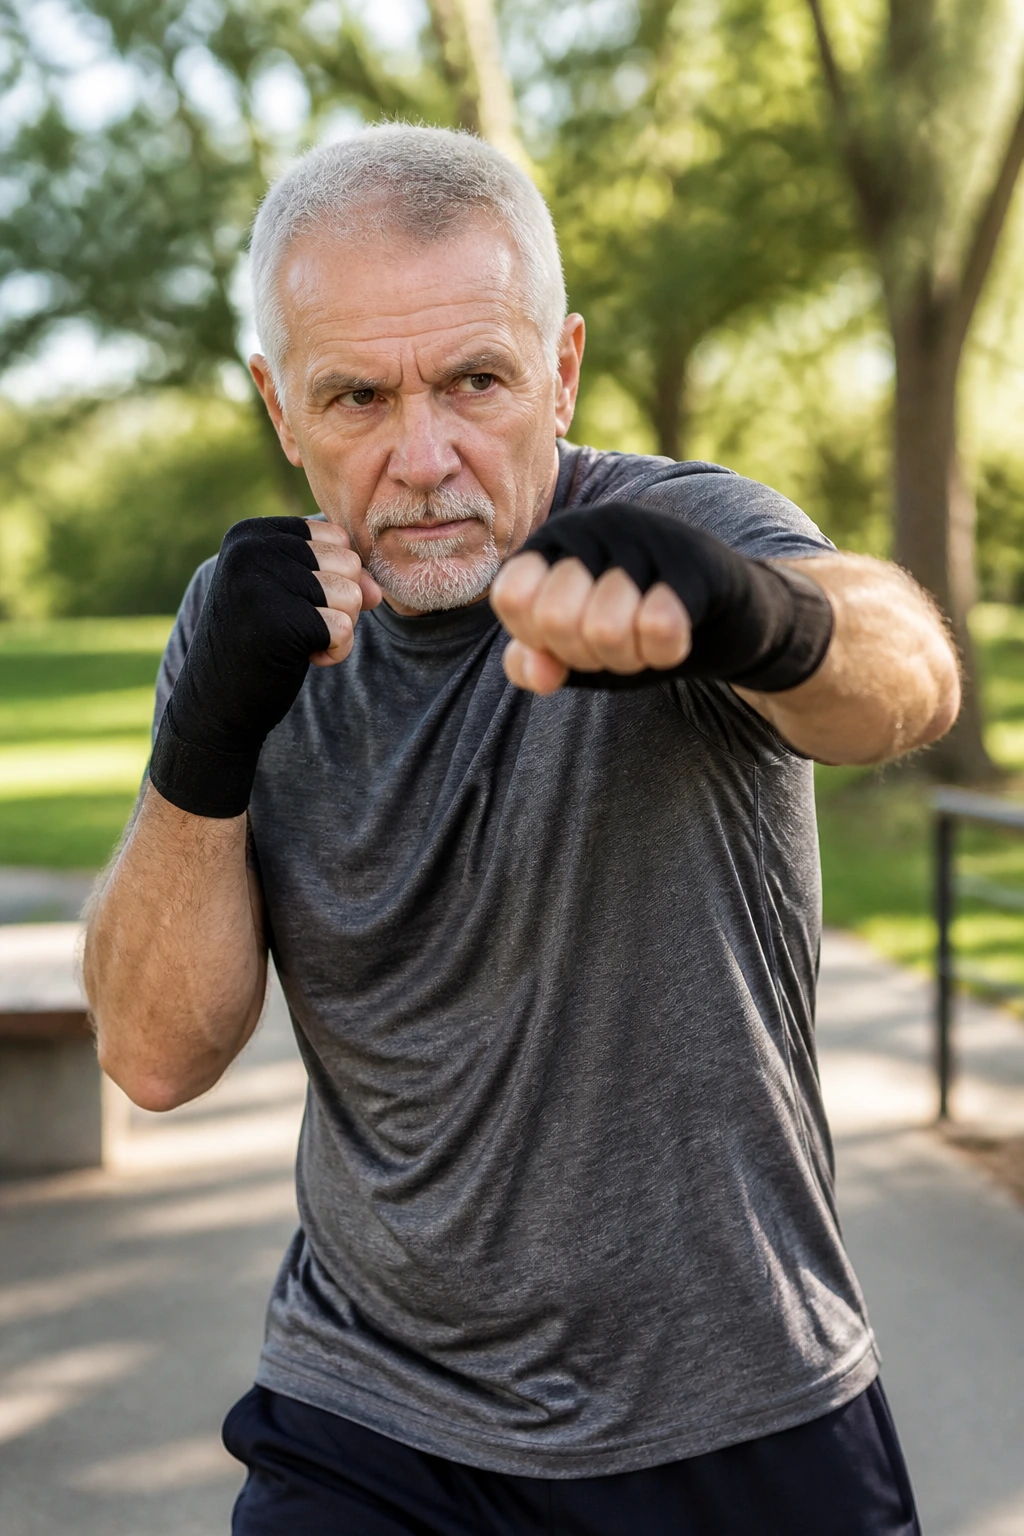
Shadow boxing looks playful, and that’s part of why it works.
A light boxing-style drill raises the heart rate, trains coordination, and keeps the shoulders and trunk moving without pounding the joints. Stand in a soft athletic stance, fists up at chest or chin height, and throw small jabs, crosses, and gentle hooks into the air. Add a little step-touch if you want more cardio. Keep the punches compact. Big arm swings just waste energy and tire the shoulders.
Keep the punches small.
Try 30 seconds on, 30 seconds off for 6 rounds. If your wrists are touchy, keep your fists loose and the punches short. If you get dizzy, slow down and keep both feet on the ground. Shadow boxing should feel lively, not wild. A few clean rounds can leave you breathing harder than you expected, which is part of the charm.
19. Ramp or Stair Intervals for Heart and Legs
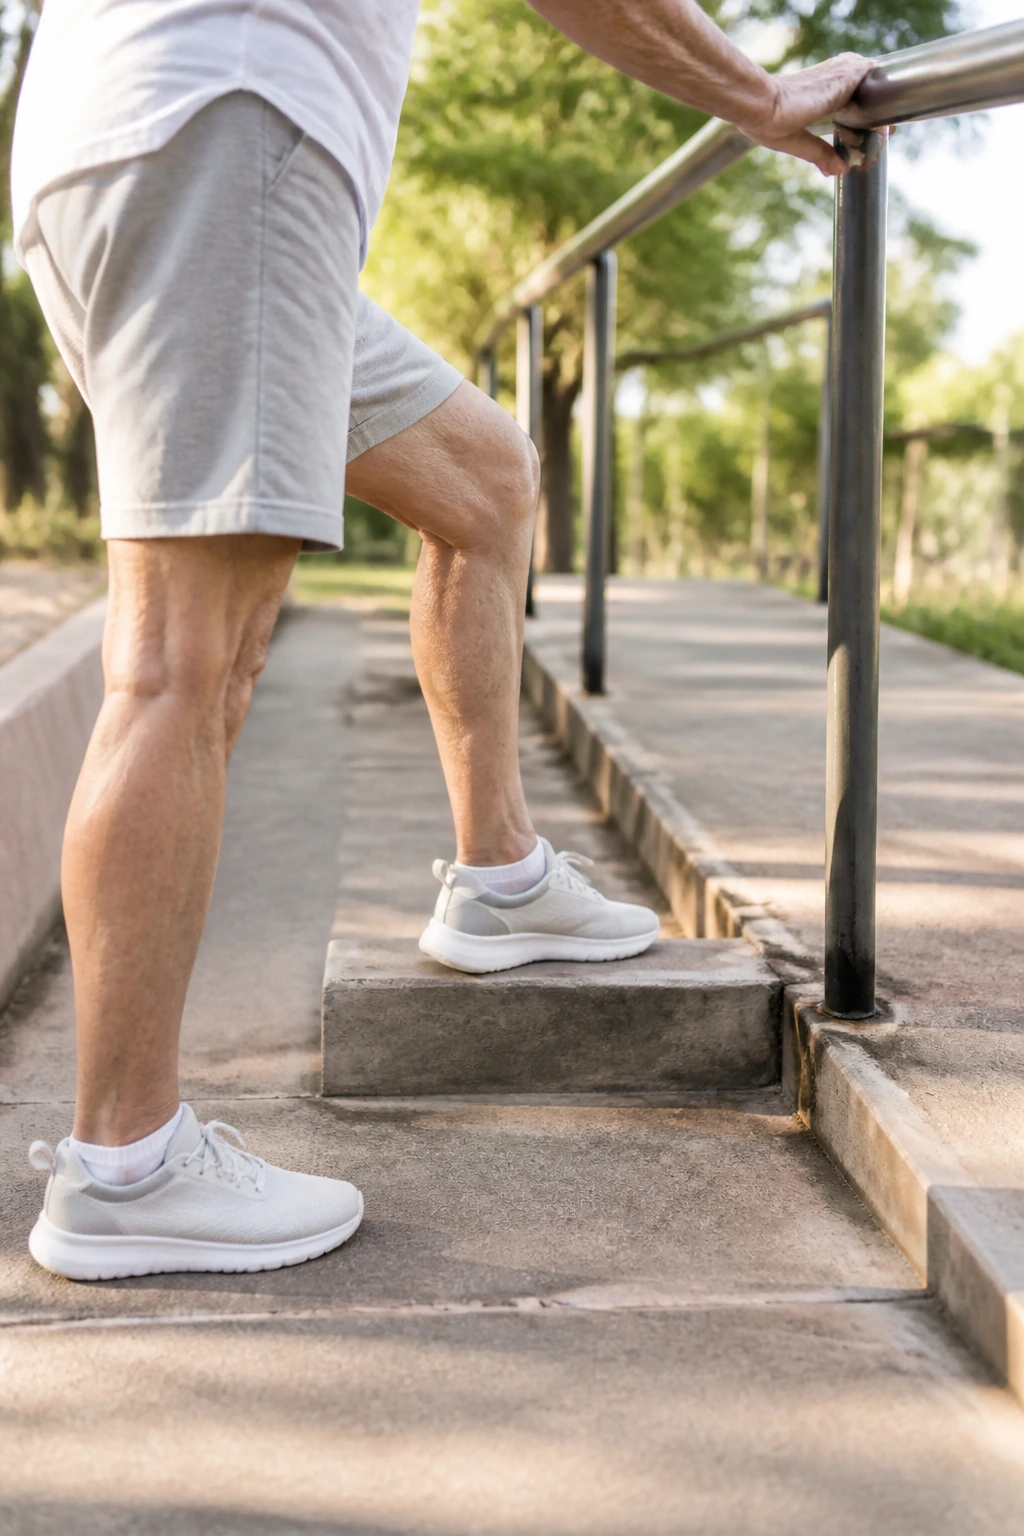
A ramp is kinder than a steep staircase, and that’s not a moral failing.
Ramp or stair intervals are one of the most efficient ways to build heart fitness and leg strength in an outdoor setting. Walk up for 20 to 40 seconds at a steady pace, then recover on the flat path or by taking the stairs down slowly with one hand on the rail. The descent matters. Fast downhill steps are where knees complain and balance gets sloppy.
- Choose shallow steps or a moderate ramp.
- Keep your eyes on the next landing.
- Use the rail before you feel like you need it.
- Rest until your breathing settles.
- Start with 3 to 5 rounds.
If climbing makes the front of the knee ache, shorten the interval or use a gentler slope. If your lungs are the limiting factor, that’s fine too. The point is not to conquer the ramp. The point is to train a little harder than a walk, then recover cleanly.
20. Outdoor Gym Workouts for Seniors End with a Stretch-and-Reset Cooldown
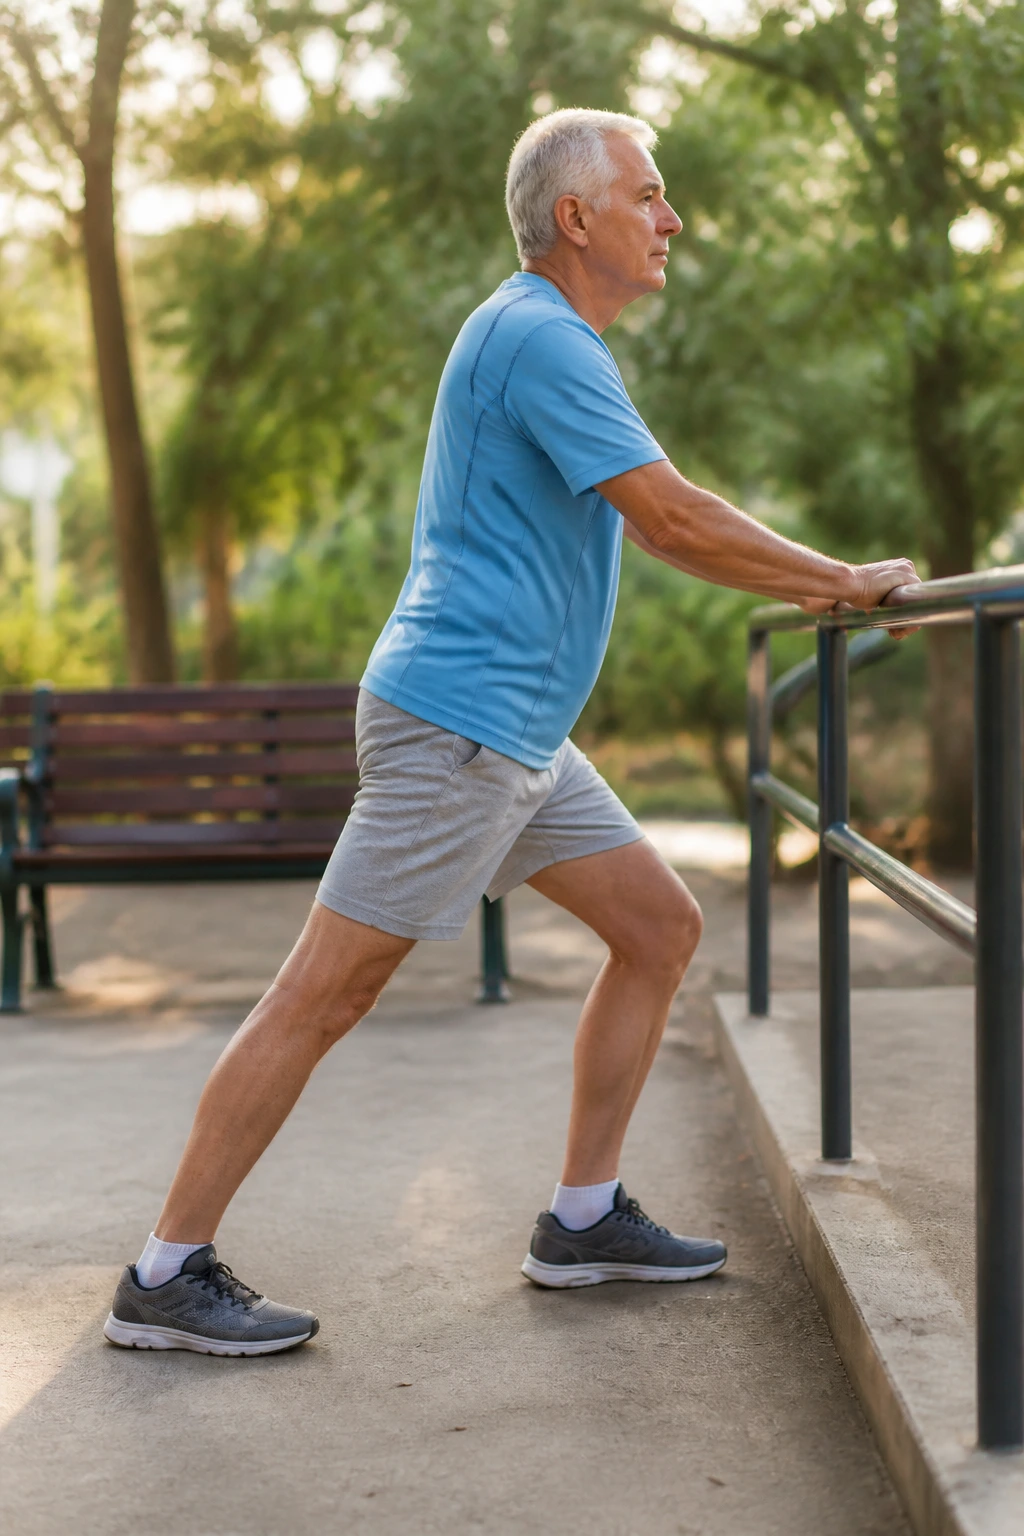
The workout is not over when the last rep ends.
A short cooldown helps your heart rate come down and gives stiff areas a chance to loosen before you head home. Use a rail, bench, or stretch station if the park has one. Calf stretch, chest opener, gentle hamstring stretch, then a slow walk for a couple of minutes. Keep each stretch around 20 to 30 seconds. No bouncing. No yanking. You want steady pressure, not a tug-of-war.
A Simple Park Cooldown
- Calf stretch against a rail: 20 seconds each side.
- Chest opener with one hand on a post: 20 seconds each side.
- Seated hamstring stretch on a bench: 20 seconds each side.
- Shoulder rolls and ankle circles: 5 slow reps each way.
- Easy walk: 2 to 3 minutes.
If your workout left you feeling a little taller and a little looser, that is the right finish. A good outdoor session for older adults does not need to be dramatic. It needs to be repeatable, safe, and useful enough that you come back tomorrow or later in the week without dreading it. That is the real win.
