



The glutes are the largest muscle group in the human body, but they are notorious for being lazy. You can spend an hour on a leg press machine or hours pounding pavement, yet if your posterior chain isn’t firing correctly, you are leaving significant results on the table. This is where resistance bands enter the conversation. They do something that gravity-based weights often fail to accomplish: they provide constant, perpendicular tension. When you move through a squat or a lunge with a band wrapped around your knees, your abductors have to fight against that force throughout the entire range of motion, not just at the top or bottom of the movement.
This constant tension forces the gluteus medius and minimus to work overtime. These smaller muscles are responsible for hip stability and that rounded, defined look everyone is after. Without them, you are just training the gluteus maximus, which is great for power, but insufficient for the visual and functional symmetry you likely want. The beauty of these movements is that they require almost no space and can be done with a single, inexpensive piece of equipment. You do not need a commercial gym to build structural integrity in your hips. You just need a band, some floor space, and the willingness to endure the burn.
Before you start, understand that not all bands are created equal. If you are serious about this training, skip the thin, rubbery latex loops that snap or roll up the moment you start sweating. Invest in a fabric-based resistance band. They stay in place, they do not dig into your skin, and they offer a more consistent, higher level of tension. The fabric grip is superior for every single exercise listed below. Now, let’s get into the mechanics of building a stronger posterior.
The Science of Constant Tension and Muscle Activation
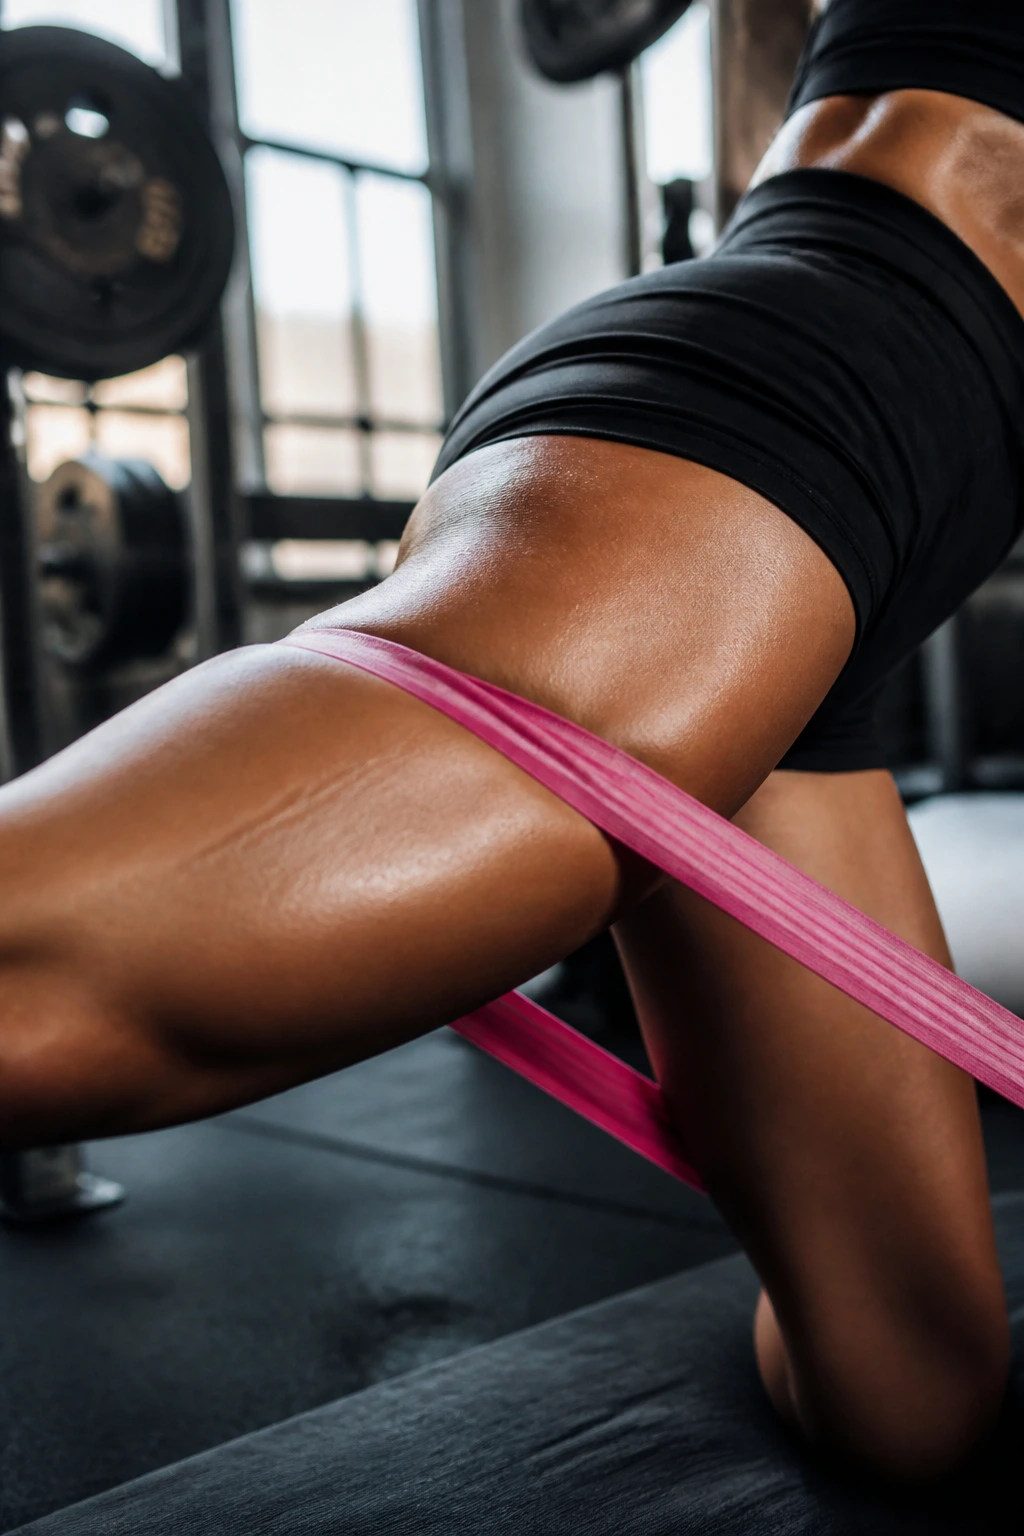
Resistance bands change the resistance curve. In a standard barbell squat, the bottom of the movement is the hardest, and the top is the easiest. With a resistance band, the further you push your knees apart, the more resistance the band provides. This peak contraction is exactly what builds the “pump” and forces muscle fiber recruitment in areas that usually stay dormant.
Muscles adapt to the load they are given. By adding a band, you increase the “time under tension,” a primary driver for hypertrophy. You are not just moving weight from point A to point B; you are actively fighting an opposing force in all directions. This is the difference between simply performing an exercise and actually forcing a muscle to change its architecture. When your glutes are fatigued, that is not a sign to stop; it is a sign that you have successfully bypassed the stronger, dominant muscles and tapped into the stabilizers.
1. Banded Glute Bridges
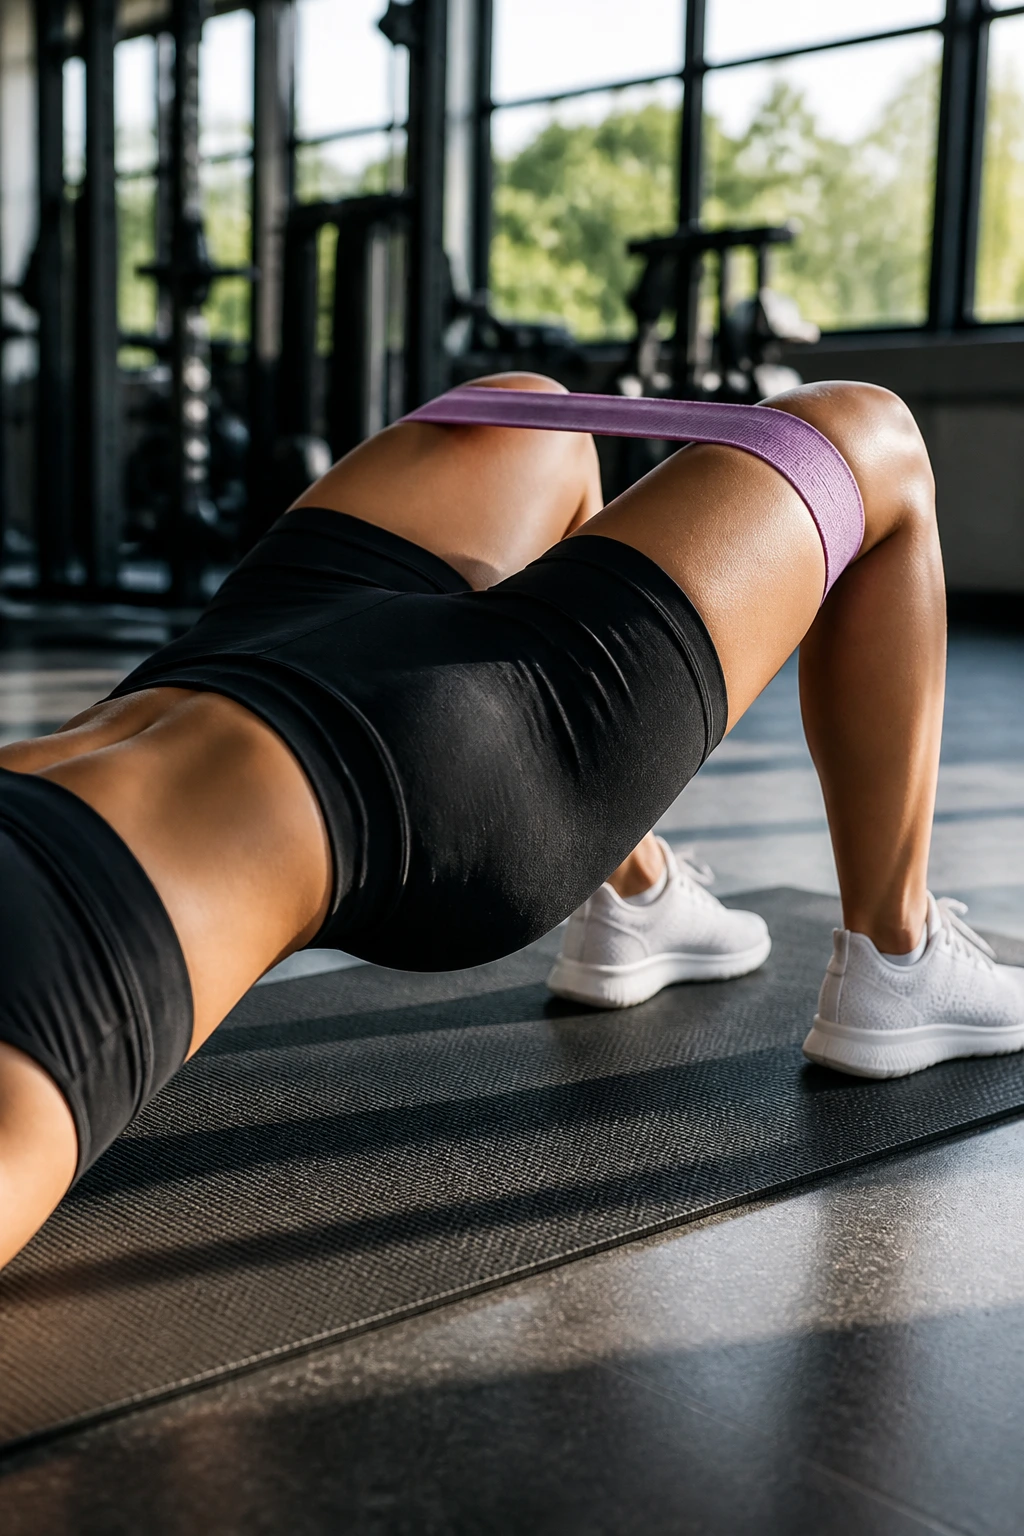
This is the foundational movement for posterior chain engagement. It is deceptive because it looks simple, but when done with a fabric band just above your knees, it becomes an intense isolator. Lie flat on your back with your feet planted firmly, hip-width apart. Wrap the band around your thighs, roughly two inches above the knee joint.
Perfecting the Mechanics
Drive your heels into the floor to lift your pelvis toward the ceiling. At the top of the movement, squeeze your glutes as hard as you possibly can. The band will be trying to pull your knees inward; your job is to actively push them outward against the resistance throughout the entire lift. Do not arch your lower back. If you feel this in your lumbar spine, you are lifting too high or engaging your back muscles instead of your hips. Keep your ribs tucked down.
Why This Works
The isometric hold at the top, combined with the band’s outward pull, forces the gluteus medius to engage to stabilize the pelvis. It prevents the knees from caving in, which is the most common form error in lower body training.
2. Banded Lateral Walks
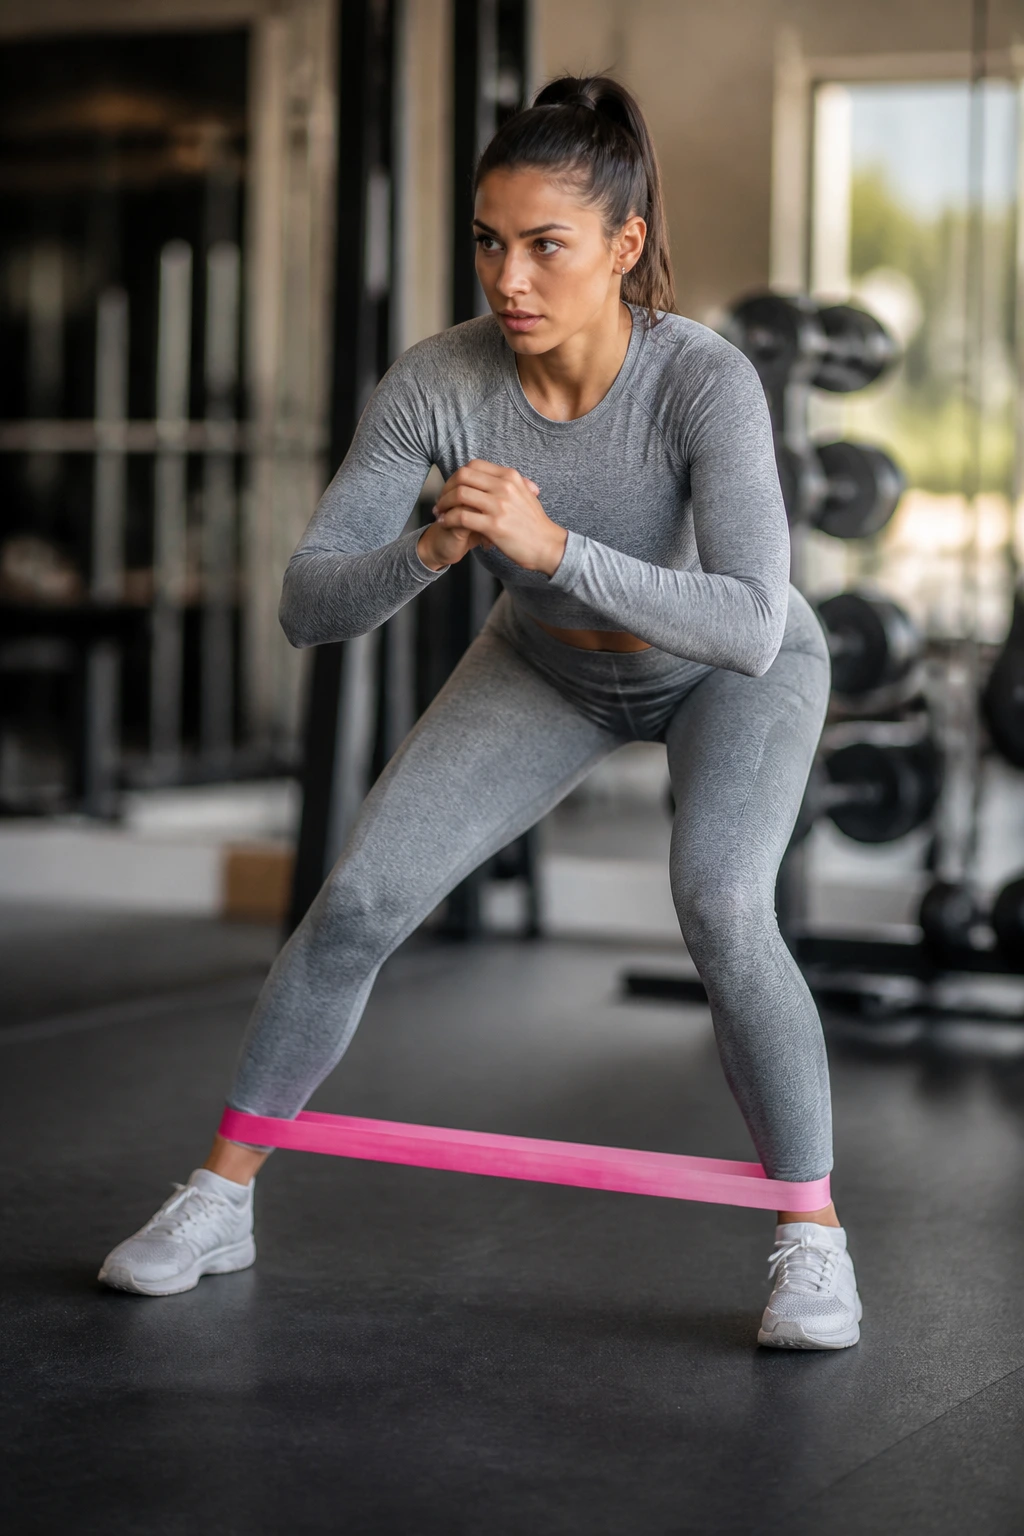
If you want to feel the side of your glutes “wake up,” this is the movement. Stand in a quarter-squat position, maintaining a slight hinge at the hips. The band should be placed around your ankles for maximum difficulty, or just above the knees if you are a beginner.
Managing the Tension
Step out to the side with one foot, keeping your toes pointed forward. Follow with the other foot, but stop before your feet touch. You must keep the band under constant tension. Do not let your feet come together, or the band will go slack. Walk ten steps to the right, then ten steps to the left. The burn should be localized on the outside of your hips. If it is moving to your quads, you are likely standing too upright—get lower into that squat.
3. Banded Clamshells
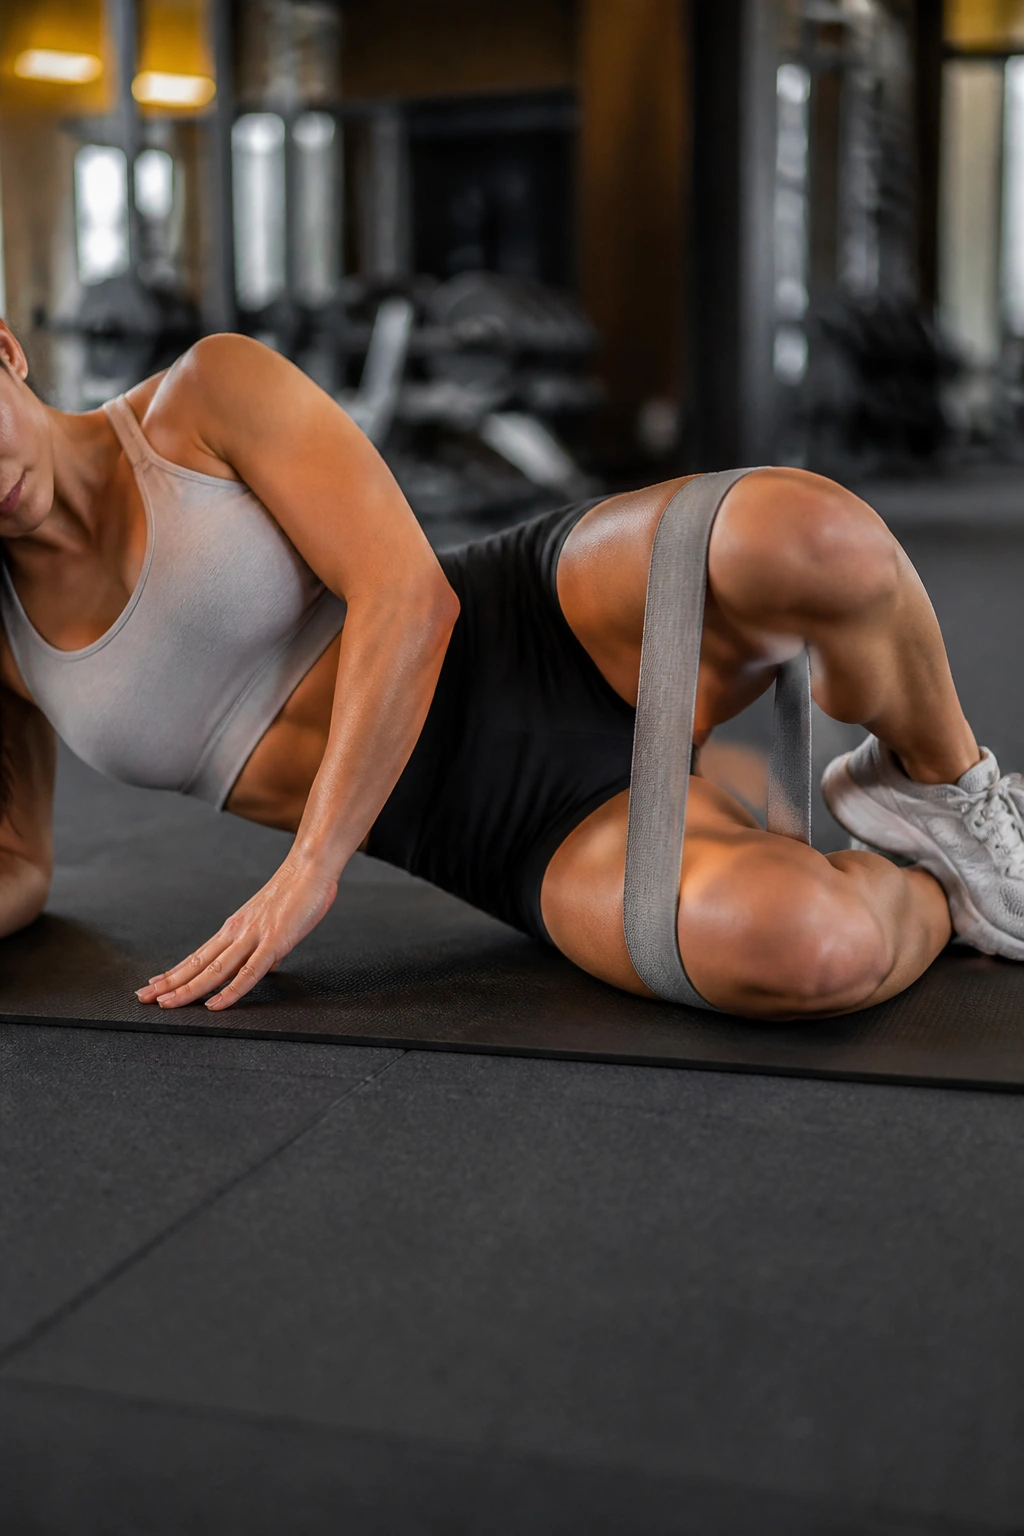
This exercise specifically targets the deep hip external rotators. Lie on your side with your legs stacked, knees bent at a 45-degree angle. Place the band just above your knees. Keep your feet touching throughout the entire set.
The Rotation
Lift your top knee toward the ceiling while keeping your feet glued together. The movement should be controlled; do not use momentum to swing the leg up. Pause at the peak of the movement, feeling the deep contraction in the side glute. Lower the knee back down slowly. Three seconds up, three seconds down is a good tempo to follow to prevent cheating.
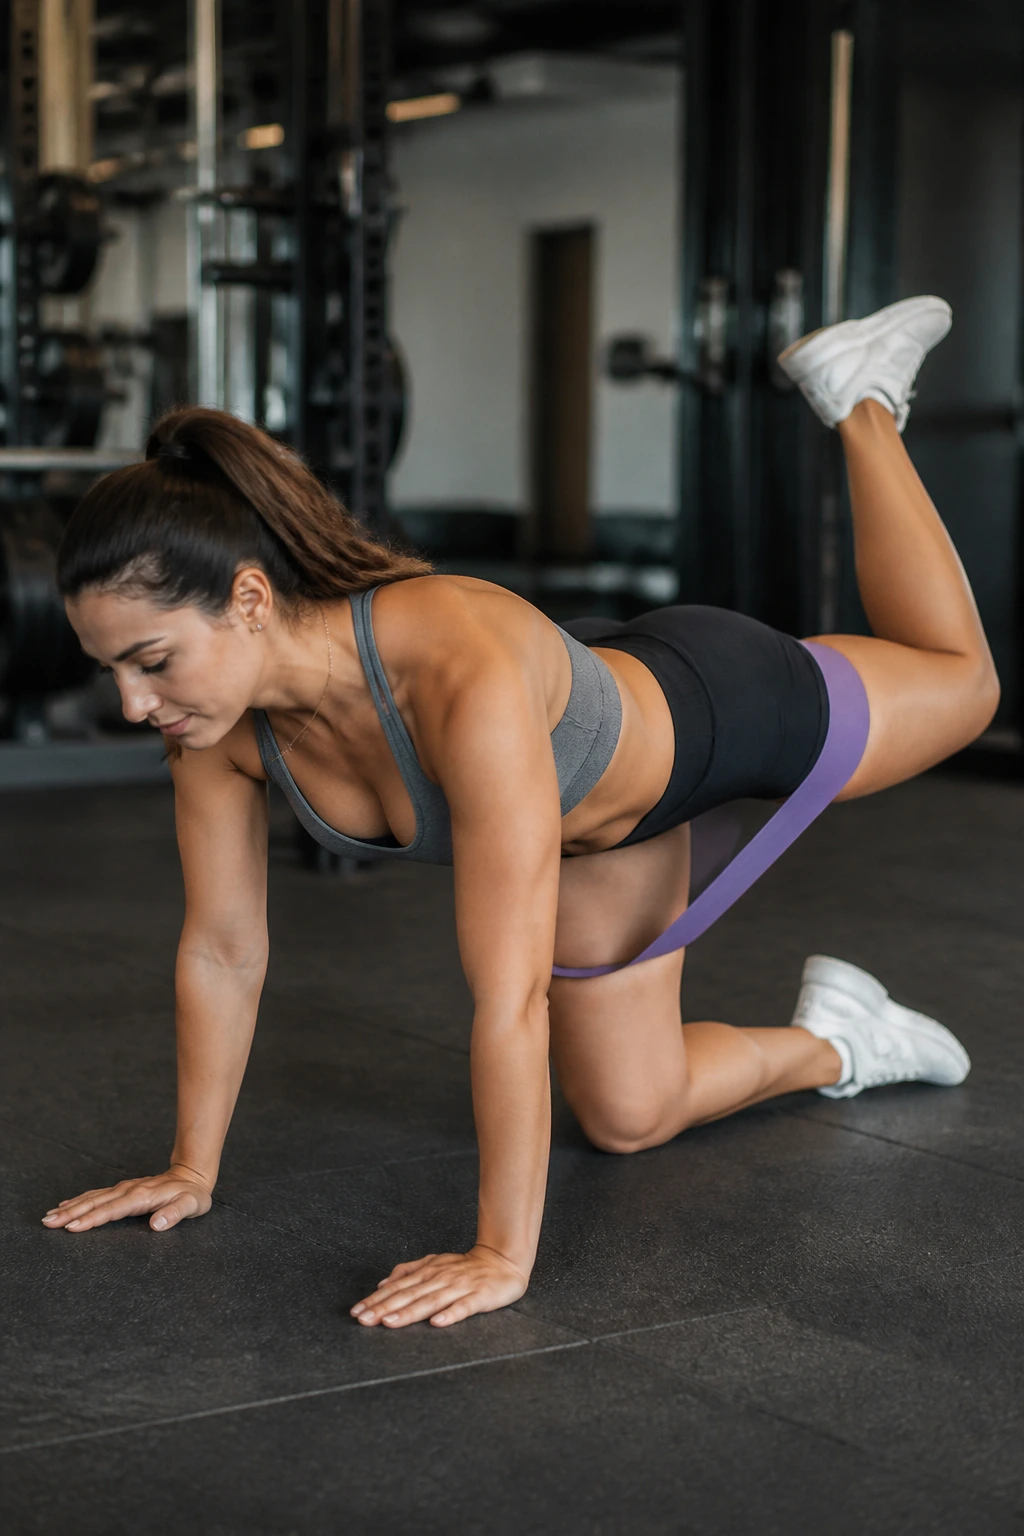
4. Banded Donkey Kicks
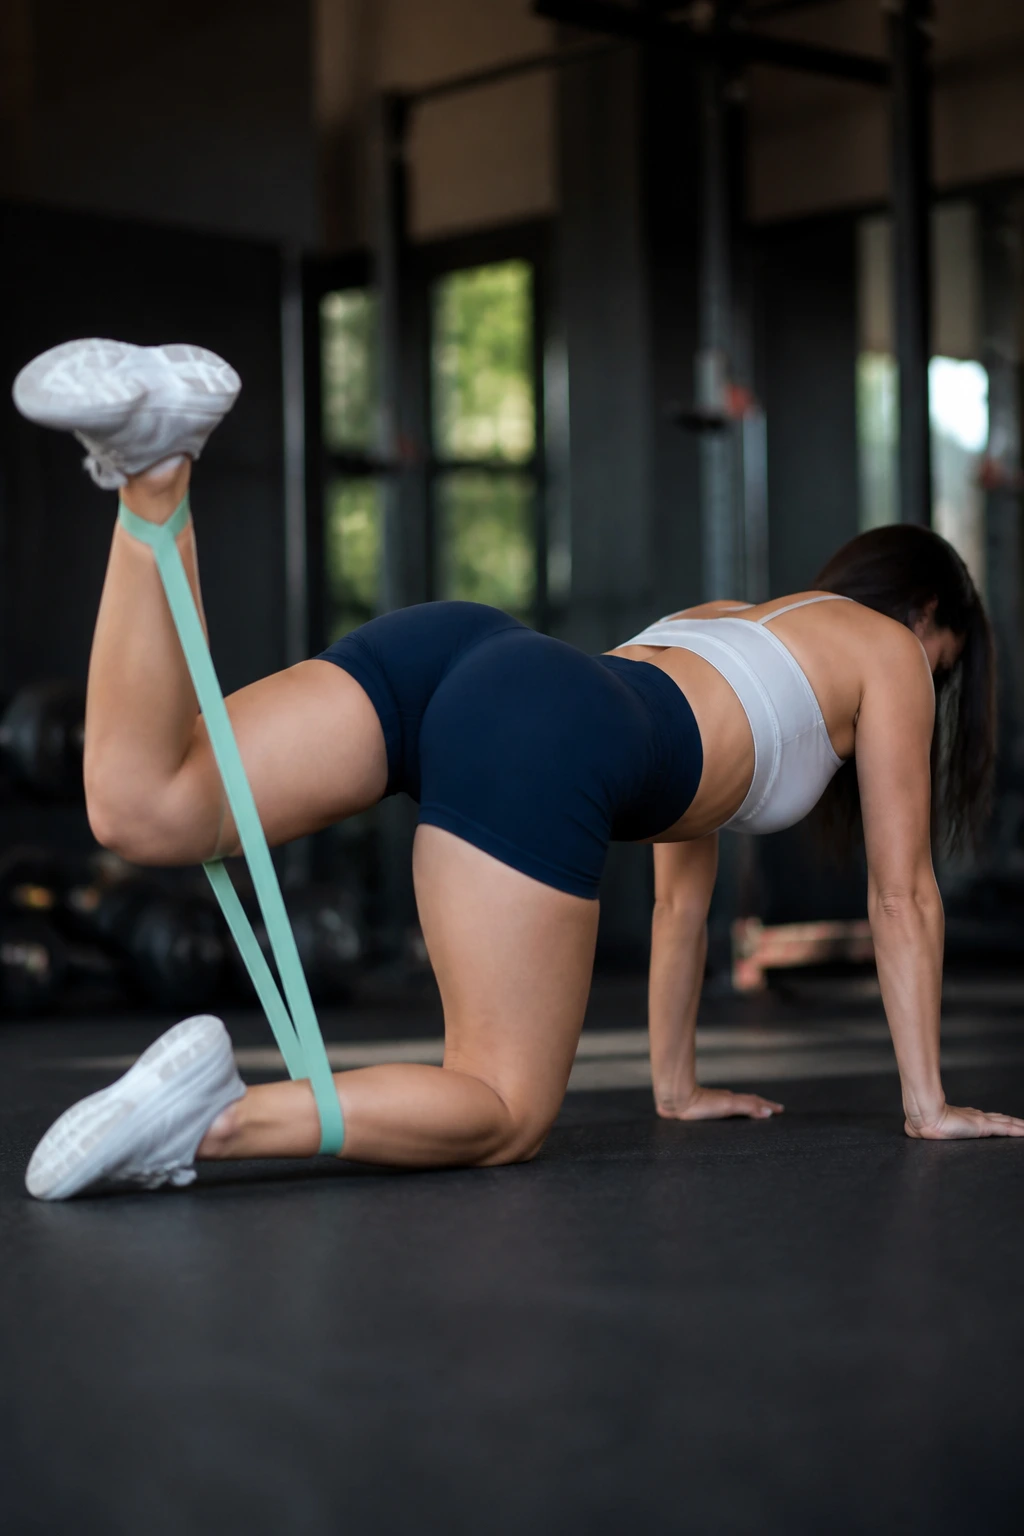
Get on all fours. Place your hands directly under your shoulders and your knees under your hips. Loop the band around the arch of one foot and the bottom of the opposite thigh. This creates a challenging pull.
Building Strength
Kick your banded foot toward the ceiling, keeping your knee bent at a 90-degree angle. Your foot should be flat, as if you are trying to stomp a footprint on the ceiling. Squeeze the glute at the top of the movement. Avoid shifting your weight to the side or rotating your hips. The movement must come strictly from the hip joint. If you find your back dipping, engage your core before you start the movement.
5. Banded Fire Hydrants
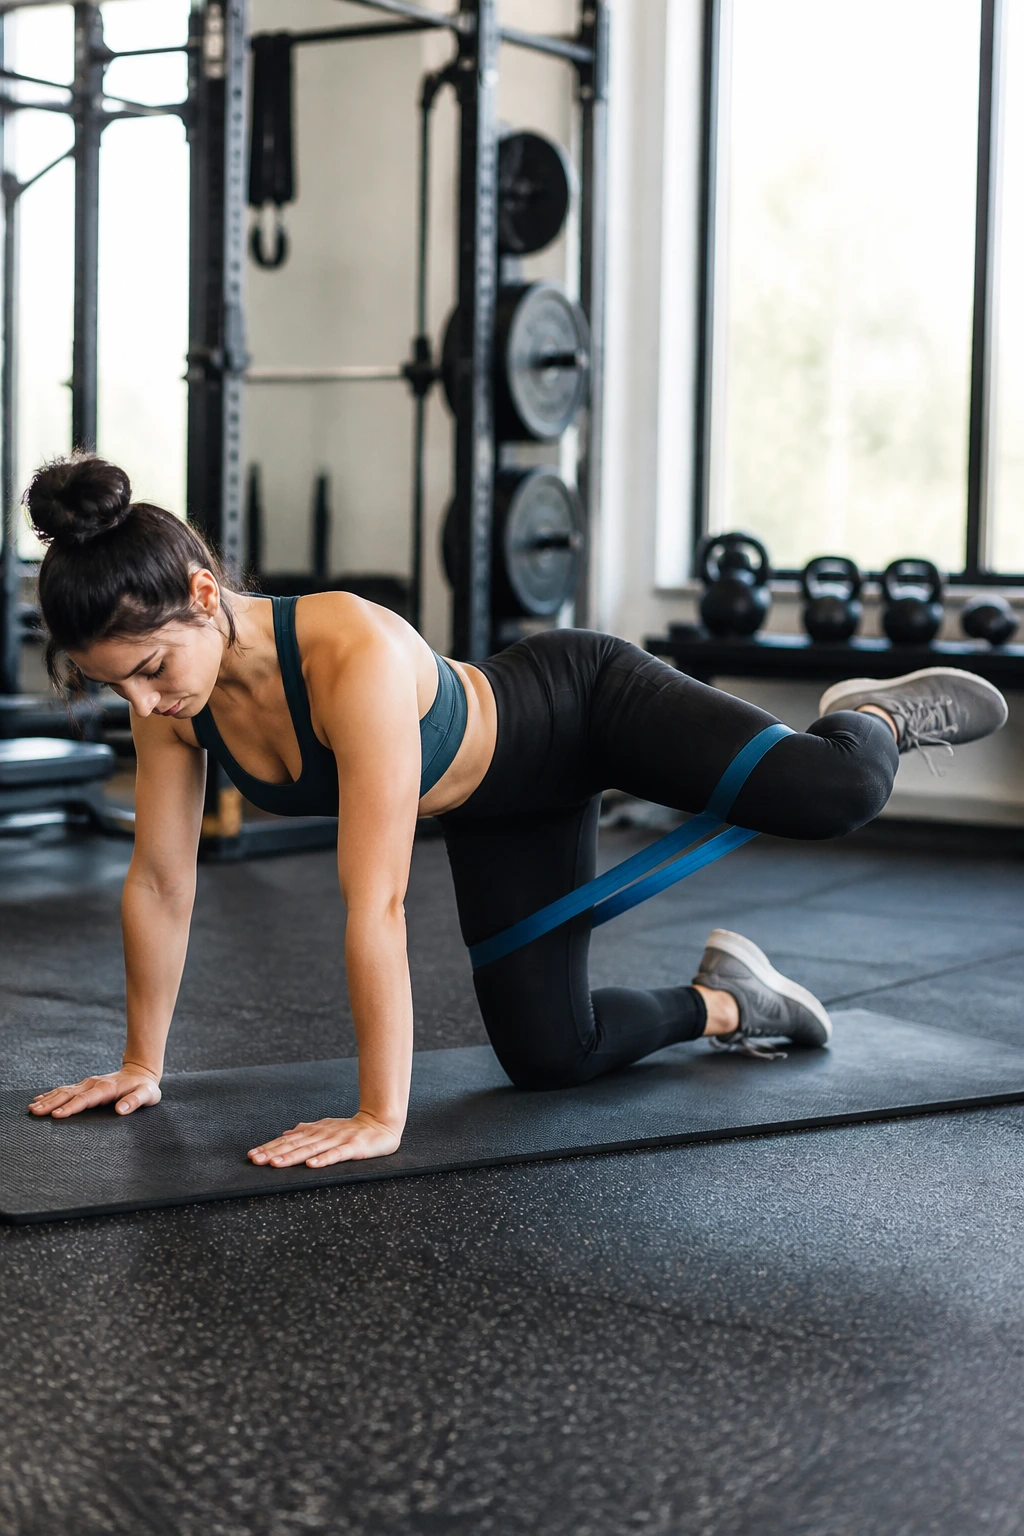
This movement is visually simple but notoriously difficult. Stay on all fours. Keep the band just above your knees. While maintaining a 90-degree angle at the knee, lift one leg out to the side, similar to how a dog uses a fire hydrant.
The Focus
The goal is to move the leg laterally without twisting your torso. It is very common to rotate the hips to get the leg higher, but that defeats the purpose. Lift the leg only as high as you can while keeping your pelvis perfectly square to the floor. The moment you rotate, you lose the isolation of the glute medius. Keep the movement slow and deliberate.
6. Banded Seated Hip Abduction
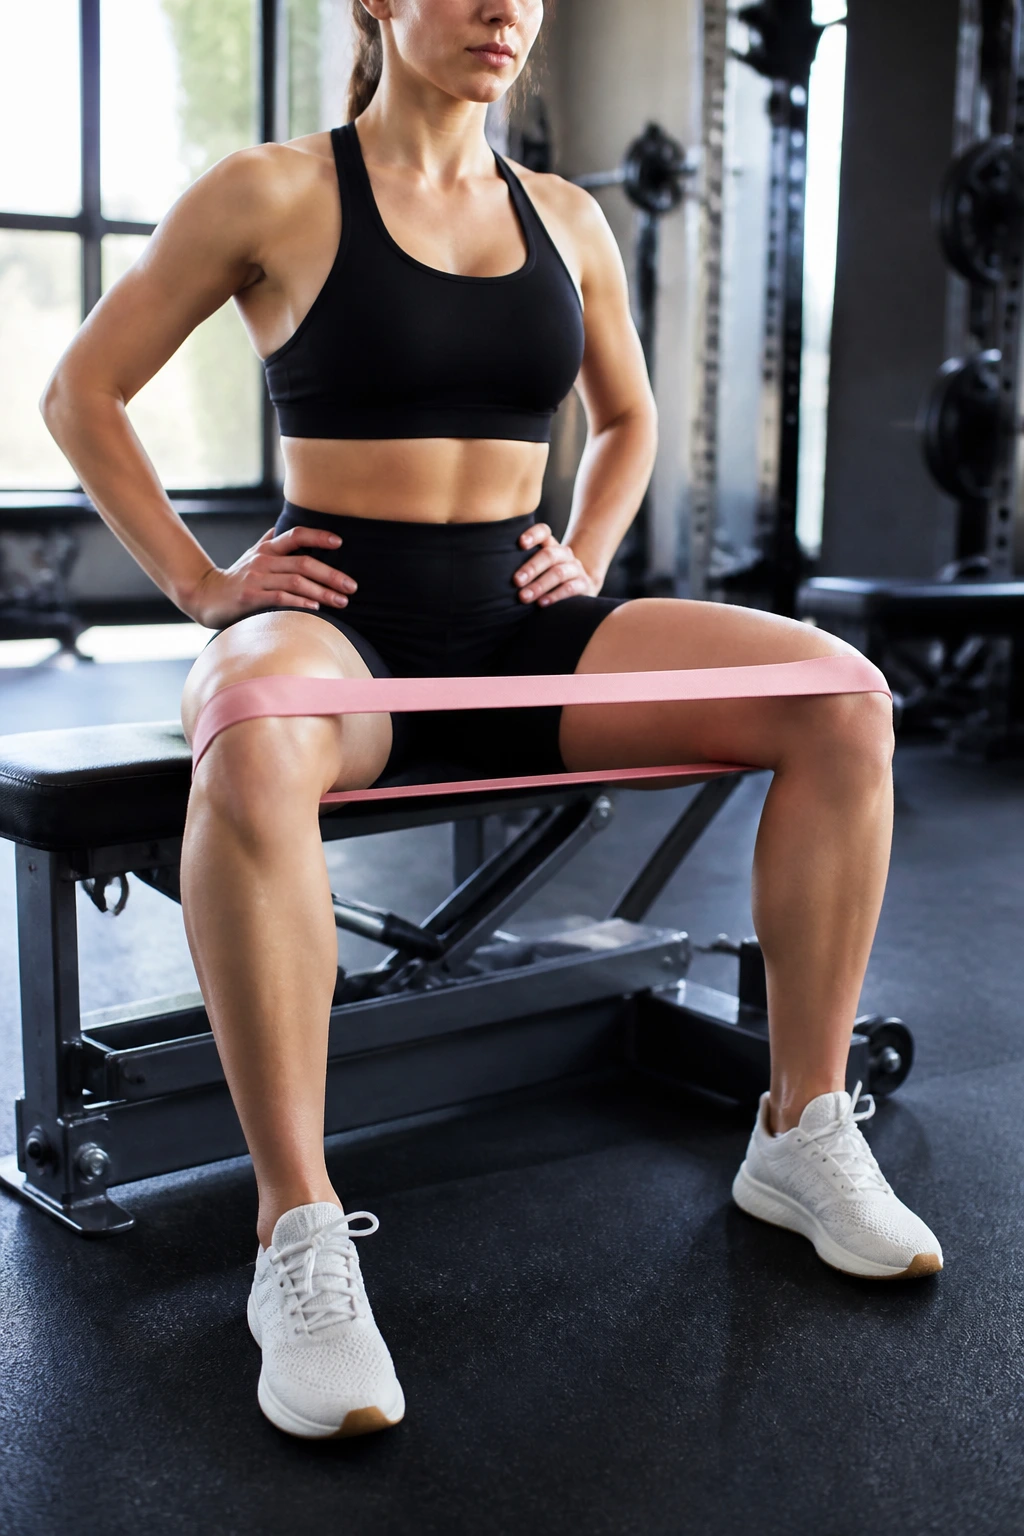
This movement mimics the seated abduction machine found in most gyms, but with much more versatility. Sit on the edge of a sturdy bench or chair. Place the band just above your knees.
Executing the Move
Start with your knees together. Push your knees apart against the band’s resistance, moving as far as your hip mobility allows. Hold the stretch for a second, then resist the band as you bring your knees back together. Do not let the band snap your knees back; control the eccentric phase of the movement. You can lean slightly forward to change the angle of glute engagement.
7. Banded Squats
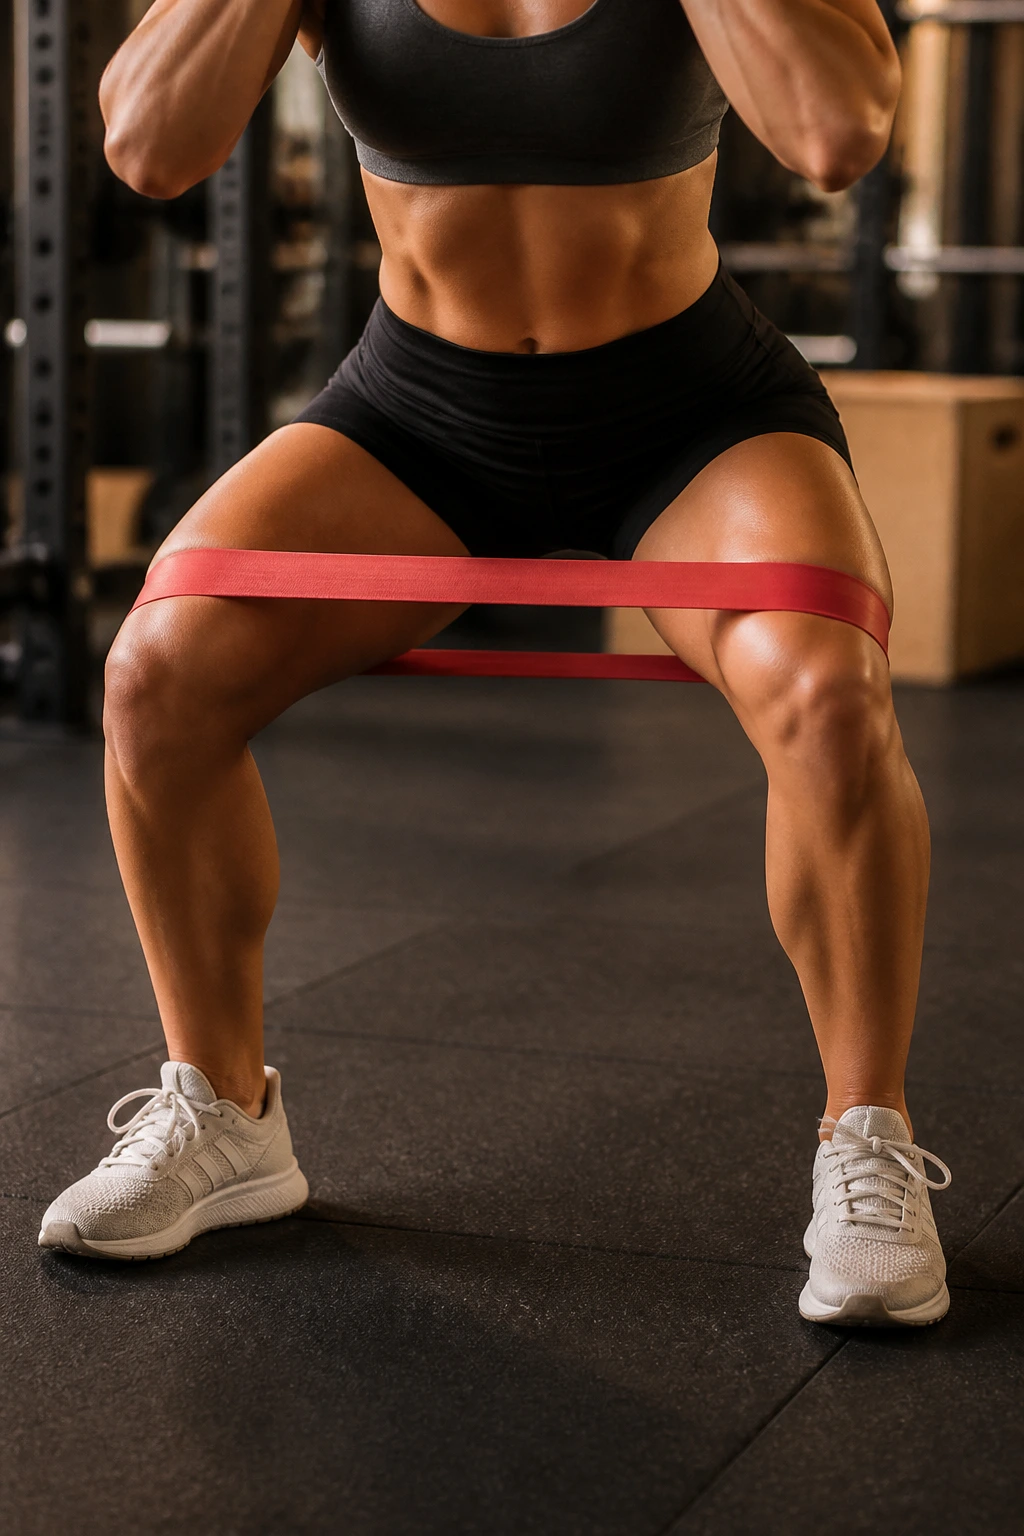
The squat is a compound movement, but the band makes it a glute-dominant one. Place the band just above your knees. Stand with your feet shoulder-width apart.
The Knees-Out Cue
As you descend into the squat, you must actively push your knees outward against the band. If your knees collapse inward, you are putting unnecessary strain on your ligaments and failing to activate the glute muscles. Keep your chest up and your weight in your heels. At the bottom of the squat, pause for a moment. This forces the muscles to work harder to reverse the momentum.
8. Banded Sumo Walks
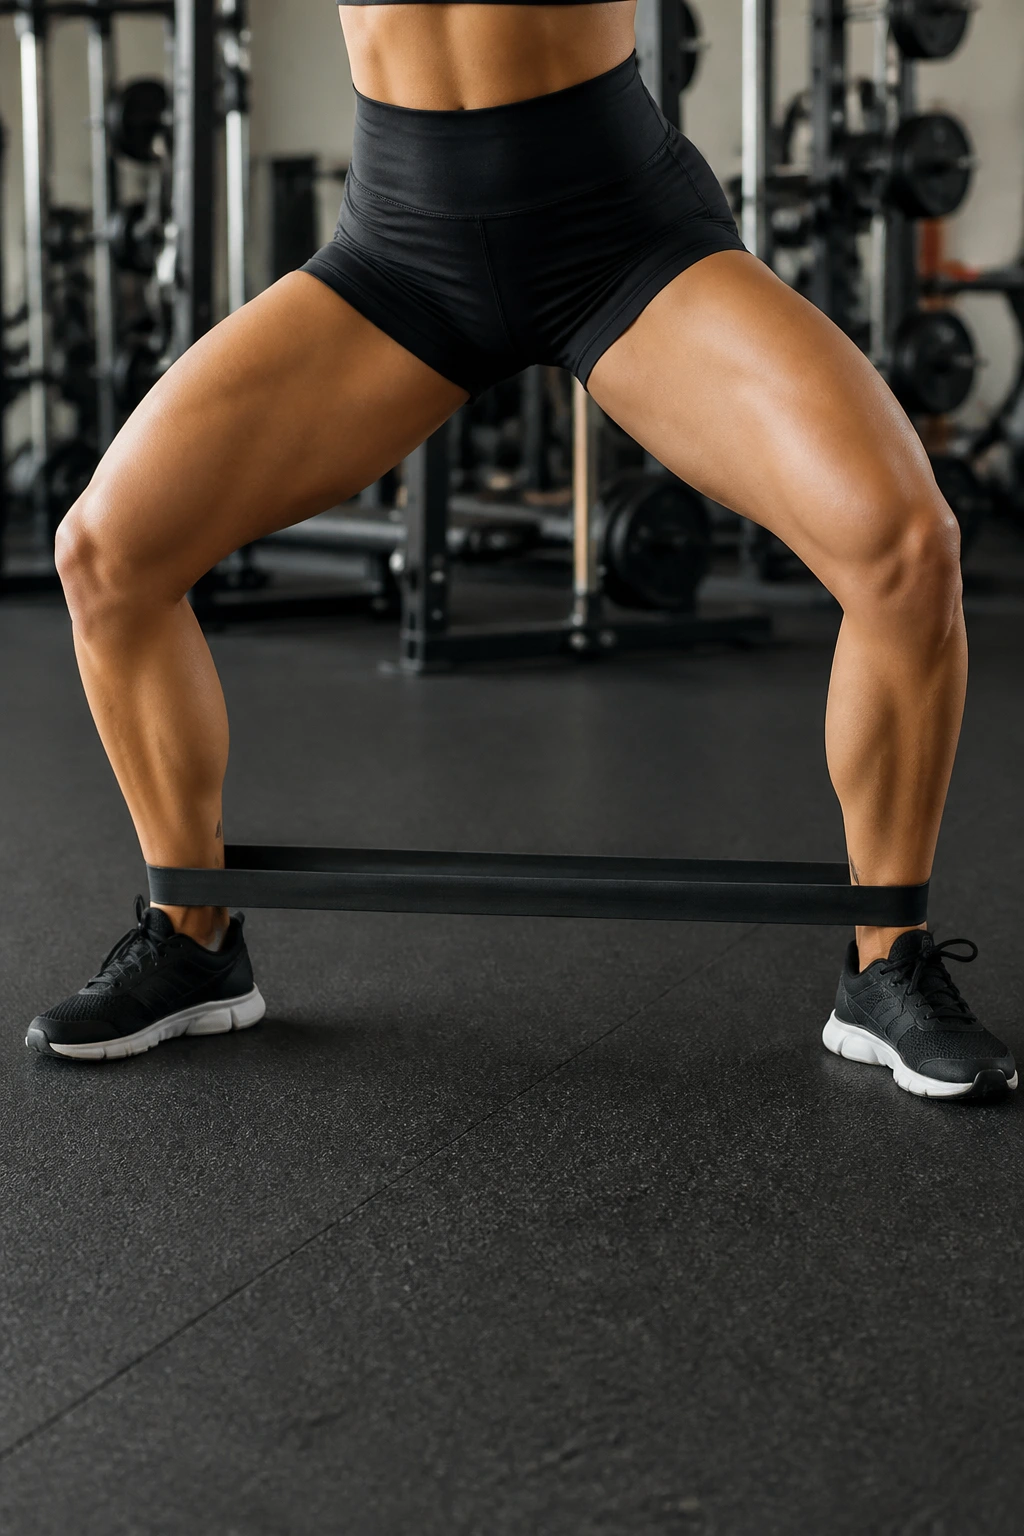
Similar to lateral walks, but the stance is wider and the focus is on the gluteus maximus and adductors. Place the band around your ankles. Take a wide stance, bending your knees into a deep squat.
Maintaining Form
Take a wide, diagonal step forward and out. You are walking in a V-shape pattern. Keep your torso upright and your core tight. The wider your stance, the more difficult this becomes. If you feel like your hips are locking up, shorten your step. The key is to keep the toes pointing forward, not outward.
9. Banded Kickbacks
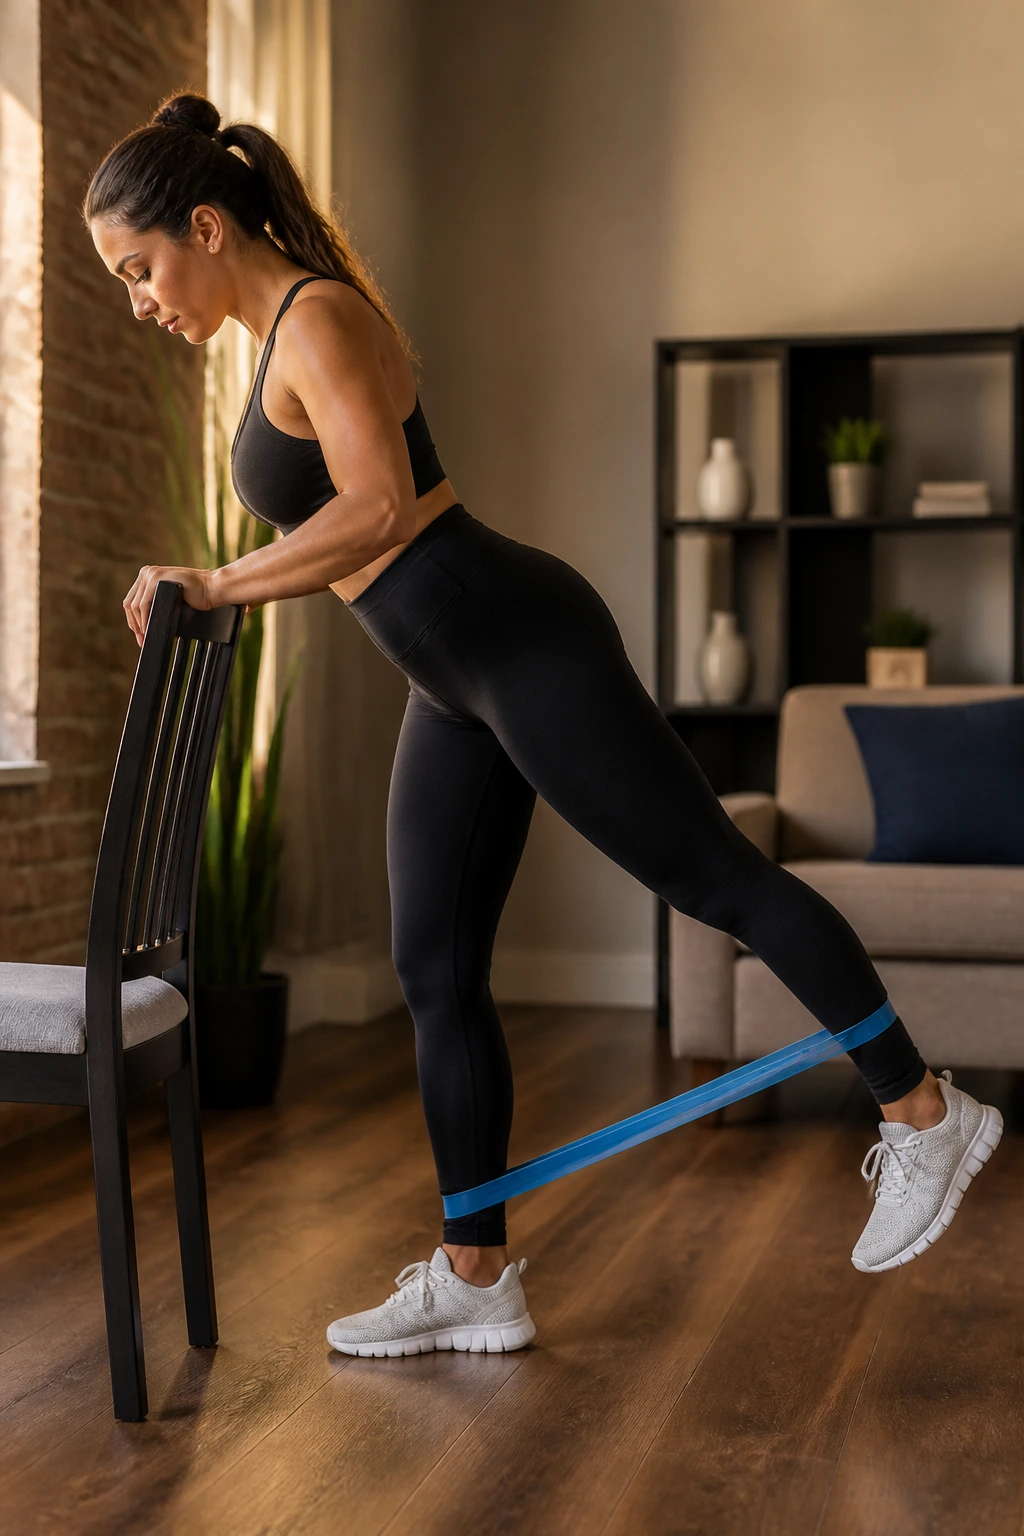
Stand upright and loop the band around your ankles. Hold onto a wall or a sturdy chair for balance. Shift your weight onto one leg.
The Motion
Kick the other leg straight back. Keep the leg straight, but do not lock the knee. Squeeze the glute at the very top of the extension. Do not let your lower back take the brunt of the load; if you feel it there, lean your torso forward slightly. This shift in angle removes the lumbar spine from the equation and places the tension squarely on the glute.
10. Banded Glute Bridge March
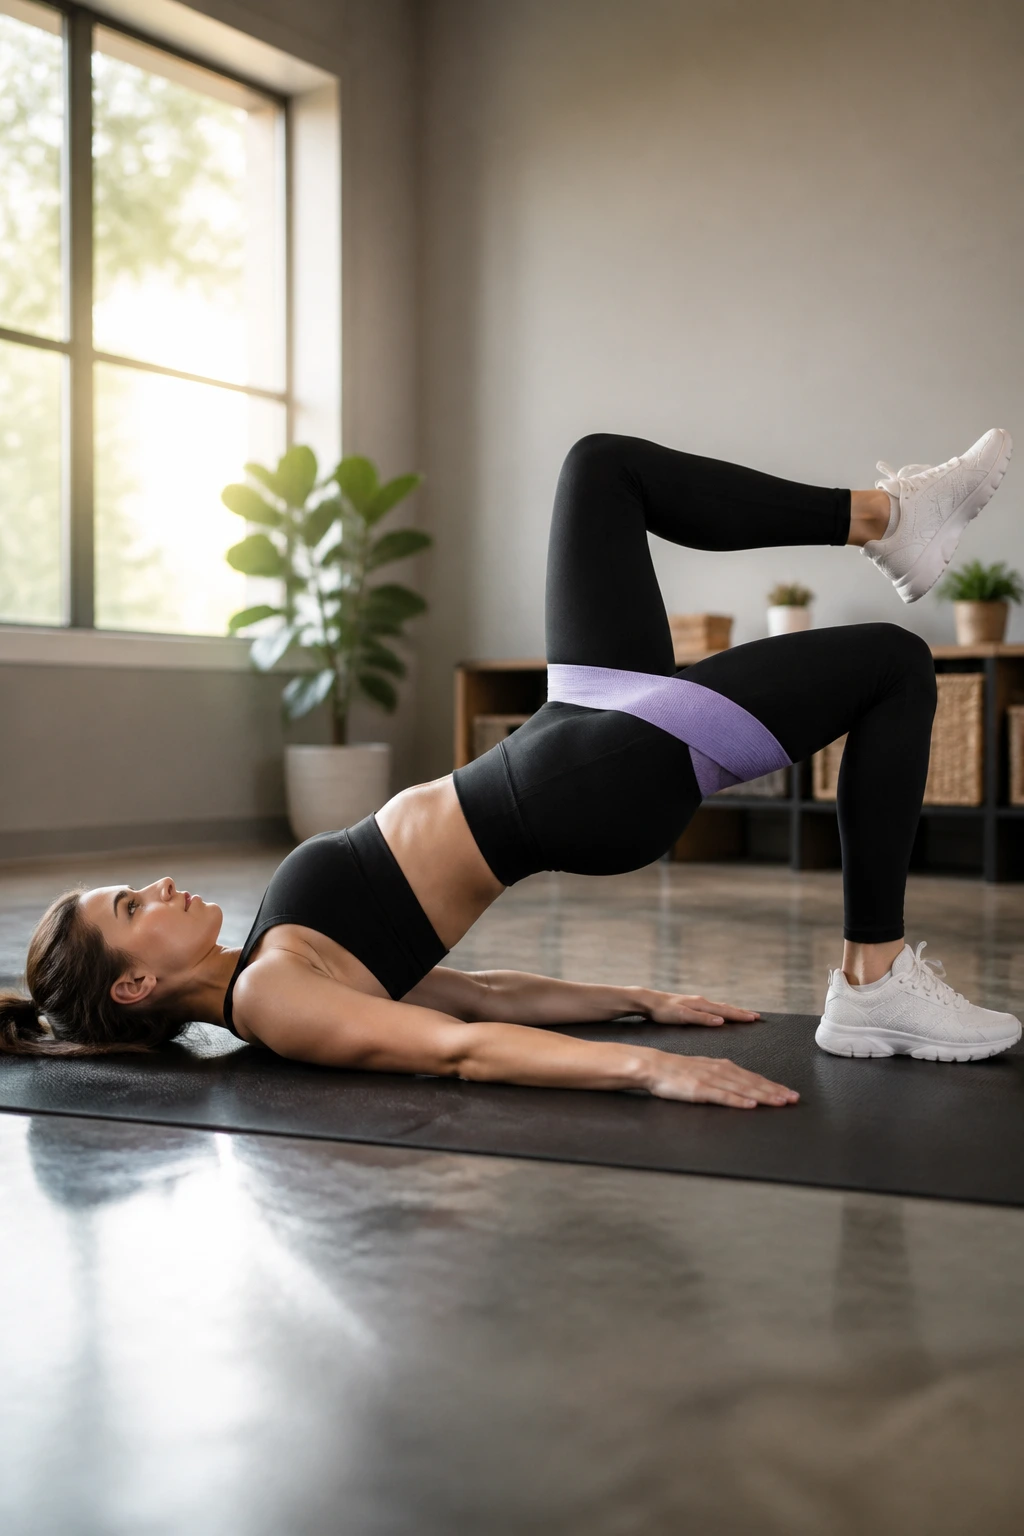
Take the standard glute bridge and make it dynamic. Set up in the bridge position, band above the knees. Lift your hips into the bridge.
The Challenge
While holding the hips elevated and the glutes contracted, lift one foot a few inches off the ground. Place it back down. Immediately lift the other foot. This “marching” motion requires immense core and glute stability to keep the hips from dropping or swaying side-to-side. If your hips sag when you lift a foot, your glute is not strong enough for the march yet—stick to holding the bridge until you gain more endurance.
11. Banded Romanian Deadlift
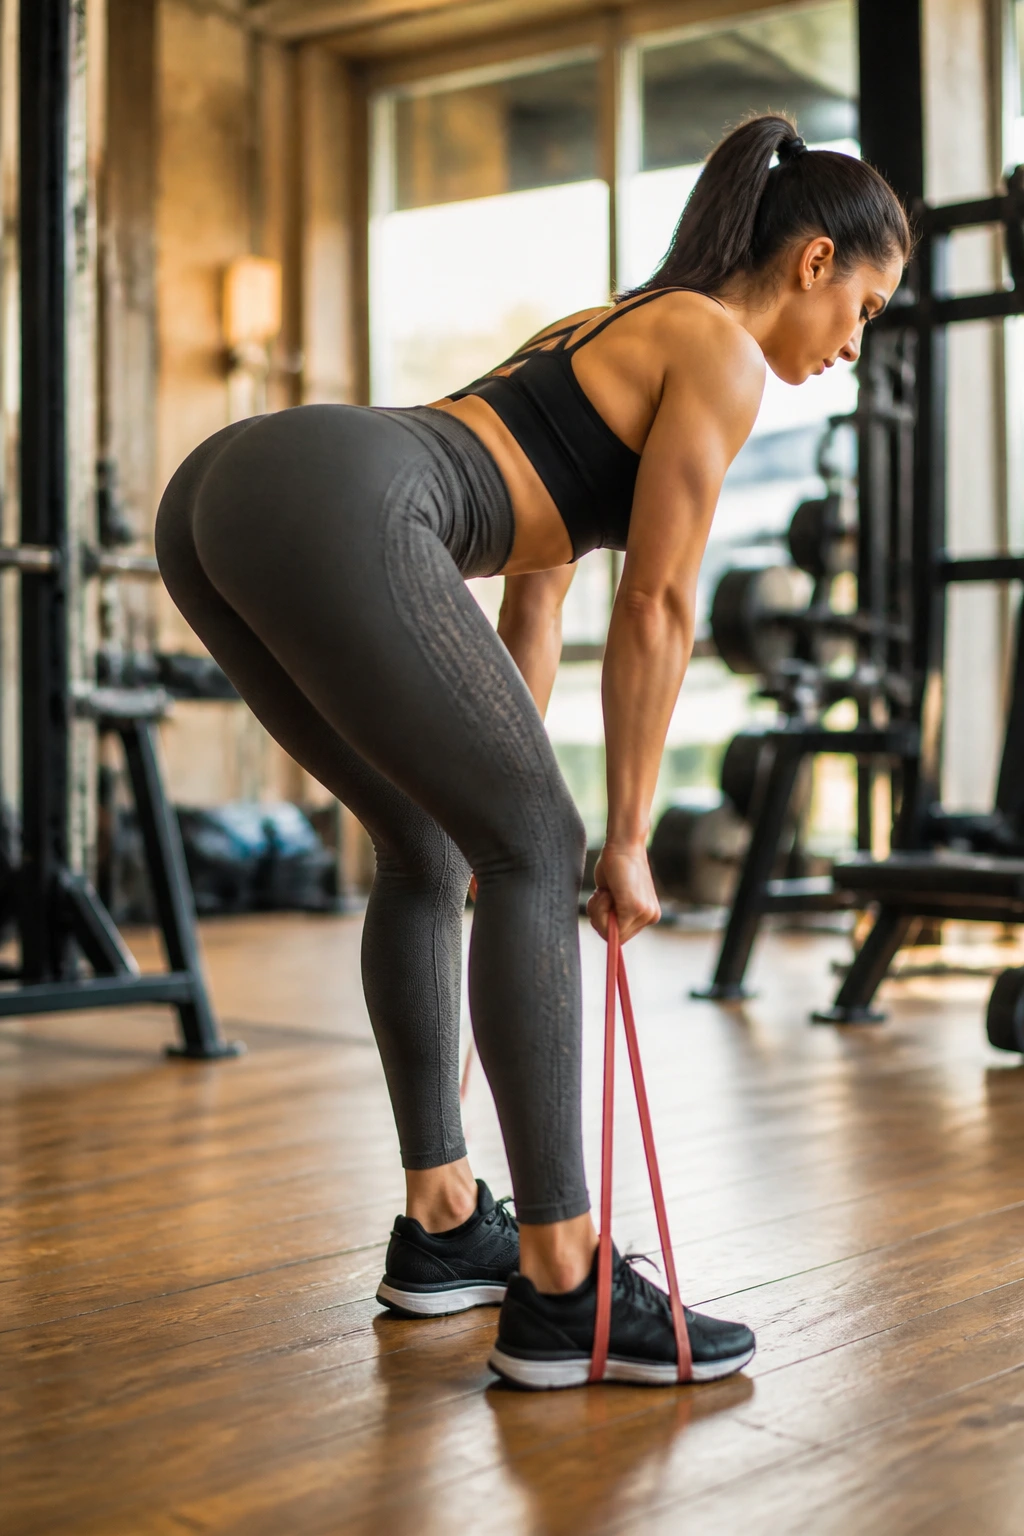
You do not need a barbell to perform an effective RDL. Stand with the band under your feet. Hold the other side of the band with your hands.
The Hip Hinge
Push your hips back as if you are trying to close a door behind you with your glutes. Keep your back flat. The resistance from the band will increase as you descend, which is perfect for this movement. Drive through your heels to return to a standing position, squeezing your glutes at the top. The band provides constant tension on the hamstrings and glutes throughout the eccentric phase.
12. Banded Frog Pumps
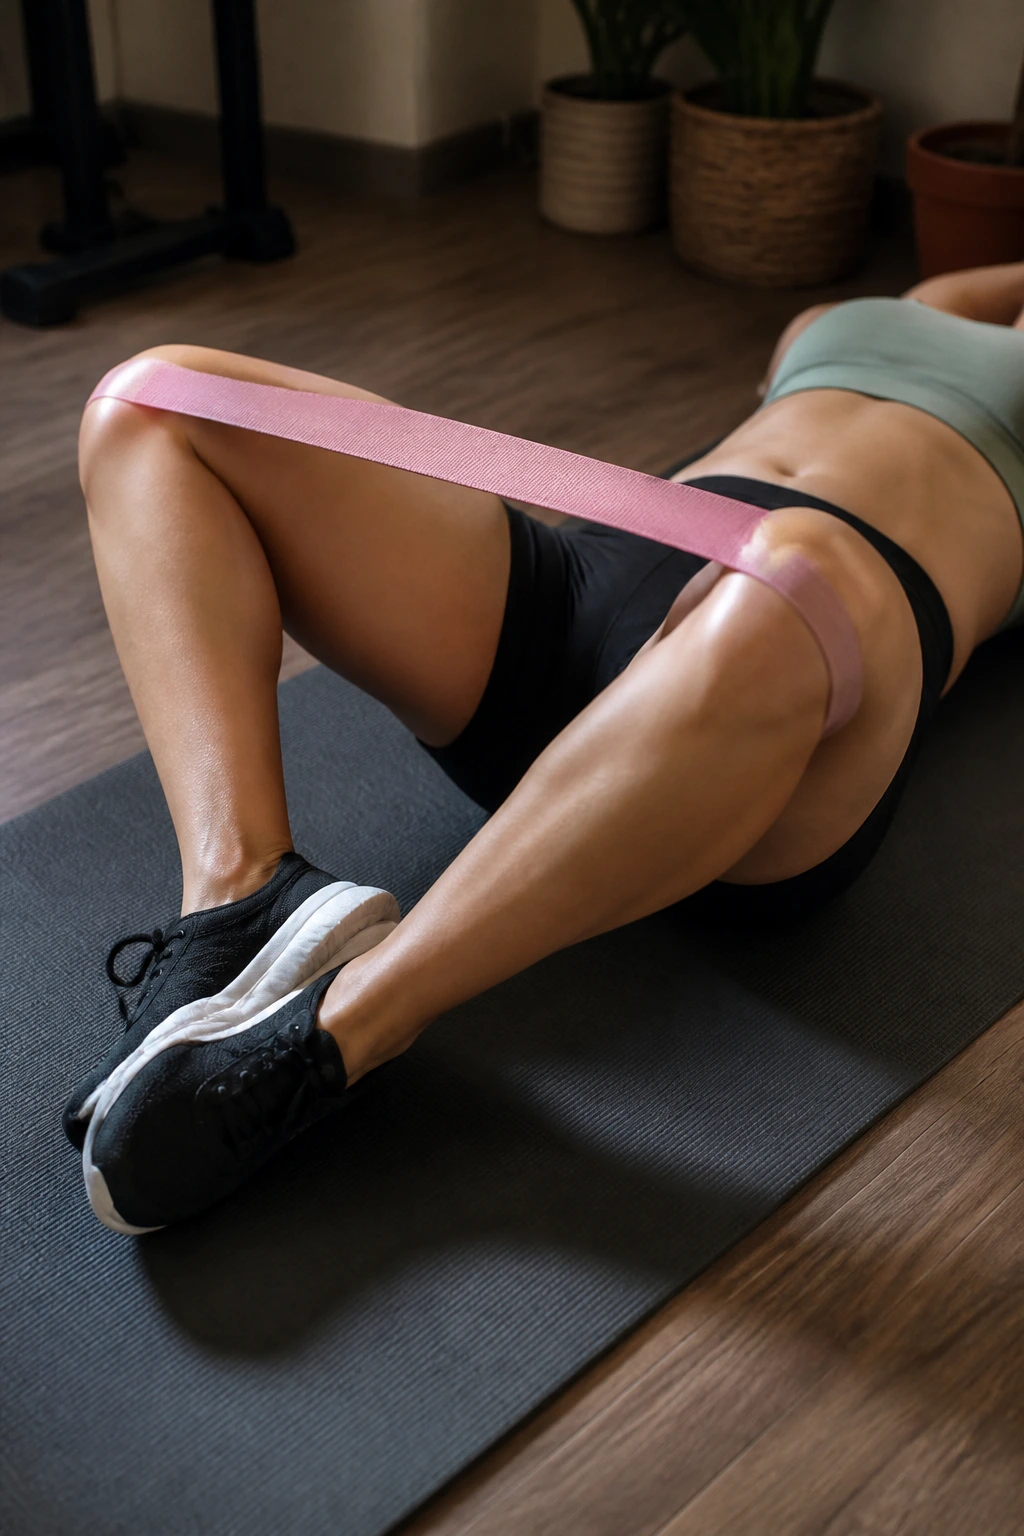
This is a specific glute isolator that essentially eliminates quad involvement. Lie on your back, bring your feet together, and let your knees fall outward, forming a diamond shape. Place the band above your knees.
The Squeeze
Bridge your hips up. Because your knees are wide, the glutes are put in a shortened position, making it very hard for the quads to take over. You will feel a massive contraction in the glutes almost immediately. Perform high reps here—20 to 30 reps per set is standard for this movement. It is less about heavy weight and more about high-volume fatigue.
13. Banded Monster Walk
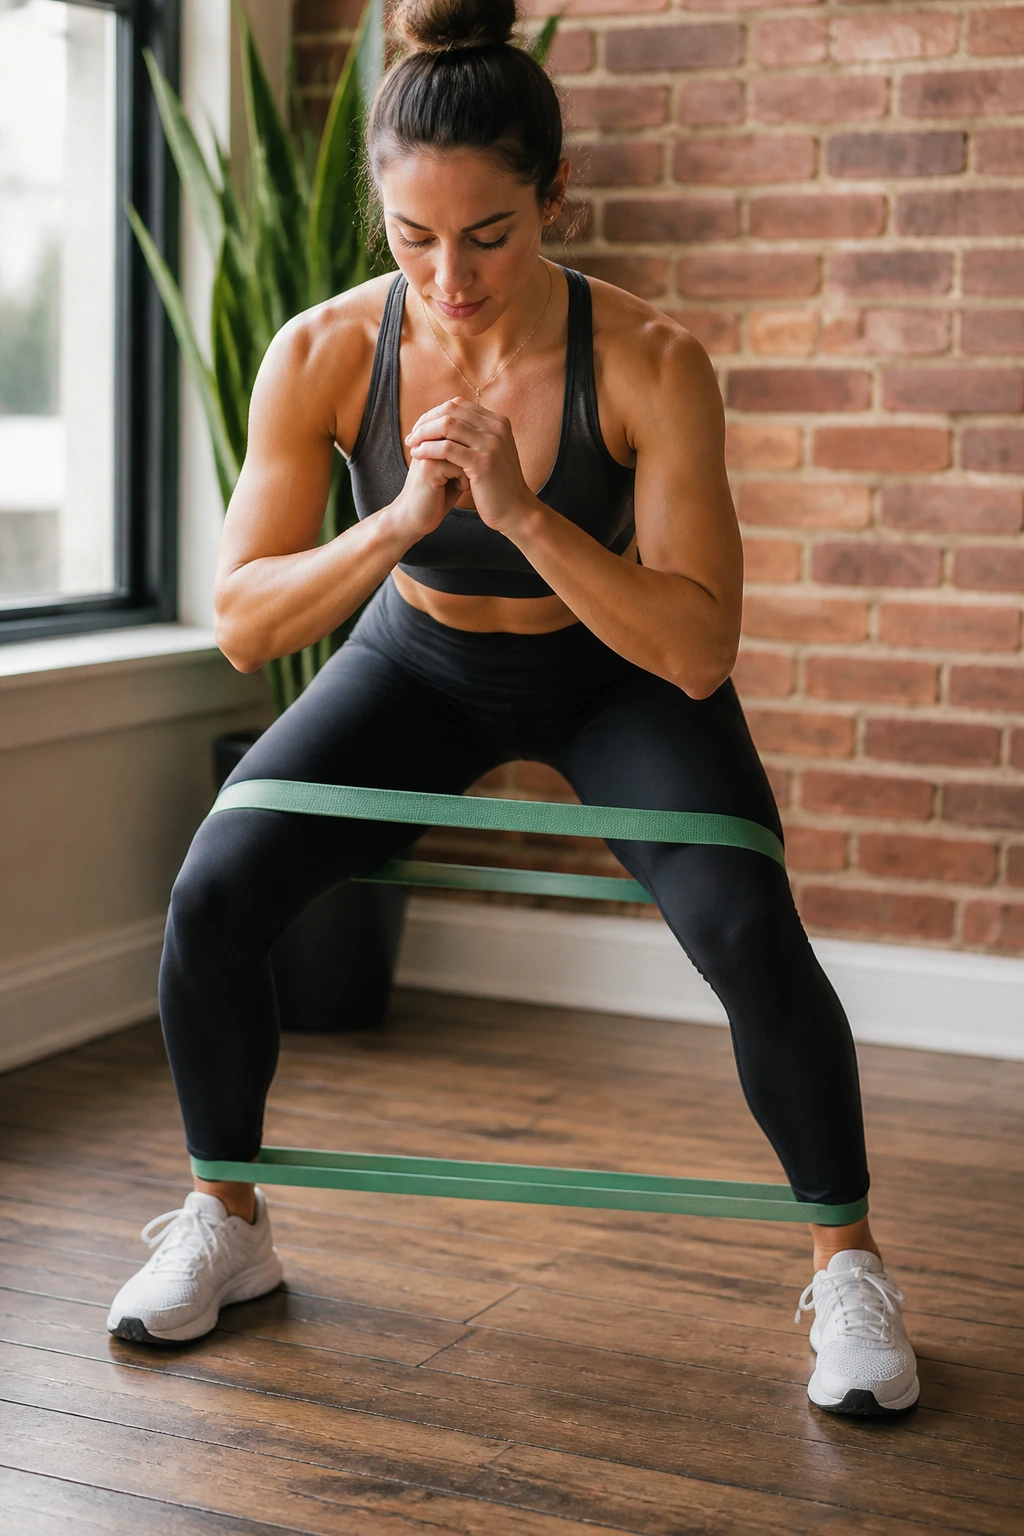
This is the lateral walk’s more intense cousin. Place a band around your ankles and a second band just above your knees.
Double Tension
The double band increases the resistance exponentially. Walk forward in a low, wide squat stance. The coordination required to manage two different tension points forces your brain to recruit motor units in the glutes that you likely haven’t utilized before. Keep your steps measured. Do not rush. The faster you move, the less time you spend under tension.
14. Banded Hip Thrusts
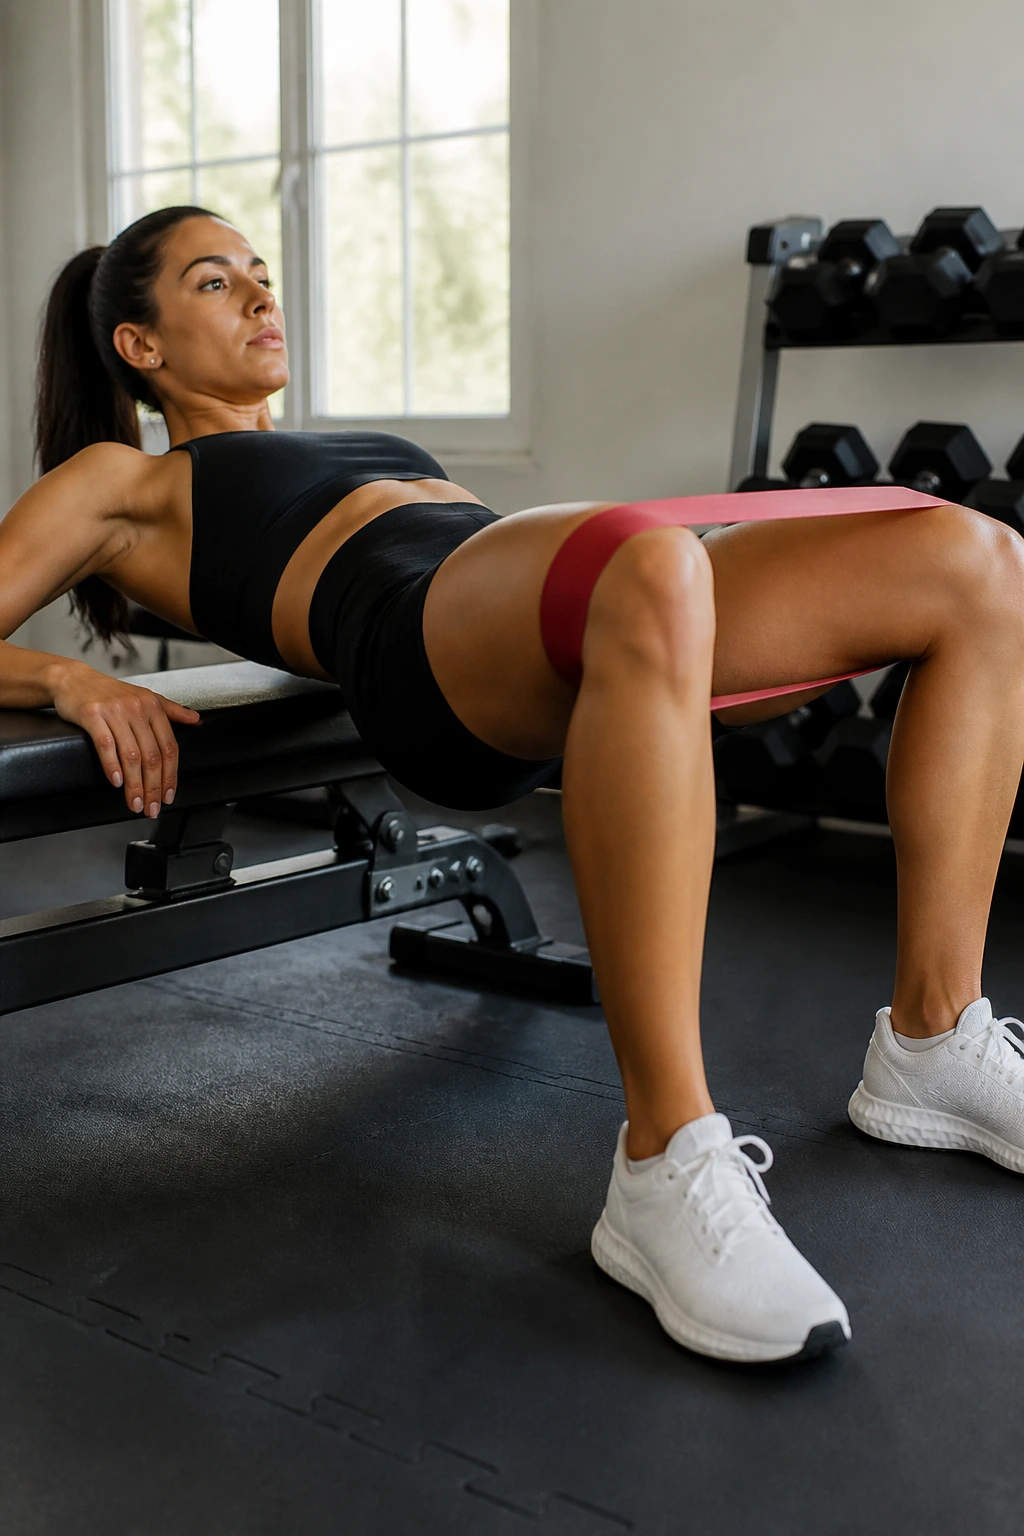
If you have a bench or a sturdy couch, use it. Sit with your upper back against the edge of the furniture. Place the band above your knees.
Max Contraction
Drive your hips up until your torso is parallel to the floor. Your knees should be at a 90-degree angle. Push your knees apart against the band. Hold the top position for two full seconds. This pause is non-negotiable. It forces the glutes to stabilize the hip joint under load. Lower back down slowly, keeping your chin tucked toward your chest to keep your spine neutral.
15. Banded Curtsy Lunge
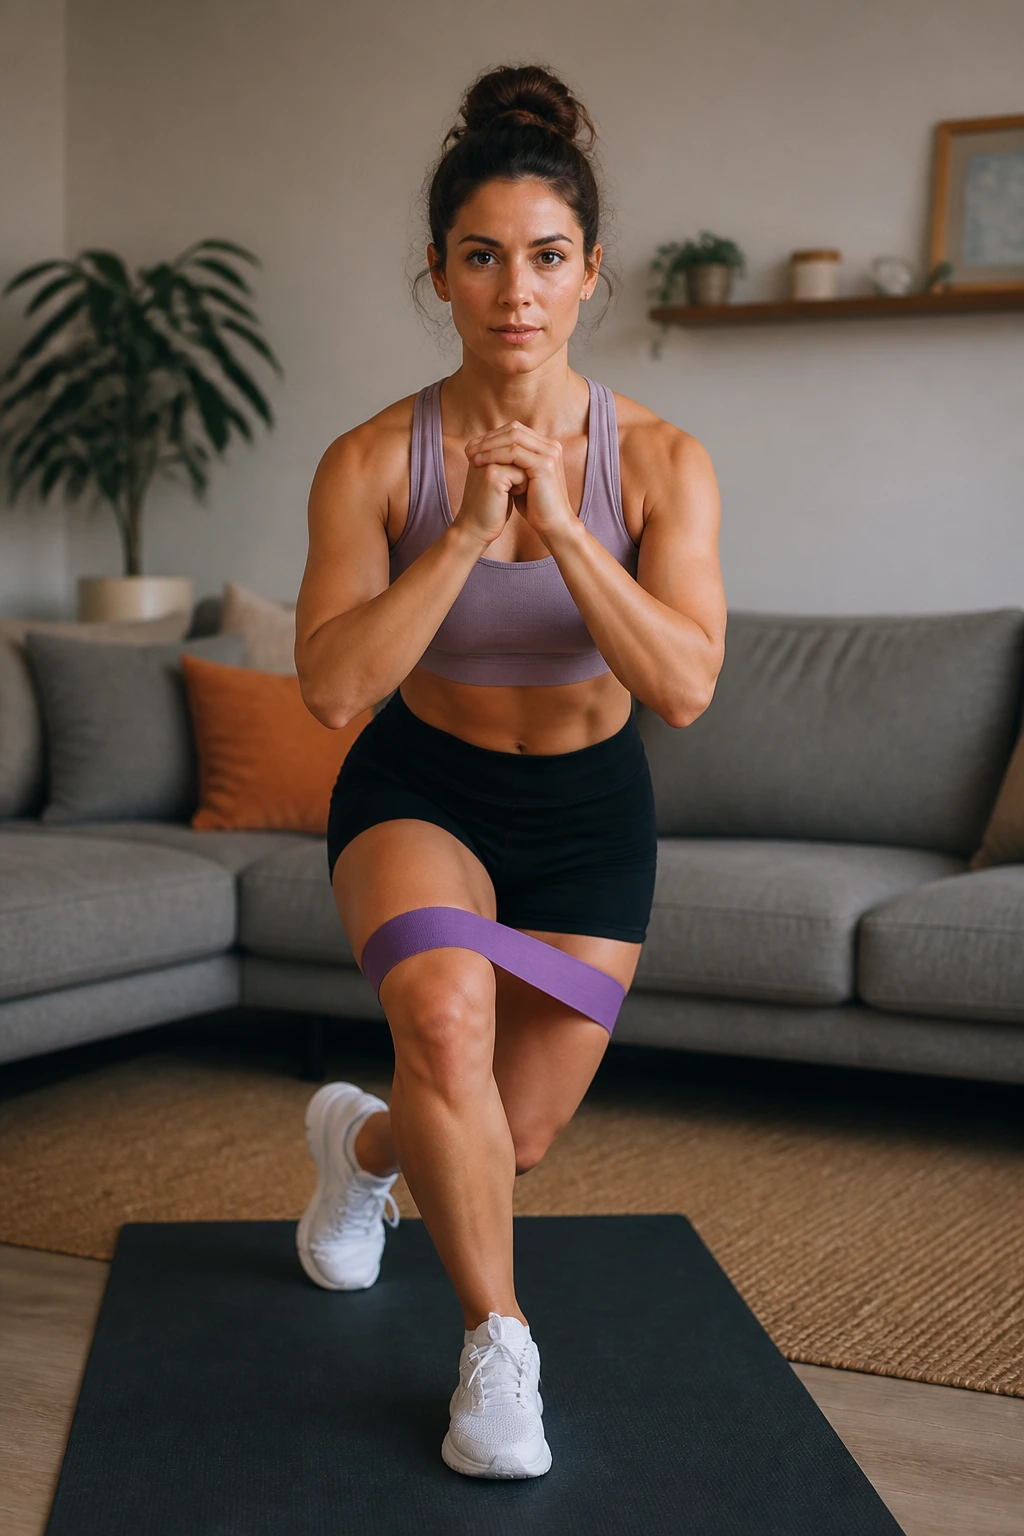
This movement hits the glute medius from a different angle due to the cross-body position. Stand with the band around your knees.
The Lunge
Step one foot behind and across the other, as if you are performing a curtsy. Keep your front foot planted. As you lower your back knee toward the floor, your front knee must fight the band by staying aligned over your toes. This combination of lateral stability and vertical movement is a fantastic way to develop hip control.
16. Banded Single-Leg Deadlift
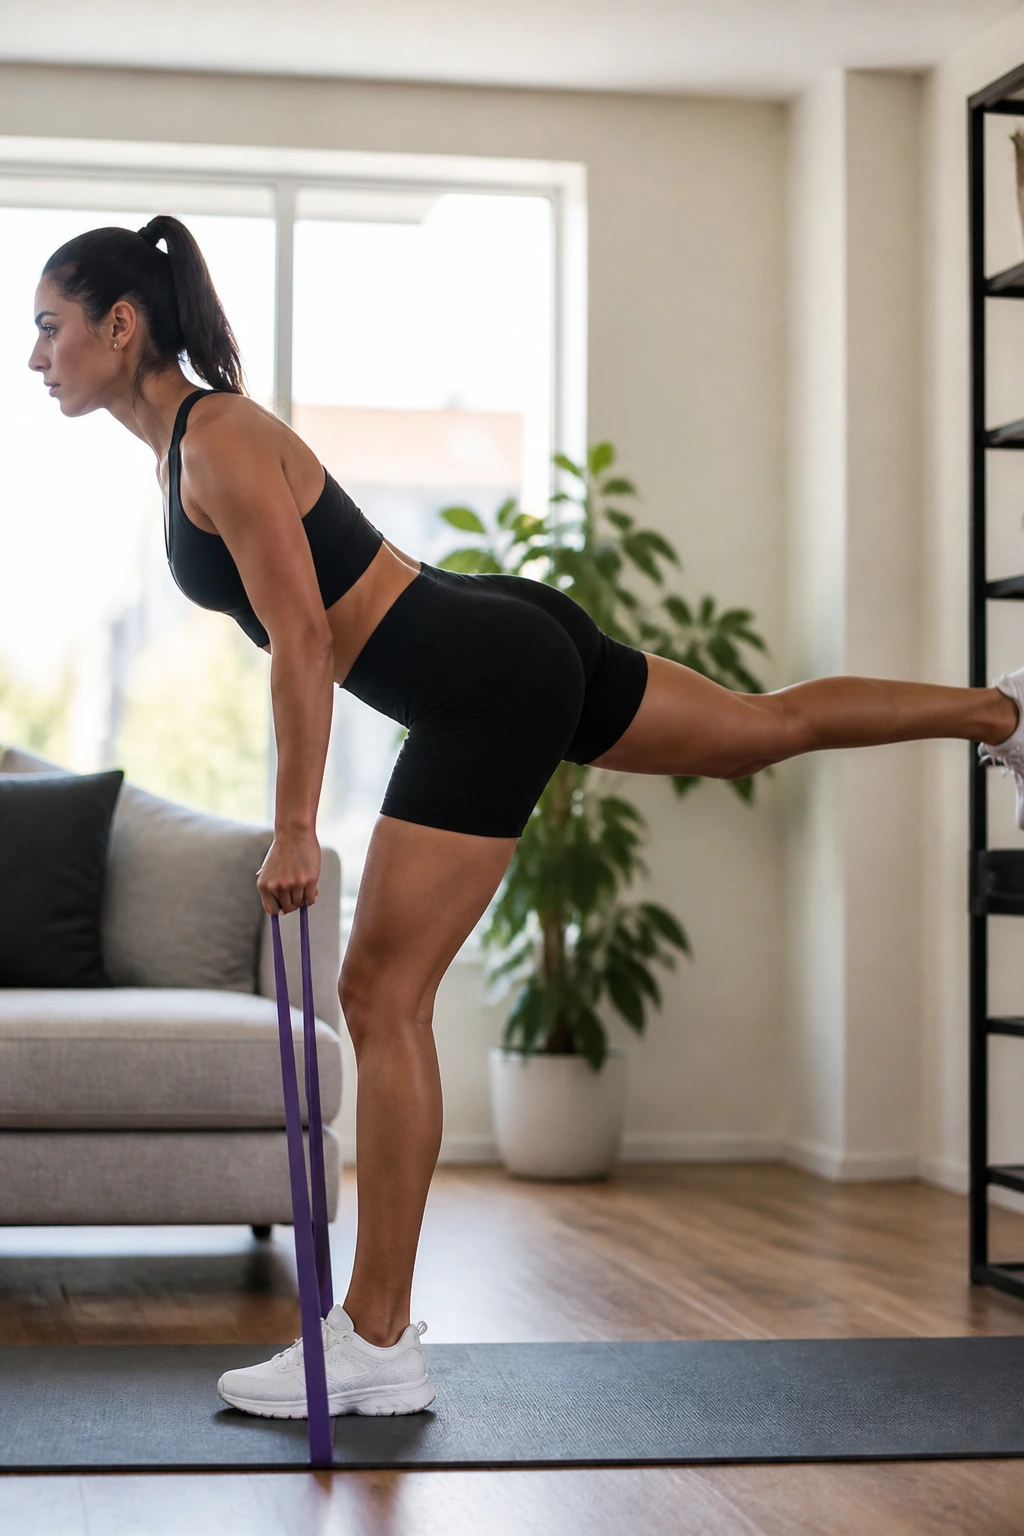
This is the ultimate test of balance and posterior chain strength. Stand with the band under one foot. Hold the other end of the band in the opposite hand.
Finding Balance
Hinge at the hips, lifting the non-working leg behind you while lowering your torso. The band creates tension that challenges your stability. The glute of the standing leg has to work overtime to prevent you from wobbling. If you cannot keep your balance, lose the band and practice the movement pattern first. Once you have the hinge down, add the resistance.
17. Banded Standing Abduction
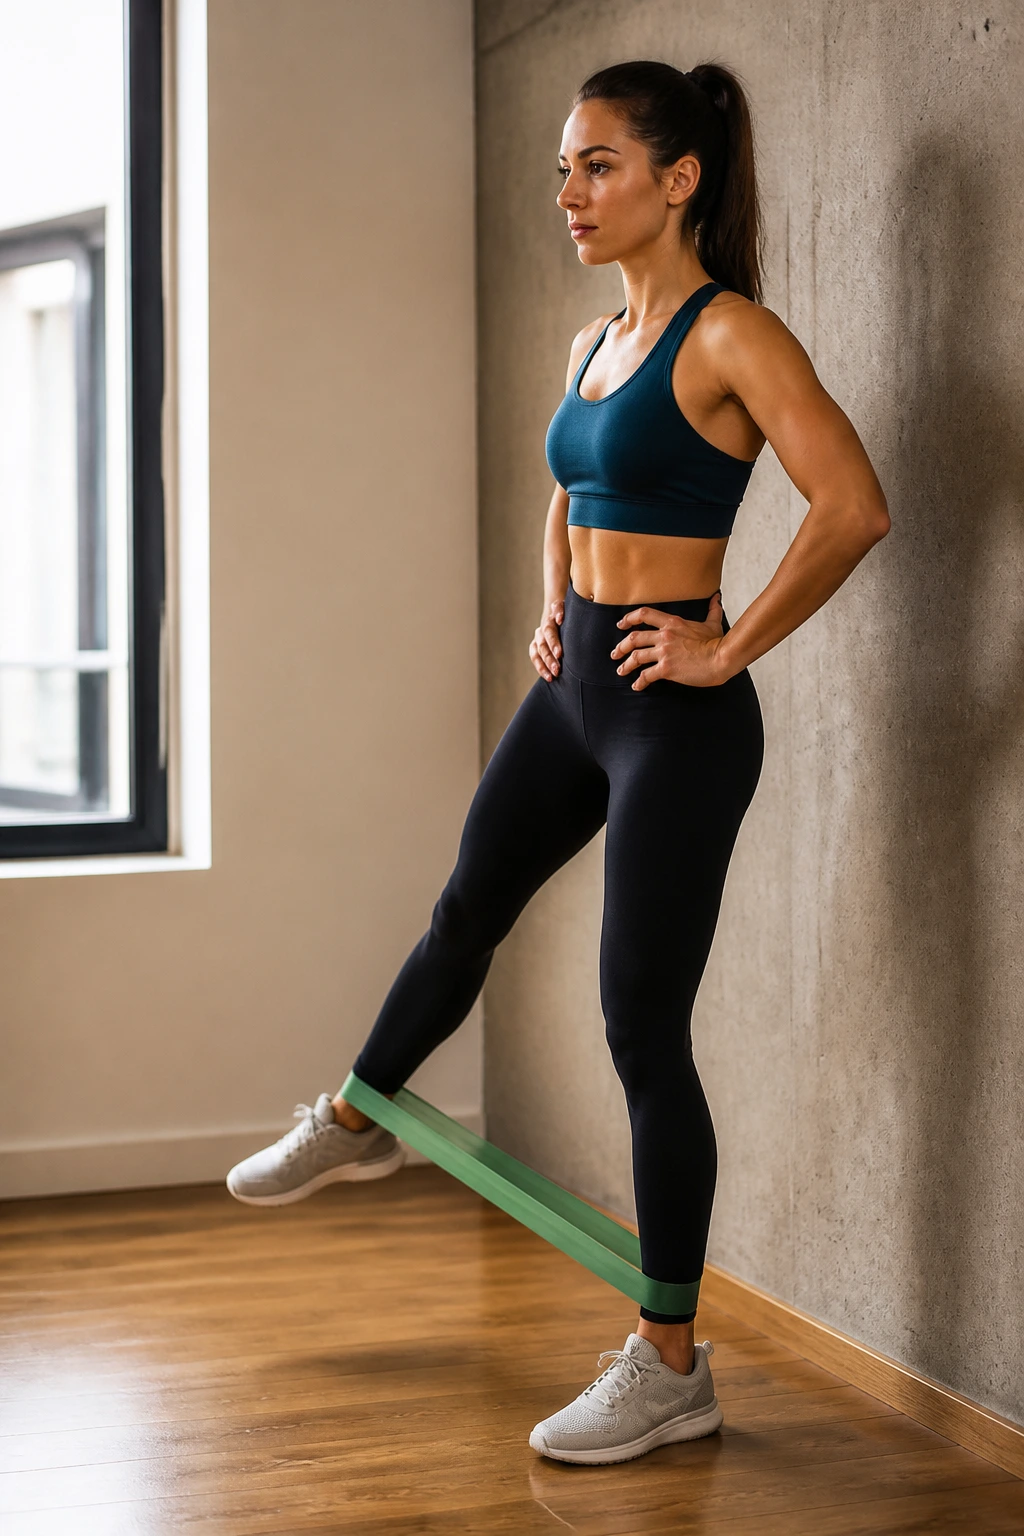
Stand next to a wall for support. Place the band around your ankles.
The Isolated Lift
Keep your standing leg slightly bent. Lift the banded leg out to the side. Do not lean your torso to compensate. If you lean, you are using your core and back to move the leg. Stay upright, maintain the tension, and lift only until you feel a hard contraction in the side of your hip. The range of motion will be smaller than you think. Small, controlled movements are superior to big, swinging ones.
18. Banded Lying Leg Raise
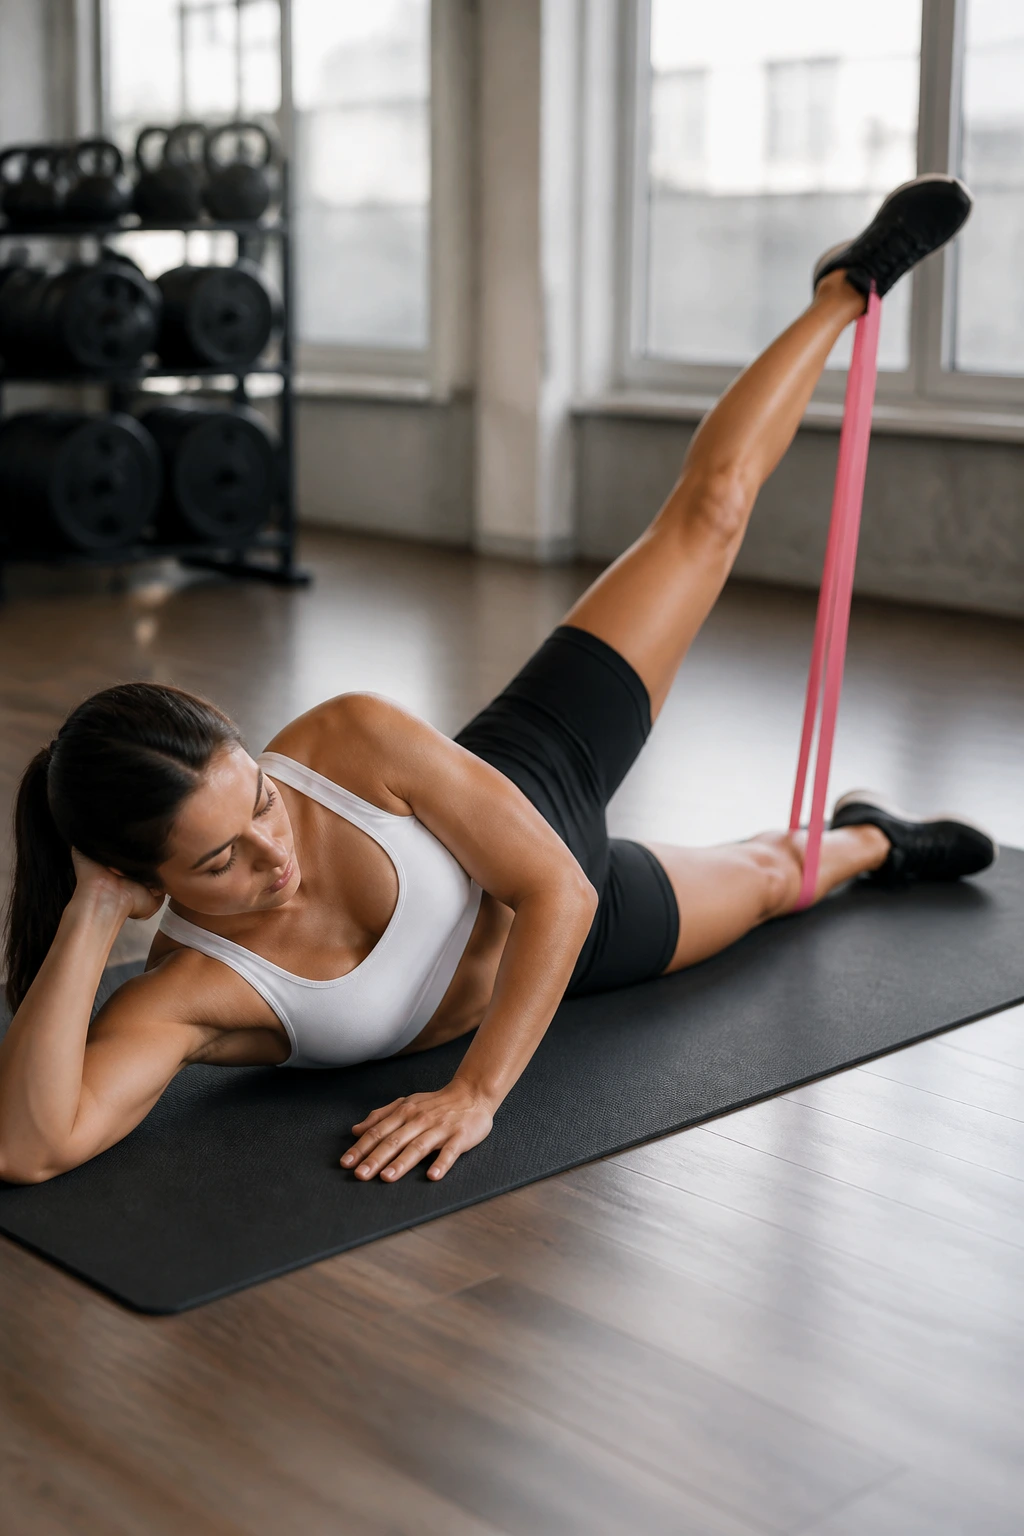
Lie on your side. Place the band around your ankles.
Linear Movement
Keep your legs straight and stacked. Lift the top leg straight up toward the ceiling. Do not bend the knee. This isolates the hip abductors even more than the fire hydrant. Because the lever is longer (your entire leg), the resistance feels much heavier than it would if the band were near your knees. Do not let your top hip roll backward.
19. Banded Glute Bridge Hold
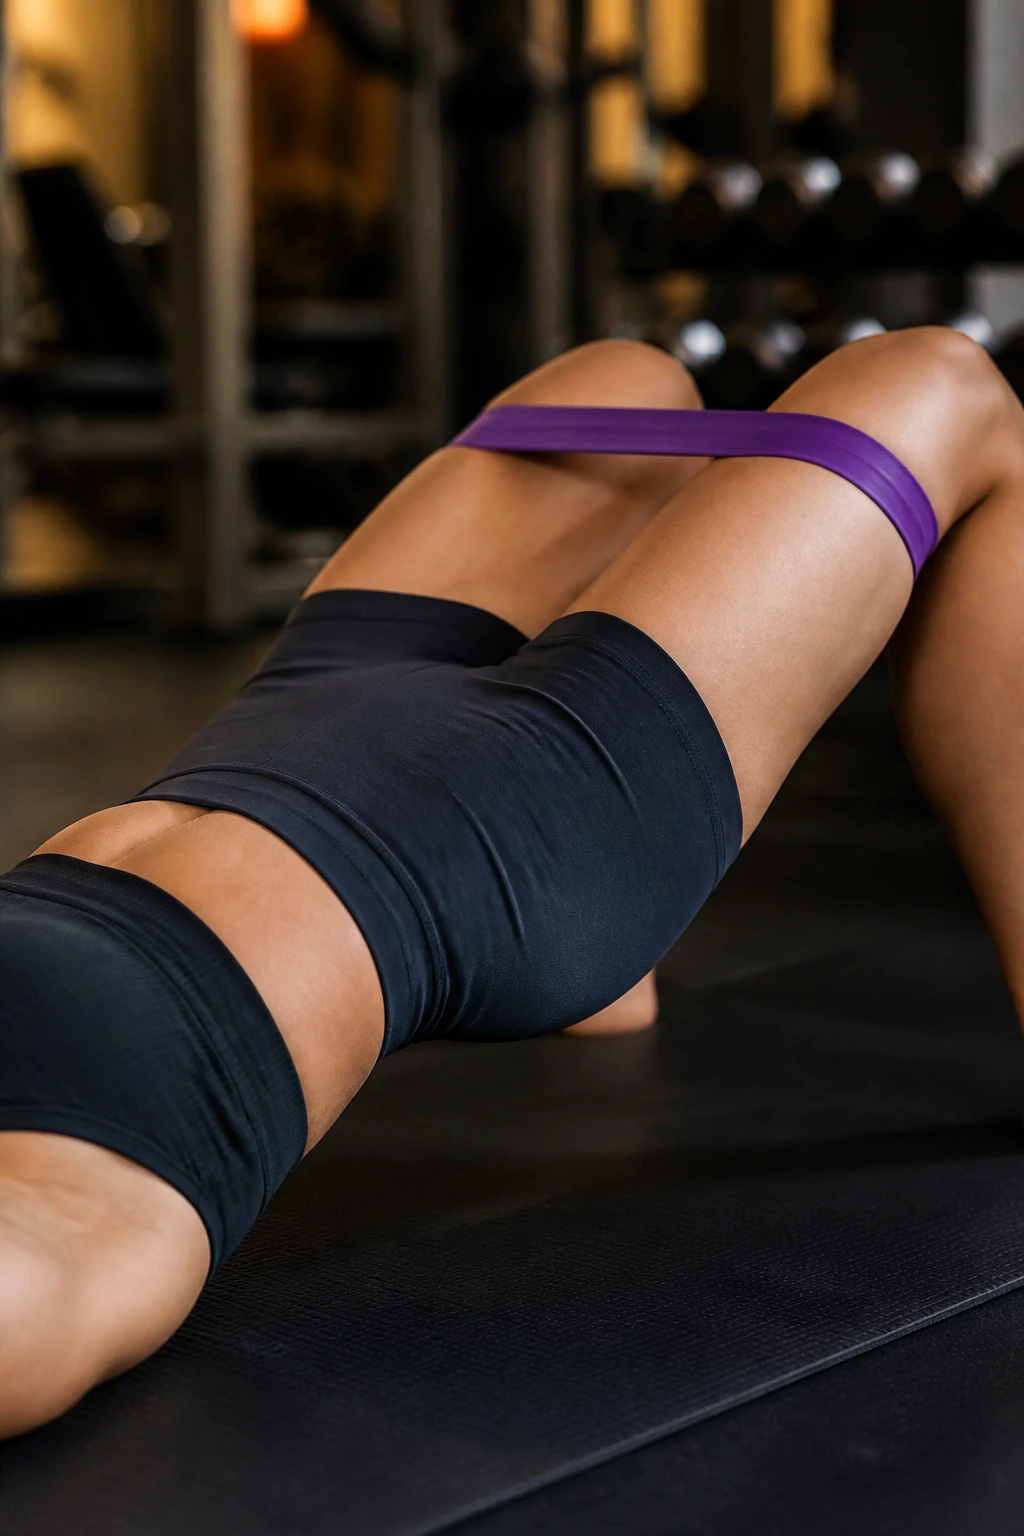
Sometimes, you need to stop moving and start holding. Set up for a standard banded glute bridge.
Isometrics
Lift your hips and drive your knees outward against the band. Now, just hold it there. Aim for 30 to 60 seconds. The burning sensation is your glutes reaching fatigue. If you can, pulse your knees out an inch, then in, while holding the bridge. This keeps the muscle under maximum tension without allowing for a resting phase at the bottom of the movement.
20. Banded Knee-Band Squat Hold
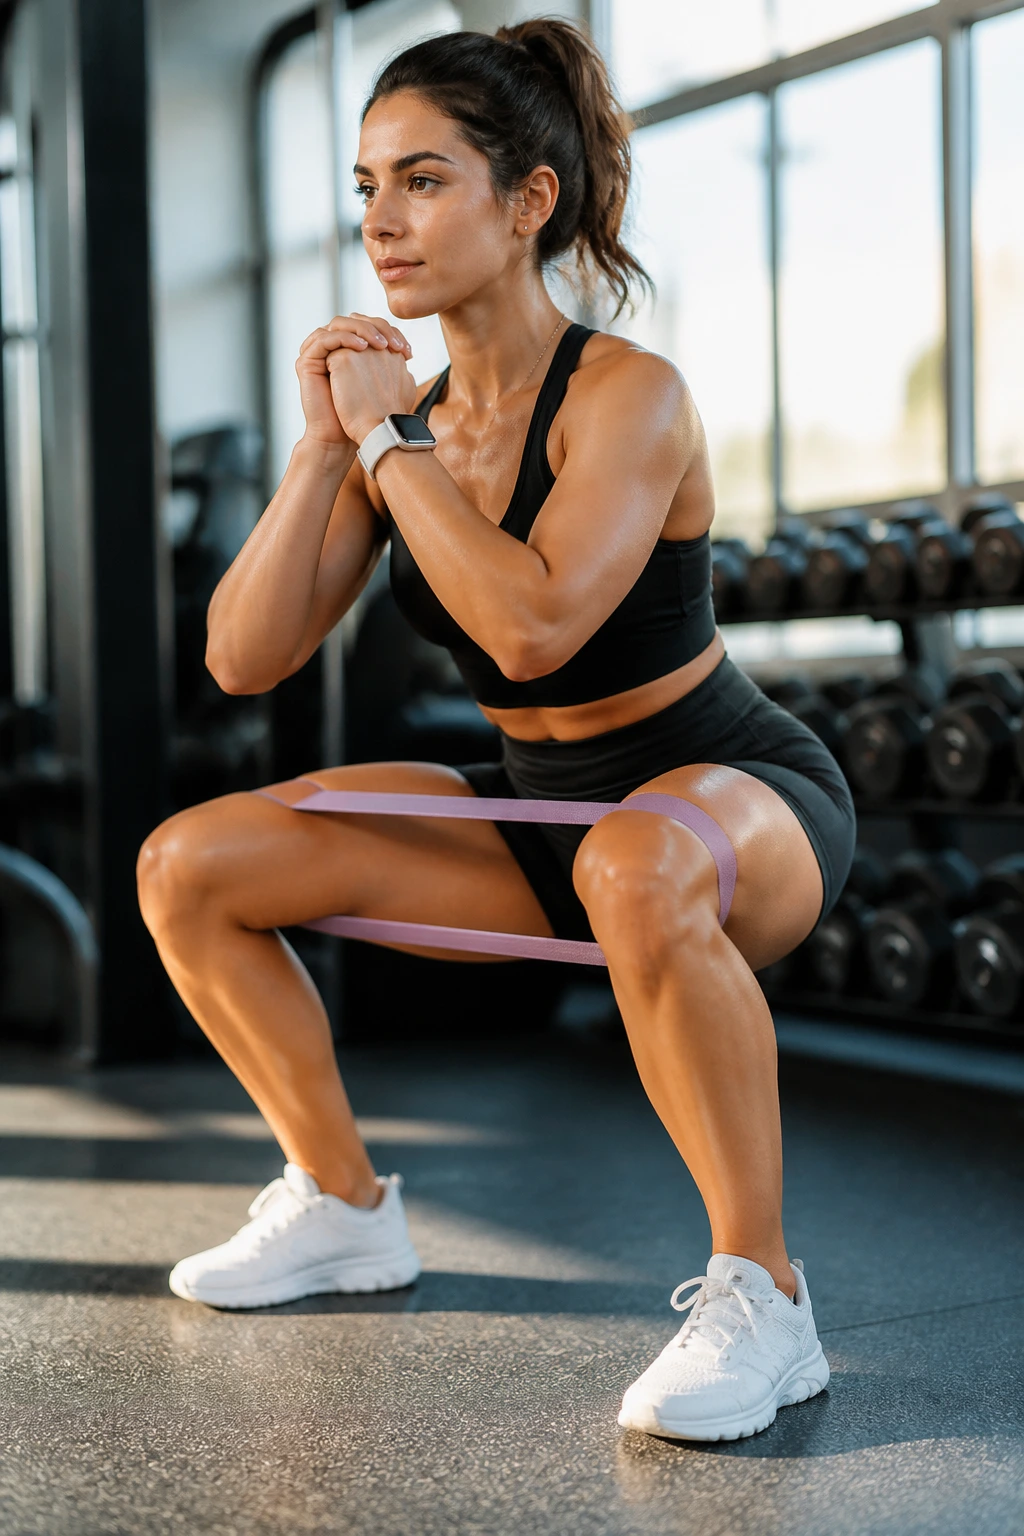
The final movement is all about endurance. Lower yourself into a standard squat. Place the band above your knees.
Static Burn
At the bottom of your squat, pause and hold. While holding the squat, push your knees out against the band, hold for three seconds, then release slightly, then push again. Do not stand up. This keeps the glutes firing while the quads are already under load from the squat position. It is the perfect finisher for any lower-body session.
Developing a Routine That Works
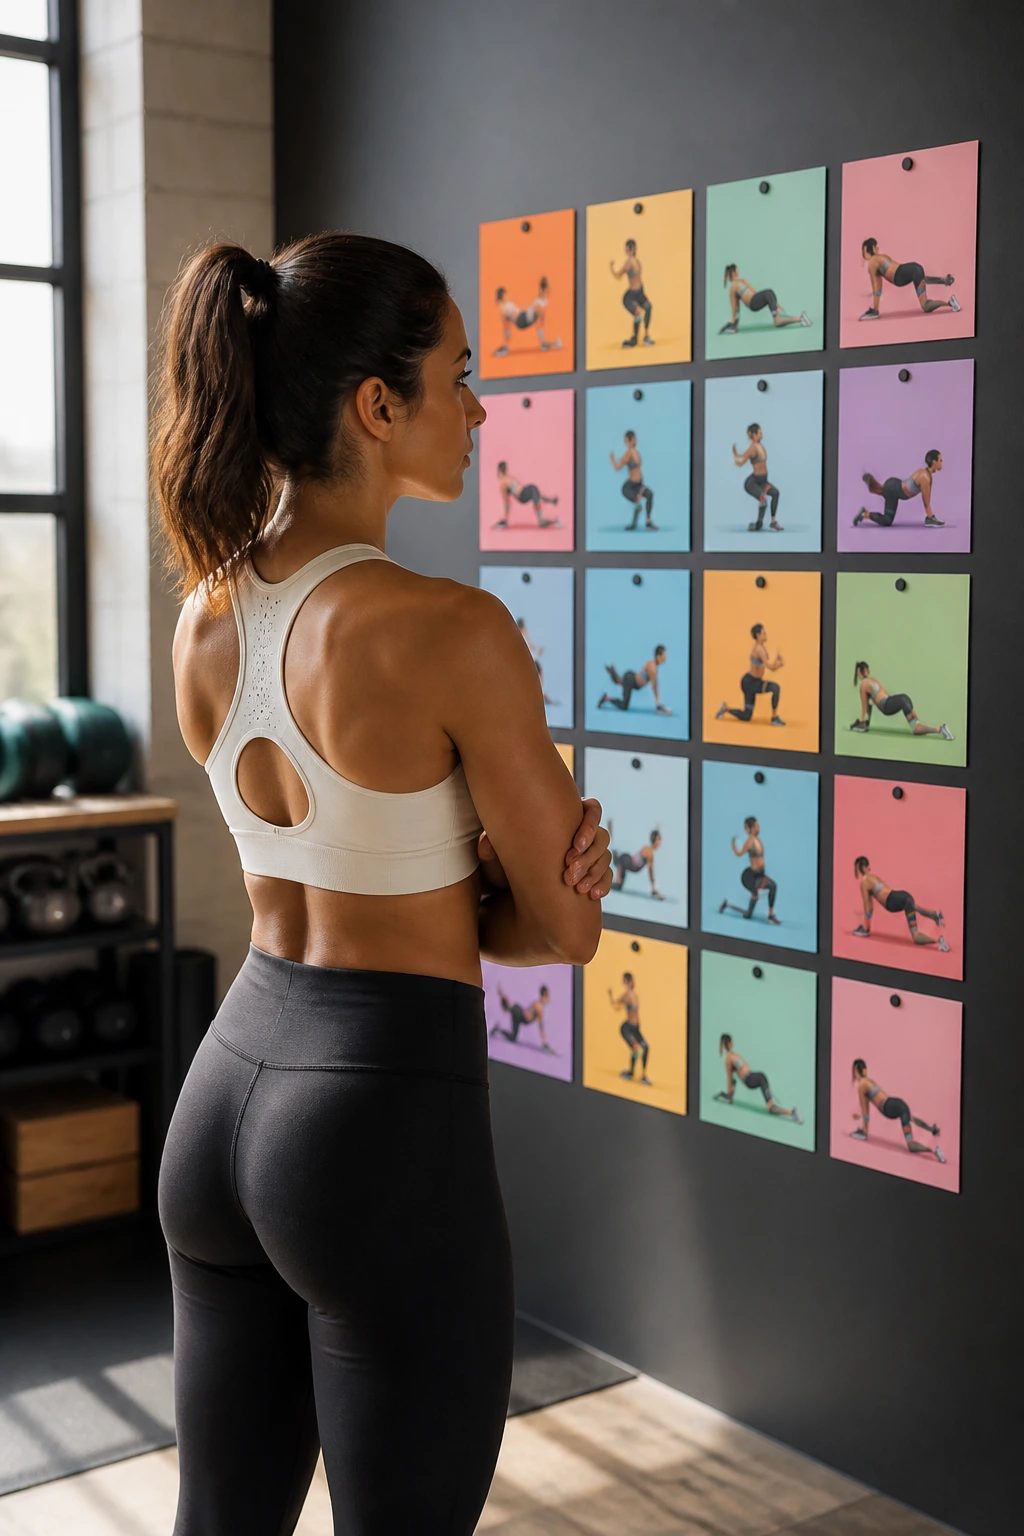
You have twenty movements, but you should not try to do all of them in one session. That is a recipe for overtraining and poor form. Instead, treat these as a library of movements. Pick two or three for your warm-up to “prime” your glutes before heavy lifting. Pick another three or four to perform as a “glute finisher” at the end of your training.
Consistency is more important than complexity. It is better to perform three of these movements with perfect form and intense focus than to rush through ten of them with sloppy technique. If you are a beginner, start with the glute bridge, lateral walk, and clamshells. Master the mind-muscle connection—that specific feeling of the glute squeezing—before moving on to more complex movements like the single-leg deadlift.
Programming for Hypertrophy and Strength

If you are using these for dedicated training, focus on volume. Glutes are postural muscles; they are designed to work all day, so they recover quickly. Aim for 12 to 20 repetitions per set for most of these movements. If you can easily hit 20 reps, you need a heavier band, not more repetitions.
Rest periods should remain short. Because you are using bands, your central nervous system isn’t taking the same beating it would with a 400-pound barbell. 60 seconds of rest between sets is generally sufficient. If you really want to force adaptation, use supersets. Pair a compound movement like the banded squat with an isolation movement like the banded fire hydrant. This will push your glutes to total failure and maximize the metabolic stress on the muscle fibers.
Avoiding Common Pitfalls
The biggest mistake people make with bands is speed. There is a tendency to treat band work like a cardio session, moving as fast as possible to get the heart rate up. Slow down. The band is there to provide resistance, not to act as a tether for jump training. If you are moving so fast that you cannot feel the glute contracting, you are wasting your time.
Another frequent issue is incorrect band placement. If the band is sliding, bunching, or snapping, it is likely because the band is not high-quality or the resistance is too low for the movement. If you find yourself constantly adjusting the band, you are breaking your focus. Investing in a proper fabric resistance band solves this issue immediately. It allows you to forget about the equipment and focus entirely on the muscle.
Recovery and Frequency
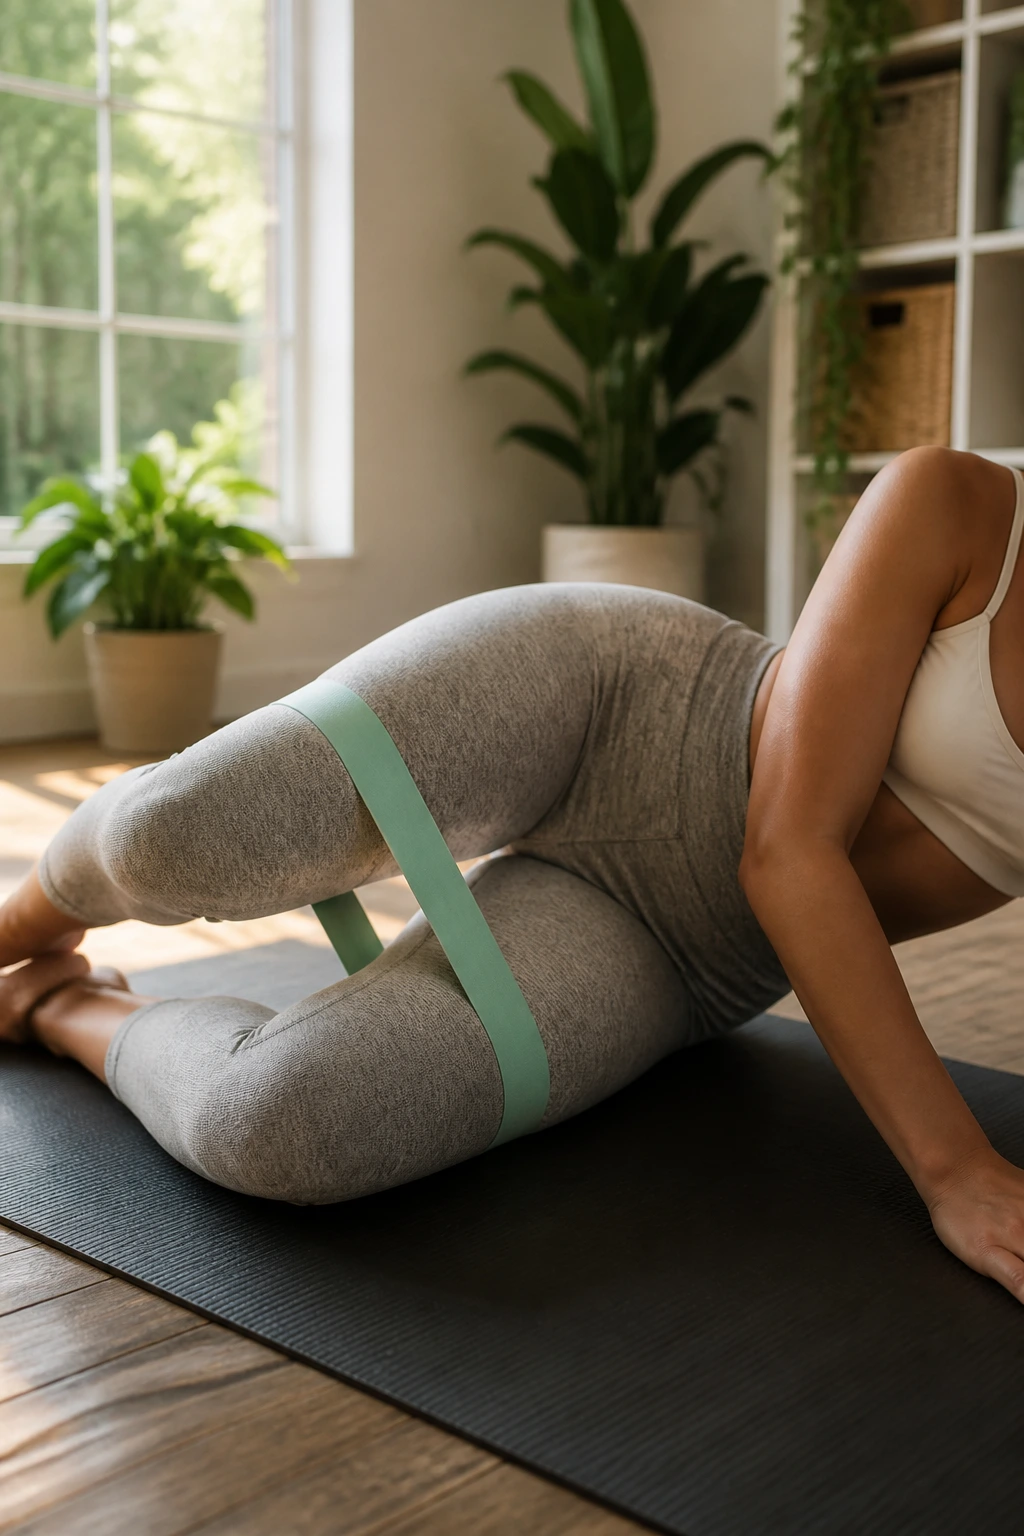
Can you do these every day? Technically, yes, but your glutes still need time to repair tissue. If you are training heavy legs twice a week, you might choose to add a 10-minute banded glute routine on your off days to improve hip stability and posture. This is excellent for anyone who sits at a desk all day.
If you are training strictly for growth, focus on intensity. If your glutes are not sore or fatigued by the end of your session, you likely didn’t push the tension enough. Use a stronger band or increase the pause at the peak of every contraction. The “burn” you feel is the accumulation of metabolic byproducts; that is the signal that you have challenged the muscle.
Final Thoughts
The goal of this training is structural balance. We spend so much time in modern life sitting, which causes the hip flexors to tighten and the glutes to shut down. These banded exercises are the antidote. By prioritizing the hip hinge, external rotation, and constant tension, you are not just building a defined aesthetic; you are building a more capable, injury-resistant body.
Keep it simple. You do not need an entire gym to see progress. Start with the basics, master the form, and gradually increase the intensity of your bands. When you stop looking for the “easy” way to do a movement and start leaning into the discomfort of the resistance, that is when the real changes begin to happen. Your glutes will thank you for the work, and your hips will feel the difference in every step you take.
