



If your belly forms a little ridge when you roll out of bed, your body is not being stubborn. It’s giving you a clue.
That ridge is often called doming or coning, and it usually means the pressure inside your abdomen is outpacing the support around the midline. After pregnancy, that seam down the middle — the linea alba — can feel stretched, thin, and a bit jumpy. The answer is rarely “do more crunches.” It’s usually something quieter, slower, and a lot more specific.
That’s where diastasis recti exercises postpartum earn their keep. The right work teaches your diaphragm, deep abdominal wall, pelvic floor, ribs, and hips to share the load again. Not in a flashy way. In a useful way. The kind of useful that shows up when you cough, lift a car seat, get off the floor, or carry a baby on one hip while hunting for socks.
A gap alone doesn’t tell the whole story. Some people have a wide separation and decent control. Others have a smaller gap and a midline that pops like a tent in a windstorm. What matters is pressure management, not just width.
Start with the moves that make the midline feel calm, then build from there. That’s the game.
1. 360-Degree Breathing With Long Exhales
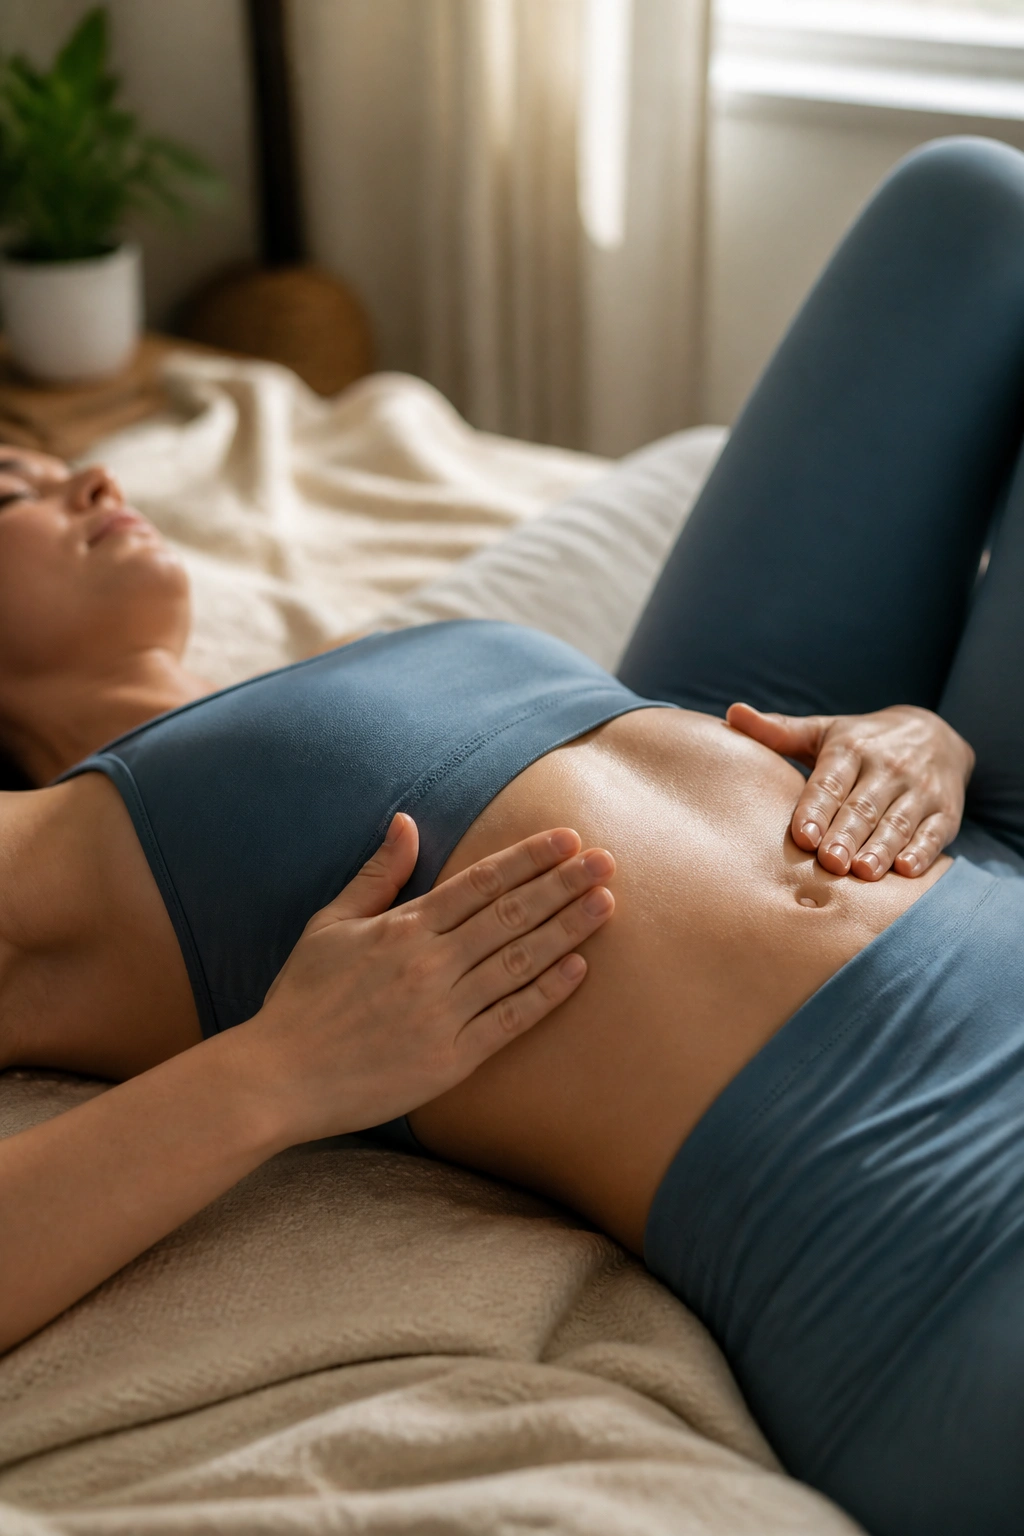
Breathing is not a warm-up here. It is the rep.
Lie on your back with your knees bent and feet flat. Put one hand on your lower ribs and one hand on your belly, then inhale through your nose and try to send the breath into the sides of your ribs, the back of your rib cage, and even a little into your waist. On the exhale, breathe out through your mouth like you’re fogging a mirror and feel the ribs soften down.
What You Should Feel
- Your lower ribs widen, not your shoulders.
- Your belly gets softer on the inhale, not harder.
- Your exhale feels long enough that the front of your torso relaxes.
Do 5 slow breaths, rest, then repeat for 2 rounds. If your neck starts helping, the breath is too big. Make it smaller. If you hear yourself gulping air, slow down and shorten the inhale.
A lot of postpartum core rehab starts here because this is where pressure control gets rebuilt. Boring? A little. Effective? Very.
2. Pelvic Floor Relaxation and Gentle Lifts
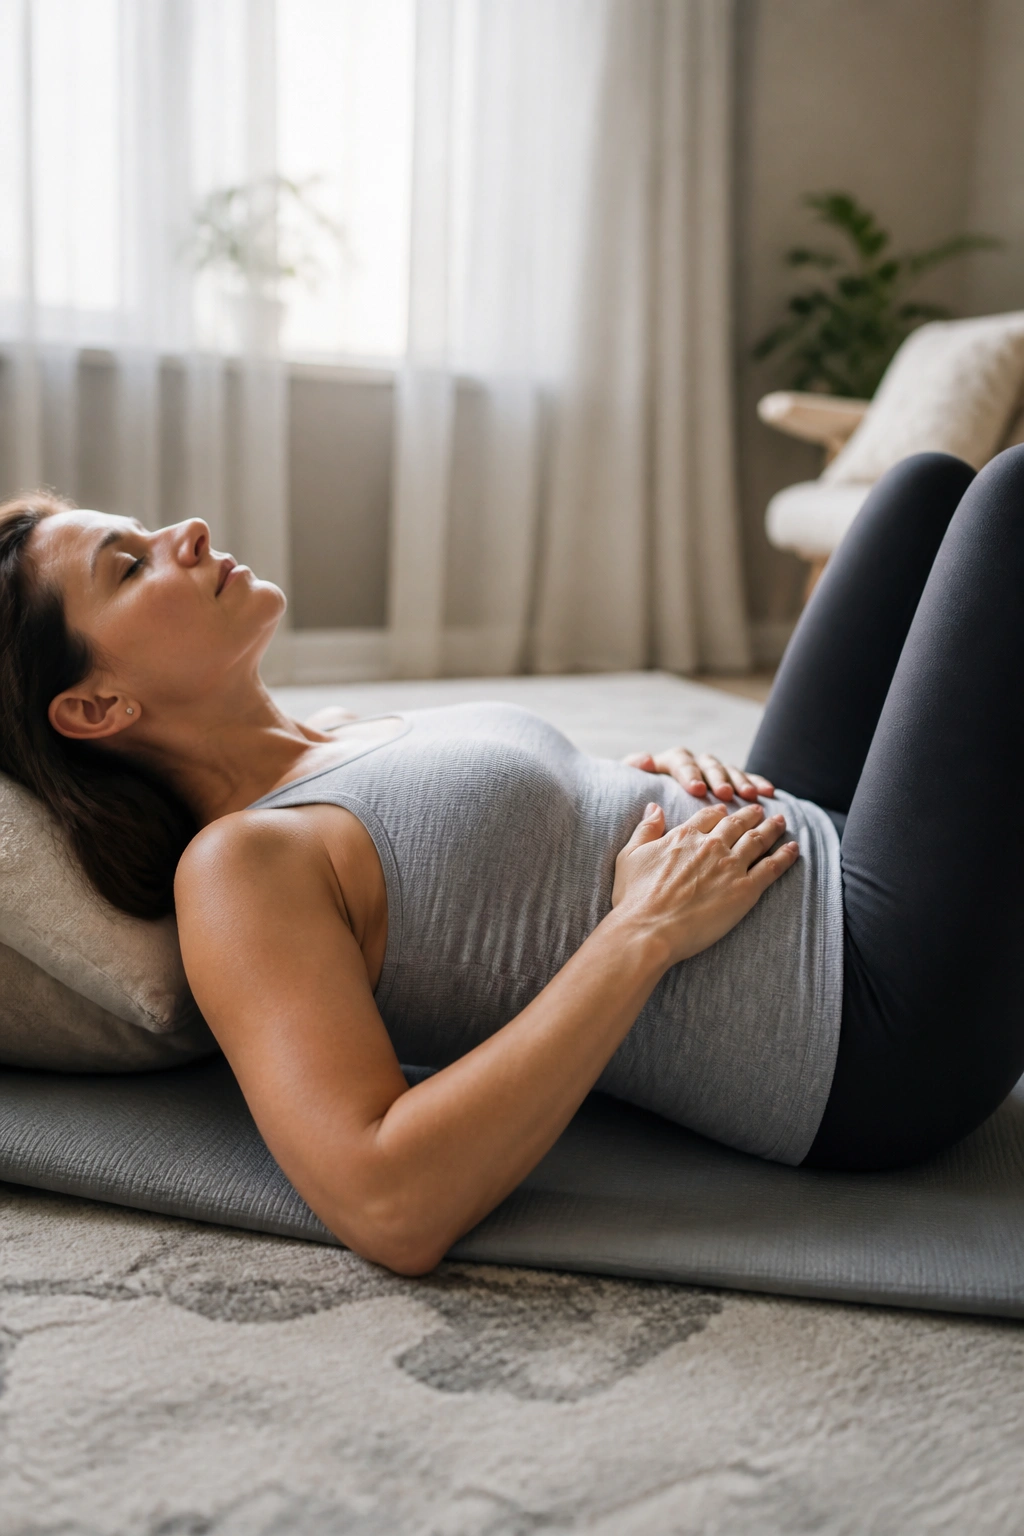
Can you fix everything with Kegels? No. That would be too easy, and postpartum bodies rarely enjoy easy.
The pelvic floor and the diaphragm are partners. When you inhale, the pelvic floor should soften. When you exhale, it can gently lift. That rhythm matters more than hard squeezing. Lie on your back or sit on a firm chair, breathe in, then on the exhale imagine a light lift — not a clench, not a hard brace, just a subtle upward response.
When to Soften Instead of Squeeze
Sometimes the pelvic floor is tired. Sometimes it’s overactive and tight. Sometimes it’s both in the same week, which is a weird little postpartum gift. If you feel pinching, heaviness, or a sense that you can’t let go, stay with the relaxation side and skip the lift for now.
Try 5 breaths with a gentle pelvic floor response on each exhale. Then rest. If you had tearing, pain, or a heavy feeling in the pelvis, this is one to run by a pelvic floor therapist. That’s not overcautious. It’s smart.
3. Deep Transverse Abdominis Set for Diastasis Recti
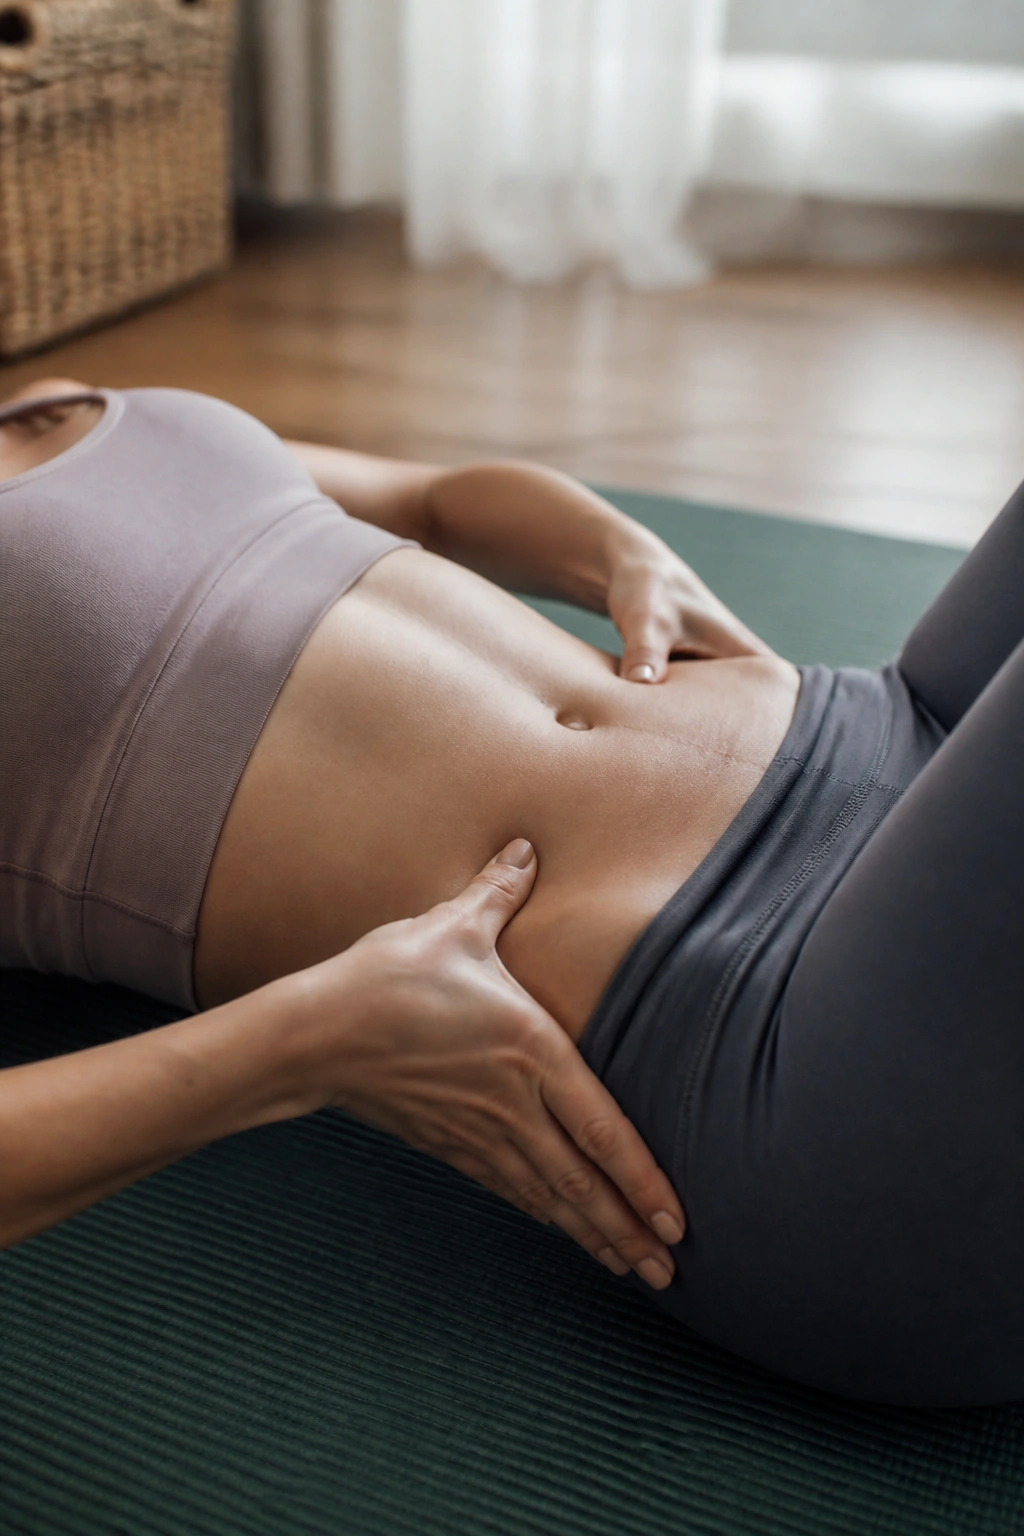
Tiny movement. Big payoff.
This is the deep belly layer people often mean when they say “engage your core,” though most of the time they say it in a way that sounds more dramatic than useful. Lie on your back with knees bent. Place two fingertips just inside your hip bones. Exhale gently and think about drawing the lower belly inward by about 20 to 30 percent, as if you’re snugging up a zipper, not vacuuming your stomach to your spine.
How Not to Cheat
- Do not hold your breath.
- Do not tuck your tailbone hard.
- Do not suck the belly in until your face tightens.
A good set feels quiet. You should still be able to speak. You should still be able to breathe. Do 8 reps, holding each one for 3 to 5 seconds, then release fully and let the abdomen soften again.
This is one of those exercises that feels almost silly until you notice your midline staying flatter during the next task. Then it makes sense fast.
4. Heel Slides on the Mat
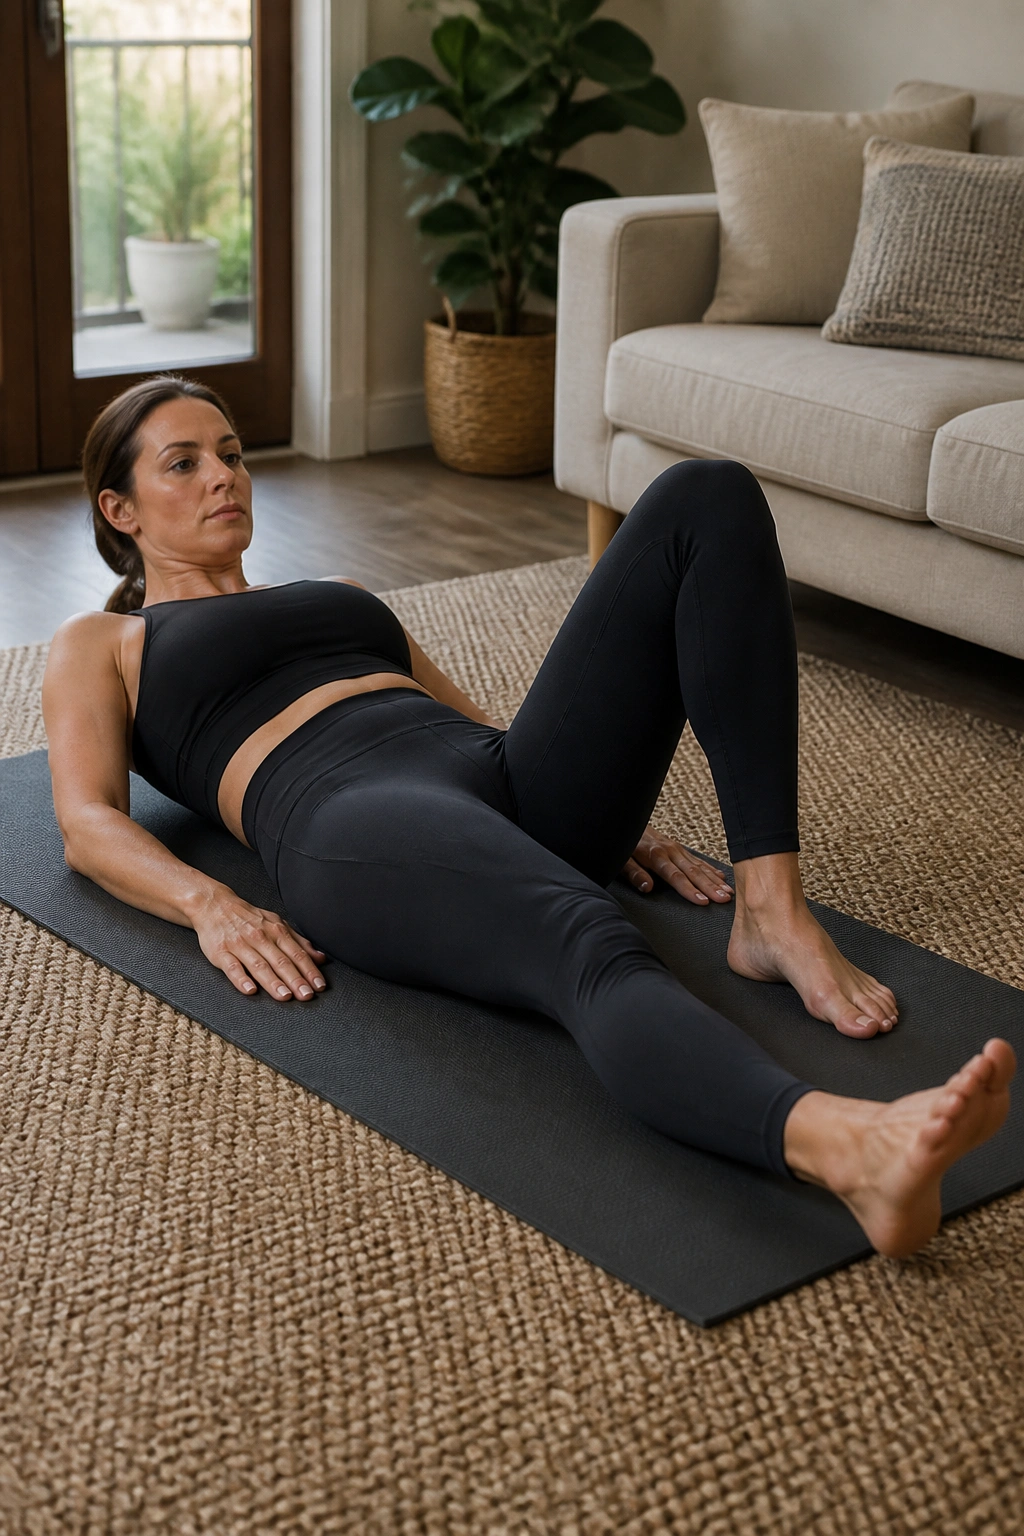
A heel slide looks harmless until the midline starts climbing.
Lie on your back with both knees bent. Keep one foot flat while the other heel slowly glides away from you along the floor. Exhale as the leg extends, then inhale or reset as the heel slides back in. The key is not how far the leg goes. The key is whether your ribs stay heavy and your belly stays smooth.
If the lower back arches or the belly forms a ridge, shorten the slide. Seriously. Two inches of clean motion beats a long slide with a big bulge. You can do 6 to 8 reps per side, slow enough that you could probably count every inch.
A towel under the heel makes this easier on carpet. On a slippery floor, socks can help. If you want a very honest check, watch your midline in a mirror or place one hand lightly over the center of your abdomen. It tells the truth faster than your ego does.
5. Supine Marches With Quiet Ribs
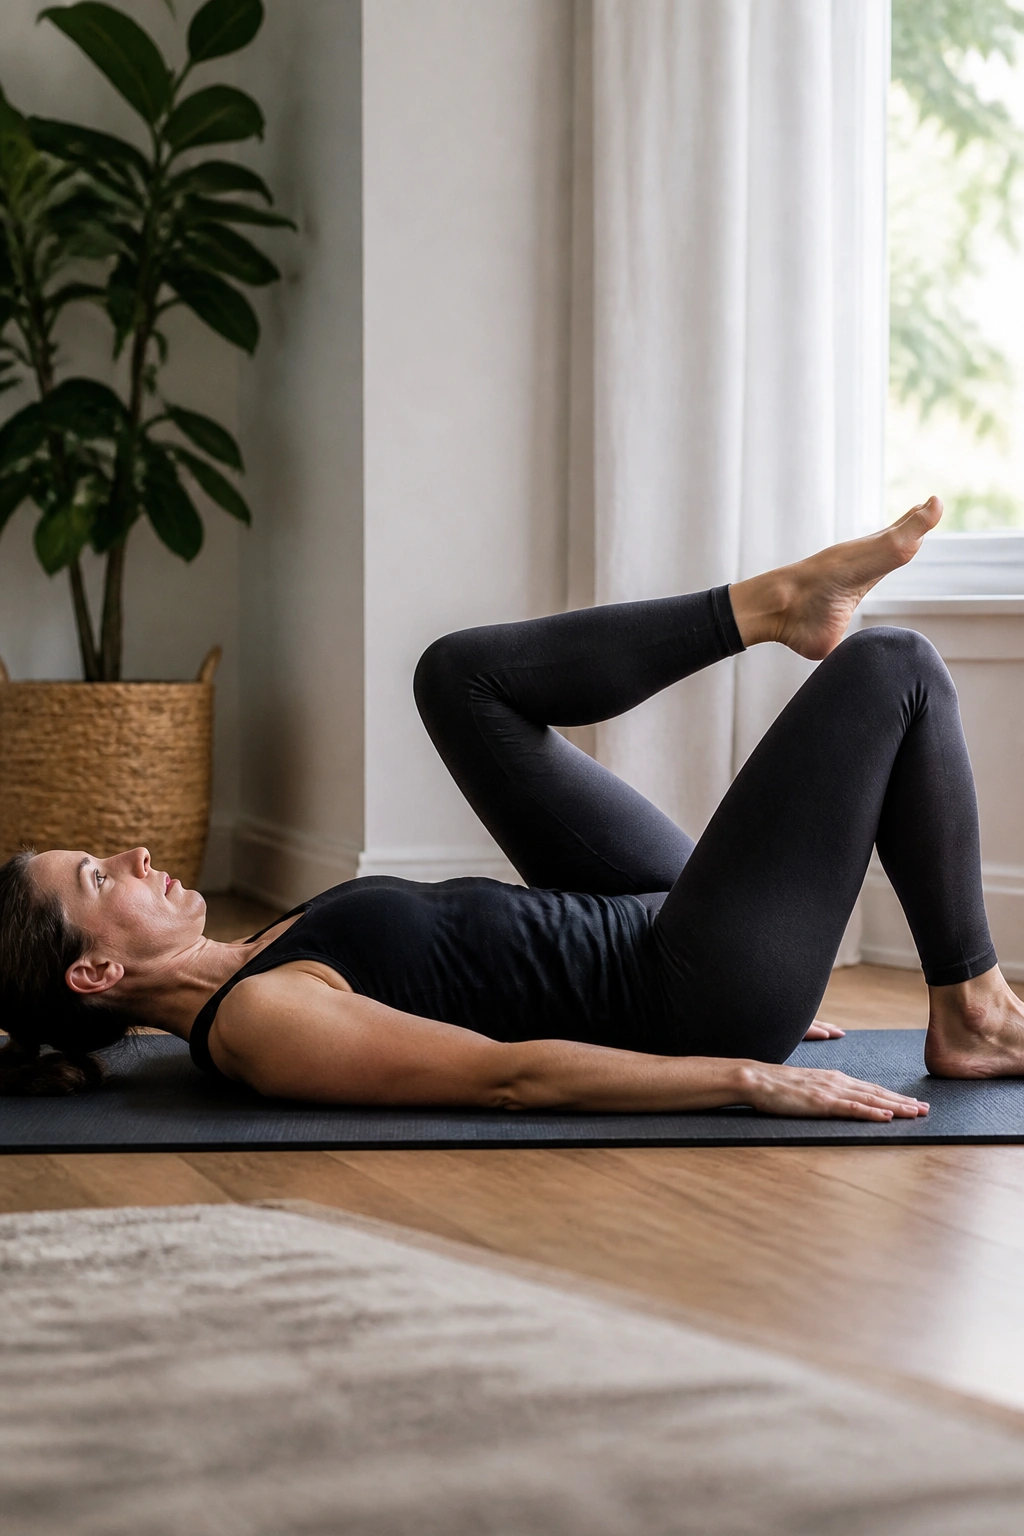
Marching is heel slides with a little more honesty.
From the same bent-knee position, lift one foot just an inch or two off the floor on the exhale, then set it back down with control. The standing leg, or in this case the grounded leg, stays steady. Your ribs stay stacked over your pelvis. No rib flare. No rocking. No frantic correction.
This move is useful because daily life is full of single-leg load. You step, carry, reach, pivot, and lift one side at a time all day long. If marching makes your abdomen push outward, the range is too big or the breath is too fast.
Do 6 to 10 marches per side. If even that feels messy, keep one toe on the floor and just lighten the foot before lifting it. That tiny change can make the whole drill usable.
A lot of people skip this kind of work because it looks too basic. Then they try a harder move and wonder why the midline talks back. There’s the answer.
6. Posterior Pelvic Tilts
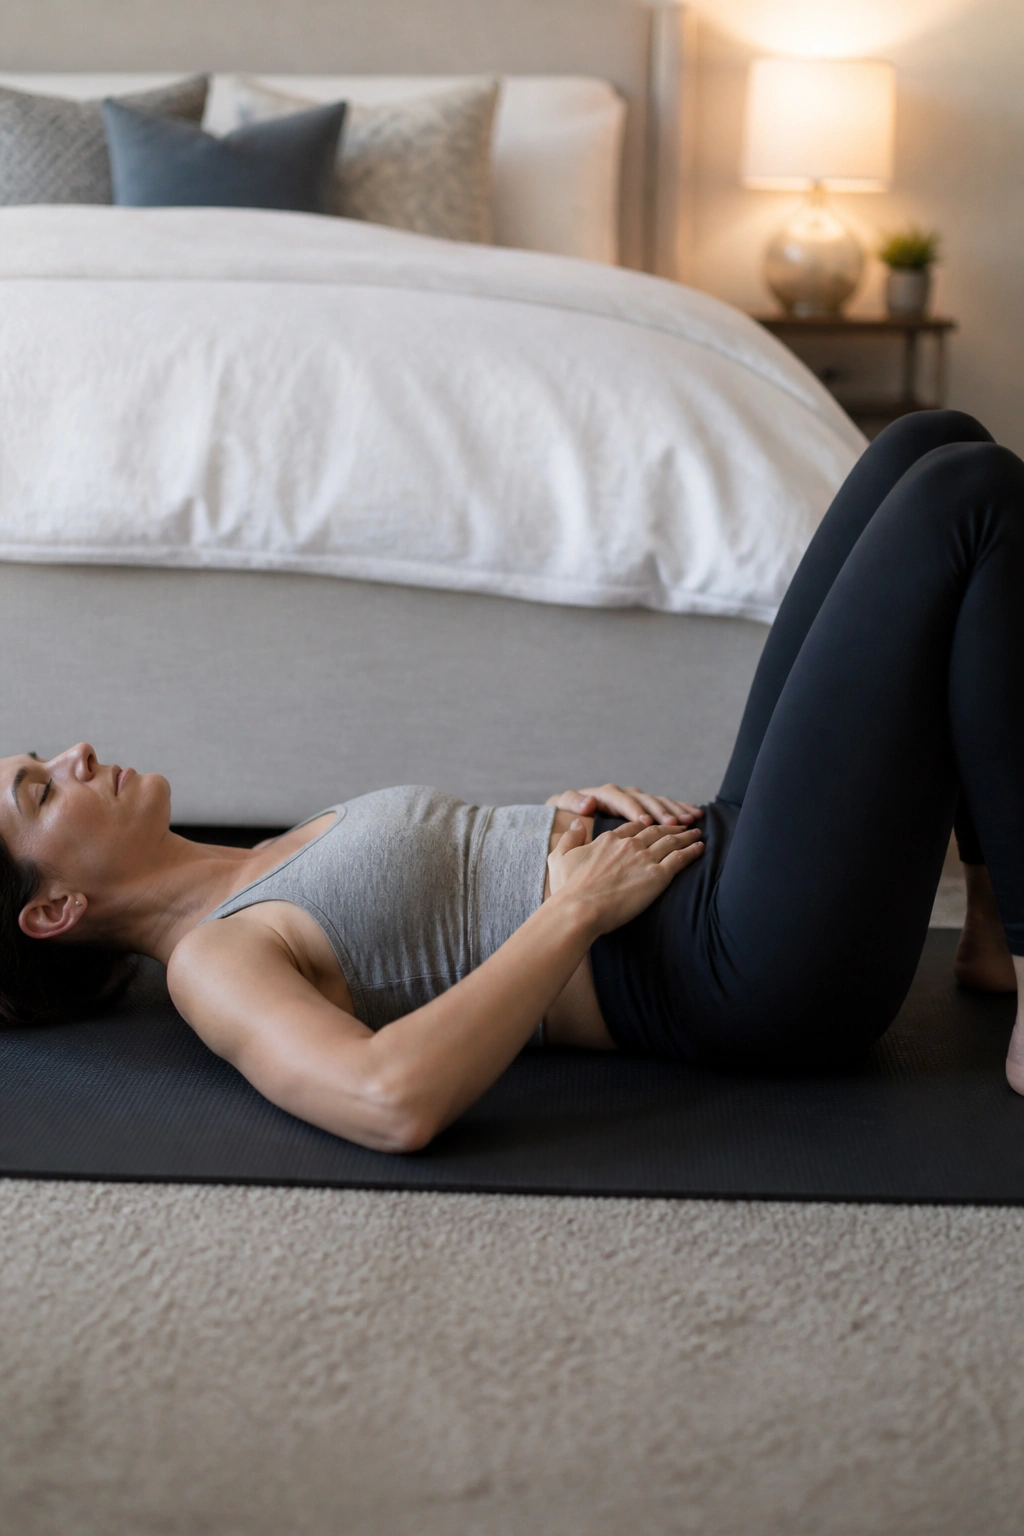
Your lower back should feel heavy, not jammed flat.
Lie on your back with knees bent. Inhale to find neutral, then exhale and gently tip your pelvis so the low back eases toward the mat. Think of the front of your pelvis drifting up by a few degrees, not of smashing your spine into the floor. On the next inhale, let everything return to neutral.
What It Should Not Become
- A hard abdominal crunch.
- A big butt squeeze.
- A neck or shoulder strain.
Do 10 to 12 slow reps. If you can’t feel the movement, place one hand under the small of your back and the other on your lower belly. The motion is tiny. That’s fine. Tiny is the point.
This exercise helps reconnect the pelvis and abdomen without loading the midline too fast. It also teaches you where neutral lives, which matters more than people admit. When neutral is familiar, the rest of the work gets cleaner.
7. Bent-Knee Fallouts
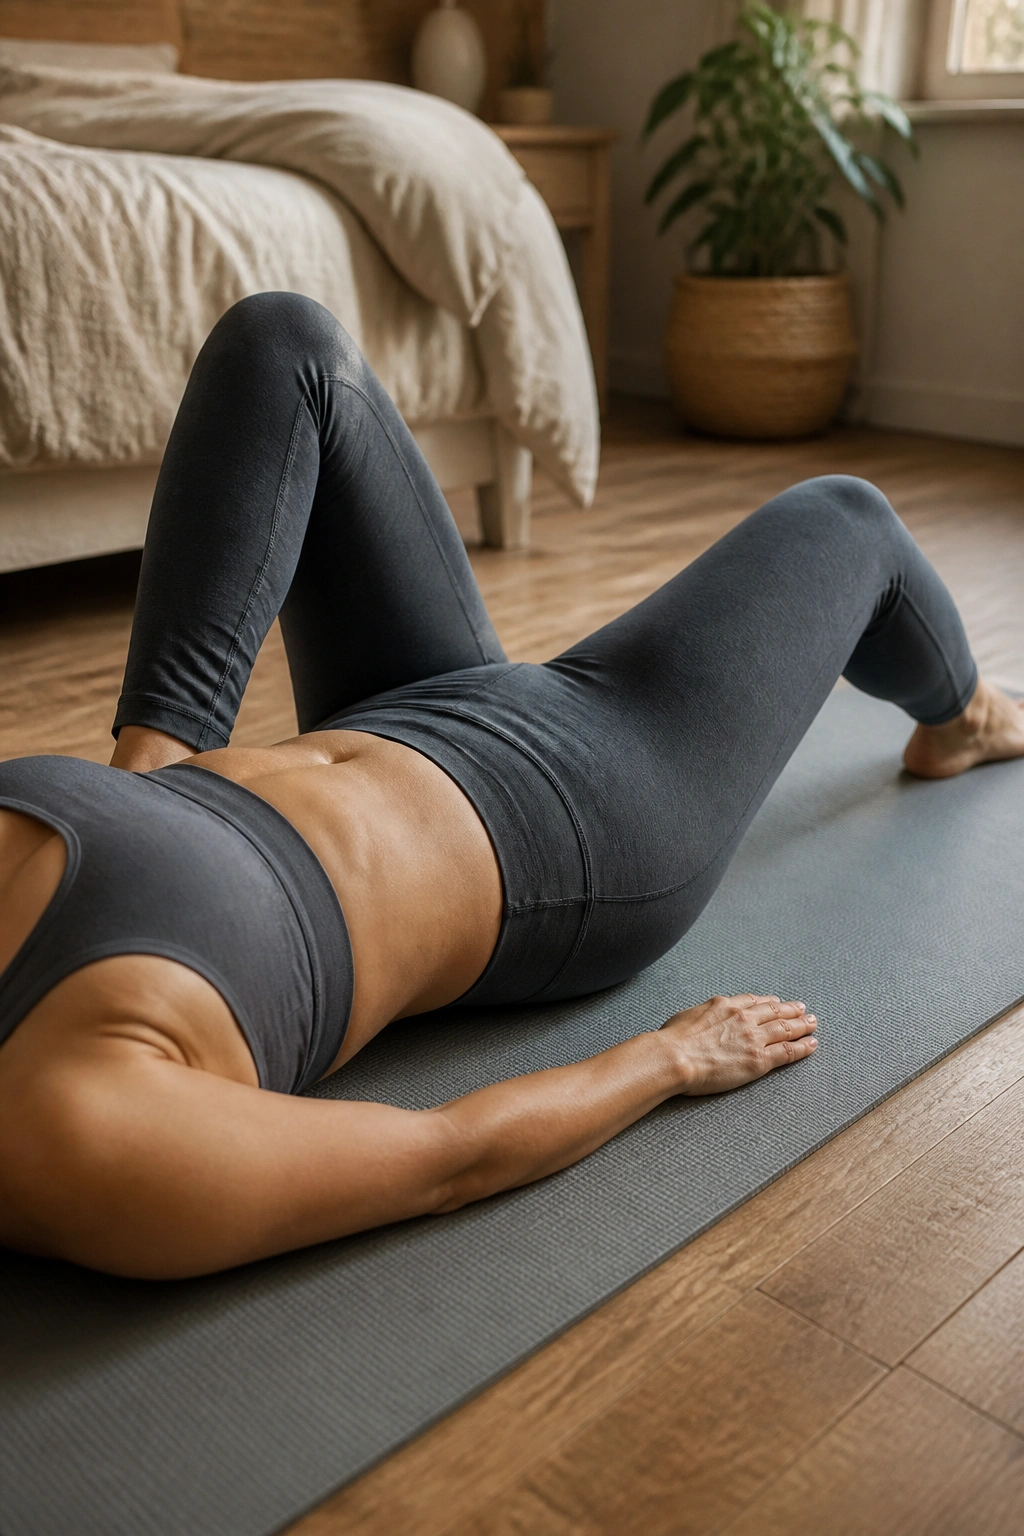
Open the knee, not the rib cage.
Start on your back with your feet flat and knees bent. On an exhale, slowly let one knee fall outward a few inches, then bring it back to center. The pelvis stays as quiet as possible. The other hip should not roll, and the belly should not push up to “help.”
This is an anti-rotation exercise in disguise. Your trunk is learning to resist movement even while one leg moves away. That is useful in real life, because one-sided movement is everywhere — stepping out of the car, reaching for a toddler, twisting toward a diaper bag.
Do 8 reps per side. If that feels easy and stable, add a light mini-band around the thighs later. But don’t rush it. The plain version usually reveals whether you can keep your midline steady under a little challenge.
If you feel the whole body chasing the knee, shrink the range and slow down. Clean reps matter more than bigger ones here.
8. Dead Bug Arm Reaches
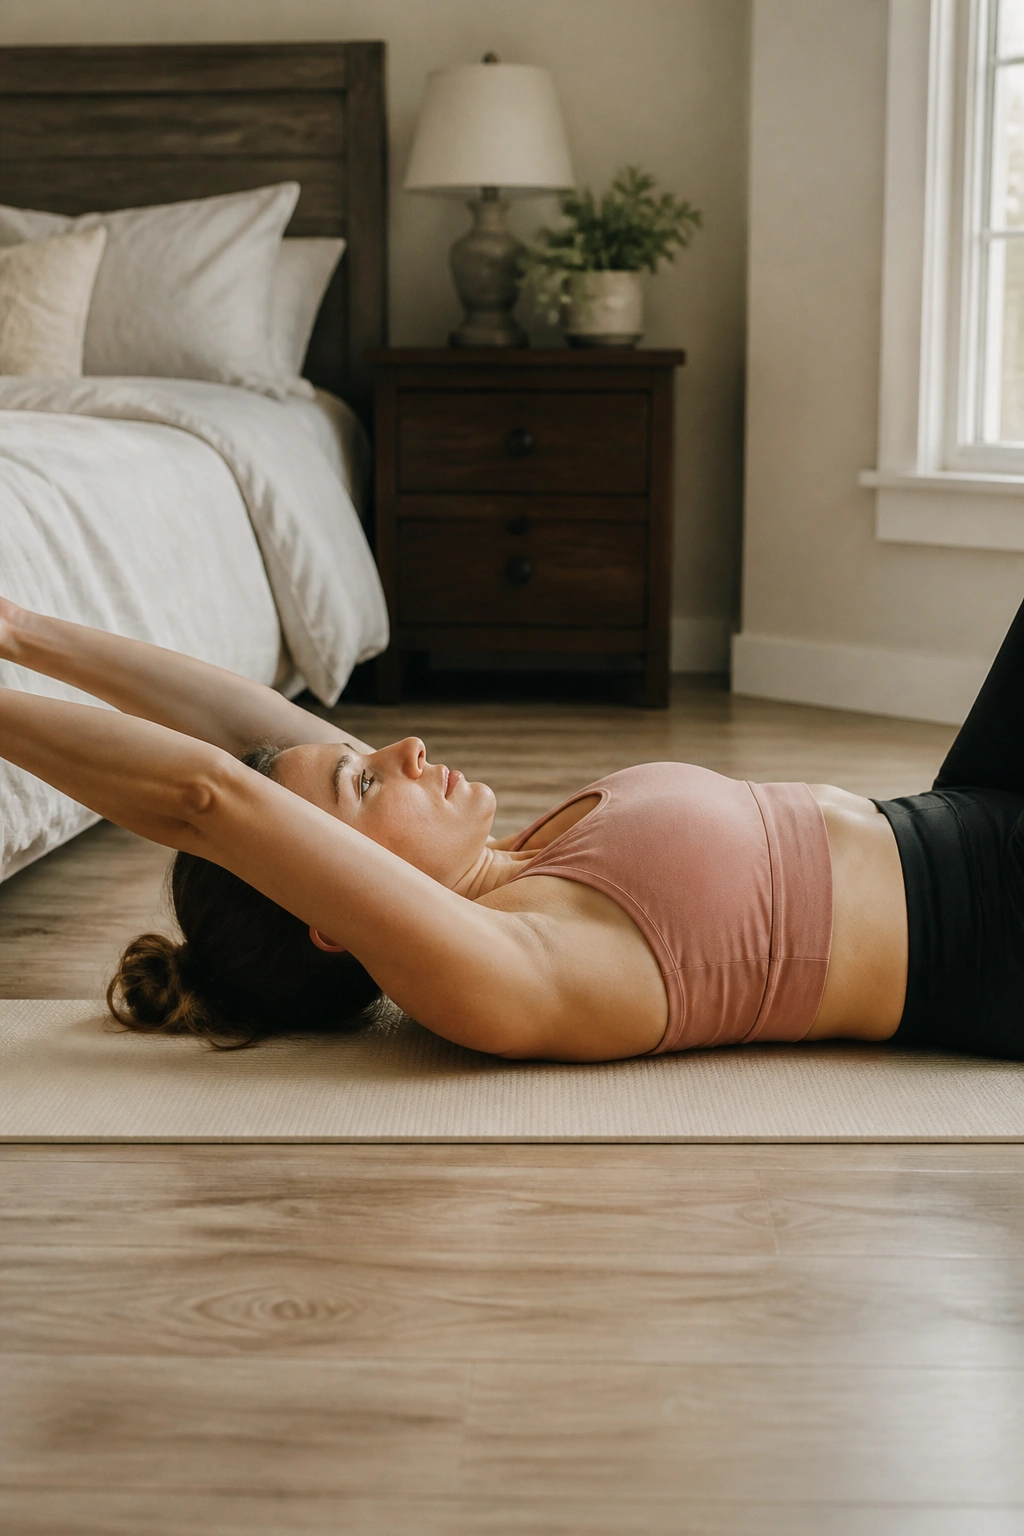
What if leg work makes your midline complain? Start with the arms.
Lie on your back with knees bent and feet down. Reach both arms straight up toward the ceiling. On the exhale, slowly lower one arm overhead until you feel the ribs want to lift, then stop before they do. Bring it back, switch sides, and keep the lower back calm.
Easier Version
- Keep the reach short.
- Stop halfway instead of going overhead.
- Leave one foot flat if you need more stability.
You’re training the trunk to hold shape while the arms move. That sounds almost too simple, but postpartum bodies often need simple before they need hard. Do 6 to 8 reps per side. If the belly domes, the reach is too long.
I like this one because it exposes what the body is ready for without making a scene. You’ll know fast whether your ribs are stacking well or sneaking upward the second the arms move. That feedback is gold.
9. Quadruped Rock Backs
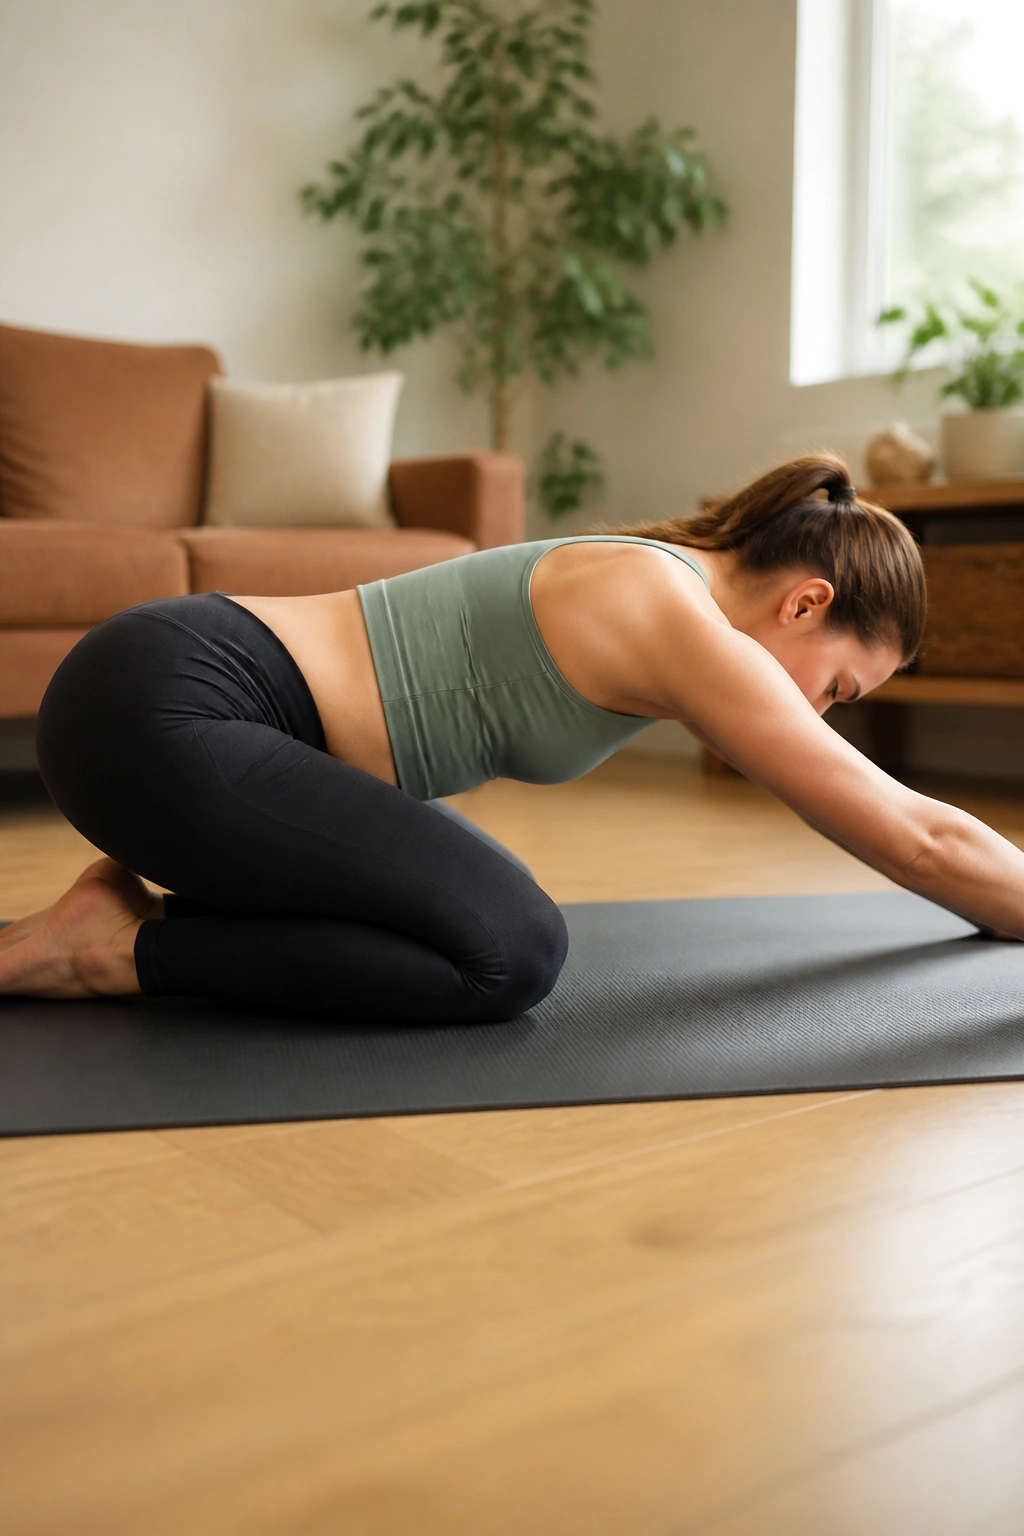
Hands-and-knees work is often friendlier than floor work.
Set your hands under your shoulders and your knees under your hips. Inhale to prepare, then exhale as you rock your hips back toward your heels. Don’t collapse. Just move back until you feel your torso lengthen, then come forward again and reset.
This exercise is sneaky good for postpartum core rehab because it teaches pressure management while changing position. You’re not just holding still. You’re moving with control. If your wrists are sore, place your hands on yoga blocks or a folded towel, or come down onto forearms.
Do 8 to 10 rocks. Keep your neck relaxed and your gaze down so you’re not dumping into your lower back. If the belly bulges when you rock back, shorten the range and make the breath slower.
There’s a reason this one shows up early in good rehab plans. It tells you a lot without demanding much. Sometimes that’s exactly what you need.
10. Bird Dog Holds With Tiny Range
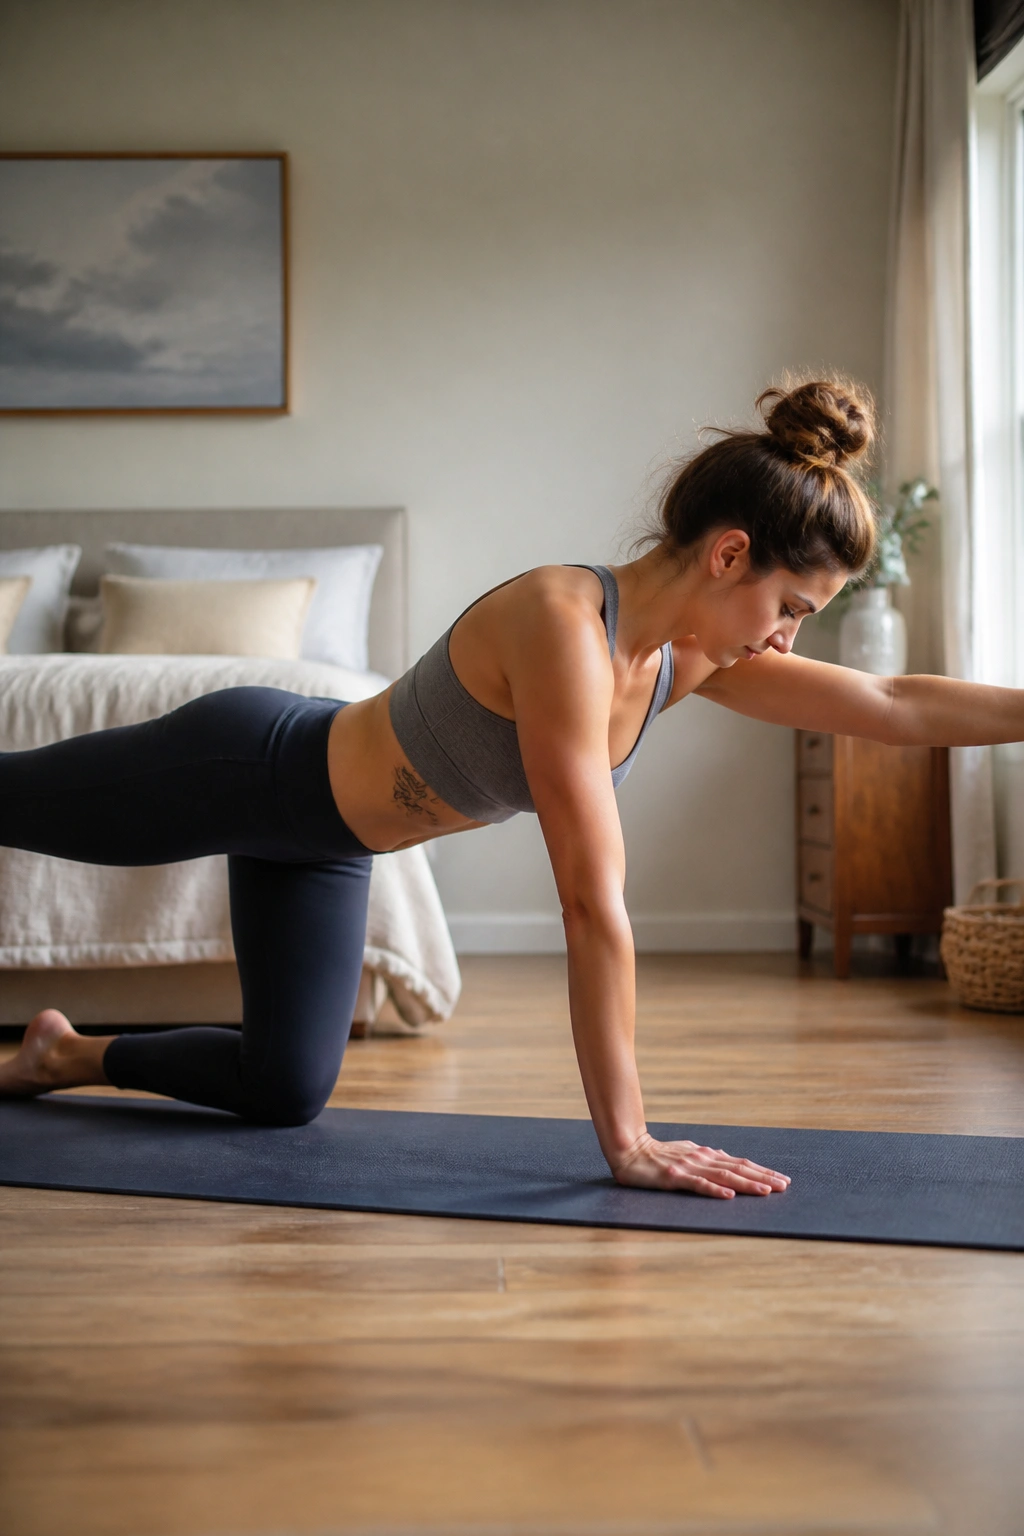
If bird dog makes you twist, the range is too big.
Start on hands and knees. First, slide one leg back with the toes on the floor. If that stays steady, lift the leg a few inches. Only after that should you think about adding the opposite arm. Hold for 3 seconds, come back with control, and switch sides.
Make It Smaller First
- Keep the toe on the floor before lifting the leg.
- Lift the arm only if the trunk stays flat.
- Stop the second the pelvis shifts.
You’re trying to keep the torso quiet while the limbs move. That’s the whole point. Do 5 reps per side to start. If the full bird dog feels sloppy, stay with one limb at a time for a week or two. That is not failure. That is good coaching.
People often want the picture-perfect version here. Don’t. A tiny, stable bird dog is more useful than a wobbly full reach.
11. Glute Bridges on the Exhale
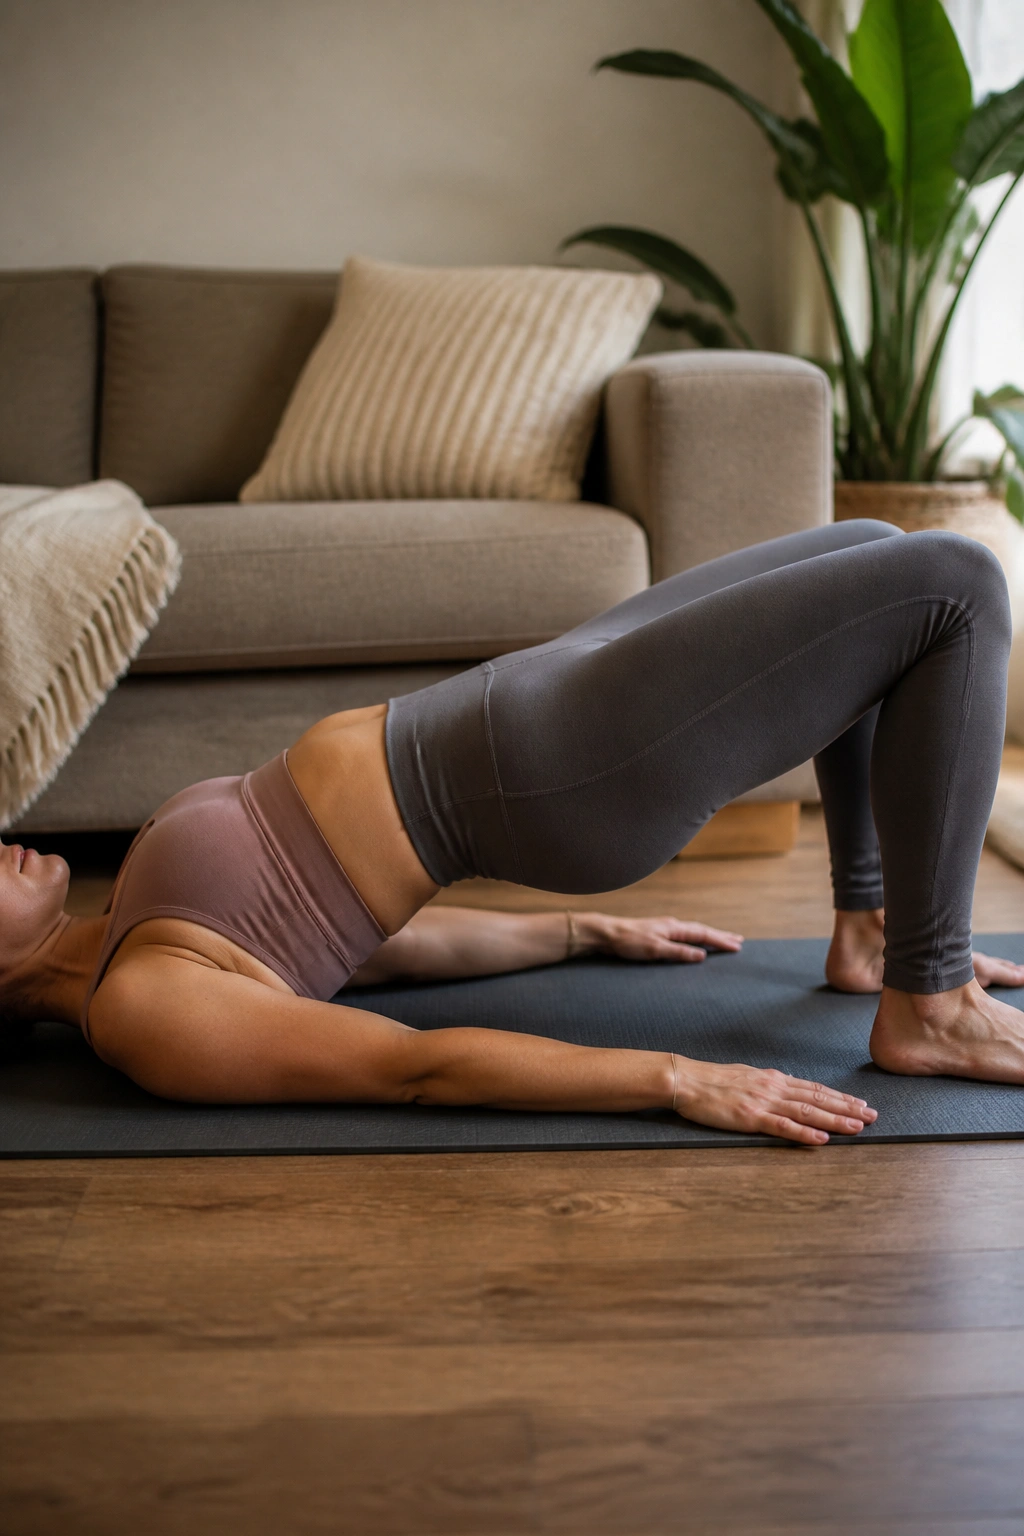
Your glutes are part of the plan.
Lie on your back with knees bent and feet hip-width apart. Exhale and press through your heels to lift your hips until your body forms a gentle line from shoulders to knees. Pause for a second, then lower slowly. The ribs should stay calm. The lower back should not arch to finish the job.
Where People Go Wrong
Most mistakes happen at the top. The hips rise, the belly pushes, and the back takes over. If that happens, reduce the height by half and make the exhale longer. If the bridge feels heavy in the hamstrings but not the butt, move your heels a little closer to your seat.
Do 8 to 12 reps. Bridge work helps because the glutes support pelvic stability, and pelvic stability takes some load off the abdominal wall. You do not need to feel this in your lower back. In fact, if you do, something is off.
A clean bridge feels controlled. Not dramatic. Just solid.
12. Clamshells for Hip and Core Support
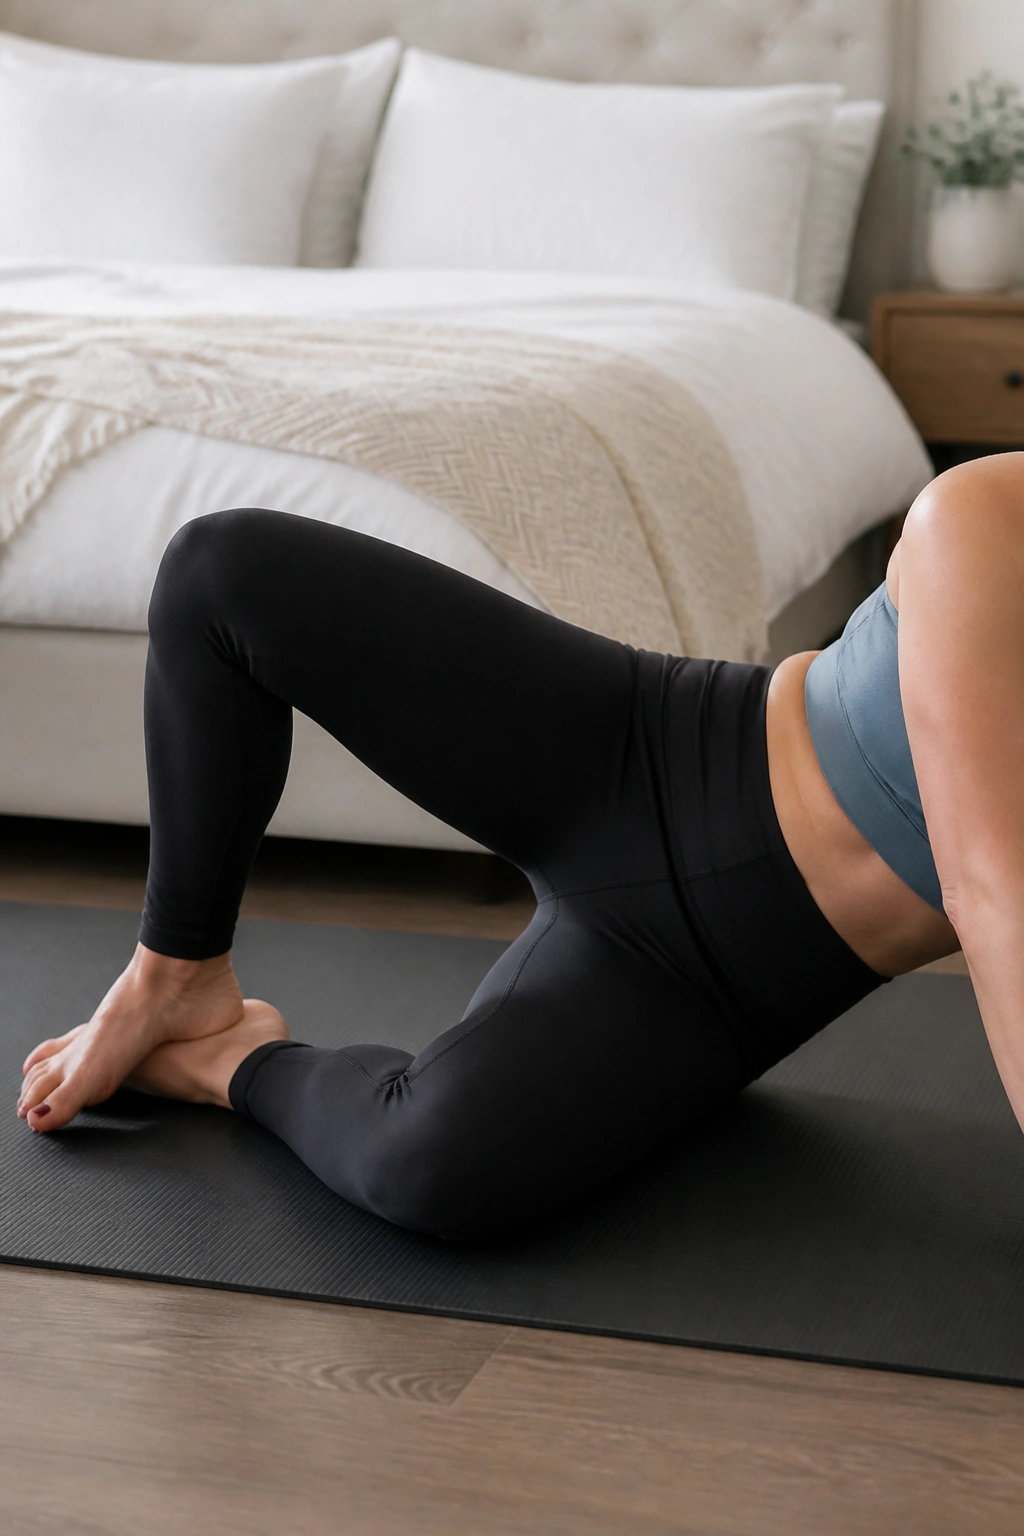
A clamshell looks like hip work, and it is. It also teaches the pelvis not to wobble when the core is tired.
Lie on your side with your knees bent and your feet together. Keep your hips stacked. On the exhale, lift the top knee a few inches without rolling the pelvis back, then lower it slowly. The motion is small. If you open the knee too high, the trunk starts cheating.
This one can be done with body weight only, which is where I’d start. If that feels easy and the pelvis stays still, add a mini-band above the knees later. Do 10 to 15 reps per side.
The outside of the hip should do most of the work. If you feel your low back grabbing or your waist cramping, the range is too wide. Shrink it and breathe slower.
Clamshells won’t get much applause. They do, however, make other moves feel steadier. That counts.
13. Side-Lying Leg Lifts
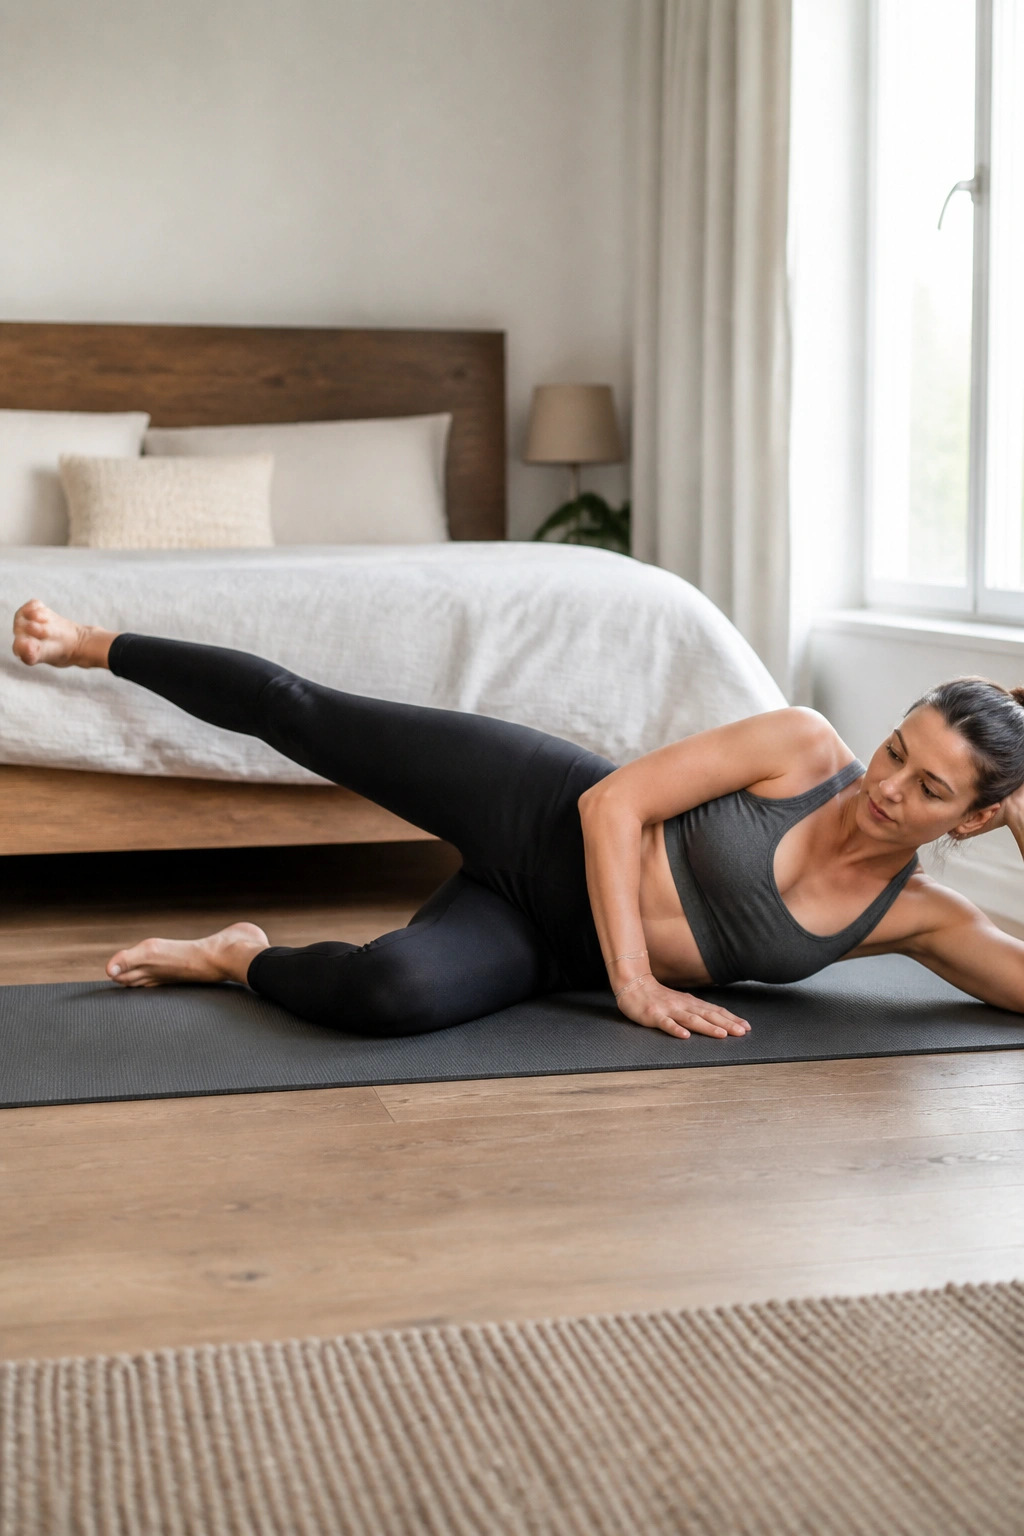
Straight-leg side work asks a little more from the side body.
Stay on your side with both legs long. Stack your hips, point your top toes slightly down, and lift the top leg to about hip height or a little lower if that keeps the pelvis quieter. Lower it slowly. The body should not roll backward to chase the height.
This is one of the better next steps after clamshells because it builds lateral hip strength without loading the front wall much. Do 8 to 12 reps per side. If you feel the front of the hip more than the side of the hip, bring the top leg slightly behind your body line. That small change often fixes the complaint.
If your waist caves or your ribs twist open, the leg is going too high. Lowering the height usually improves the quality instantly.
It’s a plain exercise, but plain is good when the goal is control. Fancy is overrated here.
14. Wall Press Dead Bug
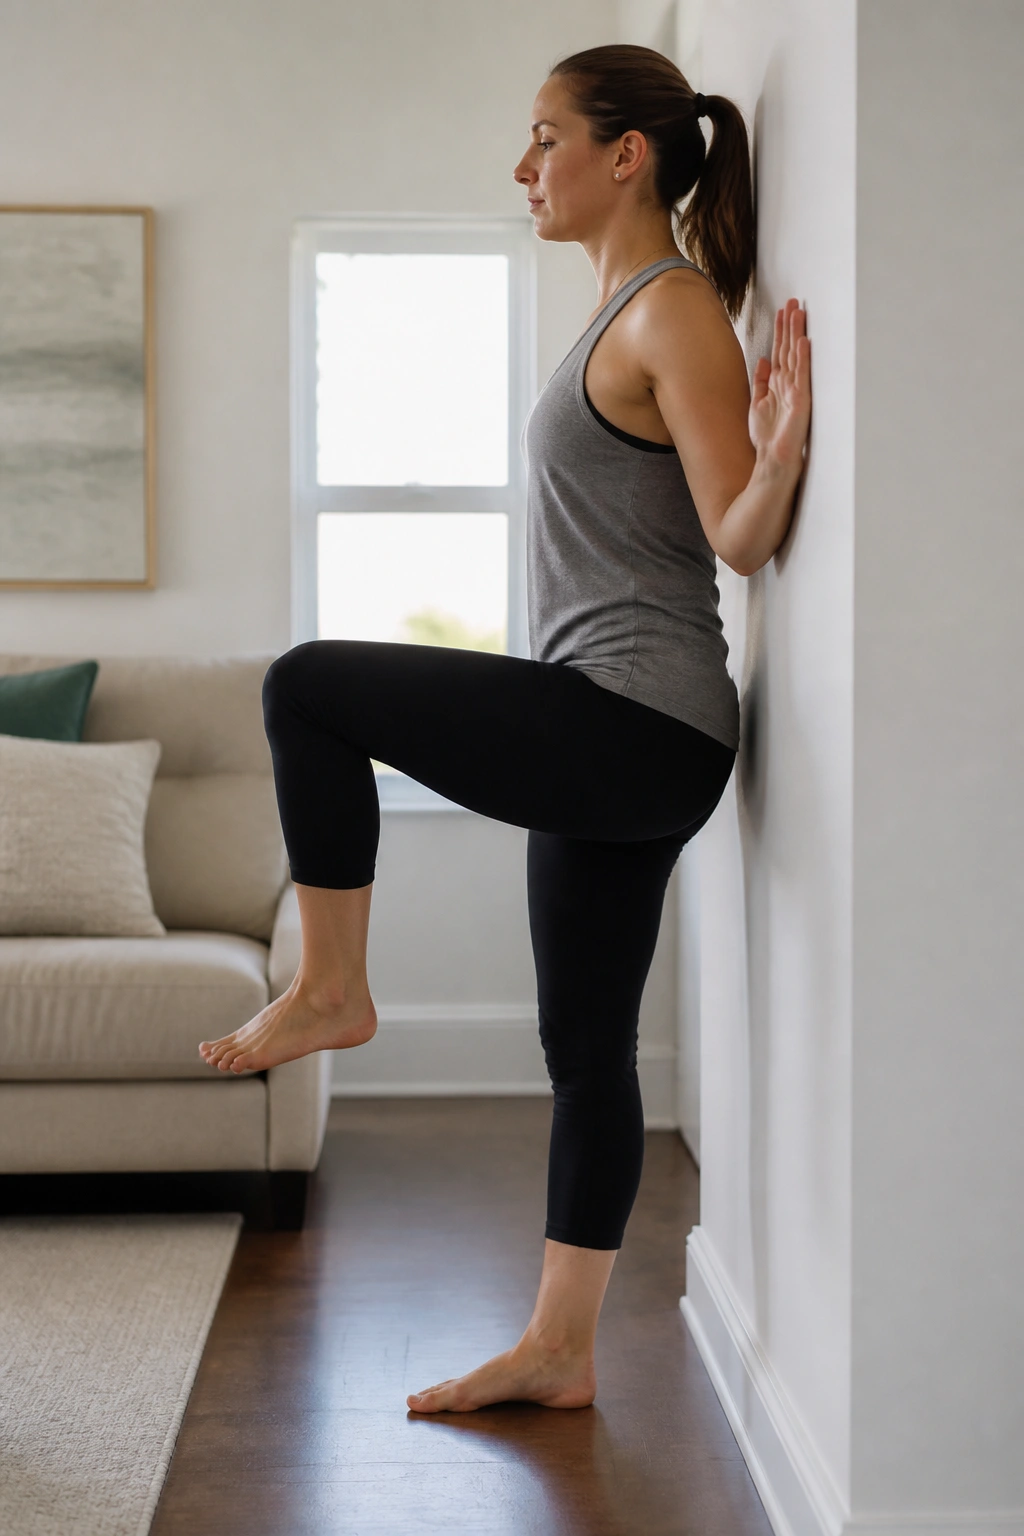
Standing work matters because babies do not live on the floor.
Stand with your back near a wall, feet a step away from it, knees soft. Press your forearms lightly into the wall to wake up the upper body, then lift one knee toward hip height or as high as you can without the ribs flaring. Lower it, switch sides, and keep the torso stacked.
How to Set the Wall
- Put the wall at chest height.
- Press through the forearms, not the shoulders.
- Keep the exhale soft and long.
This is a great bridge between floor drills and real life because it adds posture, balance, and breathing together. Do 6 to 8 reps per side. If a full knee lift is too much, just lighten the foot and tap the toe.
The wall gives you feedback fast. If you lean back or arch, you’ll feel it immediately. That’s useful. Very useful, honestly.
15. Incline Plank on Wall or Counter
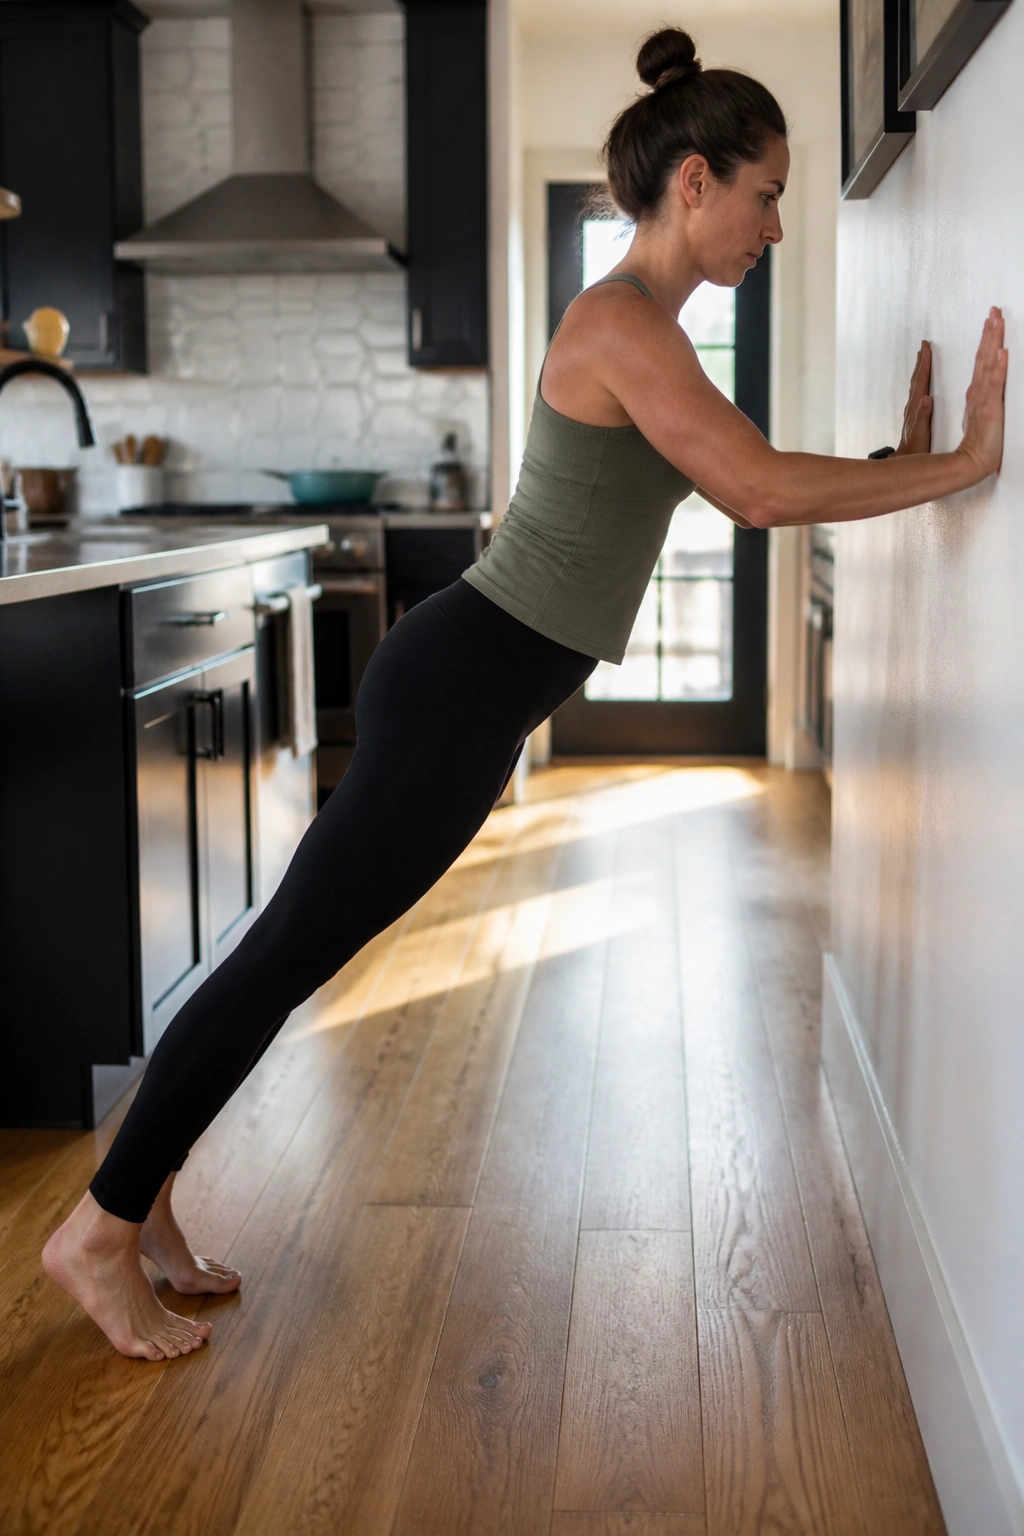
A floor plank is not the prize here.
Start at a wall, then move to a countertop if the wall feels too easy. Place your hands down, walk your feet back, and create one long line from head to heels. Exhale gently and hold for 10 to 20 seconds. The ribs should not flare, and the belly should not push toward the floor or the wall.
The Counter Height Matters
A wall plank is the easiest version. A counter plank is harder. A bench or sofa arm is harder still. Pick the height that lets you keep the midline quiet. If your back sags, raise the surface. If your shoulders shrug, shorten the hold.
Three to 5 short holds are enough. Don’t chase a minute just to prove something. That’s how people turn a decent exercise into a noisy one.
This move deserves respect because it loads the whole front line without asking for a full floor plank too soon. That’s a good trade.
16. Side Plank From the Knees
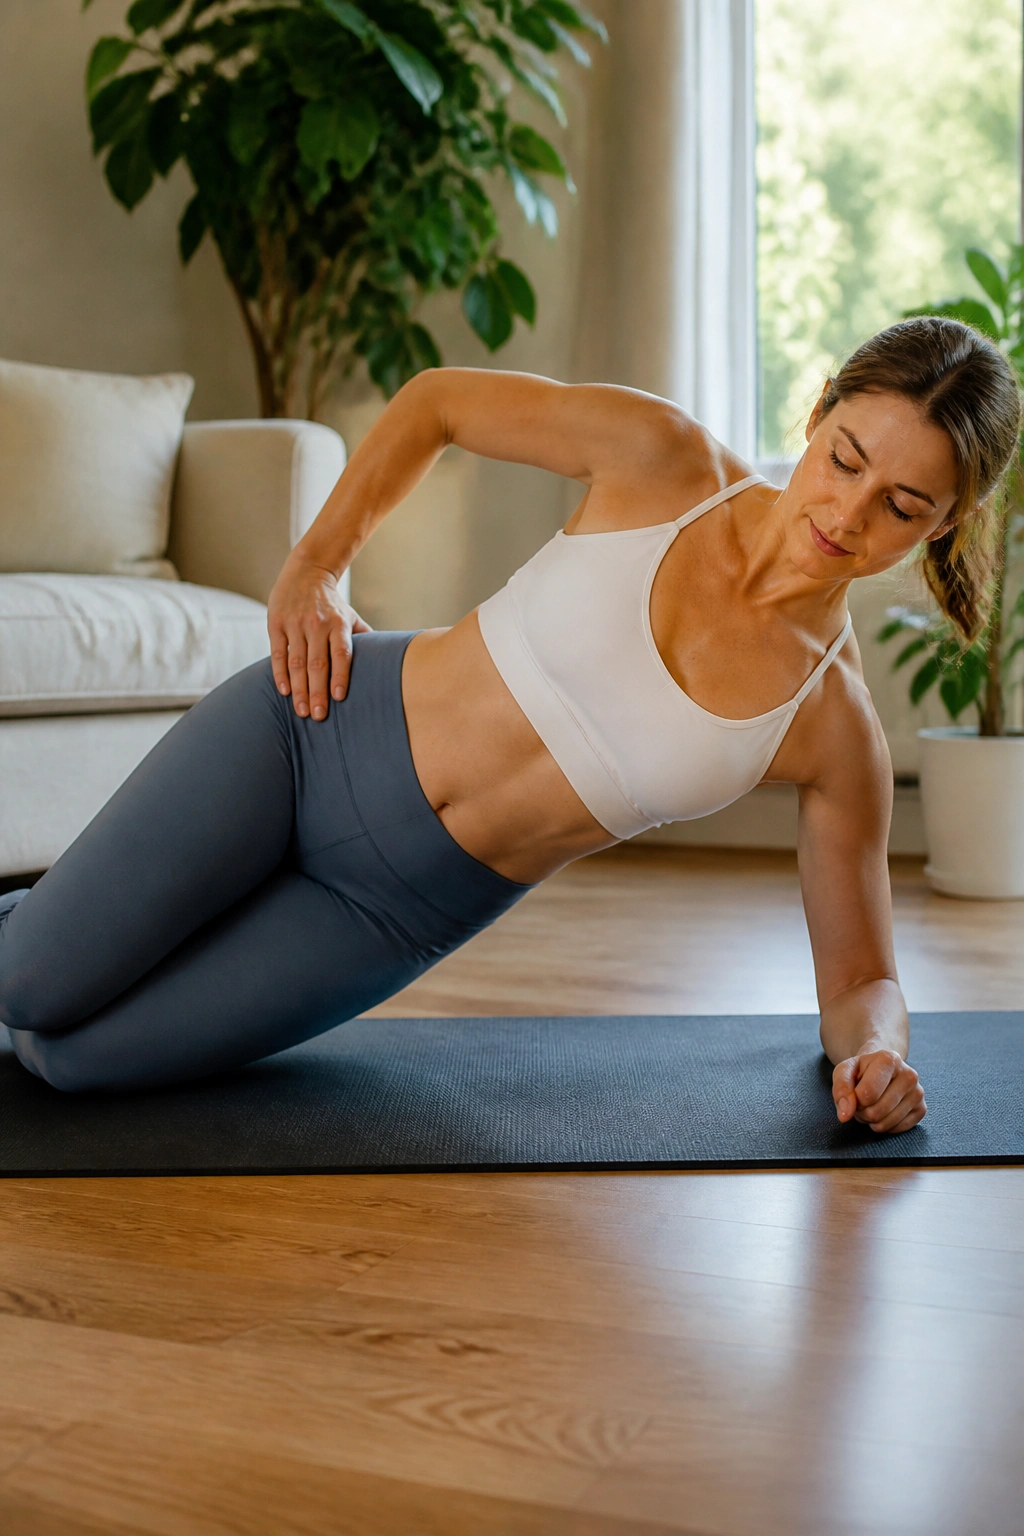
Why train the side wall at all? Because the front of the body is only half the story.
Lie on your side with your elbow under your shoulder and your knees bent. Lift your hips just enough to form a straight line from shoulder to knee. Hold for 5 to 15 seconds, then lower with control. If that feels shaky, keep the top hand on the floor in front of you for support.
The obliques and the fascia along the side of the trunk help keep pressure from spilling forward. That matters a lot with diastasis recti. A side plank from the knees gives you that work without the same front-wall demand as a full plank.
Do 2 to 4 holds per side. If the shoulder complains, move the elbow slightly forward and make sure you’re not shrugging up into your ear. A short hold done well beats a long hold done badly.
This one can feel surprisingly honest. That’s a good sign.
17. Pallof Press With a Resistance Band
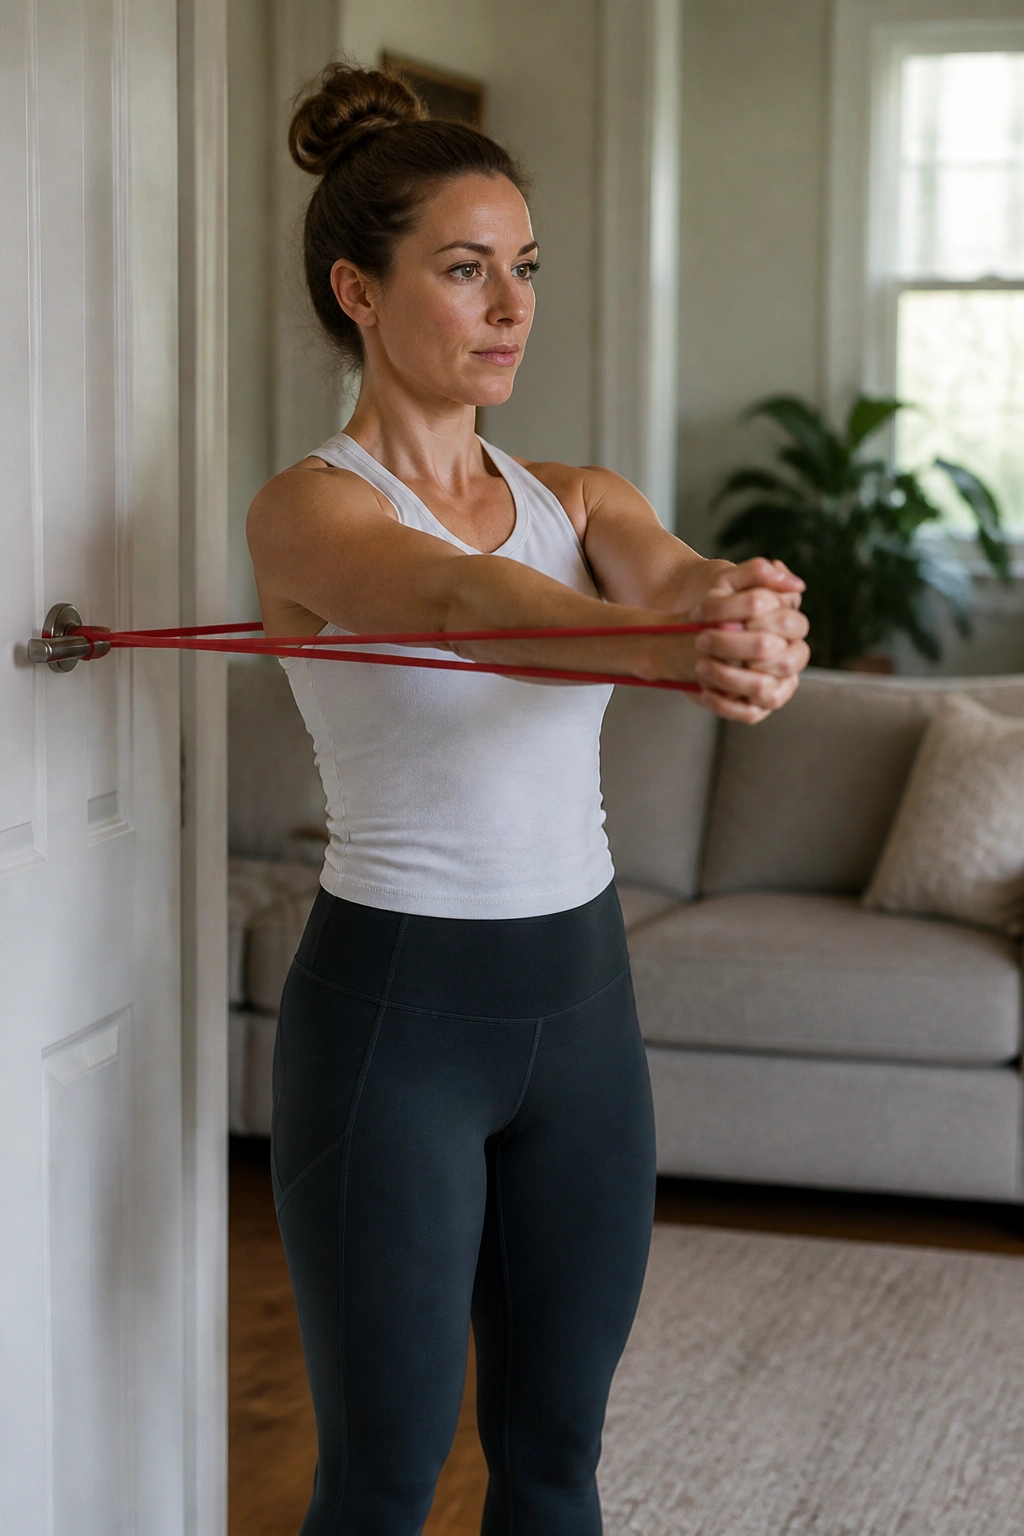
A band tugging sideways is the whole point.
Anchor a resistance band at chest height. Stand sideways to the anchor with both hands holding the band at your sternum. Step out until the band has a bit of tension, then press your hands straight forward and bring them back in, resisting the pull that wants to twist your trunk.
Keep the Stance Soft
- Feet hip-width apart.
- Knees unlocked.
- Ribs stacked over pelvis.
Do 8 to 10 presses per side, or hold the arms straight out for 10 to 15 seconds if that feels better. The trunk should stay square. If your body rotates or your low back arches, step closer to the anchor and reduce the tension.
This is one of my favorite postpartum anti-rotation drills because it feels like actual life. Wind, toddler tugs, grocery bags, stroller turns — all of it wants to twist you. Pallof work trains the body not to give in so easily.
18. Suitcase Carry With Light Weight
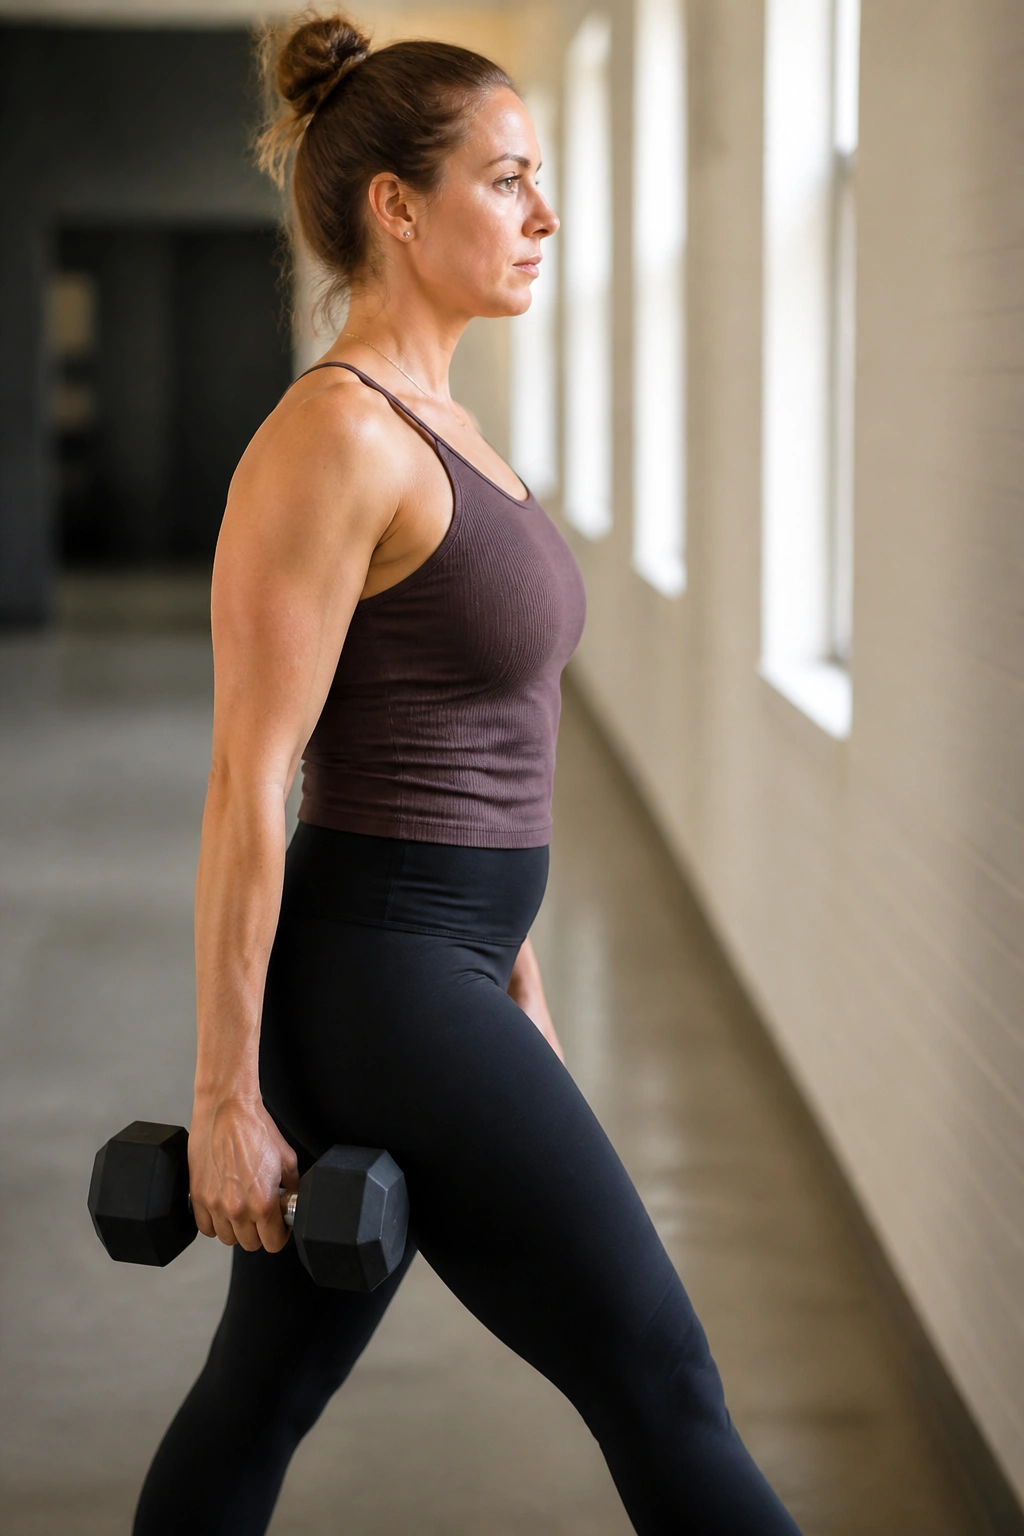
Pick up one weight and walk.
A dumbbell or kettlebell in one hand is enough. Stand tall, hold the weight at your side, and walk 20 to 40 steps without leaning toward or away from the load. Then switch sides. Breathe the whole time. If you have to grip so hard that your shoulder hikes up, the weight is too heavy.
This exercise is great because it looks like ordinary life. That’s the point. You are training the trunk to stay stacked while one side works harder than the other. That skill shows up everywhere, from carrying laundry to balancing a baby on one hip.
If 20 steps feels messy, start with 10. If the torso tilts, slow the pace and shorten the walk. A hallway is enough. No fancy setup needed.
The midline should feel awake, not pushed. If you can’t keep that shape, go lighter. Pride does not help here.
19. Sit-to-Stand With a Controlled Exhale
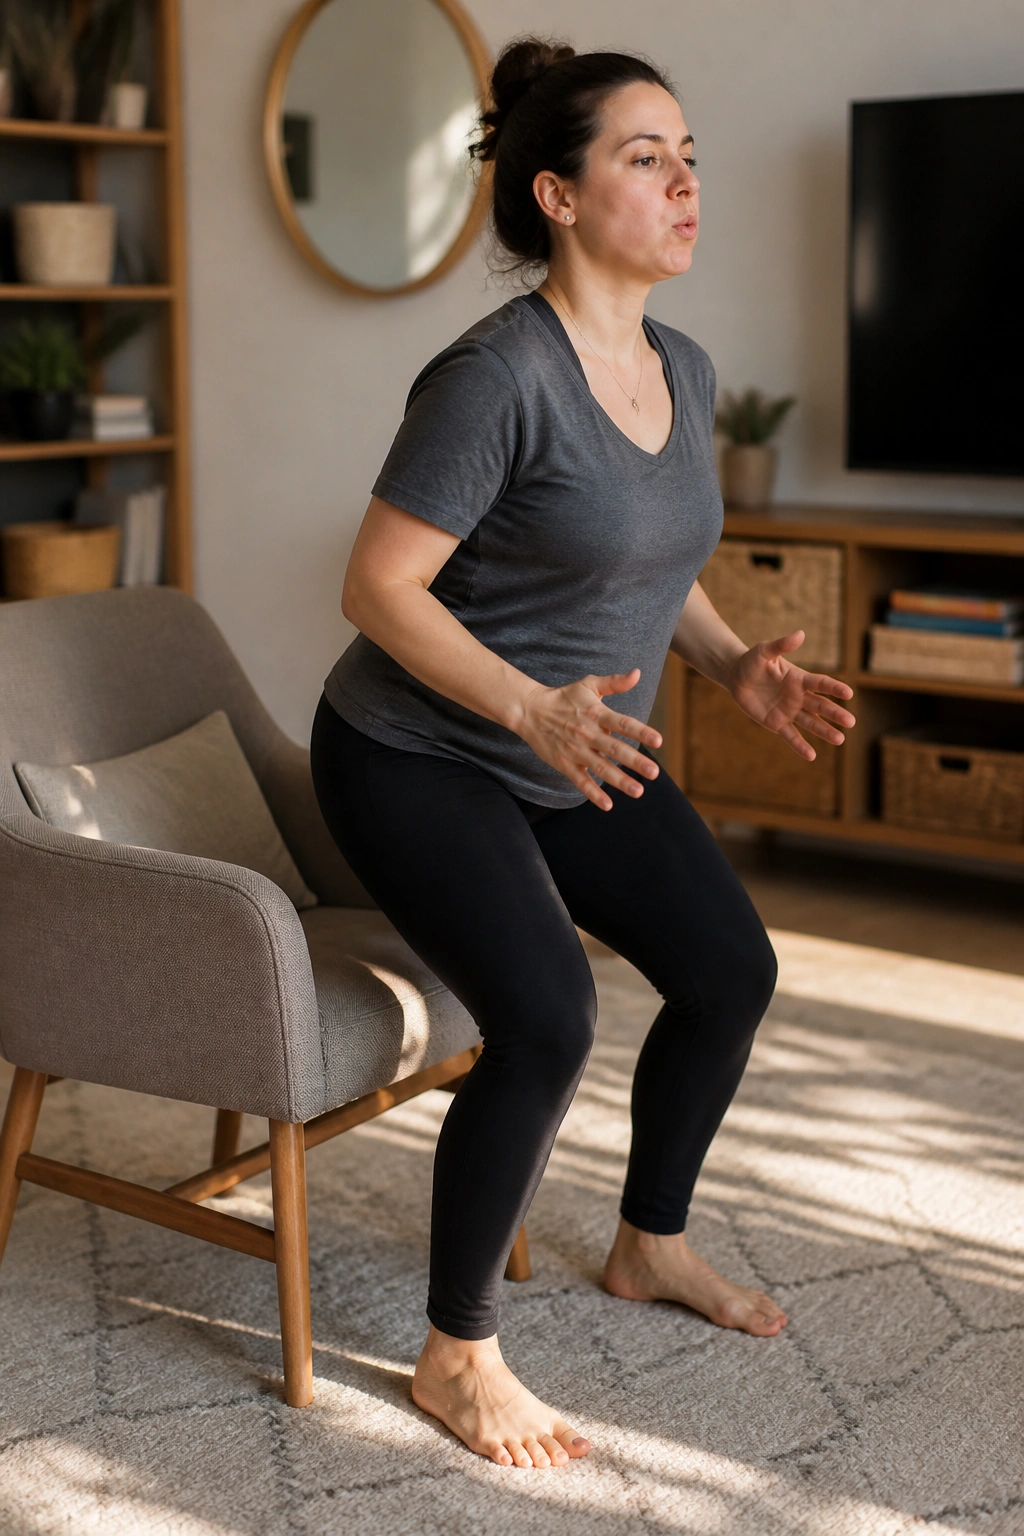
Does getting off the couch count as exercise? For this phase, yes.
Sit on a sturdy chair with your feet under your knees. Inhale to prepare, then exhale as you lean slightly forward and stand up without letting the belly push outward. Sit back down slowly. The lowering matters. Don’t just flop.
This move builds the kind of strength postpartum life actually asks for — standing while holding a baby, rising from the floor, getting off the edge of a bed, all of it. If a normal chair feels too low, use a firmer seat or add a cushion. Height changes the difficulty more than most people expect.
Do 8 to 12 reps. If your knees cave inward or your ribs flare, slow the movement and make the exhale longer. You should feel the hips and legs doing the work, with the trunk staying organized in the middle.
It’s basic. Also necessary.
20. Standing Marches With Arm Reach
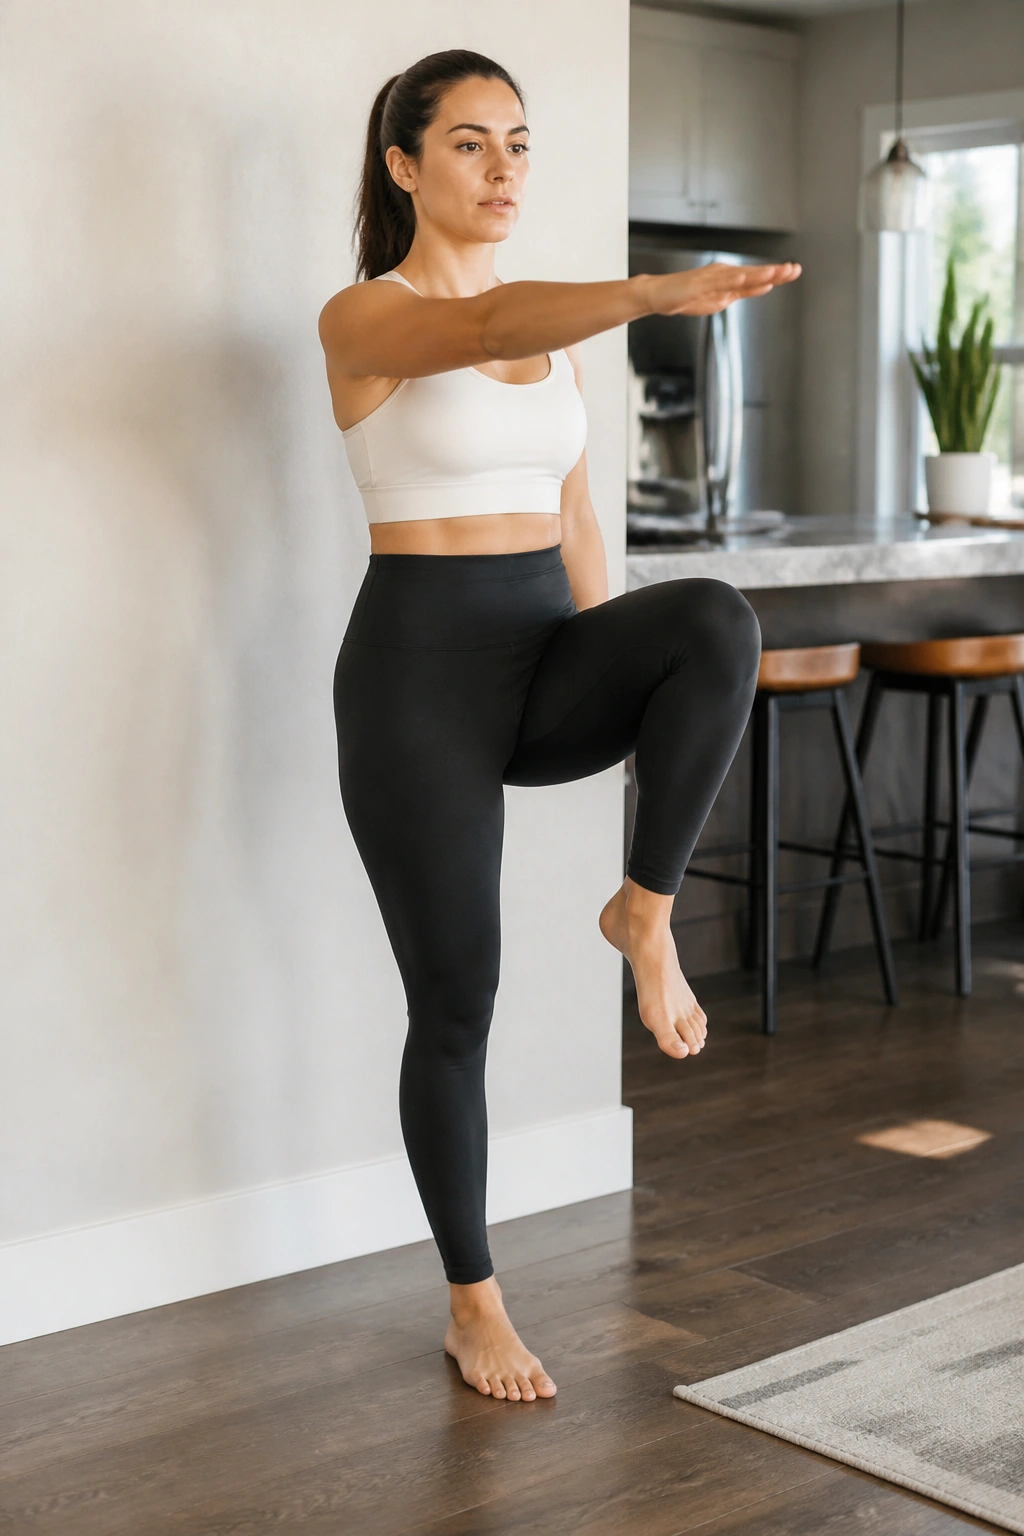
Real life asks you to balance, breathe, and move at once.
Stand near a wall or countertop. Lift one knee while the opposite arm reaches forward or slightly overhead, then switch sides. Keep the ribs stacked over the pelvis and the movement slow enough that you don’t have to jerk into it. If balance feels shaky, one fingertip on the wall is fine.
This drill ties together everything above: breath control, pelvic stability, and the ability to move one side while the other side stays steady. That’s a useful test for postpartum core recovery. Do 6 to 10 reps per side. If the belly domes, shorten the reach and keep the knee lower.
By the time this feels smooth, you are not chasing perfection. You’re training your body to handle ordinary movement without falling apart at the seam. That is the whole point, and it’s worth far more than a harder-looking exercise that makes your midline bulge the second you try it.
