



Six weeks after birth is an odd moment. Your clinician may say you can exercise again, yet your body may still feel like somebody rearranged the furniture and forgot to leave you a map. That is why post baby workouts at 6 weeks need to start with control, breath, and patience—not punishment.
A lot can still be going on under the surface at this stage. Your abdominal wall has stretched for months. Your pelvic floor has handled pressure from pregnancy, birth, or both. If you had a C-section, the incision may look closed while the deeper tissue is still knitting itself back together. Add sleep broken into 90-minute chunks, feeding, carrying, rocking, and standing up 40 times a day, and the old idea of “getting back in shape” starts to sound a little absurd.
The women who struggle most in early postpartum training are often the ones who try to test their old fitness first. They go straight to planks, running, crunches, jump squats. Then come the warning signs: heaviness in the pelvis, urine leakage, pulling at the scar, doming through the midline, brighter bleeding later that day. None of that means you failed. It means your body is asking for a different entry point.
The good news is that the right first workouts do not look flashy. They look calm, useful, and a bit humble. They help you stand up, carry the baby, push a stroller uphill, and feel your core turn back on without bearing down through the floor.
The Six-Week Checkup and Your First Post Baby Workout
Six weeks is often treated like a finish line. It is not. It is a checkpoint. For some women, it marks the start of gentle strength work and longer walks. For others—especially after a C-section, a forceps delivery, a third- or fourth-degree tear, high blood pressure, or ongoing pelvic symptoms—it marks the moment to slow down and get a pelvic floor physical therapist involved.
The American College of Obstetricians and Gynecologists has long advised a gradual return to activity after birth. That word matters: gradual. A calm 15-minute walk with no symptoms beats a hard 40-minute session that leaves you bleeding more at dinner.
Pain is not the target here. Effort, yes. A mild burn in the glutes, yes. Breathing harder on a hill, yes. Sharp pain, dragging pressure, incision pulling, or a leaking bladder are not badges of effort. They are feedback.
One more thing. If you had been lifting, running, doing CrossFit, or training hard before pregnancy, your brain may still identify as that athlete. Your tissues may disagree for a while. That gap can be frustrating. It is still normal.
Signs Your Body Wants Less, Not More
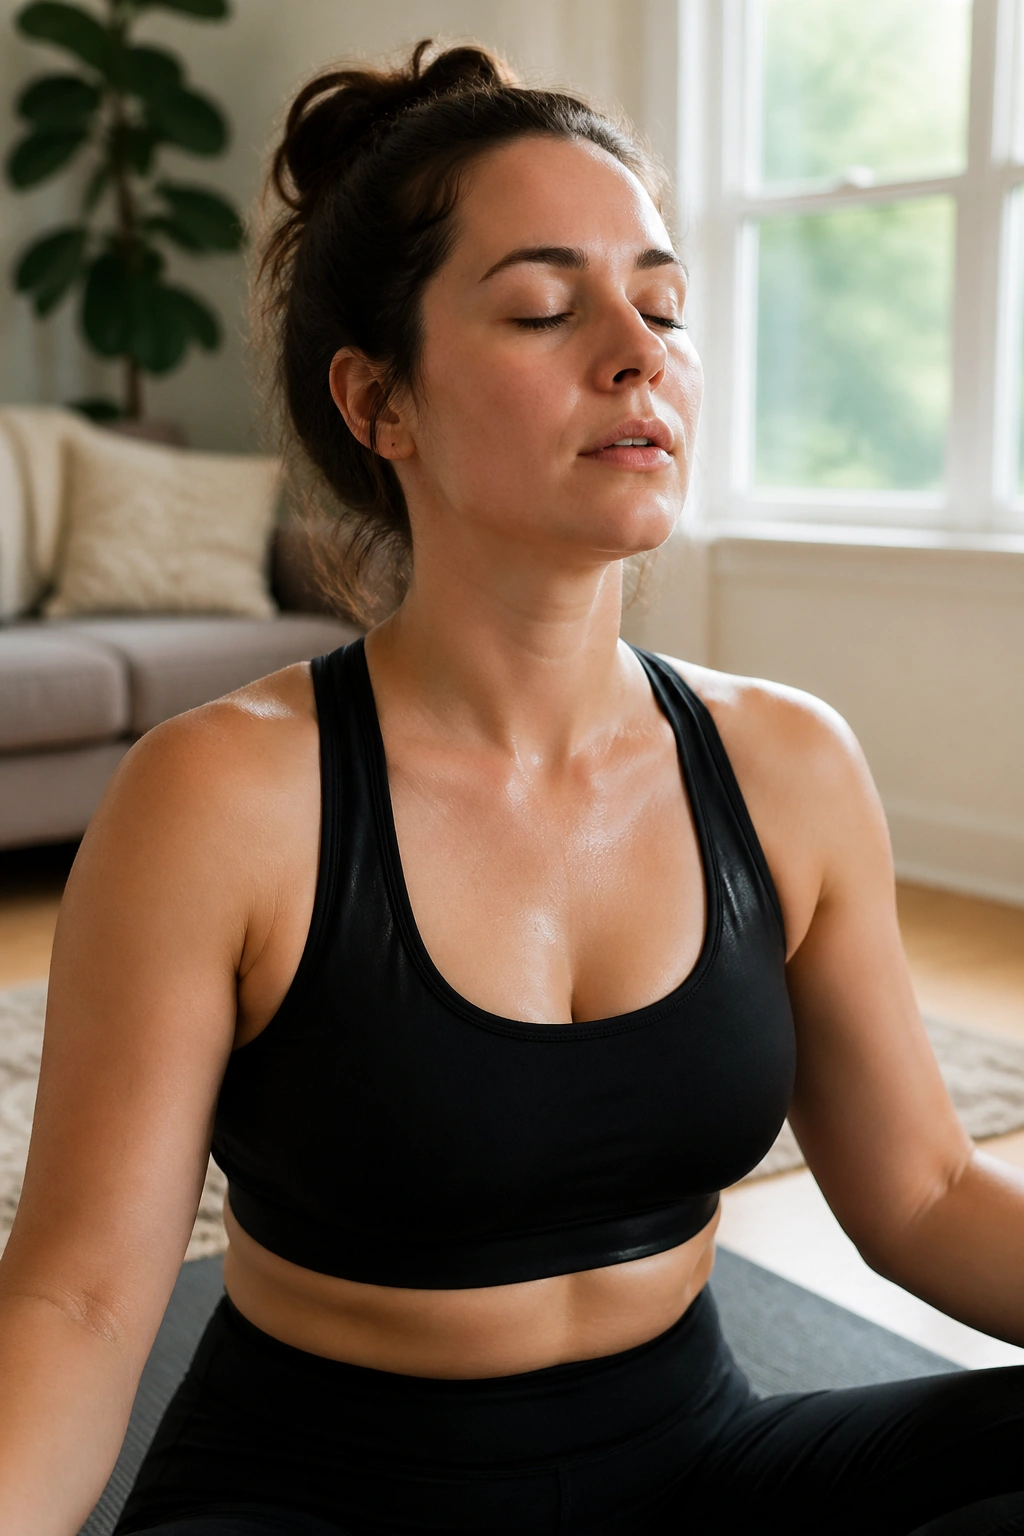
A good early postpartum session should leave you feeling worked, steadier, and more awake—not flattened. You should be able to talk in short sentences through most of it. On a 1-to-10 effort scale, aim for about 4 to 6 for the first stretch back.
Watch your symptoms during the workout, then again later that day and the next morning. Plenty of women feel fine in the moment and notice the trouble after a shower, during a bathroom trip, or when they finally sit down.
Pause the workout and get checked if you notice any of these:
- Bleeding that gets brighter or heavier during the session or later the same day
- Pelvic heaviness, bulging, or a “falling out” feeling
- Urine leakage that is new or worse
- Doming or coning down the center of your abdomen that you cannot control with an exhale
- Pain at the incision, perineum, hips, pubic bone, or low back
- Dizziness, chest pain, calf swelling, severe headache, fever, or wound drainage
And yes, soreness can happen. A mild muscle ache in the glutes or upper back the next day is one thing. Pressure downward is another story.
1. Diaphragmatic Breathing With 360 Core Expansion
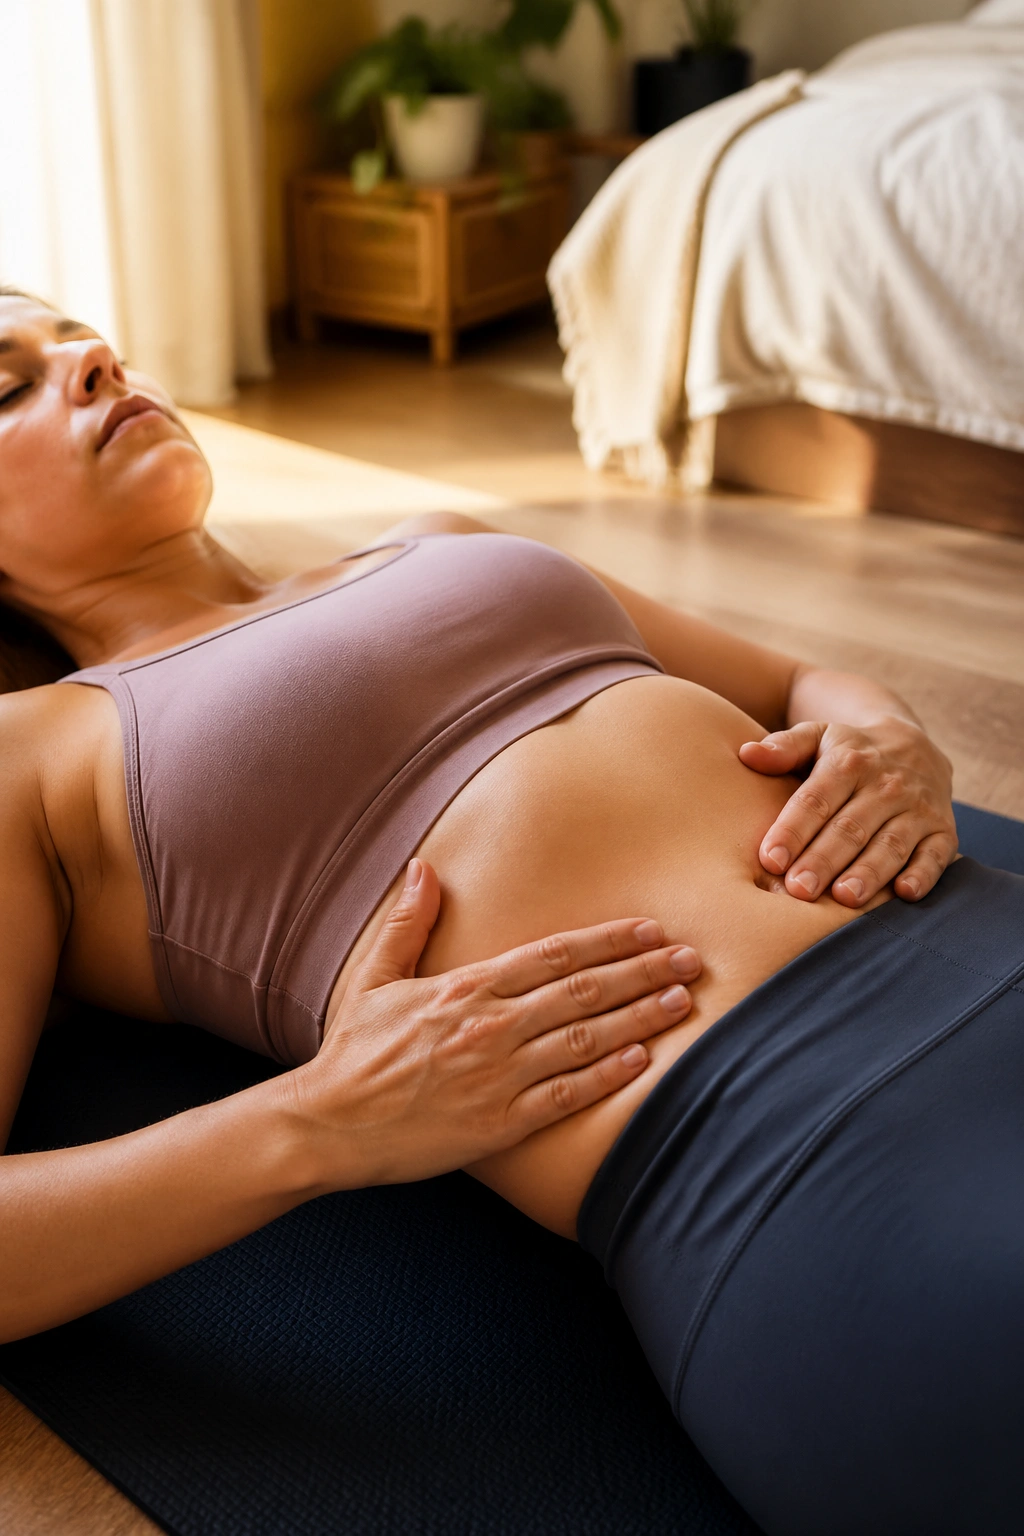
Start here. No, it is not too basic.
One of the first things that goes sideways after pregnancy is pressure management. Your ribs may stay flared, your breath may sit high in your chest, and your core may brace at the wrong time. 360 breathing helps restore the canister: rib cage on top, pelvic floor on the bottom, deep abdominal wall wrapped around the middle.
Why this belongs at the top of the list
When you inhale well, the rib cage expands not only forward but also into the sides and back. When you exhale, the deep core and pelvic floor can respond without that hard, grippy “suck in your stomach” feeling. That matters in every later movement—bridges, squats, carries, all of it.
Try it on your back with knees bent, feet on the floor, or propped on your side if lying flat feels lousy.
- Place one hand on the lower ribs and one on the lower belly.
- Inhale through your nose for 4 seconds, letting the ribs widen.
- Exhale through pursed lips for 6 seconds, feeling the ribs soften down.
- Take 5 to 8 breaths, rest, then repeat for 2 to 3 rounds.
- If your shoulders creep toward your ears, reset and make the breath smaller.
Best cue: think expand on the inhale, gather on the exhale.
2. Pelvic Floor Connection Breaths
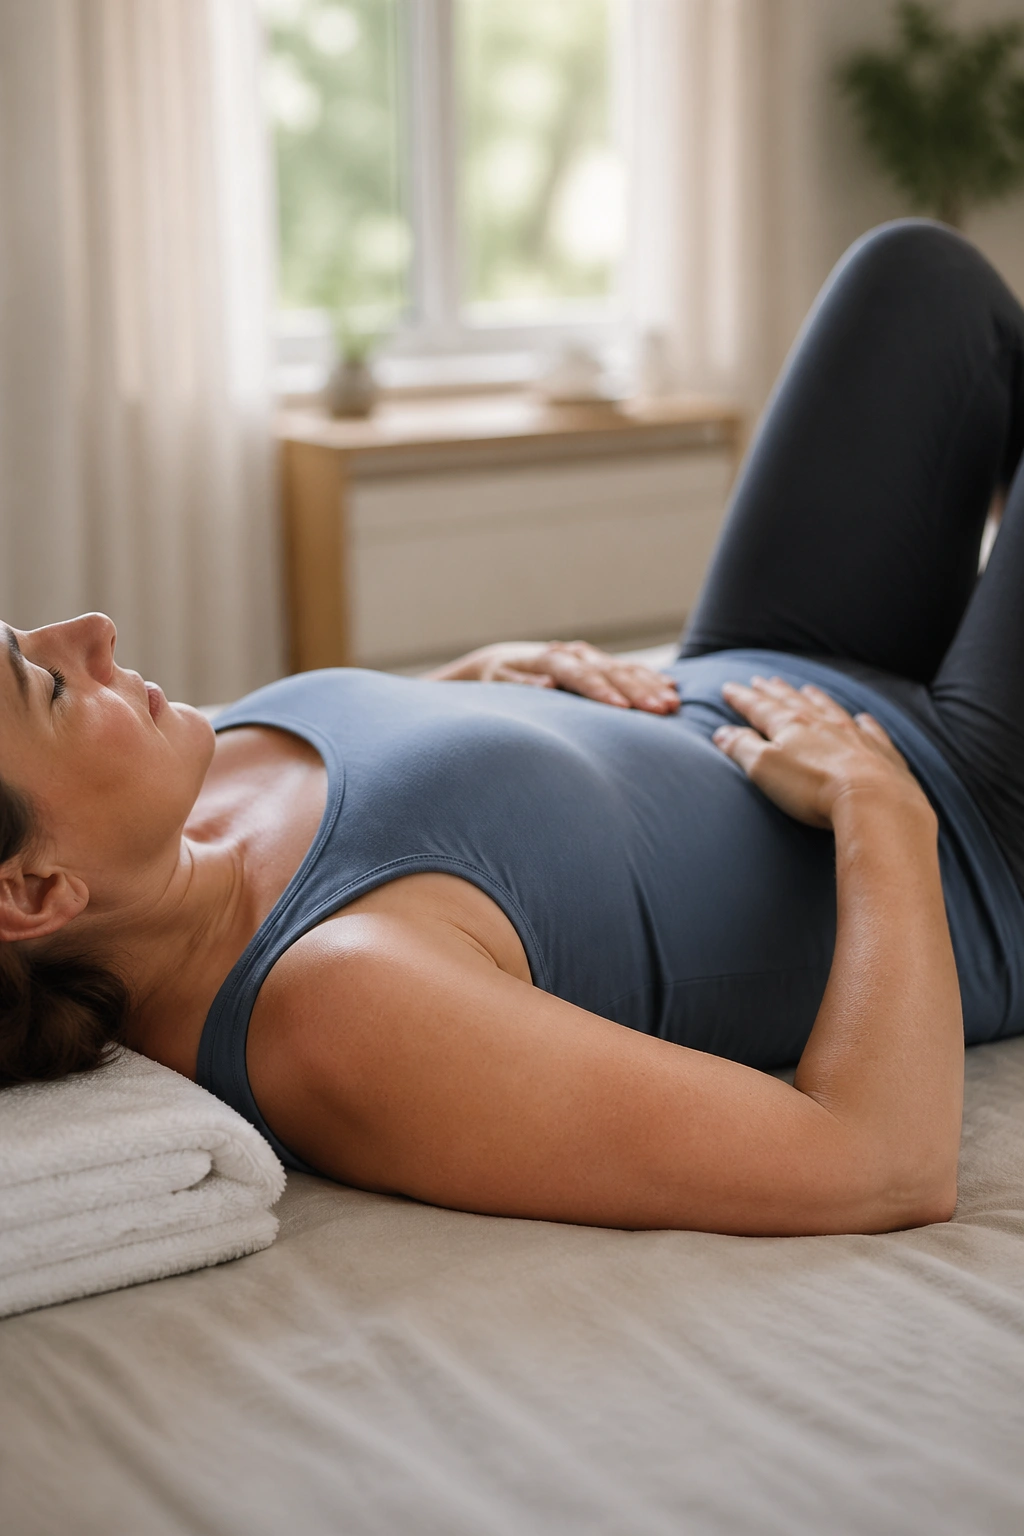
Pelvic floor work is not endless squeezing. That myth has wasted more postpartum energy than I can stand.
A pelvic floor that never relaxes can be as troublesome as one that feels weak. Birth, scar tissue, guarding, stress, and poor breathing mechanics can leave these muscles tight, slow, and uncoordinated. So the first goal is timing, not brute force.
Lie on your back or sit tall on a folded towel. Inhale and let the pelvic floor soften. On the exhale, gently lift and close around the vaginal and anal openings—as if you are stopping gas and zipping upward one floor, not ten. Then let it go fully on the next inhale. The release matters as much as the lift.
Aim for 5 slow reps, rest for 30 seconds, then do 1 or 2 more sets. If your butt cheeks clench, your inner thighs grip, or your breath turns choppy, scale it down. A small clean contraction beats a huge fake one.
3. Heel Slides With a Deep-Core Exhale
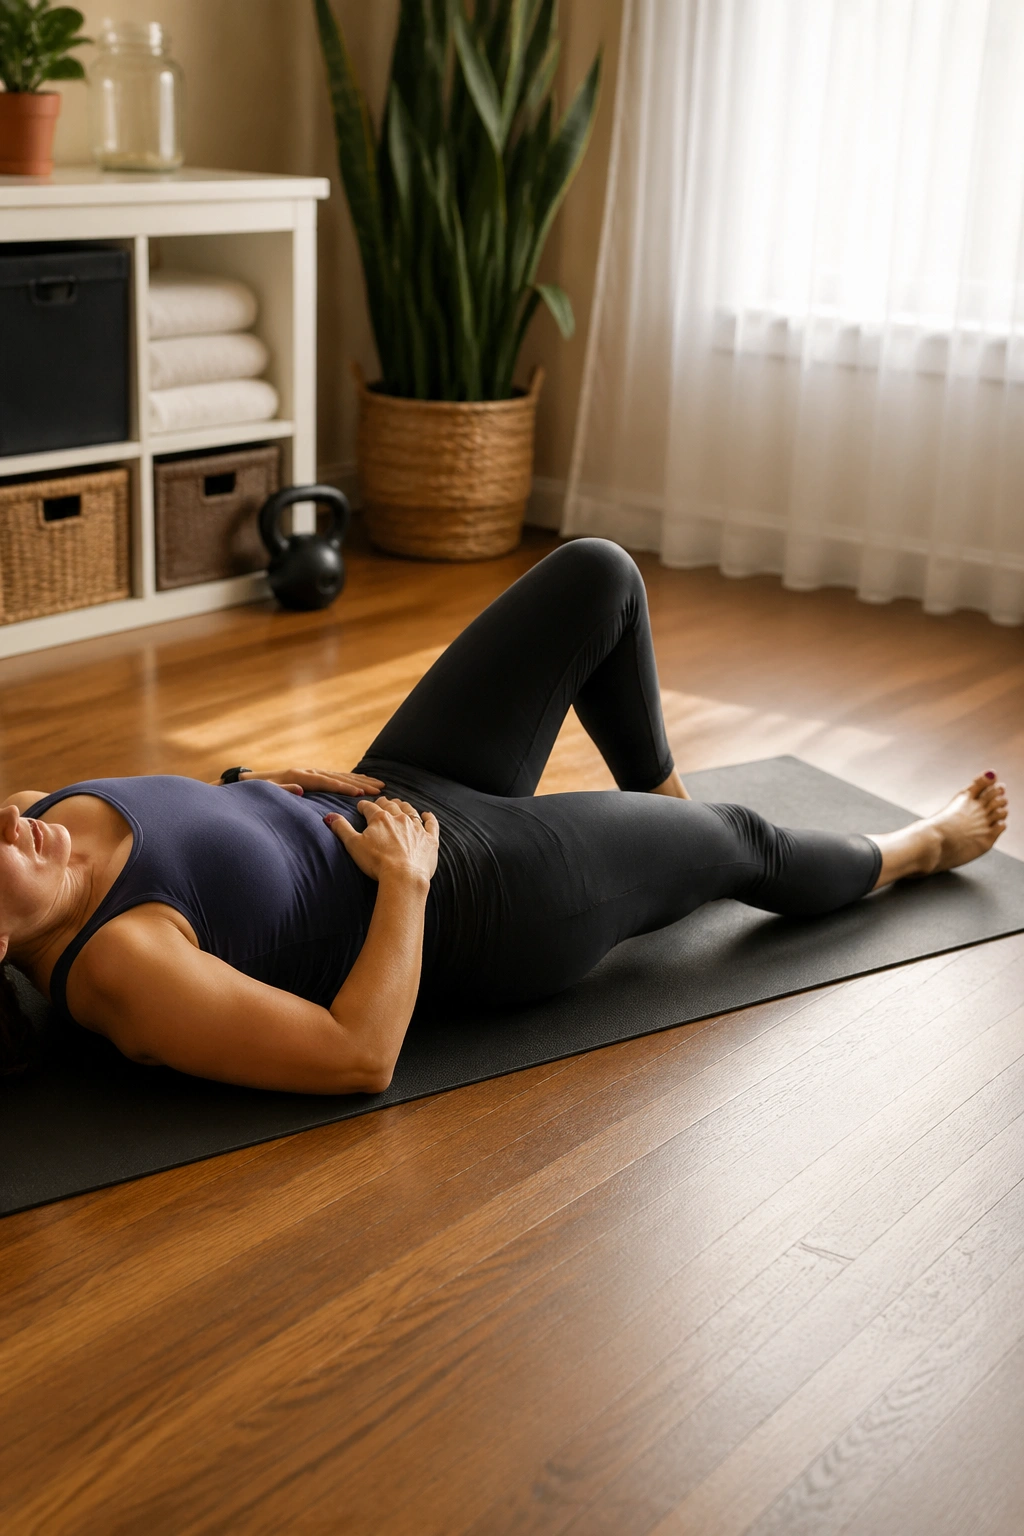
Why does a heel slide feel so sneaky? Because it asks your trunk to stay organized while one leg moves away from center, and that is exactly where early postpartum wobble tends to show up.
This move targets the deep abdominal wall without the pressure spike that crunches and full planks can create too early. For women dealing with diastasis recti, it is often one of the first useful tests of control—if done with a patient exhale and a small range.
Set up on your back with knees bent. Find a soft rib position, not a hard flattening of the spine. On the exhale, lightly brace the lower belly and slide one heel forward until the leg is almost straight, then inhale as you bring it back.
How to do it without cheating
Move slowly enough that you can watch for two things: coning along the midline and a pelvis that tips side to side. If either shows up, shorten the slide. Halfway is fine. Two inches is fine. That still counts.
Start with 6 to 8 reps per side for 2 sets. If your neck tightens or your back arches, pause and reset your breath before the next rep.
4. Bent-Knee Marches on the Floor
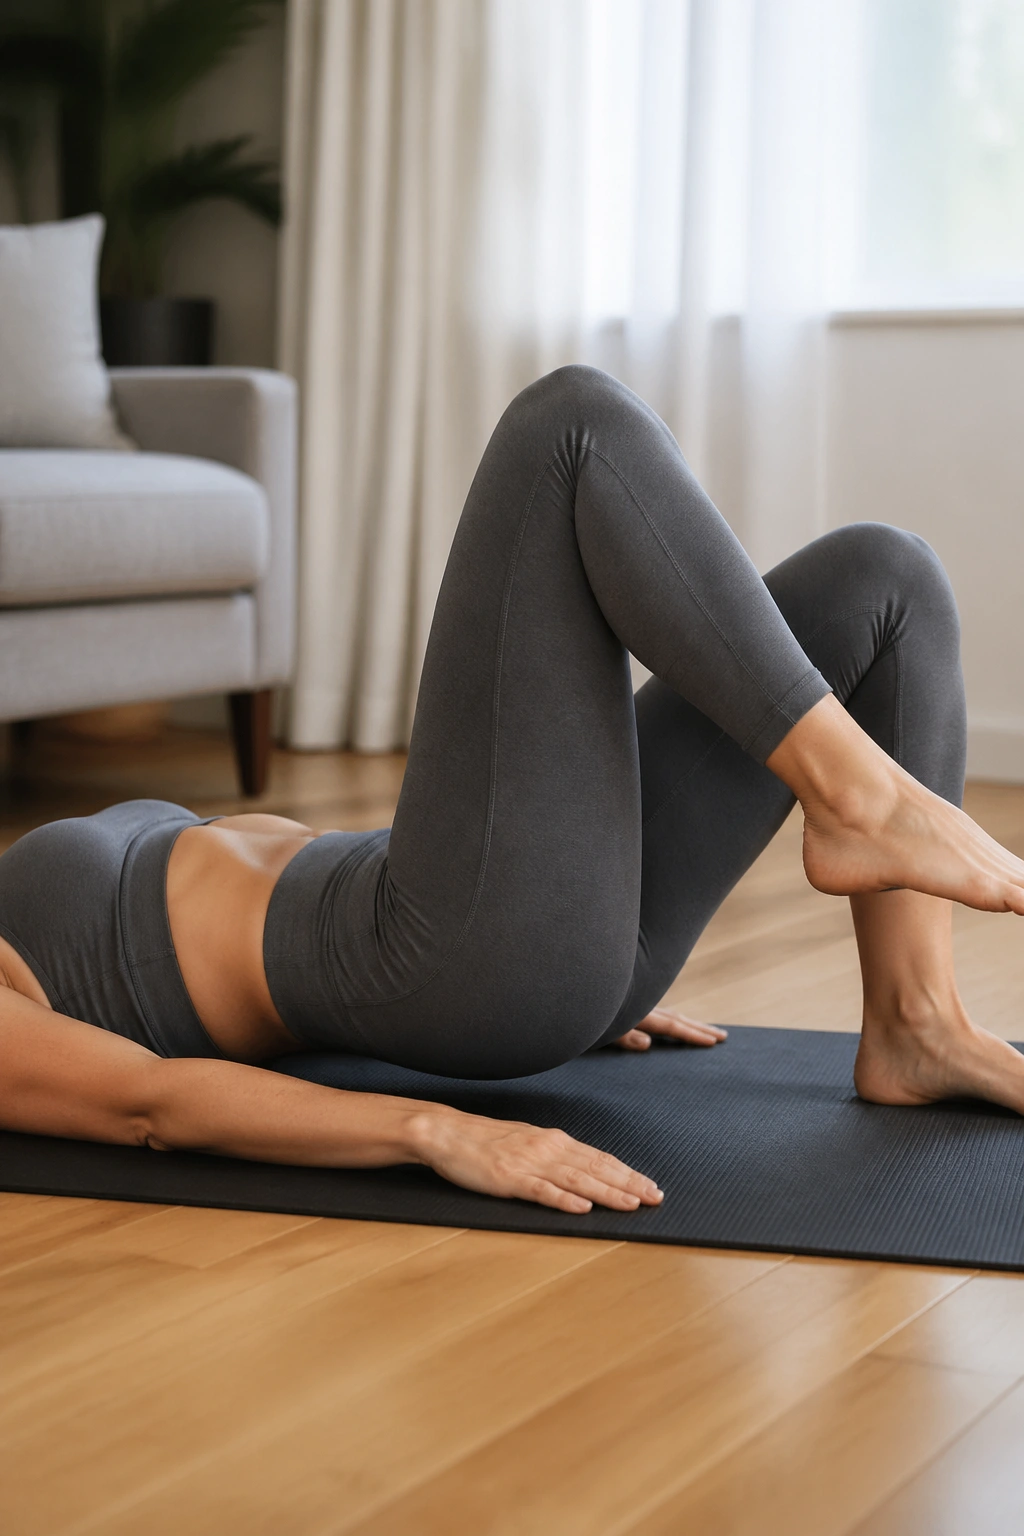
Picture the everyday motion of lifting one foot to put on pants, step over a toy, or climb into bed without waking the baby. That single-leg load transfer is where many postpartum bodies feel shaky at first. Bent-knee marches help rebuild it.
Done well, they teach your core and pelvis to handle one leg moving while the rest of you stays steady. Done badly, they turn into rib flare, breath holding, and that familiar “my abs vanished” sensation.
Here is the version I like first:
- Lie on your back with both feet down and knees bent.
- Exhale, brace gently, and lift one foot 1 to 2 inches off the floor.
- Lower with control, then switch sides.
- Keep the pelvis level; do not rock toward the moving leg.
- Start with 8 marches per side.
If that feels easy and symptom-free, you can lift a bit higher later. Early on, lower is better. Quiet movement is the goal. Your hips should not feel like they are doing all the work.
5. Glute Bridges With a Two-Second Pause
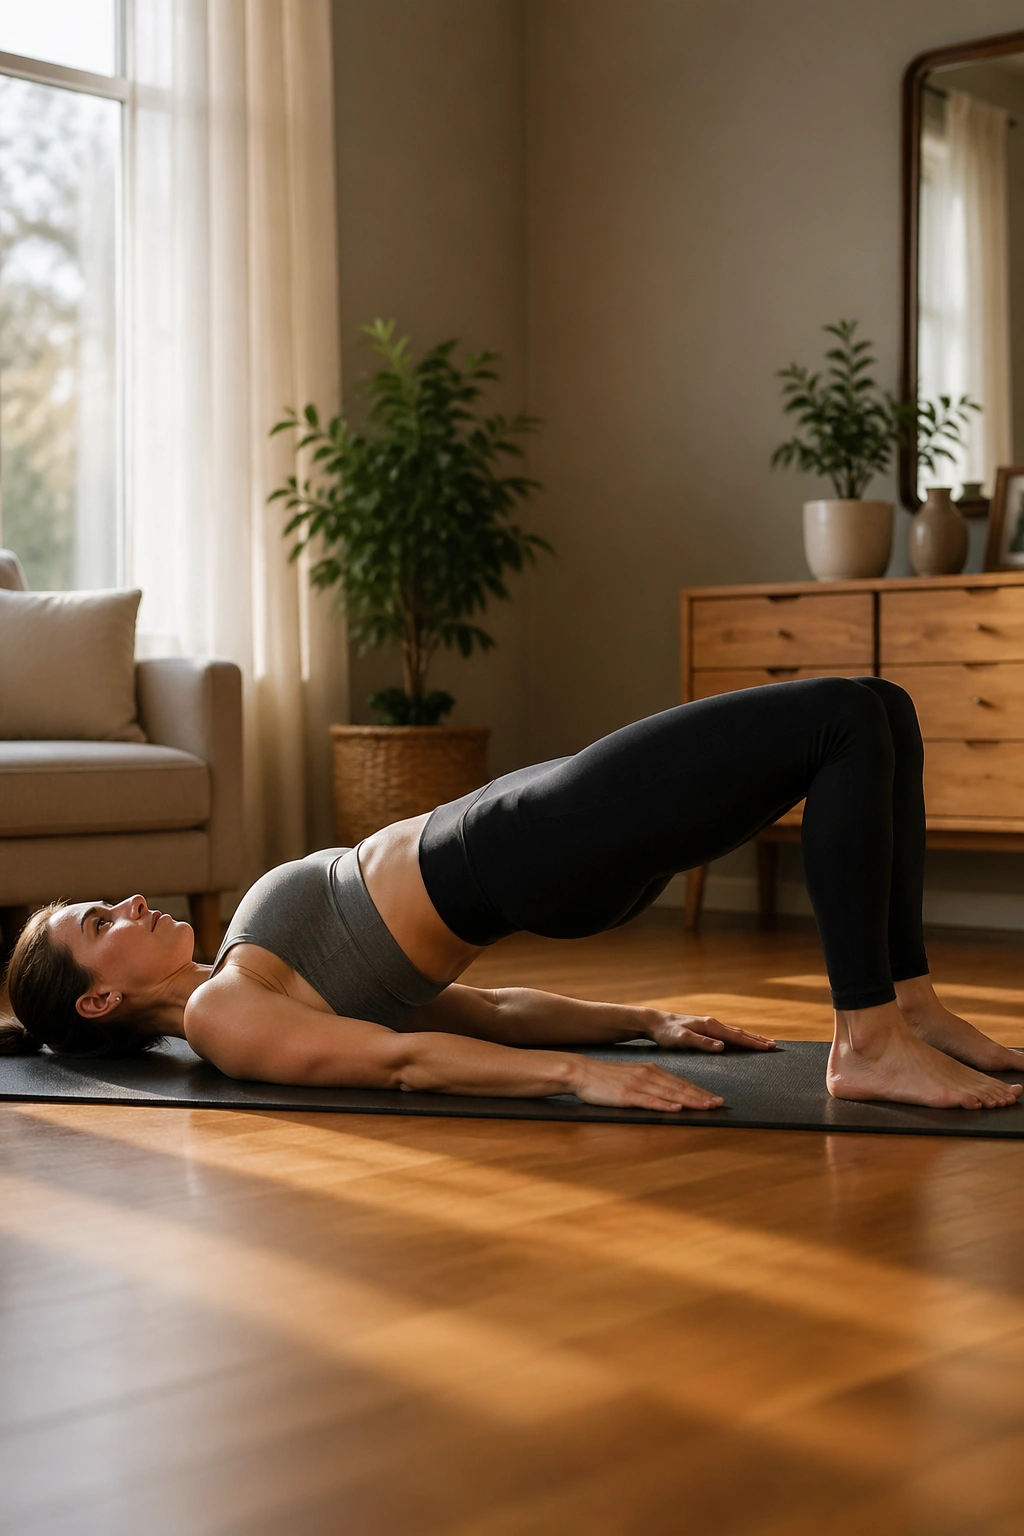
Few exercises give you more return for less fuss in early postpartum training than the humble bridge. It strengthens the glutes, teaches you to extend the hips without jamming the low back, and often helps counter all the sitting, feeding, and baby-holding that rounds the body forward.
Set your feet about hip-width apart, heels close enough that your fingertips can brush them. Inhale at the bottom. Exhale and press through your heels to lift your hips until your body forms a line from shoulders to knees. Hold for 2 seconds, lower slowly, and reset.
If your hamstrings cramp, scoot your heels a little closer and think about driving the knees away from you. If your ribs pop up, lower your hips a touch and make the bridge smaller. Bigger is not better here. A low, clean bridge beats a high, sloppy one.
Start with 8 to 12 reps for 2 sets. Once that feels solid, add a 3-second lowering phase. That eccentric control carries over to stairs, standing, and lifting the baby from a bassinet without your back complaining.
6. Side-Lying Clamshells for Hip Stability
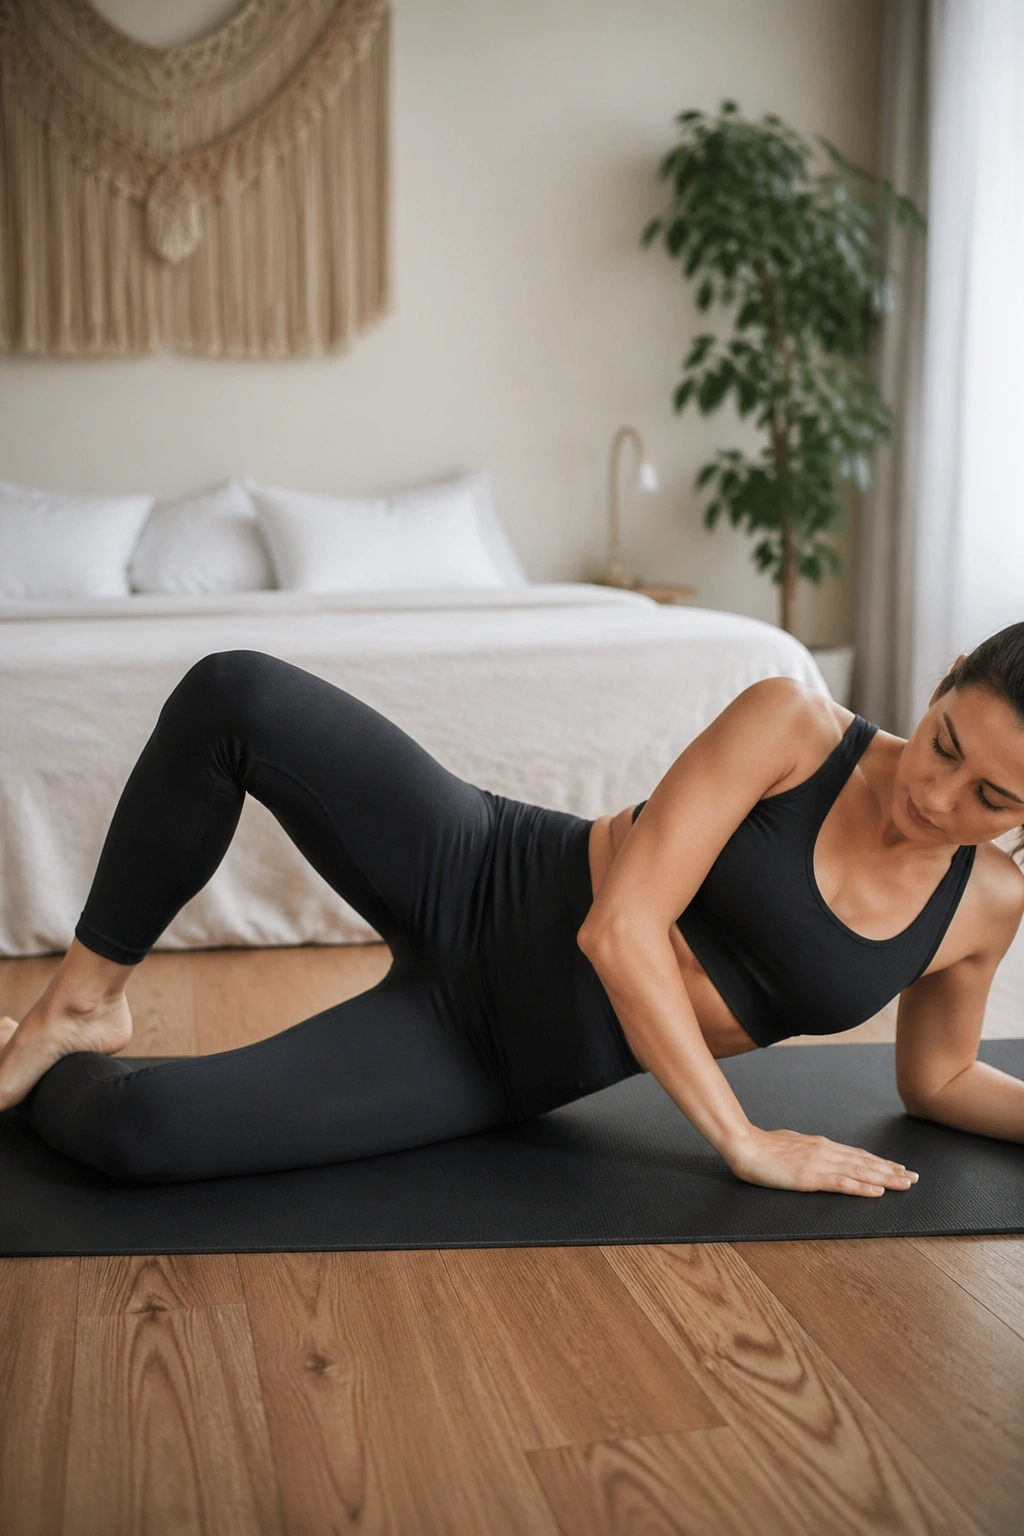
Unlike bridges, which train both hips together, clamshells ask each side to do its own job. That matters because postpartum instability often shows up one side at a time—during walking, carrying the car seat, or standing on one leg while you yank leggings on with a free hand.
Lie on your side with knees bent about 90 degrees, heels lined up with your hips. Keep your pelvis stacked. Then lift the top knee without rolling the whole body backward. The motion is small. That is not a flaw. The burn should land high in the side of the butt, not in the low back.
This one is especially useful if your knees collapse inward during squats or if your hips feel loose and wobbly when you walk fast. It can also help after pelvic girdle pain, though the range may need to stay tiny at first.
Do 10 to 15 reps per side for 2 sets. If the top hip hikes toward the ribs or the waist starts crunching, you have gone far enough. Smaller reps often hit harder.
7. Sit-to-Stand Squats From a Chair
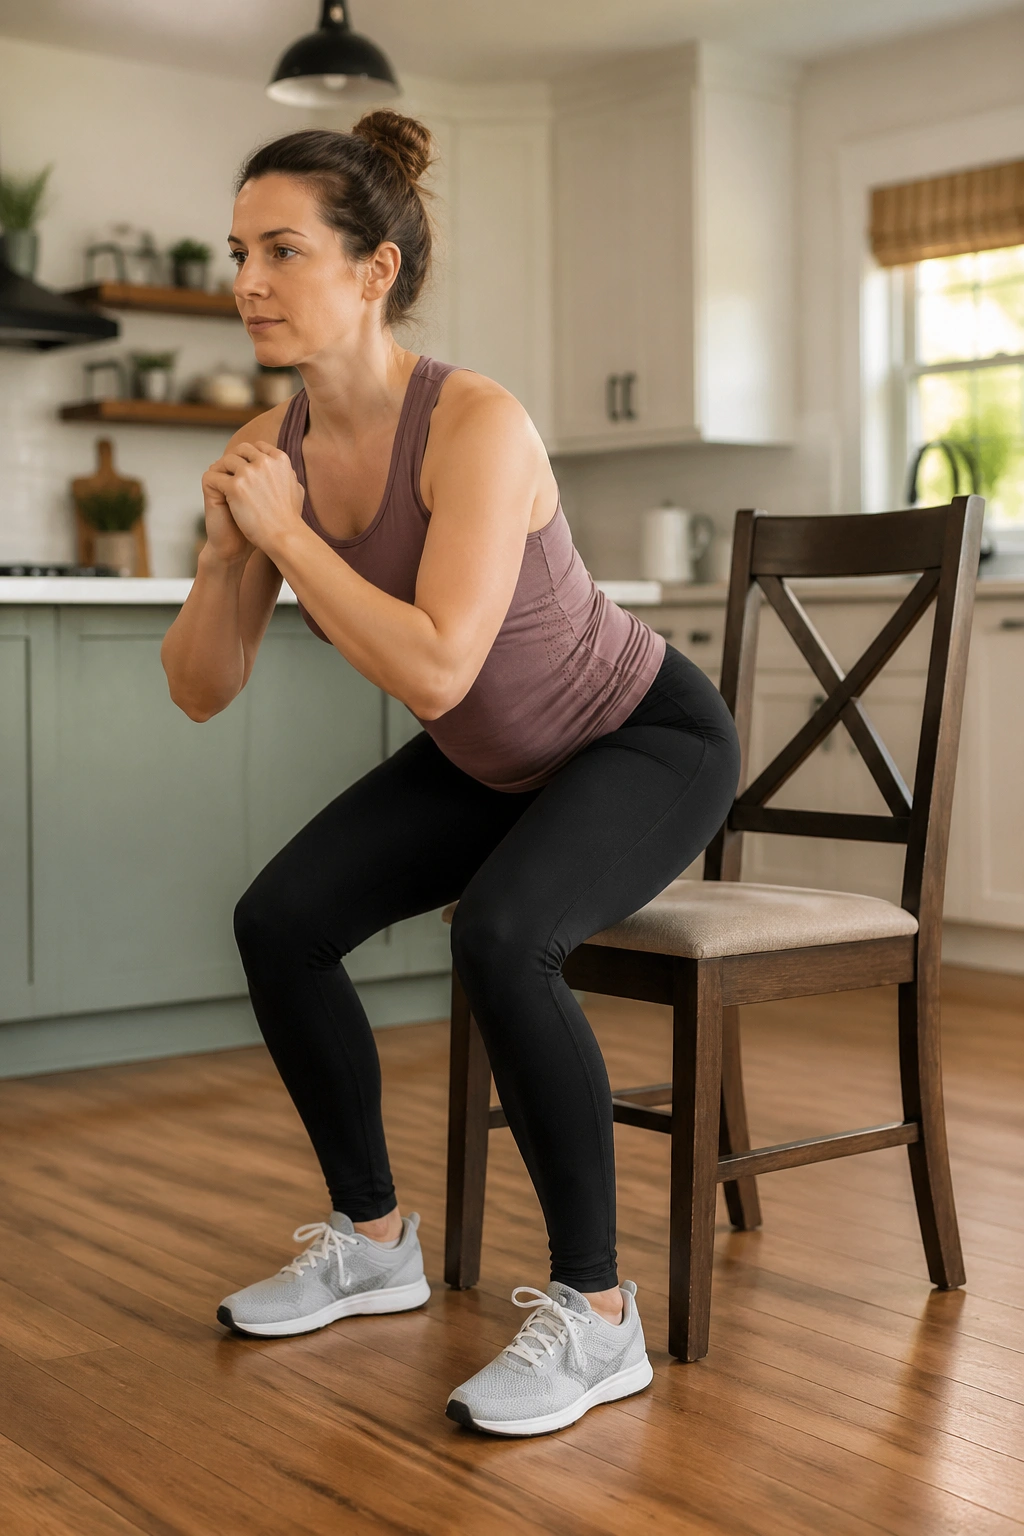
A squat is one of the clearest tests of postpartum readiness because it shows you how breath, core control, hips, and pelvic floor work together. But I do not love free-standing air squats right out of the gate. A chair gives you a depth marker, a little confidence, and a built-in brake.
Why the chair version works so well
The move looks ordinary because it is. You stand up from a chair all day. Training the pattern on purpose helps you use the glutes instead of dropping into your knees or bearing down through your pelvis.
Try this setup
- Sit near the front edge of a chair or bench.
- Plant your feet about hip-width apart.
- Lean your torso slightly forward.
- Exhale as you stand; inhale as you lower back down with control.
- Tap the chair lightly rather than collapsing onto it.
Start with 6 to 10 reps for 2 or 3 sets. Hold the baby? No. Use a stable bodyweight version first. Once that feels easy, add a light dumbbell at your chest or slow the lowering to 3 seconds.
The test: you should stand without pushing from your knees or feeling pressure downward.
8. Wall Push-Ups for Upper-Body Strength
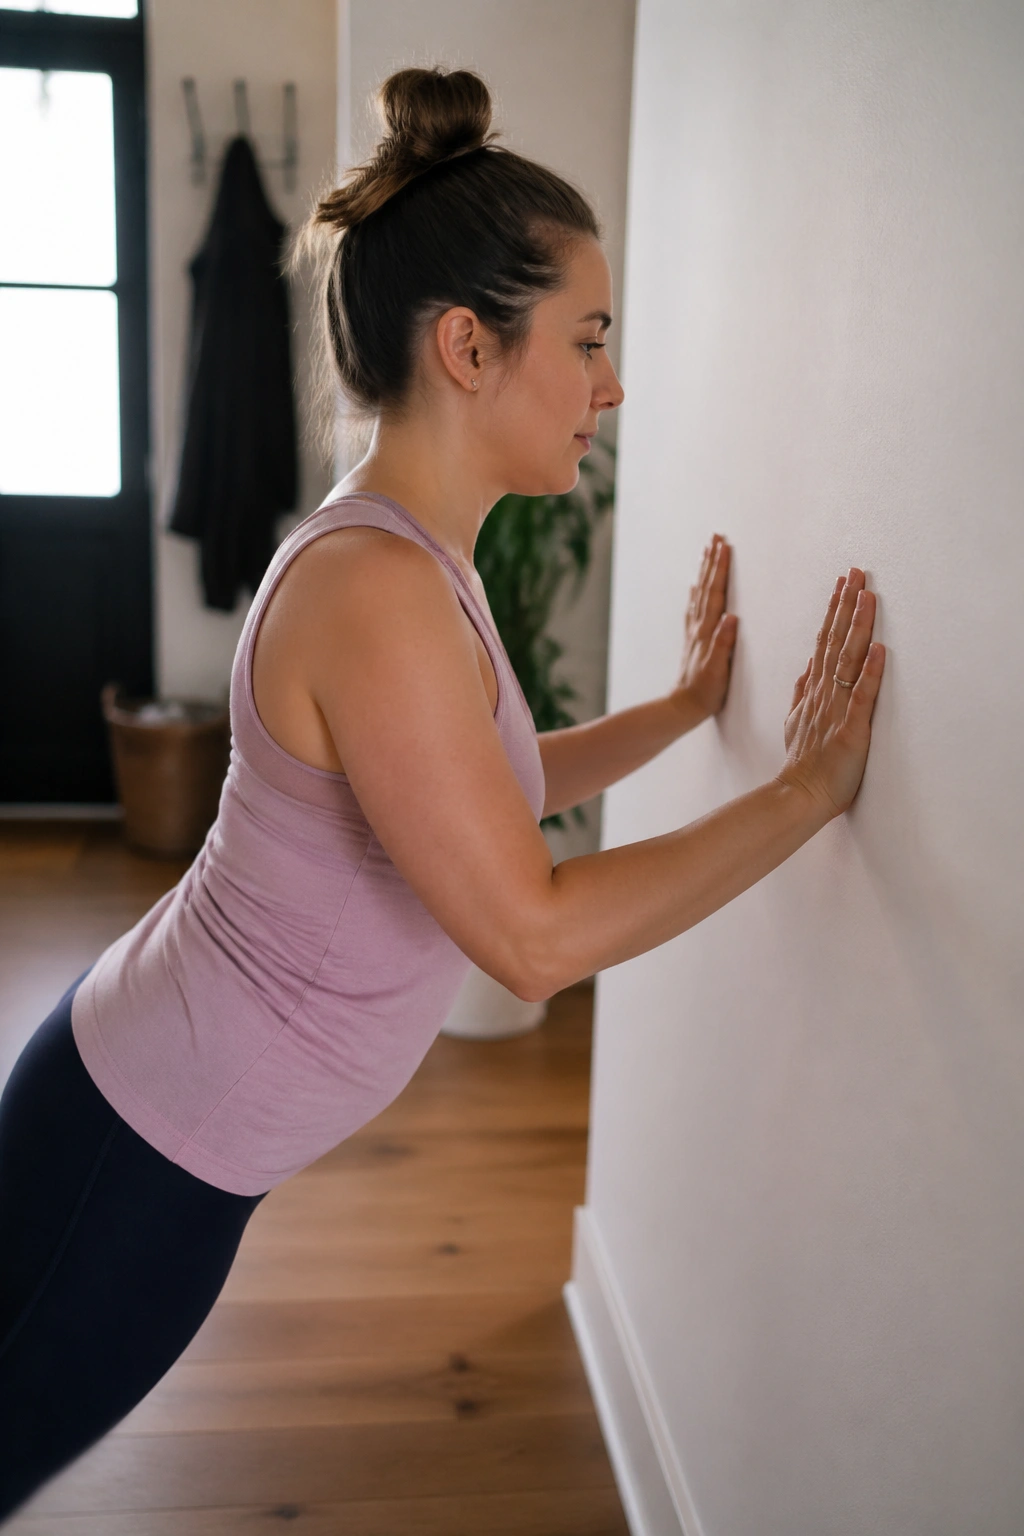
You do not need floor push-ups at six weeks to get stronger. Wall push-ups count, and they count a lot.
Postpartum upper-body training matters for plain practical reasons: feeding posture tightens the chest, carrying the baby and diaper bag cooks the shoulders, and many women lose comfortable pushing strength after late pregnancy. Wall push-ups train the chest, triceps, serratus, and trunk without dumping a huge load onto the abdominal wall.
Stand facing a wall with hands a bit wider than shoulder width, placed at chest height. Walk your feet back until your body forms a straight line. Lower your chest toward the wall on an inhale, elbows angled about 30 to 45 degrees from the body, then exhale and push away.
Watch the rib cage. If it flares forward or the low back sags, move your feet closer to the wall and shorten the range. The distance from the wall controls difficulty. Farther away is harder. Closer is easier.
Start with 8 to 12 reps for 2 sets. When that feels smooth, move to a kitchen counter or sturdy table for a steeper incline.
9. Bird Dogs With a Short Reach
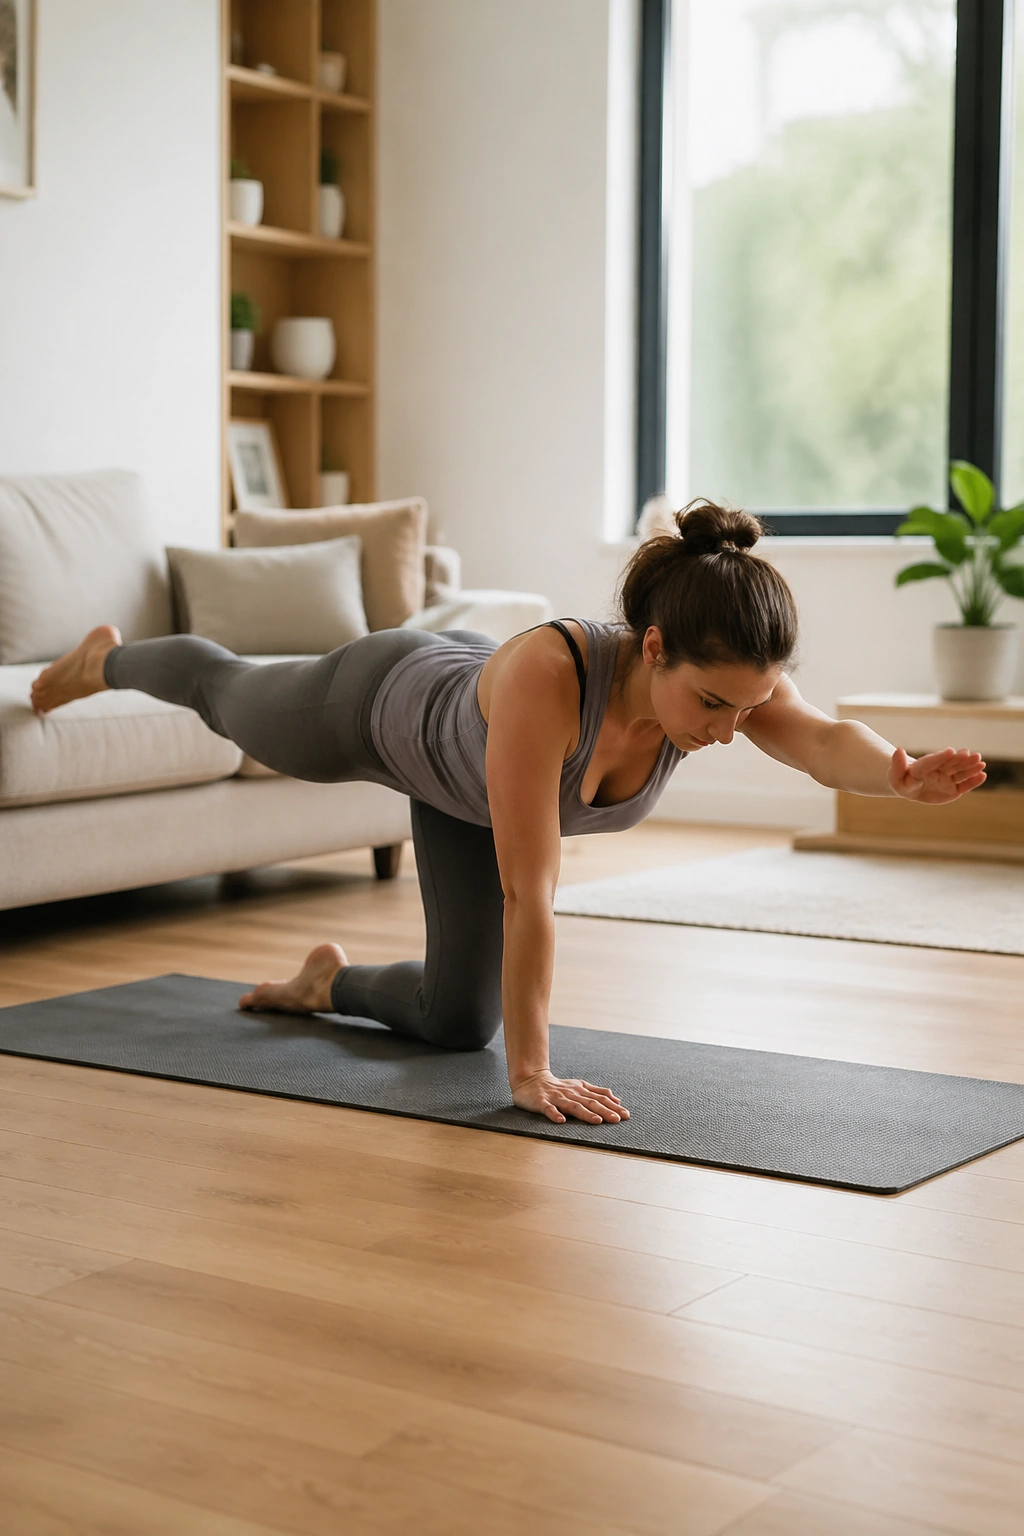
Why does bird dog belong in postpartum training? Because crawling position gives you feedback from the floor, and the contralateral pattern—opposite arm and leg working together—teaches the trunk to resist twist. That is useful every time you carry the baby on one hip and reach for something with the free hand.
Still, the classic gym version is often too big too soon. Huge arm swings and high leg lifts turn it into a back-bending contest. Skip that.
Start on hands and knees with wrists under shoulders and knees under hips. Exhale and slide one leg straight back with toes on the floor. Hold for 2 to 3 seconds. Bring it in. Once that feels clean, add the opposite arm reaching forward. The back should stay broad and calm.
A better postpartum bird dog
Think long, not high. Reach the heel away. Reach the fingers forward. If your belly domes, your pelvis twists, or your neck cranes up, shorten the reach. A folded towel under the knees helps. If wrists are cranky, make fists or elevate your hands on yoga blocks.
Do 5 to 8 reps per side. Slow reps win.
10. Step-Ups on a Low Stair
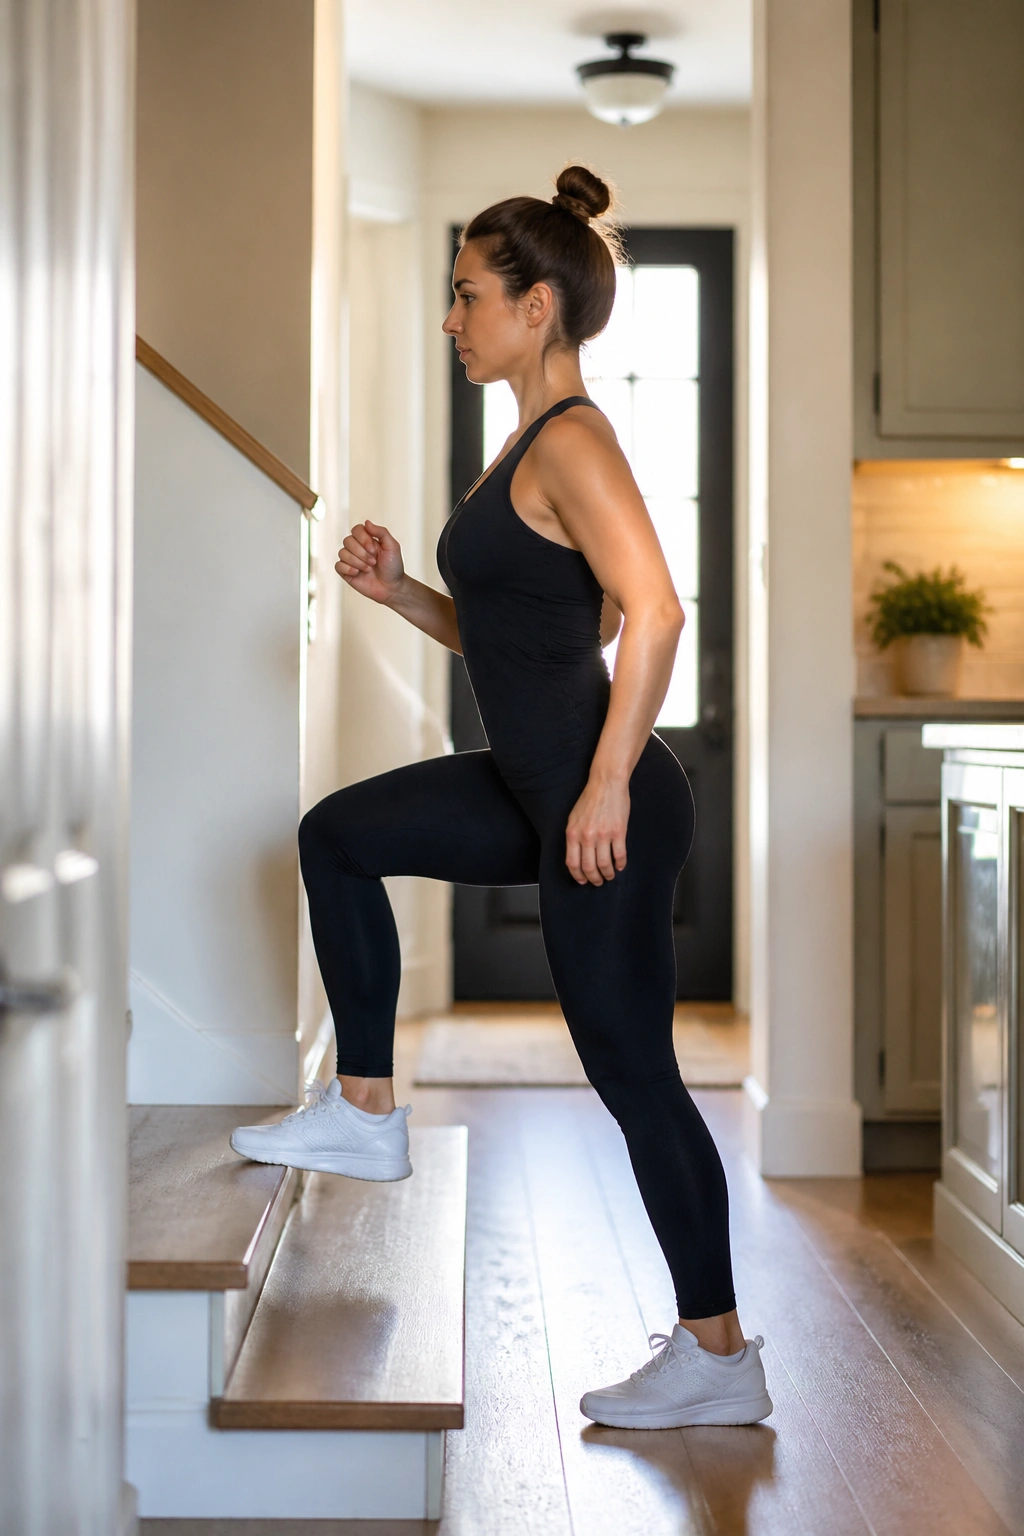
Take a common scene: you are carrying laundry, or a baby, or both, and walking up stairs more times than you can count. That is strength training whether you label it that way or not. Purposeful step-ups make that daily load safer and more controlled.
Use a low step—4 to 8 inches is enough. Put one whole foot on the step, lean slightly forward, and press through that front foot until you stand tall. Step down slowly. Alternate reps or finish one side at a time.
A few details matter here:
- Drive through the mid-foot and heel of the working leg.
- Avoid pushing hard off the back foot.
- Keep the knee tracking over the second or third toe.
- Exhale during the stand-up phase.
- Start with 6 to 10 reps per leg.
If you feel pelvic pressure on the way up, lower the step height and cut the reps. If your knee caves in, hold a railing lightly and slow the tempo. Control beats height every time.
11. Farmer Carries With a Light Dumbbell
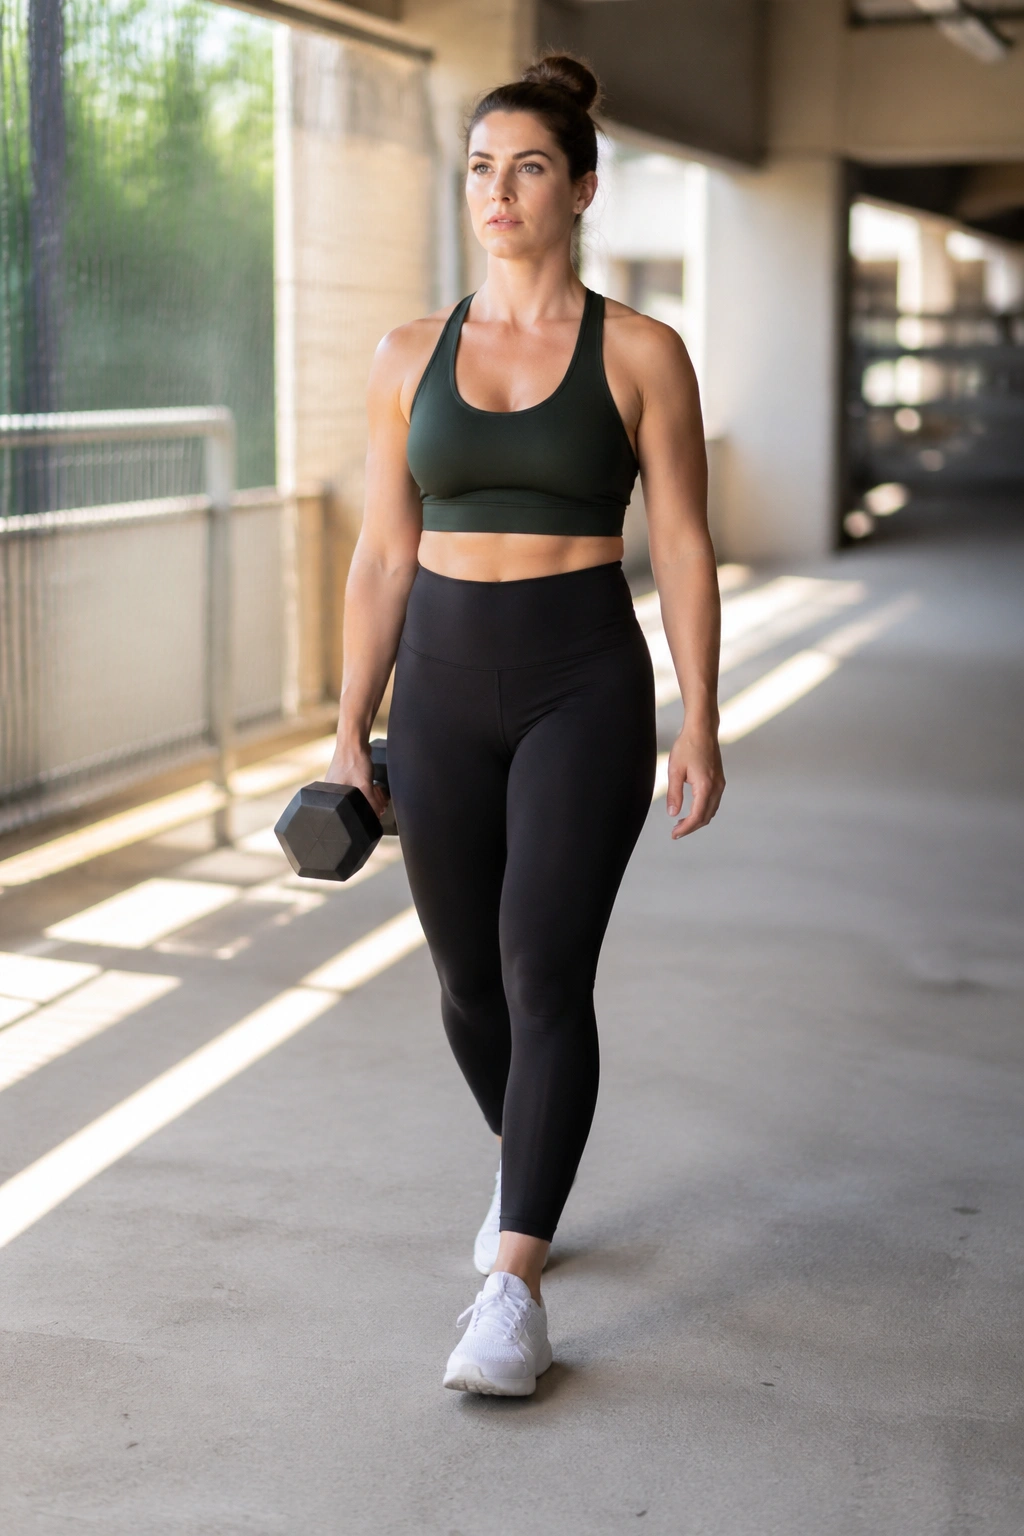
One underrated truth about postpartum fitness: carrying is the sport. You carry the baby, the car seat, the stroller folded awkwardly in a parking lot, groceries, bottles, blankets, your own tired body through the day. Farmer carries train that demand in a neat, scalable way.
Pick up one or two dumbbells or kettlebells—5 to 15 pounds each is plenty to start—and walk with tall posture for 20 to 40 seconds. If you use one weight, hold it suitcase-style at your side and resist leaning toward or away from it. That anti-tilt challenge lights up the side wall of the trunk in a way crunches never quite manage.
Do not use the baby as the load. A dumbbell does not wiggle, spit up, or throw your rib position sideways when it spots a ceiling fan.
Two or three rounds is enough at first. Walk slowly. Let your arms hang. Keep the jaw loose. If you cannot breathe quietly while carrying, the weight is too heavy.
12. Mini-Band Lateral Walks
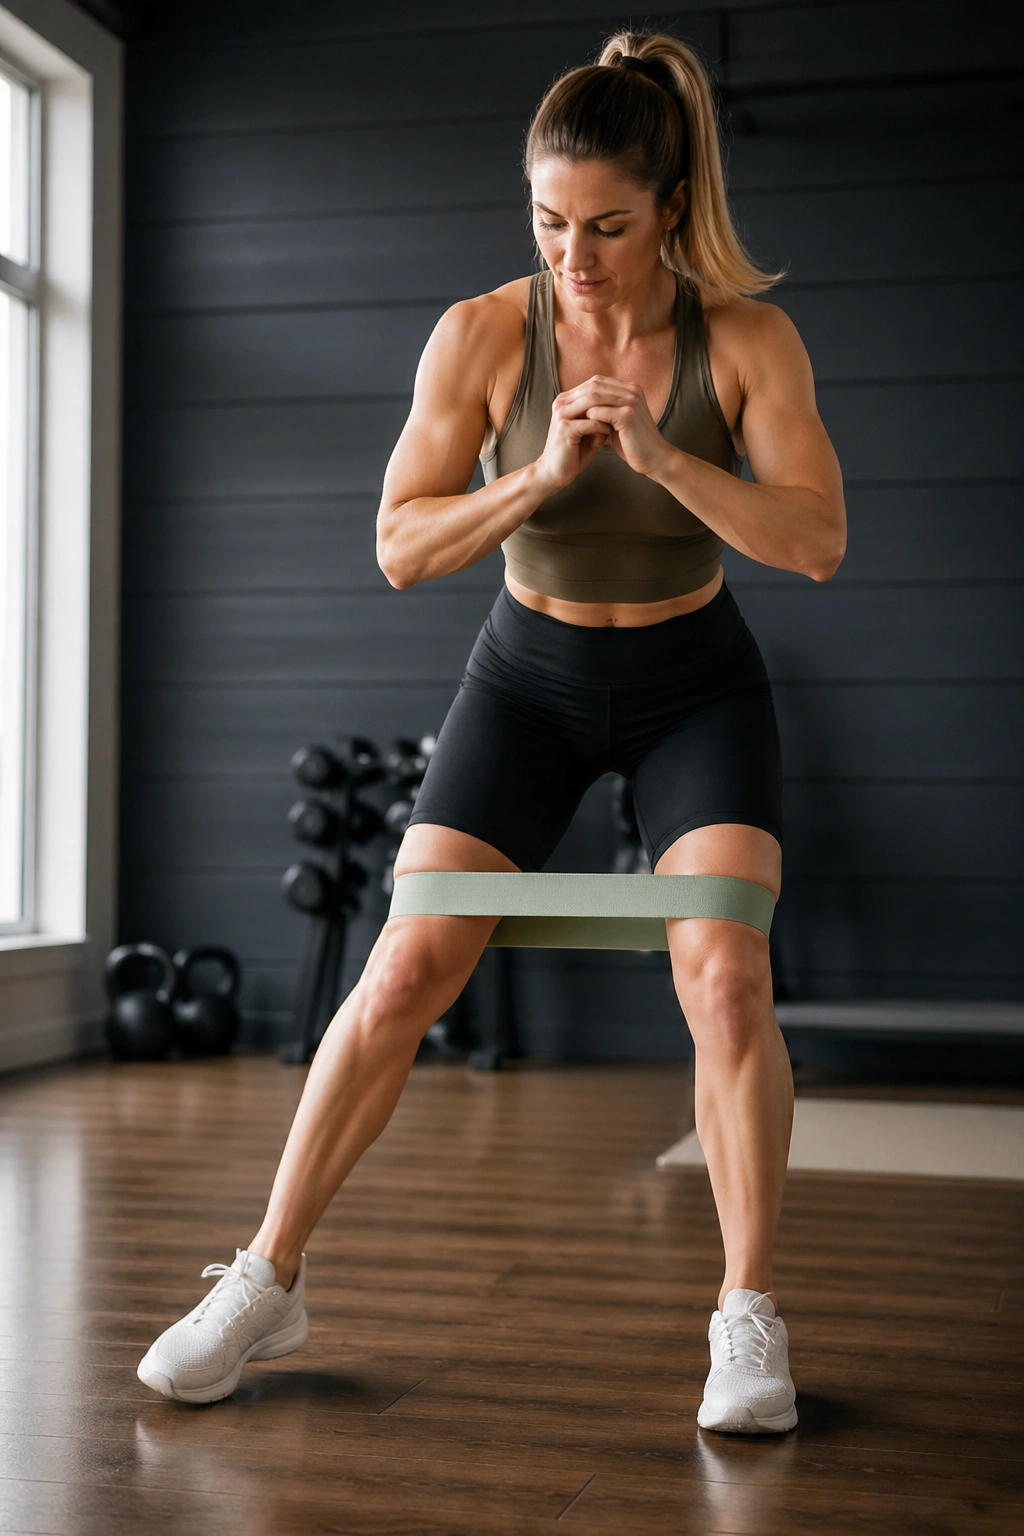
Compared with clamshells, lateral band walks bring the hip stabilizers into standing, which is where you need them for walking, squatting, and chasing a rolling pacifier across the floor before the dog gets there.
Place a light mini band above the knees to start. Around the ankles is harder; save that for later. Sit back into a small athletic stance, ribs stacked over hips, and step sideways for 8 to 10 slow steps in one direction, then back. The band should stay taut the whole time.
This one gets spicy fast. Good. You want the outer glutes to feel warm and loaded. You do not want the hip flexors gripping or the low back taking over. Short steps fix that more often than wider ones.
If you had pubic symphysis pain during pregnancy, take a tiny range and see how your pelvis feels later in the day. Some women handle this well right away. Others need clamshells and bridges first. The body tells you which camp you are in.
13. Dead Bugs With Heel Taps
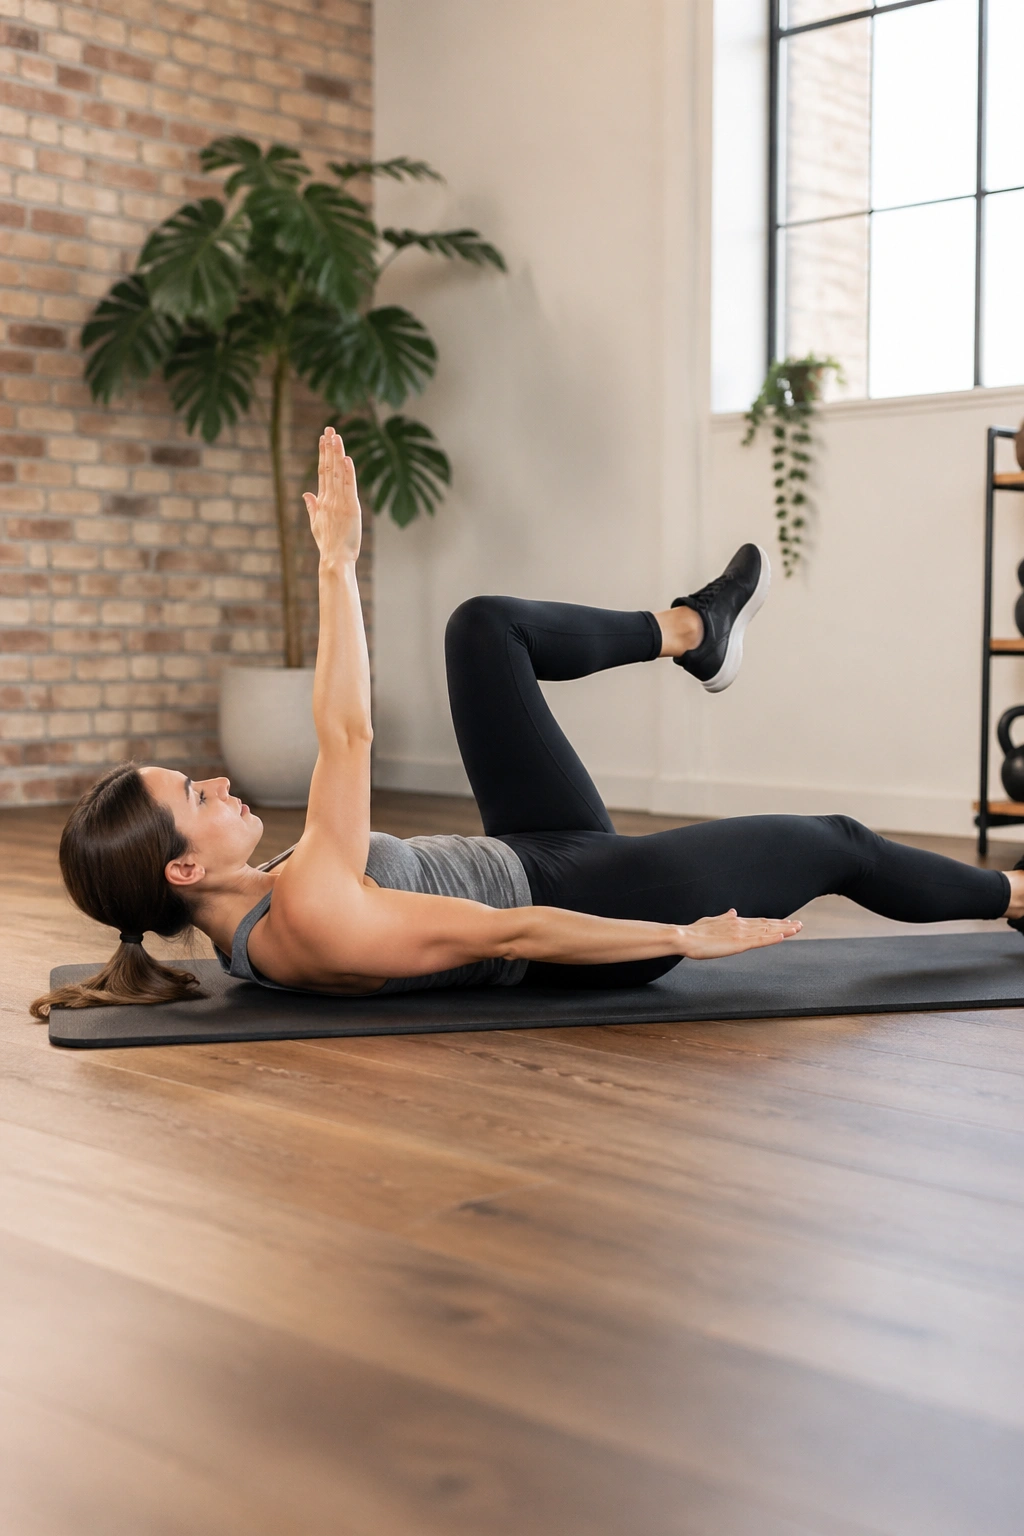
Dead bugs have a bad habit of being rushed. Then the ribs pop, the belly pushes up, and the exercise turns into a costume version of core work. Done cleanly, though, they are one of the best bridges between rehab-style movements and stronger abdominal training.
What makes them worth doing
You are training the trunk to stay steady while the limbs move, which is a huge part of postpartum recovery. The heel-tap version keeps the lever short enough that pressure stays manageable.
Set up on your back with hips and knees bent to 90 degrees, shins parallel to the floor. Reach both arms toward the ceiling. Exhale, brace lightly, and lower one heel to tap the floor. Bring it back up on the inhale, then switch sides.
Small range, clean breath
If both legs in tabletop feels like too much, start with one foot on the floor and only move the other. If your back arches or the center of the abdomen domes, reduce the range or go back to heel slides for another week or two.
- Start with 5 to 8 heel taps per side
- Rest 30 to 45 seconds
- Repeat for 2 sets
- Stop before form slips
A neat set of 5 does more than a sloppy set of 15.
14. Incline Walking Intervals
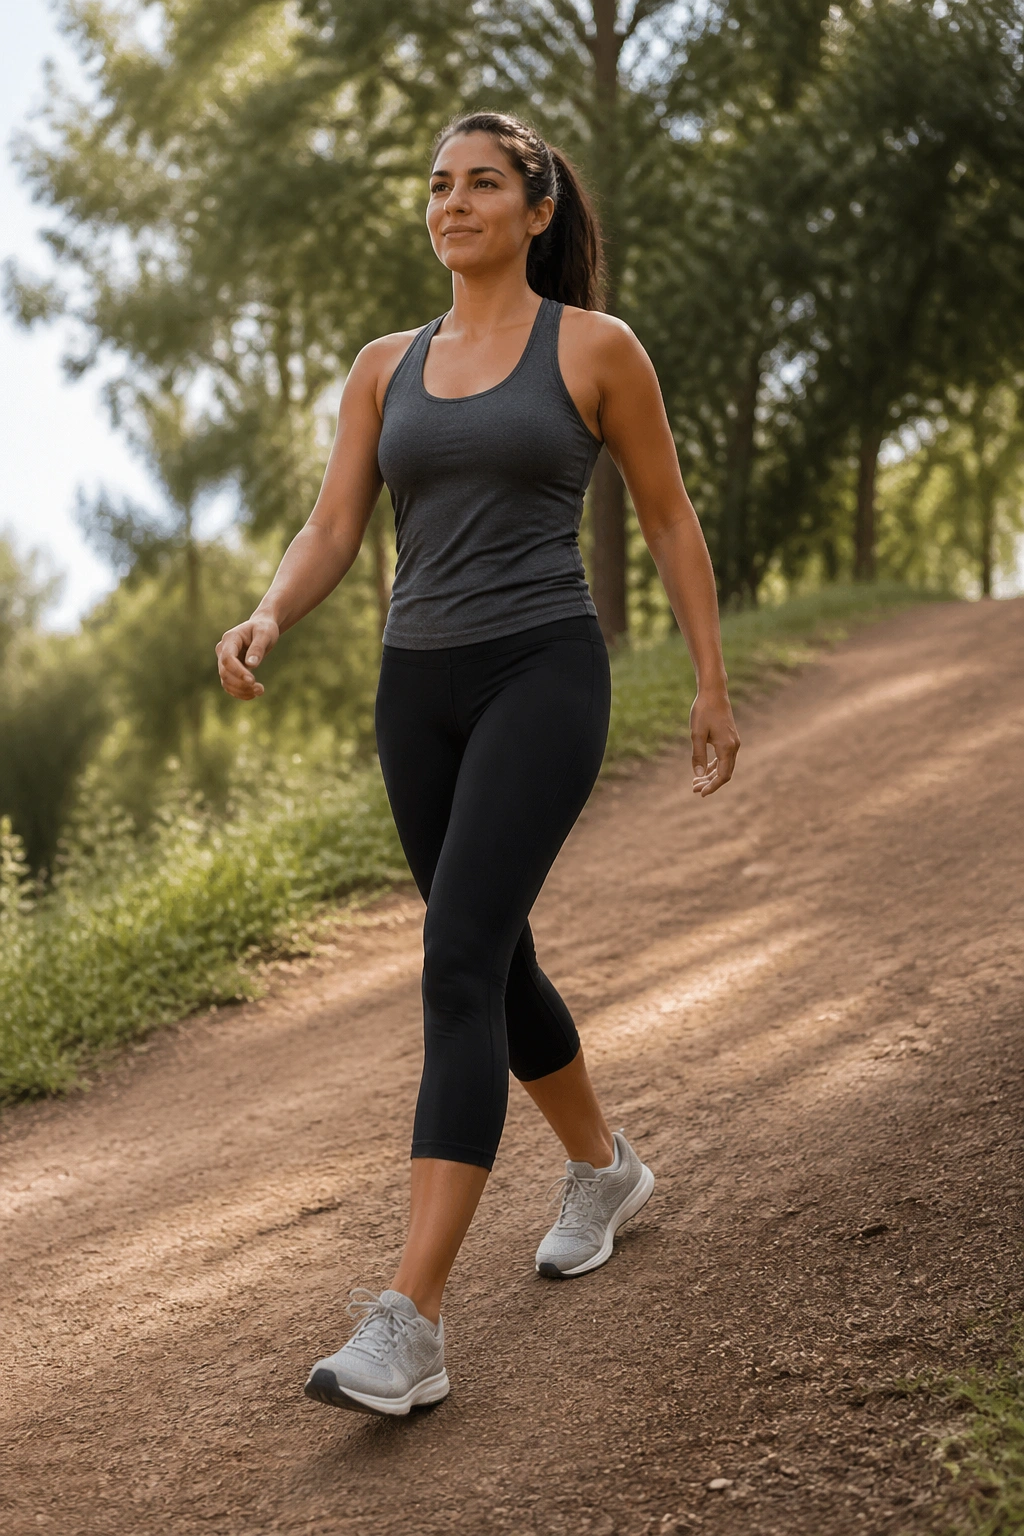
Walking is not filler. Early postpartum, it is one of the cleanest conditioning tools you have.
Flat walking may already be part of your routine. Adding a small incline or a gentle pace change gives you more work without the pounding of running. The key word is small. On a treadmill, start with 1 to 3 percent incline. Outdoors, pick a mild hill, not the steep monster at the end of the block.
Try 1 minute brisk, 2 minutes easy for 15 to 20 minutes. Brisk should still let you speak in short phrases. You should not be gasping. If your breasts feel heavy or tender, feeding or pumping beforehand often makes the walk more comfortable, and a high-support bra helps more than people admit.
Pay attention to your form. Let the arms swing. Keep the stride short enough that you are not reaching out with the front foot. If walking faster makes you leak or feel pressure, back down to flat steady walking and revisit intervals later.
15. Low-Impact Bodyweight Circuit
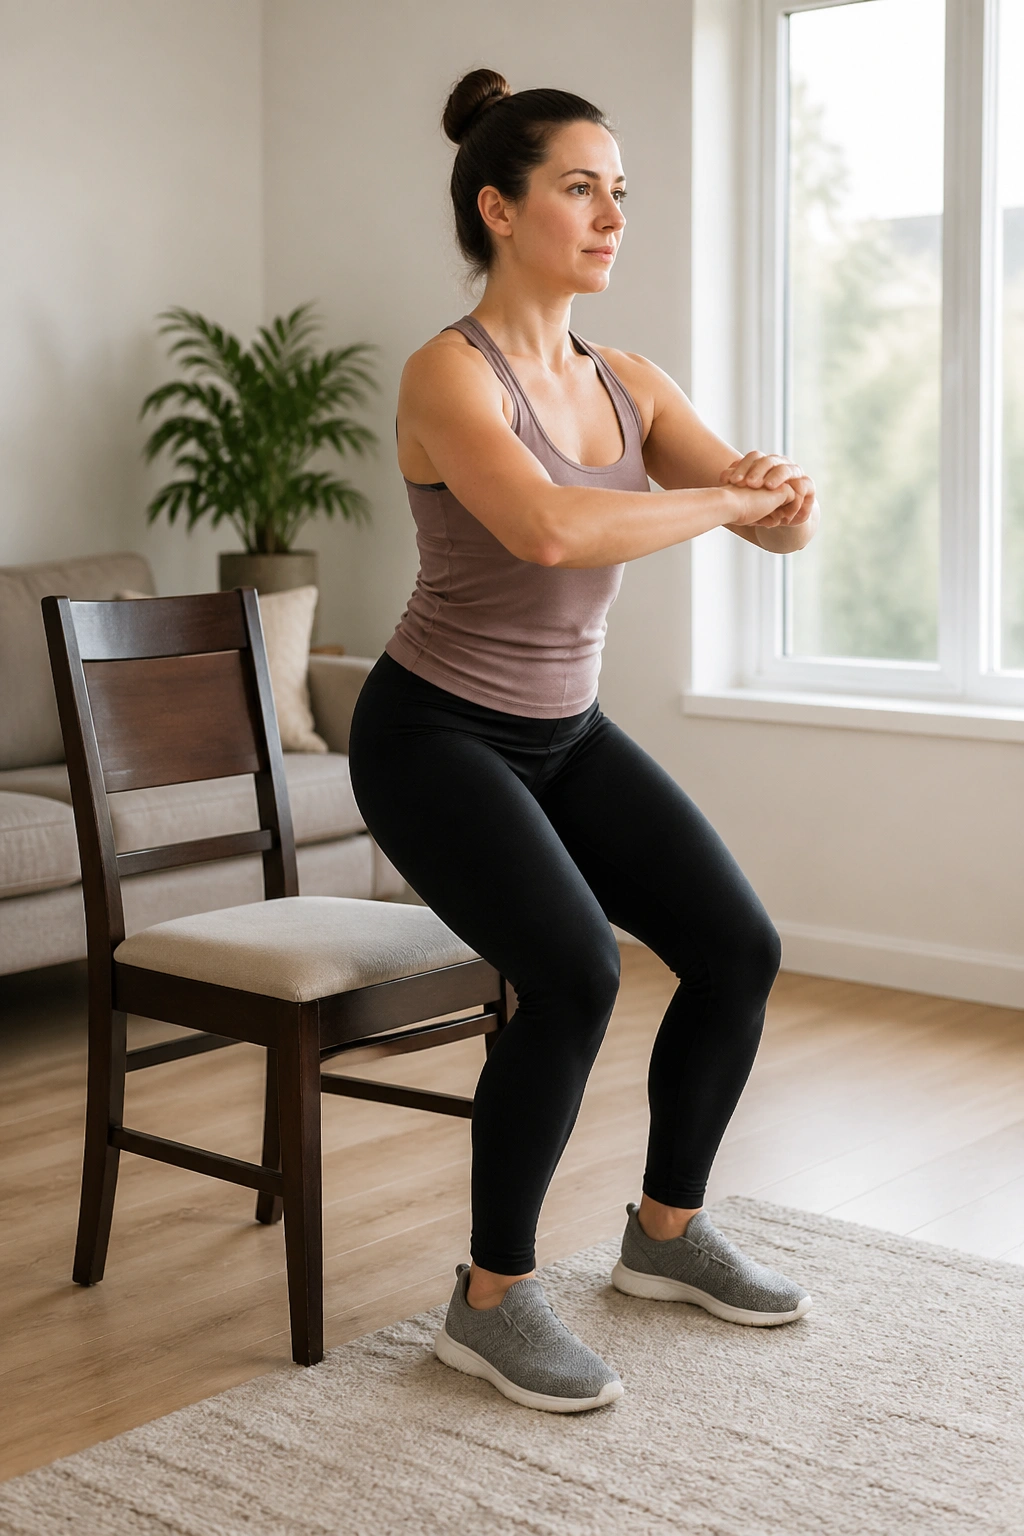
What if you want something that feels like a workout-workout? Fair question. By six weeks, many women are ready for a short circuit that blends the movements above into one session—as long as impact stays low and symptoms stay quiet.
A good postpartum circuit at this stage is not about collapsing in a heap on the mat. It is about moving from one pattern to the next while keeping the breath and pelvic floor under control. Think 10 to 20 minutes, not boot camp.
Here is a clean place to start:
A first circuit to try
- Chair sit-to-stand – 8 reps
- Wall push-up – 8 reps
- Glute bridge – 10 reps
- Bent-knee march – 8 per side
- Farmer carry – 30 seconds
- Rest for 60 to 90 seconds, then repeat for 2 or 3 rounds
Move steadily, not frantically. If form drops on round two, stop at two rounds. You do not need jumping jacks, mountain climbers, burpees, or full planks to earn the session. Those can come later—if your body likes them later.
A One-Week Post Baby Workout Plan You Can Repeat
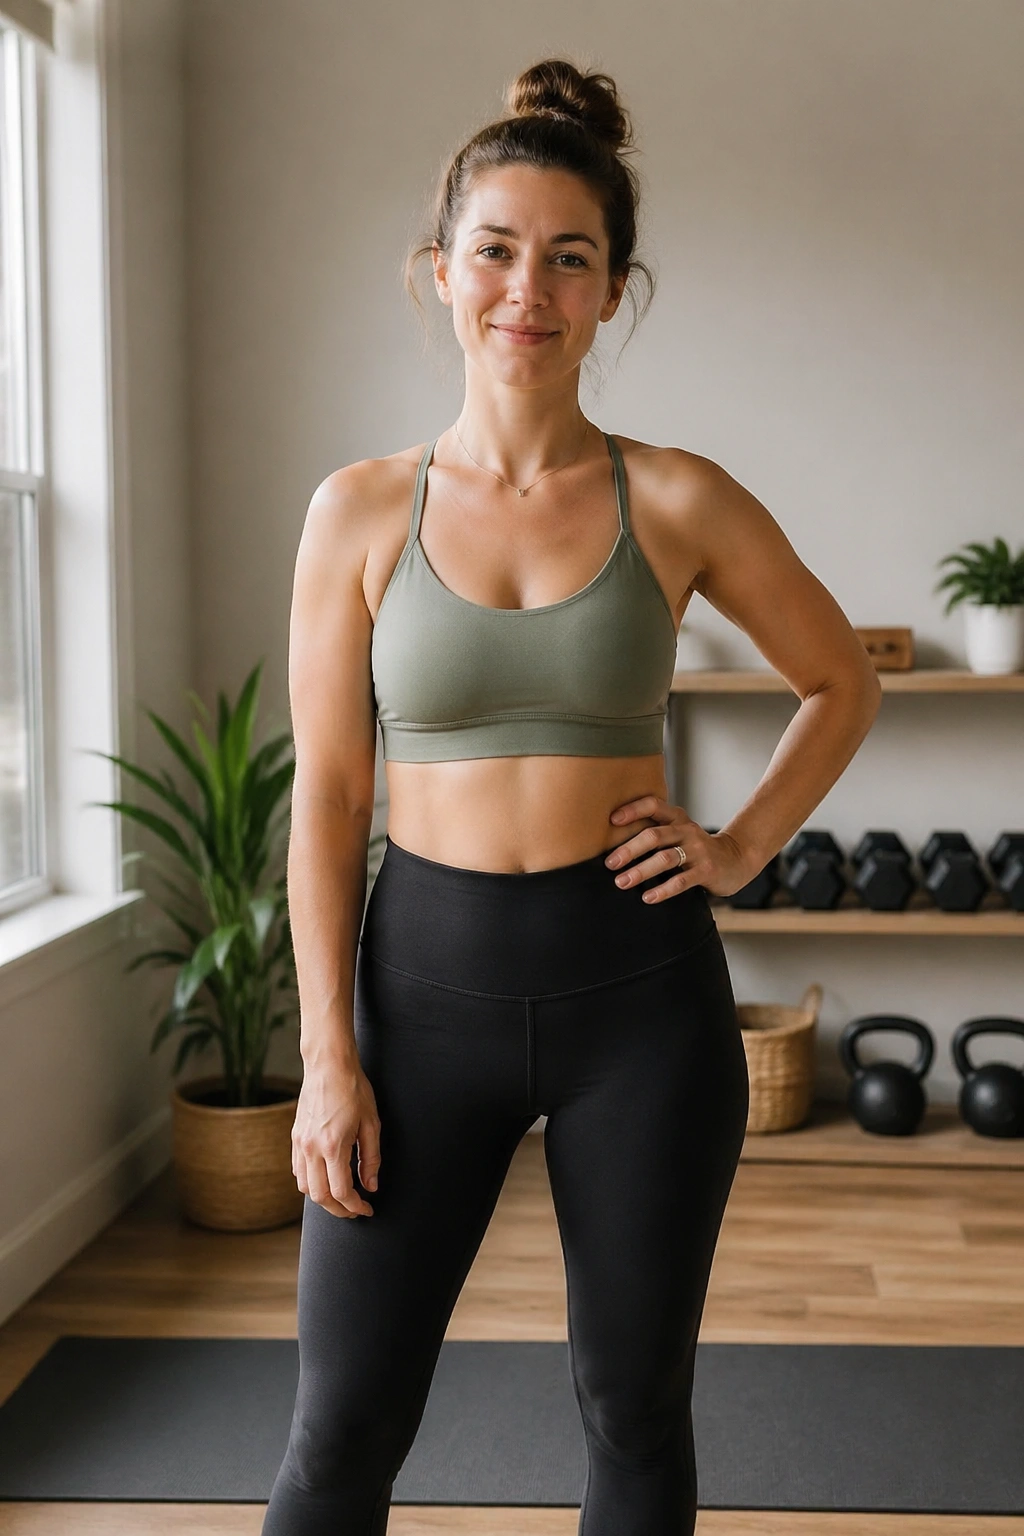
Trying to do all 15 workouts in one week is a fast way to get sore, tired, and annoyed. Pick 4 to 6 movements that match your body right now and rotate them. Early postpartum strength sessions can be short. Fifteen to twenty-five minutes goes a long way when the exercises are chosen well.
Here is a sample setup:
- Day 1: 360 breathing, heel slides, glute bridges, chair squats
- Day 2: 15- to 20-minute walk
- Day 3: pelvic floor connection breaths, wall push-ups, clamshells, farmer carries
- Day 4: rest or an easy stroller walk
- Day 5: bird dog, dead bug heel taps, mini-band walks, low step-ups
- Day 6: incline walking intervals
- Day 7: off, or repeat the gentlest mobility and breathing work
Leave at least one rep “in the tank” on every strength set for the first stretch back. That matters more than people think. You are not training only the muscles; you are training how your system handles load, pressure, fatigue, and recovery after birth.
And if one move feels wrong, swap it out. A bridge can replace step-ups for a week. Clamshells can replace band walks. Flat walking can replace incline intervals. The plan is not the boss. Your symptoms are.
Start Slow
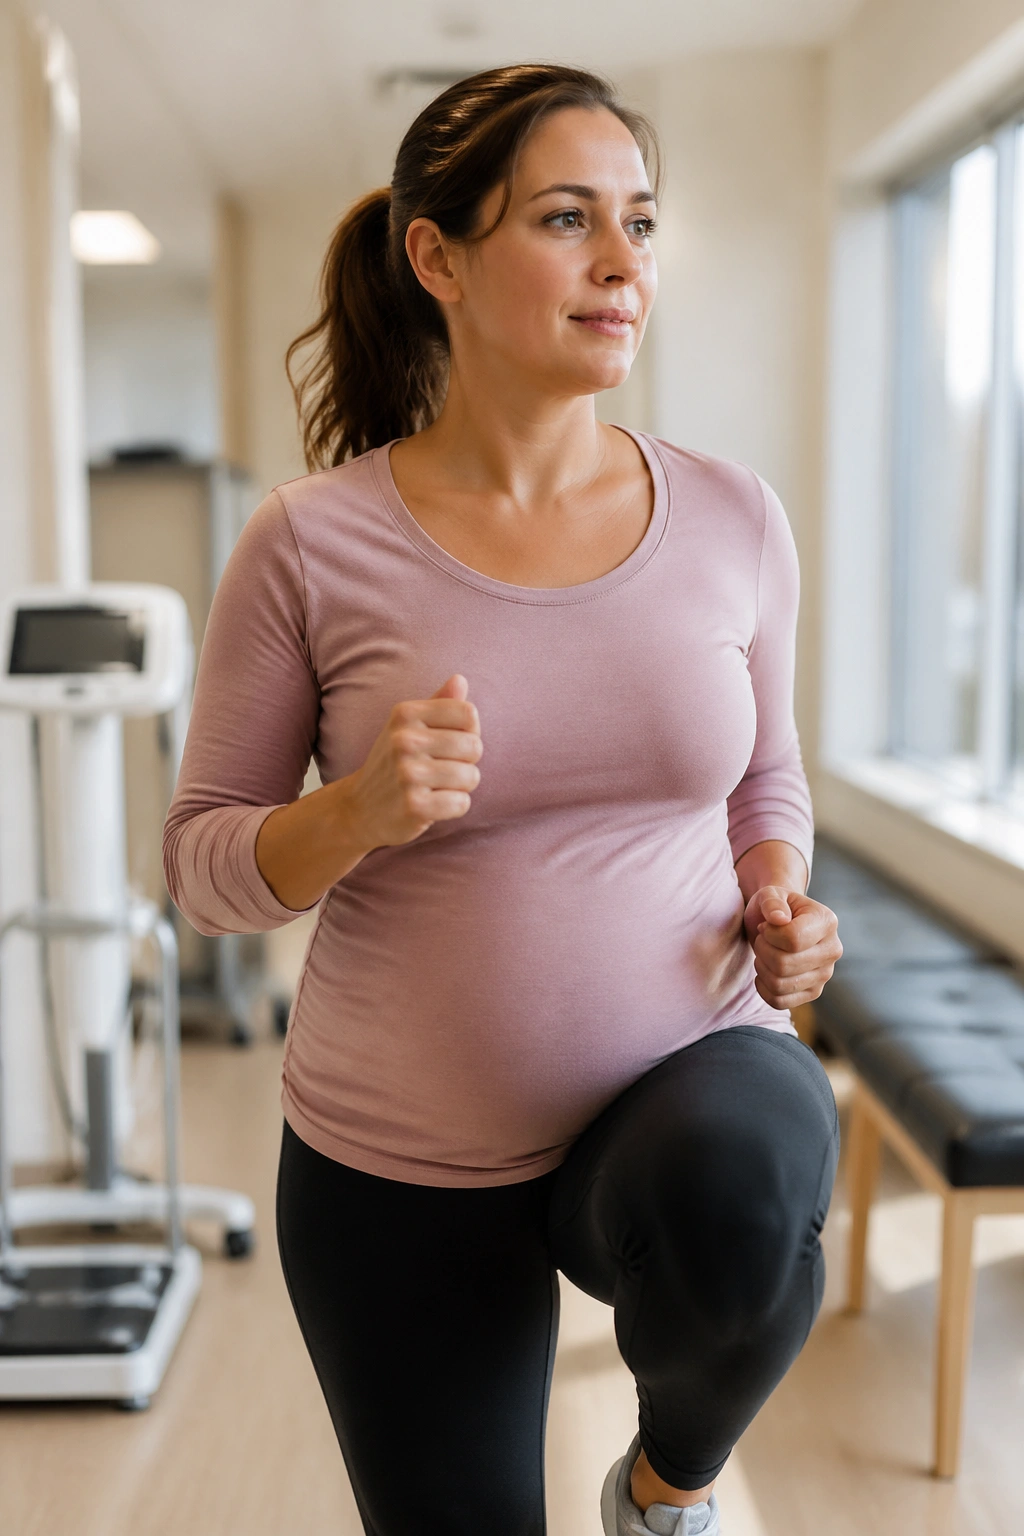
The best post baby workouts at 6 weeks usually look smaller than people expect. That is not a downgrade. It is smart training. Breathing, pelvic control, glute strength, walking, and loaded carries build the base that harder exercise sits on later.
No trophy goes to the woman who returns to impact first. The win is feeling steady when you stand up, dry when you sneeze, strong when you carry the baby, and confident that a workout helps your recovery instead of picking a fight with it.
Build from what stays quiet in your body. Then add the next layer. That pace may not look dramatic on paper, but it holds up in real life—and real life is where postpartum fitness has to work.
