



Calf exercises for stronger legs matter more than people admit. When the lower leg gives out early, every hill feels steeper, every jump feels flatter, and even stairs start to feel a little clumsy.
The calf is two jobs, not one. The gastrocnemius works harder with straight knees; the soleus takes more of the load when the knee bends; both feed into the Achilles tendon, which hates being ignored and tends to respond well to slow, controlled loading.
That is why a decent calf plan is never only standing raises. You want heavy work, single-leg work, long-range work, and a little spring. Skip one of those pieces and the whole thing feels thinner than it should.
Some of the exercises below are old-school. Some look almost silly. Fine. Calves respond well to boring consistency, full range, and the kind of work that keeps showing up even when no one is watching.
1. Standing Calf Raise
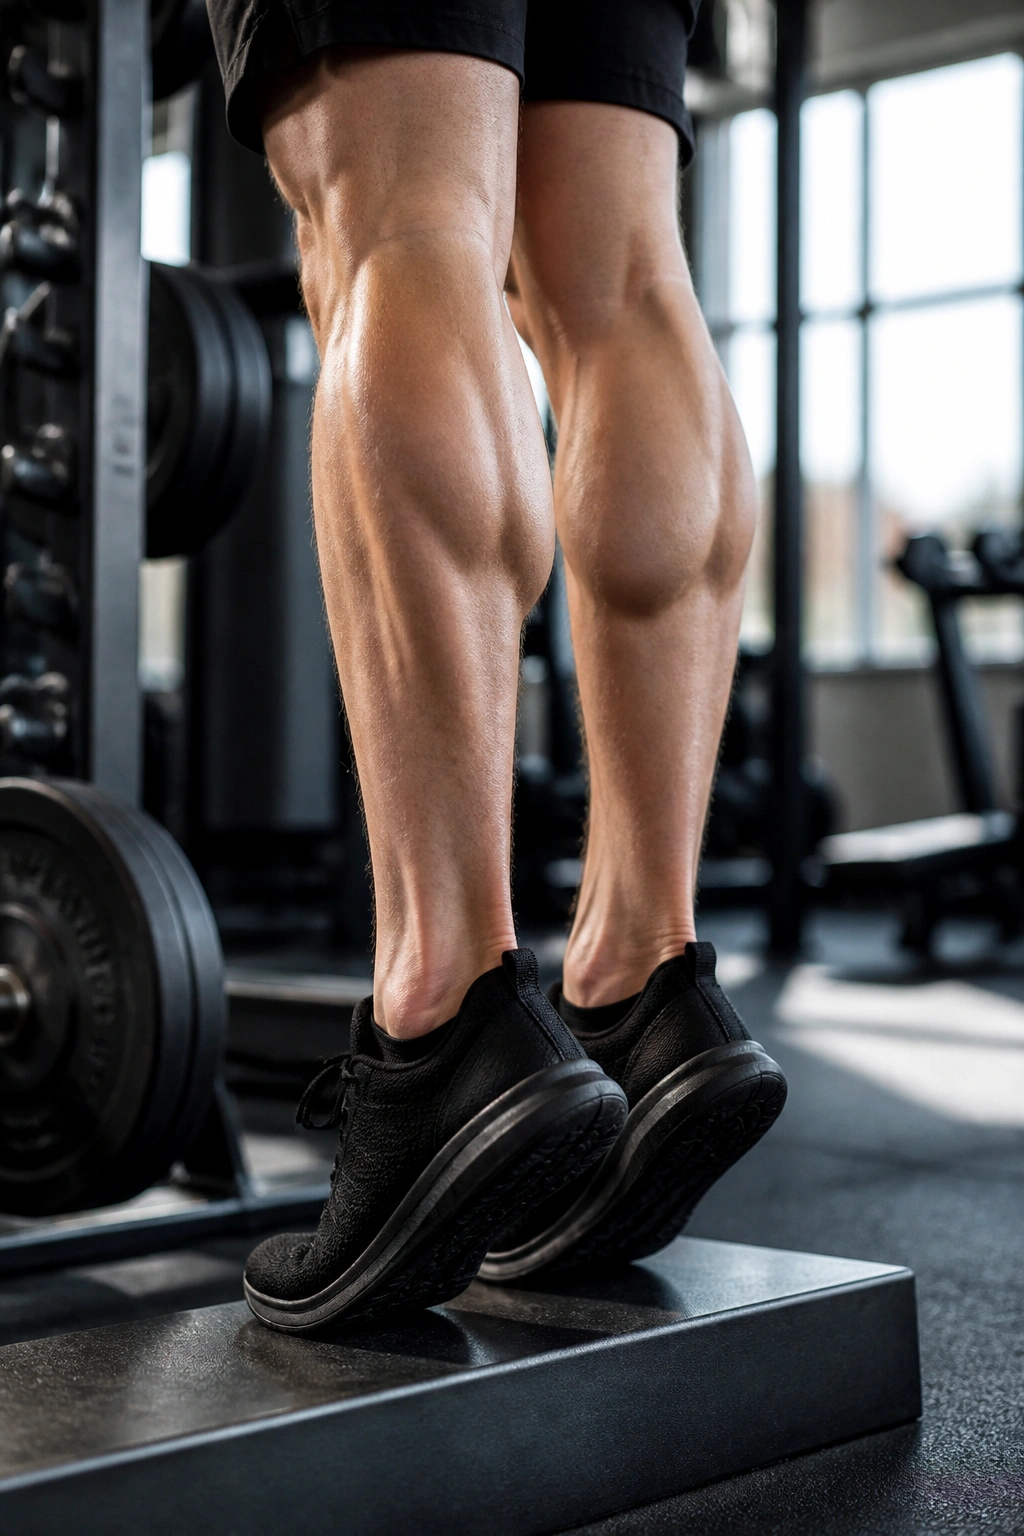
Standing calf raises are the baseline. They look plain, and that is exactly why so many people rush them. Straight knees shift more work to the gastrocnemius, which makes this one the cleanest first test of whether your lower legs can actually produce force.
What to Feel
The rep should start from a deep ankle stretch, not from a bounce. Rise through the big toe and second toe, squeeze at the top for one full second, then lower under control for two or three seconds.
A few details matter more than people think:
- Use 8 to 15 reps with bodyweight, dumbbells, or a machine.
- Stand on a flat floor or a small step if your ankles tolerate it.
- Keep your knees soft, not locked like fence posts.
- Stop if you feel pinching in the front of the ankle.
Skip the bounce. If the bottom looks like a pogo stick, the muscle is taking a back seat and the tendon is doing the work instead.
2. Seated Calf Raise
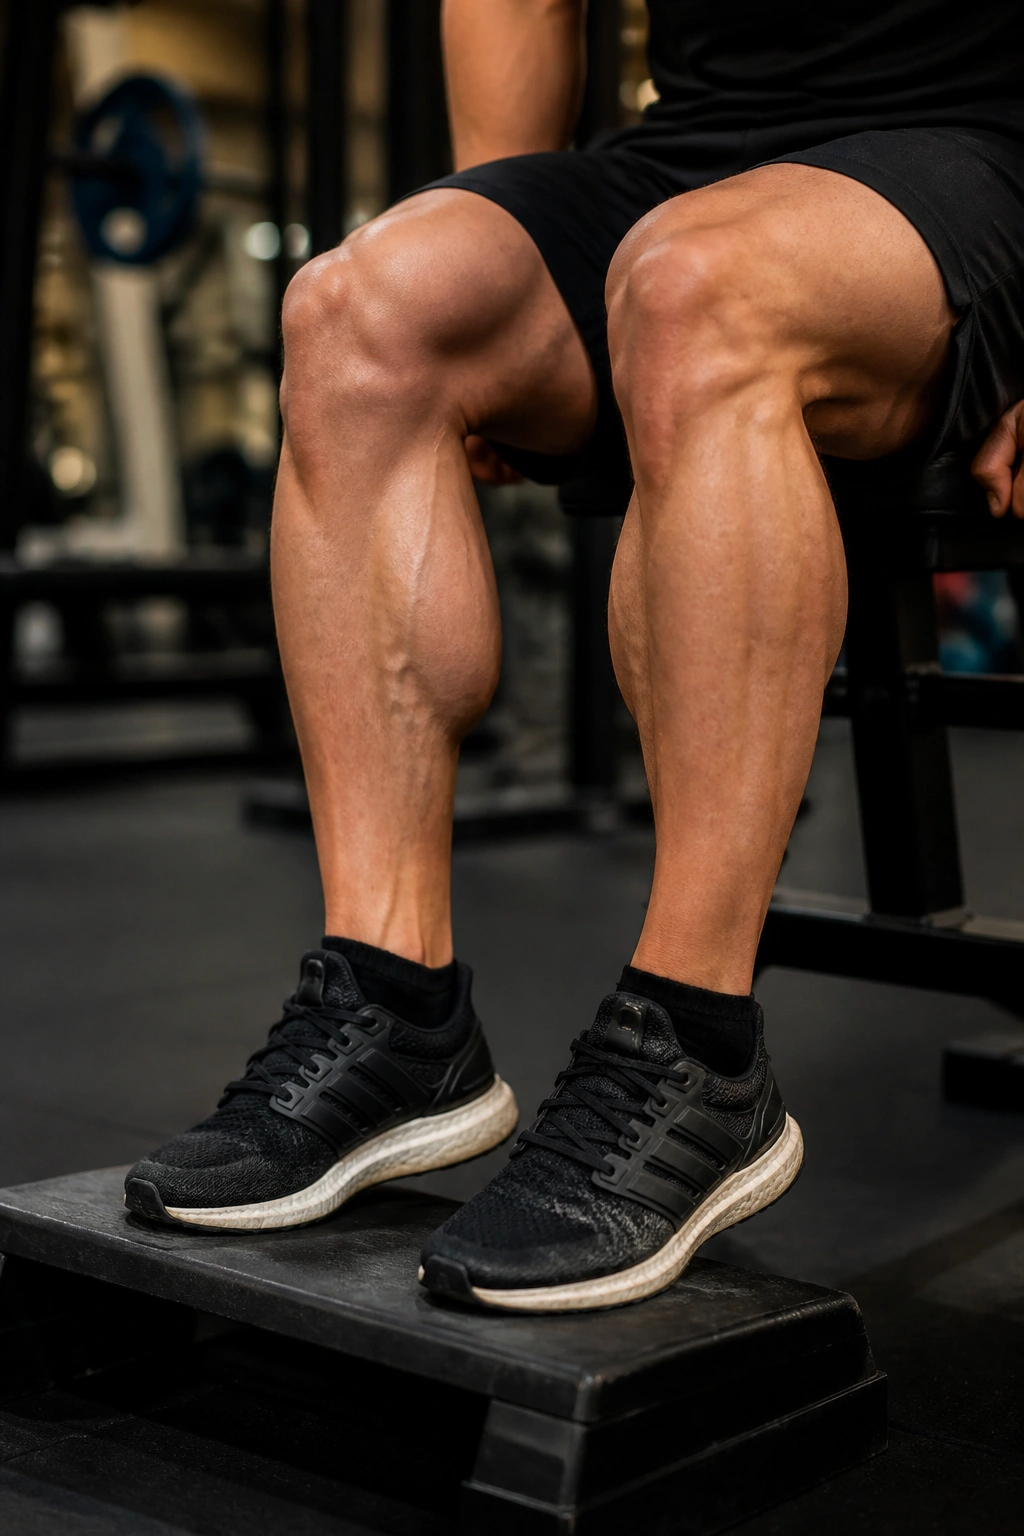
The seated calf raise is where the soleus finally gets a fair fight. Straight-knee work can build a visible calf, but the soleus is the bigger engine for standing, walking, and long stretches of ankle stability, and it shows up better when the knee is bent.
Most people load this one too heavy and then turn the rep into a shrug for the ankles. Don’t. The better version feels slower, heavier, and a little boring in the middle, which is usually a sign you are doing it right.
I like higher reps here, usually 12 to 20, with a short pause at the top and a slow lower. If you only have a dumbbell, sit on a bench, put the ball of your foot on a block, and rest the weight on your thigh. It is awkward at first. Then it starts working.
The main win is simple: this move fills in the gap that standing raises leave behind.
3. Single-Leg Calf Raise
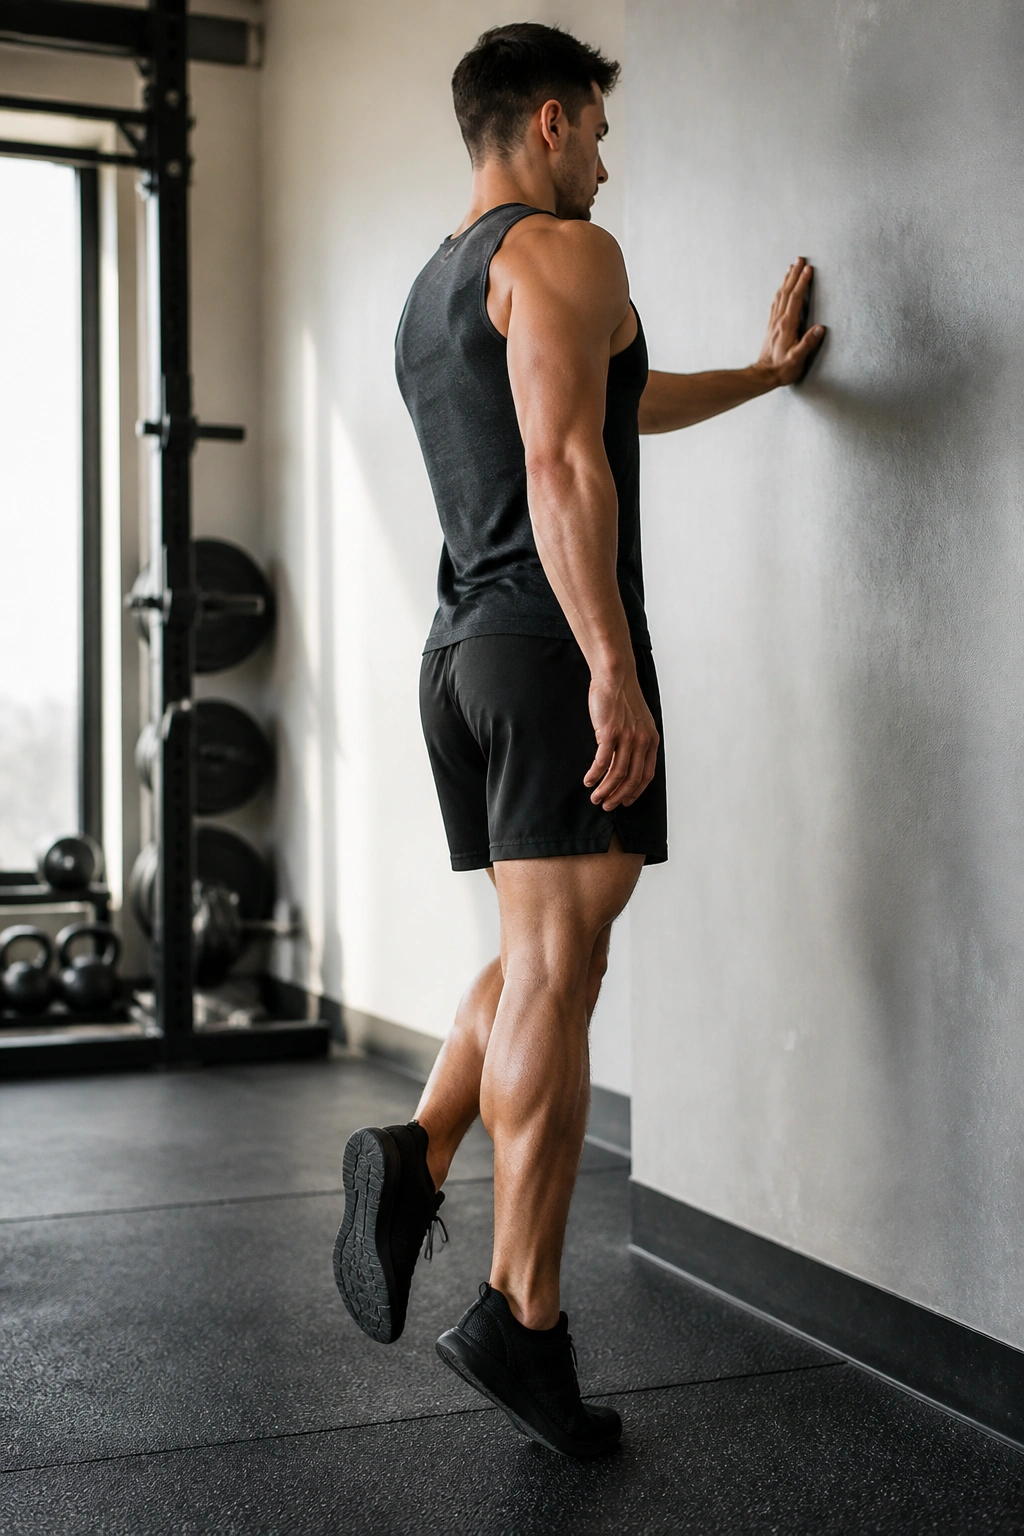
Why does single-leg work matter so much? Because both calves rarely grow and strengthen at the same speed. One side often cheats by a little, and that little bit turns into a real difference when you start sprinting, jumping, or climbing stairs for a few minutes straight.
How to Use It
Start with a fingertip on a wall or rack. That tiny bit of support keeps the balance demand from stealing the rep. Then lower until the heel drops, pause for a beat, and drive up hard.
Use 10 to 20 reps per side, and match the weak side to the strong side instead of chasing numbers with the good leg. If one ankle feels shaky, slow the lowering phase and keep the top squeeze crisp.
The single-leg version is also useful for foot control. You notice arch collapse, toe grabbing, and ankle wobble a lot faster when one leg has nowhere to hide.
That honesty helps.
4. Deficit Calf Raise on a Step
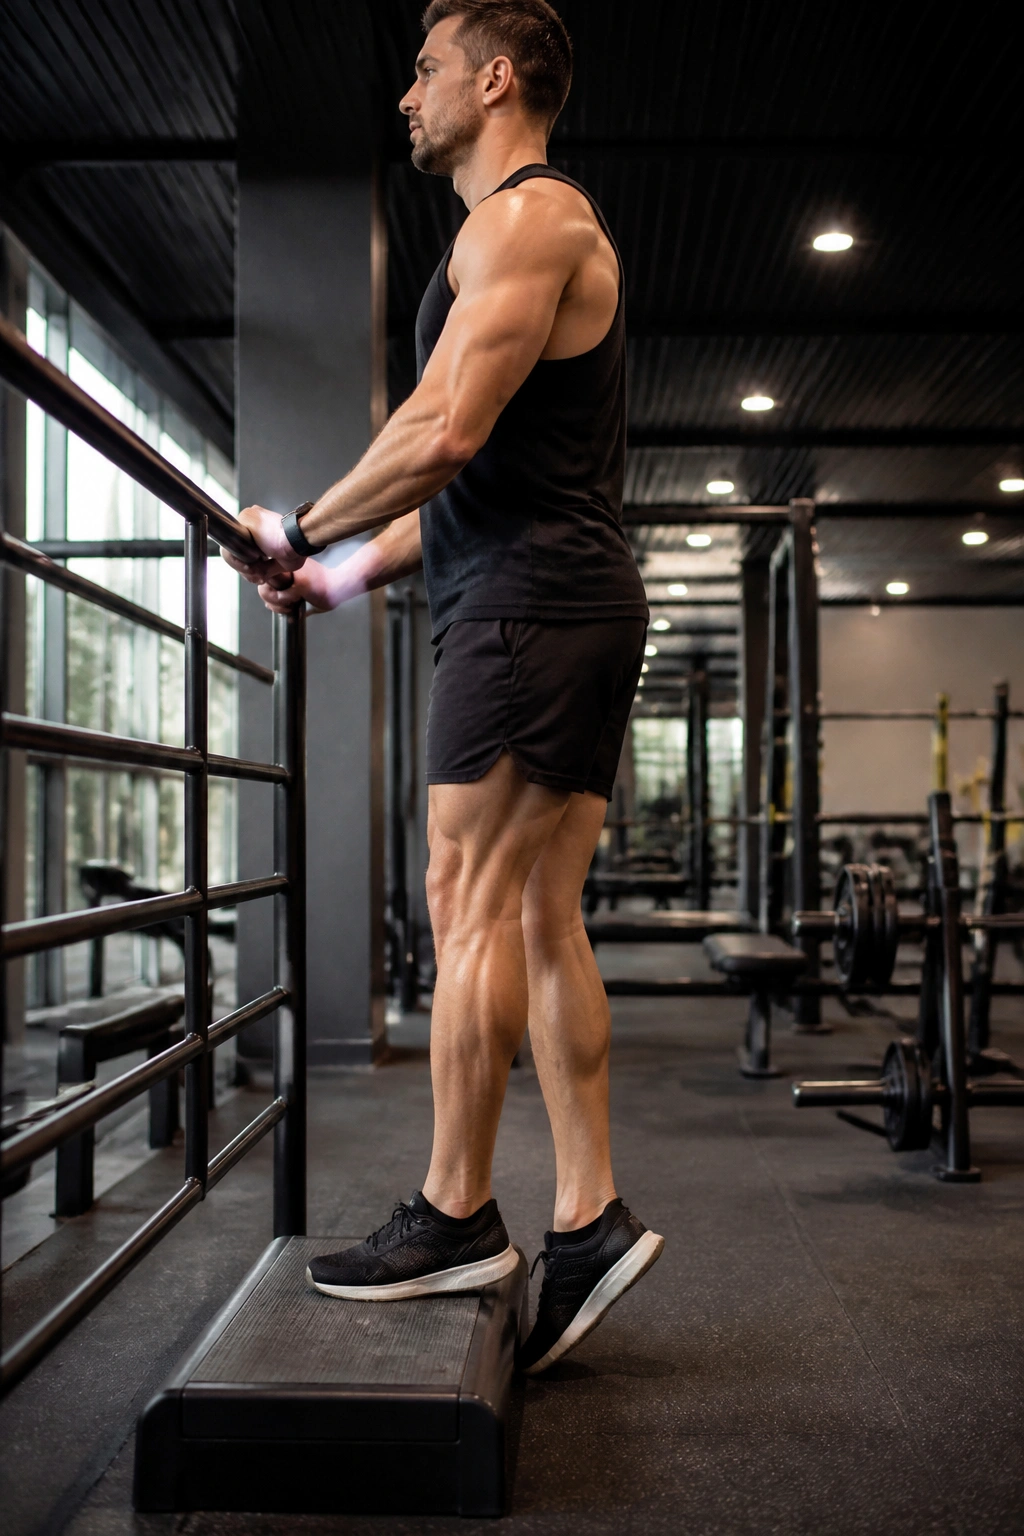
Put one foot on a step, let the heel hang off, and the calf suddenly has nowhere to hide. The extra drop at the bottom gives you more stretch, more range, and a much better chance of loading the Achilles and lower calf through a full lengthened position.
What to Watch For
A deficit does not need to be dramatic. Even a 2 to 4 inch drop is enough for most people. Go lower only if your ankle moves well and the stretch feels like muscle work, not a stab in the tendon.
- Use a rail or wall for balance if needed.
- Pause for 1 second at the bottom.
- Drive up through the forefoot, not the outer edge of the foot.
- Keep the descent slow so you do not dump into the joint.
This version tends to expose sloppy ankles fast. Good. Better to find that out with one leg on a step than during a sprint or jump landing.
5. Bent-Knee Soleus Raise
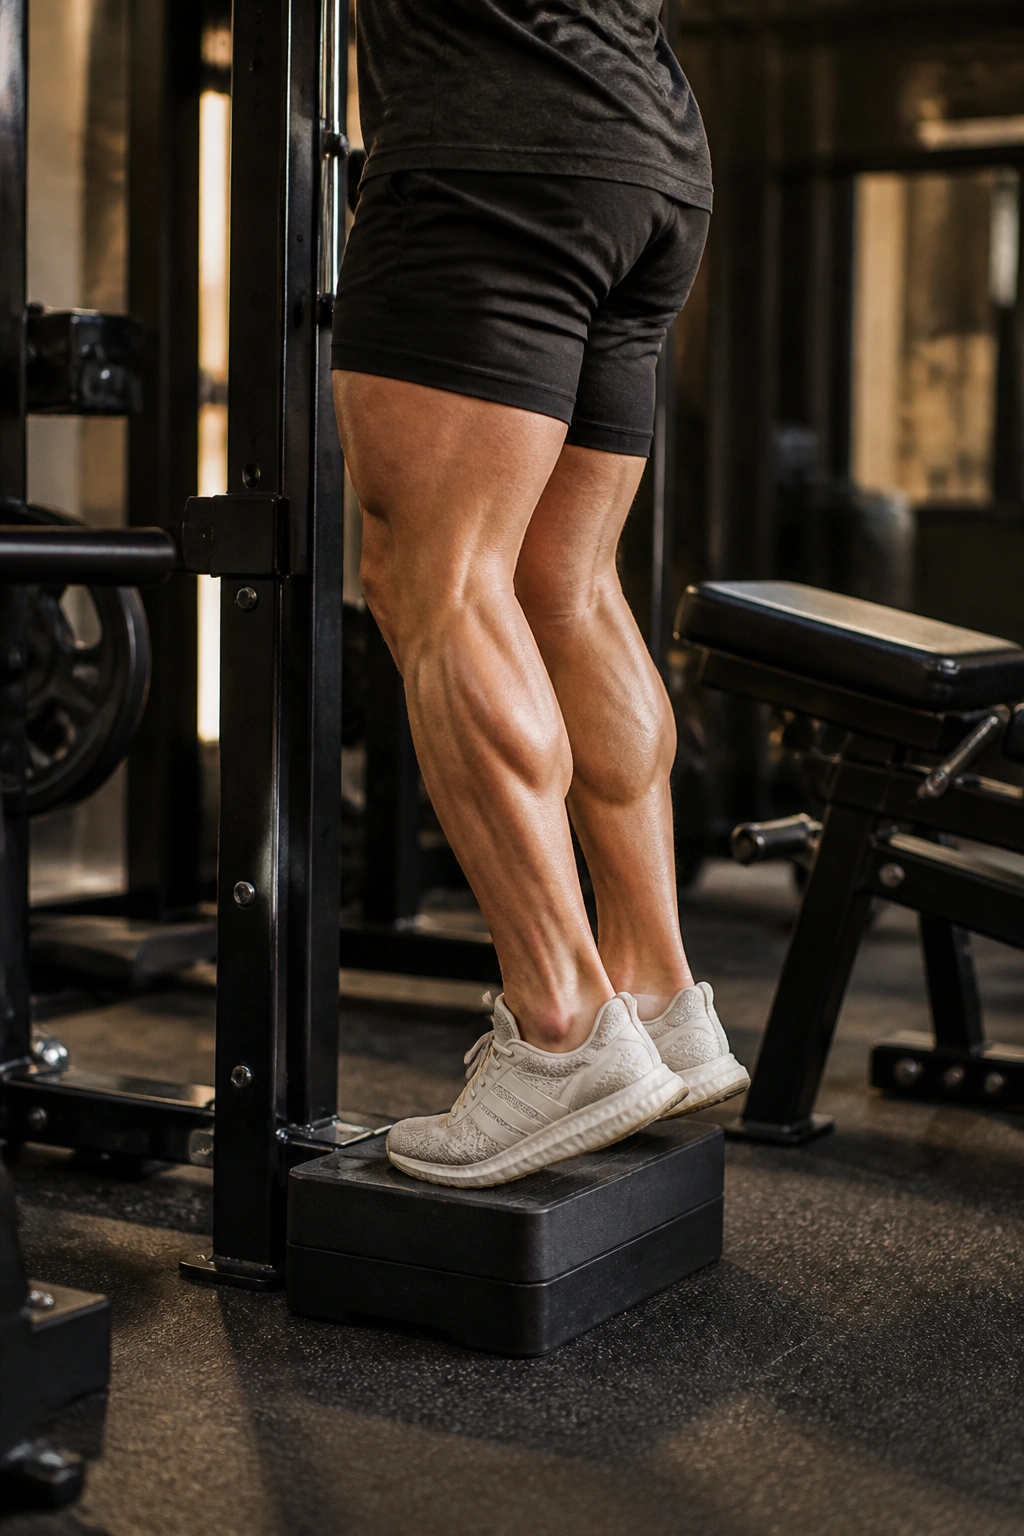
Bent-knee calf work looks like a small tweak, but it changes the whole exercise. When the knee bends, the gastrocnemius loses some leverage, and the soleus has to carry more of the load. That matters for runners, lifters, and anyone who wants calves that do something other than look decent from behind.
I like this move because it punishes laziness in a sneaky way. You can keep the weight modest, bend the knees about 30 to 45 degrees, and still get a hard burn by the end of a set. The whole lower leg feels tighter and more useful after a few weeks of consistent work.
The best version is controlled and a little patient. Push up, hold, then lower slowly. If the knees drift forward and backward like a rocking chair, the line of force gets messy.
Simple. Slightly ugly. Very effective.
6. Donkey Calf Raise
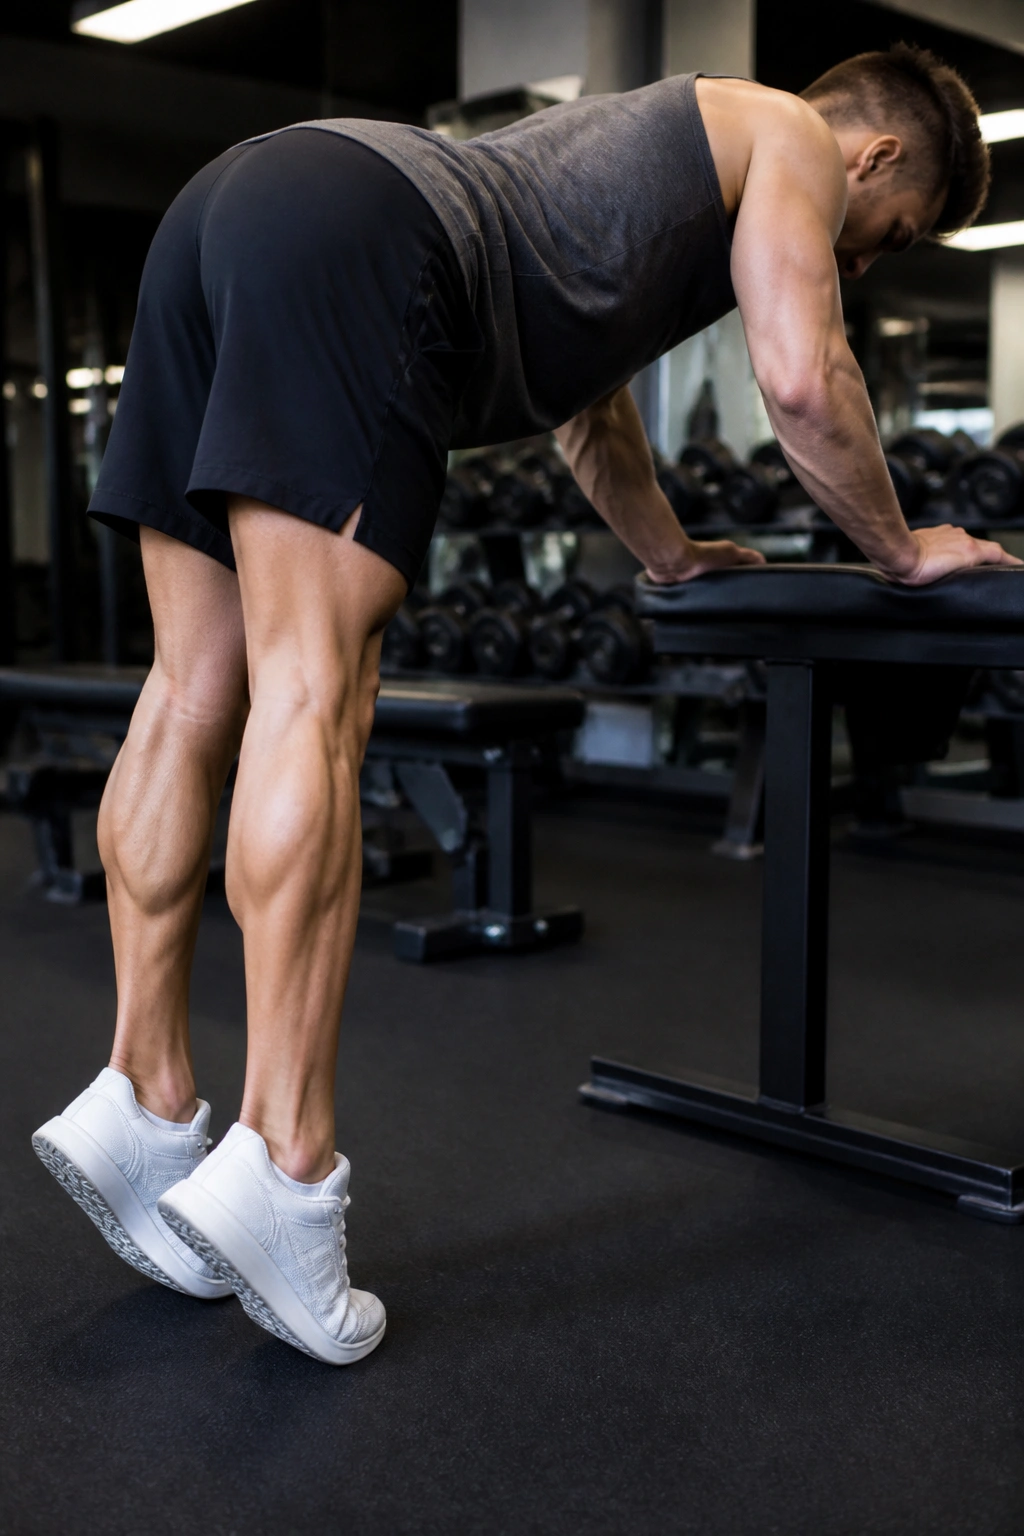
Unlike a standing raise, the donkey calf raise changes the whole angle of the load. Your torso leans forward, your hips hinge, and the calf has to work without the same upright cheat pattern that sneaks into a lot of standing work. It is old-school for a reason.
This one is especially good if you want a long stretch and a hard squeeze without needing a ton of balance. Some people use a machine; others use a belt setup; some just brace against a bench and make do. The setup can look odd. Fine. The muscle does not care.
I like donkey raises for 8 to 12 slow reps with a full drop and a strong top contraction. The stretch feels more obvious than on many standing variations, which can be useful if your calves always feel tight and flat.
It is not the most graceful move in the gym. It works anyway.
7. Smith Machine Calf Raise
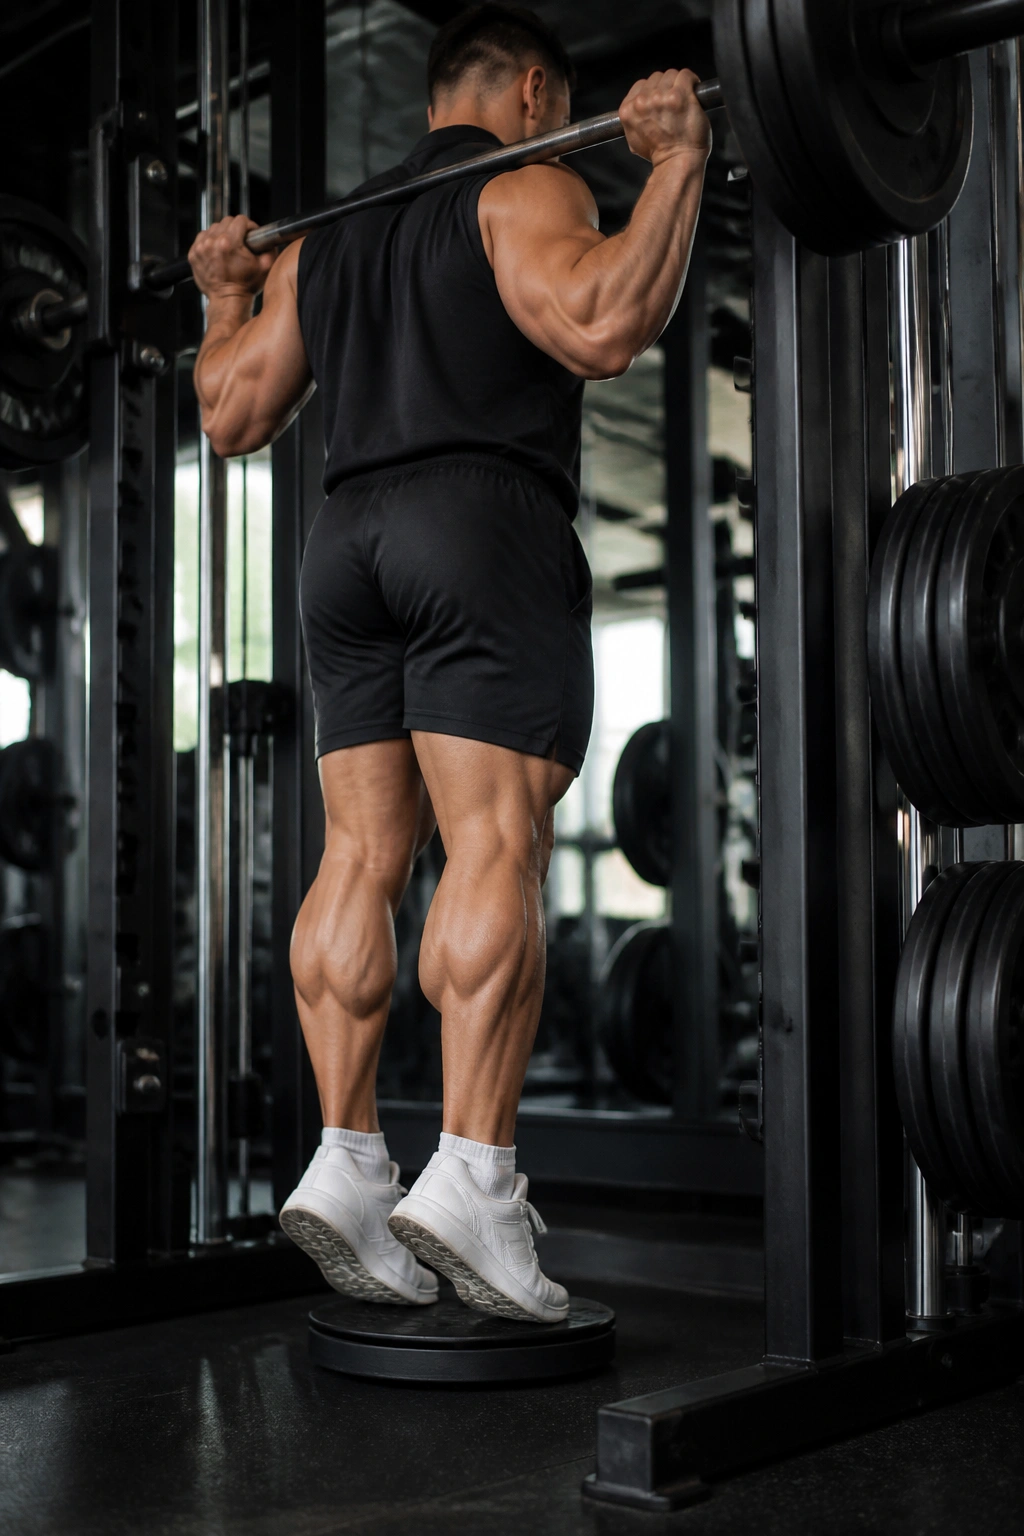
The Smith machine lets you load calves heavier than bodyweight usually allows. That alone makes it worth using. Once balance stops being the limiter, you can focus on the actual work: a full stretch, a strong drive, and a controlled lower.
Loading and Tempo
Stand on a small plate or step with the balls of your feet, place the bar across your upper back, and keep the knees almost straight. Then treat the rep like a slow hinge at the ankle.
- Use 6 to 10 reps when you want heavier loading.
- Use 10 to 15 reps when you want more size work.
- Lower for 2 to 3 seconds.
- Hold the top for 1 second before the next rep.
Do not cut the bottom short. That is the whole point of using the machine. Tiny half reps with a heavy bar are mostly theater.
This is a nice choice when bodyweight raises feel too easy and dumbbells get awkward.
8. Leg Press Calf Raise
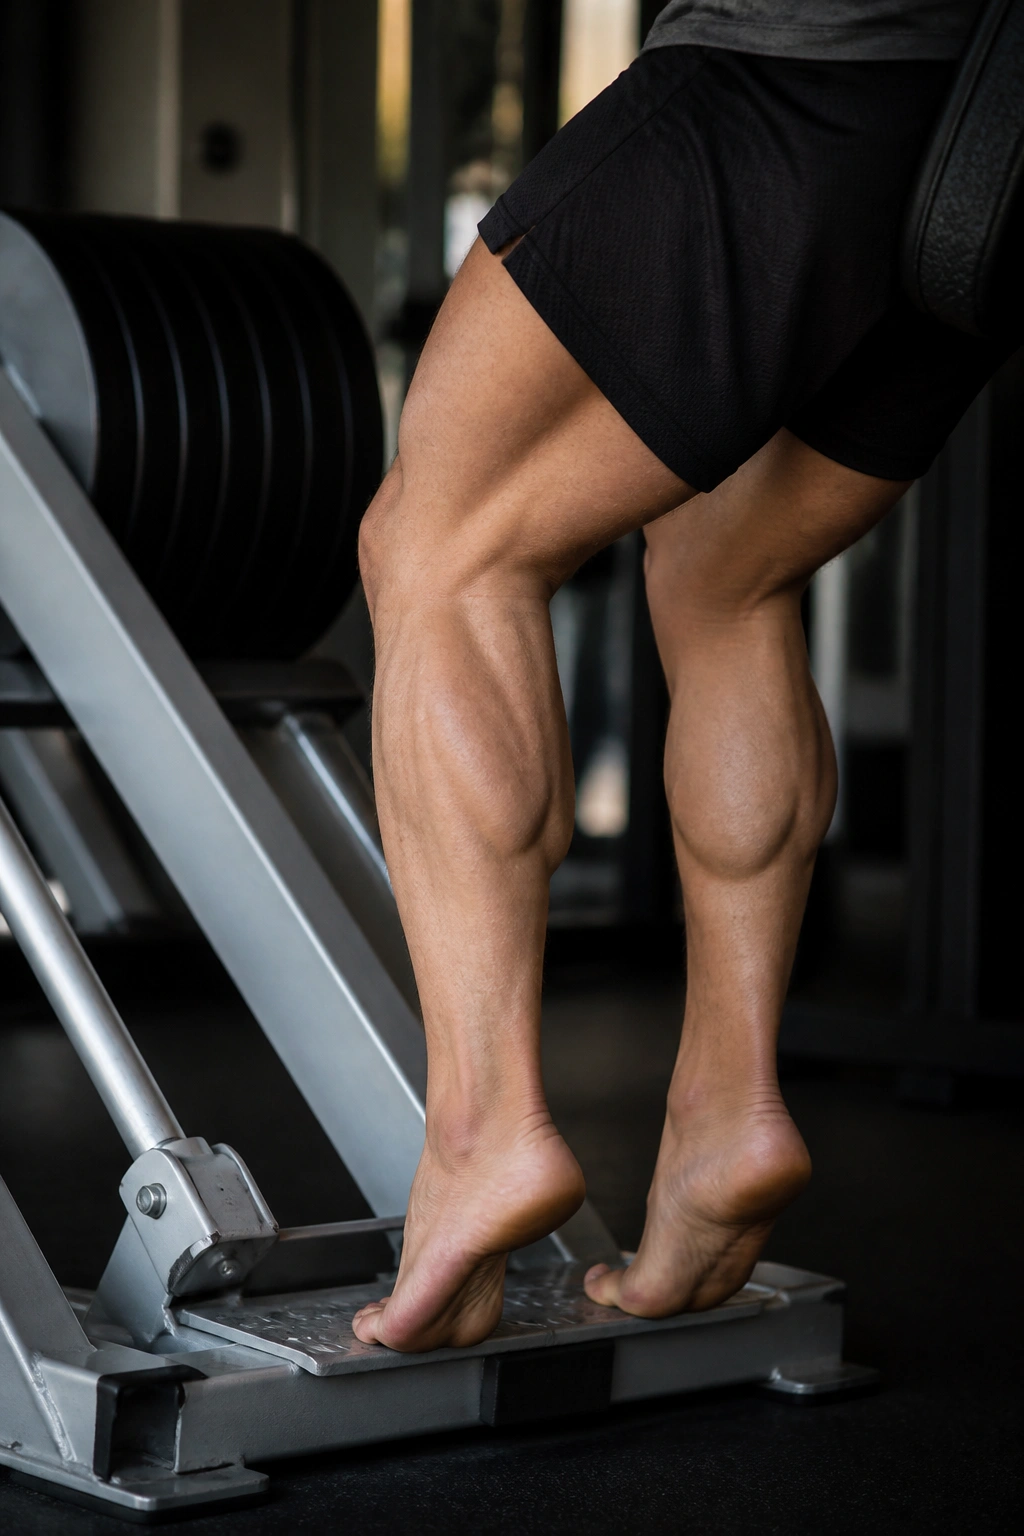
If the leg press sits there gathering dust between sets, it can pull its weight as a calf station. The setup is simple: balls of the feet on the platform, heels hanging off, then press through the forefoot while the knees stay in whatever angle matches the version you want.
The nice thing here is volume. You can do 12 to 20 reps, or even a longer burn set, without balance getting in the way. That makes the leg press useful for finishing work, especially when you want the calves to feel cooked without trashing the rest of the legs.
You can also shift the knee angle. A straighter knee brings in more gastrocnemius; a bent knee leans harder into soleus. That small change matters.
The machine is not fancy. It just lets you pile on honest reps.
9. Toe Walk
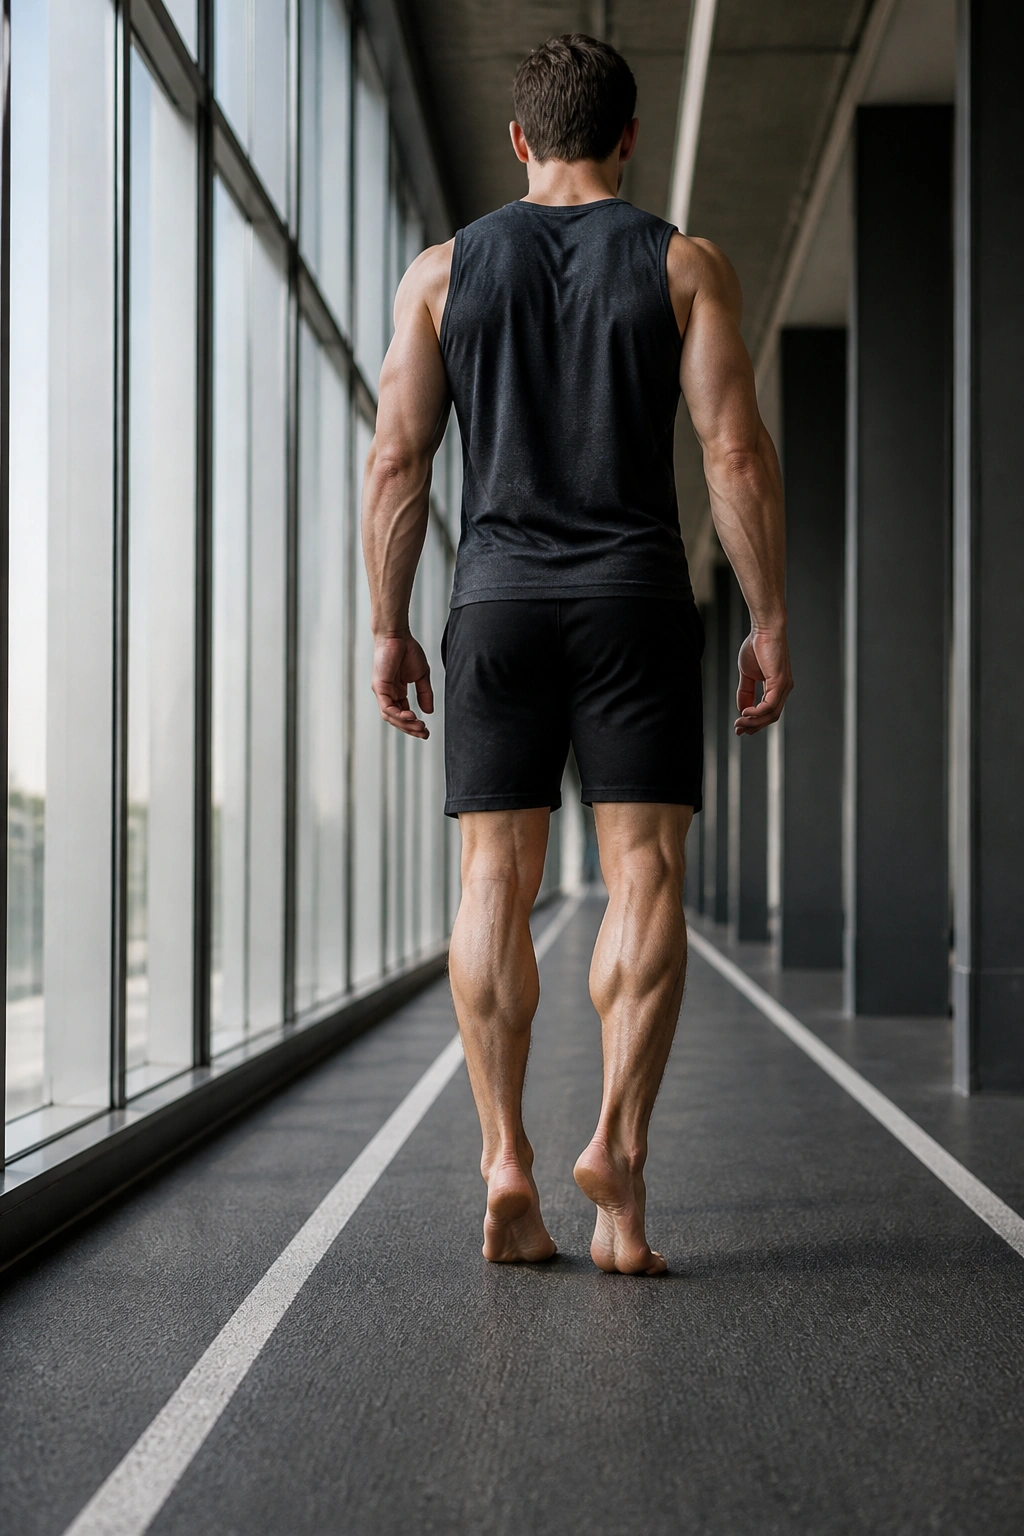
Toe walks look like something you do while waiting for a bus. They are not. They force the calf, foot, and ankle to hold bodyweight in a shortened position while you keep moving, which makes them useful for endurance and foot stiffness.
How to Make Them Work
Take short steps. Keep the heels lifted, but do not jam up onto the toes so hard that your arches cramp. A smooth, steady walk works better than a high, frantic tiptoe shuffle.
- Walk 20 to 40 yards.
- Keep the torso tall.
- Use a hallway, track, or flat driveway.
- Stop when the calves start to lose height.
Toe walks are a good finisher after lifting, and they are also handy as a warm-up before jumping or sprinting. The point is not to turn them into a circus trick. The point is to make your lower legs hold tension while you keep moving.
10. Jump Rope
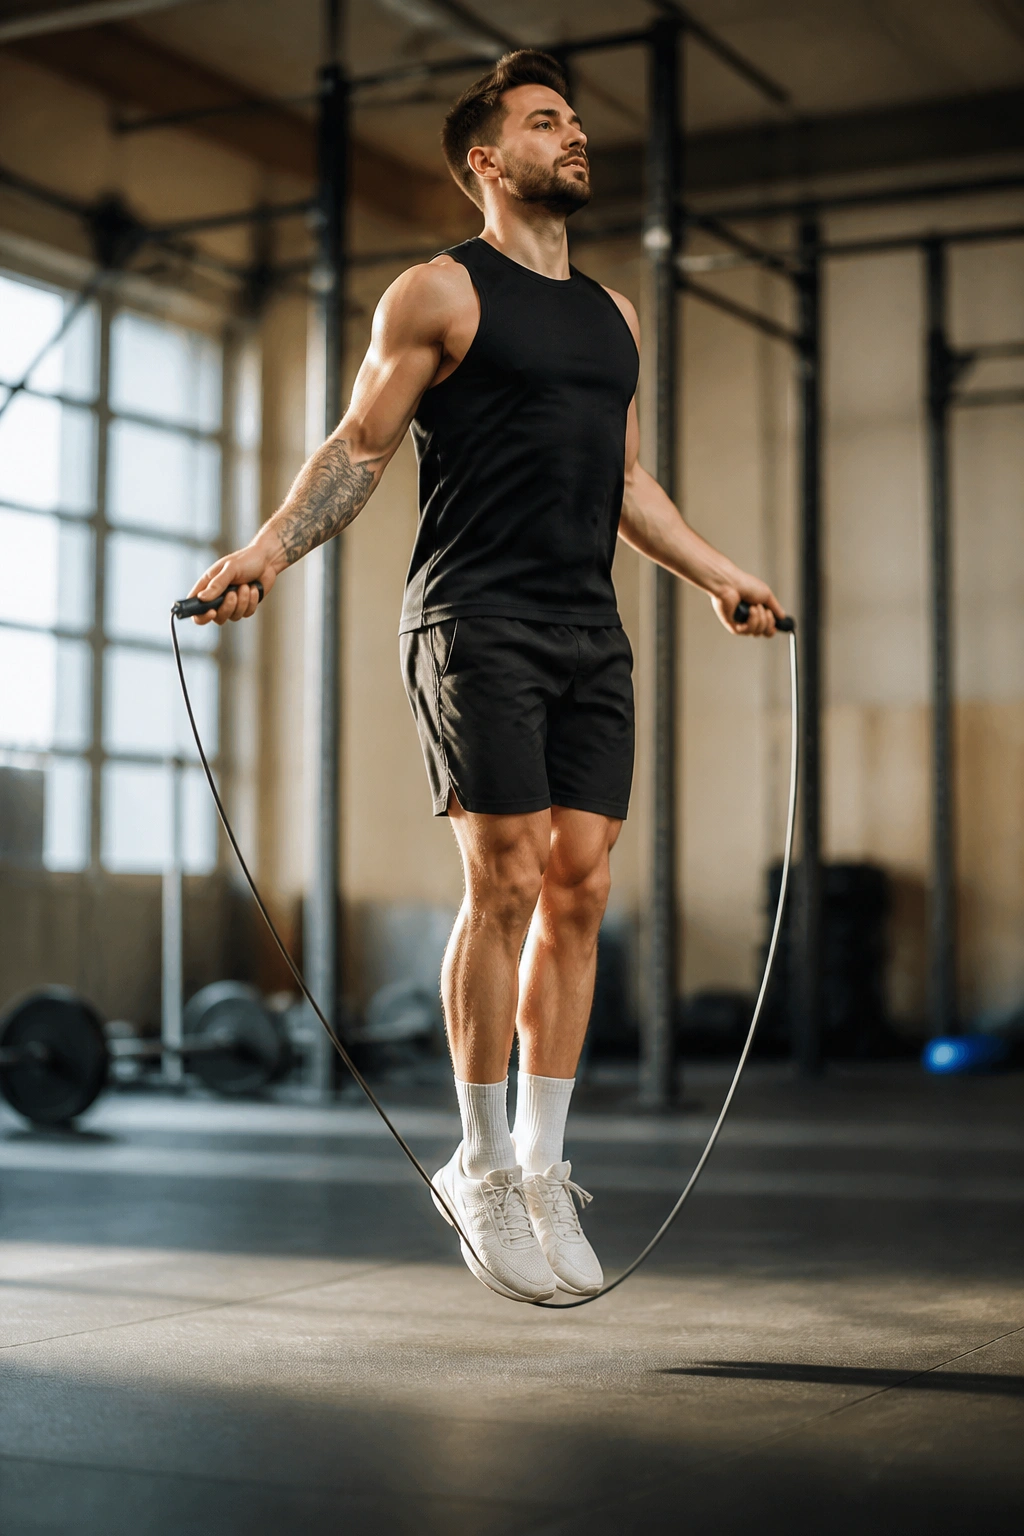
A jump rope is the cheapest calf tool in the room, and it still earns respect. The rhythm forces the lower leg to stay springy, the feet to stay light, and the calves to cycle through repeated small contractions without much drama.
Start with 30 to 60 second rounds and rest long enough to keep the rhythm clean. If the rope sounds like a slapstick accident, slow down. The wrists should turn the rope; the shoulders should stay calm; the hops should stay tiny.
The best cue is simple: stay low and quiet. If you are leaping an inch off the floor, the calves are working harder than they need to. Small hops save energy and keep the work where it belongs.
Jump rope will not replace heavy loading. It does build a kind of spring that heavy raises alone do not touch.
11. Pogo Hops
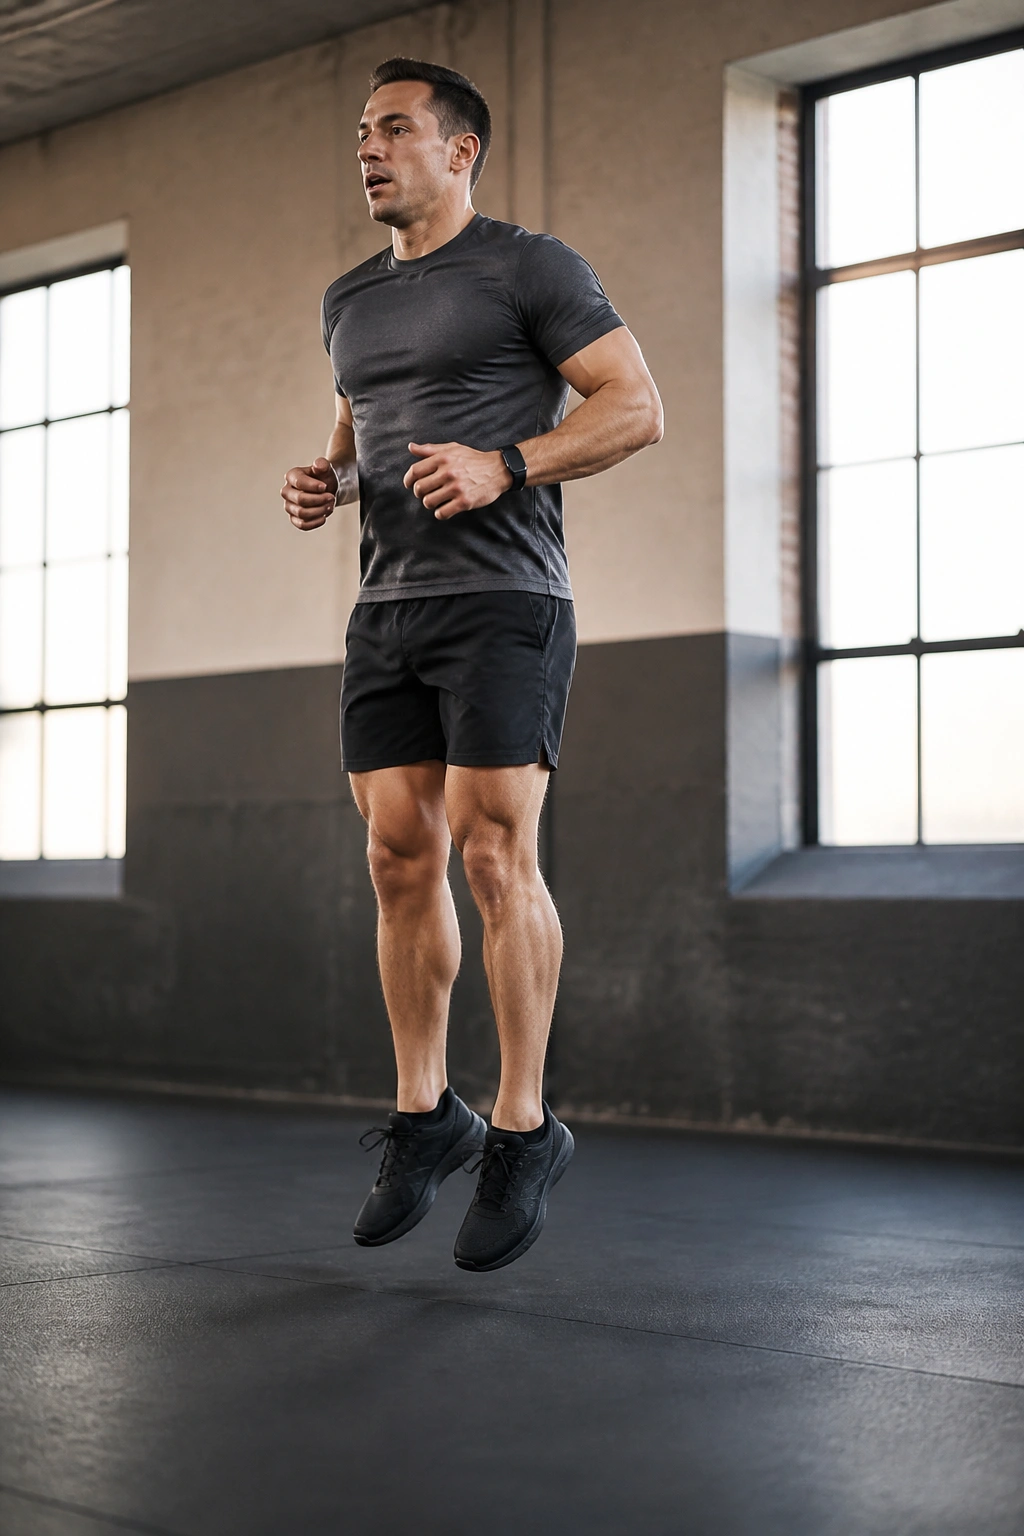
Pogo hops are the quiet little cousin of jump training. They look almost too simple to matter, which is probably why people underestimate them. The goal is a quick, stiff ankle rebound with very little knee bend.
That stiffness is useful. It teaches the lower leg to store and release force fast, which helps with running, court sports, and any activity where your feet need to feel snappy instead of mushy.
I keep these short: 3 to 5 sets of 10 to 20 contacts is plenty for most people. Rest between sets long enough that the hops stay crisp. When they turn into sloppy little thuds, the set is over.
Do not force them if the Achilles feels irritated. These are meant to feel springy, not angry.
12. Tibialis Raises
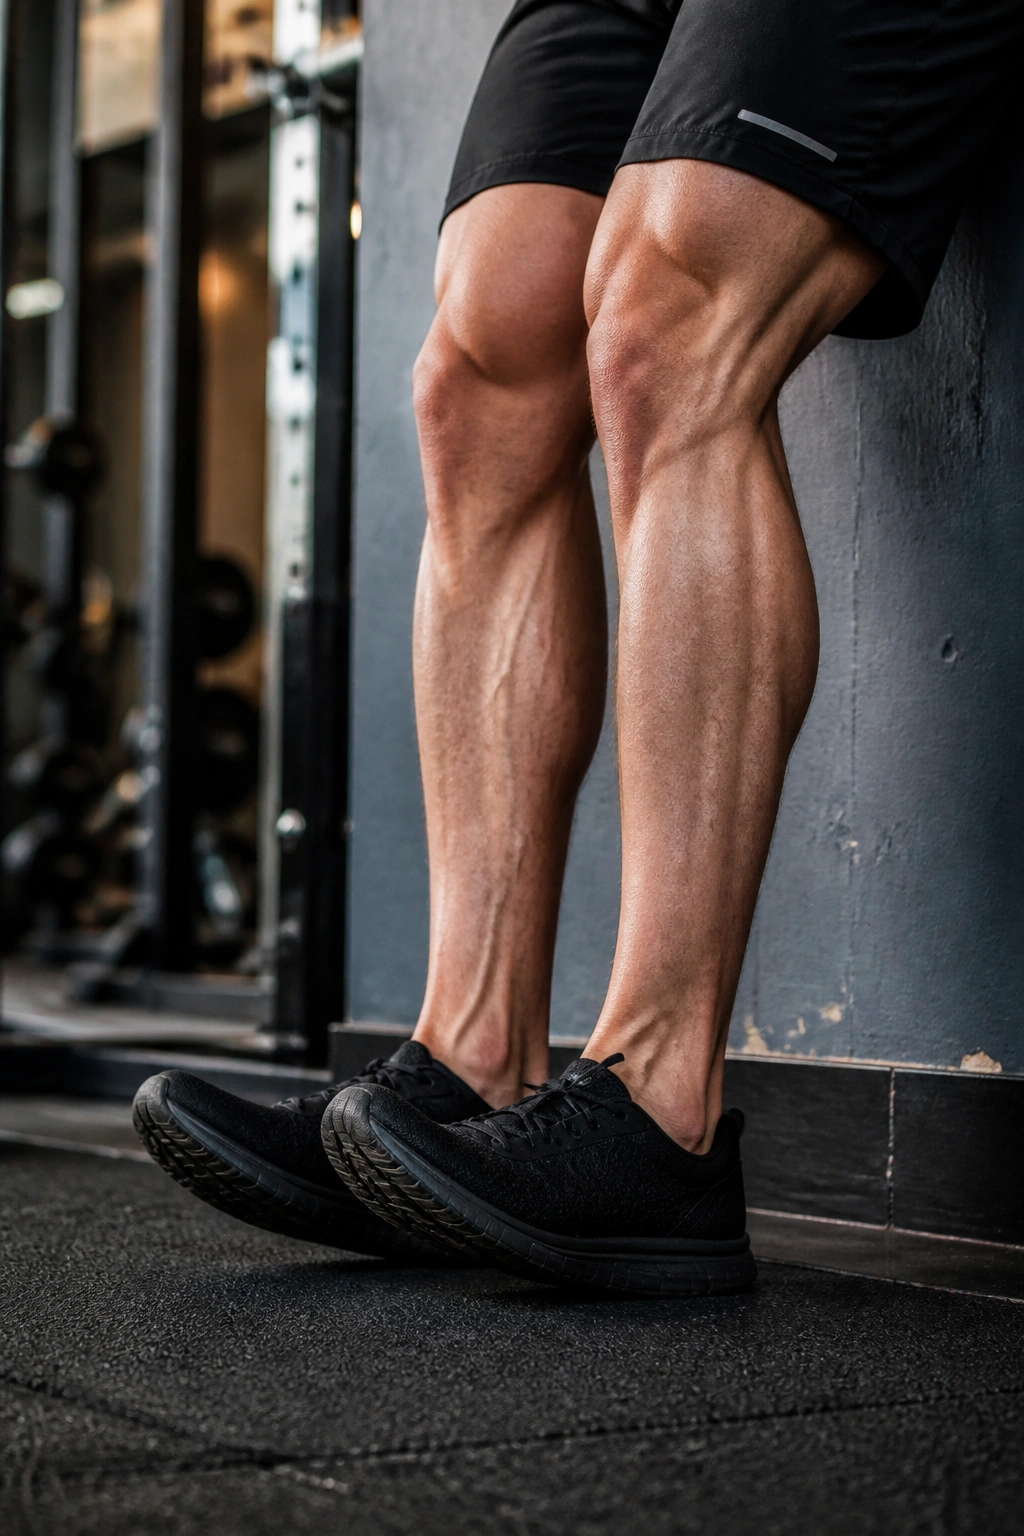
Why train the front of the lower leg at all? Because calf training gets better when the muscles around it are not asleep. Tibialis raises work the shin muscle that lifts the foot, which helps balance the work on the back of the lower leg and can make walking, running, and squatting feel cleaner.
How to Set It Up
Lean your back against a wall, put your feet a few inches out in front, and lift the toes toward the shins while keeping the heels down. If you have a tib bar, even better. If not, bodyweight works.
Use 15 to 25 reps for 2 to 4 sets. The movement is small, so the temptation is to rush it. Don’t. A slower tempo makes the burn show up faster than trying to fling the toes upward.
This is not a calf exercise in the strictest sense, but I would still keep it in the lower-body bucket. A strong lower leg is a team project.
13. Eccentric Heel Drop
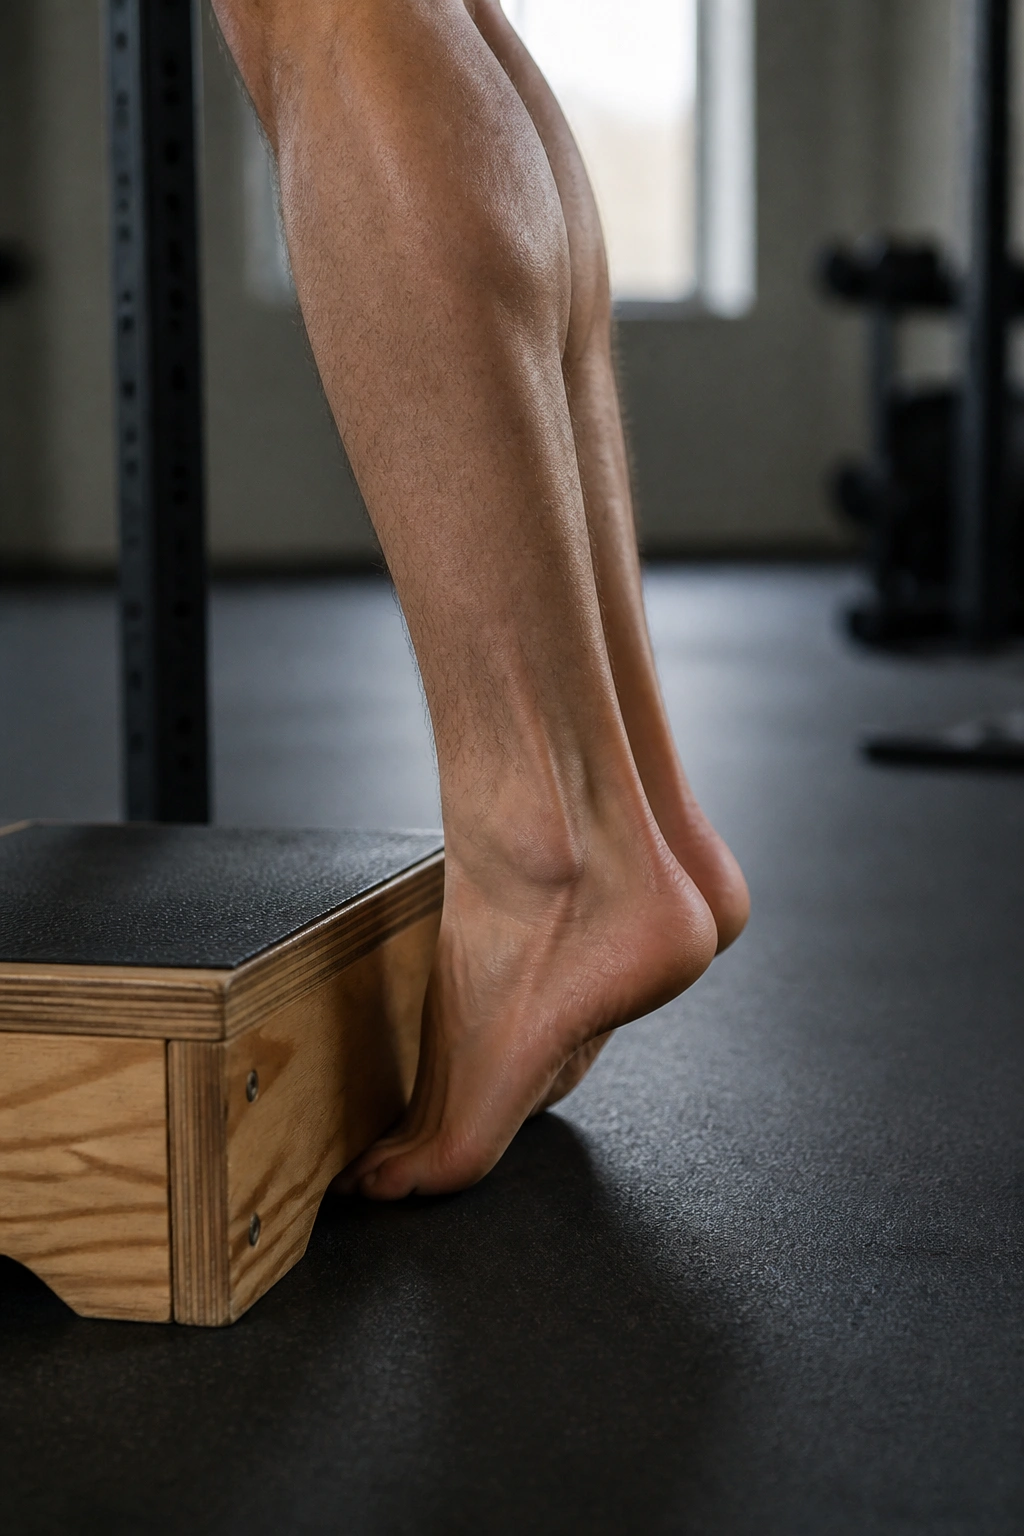
Slow lowering is underrated. Eccentric heel drops make the calf control the descent instead of just blasting upward and stopping. That matters for tendon capacity and for people whose lower legs need more tolerance to load over time.
What to Feel
Start on a step, rise up with both feet if needed, then shift to one leg and lower for 3 to 5 seconds. The heel should travel down in a smooth line, not crash.
- Use one leg down if you are ready.
- Use both legs up, one leg down if you need help.
- Keep the knee straight for a gastrocnemius bias.
- Bend the knee slightly if you want a bit more soleus.
These are not speed reps. They are control reps. If the tendon feels sharp or cranky, back off and keep the range smaller.
The burn shows up late, which is part of the point.
14. Isometric Calf Hold
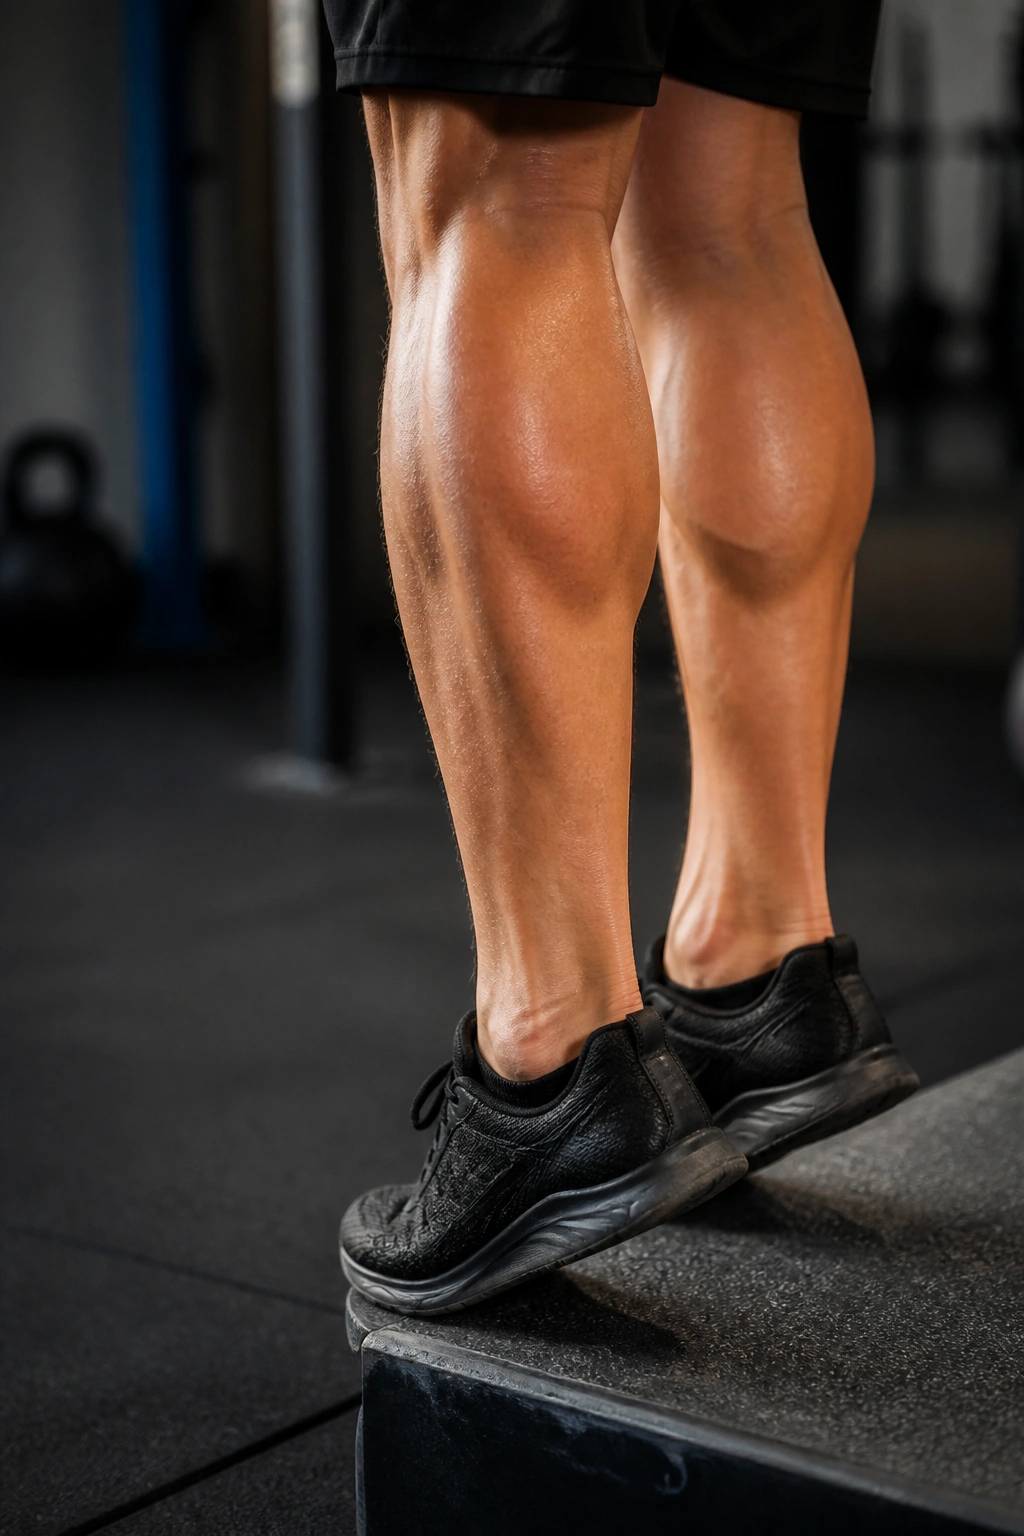
Isometric calf holds teach the lower leg to stay on. No bouncing, no rushing, no dramatic movement. Just tension. A lot of people like them because they can load the calf without the extra wear that comes from rep after rep after rep.
You can do them at the top of a calf raise on the floor or on a step. Hold 20 to 45 seconds depending on how much load you are using. A heavier dumbbell means a shorter hold. A bodyweight hold can run longer.
This is one of my favorite moves on sore days or as a finisher after dynamic work. It gives the calves a hard job without turning the workout into a joint grind. It also teaches a bit of ankle discipline, which people notice when they switch back to jumps or running.
The burn comes on fast. Good. That means the position matters.
15. Farmer’s Carry on Toes
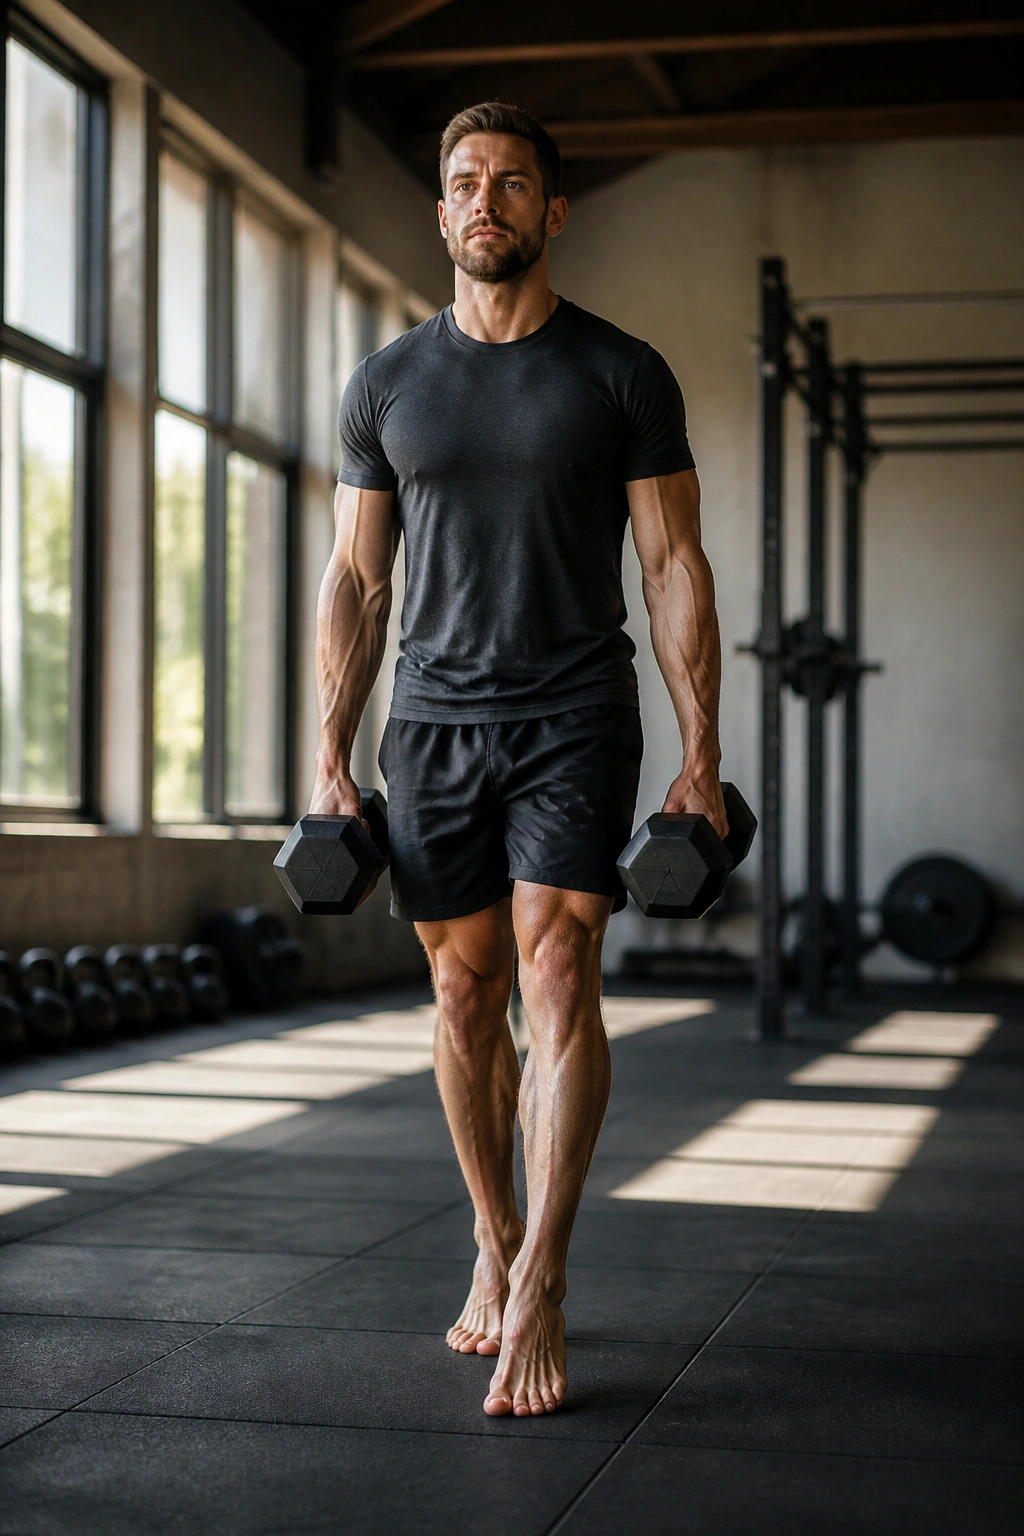
Why does a farmer’s carry on toes work so well? Because it ties together grip, posture, foot stiffness, and calf endurance in one ugly little package. The load in your hands wants you upright; the toes want you stable; the calves have to keep the whole thing from collapsing.
How to Use It
Grab a pair of dumbbells or kettlebells and take short, controlled steps on the balls of your feet. Keep the ribs stacked over the pelvis and the shoulders down. If you start wobbling around like a shopping cart with one bad wheel, the set is too heavy.
- Walk 20 to 30 steps per round.
- Use moderate weight, not max weight.
- Keep the steps short.
- Stop when the heels start slapping down.
The carry is not subtle. It is also oddly useful. Your calves and feet learn to stay switched on while the upper body handles the load.
16. Sled Push on the Forefoot
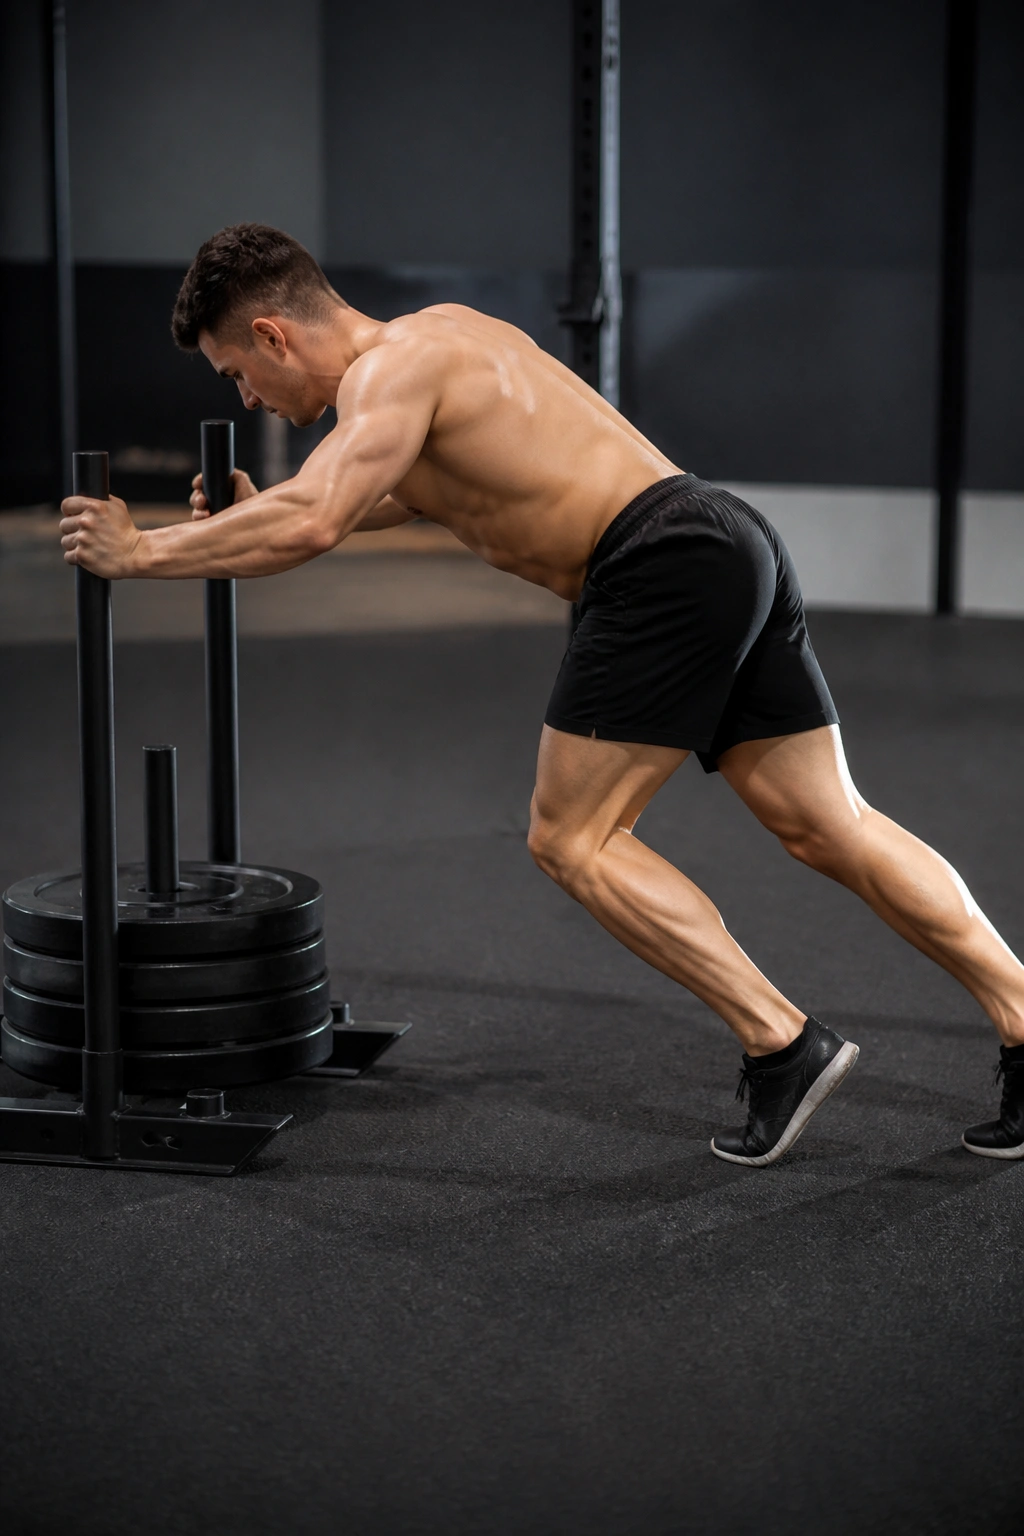
Put the sled in front of you and push through the balls of your feet, and the calves wake up fast. The load, the forward drive, and the constant ground contact make this one feel closer to athletic work than a pure machine exercise.
How to Do It Right
Use a moderate load and a short lane. A sled that is too heavy turns the whole thing into a slow grind, which is fine for other goals but less useful if you want quick calf involvement.
- Push for 15 to 25 yards.
- Keep the heels light.
- Brace the trunk before each drive.
- Use smooth, powerful steps instead of frantic shuffling.
The forefoot position makes the ankle do a lot of quiet work. Calves help, hips help, and the whole chain has to stay organized. That is the point.
If you want stronger legs that also feel useful in motion, this one deserves a spot.
17. Hill Sprints
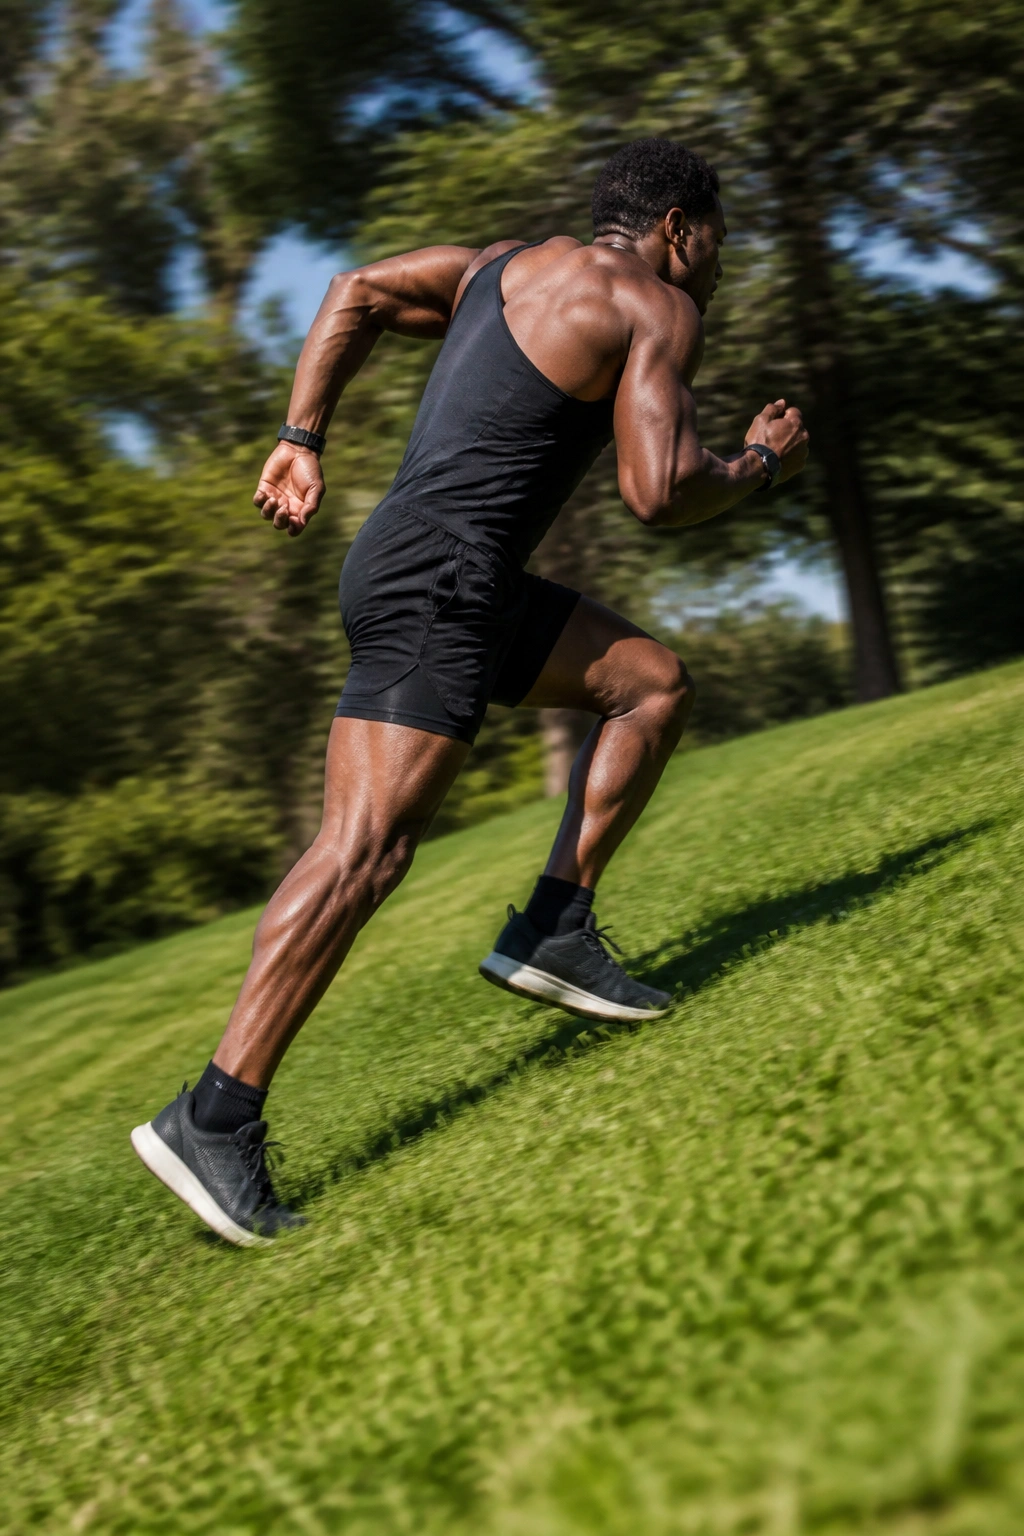
A short hill sprint turns the lower leg into a spring. The incline makes the push-off more forceful, the ankle angle stays a little more loaded, and the calves help drive each stride without the flat-ground overstride that ruins a lot of running mechanics.
The trick is keeping the sprint short. Think 10 to 20 seconds per effort, then walk back and breathe until the legs feel ready again. The work should stay crisp. If the form falls apart, the set is over, period.
I like hill sprints for people who already tolerate some running and want a more athletic calf stimulus. They are not the first place I’d send someone who never runs. They are, however, one of the better ways to build lower-leg pop without staring at a machine for half an hour.
The calves come along for the ride, and they notice.
18. Resistance Band Plantarflexion
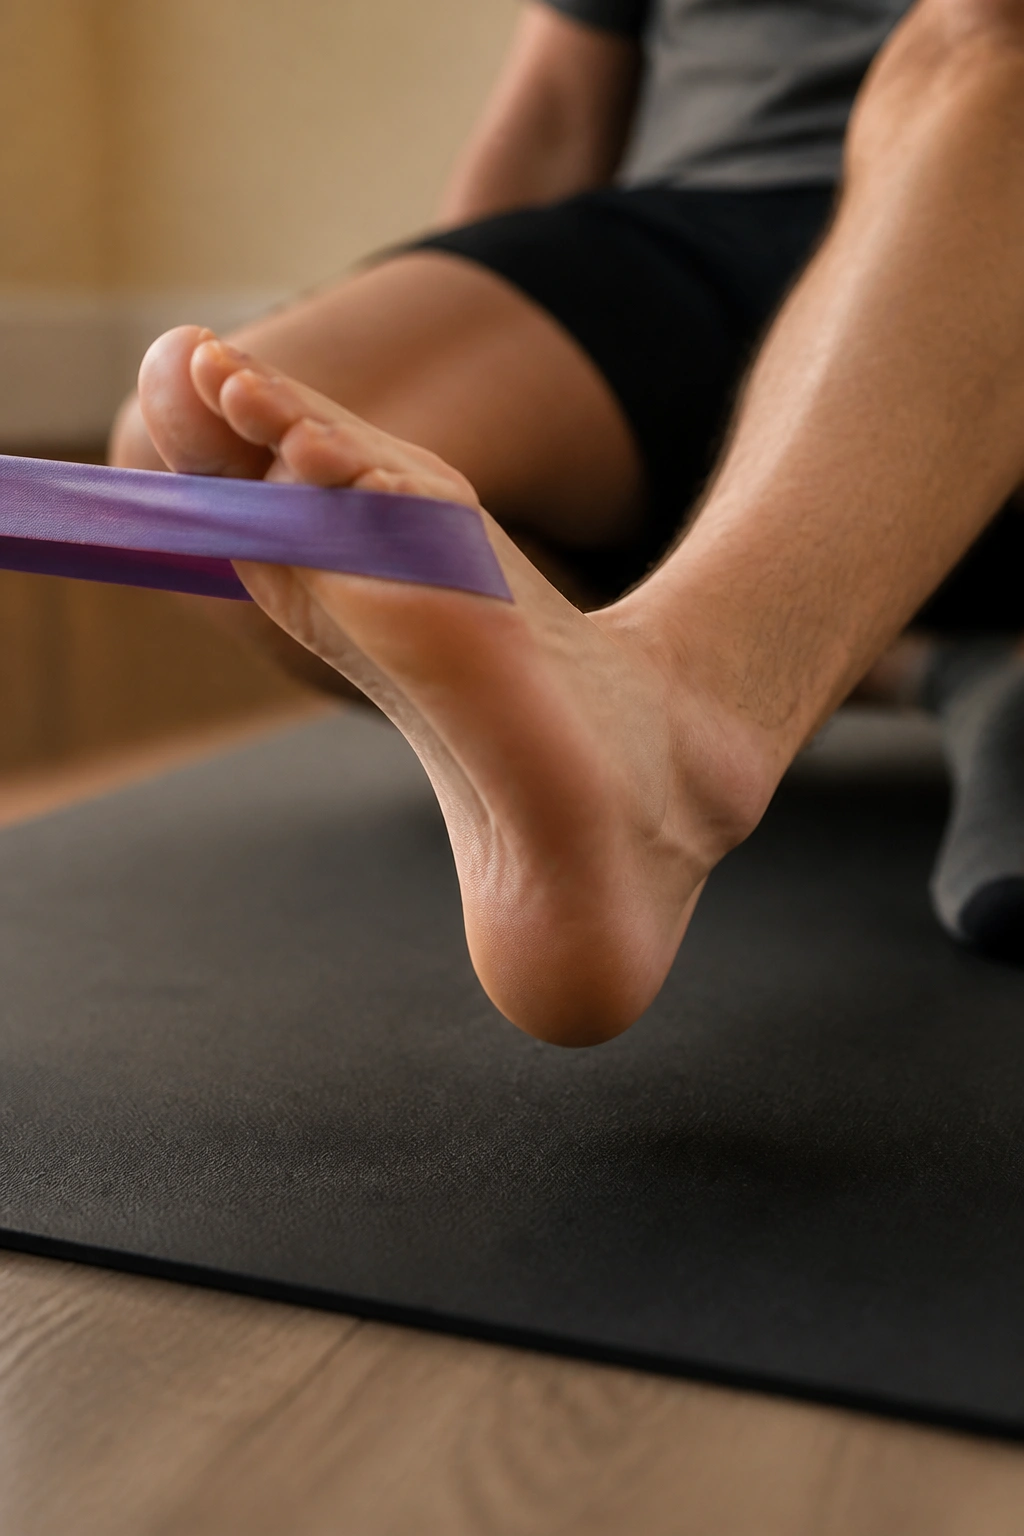
Band work looks tiny next to loaded raises, but it has a job. Resistance band plantarflexion is the ankle’s point-and-flex motion against light tension, which makes it useful for warm-ups, travel, rehab, or those days when the lower leg needs blood flow more than brute force.
Sit on the floor, loop the band around the forefoot, and point the toes away from the shin. Return slowly so the band does not yank you back. Use 15 to 30 reps for a few sets.
This move is not flashy. It is not meant to be. If the calves feel tight after long sitting or after a heavy lower-body day, band work can smooth things out before you go back to harder loading.
It is the small tool that keeps the bigger tools usable.
19. Single-Leg Ankle Hops
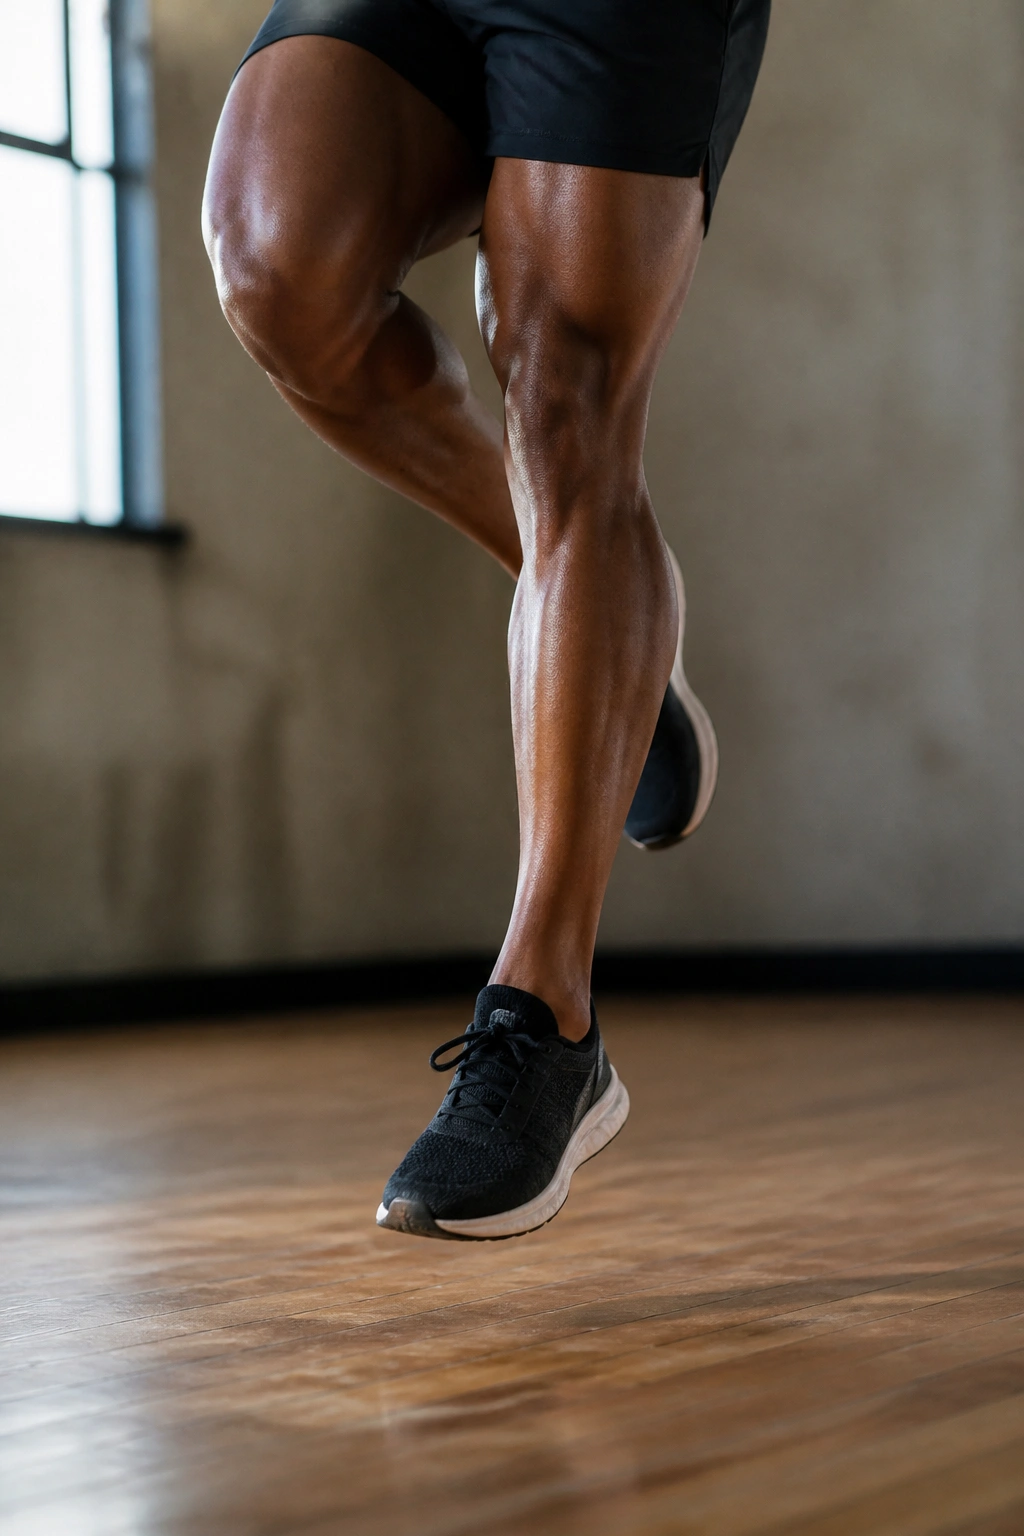
Single-leg ankle hops are the fastest honesty test in the bunch. If your calf and Achilles can rebound cleanly, you will know almost at once. If they cannot, the ground tells you just as fast.
Why They Matter
The goal is not height. The goal is stiffness and quiet landings. Think quick, low hops with the knee barely bending and the ankle doing the work.
- Use 10 to 20 contacts per side.
- Rest 30 to 60 seconds between sets.
- Keep the torso tall.
- Stop if the hops turn loud or sloppy.
These are a good step after pogo hops, not before them. They ask for more control and more single-leg stability. That makes them useful for runners and field sport work, but only if the lower leg is ready.
If the Achilles feels tender, back off. No drill is worth feeding a cranky tendon for fun.
20. Stair Calf Marches
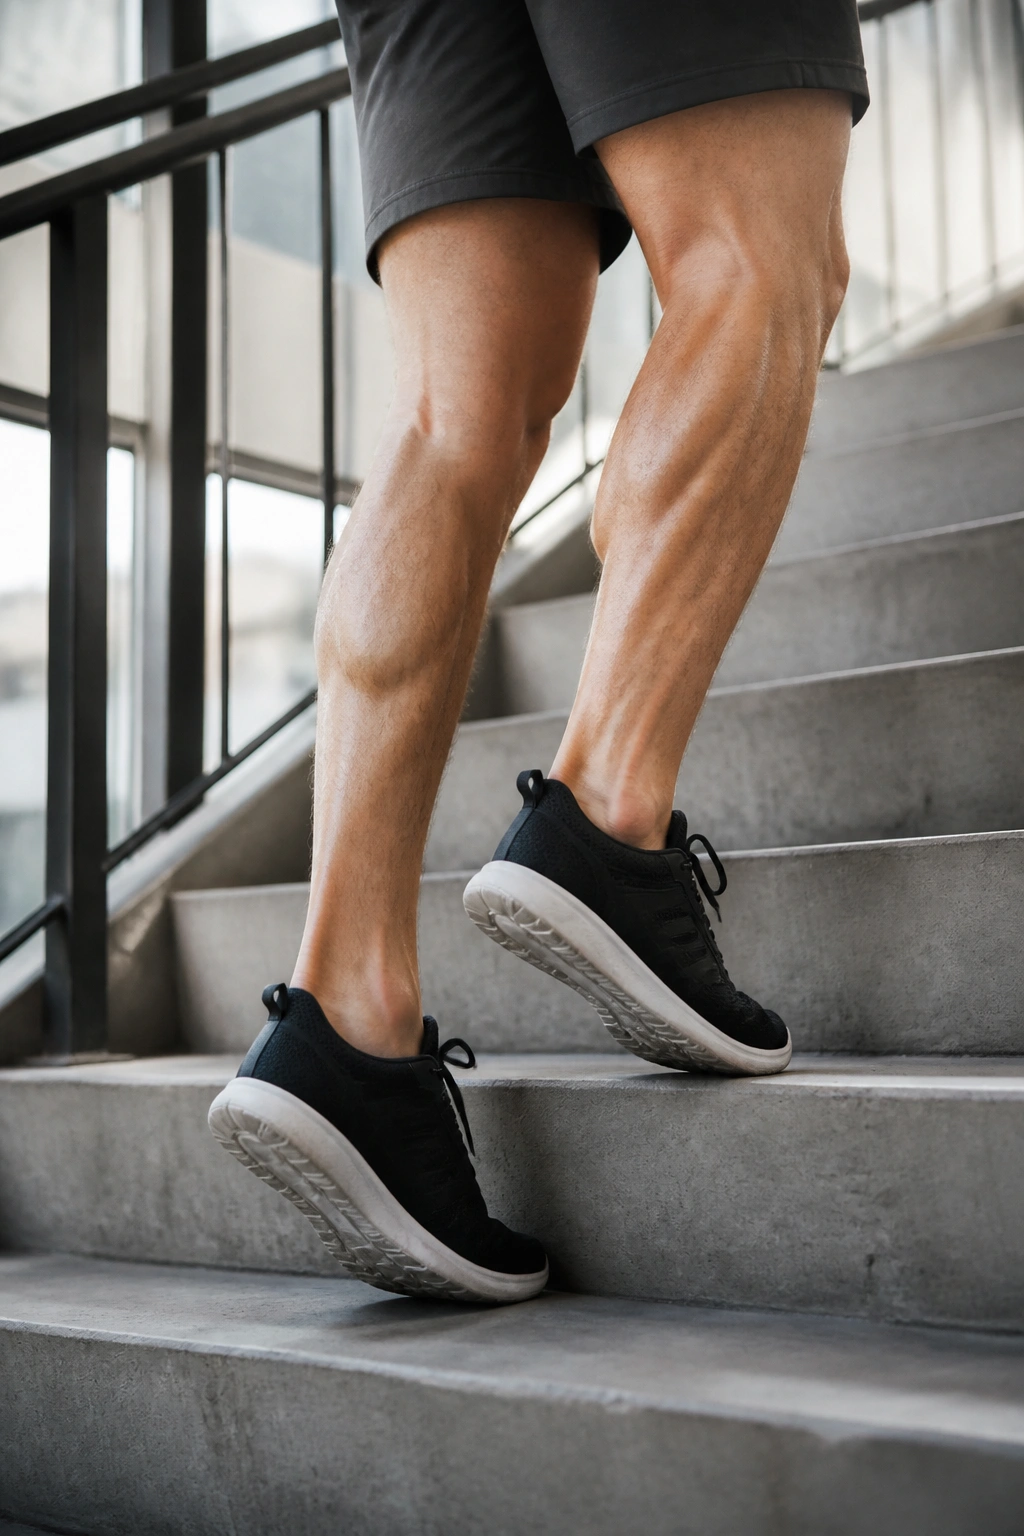
Stair calf marches sit in the weird middle ground between exercise and real life, which is exactly why I like them. You climb the stairs on the forefoot, keep the heel light, and make every step a deliberate push through the calf instead of a lazy shuffle upward.
This one is handy when you want something practical. No machine. No setup. Just steps, a railing if needed, and a steady rhythm for 2 to 5 minutes. It works as a finisher, a warm-up, or a low-stress way to keep the calves honest on days when heavy loading feels like too much.
Use a smooth march, not a frantic dash. The upper body should stay quiet, the push-off should stay clear, and the heel should never turn into dead weight.
If you only have time for a few lower-leg moves, I’d build around one straight-knee raise, one bent-knee raise, and one spring drill. That combination covers size, control, and bounce better than chasing twenty random reps and hoping for magic.
