



Bear crawl workouts look childish right up until your shoulders start burning and your core stops pretending it can coast. Four steps forward, four steps back, and suddenly the floor feels a lot farther away.
That’s why I like them. A good bear crawl hits shoulder stability, trunk stiffness, hip control, and coordination in one move, without needing a rack, a barbell, or a pile of machines. You feel the work fast, and you can scale it from “easy warm-up” to “why did I do this to myself?” without changing much except the tempo, distance, and direction.
Most people only crawl forward. Fine, but that leaves a lot on the table. Reverse crawls, side crawls, pauses, reaches, loaded versions, and crawl-plus-strength combos all stress the body in different ways, and the differences are not small if you care about real total-body strength.
If you’ve got 10 to 20 feet of open floor, a timer, and enough room for your knees to hover without smashing into furniture, you’ve got enough. Start with the cleanest version first. The spicy stuff can wait until your hips stop wobbling.
1. Forward Bear Crawl Intervals
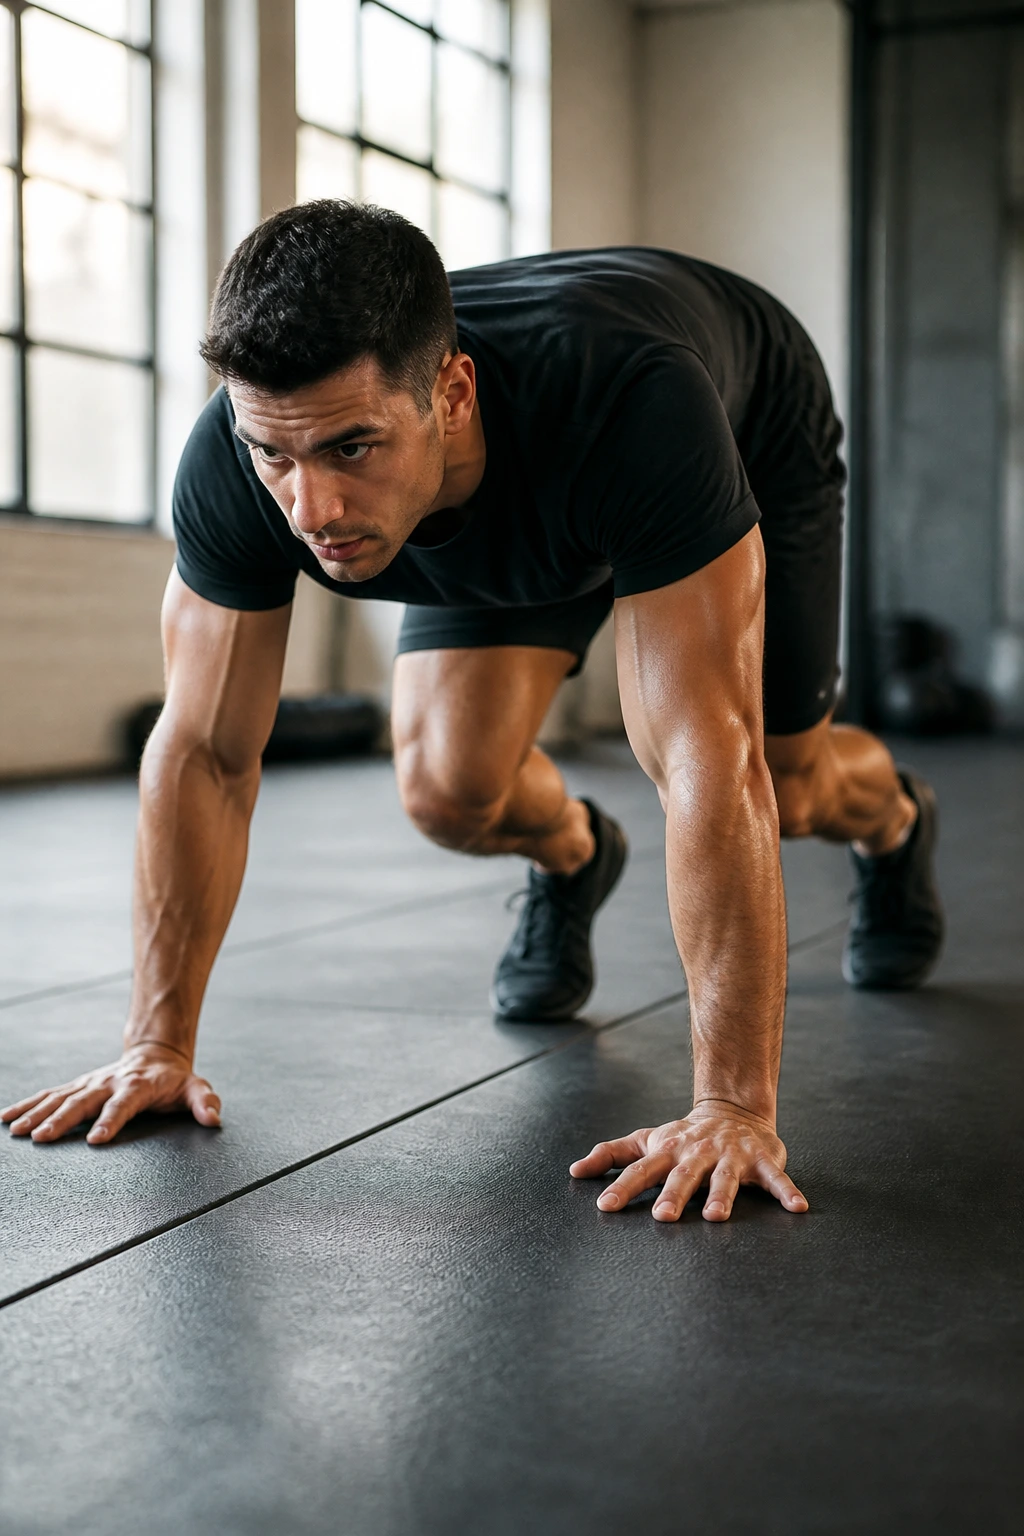
This is the version most people should learn first, and I mean that in the nicest way. It teaches the basic pattern: opposite hand and foot move together, knees stay low, spine stays flat, and the whole body has to work without cheating.
How to Run It
- Crawl 20 feet forward at a controlled pace.
- Rest for 30 to 45 seconds.
- Repeat for 4 to 6 rounds.
- Keep your knees about 1 to 2 inches off the floor.
- If your wrists hate straight-floor work, use a mat or hold light push-up bars.
The main goal here is clean movement, not speed. Your hips should stay quiet, your head should stay in line with your spine, and your feet should land softly. If you hear yourself slapping the floor, you’re probably rushing.
I like this version as a warm-up because it wakes up the shoulders without frying them. It also shows you pretty quickly whether your core is doing its job. If your lower back starts sagging, shorten the crawl and slow down. Simple.
2. Reverse Bear Crawl Shuttles
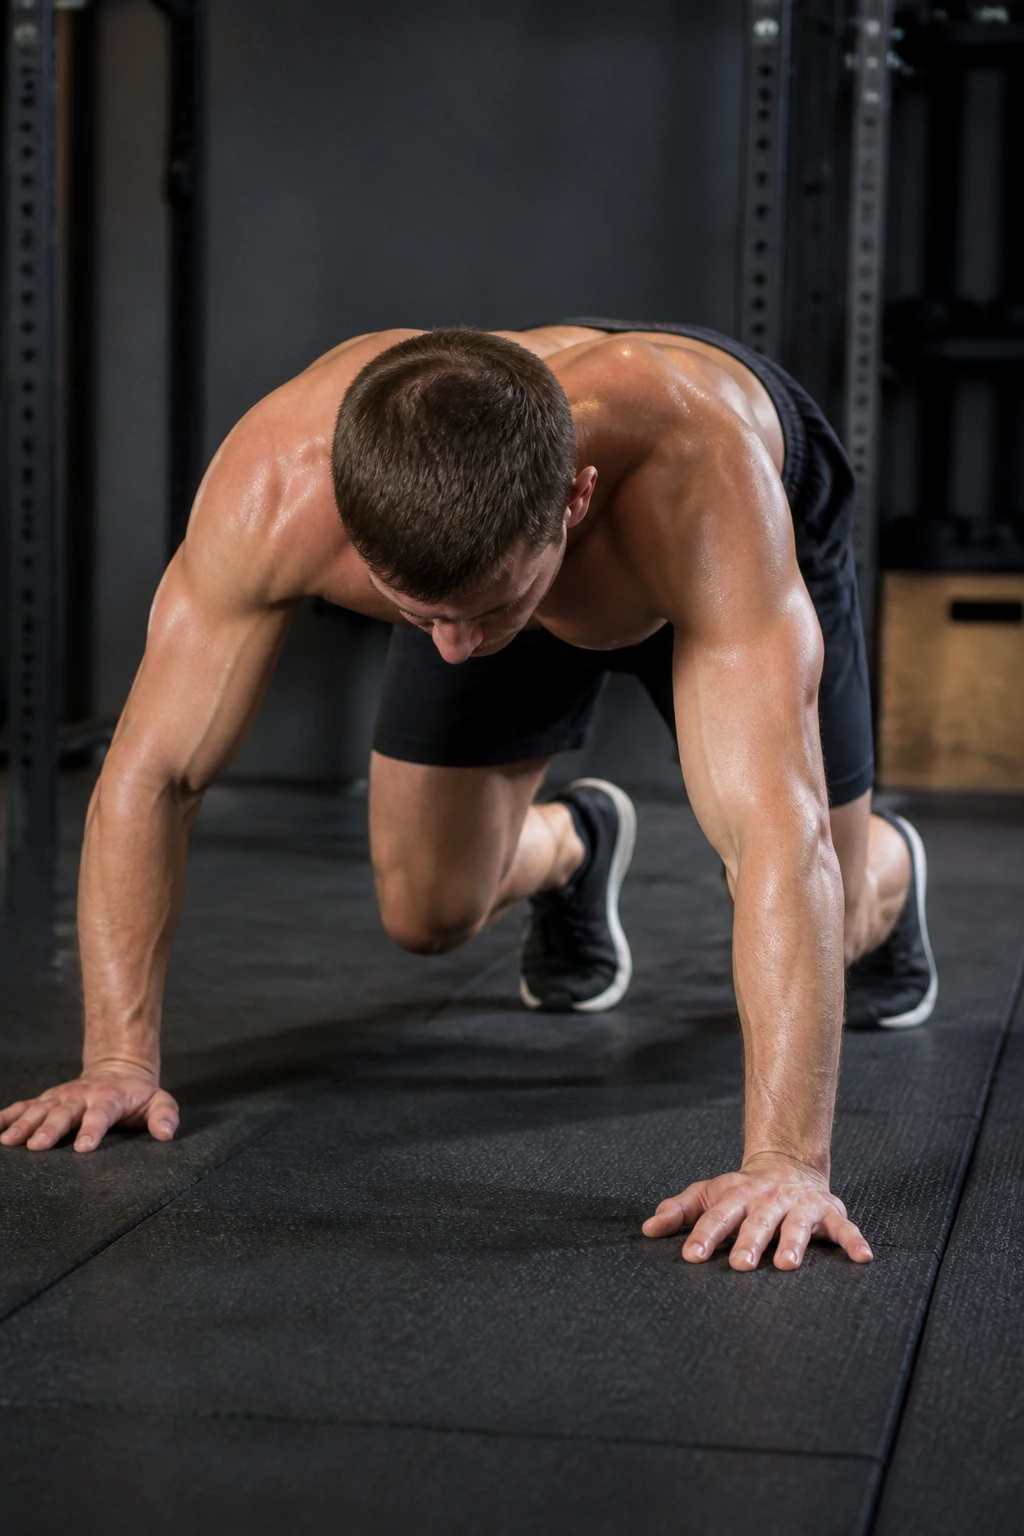
Reverse crawling is harder than it sounds. Most people feel the quads, shoulders, and midline light up within the first two trips back and forth.
You’re moving in a way that feels awkward at first, which is the point. Walking backward on hands and feet forces you to stay centered, and it usually exposes lazy hips faster than the forward version. The crawl should feel controlled, not frantic.
Try 3 to 5 sets of 10 to 15 feet backward, resting 30 seconds between sets. Keep your gaze down so the neck stays relaxed. If you look up, the ribs usually flare and the lower back starts doing the work your abs were supposed to do.
This one makes a solid finisher after upper-body training. It’s also a sneaky warm-up before leg day because your quads wake up fast. Not glamorous. Useful.
3. Lateral Bear Crawl Passes
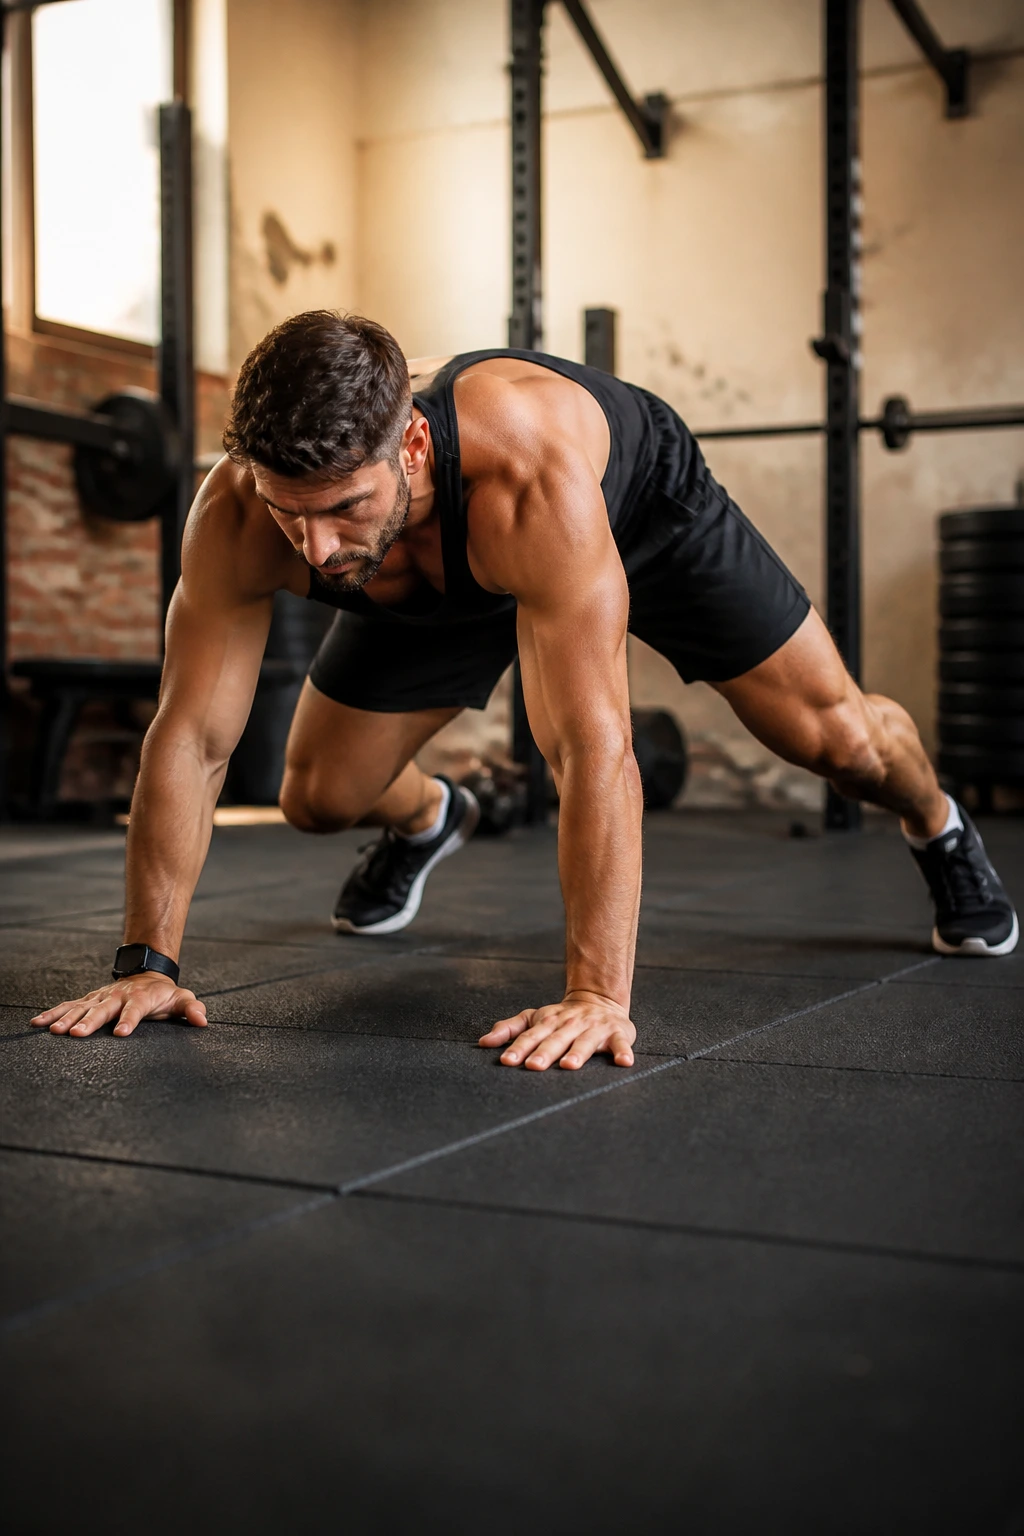
Why crawl sideways when forward works? Because the sideways version hits the body from a different angle, and that angle matters more than people think.
The adductors on the inner thighs have to help more, the obliques have to resist twist, and your shoulders need to stay level while the feet step out to the side. That makes lateral bear crawls a sharp little test of control. They’re especially good if your hips feel stiff or if straight-ahead work gets boring fast.
How to Use It
- Move 8 to 12 steps to the right.
- Pause, then move the same distance to the left.
- Do 3 to 4 rounds.
- Keep the knees hovering low and the feet wide enough to balance.
- If you drift backward, shorten the step and slow the pace.
I like to use this between heavier strength sets because it wakes up the trunk without needing a long rest. The move feels small. The burn says otherwise.
4. Pause-and-Hold Bear Crawl

A crawling pattern with pauses sounds easy until you try it. Then the floor gets rude.
Stop every third step and hold for 2 to 3 seconds. That tiny pause strips away momentum, which means your shoulders and core have to keep you steady instead of letting the rhythm do the work. It’s a lot like the difference between carrying groceries and letting them swing from your arms. One of those options is calm. The other is a mess.
I’d run this for 4 rounds of 15 to 20 seconds, with 30 to 40 seconds of rest. Keep the feet planted during the pause and breathe through your nose if you can. If you’re holding your breath, the position is winning.
This is one of my favorite choices for people who want more strength and less flailing. It also teaches patience, which sounds boring until you realize your form falls apart the second you rush.
5. Shoulder Tap Bear Crawl
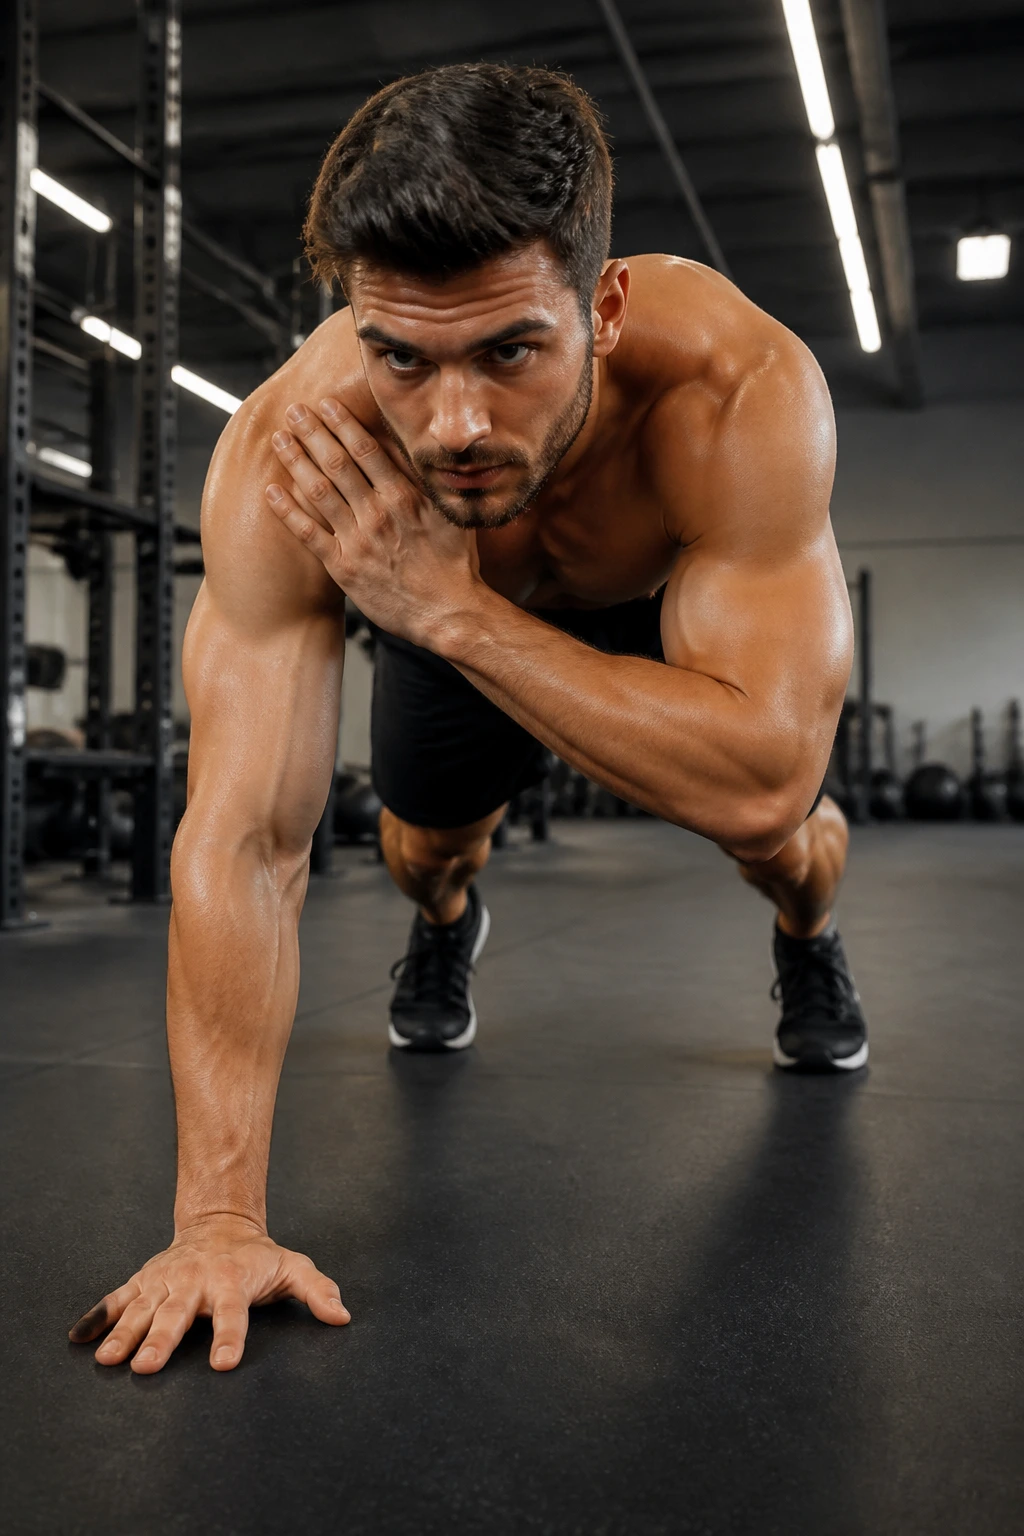
Unlike the basic plank shoulder tap, this version makes you move across the floor while balancing on three points of contact. That extra motion matters.
You crawl forward two steps, tap the opposite shoulder with one hand, then keep moving. The challenge is not the tap itself. It’s keeping the hips from rocking like a cheap boat. If your torso twists every time your hand leaves the floor, you’ve found a weak link worth fixing.
Use 6 to 10 taps per side for 3 to 4 sets. Keep the tap light and quick. Don’t pause long enough to turn the drill into a balance statue. The whole body should stay braced while the free hand moves.
This works well for athletes who need anti-rotation strength, but it’s also just smart training for anyone who sits too much. Your trunk learns to stay square while the limbs do their thing. That’s the good stuff.
6. Bear Crawl Ladder
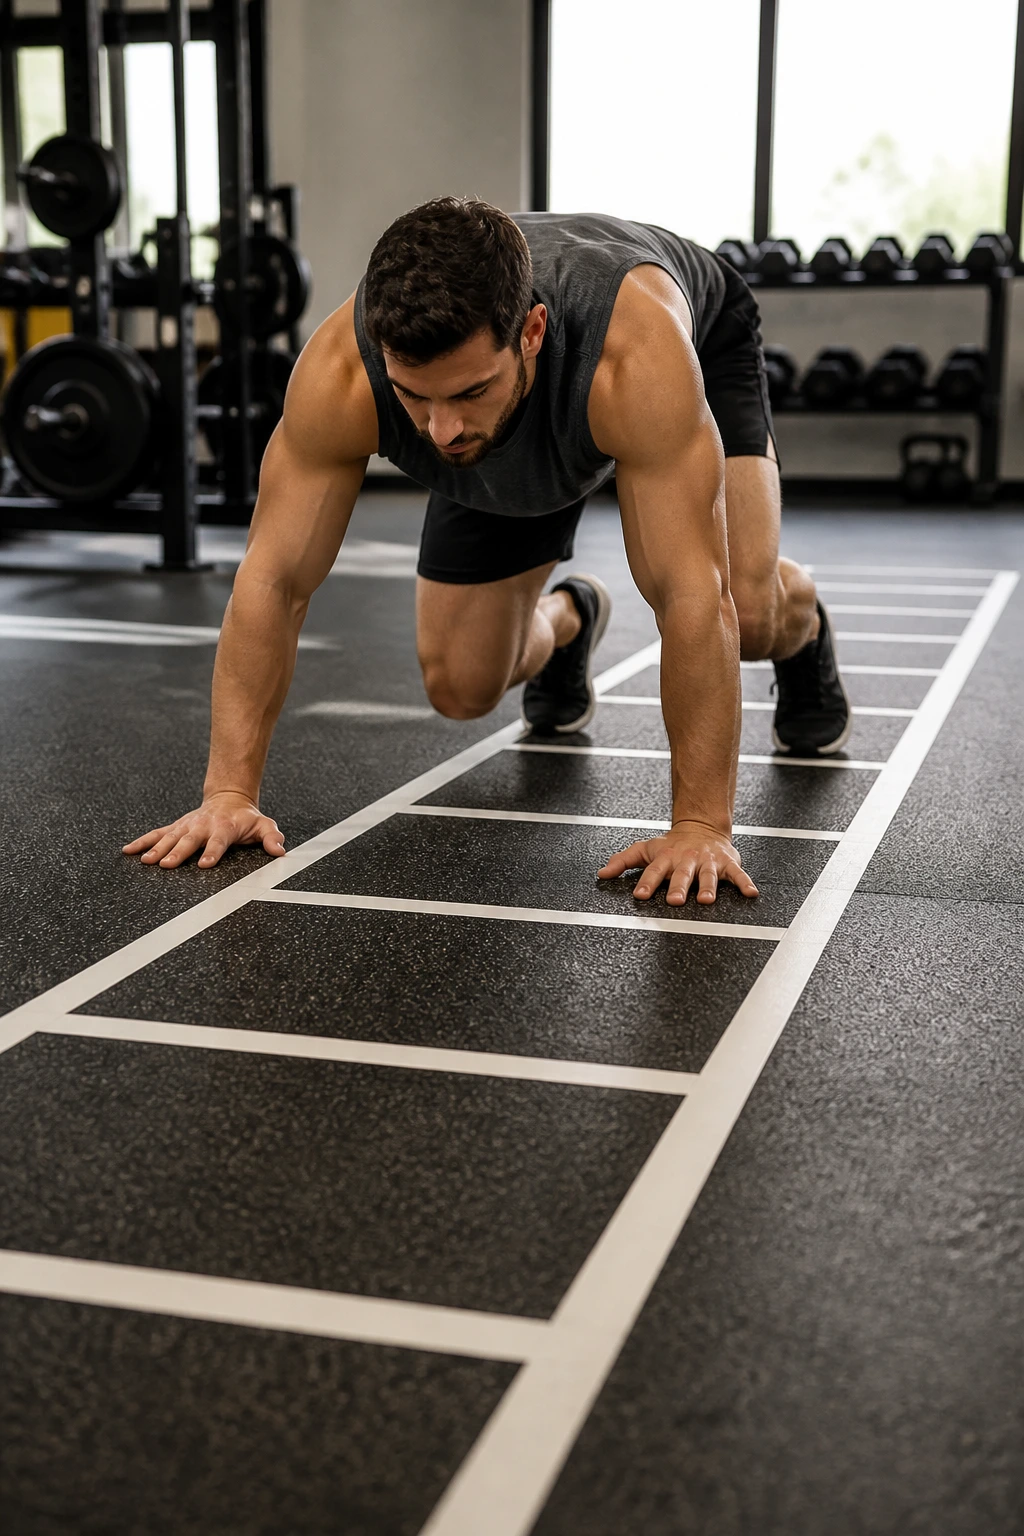
A ladder lets you build effort without turning the workout into chaos. Start short, climb up, then come back down before your form gets ugly.
Why It Works
- 10 seconds forward crawl
- 20 seconds forward crawl
- 30 seconds forward crawl
- 20 seconds forward crawl
- 10 seconds forward crawl
Rest 20 to 30 seconds between rungs. Run the whole ladder 2 to 4 times depending on your conditioning and how much time you’ve got.
The middle rung should feel like the hardest one to keep clean. That’s the point. You get enough fatigue to make the shoulders and trunk work, but not so much that the movement becomes a scramble.
Tip: keep the same speed on every rung until the 30-second piece. If you blast the short rungs, you’ll pay for it when the ladder gets longer. A steady crawl is usually the stronger crawl.
7. Uphill Bear Crawl
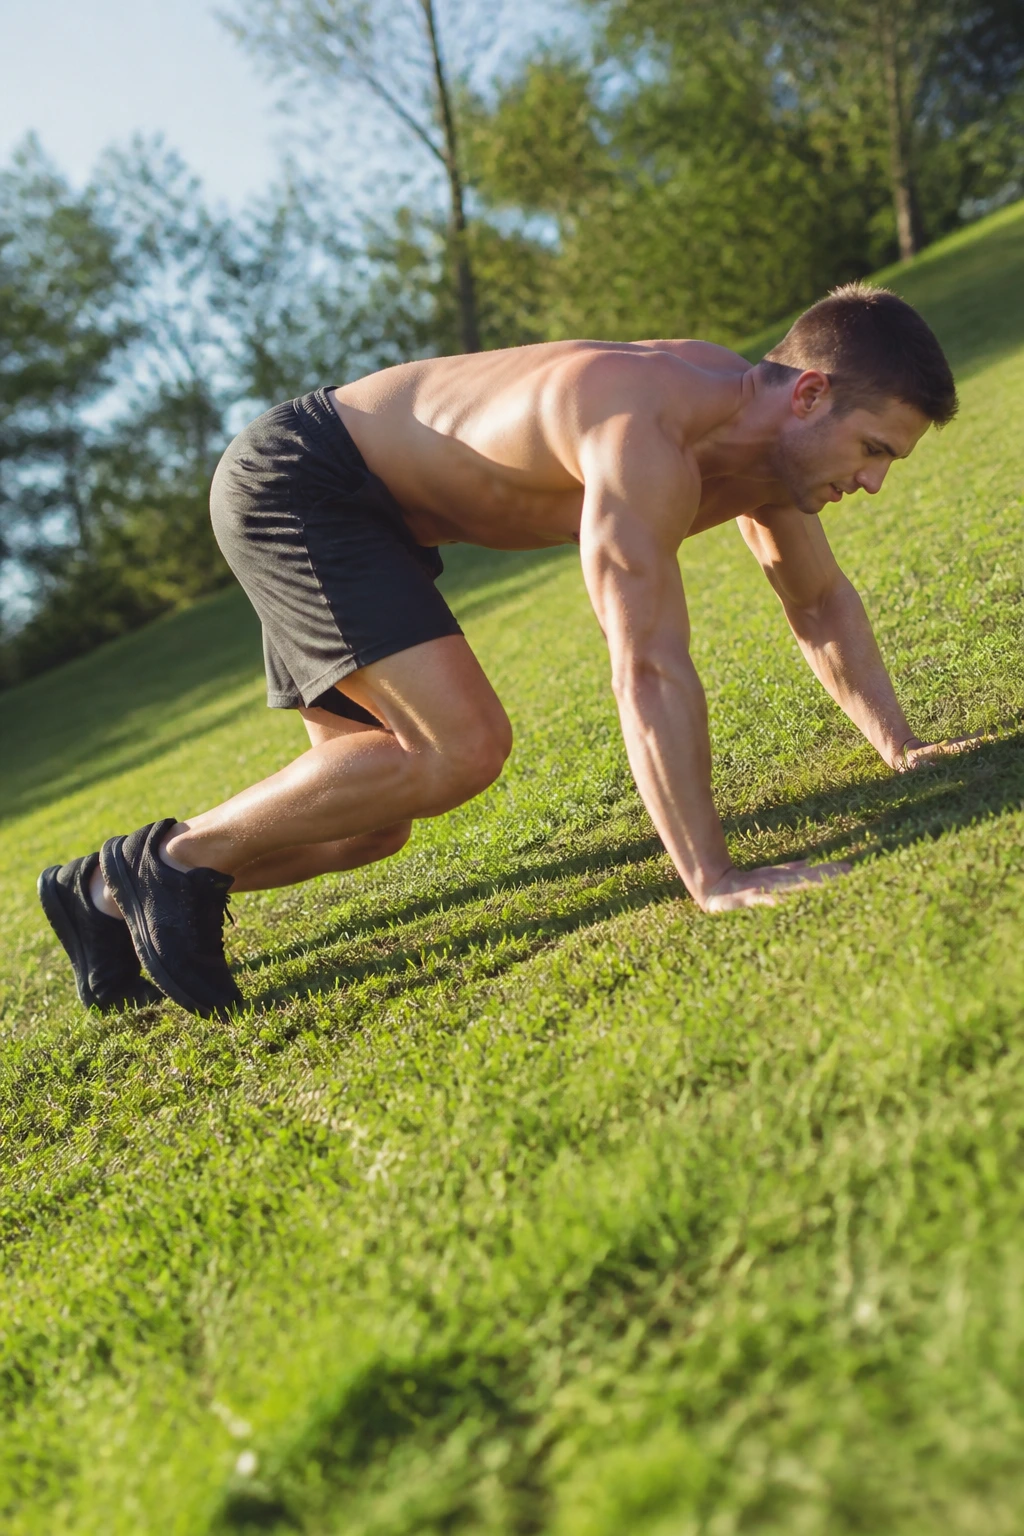
A gentle incline changes the game fast. Gravity gives you a little extra work on the arms and the trunk, and your hips have to keep up.
Find a shallow hill, a low turf slope, or any stable incline that doesn’t force your wrists into a weird angle. Crawl up for 10 to 15 seconds, then walk back down and rest. Do 6 to 8 climbs. If the slope is steep enough that your hips shoot into the air, it’s too steep.
The climb should feel like the whole body is leaning into the ground. Hands stay planted, knees stay low, and the feet should not scramble like they’re late for a train. Short steps work better than giant ones.
This version is good when you want more intensity without adding gear. It also teaches you to keep force going forward, which carries over to other athletic work better than a lot of people expect.
8. Crawl-to-Squat Combos
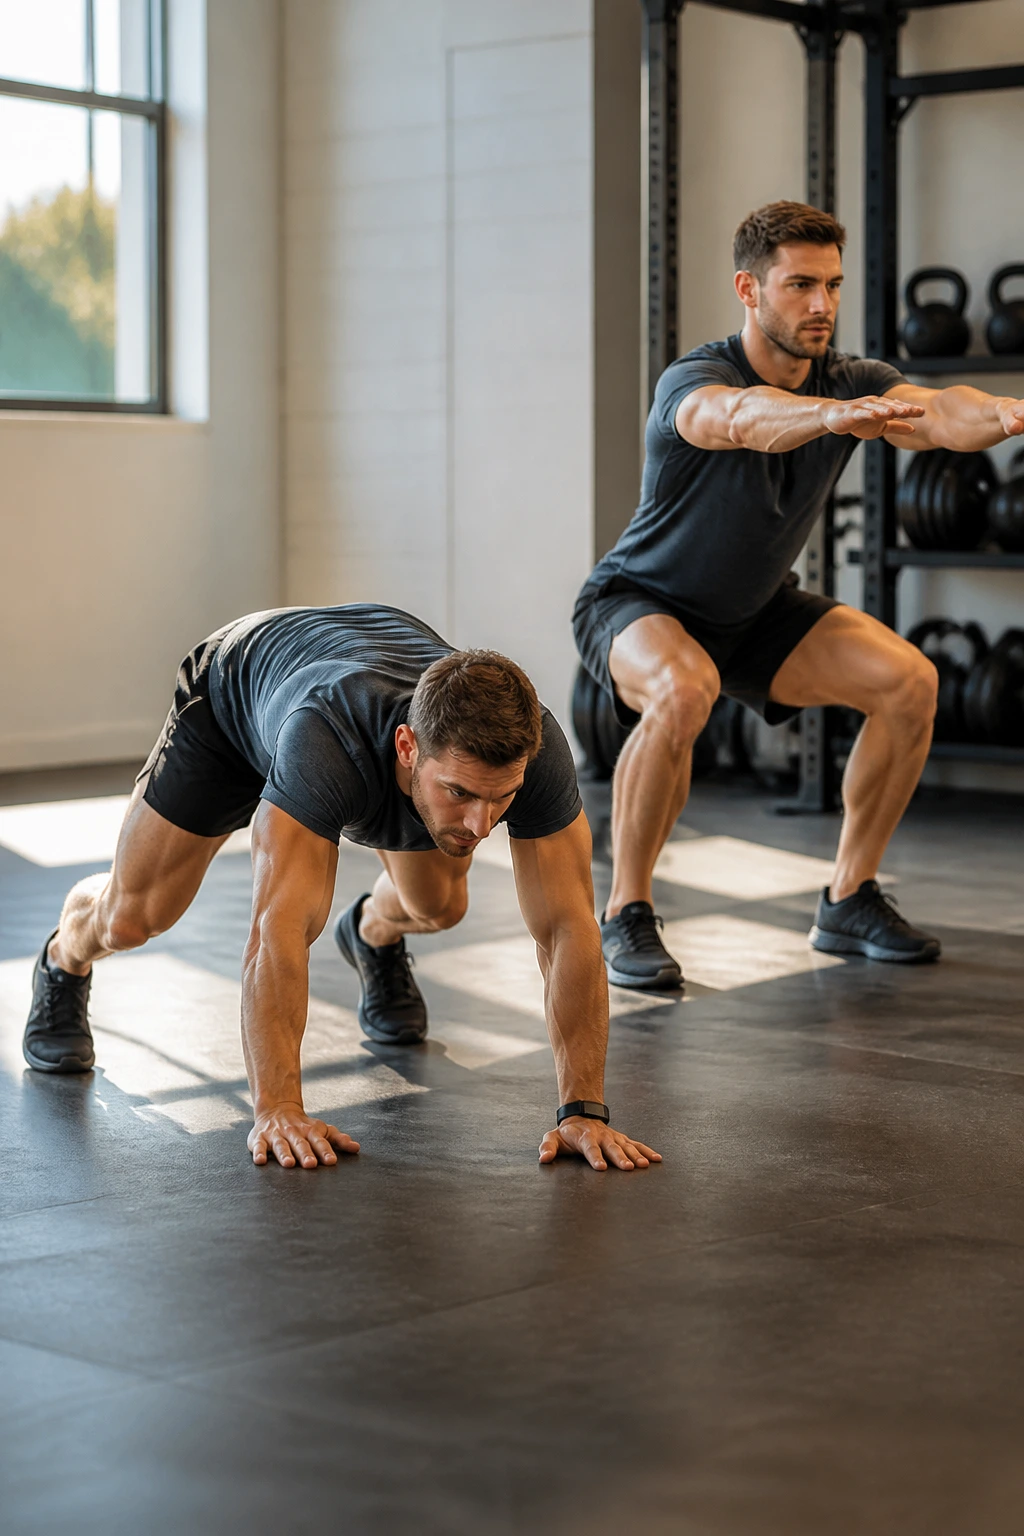
This is one of the easiest ways to turn bear crawls into a full-body circuit. The crawl gives you shoulder and core work. The squat brings the legs into it without needing any equipment.
Crawl forward 10 feet, stand up, and do 5 air squats. Crawl back 10 feet, then do 5 more squats. That’s one round. Run 4 to 6 rounds with 45 seconds of rest if you want strength, or cut the rest to 20 to 30 seconds if conditioning is the bigger goal.
The nice thing here is that the standing transition keeps your hips honest. You can’t just stay crouched and hide. You have to shift from ground work to standing work, and that change exposes whether your legs and trunk can cooperate.
If your knees don’t like deep squats, use a box or shallow range. The crawl still does its job.
9. Contralateral Reach Bear Crawl
What happens if the usual crawl feels too easy? Reach a little farther before each hand lands.
During each step, extend one hand 2 to 4 inches farther than usual before placing it down. That small reach makes the body fight rotation harder, and it tends to wake up the obliques and shoulder stabilizers in a hurry. It’s a tiny change. It feels much bigger.
How to Dial It In
Keep the crawl slow and deliberate. Run 3 sets of 5 reaches per side, or do 20 seconds on, 20 seconds off for 4 rounds. The hips should stay square to the floor. If one side of your body twists open every time you reach, shorten the reach and clean it up.
This is a nice bridge between beginner crawling and the more awkward advanced variations. It keeps the movement pattern familiar while adding enough instability to make your core work harder. That’s usually a better progression than jumping straight into chaos.
10. Backpack-Loaded Bear Crawl
Adding load changes the tone fast. A backpack stuffed with 5 to 15 pounds turns a bodyweight drill into a real strength-endurance test.
Keep the backpack snug and centered high on your back. Loose items bounce around and turn the crawl into a wrestling match. Start with 3 to 4 sets of 10 to 15 feet, resting 45 to 60 seconds. If the load makes your lower back feel pinchy or your shoulders shrug up toward your ears, lighten it immediately.
I prefer this version over holding a plate in front of the body because the backpack lets the hands stay free and the floor pattern stay intact. The weight shifts the challenge to your trunk and shoulders without forcing a weird grip. That matters.
Not every session needs load. But if plain crawling feels too easy and your form is already clean, the backpack is a simple next step. No gimmicks. Just harder work.
11. EMOM Bear Crawl
An EMOM gives you structure without much fuss. Every minute on the minute, do the crawl, then rest for whatever time is left.
Set a timer for 8 minutes. At the start of each minute, crawl for 20 to 30 seconds, then breathe and reset. If that feels smooth, push it to 10 minutes. The key is leaving enough room to stay crisp on the next minute. If you’re gasping at the buzzer, the work interval is too long.
Compared with a long continuous crawl, EMOM work keeps the quality higher. You get repeated short efforts, which is great for people who want conditioning without watching their form melt into the floor. It also fits neatly after strength work because you can control the total dose.
I like this format when time is tight. It’s blunt, efficient, and hard to fake.
12. Long-Distance Bear Crawl
A long crawl changes the feeling from strength drill to grindy endurance test. The floor gets longer. Your shoulders notice.
What to Expect
- Crawl 30 to 60 feet without stopping.
- Rest for 60 to 90 seconds.
- Repeat for 2 to 4 rounds.
- Keep the head low and the spine flat.
- Use smaller steps once fatigue kicks in.
The real trick here is staying smooth after the first burn wave hits. Your pace will probably slow, and that’s fine. What you want to avoid is the ugly hip pike that shows up when people start cheating to save their shoulders.
This version is the one I’d use if you want a crawl that feels more like a conditioning block than a quick finisher. It also pairs well after pulling work or lower-body lifts because it asks the upper back to keep stabilizing while the rest of you gets tired.
13. Crawl Under a Low Bar
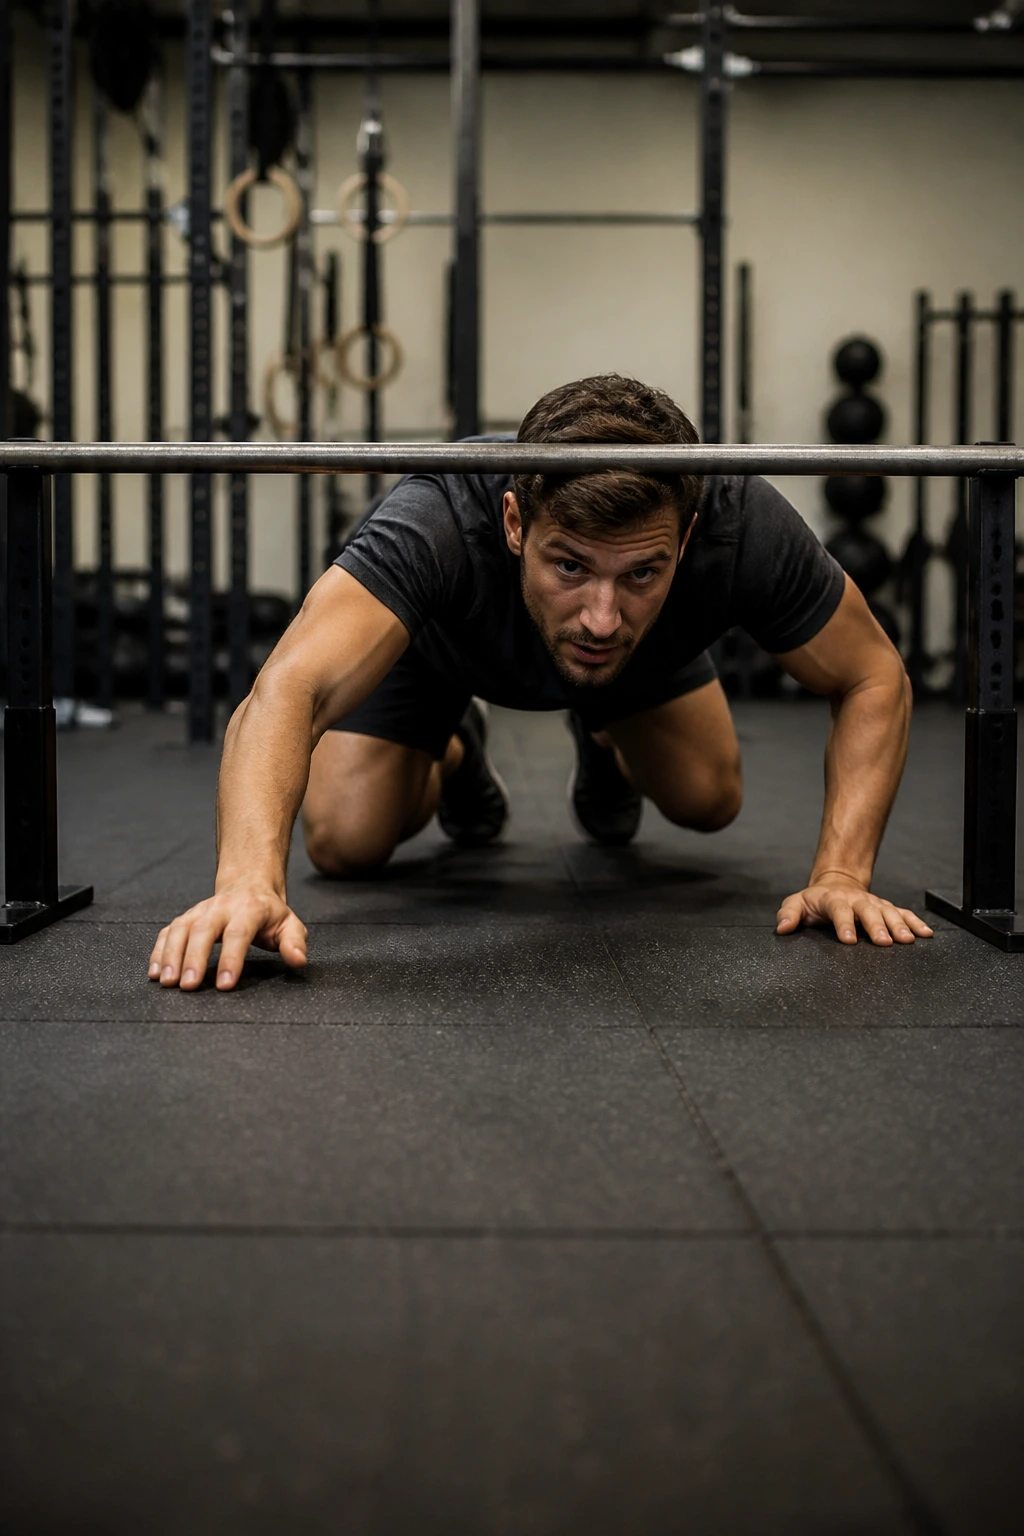
This one looks a little ridiculous in the best possible way. It forces the body to stay low, and low is where a lot of people lose the plot.
Set up a broomstick, low bar, or even a sturdy line between two supports at about 12 to 18 inches off the floor. Crawl underneath without brushing it. Do 4 to 6 passes, resting as needed between trips. If you’re scraping your back the whole way, the surface is too low or your hips are too high.
The best part is how honest it feels. You cannot fake a low crawl. The ribs have to stay down, the shoulders have to work, and the knees have to hover without bouncing. It’s a tight little lesson in body control.
I wouldn’t make this your first crawl drill, but it’s a smart one once the basics are solid. It adds spatial awareness, which sounds abstract until you almost hit the bar with your spine.
14. Bear Crawl to Plank to Crawl
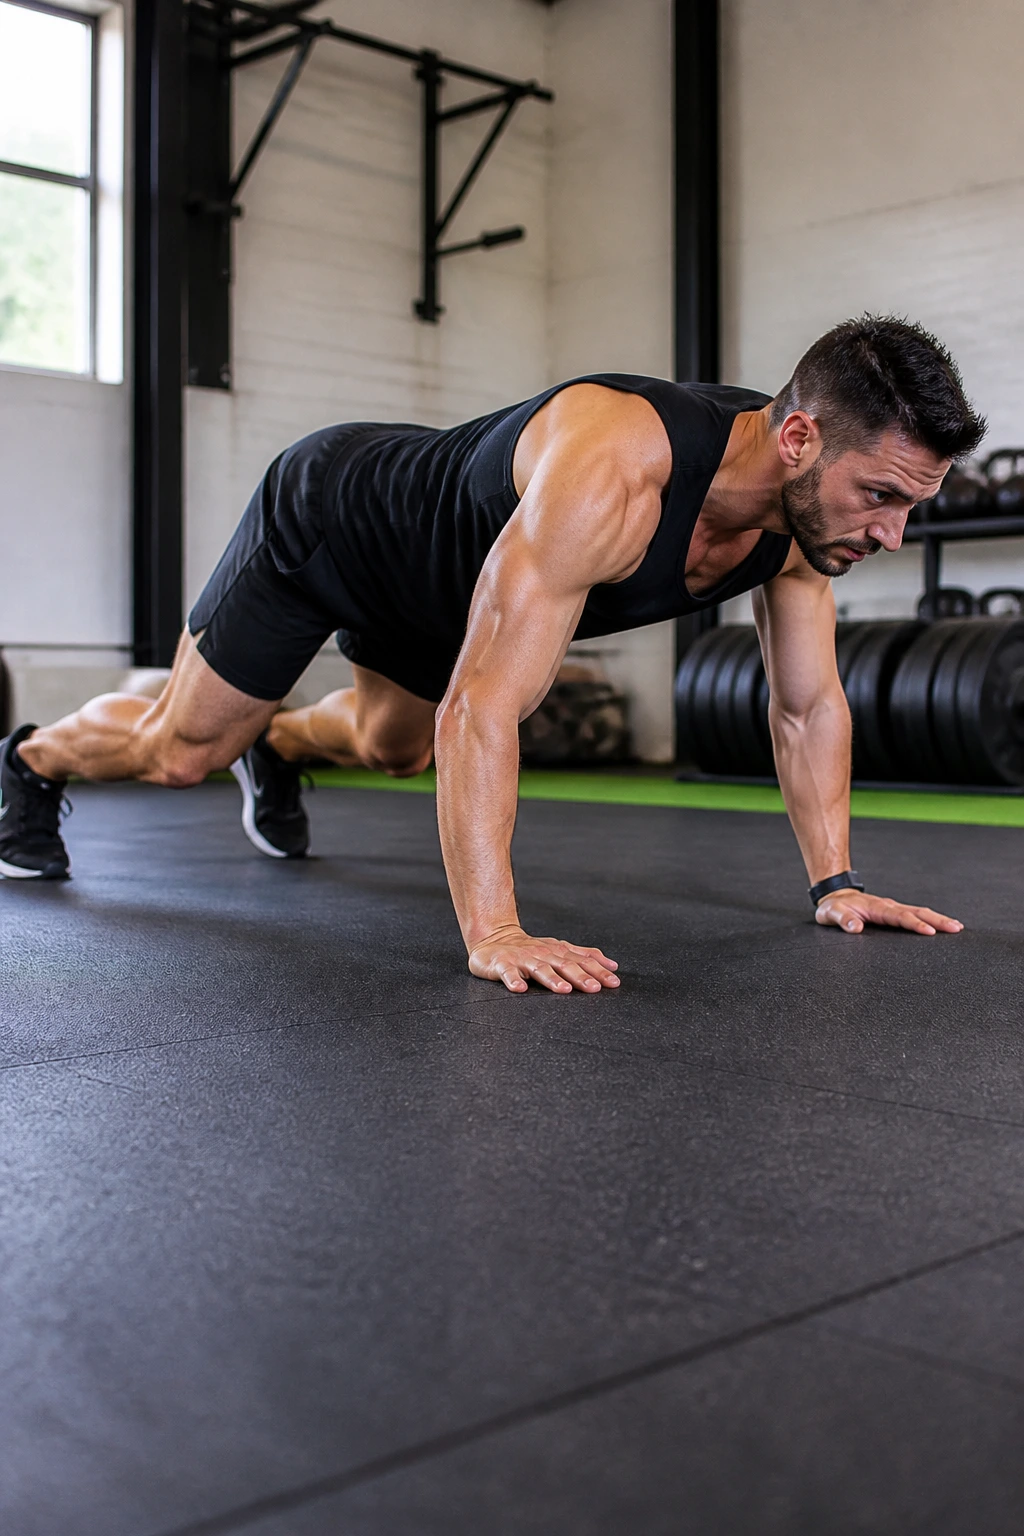
This is a strength drill, not a warm-up stroll. The transition from crawl to plank and back again asks your trunk to keep its shape while the body changes position under load.
Crawl forward 3 to 5 steps, drop into a hard plank for 2 seconds, then crawl forward again. Run 3 to 4 rounds of 20 to 30 seconds, or count 5 transitions total per side if you want a more controlled session. The plank pause should feel solid, not saggy. If your hips dip, shorten the crawl and fix the brace.
The reason this one works so well is the stop-start demand. A lot of people can crawl. Fewer can stop dead in a plank without losing tension, then start moving again without wobbling. That ability matters.
It’s a good choice when you want more core strength and less cardio drama. You’ll still breathe hard, though. No free rides here.
15. Direction-Change Cone Crawl
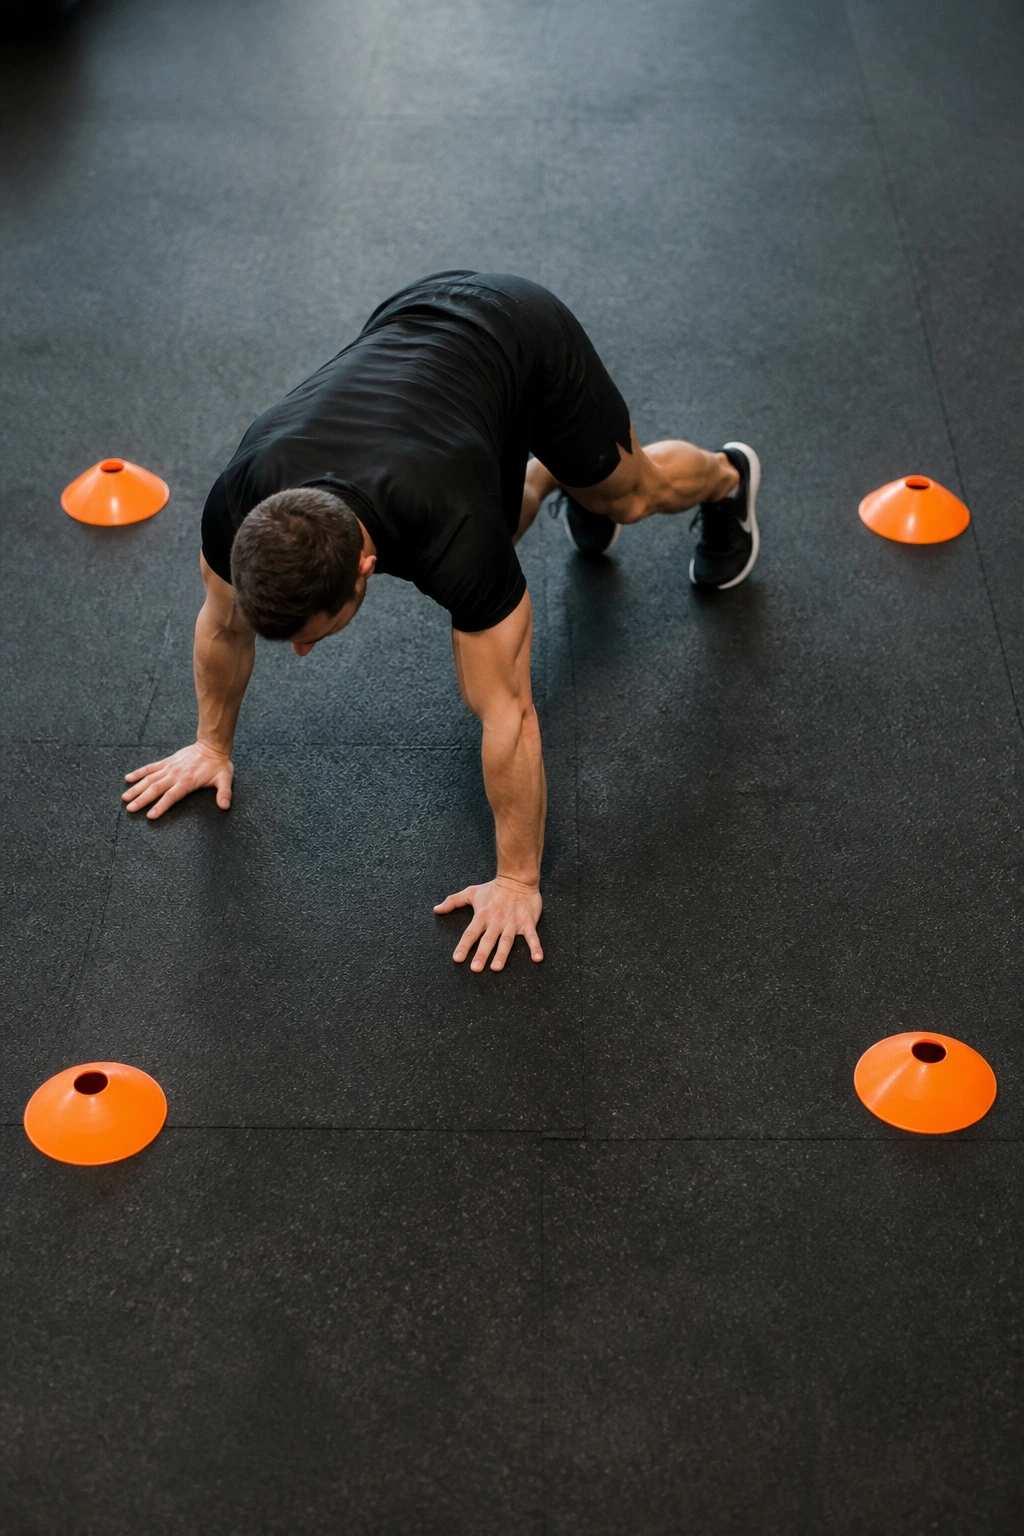
Can you keep your hips square when the path changes? That’s the whole test here.
Set four cones or markers in a square, roughly 5 to 8 feet apart. Crawl forward to one cone, turn right, crawl to the next, then keep going around the square. Run 4 to 6 laps, resting 30 to 45 seconds between laps. If you don’t have cones, use shoes, water bottles, or tape marks on the floor.
How to Set It Up
The turns should be deliberate. Plant the opposite hand first, shift the feet, and keep the knees low as you change direction. Sharp turns expose sloppy weight shifts fast, which is why this drill works so well for anyone who needs athletic footwork.
It’s not fancy. That’s the appeal. The movement pattern stays simple, but the direction changes keep your trunk and shoulders paying attention.
16. Speed Burst Bear Crawl

Fast crawling is useful only if the form stays together. Once the hips start bouncing and the hands start slapping, you’re just making noise.
Do 6 to 8 bursts of 6 to 8 seconds each. Rest 45 to 60 seconds between bursts so every rep stays sharp. The goal is quick, controlled steps, not a frantic scramble across the floor. If you lose the hover position, slow down and own the speed you can actually handle.
I like speed bursts for conditioning days when you want a hard hit without a long workout. They also teach the body to create force under fatigue, which is handy if your sport or training style asks for short explosive efforts.
This is one of those drills where less is more. A few clean bursts beat a sloppy ten-minute crawl every time.
17. Slow Tempo Bear Crawl
Compared with speed work, slow tempo crawling feels almost unfair. Every second drags, and that’s why it works.
Move one hand and one foot over a 2 to 3 second count before placing them down. Crawl 15 to 20 feet for 3 rounds, resting 30 to 45 seconds between rounds. The slow pace makes your trunk do more of the work because momentum stops helping. The shoulders also spend more time under tension, which you’ll feel fast.
This version is excellent for beginners who need to learn control, but it’s just as good for stronger people who’ve started rushing everything. Slow tempo exposes every wobble. No place to hide.
If you want the crawl to feel even tougher, pause for half a second before each step lands. Tiny changes like that matter more than adding flashy variations nobody can hold together.
18. Crawl and Push-Up Combo
A crawl plus push-ups is where this movement starts to feel like a real strength circuit. The upper body gets no meaningful break.
Crawl forward 4 steps, drop for 1 push-up, crawl another 4 steps, then repeat. Do 3 to 5 rounds of 30 to 40 seconds. If full push-ups wreck your form, use your knees or place your hands on a slightly elevated surface. The crawl should stay smooth even after the push-up, which is easier said than done.
What to Watch For
- Keep the ribs tucked during the push-up.
- Don’t let the hips sag between reps.
- Breathe at the top before you crawl again.
- Stop the set when the crawl turns shaky.
This is one of the better options for advanced home training because it hits the chest, shoulders, triceps, core, and hip stabilizers in one short block. It also makes lazy pacing impossible, which I appreciate.
19. Partner Mirror Bear Crawl
This one is part drill, part challenge, and part stubborn little contest. One person leads, the other copies every direction change, pause, and speed shift.
Work for 20 to 30 seconds, then rest for 30 to 40 seconds. Repeat for 6 to 8 rounds. The leader can move forward, sideways, backward, or freeze in place. The mirror has to match the pattern without drifting or losing the low position. If you’re solo, use a timer and alternate random directions every few seconds.
Compared with a solo crawl, the partner version adds reaction time and a bit of chaos. That makes it especially useful for athletes, but it’s also just more fun than staring at the floor in silence. Funny how that matters.
Keep the movement clean. Competition can make people sloppy fast, and sloppy crawling is mostly just a shoulder tax with extra noise.
20. Total-Body Bear Crawl Finisher Circuit
If you want one crawl block that covers everything, this is the one I’d save for the end of a workout. It blends forward, lateral, and reverse patterns so the body never settles into one groove.
Run this circuit for 4 rounds:
- 20 seconds forward bear crawl
- 20 seconds lateral bear crawl
- 20 seconds reverse bear crawl
- 20 seconds rest
That gives you a compact, nasty little finisher without needing equipment. Keep the transitions smooth, and don’t try to win the first round. The point is staying clean across all three directions while fatigue builds.
I like this finisher after upper-body or lower-body strength work because it ties the whole session together. The shoulders stay on, the trunk stays braced, and the hips have to keep shifting shapes without falling apart. It’s a neat way to end a session if you want to leave the floor feeling worked, not wrecked.
Final Thoughts
Bear crawl workouts are plain-looking on purpose. The simplicity is what makes them good. When you remove the usual ways of cheating, you find out pretty fast whether your shoulders, core, and hips are actually doing their jobs.
Start with one or two patterns you can keep clean. Add distance, load, or speed only after the form stays steady for the whole set. That one rule saves a lot of frustration, and a few wrists too.
If the floor work bothers your joints, shorten the crawl, use a softer surface, and slow everything down. The movement should challenge you. It should not feel like a fight with the ground.
