



The first time you finish a legitimate barre workout, your legs don’t just feel tired. They feel heavy, almost like lead, and they likely have a distinct, involuntary tremor that refuses to stop no matter how hard you try to stand still. That shaking? That is the hallmark of muscle fatigue in a barre setting. It is not a sign that you are doing something wrong. It is a sign that you have successfully reached the point where your stabilizing muscles are giving out, forcing your body to recruit deeper, smaller muscle fibers that usually sit idle during standard gym movements.
Barre 3-style training—the hybrid of ballet conditioning, Pilates core work, and yoga-inspired stretching—is deceptive. You look at the movements and think they are small. You think they are gentle. But fifteen minutes into a session, when you are holding a tiny, one-inch pulse in a wide-second position plié, you realize that small does not mean easy. The goal here isn’t to bulk up or strain through massive ranges of motion. The goal is endurance, alignment, and finding strength in the most uncomfortable, microscopic movements possible.
You don’t need a professional-grade ballet barre or thousands of dollars in studio equipment to reap the benefits. A sturdy kitchen chair, a soft spot on the floor, and a little bit of wall space are more than enough. The magic is not in the equipment; it is in the precision of the angles you hold and the deliberate way you breathe through the burn.
1. Classic Wide-Stance Pliés
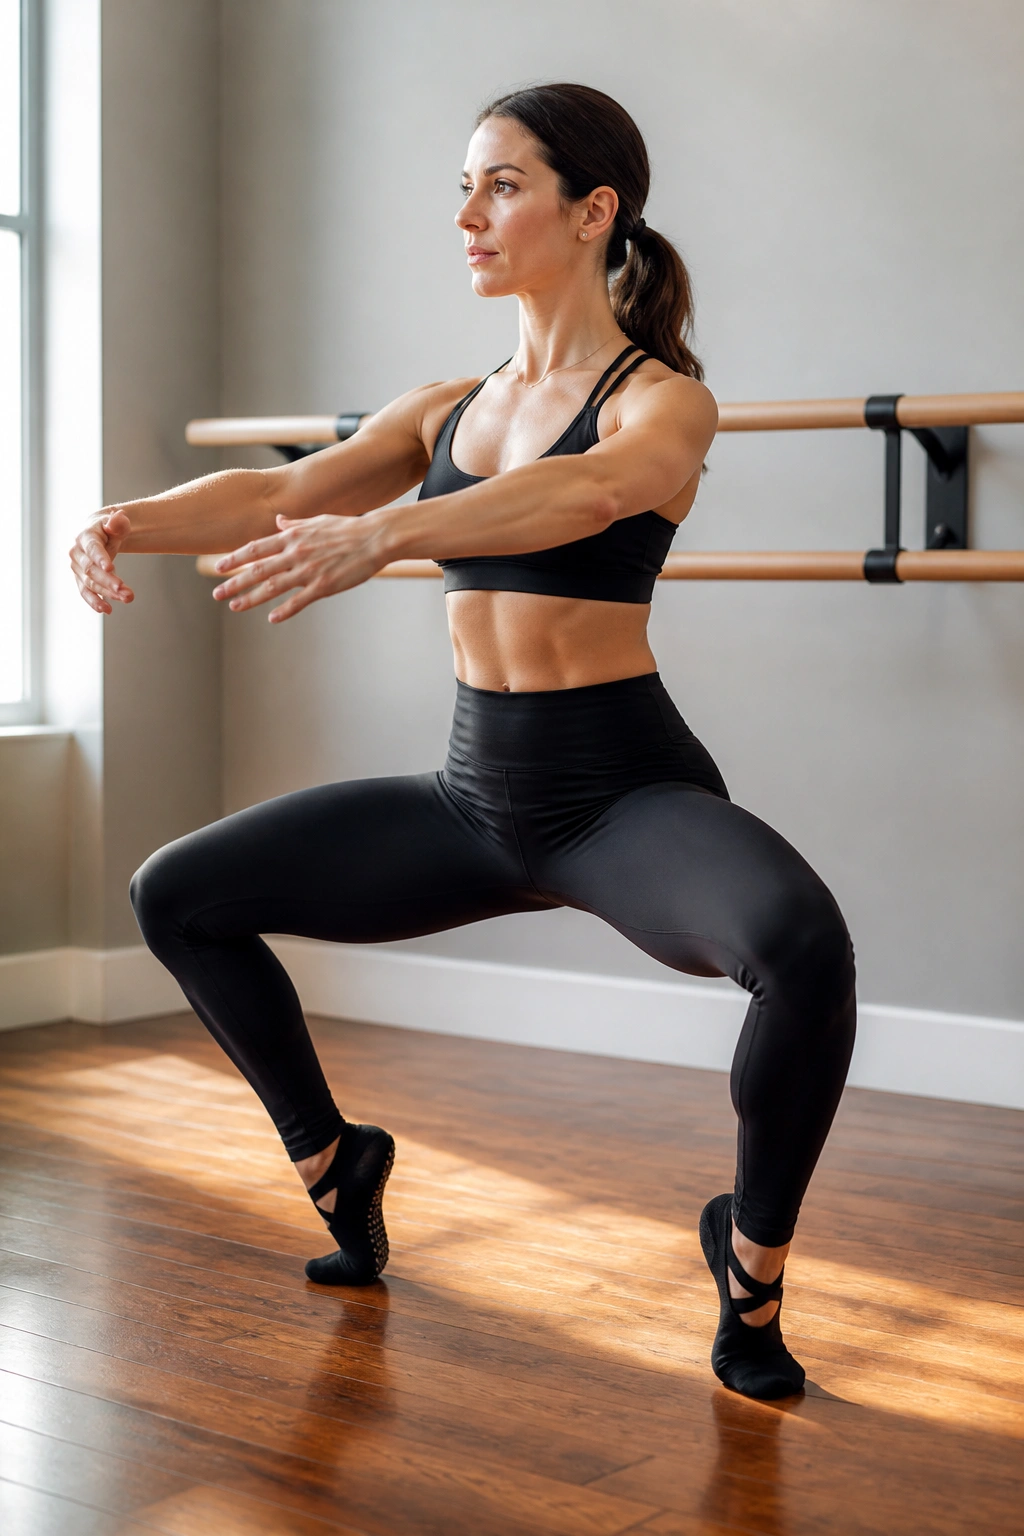
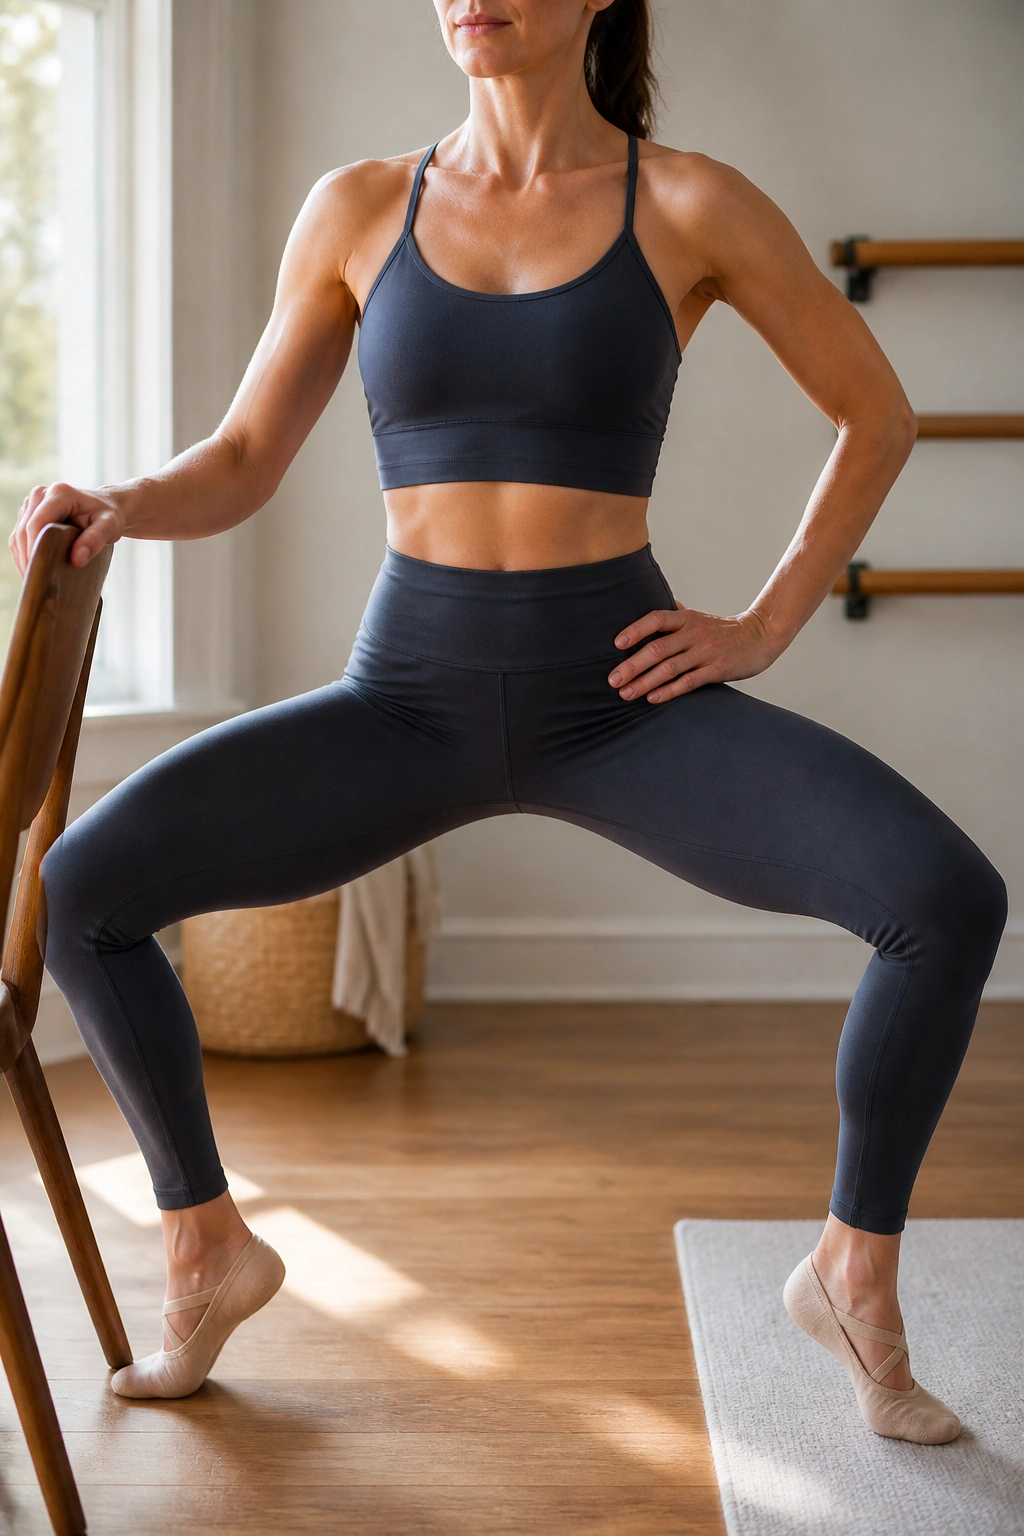
This is the quintessential barre move for a reason. You stand with your feet wider than your hips, toes turned out slightly—about 45 degrees. Place one hand on the back of a chair for balance, not for support. Your goal is to lower your hips down while keeping your back perfectly flat, as if you are sliding your spine down an imaginary wall behind you.
Why This Works
The wide stance forces your glutes and inner thighs to fire instantly. Unlike a standard squat where you hinge at the hips, the plié is all about vertical movement. You want your knees to track directly over your middle toes. If they collapse inward, you lose the engagement.
- The Cue: Imagine you are trying to squeeze a penny between your glutes at the very bottom of the movement.
- The Pulse: Don’t just stand back up. Stay in the bottom range and pulse for thirty counts. Small, one-inch movements are where the fatigue sets in.
Pro tip: Do not let your tailbone tuck under too aggressively. Keep your pelvis neutral so you don’t strain the lower back.
2. Standing Chair Lifts
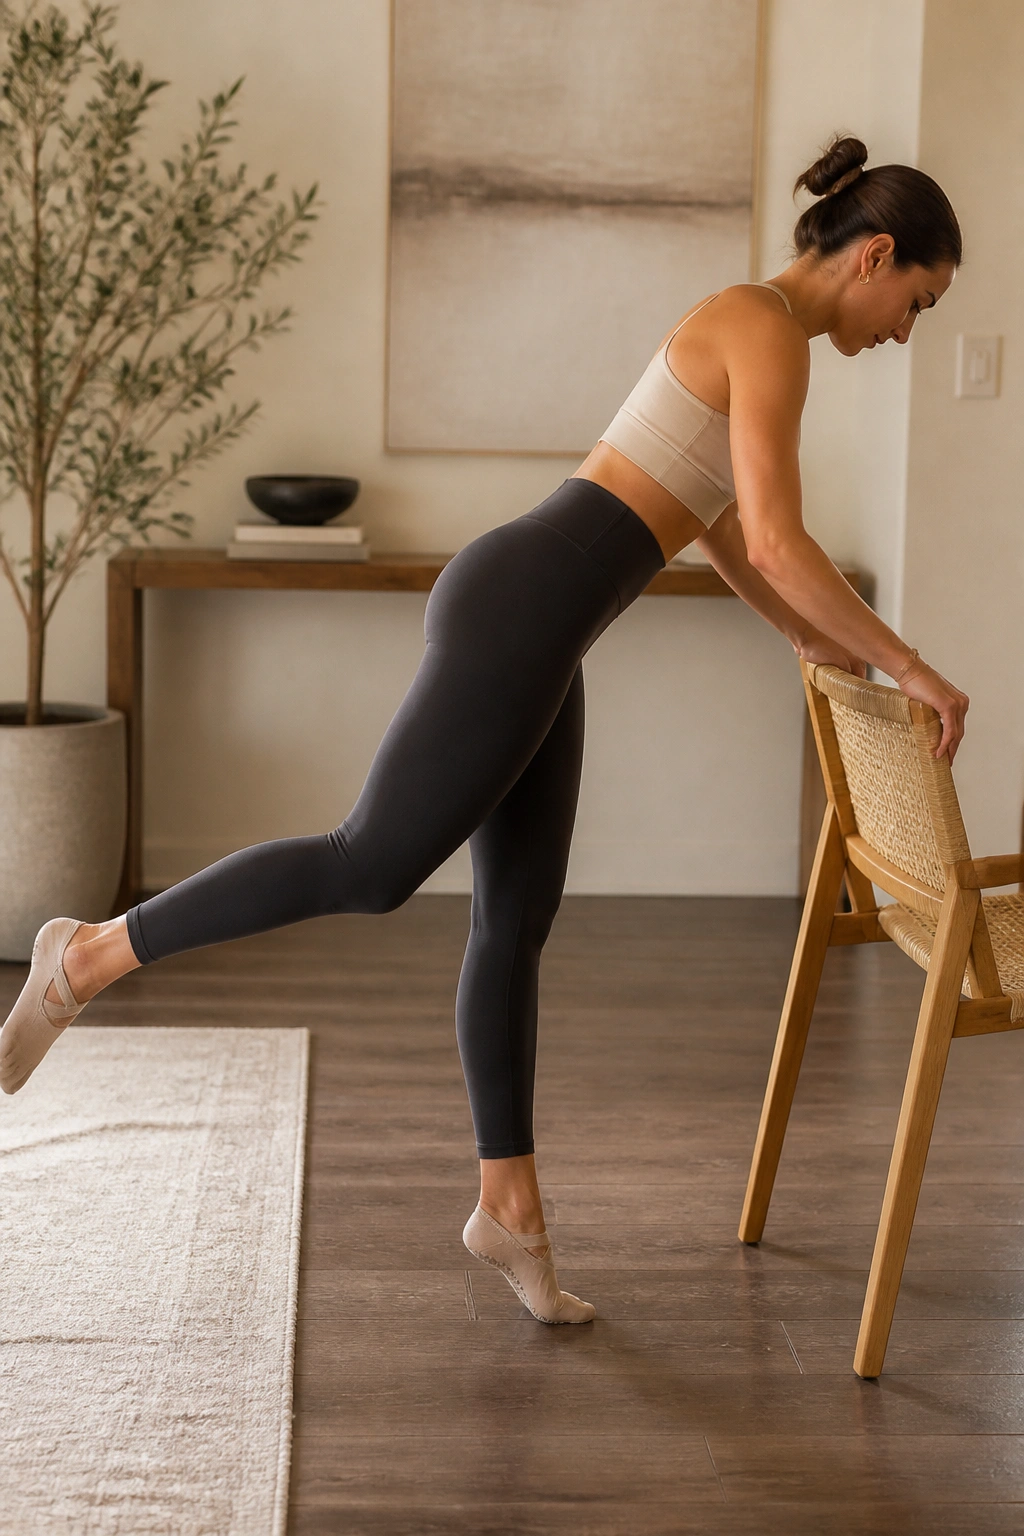
Turn to face your chair, placing both hands on the top of the backrest. Step back slightly so your torso is tilted forward, creating a long line from your head to your heels. Lift your right leg behind you, keeping it straight. Now, lift that leg up an inch, then lower it an inch.
The movement is so small it is almost invisible to the naked eye. You are targeting the glute medius—that small muscle on the side of your hip—rather than just the main gluteal muscle. Keep your standing leg with a tiny, soft bend in the knee. Never lock it out. Locking the joint puts the stress on your ligaments rather than your muscles, which is exactly the opposite of what you want.
3. Standing Oblique Twists
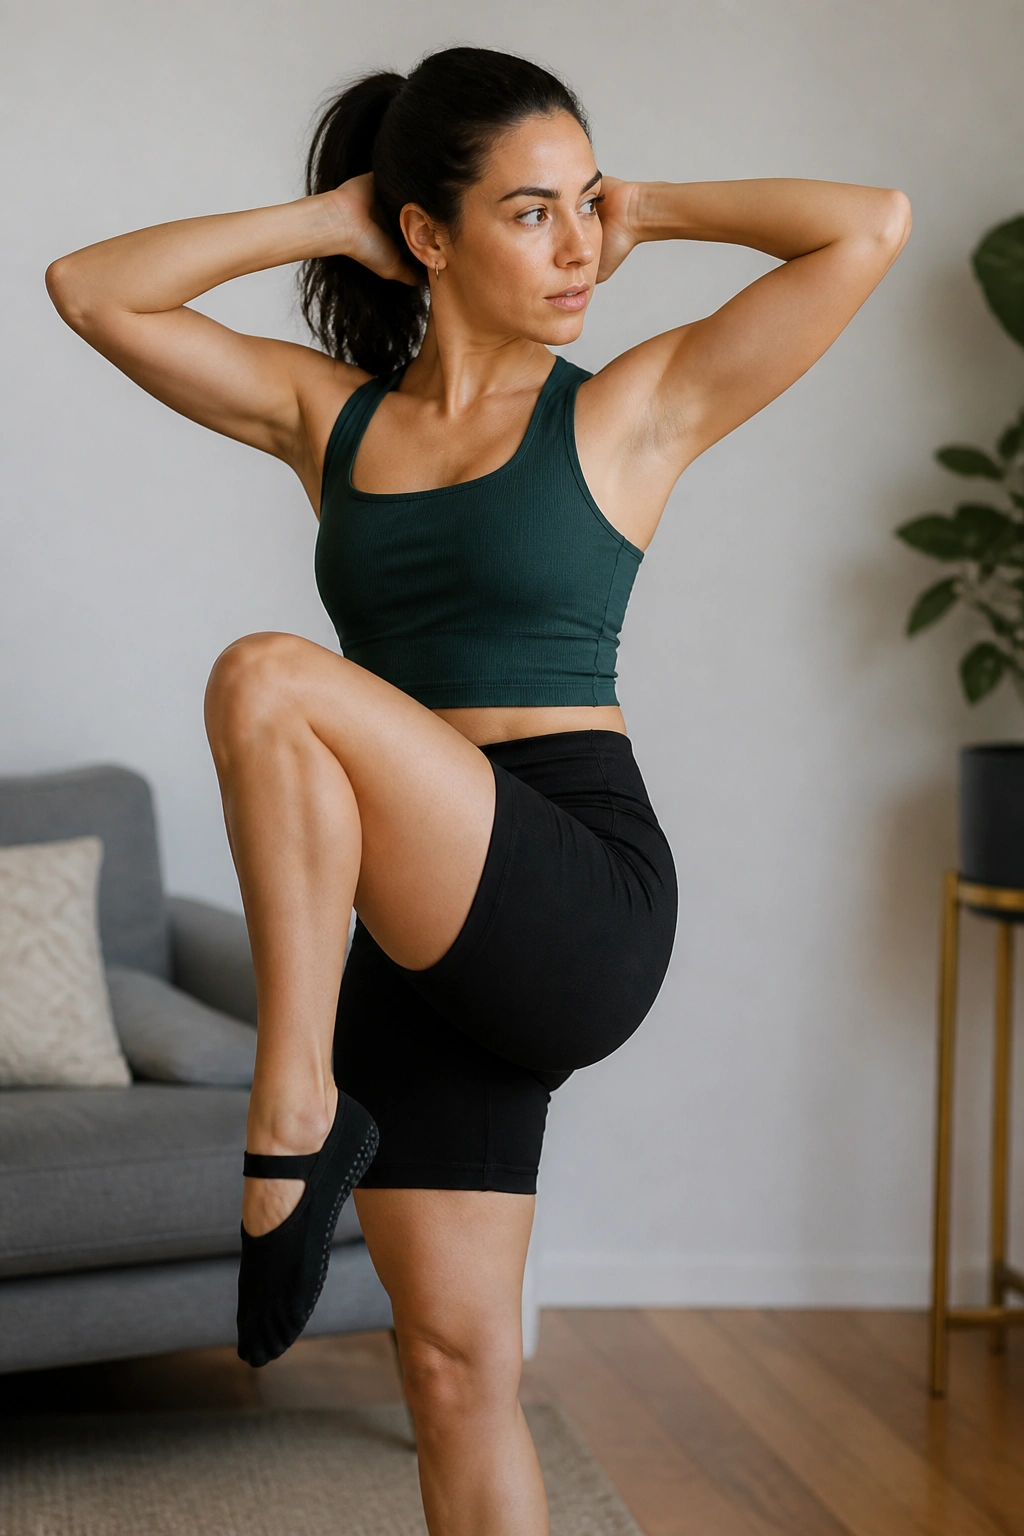
Stand tall, feet hip-width apart. Clasp your hands behind your head, elbows wide. Lift your right knee up toward your chest while simultaneously twisting your torso to the right, trying to touch your left elbow to your right knee. Return to center, but don’t put the foot all the way down.
Keep the movement rhythmic. This isn’t about speed; it’s about control. Every time you twist, exhale sharply. The breath out helps you contract the abs deeper. If you find your balance wobbling, focus your eyes on one single point on the wall in front of you. That visual anchor is surprisingly effective at keeping the core stable.
4. Tricep Dips with Chair
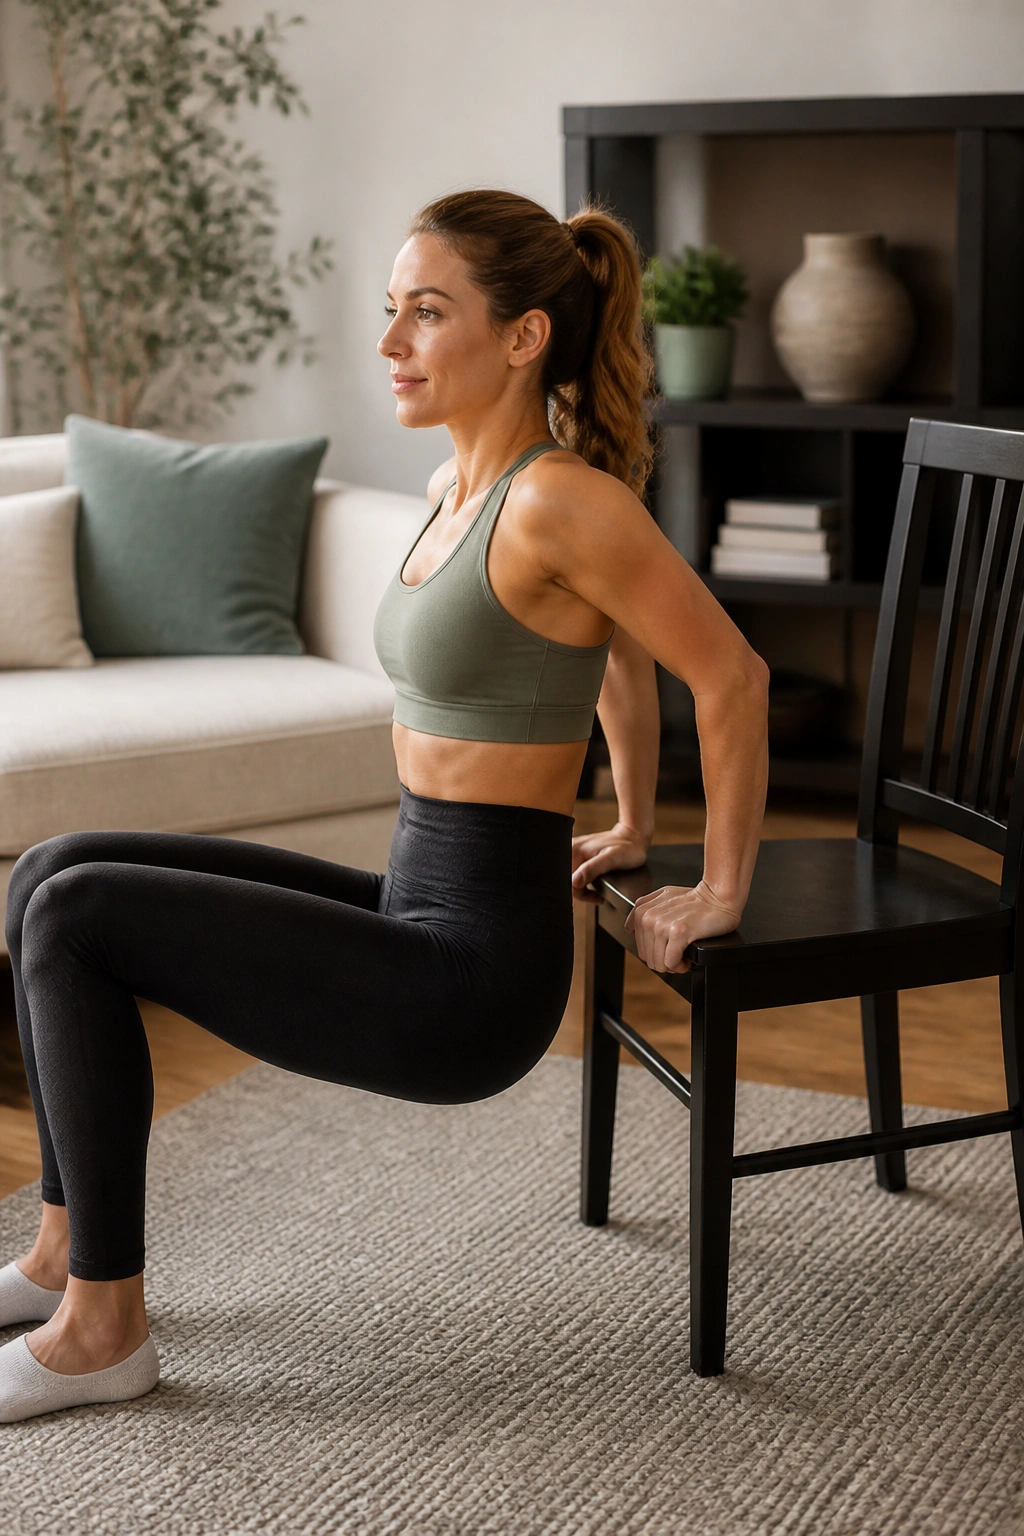
Use the seat of your chair. Sit on the edge, place your hands on the seat next to your hips, and scoot your glutes off the edge, supporting your weight with your arms. Keep your back close to the chair—do not let your chest collapse. Lower your hips toward the floor by bending at the elbows, then press back up.
The trick to these is the elbow direction. Do not let your elbows flare out to the sides. Keep them pointing directly back behind you, tracking alongside your ribs. This forces the triceps to do the heavy lifting rather than relying on your shoulders for leverage. If this feels too intense, walk your feet closer to the chair to take some weight off your arms.
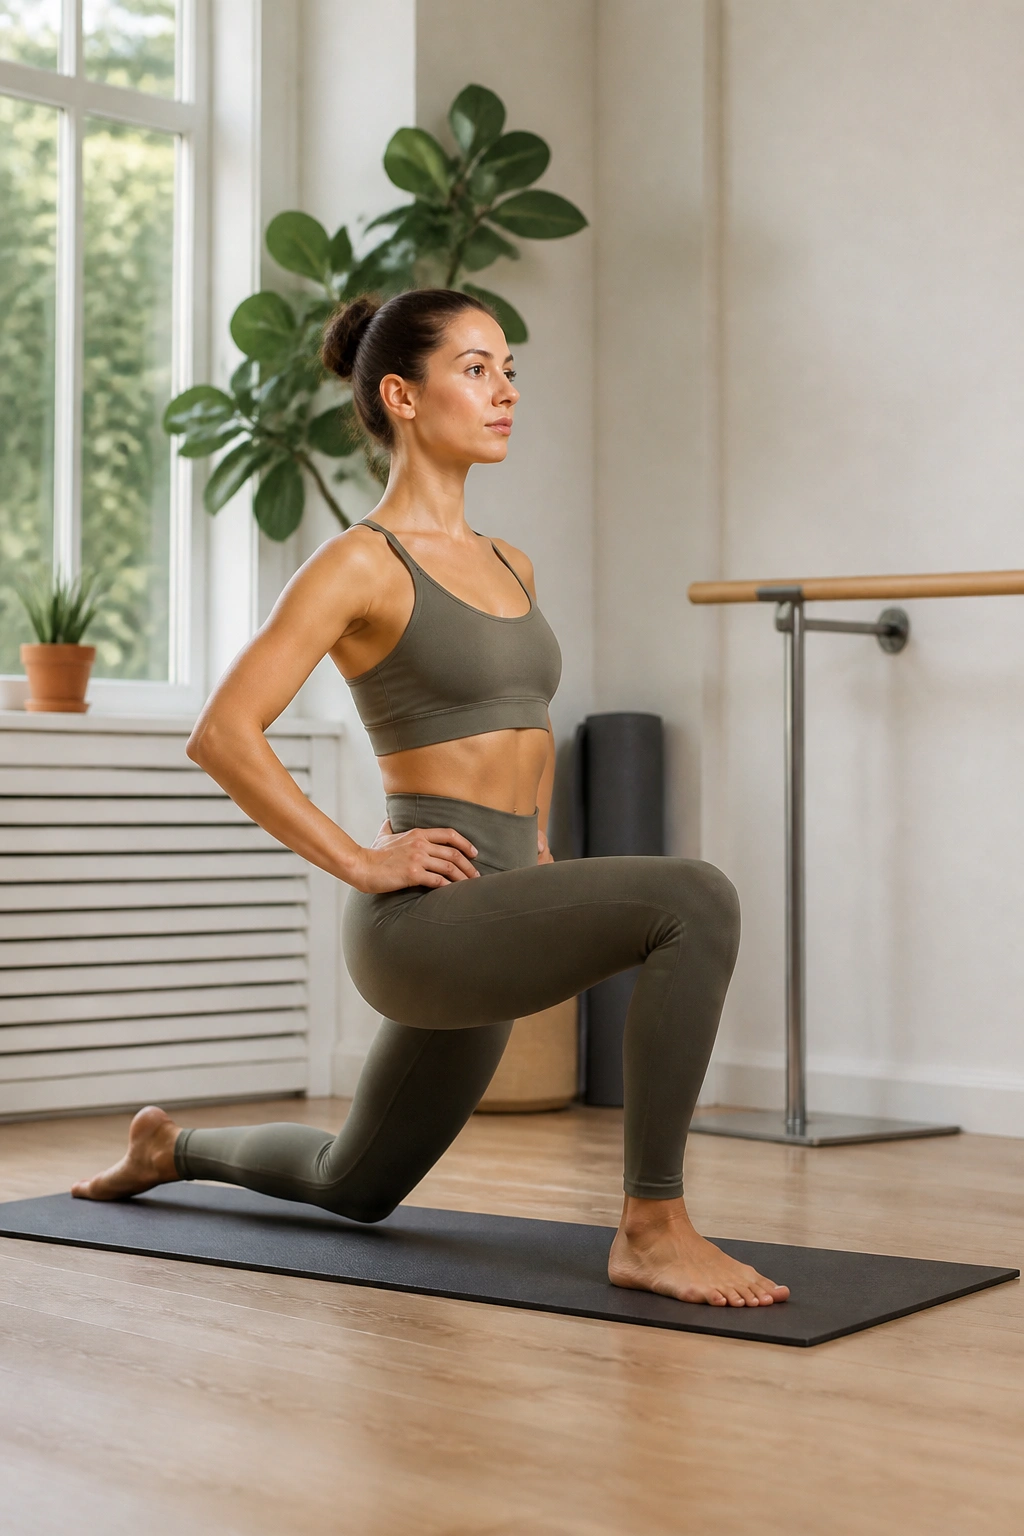
5. The Isometric Lunge
Step into a deep lunge, back knee hovering just an inch off the floor. Front knee should be directly over your ankle. Now, lock it there. Don’t pulse. Just hold. The tension should be building in your front quad and your back glute.
Isometric holds are where your muscles learn to handle stress. Your body will naturally want to shift the weight back into the rear leg to get relief, but keep your torso upright and your weight centered over the front leg. Hold for 45 seconds. Then, without standing up, switch legs by jumping or stepping quickly. That transition is the real challenge.
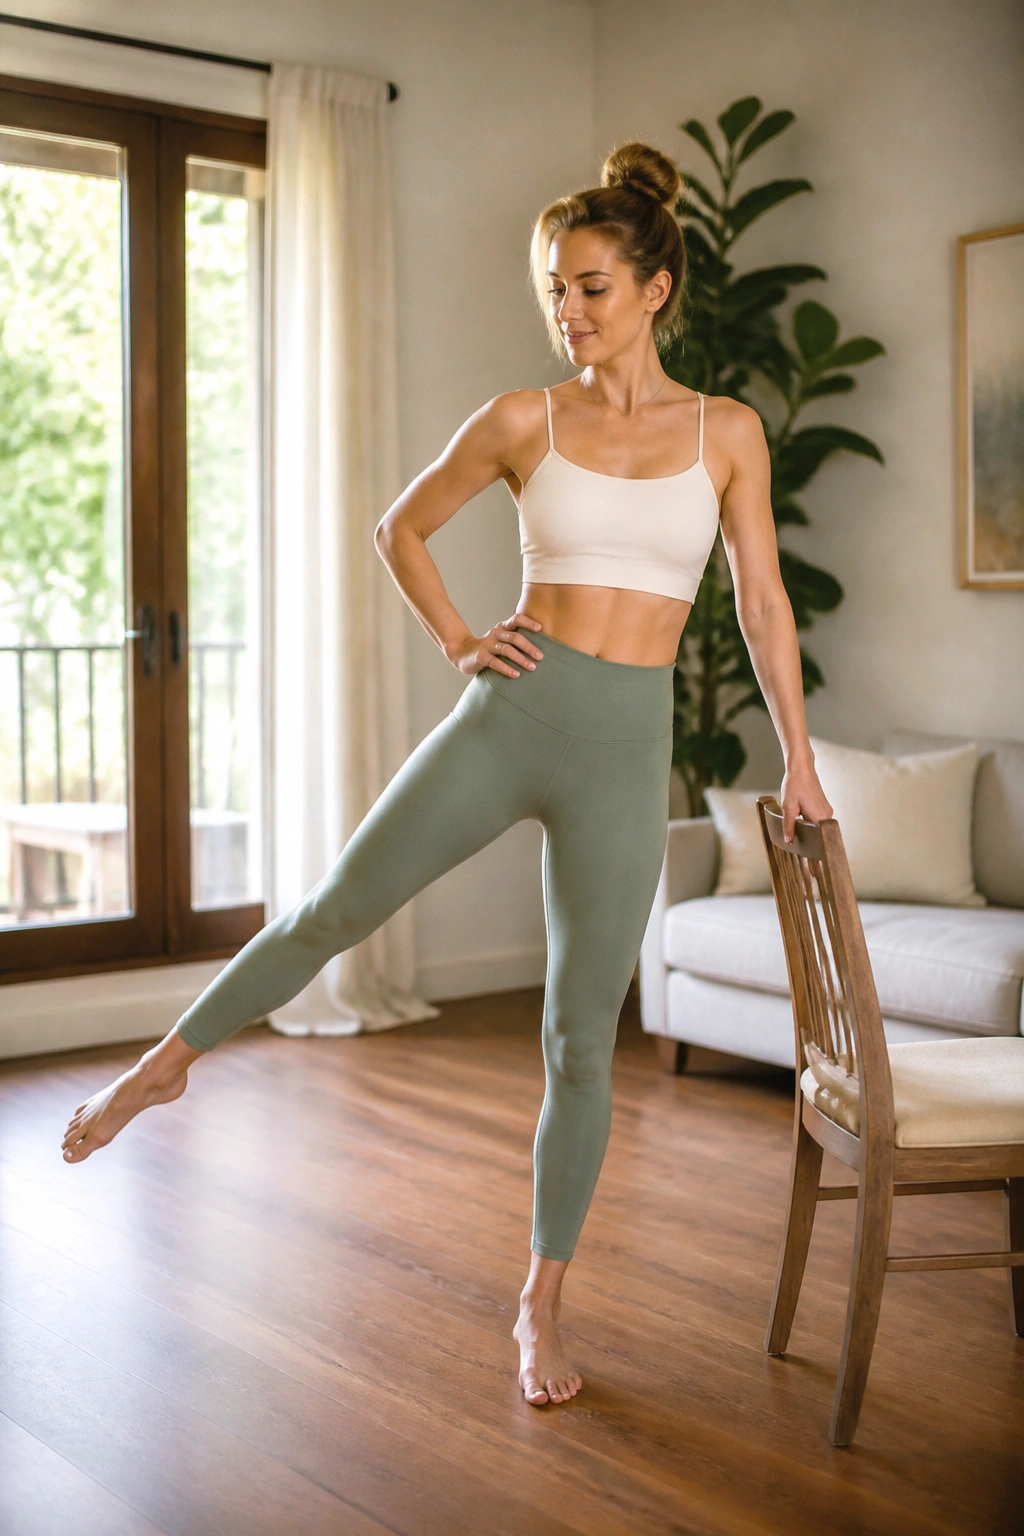
6. Side Leg Extensions
Stand sideways to your chair. Lift your outside leg—the one furthest from the chair—about six inches off the floor. Extend the leg out to the side, toes pointed. From here, bring the leg in toward the midline of your body and push it back out.
This is all about the outer thigh and the stabilizing muscles of the standing leg. As you push the leg out, imagine you are pushing through heavy mud. Resistance is key. If you just swing the leg, you are wasting the effort. Control the extension and the retraction equally. That is the secret to lean muscle toning without bulk.
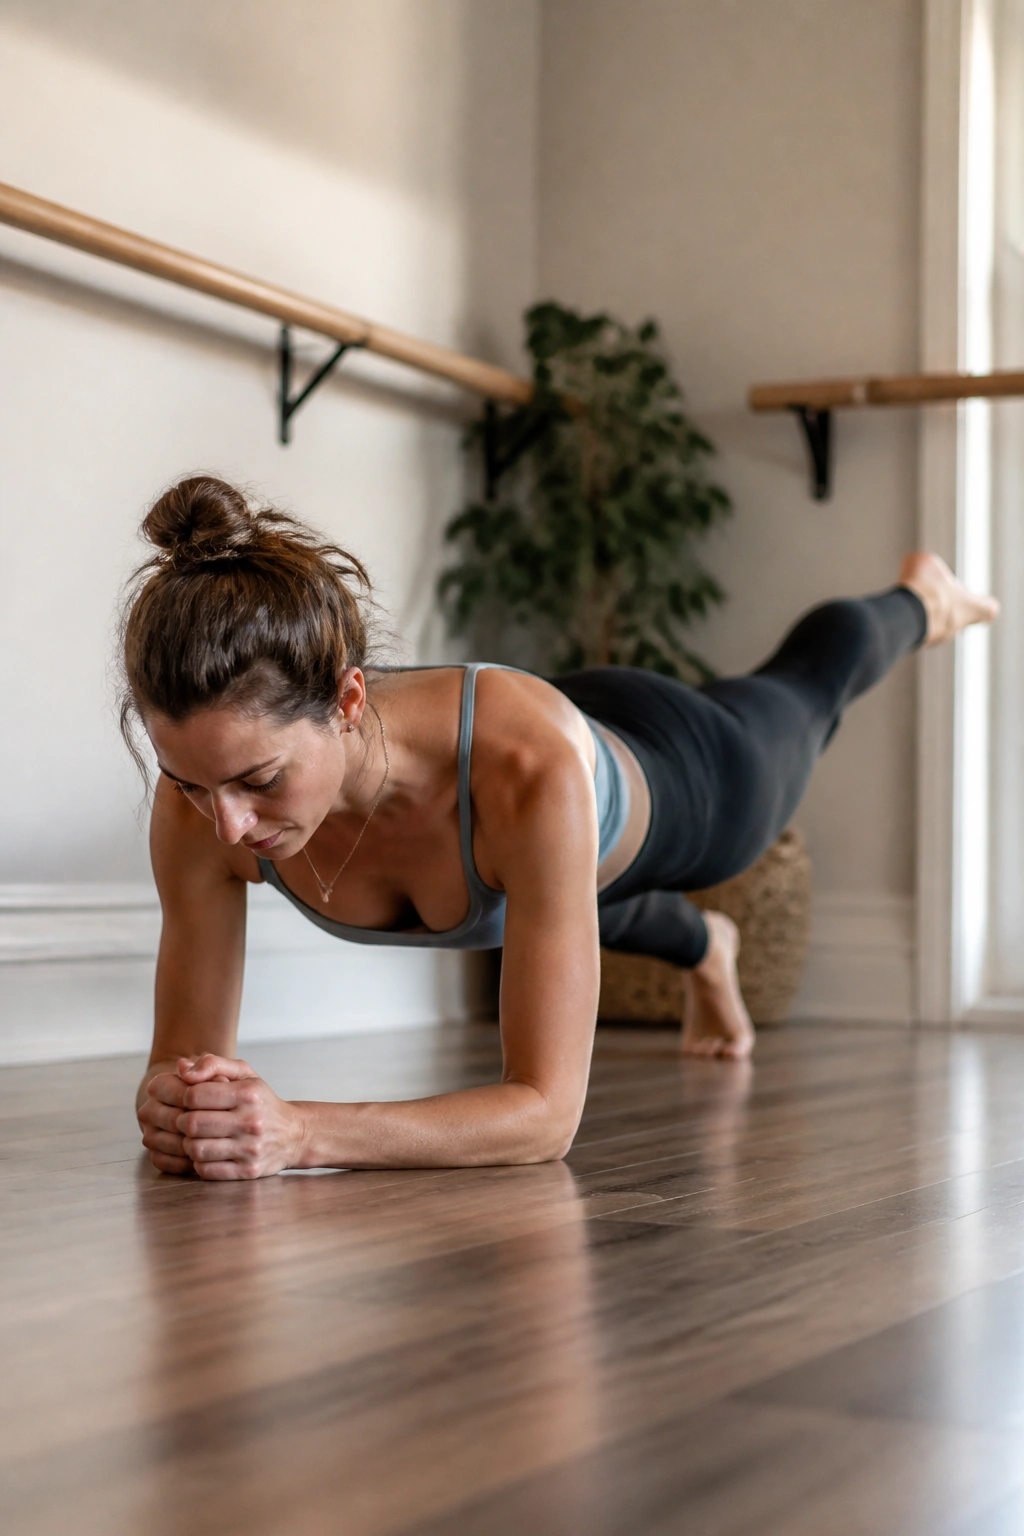
7. Plank Variations
Get onto your forearms, toes tucked. Keep your body in a straight line from your head to your heels. This is the baseline. Now, add the variation: lift your right leg, toe pointed, just an inch off the floor. Hold for ten seconds, then switch.
The instability of lifting a leg forces your core to rotate and stabilize simultaneously. Watch your hips. They will want to pike up toward the ceiling or dip toward the floor. Keep them square to the ground. If your lower back starts to ache, tuck your tailbone slightly—think about pulling your belly button up into your spine.
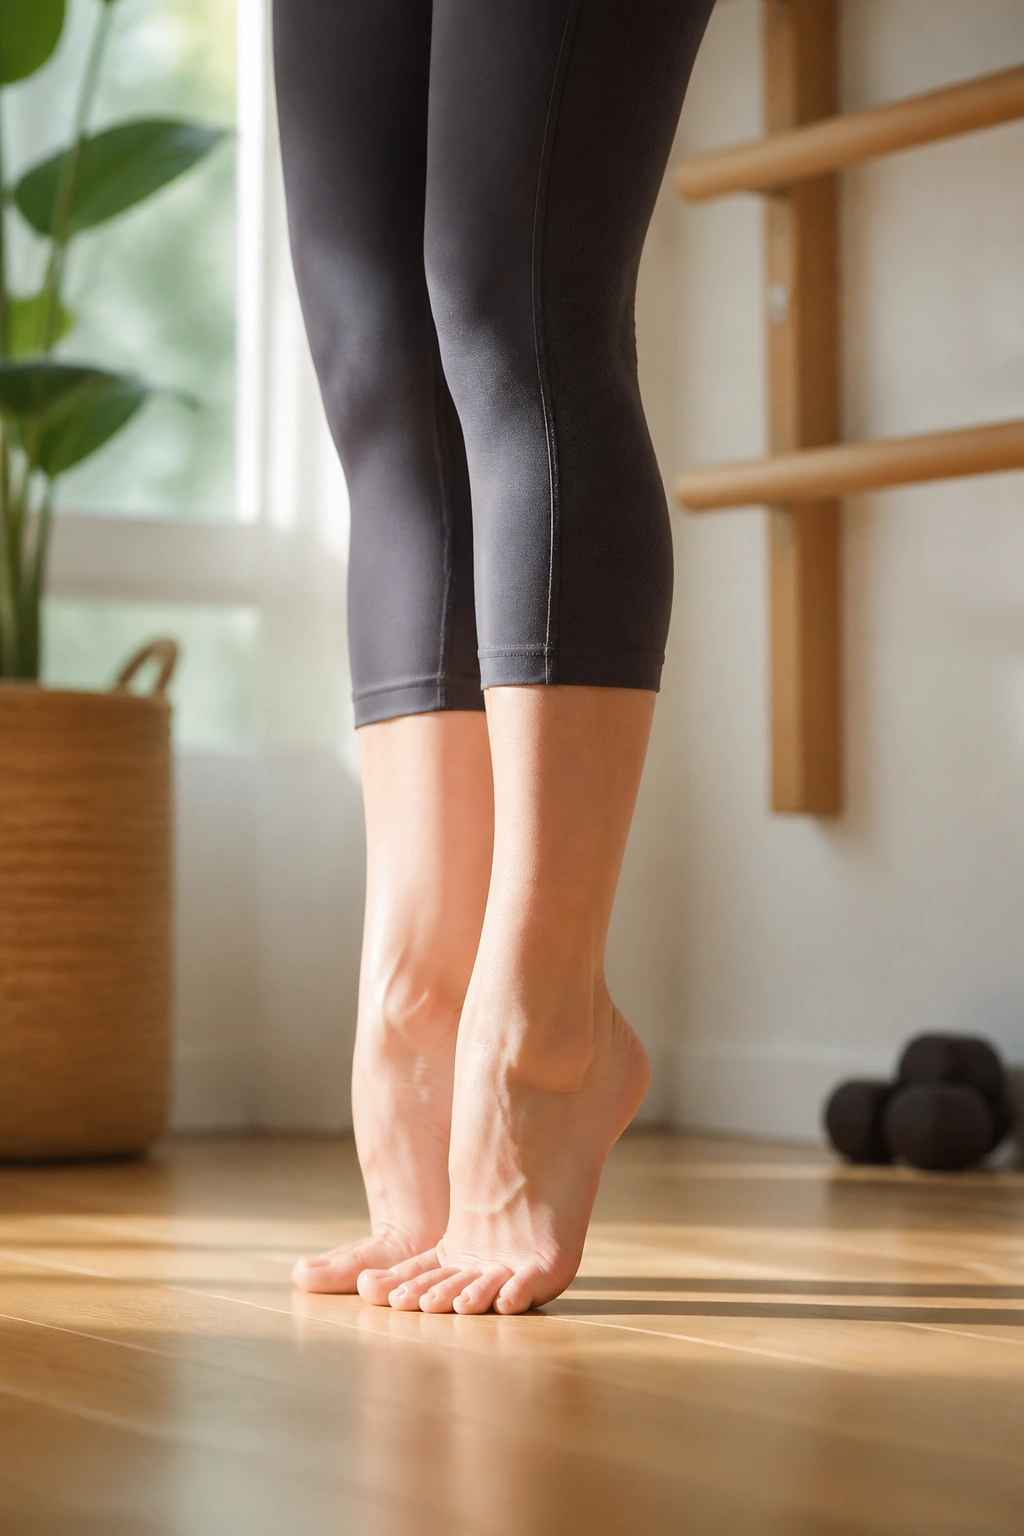
8. Calf Raise Sequences
Stand with heels together and toes turned out—first position. Rise up onto the balls of your feet, squeezing your heels together hard. Lower halfway down, then press back up to full extension.
Calf raises are often rushed, but in barre, we slow them down. The squeeze of the heels is just as important as the lift. That connection keeps the inner thighs engaged, which creates a full-leg engagement. Do three sets of twenty reps. By the final set, your calves should feel like they are on fire.
9. Tabletop Glute Kickbacks
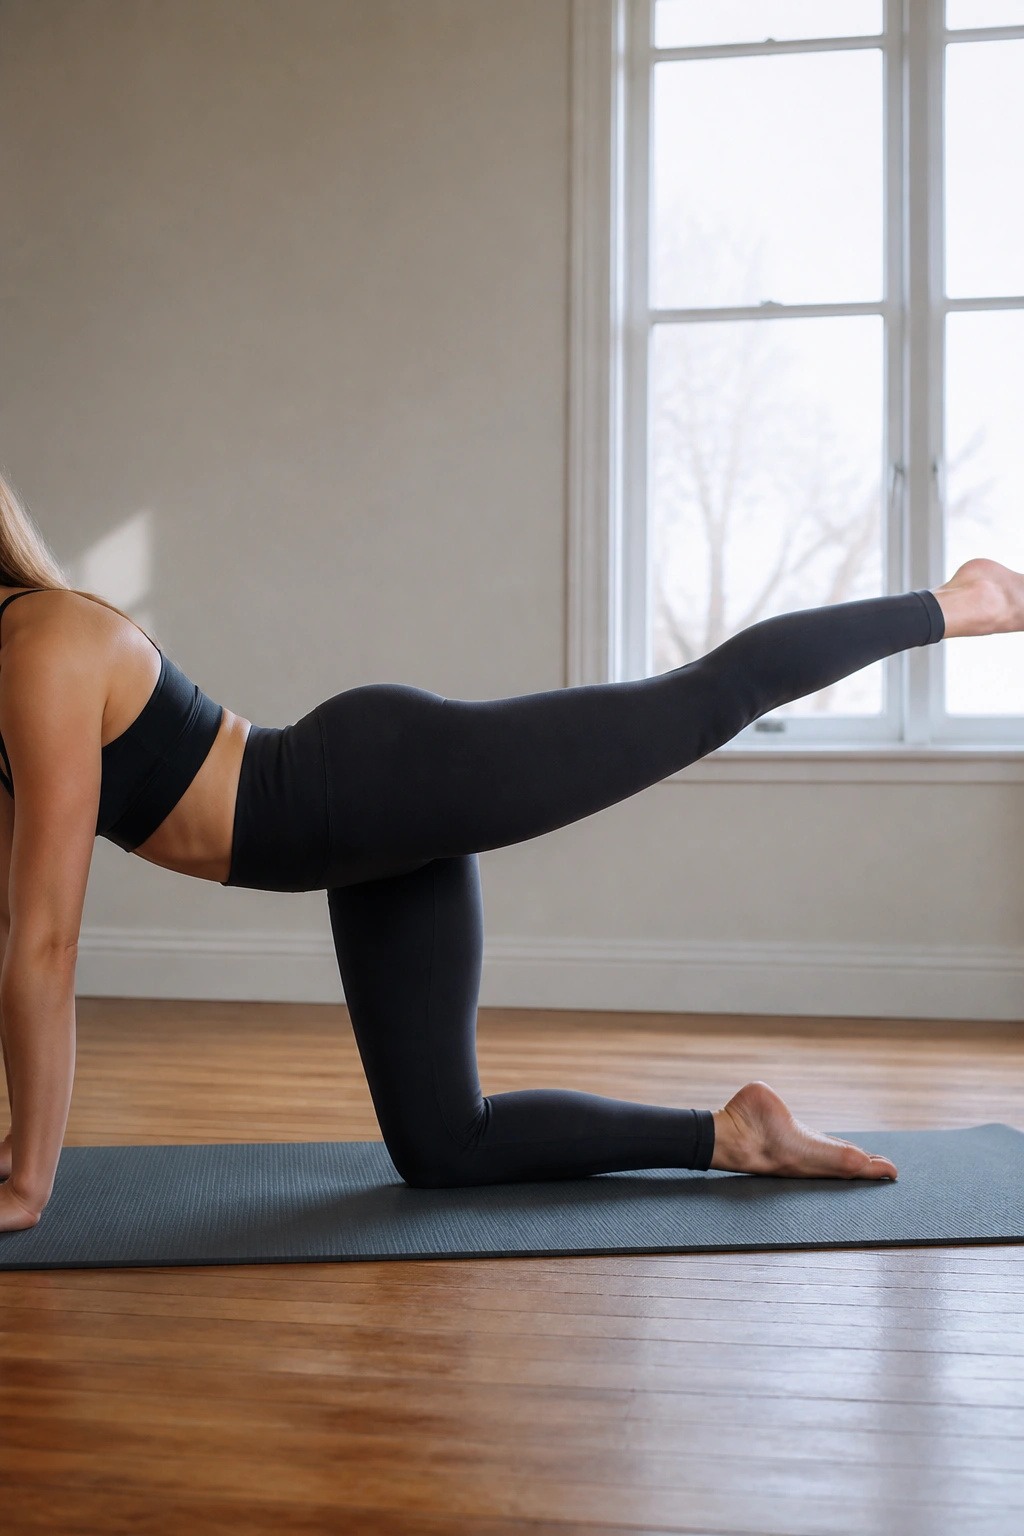
Move to all fours on the floor. Hands under shoulders, knees under hips. Keep your back flat. Extend your right leg straight back behind you, toe pointed, level with your hip. Kick the heel up toward the ceiling using only your glute, then lower it back to hip height.
The temptation here is to arch the lower back as you lift the leg. Resist that. Every time the leg goes up, engage your abs tighter. If you feel the movement in your lumbar spine, stop the lift earlier. It is better to have a smaller range of motion that isolates the glute than a larger range that strains the back.
10. Floor-Based Abdominal Curls
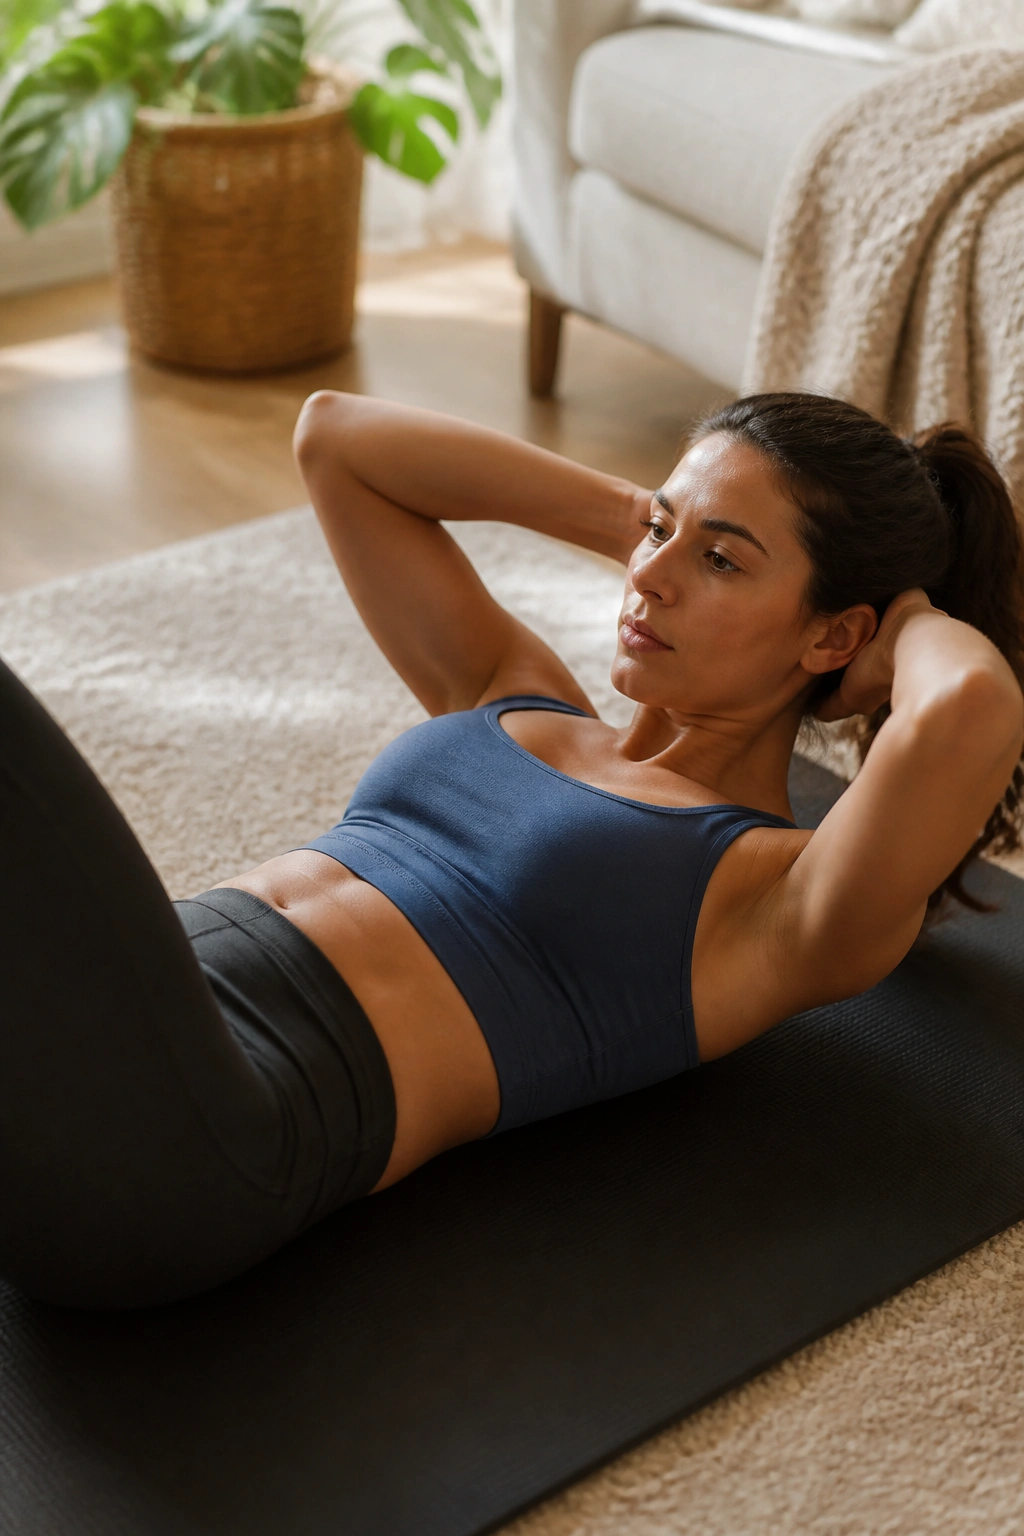
Lie on your back, knees bent, feet flat on the floor. Place your hands behind your head to support your neck, but do not pull on your head. Exhale as you curl your chest up, lifting your shoulder blades off the floor. Hold at the top for three seconds, then lower halfway down and repeat.
Keep your lower back pressed firmly into the floor. The moment your spine arches, you’ve lost the core engagement. Imagine there is a grapefruit tucked under your chin—that distance will keep your neck neutral so you aren’t pulling from your upper traps.
11. Inner Thigh Squeezes
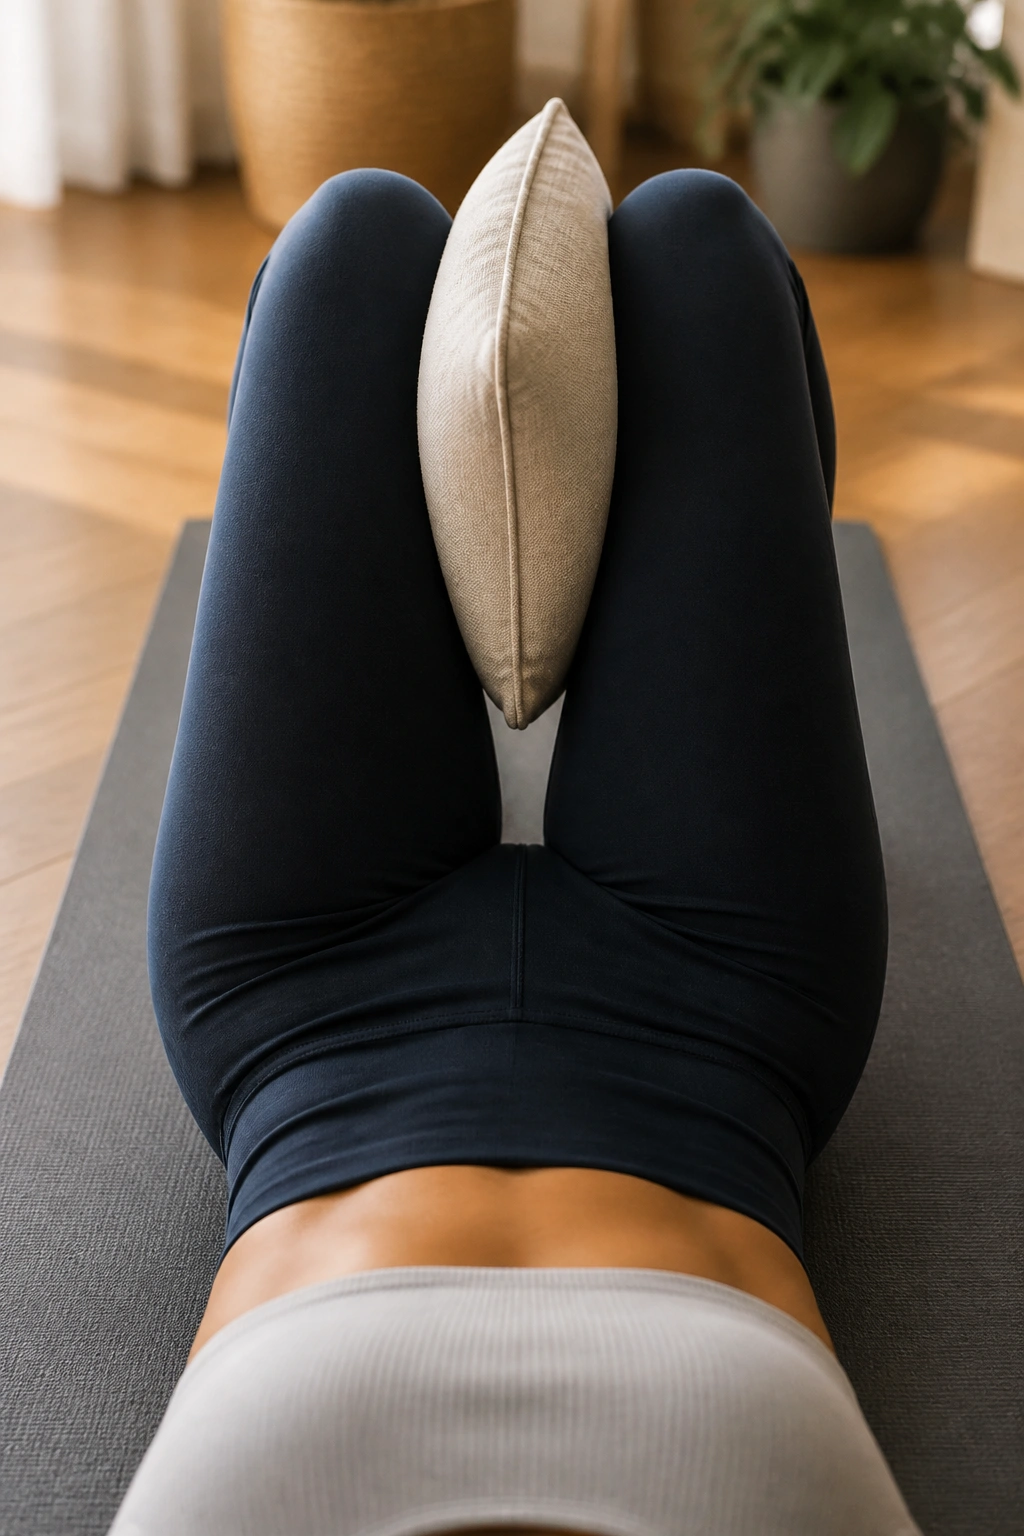
Lie on your back and place a small cushion or a folded towel between your knees. Arms by your sides. Squeeze your knees together into the cushion as hard as you can, hold for five seconds, then release.
This targets the adductors, which are usually neglected in standard gym routines. The harder you squeeze the object, the more your deep pelvic floor muscles will activate. It is a subtle move, but it provides a deep internal burn that is hard to replicate with standing exercises.
12. Ballet-Inspired Port de Bras
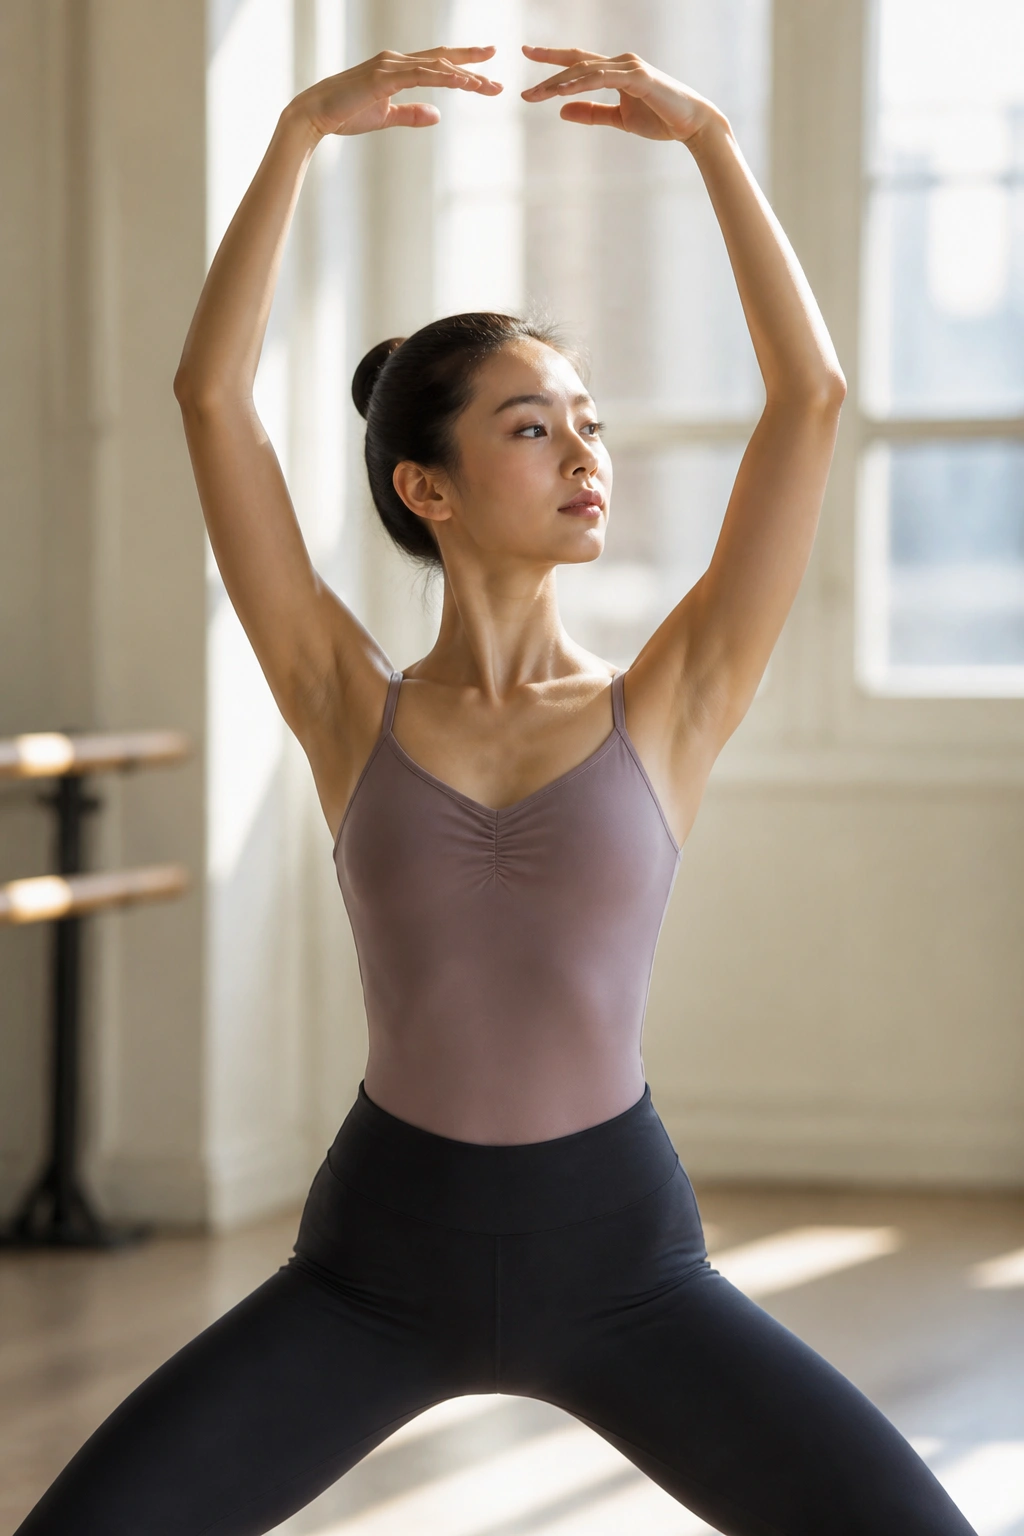
Stand in a wide-second position. Arms rounded in front of you as if you are holding a large beach ball. Raise your arms above your head, keeping the shoulders down and away from your ears. Then, open them out to the side and bring them back down to the start.
This isn’t just about arm toning; it’s about posture. Focus on lengthening through the crown of your head the entire time. If you slouch, you lose the tension. Keep the elbows slightly soft—never lock the arms straight. The constant tension in the shoulders will build serious stamina over time.
13. Wide Second Position Pulses
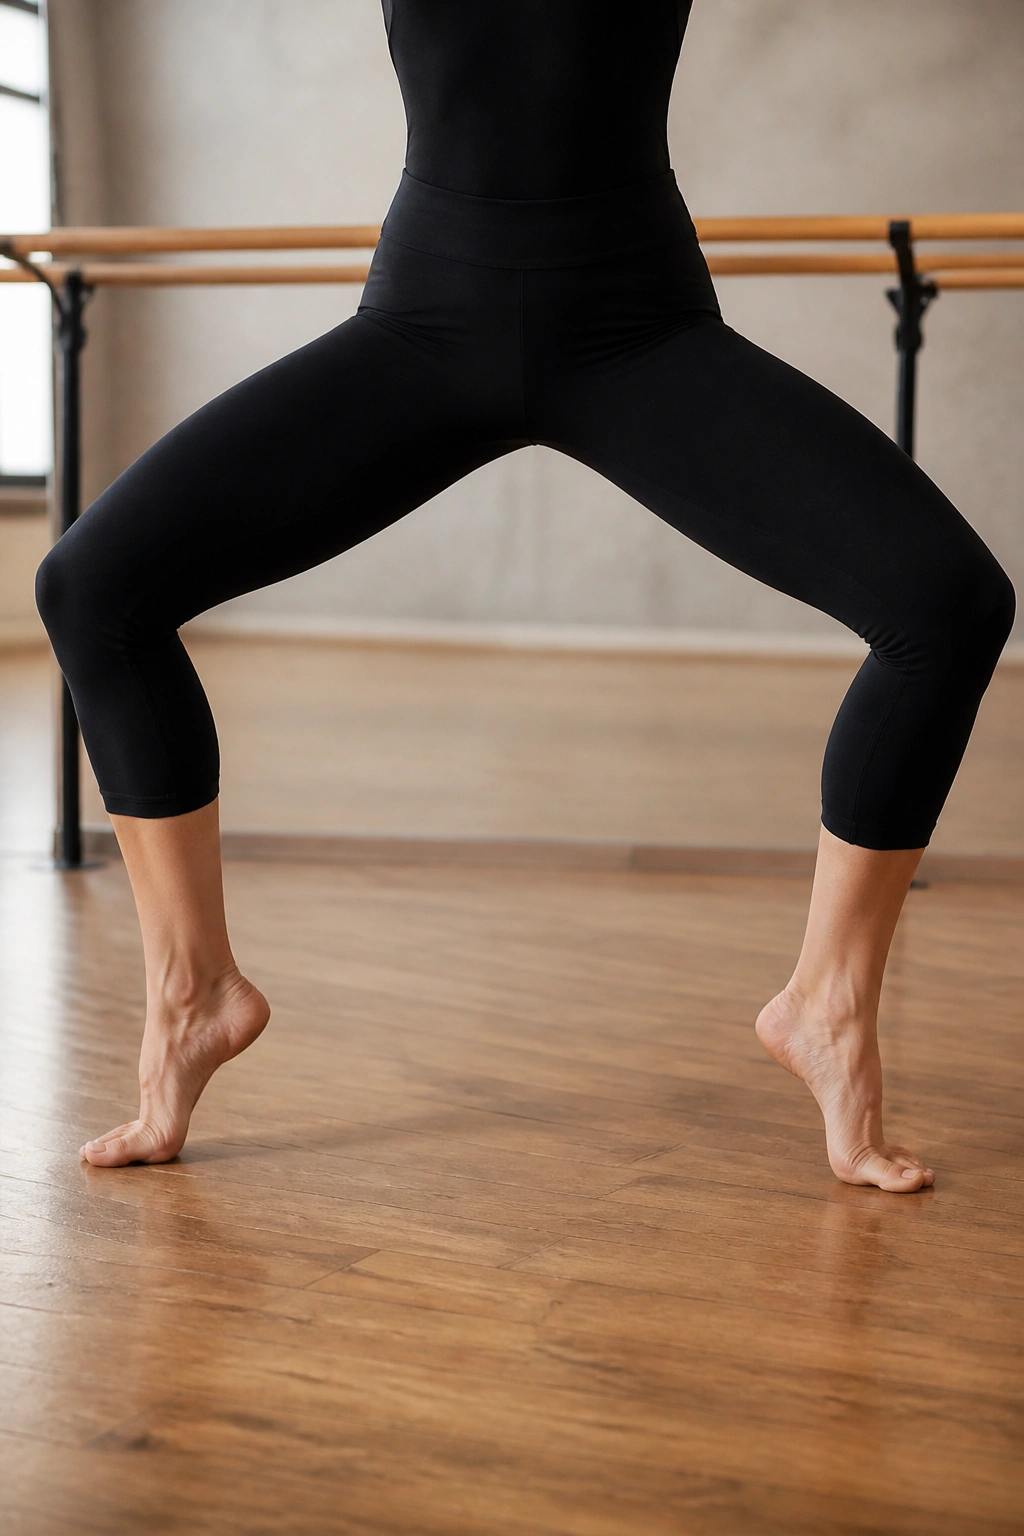
Return to that wide-second plié stance. This time, add a rhythmic pulse. But instead of just moving up and down, think about “down, down, down.” You are fighting gravity in the deepest part of the squat.
Each pulse should be minimal—no more than an inch. The challenge is the duration. Try to hold this for a full minute without standing up to shake out the legs. When your mind tells you to stop, take one deep breath and commit to ten more seconds. That mental wall is the most important part of the training.
14. Standing Leg Circles
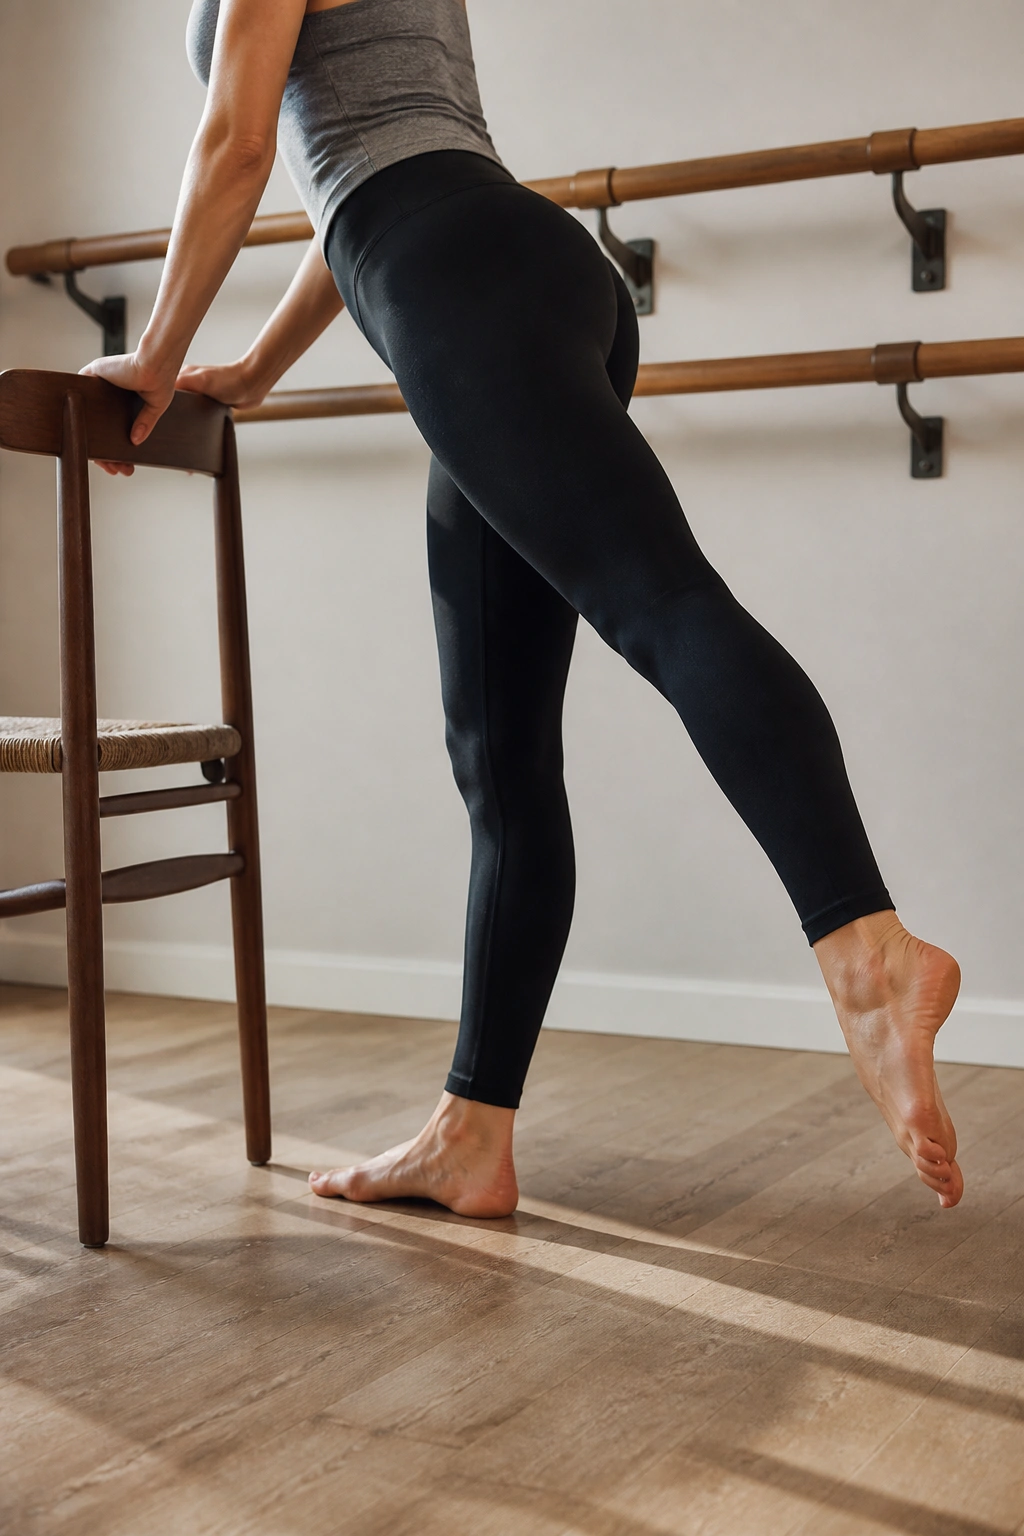
Stand on your left leg, hands on the chair. Lift your right leg slightly behind you, knee straight. Draw small, controlled circles with your toe. Five circles clockwise, five counter-clockwise.
The circle should be the size of a dinner plate. If you make it too big, you’ll lose control and start swinging your hips. The standing leg should be slightly bent, firing the quad to stabilize you. This improves hip mobility and forces the tiny stabilizing muscles around your hip joint to work overtime.
15. Single-Leg Glute Bridges
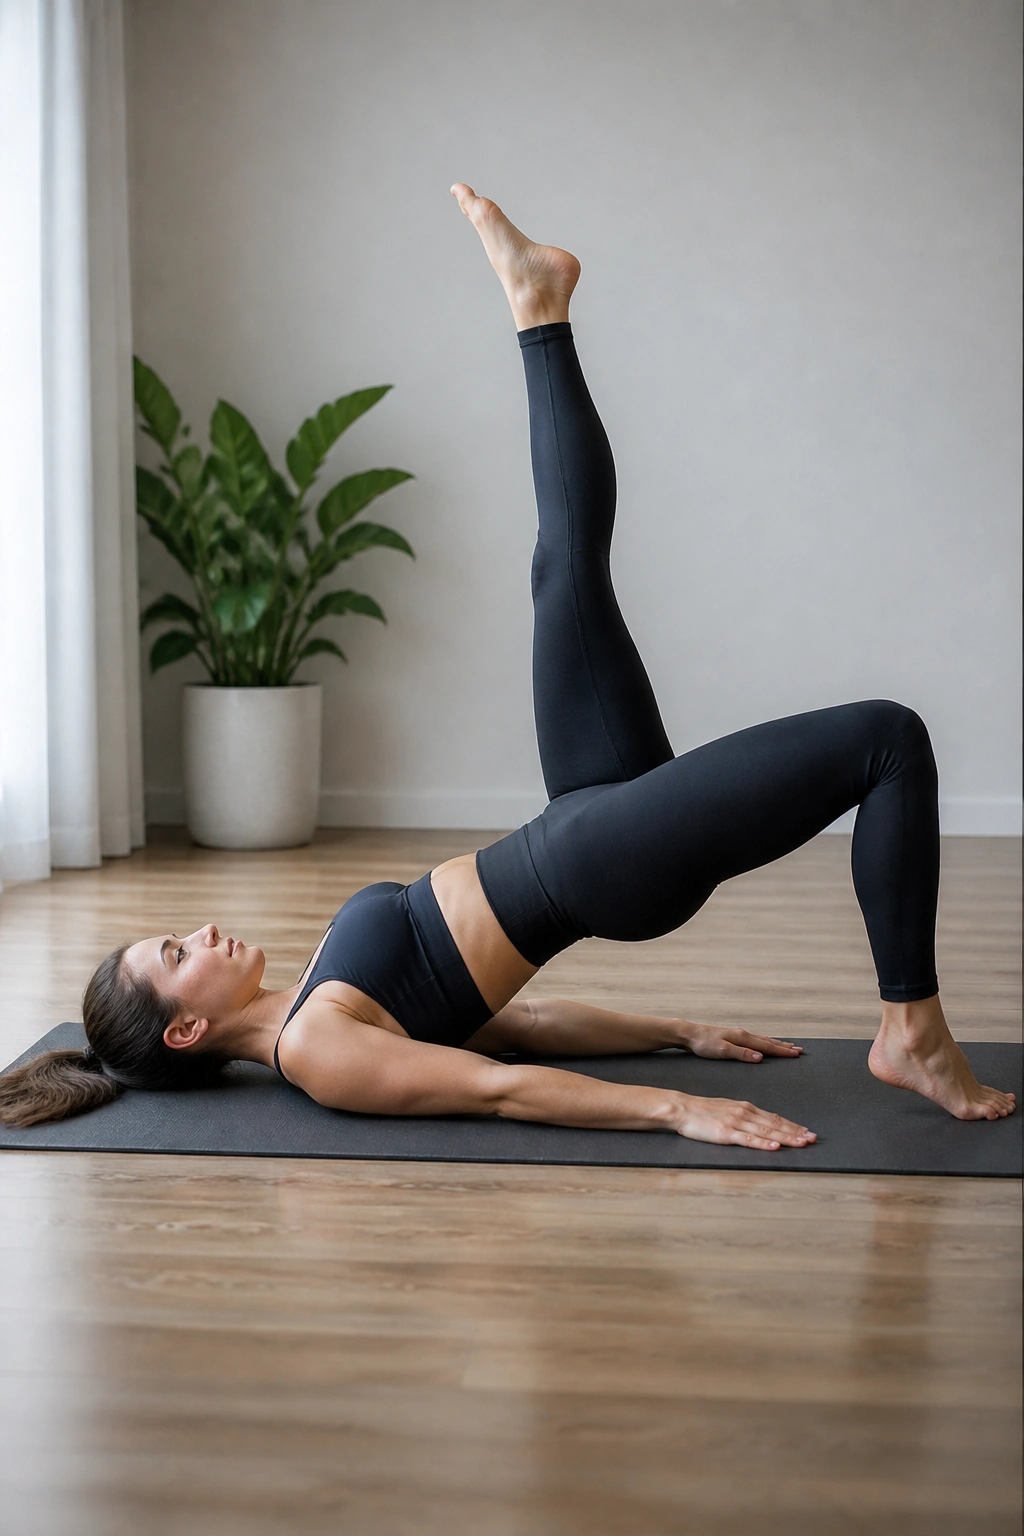
Lie on your back, knees bent. Extend your left leg straight up to the ceiling. Press through your right heel to lift your hips off the floor into a bridge. Lower back down.
The single-leg variation is a significant step up from the standard bridge. It forces the glutes to work unevenly, which creates a huge amount of instability—this is good. It forces your core to lock in to prevent you from tipping over. Do not let your hips sag at the top of the movement.
16. Side Plank Lifts
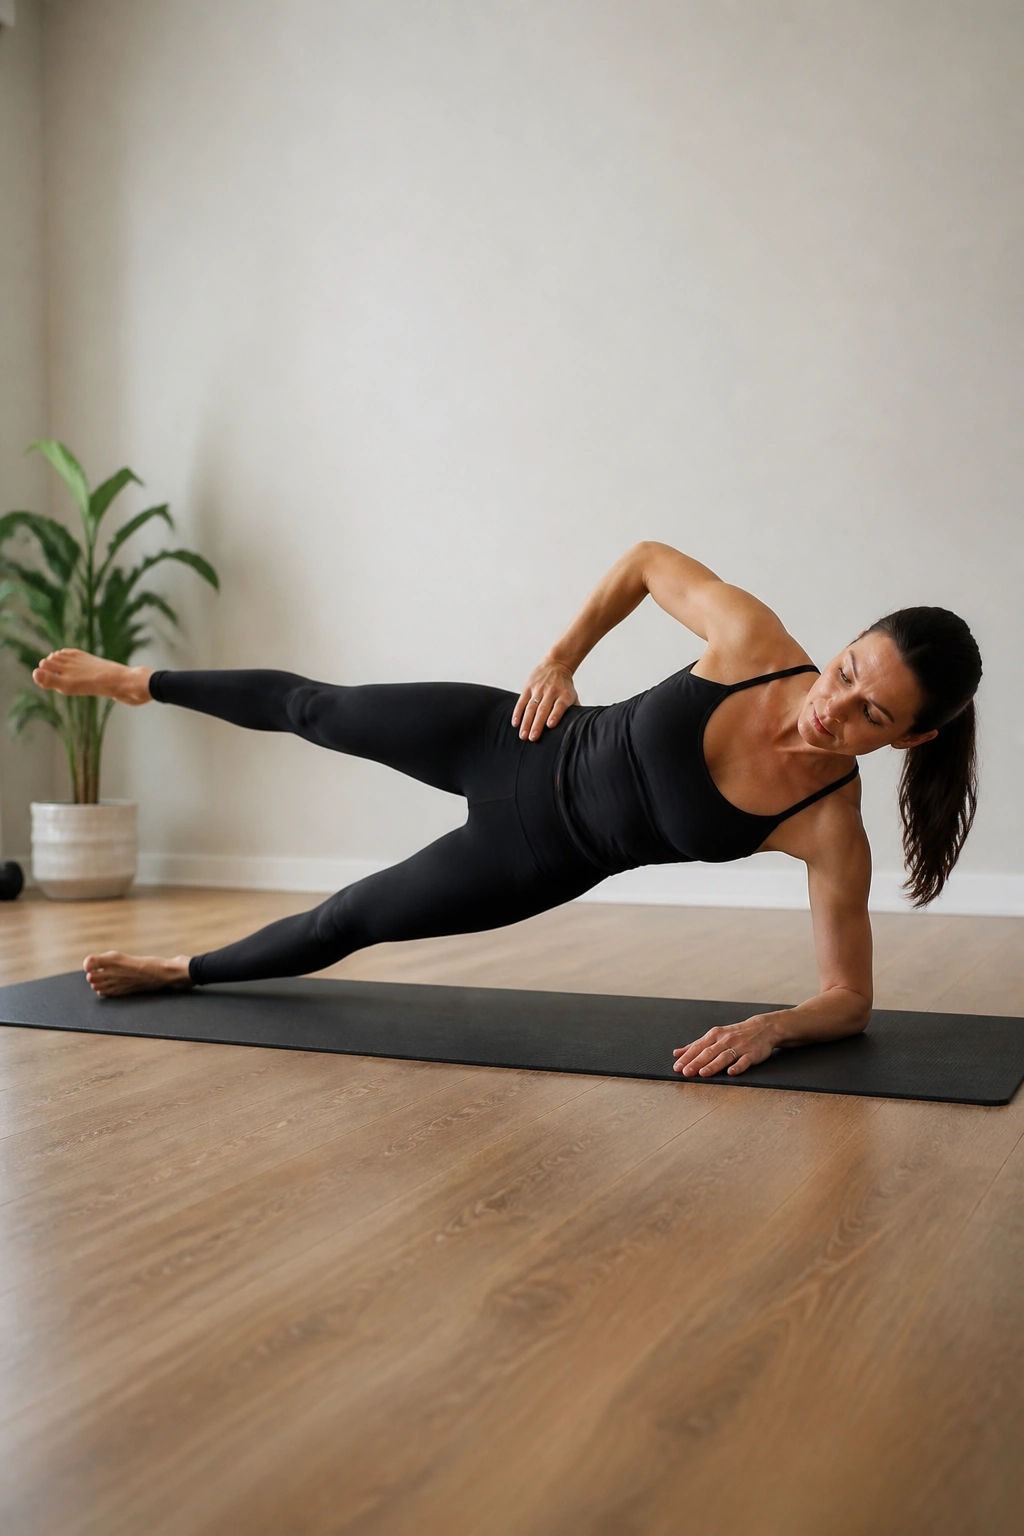
Side plank on your right forearm. Your feet can be stacked or staggered for more stability. Lift your hips toward the ceiling, then lower them until they are just hovering an inch off the floor. Push back up.
This is a targeted move for the obliques. Most people do side planks statically, which is fine, but adding the hip lift makes it dynamic and far more effective. Keep your top shoulder stacked directly over the bottom one. If you feel like you are rolling forward, squeeze your glutes to open up your chest.
17. The Standing Arabesque
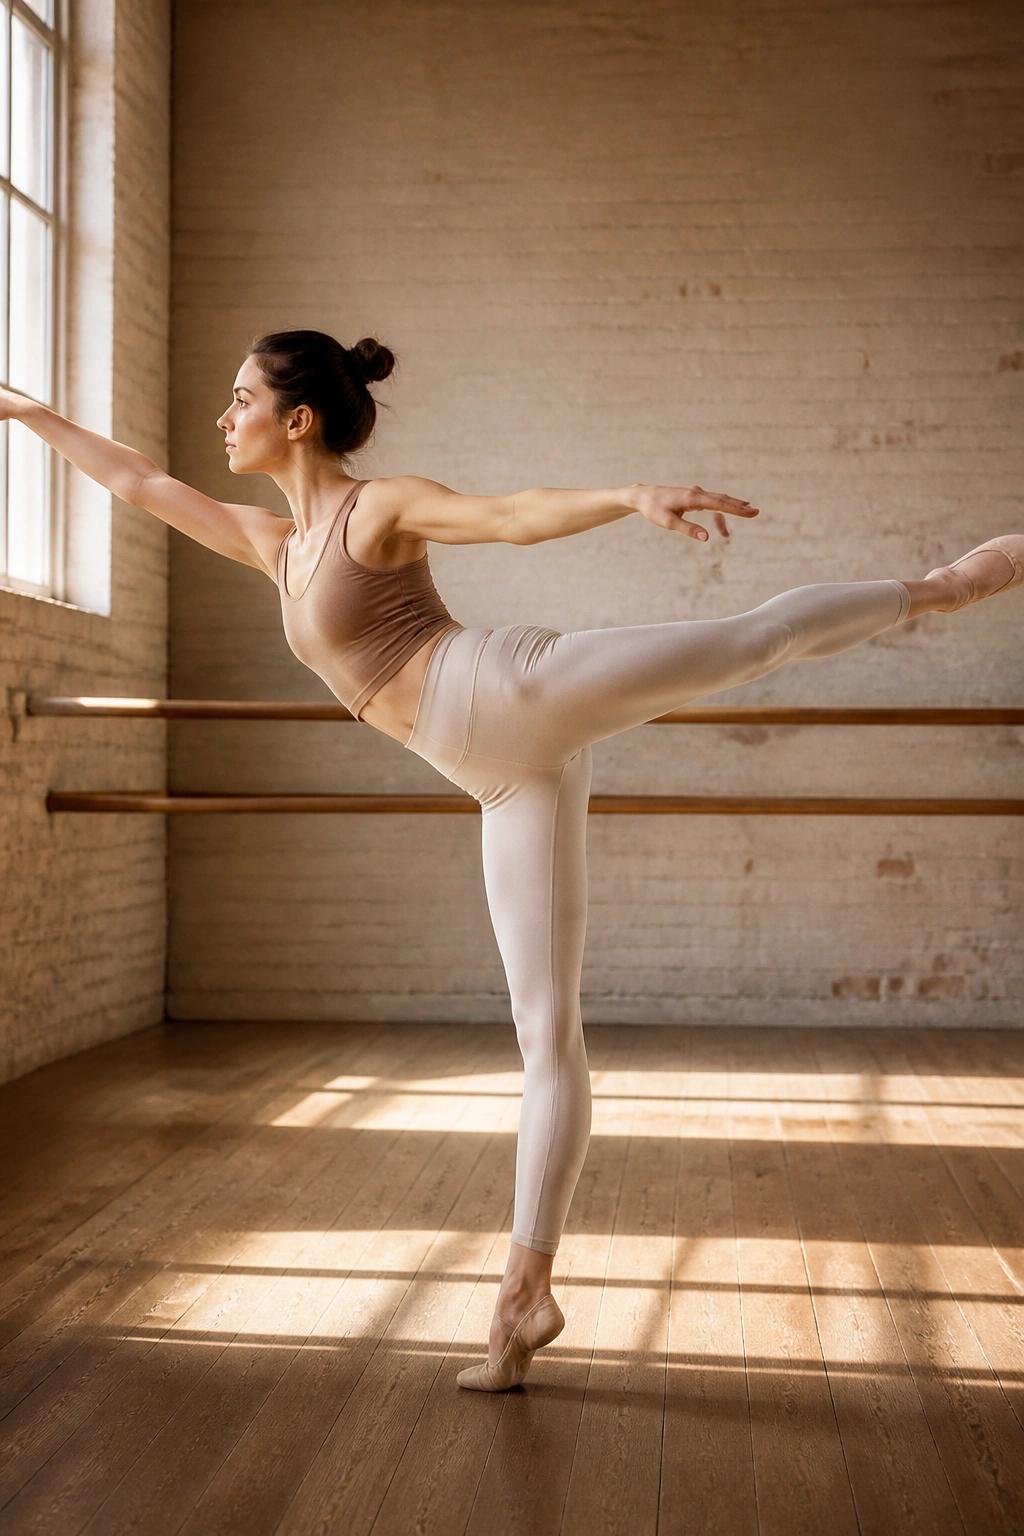
Stand facing your chair. Lift your right leg behind you, knee straight, chest tilted forward so your back is parallel to the floor. Reach your right arm forward to counterbalance the leg. Hold this “T” shape.
This is a balance challenge as much as a strengthening one. You are engaging the entire posterior chain—the back, the glutes, the hamstrings. If you wobble, reach your fingers and toes in opposite directions to lengthen your spine. The more you “reach,” the more stable you become.
18. The Reverse Plank
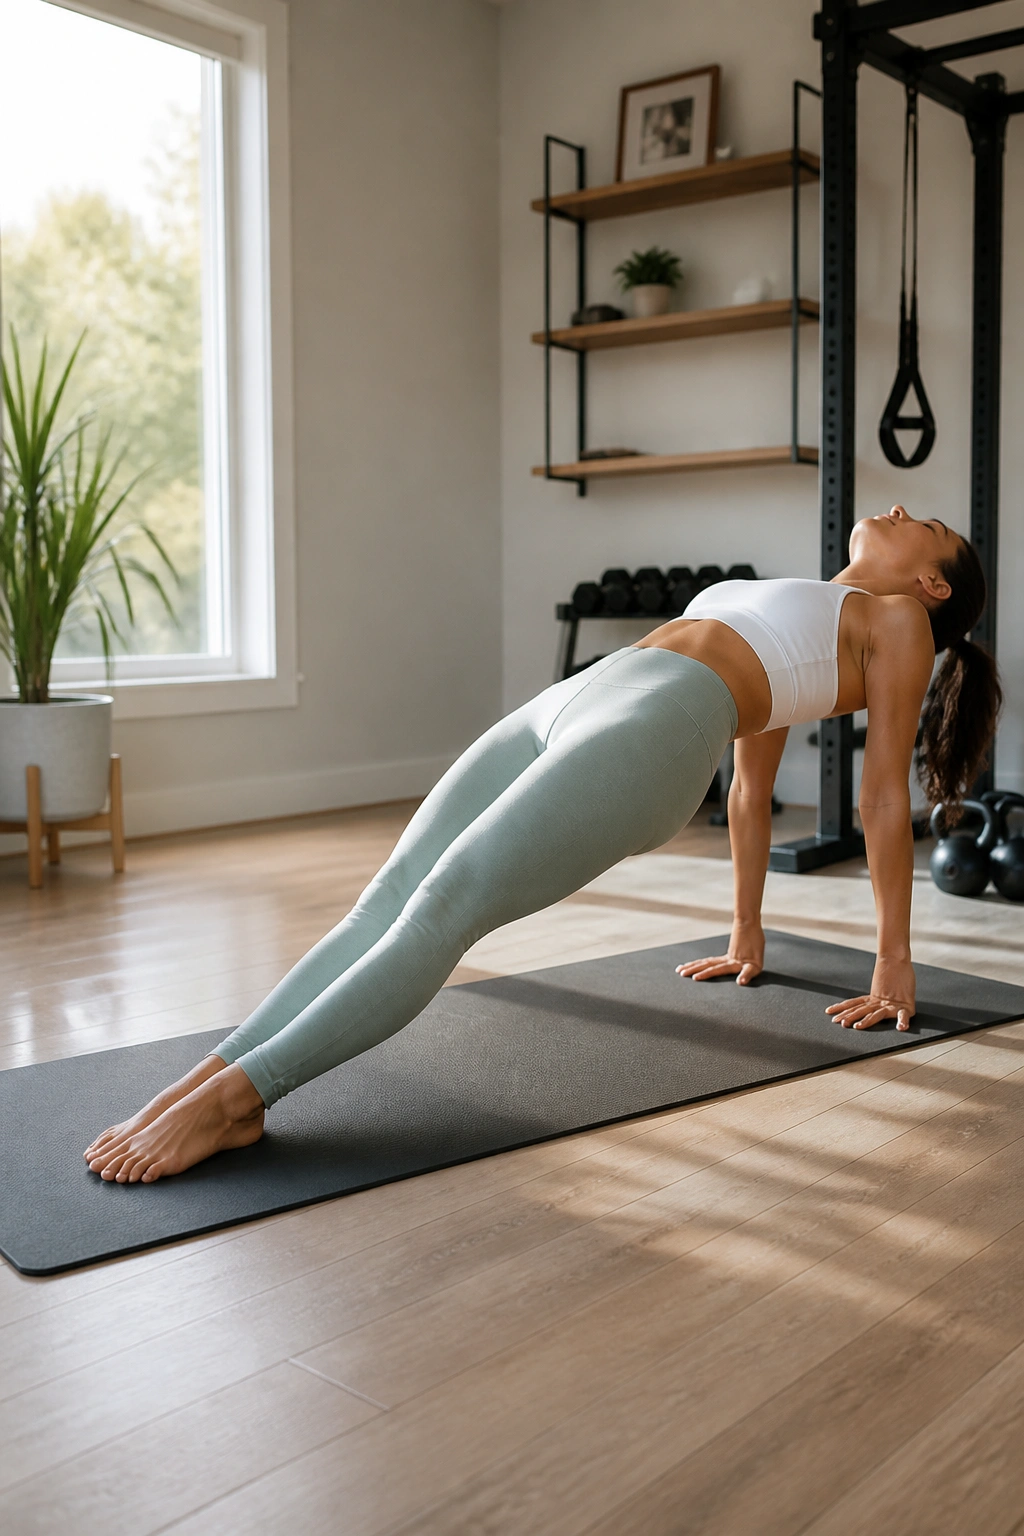
Sit on the floor with your legs straight out in front of you. Place your hands on the floor behind you, fingers pointing toward your heels. Lift your hips toward the ceiling until your body forms a straight line from heels to shoulders.
This opens up the chest while working the entire back side of the body—triceps, glutes, hamstrings, and the muscles between your shoulder blades. It feels awkward at first, especially in the shoulders. Keep your gaze toward the ceiling rather than dropping your head back, which can strain the neck.
19. Forearm Plank Hip Dips
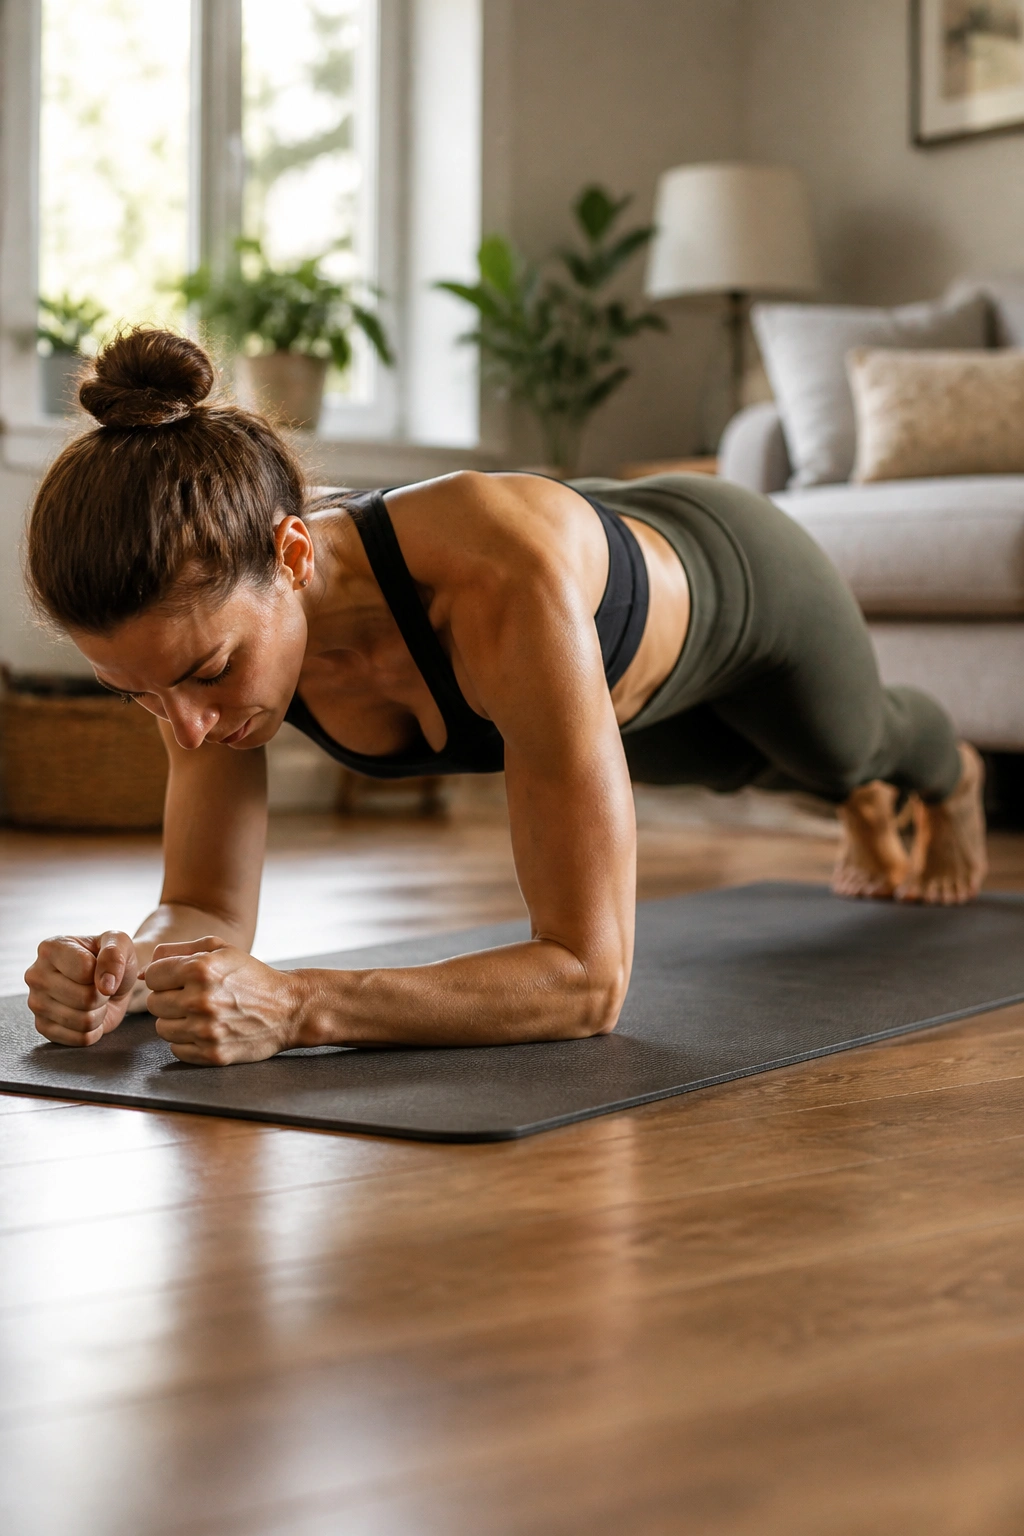
Start in a standard forearm plank. Twist your hips to the right, tapping your right hip toward the floor. Return to center, then twist to the left, tapping your left hip toward the floor.
Do not let your shoulders move. The rotation should come entirely from your waist. This creates a scorching burn in the obliques. It’s important to keep the movement controlled—don’t slam your hips into the floor. Think of it as a soft tap.
20. Full-Body Recovery Flow
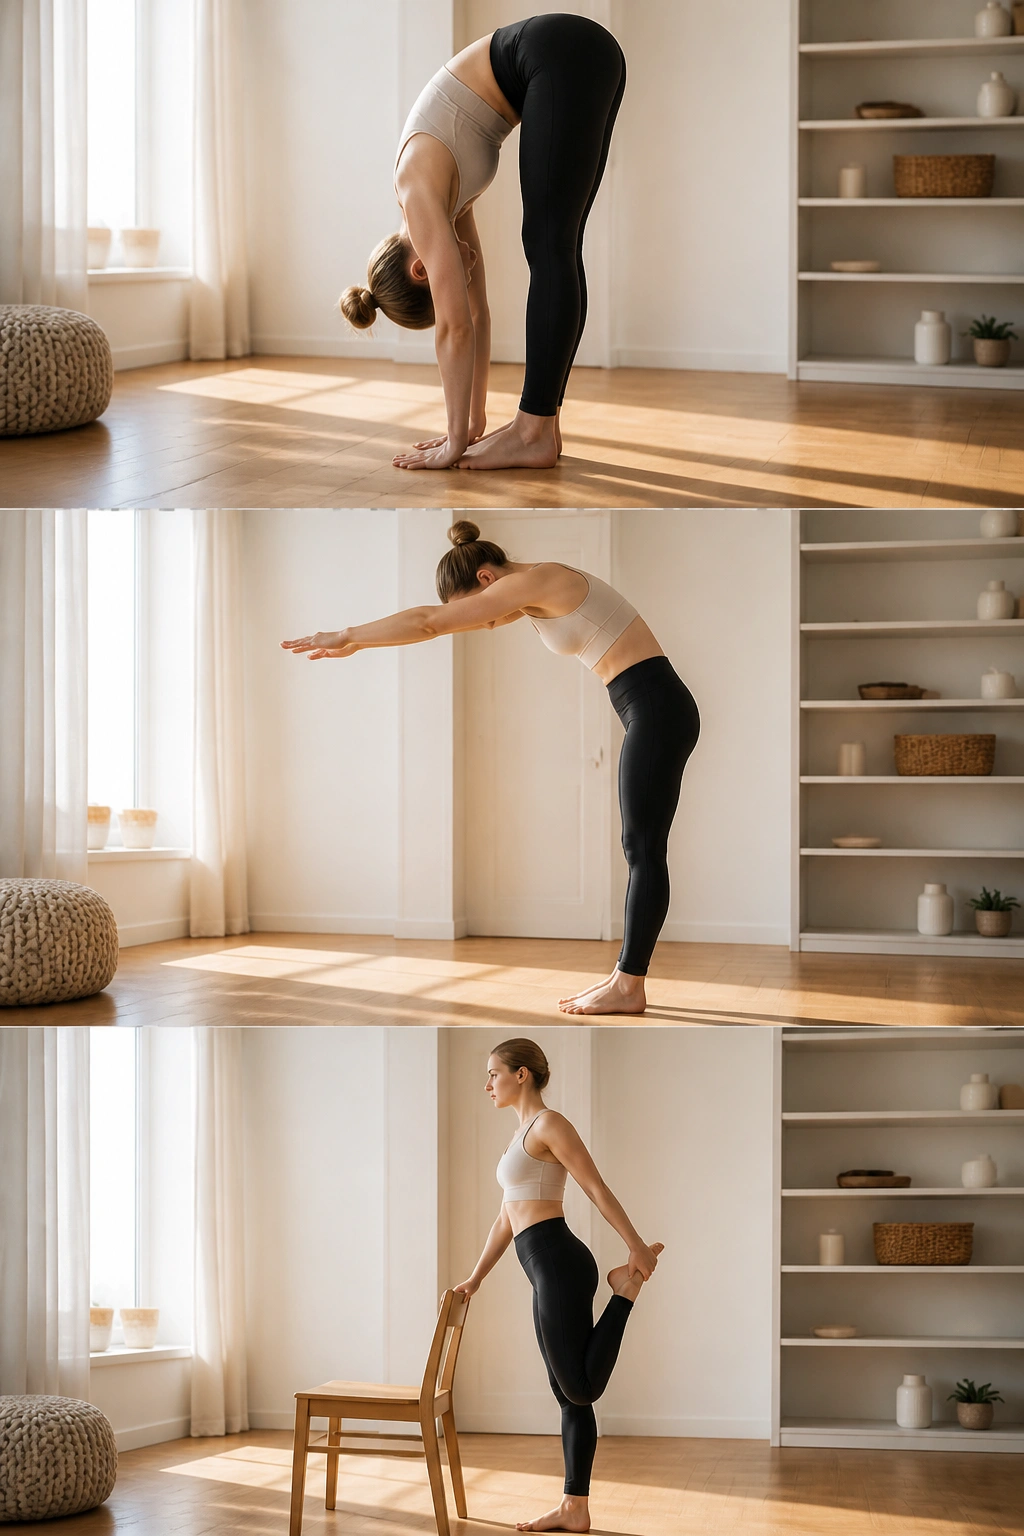
After finishing these movements, you need to flush the muscles. Move into a standing forward fold, letting your head hang heavy. Reach for your toes, but don’t force it—let gravity do the work. Slowly roll up, one vertebra at a time, until you are standing tall.
Finish with a gentle quad stretch, pulling your heel toward your glute. Hold onto the chair for balance. Take deep, full breaths, expanding your ribcage. You just taxed your muscles through isometric holds and repetitive, small movements; giving them a moment to lengthen and relax is essential for recovery.
Why Consistency Beats Intensity in Barre
It is tempting to look at a list of movements like this and decide you need to do all of them at 100% intensity every single day. That is the quickest way to burnout or overuse injury. Barre training is unique because it relies on muscle fatigue, and muscles need time to recover after being pushed to the point of “the shake.”
The real secret isn’t the number of movements you do, but the quality of your form during every single repetition. If you are doing a plié, it is better to do ten with perfect form—knees aligned, spine neutral, core tight—than fifty where you are slouching and using momentum to swing through the range.
Start by picking five or six of these movements to create a 15-minute routine. Rotate them throughout the week so you aren’t hammering the same muscle groups every single day. Give your glutes a break after a heavy glute day; focus on arms or abs instead.
Listening to Your Body’s Feedback
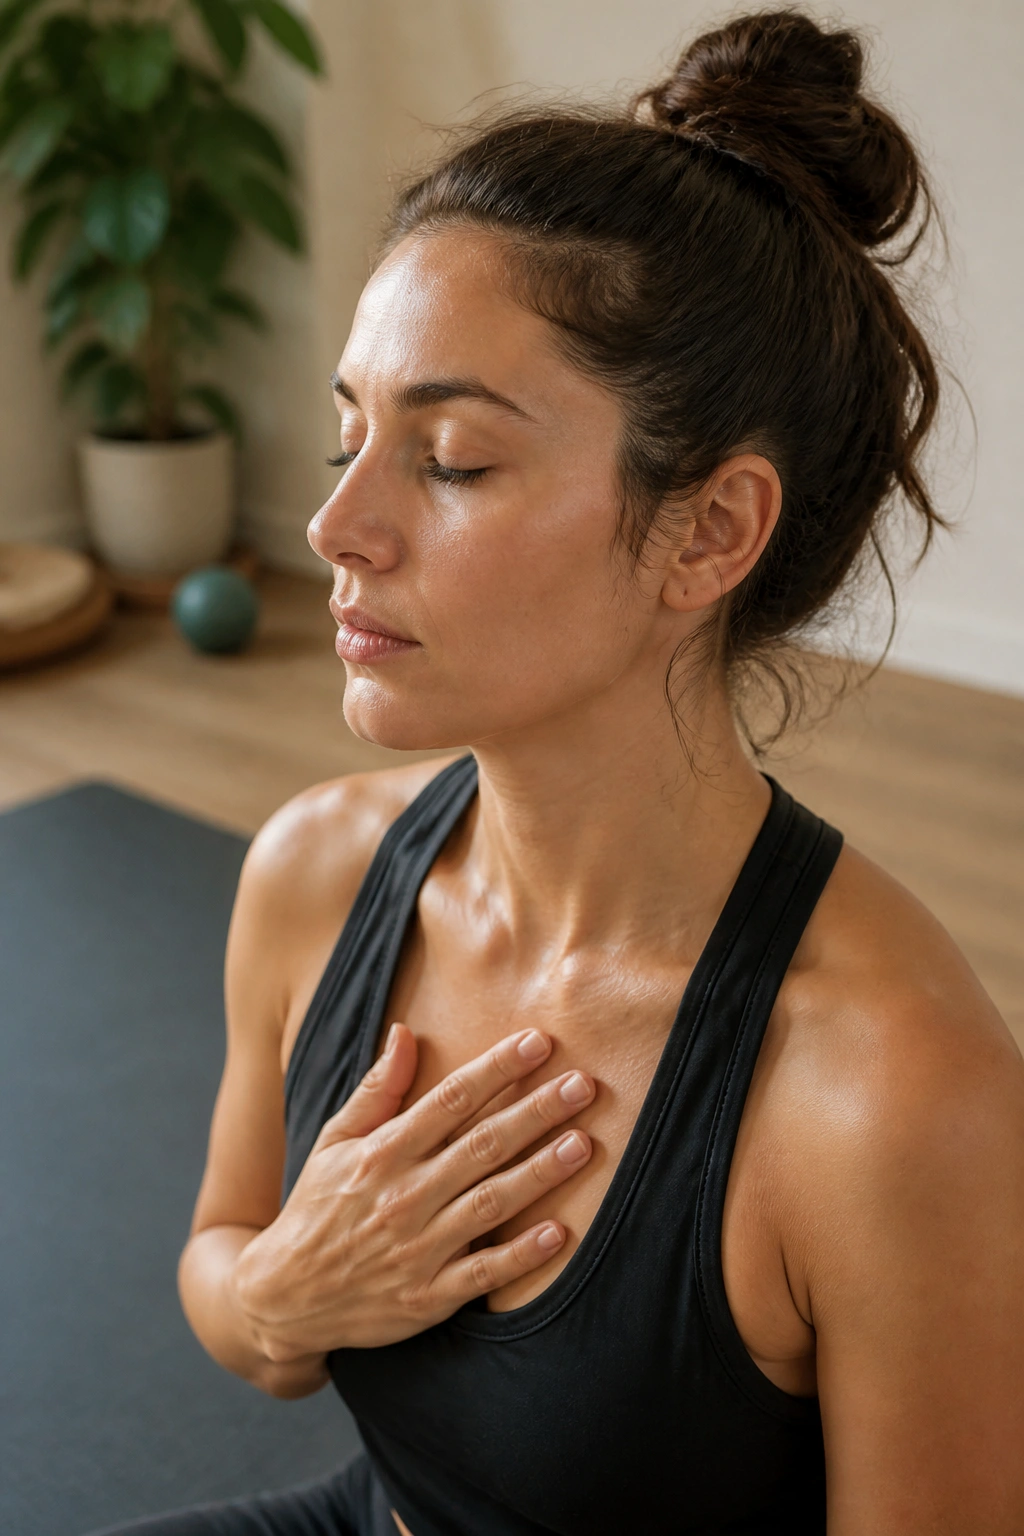
Your body will give you signals throughout these workouts. Knowing the difference between the “good” pain of muscle fatigue and the “bad” pain of joint strain is the most valuable skill you can develop.
Muscle fatigue feels like a deep, dull ache. It is the feeling of heat building up in the tissue. It might feel like your muscles are burning or trembling. This is exactly what you are training for. It means your neuromuscular system is learning to recruit those fibers effectively.
Joint strain, however, is sharp, sudden, or shooting. It often appears in the knees, lower back, or shoulders. If you feel this, stop immediately. Check your alignment. Did you lock your knees? Is your back arching? Did your shoulders creep up to your ears? Often, a tiny adjustment—like engaging the core more or shifting your weight slightly—will eliminate the joint pain and bring the focus back to the muscles.
The Role of Breathing in Stability
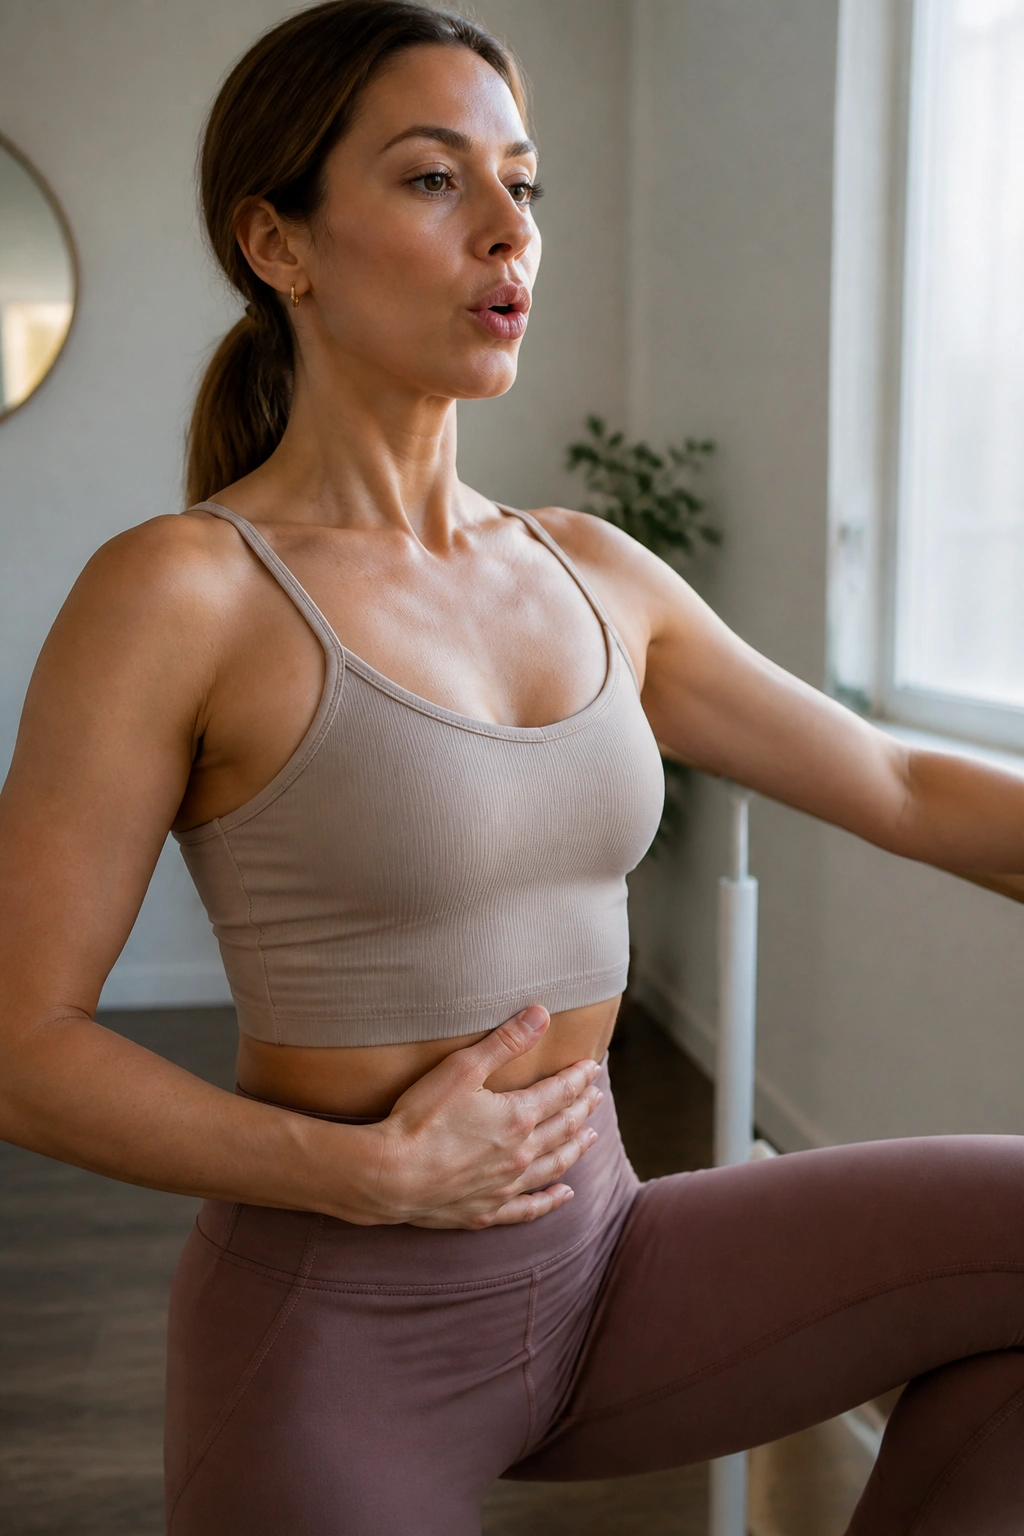
If you watch a professional dancer, you notice they never hold their breath, even when performing extremely difficult jumps or turns. They use breath to support the movement. In a home barre workout, breathing is your primary tool for core engagement.
Try not to hold your breath when the work gets hard. It is a natural reaction to clench up and stop breathing when your legs start to shake, but this actually increases tension in your neck and face without helping your muscles work better.
Instead, use your exhale to deepen the effort. When you are at the lowest point of a plié or the highest point of a leg lift, exhale deeply. This naturally engages the transverse abdominis, the deepest layer of your core, and gives your body the oxygen it needs to keep going for those last ten seconds.
Equipment Substitutions for Home Workouts
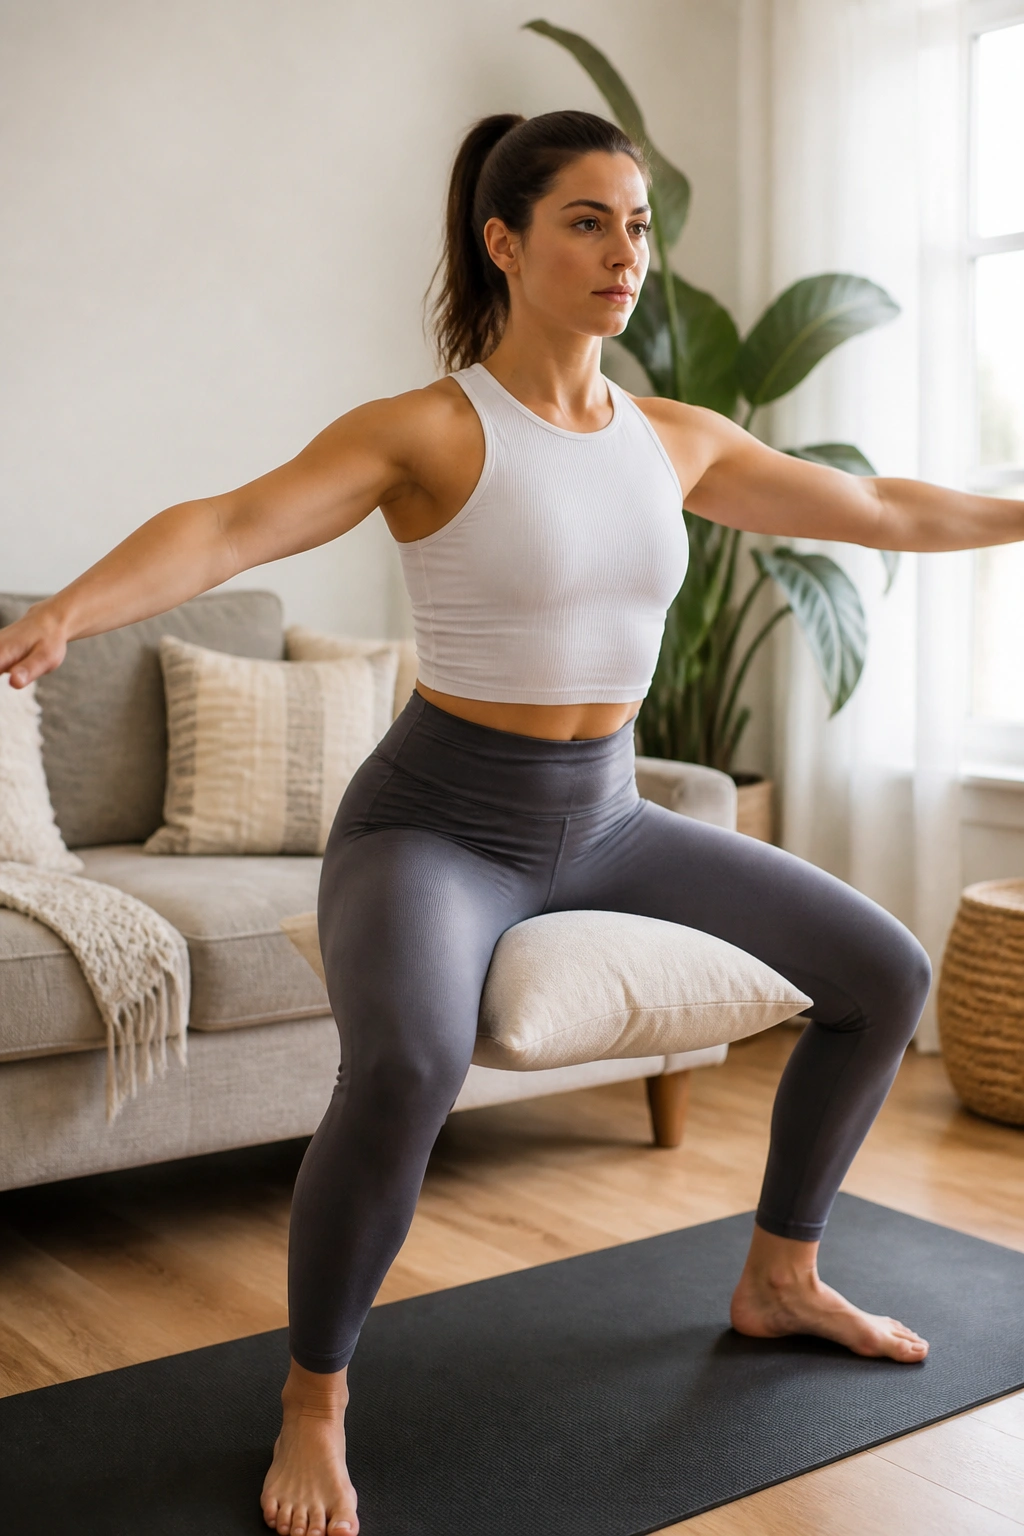
You do not need to buy anything to get started. The best piece of equipment in a barre workout is your own body weight. However, if you want to increase the challenge, there are simple items around the house you can use.
For the inner thigh work, a small decorative pillow or a folded beach towel works perfectly. You don’t need a specialized Pilates ring. For arm work, if you don’t have light dumbbells, two cans of soup or two full water bottles provide enough resistance to tire out your shoulders and triceps.
If you don’t have a chair with a backrest that is the right height, a kitchen counter or even a sturdy couch back can work. The most important thing is that whatever you hold onto is stable. You don’t want to be worried about the furniture tipping over while you are trying to focus on your form.
Understanding the “Pulse” Technique
The pulse is the signature move of barre training, and it is frequently misunderstood. It is not a bouncy, chaotic movement. It is a controlled shift in range.
When you are in a wide-second plié and you pulse, you are only moving about an inch down and an inch up. You never fully straighten your legs at the top of the pulse, and you never move into a deep, uncontrolled squat at the bottom. The muscle stays under constant tension the entire time.
Think of it as squeezing the muscle at the bottom of the move, then squeezing it just a tiny bit more as you pulse. If you feel like you are bouncing, you are going too fast. Slow it down. The slower you move, the harder the muscles have to work to maintain control against gravity.
Finding the Right Pace
A common mistake is trying to keep up with a fast-paced beat. Barre 3 workouts are not high-intensity interval training (HIIT). They are slow-burn strength sessions. You should be able to maintain your form through the entire set.
If you find that your form breaks down halfway through a set of twenty reps, stop. Reset your posture. Take a breath. Then finish the remaining reps with good form. Quality repetitions build strength; sloppy repetitions build bad habits and increase the risk of injury.
You are the only person who knows how your body feels. If a set of twenty feels like too much today, do ten. If you have extra energy, do thirty. The program should serve you, not the other way around.
Integrating Barre with Other Activities
One of the great things about this style of training is that it is low-impact. This makes it an ideal complement to higher-impact activities like running or heavy weightlifting.
If you are a runner, these movements—specifically the glute and hip mobility exercises—are vital for preventing common injuries like runner’s knee or tight hips. A runner’s muscles are often strong in the quads but weak in the stabilizers. Barre 3 bridges that gap.
If you are a lifter, barre provides the endurance and core stability that supports your heavy lifts. You might find that your back feels more supported during a deadlift because you spent time strengthening the deep core muscles during your home barre sessions.
The Importance of the Setup
Before you start, take thirty seconds to check your environment. Do you have enough space to extend your arms and legs without hitting a wall or a piece of furniture? Is your floor surface stable?
If you are on a slippery hardwood floor, consider wearing socks with grip on the bottom or being barefoot. If you are on a carpet, you might need to wear shoes to keep your ankles stable, as the carpet can sometimes create too much shift during lateral movements.
These small details set the stage for success. When you aren’t worried about slipping or knocking over a lamp, you can put 100% of your mental energy into the muscle you are trying to work.
Avoiding the “Neck Tension” Trap
We tend to carry our stress in our shoulders, and barre workouts often trigger that. You might notice that after a set of arm work, your neck feels tight or your traps feel sore.
This usually happens because we are lifting our shoulders toward our ears as we get tired. Throughout every movement, consciously check your posture. Imagine you are lengthening your neck. Drop your shoulders down and back.
If you are doing ab work, keep your gaze steady. If you look down at your stomach, you tend to crunch your neck. If you look at the ceiling, you encourage a long, neutral spine. Keep the neck long, and your workouts will be much more effective.
Progressing Without Adding Weight
In many fitness disciplines, the only way to progress is to add heavier weights. In barre, progress looks different. You progress by increasing your control, refining your range of motion, and decreasing your rest time.
If you have been doing these exercises for a few weeks and they start to feel easy, don’t just grab heavier weights. Instead, hold the isometric pause for five seconds longer. Make the pulses even smaller and slower. Decrease the time you take to transition between exercises.
You can make these moves infinitely harder just by focusing on the mind-muscle connection. When you consciously squeeze the muscle for the entire duration of the movement—not just at the peak—the workout becomes exponentially more challenging.
The Mental Aspect of the Shake
There will be days when you feel strong, and there will be days when the “shake” starts five seconds into the first exercise. Both days are valuable.
When the shake starts early, it’s a sign that your central nervous system is fatigued. It doesn’t mean you are failing. It means you are pushing your boundaries. Instead of getting frustrated, lean into it. Acknowledge the sensation. Tell yourself, “This is the work.”
The goal is to cultivate a relationship with that uncomfortable feeling. Once you realize that the shake is harmless and is simply a physical response to reaching fatigue, you stop fearing it and start looking for it. It becomes the indicator that you are getting exactly what you came for.
Final Thoughts
Home workouts often lack the external accountability of a studio environment, but they offer the freedom to move at your own rhythm. You have the total control to pause, reset, and focus on what your body needs in this specific moment.
Remember that there is no perfect way to do this. There is only the way that works for your current level of fitness and your unique physical alignment. Stay consistent, keep your movements controlled, and trust the process of slow, steady strengthening.
The most important takeaway is that you showed up to the chair or the mat today. Over time, those small daily efforts compound into significant changes in your endurance, posture, and core strength. Keep the movements small, keep the focus sharp, and let the results follow naturally.
