



There is a very specific, undeniable sensation that happens around the fifteen-minute mark of a serious barre class. It is the moment your quadriceps begin to vibrate, your hip flexors start to complain, and your brain signals an immediate urge to lower your heels and walk away from the barre. Most beginners mistake this for a sign that they should stop. In reality, that quivering in your legs—that deep, localized fatigue—is exactly where the physiological adaptation happens. It is the threshold between exercise and actual muscle sculpting.
Ballet-inspired training relies on isometric holds and high-repetition, low-range movements. You are not trying to push heavy plates to build bulk; you are trying to fatigue the muscle fibers through time under tension. By keeping the legs engaged for minutes at a time, you exhaust the primary movers and force the stabilizing muscles to wake up. This is how you achieve that lean, defined look that defines the ballet aesthetic. It is not about how much you can lift, but how long you can maintain perfect alignment while your muscles are screaming for relief.
The key to success here is not in how fast you can move or how high you can kick. It is all about the micro-adjustments. A half-inch shift in the tilt of your pelvis or the rotation of your hip can change a move from a generic leg exercise to a targeted, glute-activating powerhouse. If you are ready to stop going through the motions and actually start shaping your legs, you need to understand that the “burn” is your best friend. Lean into it, hold the position, and let the technique do the heavy lifting.
1. Grand Plié
The grand plié is the foundation of every barre routine, but it is often performed incorrectly by people trying to get their hips as low as possible. In a true ballet-style grand plié, your goal isn’t just to drop your seat toward the floor. You must maintain an upright spine, keeping your shoulders directly over your hips throughout the entire range of motion.
The Proper Form
Start in second position, feet wider than shoulder-width apart, toes turned out. As you lower your hips, imagine sliding your back down a wall. Your heels will eventually need to lift off the floor if you go low enough, but the moment they leave the ground, you should prioritize keeping the heels squeezed together as you rise back up.
Why This Sculpts Your Legs
This move engages the inner thighs (adductors) more aggressively than any standard squat. By keeping the torso perfectly vertical, you force the quadriceps and glutes to work in a balanced union. If you lean forward, you transfer the load to your lower back, which is exactly what we want to avoid. Focus on the squeeze as you come up—that contraction is where the definition starts to form.
2. Plié Pulse
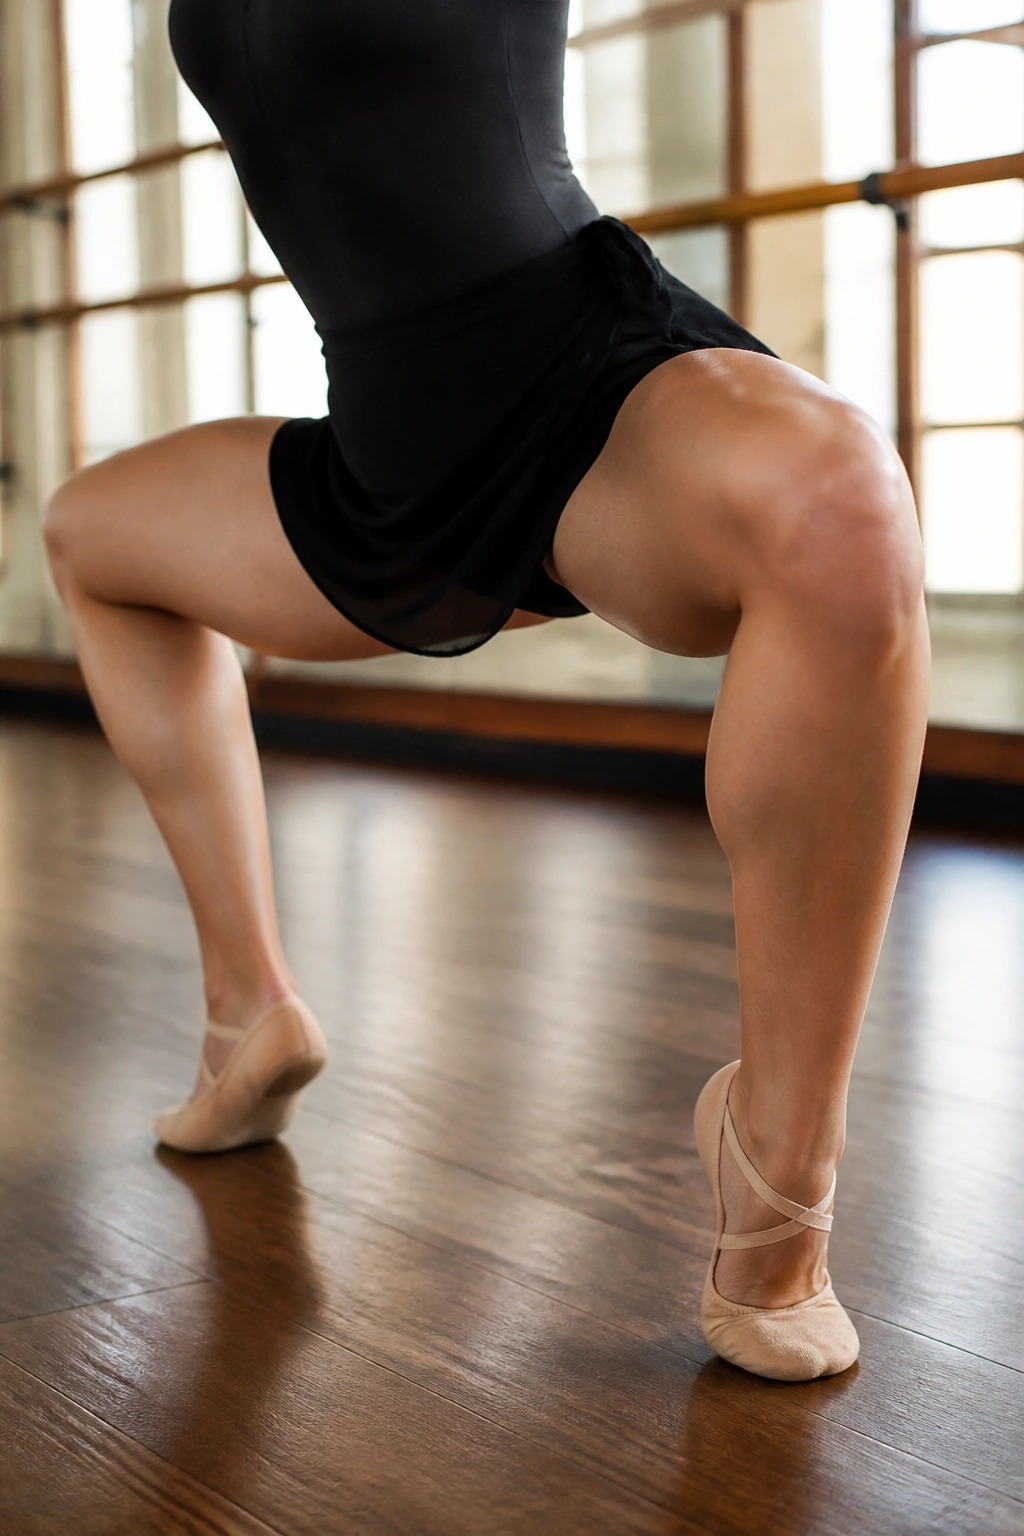
If the grand plié is the workout’s structural foundation, the pulse is its engine. This is where you find that deep, intense heat that turns a simple leg exercise into a sculpting session. You are working in a range of only one or two inches, never allowing the muscle to fully relax or lock out.
The Technique
Drop into a standard plié position, knees tracking over your toes. Instead of standing back up, stay at the bottom of the movement. Now, initiate a tiny, rhythmic bounce. Move down an inch, then up an inch. Your thighs should feel like they are catching fire within thirty seconds.
Critical Adjustments
Do not use momentum. If you are just bouncing, you are wasting energy. Every movement should be controlled by your leg muscles. Keep your tailbone tucked under—imagine trying to pull your pubic bone toward your belly button. This alignment protects your lumbar spine and keeps the tension squarely on your quads and glutes, preventing your hip flexors from taking over the work.
3. Tendu Side Extensions
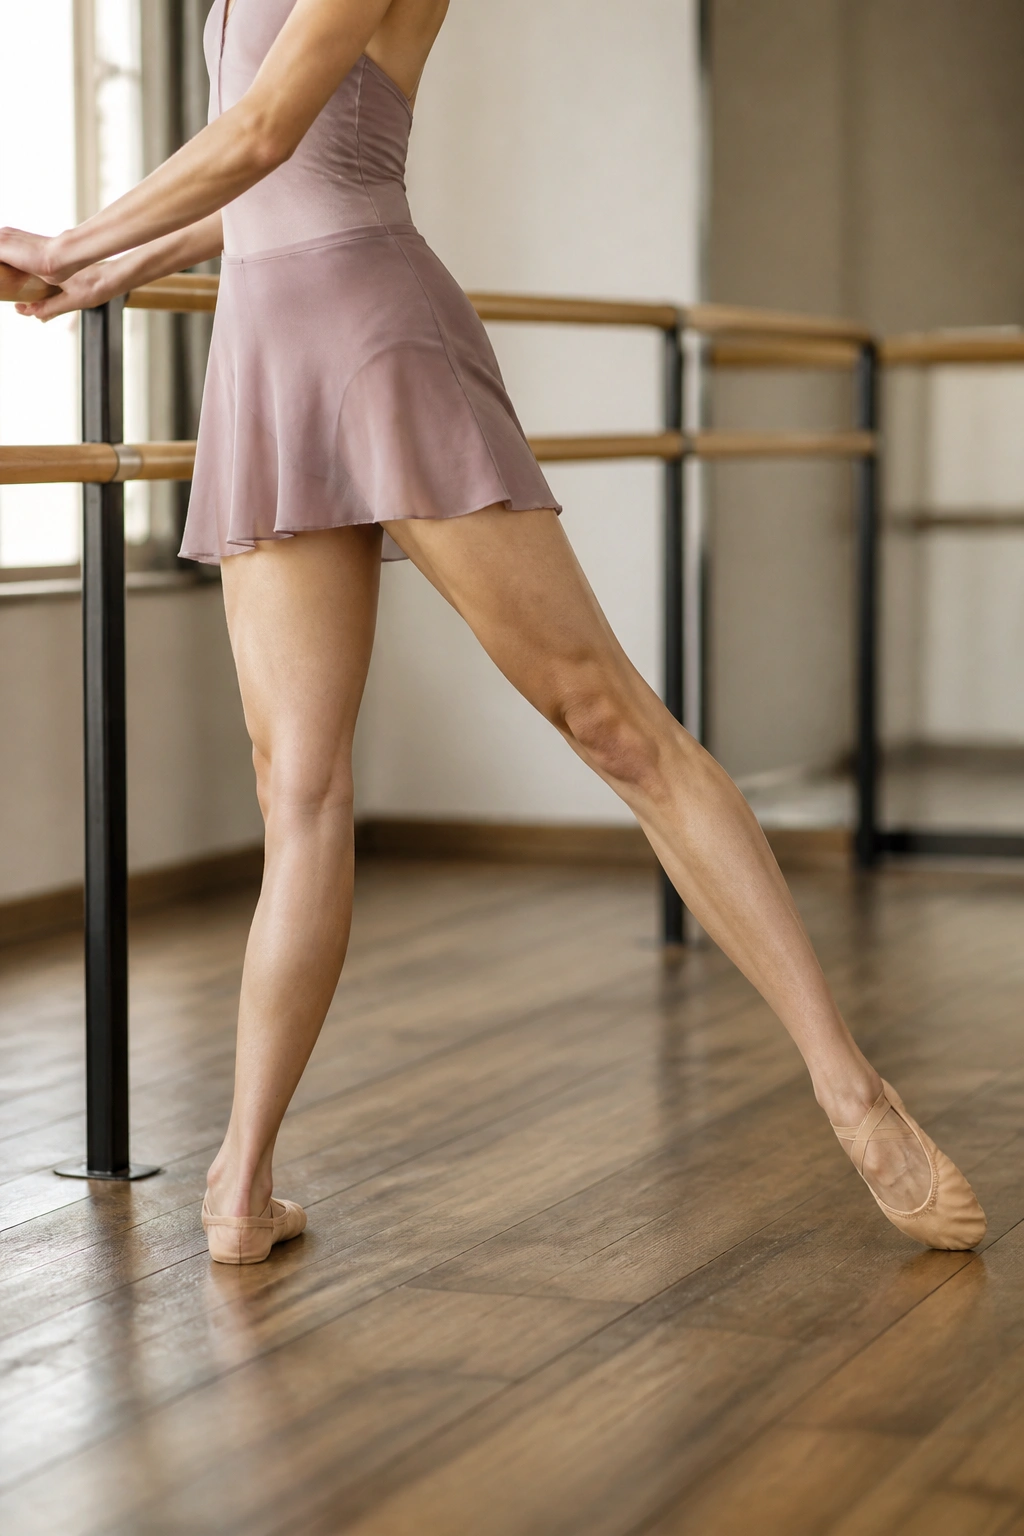
Tendu is a French term meaning “to stretch.” In this exercise, you aren’t just flailing your leg out to the side; you are dragging the ball of your foot across the floor until the leg is perfectly straight. It is a slow, resistive movement that forces the entire length of your leg to engage.
How to Master the Movement
Stand facing the barre, one hand resting lightly on it. Engage your core to keep your torso stable. Point your toes deeply, stretching through the ankle. Slowly drag your foot along the floor to the side, maintaining contact until your leg is fully extended. Keep the top of your foot arched, as if you are trying to paint a line on the floor with your big toe.
The Subtle Benefits
This is essentially a low-impact toner for the outer thighs and the stabilizing leg. Because you are maintaining constant floor contact, you are building strength in the muscles that control ankle stability and hip rotation. It is an excellent way to prepare for higher-intensity movements, ensuring your muscles are firing correctly before you add speed or range.
4. Arabesque Leg Lifts
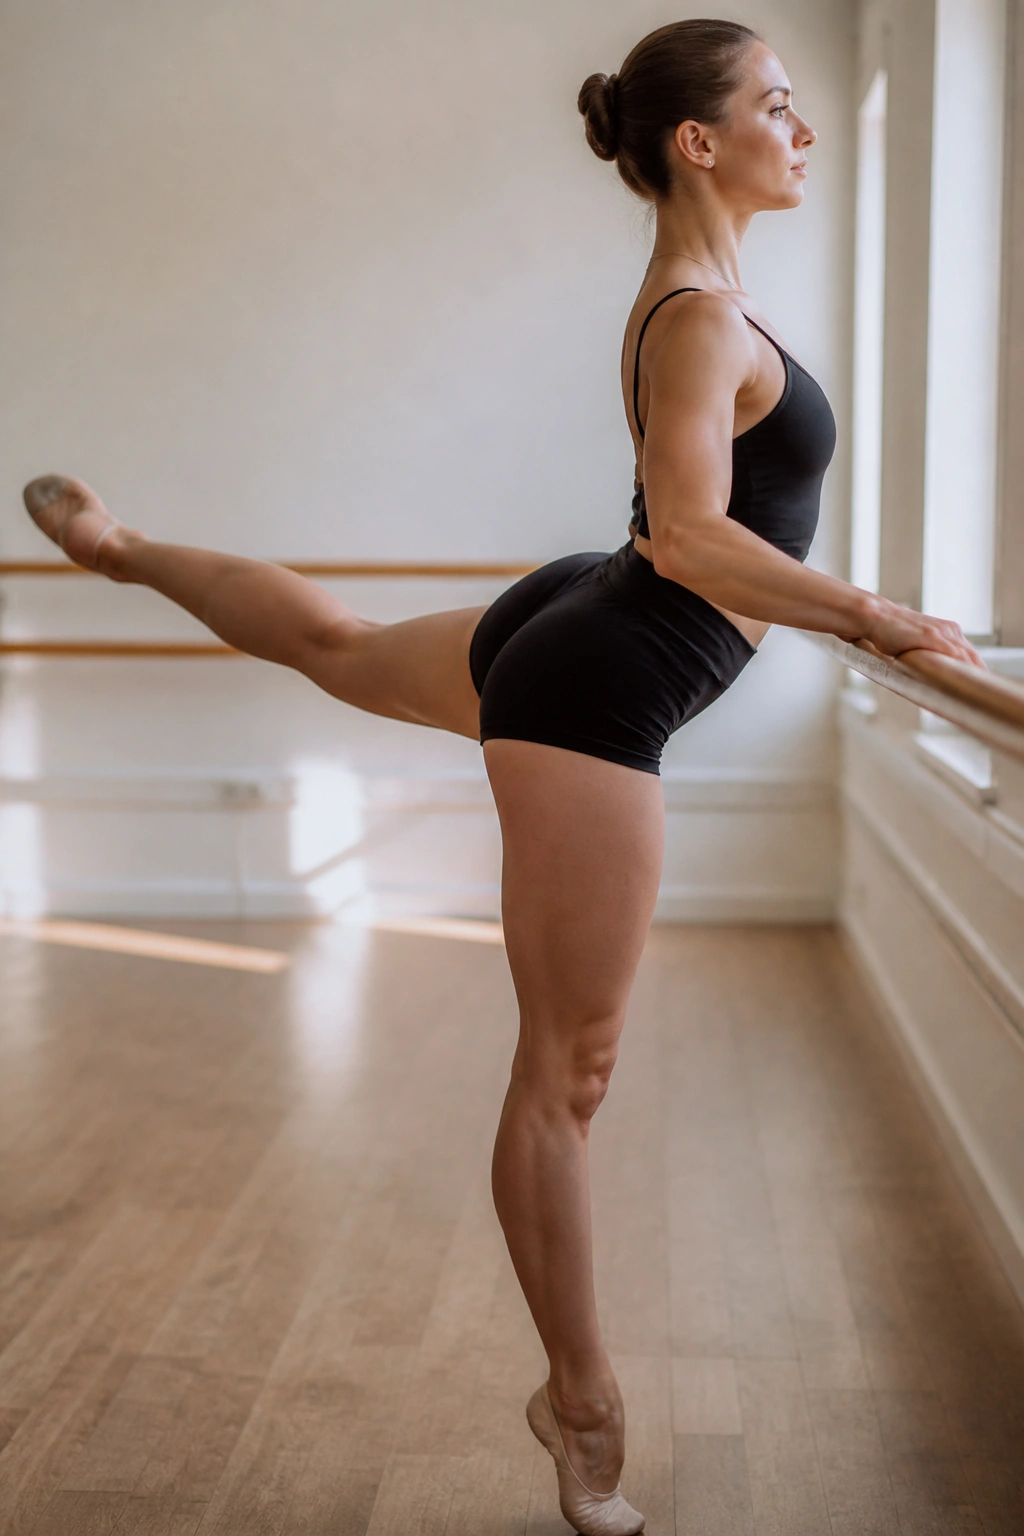
The arabesque is the quintessential ballet pose, but for a leg-sculpting workout, we modify it to focus on the glute-hamstring tie-in. You want to lift the leg behind you while keeping the hips square to the floor. If your hip opens up, you lose the isolation of the glute muscle.
Executing the Lift
Stand facing the barre, holding on for balance. Hinge slightly forward at the hips, keeping your back flat. Extend one leg behind you, toe pointed. Lift the leg straight up, squeezing your glute as you reach the peak. Lower it until your toe just touches the ground, then lift again.
Avoiding the Pitfalls
Most people try to go too high and end up arching their lower back to compensate. That is a quick way to cause pain and miss the target muscle. Keep your back immobile. The movement should come purely from your hip joint and glute engagement. Think about lengthening your leg away from your body, reaching toward the back wall, rather than trying to lift toward the ceiling.
5. Attitude Pulses
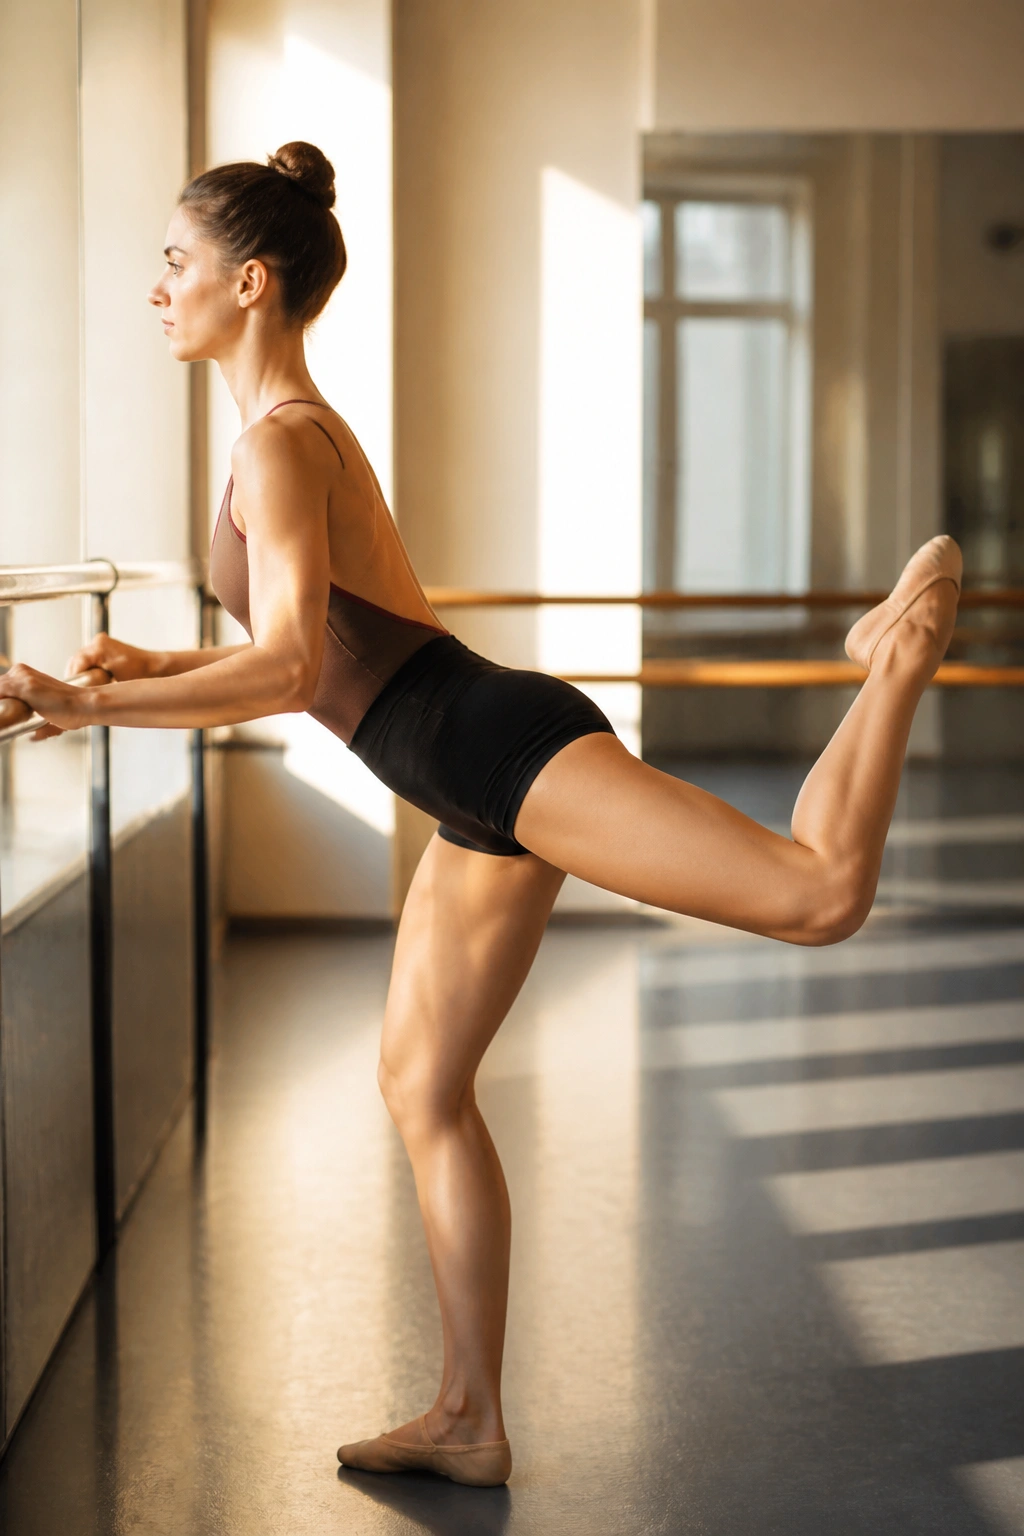
Attitude is a bent-leg variation of the arabesque, and it is arguably one of the most effective exercises for lifting the glutes. By bending the knee, you shorten the lever, allowing for more focused contraction in the posterior chain.
The Proper Setup
Stand facing the barre, same as your arabesque setup. Extend your leg behind you, then bend the knee so your lower leg is at a roughly 45-degree angle. This is your “attitude” position. Now, perform small, quick pulses upward. The goal is to keep the knee at the same height or higher than your hip.
Why This Works
The bend in the knee isolates the glute medius and maximus, removing the hamstrings from the equation as much as possible. This is the “shelf-lifting” move. You will feel this immediately at the base of your glutes. If you feel this in your lower back, hinge your torso slightly further forward to reset your pelvic alignment.
6. Relevé Calf Raises
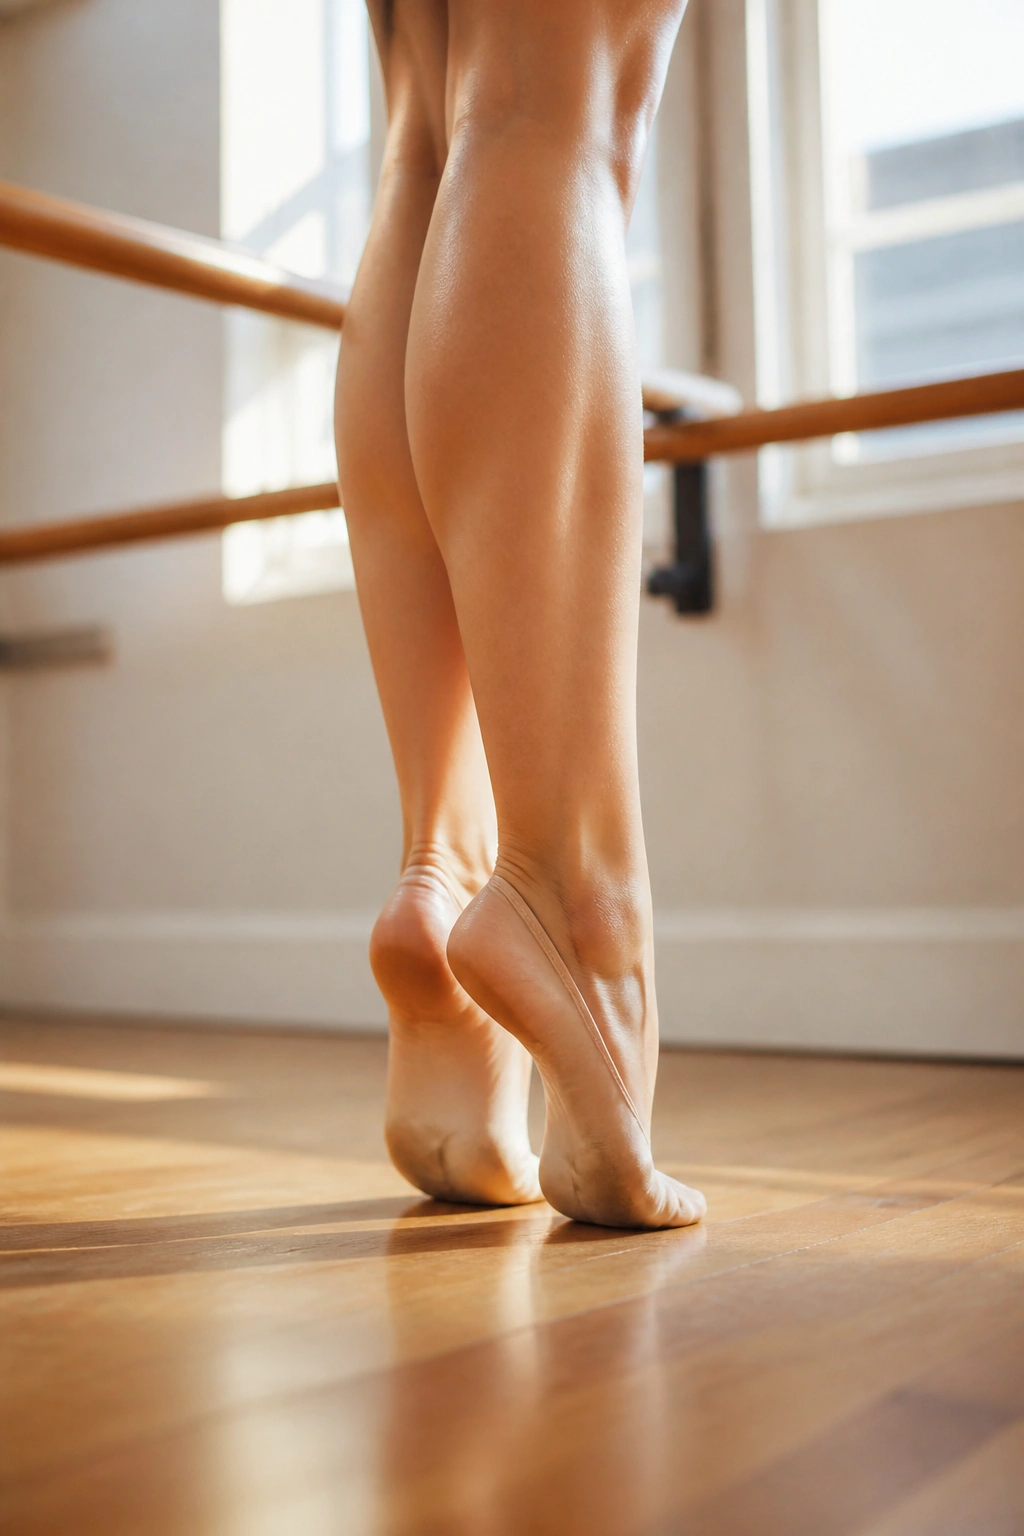
Ballet dancers have incredibly defined calves, and it isn’t just genetics. It comes from thousands of hours spent in relevé—the act of rising onto the balls of the feet. This exercise is simple to understand but brutal to execute properly.
The Mechanics
Stand with feet hip-width apart, holding the barre. Slowly rise onto the balls of your feet, squeezing your calves tight at the top. Hold for a second, then lower your heels until they almost touch the ground—do not rest the weight on your heels.
Maximizing the Results
The key is the “almost touch” part. If you put your weight on your heels, you release the tension in the calf. By hovering just a millimeter above the floor, you keep the muscles under constant tension. Try to keep your ankles from rolling outward; keep the weight centered over your big and second toe.
7. Curtsy Squats
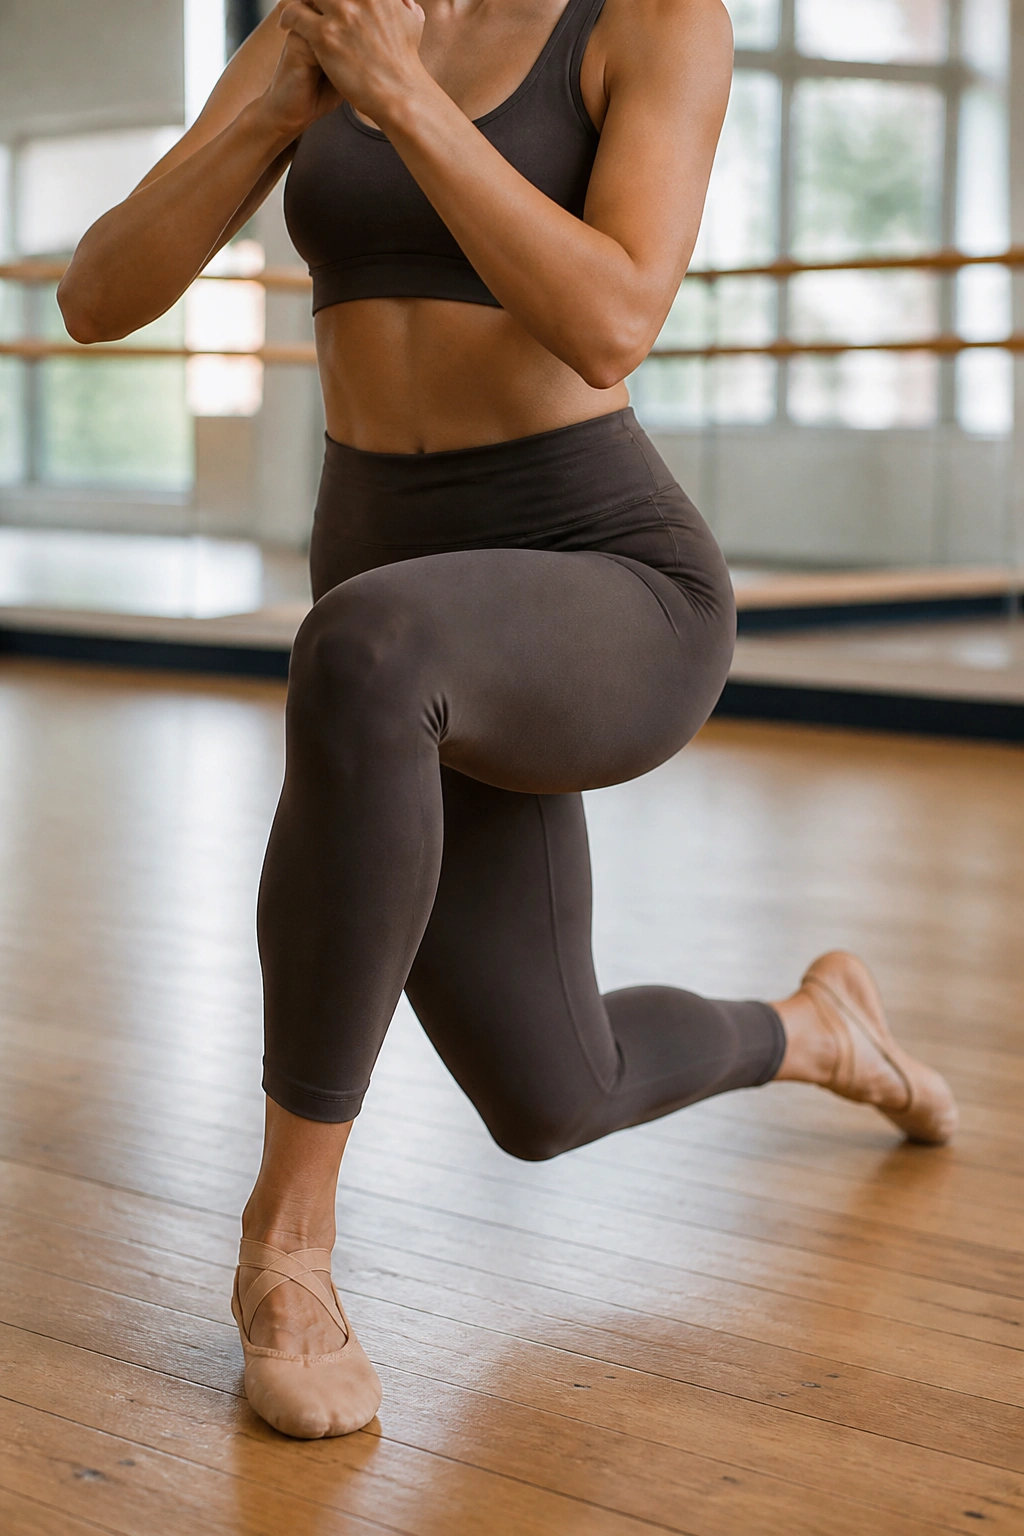
The curtsy squat is a dynamic movement that hits the side glutes and the quads simultaneously. It requires balance, stability, and a bit of coordination, making it an excellent addition to any routine meant to sculpt the lower body.
How to Perform
Stand with feet hip-width apart. Take a large step back and across with your right leg, landing on the ball of your foot. Lower your hips down, bending both knees. Keep your front knee aligned with your ankle—do not let it cave inward. Push back up to the starting position and switch sides.
Why It Sculpts
This move targets the glute medius—the muscle responsible for hip stability and the “side curve” of the hip. Because you are moving in a slightly diagonal plane, you are hitting muscle fibers that aren’t engaged in standard squats or lunges. It is a fundamental move for achieving that well-rounded leg silhouette.
8. Second Position Plie to Relevé
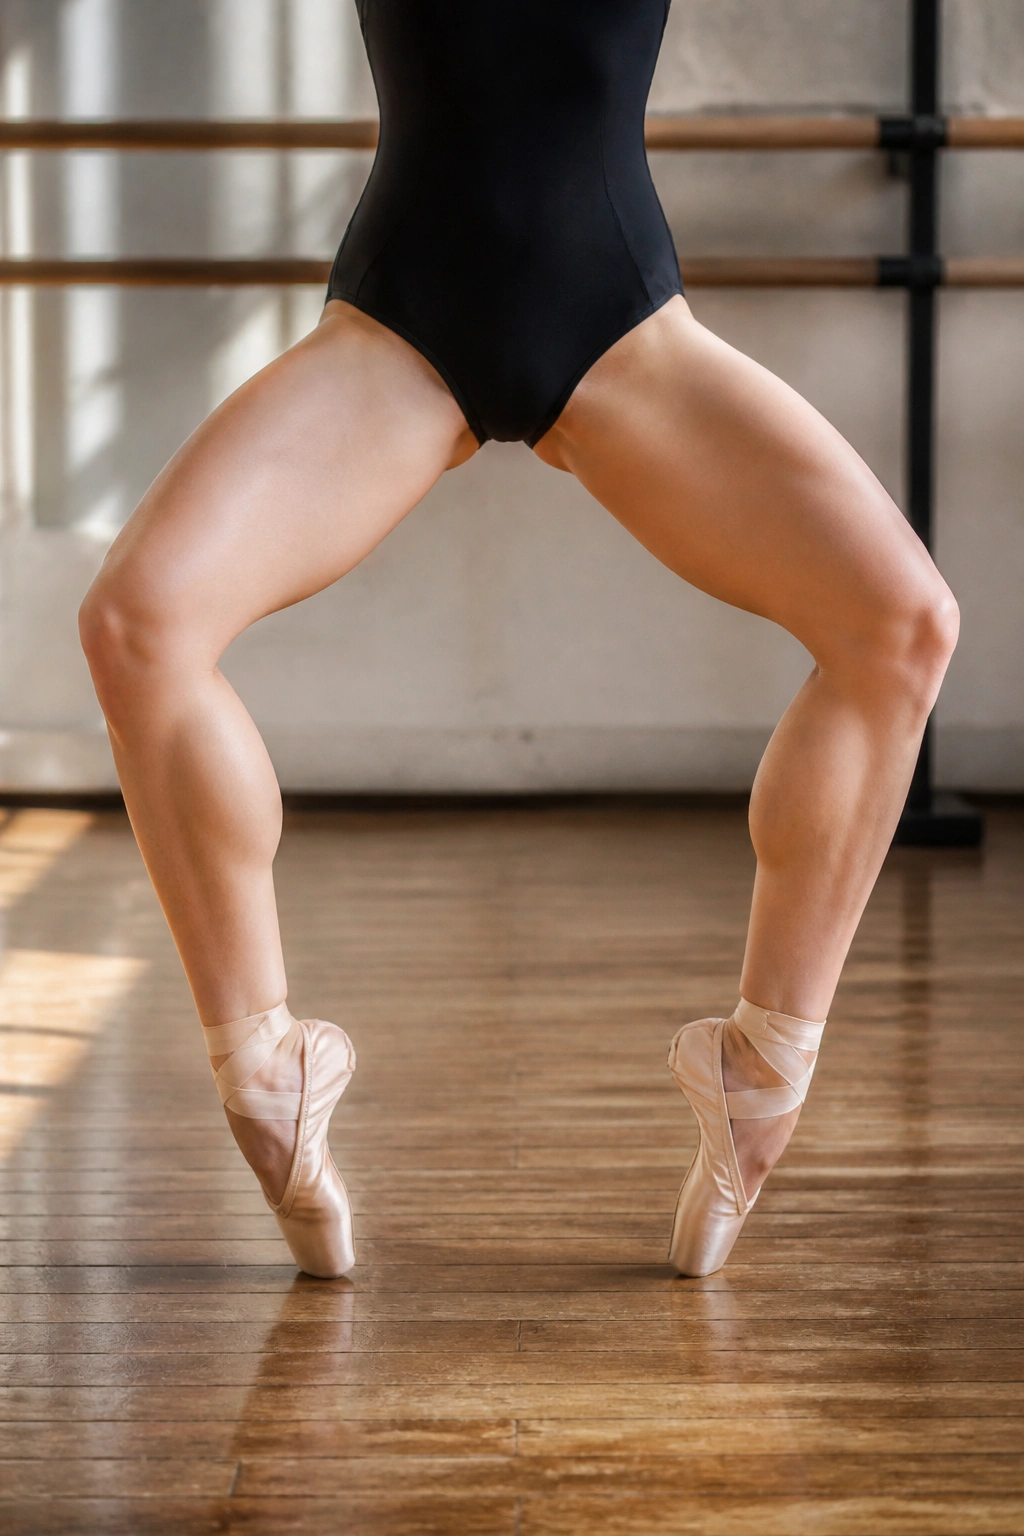
Combining two movements into one sequence is a great way to spike your heart rate and exhaust the muscles from multiple angles. This specific combination focuses on the inner thighs and calves simultaneously.
The Sequence
Start in a wide second-position plié. Sink down into your squat. Now, as you hold that deep plié, lift your heels off the floor (relevé). Hold that position for a count of three. Lower the heels, then stand back up. Repeat this cycle.
Focus Points
The struggle here is maintaining the deep knee bend while balancing on the balls of your feet. Many people try to stand up as they lift their heels. Don’t do it. The discipline of holding the deep squat while the calves engage is what makes this move effective. Your inner thighs will feel the static tension the entire time.
9. Standing Leg Circles
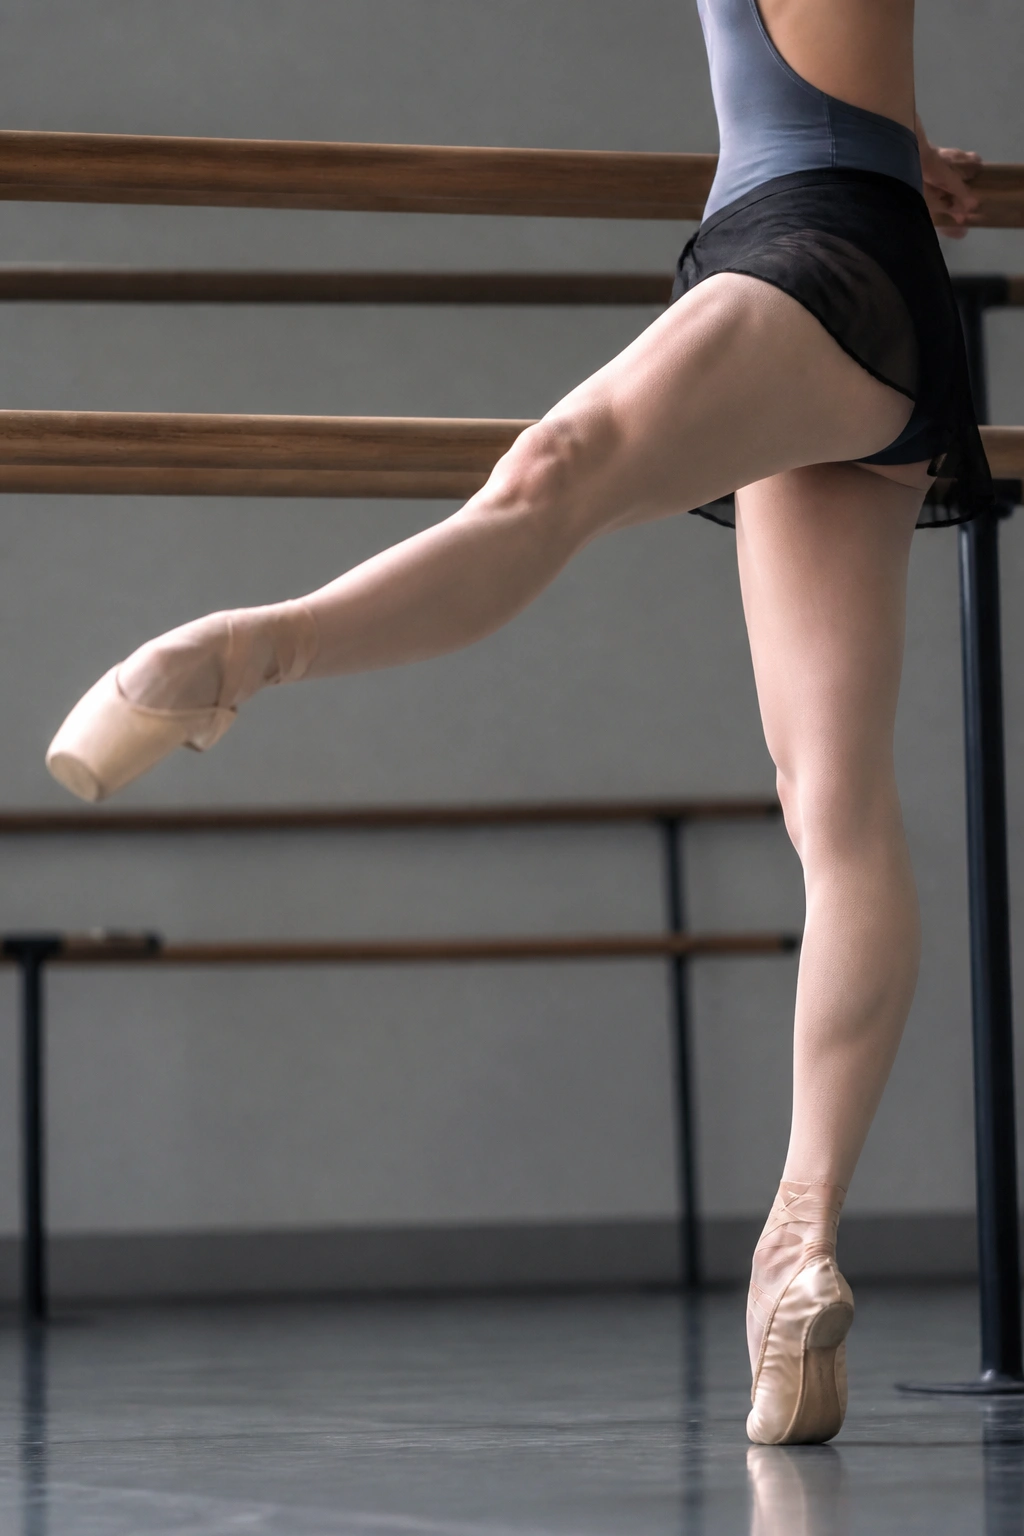
Leg circles seem innocent, but they are notorious for creating deep fatigue in the hip stabilizers and the entire upper leg circumference. This is about control, not speed.
The Technique
Stand facing the barre. Extend one leg straight out to the side, hovering just off the ground. With a straight knee and pointed toe, draw small, controlled circles in the air. Keep your torso completely vertical—do not lean away from the working leg to compensate for the weight.
The Secret to Success
Imagine you are drawing the circle on a piece of glass with your big toe. The size of the circle should be no larger than a dinner plate. If you make them too big, you will lose your balance and rely on momentum. Small, tight circles require more engagement from the smaller stabilizer muscles, which is exactly how you get that lean, toned look.
10. Passé Balance
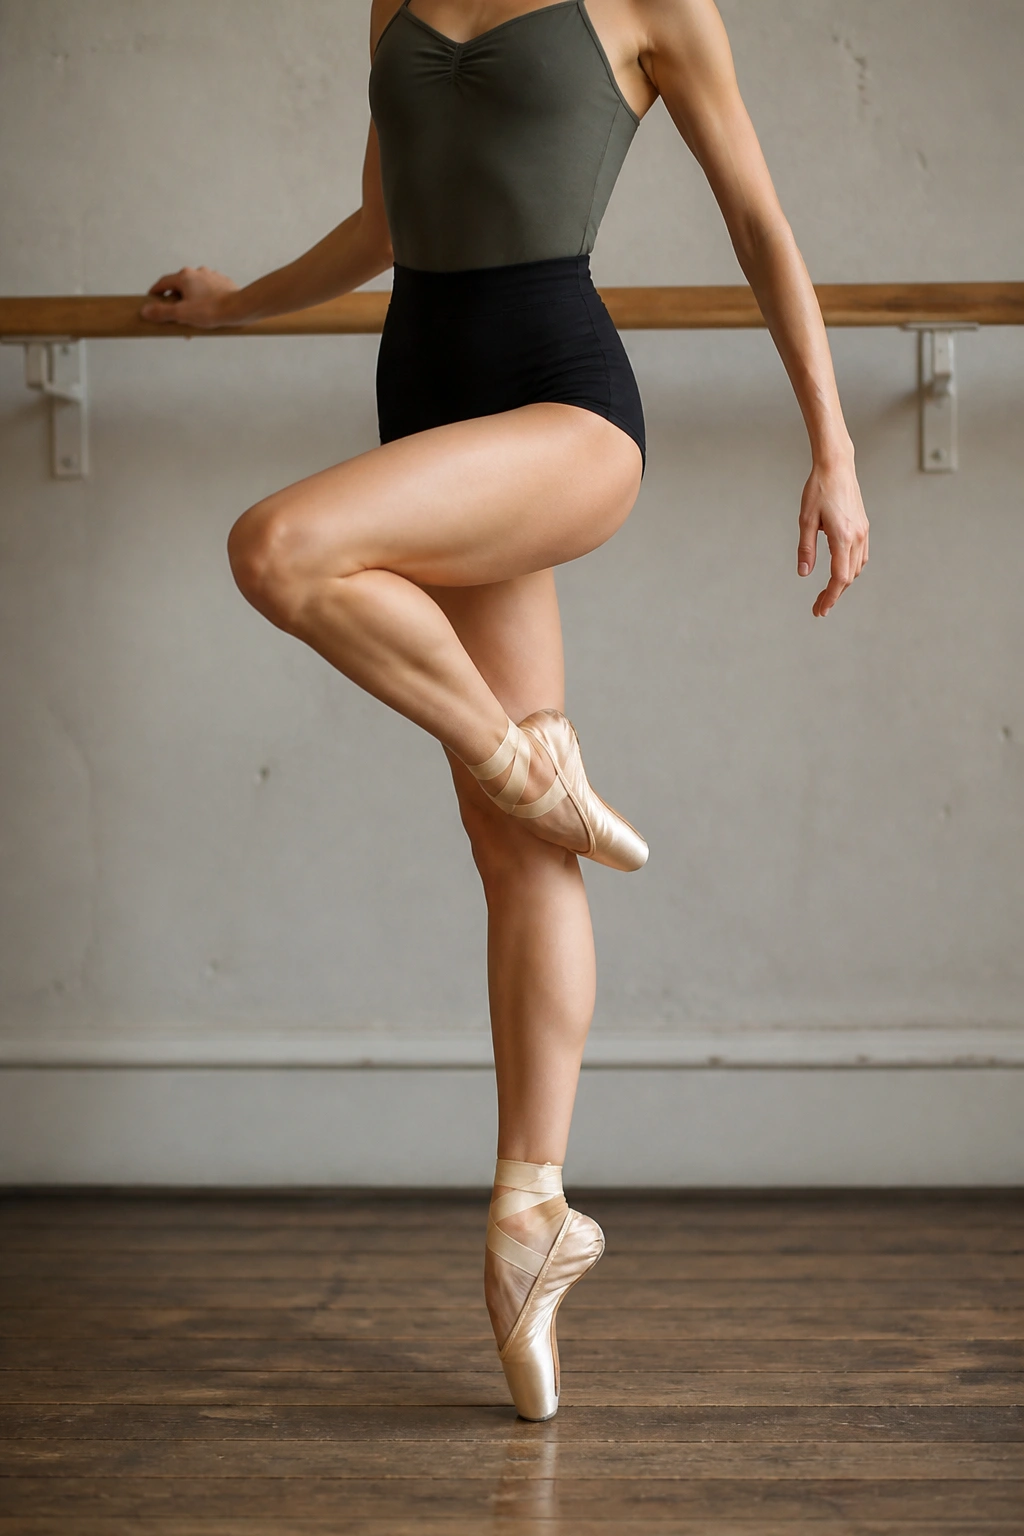
While “balance” sounds like a static rest period, in a ballet barre context, it is a demanding exercise in core stability and leg strength. Passé involves drawing one toe up to touch just below your standing knee.
How to Do It
Stand with one hand on the barre. Bring the working foot up the inside of your standing leg, toes pointed, with the knee pointing out to the side. Once in position, rise onto the ball of your standing foot (relevé) and let go of the barre. Hold for 30 seconds.
Why It Matters
This forces your standing leg to stabilize your entire body weight while under the pressure of a single point of contact. The quadriceps and the calf of the standing leg will shake as they work to adjust to your micro-movements. It’s not just about balance; it’s about endurance in the supporting leg.
11. Degagé Front
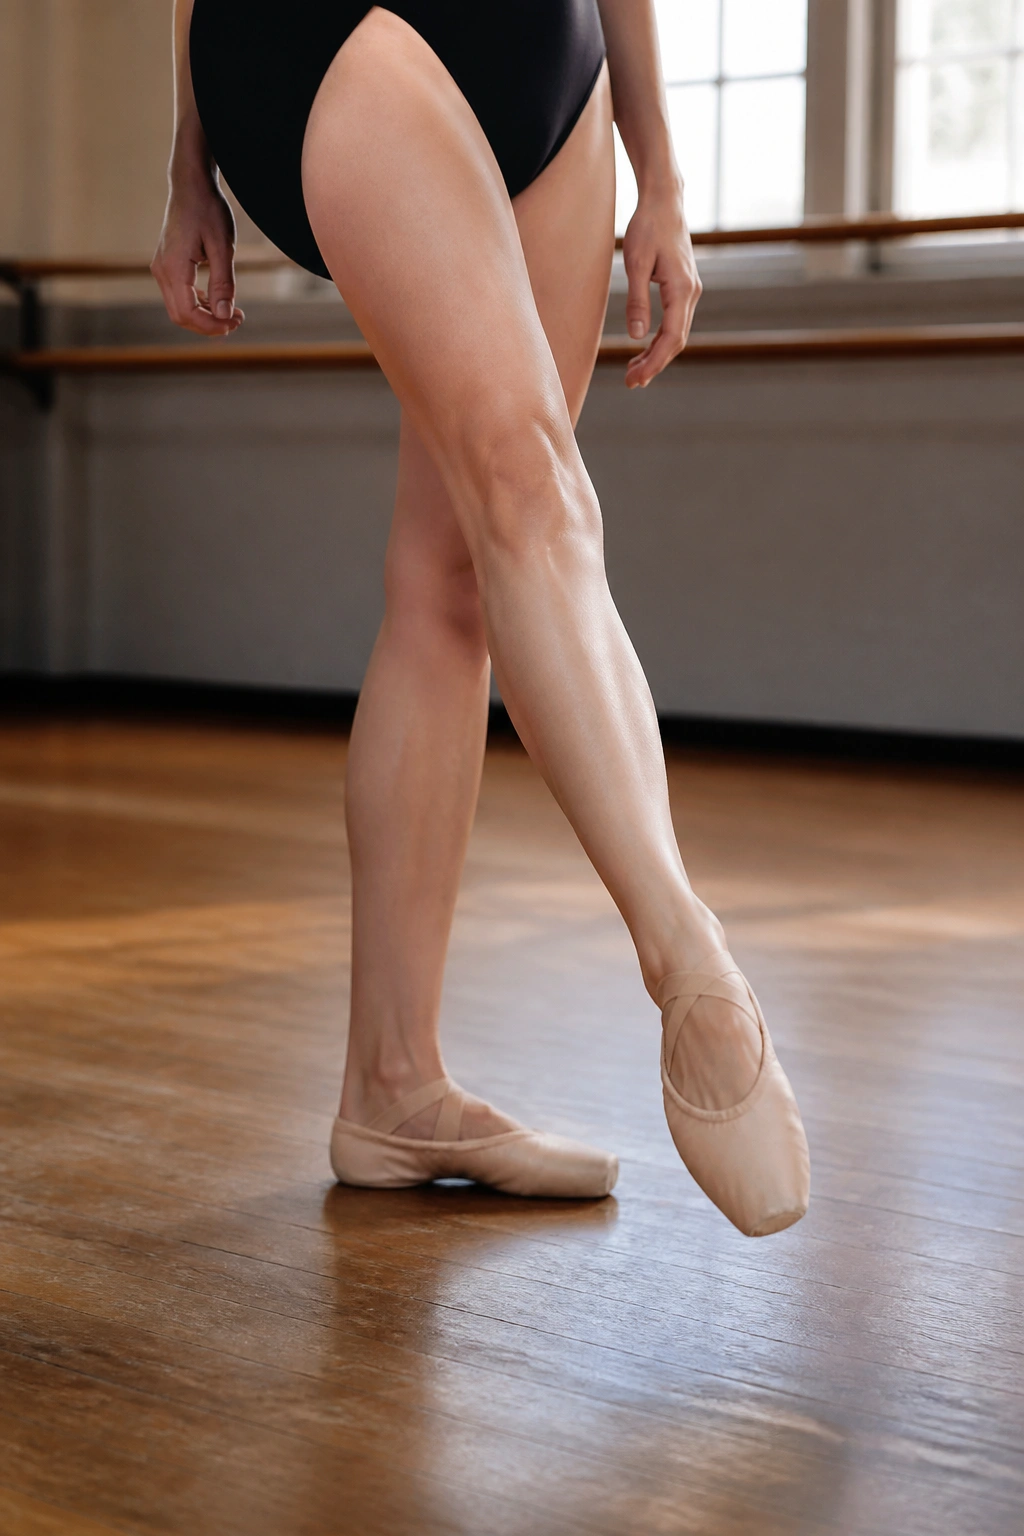
A dégagé is essentially a fast tendu where the foot leaves the floor. It is a sharp, snappy movement that works on the hip flexors and the quadriceps.
The Execution
Start in first position. Brush your foot along the floor and lift it about four inches off the ground, ending with a sharp, pointed toe. The leg should be completely straight. Lower it back to the first position with control. Repeat this with a sharp, quick tempo.
Refining the Movement
The “snap” is the most important part. You shouldn’t be swinging your leg like a pendulum. Use your core to stabilize the torso, then use the front of your hip to lift the leg abruptly. It is a quick hit to the quads that keeps the muscle engagement high and adds an element of power to the routine.
12. Glute Bridge with Inner Thigh Squeeze
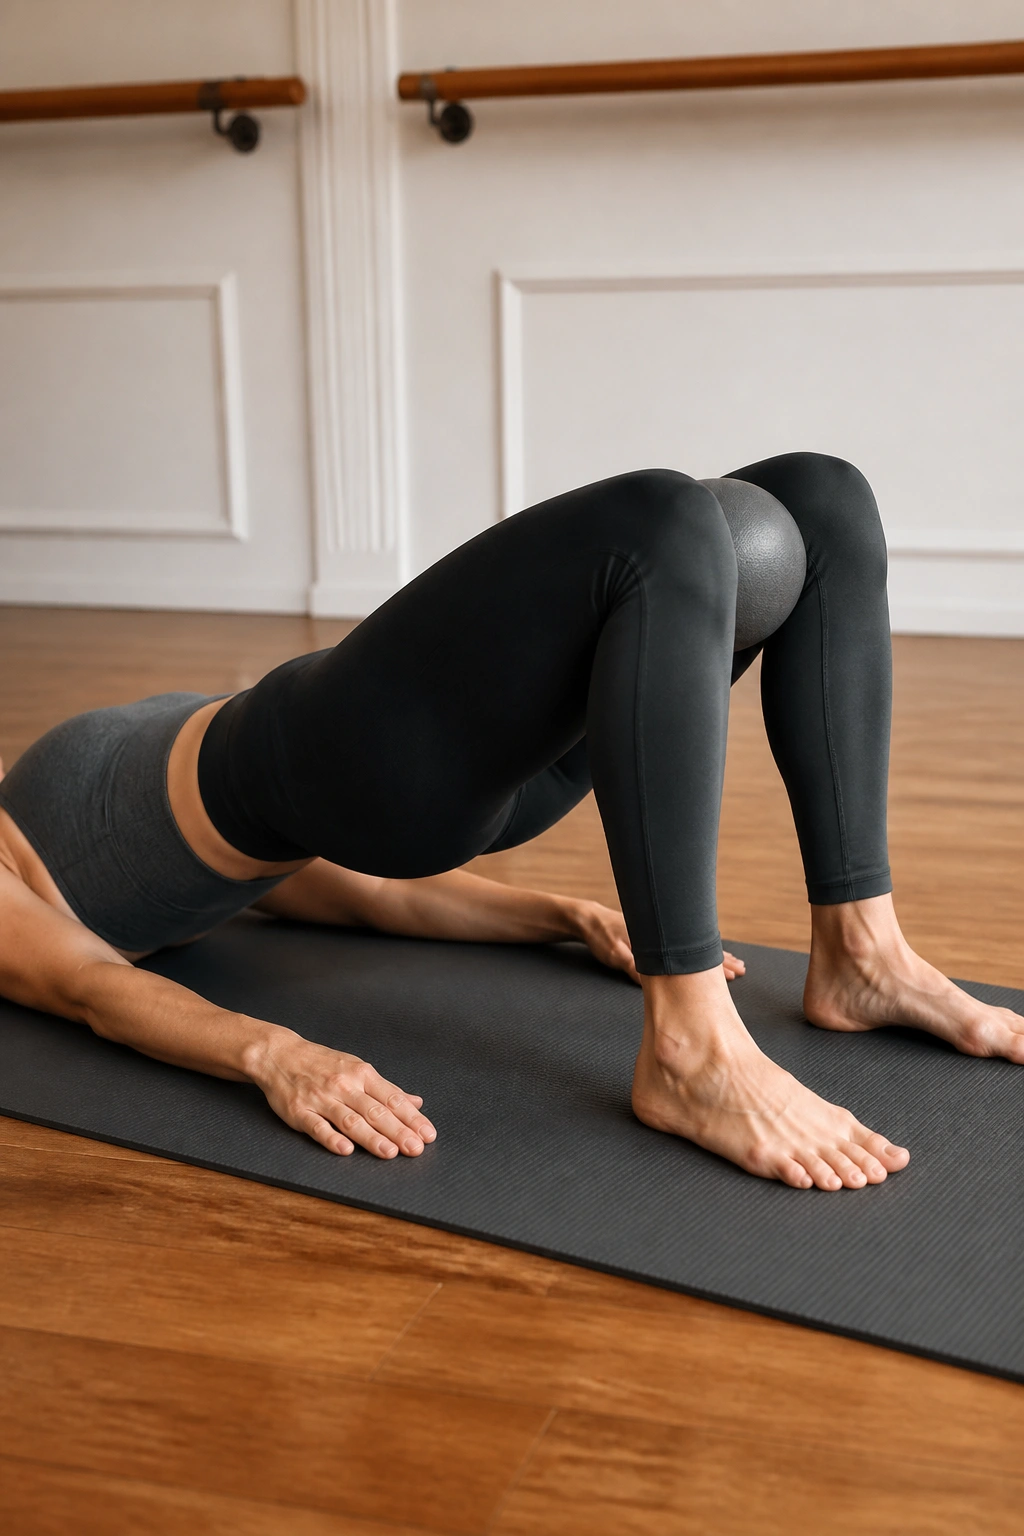
While we do most of our barre work standing, adding a floor element can significantly change the way your muscles respond. Using a small prop—like a folded towel or a pilates ball—between your knees is essential here.
The Technique
Lie on your back with knees bent and feet flat on the floor. Place your prop between your knees. Squeeze the prop as hard as you can. While maintaining that squeeze, lift your hips into a bridge position. Pulse your hips up and down, never letting go of the prop.
Why This Is Different
By keeping the adductors (inner thighs) engaged via the squeeze, you force the glutes to work from a different angle. It makes the bridge significantly harder and prevents your knees from splaying out. You will feel the connection between your glutes and inner thighs working in unison.
13. Low Lunge Hip Opener
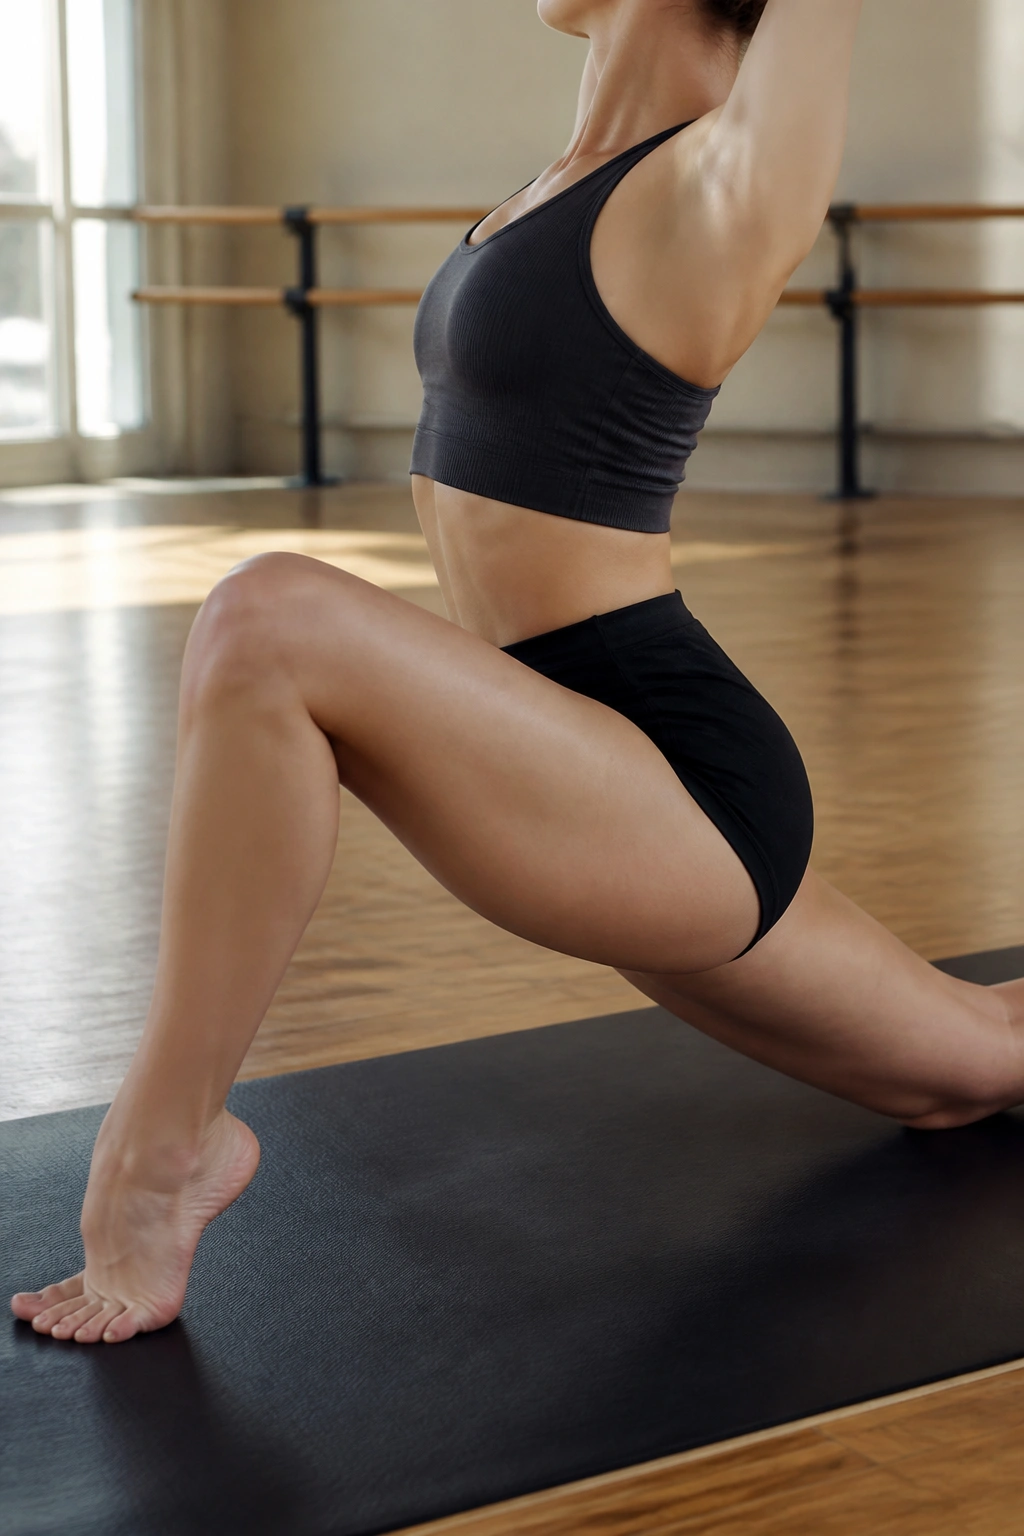
Barre training often involves tight hip flexors due to all the repetition. A low lunge isn’t just a stretch; if you engage the right muscles, it’s a workout.
How to Engage
Step into a deep lunge, back knee resting on the floor. Keep your torso upright—don’t collapse forward. Squeeze your back glute hard. This action drives the hip forward and opens the hip flexor while simultaneously activating the posterior chain.
The Result
You aren’t just stretching; you are strengthening the glute while lengthening the opposing muscle. This helps in achieving better range of motion for all your other barre exercises. A flexible, strong hip is the secret to a high arabesque and a better grand plié.
14. Side-Lying Leg Lift
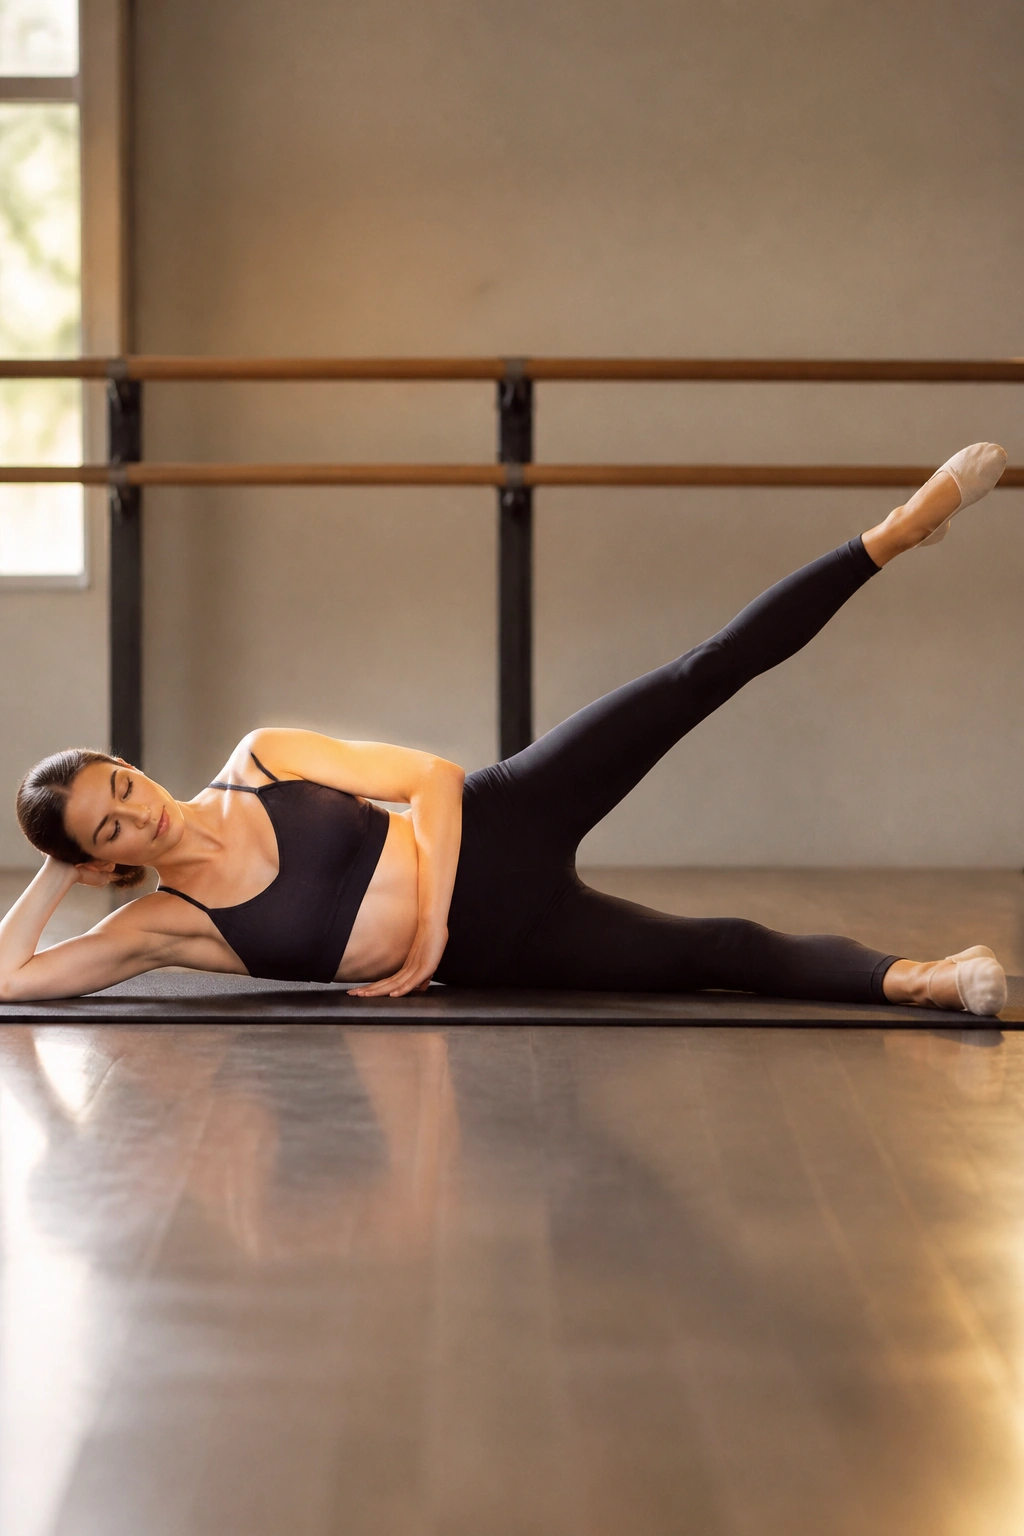
This is the classic “fire hydrant” style move, but with the ballet aesthetic of pointed toes and straight lines. It is the best exercise for isolating the side of the hip.
The Setup
Lie on your side, head resting on your arm. Stack your hips perfectly—don’t let the top hip roll back. Extend both legs straight. Lift the top leg as high as you can without letting your hips tilt. Lower it down, but stop before it touches the bottom leg.
The Burn Factor
This exercise targets the glute medius and minimus, the muscles that give the hip its shape. If you feel it in your lower back, re-stack your hips. You should feel a very specific burning sensation on the side of your hip, not your back. This is arguably the most effective move for “hip dips” and side-glute definition.
15. Rond de Jambe
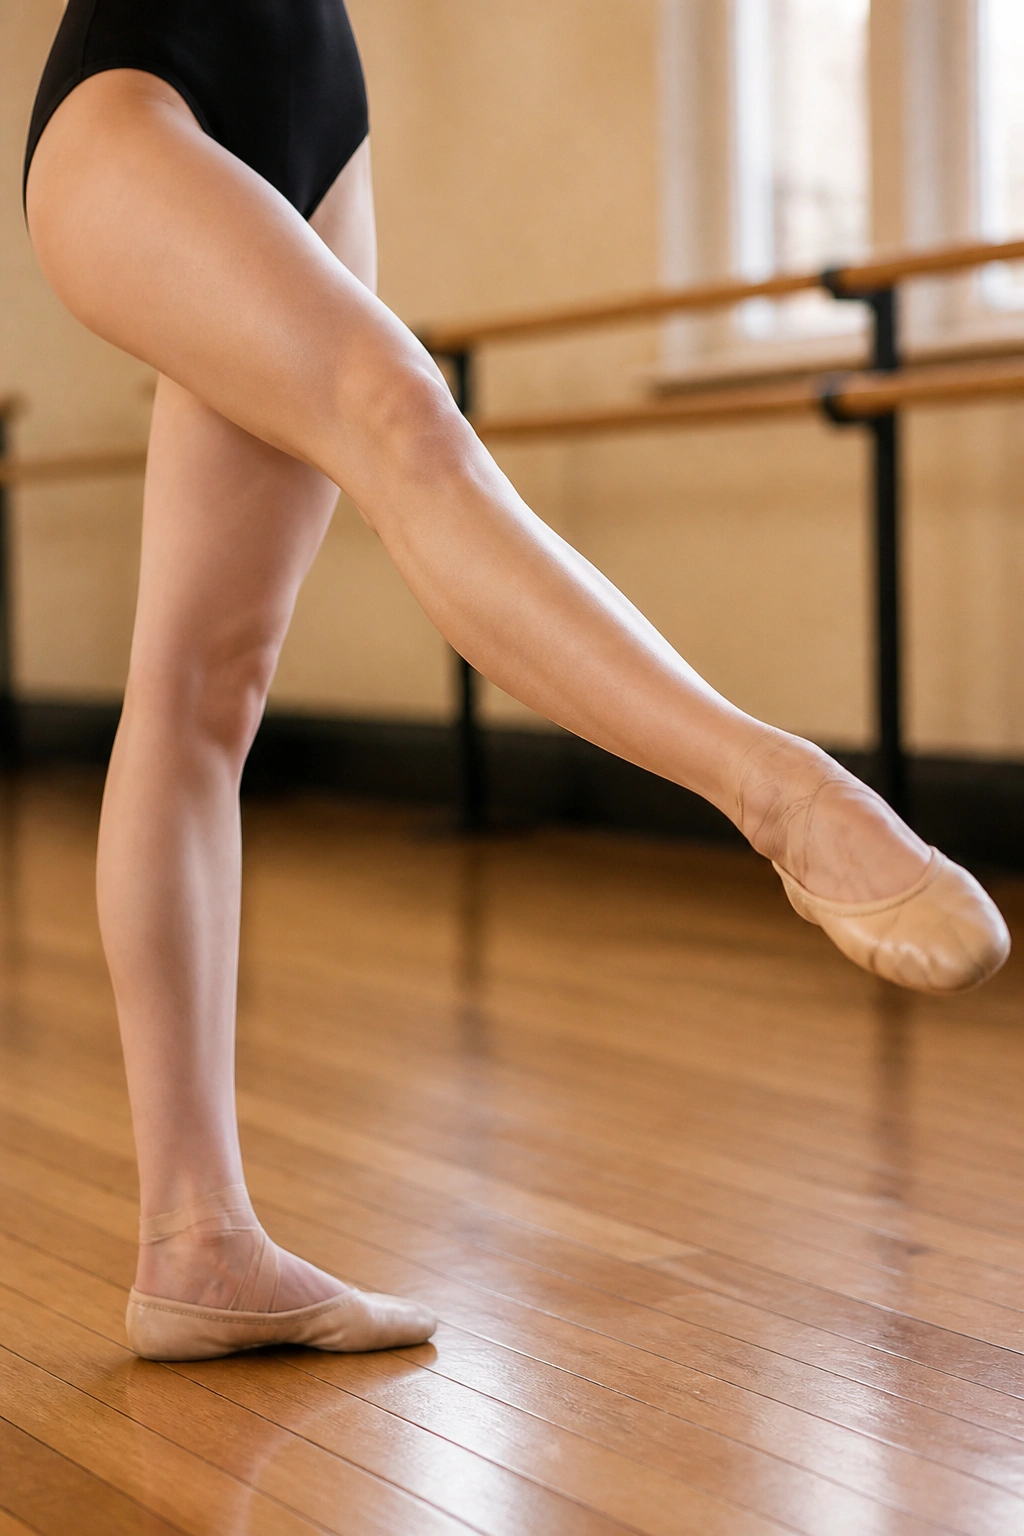
Rond de jambe means “round of the leg.” It is a circular movement that requires significant hip mobility and core strength to keep the torso stable.
The Movement
Start with your foot in a tendu front. Move the foot in a semi-circle: front to side, side to back, and then through first position. Keep the leg straight and the toe pointed throughout the entire motion.
Why It Is Effective
Because you are moving the leg through a full range of motion, you are working the hip joint through every plane. This challenges the stabilizing muscles to stay engaged, and the fluidity required ensures you aren’t just using momentum. It is a graceful move, but do not let that fool you—it is incredibly demanding on the hip flexors.
16. Squat with Lateral Leg Lift
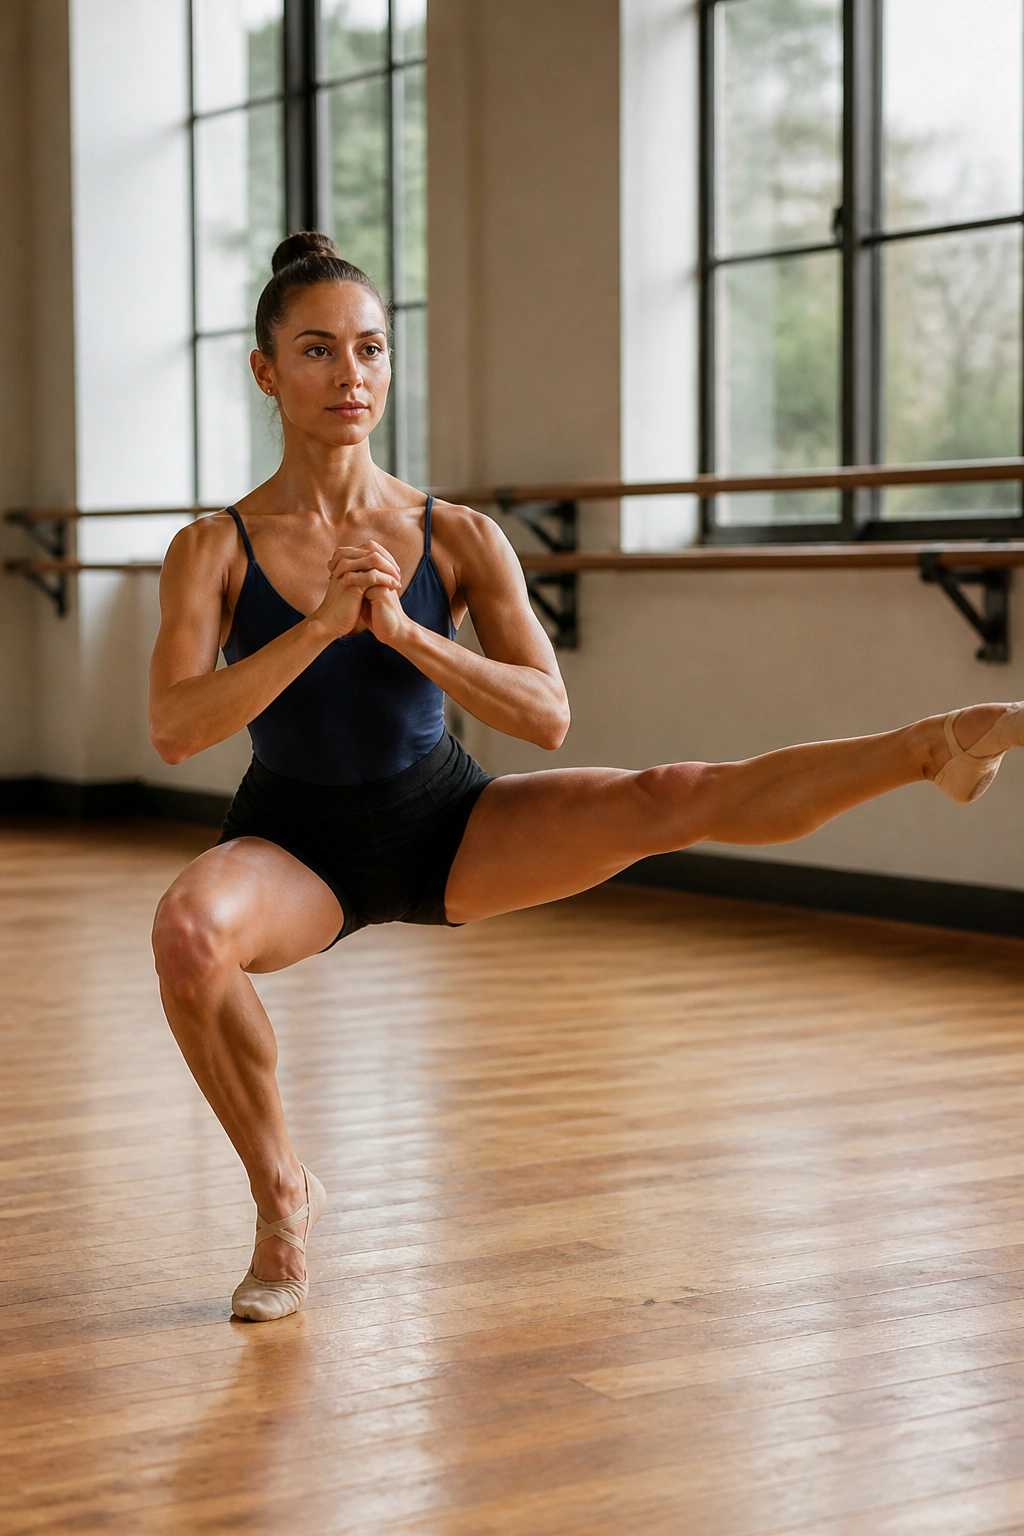
We are moving away from traditional barre poses here to incorporate a bit of dynamic movement. This is excellent for heart rate and functional leg strength.
How to Perform
Perform a standard squat. As you stand up from the squat, shift your weight onto one leg and lift the other leg out to the side. Return to the squat and alternate sides. Keep the lifting leg straight and the toe pointed.
The Balancing Act
The challenge is shifting your weight quickly without losing your balance. You must engage your core the moment you transition to the single-leg lift. This combination ensures that while you are working your glutes and quads through the squat, you are also adding a lateral component that carves out the side of the leg.
17. Plié and Kick Combo
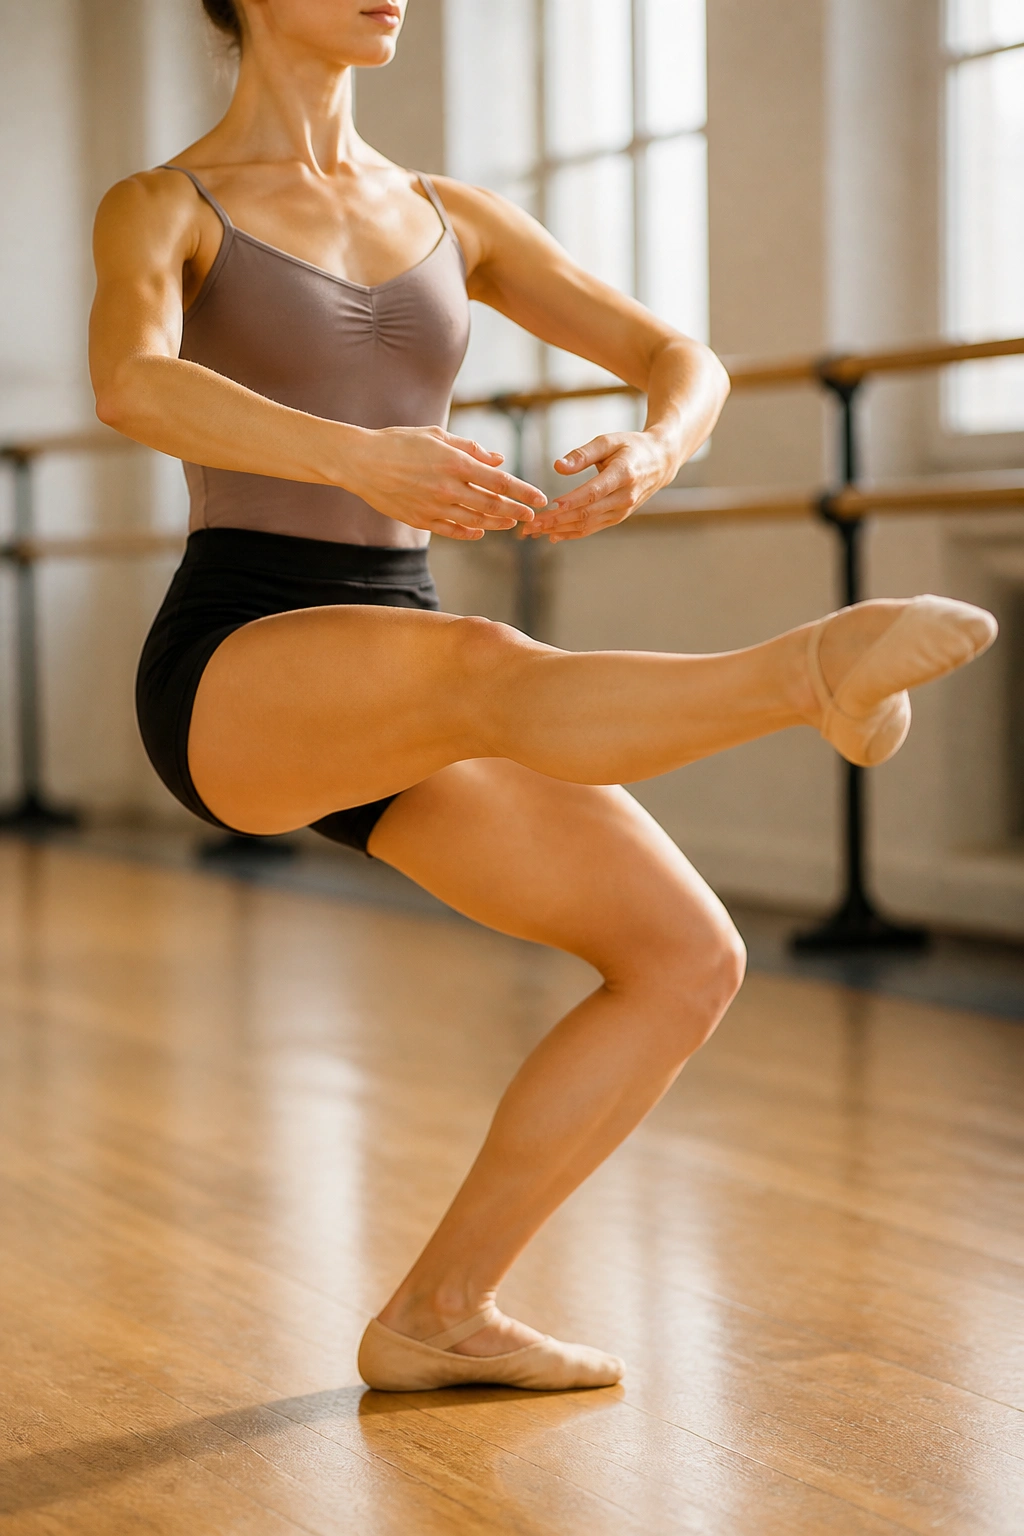
This is a high-energy move that brings a bit of “ballet power” into the routine. It works your coordination, core stability, and quad strength.
The Sequence
Sink into a deep plié. As you rise up, extend one leg forward into a sharp, straight kick. Lower the leg back into the plié. The movement should be fluid: deep squat, snap kick, back to squat.
Precision Matters
Do not let the leg “flop” during the kick. Your muscles should be fully engaged through the quadriceps as you extend. The kick is not about height; it is about the controlled extension of the leg. Think of it as a snap of the knee, controlled by the surrounding muscles.
18. Clamshells with Barre Support
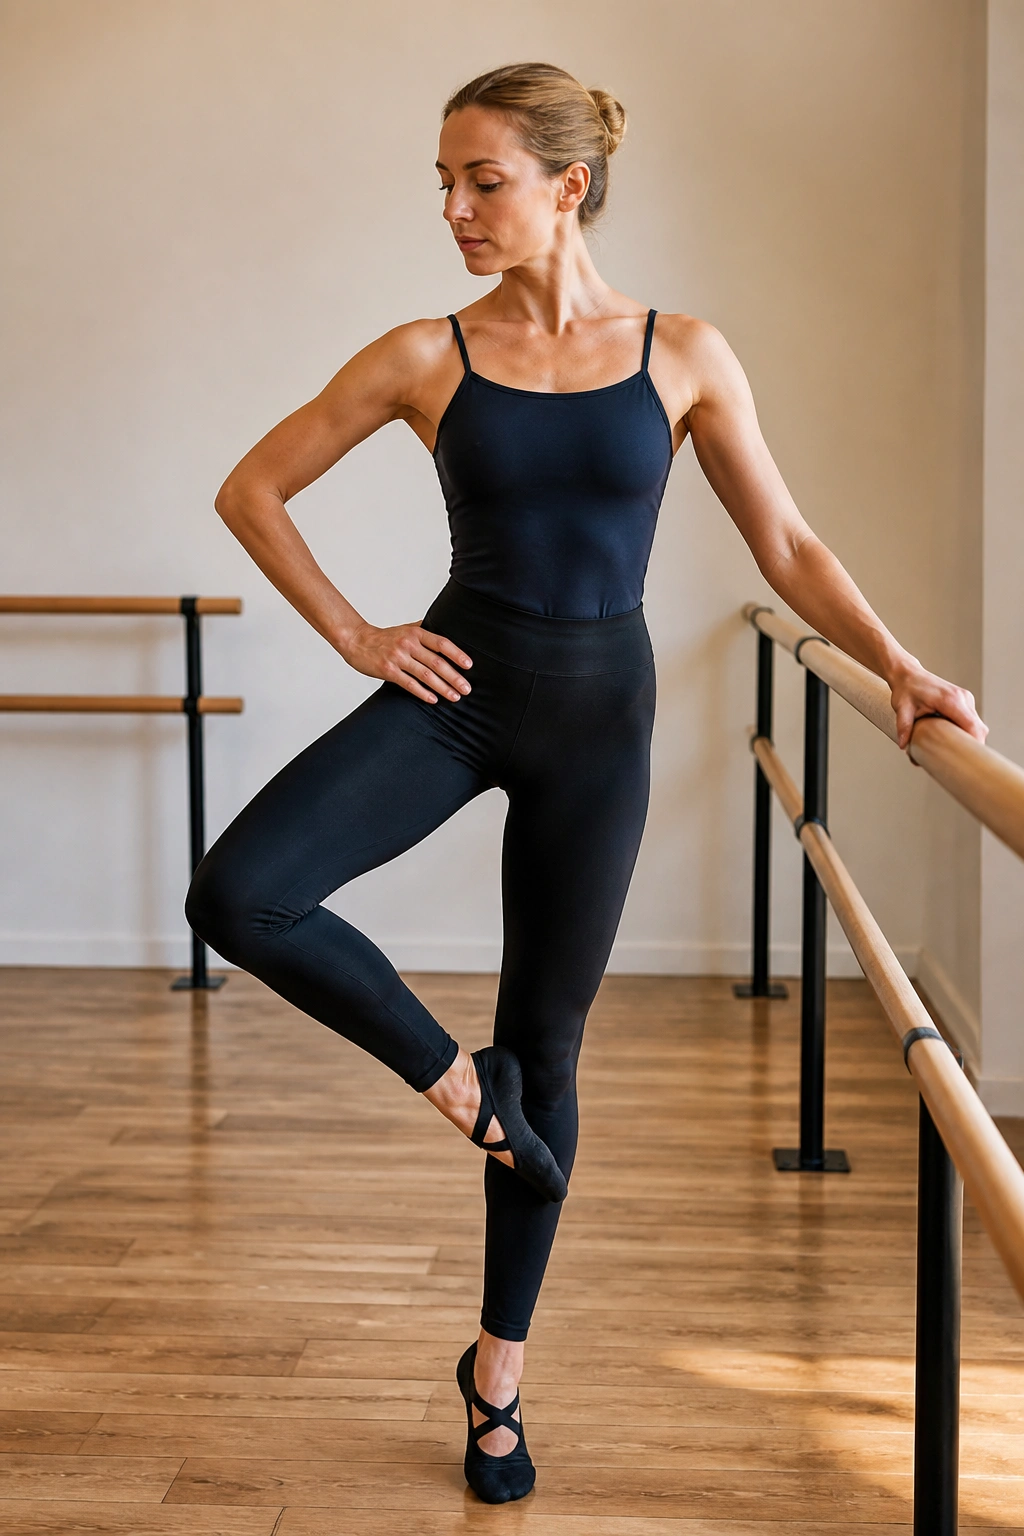
Usually performed on the floor, doing this while standing and leaning on the barre changes the mechanics slightly, making it more about balance and pelvic control.
The Technique
Stand with feet together. Keep a slight bend in your knees. Rotate one knee outward, opening your hip like a clamshell, while keeping your big toe touching the standing foot. The movement should be small—focus on the gluteal rotation.
Why It Is Useful
This is pure glute isolation. Because you aren’t using the whole leg to create a lever, you have to initiate the movement from the hip and glute. It is one of the best exercises for ensuring your glutes are firing before you get into the more complex, full-leg movements.
19. Standing Side Kick
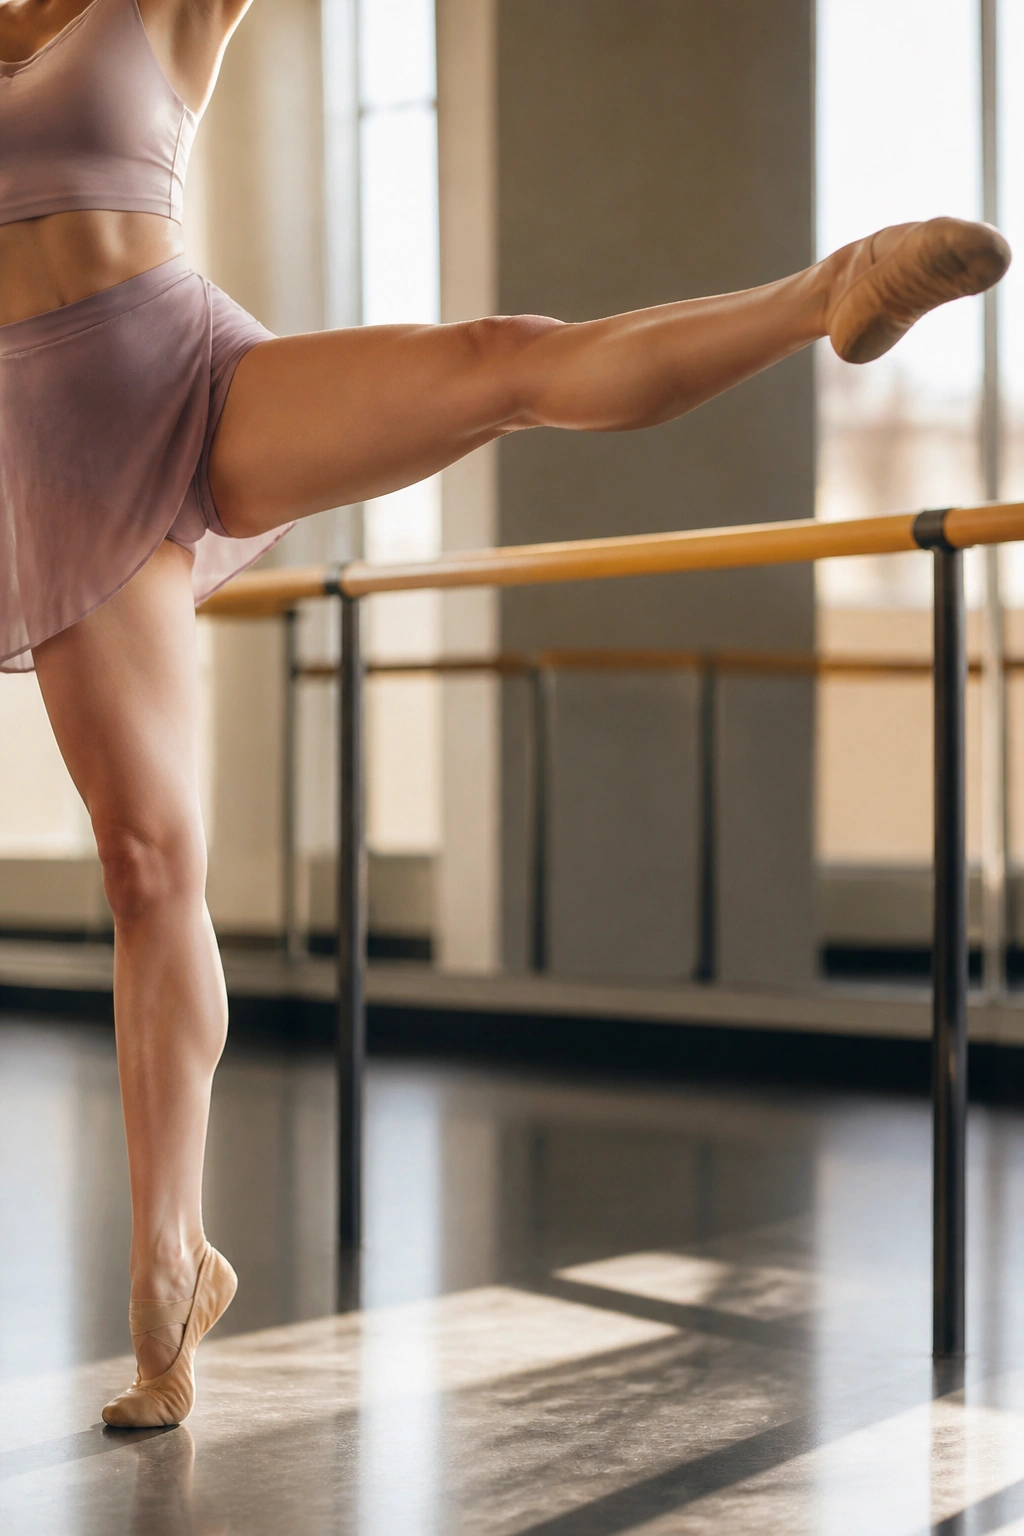
This move requires a solid core and a flexible hip. It is a slow, sustained movement, quite different from the rapid-fire kicks.
The Execution
Hold onto the barre. Extend your leg to the side, maintaining a straight knee. Slowly lift the leg up to hip height, hold for three seconds, and lower it down slowly. Repeat on the same side before switching.
The Detail
The “hold” is the key. Most people lift and drop immediately. By holding at the top, you force the muscles to maintain the contraction without the help of momentum. You will feel the side of your hip begin to shake—that is exactly what you want.
20. Single-Leg Chair Squat
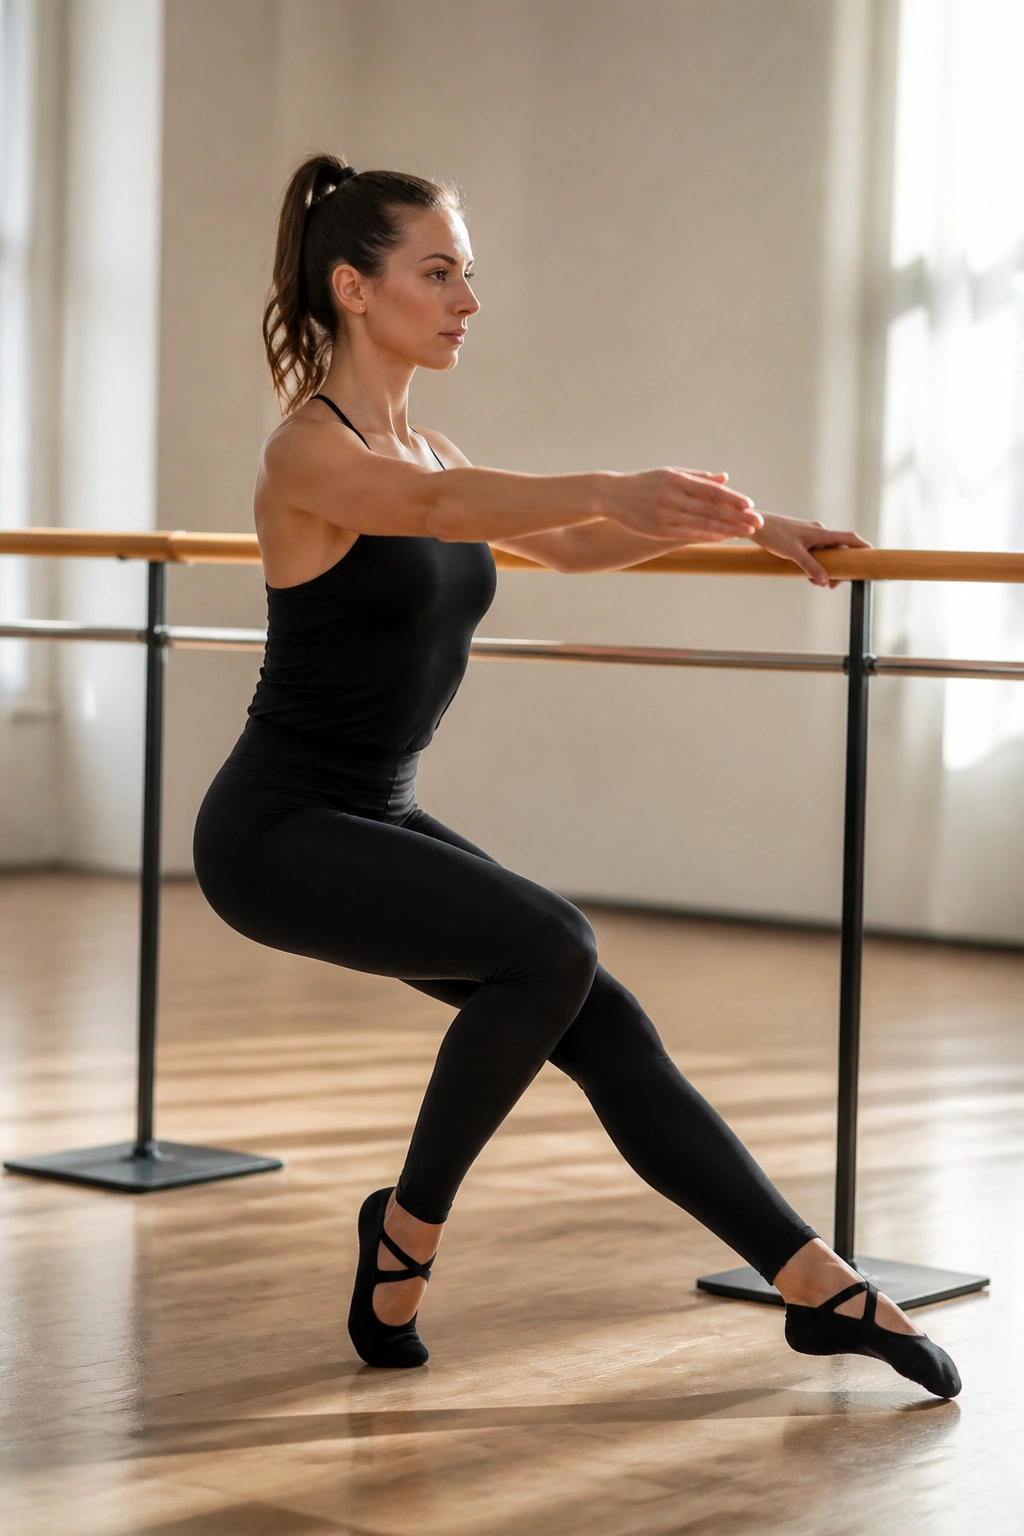
This is the final test of your leg endurance. It is a one-legged squat, but using the barre to help maintain your balance and posture.
The Challenge
Stand on one leg, extending the other slightly forward, heel touching the floor. Slowly lower your hips as if you are sitting into a chair, bending the standing knee. Go down as far as you can control, then stand back up.
The Takeaway
This is the ultimate quad and glute builder. If your standing knee starts to cave inward, you need to engage your glutes more aggressively. This move identifies any imbalances between your left and right legs. If you find one side is weaker, add a few extra reps to that side to even things out.
Final Thoughts
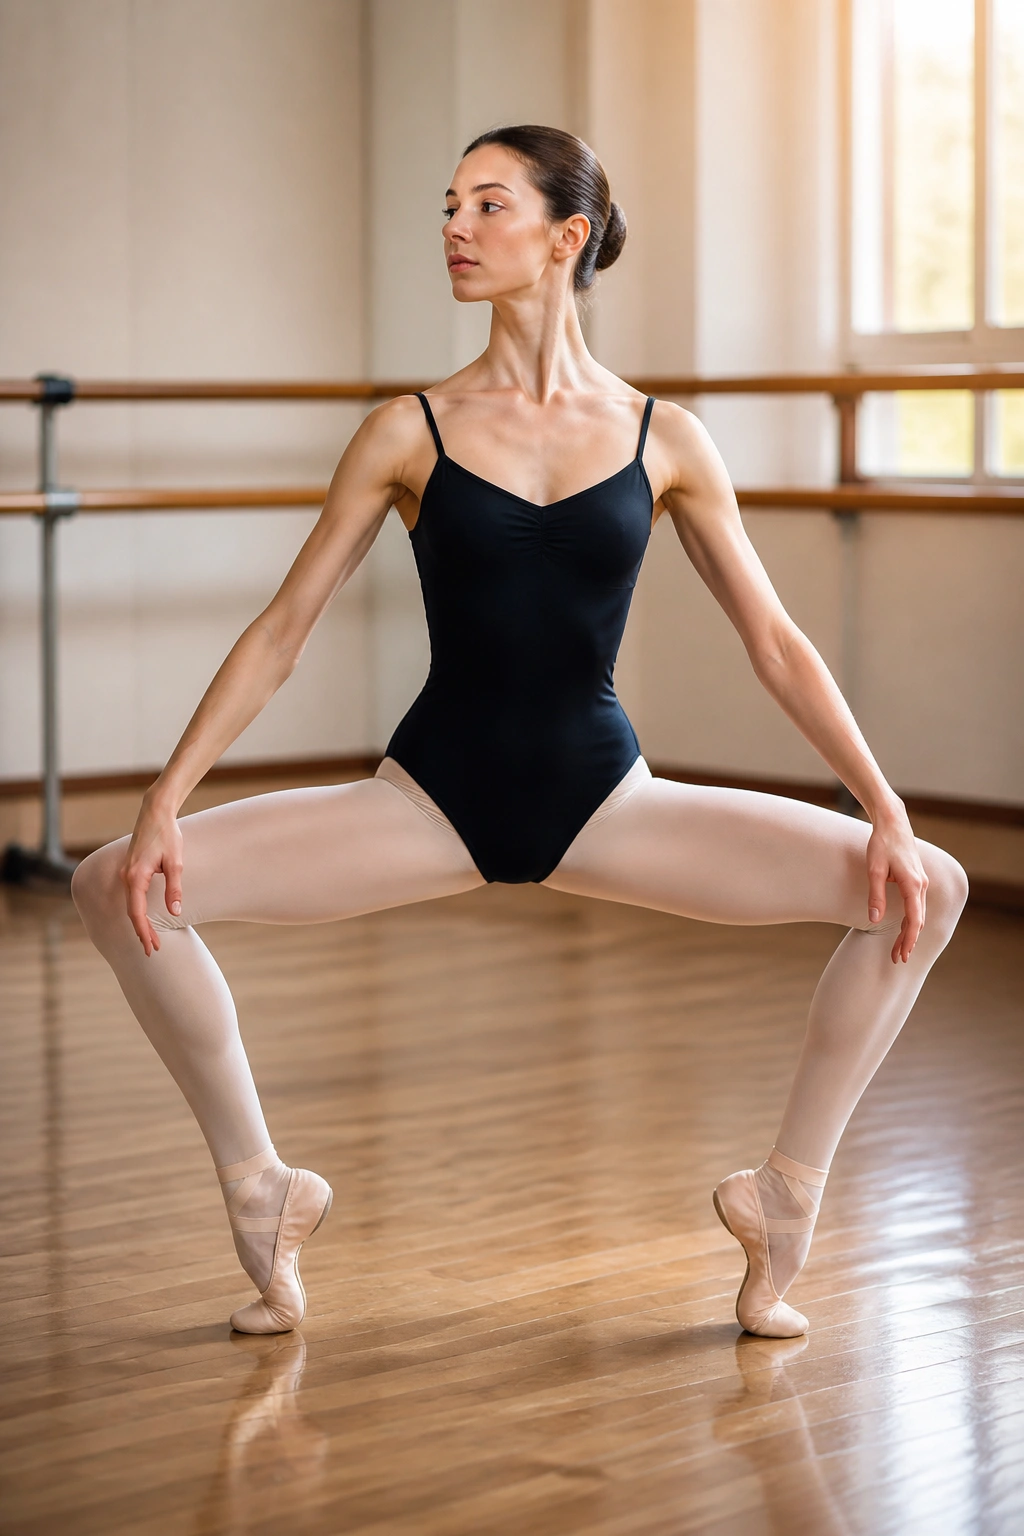
Sculpting your legs with ballet-inspired movements is not about overnight changes; it is about consistent, deliberate effort. You have to be willing to sit in the discomfort of the “shake.” When your muscles start to vibrate, that is not a sign to quit—it is the sign that you have successfully fatigued the muscle and are forcing it to adapt.
Always remember that alignment is more important than range of motion. A small, perfect movement will always yield better results than a large, sloppy one. Keep your core tight, your pelvis neutral, and your movements controlled. If you approach every session with this level of focus, the results will come. Consistency is the only true secret to the physique you are looking for, so find a rhythm that you can stick to, and keep moving.
