



The aesthetic of a dancer—long, lean, and incredibly strong—is rarely a product of sheer genetic luck. It is the result of thousands of hours spent under tension, focusing on the small, stabilizing muscles that often get ignored in traditional gym settings. When you step up to a barre, you aren’t just doing leg lifts or squats. You are engaging in a form of isometric resistance training that demands total body awareness.
Many people assume ballet-inspired fitness is about delicate, graceful movements that require little effort. That is a dangerous misconception. The reality is that sustaining a high relevé or holding a deep plié for sixty seconds requires a level of muscular endurance that rivals heavy weightlifting. You aren’t aiming for bulk. You are aiming for a dense, high-functioning muscle tone that supports your joints and improves your posture.
You do not need a studio, expensive leotards, or years of formal training to see results. You just need a sturdy surface, a bit of focus, and the willingness to push through the moments when your legs start to tremble. The burn you feel during these exercises is exactly where the change happens. Let’s look at the specific movements that target your muscles in ways they aren’t used to being worked.
1. Plié Pulse Sequence
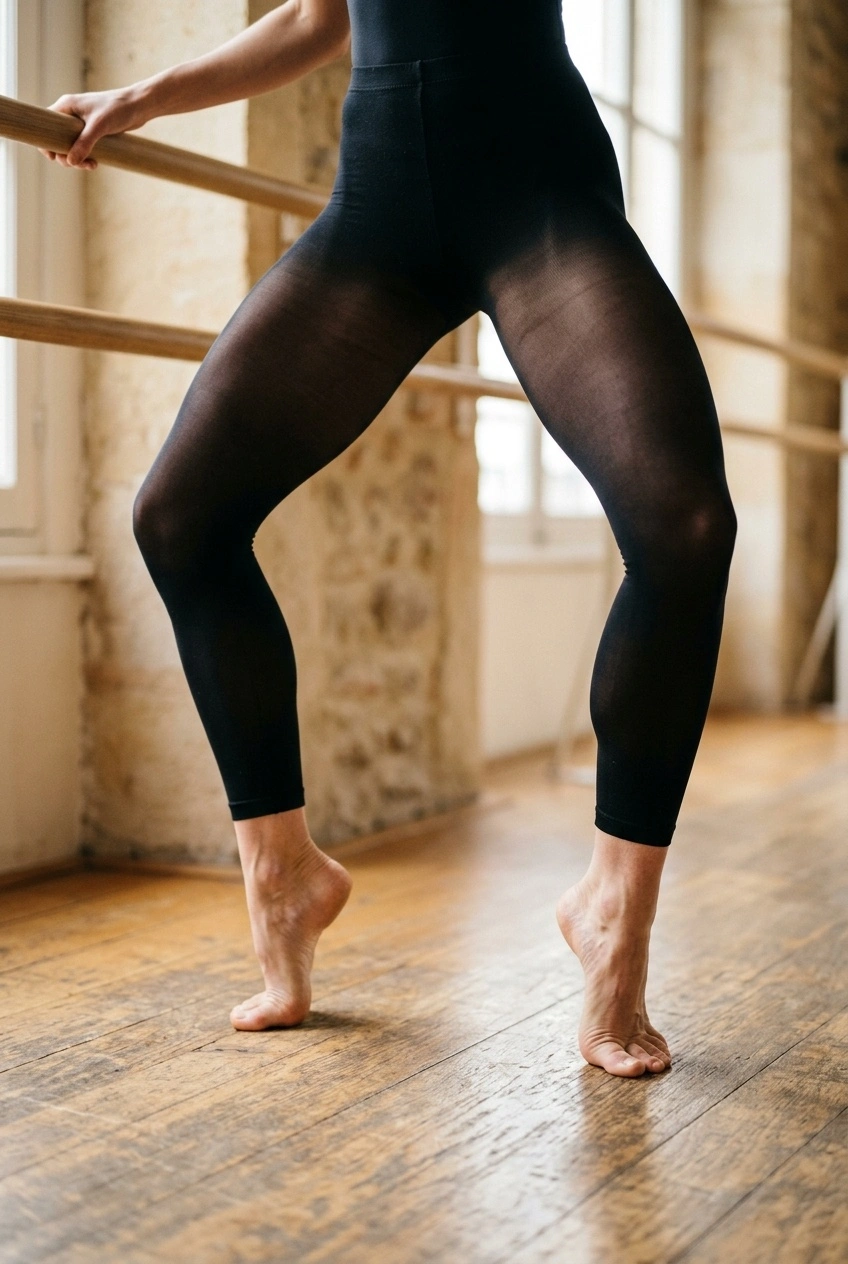
The plié is the foundation of every single barre routine for a reason. It targets the quadriceps, inner thighs, and glutes simultaneously, but it does so in a way that emphasizes control over momentum. When you stand in second position—heels wide, toes turned out—you are setting the stage for deep muscle recruitment.
How to Execute the Pulse
Start with your feet wider than your hips, toes turned outward comfortably. Lower into a squat, keeping your chest tall and your tailbone tucked slightly. Now, instead of standing back up, pulse down an inch, then up an inch. Keep the movement small.
Why This Works
The magic happens in the sustained tension. By never fully straightening your legs, you keep your quads under constant load. This prevents the muscle from resting, forcing your fibers to work harder to maintain stability. If your inner thighs aren’t screaming after thirty seconds, you aren’t going deep enough.
Pro Tip: Imagine you are sliding your back down a wall. If your chest leans forward, you lose the engagement in your core and glutes. Keep your spine perfectly vertical to maximize the challenge.
2. First Position Heel Lifts
This is your calves’ best friend. Often, people train their legs with heavy compound movements, but the lower leg muscles—the soleus and gastrocnemius—need specific, high-repetition work to develop that defined, lean look.
The Mechanics of the Move
Stand with your heels touching and toes turned out, like a slice of pie. Place one hand lightly on the barre. Rise onto the balls of your feet, squeezing your heels together as hard as you can. Lower your heels halfway, then press back up.
Why It Matters for Stability
Your ankles are the primary stabilizers of your entire body. When you strengthen the muscles around them, you improve your balance in every other exercise you do. Plus, this specific angle of rotation hits the inner calf muscle, which is often neglected in standard calf raises where toes face forward.
Warning: Do not let your ankles roll outward. Keep the weight focused directly over your big toe and second toe. If you roll to the outside, you risk straining the ligaments around your ankle.
3. Parallel Second Position Squats
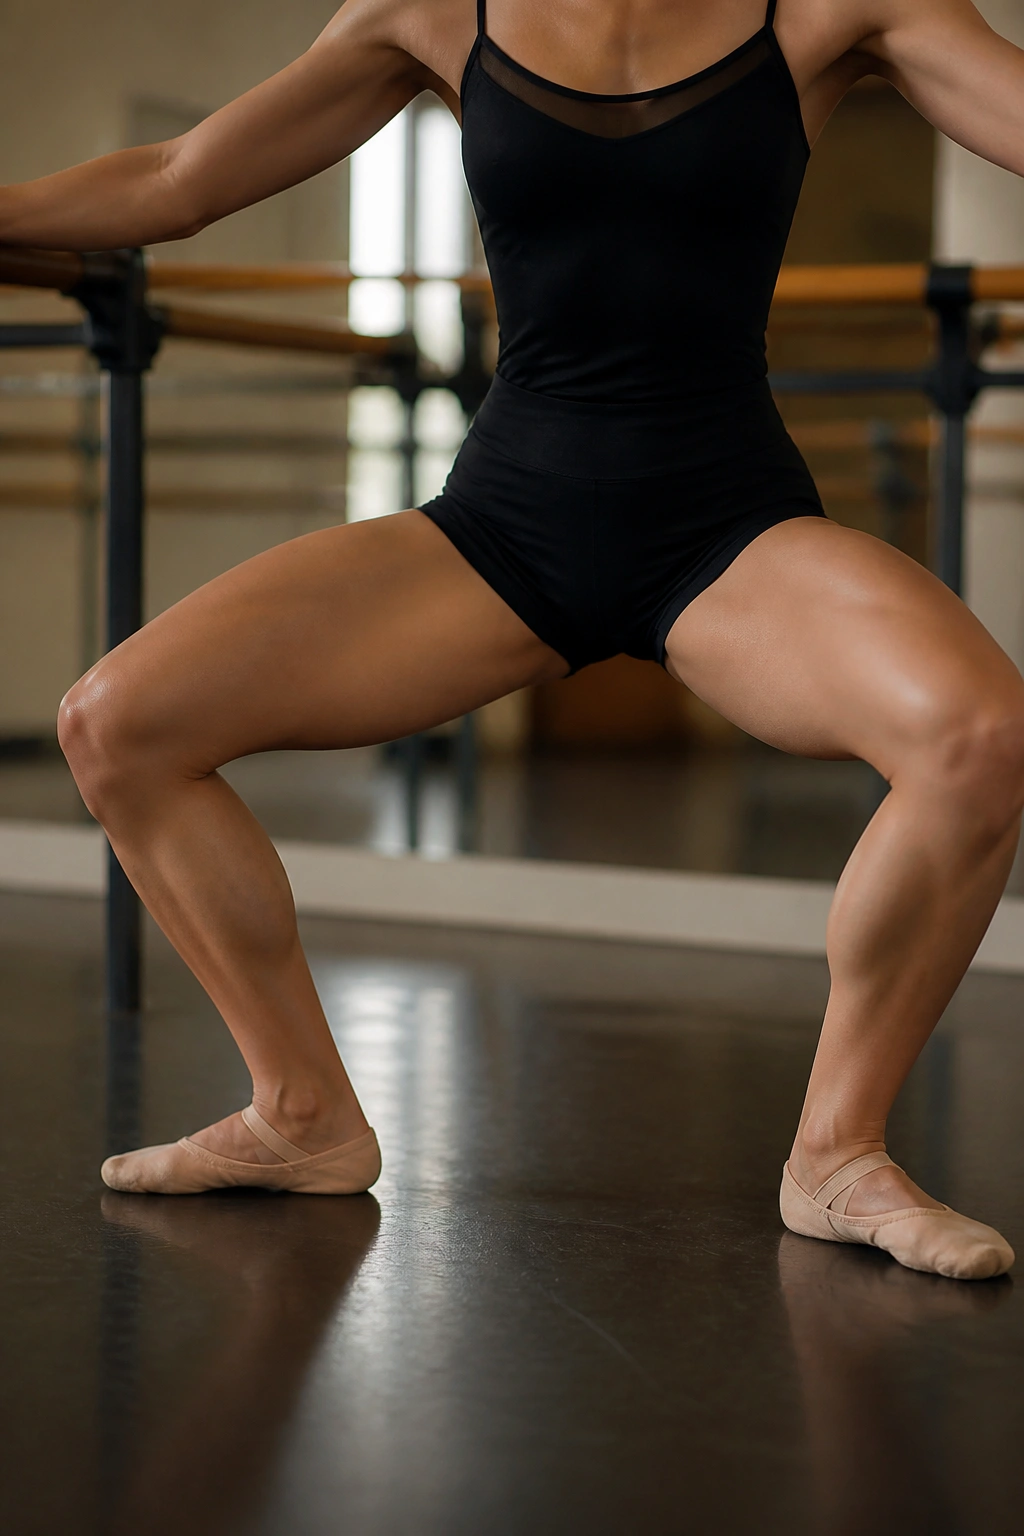
While the turned-out squat hits the adductors, the parallel squat shifts the focus to the gluteus medius and the hamstrings. This is the move that helps shape the area where your glutes meet your legs.
Setting Up the Squat
Bring your feet hip-width apart and parallel. Send your hips back as if you are reaching for a chair that is just out of reach. Keep your weight in your heels. Rise back up to standing, engaging your glutes at the top with a firm squeeze.
A Note on Range of Motion
You might be tempted to go as low as possible, but that often leads to rounding the lower back. Keep your spine neutral. It is far more effective to do a shallow squat with perfect form than a deep squat that compromises your back alignment.
Variation: Add a pulse at the bottom. After ten regular squats, hold at the lowest point and pulse for twenty counts. This increases the time-under-tension and pushes your muscles into that “fatigue zone” that signals your body to adapt.
4. Arabesque Leg Lifts
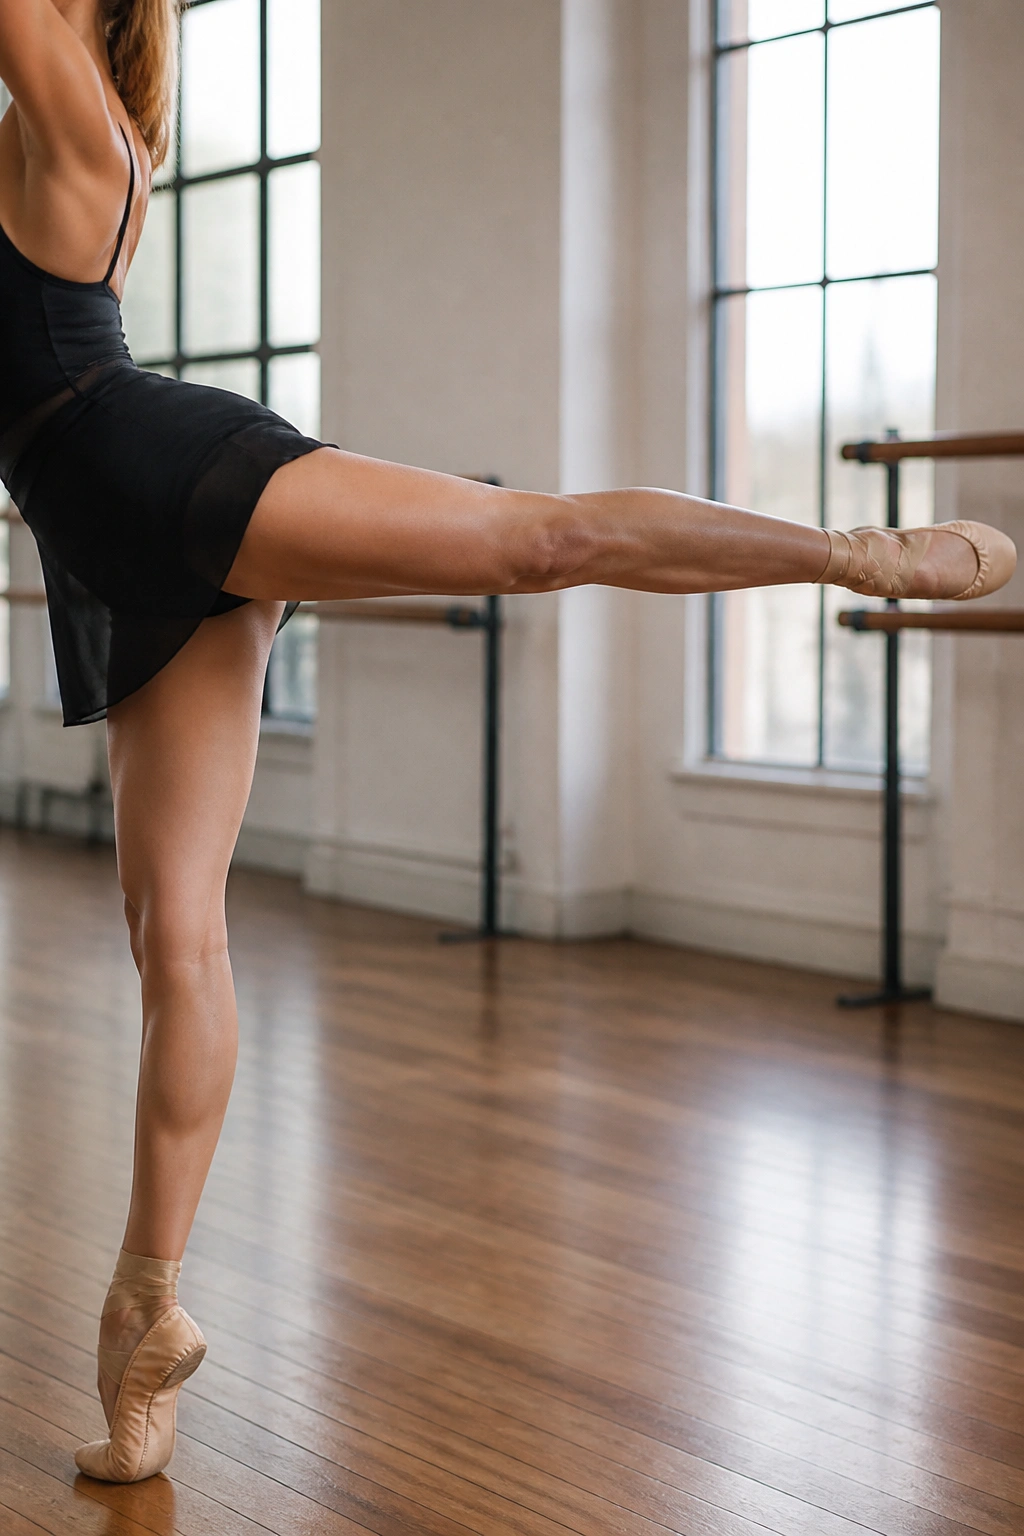
If you want to target the back of your legs and your lower back, the arabesque is your go-to move. It mimics the classic ballet pose, extending the leg behind you while keeping the torso upright.
Precision is Key
Stand facing the barre. Extend one leg straight behind you, toe pointed. Lift the leg using only your glute muscle. Do not let your hips rotate or your back arch excessively. The movement should be small—only a few inches.
The Common Pitfall
Most people try to lift the leg as high as possible, which causes the lower back to crunch. This is not about height. It is about using your glute to lift the weight of your leg. If you feel this in your lower back, lower the leg and focus on tucking your pelvis under just a tiny bit.
Expert Insight: Think about lengthening your leg out of the hip socket rather than just lifting it up. Reach your toe toward the wall behind you. That extra mental cue engages the entire posterior chain, not just the glute.
5. Tendu Side Series
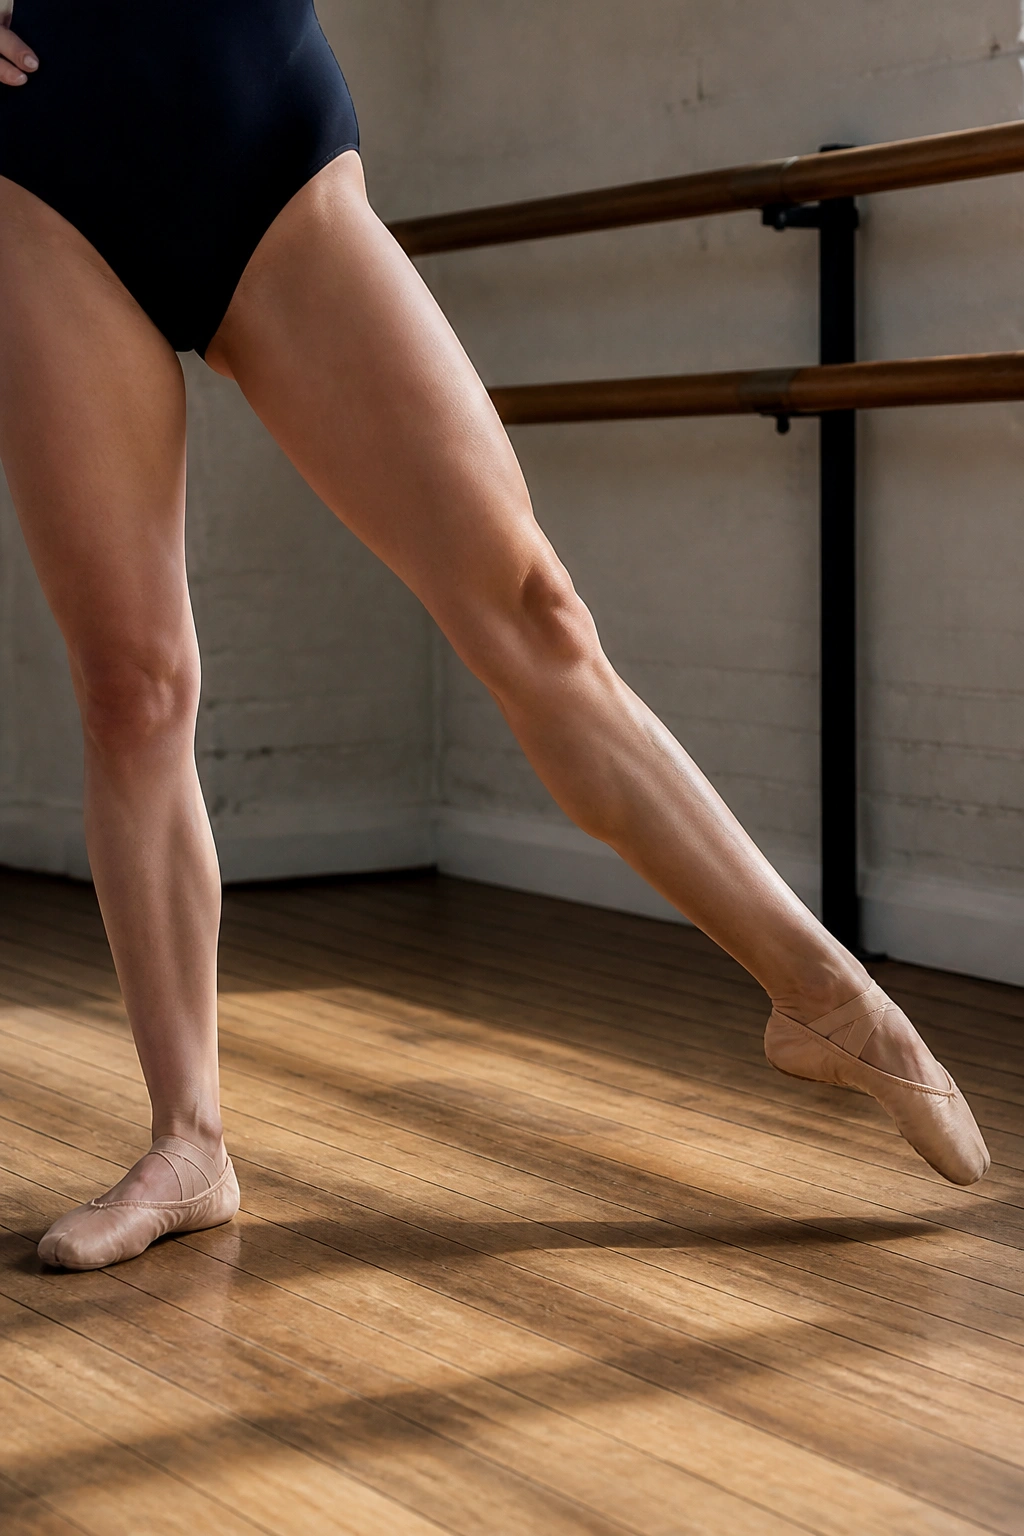
A “tendu” involves stretching the leg away from the body until only the tip of the toe touches the floor. It looks simple, but it is a powerhouse for the obliques and the outer hip.
Executing the Tendu
Stand tall. Slide your foot along the floor, keeping your weight centered on the standing leg. As the working leg extends to the side, you should feel a massive contraction in your waist on the side of the lifting leg.
Why This Is Different
Because you are keeping the toe on the floor for part of the movement, you are working your arches and feet. It also teaches you to keep your hips level. A common mistake is to “sit” into the standing hip. Keep your standing hip pulled up and in, as if you are trying to make that leg longer than the other one.
Pro Tip: Perform 20 slow, controlled tendus. Then, do 20 quick, snappy ones. The contrast between slow-twitch endurance work and fast-twitch dynamic movement is what creates that defined, lean muscle look.
6. Grand Battement Control
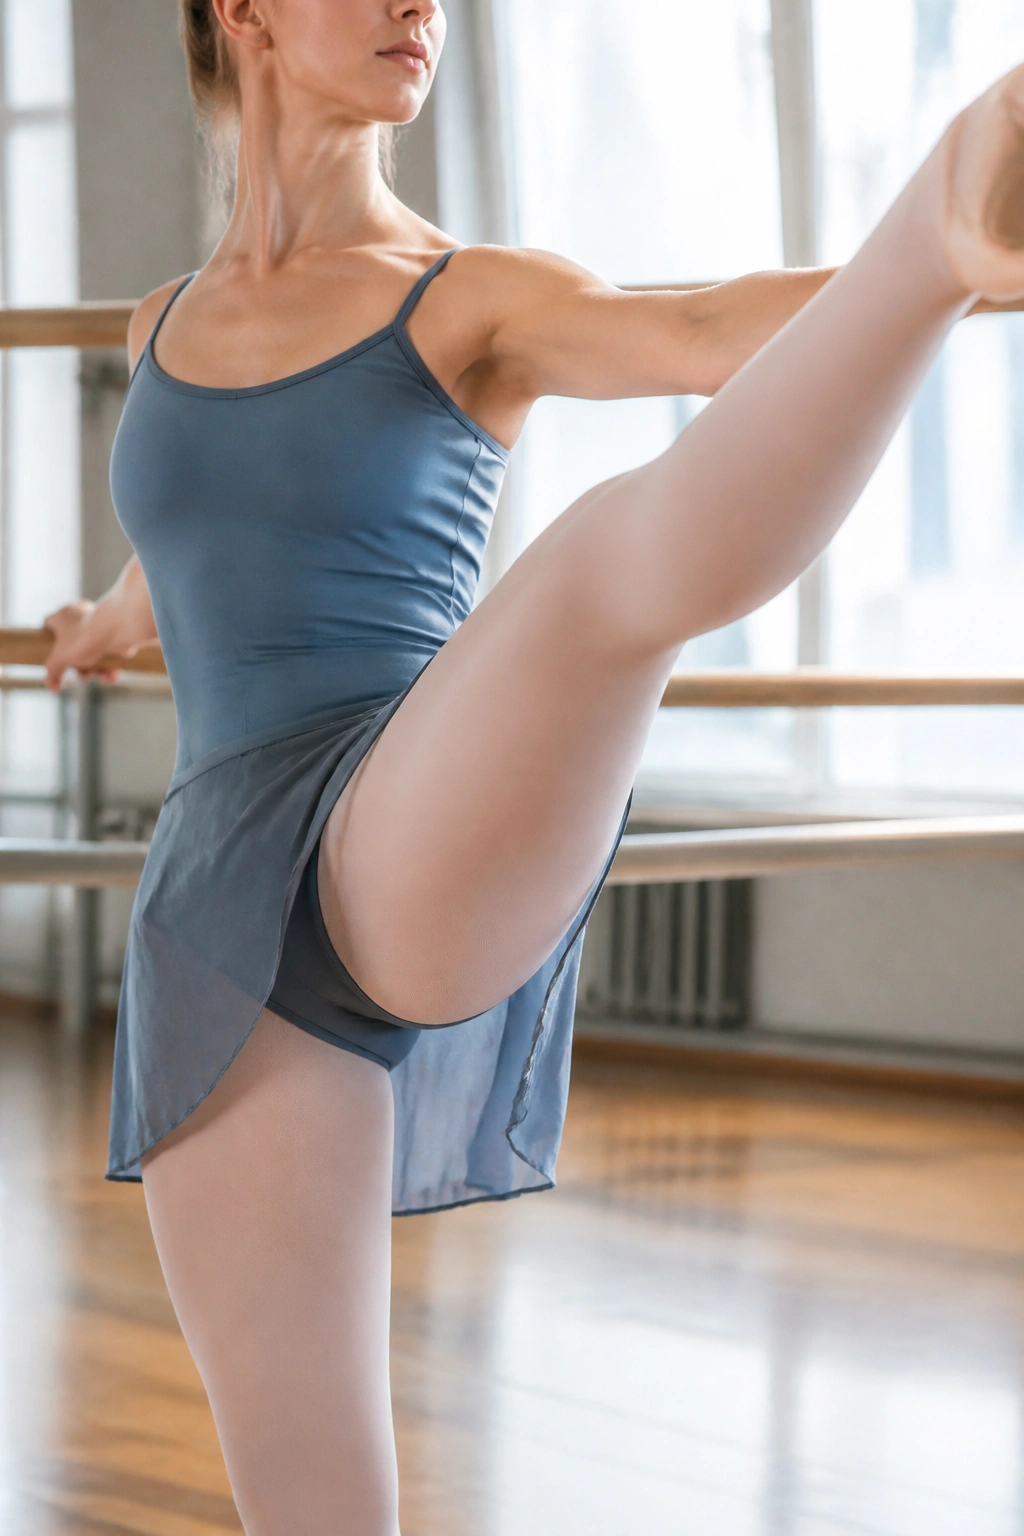
This is the “big kick.” It sounds aggressive, but the focus here is actually on the descent, not the kick itself. You want to control the leg as it lowers, preventing gravity from just pulling it down.
Managing the Momentum
Kick your leg up with energy, but lower it with agonizing slowness. Imagine you are moving your leg through honey or water. That slow return is where the strength is built.
Engagement Tips
Your core needs to be rock solid here. If your core is soft, your torso will wobble every time you kick. Visualize your navel pulling into your spine the entire time. If you cannot keep your torso still, reduce the height of your kick.
Focus Area: This move targets the hip flexors and the rectus abdominis. It is excellent for those who want a more sculpted waistline alongside stronger, more capable legs.
7. Passé Balance
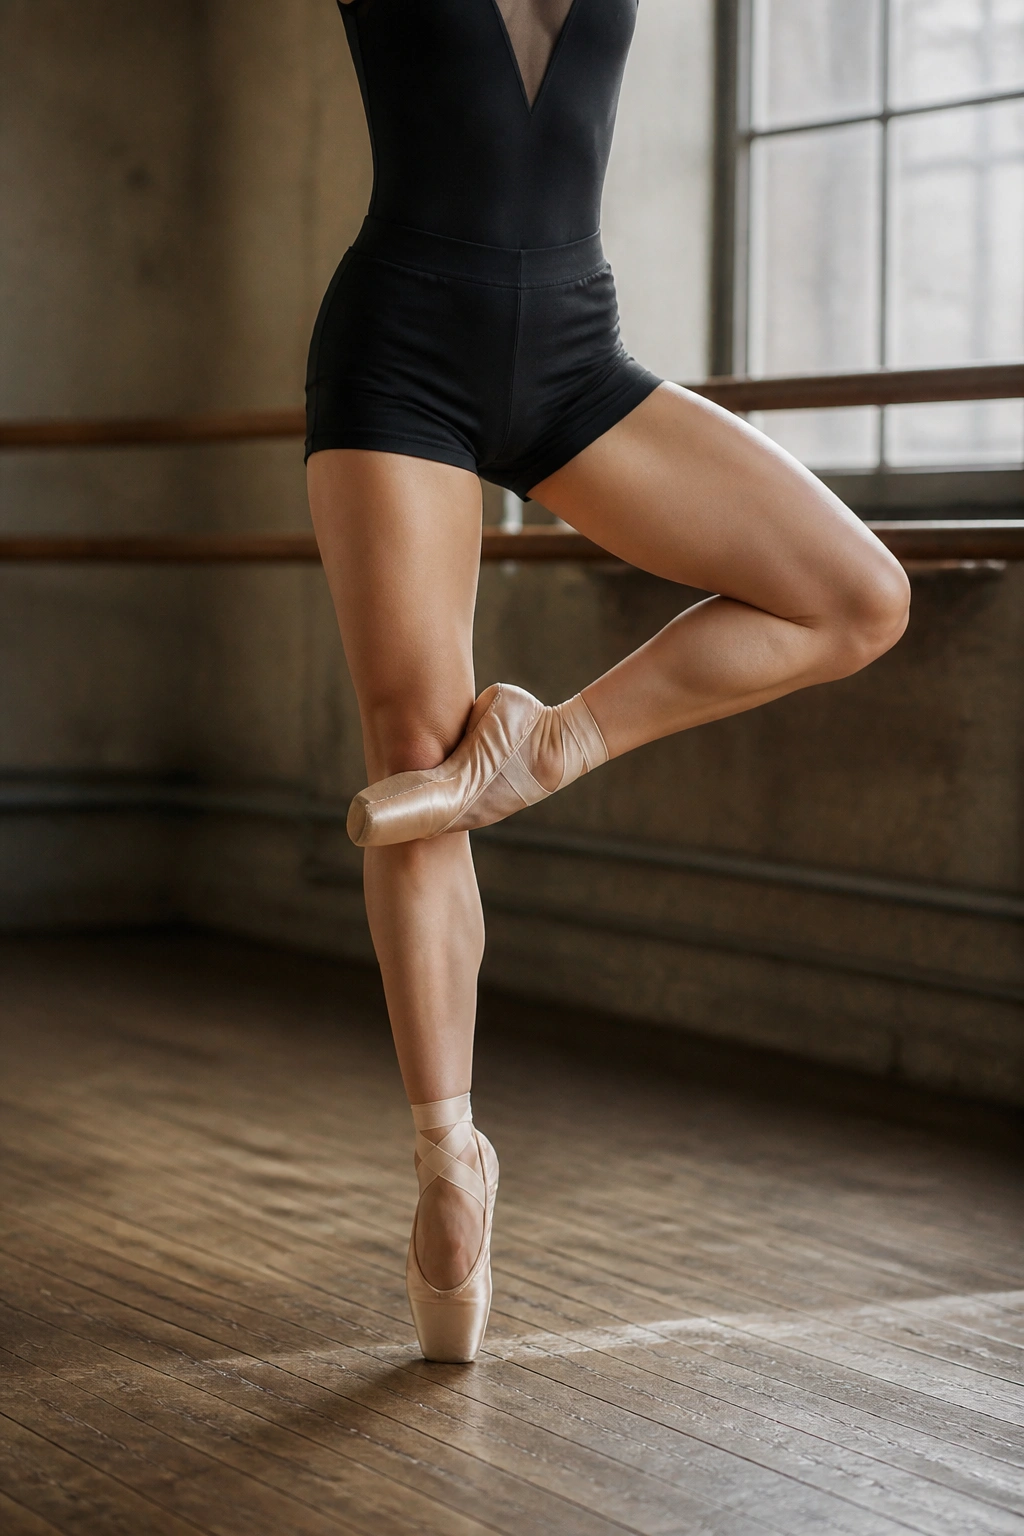
Passé is a position where one foot is placed near the knee of the standing leg. It seems stationary, but the work required to stay upright is intense.
Finding the Center
Draw your toe up to your standing knee, turning the working knee out to the side. Now, let go of the barre. Hold it for 10 seconds. Then 20. Then 30.
The Muscle Activation
Your standing leg is working double-time to keep you upright. Your transverse abdominis—the deep corset muscle—is locking your torso in place. Your glute medius is firing to keep your hips level.
Troubleshooting: If you find yourself gripping the barre with your hand, you are relying on external support. Lighten your touch. Only use the barre to guide your balance, not to hold your entire body weight up.
8. Developpé Extensions
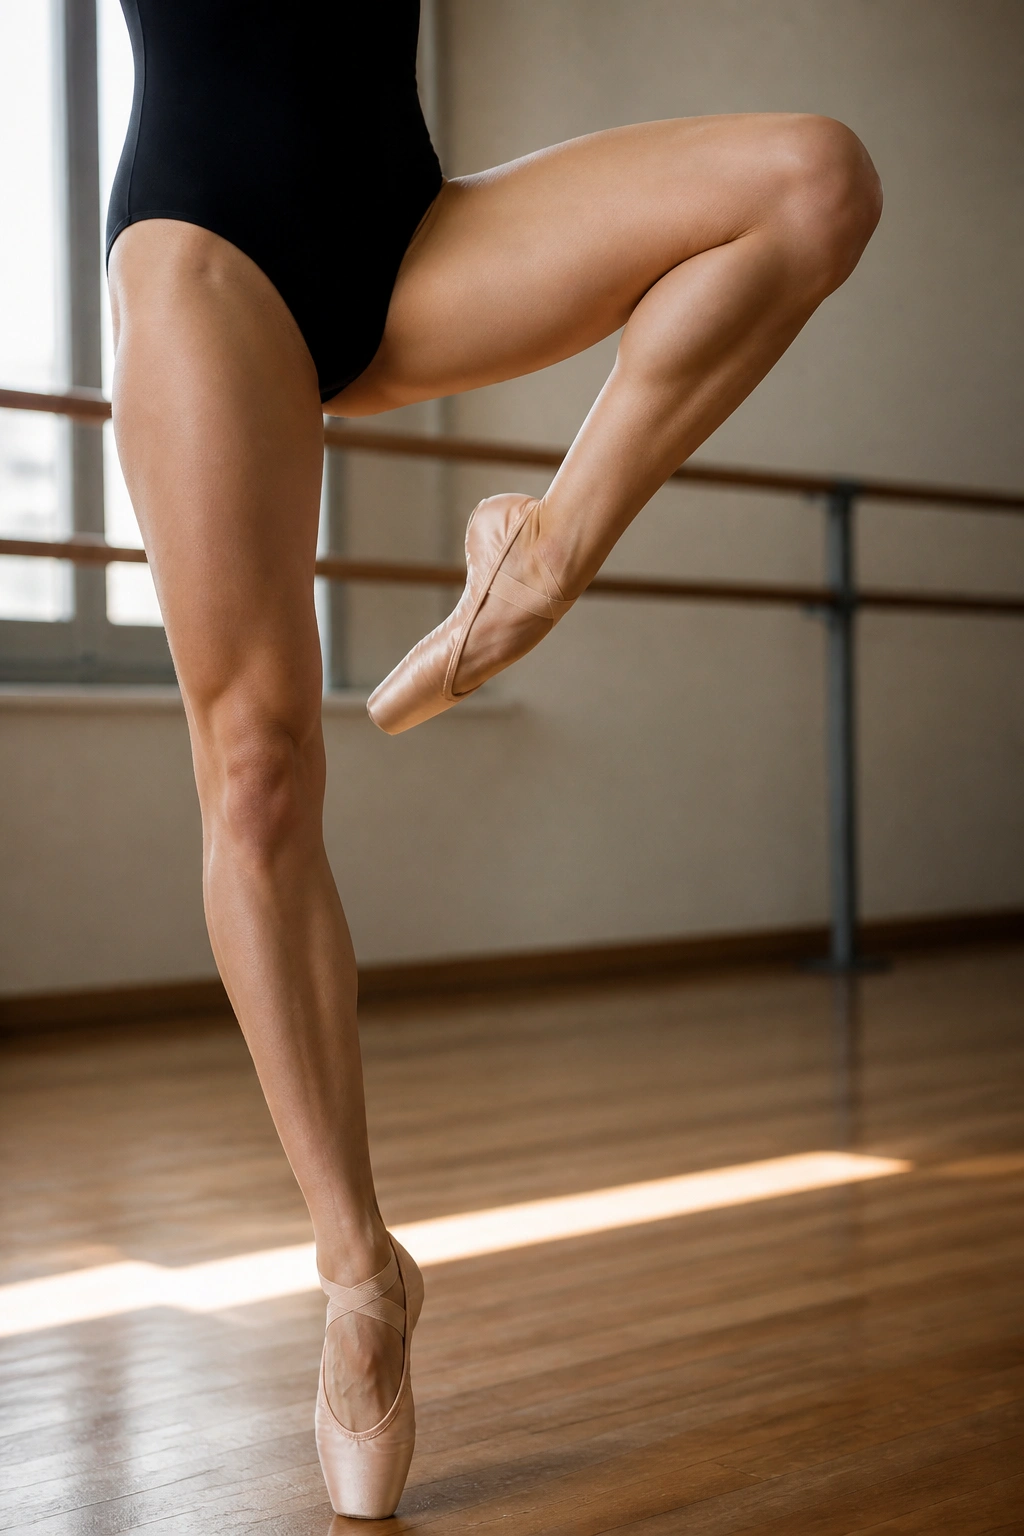
Developpé means to “unfold.” It is a slow, methodical movement where the leg travels up the standing leg and then extends into the air.
The Unfolding Process
Bring your toe to your knee, then slowly push your foot out until your leg is fully straight. Keep your knee lifted—don’t let it drop as you extend.
Why It’s Challenging
This requires extreme hip flexor strength. It is essentially a standing abdominal exercise. Because you are holding the leg up against gravity for an extended period, the muscle fiber recruitment is immense.
Practical Tip: If your hip starts to click or feel “stuck,” you are likely using too much tension. Try to visualize the leg moving effortlessly. Often, clicking is a sign of muscular imbalance in the hip, which these exercises will eventually correct.
9. Attitude Back Series
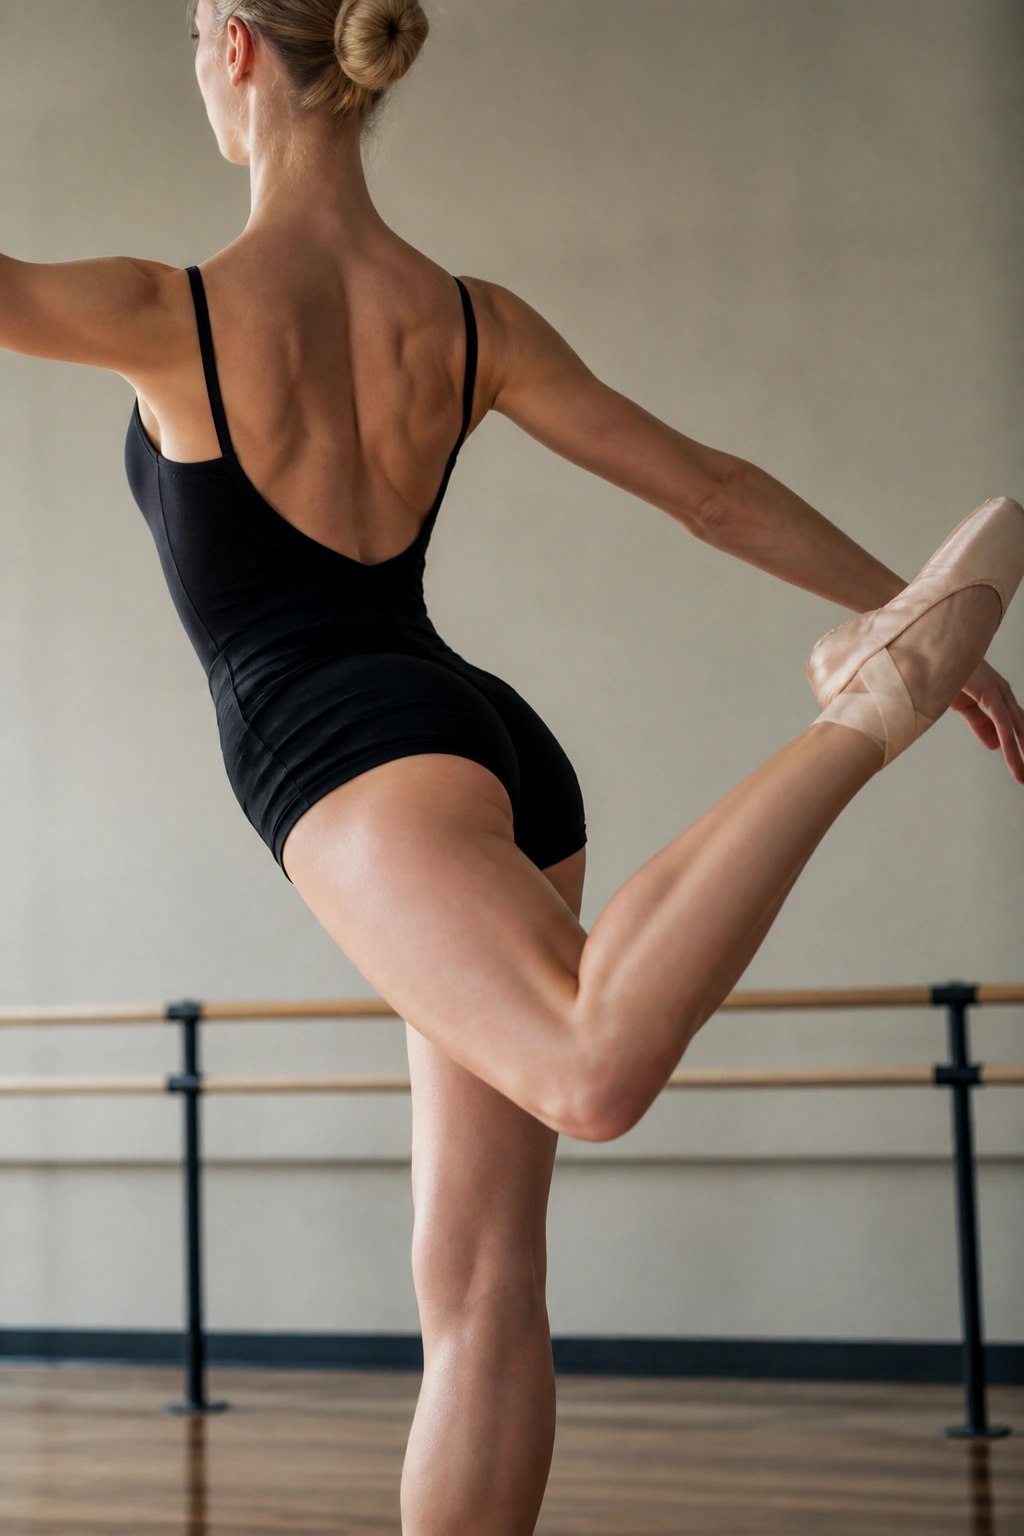
Attitude is similar to arabesque, but with a bent knee. It targets the “glute-hamstring tie-in”—the line where the butt meets the back of the leg.
The Bend Matters
Lift your leg behind you, but keep the knee bent at a 90-degree angle. Pulse the foot toward the ceiling. Keep the knee higher than the foot.
Sensory Cues
You should feel this right under your glute, where the muscle starts to curve. If you feel it in your lower back, you need to tuck your pelvis slightly more.
Repetition Strategy: Do not rush this. Pulse for 10, hold for 10. Repeat that cycle four times. The lactic acid buildup will be intense, but that is the physiological trigger for the muscle toning you are seeking.
10. Piqué Relevé
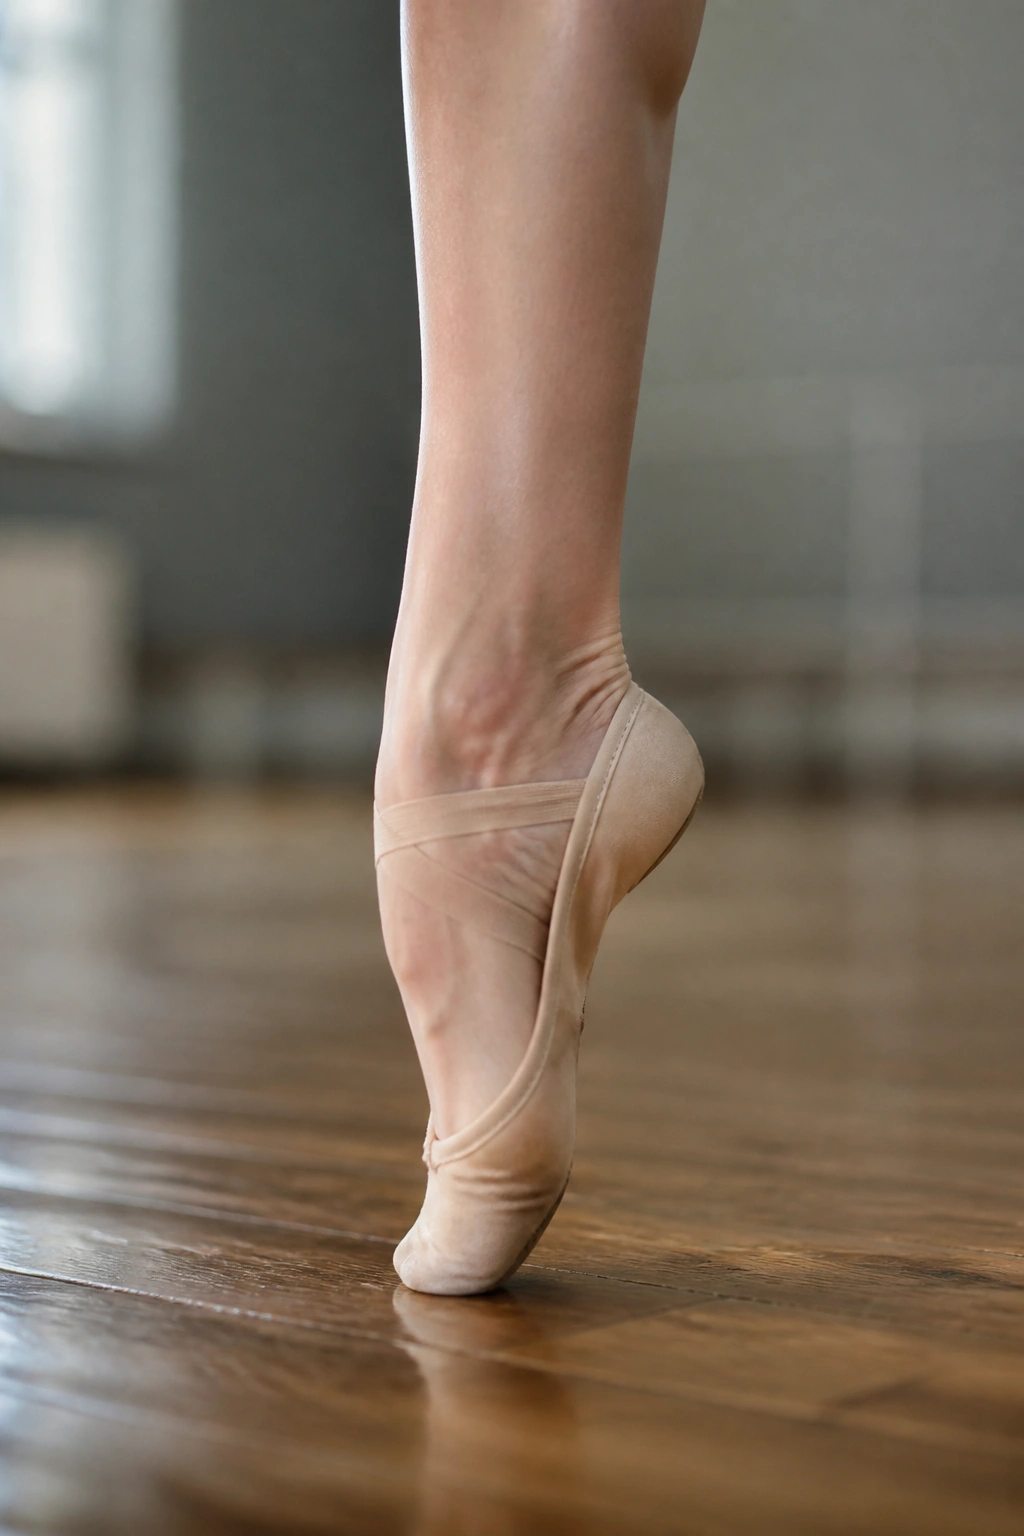
Piqué means “to prick.” You are stepping onto a straight leg in relevé (on your toes). This is an exercise in ankle stability and calf explosiveness.
The Movement
Step quickly onto a straight leg, rising immediately onto your toes. Lower back down. Step, rise, lower. Step, rise, lower. The transition should be quick and precise.
Benefits for the Lower Body
This strengthens the small stabilizer muscles in the ankle, which are often weak in people who only use machines at the gym. A strong ankle creates a more stable base, which actually allows you to lift heavier in other movements later on.
Safety First: Ensure your floor is not slippery. If you are doing this on a hardwood floor in socks, you might slide. Barefoot is best for barre work because it allows you to grip the floor with your toes.
11. Rond de Jambe Circles
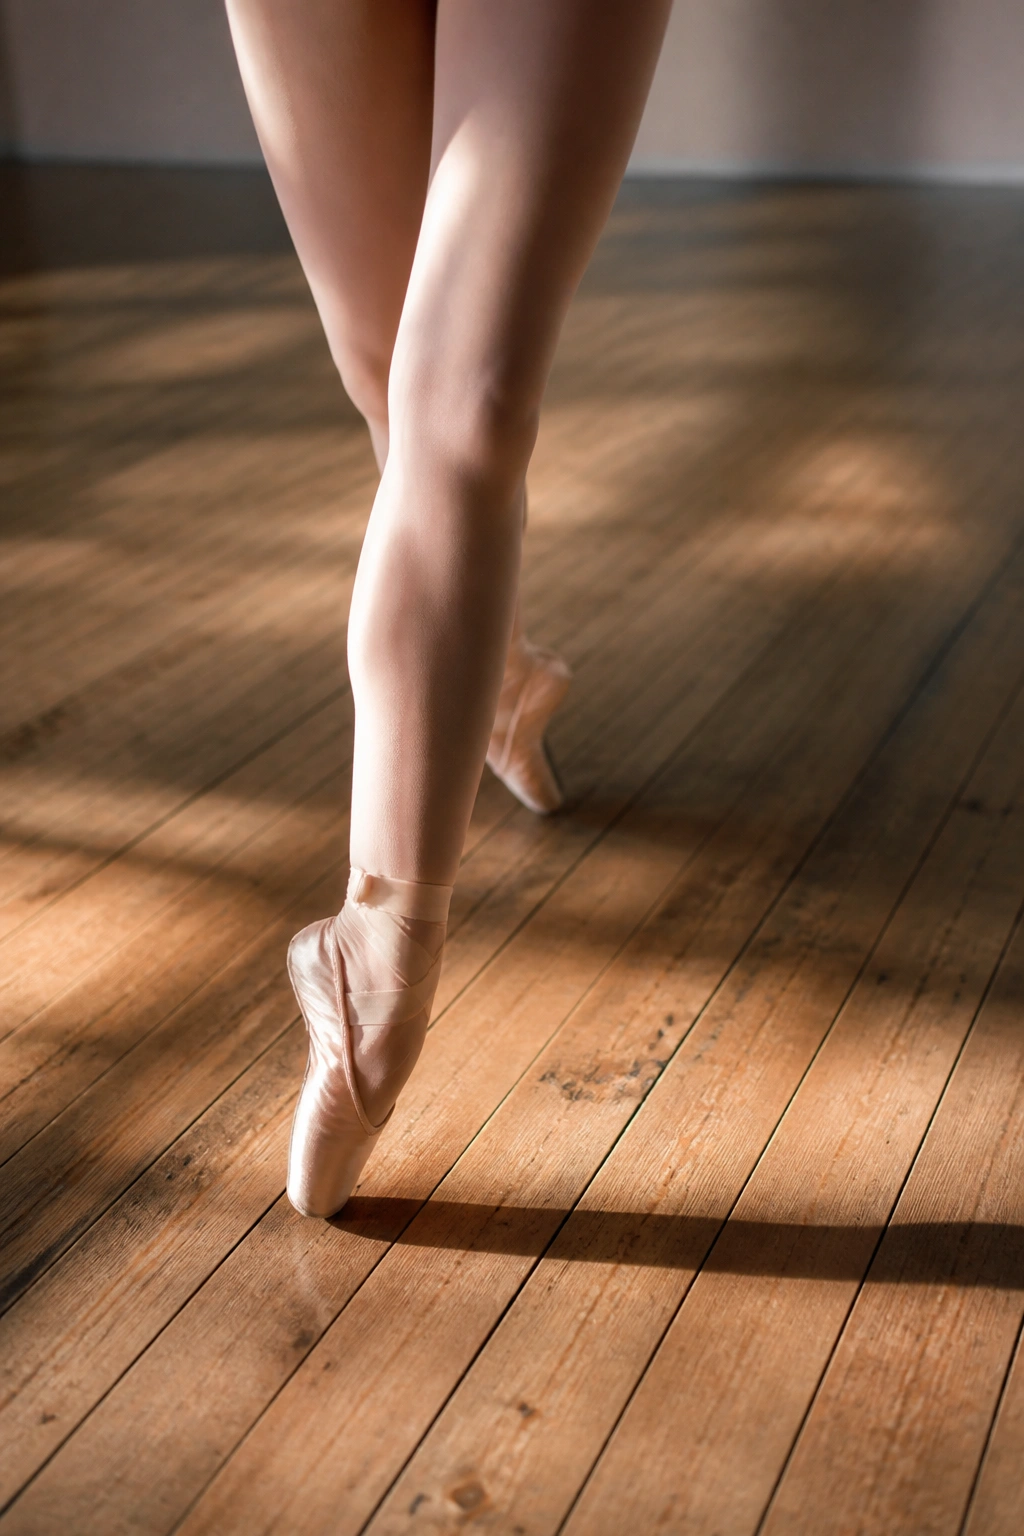
Rond de jambe translates to “round of the leg.” You are tracing a semi-circle on the floor with your toe. This is fantastic for hip mobility and targeting the muscles that wrap around the hip joint.
Tracing the Arc
Start with your foot in front of you. Slide it to the side, then all the way to the back. Do not let your hips move. Your upper body should be a statue.
Why It’s Often Done Incorrectly
The most common mistake is swaying the torso. Your torso must remain perfectly still. If you have to lean to get the leg around, your range of motion is too big. Shrink the circle.
Why It’s Effective: It hits the hip rotators—muscles that are usually weak from sitting all day. Strengthening these muscles helps alleviate lower back pain and improves your posture.
12. Port de Bras with Core Engagement
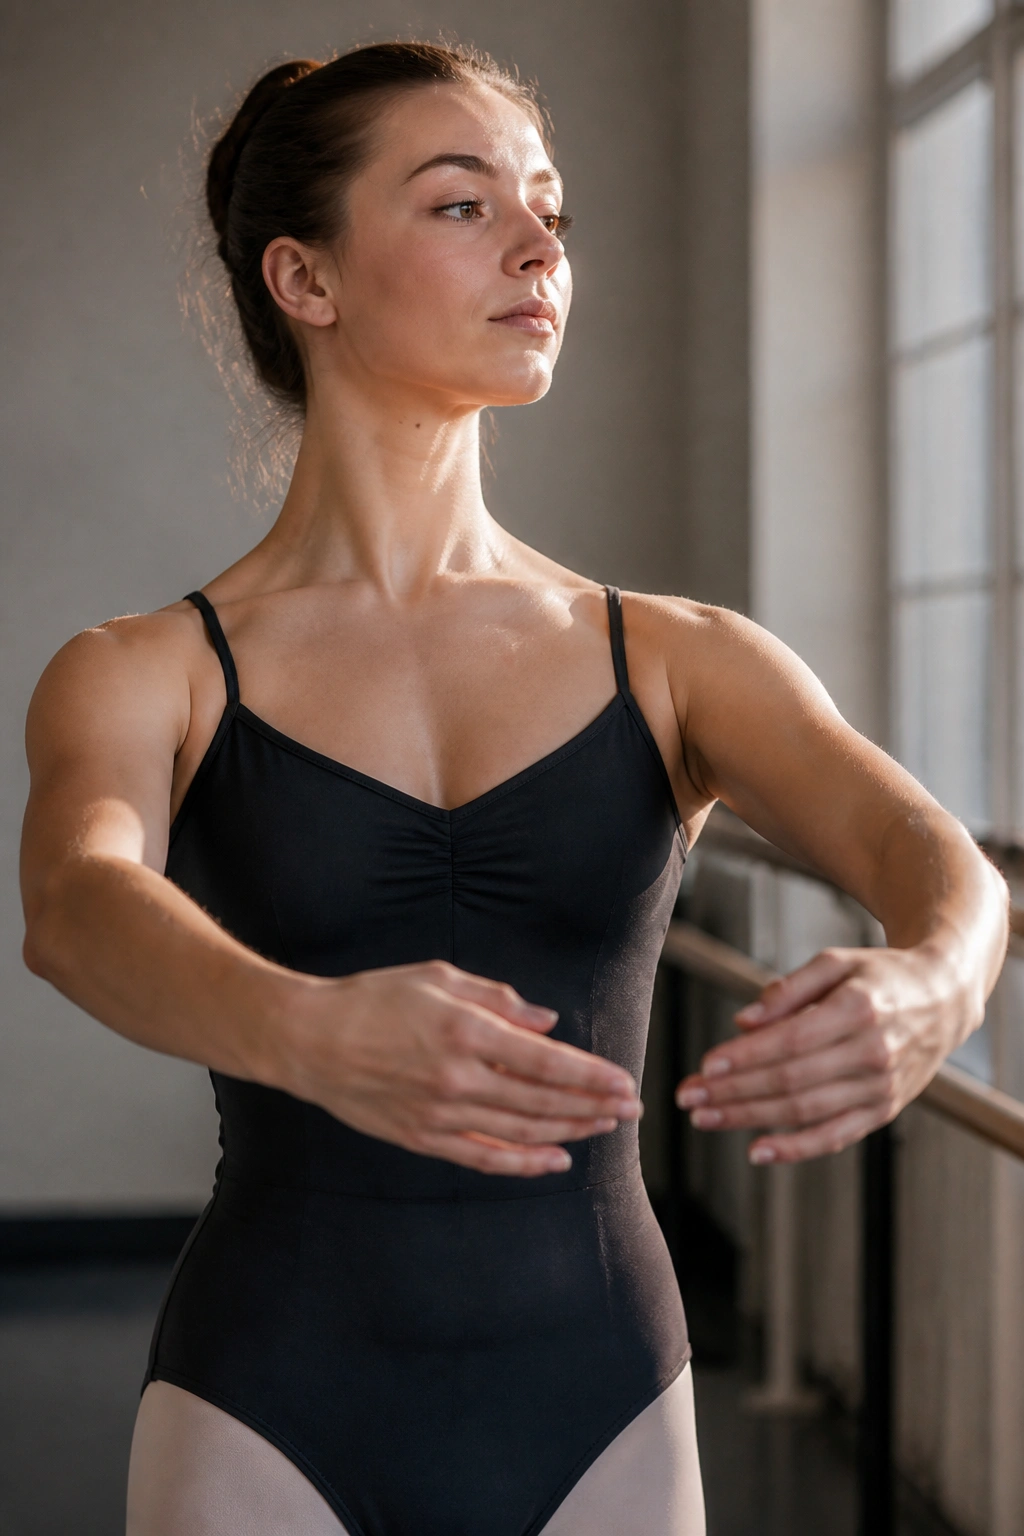
Port de bras refers to the movement of the arms. People often ignore the upper body in barre, but you can engage your core and shoulders significantly if you do it right.
The Arm Position
Hold your arms in front of you as if holding a large beach ball. Keep your shoulders down, away from your ears. As you move, keep your core braced as if someone is about to poke you in the stomach.
Why Include This?
It turns a leg workout into a full-body conditioning session. By constantly holding your arms in a specific, elevated position, you are working your deltoids and lats throughout the entire hour.
Observation: You will notice that your legs feel much harder to hold up when your arms are raised. This is because your core is struggling to manage two different points of tension—the arms high and the legs working low.
13. Glute Kickbacks at the Barre
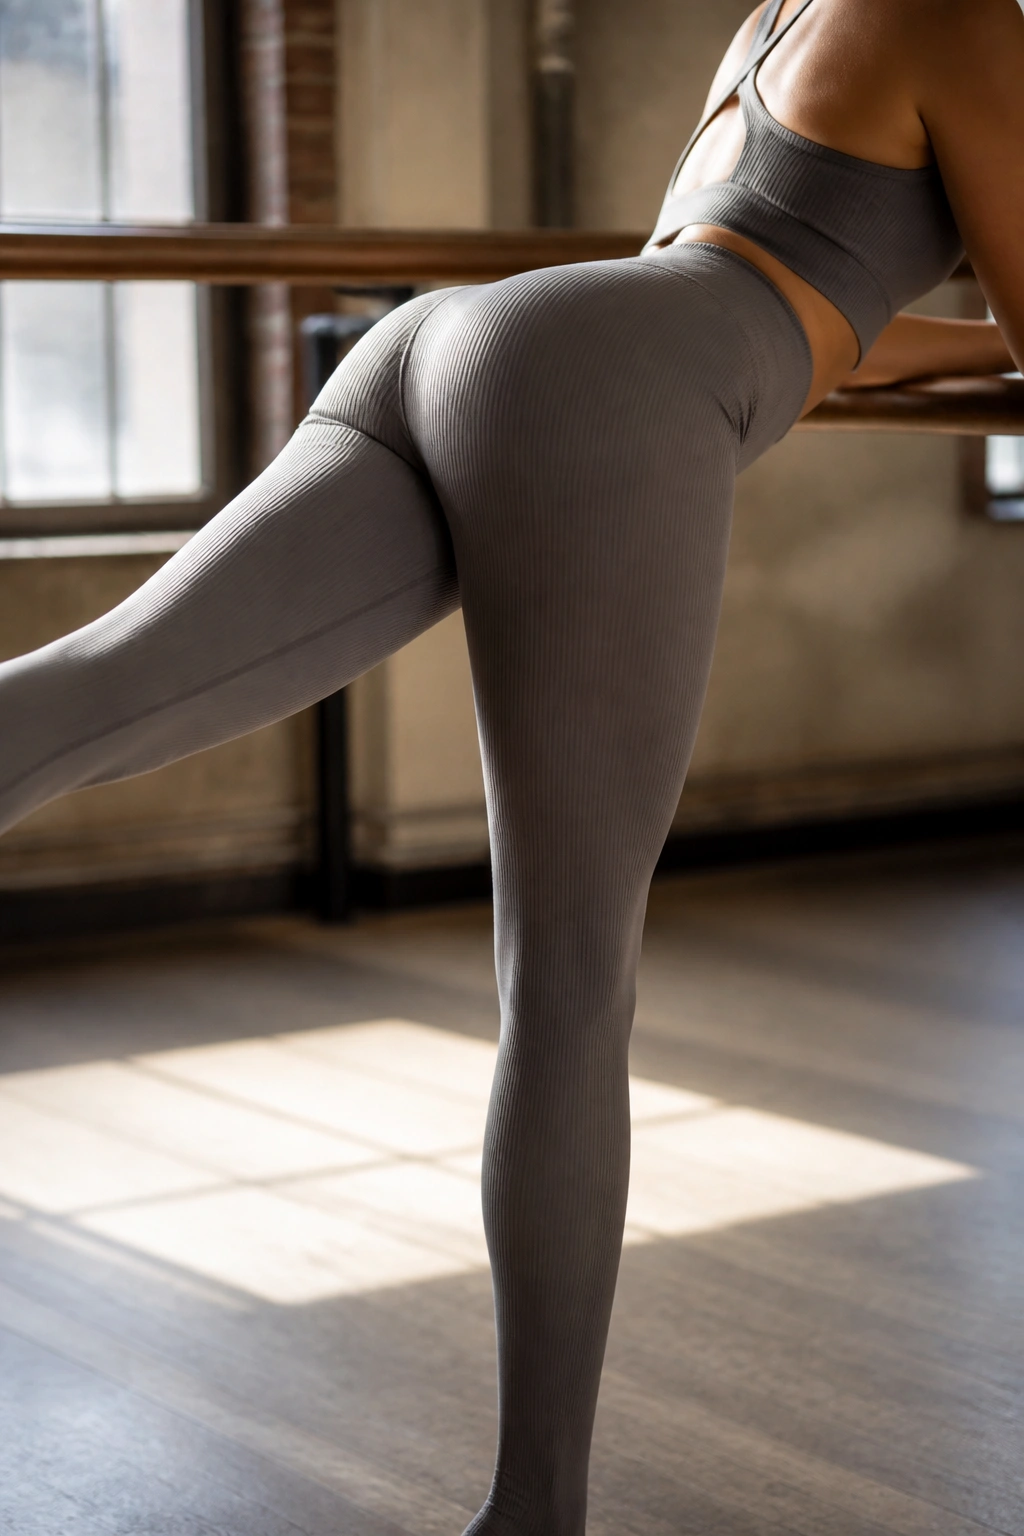
This is a targeted isolation move for the gluteus maximus. While many exercises use the glutes as a stabilizer, this one uses them as the prime mover.
The Setup
Face the barre and lean forward slightly, resting your forearms on it. Lift one leg straight back behind you, keeping the knee straight. Squeeze the glute to lift the leg higher.
Focus on Control
Do not swing your leg. If you use momentum to kick, you take the work out of the muscle. Lift, squeeze, hold for a second, lower slowly.
Expert Advice: Imagine you have a penny tucked between your butt cheeks, and you are trying not to drop it. That constant squeeze is what builds the shape.
14. Lateral Lunge Transitions
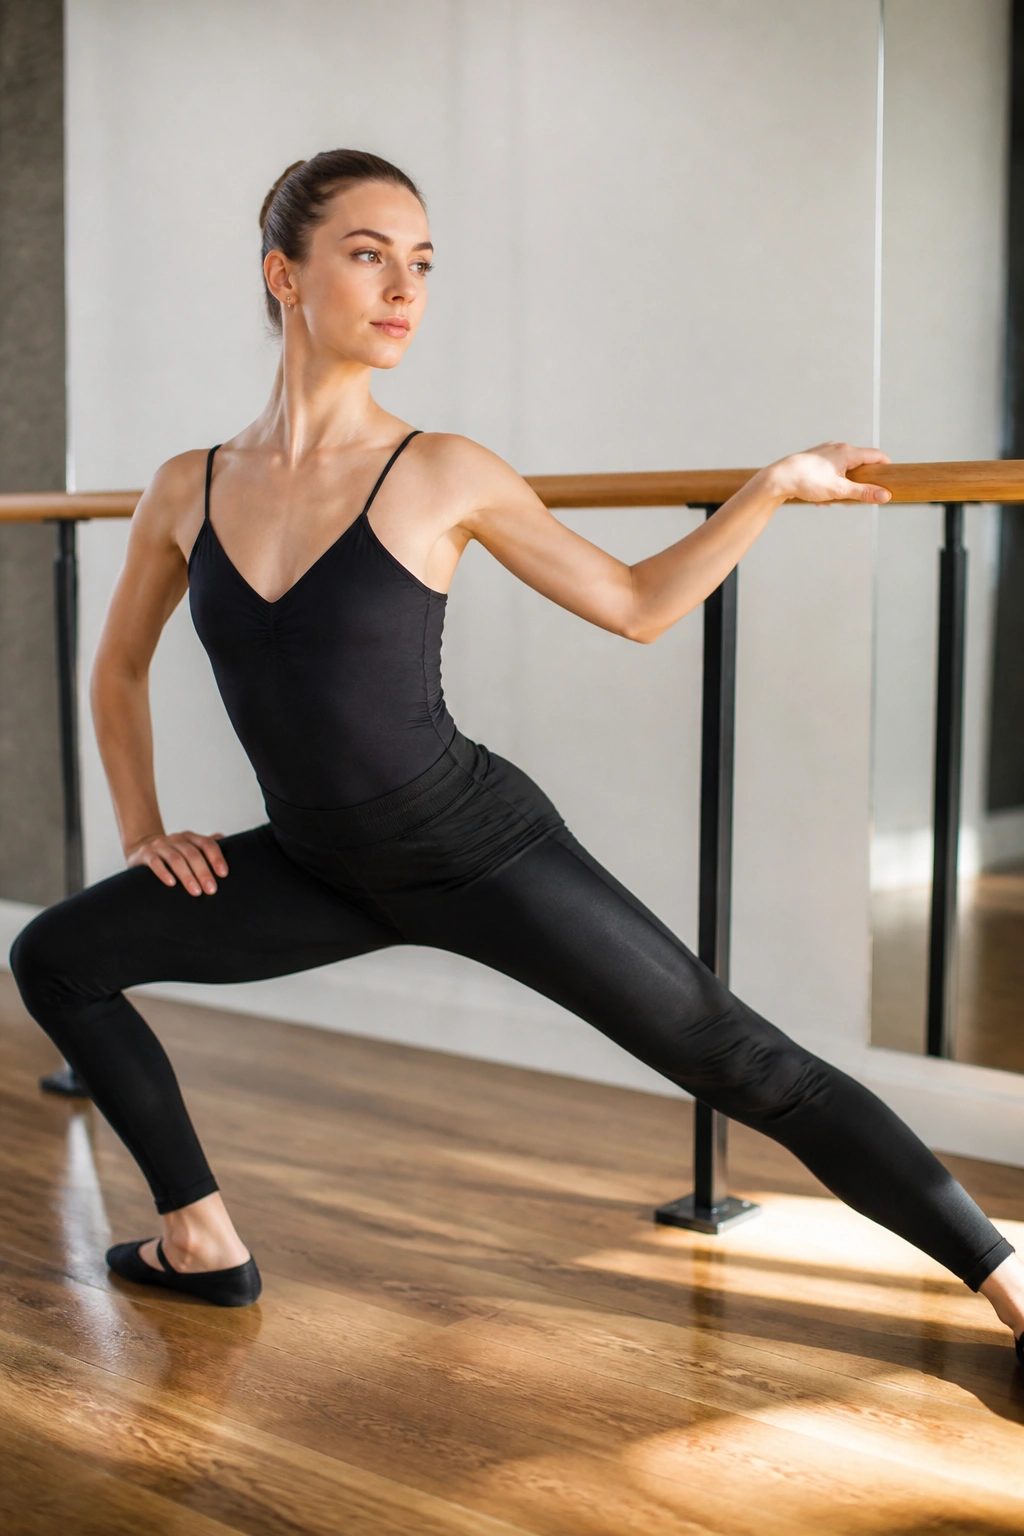
This movement works the adductors (inner thighs) and the glute medius (side glute), which are essential for lateral stability and leg shaping.
The Movement
Take a wide step to the side and lunge into that leg, keeping the other leg straight. Push off the bent leg to return to center, then immediately move to the other side.
Why This Works
We spend most of our lives moving forward and backward. Lateral movement is rare. By adding side-to-side work, you hit muscle fibers that are rarely activated, leading to a more “balanced” look in the legs.
Nuance: Keep your heels planted. If your heels lift, you are putting unnecessary pressure on your knees. Sit your hips back, not down.
15. Clamshells on the Barre
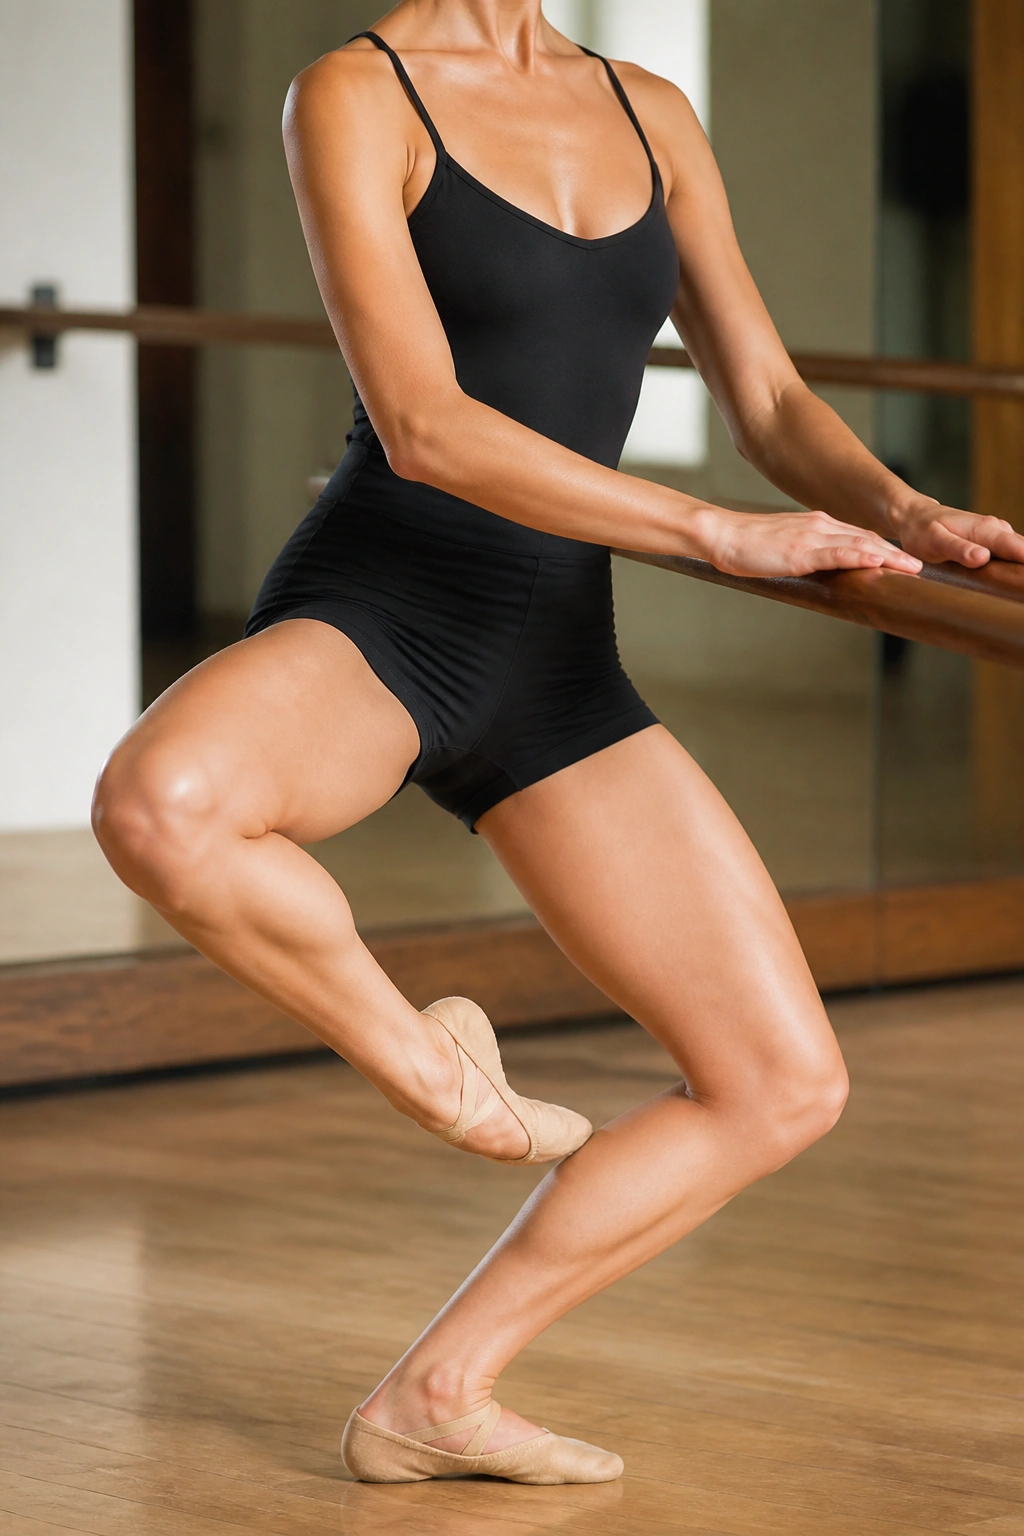
You might know this as a floor exercise, but standing clamshells are significantly harder because you have to balance while you do them.
Executing the Standing Clamshell
Stand in a shallow plié. Tap the toe of your working leg behind your standing heel. Open the working knee out to the side like a clamshell hinge, then close it.
The Benefit
This specifically targets the glute medius—the muscle that gives your hips that rounded, toned look. It also stabilizes the knee of the standing leg.
Warning: Do not let your standing knee collapse inward. It must stay tracking over your second toe. If it falls in, you are putting your ACL at risk.
16. Sauté to Plié
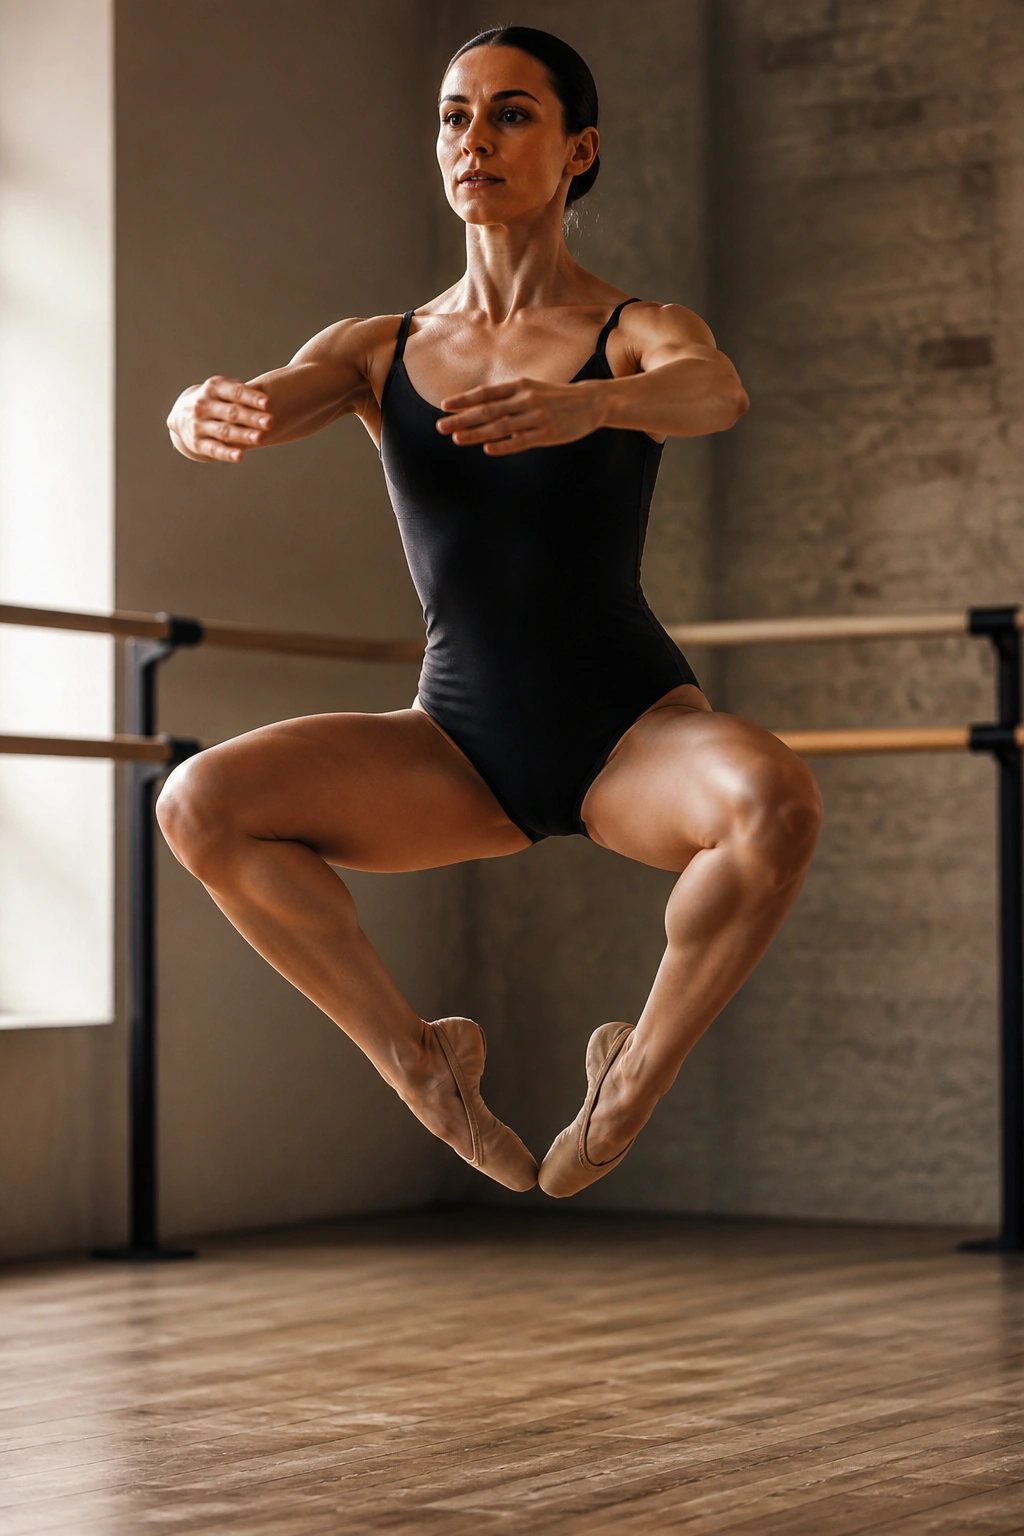
This adds an element of cardio and explosive power. Sauté is a small jump. Barre fitness isn’t all slow, steady movement—occasionally, you need to elevate the heart rate.
The Jump
From a shallow plié, push off the floor into a tiny jump. Land softly, rolling through the ball of the foot and settling back into the plié.
Why It’s Essential
The landing is the most important part. By landing in a deep plié, you are forcing your muscles to absorb the impact and control the descent. This builds incredible functional strength.
Safety Note: Keep the jumps small. You are not trying to jump to the ceiling. You are trying to use your muscles to push off and land with absolute control.
17. Plank-to-Pike
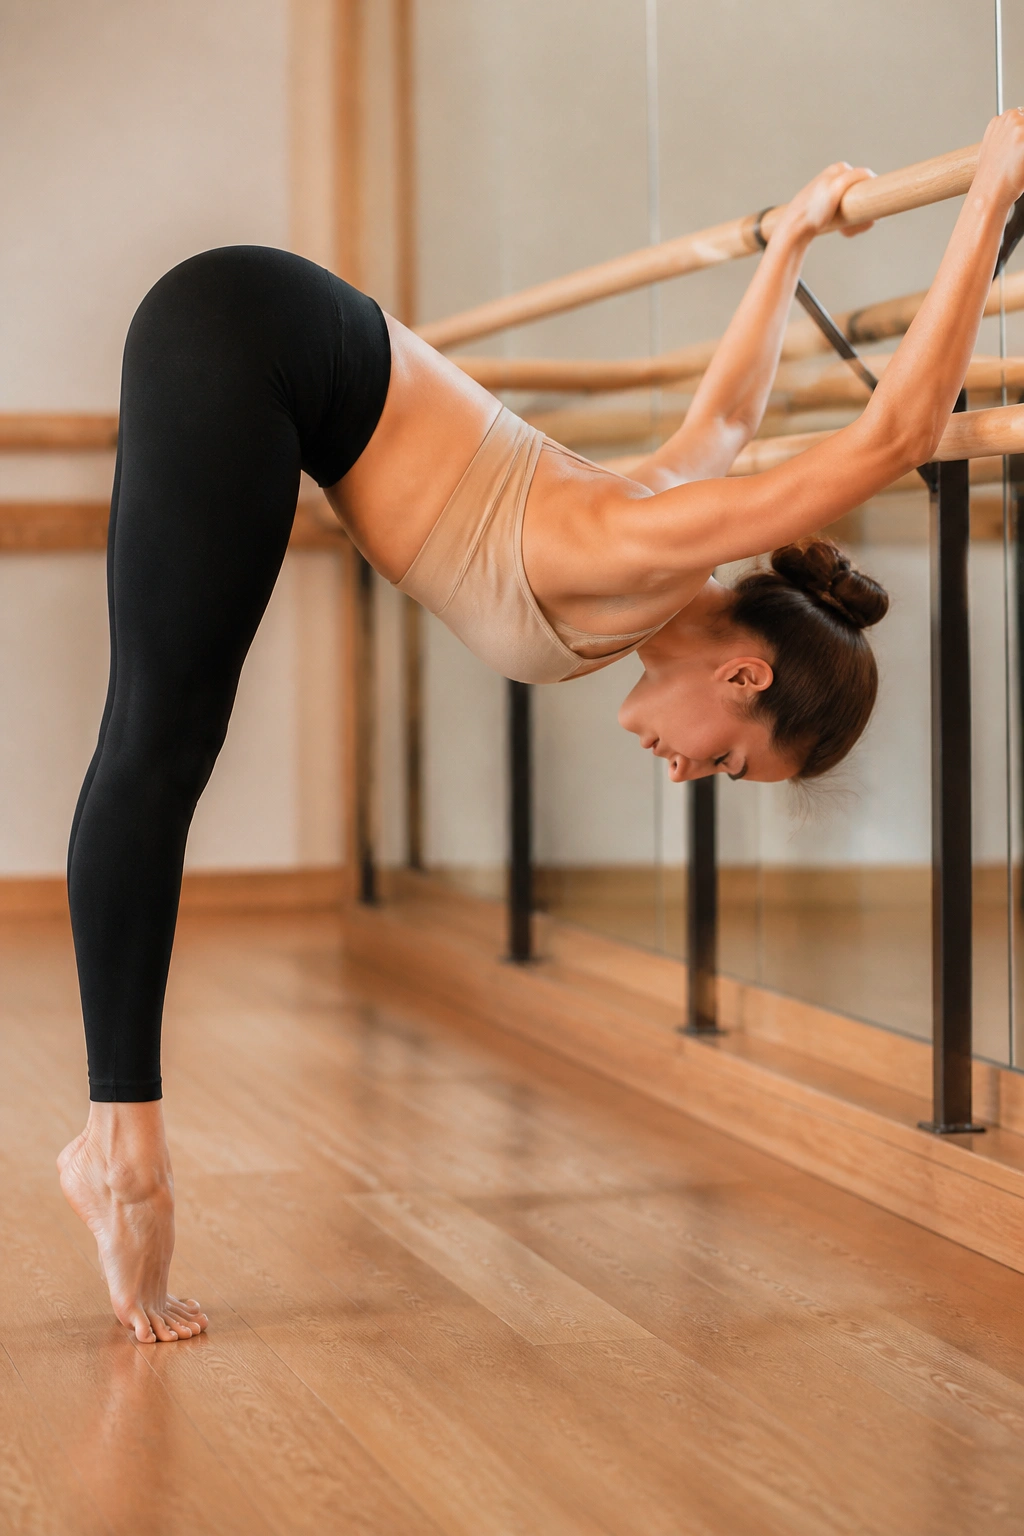
While we focus on the legs, the core provides the foundation for the entire body. A plank-to-pike on the barre is a variation of a mountain climber or pike jump.
The Movement
Place your hands on the barre in a plank position. Jump your feet in toward the barre, arching your back slightly to engage the abs, then jump back out to a plank.
The Challenge
Because your hands are elevated on the barre, this is slightly easier on the wrists than a floor plank, allowing you to focus purely on the abdominal contraction.
Pro Tip: Exhale forcefully as you jump your feet in. That breath helps recruit the deep abdominal muscles that define the waist.
18. Single-Leg Squat with Barre Support
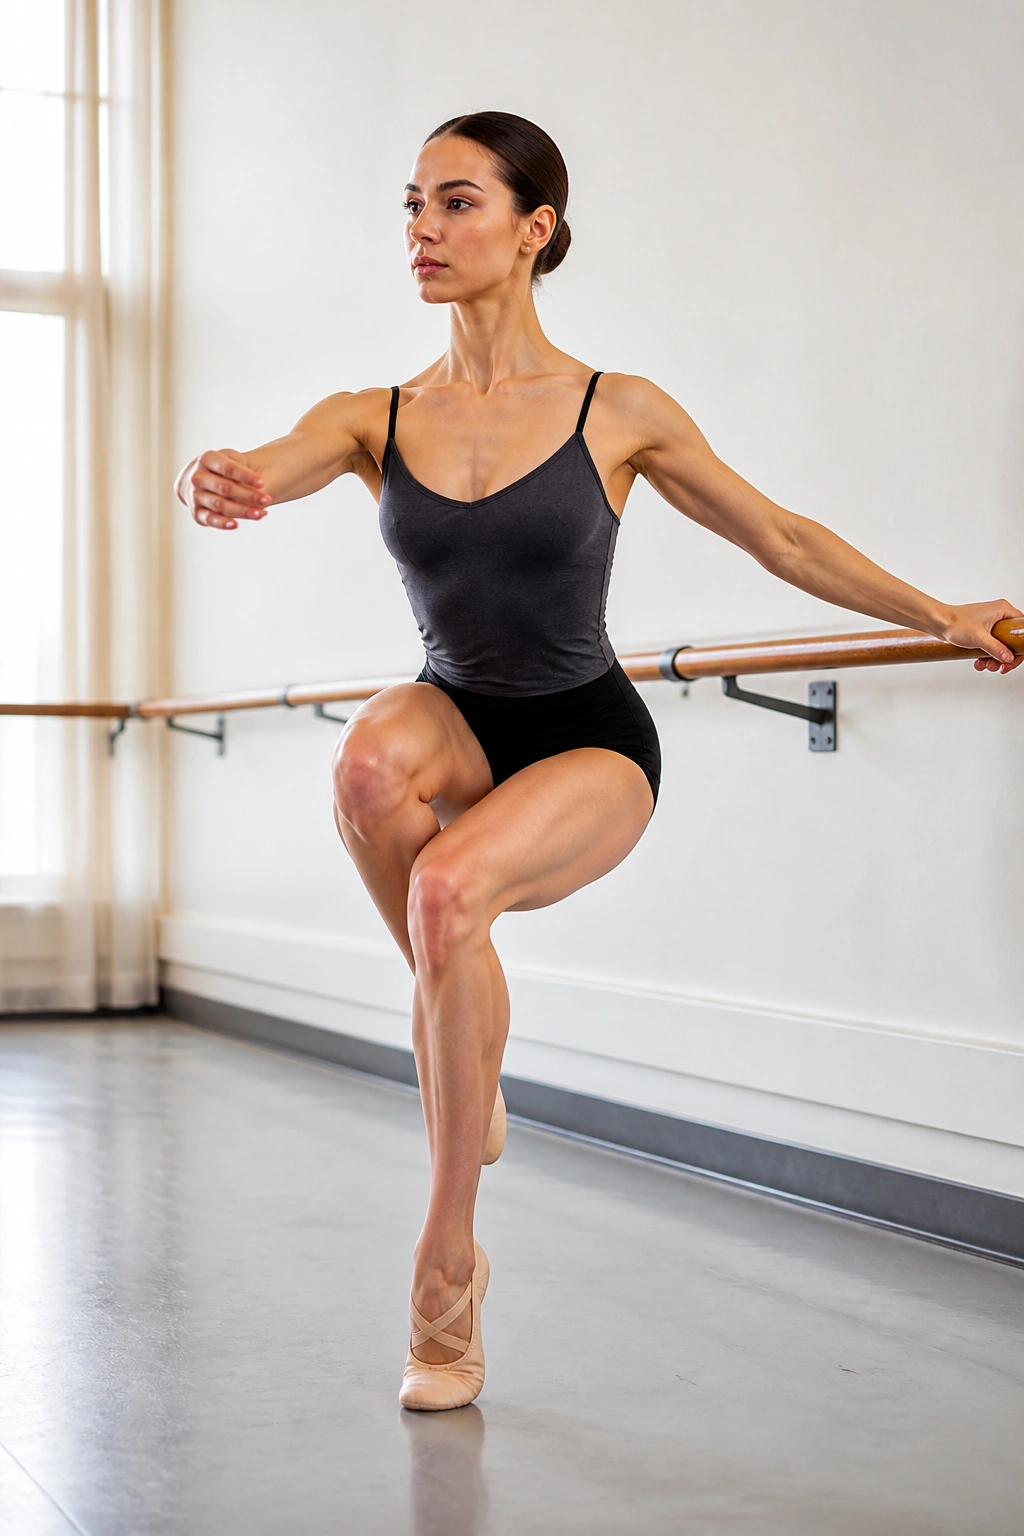
This is arguably the most effective move for building leg strength. Single-leg work exposes imbalances immediately—you will likely notice one leg is stronger than the other.
The Execution
Lift one foot off the floor. Sit back into a single-leg squat using the barre for minimal balance. Stand back up.
The Secret
Don’t use the barre to pull yourself up. Use it only as a guide. If you are gripping so hard your knuckles turn white, you are not doing a single-leg squat; you are doing a row.
Variation: If it’s too hard, do a “curtsy” version where you tap the non-working foot behind the standing leg, taking only a little bit of weight off the standing leg.
19. Standing Side Crunches
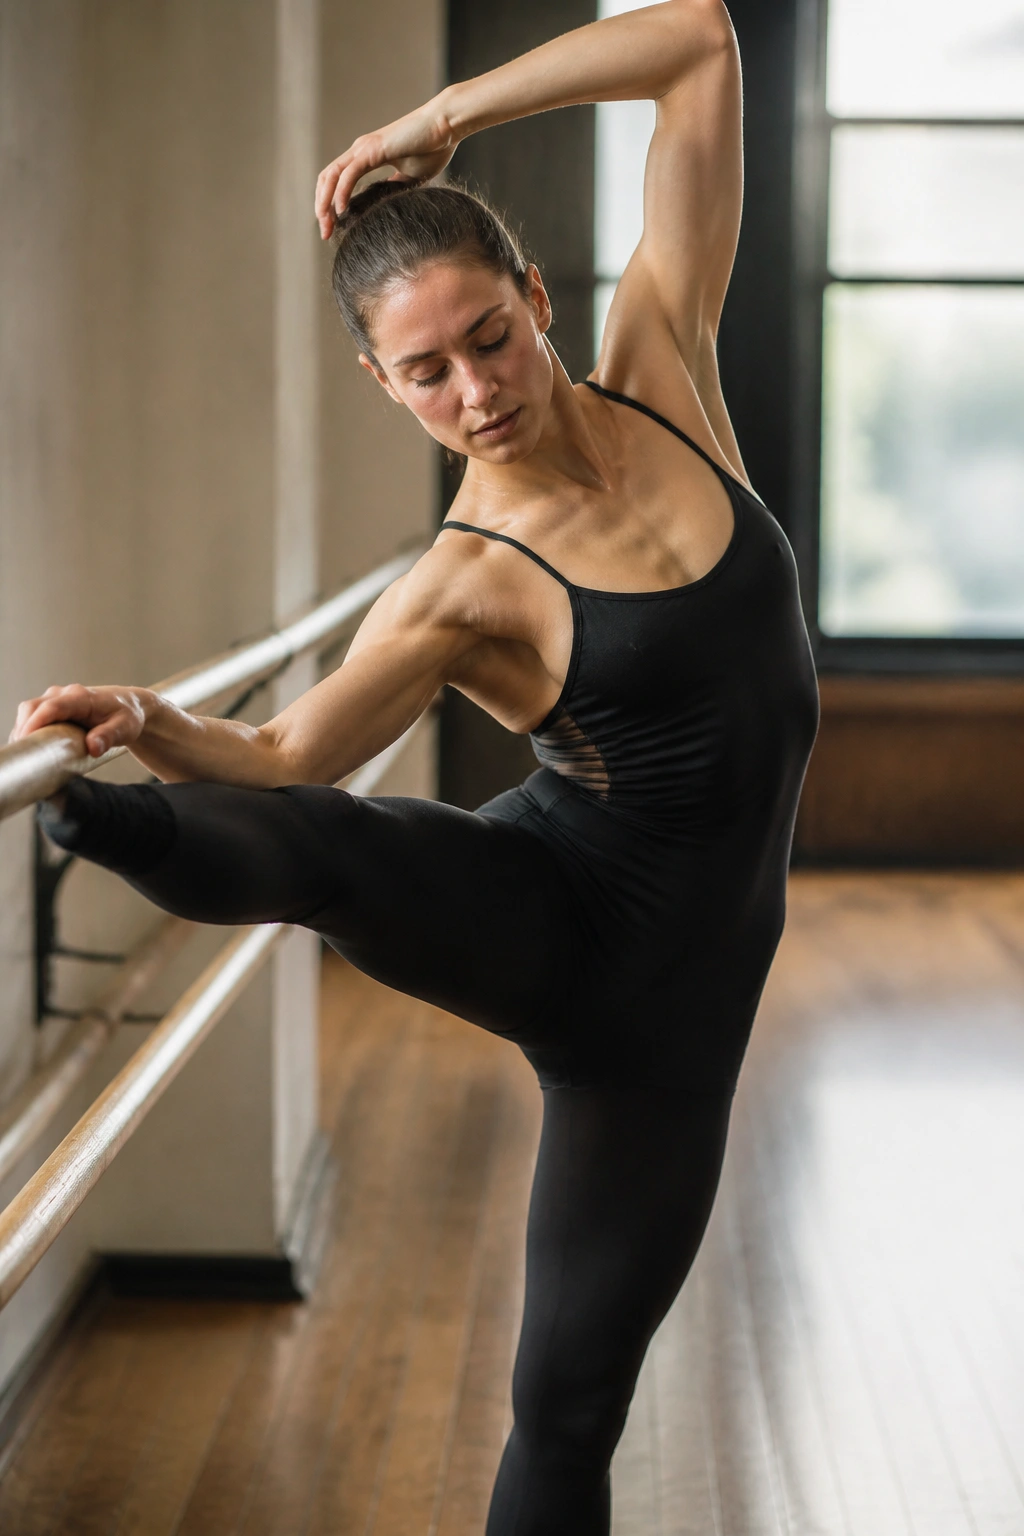
We need to work the obliques to achieve that lean waistline. Standing side crunches are superior to floor crunches because you have to balance while contracting your side.
The Motion
Stand tall. Bring one arm overhead. Lift the same-side leg out to the side while simultaneously crunching your ribcage toward your hip.
Why It Works
It requires coordination and balance, which recruits the stabilizers in your standing leg while isolating the obliques on the working side. It’s two workouts in one.
Common Mistake: Don’t pull on your neck. Use your arm as a weight, or keep your hand on your hip. The work should be in the waist, not the back or neck.
20. Calf Stretch and Cool Down
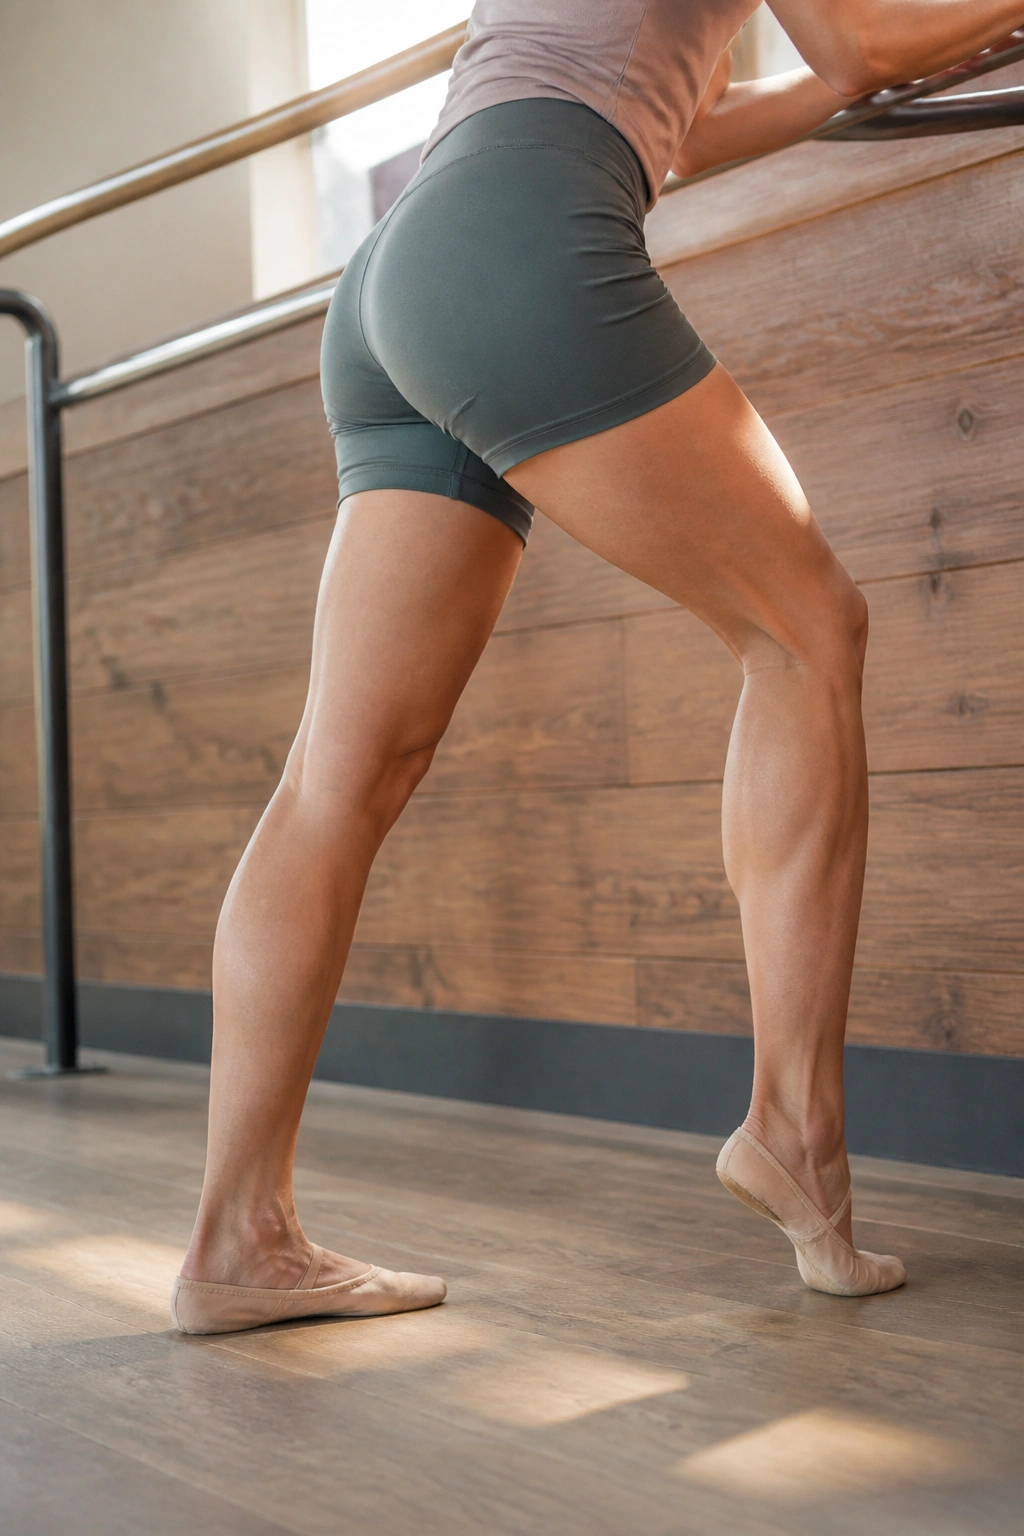
You cannot skip the cool down. Muscles need to be stretched immediately after being worked to facilitate recovery and maintain that long, lean look.
The Stretch
Place your hands on the barre. Step one foot back and press the heel firmly into the floor. Lean forward into the stretch.
Why This Matters
When you train with high repetition, muscles can tighten and shorten. Stretching lengthens the fibers back out. This is where you get the “long” look that is synonymous with dance-based training.
Final Advice: Hold this stretch for at least 30 seconds per side. Breathe deeply. Your workout is not finished until your nervous system has had a chance to calm down.
The Bottom Line
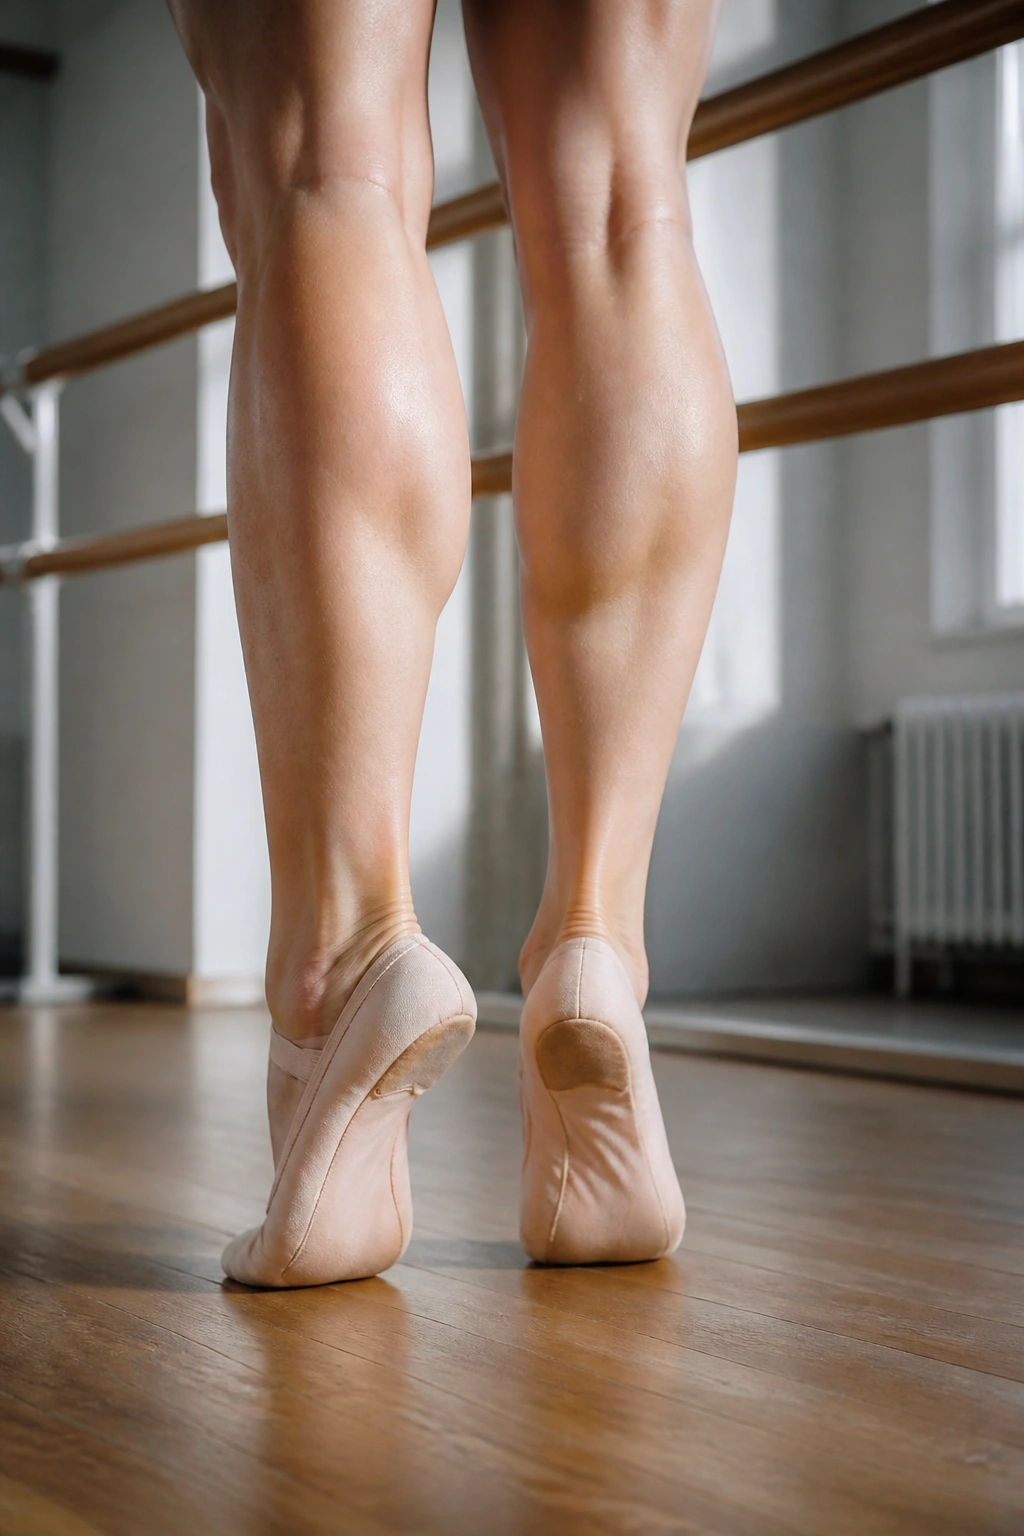
Achieving a lean, capable physique is not about the amount of weight you lift, but how you treat your muscles while you work them. Ballet-inspired training focuses on eccentric control—the ability to resist gravity on the way down—and isometric holds. These techniques create a density and tone that many other forms of exercise miss.
You should approach your barre work with the same intensity you would a heavy lifting session. It is easy to go through the motions, but it is much harder to make every inch of the movement intentional. Focus on the shake. Embrace the burn. If you stay consistent with these movements, the strength and endurance gains will follow. Keep your core braced, keep your alignment tight, and always remember that the smallest movements often yield the biggest results.
