



You know that specific, trembling sensation that creeps into your muscles about halfway through a barre class? That rhythmic, deep-seated shake? That is exactly what we are aiming for. It isn’t about lifting heavy iron plates or pushing your heart rate into a frantic sprint; it’s about isometric holds, tiny pulses, and the kind of targeted fatigue that reshapes the lower body in ways nothing else seems to touch. When you strip away the flashy gym machinery, what you are left with is the sheer, uncomfortable reality of your own body weight and the demand for absolute control.
If you have spent time in a studio, you know the barre is less of a support system and more of a conversation partner. You use it to balance, yes, but mostly it serves as a way to access muscles that are usually dormant. The movements might look small and controlled from the outside, but inside, your glutes, hamstrings, and quads are working in overdrive. We are going to break down twenty foundational moves that prioritize form over speed. If your legs are not shaking by the time you reach the end of this list, you probably have a little more to give.
1. Plie Squat with Heels Raised
This move is the cornerstone of the barre method. It targets the inner thighs and the quads simultaneously. Start by facing the barre—or a sturdy chair—and placing your hands lightly on it for balance. Bring your heels together, toes turned slightly outward in a wide “V” shape, then lift your heels off the floor.
The key here is the elevation. By keeping your heels high, you instantly recruit your calf muscles and destabilize your stance, which forces your core to engage. Lower yourself into a squat, keeping your spine perfectly straight—imagine you are sliding your back down an invisible wall.
Mastering the Descent
- Keep the heels glued: Do not let them separate as you lower down.
- Tuck the tailbone: Avoid arching your lower back. You want a neutral, straight line from your head to your hips.
- Pulse at the bottom: When you reach your lowest point, stay there. Perform small, one-inch pulses to keep the tension on the muscles.
Pro tip: If your heels start to wobble uncontrollably, lower them just a fraction of an inch until you find your stability, then fight to lift them back up as you fatigue.
2. Parallel First Position Pulse
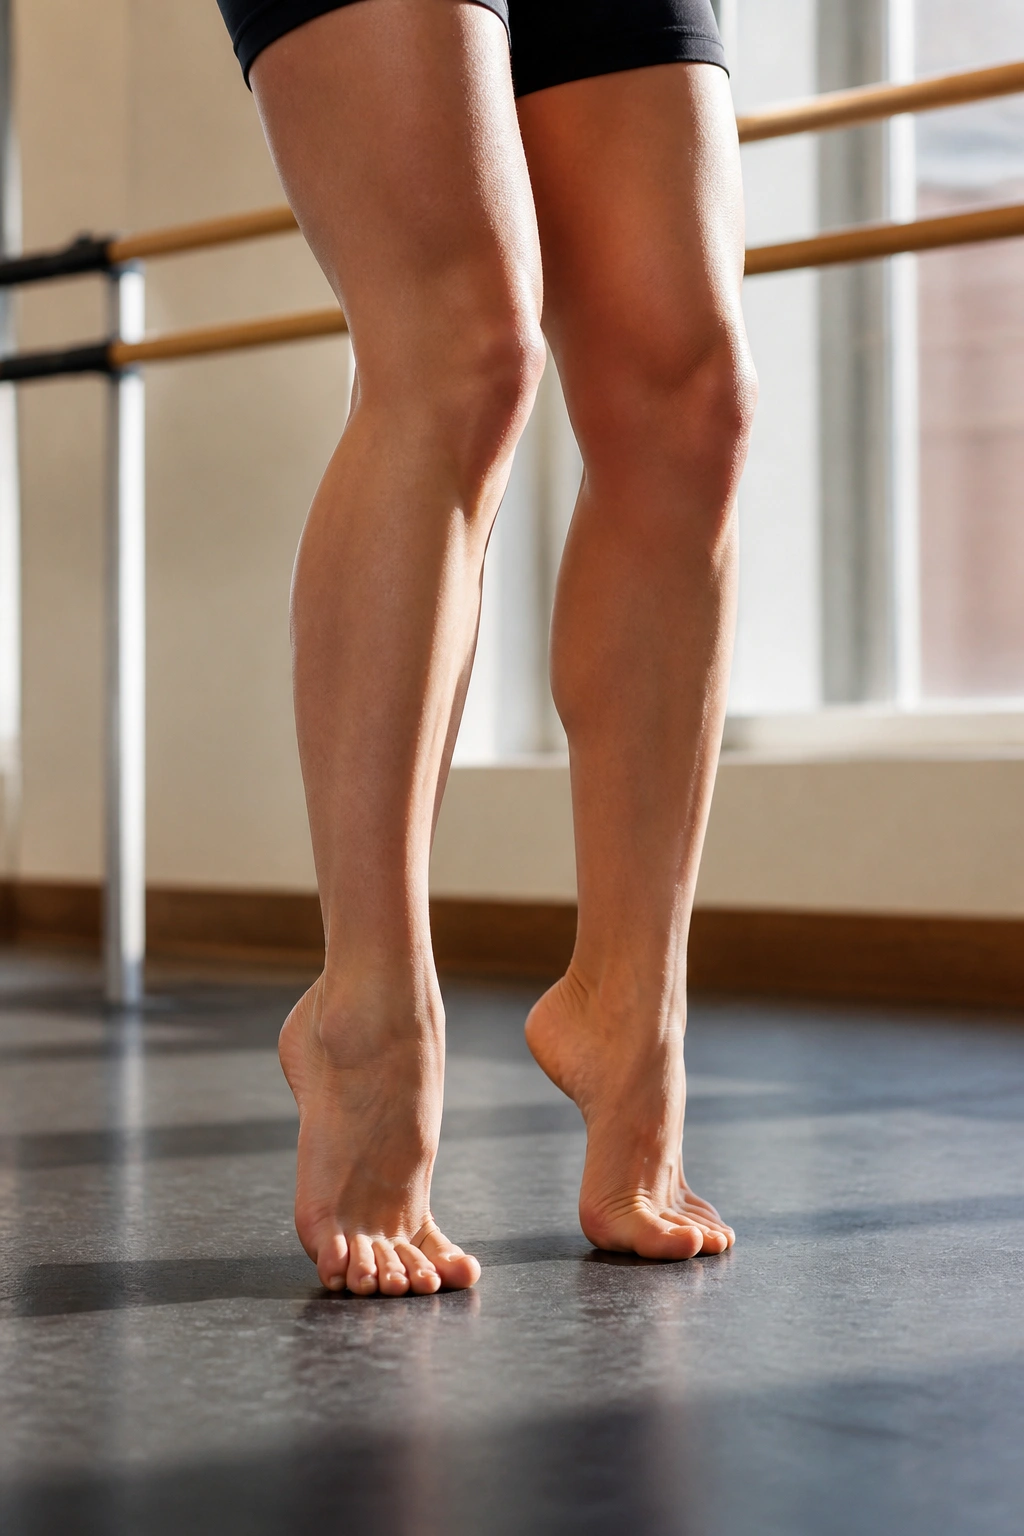
Unlike the turned-out “V” shape, parallel first position resets the alignment of your hips. Stand with your feet hip-width apart, parallel to one another. Rise onto the balls of your feet. Bend your knees just slightly, sending your hips back as if you are going to sit in a chair that is just a bit too far behind you.
This move creates a continuous burn in the quads. Because you are not dropping into a full squat, the tension never leaves the muscle fibers. You are essentially holding a state of constant contraction.
Why the “Shake” Matters
When your legs begin to tremble, that is the nervous system trying to recruit more muscle fibers to handle the load. Most people quit when the shaking starts, thinking it is a sign of danger. In this context, it is exactly the opposite—it is the sound of your body finally waking up the fast-twitch fibers that rarely get used during normal walking or jogging. Embrace the shake. It is exactly where the change happens.
3. Second Position Plié
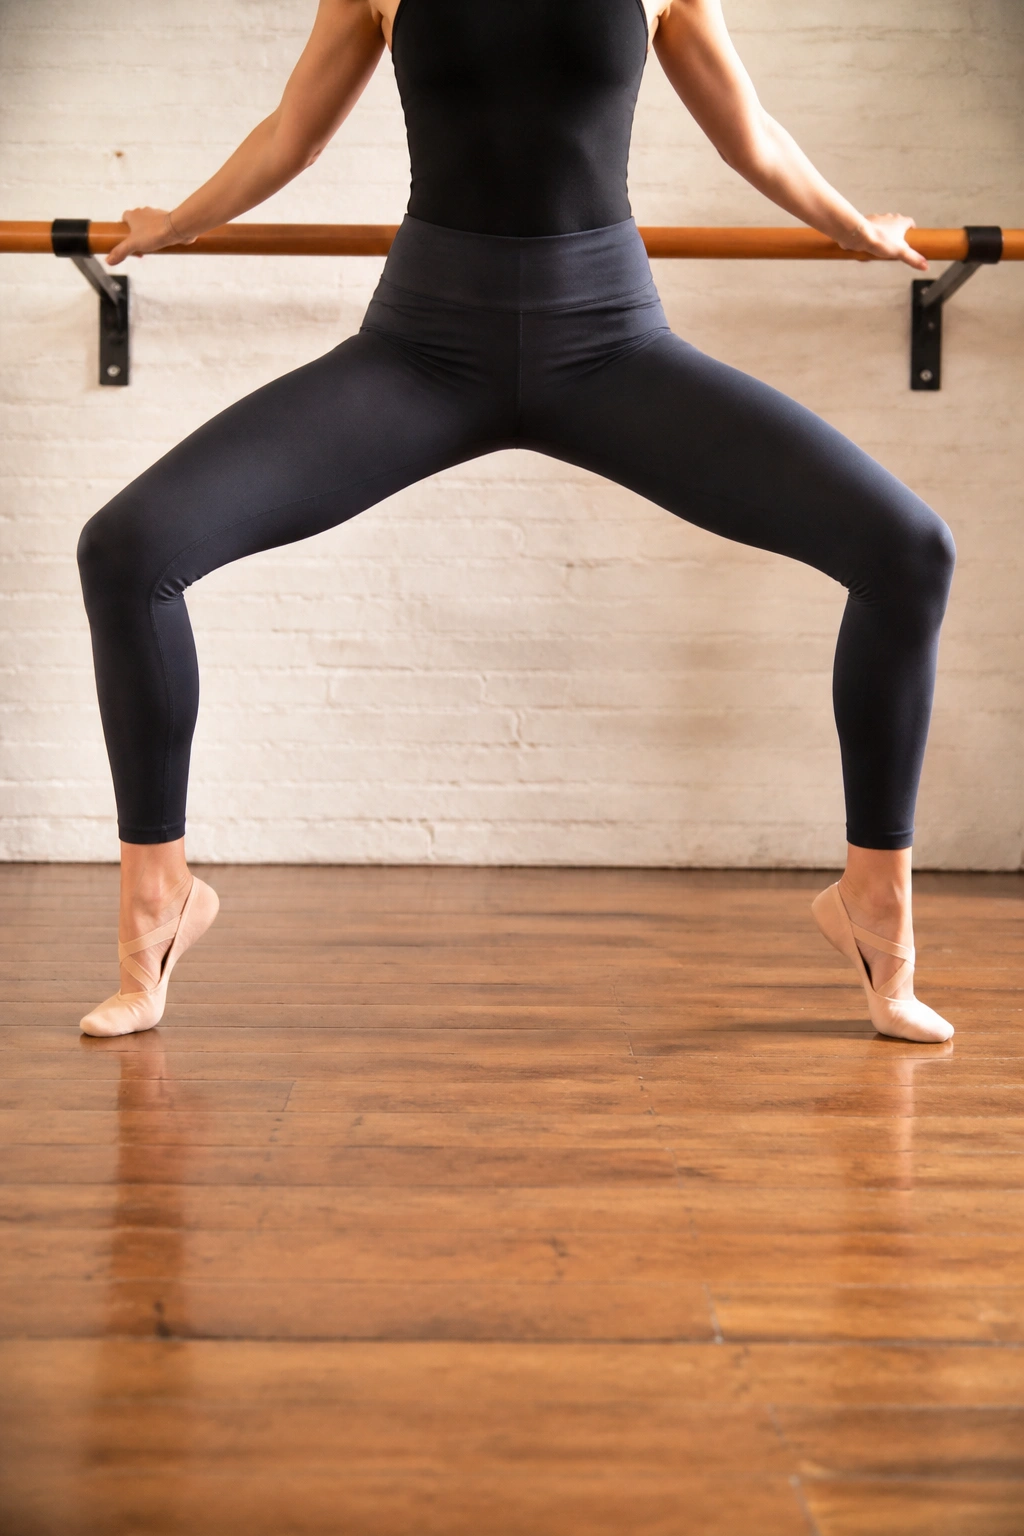
Widen your stance significantly—wider than your shoulders. Turn your toes out comfortably and bend your knees directly over your toes. This is the second position. Unlike the narrow first position, this variation targets the inner thighs and the glutes from a wider angle, helping to tone the muscles closest to the hip joint.
Troubleshooting Your Form
The most common mistake here is letting your knees cave inward. They must track over the center of your feet. If you feel pressure in your knee joints rather than your muscles, widen your stance or reduce your depth. You should feel a stretch and then an engagement in the inner thigh area.
If you want to add intensity, stay low in the hold and perform a series of “grand pliés,” where you drop your hips to the level of your knees, then rise back up only halfway. The half-range of motion is where the real work hides.
4. Side Lunge with Toe Tap
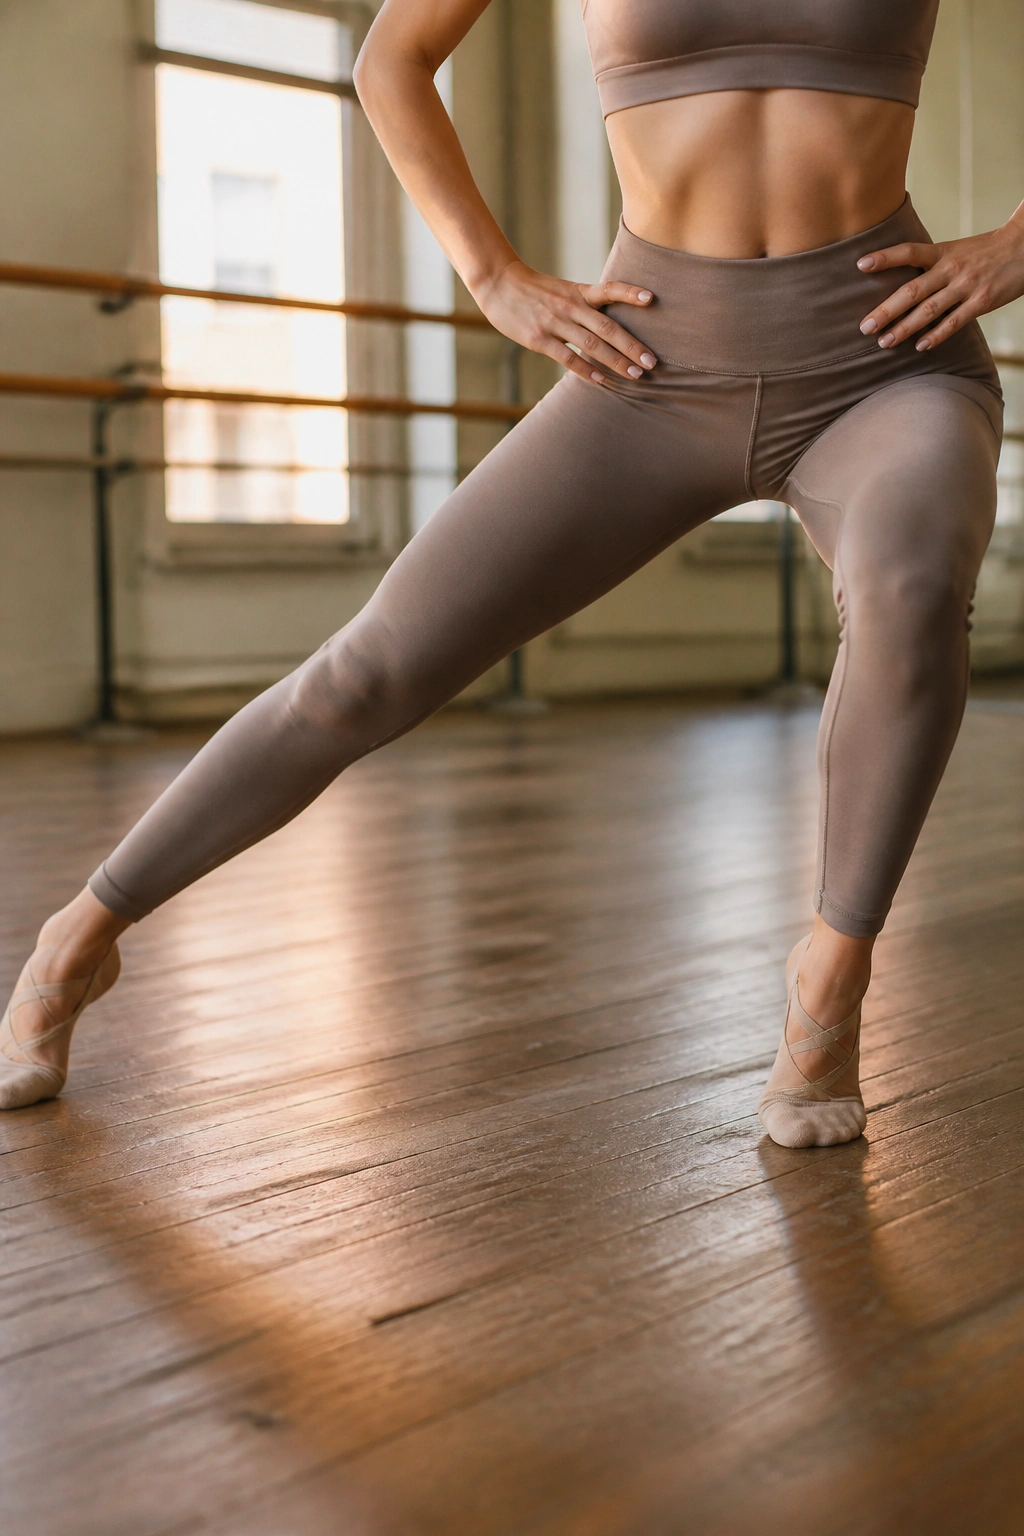
Step one foot out to the side while keeping the other planted firmly. Send your hips way back, bending the knee of the moving leg while keeping the stationary leg straight. As you stand back up, tap the toe of the working leg back in toward the center.
This move introduces a lateral dynamic that is often missing from linear workouts. Your glute medius—the muscle on the side of your hip—is the primary driver here. It is the stabilizer that keeps your pelvis level when you walk, and targeting it helps create that defined look at the top of the glutes.
Keep your chest up throughout the movement. If you hunch over, you are missing the opportunity to use your core for balance. Your hands should be on your hips or gently resting on the barre to maintain a tall posture.
5. Curtsy Lunge with Knee Lift
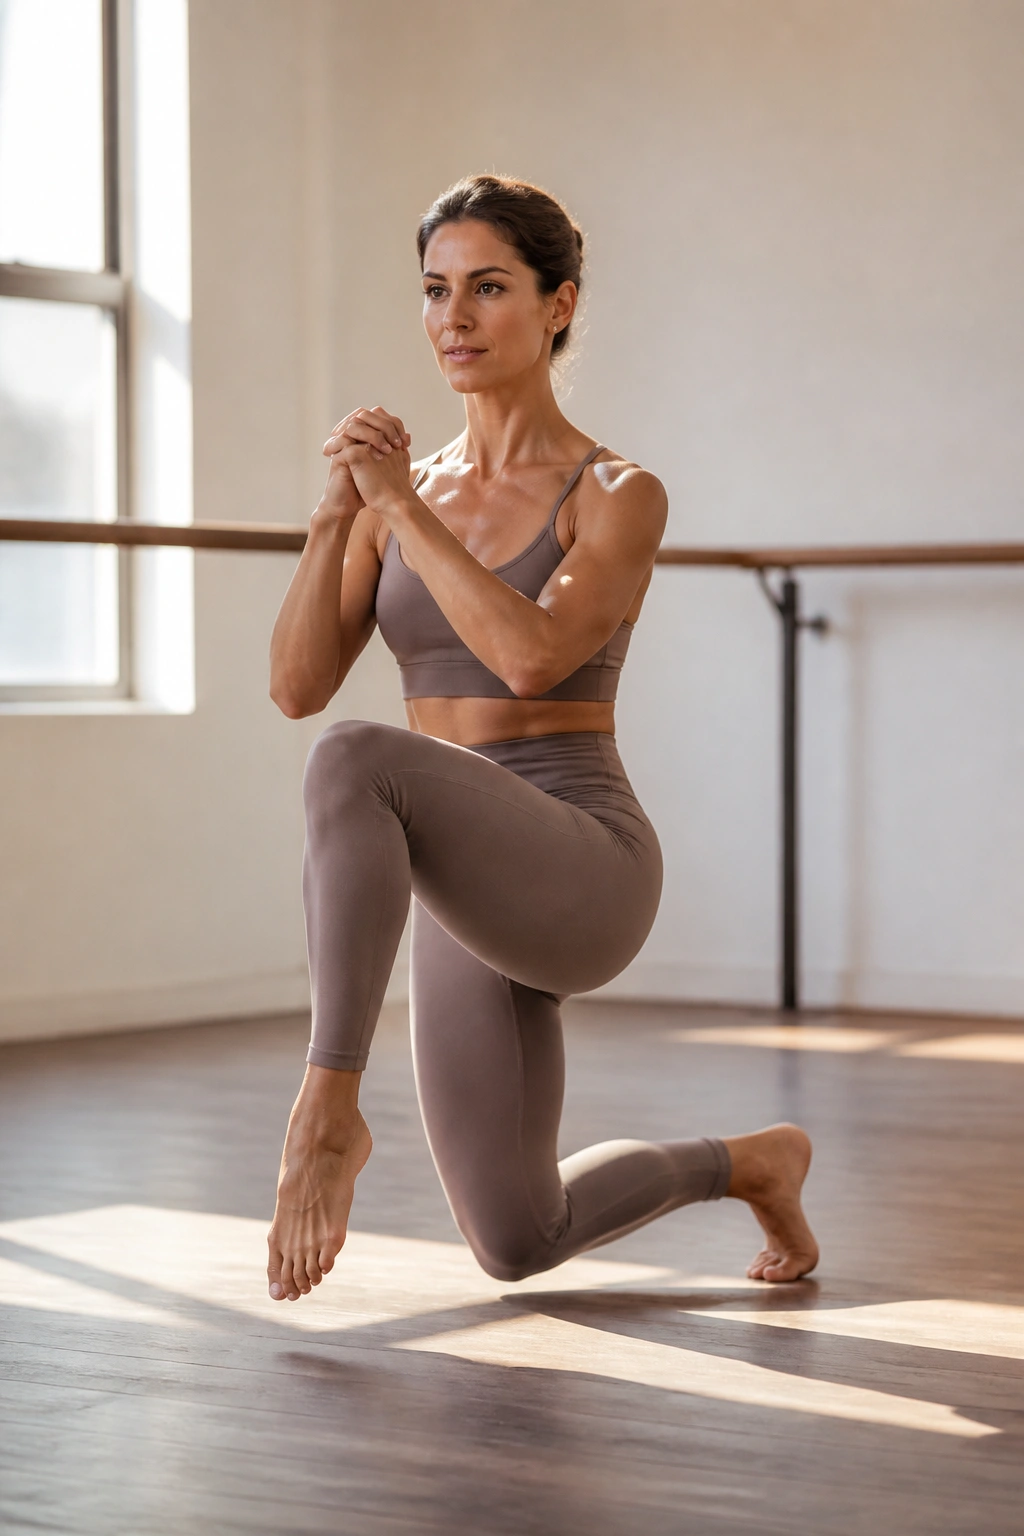
Start in a standing position, then step one foot back and across behind your other leg, lowering your back knee toward the floor. As you return to the starting standing position, drive that same back knee upward toward your chest in a fluid motion.
This is a two-part burn. The curtsy lunge works the glutes in a lengthened position, while the knee lift forces your standing leg to stabilize against an uneven weight distribution.
The Rhythm of the Move
Perform the lunge with deliberate slowness. Do not rush the descent. The slower you go, the more time your glutes have to generate force against gravity. When you lift the knee, do it with an exhale. You will notice that the standing hip burns significantly more than the moving one—that is completely normal.
6. Arabesque Leg Lift
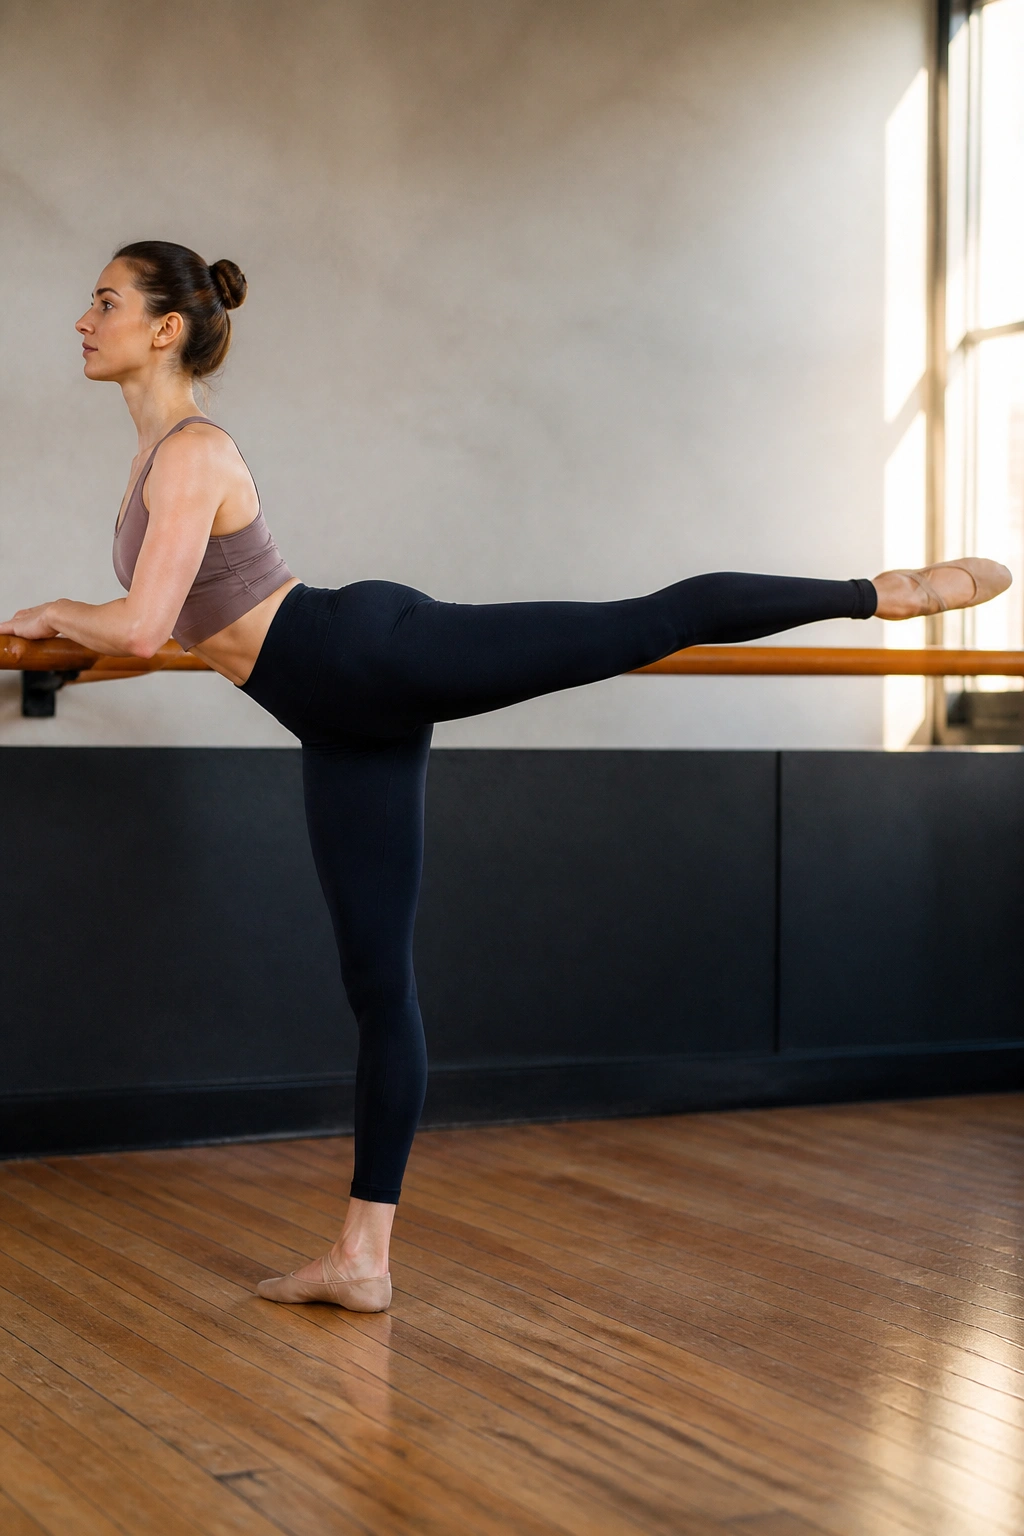
Stand facing the barre and hinge forward at your hips, resting your forearms on the surface. Extend one leg straight back behind you, pointing your toe. With a flat back and engaged core, pulse that extended leg upward, squeezing your glute at the very top of the range of motion.
Anatomy of the Movement
- The pivot point: Your hips should remain perfectly square to the floor. If you start to open your hip toward the side wall, you are using your lower back rather than your glute.
- The squeeze: Focus on the “shelf”—the connection point between your hamstring and your glute. That is the area you are trying to isolate.
- The height: It does not need to be high. An inch of controlled lift is worth ten inches of flailing.
7. Standing Glute Kickback
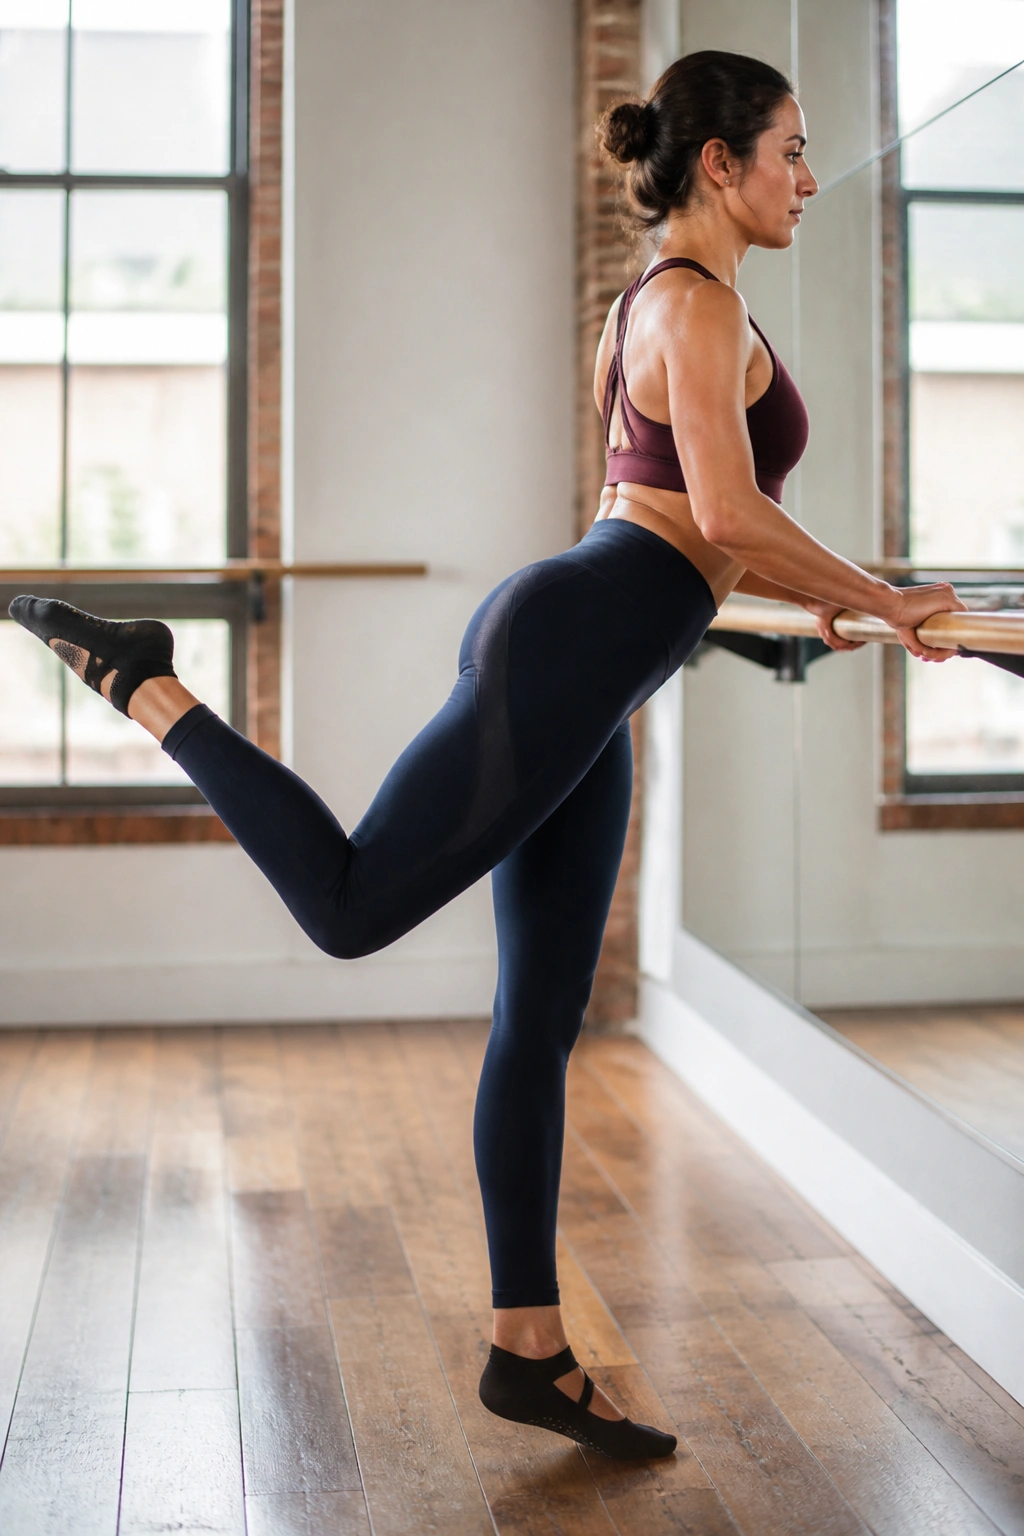
Keep your base leg slightly bent—this is vital for stability. Take the other leg and bend it at the knee to a ninety-degree angle. Lean forward, hands on the barre, and press the sole of your foot toward the ceiling.
This move is incredibly precise. You aren’t just lifting the leg; you are performing a hamstring curl against gravity. The key is to keep the knee from dropping toward the floor during the lift. Think of your thigh as a fixed lever, and your heel as the weight you are driving upward.
If you feel this in your lower back, your core is likely relaxed. Pull your belly button toward your spine and hold it there. Your lower back should remain static throughout the entire set.
8. Barre Calf Raise
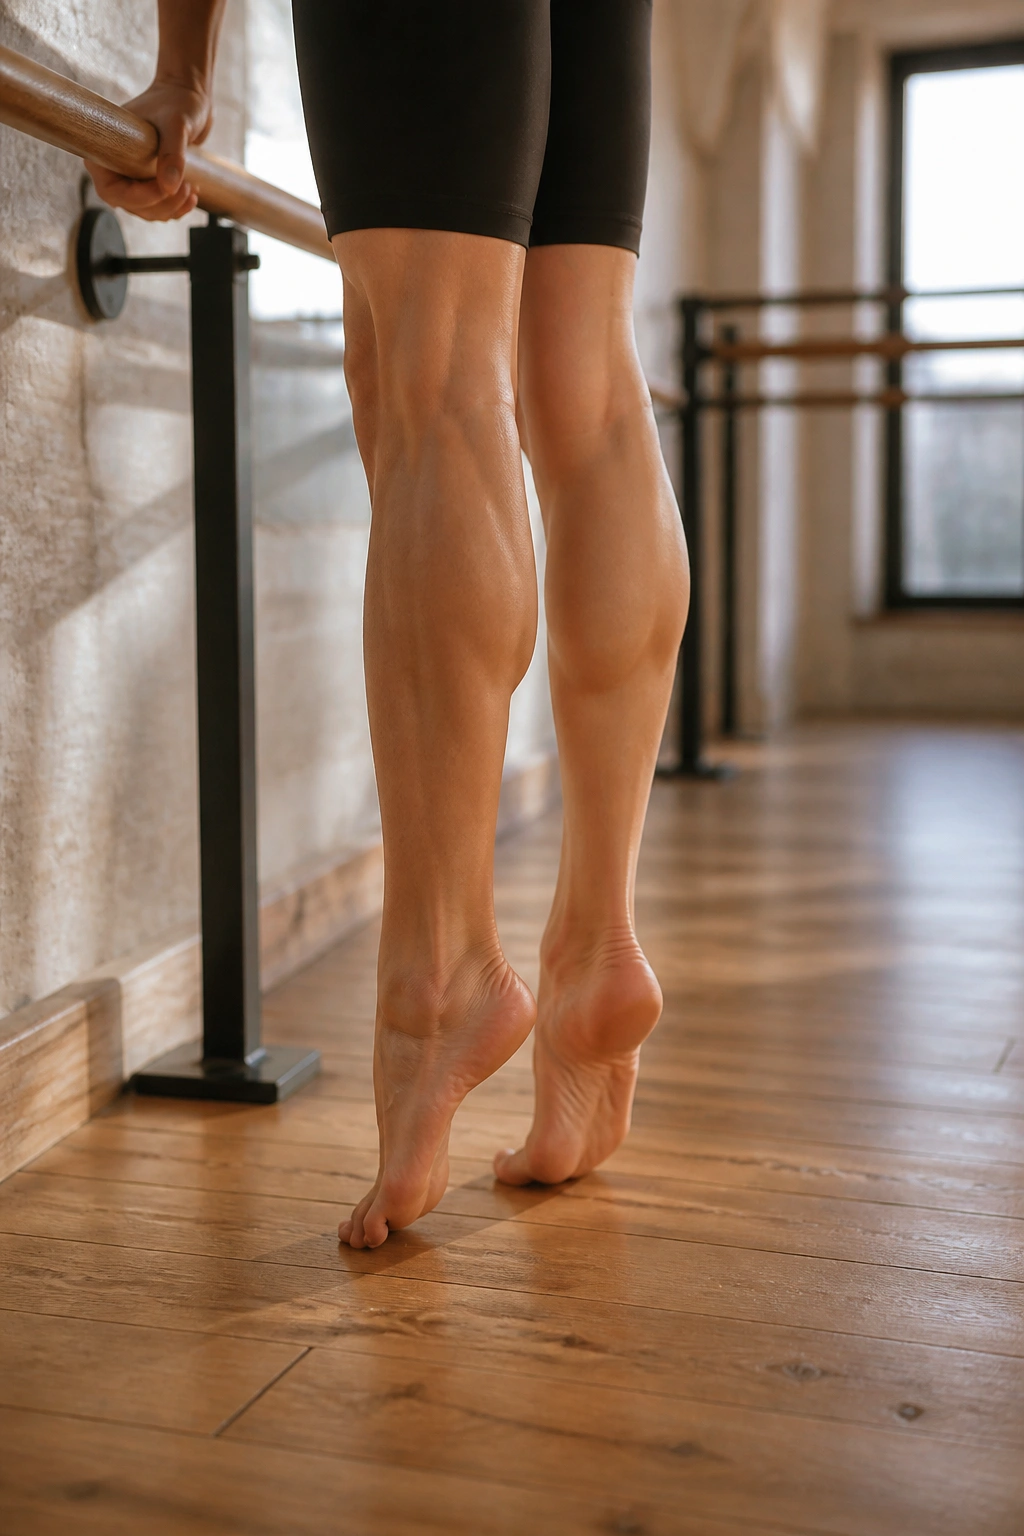
People often skip calf work, but it provides the essential “finish” to a sculpted leg. Stand in parallel first position, hands light on the barre. Rise onto the balls of your feet, squeezing your heels together if possible.
Why Precision Matters Here
Lower your heels down, but stop just a fraction of an inch before they touch the floor. That tiny “hover” keeps the calves under constant tension. If you let them touch the floor, you give the muscle a rest. You do not want a rest. You want to fatigue the muscle as quickly as possible.
Do these slowly. Twenty seconds of slow, agonizing pulses is far more effective than fifty fast bounces that rely on momentum.
9. The Leg Circle
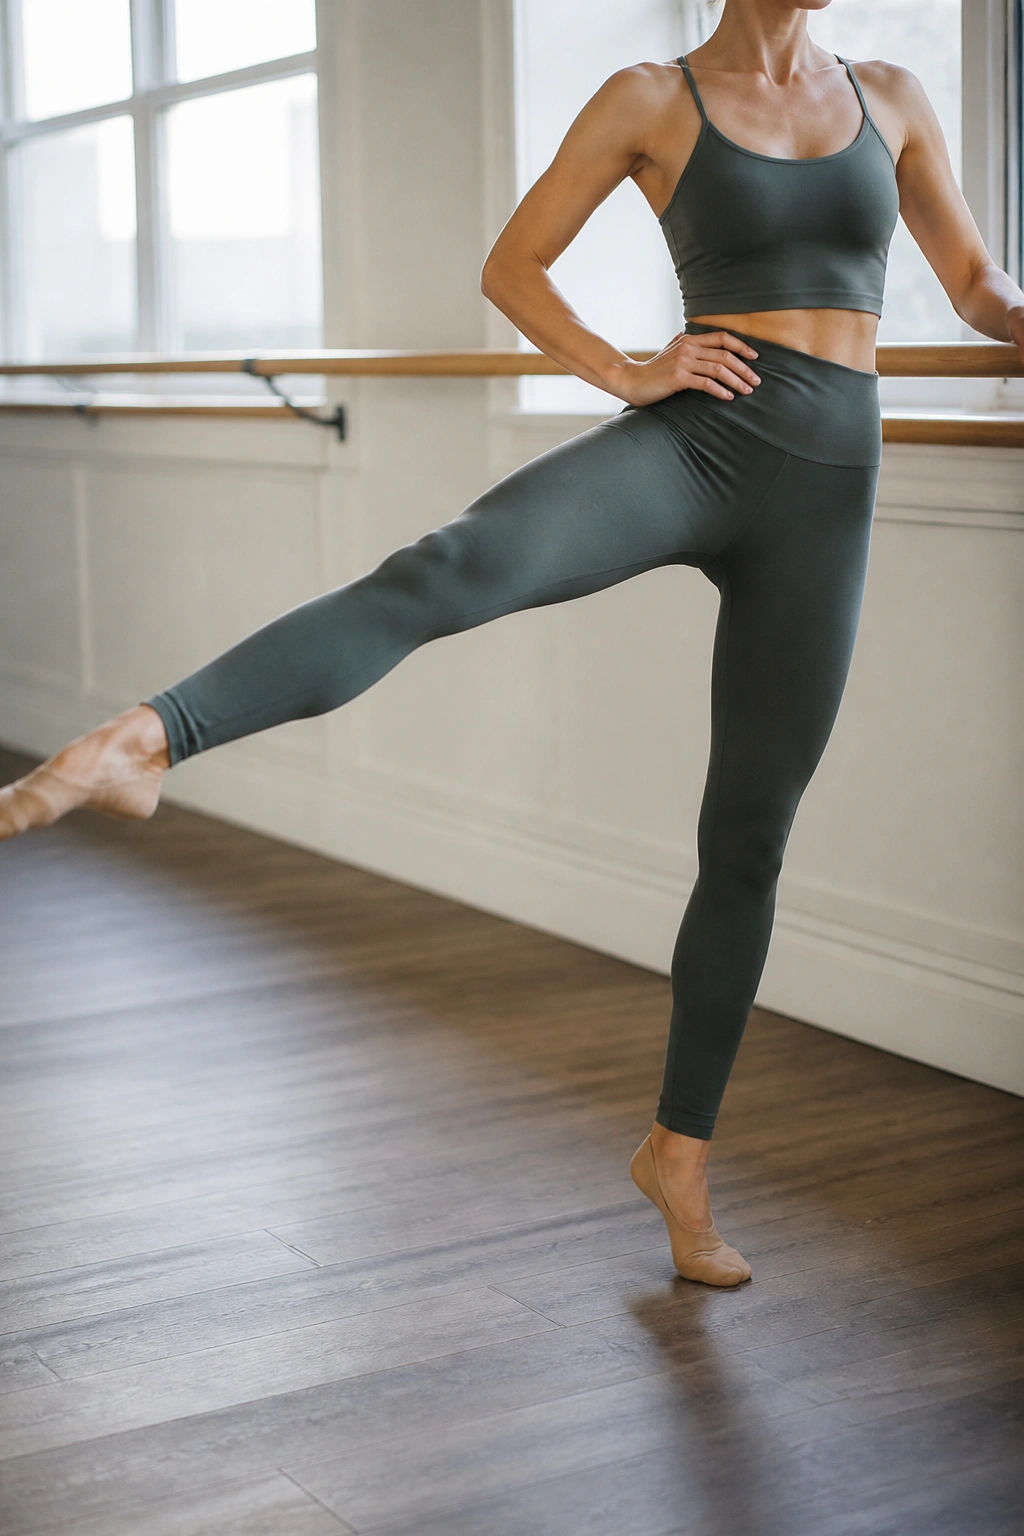
Stand tall, engaging your core as if you are bracing for a light punch. Extend one leg out to the side or slightly back. Keep the leg perfectly straight, then begin to draw small, controlled circles with your pointed toe.
The goal here is not to see how big you can make the circle. In fact, a smaller circle is almost always better. If your circle is the size of a dinner plate, your hip flexors are doing the work. If your circle is the size of a grapefruit, you are isolating the gluteus medius and the muscles surrounding the hip socket.
Keep your upper body completely still. The only thing moving in your entire body should be that working leg. If you find your torso swaying, shorten the circle.
10. Attitude Pulse
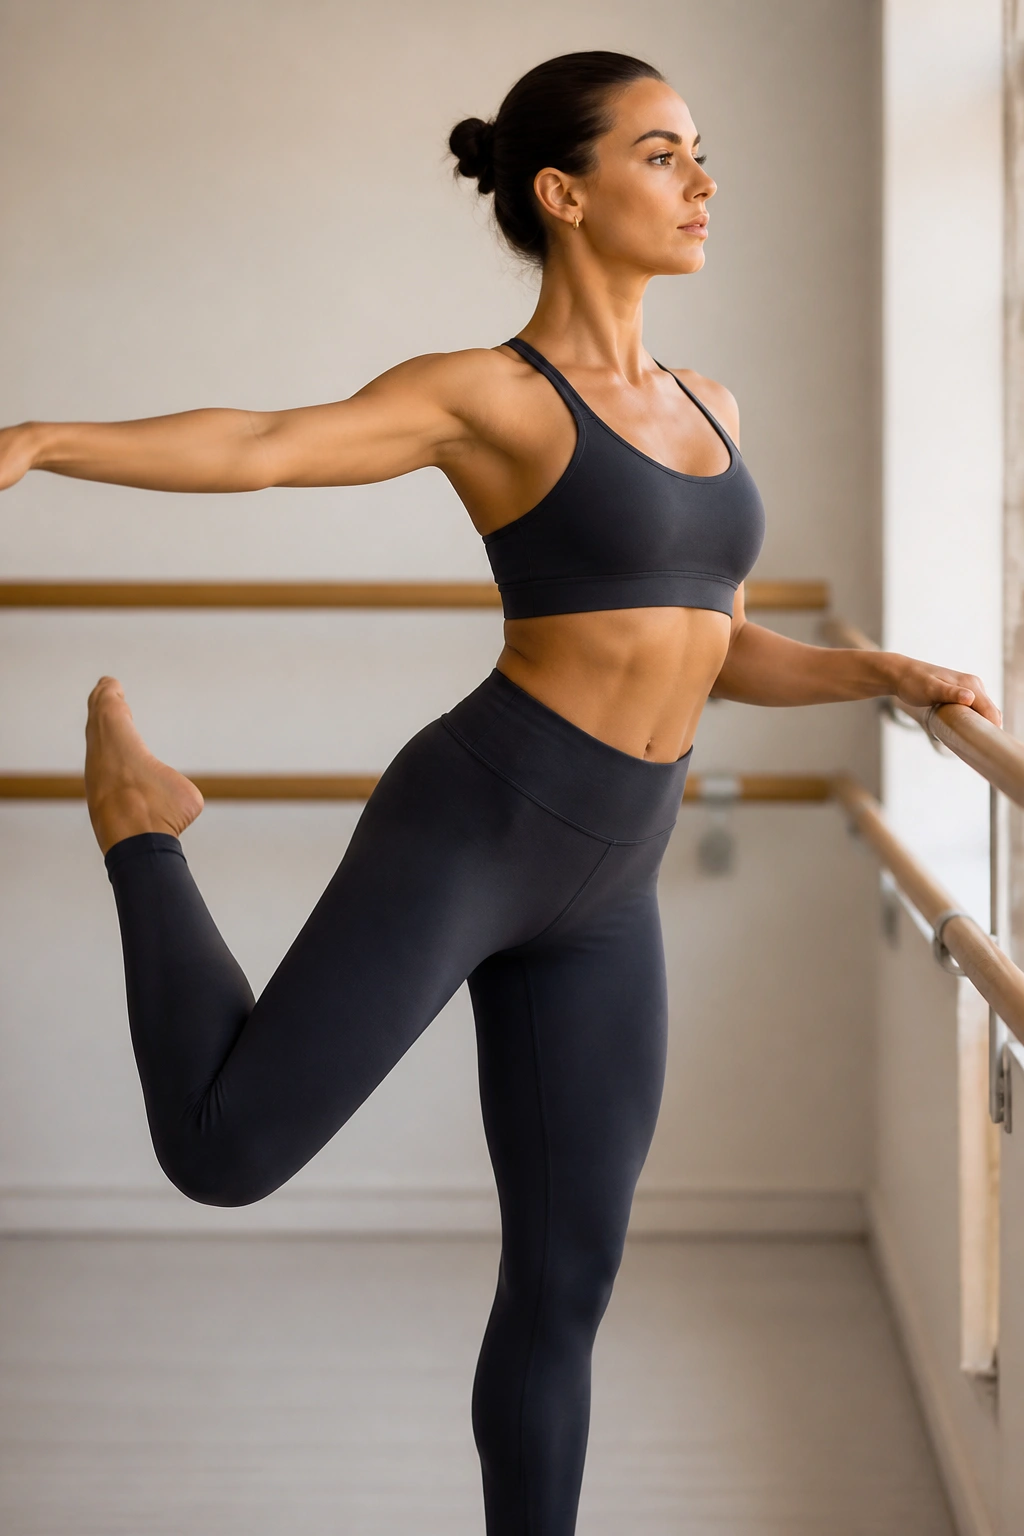
This is a classic ballet move that hits the glute at a slightly different angle. Stand facing the barre, hinge forward, and bring one leg back. Instead of keeping the leg straight, bend the knee significantly.
You are now in an “attitude” position. The knee is bent, and the foot is pointed. Pulse the knee toward the ceiling. The bent knee changes the leverage, making it harder for the glute to lift the weight of your lower leg.
Common Pitfalls to Avoid
- Don’t arch the spine: It’s tempting to dip the lower back to get the leg higher. Fight that urge.
- Square your hips: If one hip is higher than the other, you are not aligned.
- Soft elbows: Keep your arms on the barre, but do not lock your elbows. A soft bend in the arms prevents shoulder tension.
11. Inner Thigh Squeeze
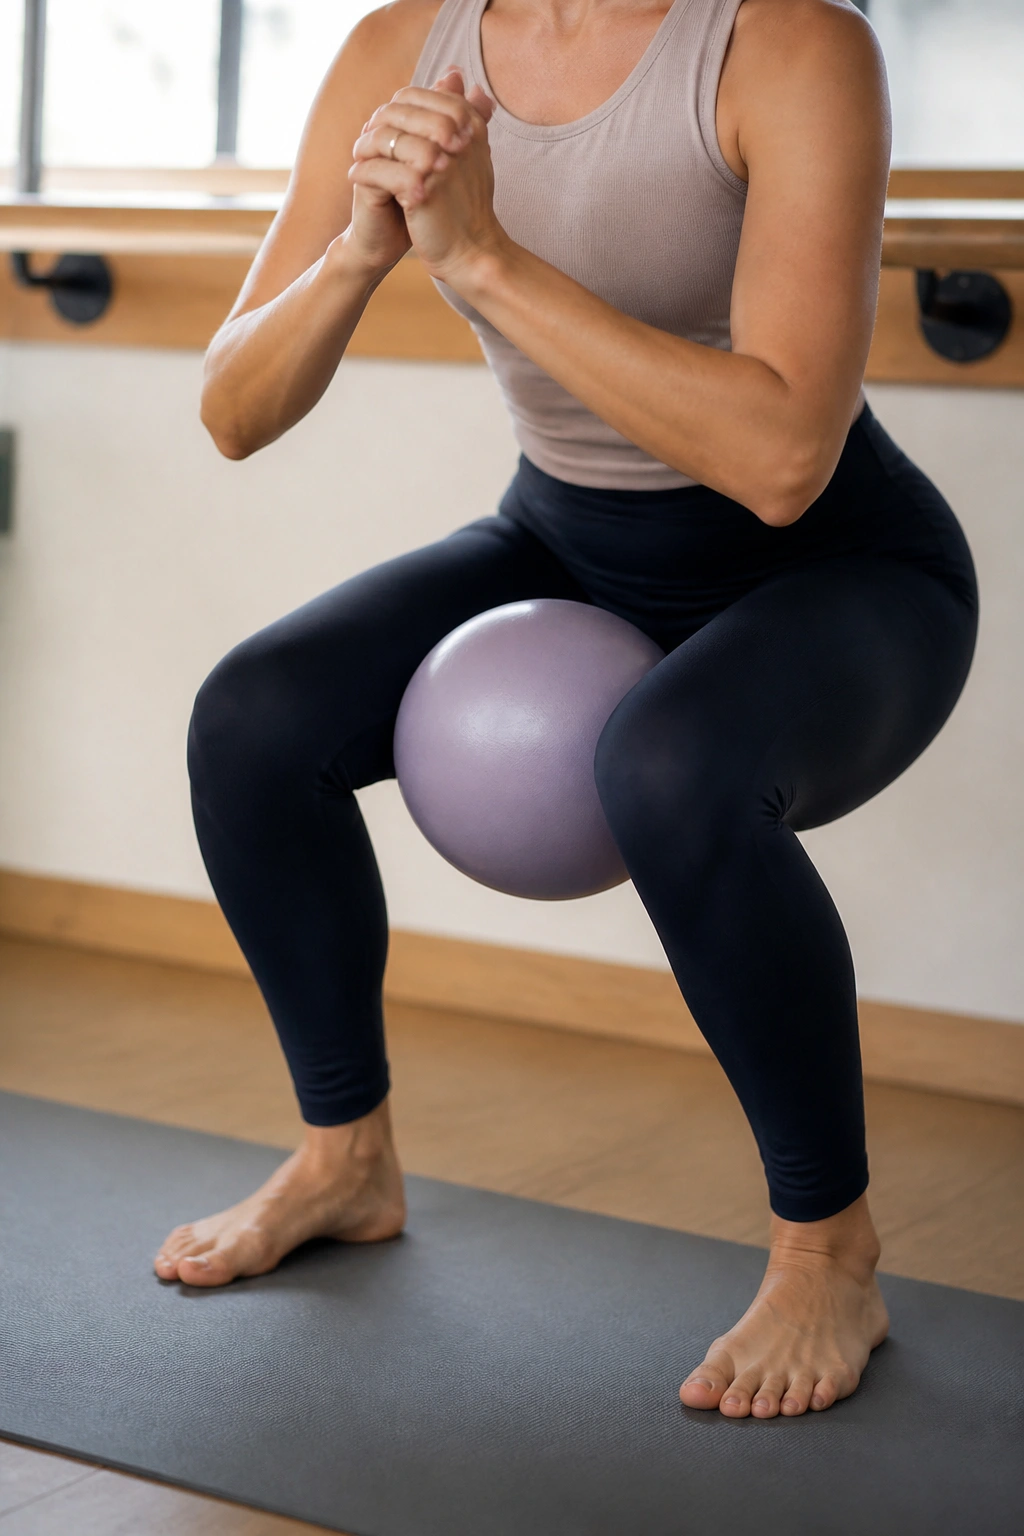
This move requires a small prop—a soft pilates ball or a yoga block. If you don’t have one, a thick, folded towel works just fine. Place the object between your thighs, just above the knees. Stand with your feet parallel and hip-width apart.
Squeeze the object as hard as you can. Hold the squeeze while you slowly lower into a squat and then stand back up. You are looking for that deep ache in the adductors.
The Mind-Muscle Connection
You have to consciously tell your inner thighs to activate. Most of the time, our bodies try to cheat by using the glutes or the quads to stabilize. Isolate the adductors by focusing all your mental energy on the point of contact between your legs and the prop. Squeeze, release slightly, squeeze again. Never let the ball drop.
12. Clamshell at the Barre
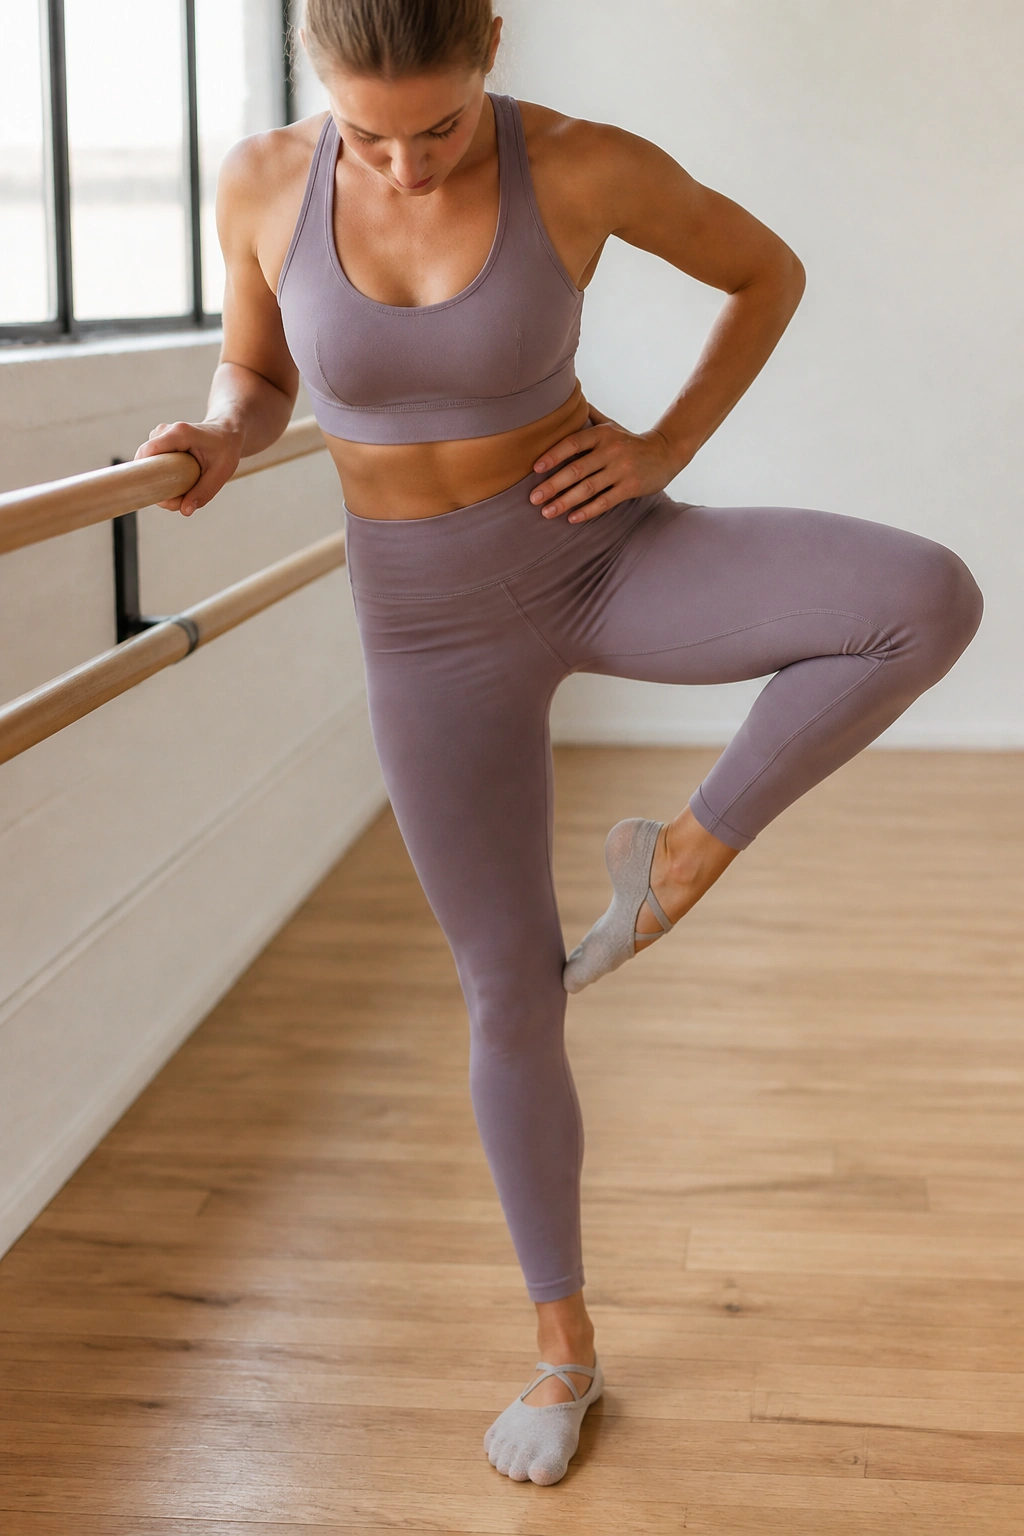
While this is often done on the floor, doing it while standing adds a level of balance difficulty. Stand with a slight bend in both knees. Hinge forward at the hips, hands on the barre. Lift one knee out to the side—like a clam opening its shell—while keeping your feet together.
The gluteus medius is the primary mover. You will feel this burn very quickly, often within the first fifteen seconds. Because this is a smaller muscle group, it tends to tire faster than the larger quads or hamstrings. Don’t be surprised if your legs feel like they are shaking uncontrollably. That is simply the muscle fiber working to exhaustion.
13. Glute Bridge with Pulse
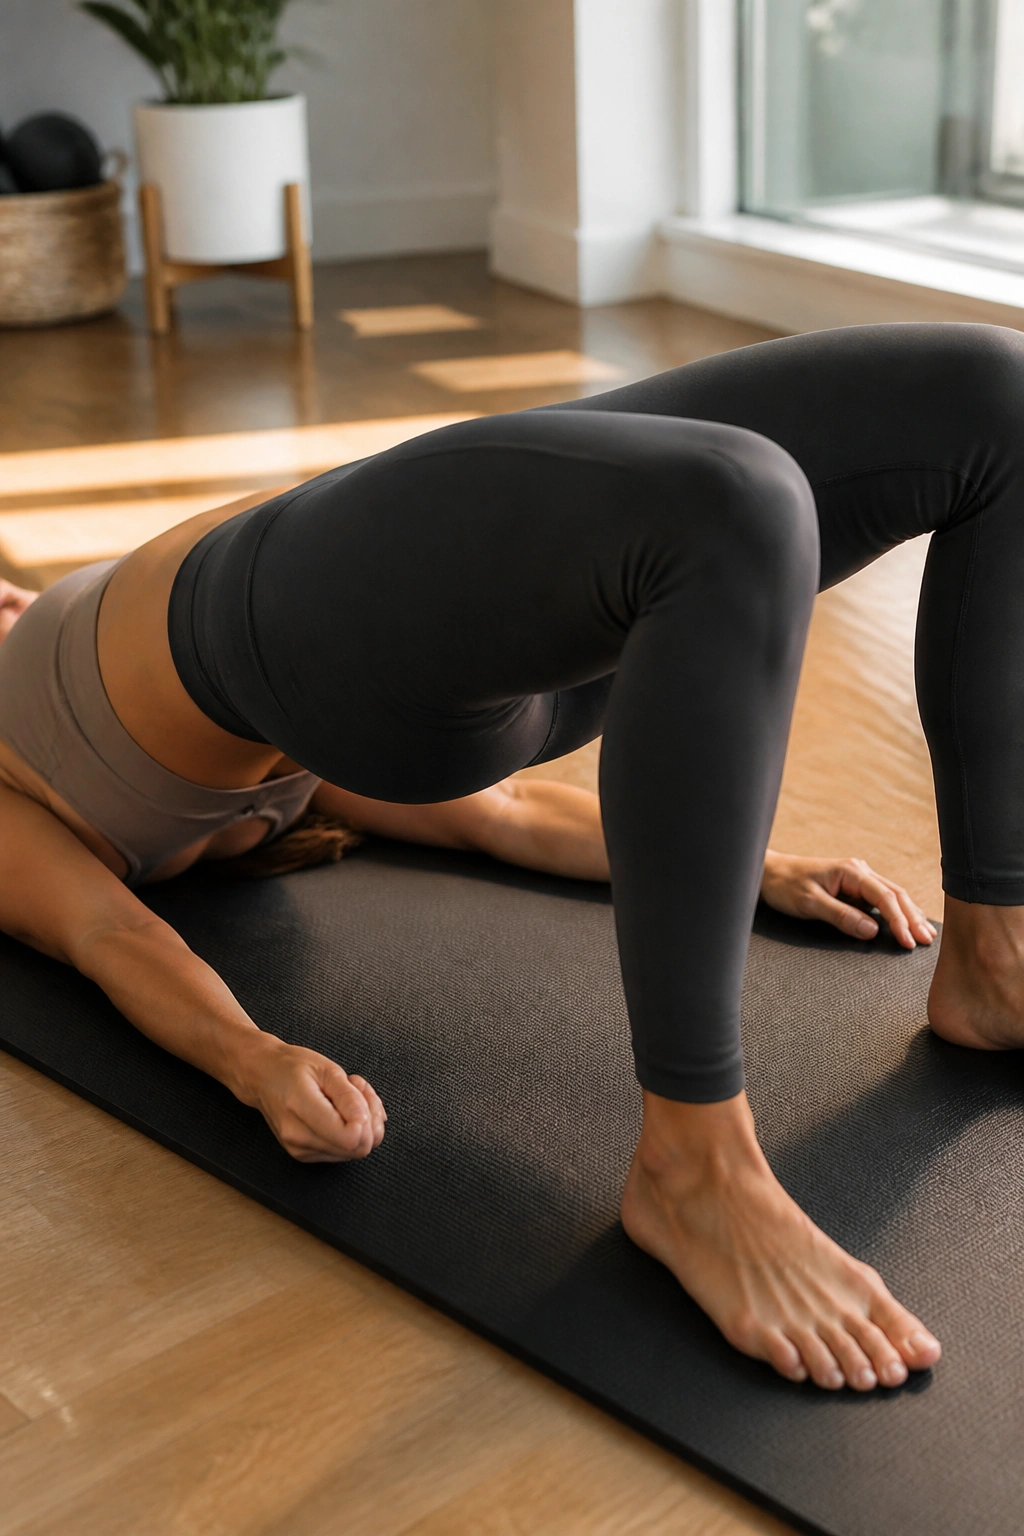
Move to the floor for this one. Lie on your back, knees bent, feet flat on the floor, close enough that you can almost touch your heels with your fingertips. Lift your hips toward the ceiling, creating a straight line from your knees to your shoulders.
Once you are in this bridge position, stay there. Do not lower your hips. Pulse your hips an inch higher, then return to the neutral bridge position.
Why This Is Different
By staying in the bridge, you keep the glutes engaged the entire time. A standard glute bridge allows for a reset at the bottom of the movement. By cutting out the reset, you ensure that the muscle never gets a chance to relax. It is a grueling, effective way to build endurance in the posterior chain.
14. Squat to Side Leg Lift
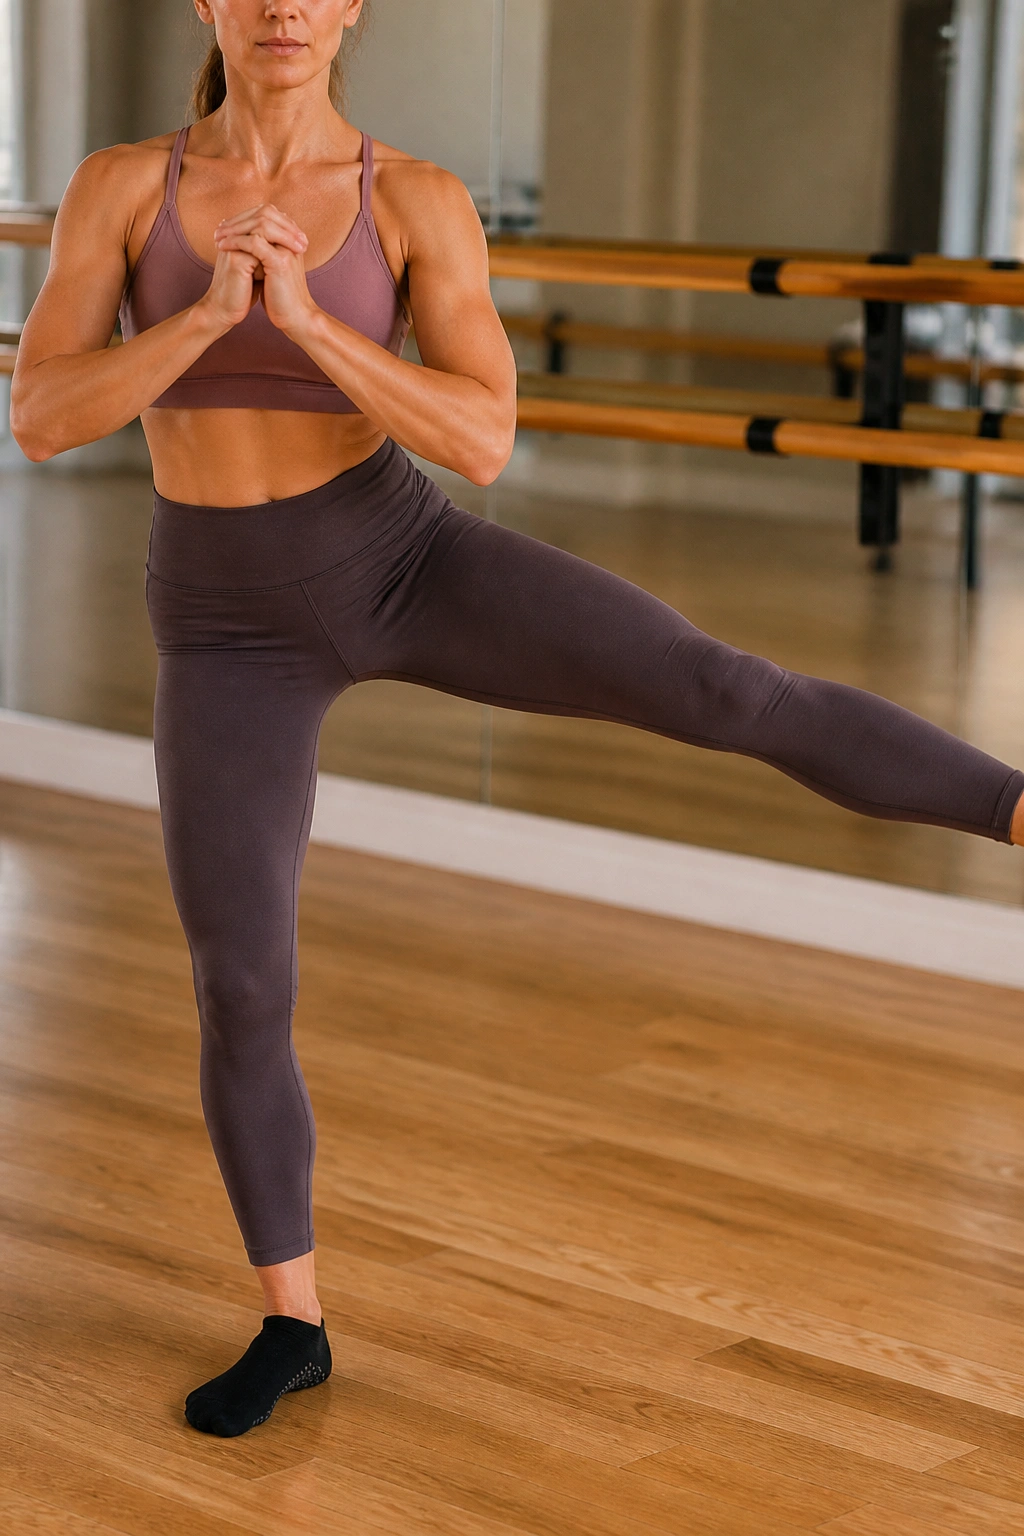
This is a compound movement. Perform a standard parallel squat. As you stand up, shift your weight onto one leg and lift the other leg out to the side, keeping it straight. Return to the squat, then repeat on the other side.
This targets the quadriceps during the squat phase and the hip abductors during the lift phase. It is also excellent for coordination. You have to shift your weight rapidly and accurately, which forces the stabilizing muscles in your ankles and knees to work overtime. It is a great way to elevate the heart rate slightly, too.
15. Single-Leg Deadlift with Support
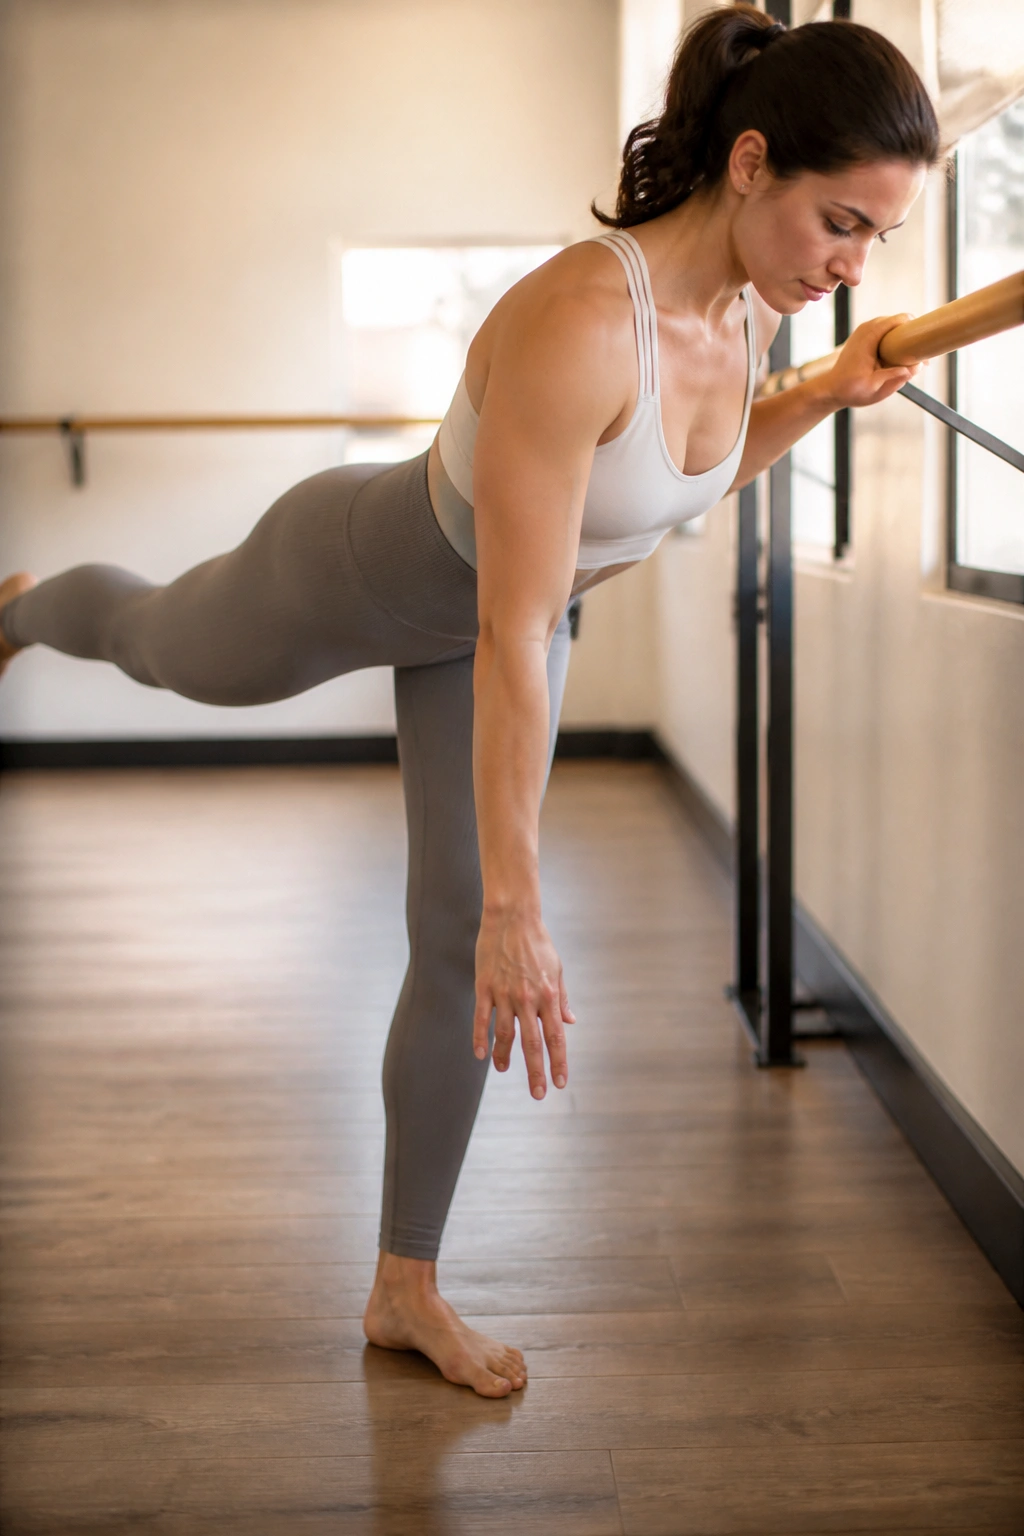
Stand on one leg, with the other foot hovering slightly behind you. Keep a soft bend in the standing knee. Hinge at your hips, bringing your torso toward the floor while extending your floating leg behind you to act as a counterweight. Keep your back flat.
Use the barre for support, but try to use only a finger or two. The goal is to train your balance. This move targets the hamstring and the glute of the standing leg.
A Note on Hinging
The movement is a hinge, not a squat. Your knees should not bend further as you lower your torso. The bend in the knee should remain constant from start to finish. If your knee bends more as you go down, you are turning a hinge into a squat, which changes the target muscles.
16. Sumo Squat Hold
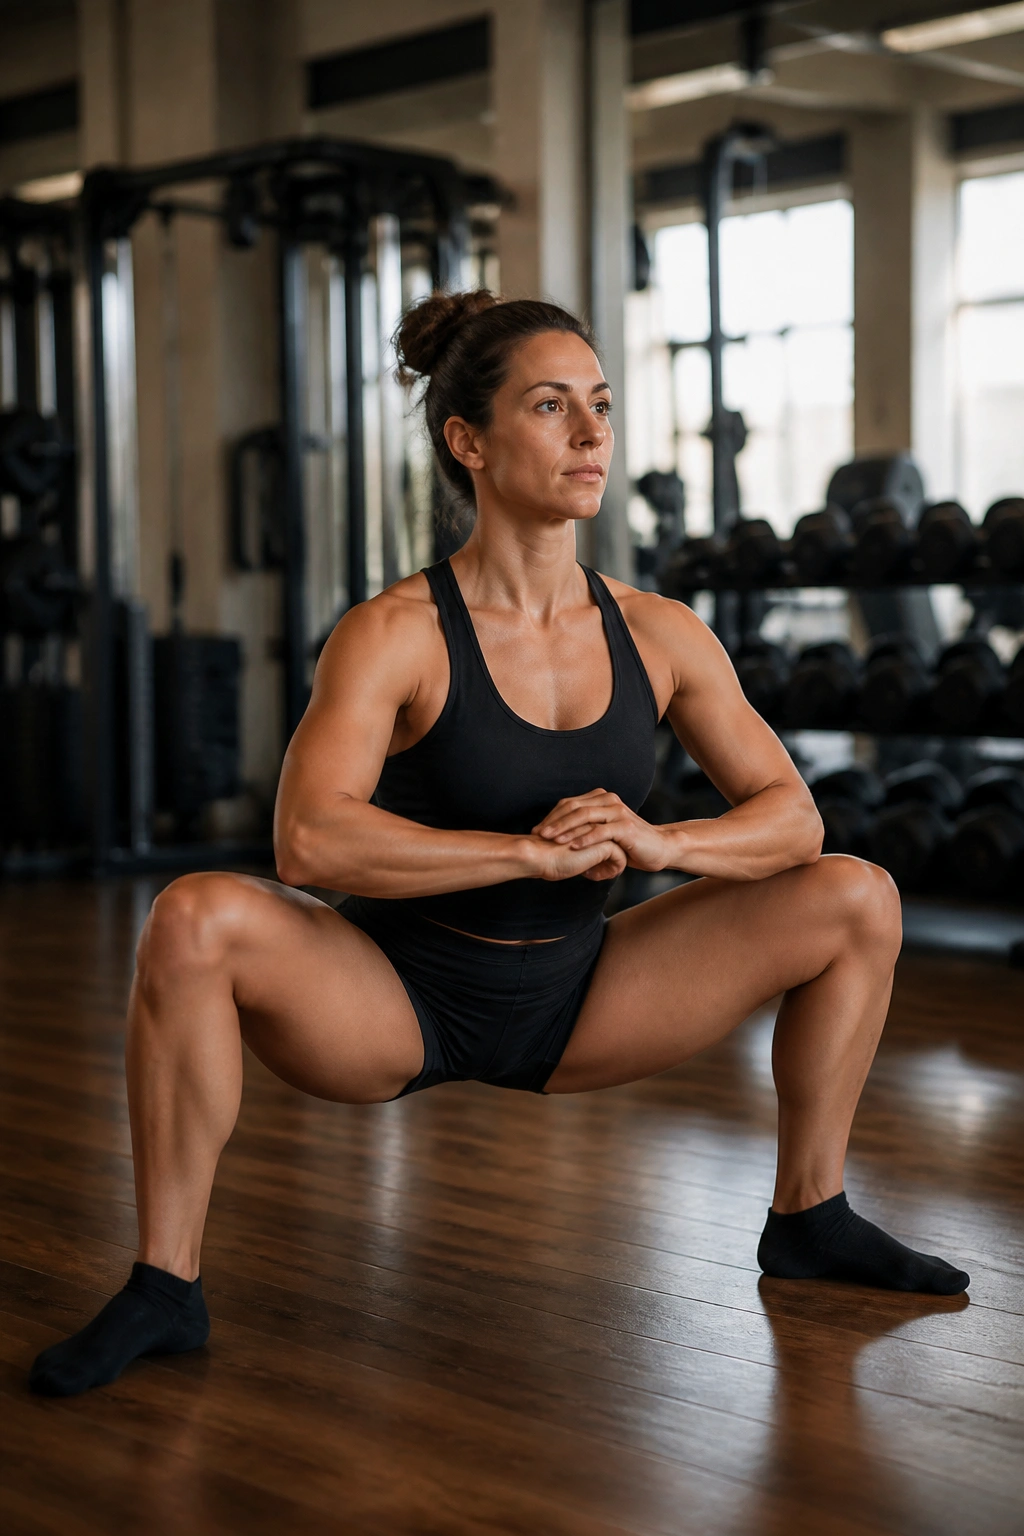
Step your feet out wide, turn your toes out, and drop into your deepest squat. Hold it. That is the move.
It sounds simple, but it is deceptive. The longer you hold it, the more your body will beg you to stand up. Your quads will burn. Your inner thighs will quiver.
How to Get Through It
- Breathwork: Do not hold your breath. Deep, rhythmic breathing helps manage the discomfort.
- The “Tuck”: Focus on tucking your tailbone under. It prevents your back from arching and ensures the pressure stays on the muscles rather than the joints.
- Mental distraction: Pick a song you like and commit to holding the squat until the chorus ends. Sometimes, a mental barrier is all that stands between you and a better result.
17. Barre Fire Hydrant
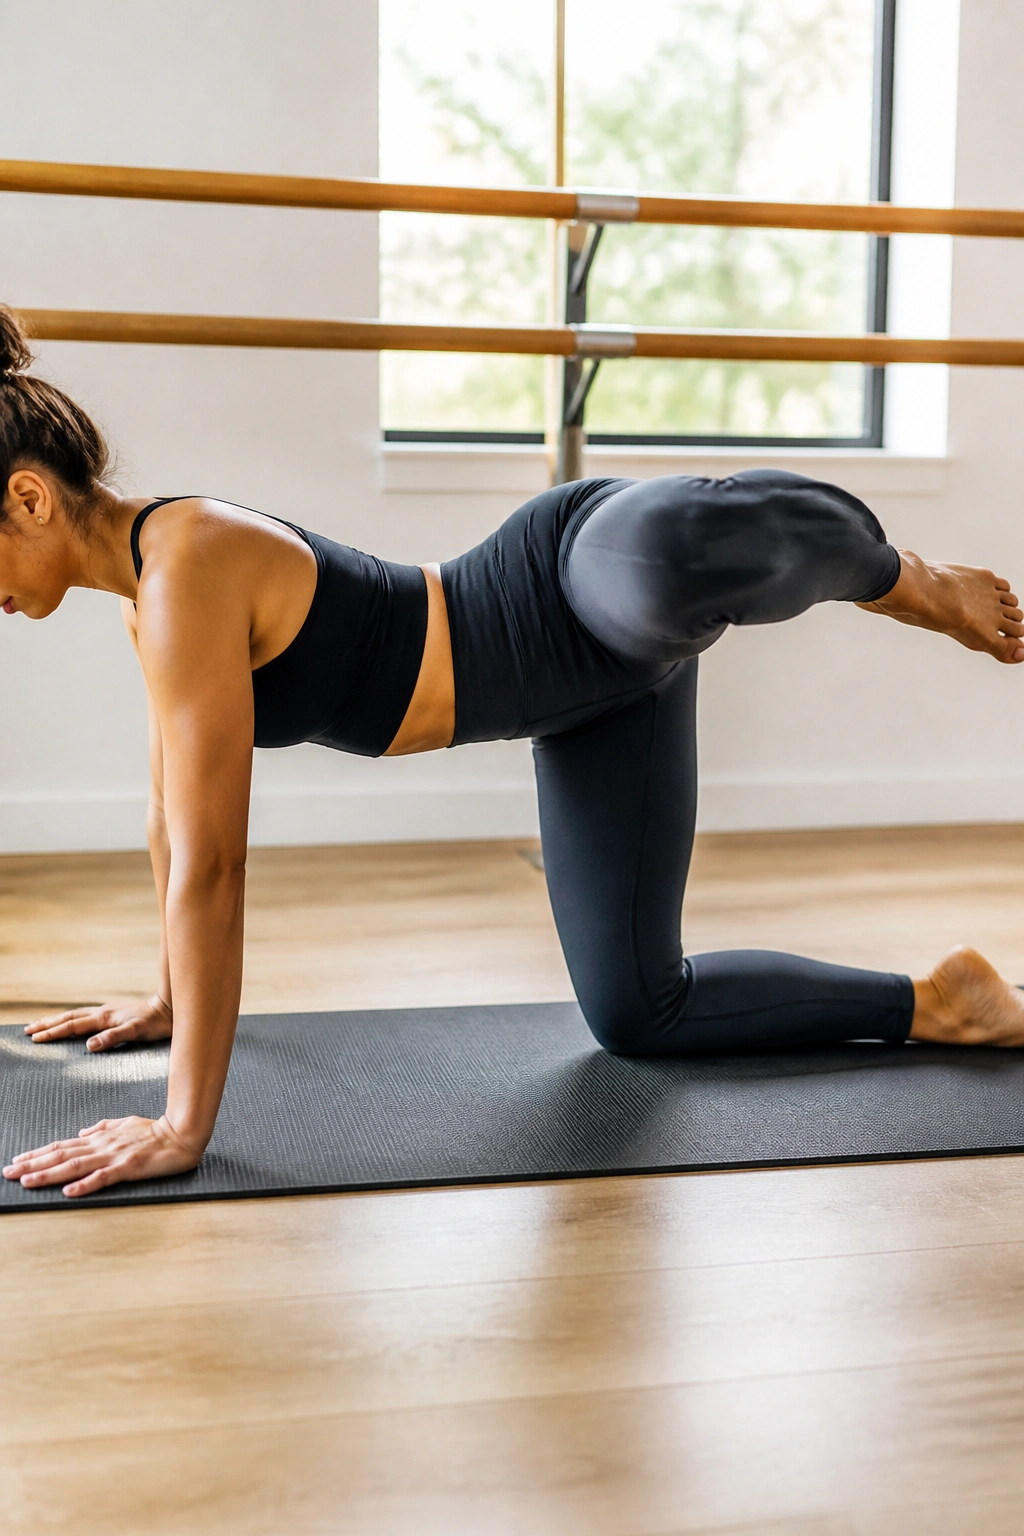
Facing the barre, get into a quadruped position—hands on the floor or the barre, knees on the floor. Lift one bent knee out to the side, like a dog at a fire hydrant, then lower it back down without letting it touch the ground.
This isolates the side of the glute. The higher you lift, the more intense the contraction. However, watch your torso. If you are leaning to one side to get the leg higher, you are cheating. Keep your hips facing the floor the entire time. If the leg only lifts two inches, that is fine.
18. Reverse Lunge with Toe Point
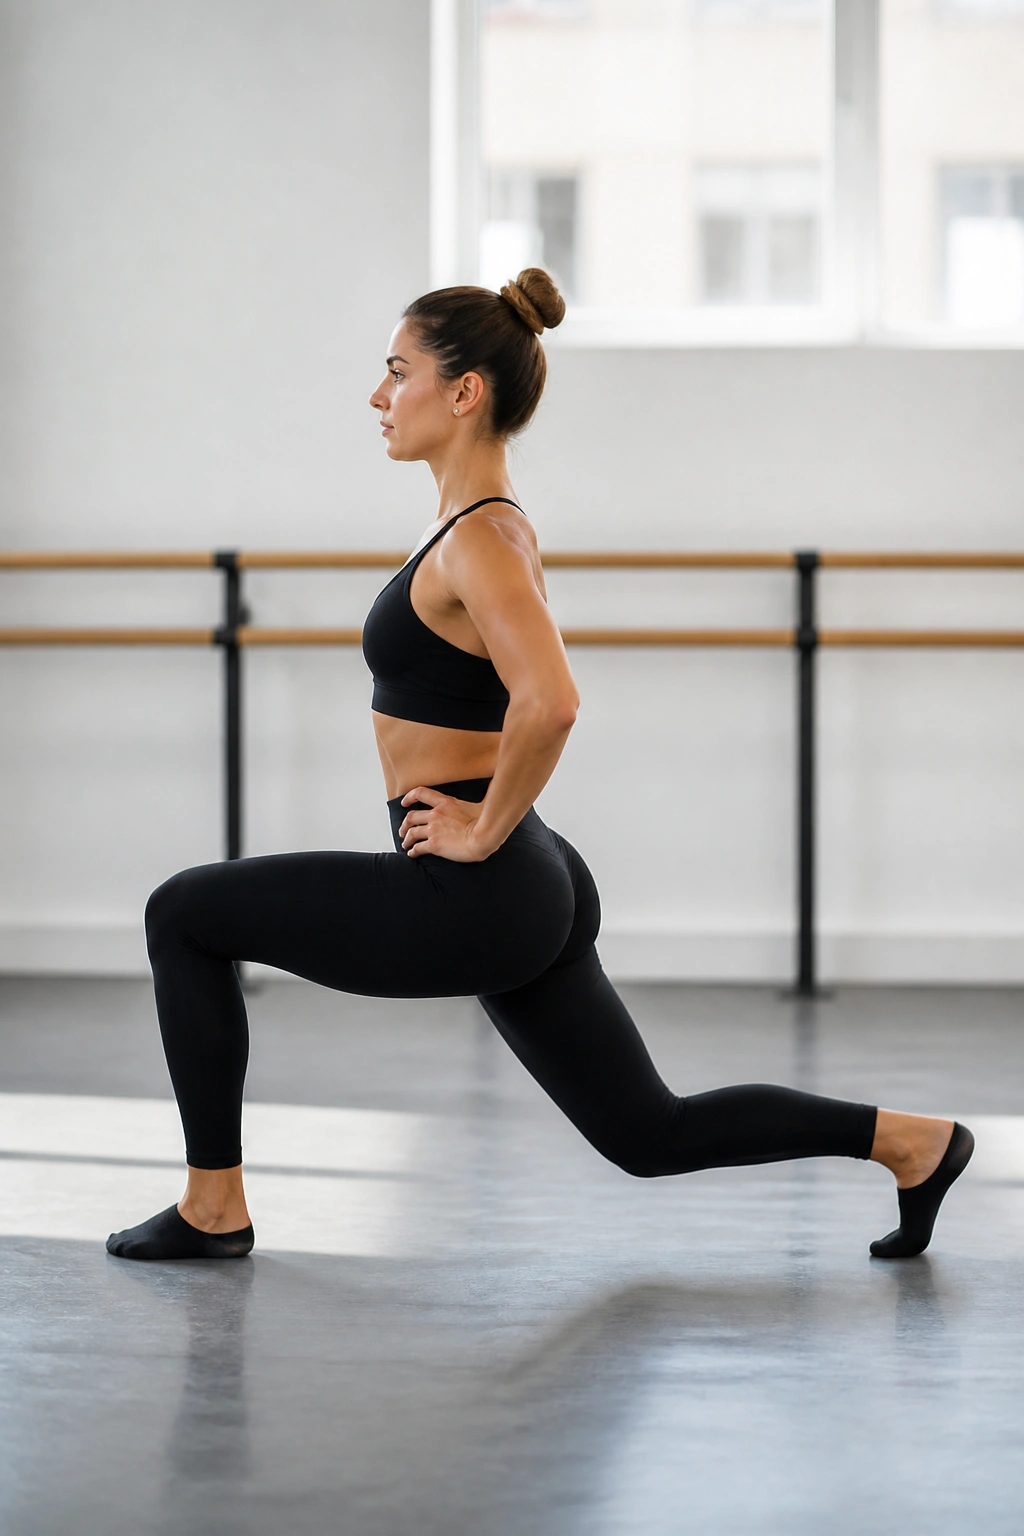
Step one foot back into a deep reverse lunge. As you stand back up, instead of planting the foot, keep the leg extended and tap your toe forward, keeping the leg straight.
This creates a pendulum effect. The reverse lunge is heavy on the glutes, while the forward tap forces the standing leg to stabilize. It is a constant tug-of-war for balance. Keep your core tight. If you lose your balance, your core is usually the culprit—re-engage, and you will find your center again.
19. Standing Leg Extension
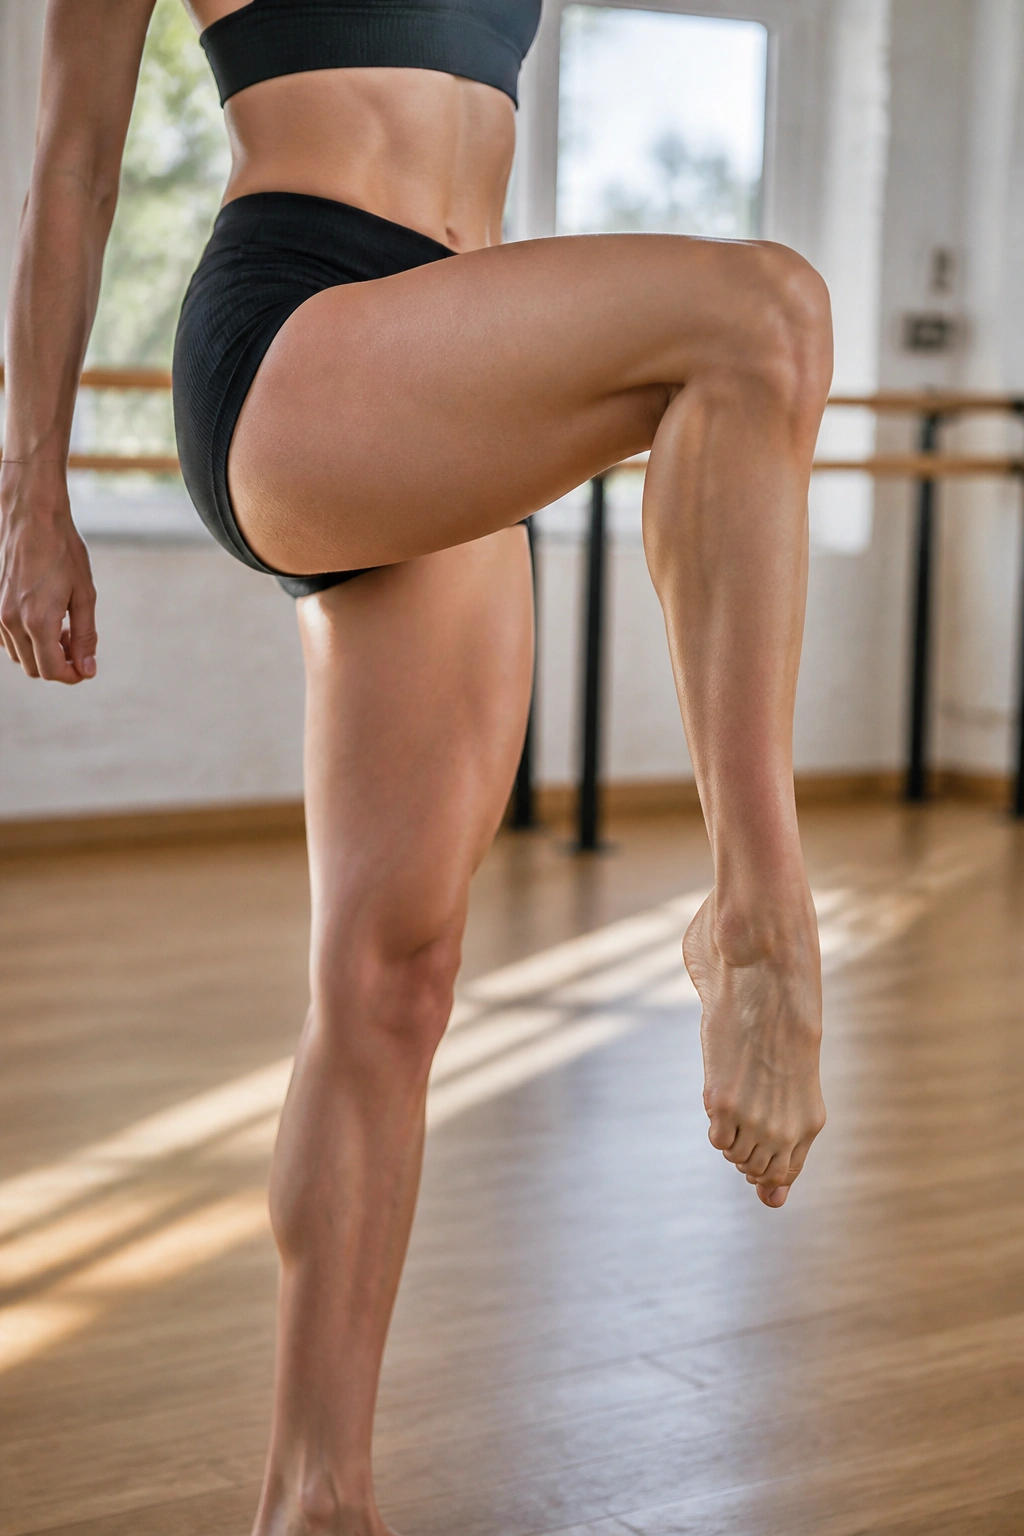
Stand tall, hands on the barre. Lift one knee toward your chest, then forcefully extend the leg straight out in front of you. Squeeze your quad as hard as you can at full extension. Bend the knee again and repeat.
This is a quad-isolator. By focusing on the extension and the squeeze, you are working the muscle that gives the thigh its definition. Do not just swing the leg; kick it out with intent. The contraction at the top is where the work happens.
20. Plie Heel Beats
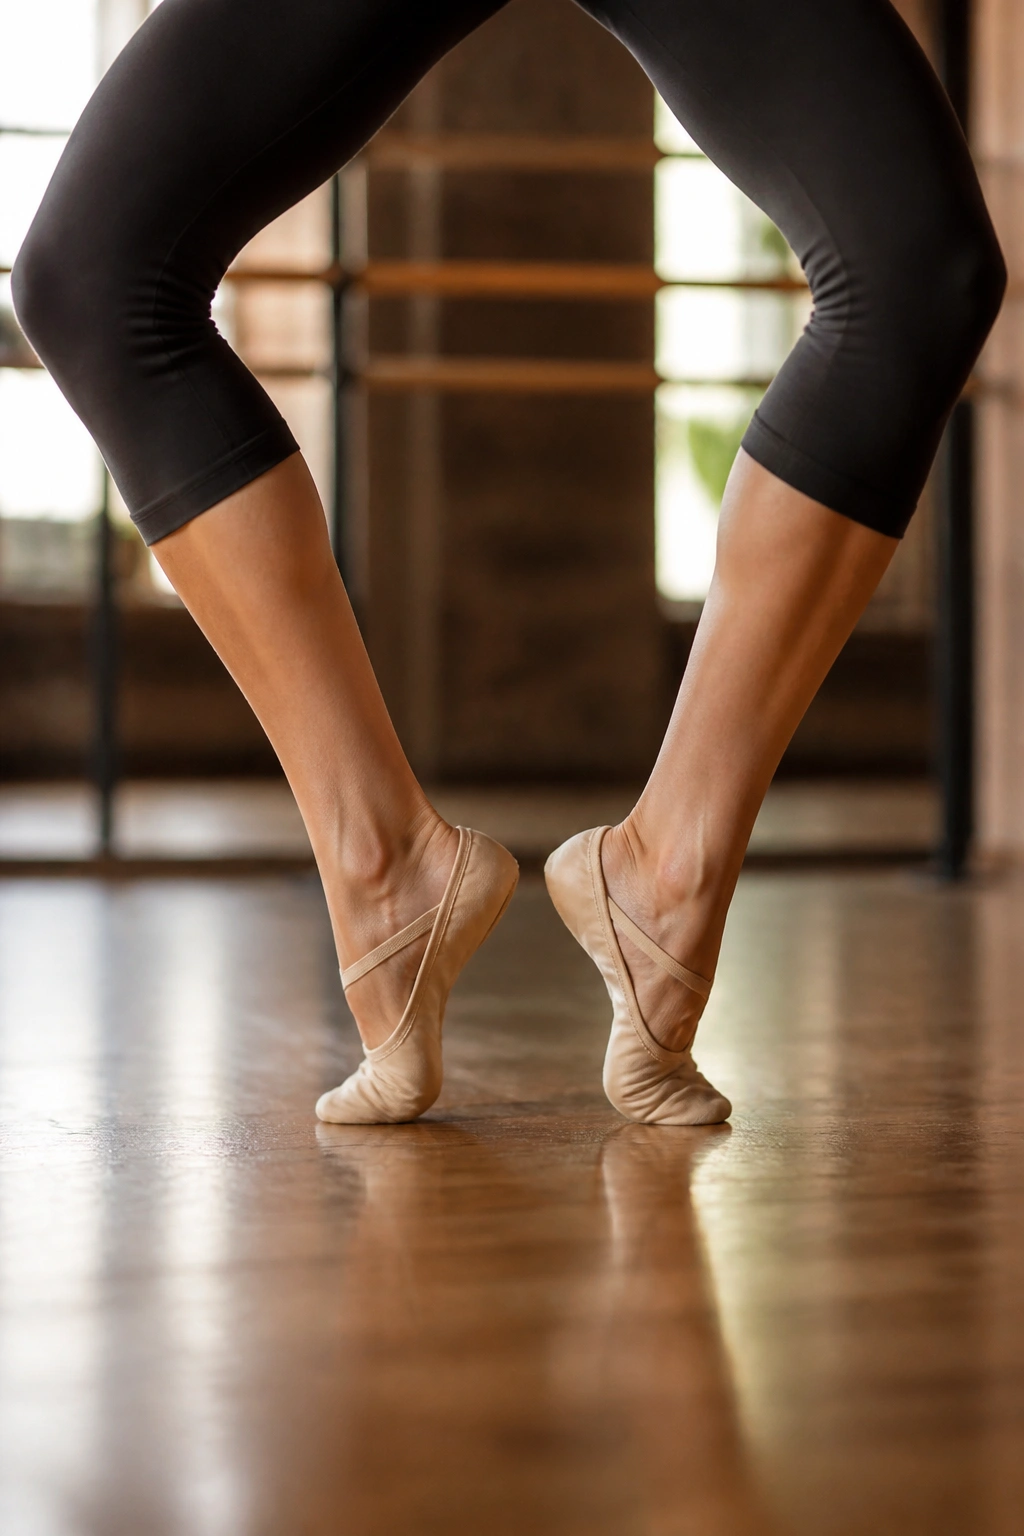
For the final movement, return to your wide second-position plie. Lower yourself into a hold. Now, lift your heels and, while maintaining the hold, quickly tap your heels together and apart.
This is a fast, high-intensity finish. It forces the inner thighs to stay engaged while the calves fire rapidly. It is the perfect way to flush the muscles and finish the workout with a bit of heart-pumping activity. Do this for thirty seconds, and you will feel why barre enthusiasts are so dedicated to the “shake.”
Final Thoughts
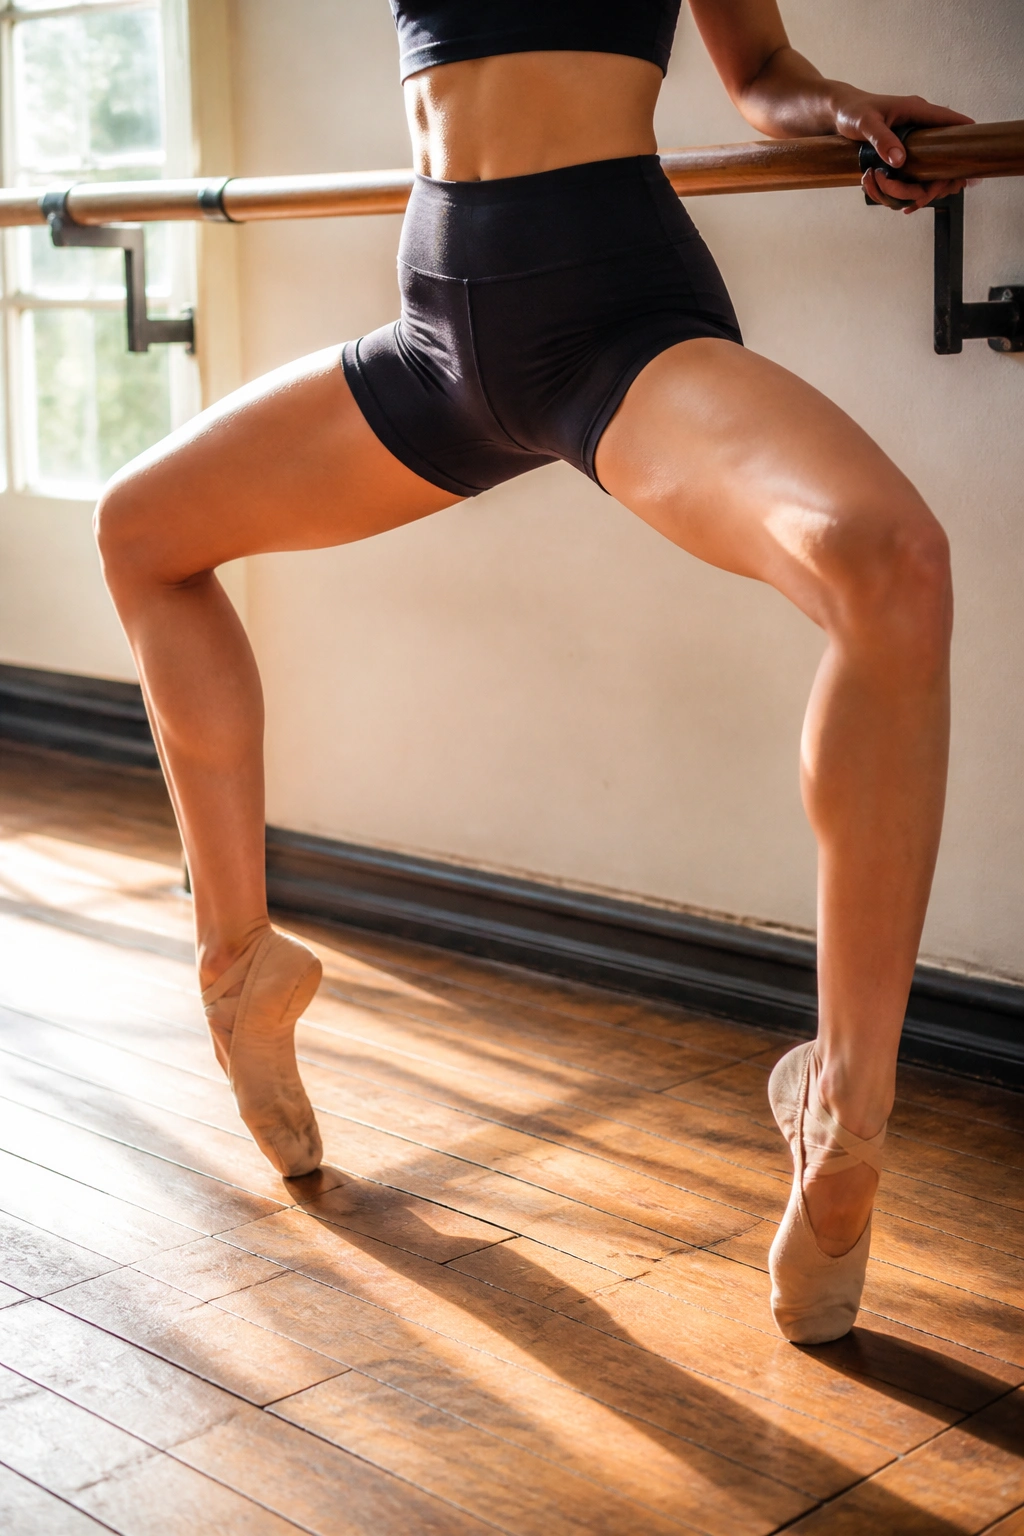
The beauty of barre work lies in its deceptive simplicity. You don’t need fancy equipment, and you don’t need a massive space. You need a bit of focus, a sturdy surface to hold, and the willingness to push past that initial point of discomfort.
Consistency is the secret that everyone is looking for. Doing these moves once is great, but repeating them a few times a week, over the long term, is what creates visible, lasting changes in muscle tone and posture. Listen to your body, respect your limits, and keep showing up. The shake is just your muscles getting stronger.
