



There is a common misconception that yoga is merely about flexibility—a quiet, gentle practice reserved for stretching out tight hamstrings or finding inner peace. If you have ever held a proper Chair Pose for more than thirty seconds, you know that is entirely false. True, sustained yoga practice can be more physically demanding than lifting heavy weights in a gym, largely because it relies on the grueling efficiency of isometric holds and eccentric muscle control. When you ask your muscles to hold your body weight against gravity for an extended period, you aren’t just stretching; you are building deep, functional muscle tone that looks different from the bulky results of traditional bodybuilding.
Sculpting your legs through yoga requires a shift in how you think about movement. You are not pumping iron; you are engaging your quads, hamstrings, and calves through stabilization. Every pose in a flow becomes an opportunity to fire up your glutes or draw your inner thighs toward the midline. It is intense, it burns, and it requires a level of mental grit that eventually transforms your legs into pillars of strength.
The key to seeing real results is not in the variety of fancy inversions you attempt, but in the precision of your alignment. You can do a hundred lunges with poor form and see little progress, or you can hold five foundational poses with deliberate muscle engagement and see a total shift in your lower body definition. Forget about rushing from one shape to the next. The magic happens in the hold, the shake, and the moment you want to drop out of the pose but decide to stay for just two more breaths.
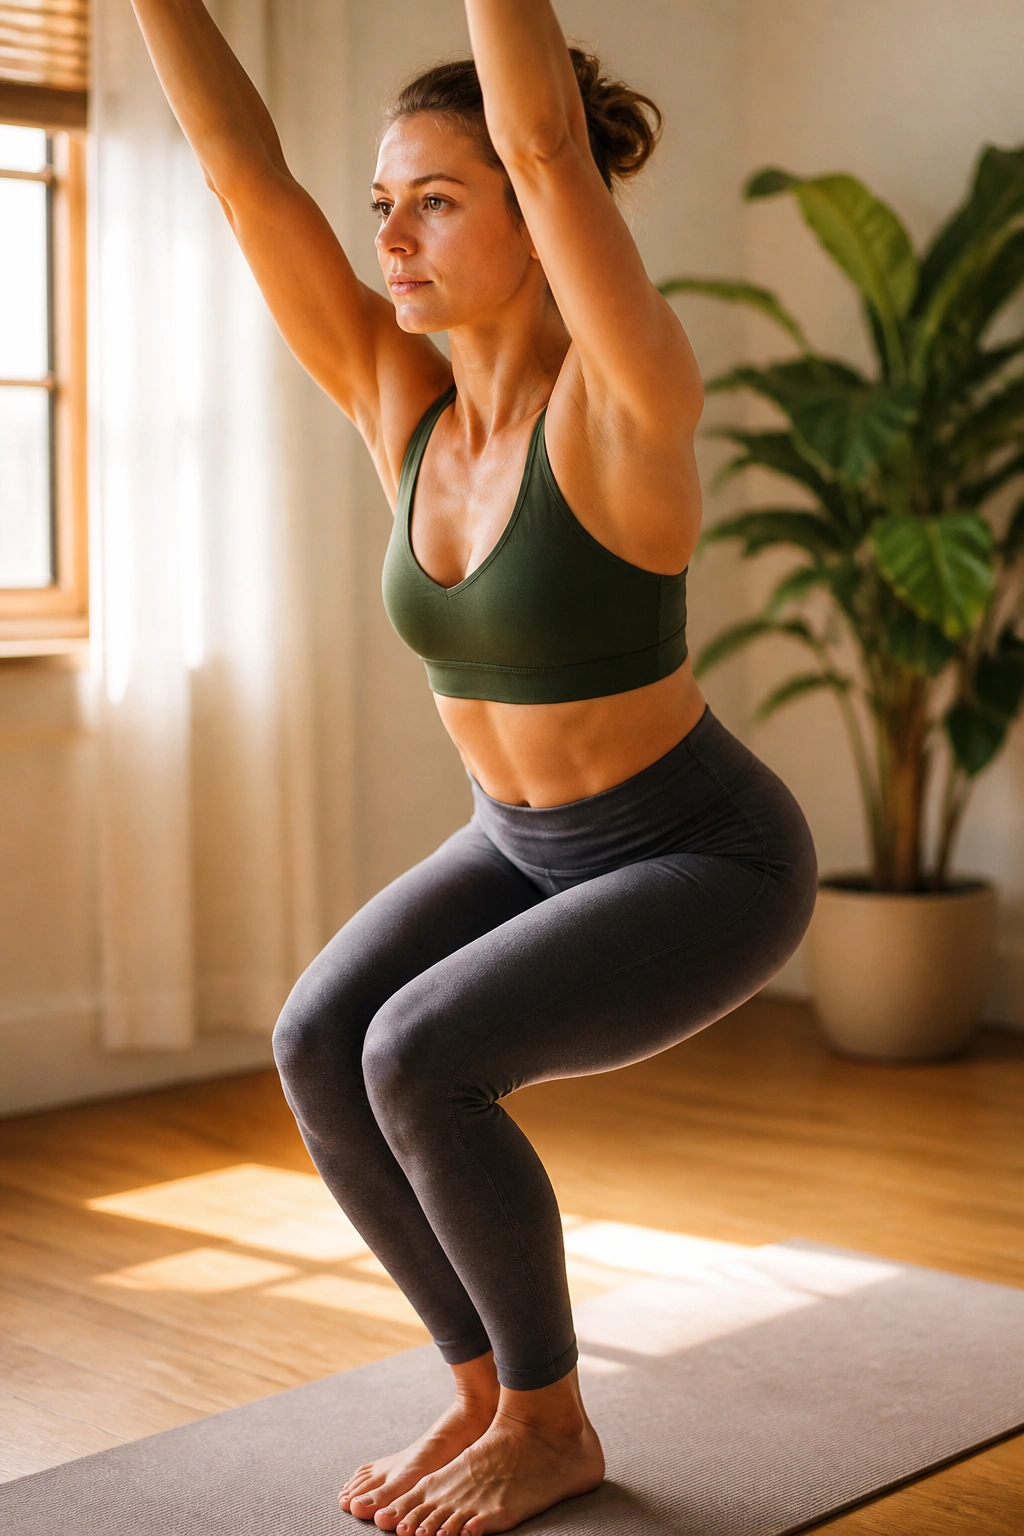
1. Chair Pose (Utkatasana)
If you want to understand how yoga builds heat in the legs, start with Chair Pose. It looks simple enough—just sitting back as if in an invisible chair—but it is arguably the most effective move for quad isolation. The weight shifts into your heels, forcing the muscles in the front of your thighs to do the heavy lifting while your glutes provide the necessary stability to keep your pelvis neutral.
Why It Builds Strength
Most people make the mistake of dumping their weight into their toes, which puts unnecessary stress on the knees. Instead, imagine you are trying to close a heavy door with your glutes. When you push your hips back and keep your chest lifted, you create a direct line of tension that lights up the quads. You will notice that your breath gets shorter. That is actually good; it signals that your body is working hard.
Technique Tips
- Keep your big toes touching and a slight gap between your heels.
- Sink your hips lower than you think you need to.
- Engage your core by pulling your navel toward your spine to protect your lower back. Pro tip: Try lifting your toes off the mat while holding the pose. This forces you to shift your center of gravity backward into your heels, engaging the hamstrings more effectively.
2. Warrior I (Virabhadrasana I)
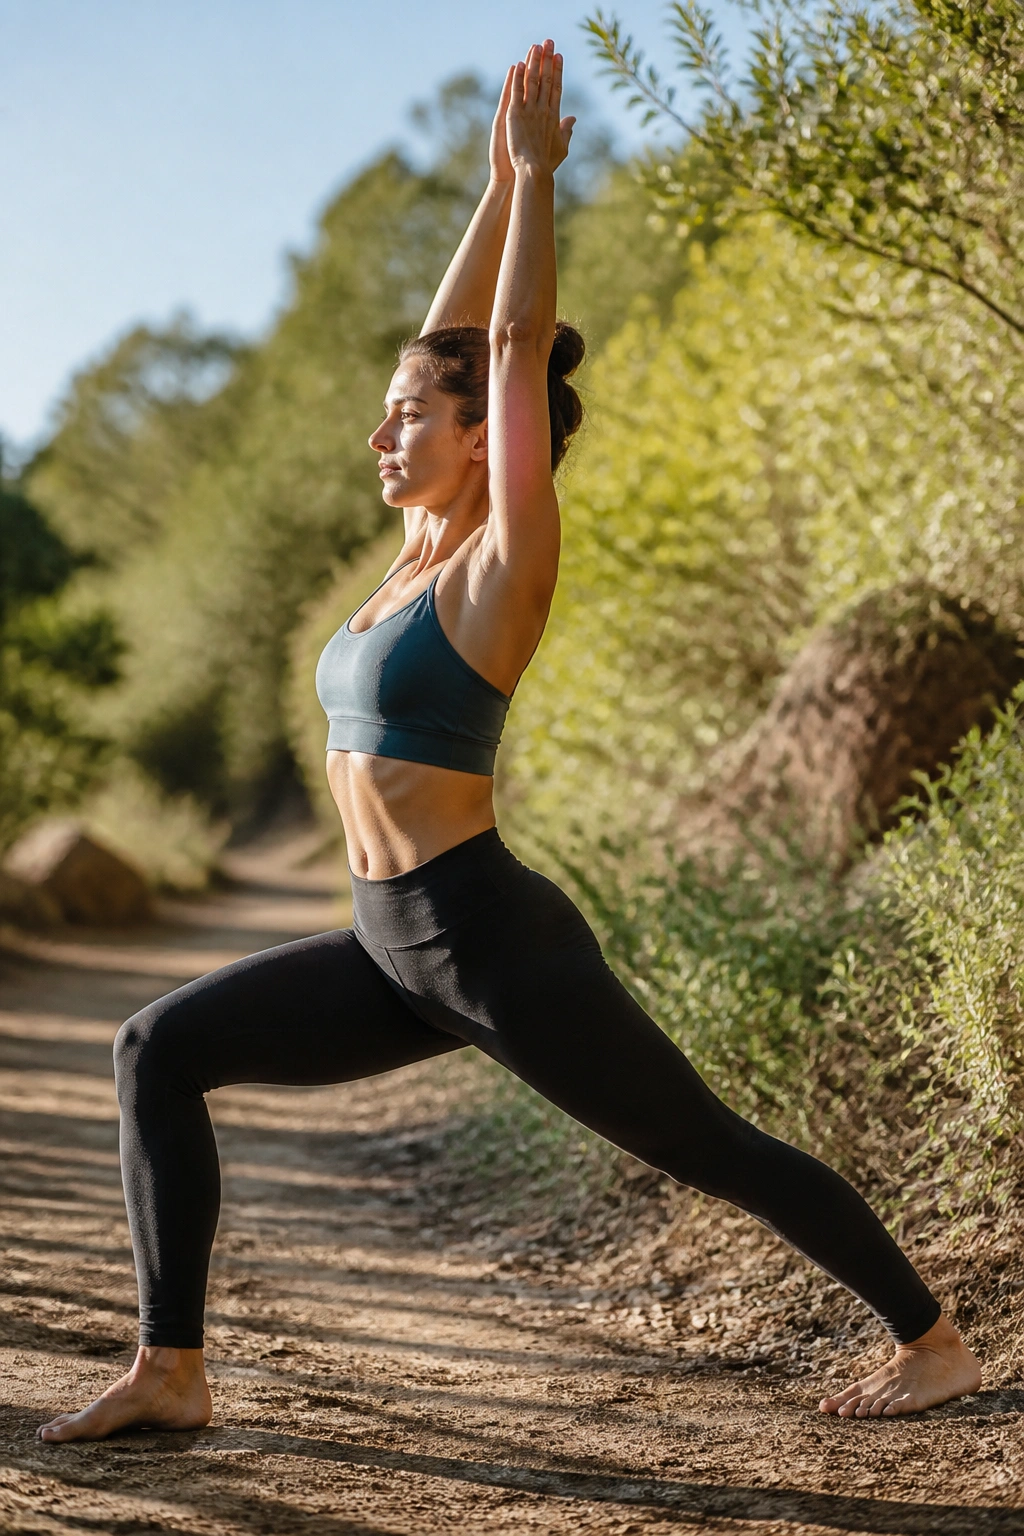
Warrior I is a test of stamina and endurance. This pose requires you to plant your back foot firmly at a forty-five-degree angle while keeping your front knee bent deeply. It forces the quadriceps to support the entire frame. Because the hips are squared forward, you gain an added challenge in the gluteus medius, the muscle responsible for stabilizing your pelvis.
The Anatomy of the Pose
Your front thigh should eventually become parallel to the floor, but do not force it if your knee begins to collapse inward. That collapse is the enemy of stability. Your back leg must remain completely straight, pressing the outer edge of your heel into the mat. This creates a stretch through the calf while simultaneously firing up the quad of the back leg.
Common Form Errors
- The “rib flare”: Many people arch their back to compensate for tightness in the hips. Tuck your tailbone slightly downward.
- Narrow footing: If you feel like you are walking on a tightrope, you will struggle with balance. Step your feet slightly wider apart on the mat to provide a stable base.
- Short stance: If your stance is too short, your back heel will naturally want to lift. Widen your stride to deepen the stretch and the strength work.
3. Warrior II (Virabhadrasana II)
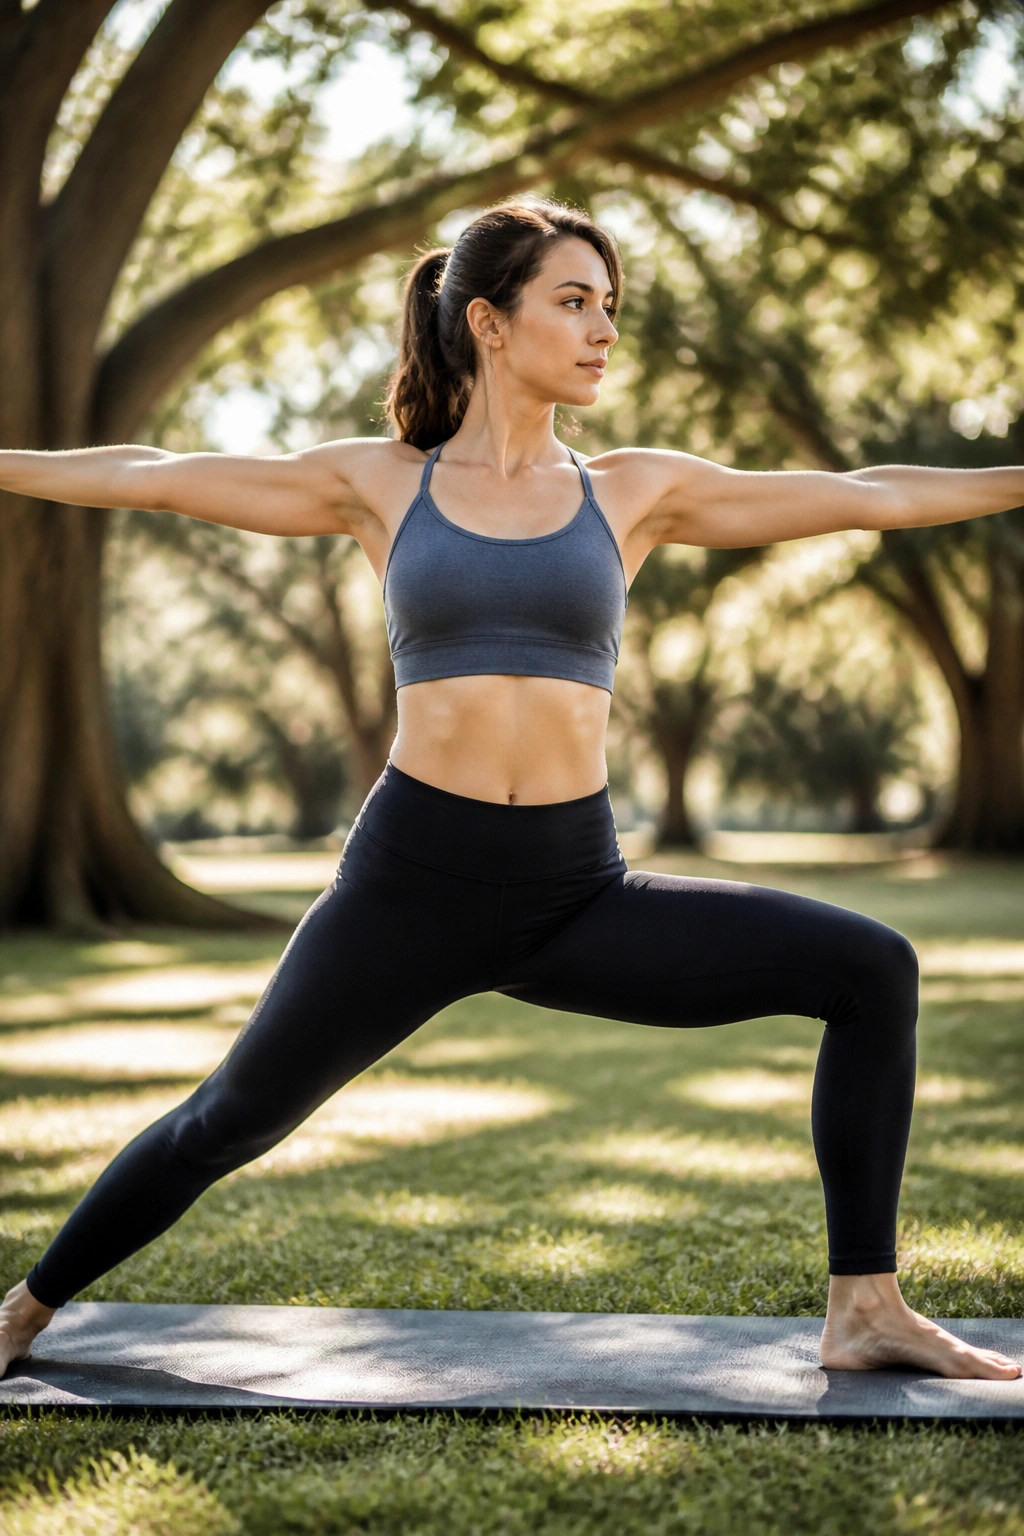
Warrior II changes the game by opening the hips and putting the focus on the outer glutes and inner thighs. Unlike Warrior I, where the hips face the front, here the hips rotate to the side. This requires deep external rotation of the front hip and significant engagement of the glute to keep the front knee from rolling toward the big toe.
Muscle Engagement
Your quads should be burning by the time you reach the one-minute mark. To deepen the burn, imagine you are trying to rip your yoga mat in half with your feet. You won’t actually move the mat, but the attempt recruits the abductors—the muscles on the side of your hip—to fire harder. This is how you sculpt the outside of your thighs and improve pelvic stability.
The Visual Cues
- Check your front knee: Can you see your big toe inside the knee? If not, you need to push the knee outward.
- Keep your torso perfectly vertical. It is tempting to lean toward the front of the mat, but staying upright forces the core and legs to work twice as hard to maintain balance.
- Relax your shoulders. The work is in the legs; keep the upper body soft to save your energy for the lower body.
4. Warrior III (Virabhadrasana III)
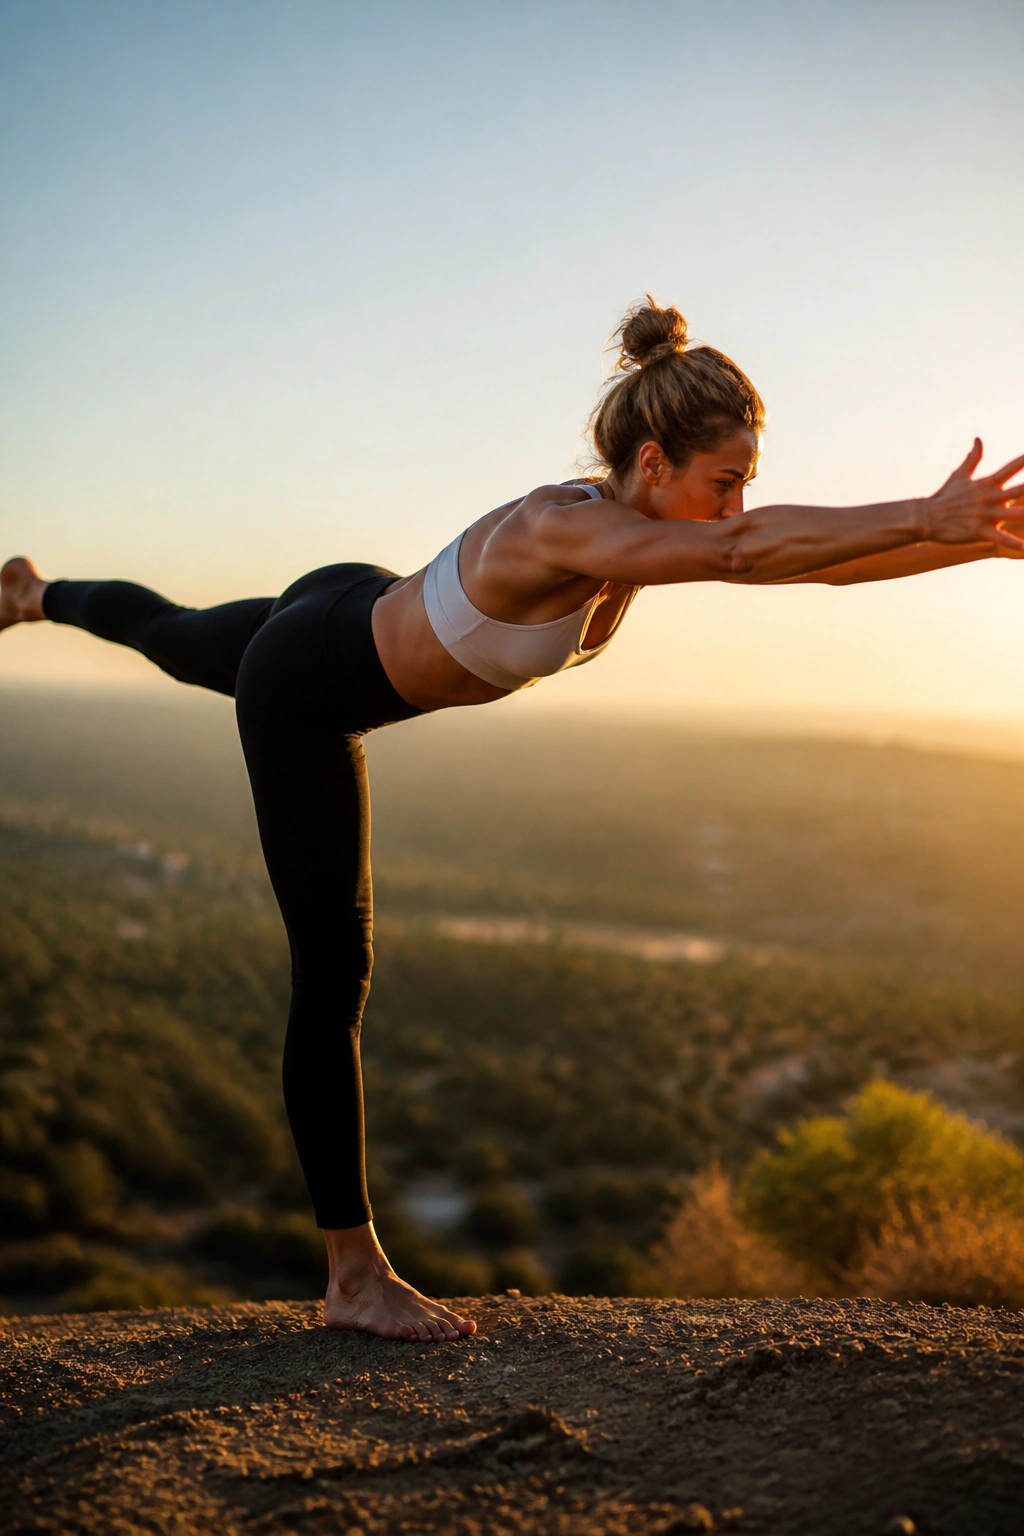
Warrior III is the ultimate test of balance and single-leg strength. You are essentially balancing on one leg, with the other extended straight back and your torso parallel to the floor. The standing leg is doing everything: holding your weight, balancing your entire body, and fighting gravity. It is brutal, and it is incredibly effective for toning.
The Stabilizing Mechanism
The secret here is the micro-bend. If you lock your standing knee, you lose the engagement of the surrounding muscles and put pressure on the joint. Keep a tiny, almost invisible bend in the standing knee to keep the quad muscle active. Your glute on the standing leg will scream after a few seconds—that is the muscle waking up to keep you upright.
How to Improve
- Keep your lifted hip dialed down toward the floor. It is natural to open the hip to the side to keep balance, but squaring it down forces the gluteus medius to work harder.
- Reach through your heel, not your toes. Flexing your back foot like you are pressing against a wall engages the entire posterior chain of the lifted leg.
- Fix your gaze on one unmoving point on the floor. This “drishti” is essential for preventing the wobbling that ruins your form.
5. Crescent Lunge (Anjaneyasana)
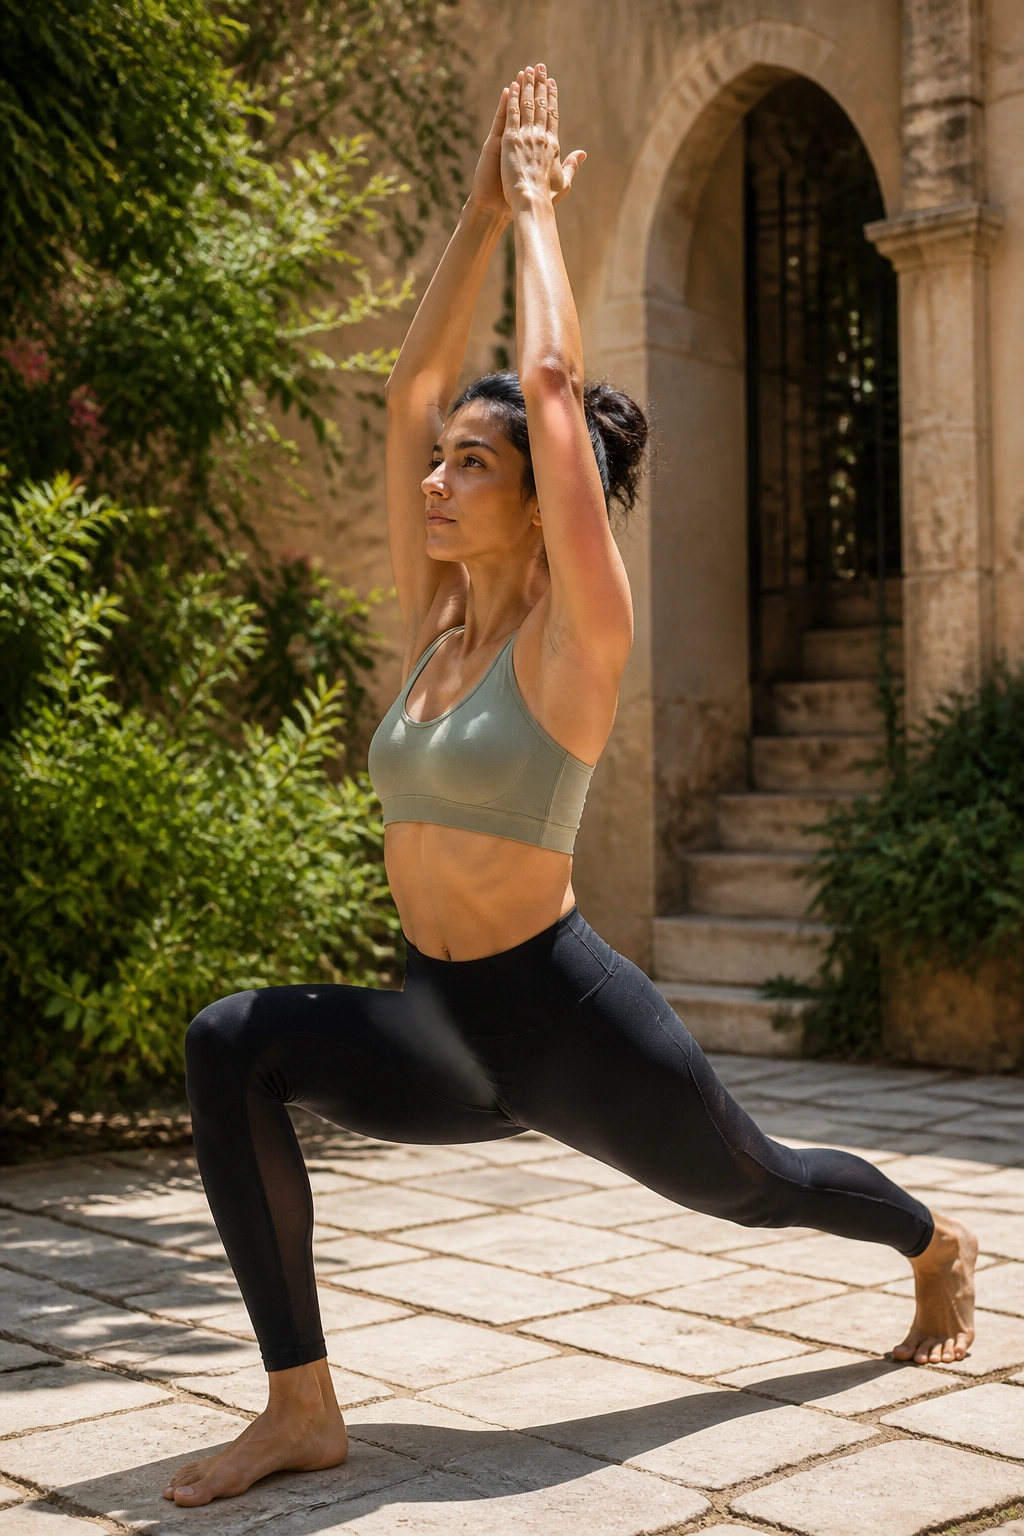
If you have ever done a lunge in a gym, you know the burn. Crescent Lunge is essentially a high-intensity, elevated lunge. Your back heel stays lifted, and the ball of your back foot remains planted. This puts a massive amount of tension on the front quad and tests the stability of the back leg’s hip flexor.
Deepening the Intensity
To really feel this in your glutes, keep your back leg as straight as humanly possible. Most people let the back knee bend to cheat the posture. Straightening that back leg activates the hip flexor and forces the glute to engage. If you want more, try dropping your back knee an inch toward the floor and then lifting it back up—slowly, with control.
Troubleshooting
- Wobbling: If you feel unstable, it is usually because your feet are in a single line. Take a wider stance. Your feet should be hip-width apart, as if you are standing on railroad tracks.
- Arching: The back often arches to compensate for tight hip flexors. Tighten your core and pull your tailbone toward the floor.
- Shoulder tension: Do not let your shoulders creep toward your ears. Keep them soft and low, even as your legs are shaking from the effort.
6. Chair Pose Twist (Parivrtta Utkatasana)
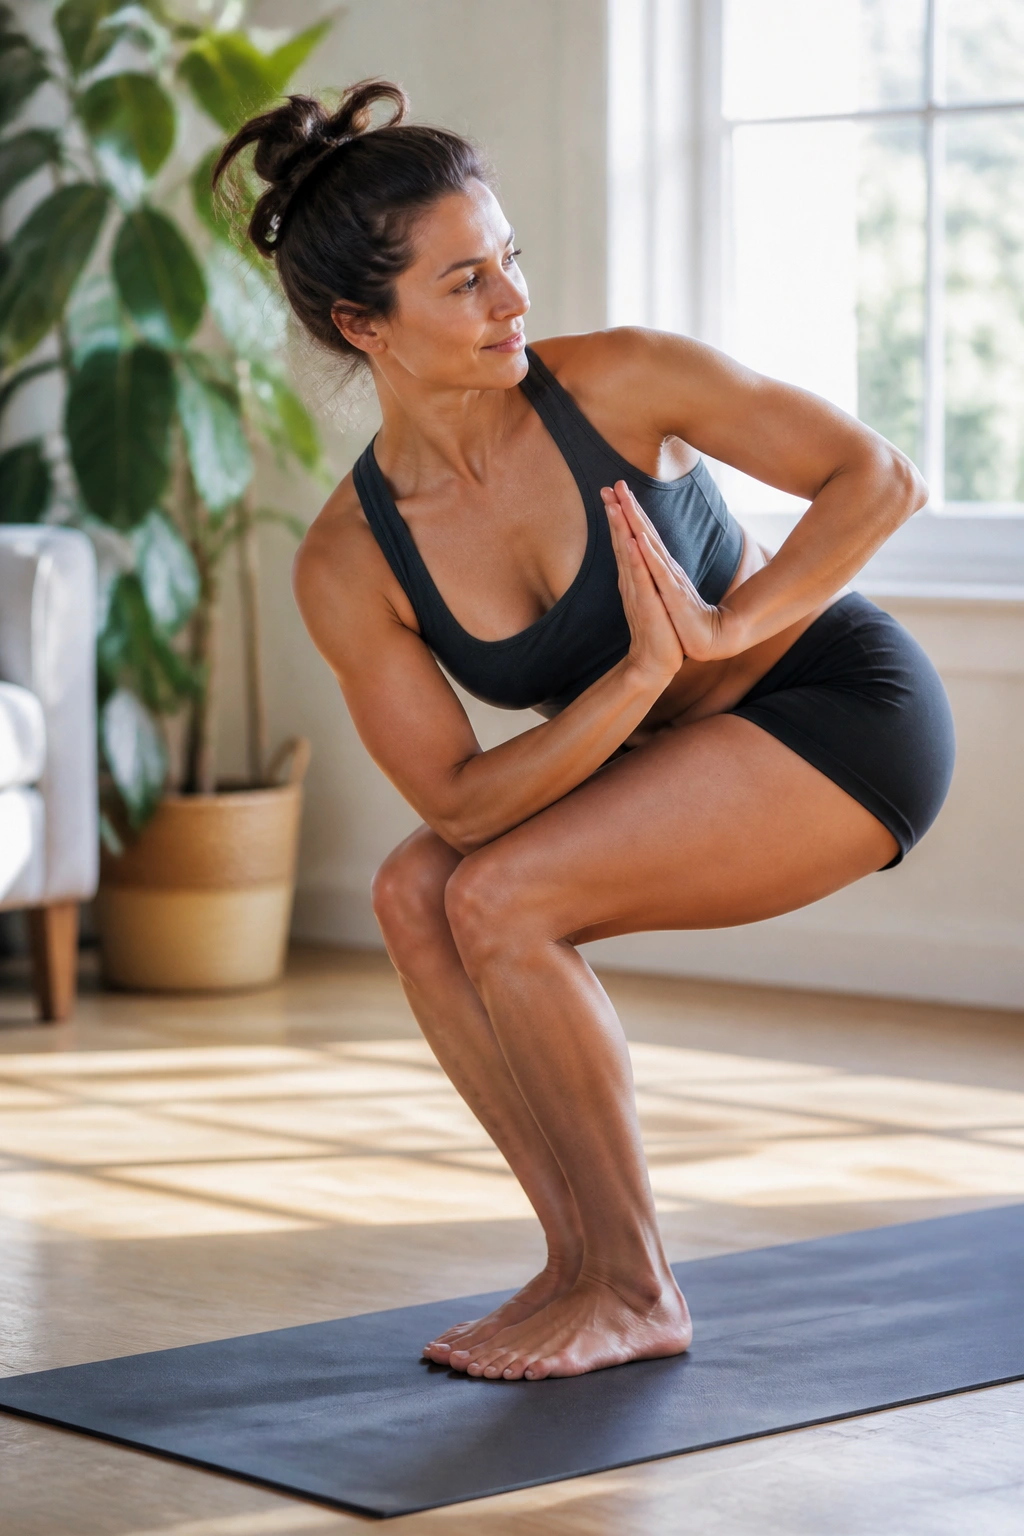
This is a dynamic variation of the standard Chair Pose that adds a rotational challenge. By twisting your torso, you force your legs to maintain their position while your center of gravity shifts. This engages the deeper muscles around the hips and thighs, specifically targeting the obliques as well as the outer quads.
Why This Variation Matters
Most traditional leg exercises happen in one plane of motion—forward and back. Adding a twist introduces a rotational element that challenges the stabilizing muscles that are often neglected. You will find that keeping your knees aligned while twisting is the hardest part. If one knee creeps forward, you lose the structural integrity of the pose.
Technique for Success
- Ensure your knees are level. Look down at your feet—often, when we twist, one knee will slide forward. Pull that hip back.
- Keep the weight in your heels. It is very easy to shift weight into the toes during a twist because your brain is focused on the upper body movement. Keep the heels grounded.
- Go for depth of twist rather than speed. Use the leverage of your elbow against the outside of your knee to rotate your spine.
7. Goddess Pose (Utkata Konasana)
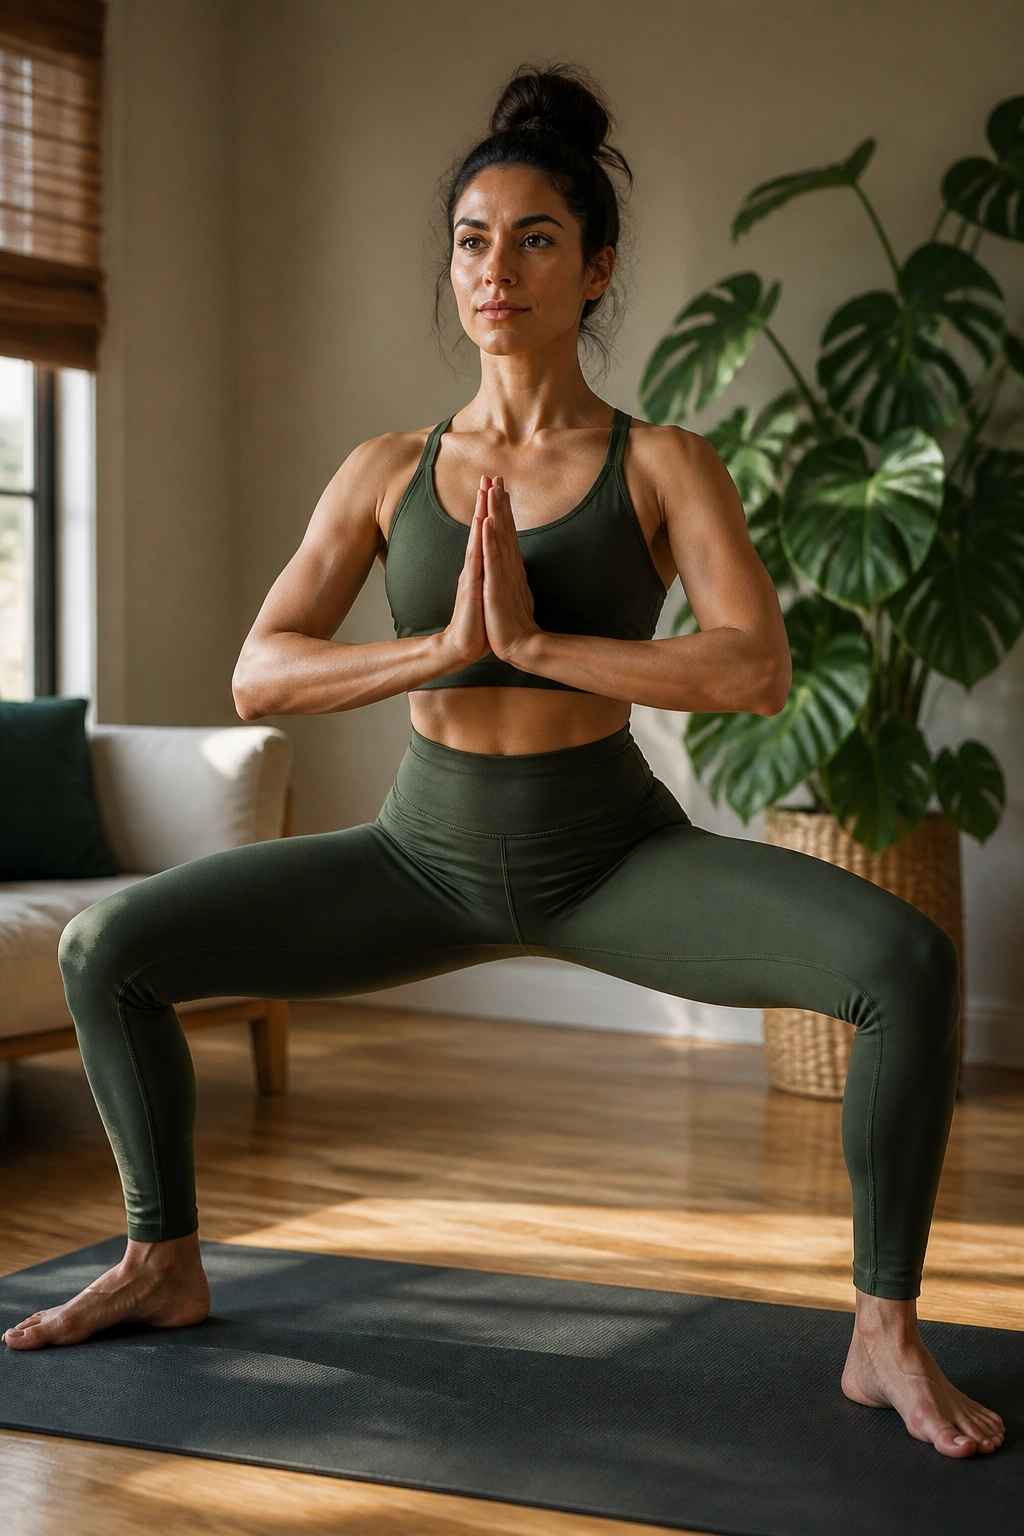
Goddess Pose is the heavy hitter for inner thighs. With your feet turned out wide and your knees bent, you are essentially in a wide-legged squat. It forces the inner thigh muscles (adductors) to work overtime to prevent your knees from collapsing inward. This is arguably the best pose for building that “sculpted” look in the upper inner leg.
The Mechanics of Engagement
The wider you take your stance, the more you will feel it in the inner thighs. However, don’t go so wide that you lose control. Your knees should track directly over your middle toes. If they dive toward the big toes, you are putting your meniscus at risk and losing the engagement of the glute muscles.
Maximizing the Burn
- Pulse your hips up and down an inch. That small, repetitive movement is where the lactic acid builds up and the muscle fibers fatigue.
- Squeeze your glutes at the top of each pulse.
- Keep your torso upright. It is tempting to lean forward, but the upright position keeps the load squarely on the legs rather than the back.
8. Tree Pose (Vrksasana)
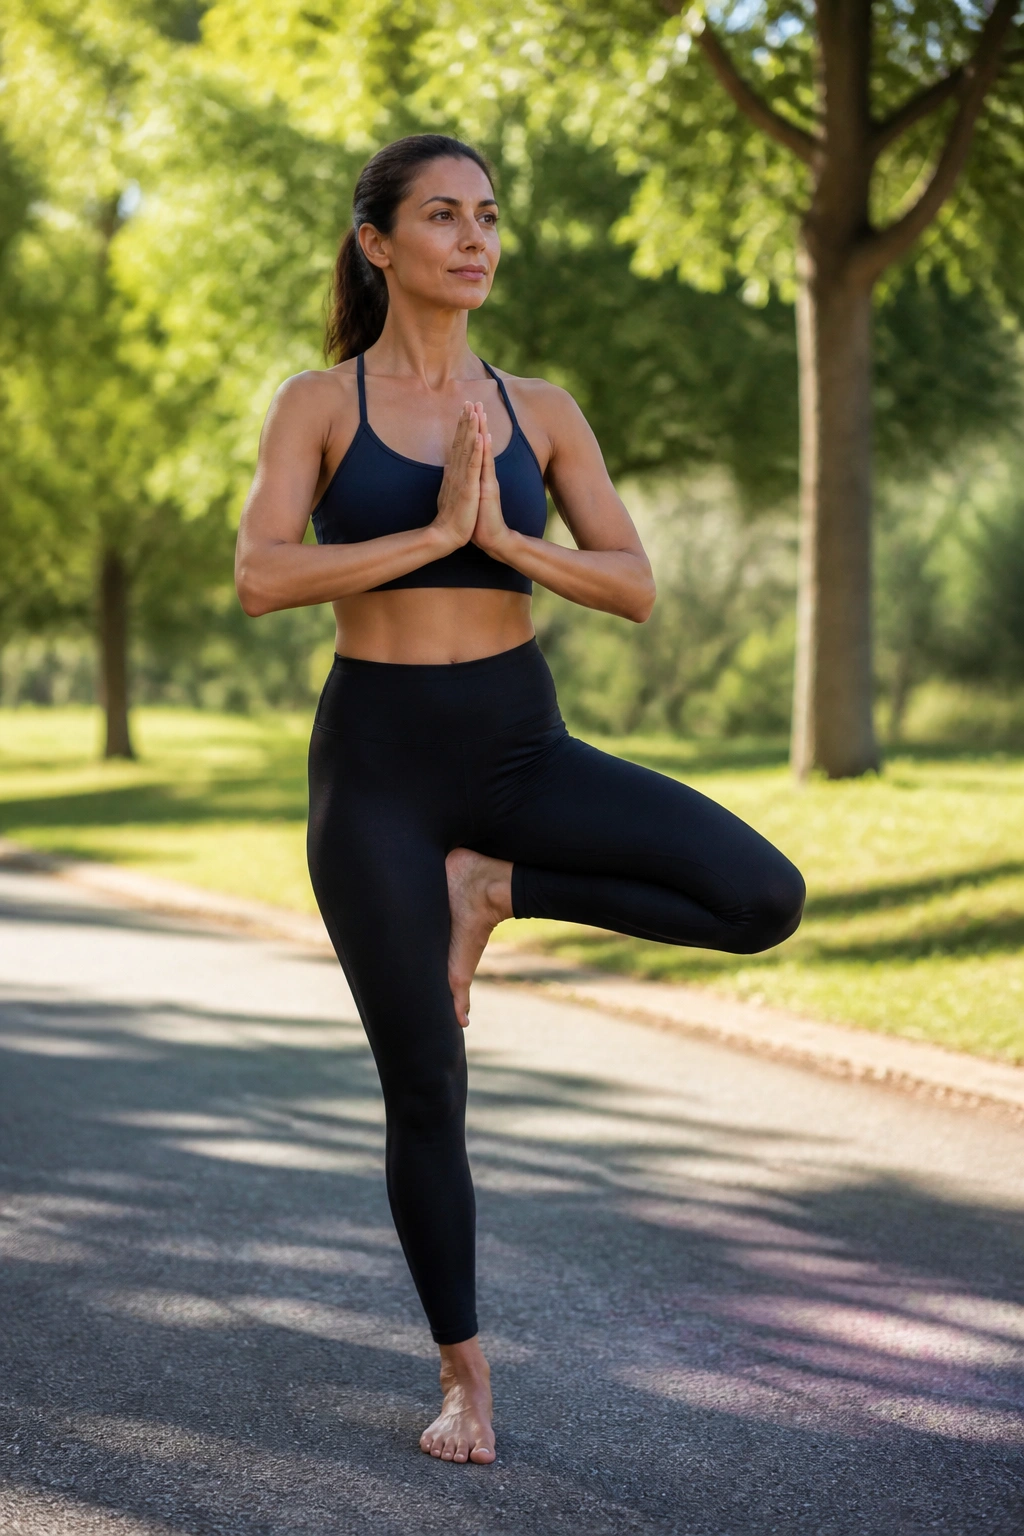
Tree Pose looks like a resting pose, but for the standing leg, it is anything but. Balancing on one foot requires constant micro-adjustments in the ankle, calf, and thigh. The standing leg has to do a tremendous amount of work to keep you stable. It strengthens the entire leg by keeping the muscles in a state of constant, active engagement.
The Subtle Strength
The trick here is not to just stand there. Press your standing foot into the mat with intent. Imagine you are trying to grow roots through the floor. Simultaneously, press the sole of your lifted foot into your inner thigh and push your inner thigh back into the foot. That resistance creates an isometric contraction that tones the inner thigh of the standing leg.
Common Mistakes
- The collapsing hip: Don’t let your standing hip pop out to the side. Keep the pelvis level and pull the outer hip of the standing leg in toward the midline.
- The knee pressure: Never press your foot directly into the knee joint. It is either below or above the knee. Putting pressure on the joint can cause injury over time.
- The “winging” arm: Keep your arms active. If you are doing prayer hands, press your palms together. The energy you put into your arms affects the stability of your core and legs.
9. Eagle Pose (Garudasana)
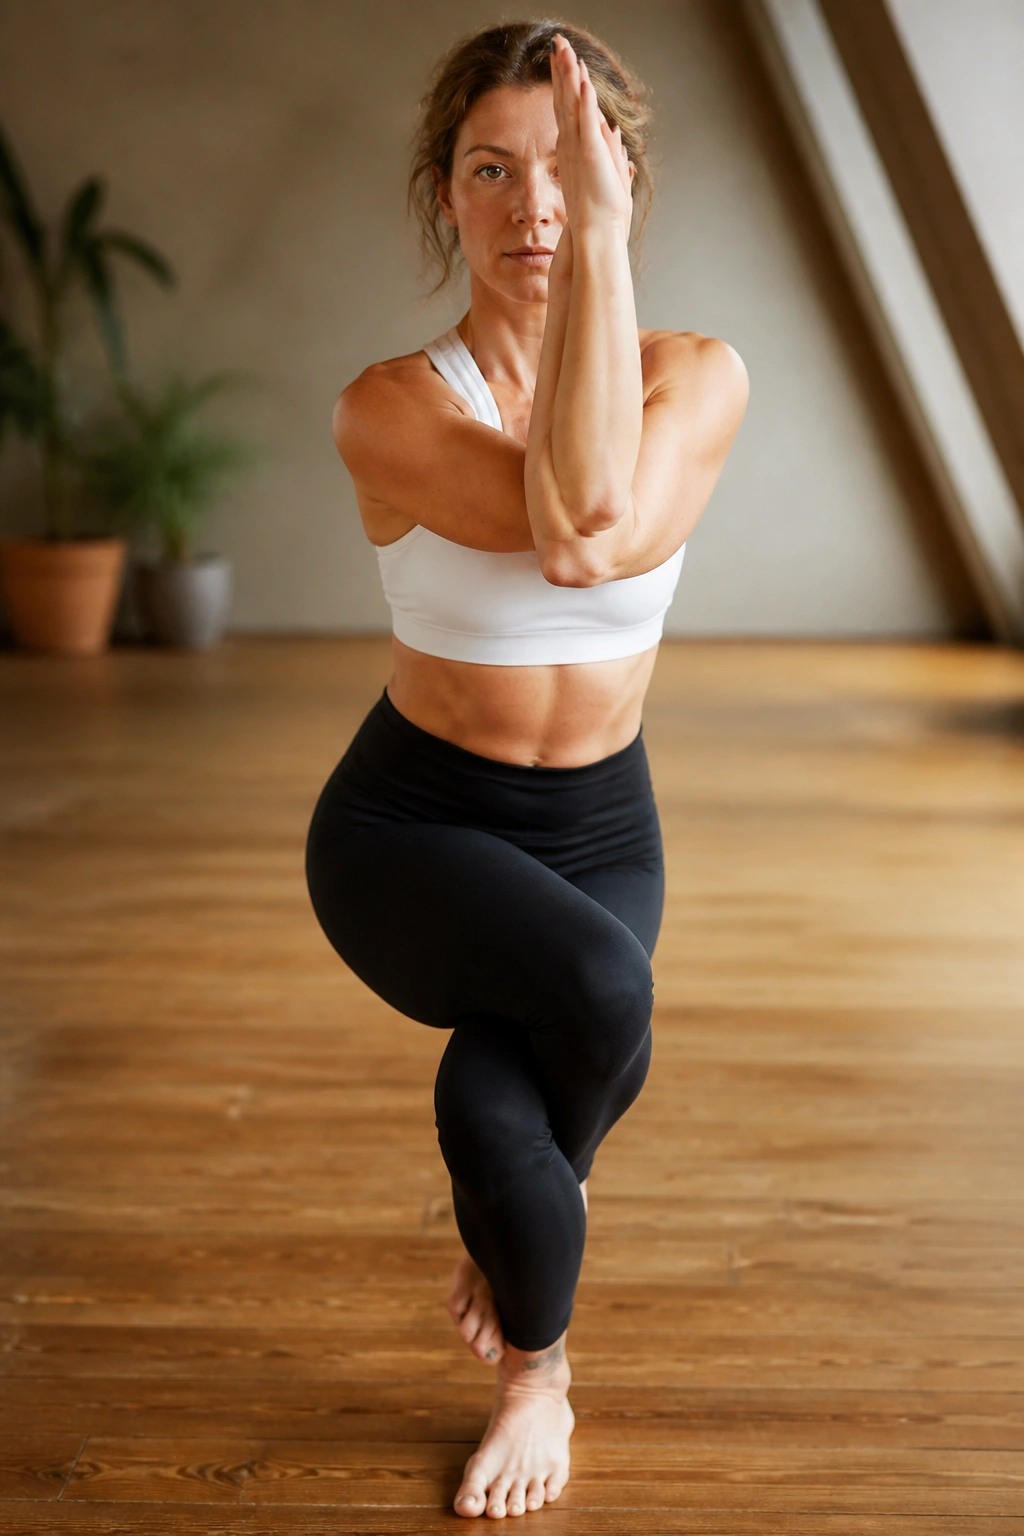
Eagle Pose is the ultimate pose for the “wrap and squeeze.” By wrapping one leg around the other, you are creating a tourniquet effect. It is fantastic for the outer thighs, hips, and glutes. The goal is to sit down low, like you are in a chair, while maintaining that tight wrap.
The Science of the Squeeze
The compression of the wrap is where the magic happens. You are literally squeezing the muscles of your standing leg with the pressure of the wrapped leg. This activates the inner thigh muscles (adductors) and the outer hip muscles simultaneously. It is an intense, deep-tissue engagement that few other poses can replicate.
How to Hold It
- If you can’t wrap the foot all the way around, don’t force it. Use the toe as a kickstand on the floor. The benefit comes from the squat and the squeeze, not the wrap.
- Sink lower. Most people stay high. If you sit deeper, the stretch in the outer hip increases and the work in the standing quad intensifies.
- Maintain a focus point. Your center of gravity is off-balance because of the wrap, so a steady gaze is non-negotiable.
10. Extended Side Angle (Utthita Parsvakonasana)
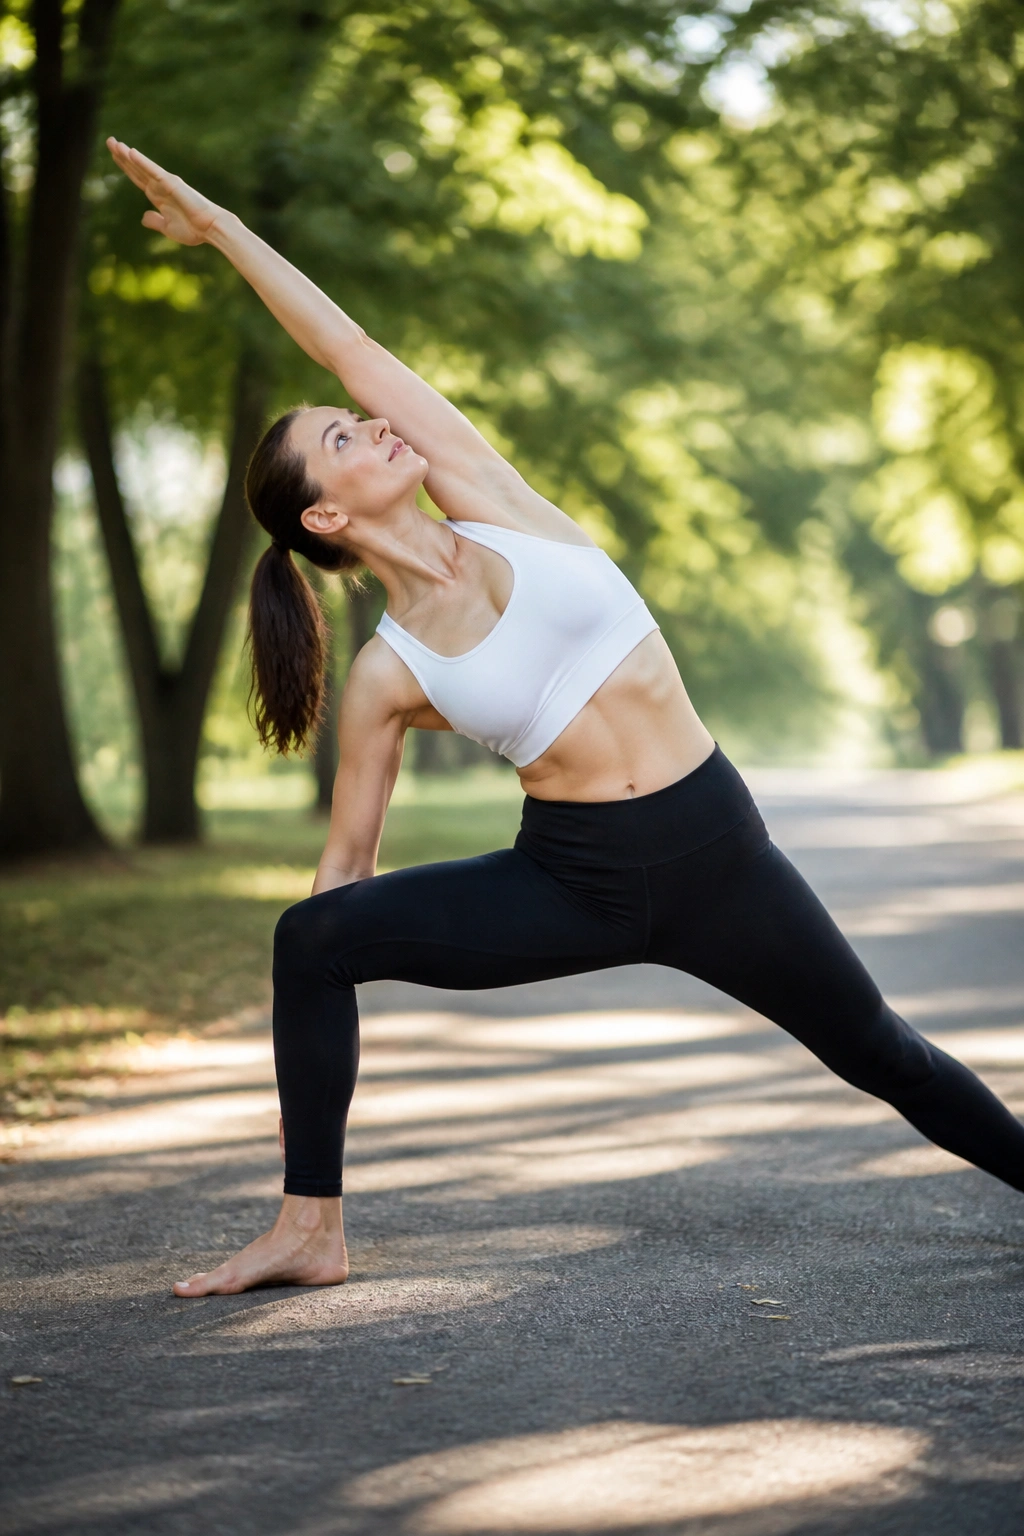
This pose is a powerhouse for the quads and the obliques. You are in a wide-legged stance with the front knee bent, and your torso is leaning over the front leg. The strength comes from the front leg—it has to support your torso while you lengthen through the spine. It is a fantastic way to build stamina.
The Role of the Front Leg
Your front quad is doing the heavy lifting here. To make it more effective, try to “drag” your front foot toward your back foot without actually moving it. This activates the adductors and keeps the quad firing. If you just rest your forearm on your thigh, you are missing the strength-building opportunity. Use the arm as a light guide, not a crutch.
Refined Alignment
- Keep your back foot flat on the floor. It is easy to roll onto the outer edge of the back foot, but keeping the whole sole grounded builds strength in the arch and calf.
- Reach through your top fingertips. Creating length in the torso prevents you from dumping your weight into the front leg.
- Keep the front knee pointing toward the middle of the foot. It should not track inside or outside the toe line.
11. Pyramid Pose (Parsvottanasana)
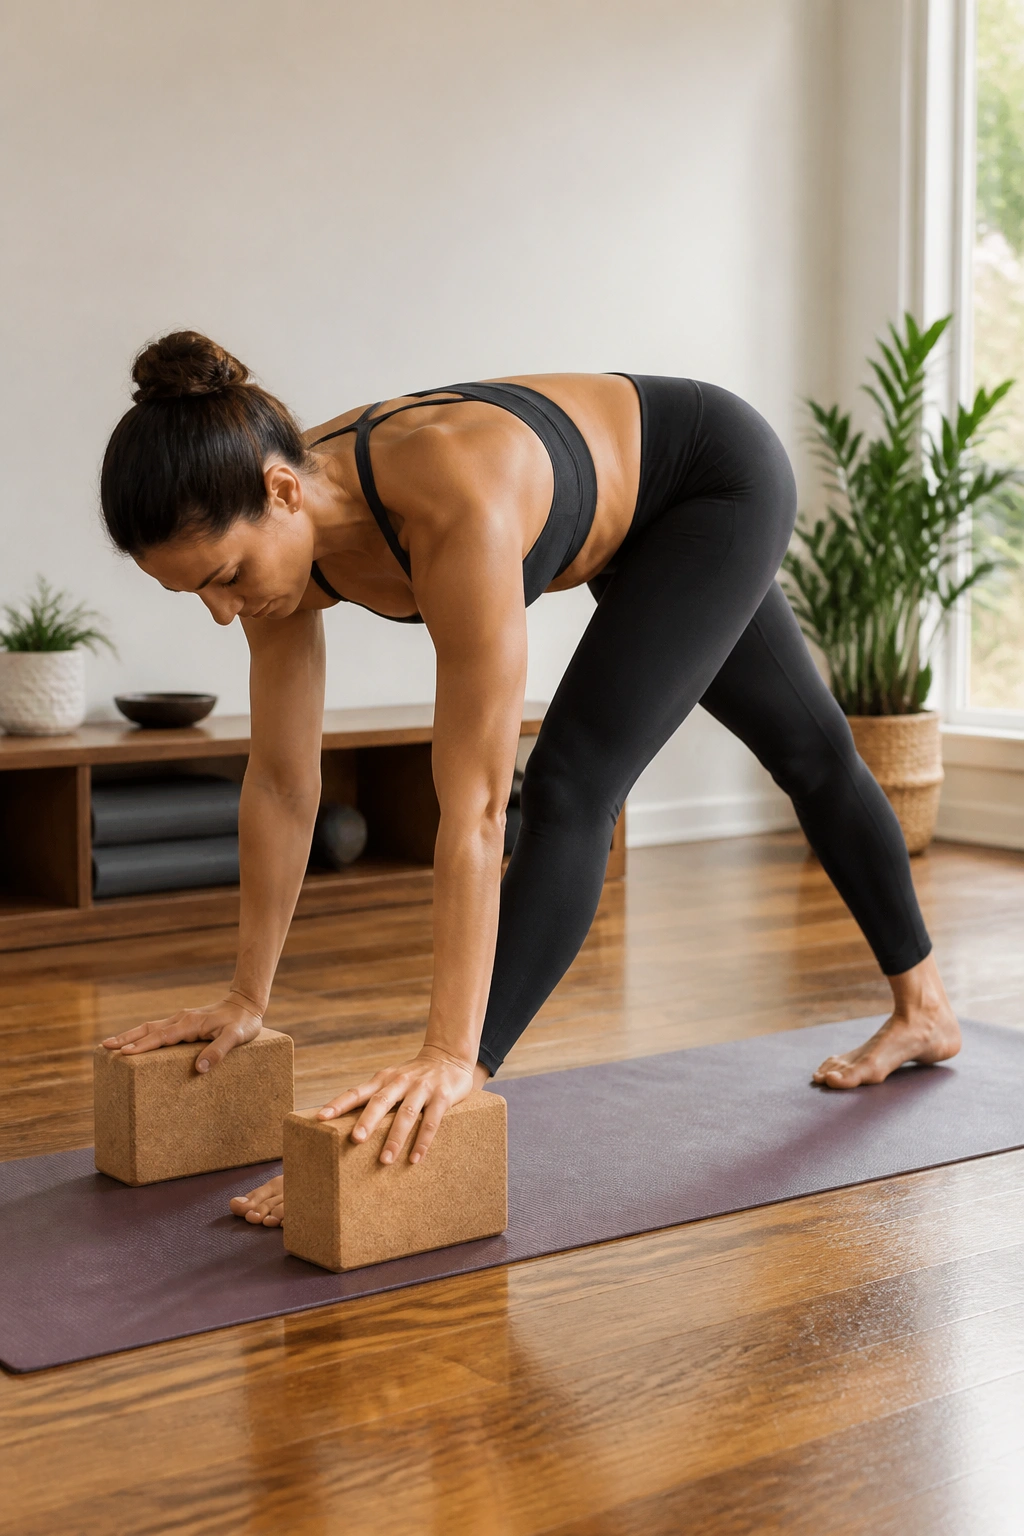
Pyramid Pose is often marketed as a hamstring stretch, but it is actually a wonderful strengthening move for the glutes and quads if you do it with intention. By squaring your hips and engaging your quadriceps, you learn to control the stretch rather than just collapsing into it.
Active Engagement
To turn this into a toning exercise, keep your quads engaged the entire time. Squeeze the muscle of the front thigh toward the bone. This engagement protects the hamstring from overstretching while building strength. You should feel your glutes working to keep your hips square.
Technique for Success
- Keep your feet on a railroad track width, not a tightrope. This allows your hips to square forward properly.
- If you cannot reach the floor, place your hands on blocks. Using blocks keeps your spine long and prevents you from rounding your back, which is essential for proper engagement.
- Focus on pulling the front hip back and the back hip forward. This active movement is what tones the hip muscles.
12. Half Moon Pose (Ardha Chandrasana)
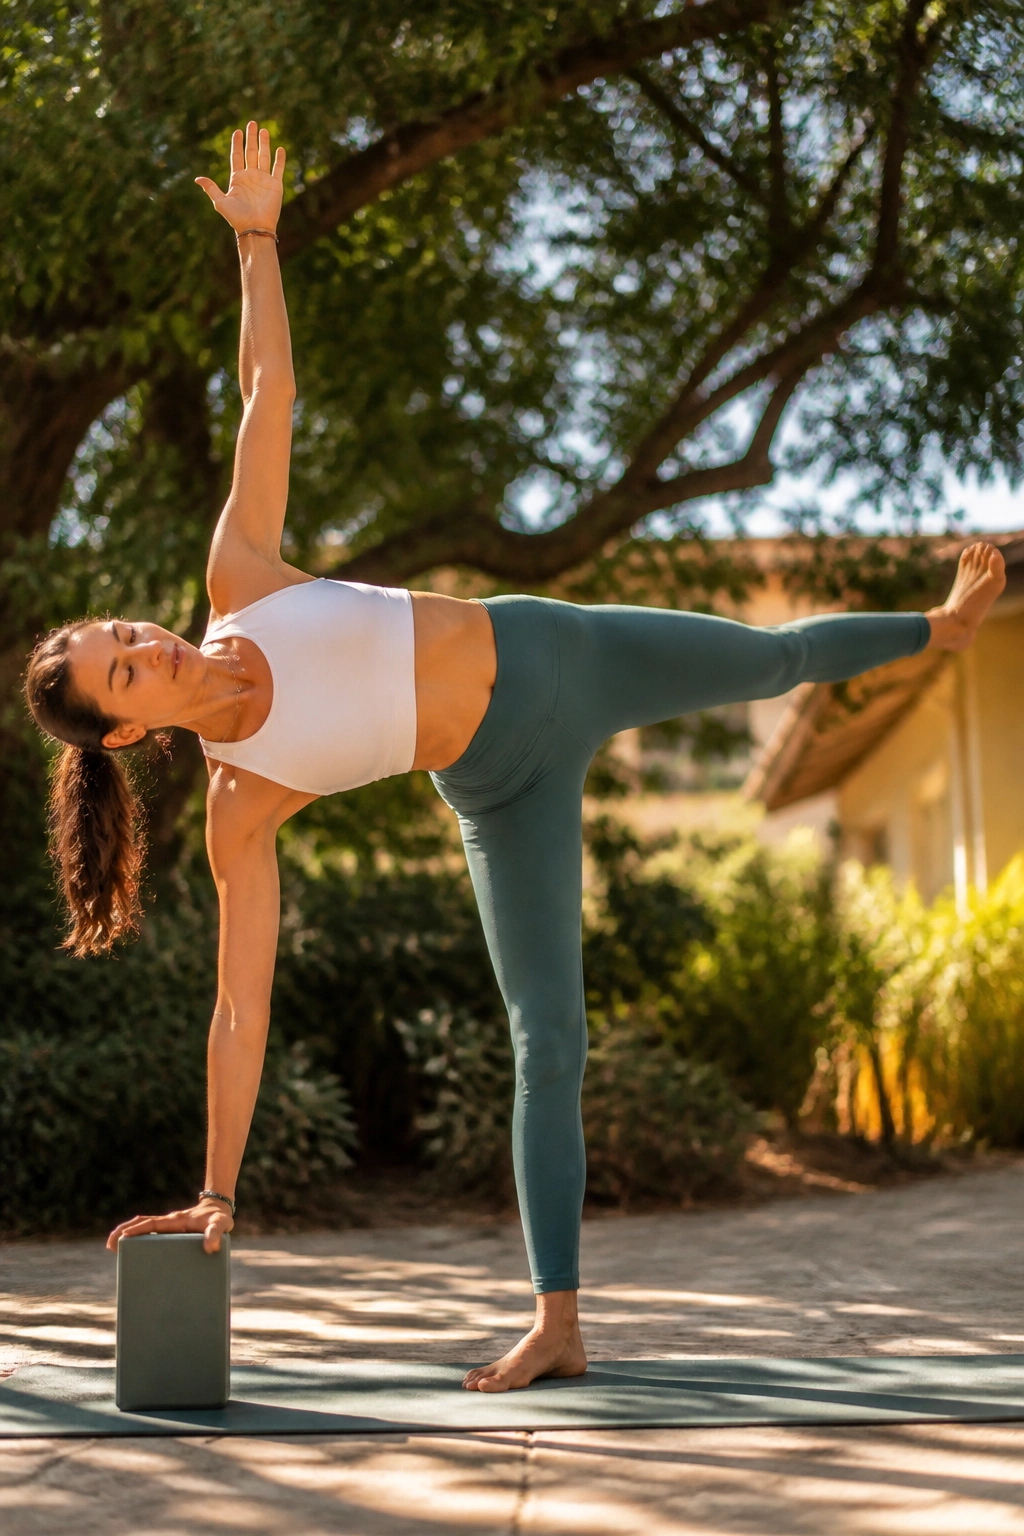
Half Moon is a balance pose that demands significant strength from the standing leg. As you open your hips and torso to the side, your standing glute has to stabilize your entire body. This is a classic move for toning the side of the hip and the outer glute, which are notoriously difficult areas to target.
The Balancing Act
The trick to Half Moon is the “flexed foot” on the lifted leg. When you flex the foot, the entire leg becomes active. This activity sends a signal to the standing leg to work harder. Keep your standing leg straight, but not locked. That tiny micro-bend protects the knee while the muscles do the work.
Pro-Tips
- Use a block under your hand. Most people reach for the floor and lose their form. A block brings the floor to you, allowing you to stack your shoulders and hips properly.
- Stack your top hip directly over your bottom hip. If you lean forward, you lose the engagement. The pose is a lateral opener; respect that geometry.
- Press through your heel on the lifted leg. The more active that leg is, the lighter you will feel on your standing leg.
13. Standing Split (Urdhva Prasarita Eka Padasana)
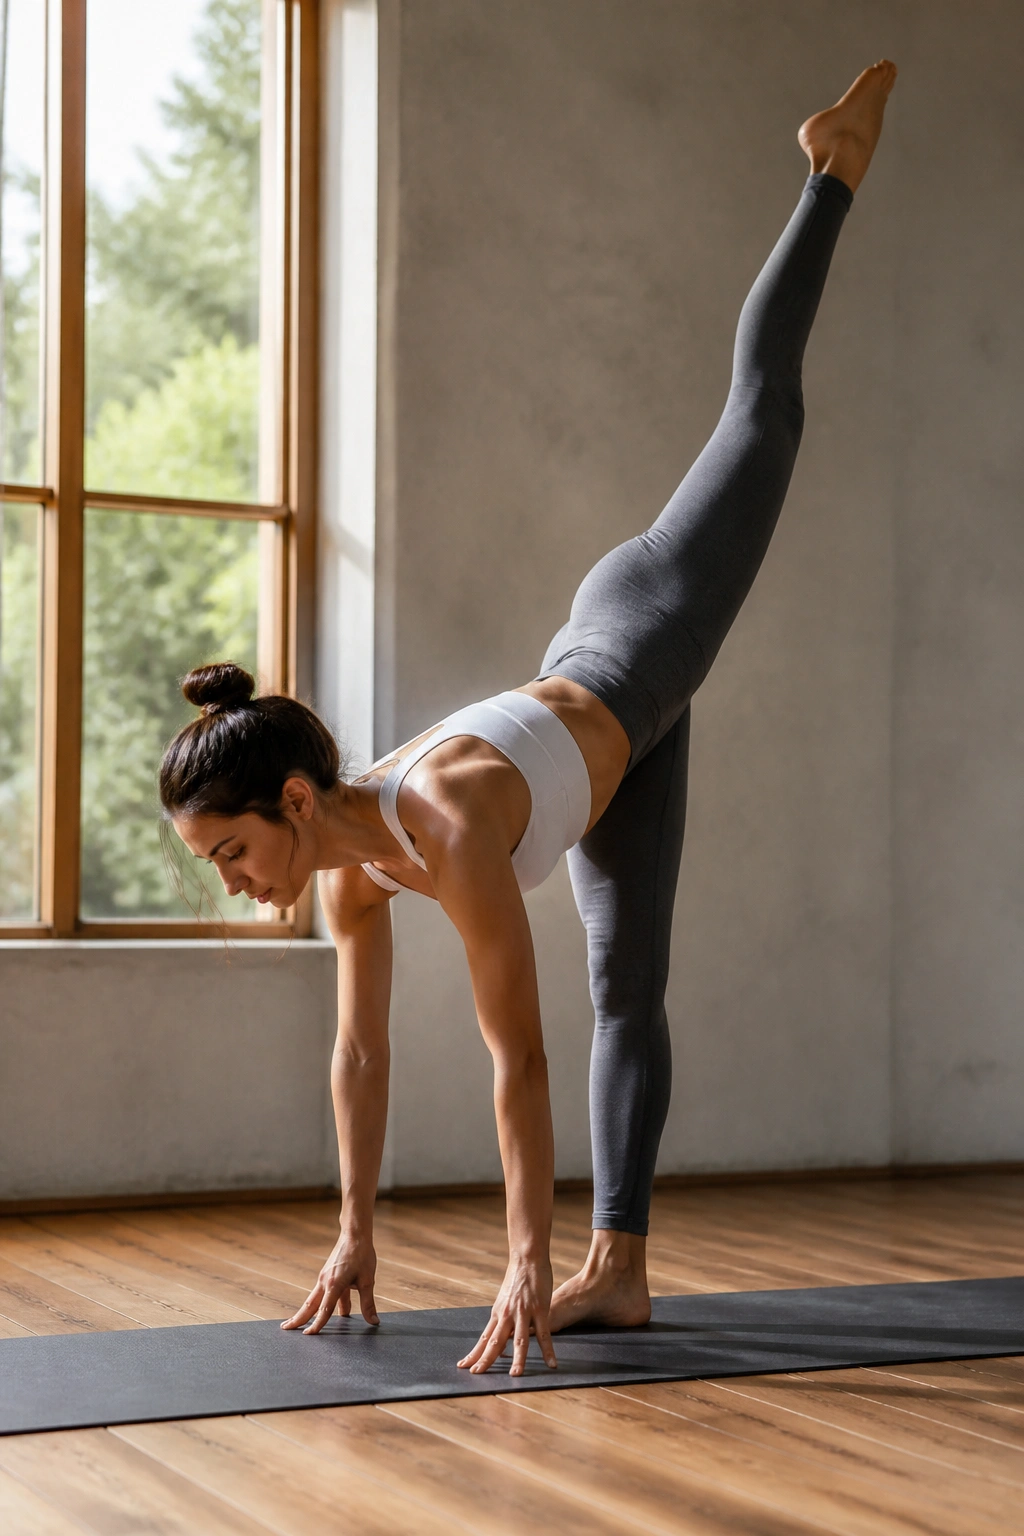
Despite the name, this is not a flexible-people-only pose. It is a brilliant strength move for the standing leg and the glutes. You are folding over your standing leg while lifting the other one as high as you can. The standing leg works to support your weight, while the lifted leg engages the glutes and hamstrings through elevation.
Muscle Recruitment
The standing leg is the star here. It works to stabilize you in a deep fold. Meanwhile, the lifted leg works the gluteus maximus—the primary muscle for shape and power. If you want to maximize the tone, don’t just kick your leg up; reach through the heel. There is a massive difference between a floppy leg and an active, reaching leg.
The Reality Check
- Do not worry about how high your leg is. Worry about your hips being square to the floor. If you open your hip to get the leg higher, you lose the glute isolation.
- Keep your weight distributed evenly between the heel and the ball of your standing foot. If you lean too far forward, you will lose your balance.
- Use blocks for support. This allows you to focus on the leg work rather than struggling to touch the ground.
14. Yogi Squat (Malasana)
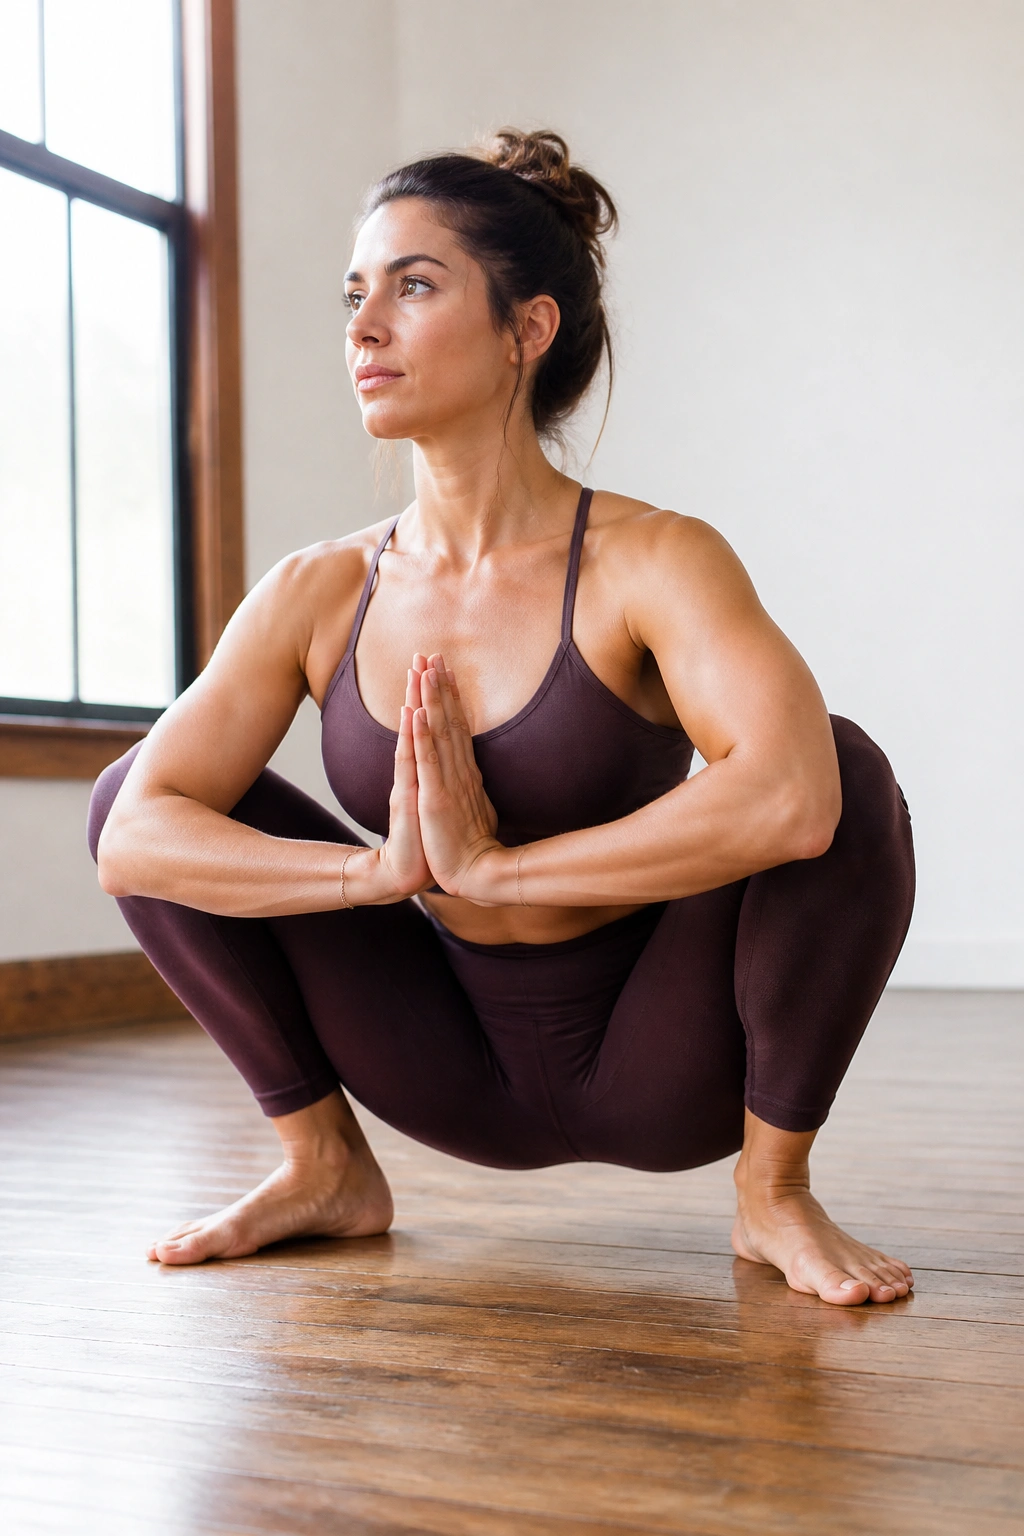
Malasana is a deep, restorative squat that stretches the hips while engaging the thighs. When done with active engagement, it is a great way to build strength in the quads and glutes. It is also excellent for pelvic floor health, which ties into overall lower body strength.
Turning a Stretch into a Workout
Most people just hang out in this squat. Instead, try pressing your elbows into the insides of your knees and pushing your knees back into your elbows. This creates a resistance loop that forces the adductors (inner thighs) to work. It also forces you to keep your chest lifted, which engages your core and quads to keep you from falling backward.
Daily Application
- Stay in this pose for ten breaths. Focus on relaxing the pelvic floor while keeping the legs active.
- Keep your heels on the floor. If they don’t reach, put a rolled-up mat under them. Heels-down is the key to activating the quads and glutes.
- Keep your chest lifted. Slumping forward defeats the purpose of the engagement.
15. Bridge Pose (Setu Bandha Sarvangasana)
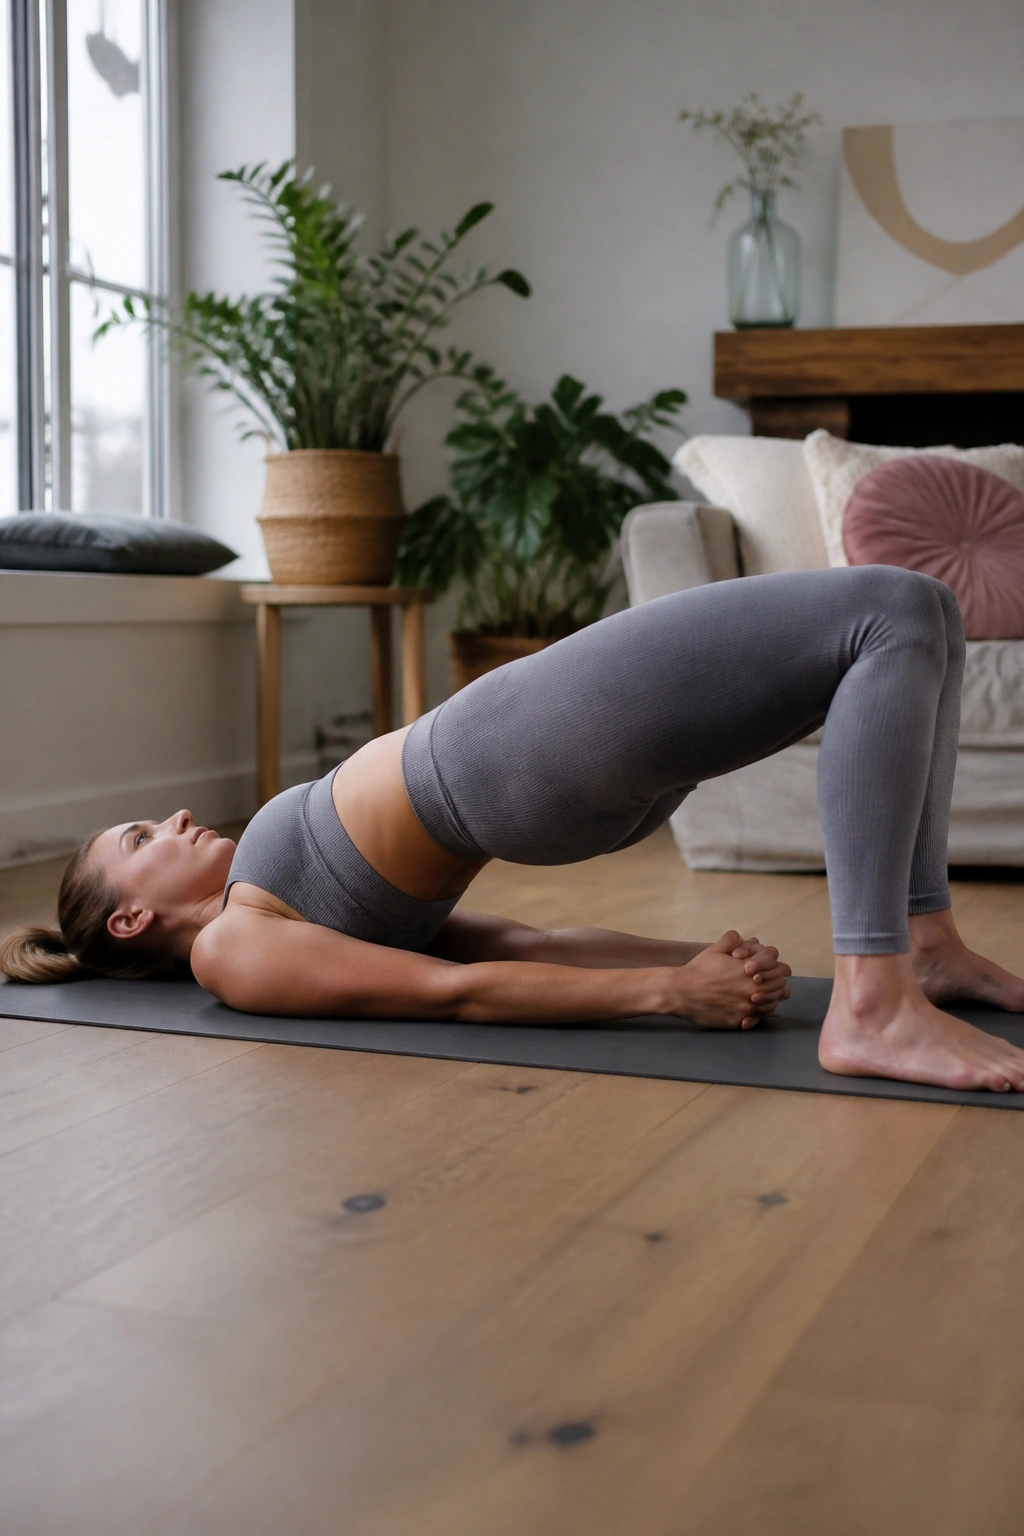
Bridge Pose is the gold standard for glute isolation. When you lift your hips off the floor, the hamstrings and glutes are the primary movers. It is one of the few floor poses that creates a significant, measurable “burn” in the back of the legs.
The Glute Squeeze
When you lift your hips, really squeeze your glutes at the top. Do not rely on your lower back to get the height. Think about drawing your heels toward your shoulders—you won’t actually move them, but this “dragging” action engages the hamstrings immediately. You will feel them fire up instantly.
Refining Your Bridge
- Keep your knees hip-width apart. Don’t let them splay outward; that takes the glutes out of the equation.
- Interlace your fingers under your back to open the chest, but don’t force the height if it compromises your neck or back.
- Lift one leg for five seconds, then switch. Adding a single-leg component turns this into a high-intensity strength builder.
16. Locust Pose (Salabhasana)
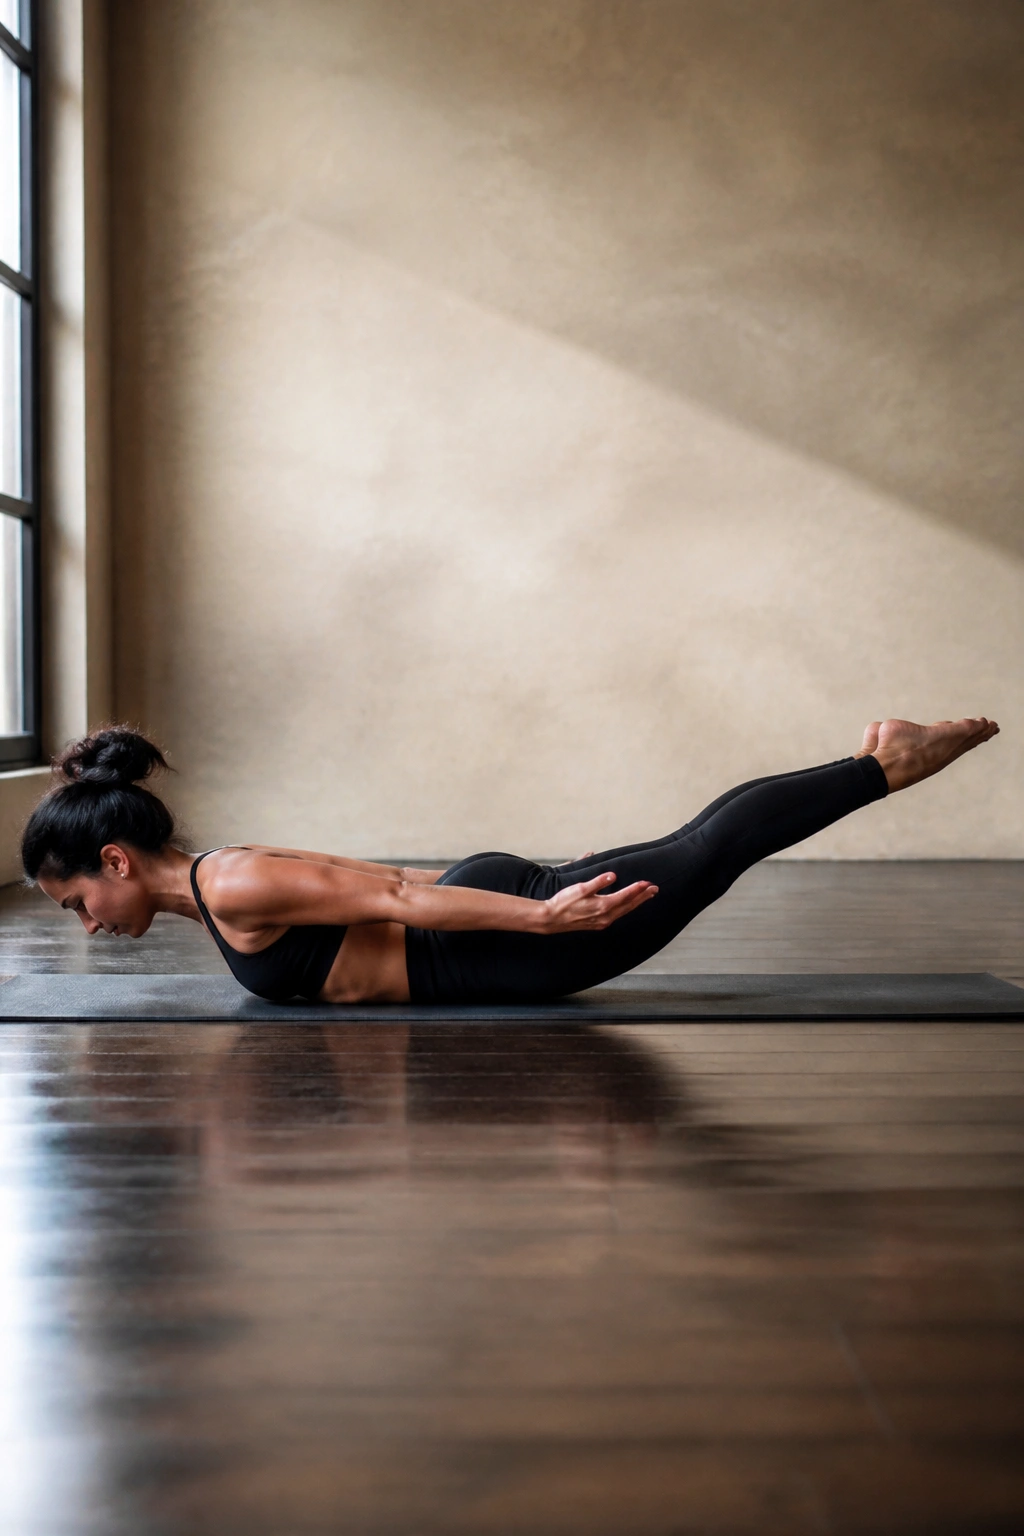
Locust Pose is typically thought of as a back-strengthening pose, but by lifting your legs, you are working the entire posterior chain: glutes, hamstrings, and calves. It is essentially a floor-based glute bridge variation that works the back of the legs from a prone position.
Engagement for Toning
The secret here is to keep your legs straight and active. Point your toes or flex your feet—just don’t let the legs go “dead.” Lift them using your glutes, not by arching your back until it hurts. If you focus on the glute squeeze, you will protect your spine and effectively tone the back of your legs.
The Mechanics
- Imagine you are holding a block between your thighs. Keeping the thighs engaged toward each other activates the hamstrings more effectively.
- Lift the legs from the hips, not just the knees.
- Look down at the mat to keep your neck long. Avoid crunching the back of your neck.
17. Reverse Warrior (Viparita Virabhadrasana)
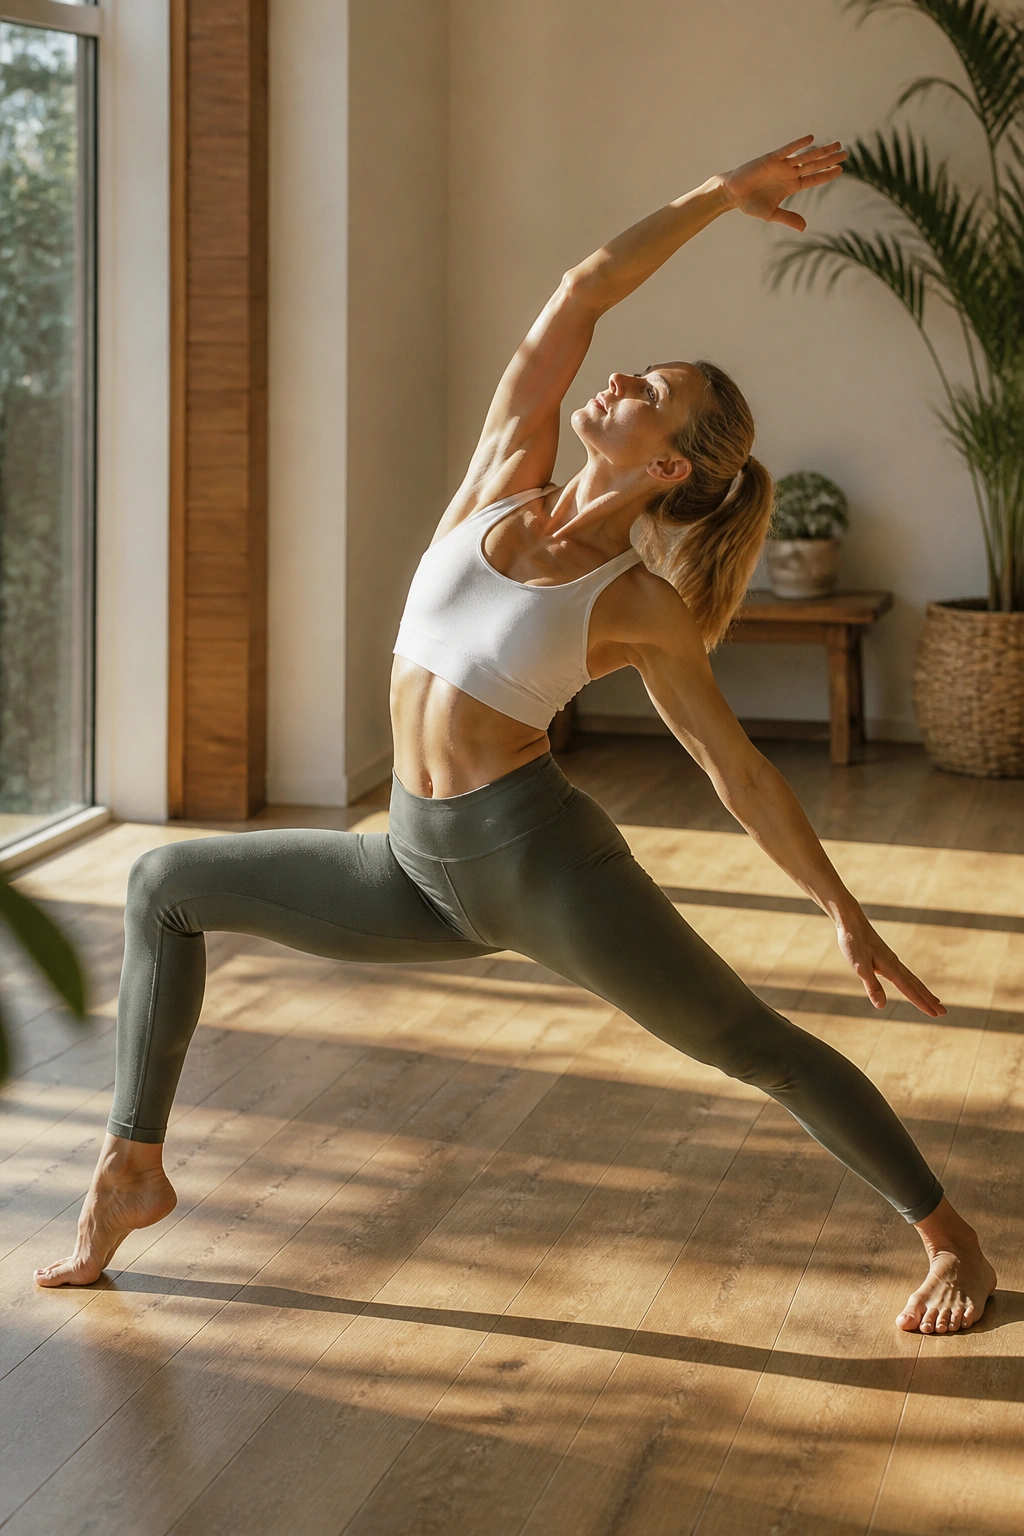
Reverse Warrior is a powerful side-body opener that maintains the deep lunge of Warrior II. By reaching one arm back and the other forward, you stretch the ribcage while keeping the legs in a state of high-intensity contraction. The front leg has to hold the lunge, which is the main source of the toning work.
Sustaining the Lunge
The hardest part of this pose is remembering to keep the front knee bent. As you reach back, the natural tendency is to straighten the front leg to gain more room. Fight that urge. Keep the front thigh parallel to the floor, or as close as you can manage. That constant hold is what will exhaust the muscle fibers and lead to growth and tone.
The Visual Check
- Keep your front knee aligned with your ankle. Do not let it track inward.
- Maintain the reach. Imagine someone is pulling your top hand backward. This creates the resistance that makes the pose effective.
- Relax your jaw. It is very common to clench your face when your legs are burning. Consciously let your jaw go soft.
18. Wide-Legged Forward Fold (Prasarita Padottanasana)
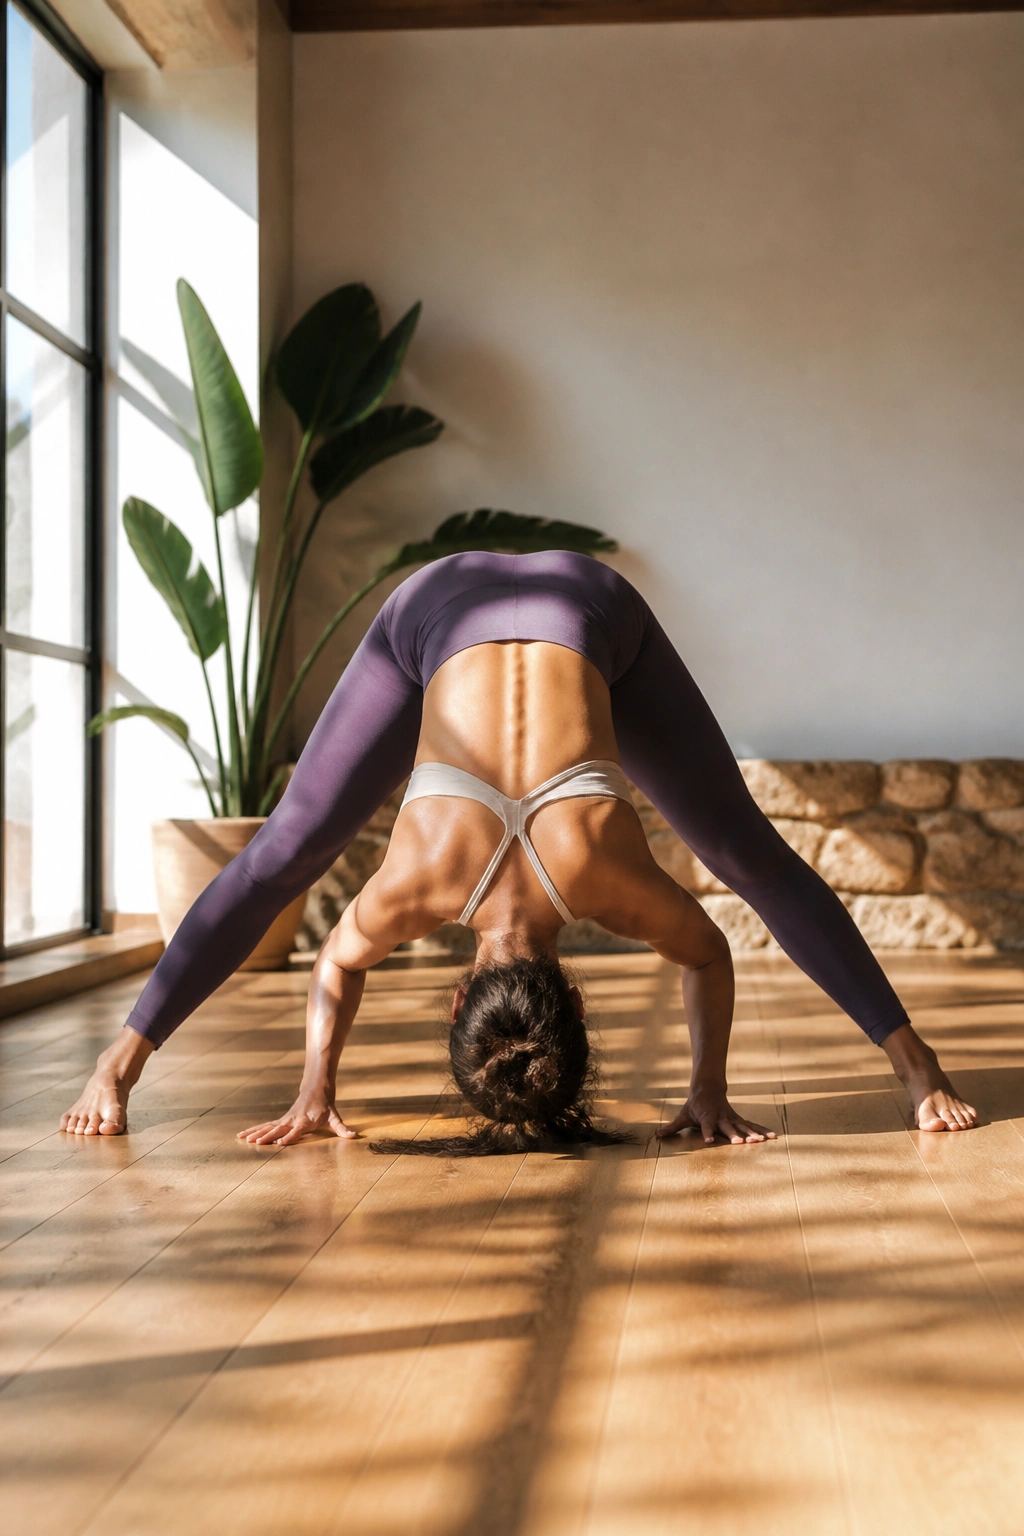
This pose is the perfect finisher. While it is a stretch, it also requires the engagement of the quads to pull the kneecaps up and the glutes to keep the legs active. By keeping the legs “engaged” rather than “loose,” you get the benefits of a stretch with the toning effects of a light contraction.
Active Stretching
To get the most out of this, pull your kneecaps upward by engaging your quads. This is known as “lifting the kneecaps,” and it protects the joint while lengthening the hamstrings. You are creating a stretch that is controlled by muscle strength. It feels better, and it is much safer than just flopping into the fold.
Refining the Fold
- Keep your toes pointing forward or slightly inward. Pointing them out engages the outer thighs, but straight-on is better for the hamstrings.
- If your head doesn’t reach the floor, use a block. Don’t force the depth; the stretch happens in the legs, not the neck.
- Keep your weight slightly forward into the balls of your feet. This increases the intensity of the stretch in the back of the legs.
Final Thoughts
Building toned, sculpted legs through yoga is not about how many poses you can do or how deep you can stretch. It is entirely about how well you can connect with your muscles during the holds. It is about the ability to sustain effort when your legs are shaking and your mind is telling you to straighten your knee. That mental discipline is what separates a casual practitioner from someone who uses yoga to reshape their body.
Consistency matters more than intensity. Showing up to your mat and holding these poses for a few minutes each day will produce more results than a sporadic, hour-long session once a week. Remember that your legs are the foundation of your entire movement system. By strengthening them, you aren’t just changing how they look; you are improving your balance, your posture, and your overall functional longevity. Stay steady, breathe through the burn, and notice how much stronger you feel after even a few weeks of dedicated practice.
